When you click on links to various merchants on this site and make a purchase, this can result in this site earning a commission. Affiliate programs and affiliations include, but are not limited to, the eBay Partner Network.
Put 10 gallons of VP Racing 101 in the tank.
For those in the the South Bay, its at the VP Racing Fuels Station on the south west corner of Lomita and Western, pay at the pump.
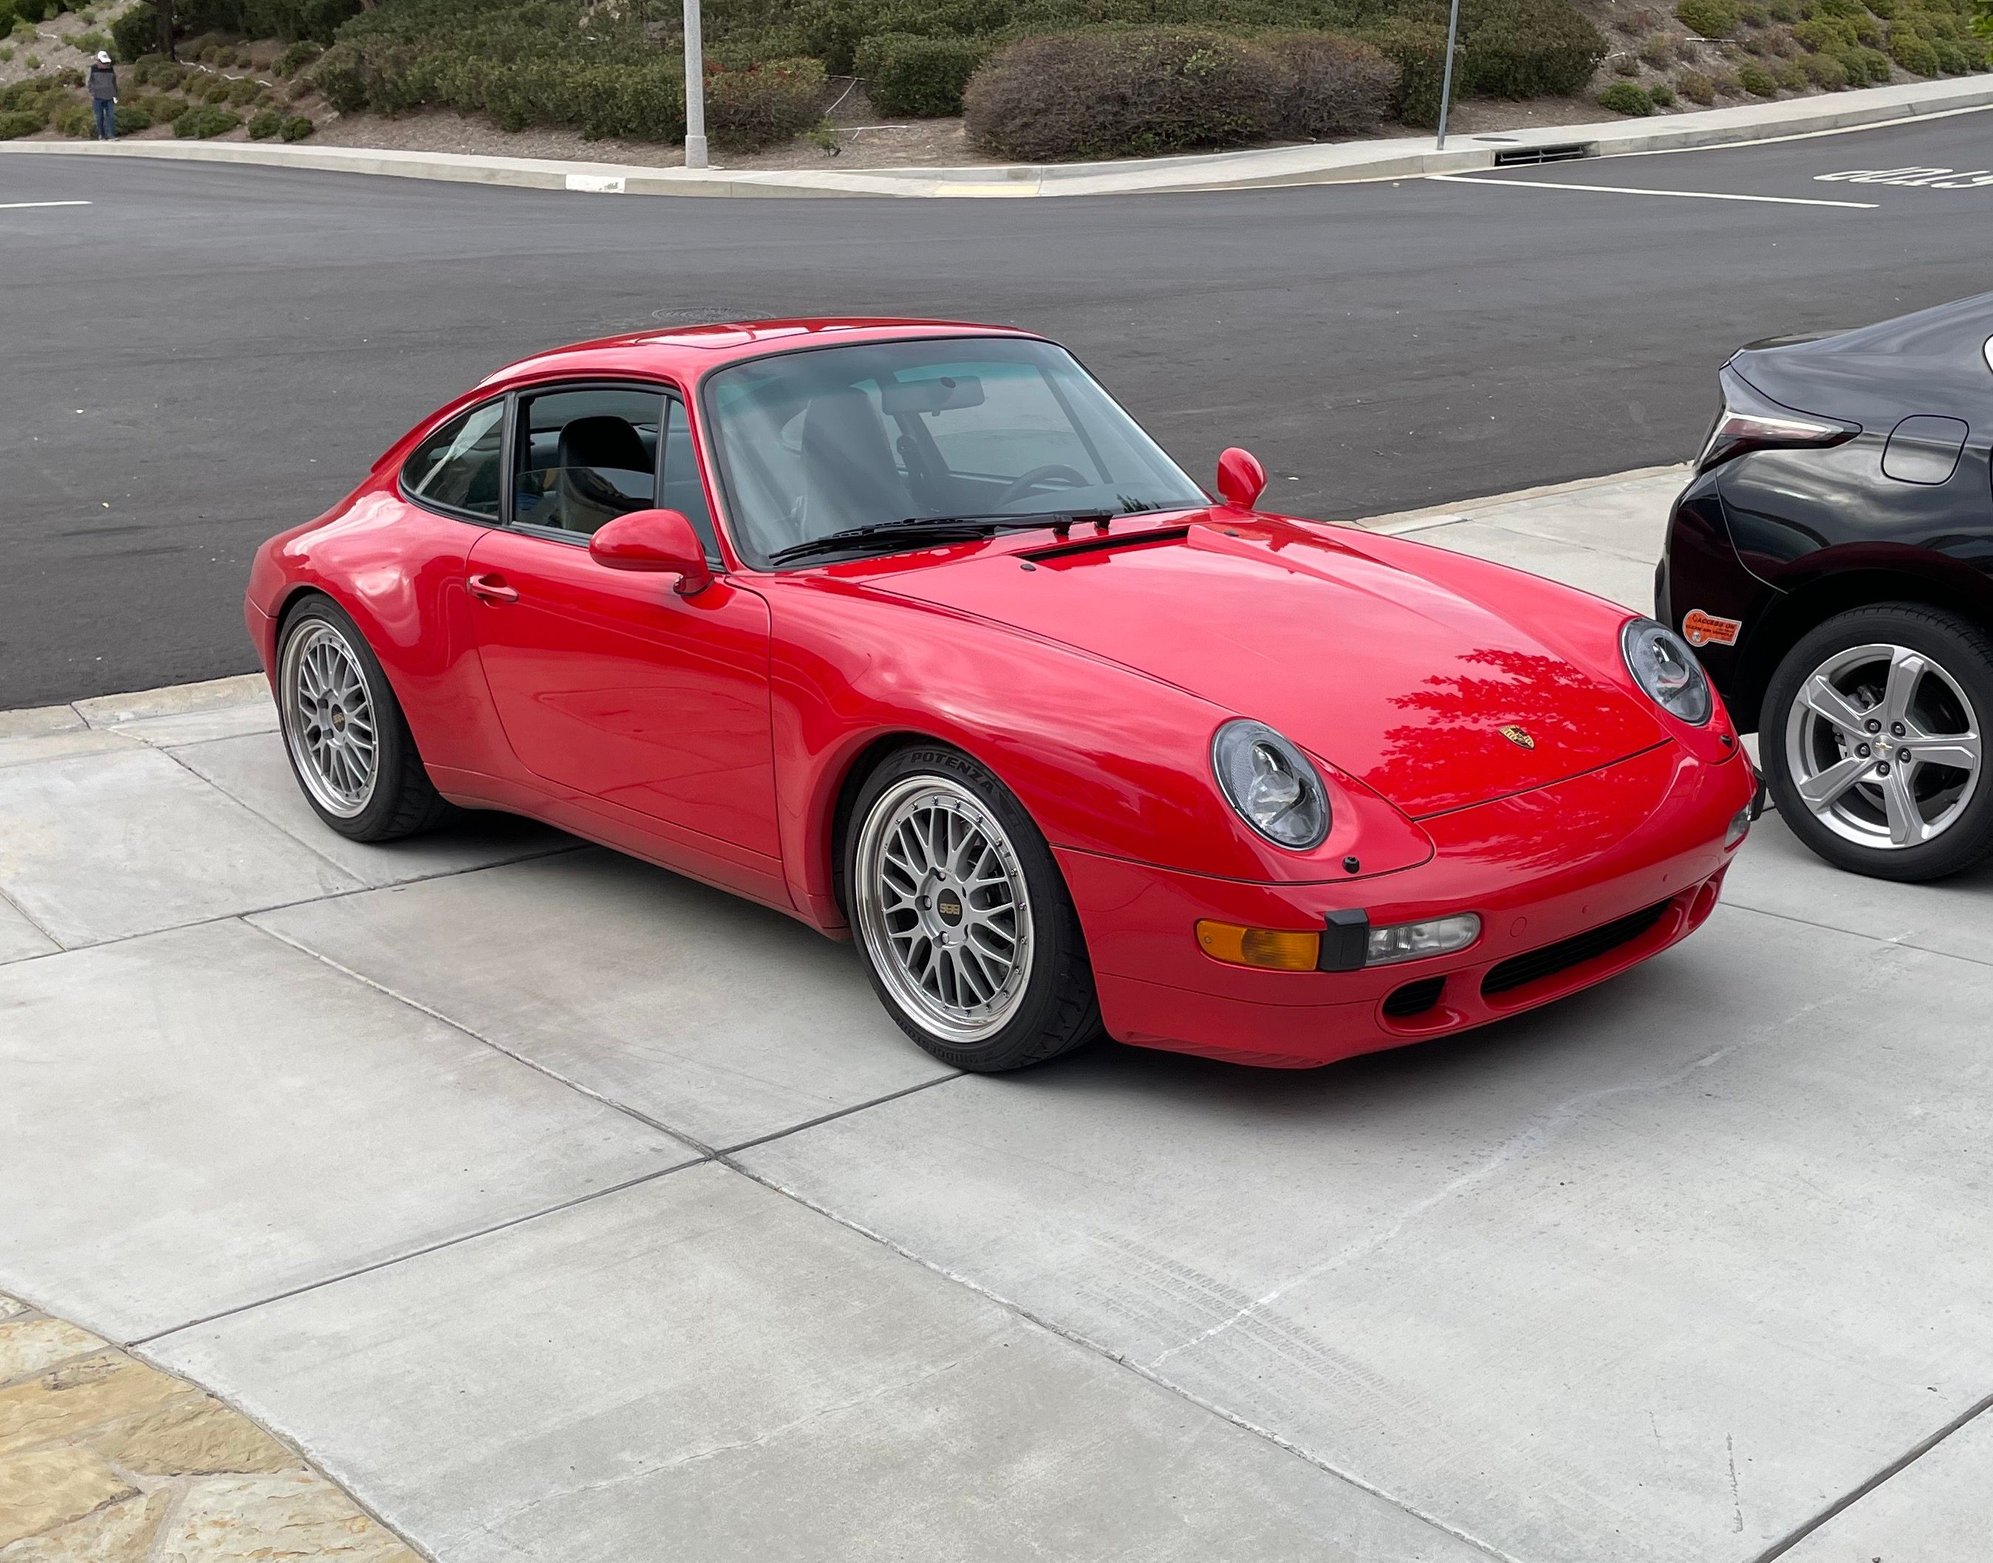
Just got mine back today after it�s ~60k mile service and some suspension upgrades/refresh.
New plugs, leads & caps. Leads were OE and cracking.
new front LCA bushings (HD Rennline) & rearward LCA bushings (monoball)
new rear track arm bushings (HD Rennline)
new Rennline semi-soft engine mounts (street yellows).
all fluids & filters (incl. trans)
new lower valve covers
door check strap (ugh)
Belts already done earlier.
The engine mounts were definitely noticeable: the OEs weren�t in horrible condition but the car just wants to put power down more readily.
Some of this was preventative: getting the service out of the way before driving season starts avoids any major surprises. Other stuff, like mounts & half the bushings was mostly a �while you�re there� decision.
Nice work. Nice to take care of the car. Seems like you did all necessary and good work. Enjoy the car!
Went to remove the Tip shift **** so I can remove the center console for reasons (aka: replacing the plastic gate with a leather boot) but I cannot get the **** off.
Every guide says to remove the button (easy) and just.. pull up really hard (as in: break your nose hard) but it doesn't even budge. Obviously it's probably never been off, but any tips? Hairdryer/heat gun to loosen any glue/unbind it?
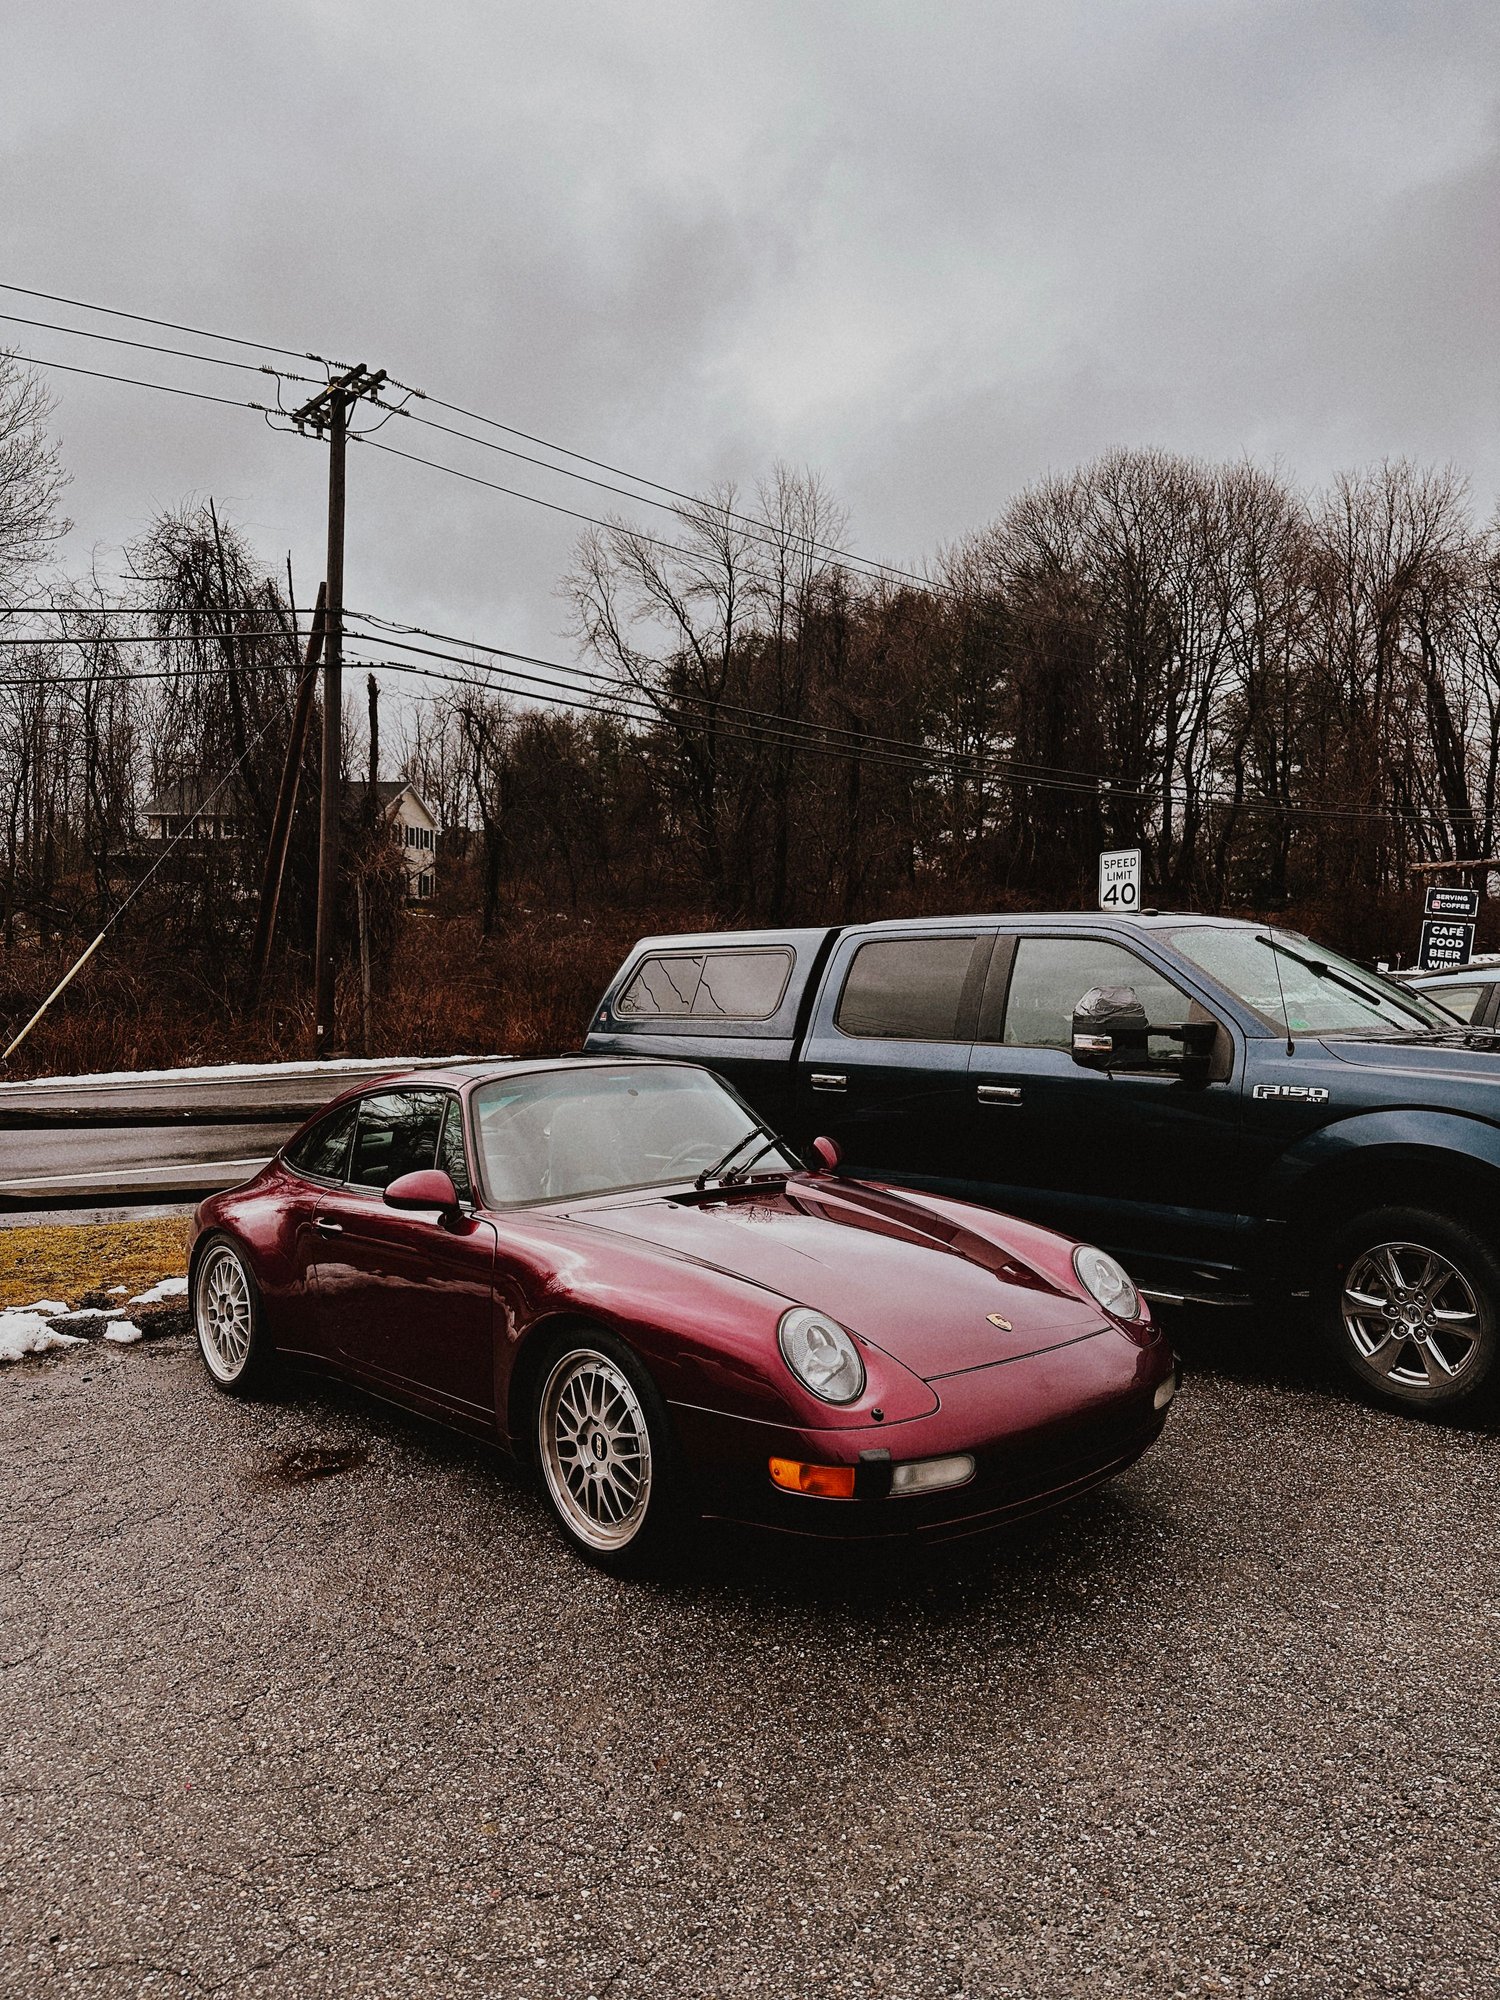
Took it for a drive up on some backroads here in NY.
Bit colder than I would have liked � 37F! � but with new LCA bushings, track rod bushings & engine mounts done during the winter break, I really wanted to get some wheel time on it before it threatens to snow again next week!
Dang it, I should have taken a "before" pic, but I didn't think of it since I was not expecting great results. See, my plastic stone guards were replaced in 2000 by the previous owner, and since I bought her it has been driven and mucked, wholly road assaulted to 184k miles since then. More than "dirty" they were baked-in grimy to the point that they almost looked painted a charcoal color. So I didn't expect much when I bought some tough "industrial" style cleaner and grabbed a rough shop rag ...maybe I can just take off some of the nastiness. Wow. Just wow! Why in blazes did I live with that ugliness for so stupid-long (well the answer is simple green didn't do much to improve it so I figured that was that). Anyway, here is what I did today. I waxed it up, of course.
Oh, and I tried to capture the reflections to see the edges of the stoneguard:
Suffice it to say, I no longer need to consider replacing em any time soon!


 02-21-2023, 06:17 PM