When you click on links to various merchants on this site and make a purchase, this can result in this site earning a commission. Affiliate programs and affiliations include, but are not limited to, the eBay Partner Network.
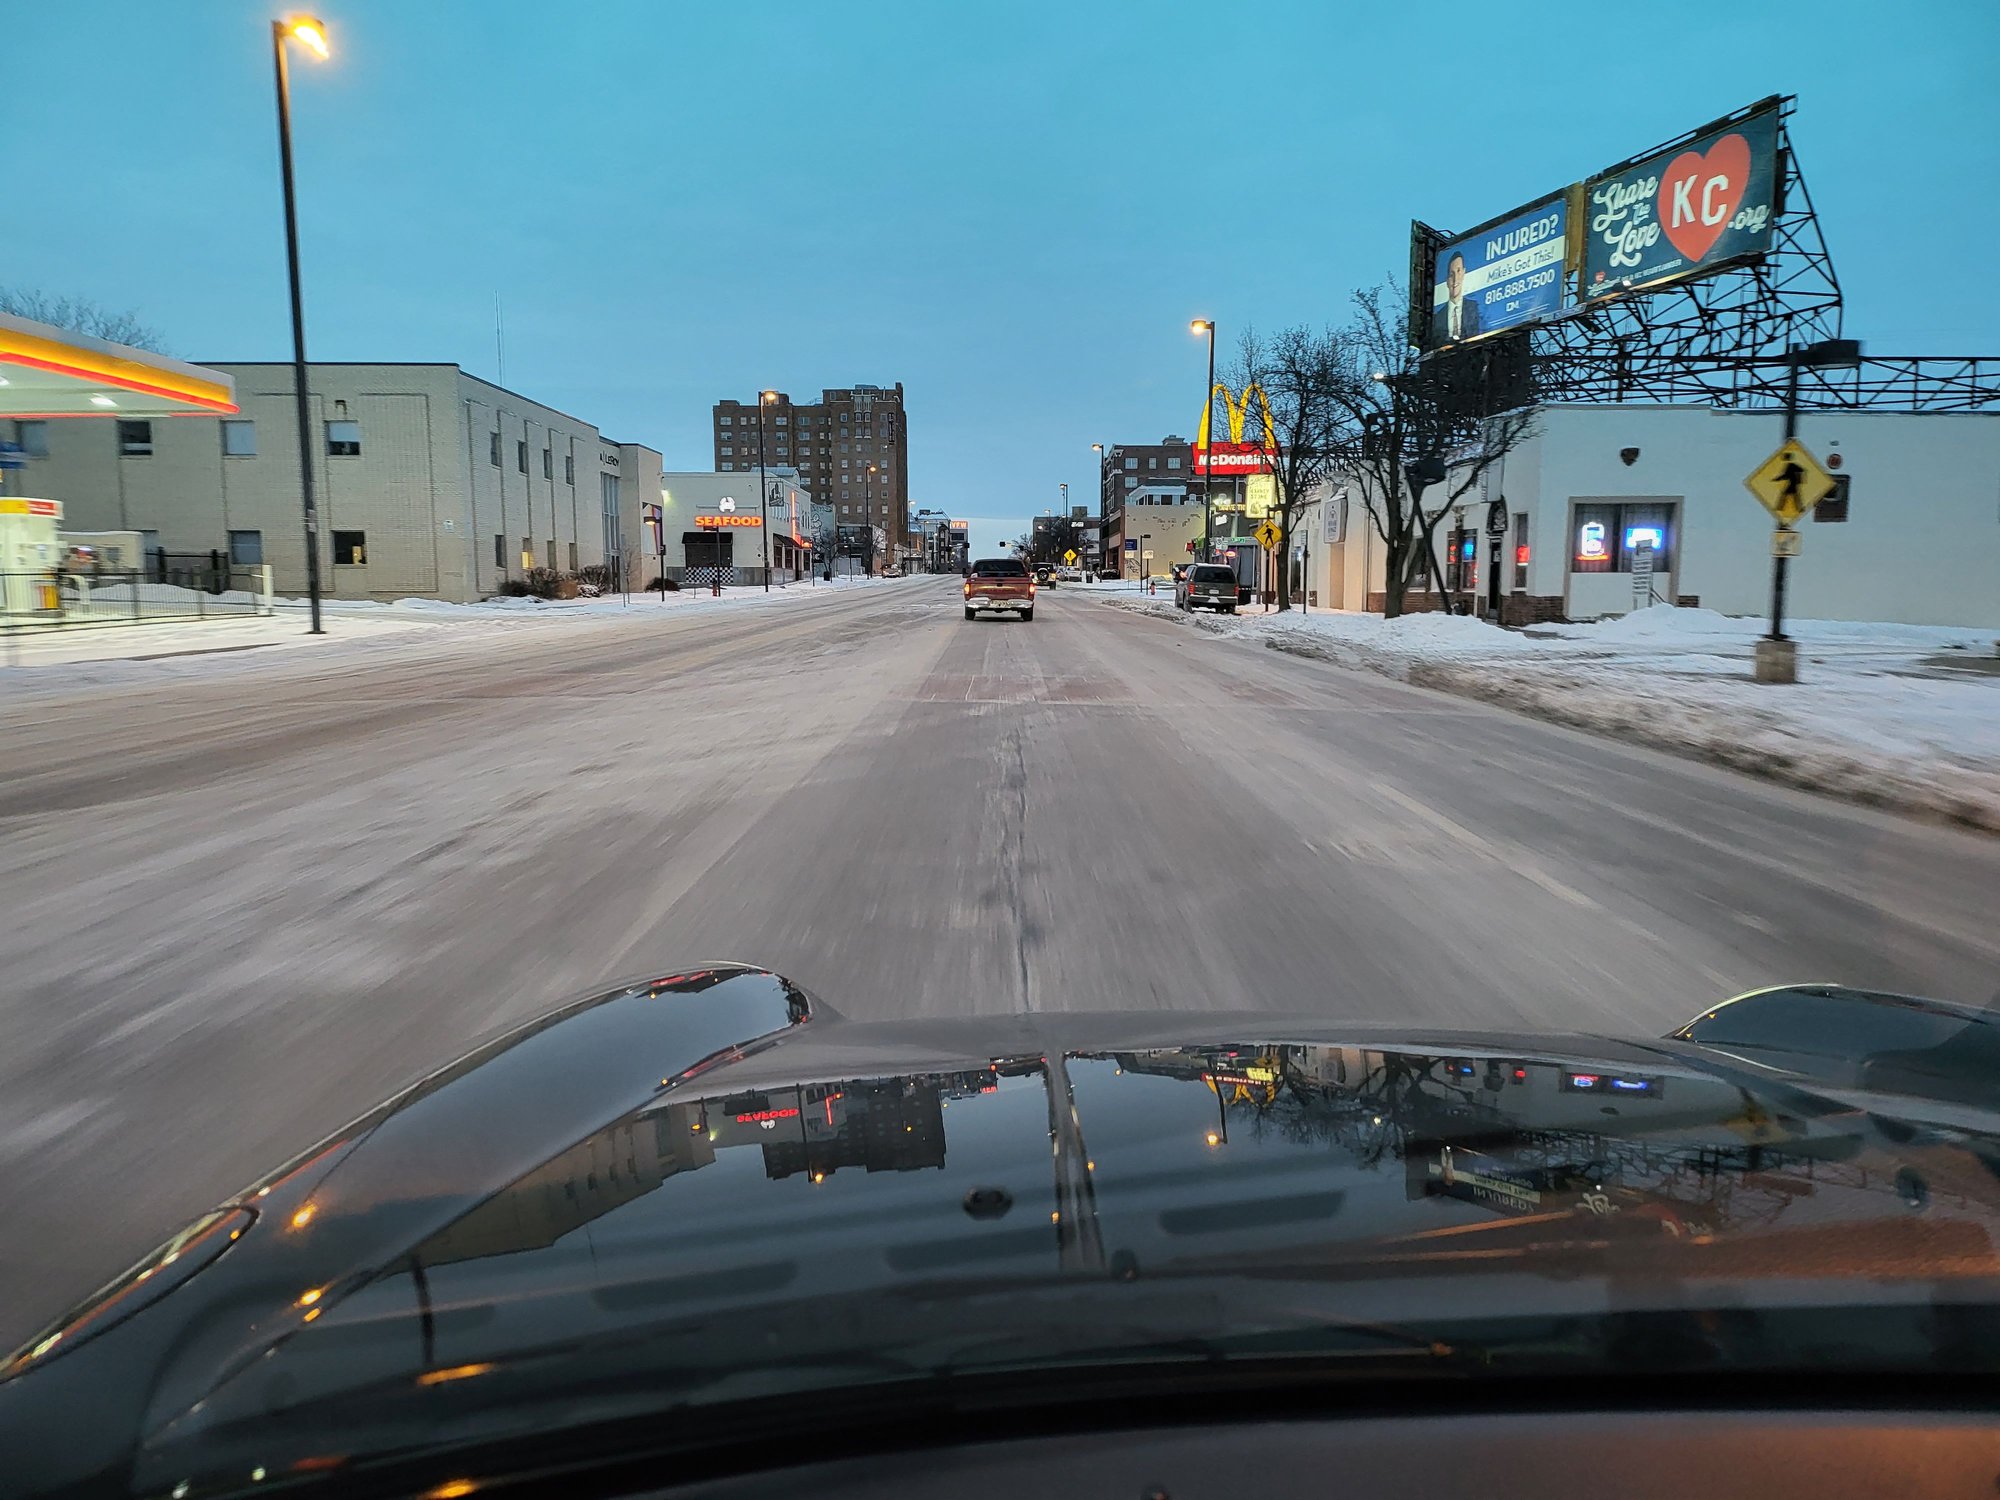
1. Drove to a supermarket 35 miles away at 15F.
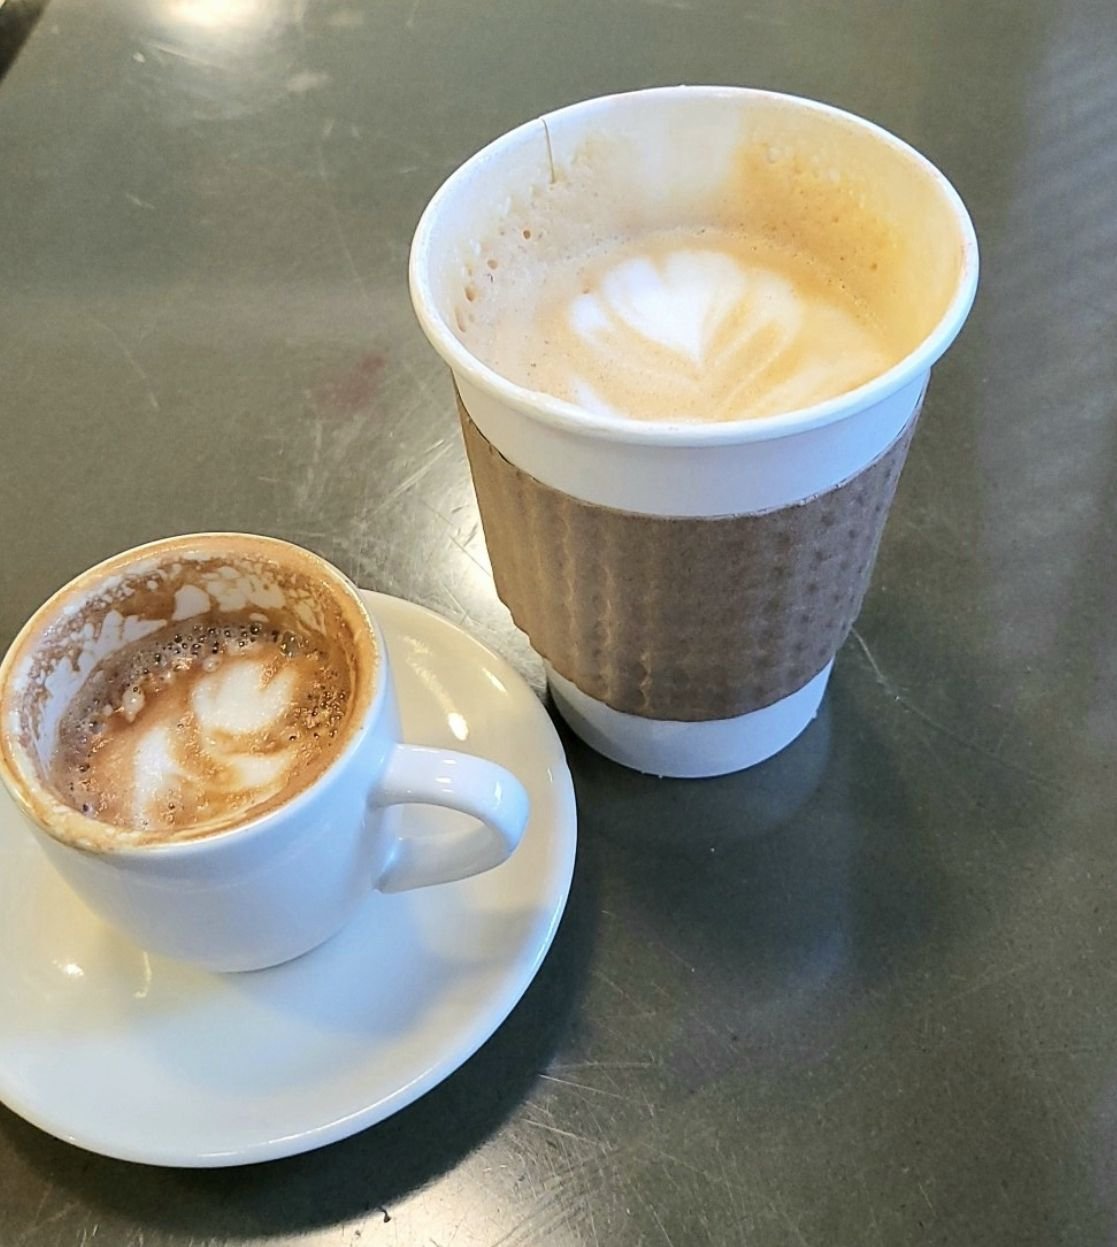
2. On the way back, stopped for a machiato.
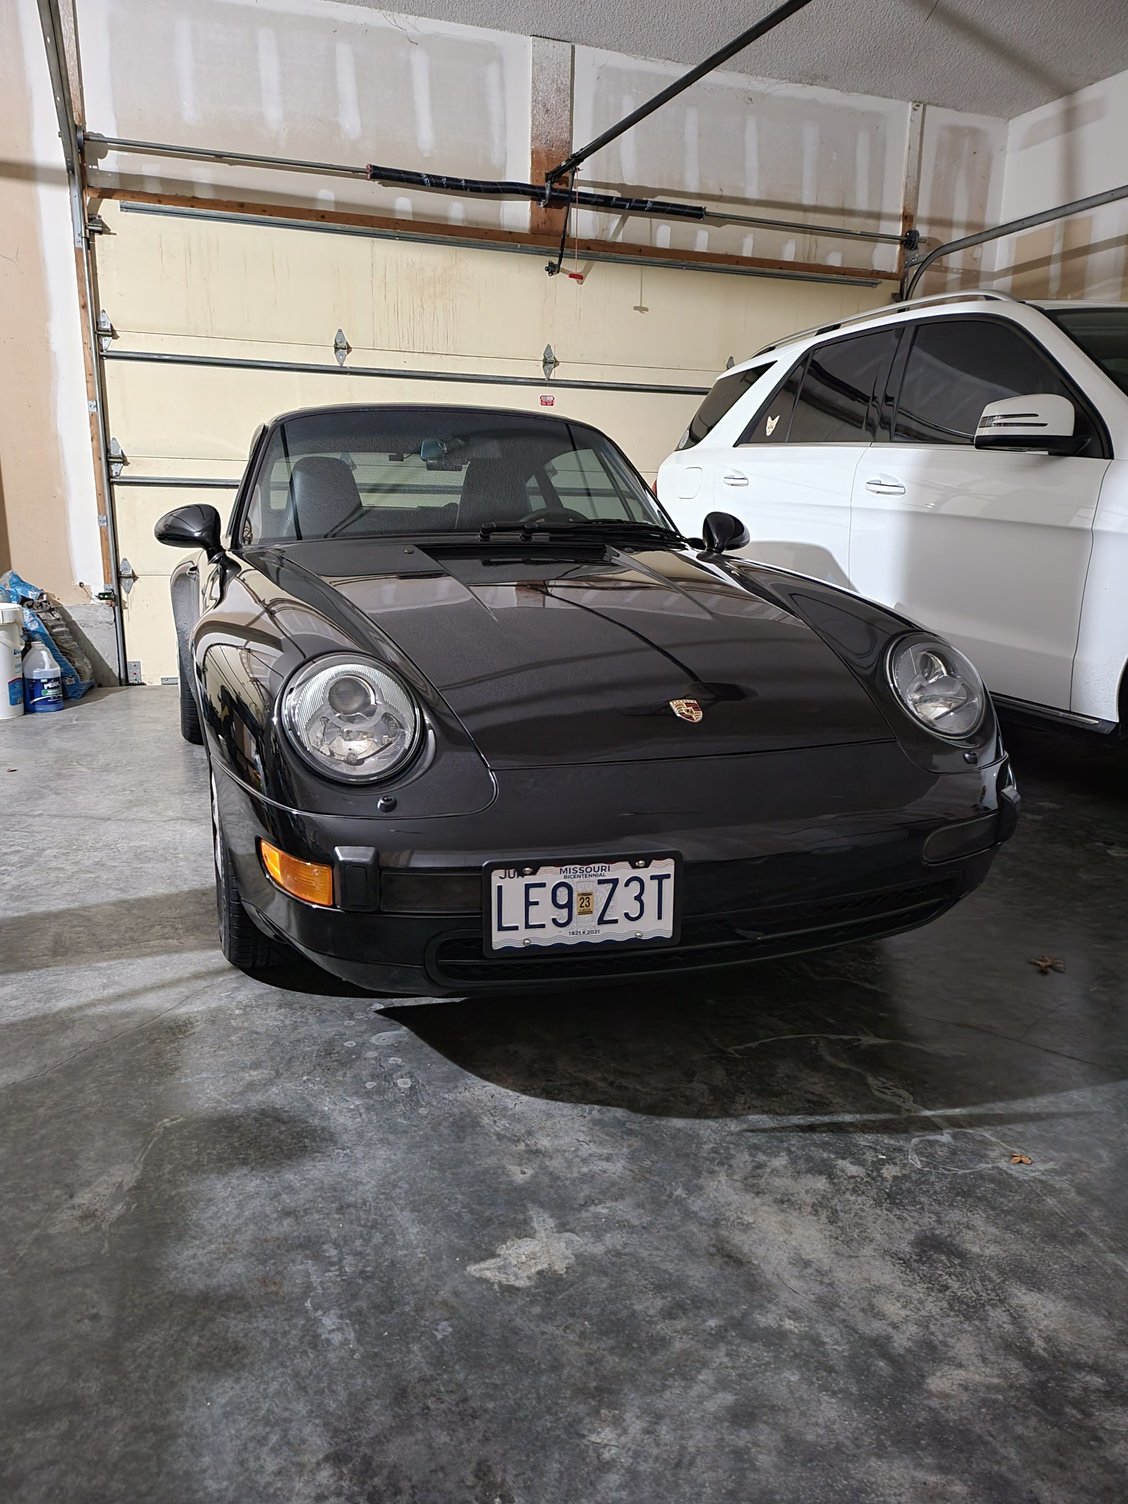
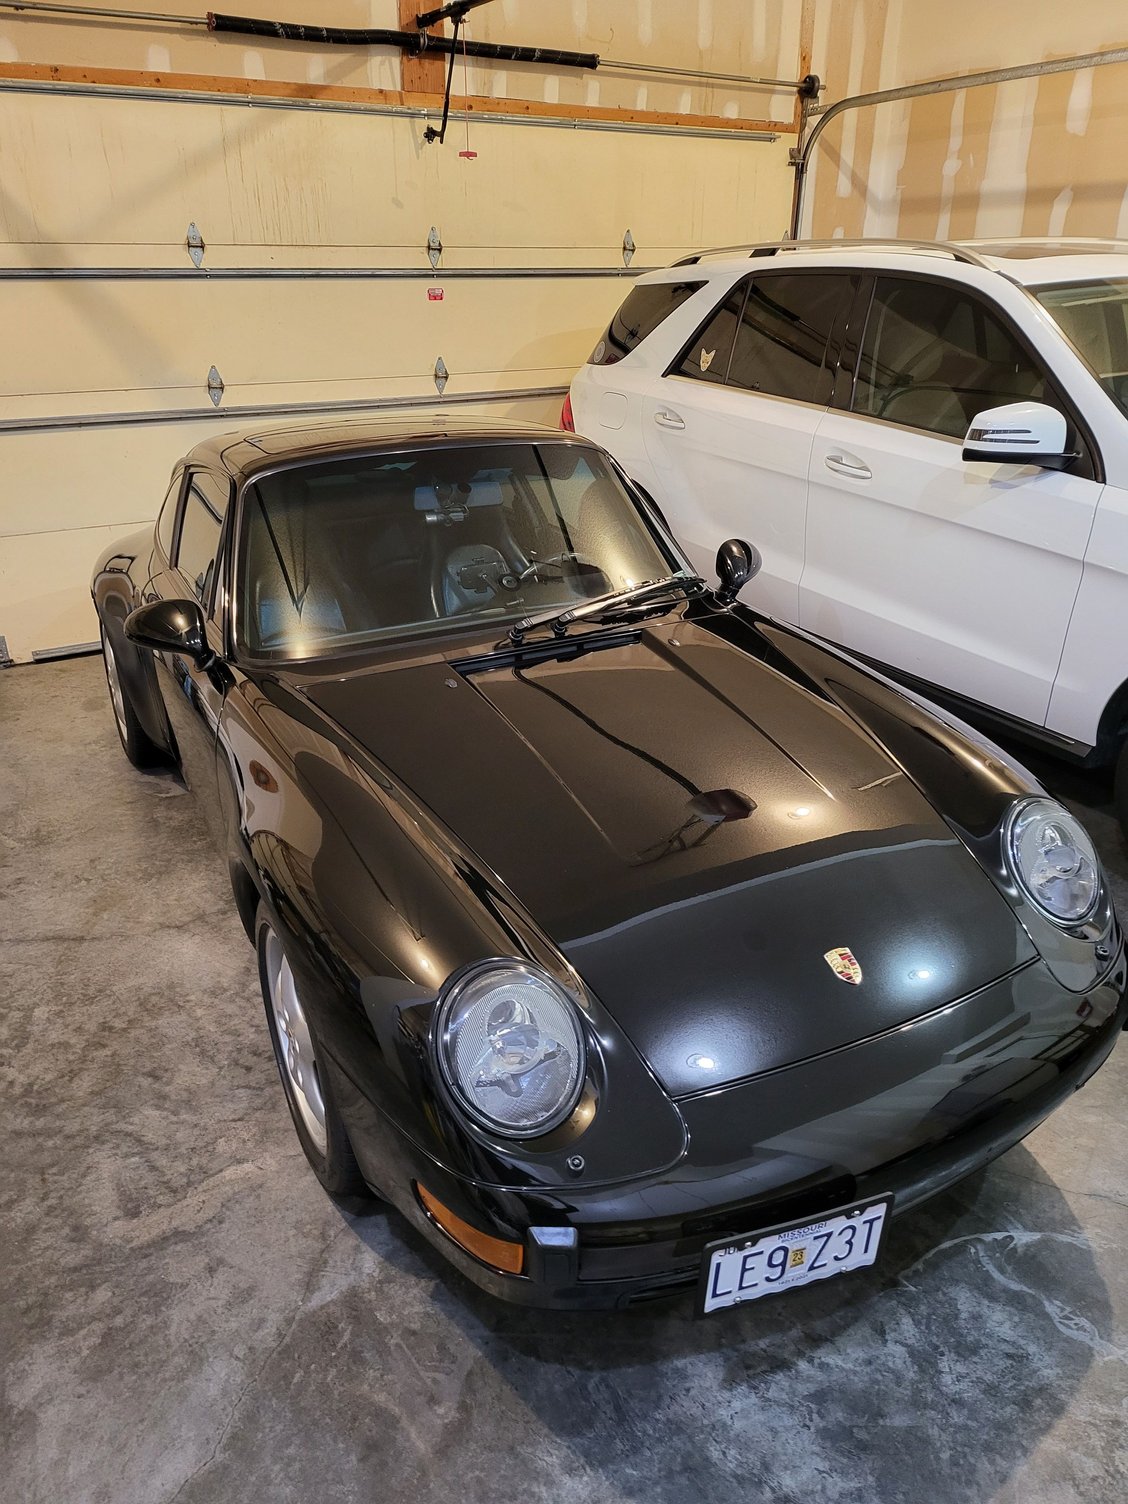
3. Cleaned my 993.
I love doing 1 to 3 over and over! What's wrong with me!
[QUOTE=INTMD8;17848170]Distributor belt not too bad of a job. I used a bridgeport as an arbor press which was helpful. The original belt was still intact but I was able to easily rip it in half by hand.
All the bearings were pretty dried up so I cleaned and re-greased.
That needs some fresh grease. I am afraid to open up mine.
How do you check if your belt is still working without taking the distributor apart?
Last edited by 1997hmc993; 02-03-2022 at 10:22 PM.
If you complete this project soon after midnight, setting up the clock will be less irritating.
Take as many pics as possible as you work on this project just in case you have to put everything back to the original.
Make sure that you have the security PIN for your Porsche audio unit.
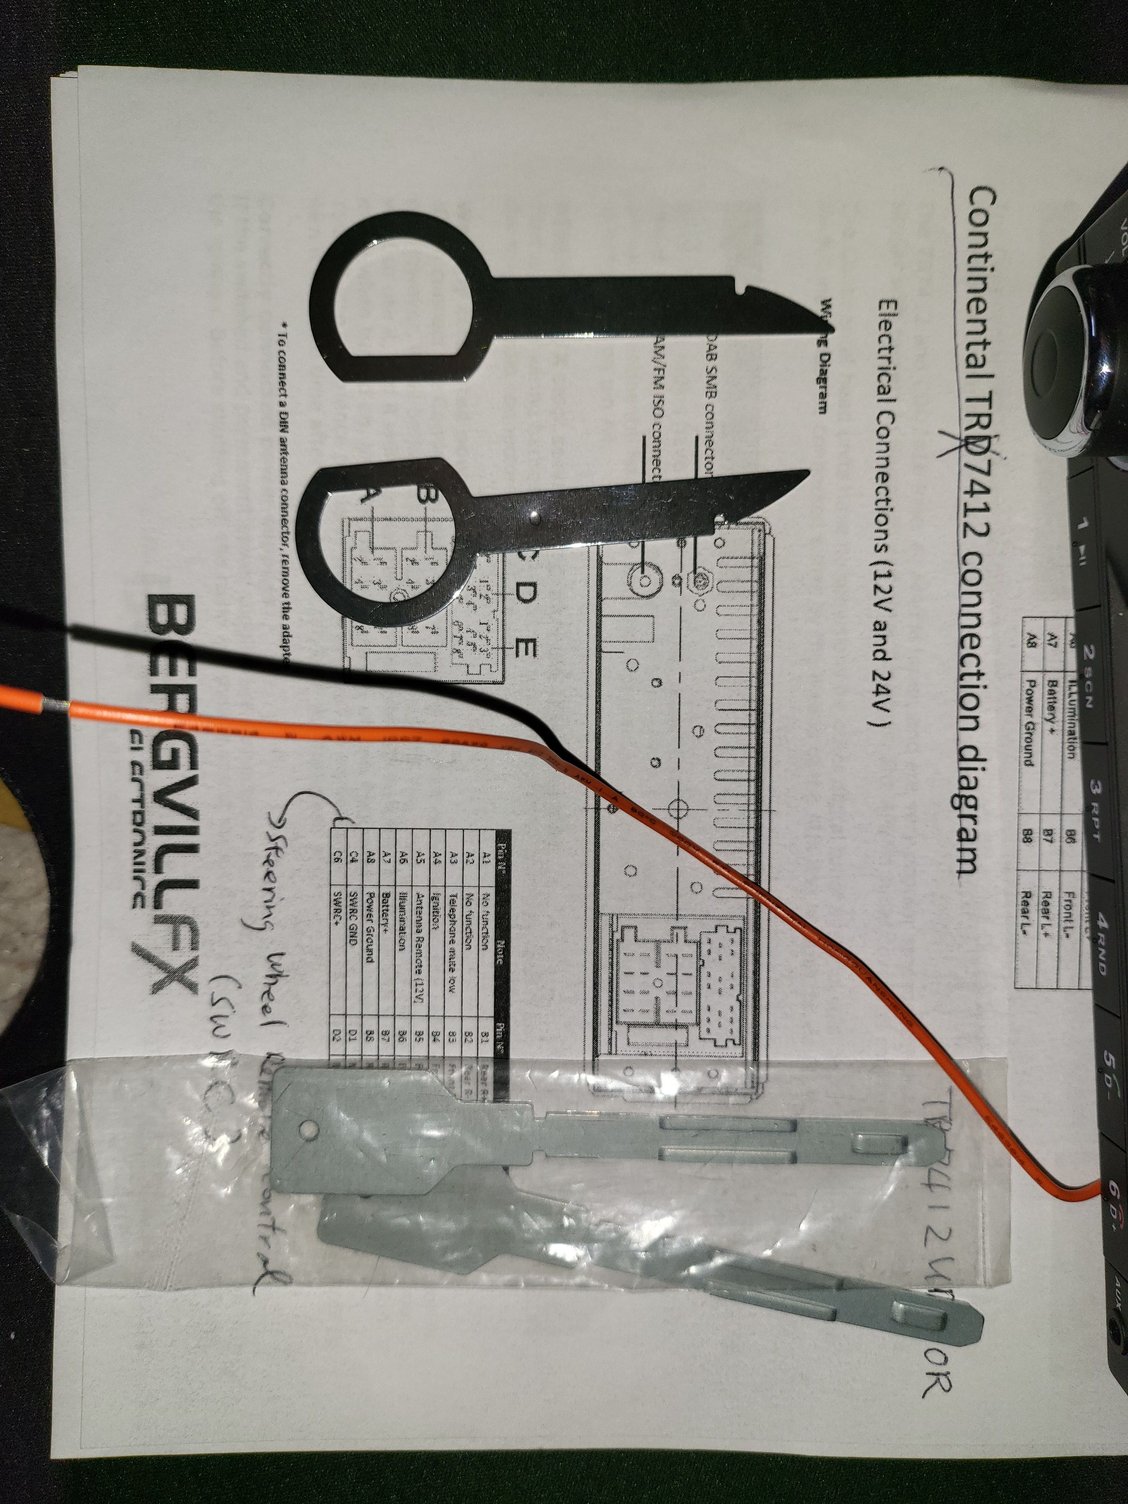
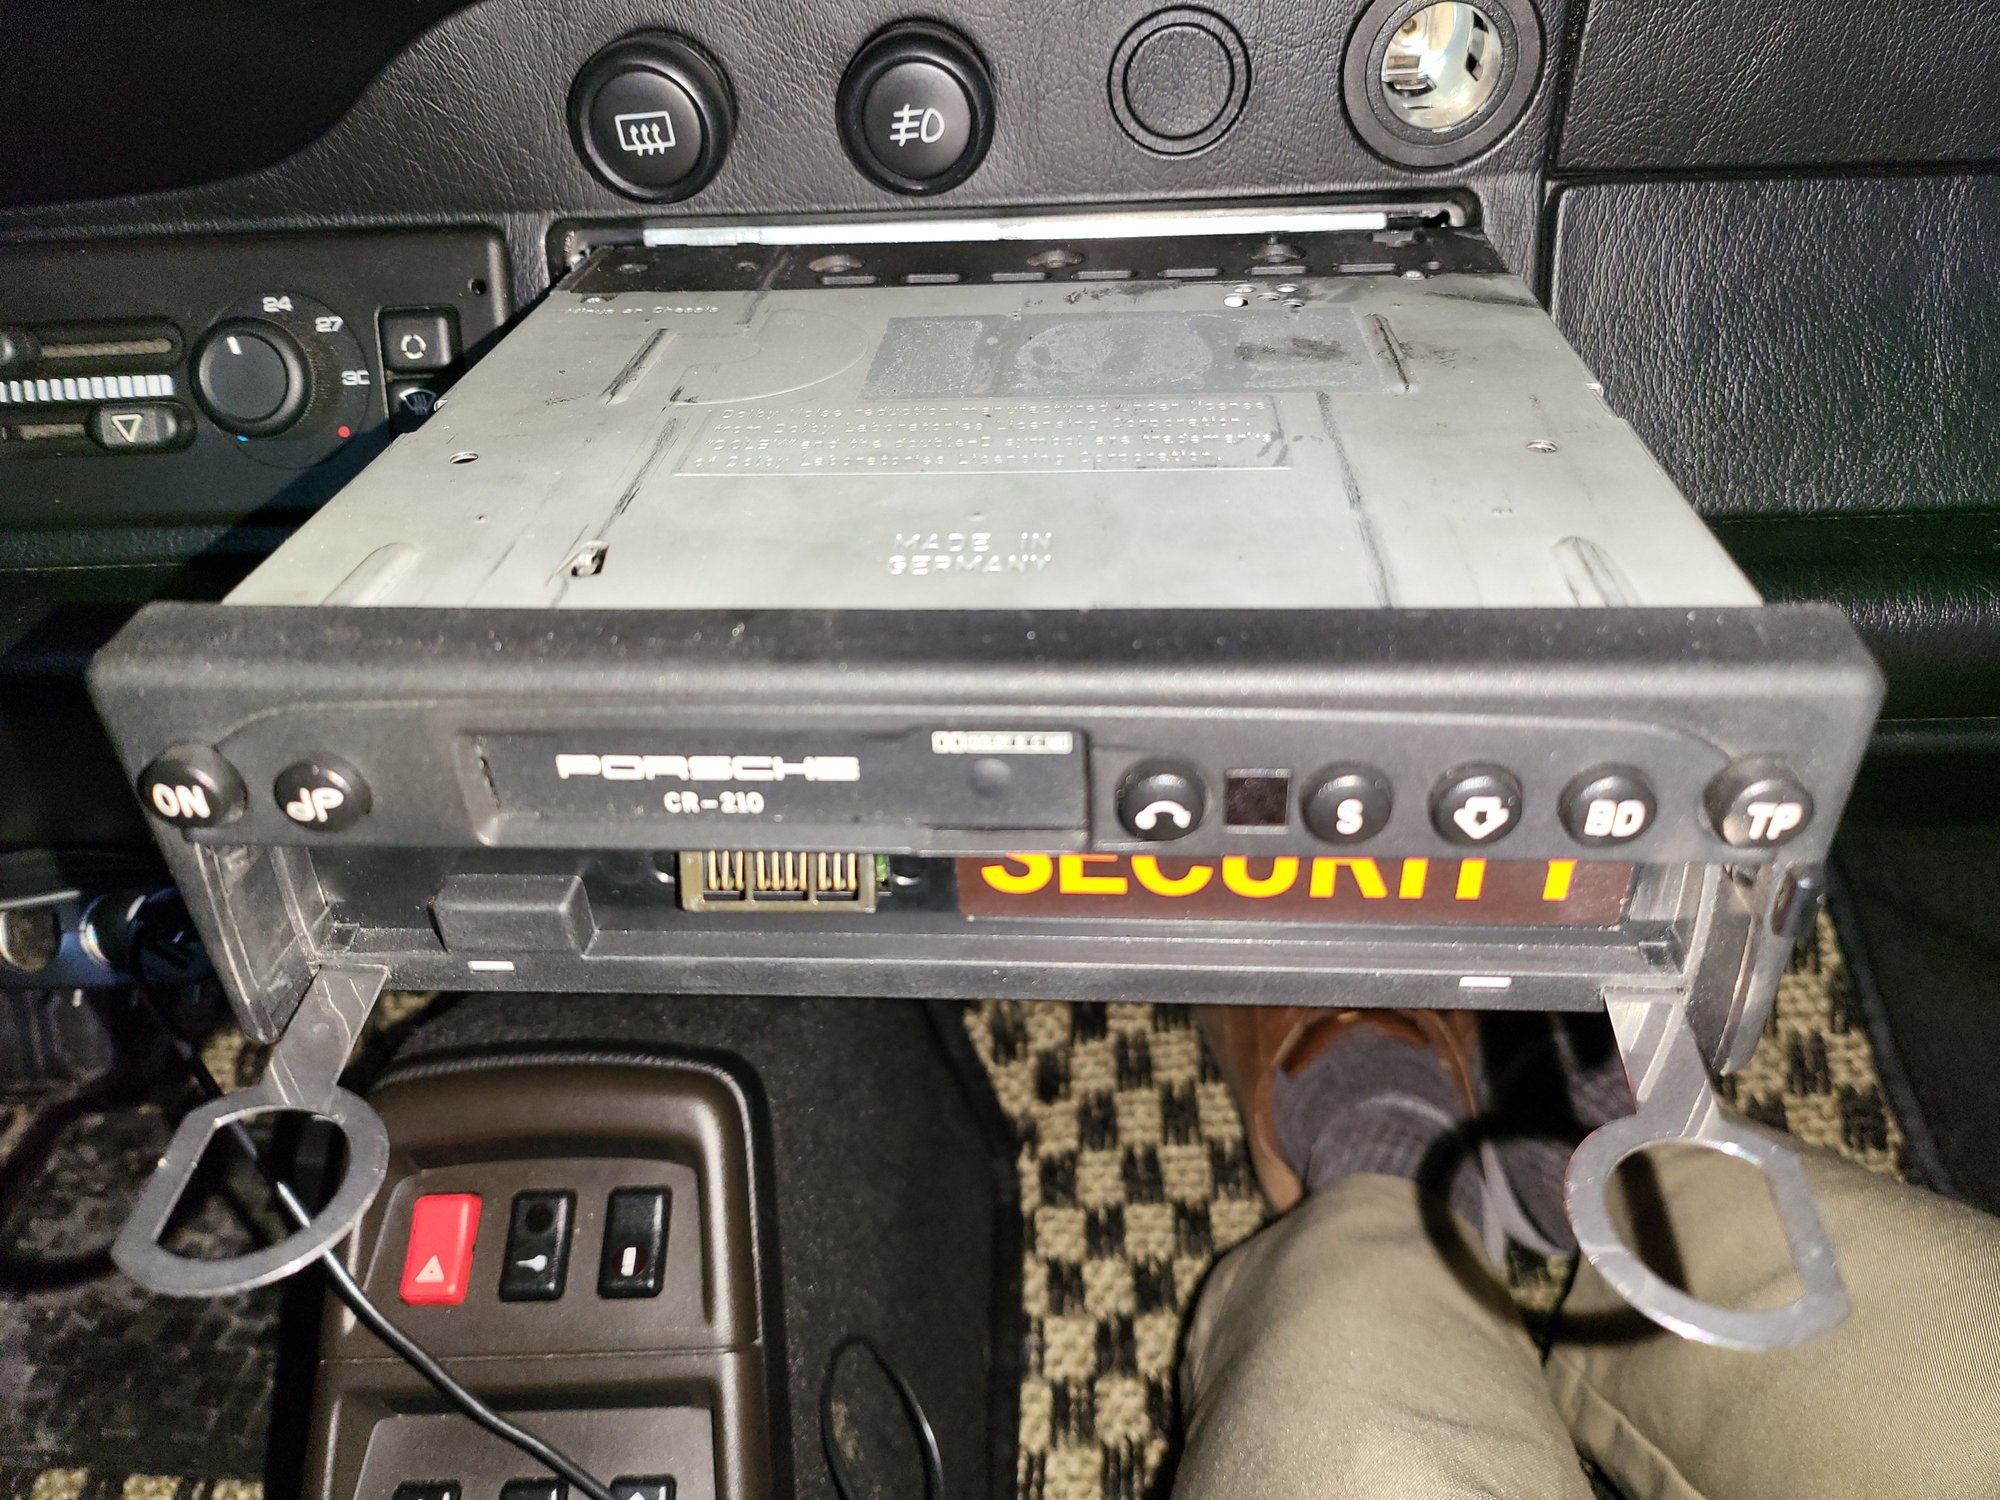
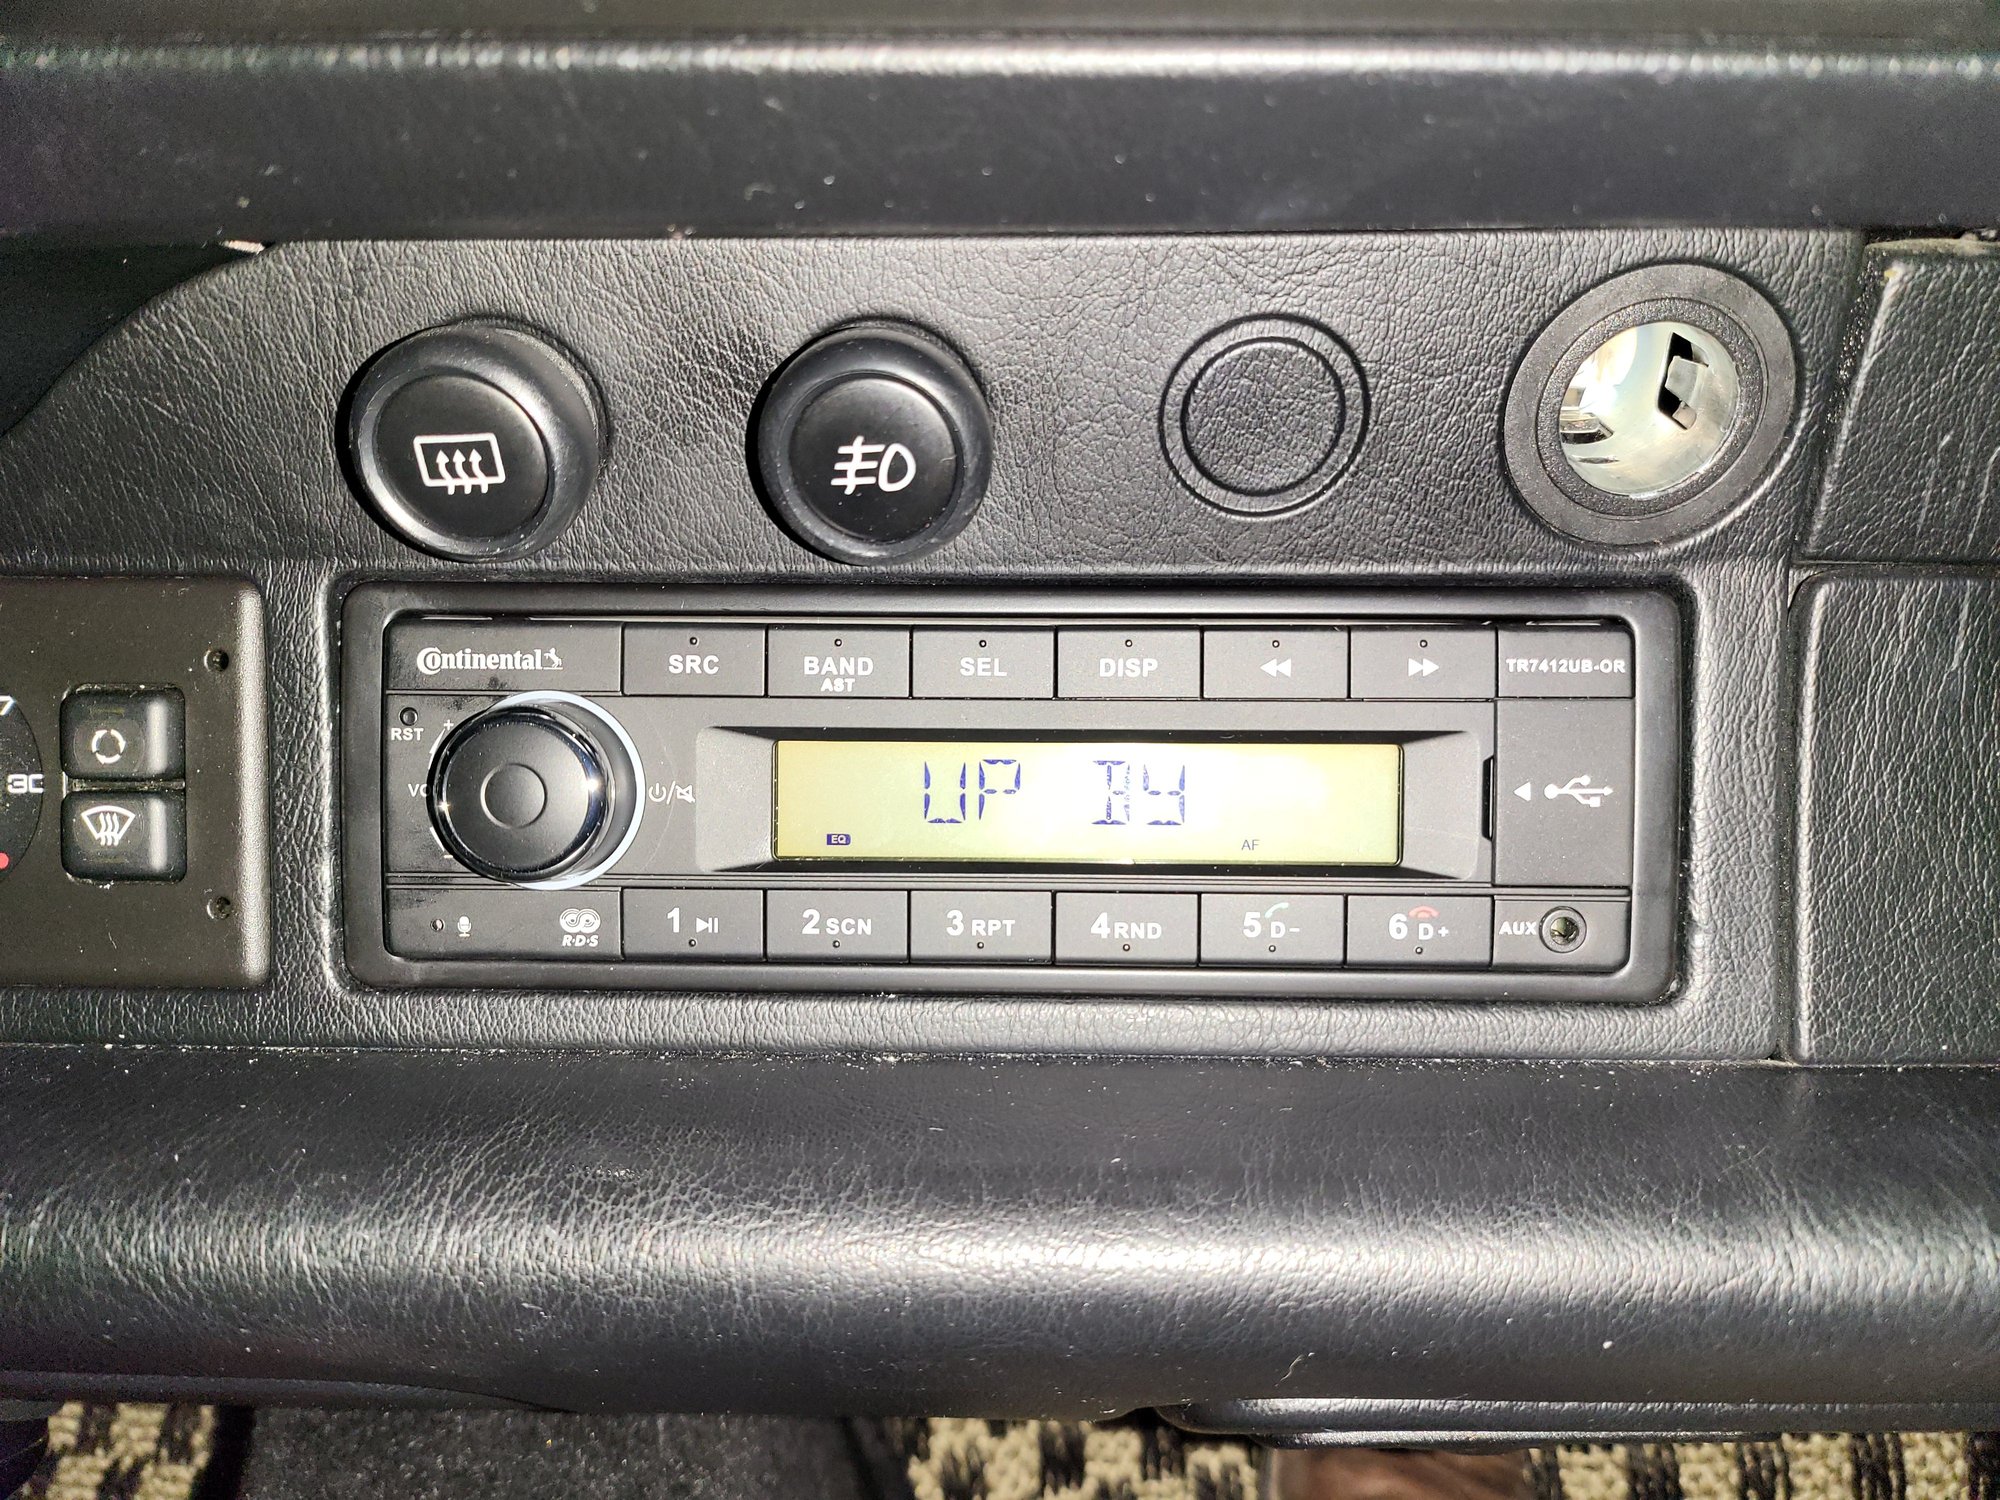
I installed a Continental radio TR7412UB-OR on my 97 993 with M490/no equalizer control at the arm rest.
There was a Nokia unit under the passenger seat. Fortunately my speakers are in a decent condition.
These are steps.
1. Obtain a Porsche audio unit removal tool. The top pointed tools are for the Porsche unit. The others came with the Continental unit.
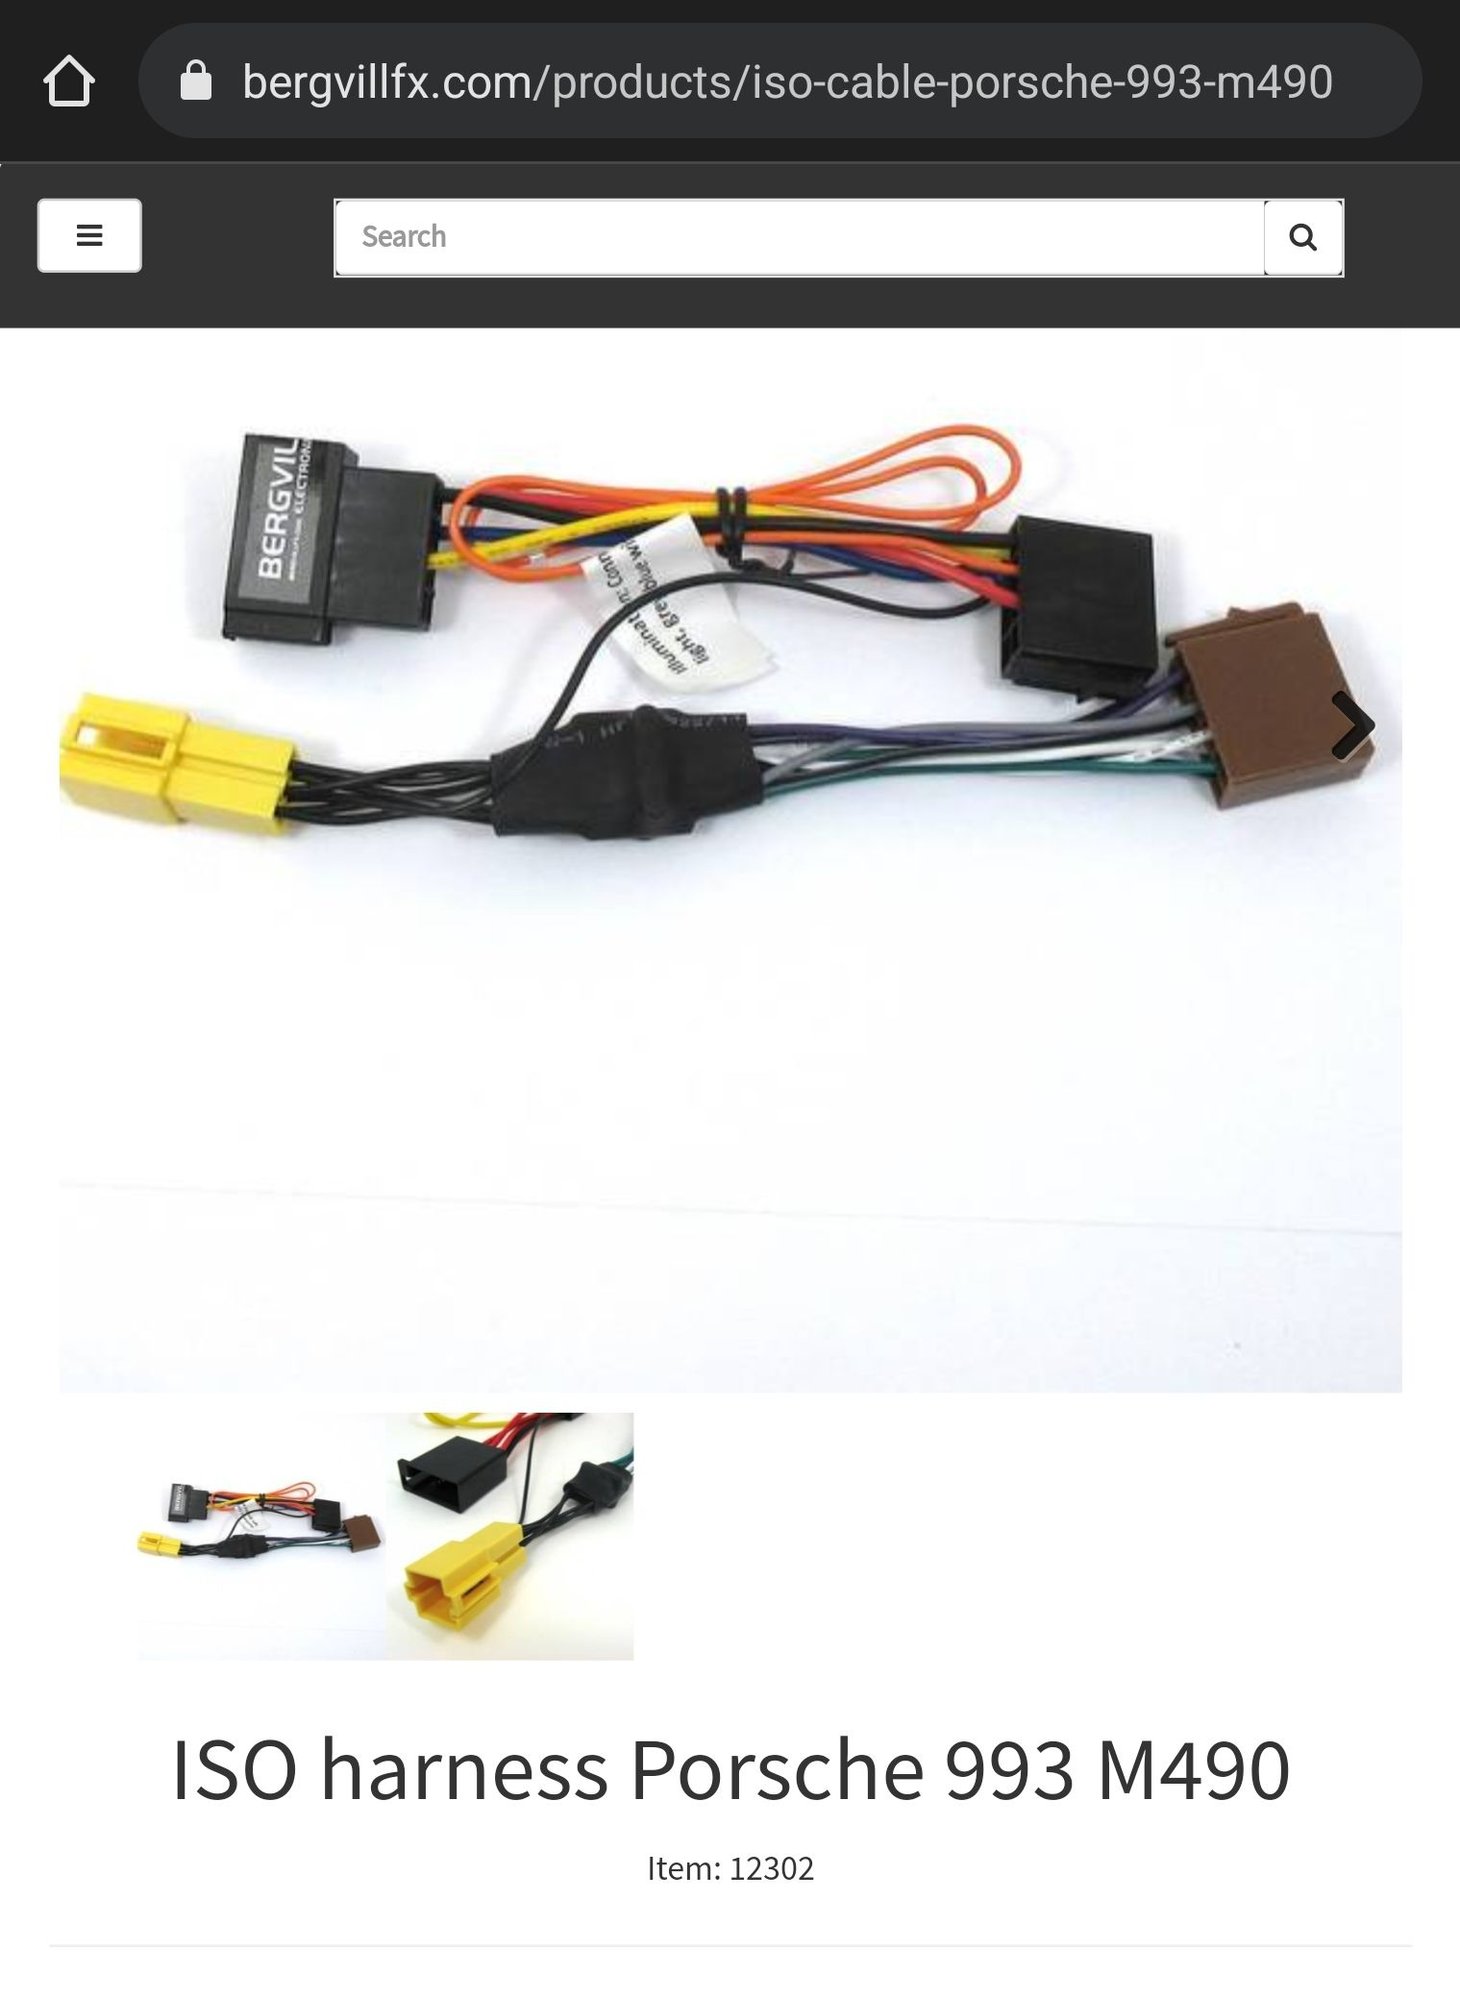
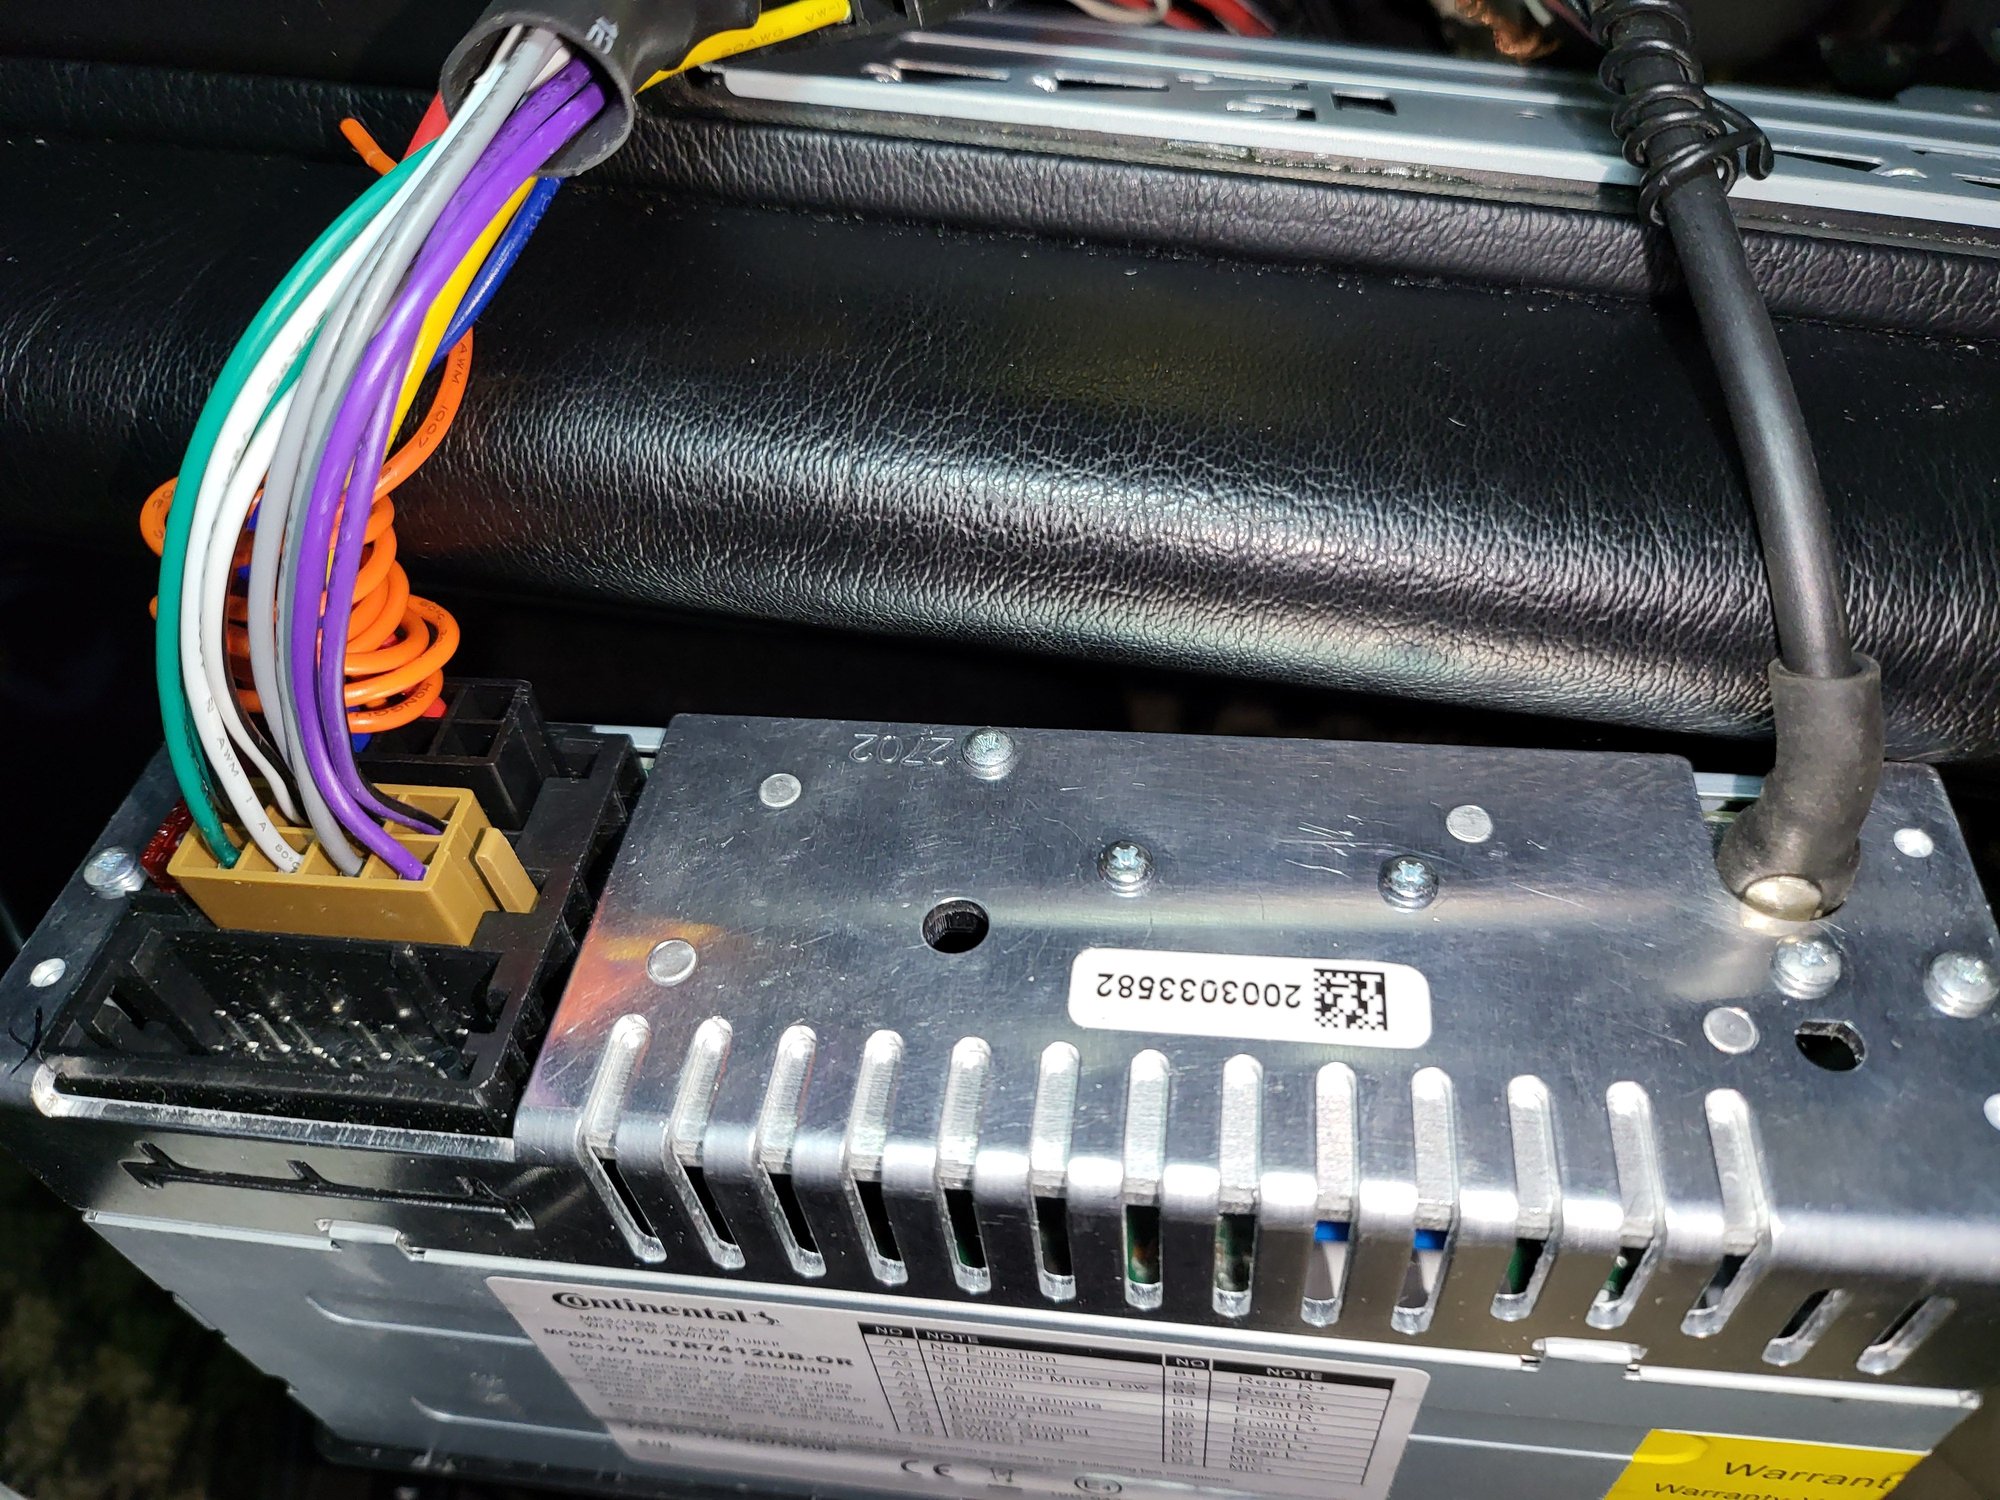
2.. 1 ISO harness Porsche 993 M490 from Bergvill
If you want this project to be a plug and go, you want this. Other people have done some re-wiring themselves. The orange wire is for button illumination. I did not use it but I will later. The unit works without it.
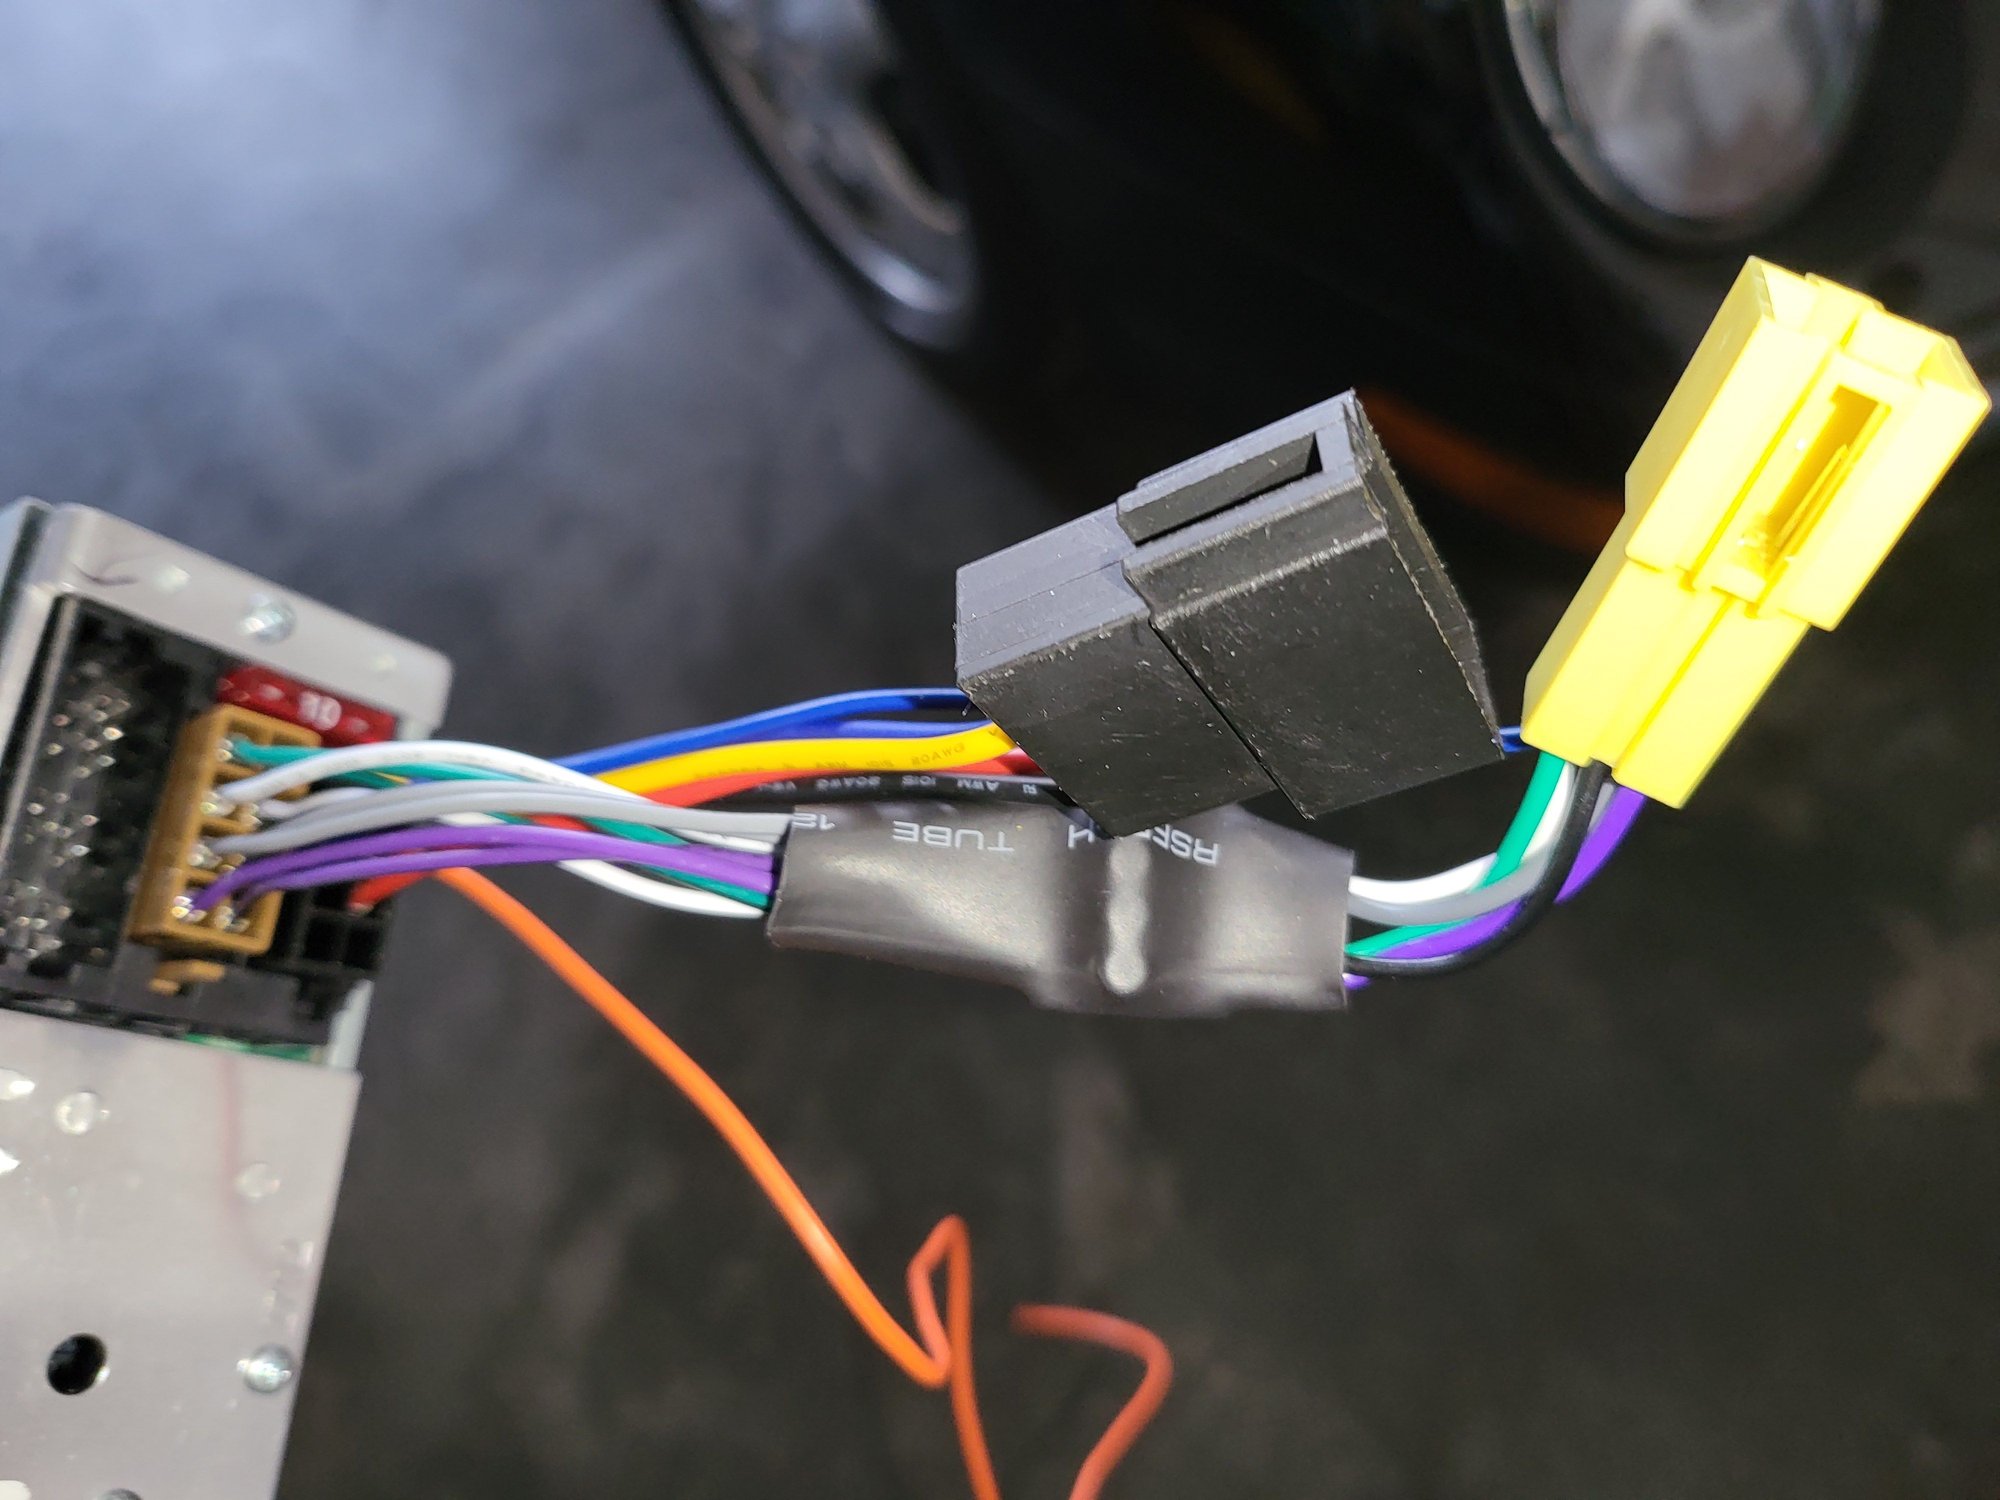
3. Plug in the ISO harness into the Continental unit as shown. I did not use the remote microphone or the illumination wire.
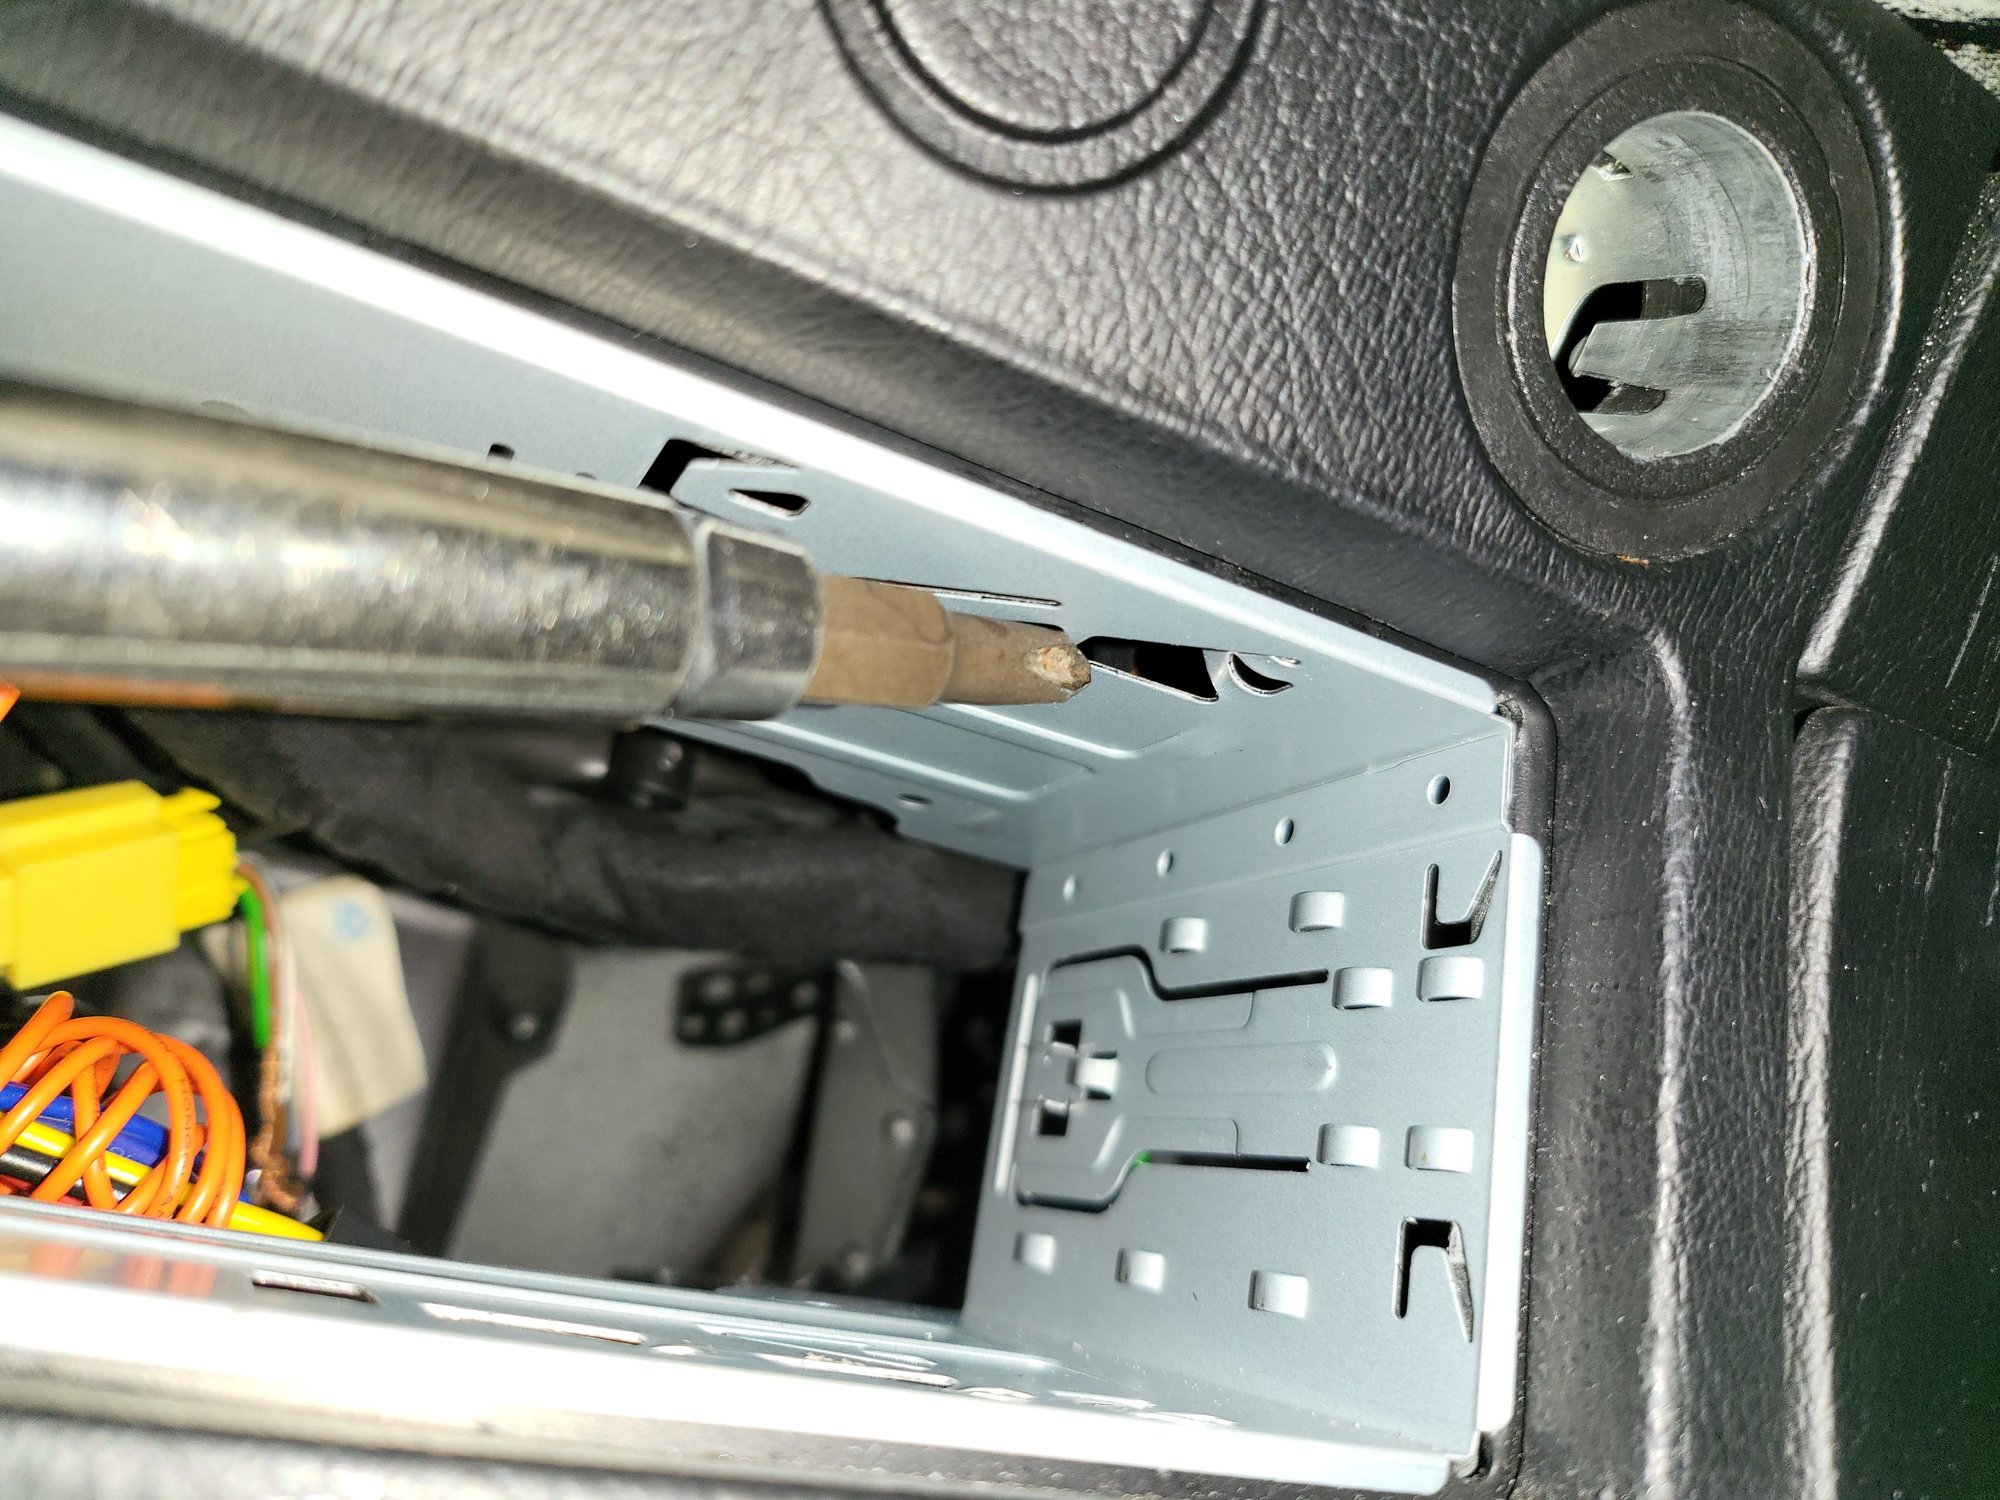
4. Remove the old audio unit after disconnecting your battery using the removal tools.
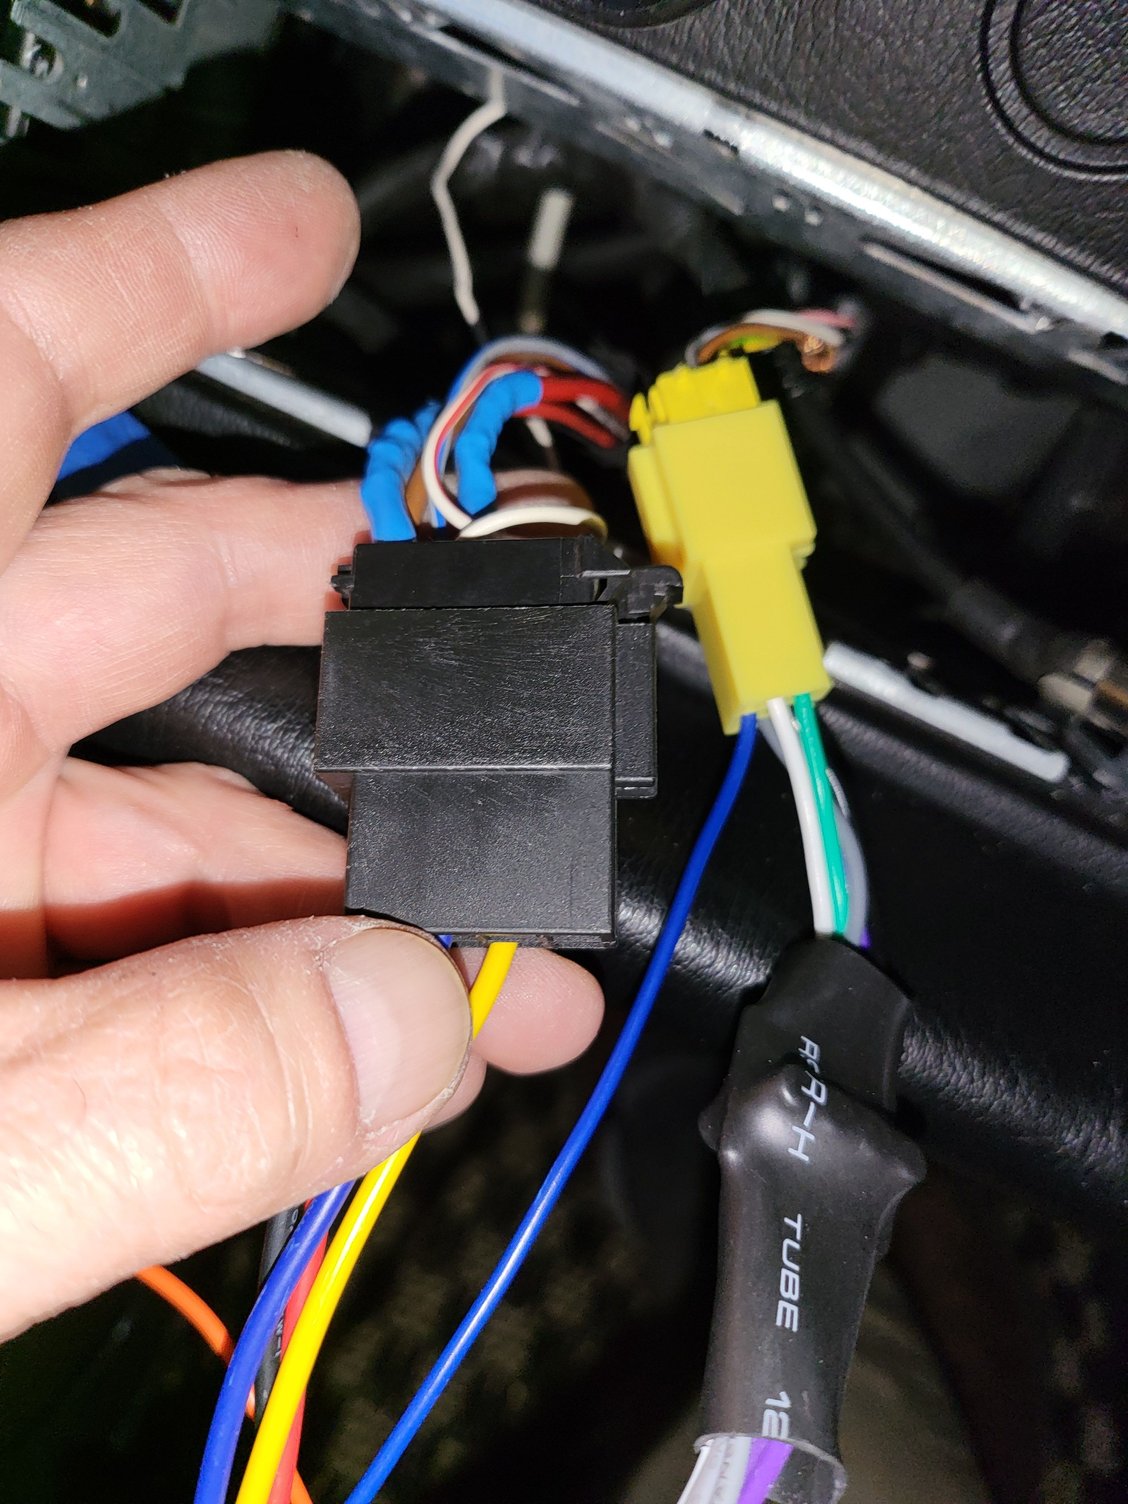
5. Test your Continental unit as shown before removing the Porsche audio case from the dash board., only 2 connections ( small yellow and larger black ) and the radio antenna.
6. Remove the original audio unit casing(?) from your dash by unbending the taps. The ground wire connection to the casing was hard to remove.
7. Remove the new casing from the Continental unit and install on the dash. There is no top and bottom. You may have to use alternate taps to secure the case.
8. Plug in the connectors and antenna wire. I removed all the fittings and plugged in the antenna wire directly to the Continental unit.
9. Confirm the new unit works and slide it into the new casing.
10. Install the trim piece to complete the hardware installation.
I have the Fister 2 but the radio volume was loud enough.
The instructions were not the best but I will leave my Continental unit in BT mode.
I did not use
button illumination wire
CD player plug
Case ground wire
Remote Microphone plug
Remote Steering Button Connection
antenna fittings.
Hope this helps.
if I missed any critical steps, please add to my posting.
Thank you.
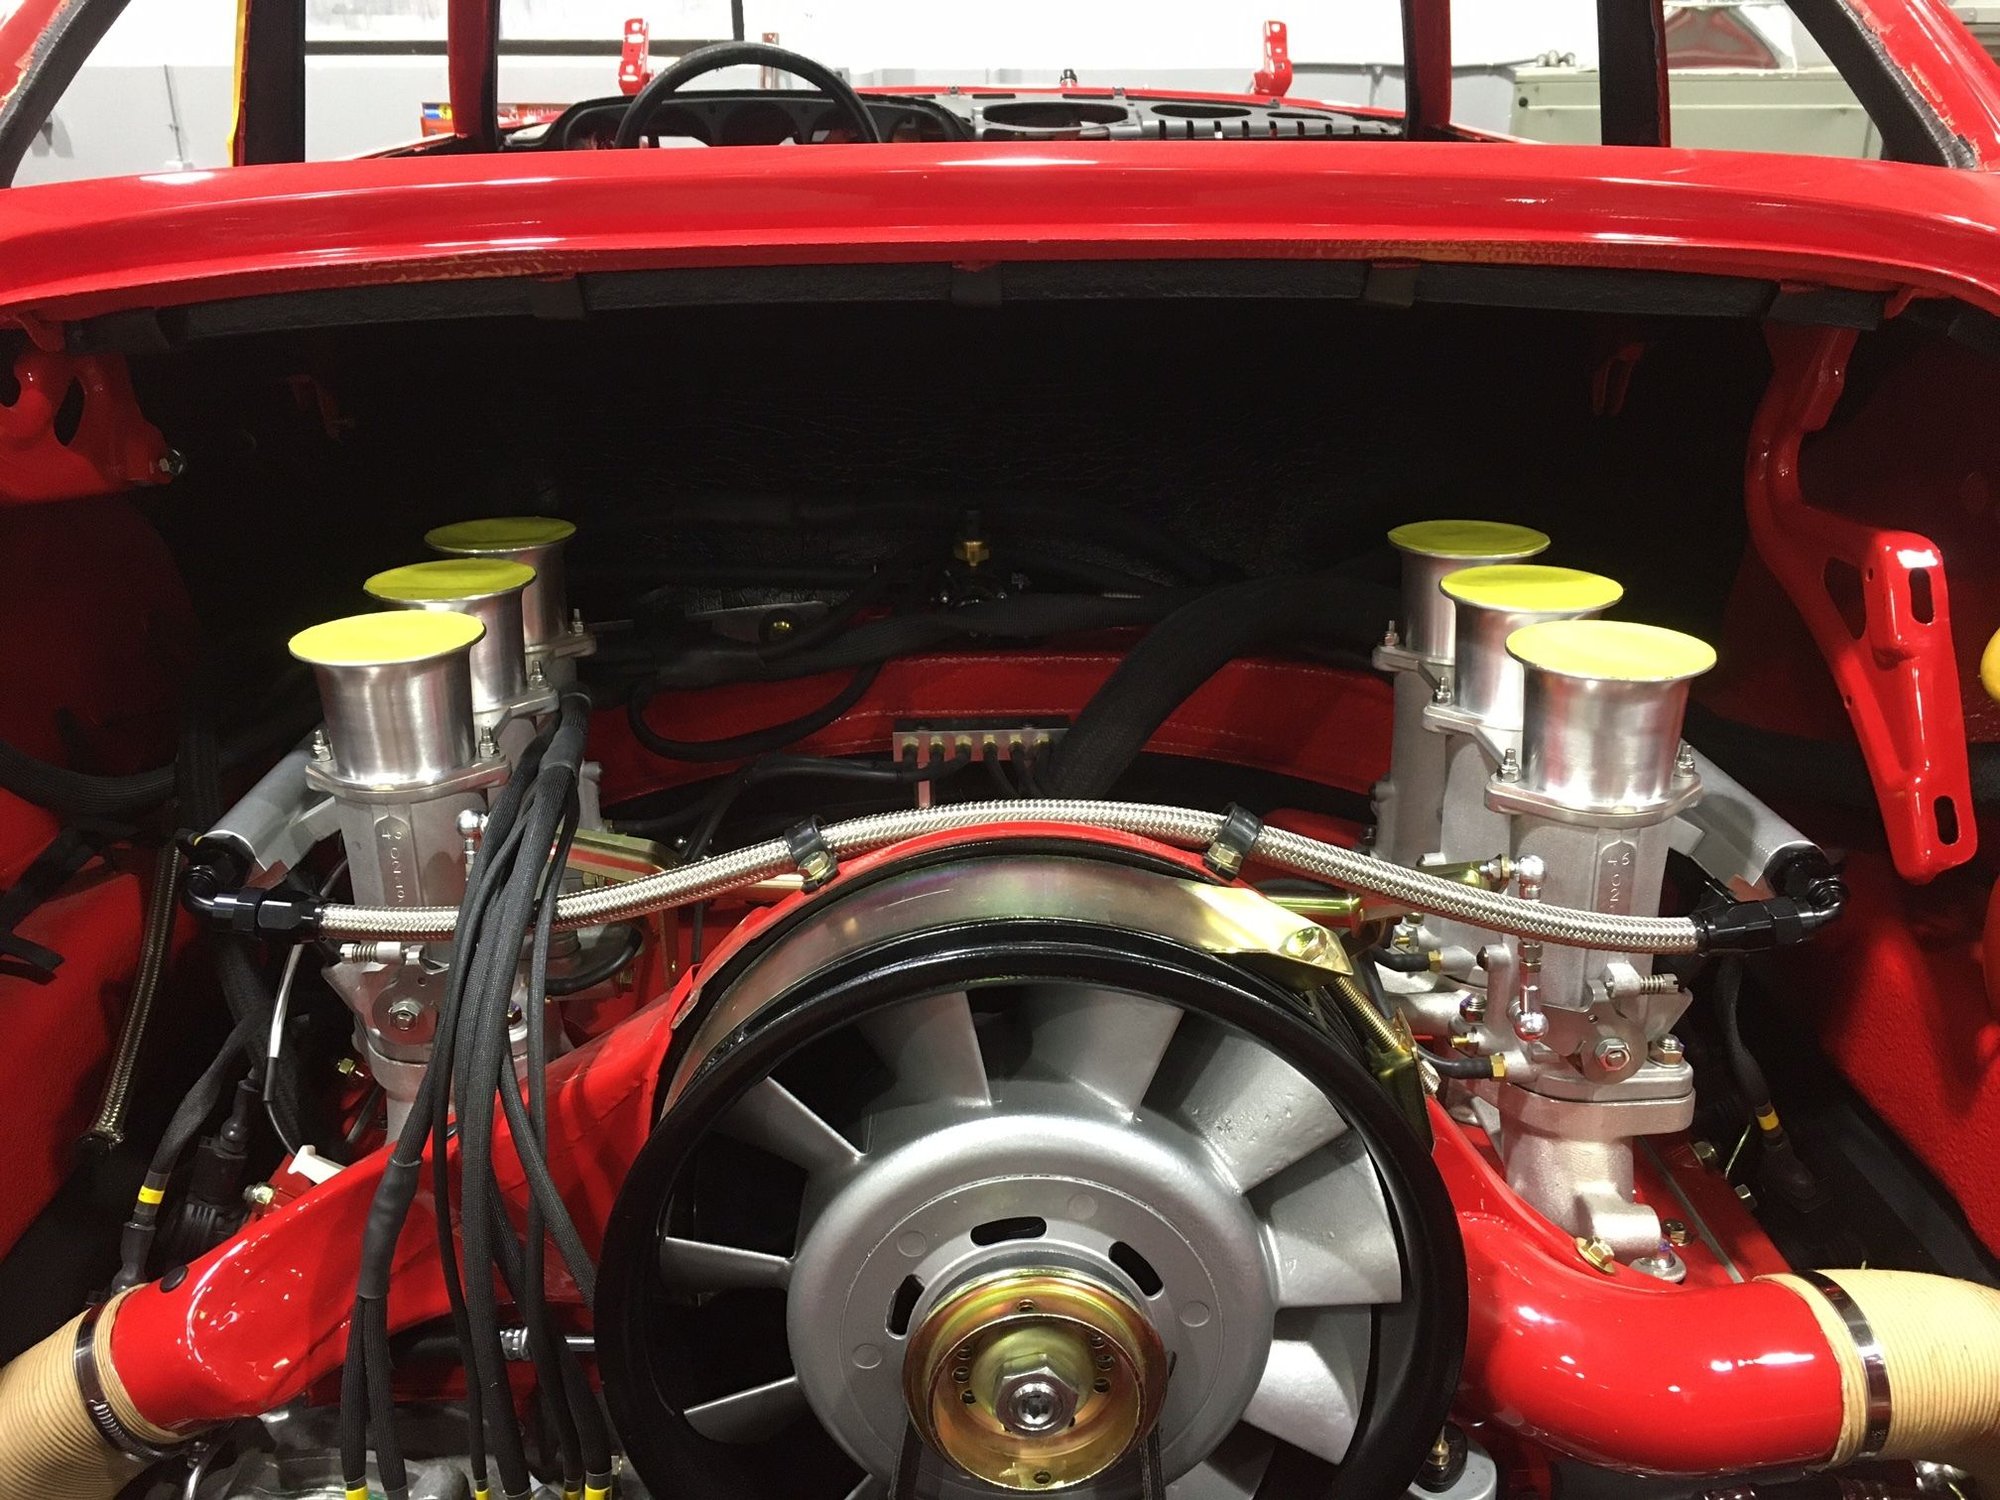
Ps. I need to work on ignition distributors (2) and ignition wires (12). I read that replacing wires involves removing lots of stuff from the engine bay. I will think about it when the weather is better. My garage is way too cold to work on involved projects in Feb.
Last edited by 1997hmc993; 02-10-2022 at 10:45 PM.
Reason: Revison
Got the intake assembly reinstalled with all new boots and vacuum hoses. What a pain. New rubber is more firm than old rubber intake gaskets. Didnt want to go back in.
Started up and ran for a test drive. No check engine lights. Good to go.
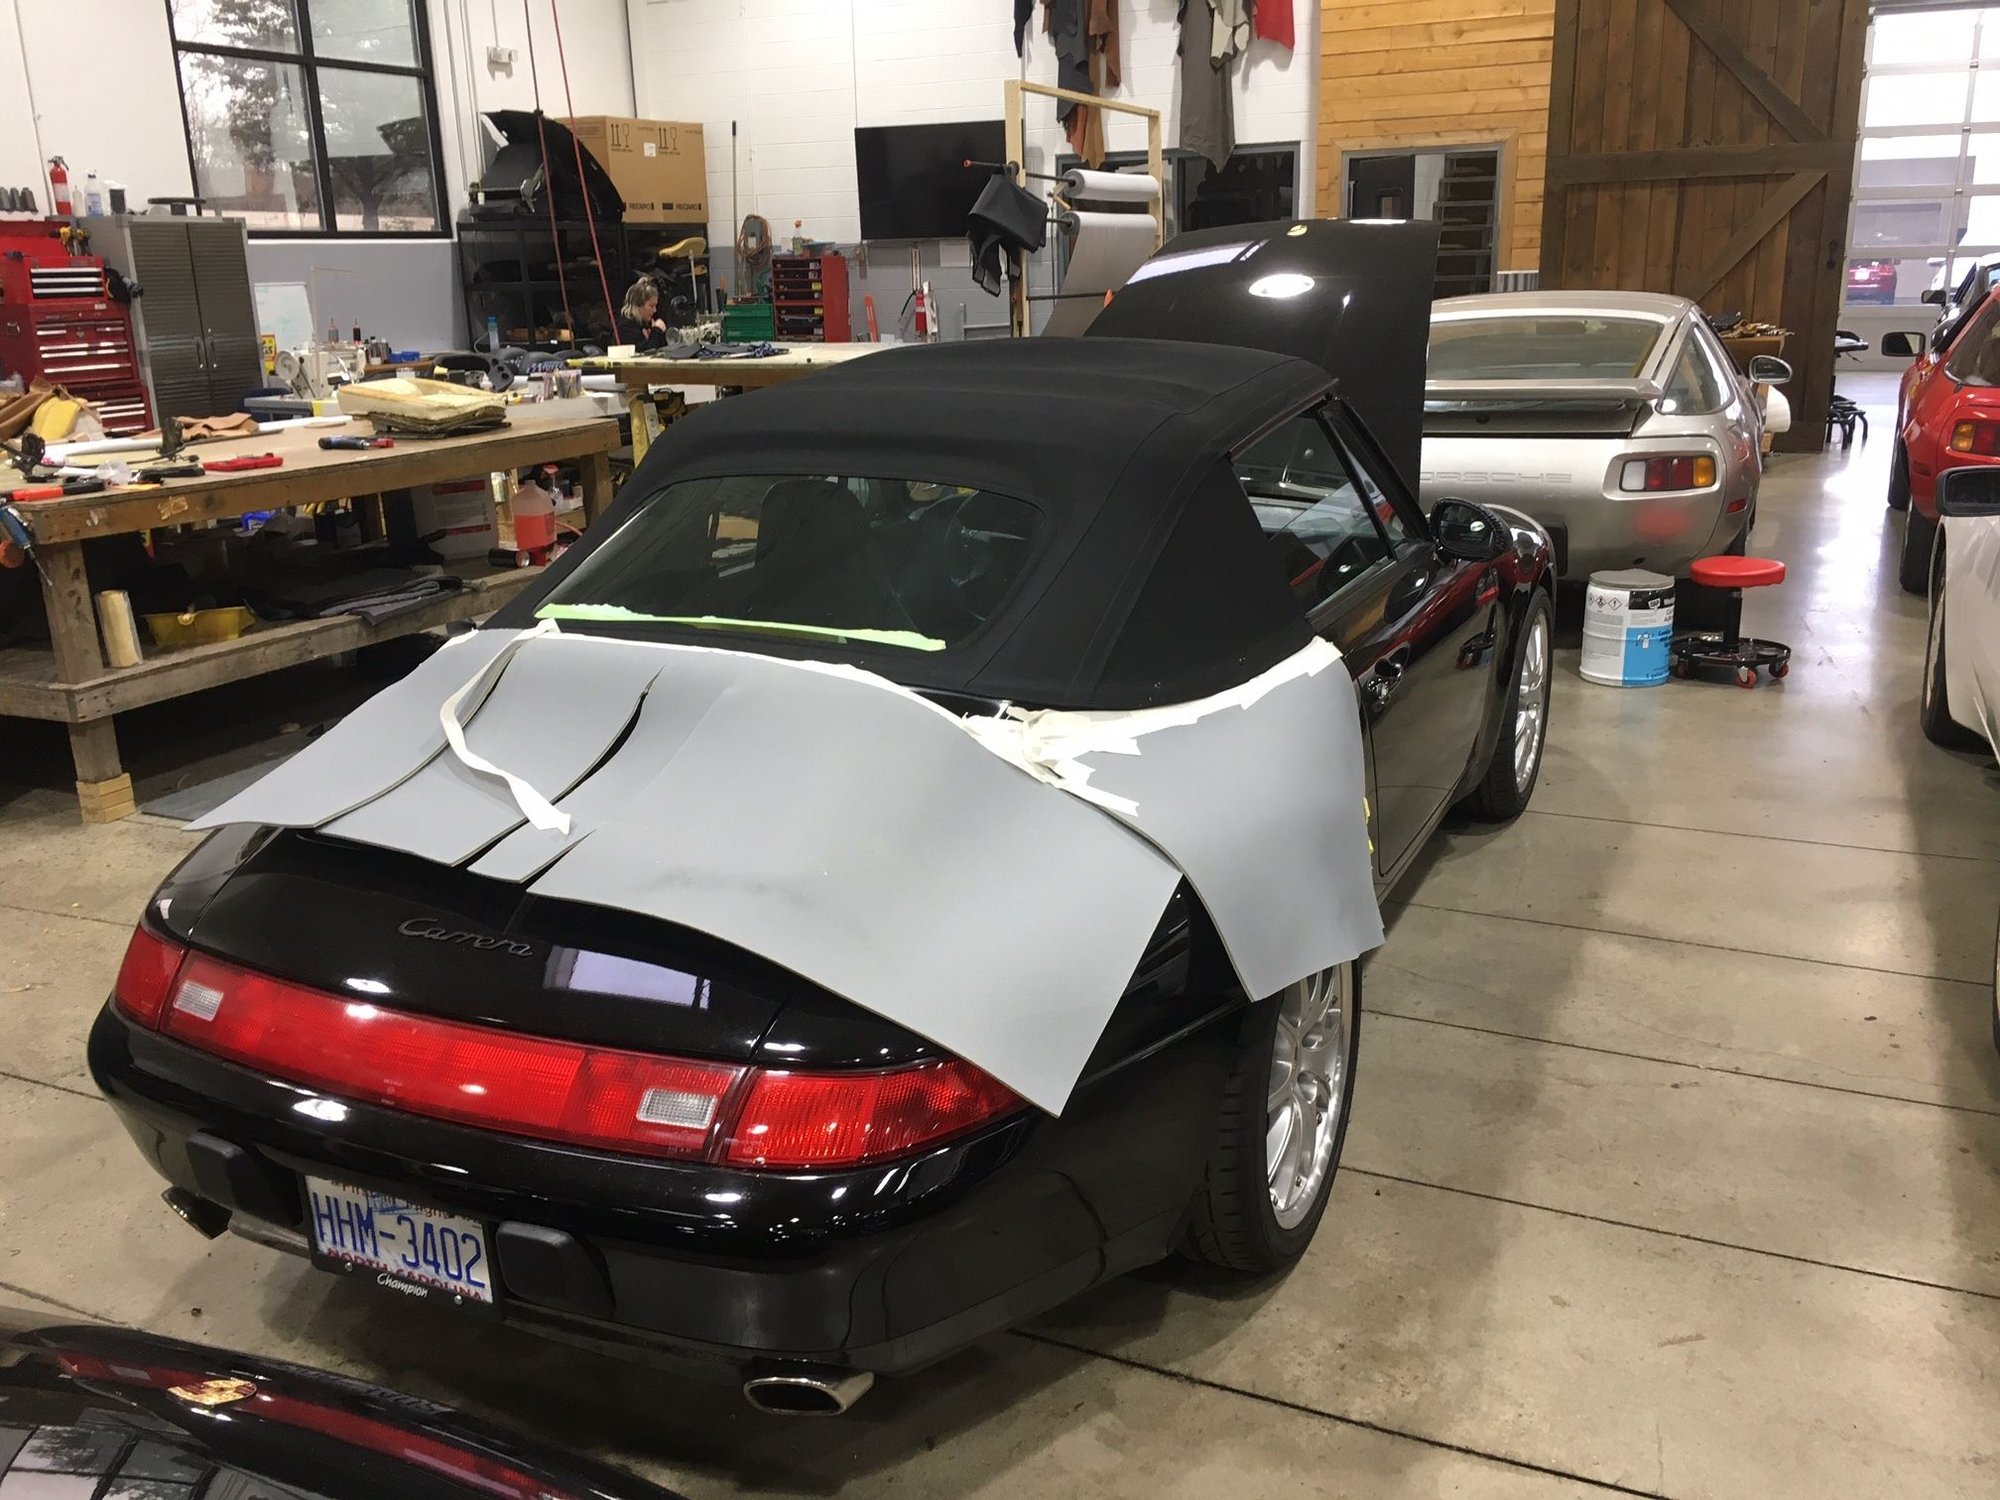
Installing bumper deletes for the euro front lights. I’ve shaped surfboards for over 20 years sometimes from a raw square block of foam, but here I’ve had to redo several times using epoxy putty. Humbling. Also, I’ve learned when spray painting the deletes that there is Polar Silver “92E” and “92M”. They are not the same. Very disappointing, but I’ll get there.
all the best

 02-03-2022, 10:00 PM