When you click on links to various merchants on this site and make a purchase, this can result in this site earning a commission. Affiliate programs and affiliations include, but are not limited to, the eBay Partner Network.
Just a "thank you" shout out for this thread. Just replaced the gasket and o-ring on the vario flapper and this thread was a huge help.
Things a bugger to get out and back in. Had to walk away a couple of times. One suggestion - I heated up the plastic engine shroud with a hair dryer to make it a little more pliable....it's still cold here NE and this helped bend the shroud w/o breaking it.
Never thought of Heating Up the Shroud - Good Idea !!
I am at the Walk Away stage
Same issue - Thanks Paul902, BRYAN AND All who contributed!!
Found the rubber shaft bushings at SKF.
Porsche was Back Ordered for Months!
What I have not seen here is what I found in a PCA write-up :"993 Intake Oil Leek" written by Steve Grosekemper back in 2009
This is another reason I believe Rennlist is a Great Site!
Back to the article, Page 2 :
The shaft is inserted into a ?? BUSHIING ??
Having trouble with re-assembly
I am stuck here - anyone who can make a suggestion ?
Thanks Tom
97 993
Originally Posted by RJKK
Just a "thank you" shout out for this thread. Just replaced the gasket and o-ring on the vario flapper and this thread was a huge help.
Things a bugger to get out and back in. Had to walk away a couple of times. One suggestion - I heated up the plastic engine shroud with a hair dryer to make it a little more pliable....it's still cold here NE and this helped bend the shroud w/o breaking it.
I purchased my oil lip seal from Fastenal. Around $8 but cheaper than Sunset ordering it from Germany. The other seal Sunset had in stock (or they were able to find it in the US) IIRC.
Back to the article, Page 2 :
The shaft is inserted into a ?? BUSHIING ??
Having trouble with re-assembly
I am stuck here - anyone who can make a suggestion ?
Hi Tom - the flap has a pivot point at each end:
- on the bottom it's the plastic bracket you unbolt from the vram during removal
- on the top it's a bushing inside the varioram that you have to locate by feel
I don't remember having any problem locating the top pivot bushing, basically the flap shaft will slip right in once you find the hole. Not unlike the joyous act of procreation.
However, space under the vram can be pretty tight, it might help to loosen the rubber tubes that connect the vram to the individual intakes, so you can raise the vram up and get a bit more clearance.
If that still isn't enough you could try lowering the engine an inch or two by raising a jack up to the engine casing, then loosen the engine mount bolts (accessed from underneath, corners of the engine tin) and lower the jack to drop the engine a little. Don't undo the bolts without the jack in place...
Never thought of them for Bushing But Next Time I will
Just trying to find a way to get this Flappe Shaft to wiggle in without partial removal of V Ram
Suggestions welcomed !!
Thanks Tom
Originally Posted by therossinator
I purchased my oil lip seal from Fastenal. Around $8 but cheaper than Sunset ordering it from Germany. The other seal Sunset had in stock (or they were able to find it in the US) IIRC.
I have tried prying the Plastic Shroud and Justr can not get the correct angle to have the Resonance Flappe Shaft slip into the Bushing.
Not quite sure about the V Ram - loosening ooff to raise it?
I did loosen the Two Clamp Bolts on the driver side left # 1 and 2nd or middle clamp bolts - tried to pry from underneath - maybe I need to Loosen # 3 on left as well ? (Thought I did )
A Bit reluctamnt as not sure where to wedge in and lift - the V Ram??
I have not broken the Housing But I am Pushin it
Just can't get the Flap Shaft to find the Bushing / opening duye to very bizarre angles
Thought s r welcome
Tom
Originally Posted by bcameron59
Hi Tom - the flap has a pivot point at each end:
- on the bottom it's the plastic bracket you unbolt from the vram during removal
- on the top it's a bushing inside the varioram that you have to locate by feel
I don't remember having any problem locating the top pivot bushing, basically the flap shaft will slip right in once you find the hole. Not unlike the joyous act of procreation.
However, space under the vram can be pretty tight, it might help to loosen the rubber tubes that connect the vram to the individual intakes, so you can raise the vram up and get a bit more clearance.
If that still isn't enough you could try lowering the engine an inch or two by raising a jack up to the engine casing, then loosen the engine mount bolts (accessed from underneath, corners of the engine tin) and lower the jack to drop the engine a little. Don't undo the bolts without the jack in place...
Today, I finished replacing both the main and shaft seal rings. Here is a pictorial of the steps. Overall, a fairly easy job, just requiring basic tools. I spent somewhere around 3 hours, total. Thanks to the previous contributors on this thread, which helped tremendously.
Tools required:
10 mm, 13 mm 3/8" sockets and ratchet.
7 mm, 8 mm, 10 mm, and 13 mm 1/4" sockets and ratchet.
Short 1/4" socket extension.
#2 Phillips screwdriver and #2 Phillips screwdriver bit.
7 mm, and 10 mm wrenches.
Torque wrench.
Small pick.
Flashlight, toothbrush, parts cleaning brush and tray.
Consumables required:
Dow Corning Molykote 55 O-ring lubricant. I sourced from Motion Industries.
Degreaser.
Spray 9 or other general cleaner.
Aerospace 303.
Oil. I used some Mobil 5W-50 that was around.
Shop towel.
Parts required:
Main Seal Ring, Porsche 993.110.263.01. I sourced from Fister D.
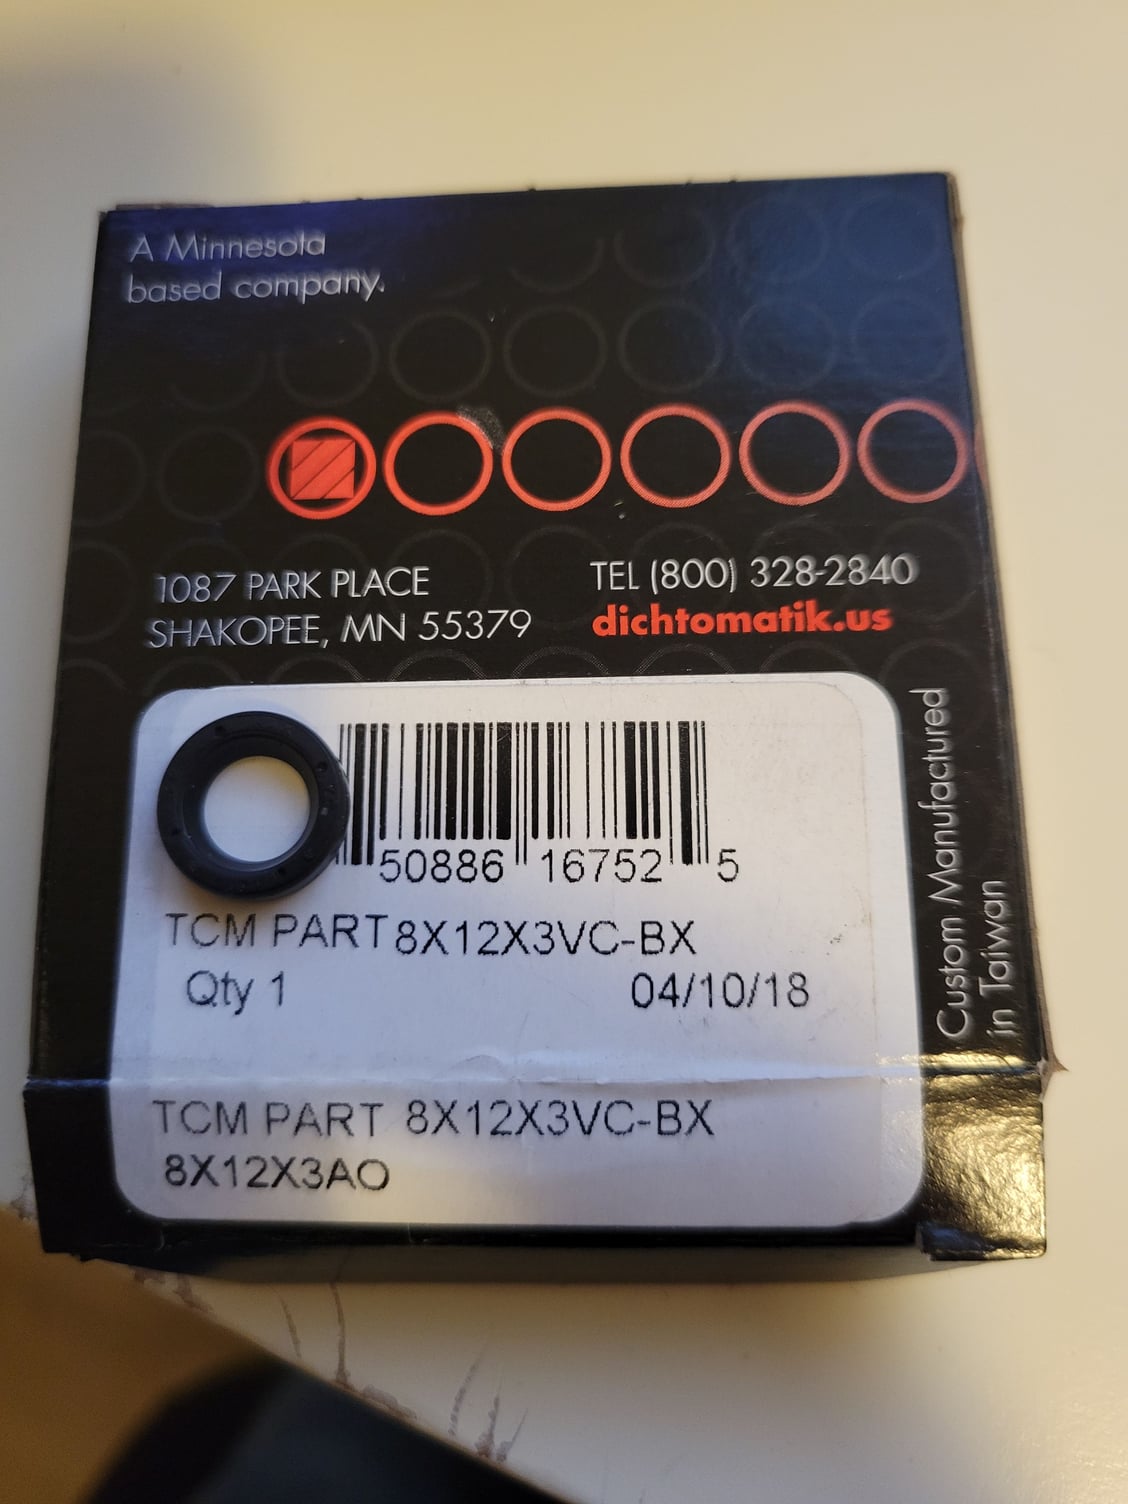
Shaft Seal Ring, 8x12x3 mm lip seal, SKF 3030. Sourced at local bearing shop.
1. Remove the small cover over the alternator. There are three 10 mm bolts holding it. I removed by loosening them, but completely removed the top center one for installation, later.
2. Remove two electrical connectors from the front blower assembly and an additional one on the left hand side.
3. Remove vacuum line from under the vacuum capsule at the front of the blower assy, and second vacuum line from Varioram just right of the blower assy.
4. Unbolt the blower assy from the Varioram. Two bolts around the left side. Pic shows the hose already removed, but actually both can be removed at the same time.
5. Remove blower assy.
6. Using stubby #2 Phillips bit, and wrench, free ignition wire harness to get a bit of wiggle room.
7. Remove Varioram flap assy.
Reach in behind with 10 mm socket on 1/4" ratchet as shown.
Remove remaining bolt in front.
Remove the vacuum line connected to the vacuum capsule
Here is the assy, ready for degreasing:
Here is the Varioram with flap assy removed:
8. Remove vacuum capsule from flap bracket by removing two #2 Phillips screws, and carefully unclipping the actuator arm ball/socket.
9. Remove main seal from flap bracket. Here are old(top) and new(bottom) seals.
10. Undo nut holding flap shaft in place, and remove washers and lever arm
Here is the old shaft seal in place.
11. Remove old shaft seal with small pick.
12. Complete disassembly of flap and clean all parts.
13. Apply some Molykote 55 to new main seal and insert in flap bracket.
14. Apply some Molykote 55 to new shaft seal and install with open side visible, as shown.
15. Lightly oil all moving parts and complete reassy of flap assy. Note 7 Nm on the 13 mm hex nut and 5.6 Nm on the two Phillips screws.
16. Wipe off Varioram mating surface.
17. Insert flap assy into place. This was a tight fit and required some pushing on the plastic cover over the alternator. Others have loosened the Varioram, itself, but this was not necessary in my case, although it was close.
18. Bolt flap assy into place. Here you can see one had with blue glove holding the ratchet, and its handle just visible under the Varioram.
19. Clean blower assy. I had unbolted the three main sections and cleaned individually. Here it is ready for install.
20. Reinstall blower assy, and connect remaining electrical connectors, and vacuum lines.
21. Carefully install the alternator shroud cover. Note the three tabs sticking down. They must go inside the lower part of the shroud.
I had the center bolt removed and the two lower bolts loosed off as much as possible to allow space to fit this upper shroud in without damaging it, as it is known to crack.
22. Remove the 8 mm bolt holding the AC lines down, and loosen the 13 mm bolt holding the AC line bracket at the compressor. This enables you room to get at the left hand shroud bolt with a 10 mm wrench, as shown.
23. Retighten AC bolts from step 22, and recheck that all vacuum and electrical connectors are done up, and you are good to go.
PS...Yes, I know my alternator and fan belts are on backwards.
Yep these are for the flapper shaft seal. How does $10 sound shipped and I'll get them out via usps tomorrow. I'll send 3 in case there's any issues. I'll PM you my paypal.

 02-15-2014, 03:52 PM