

Winter Project 09
 11-11-2009, 10:42 PM
#46
Pro
Thread Starter
Update. Things are moving along nicely (for the most part...). I've done most of the 30k service package that I bought from FD Motorsports (has it been mentioned those guys are grade A+ quality folks?... they are.)
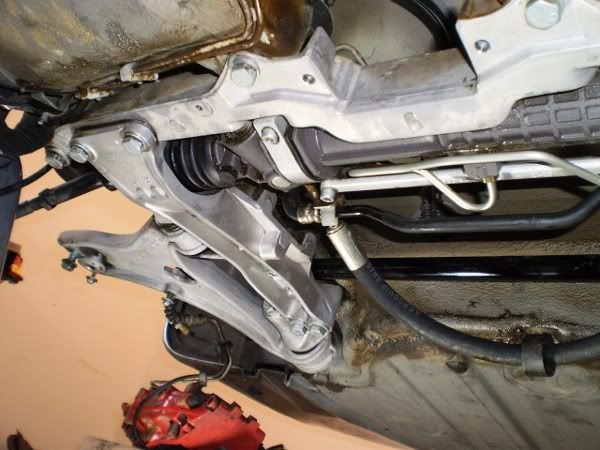
After removing the front wheel drive I've been waiting on SEB to tell me if 2WD conversion is allowable in street prepared (depends on an interpretation of the line my car is on). In the mean time I got some Xenit (again from FD Motorsports). That stuff is addictive! You can make things so shiny.
Before:
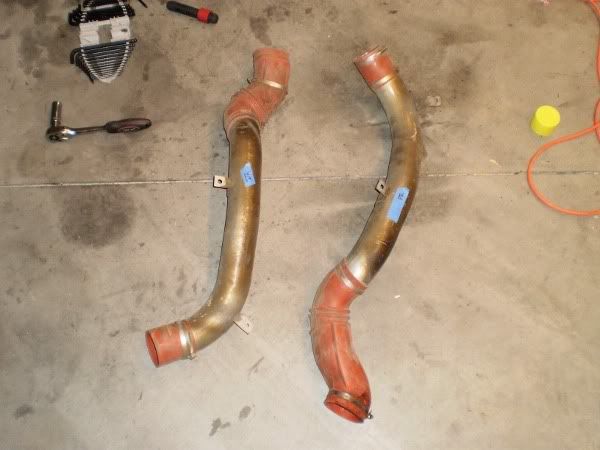
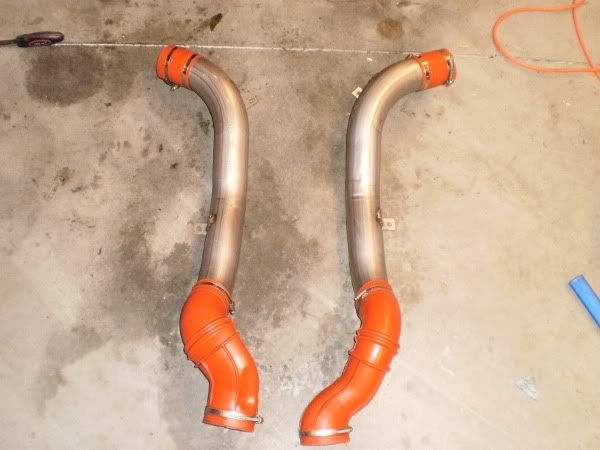
After:
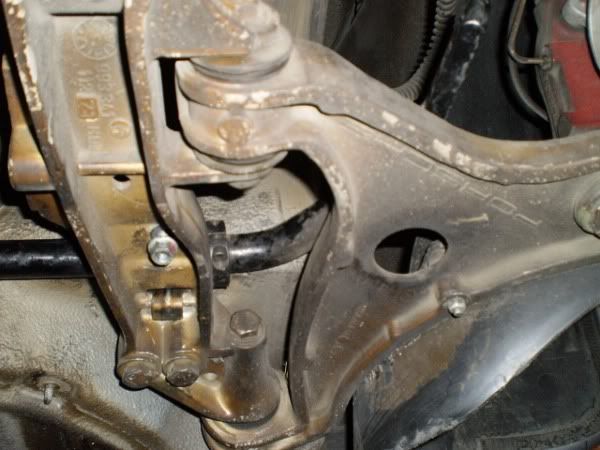
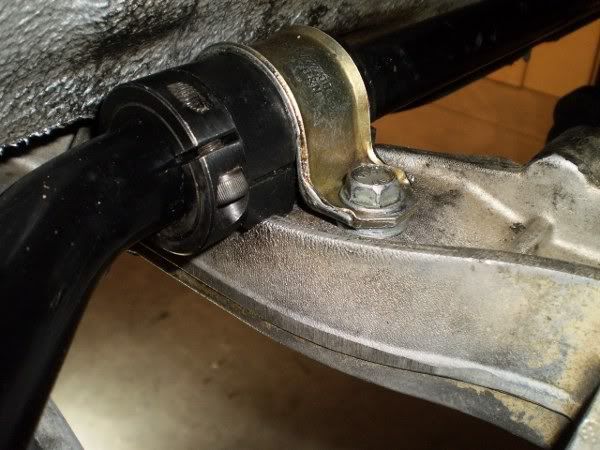
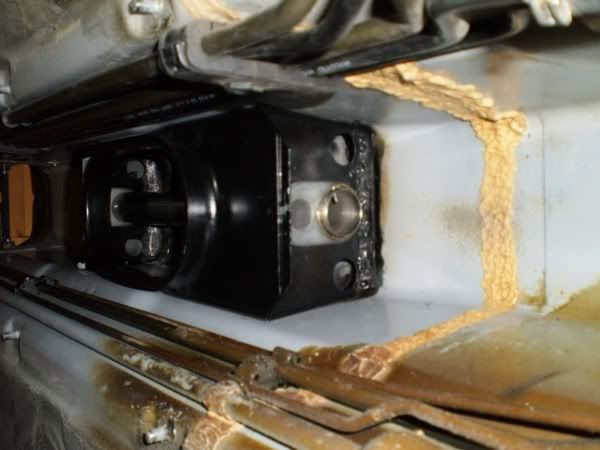
Now the bad part. I decided to go ahead and switch to the RS drop links up front since I no longer had the axle to worry about and didn't need the big C drop link. There I found this:
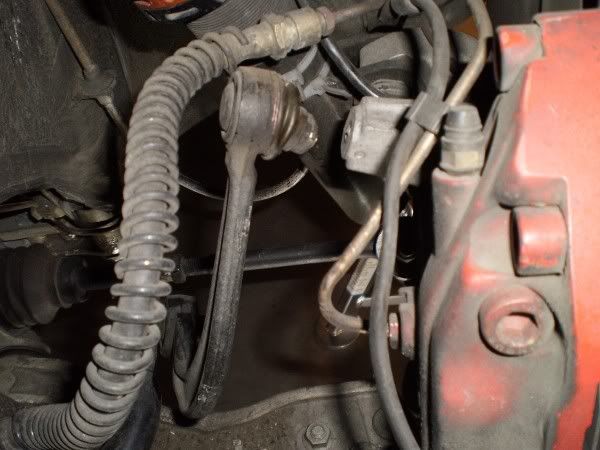
The problem with that image is I have not removed the drop link from the hub carrier... I've never had to deal with a sheared bolt before. Of course it had to be in something expensive too
  So how does one go about getting that bolt out? I was thinking I'd have to remove the hub carrier and buy some sort of bolt removal tool kit (one has to exist... too many things like this happen). I could kick myself about the drop link. I kept hearing an odd noise from time to time and I looked all over underneath the car for things (I thought something was wrong with the axle). *sigh*
Hopefully I'll get this fixed and be on the right path. With any luck Steve W. will call me this week and let me know what's up with the transmission. I can't wait to get everything put back together, I miss driving the car .
.
After removing the front wheel drive I've been waiting on SEB to tell me if 2WD conversion is allowable in street prepared (depends on an interpretation of the line my car is on). In the mean time I got some Xenit (again from FD Motorsports). That stuff is addictive! You can make things so shiny.
Before:
After:
Now the bad part. I decided to go ahead and switch to the RS drop links up front since I no longer had the axle to worry about and didn't need the big C drop link. There I found this:
The problem with that image is I have not removed the drop link from the hub carrier...
I've never had to deal with a sheared bolt before. Of course it had to be in something expensive too So how does one go about getting that bolt out? I was thinking I'd have to remove the hub carrier and buy some sort of bolt removal tool kit (one has to exist... too many things like this happen). I could kick myself about the drop link. I kept hearing an odd noise from time to time and I looked all over underneath the car for things (I thought something was wrong with the axle). *sigh*Hopefully I'll get this fixed and be on the right path. With any luck Steve W. will call me this week and let me know what's up with the transmission. I can't wait to get everything put back together, I miss driving the car
.
 11-13-2009, 06:09 PM
#48
Pro
Thread Starter
Thanks  I'll take that as words of encouragement for when I'm looking at all the parts saying to myself "what did I get myself into..."
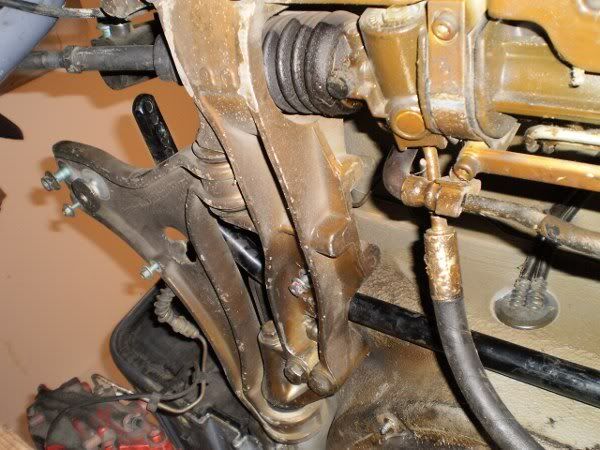
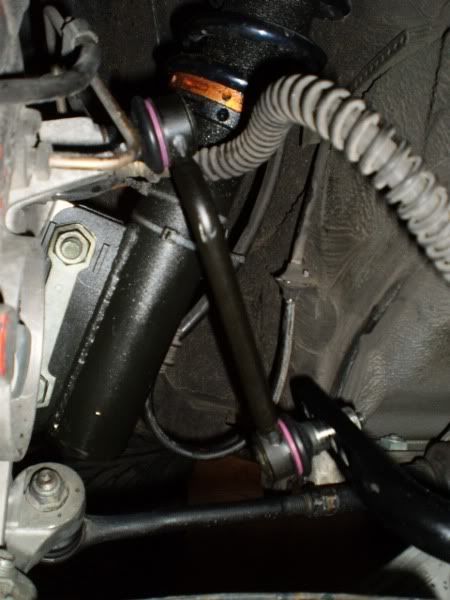
Update the the sheared bolt. I managed to get it out using a pair of needle nose pliers! But because I got lucky the Porsche gods had to make things right so I now have a new ball joint (attached to the control arm) on order to replace the one with a torn boot I found.
Talking it over with Steve we think the shear was likely caused by the bushings drying out and the swaybar binding and not moving. I have the TRG harder bushings and will likely move back to the softer rubber bushings that hold the grease a bit better. Luckily because I'm moving to RWD I have the RS front drop links so I'm back on target!
Now I just need to find a tool, I'll post a new thread about it...
I'll take that as words of encouragement for when I'm looking at all the parts saying to myself "what did I get myself into..."Update the the sheared bolt. I managed to get it out using a pair of needle nose pliers! But because I got lucky the Porsche gods had to make things right so I now have a new ball joint (attached to the control arm) on order to replace the one with a torn boot I found.
Talking it over with Steve we think the shear was likely caused by the bushings drying out and the swaybar binding and not moving. I have the TRG harder bushings and will likely move back to the softer rubber bushings that hold the grease a bit better. Luckily because I'm moving to RWD I have the RS front drop links so I'm back on target!
Now I just need to find a tool, I'll post a new thread about it...
11-15-2009, 09:35 AM
#49
Just subscribed to this thread. Need to know bolt-by-bolt details. Keep her coming (literally).
Ken
Ken
11-15-2009, 03:31 PM
#50
Pro
Thread Starter

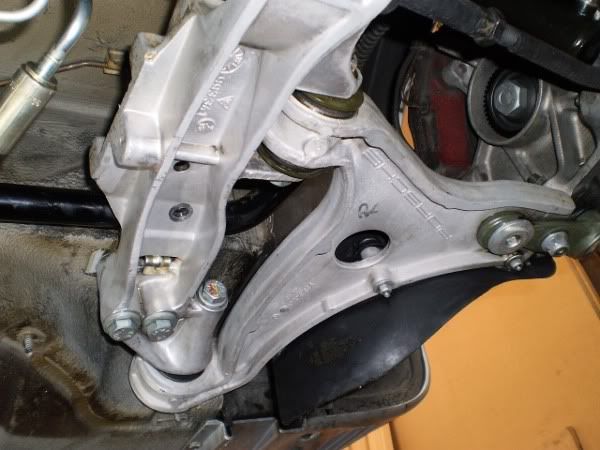
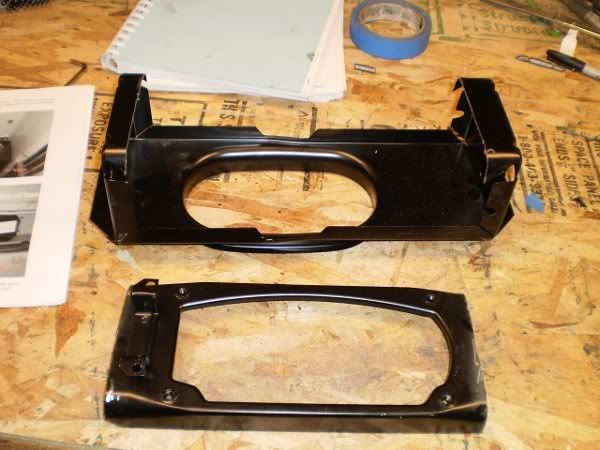
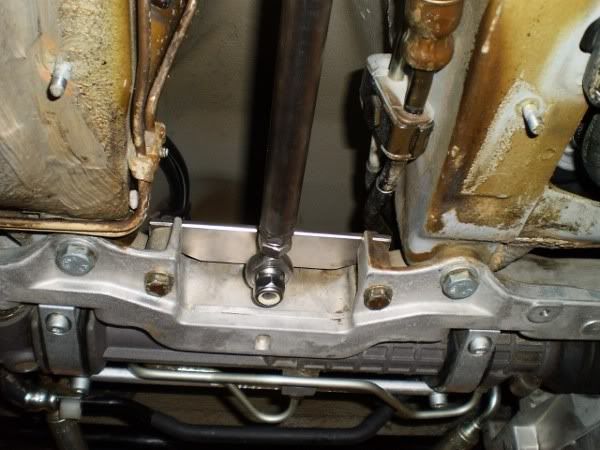
I'm still trying to come up with a good way to remove that lower crank pulley. So while I think about that I decided to feed my new Xenit OCD addiction. It makes things so shiny. You can see the new engine bracket sans AC portion in the last picture.
To shock you into being wowed by the power of Xenit here's a before shot:
After:
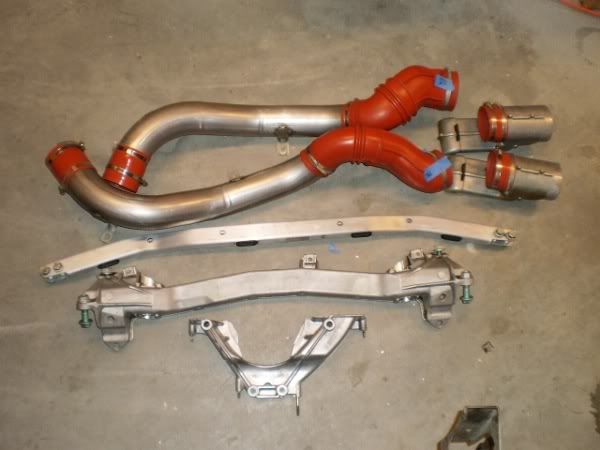
bits and bob laying around that looked like they needed cleaned:
I'm hoping this next week marks the actual putting back together phase. if I can just get this dang pulley off


 11-17-2009, 02:55 AM
#56
Pro
Thread Starter
I think it is safe to say the car is starting to go back together. Tonight was fairly minor but it feels good to start.
As mentioned above I had a sheared bolt on my old drop links. I'm sure part of the cause was improper grease. I also found a post by viper bob mentioning common mistakes when installing the TRG bars (https://rennlist.com/forums/993-foru...r-pss9s-2.html). Number 3 hit home, I probably also over tightened the bars. So I put a washer in and this time made sure that the bar could twist yet was secure. Learn from your mistakes I suppose.
Does anyone else have a bugger of a time working those bushing in? The dang things really don't want to go under the clamp and since they don't compress at all they sure aren't forgiving After a few choice words I finally got them on though
Wednesday is "weld the shift box into the tunnel" day.
As mentioned above I had a sheared bolt on my old drop links. I'm sure part of the cause was improper grease. I also found a post by viper bob mentioning common mistakes when installing the TRG bars (https://rennlist.com/forums/993-foru...r-pss9s-2.html). Number 3 hit home, I probably also over tightened the bars. So I put a washer in and this time made sure that the bar could twist yet was secure. Learn from your mistakes I suppose.
Does anyone else have a bugger of a time working those bushing in? The dang things really don't want to go under the clamp and since they don't compress at all they sure aren't forgiving
After a few choice words I finally got them on though Wednesday is "weld the shift box into the tunnel" day.
11-19-2009, 02:50 AM
#57
Pro
Thread Starter
Today was a great day for Baby. I got word from Steve W. about the transmission and what it will take to get it back in working order and what it will take to get it back in better than working order  so it won't be too much longer and the engine will be going back in. Man I am itching to drive this car
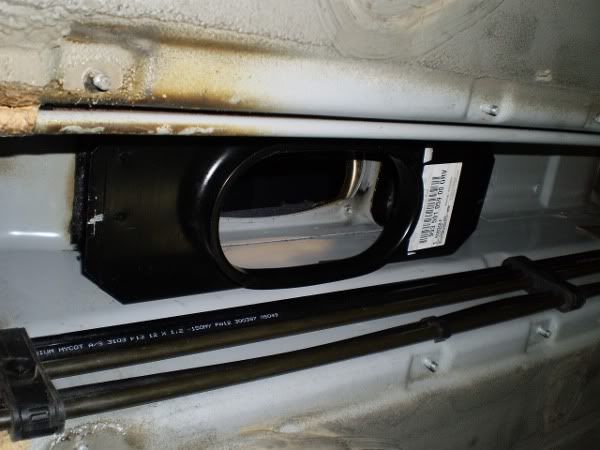
My buddy from autocross dropped by with his welder and we got to work on the shift box. The photo's tell the story but the basic order I took was:
1. Cut the top of the shift box
2. Weld the shift box into the tunnel (not the prettiest welds but they'll do alright. I sanded to bare metal and painted over after everything was cleaned up to make sure the welds would take.
3. Install the rubber grommets and the shift tube. After the fact I thought about if you leave the shift tube out, then assemble the guide pieces within the box then slide the tube through you wouldn't have to fool with holding the halves together while screwing it together. Just a thought.
4. Install shift guide pieces taken out of the torque tube, new shift lever, and new fork.
5. Install the cool new FDM guide tube
6. Install the cool already owned FDM golden rod
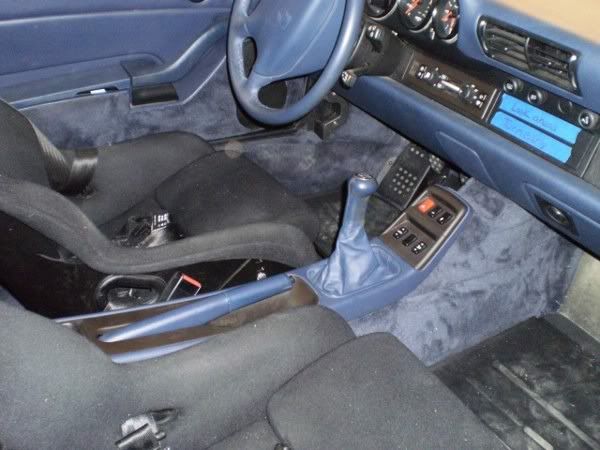
7. Put the interior back together & notice how much taller the shifter is. I was told I might want to chop a bit off the top but I'll give this a go and see how it feels
Now that the interior is back together I think I'm going to give a good cleaning while I wait for my tool from Baum Tools and my ball joint. Feels good to put it back and have it all fit with no pieces left over (beyond those I replaced or removed) lol.

so it won't be too much longer and the engine will be going back in. Man I am itching to drive this car My buddy from autocross dropped by with his welder and we got to work on the shift box. The photo's tell the story but the basic order I took was:
1. Cut the top of the shift box
2. Weld the shift box into the tunnel (not the prettiest welds but they'll do alright. I sanded to bare metal and painted over after everything was cleaned up to make sure the welds would take.
3. Install the rubber grommets and the shift tube. After the fact I thought about if you leave the shift tube out, then assemble the guide pieces within the box then slide the tube through you wouldn't have to fool with holding the halves together while screwing it together. Just a thought.
4. Install shift guide pieces taken out of the torque tube, new shift lever, and new fork.
5. Install the cool new FDM guide tube
6. Install the cool already owned FDM golden rod
7. Put the interior back together & notice how much taller the shifter is. I was told I might want to chop a bit off the top but I'll give this a go and see how it feels
Now that the interior is back together I think I'm going to give a good cleaning while I wait for my tool from Baum Tools and my ball joint. Feels good to put it back and have it all fit with no pieces left over (beyond those I replaced or removed) lol.
11-19-2009, 10:43 AM
#58
Pro
Thread Starter
Thanks I always like following these types of threads so it nice to have one of my own.
Thank you Bill, I can't wait to see the carpet you've done. I wouldn't mind doing something similar.
As an added bonus your garage smells like orange for the next week
Thank you sir
Thanks bob, I'm glad you did your thread a while back. It's making my trip easier. More pics are coming
I always like following these types of threads so it nice to have one of my own.Thank you Bill, I can't wait to see the carpet you've done. I wouldn't mind doing something similar.
Thank you sir
Thanks bob, I'm glad you did your thread a while back. It's making my trip easier. More pics are coming
11-19-2009, 02:06 PM
#59
What brand are those 4 car stands ? I am doing my suspension upgrade now and then I will drop the 993 engine.
Was taking off the bumper a real help ? Or did you do that as not to ding it /
patrick
1996 C4S 140k miles.
Was taking off the bumper a real help ? Or did you do that as not to ding it /
patrick
1996 C4S 140k miles.
11-19-2009, 03:38 PM
#60
Pro
Thread Starter
The only reason I took off the rear bumper was to get the engine out. Without doing that I wouldn't have enough room once I dropped the engine. Truthfully I still didn't have quite enough room but I was able to squeak it out. For suspension work I'd leave them on.