When you click on links to various merchants on this site and make a purchase, this can result in this site earning a commission. Affiliate programs and affiliations include, but are not limited to, the eBay Partner Network.
[???] Q's for those who have replaced their interior's insulation & carpet [???]
Looking specifically to ask what people have used to replace their insulation prior to laying down new carpet.... has anyone installed new carpet without all the OEM foam replacement parts?
I thought I saw Brian @boomboomthump had already done this - (maybe I should have messaged him). I noticed a few parts from porsche are NLA... figured instead of buying $918 worth of replacement porsche padding - what has anyone else used?
What success have you had with what insulation? I dont want my interior to look anything but OEM but with some missing OEM replacement units, I am forced to try to go another route.
To limit cost one could consider just replacing the foam over the bottom of the footwells in the front and aftermarket solutions for the remainder. Also, there is a foam board sheathing made for construction in a few thicknesses that might fill the space and is considerably lighter in weight than the OE closed-cell foam. https://www.homedepot.com/b/Building...n/N-5yc1vZbaxx
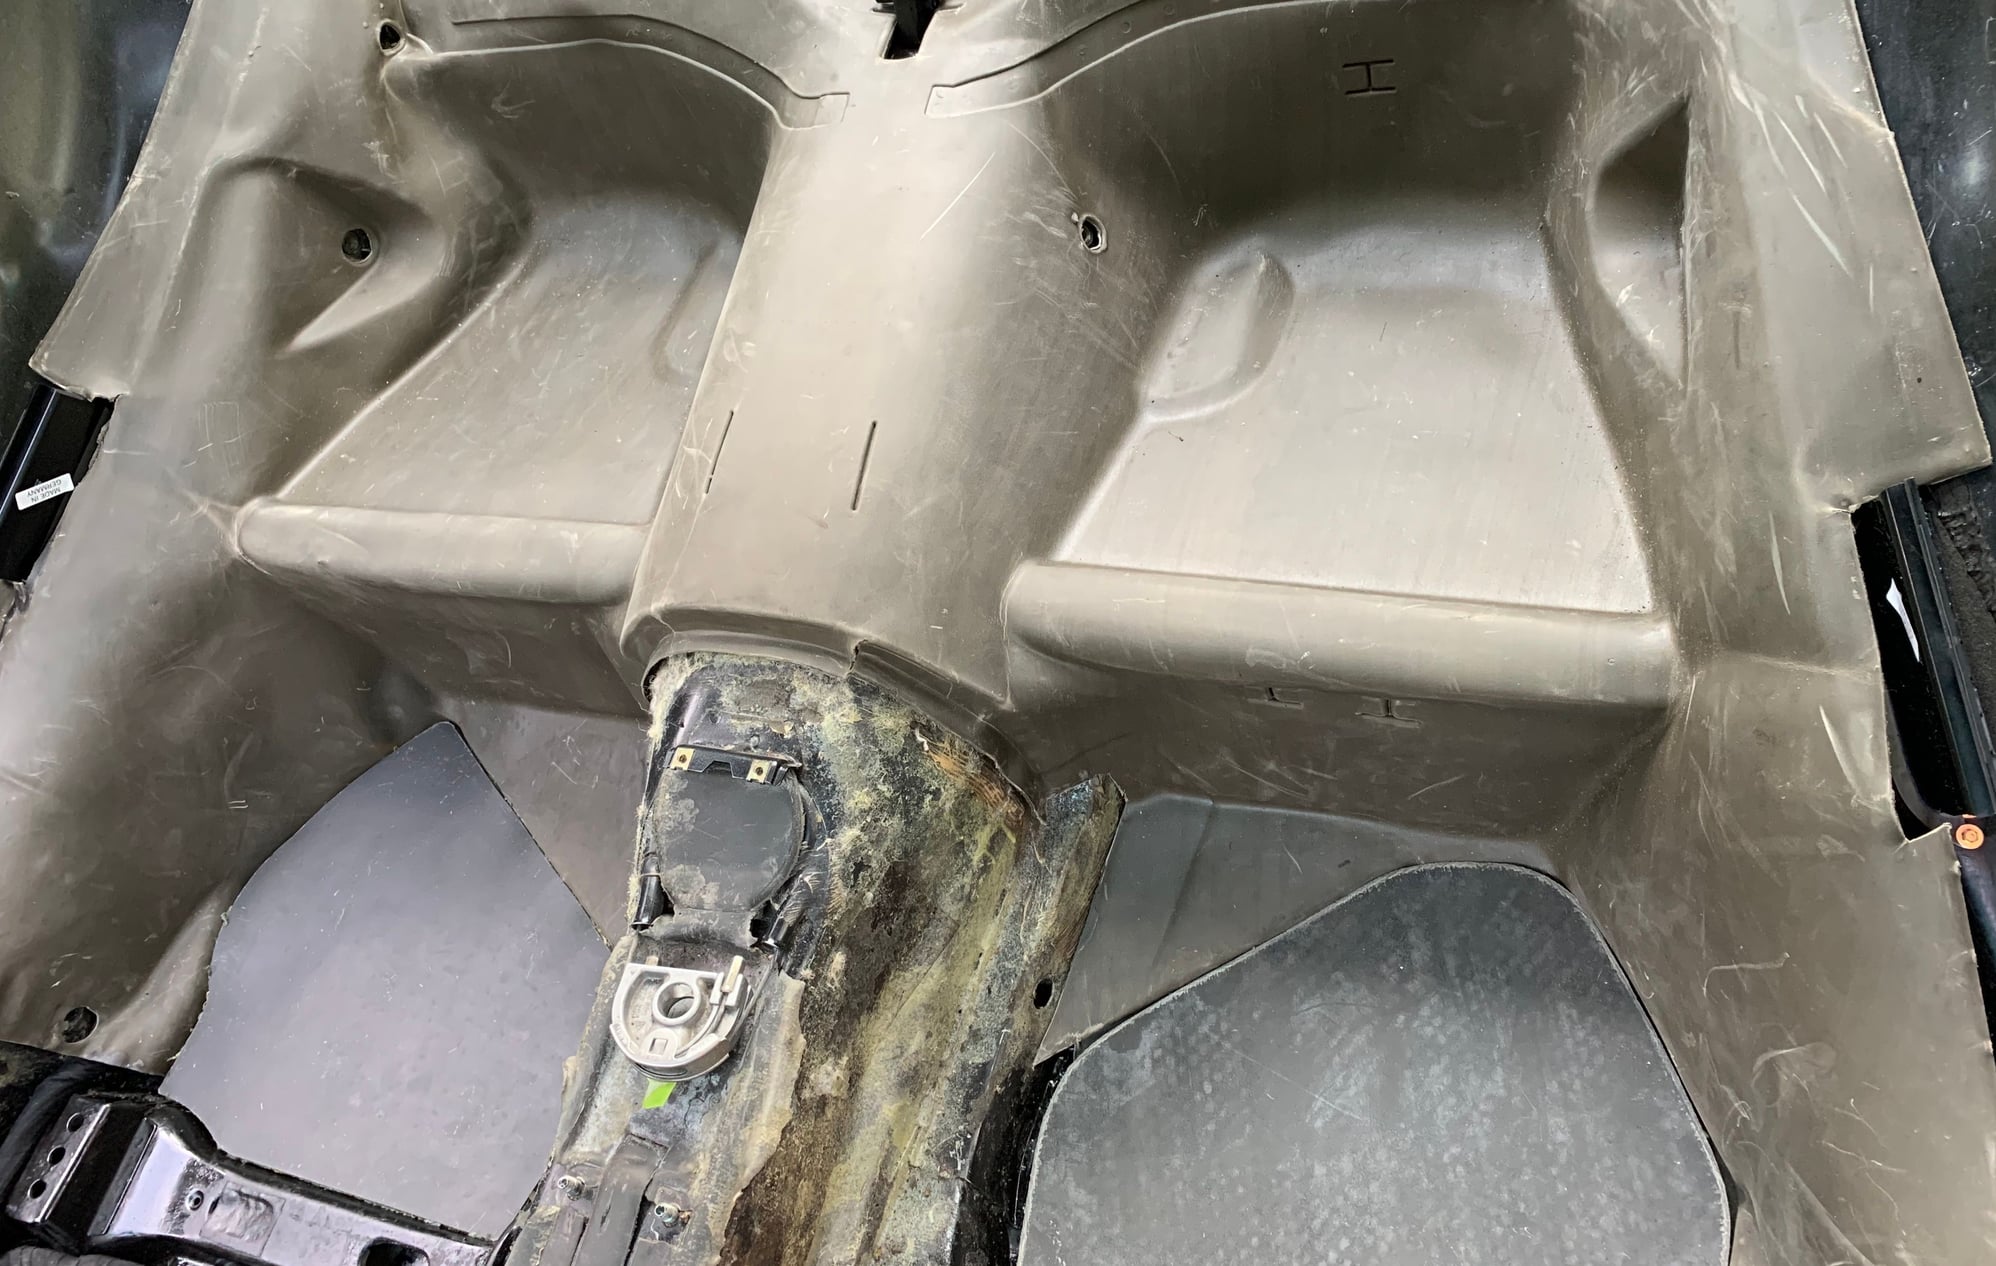
I removed a bad RS carpet kit install. Replaced the sound proofing in the rear seats. It's one giant molded peace that came from Porsche in Germany. I had some of the tunnel. There's one piece of the tunnel that is NLA (rear most part). I had the stock pieces that go under the front mats. For the pieces under the rear mats I bought them.
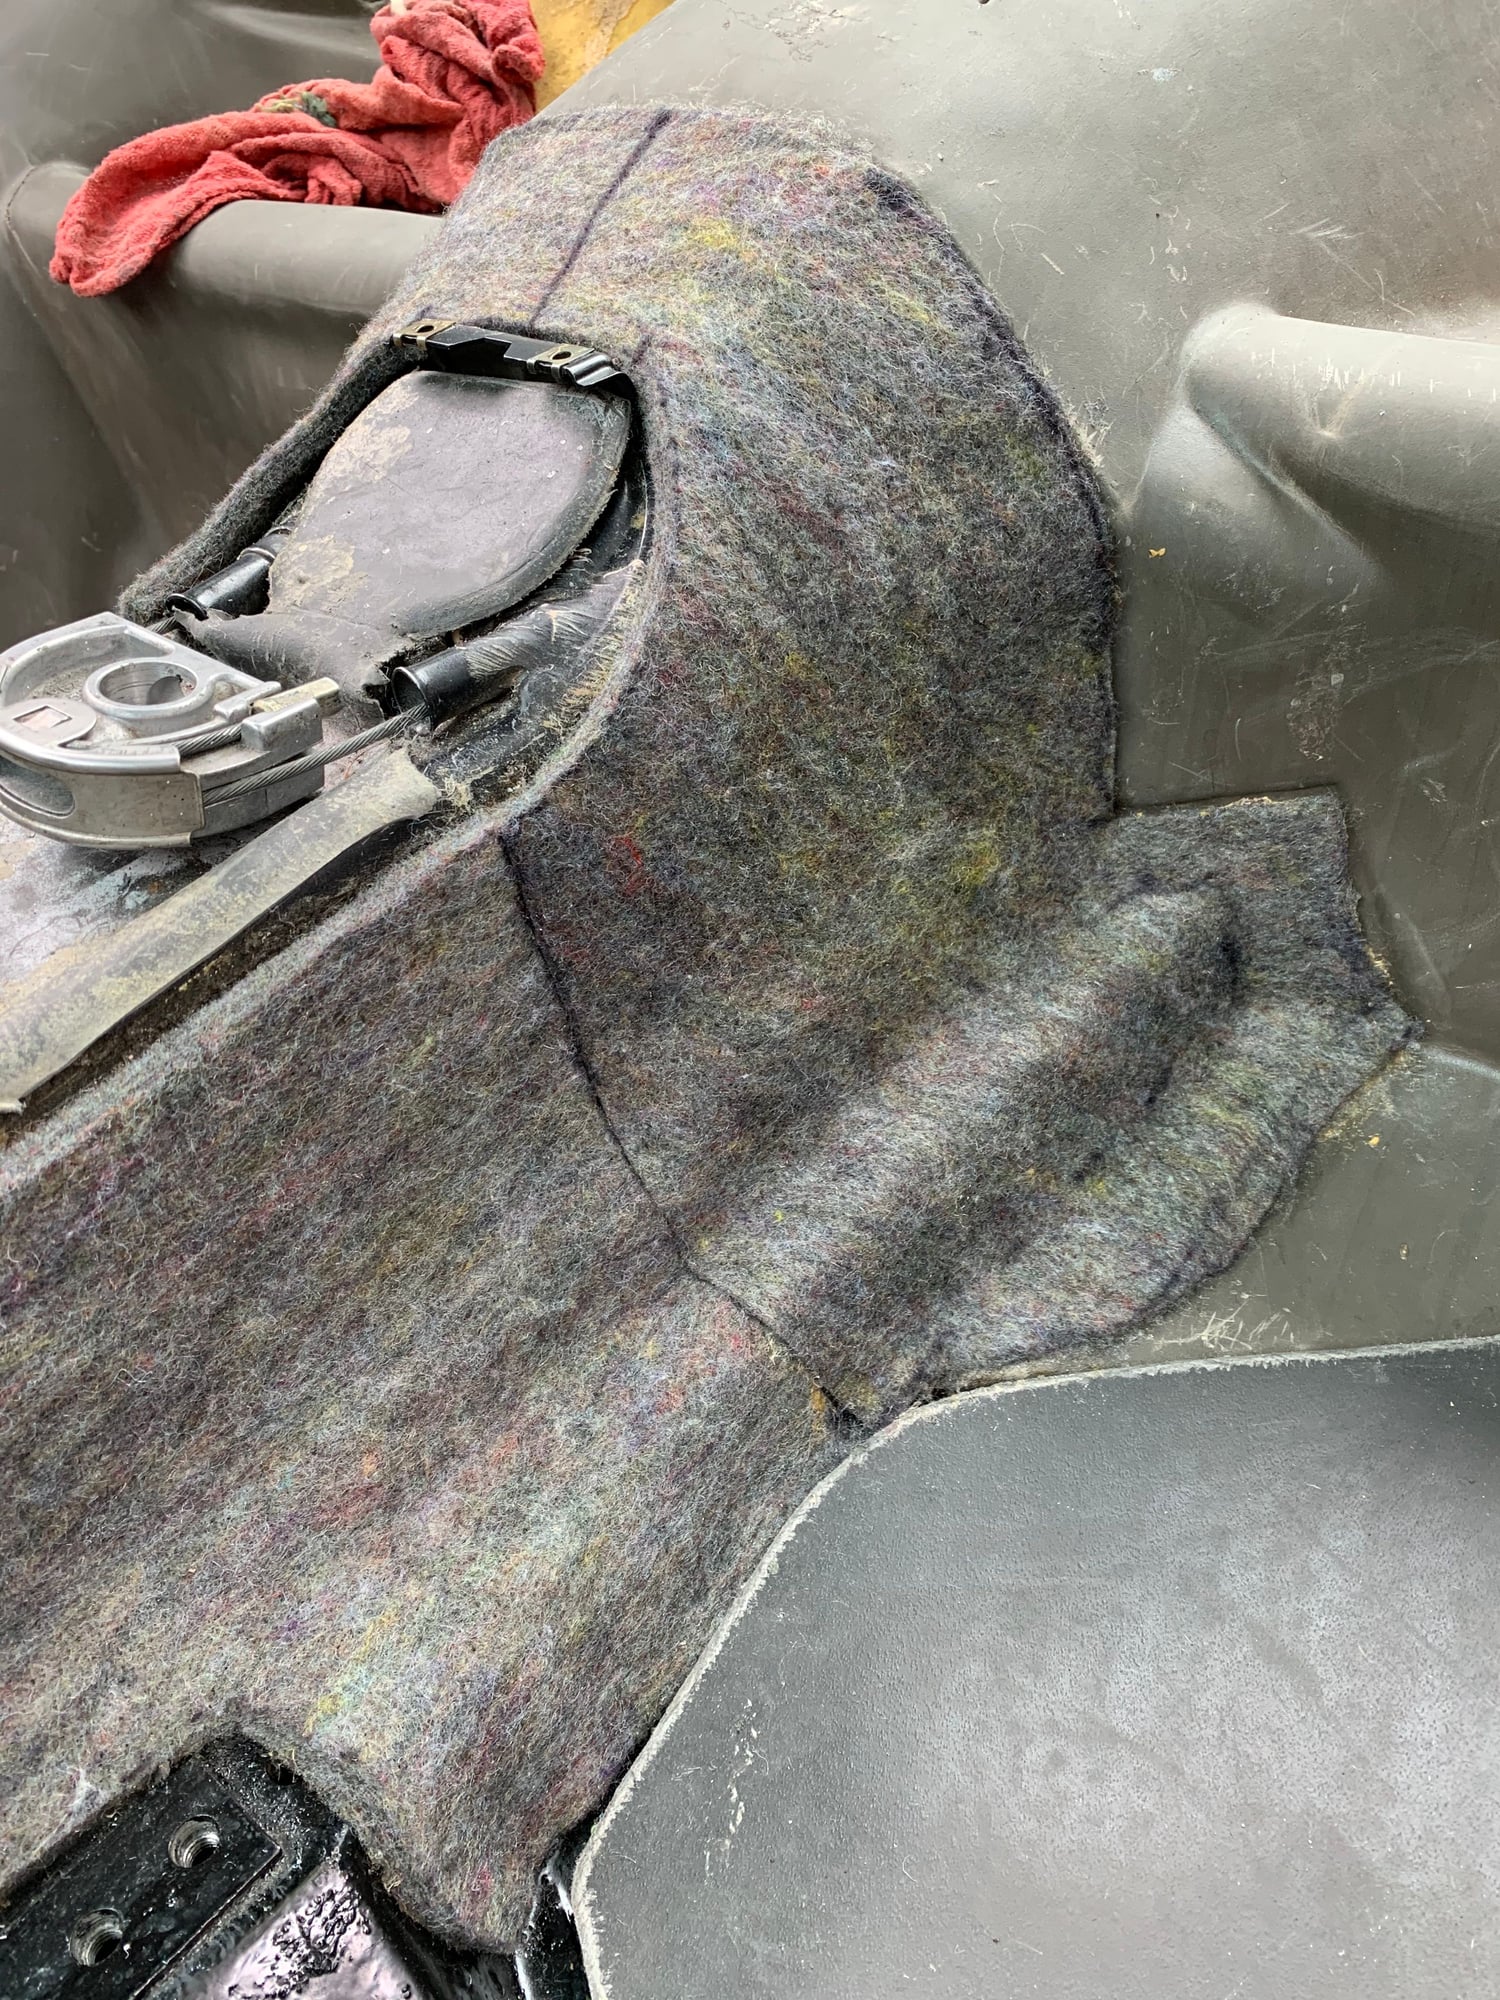
The rear section of the tunnel I built up from jute/felt underlayment.
I removed a bad RS carpet kit install. Replaced the sound proofing in the rear seats. It's one giant molded peace that came from Porsche in Germany. I had some of the tunnel. There's one piece of the tunnel that is NLA (rear most part). I had the stock pieces that go under the front mats. For the pieces under the rear mats I bought them.
The rear section of the tunnel I built up from jute/felt underlayment.
Brian, I am replacing my entire carpet & foam. Most of my foam was either moldy (waterlogged from PO) or just disintegrated. I know exactly the part you are referring that is NLA (rear most part of tunnel) as I found it on a UK site as they had it available - received an email a few days later with a refund saying its NLA as you had mentioned. (was my last hope)
Can you post up the pics of what you did and where you sourced your felt / jute again? I can't seem to find your posts.... maybe they are on someone else's site by this time
Hey Paul, here you go. I never posted the pics here. Believe I only had them on my instagram "stories" which disappeared.
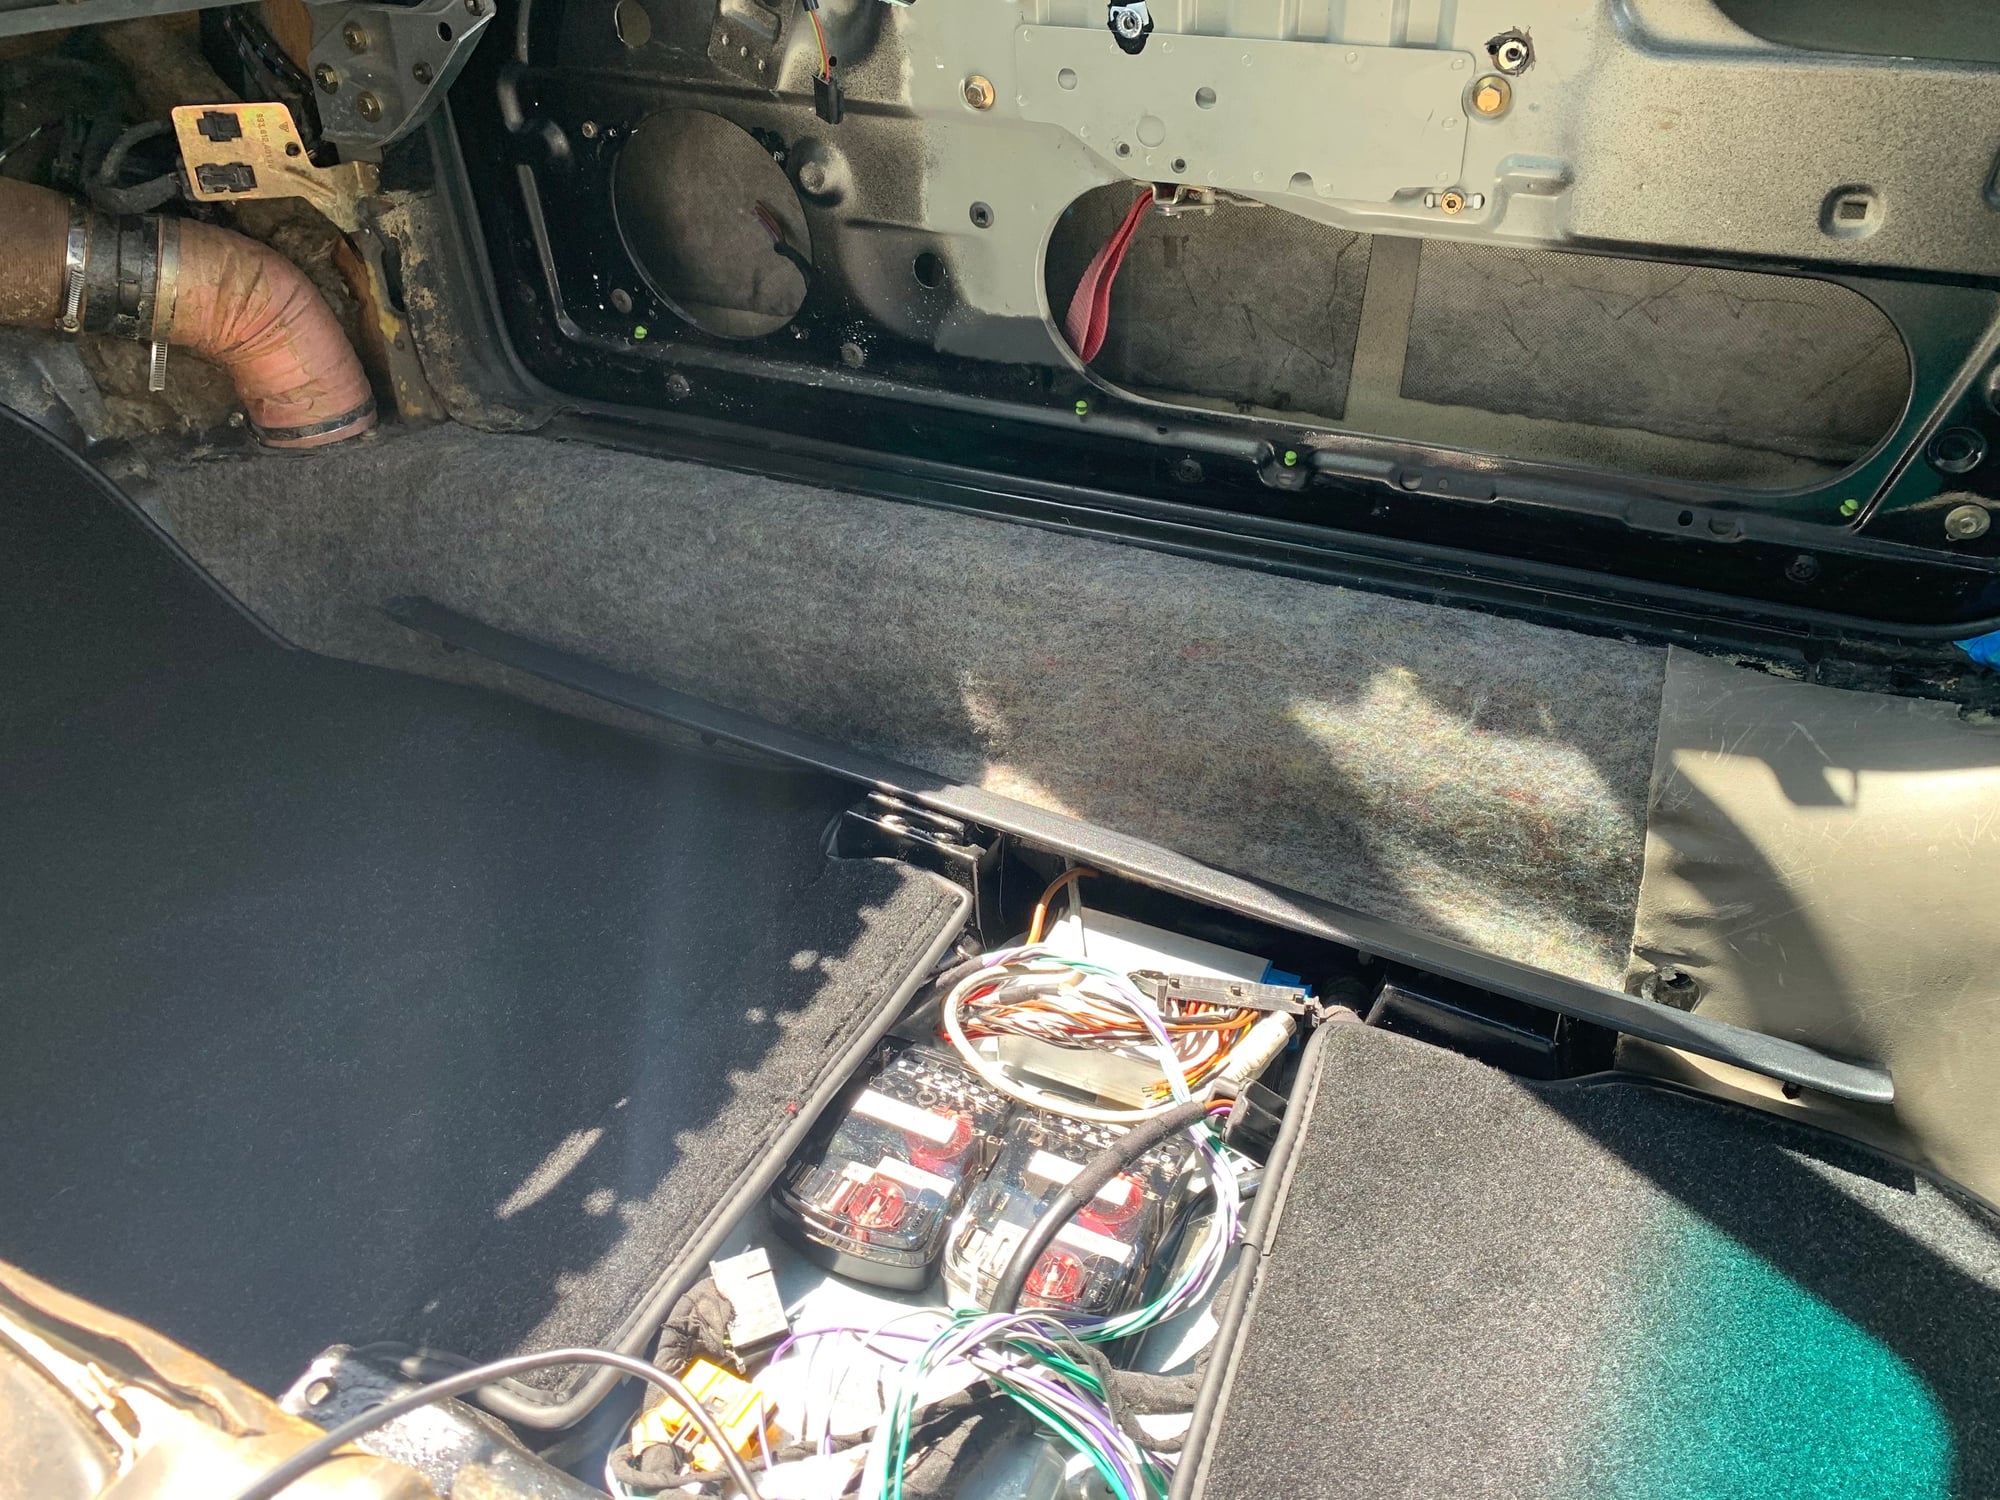
For the jute, eBay: "automotive jute 3/8" Here's the seller I got it from. I bought 2 yards and had a little bit left over. You may only need 1yd. I used a bit on the tunnel next to the seats where I was missing some underlayment and on the rear tunnel to build up layers to the thickness of the rear seat sound proofing at the top of the tunnel. I also used some on the door sill sides of the tub (and this is why I say you may not need 2yds). I don't believe there is any soundproofing there from the factory. I think the carpet is just directly glued to the metal but in any case, in the moment I thought I'd place some there. This was mainly because the cheap-o aftermarket carpet I had there (car was originally cashmere tan) had some jute-like stuff glued there under that carpet kit. It was only later I realized I didn't need it. Happy with the result but if I were to have known that going in, I may have skipped it in that area.
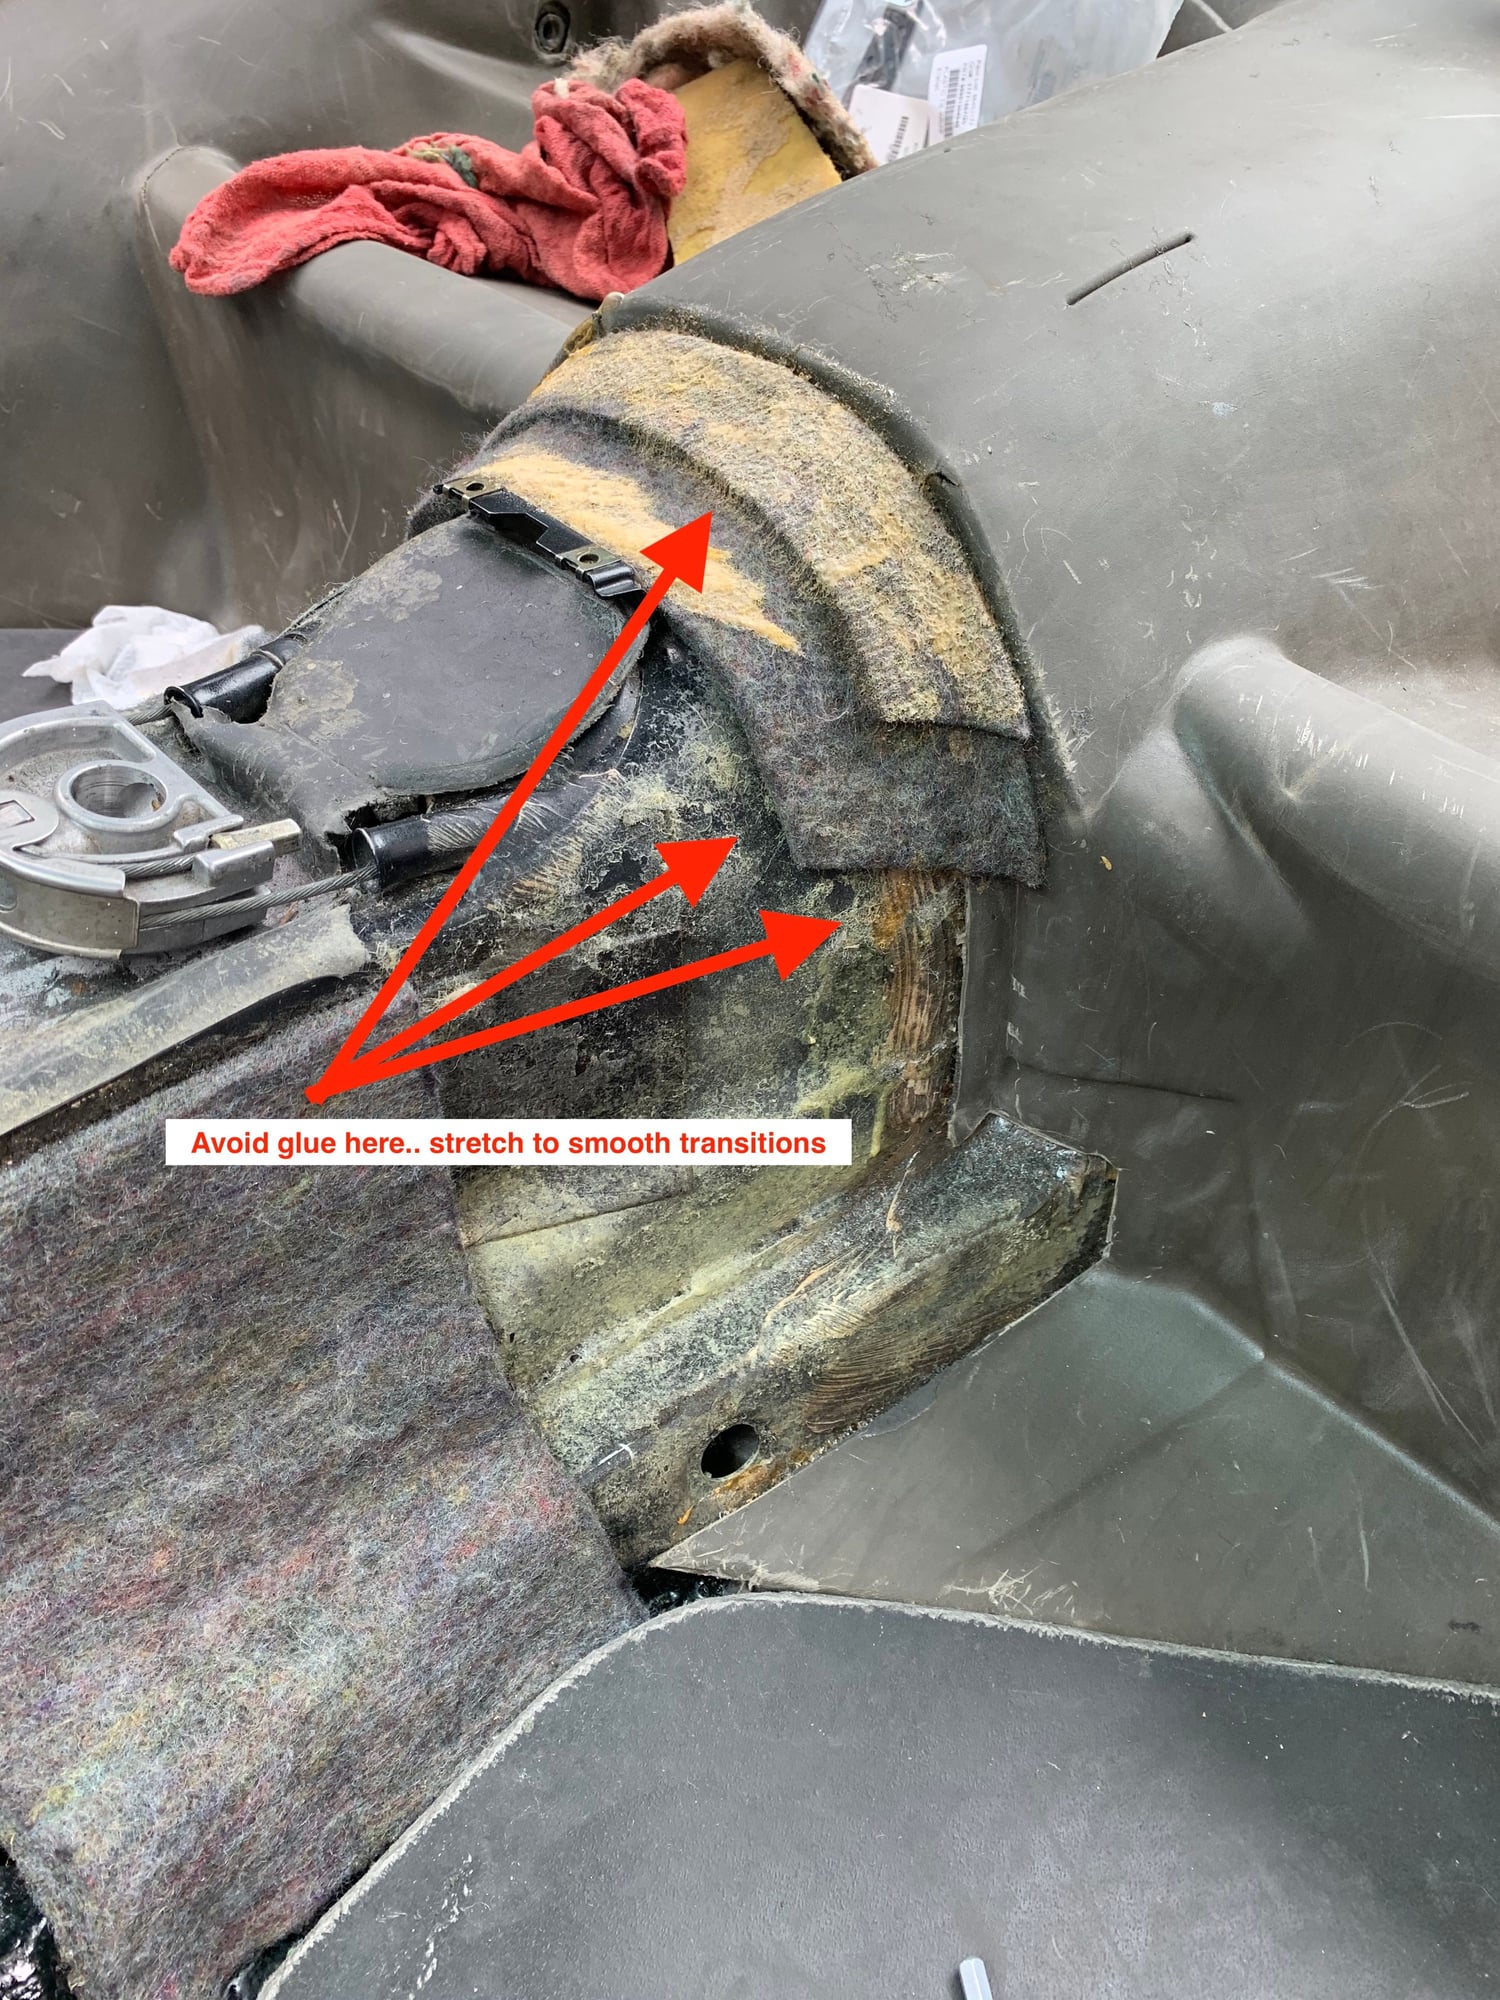
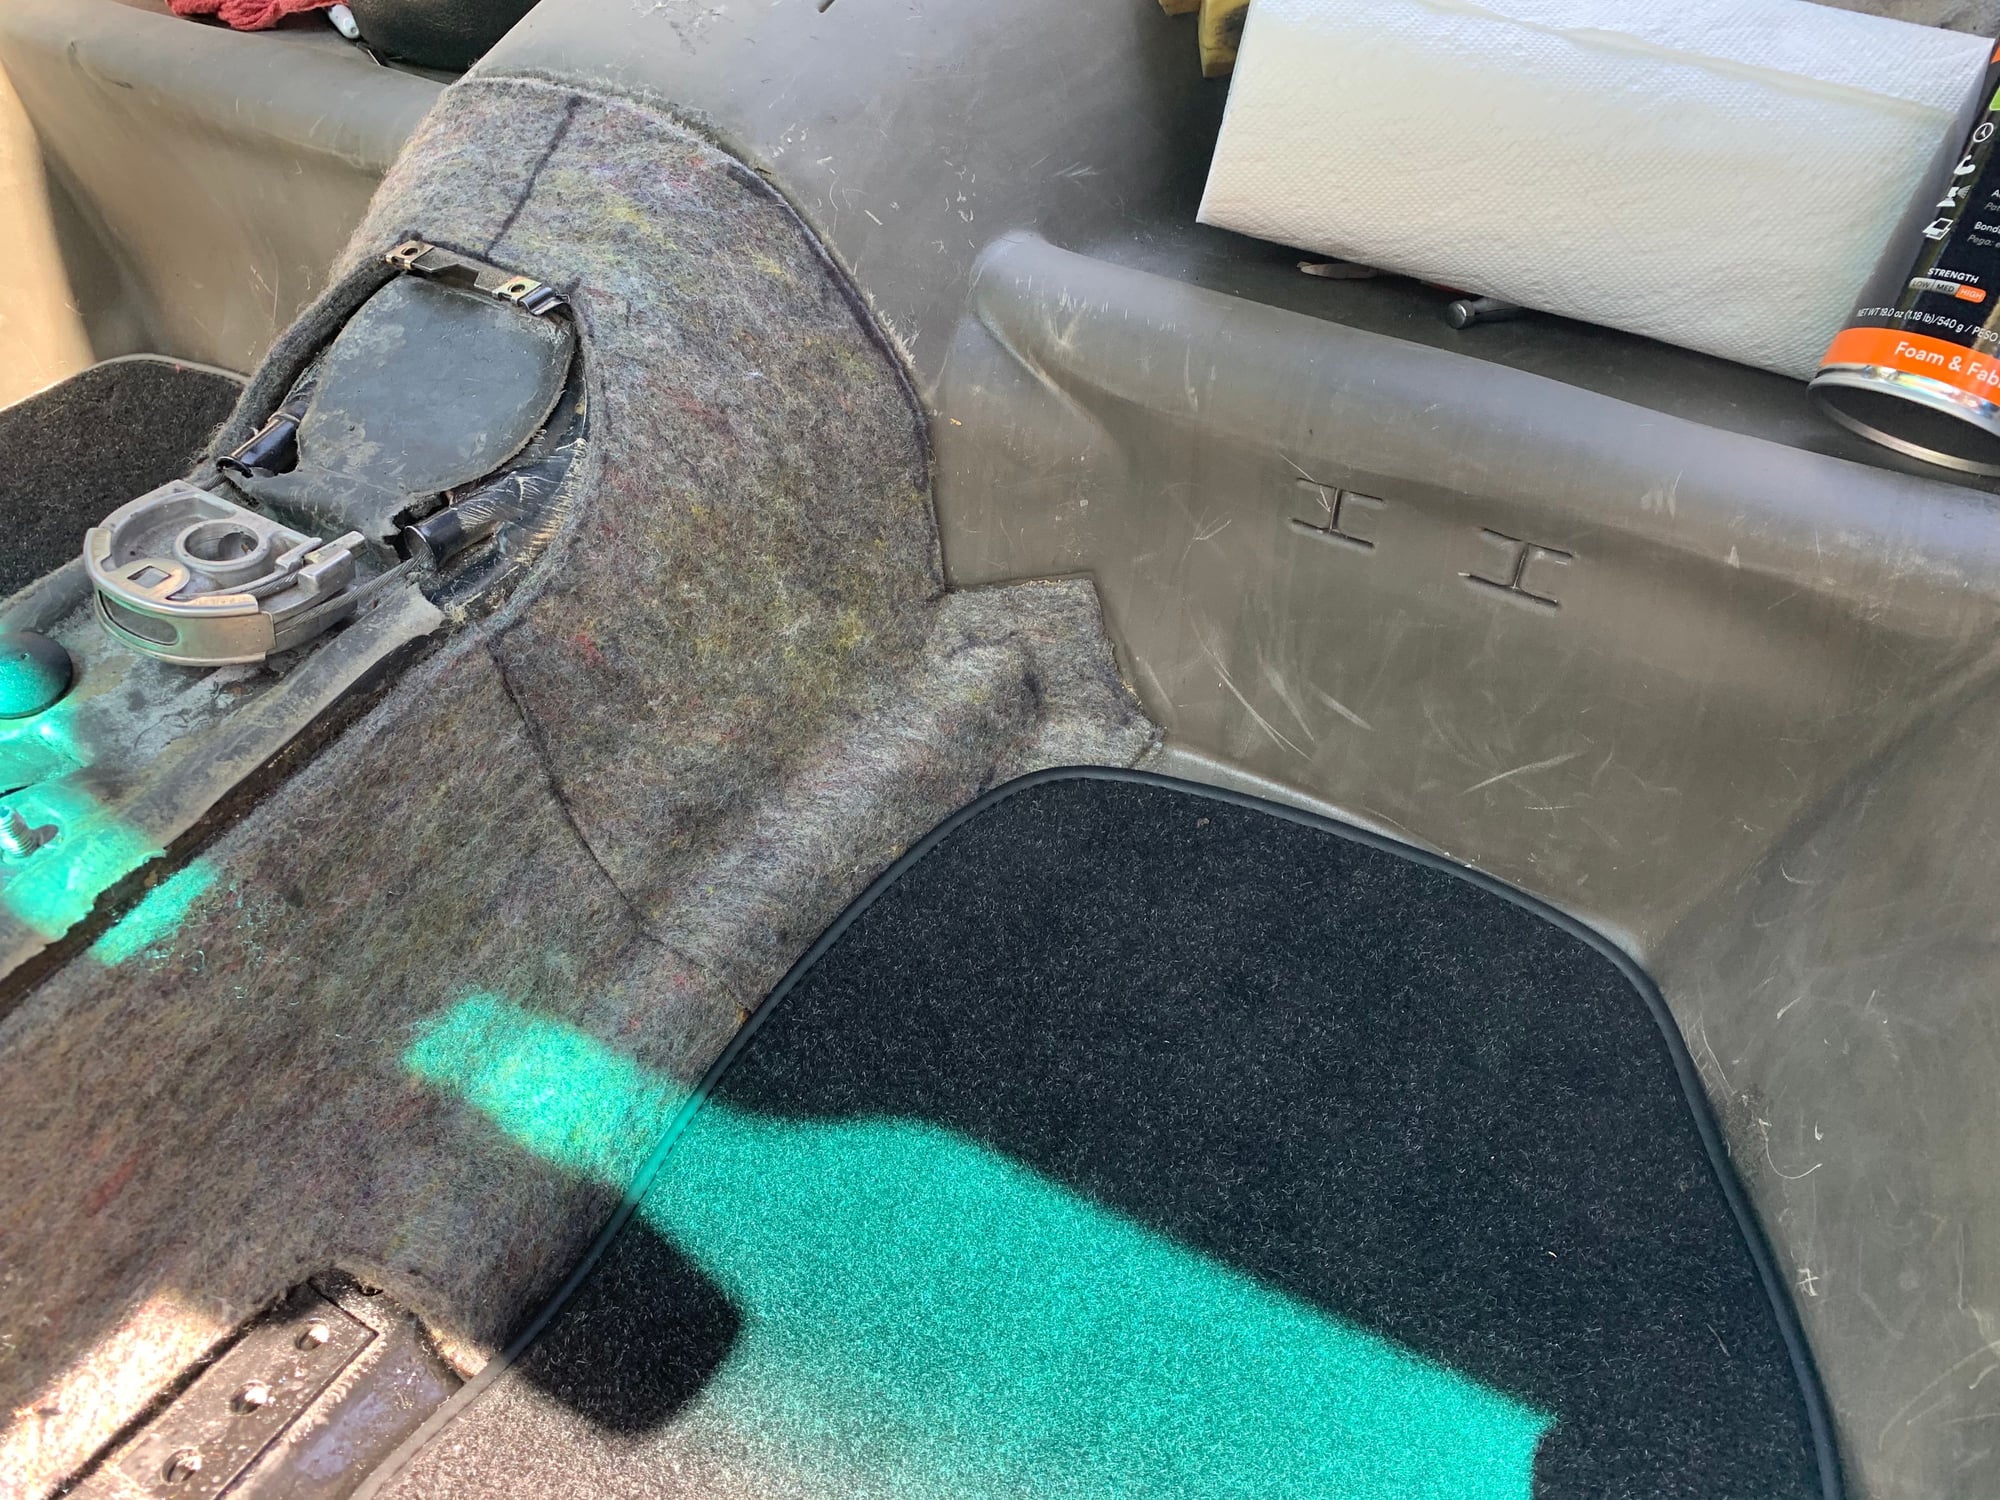
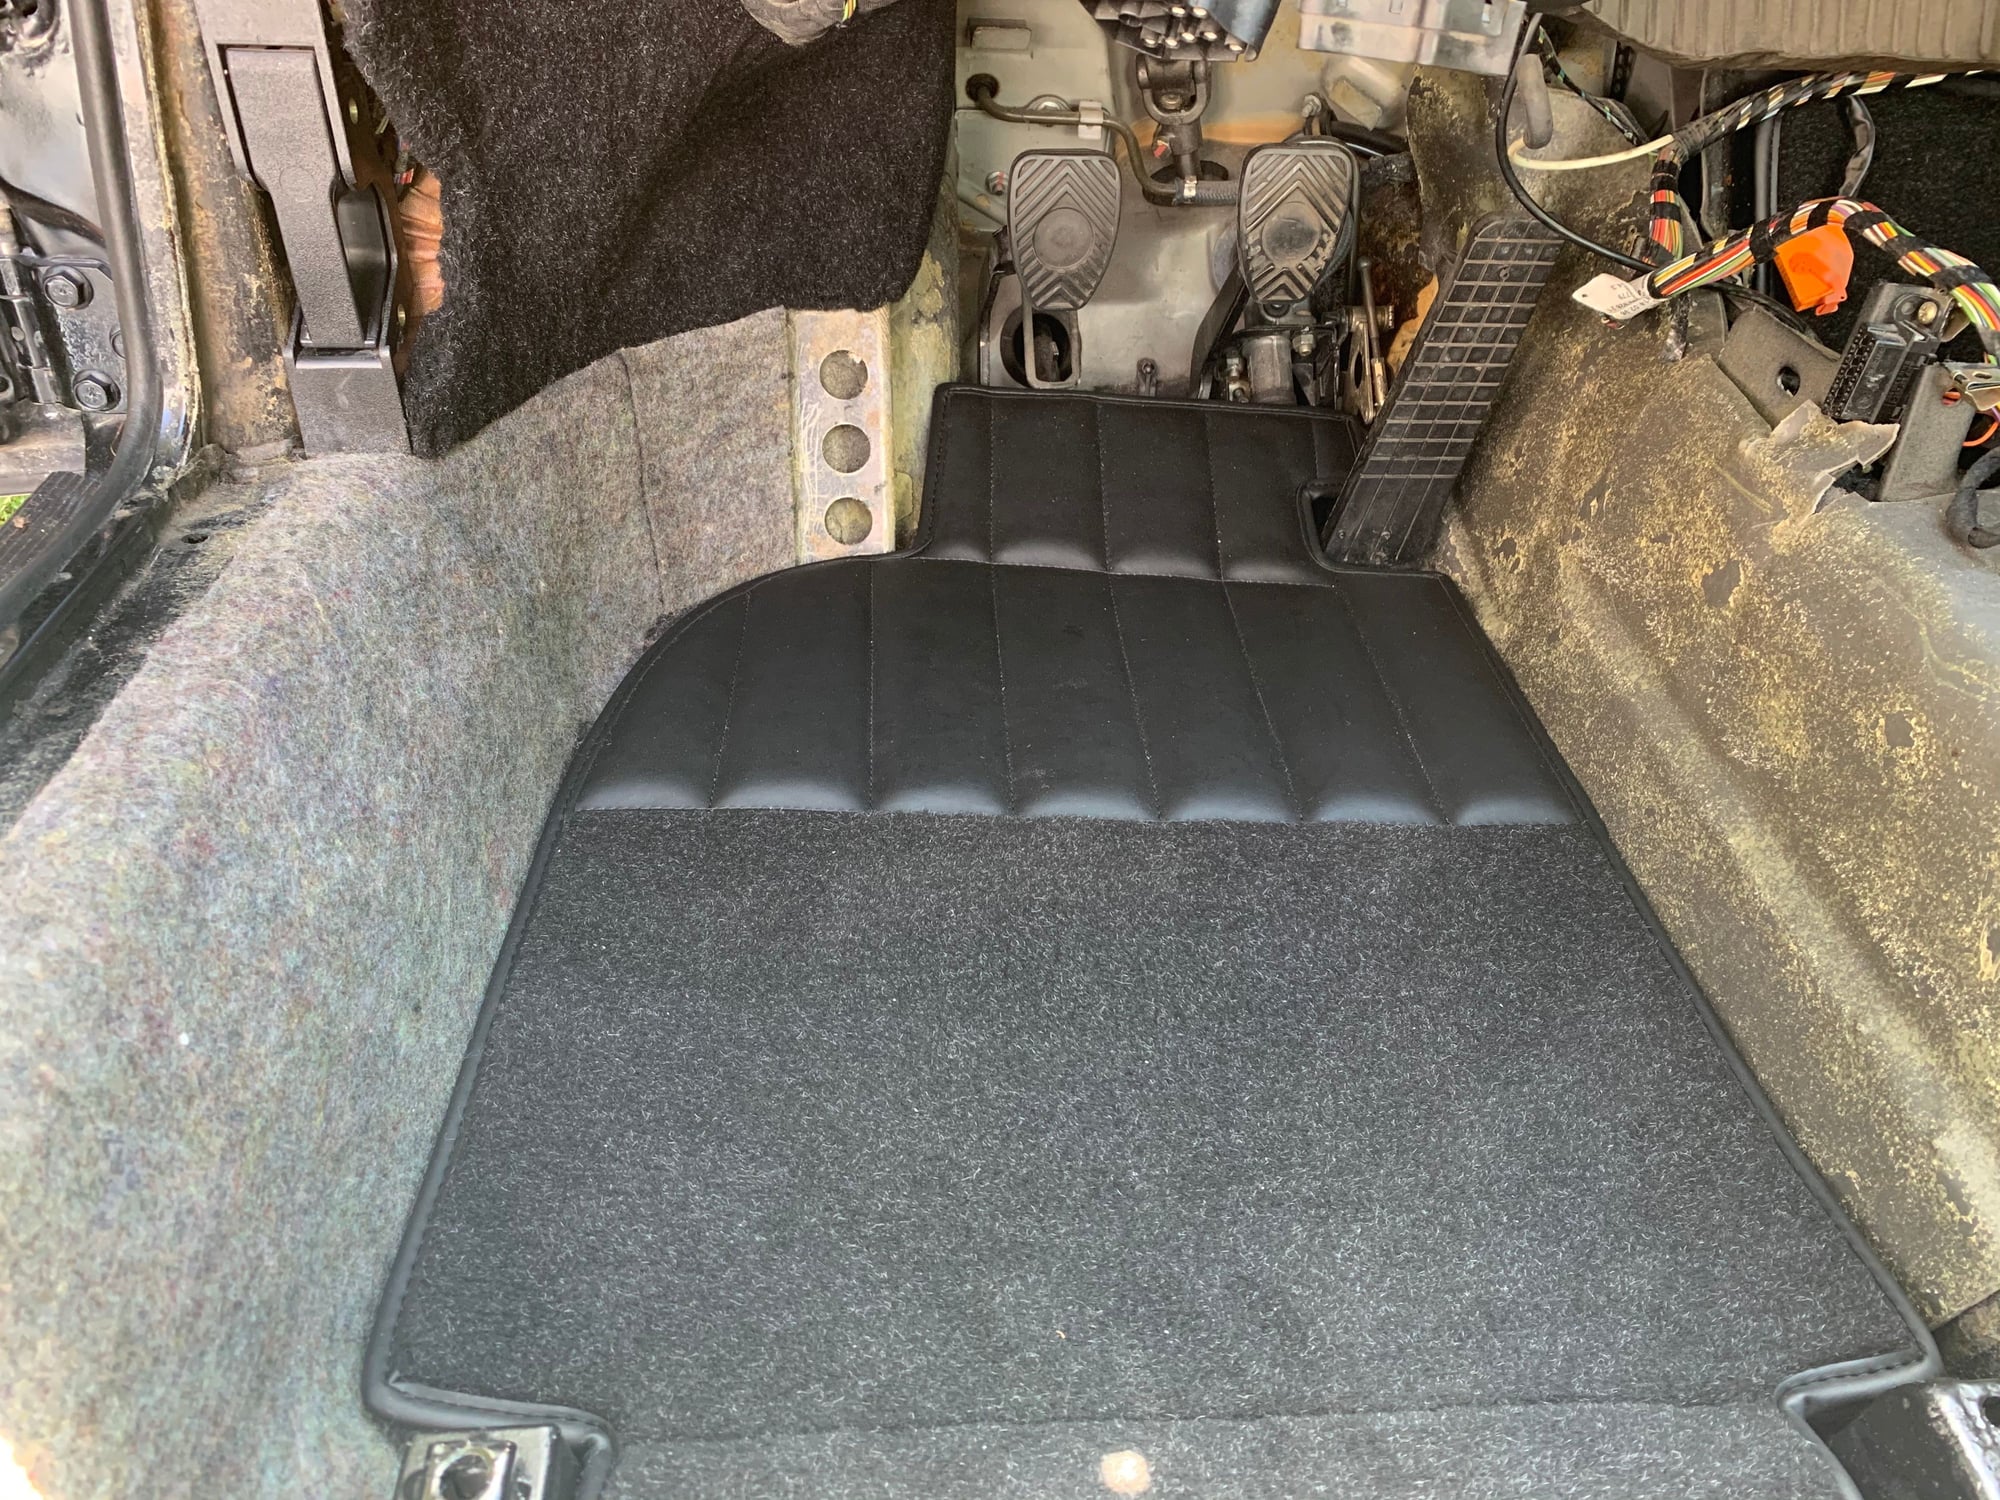
For the rear tunnel, the pics below should help explain what I did. I built up in layers of varying widths. On the top layer, I applied glue "strategically", meaning... don't apply it to the whole piece. Doing so will just completely glue the top layer to the one underneath, resulting in the shape of that previous layer passing through. Instead I only applied glue on the edges, pressed one end down and then lightly pulled/stretched before pressing the opposite end down. That results in a smoother top layer. It should make sense once you see the pics below. The same should be done when you do the carpet itself (avoid gluing directly over a seam underneath).
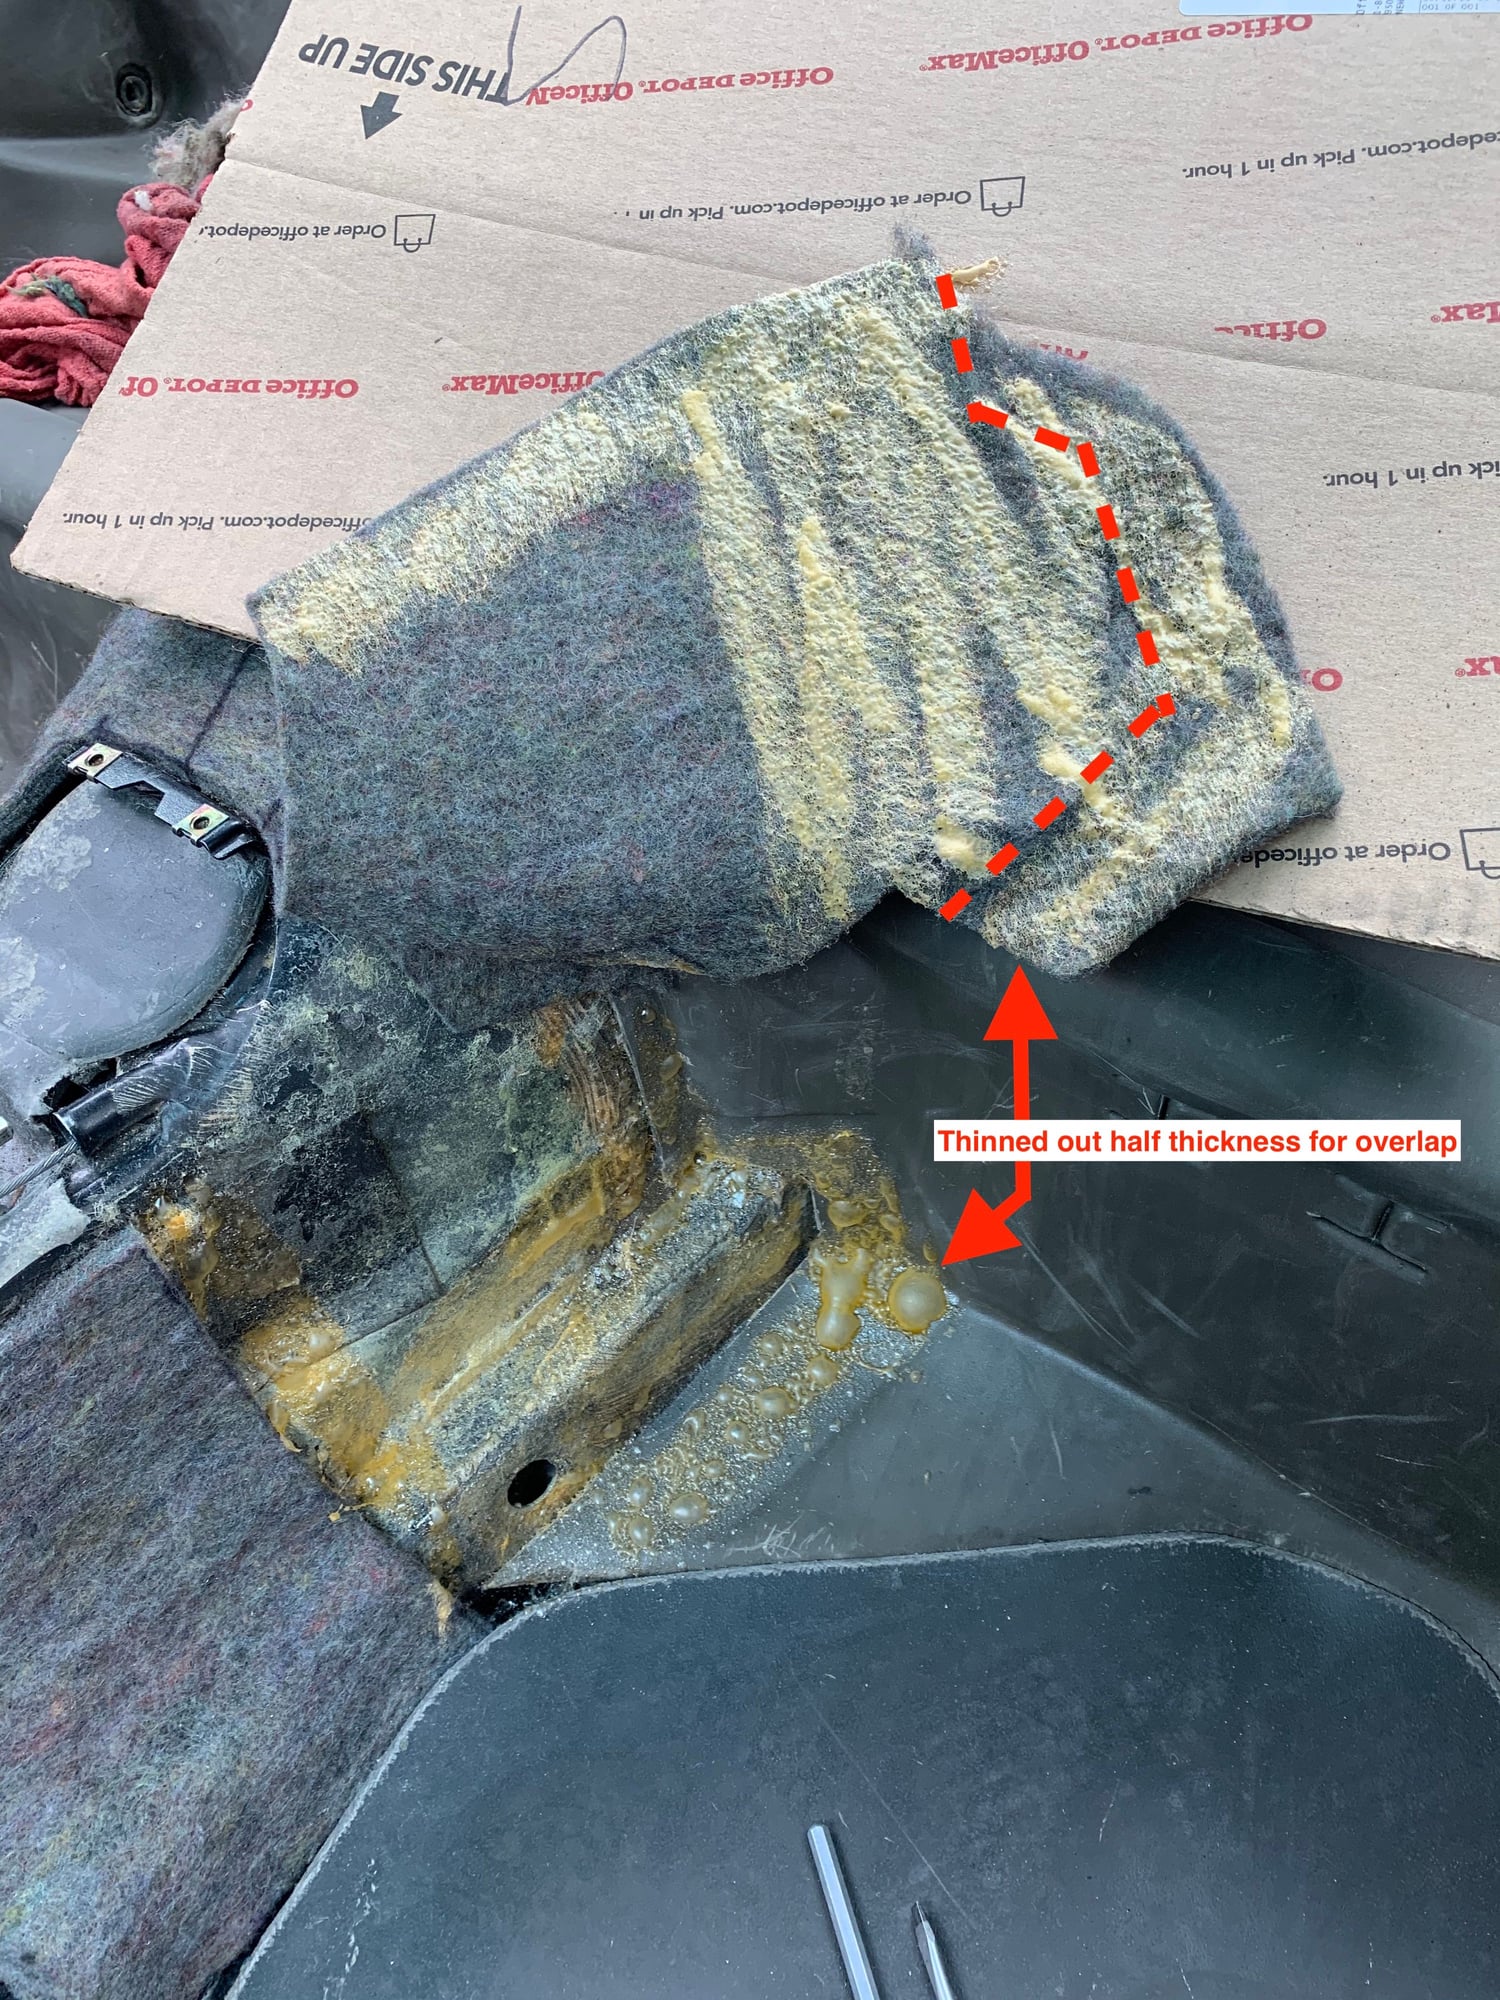
Also, you'll see that where the jute overlaps onto the rear sound proofing, I thinned out the jute where the stock rear tunnel soundproofing is supposed to overlay the rear seat soundproofing around the tunnel. I simply sliced it with a razor to thin it out.
Final tip (for both jute and carpet), line up panels and make a few marks with a sharpie before glueing. That will help you align things properly when the glue is on there and stick them down in the correct spot first time.
Also, alternatively, you may want to check out Foxman's RS carpet kit install thread. Believe he used jute in some areas but in others he used some other close cell foam stuff.
Thanks B! Appreciate the info - exactly what I was looking for. Please show us some before and after shots if you don't mind..... of just after shots if you do mind.
Also, alternatively, you may want to check out Foxman's RS carpet kit install thread. Believe he used jute in some areas but in others he used some other close cell foam stuff.
Thanks for that boomboomthump. Paul you can see my OCD thread Here
I would not try the replicate the 30 year stock insulation. It�s unnecessarily weighty, and provides little noise reduction compared to modern materials.
I started with a base of dynamat lite. It�s a bit like roof tar, but it really works at reducing vibration. Add a layer of MLV with closed cell foam in critical areas and just a thin layer of MLV on the rest. The result is a dramatically quieter car, at a little over half the weight.
This was a worthwhile project that really transformed the car. Have fun with it.
Jim! thanks so much! I forgot about your thread but it really stuck somewhere in the recesses of my brain - I am glad now that I have two options - OEMish or just custom like yours Jim.
 02-06-2021, 02:55 PM


 Will have a look.