When you click on links to various merchants on this site and make a purchase, this can result in this site earning a commission. Affiliate programs and affiliations include, but are not limited to, the eBay Partner Network.
I’m finally getting around to posting my impressions, lessons, and photos from my recent installation of the RS carpet from Lakewell Classic Car Interiors. I hope this will help others. This is a rewarding and worthwhile DIY project. Laying the carpet is a cinch. Ripping out the old carpeting and glue, however, is pig of a job, and laying down Dynamite and new soundproofing can be tedious and time-consuming. So stock up the cooler, crank the tunes, and lets get started.
The RS carpet kit from Lakewell includes 20 pieces in original Silverknit, available in most stock colors. I stayed with the stock classic grey. The color is not a perfect match - the Lakewell grey looks better in my estimation, as it lacks the reddish hue in the Porsche classic grey. The RS carpet costs about $800 - and close to $1,000 if you want am “RS” or “GT2” Porsche script. http://www.lakewell.com/en/warenkorb?product_id=193
Supplies:
Xylene, PVC Gloves and Respirator (Goo Gone will also do the job, but Xylene works much faster on the stubborn spots) Thanks to Cobalt for this recommendation
Goo Gone
3M Foam Fast 74
Scotch Super 77 (for areas requiring more tack)
Dynamat Lite and Dynaroller
1/8” MLV with 3/8” closed cell foam backing and 1/16 “ MLV with adhesive backing (buy locally)
Carpet Jute
Carpet Scissors and Box Cutter
Added back 45 lbs.: 15 lbs. of Dynamite Lite, 15 lbs. of MLV, 6 lbs. of carpet, 9 lbs. new plywood rear deck with speakers and carpet
Net reduction of 36.5 lbs.
NVH:
NVH in the car has been drastically reduced. I was hesitant to add back 30 lbs. of Dynamite and MLV, but for a dual purpose car it was worth every pound.
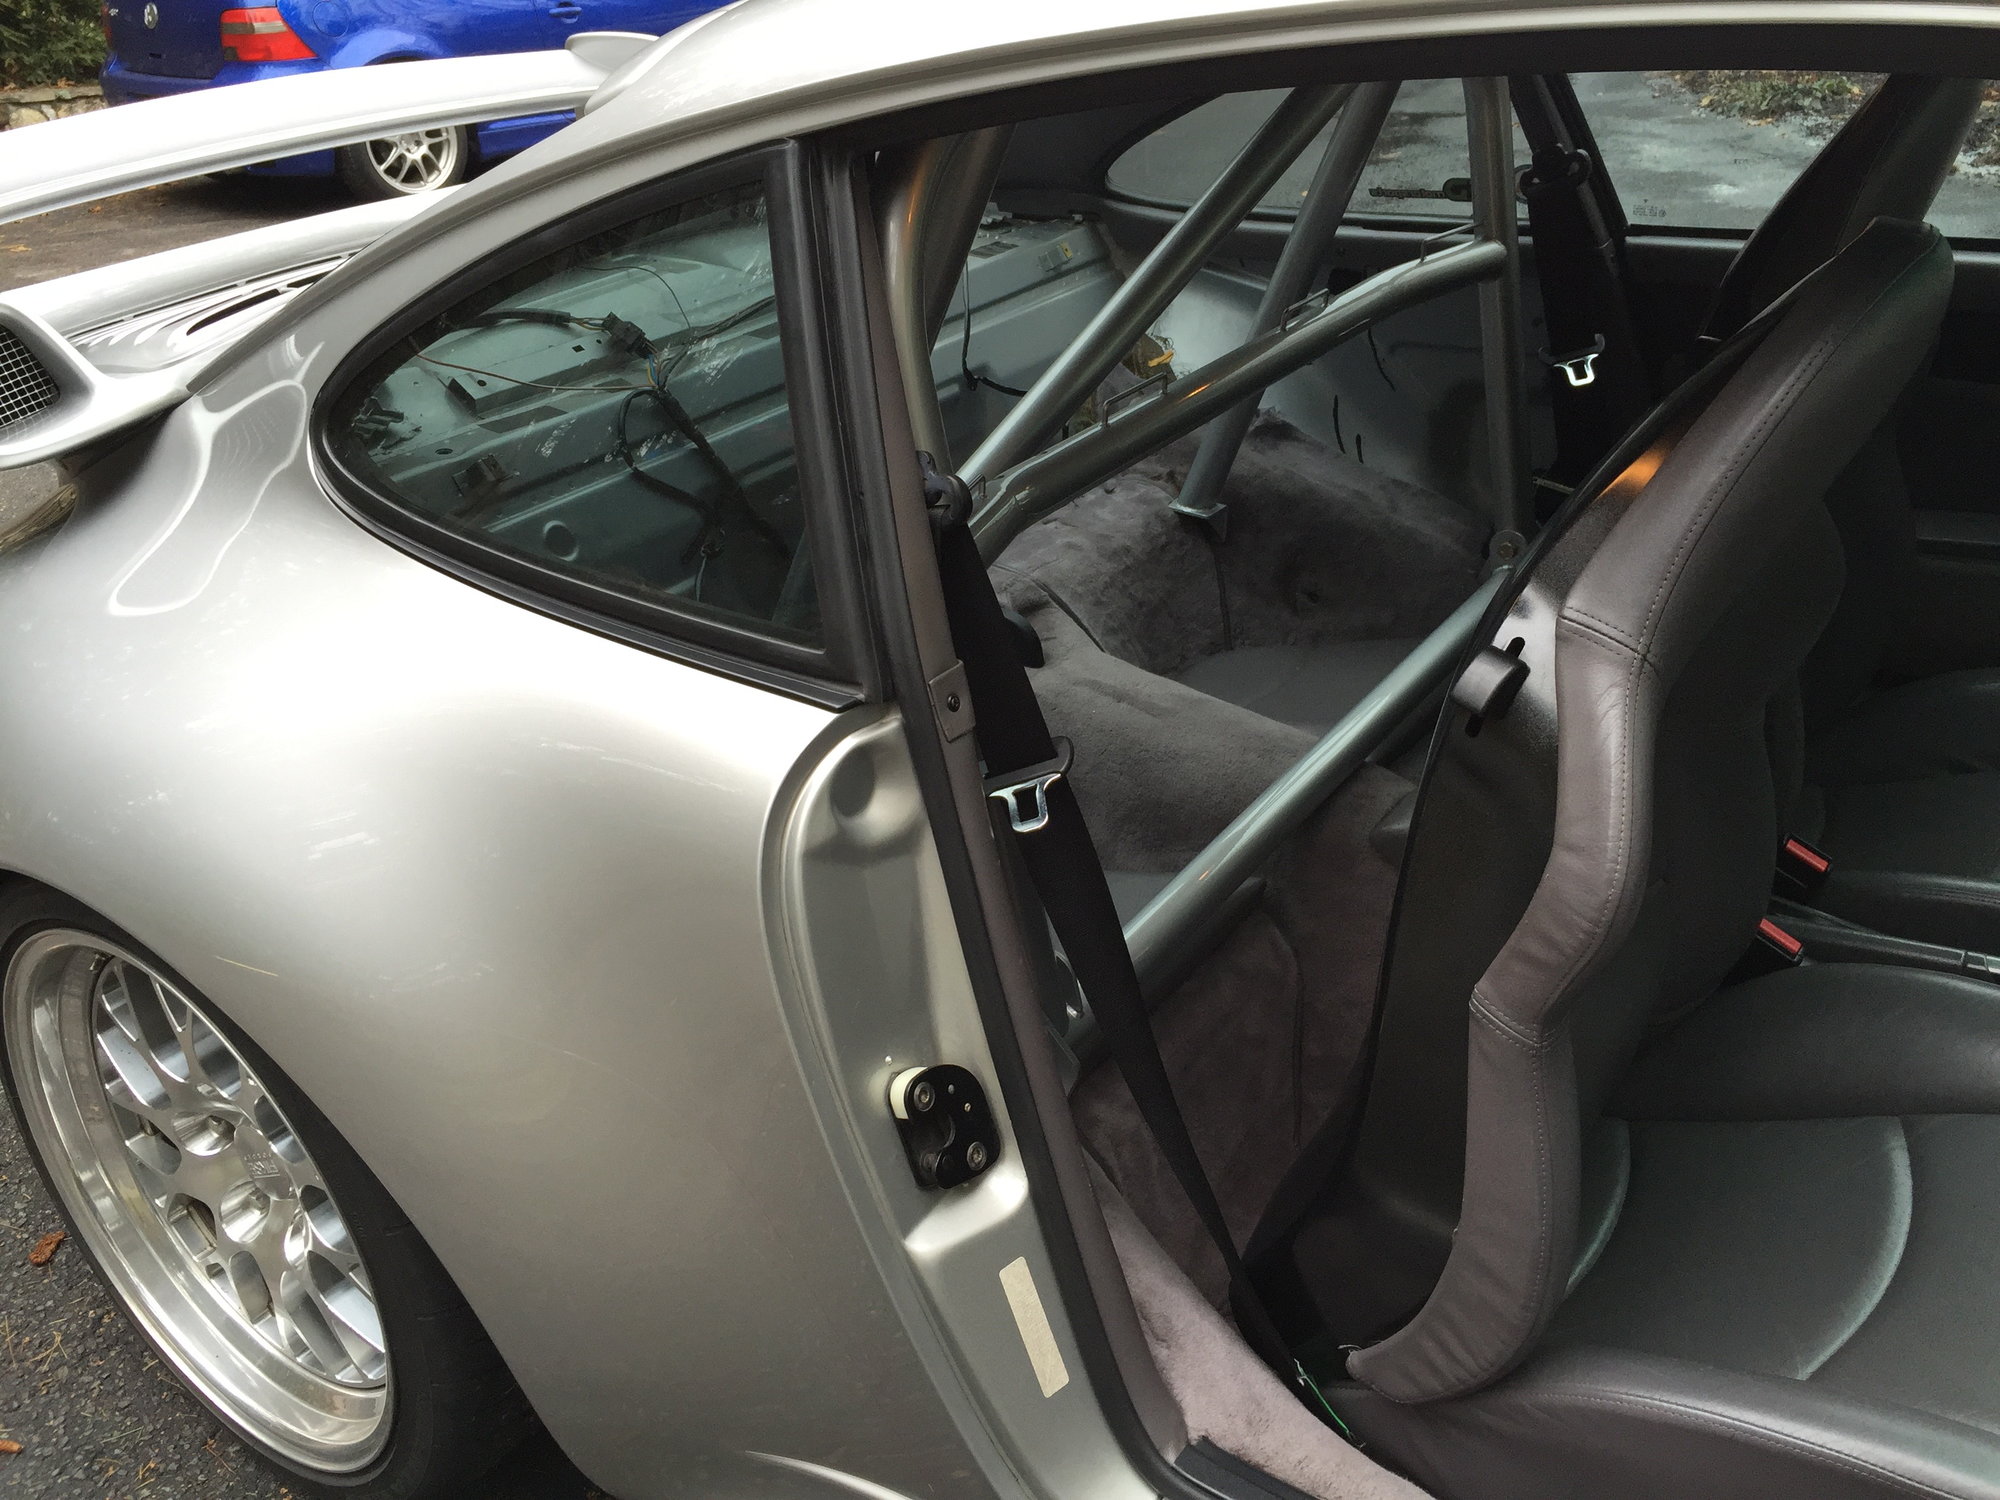
After installing the DAS roll bar, the time was right for an RS carpet
Poor condition of original carpet was another motivating factor
Pull up the seat bottoms
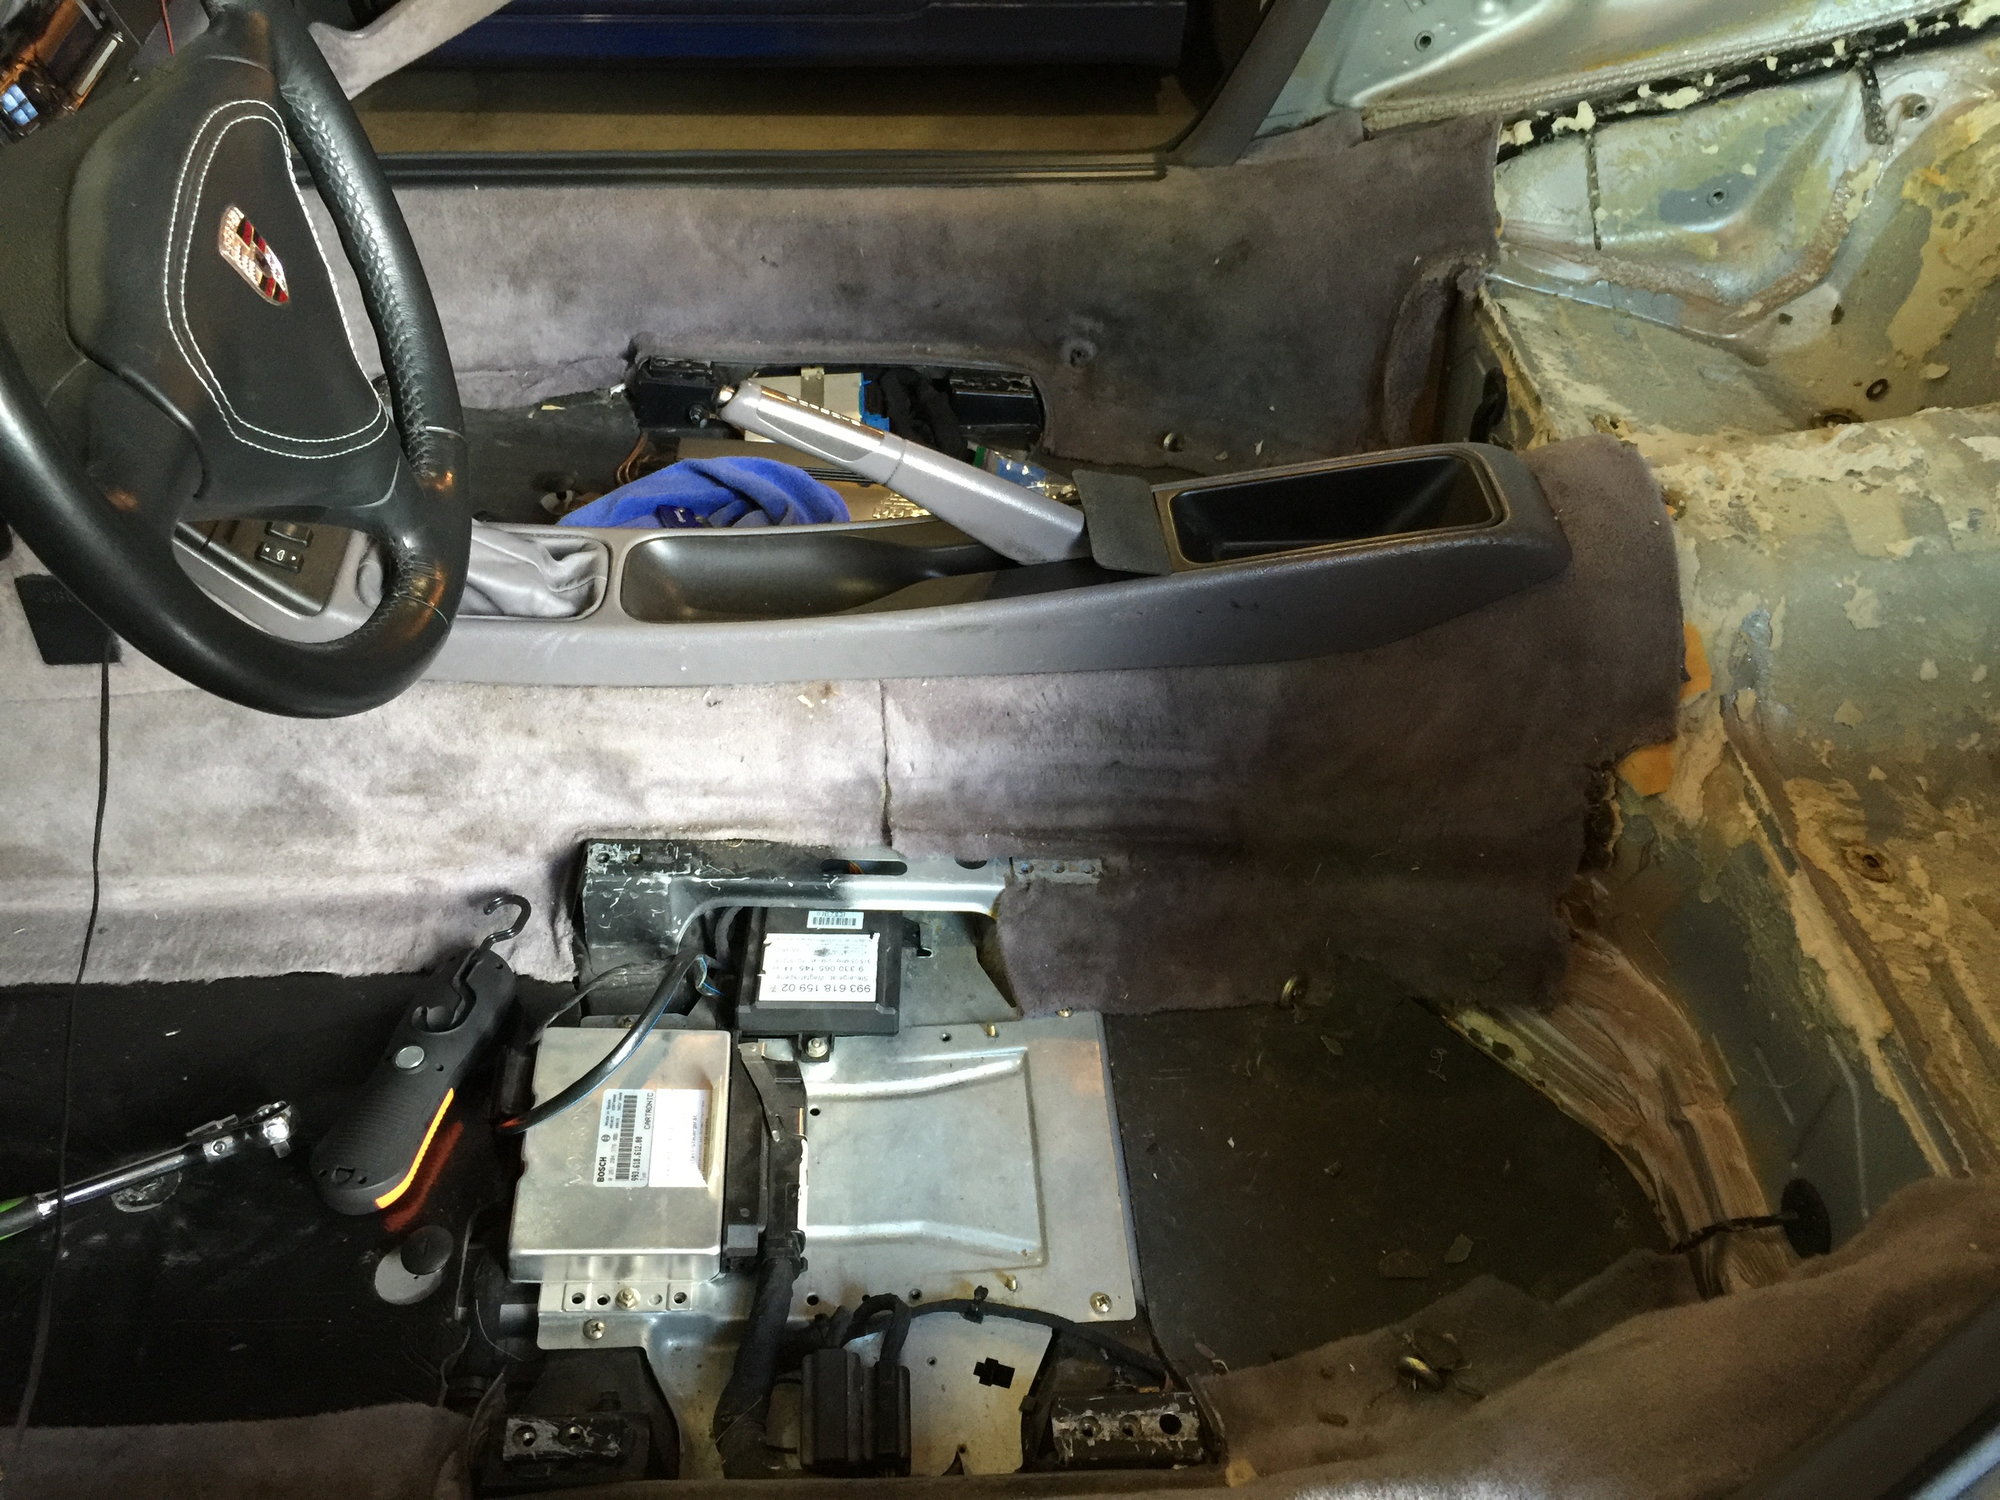
Peel the carpet and insulation off from back to front
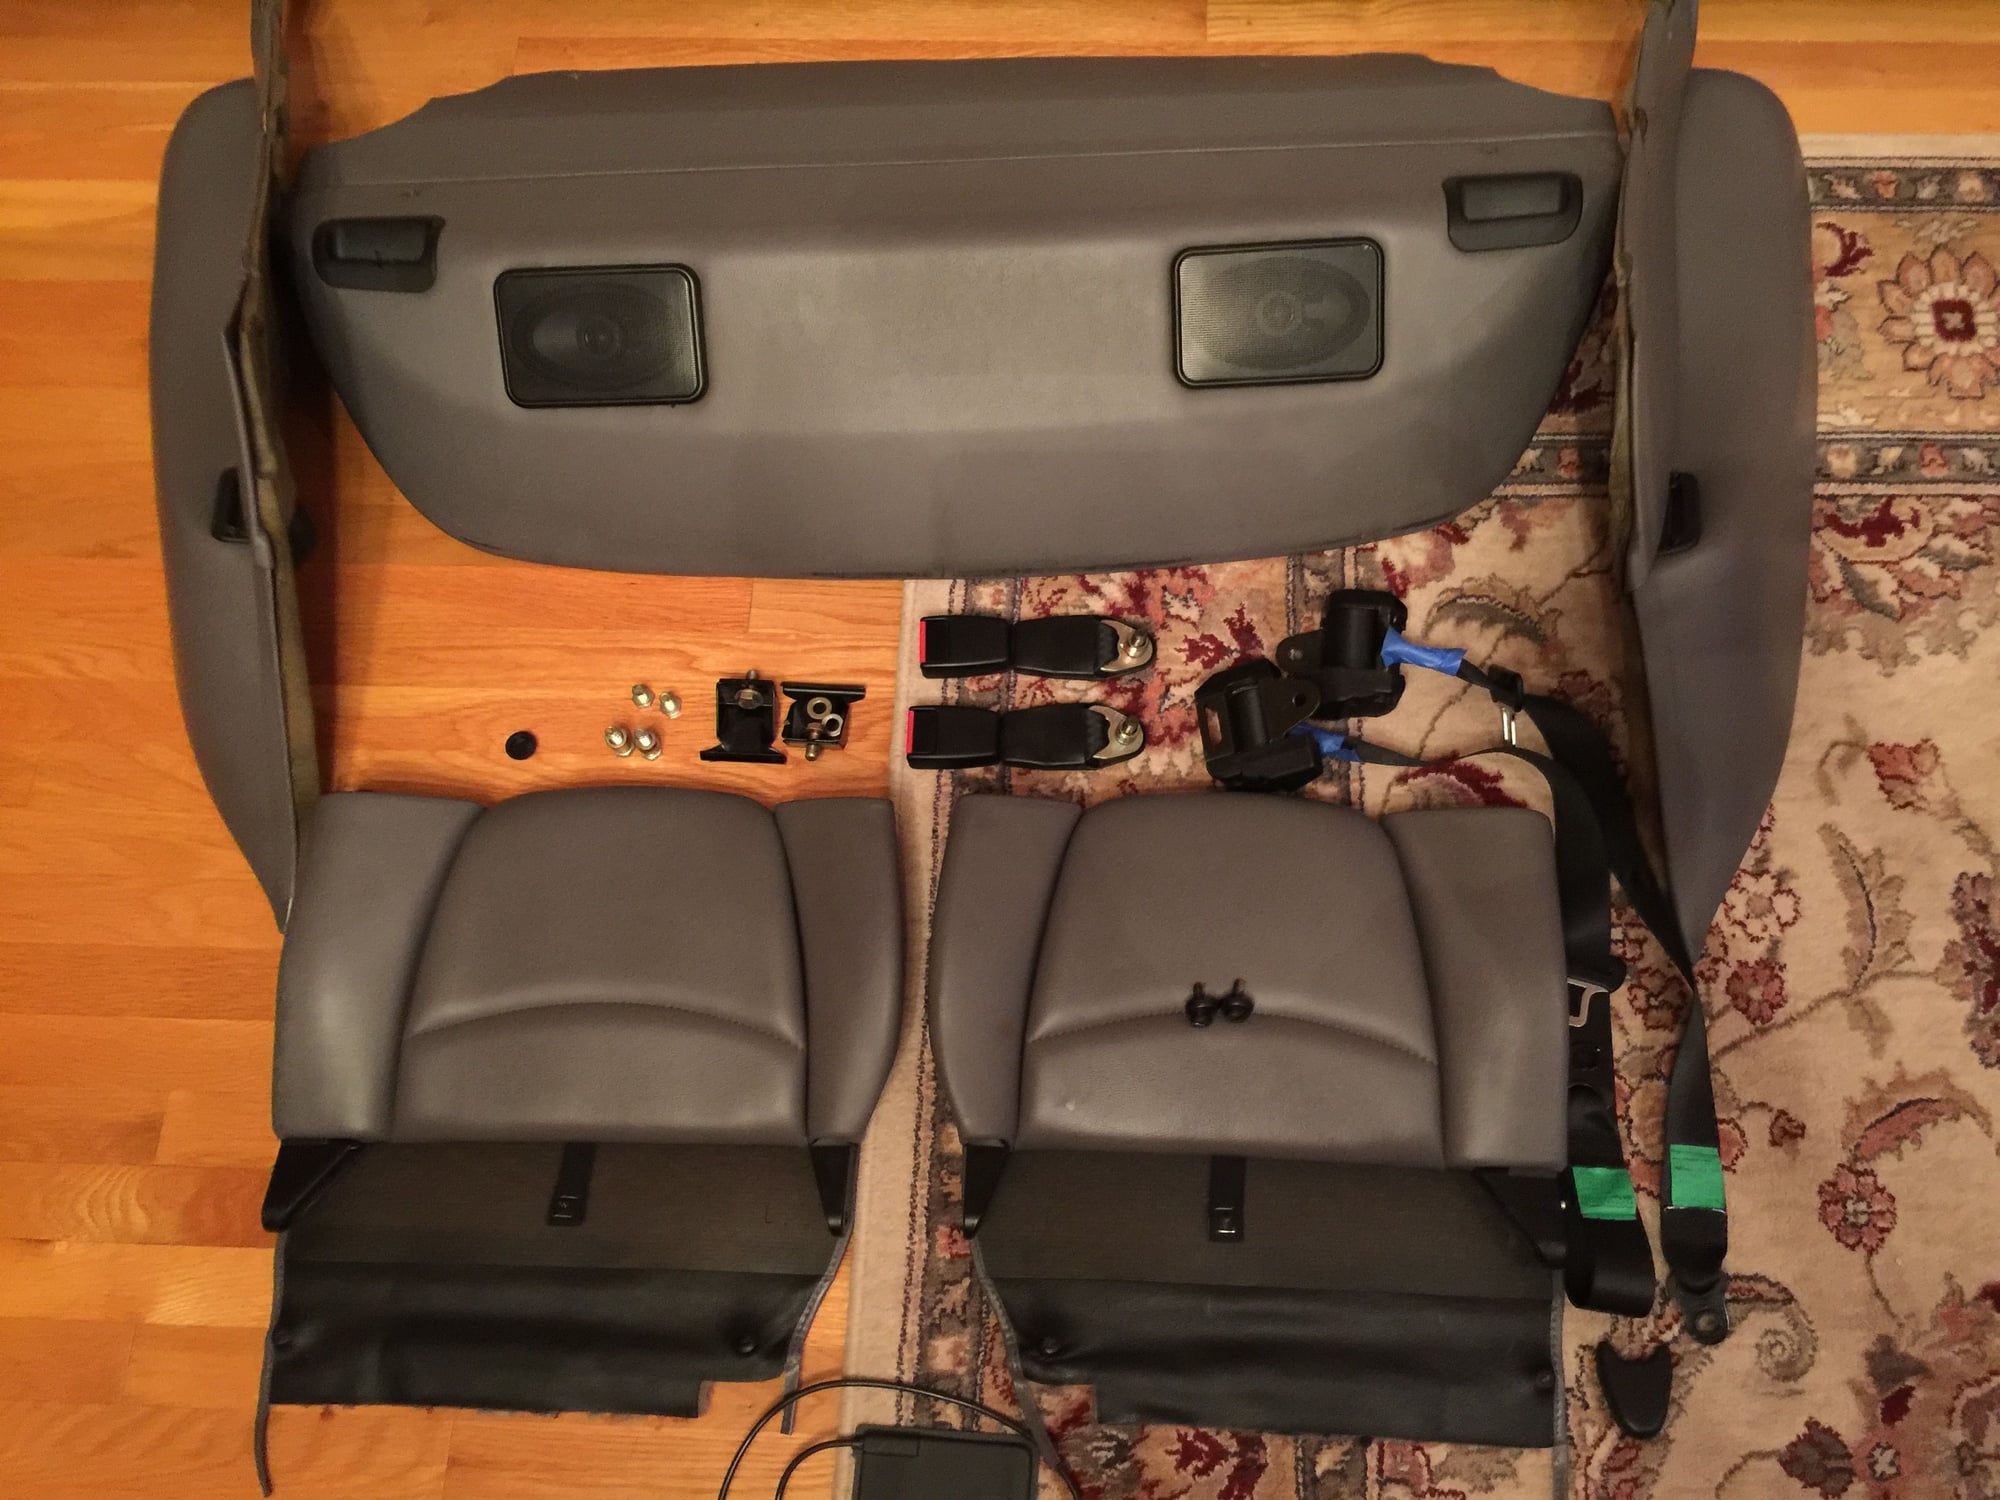
Carpet arrives from Lakewell - lay it out and get organized. Note the rear quarter panels are the ones with leather on two sides . The kit comes with two options for the rear hump - one which accommodates the rear seat anchor in the middle if you want to keep it.
Work slowly from back to front peeling up carpet and insulation together. The less you leave behind, the better. Remove the center console.
Pull the accelerator pedal off the ball so you can remove the carpet and insulation beside and behind the pedal
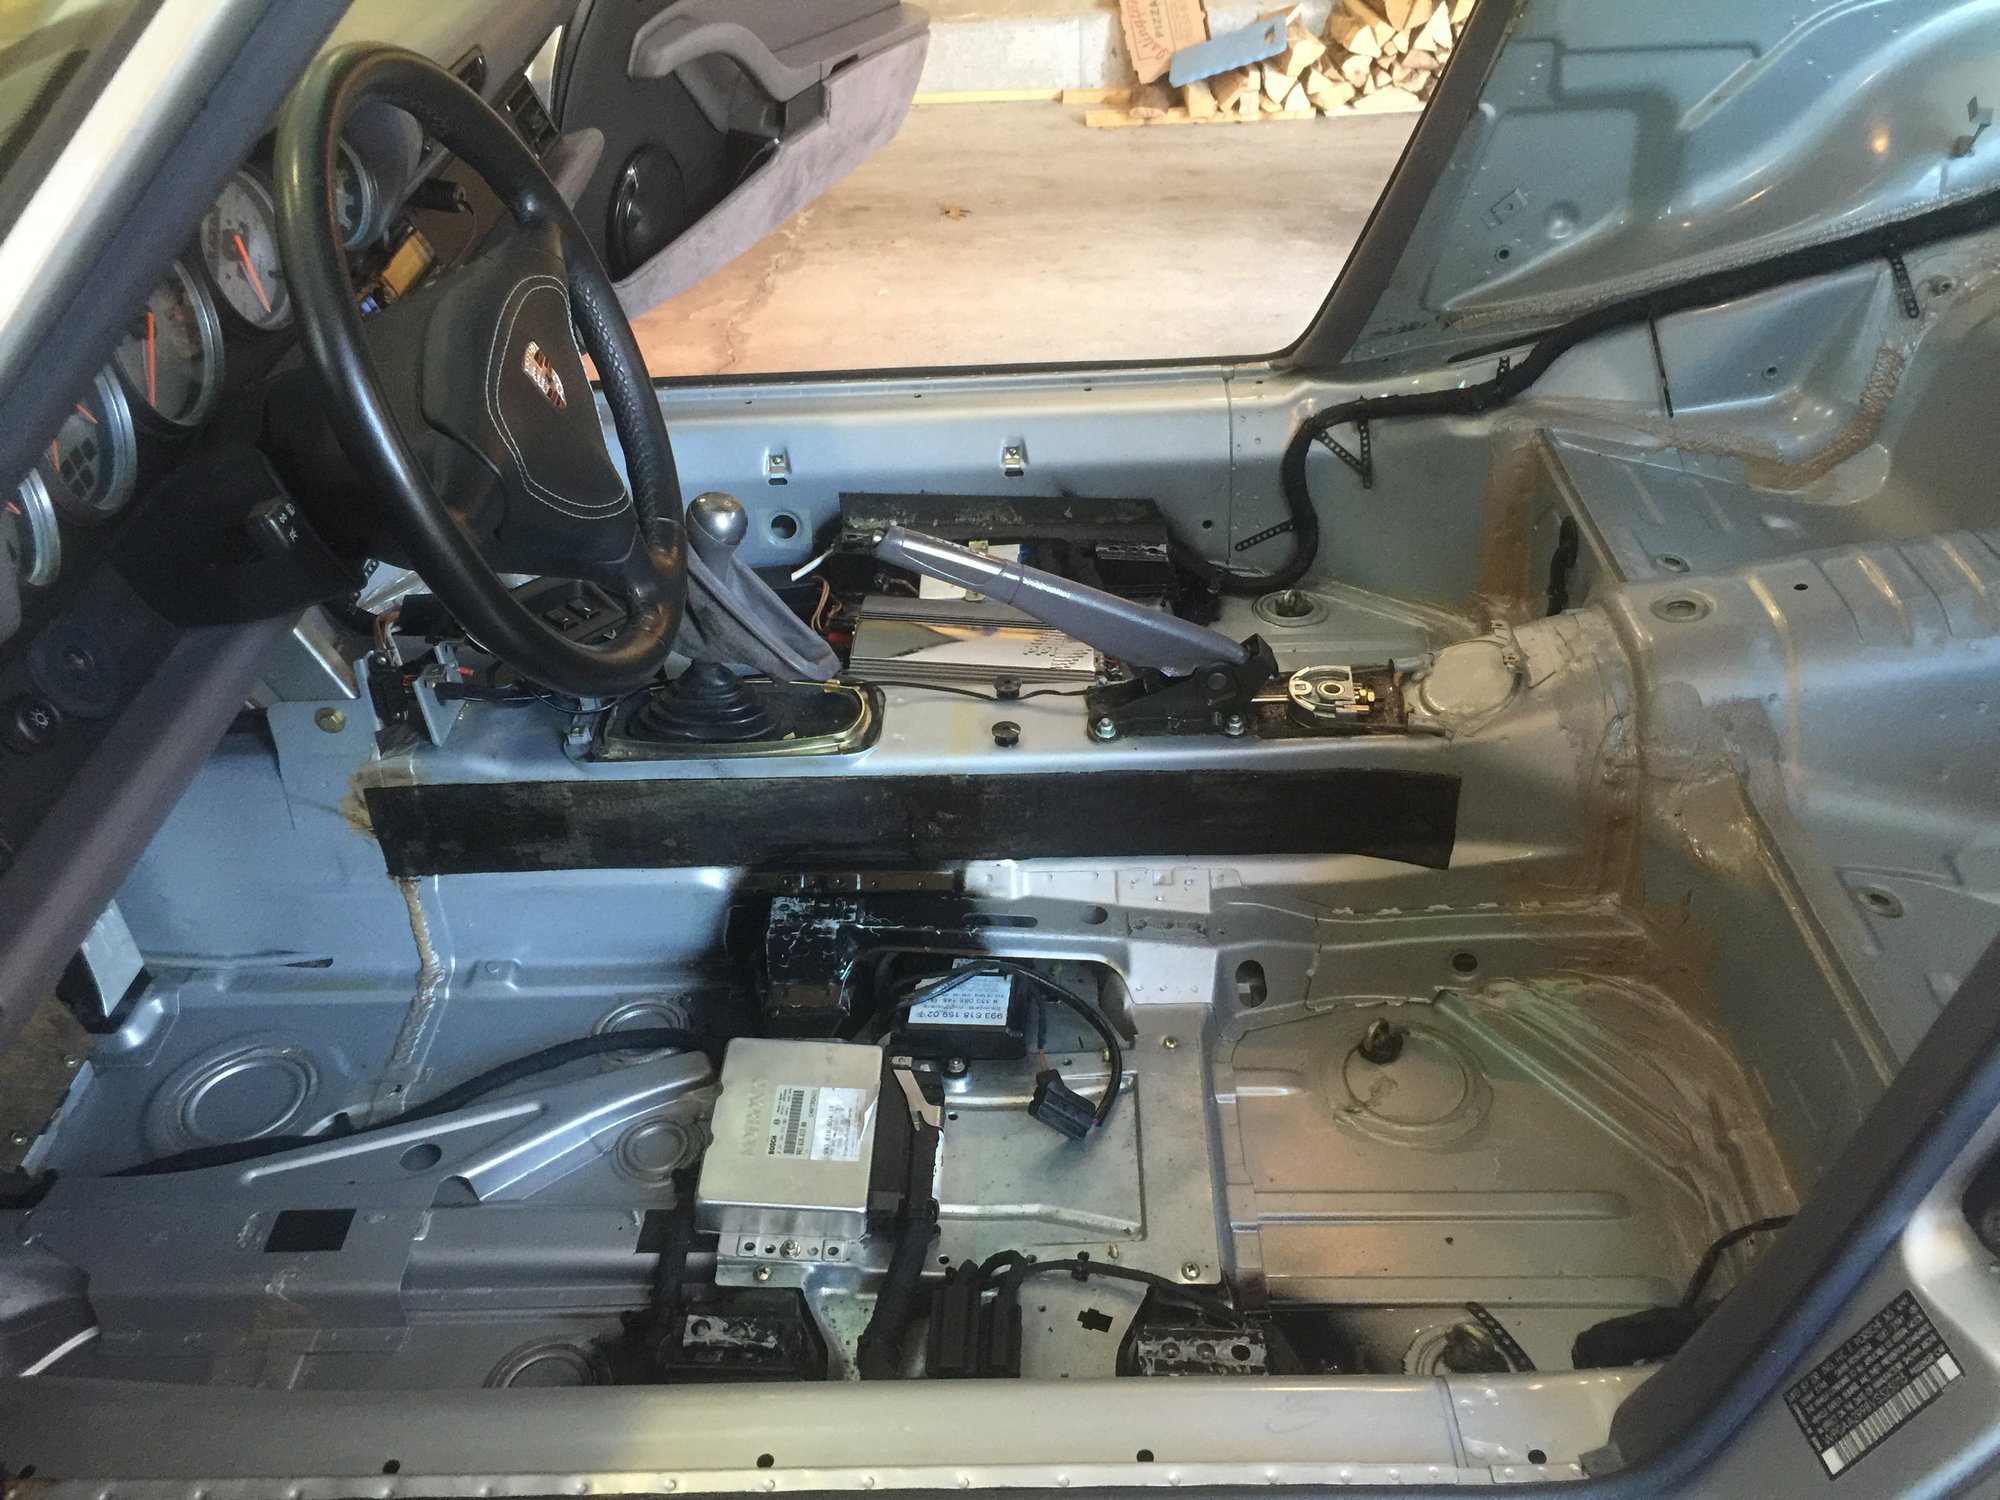
Clean off all the glue, and wipe thoroughly with Degreaser. The must be no Goof Off residue or the Dynamat will not secure properly
Dry run test fitting the carpet - there's one long piece on each side that runs from the footwell to the rear quarter
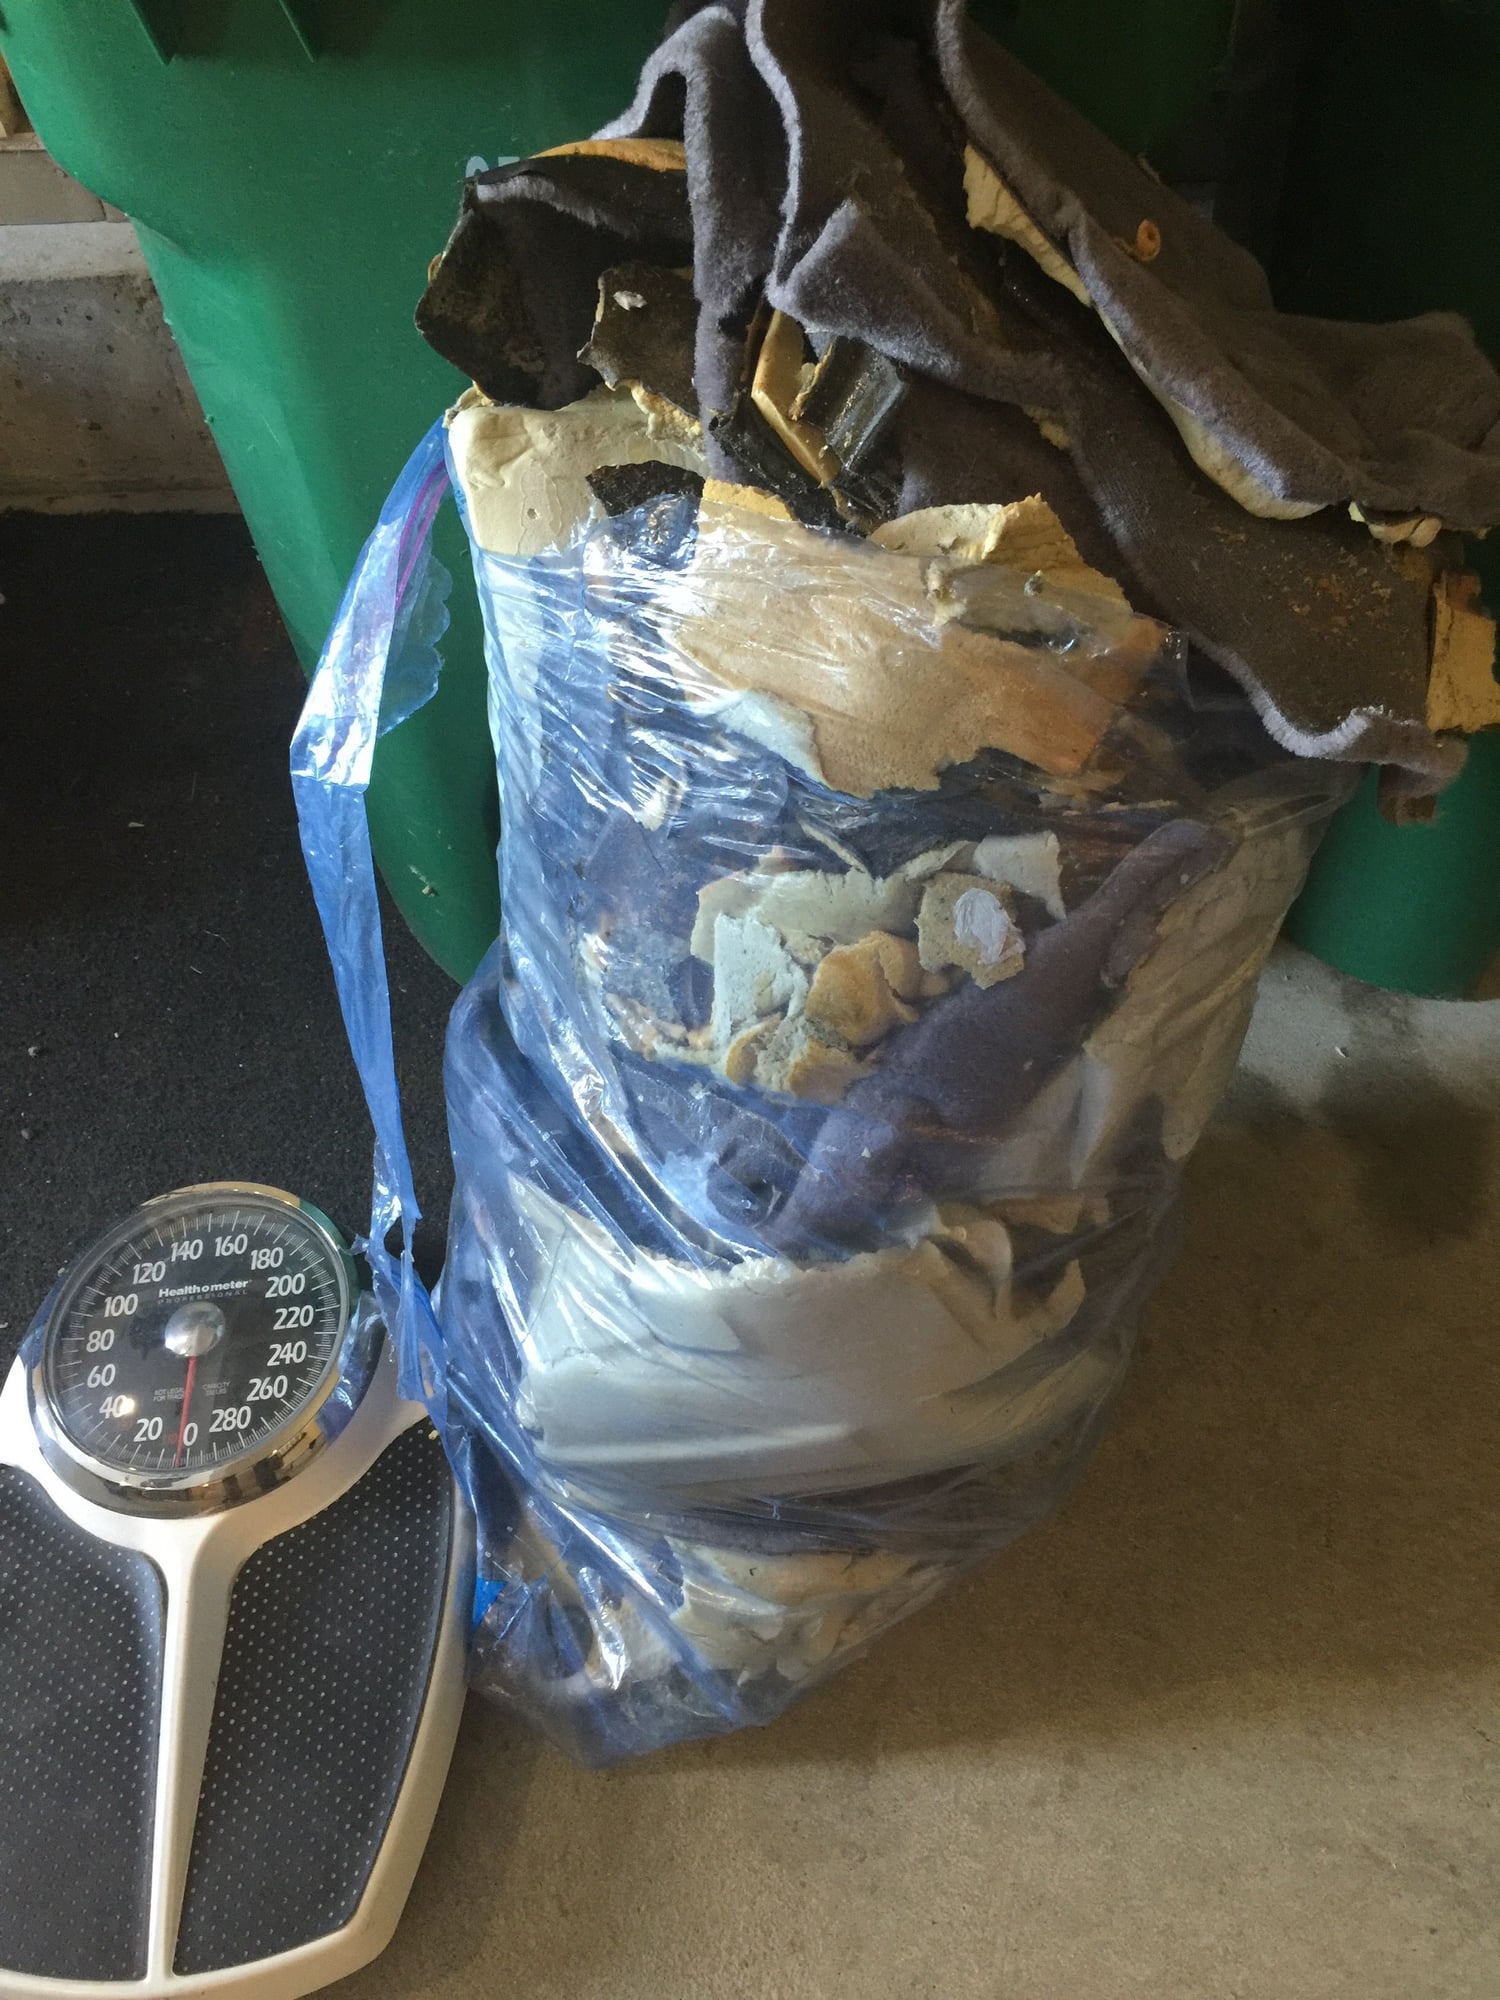
46 lbs. of old carpet and insulation
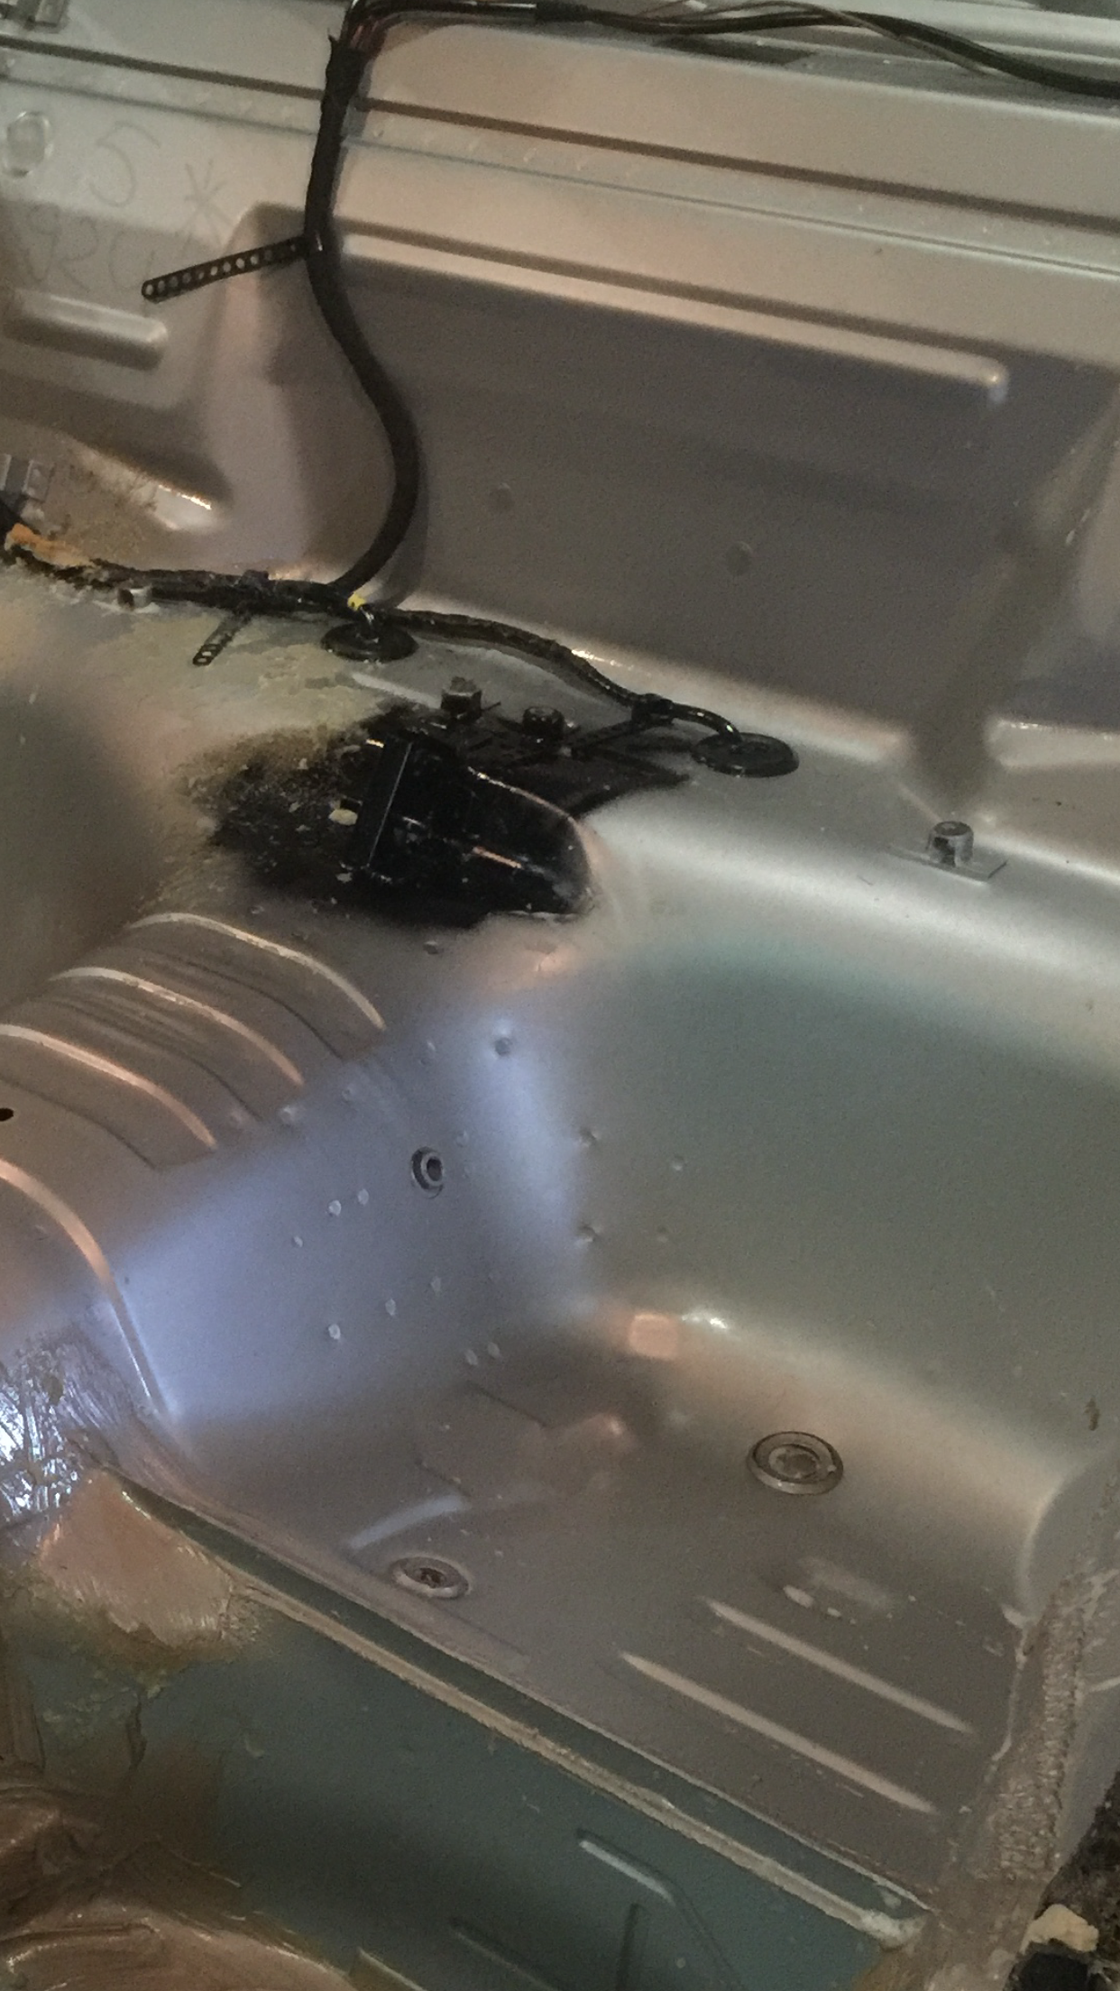
You can opt to keep the middle seat anchor
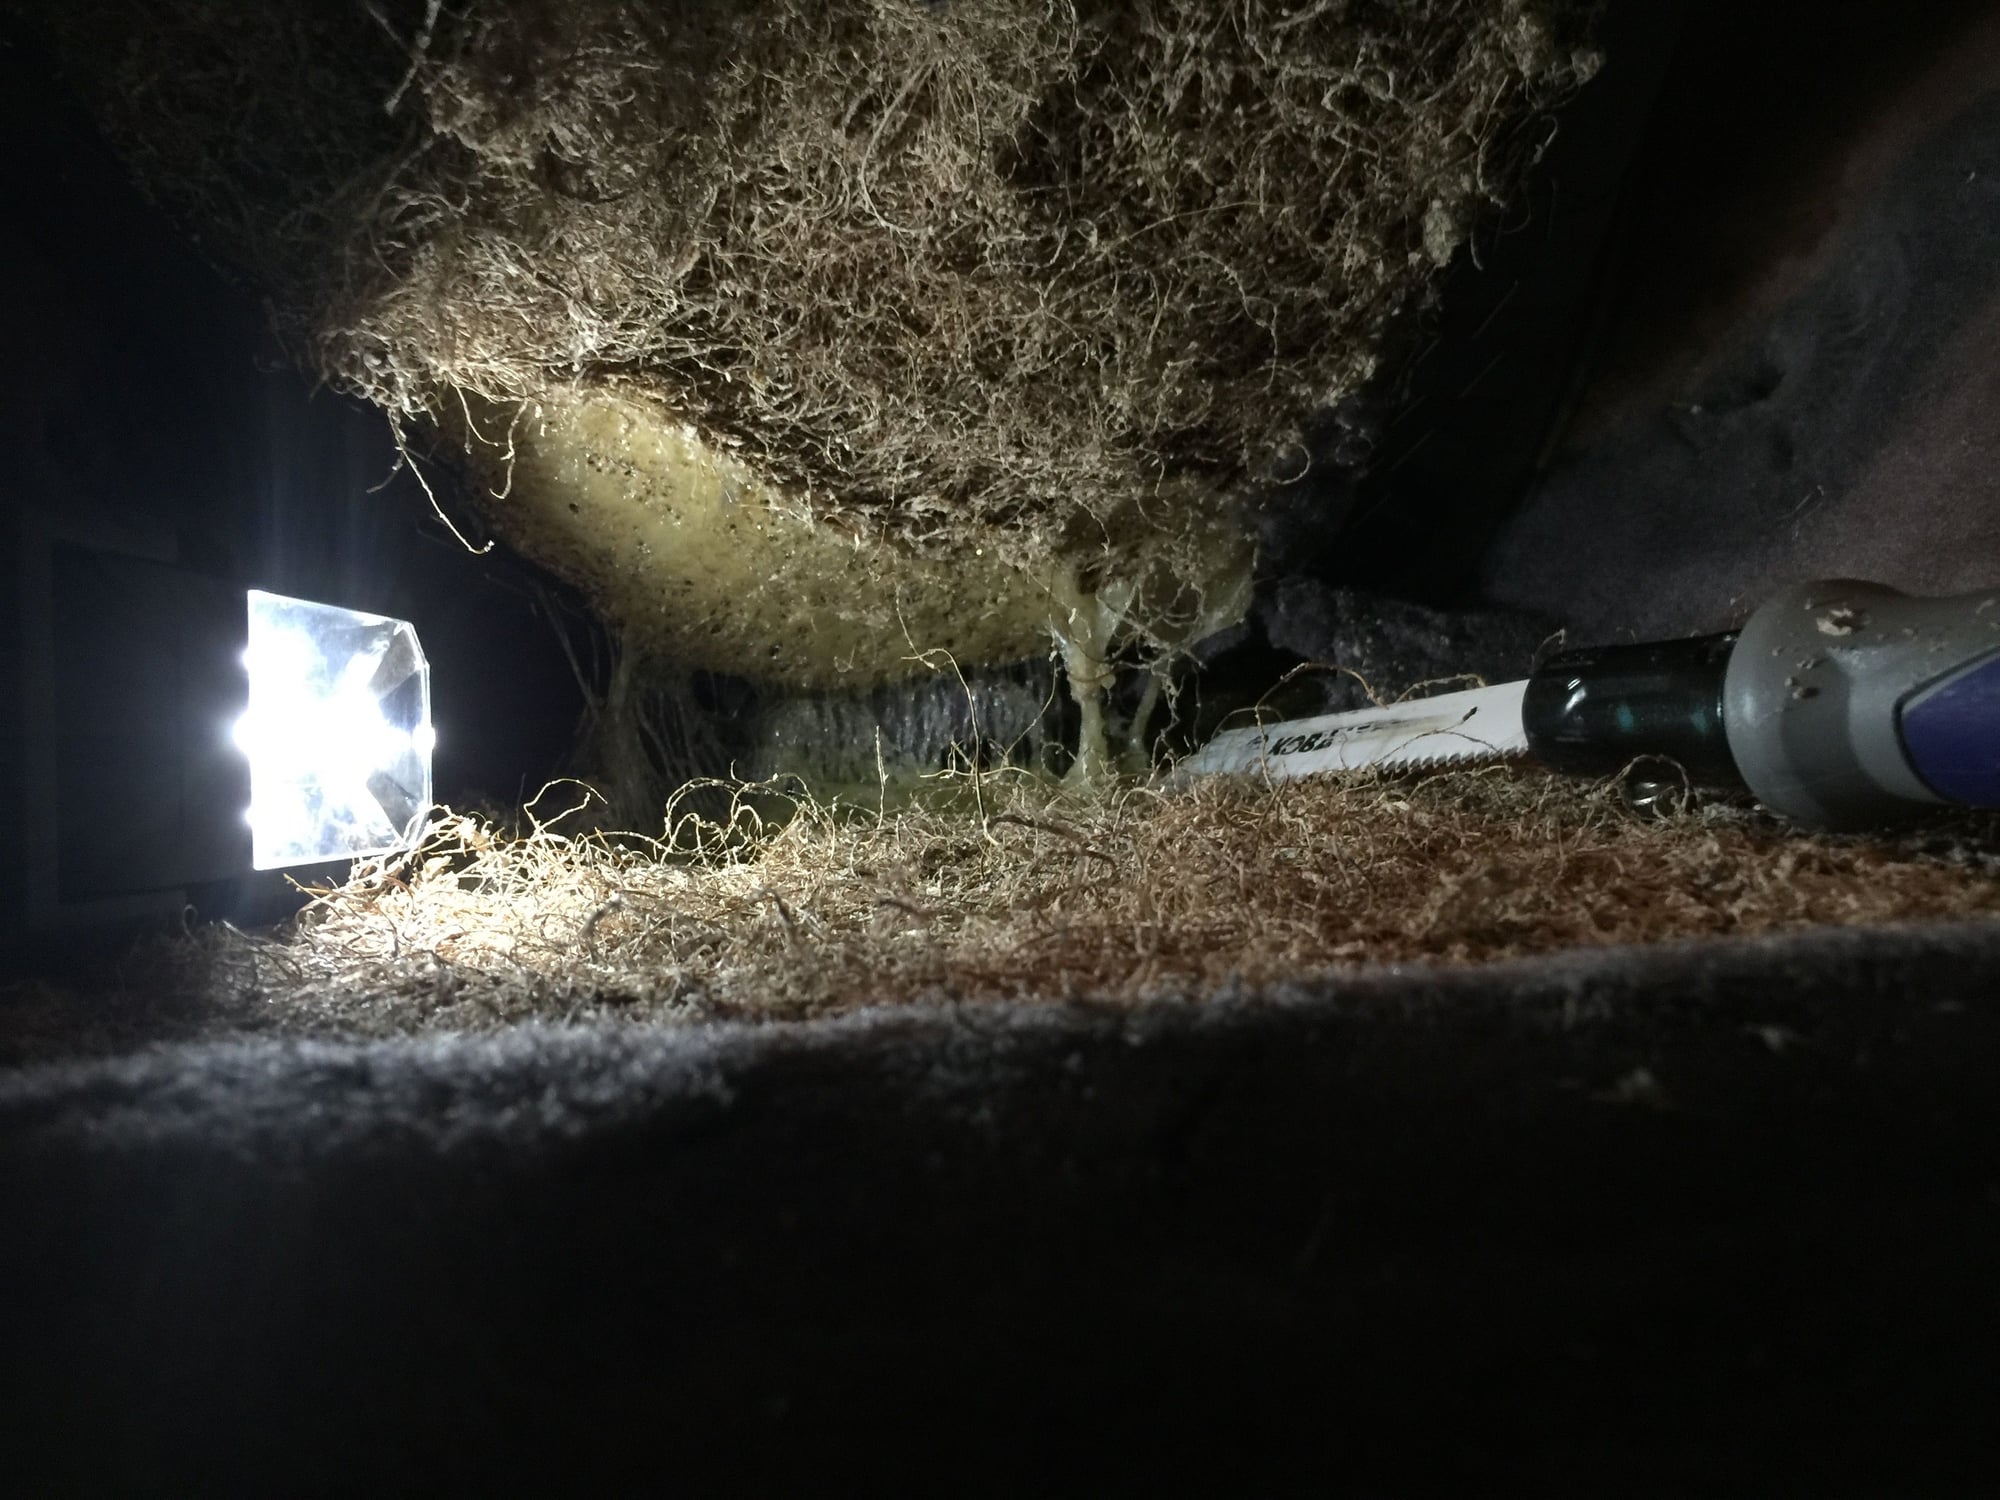
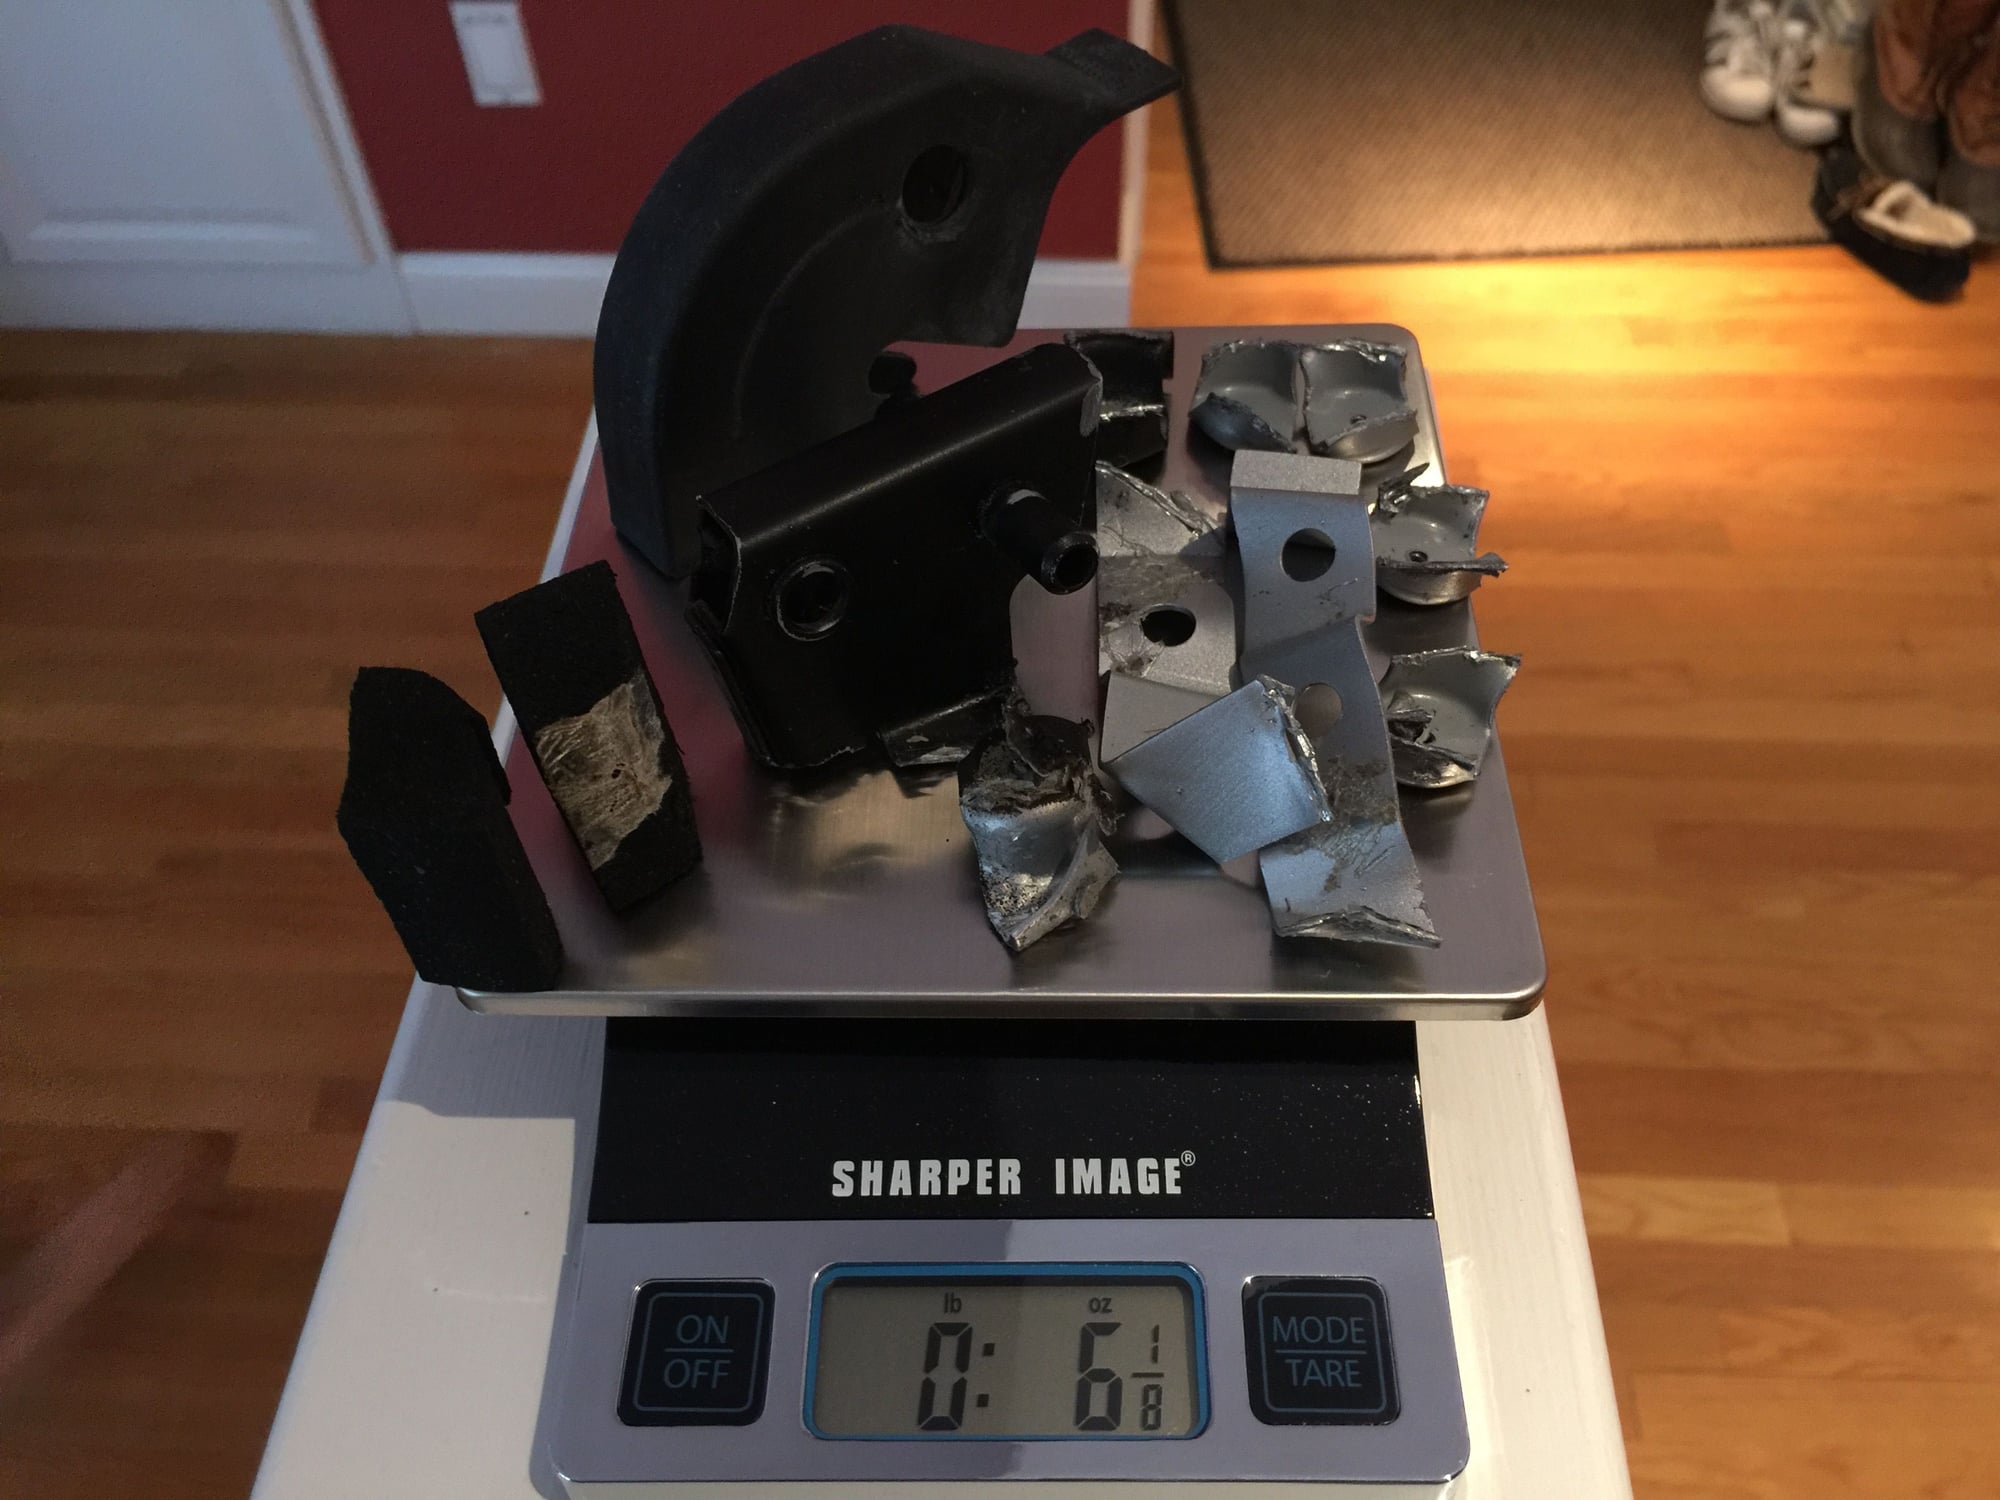
I think it spoils the lines - a cutting wheel makes quick work of removing the anchor and bungs
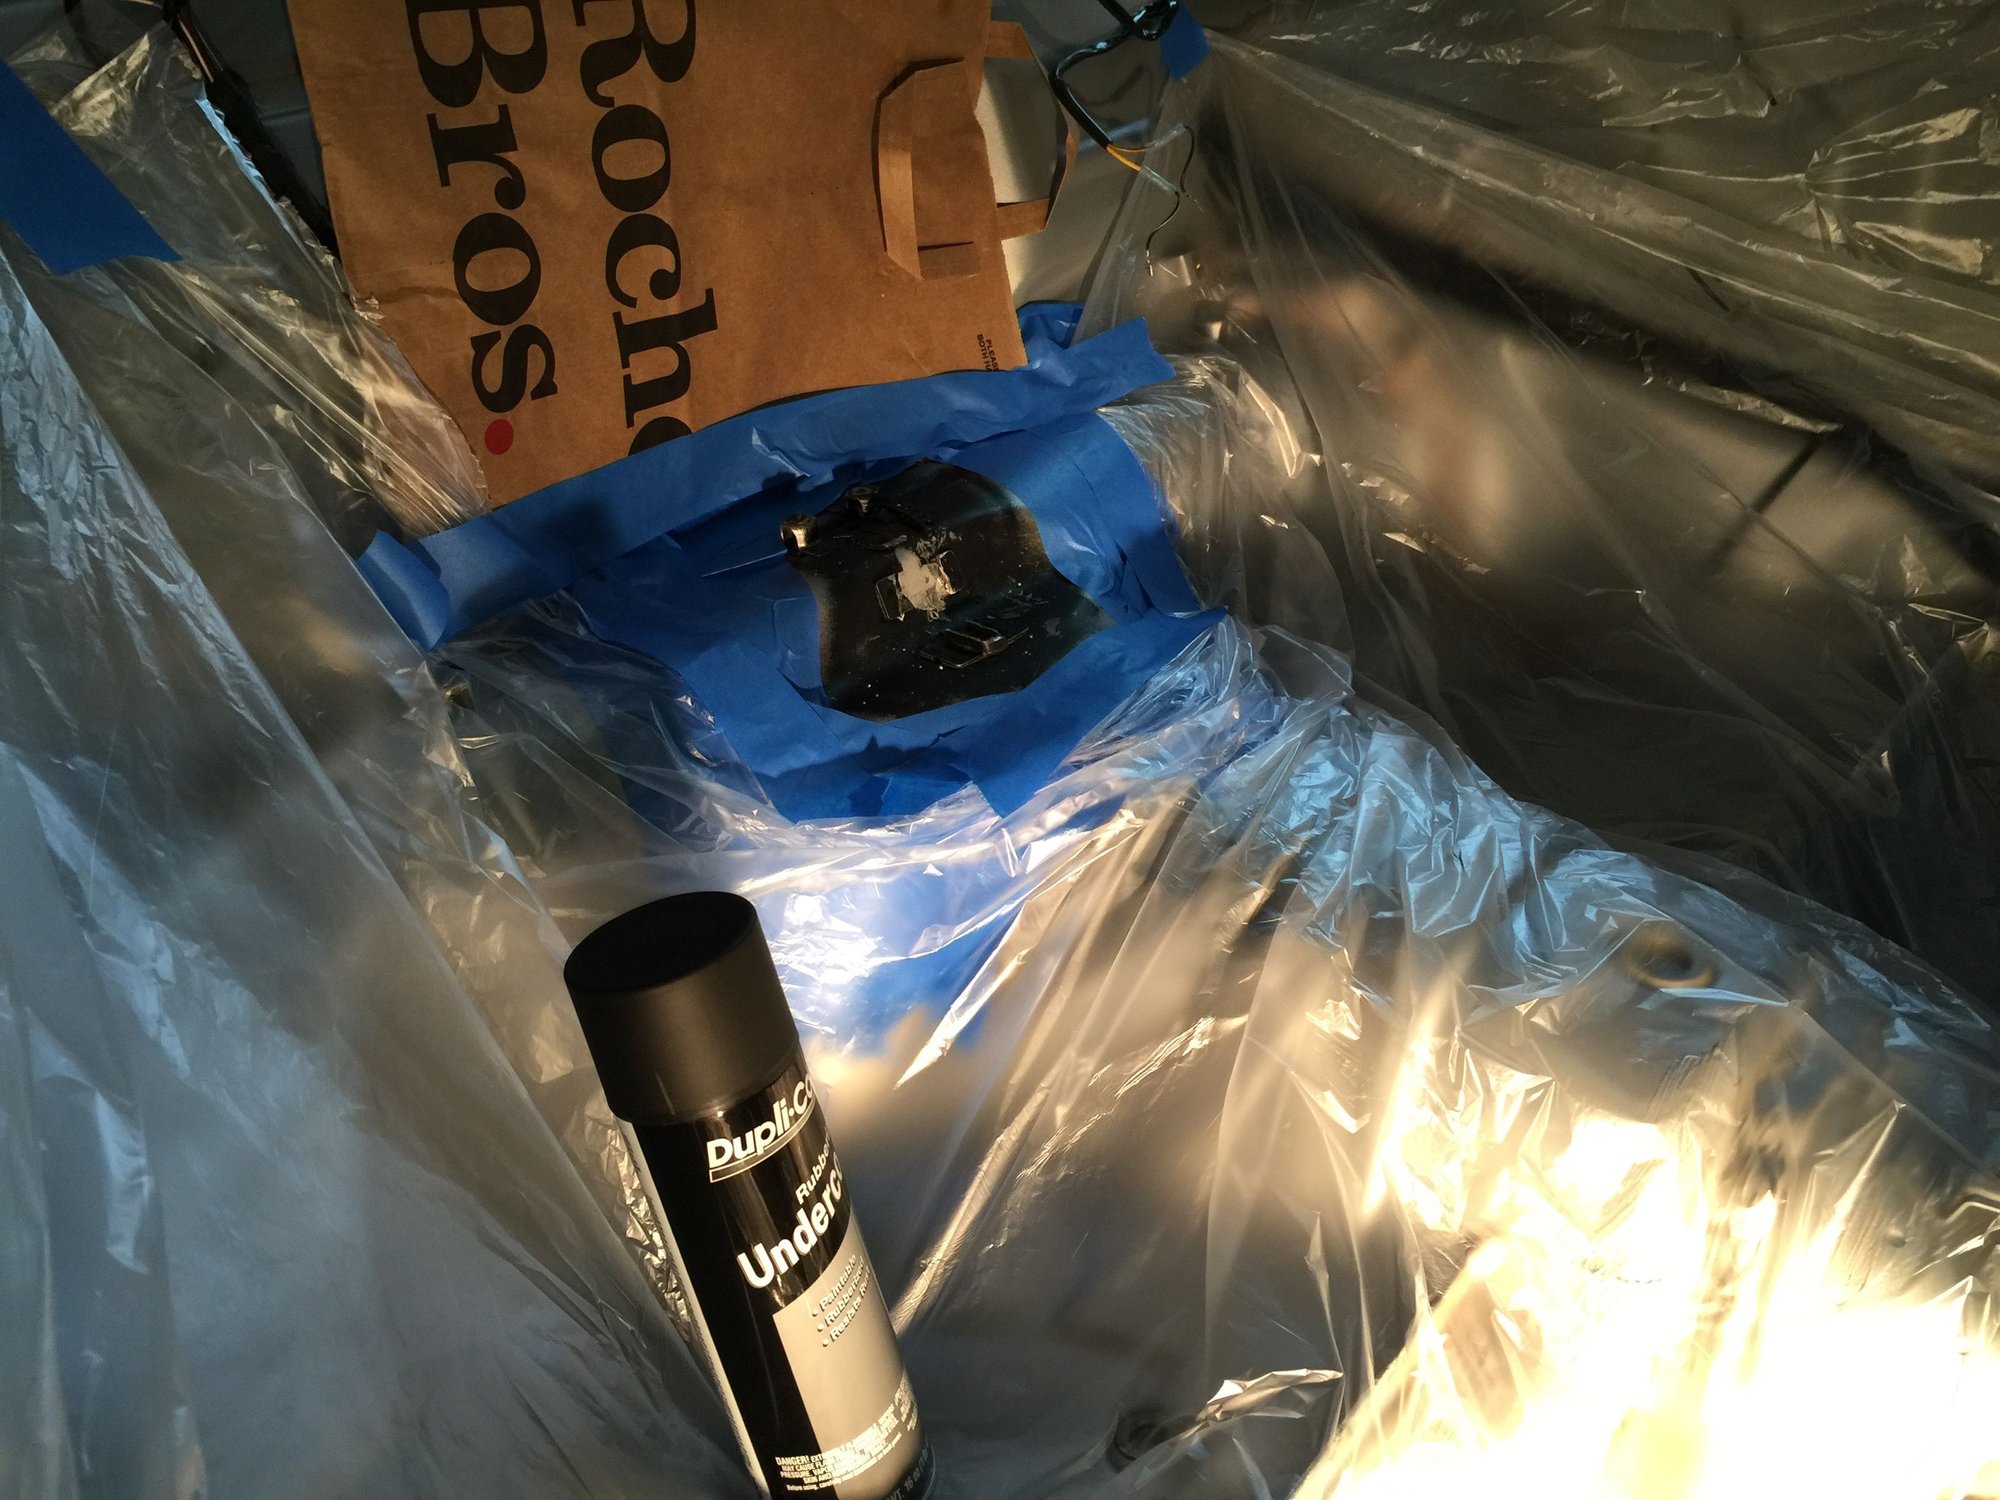
Some primer and paint and it looks cleaner already
Nice work fox! Did you use the xylene on this one to remove the glue or something else? I remember on my war on cosmoline thread you used some on your 964 carpet job?
While the pedal was detached, it was the perfect time to replace the old pedal board
The Rennline pedal board is a quick and easy replacement. Makes me think twice about carpeting the car at all...
But this car sees some street time, so I began laying the Dynamat Lite. It takes some time to cut the pieces and lay it neatly.
15 lbs. covered the entire car - some folks cover only half the car to save weight. If your trying to save weight, work with strips and focus more on the flat surfaces and less on the curved areas.
Here's the stock carpeted footwell trim lying on top of the new Lakewell panel. Note the difference in color and texture
Compare the stock carpeted console in foreground to the new Lakewell carpet behind
I took photos noting where the cuts were made, then labeled the trim pieces and carefully pulled up the old carpeting
Carpeting the trim pieces was easier than I expected. But I quickly learned that the glue can bleed right though the thin carpet. Use the glue sparingly and allow it time to dry and get tacky before applying. The depression in the footwell was also tricky - the carpet is flexible, but I struggled with that spot.
The MLV arrives
This MLV with the closed cell foam is great stuff, but it's very heavy. I ultimately chose to confine it to the footwells, firewall and console, and I used a much thinner adhesive backed MLV for the rest of the car.
Adhesive backed MLV on the left, MLV with closed cell foam on the right. Some say the closed cell foam is critical as a decoupler, but I'm very happy with the results of the adhesive backed MLV on top of the Dynamat
Carpet Jute - perfect for a few isolated areas like the center console in the rear and under the carpeted rear decklid.
Stencils helped to cut and pay the MLV and the Dynamat
Stencils for center console
Last piece of Dynamat
These sections for the footwells, rear seats, rear hump and firewall all all the heavier MLV with closed cell foam
Working
The rest of the car is covered completely with the adhesive backed MLV. All the seams are taped carefully, and MLV is physically attached to the rear corner panels
To keep the weight down, I eliminated some of the heavier MLV in exchange for the thinner and lighter MLV. Just a few pieces adds up.
MLV Layer
By layer
I made a quick decklid out of birch plywood. The 993 decklid rises up to allow room for the speakers. i weanted the streamlined look, so I relocated the speakers to the back of the seats where there's a perfect recess.
Dynamat and MLV
The jute, and the RS carpet. The speakers hide neatly underneath
Nice work fox! Did you use the xylene on this one to remove the glue or something else? I remember on my war on cosmoline thread you used some on your 964 carpet job?
Hi samurai_k When I did this project on my 993 last winter I did it strictly with Goo Gone. Had I known about Xylene back the, I definitely would have used it in some of the tougher areas. The Goo Gone is very effective in many areas, but the Xylene is incredibly fast and effective. I'm working with both on the 964. Hats off to Cobalt for this tip on the Xylene.
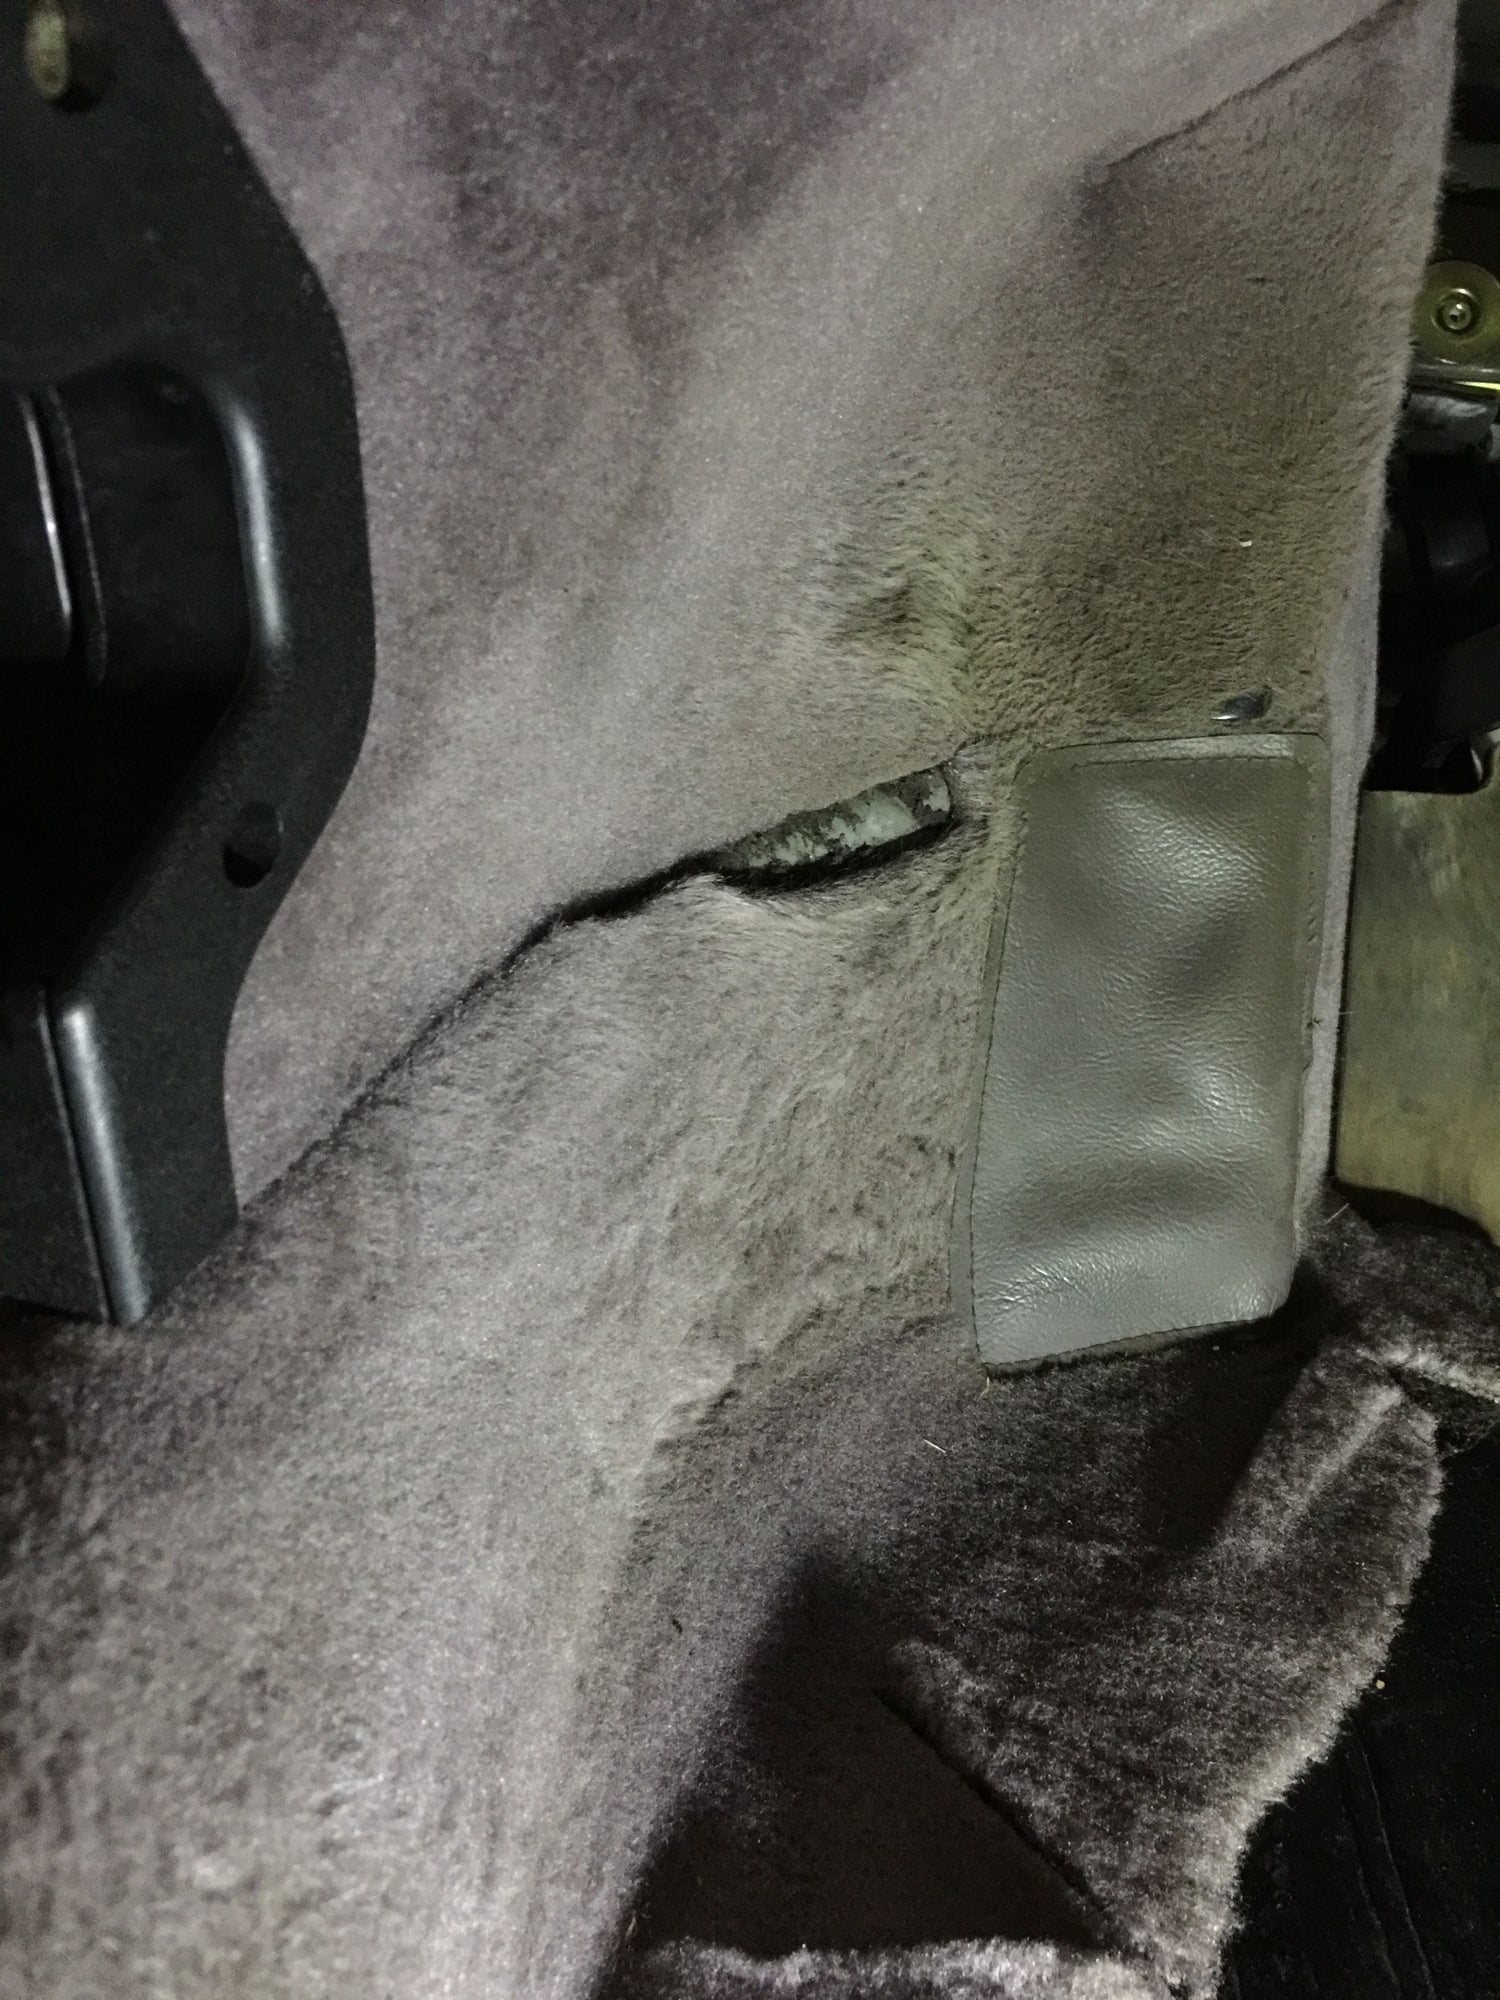
Thanks to reading some prior threads here on Rennlist, I knew to watch out for a large gap at the rear of the center console. That was a great tip. Im guessing it's no fun to glue the carpet down and then discover a gaping hole when you install the center console.
Lay some MLV with closed cell foam
Then a layer of carpet jute and there's no gap.
Finally time to start laying the carpet down. Like painting, once all the prep work has been properly done this is the easy part.
Start by laying the two long pieces that run along the door sills. Take your time and work one section at a time. I used painters tape to help secure things.
Keep some beer handy and take a break while the glue dries and tacks for a few minutes. That prevented any more issues with glue bleeding through the thin carpet fabric
Before installing the rear quarter panels I installed the DAS transverse bar.
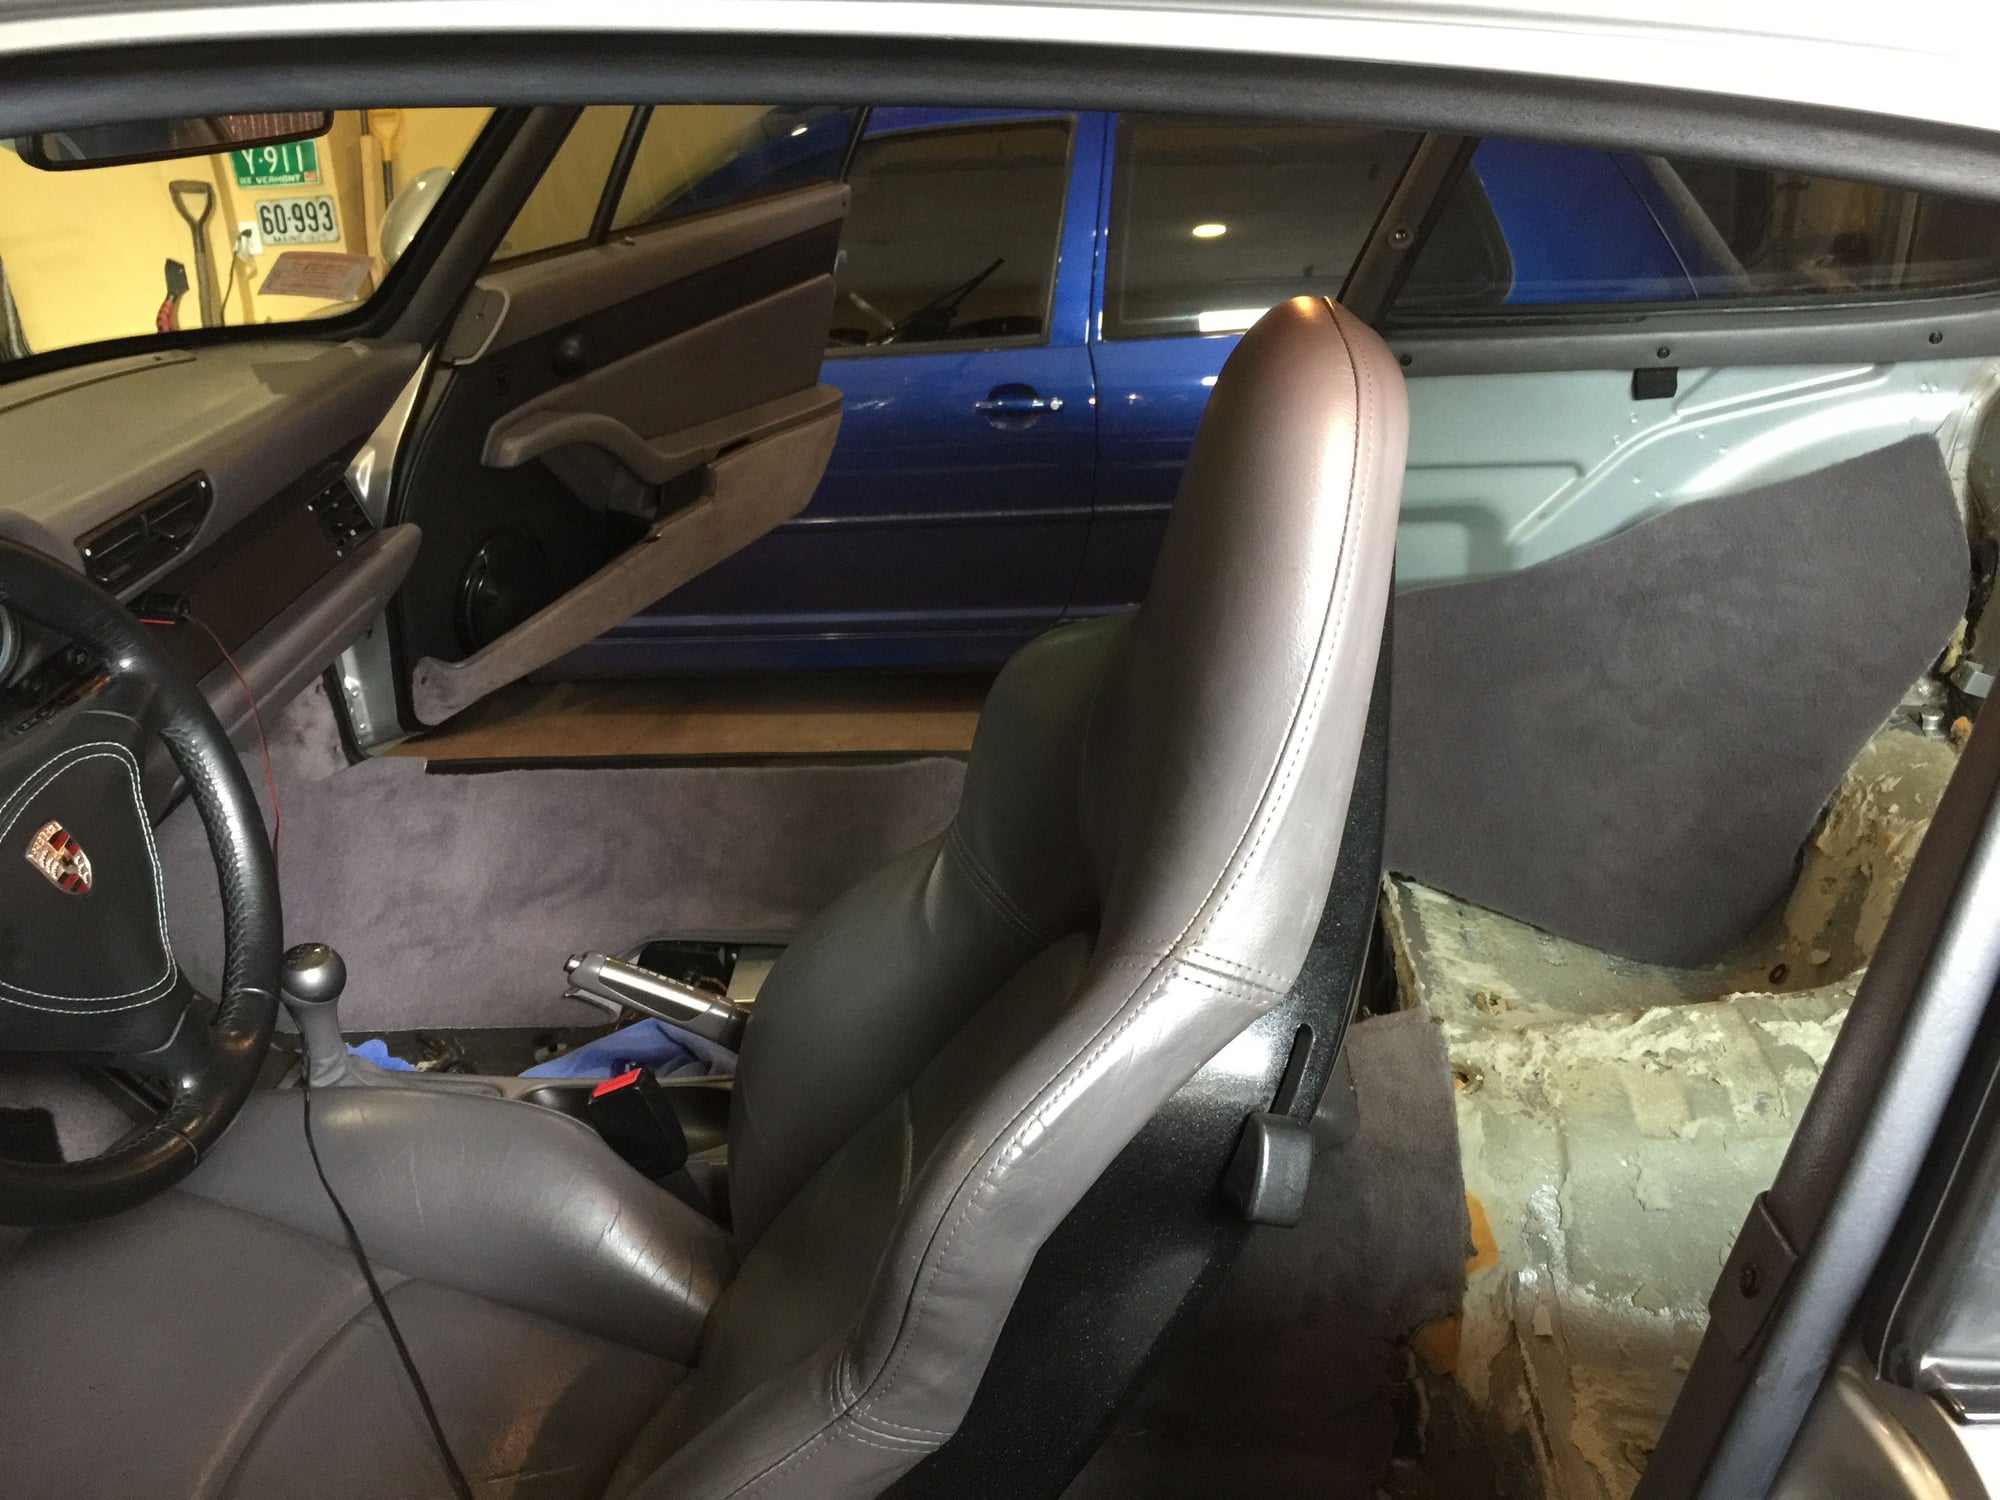
The corner panels have two sides with leather trim (the top and the B pillar). I opted to keep the trim pieces under the window and cut that section away. Take your time here to line all the edges up properly
I was hesitant to rip off the old leather on the pillars, but this was easy work and I'm pleased with the results. Brand new leather on the B pillars is a plus. Use the Scotch Super 77 here.
When I removed the center console, it looked like a dog had been chewing on it.
I'm guessing track belts did this?
Sio I purchased a repair kit form Leatherworks
I filled in the holes and after a few coats of the dye it looked good as new
Center console is finally back
Finishing touches. Wooden floor boards next - lightweight birch plywood
I like Rennline's track mats, but wood is simply better.
I did opt for some spendy countersunk washers from Rennline to secure the floorboards
The Rennline hardware includes a few rivnuts which are perfect for securing the floor boards
Outstanding write-up and photography! Interior looks terrific. Wish I had tried xylene when I was stripping out my interior.
Tip for other DIYers: be sure to use a respirator that is rated to filter out VOCs. Best to call the manufacturer to be certain if the packaging does not explicitly state what it is rated for.

 02-03-2018, 01:35 AM