When you click on links to various merchants on this site and make a purchase, this can result in this site earning a commission. Affiliate programs and affiliations include, but are not limited to, the eBay Partner Network.
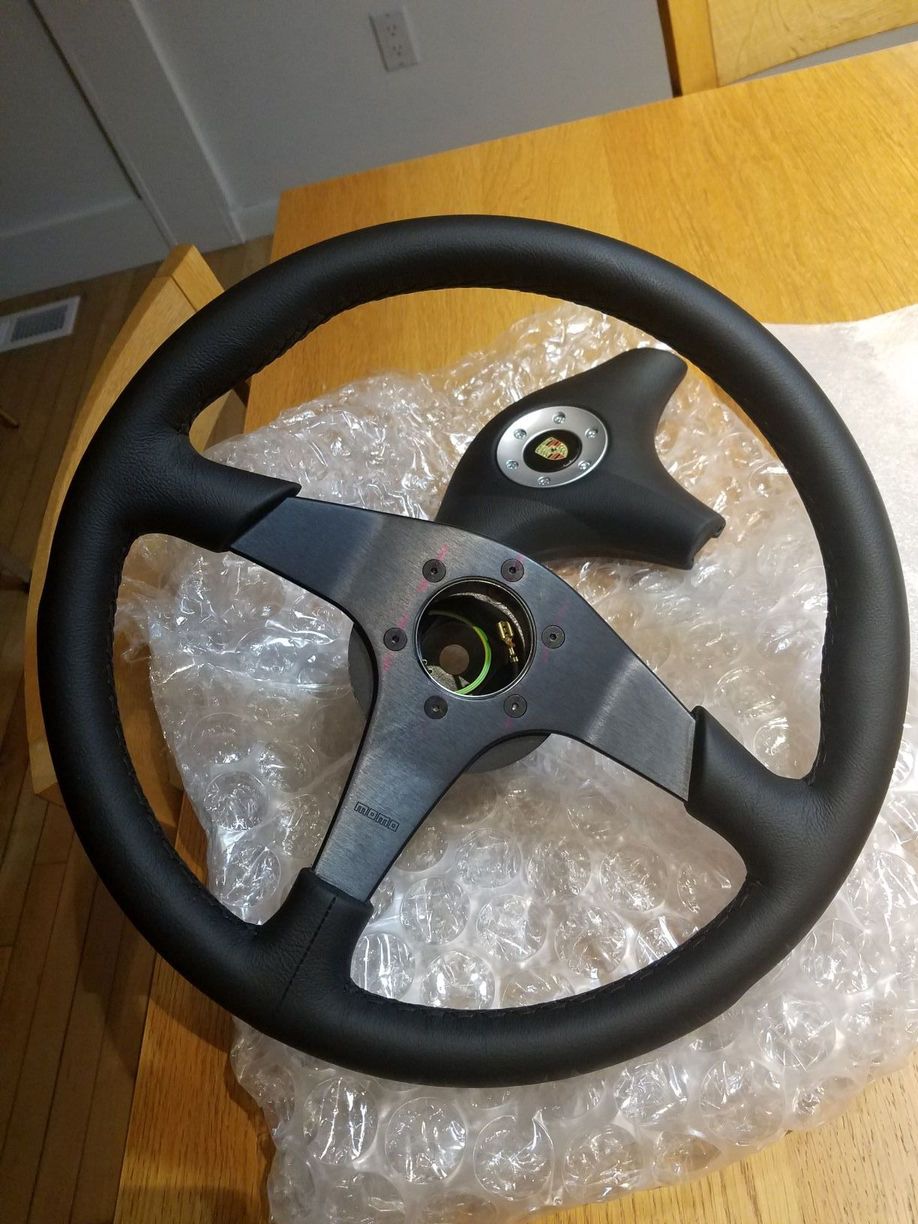
I bought an RS Wheel PN: 993-0347-084-80-8 and immediately realised I preferred the look without the center padded section fitted:
What followed is a bit embarrassing - I realised I needed a solution for a horn - and had no idea you could buy horn rings to suit Momo wheels off the shelf. My shame for not googling....
I designed the below then came accross this post and after a little swear, I bought this as well to compare: https://rennlist.com/forums/993-foru...rest-horn.html
(If you want to buy, there are many versions () such as this: https://sierramadrecollection.com/Ho...ls-p18426.html)
By this point I was 95% done with painting mine so continued even though this was now kind of a wasted project - except for the chance to paint body colour I suppose. I guess I now have the option to swap between a body coloured one and the original Porsche (vintage looking) version.
If you are interested, here is how it went:
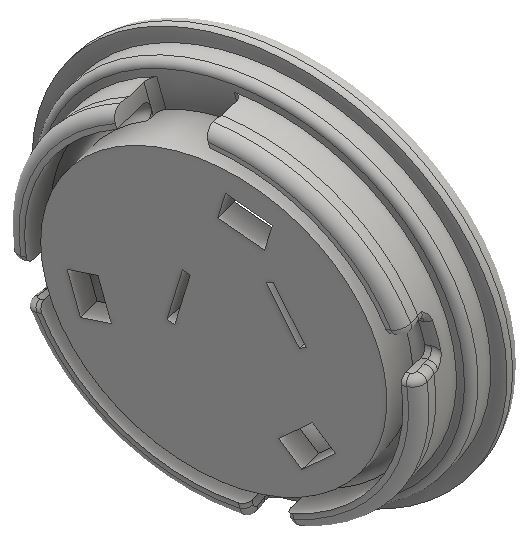
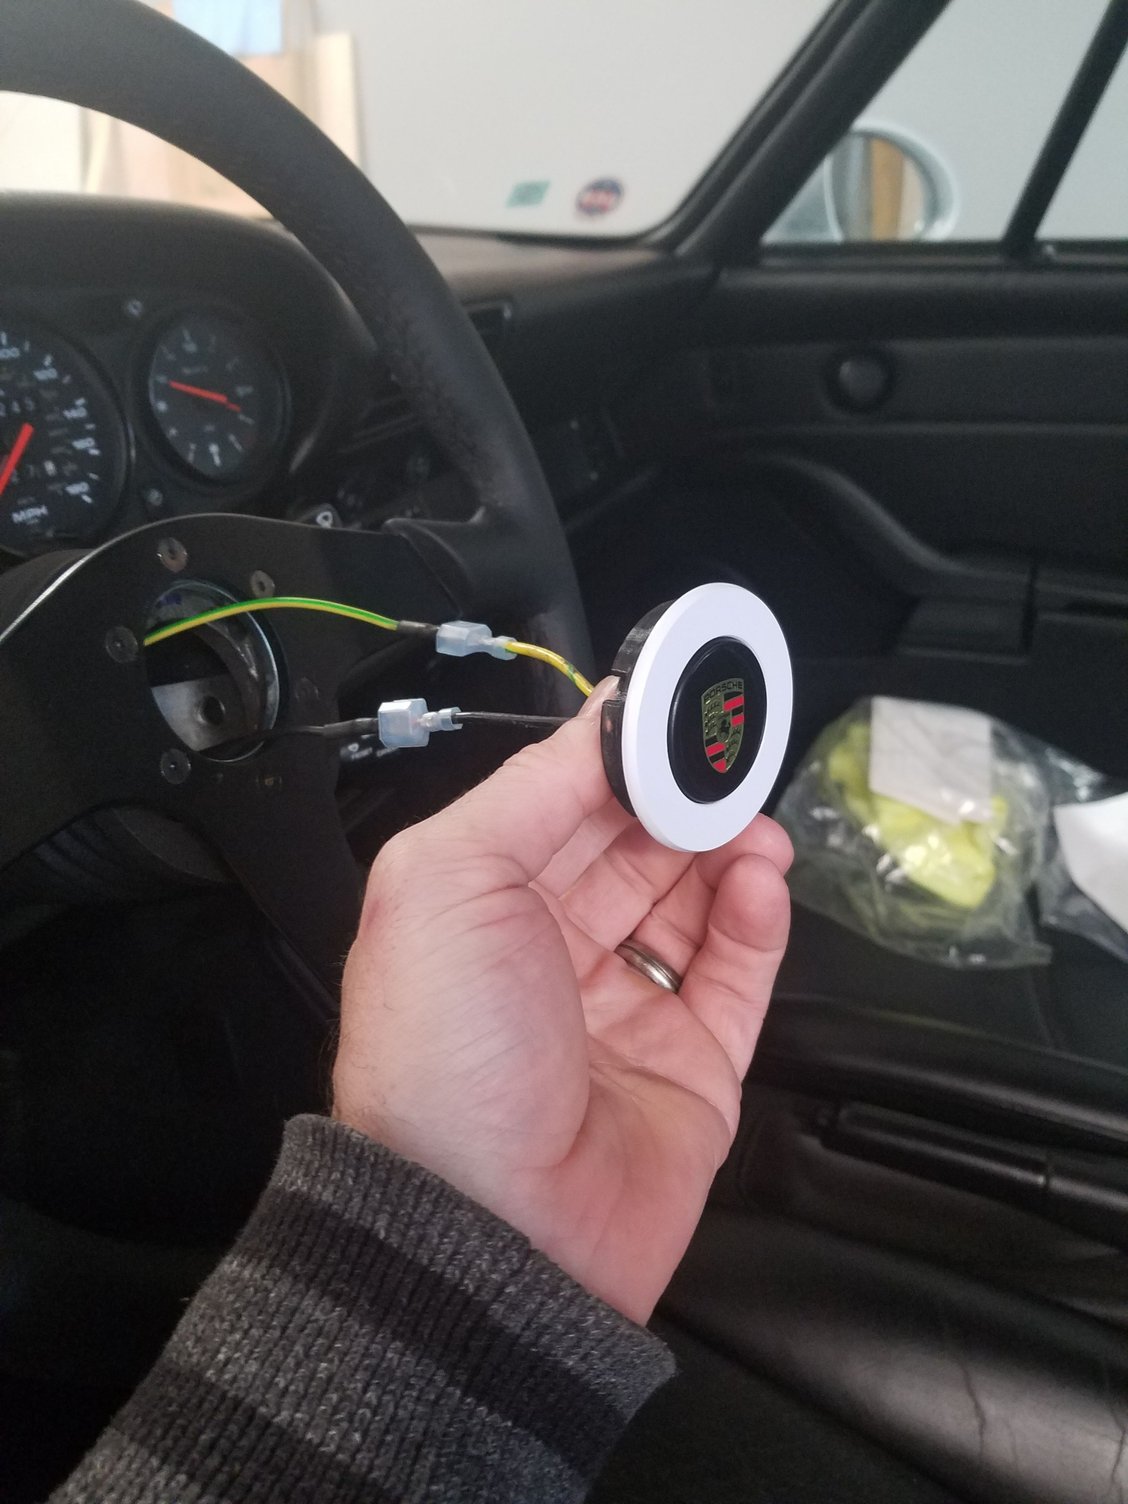
I printed it with this face 'down' which gave a very nice finished surface that you would see when it was installed. It was designed to be a press fit into the 52mm Momo hole. I then bought the factory version and see they have a spring steel ring pushing plastic prongs out to hold in place = better solution but the press fit of mine is ok.
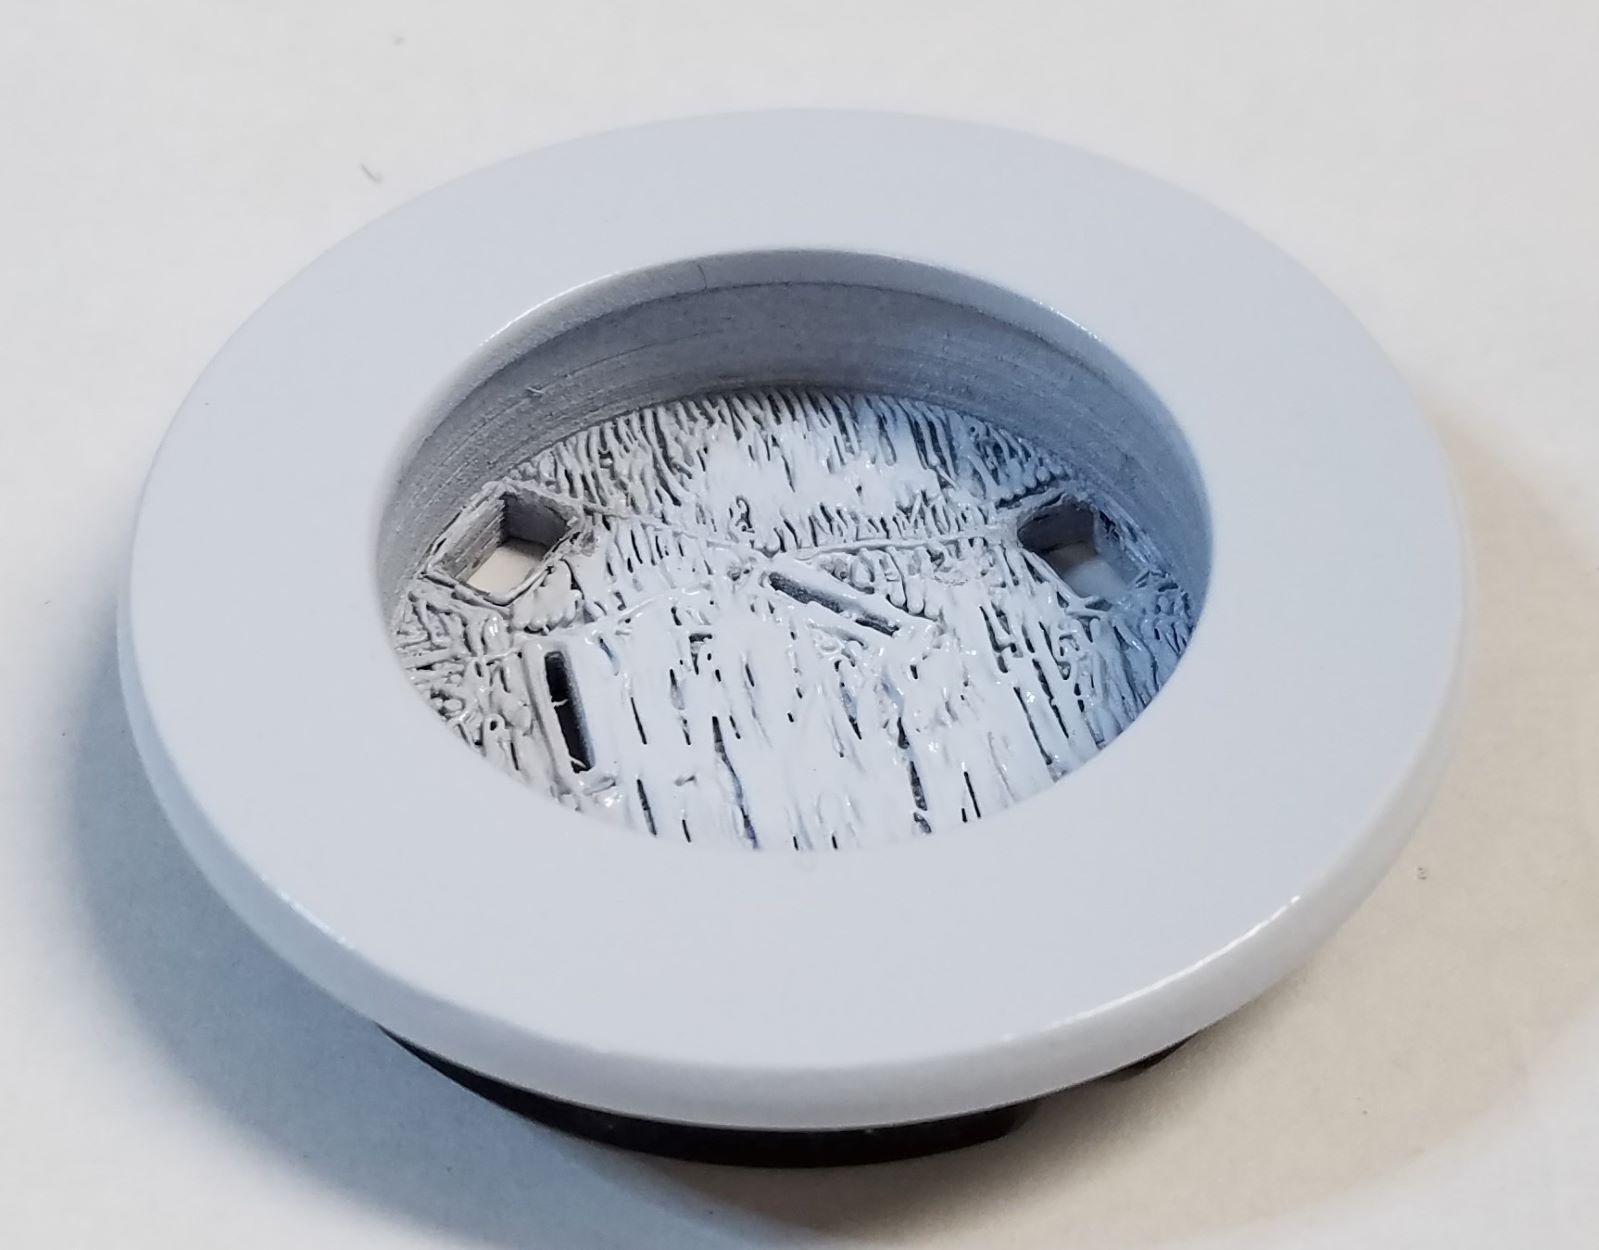
The crappy surface finish inside the housing is because I printed it 'face down' so that surface was upside down - and needed supporting. The 3D printer filled the area under here with plastic to support that surface during printing. After the print was finished I ripped away that support plastic leaving the crappy surface. However, the center Horn Button will completely cover this surface, so I didn't care.
Then: Automotive primer, base (glacier white) and gloss lacquer. It looks grey right?. Then you get it out in the light and it is def sparkling glacier white. I do like this white and all its different shades.
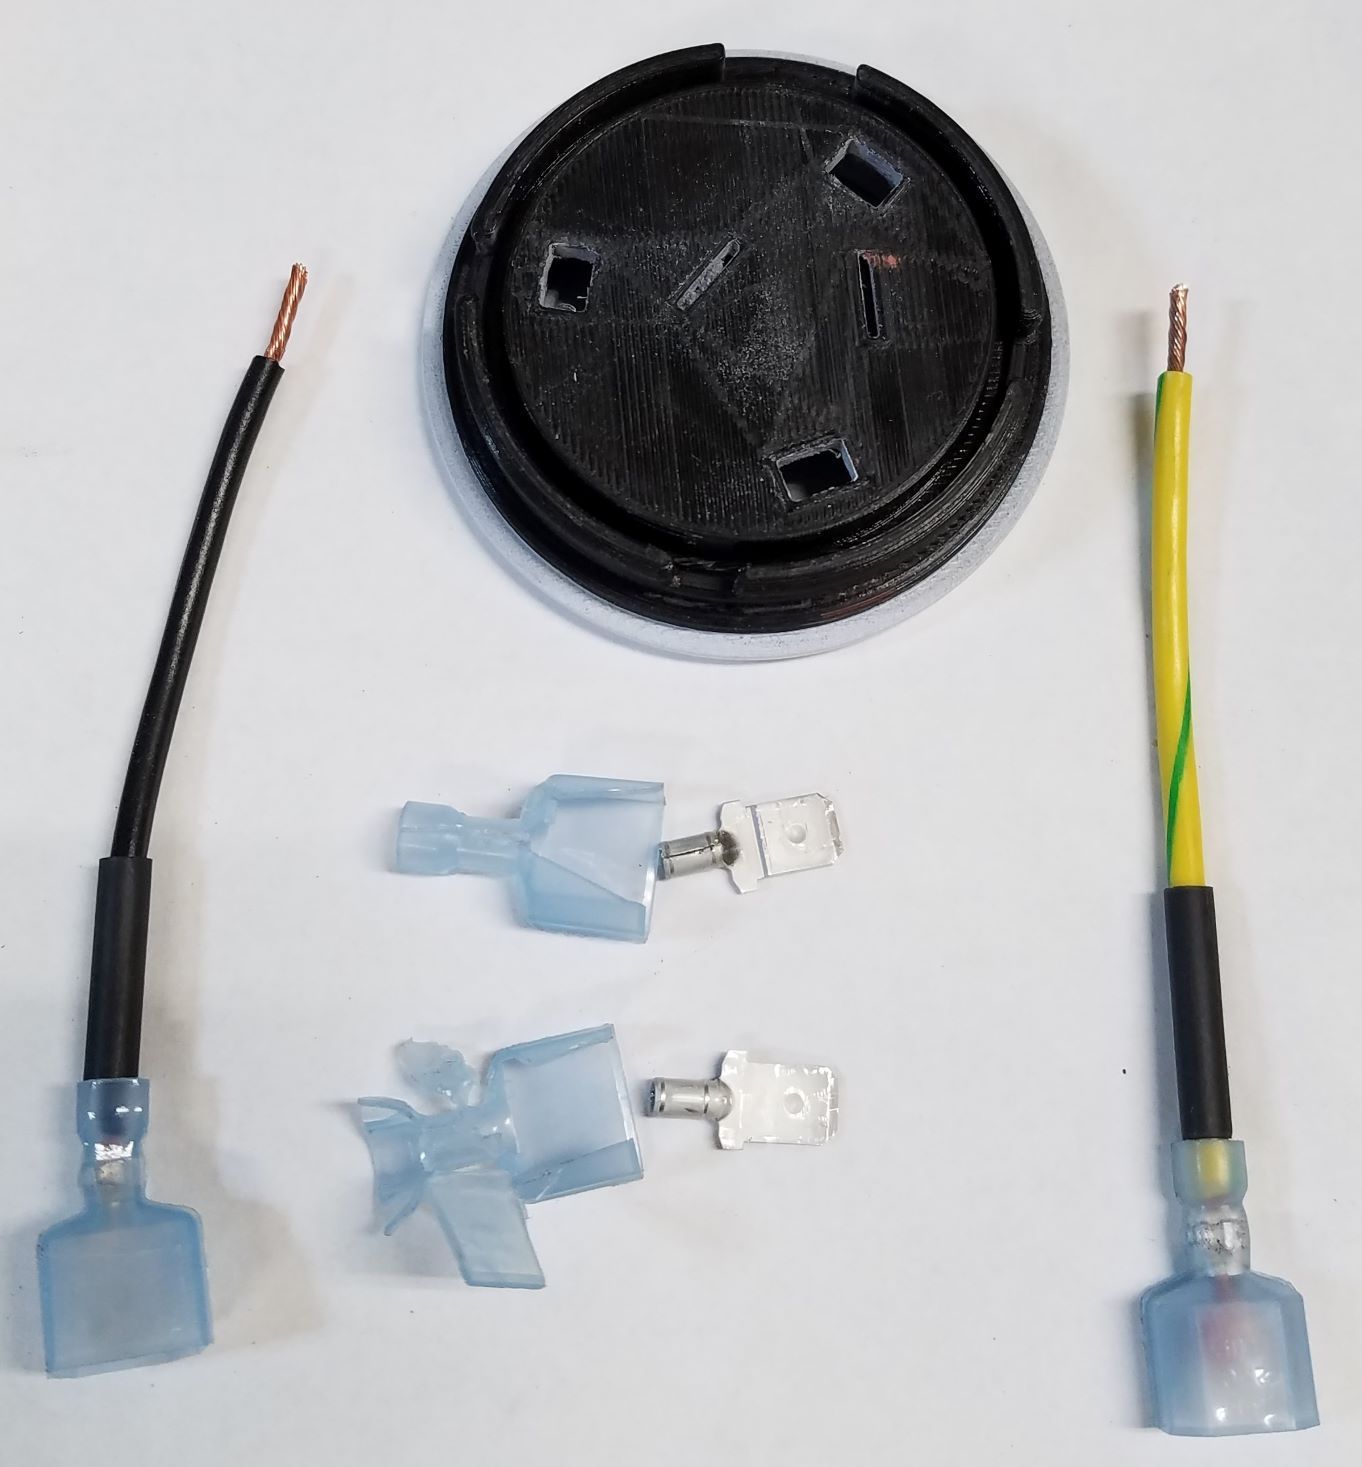
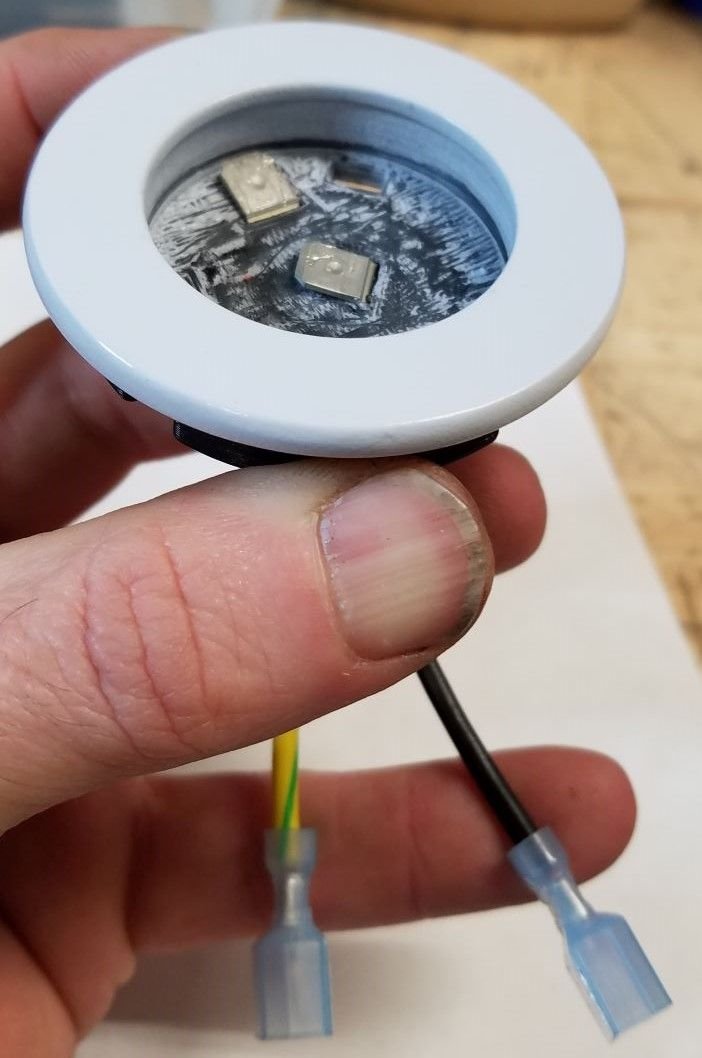
Make two wire tails with (blue) male crimps - these will connect onto the Momo wheel horn wiring. My Momo has black + earth wire so I replicated.... Harvest a couple of male wire spades out of (blue) crimps. Throw away the plastic.
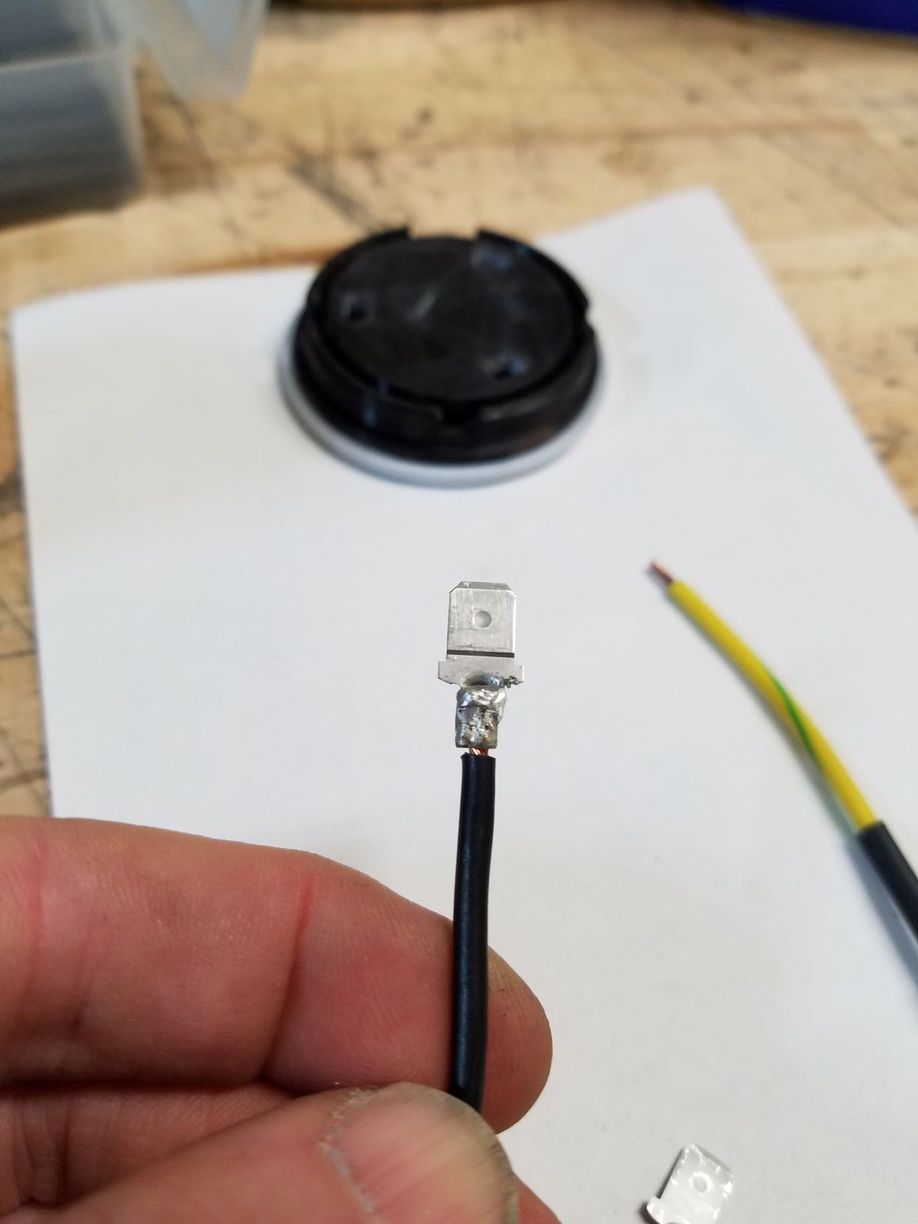
Crimp & Solder the bare male spades on both wires.
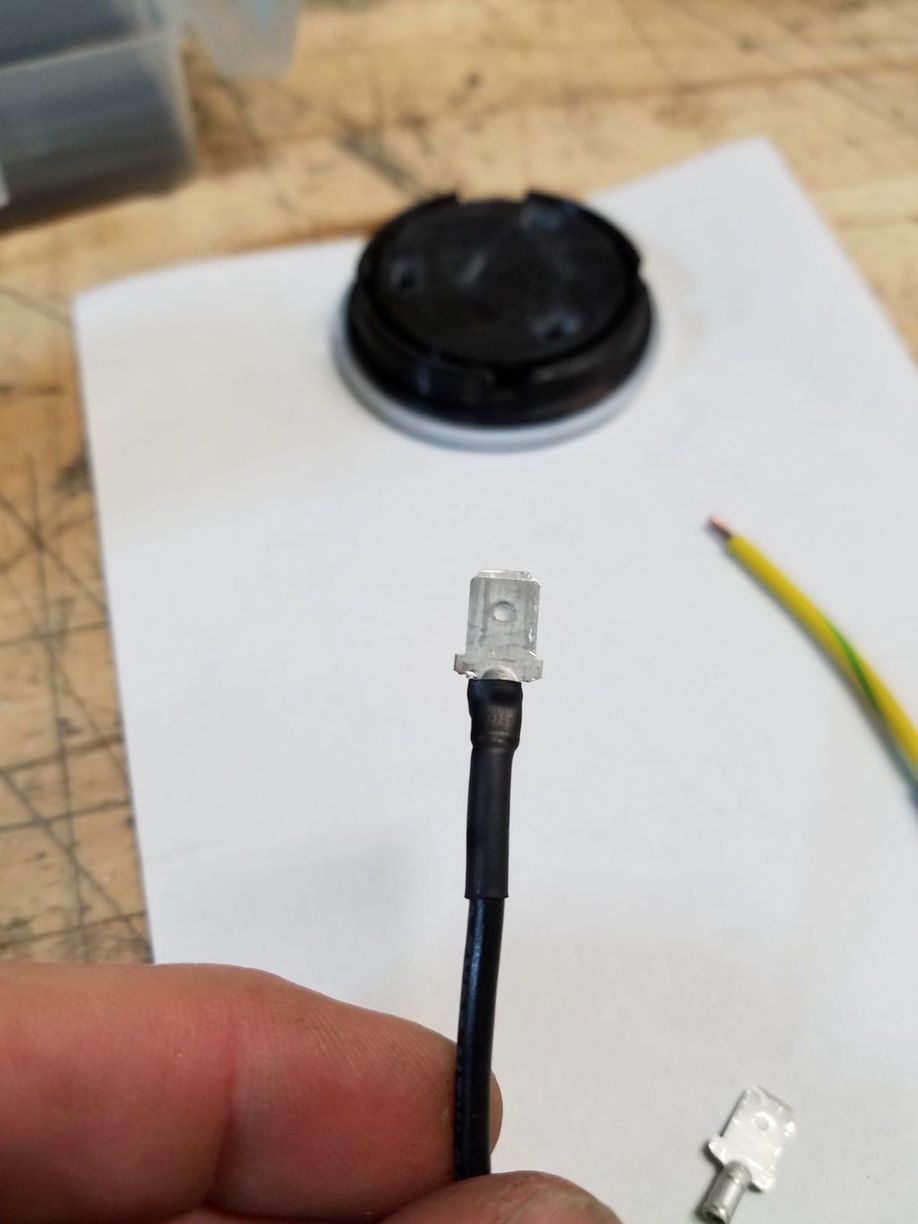
Bit of heat shrink....
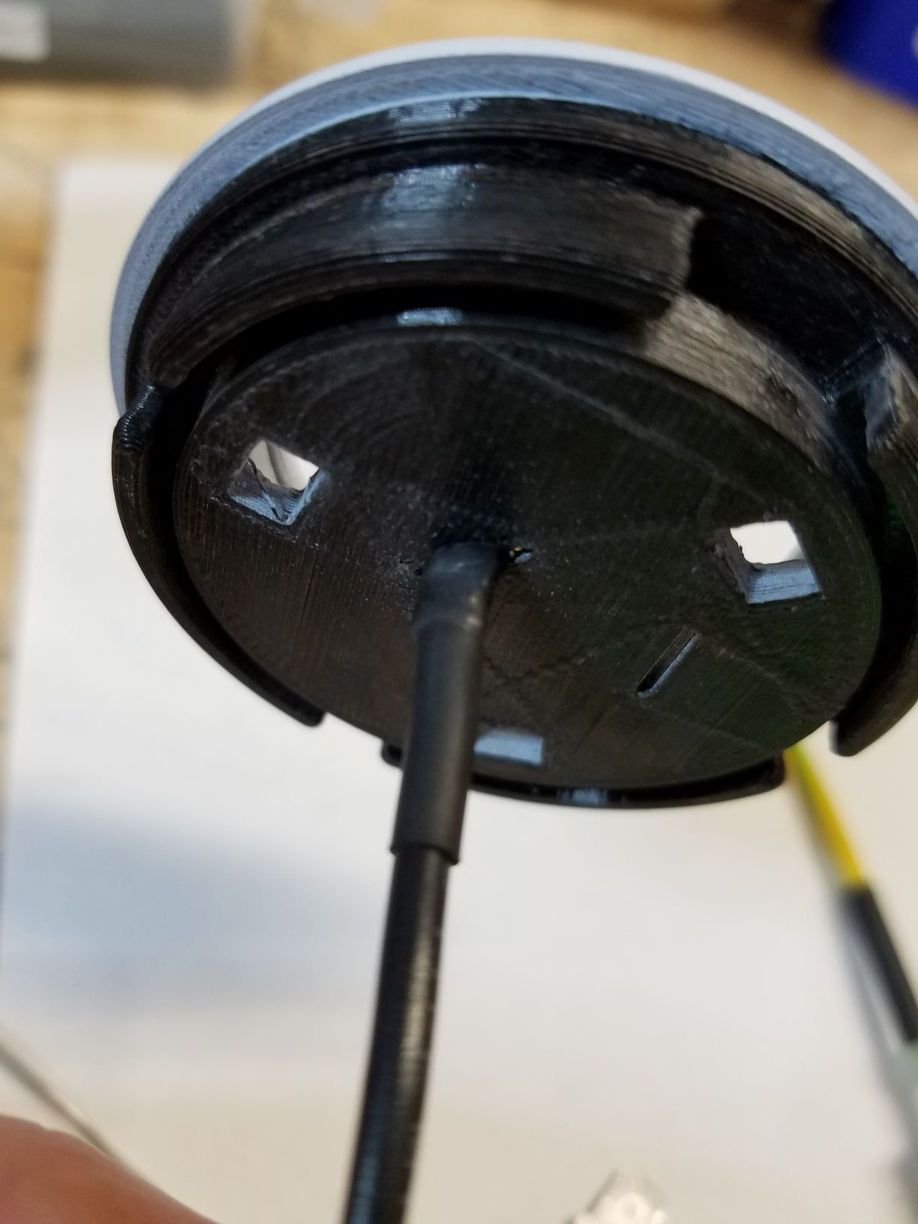
Push the bare male spade through the slot to the inside. Hold it tight up against the back of the horn ring plastic while you......
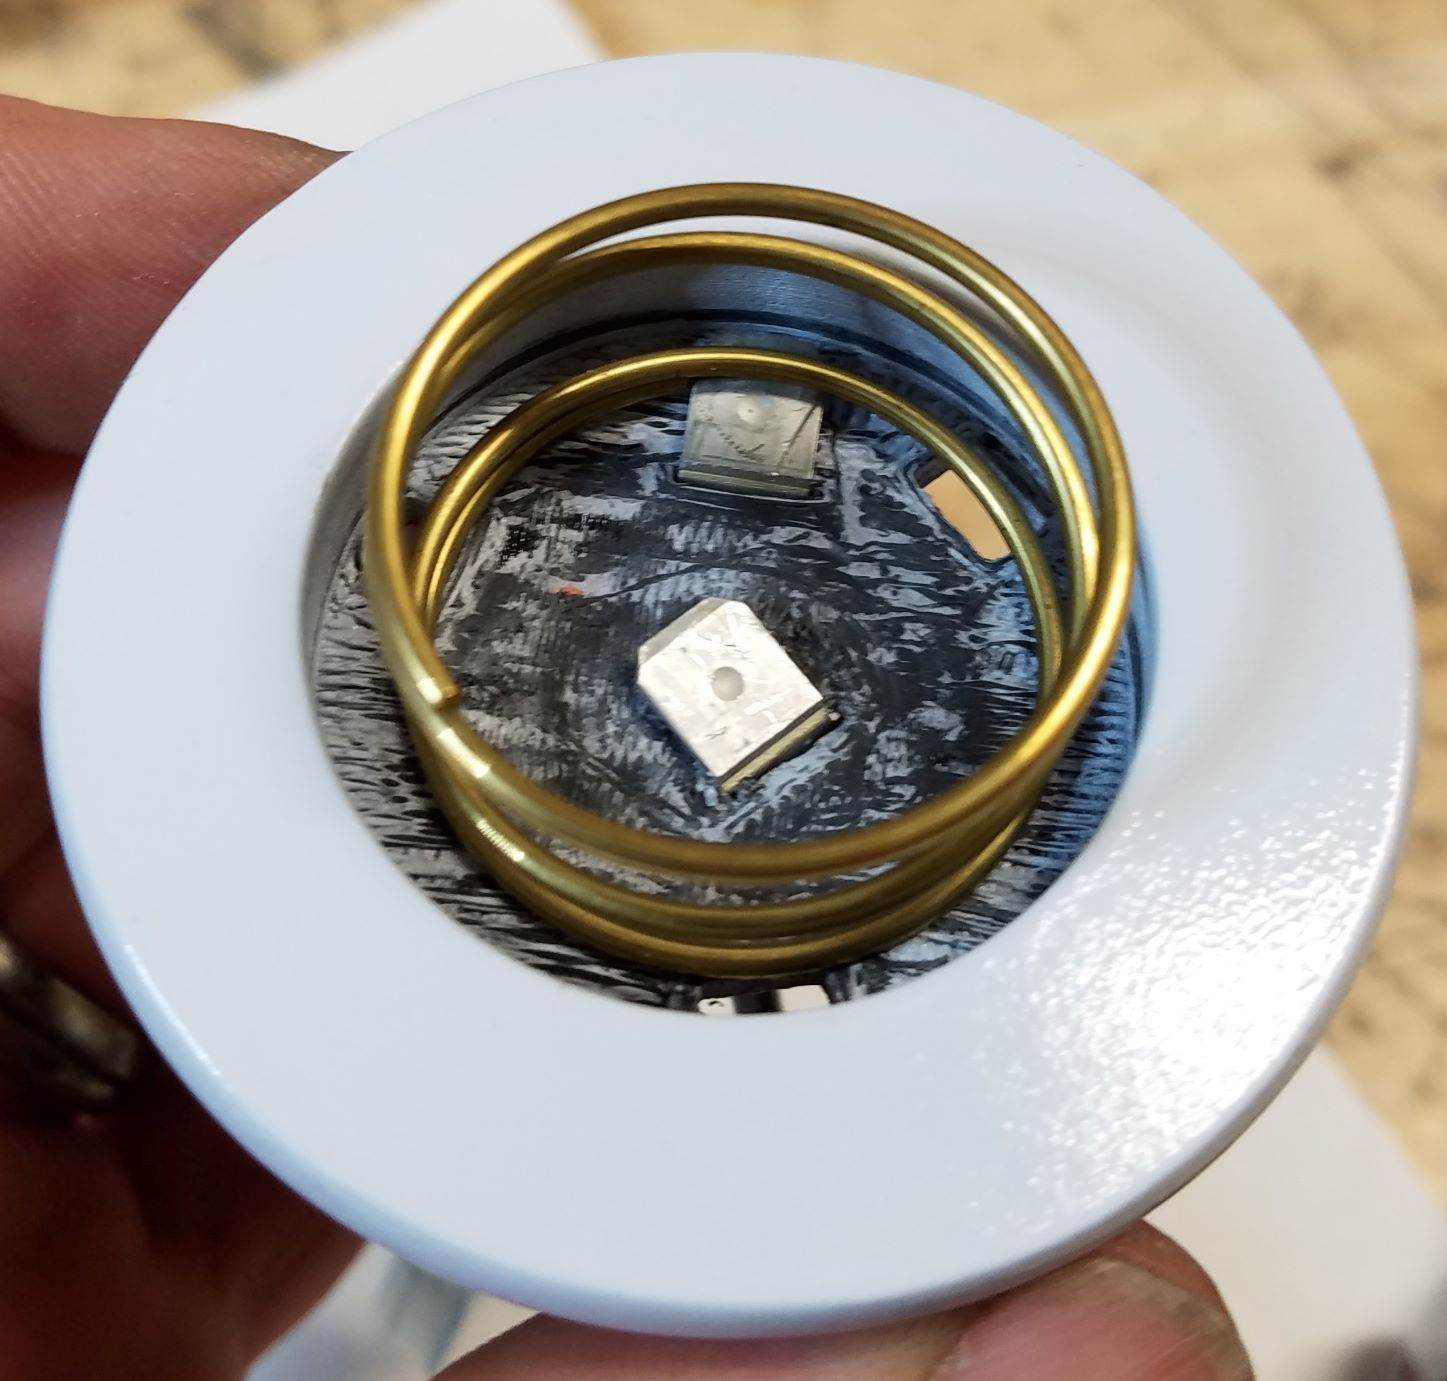
..... bend the bare male spade over on the inside. The spade is now captive and cannot move. Do the same for the other wire/spade. Note the outer spade is bent towards the outside diameter. The inner spade is bent towards the center point.
Install the spring so it contacts the outer spade (it cannot really do anything else, there isn't the room).
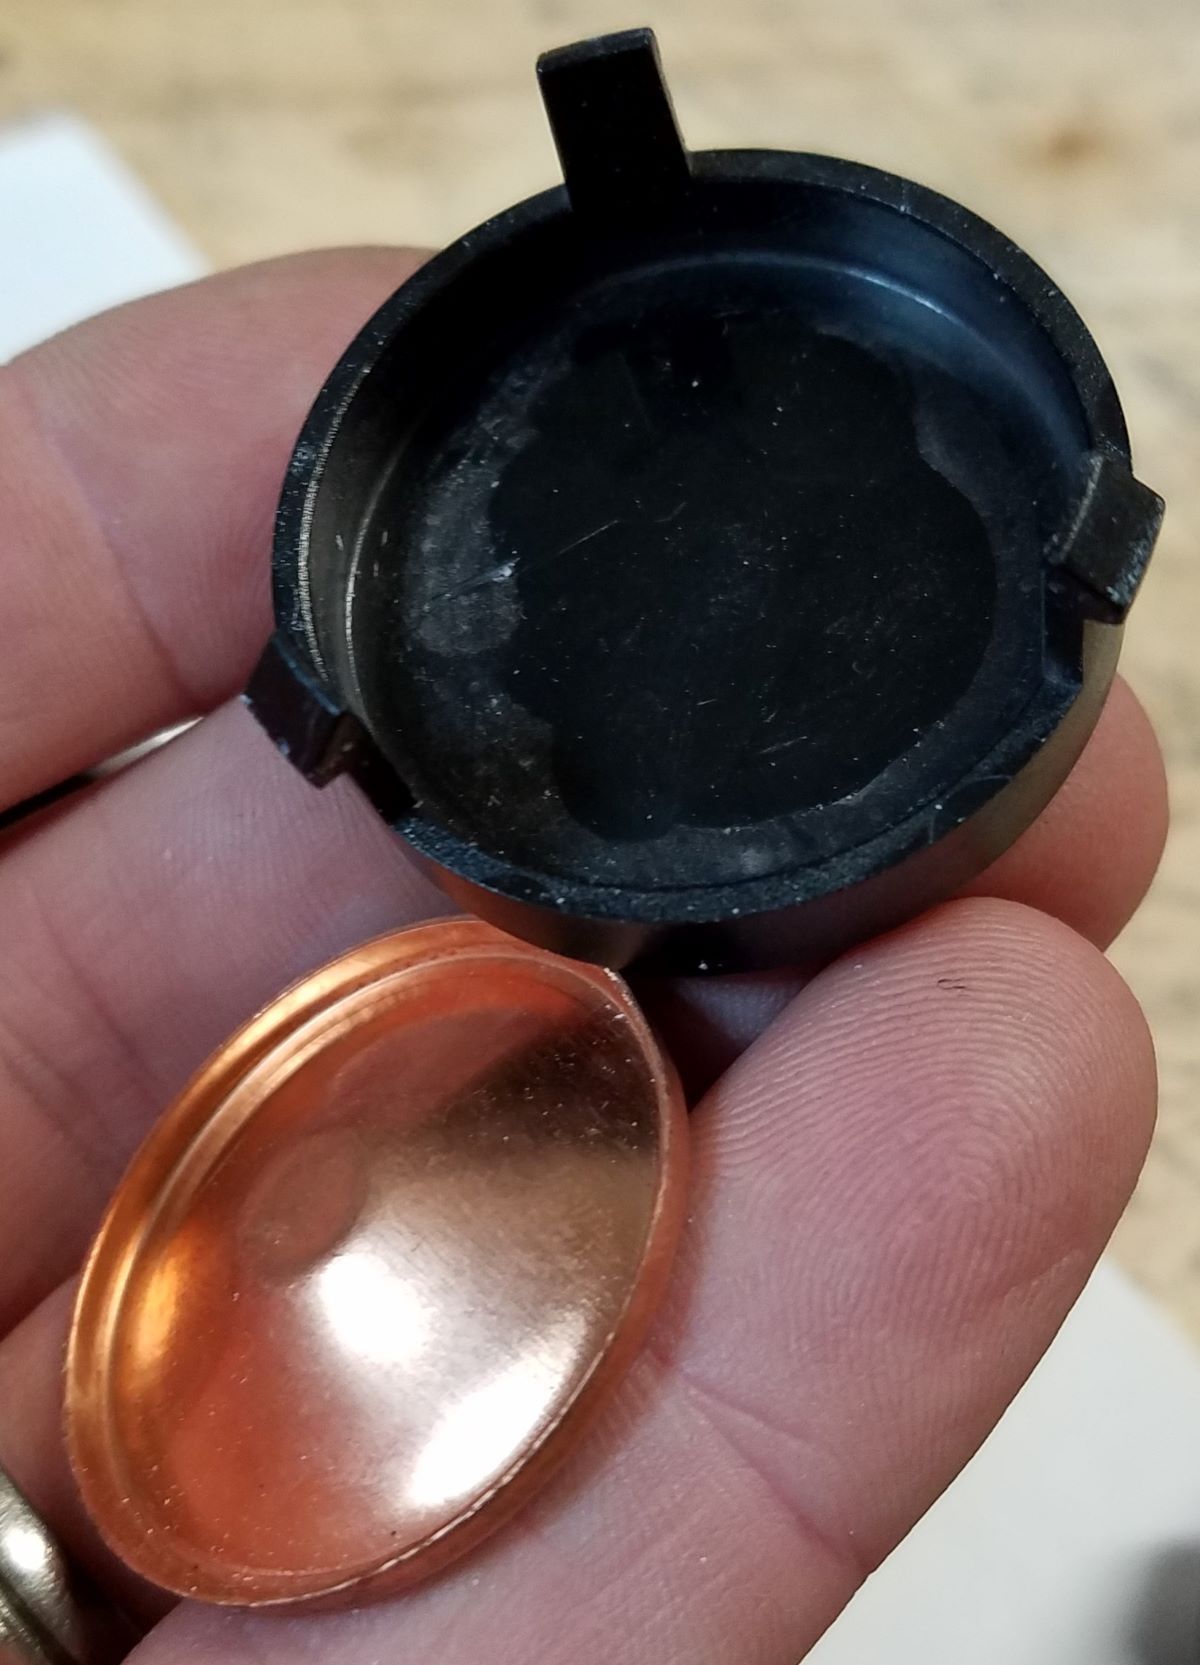
Take the horn button and metal pad disk from the original RS wheel padded section. They just snap out once you press the 3 prongs in from the rear.
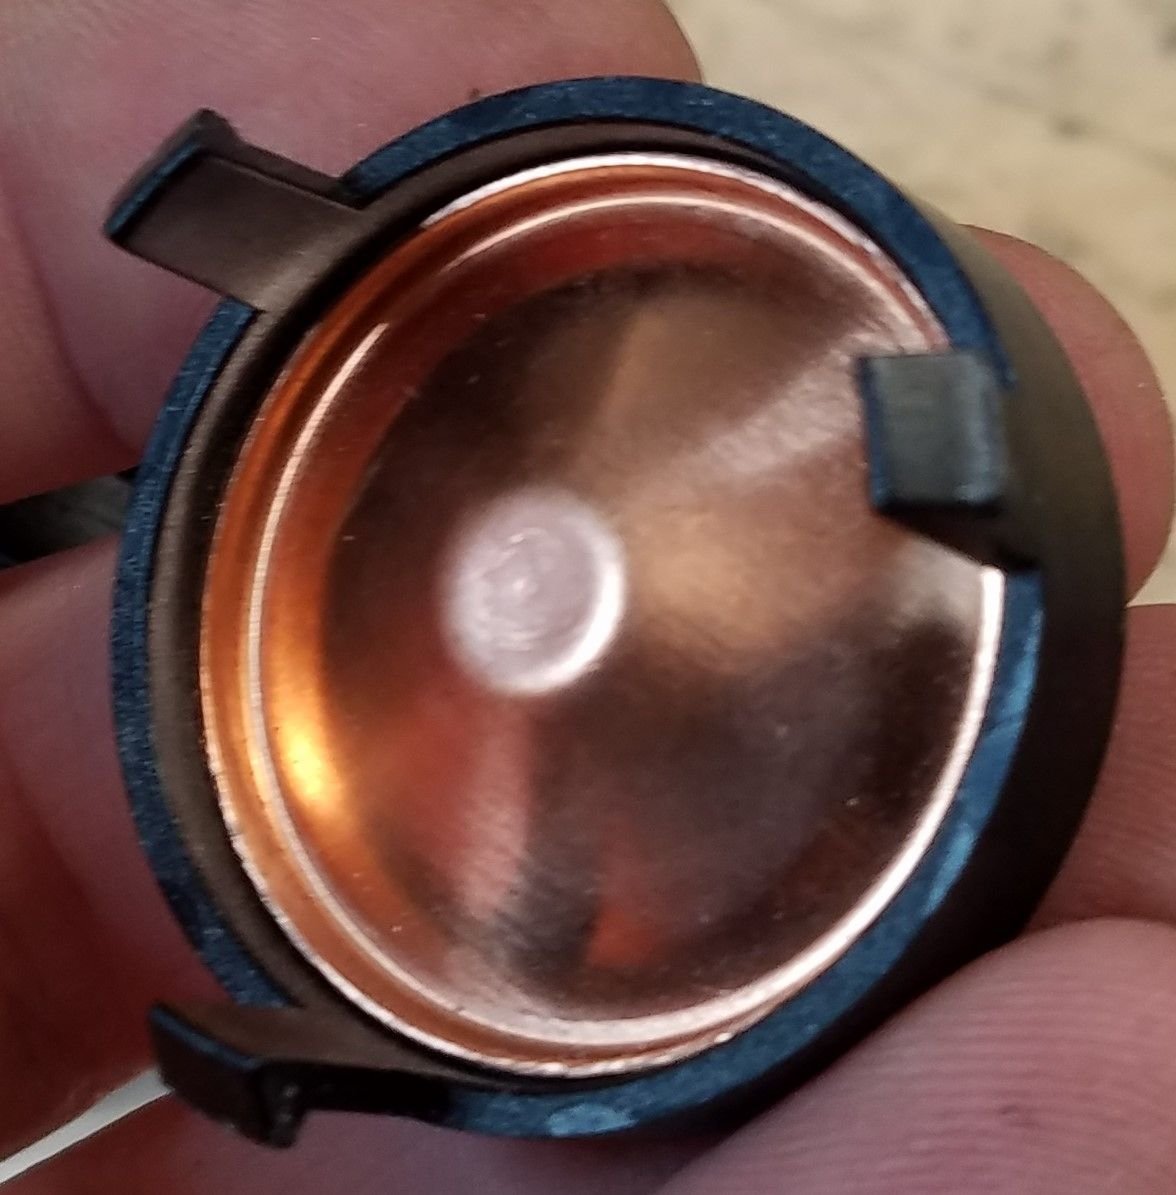
To install: Tilt the horn button to get 2 of these prongs under the lip of the housing. Then push the 3rd prong towards the centre (bend it) while you push the button into the printed housing. This is so the 3rd prong does not gouge the printed and painted plastic when you engage it into the housing.
When the horn ring 3 prongs are captive inside the housing, looking from the back, rotate the horn button until the 3 prongs line up with the 3 slots in the printed housing = push and it will click into place and now you have a sprung button....
Nearly there...
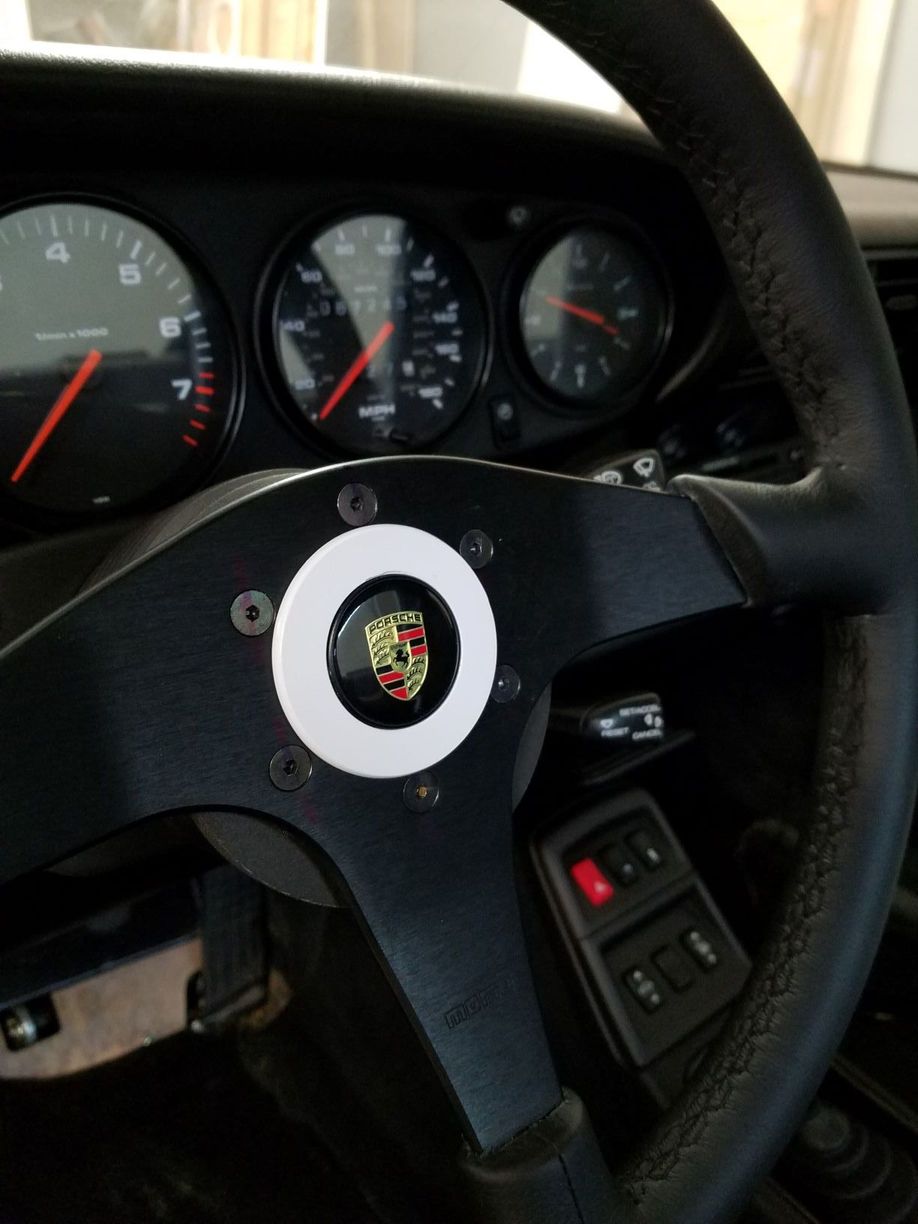
Pushed in.
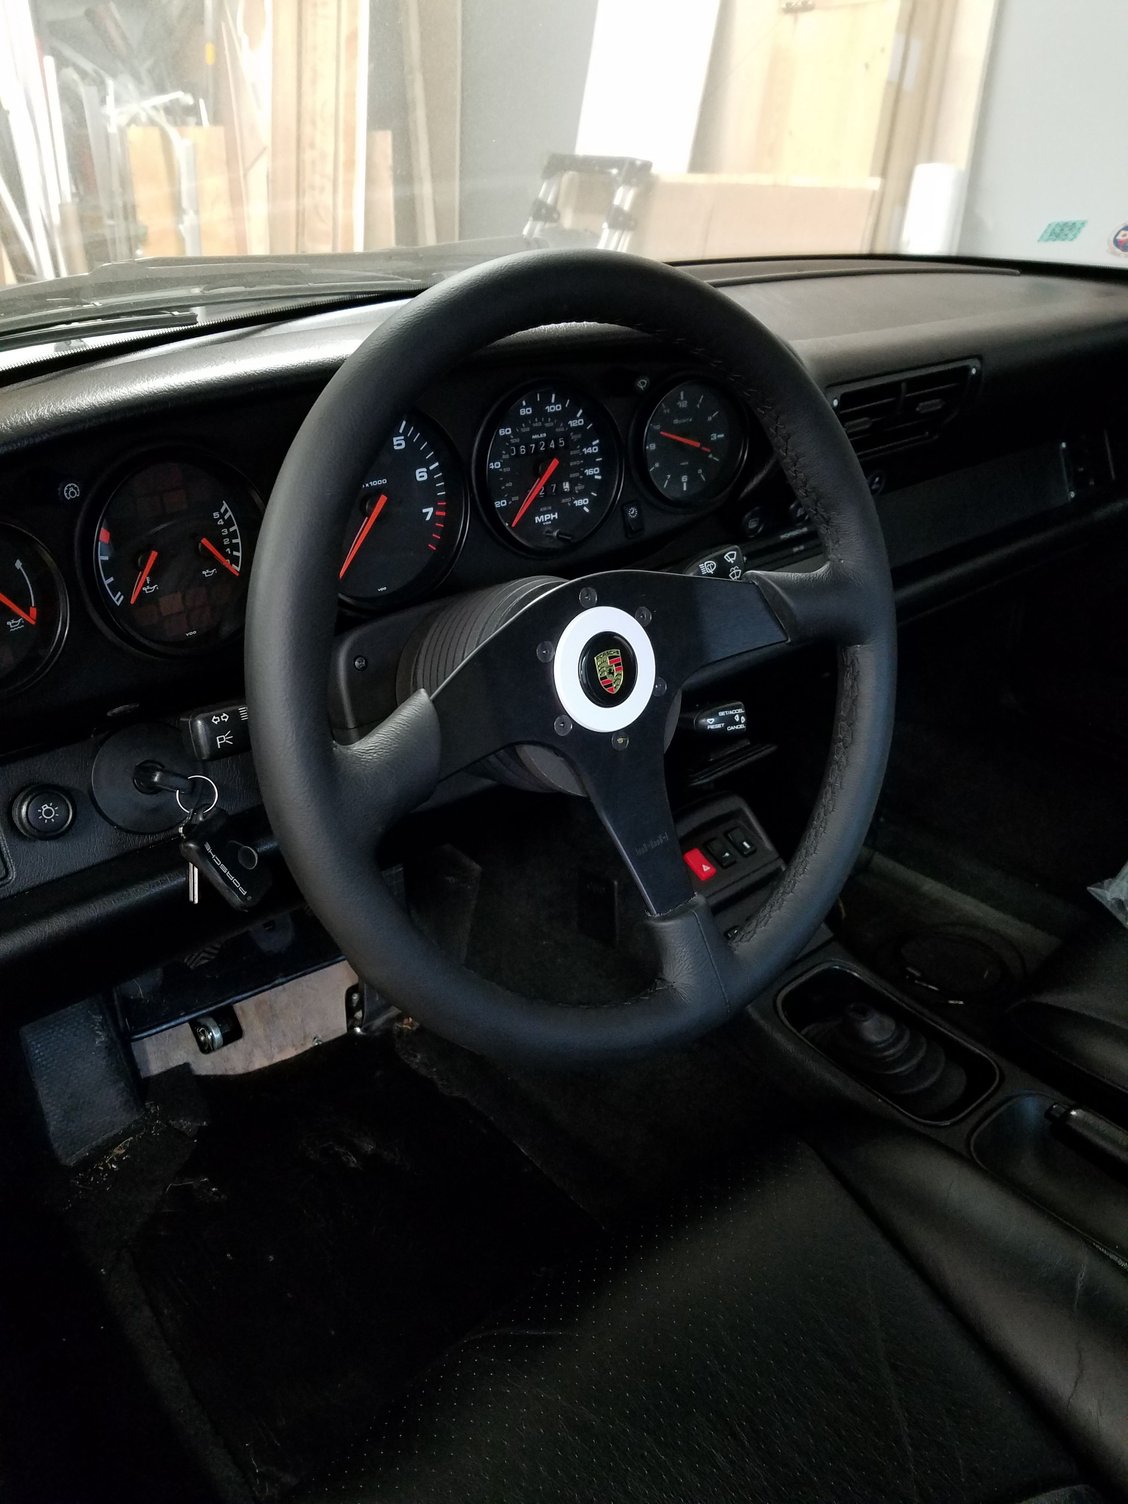
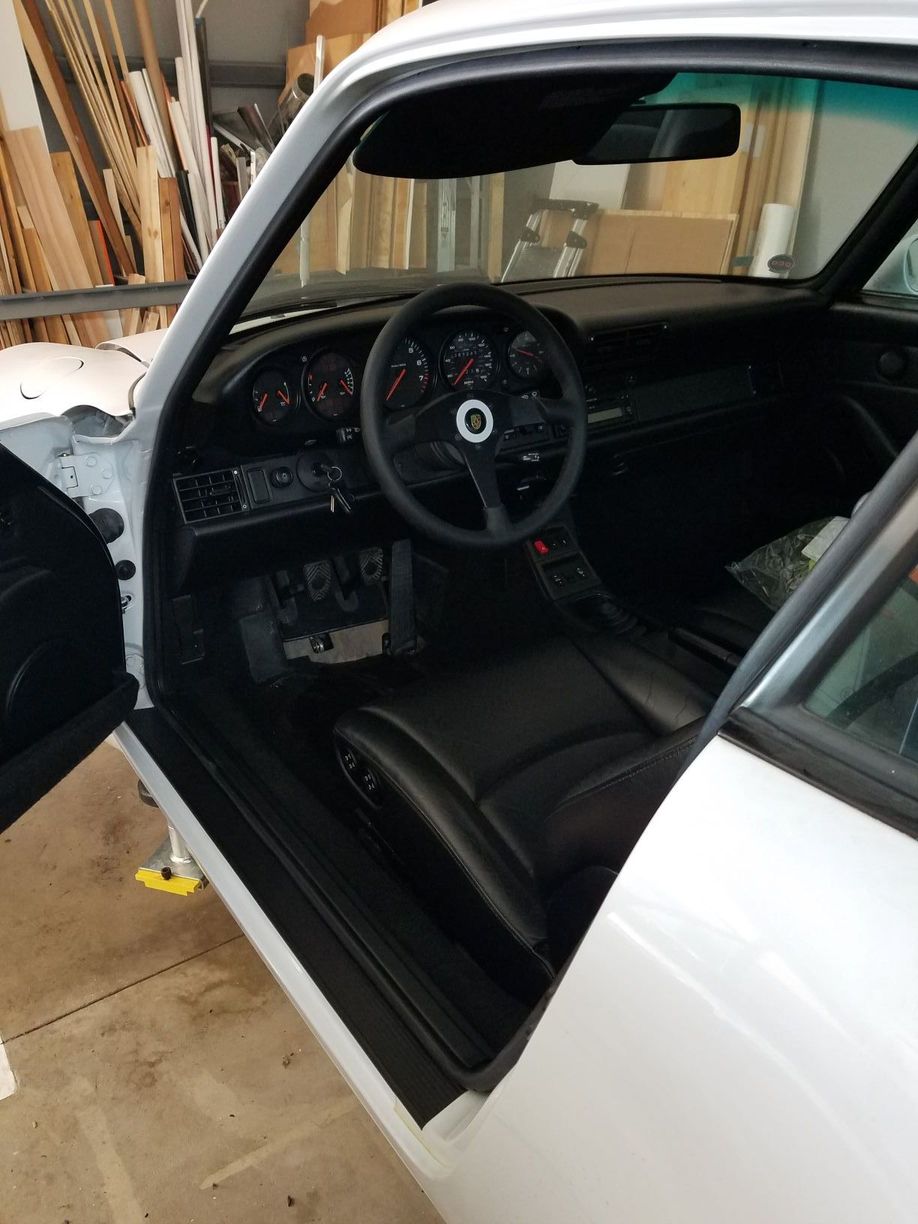
It is the only bright thing in the entire cockpit. I think I like it.....
It does also suit the FDM gearknob with white lettering that I also just fitted.
I have uploaded the files to Thingiverse so you can download, send to a company and get it 3D printed. https://www.thingiverse.com/thing:4427893 ("Porsche 993 RS Momo Horn Ring").


 06-05-2020, 11:43 AM
 ) such as this: https://sierramadrecollection.com/Ho...ls-p18426.html)
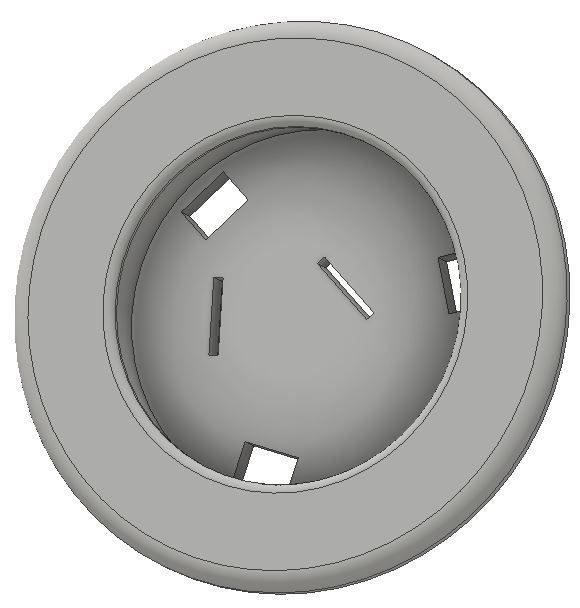


