When you click on links to various merchants on this site and make a purchase, this can result in this site earning a commission. Affiliate programs and affiliations include, but are not limited to, the eBay Partner Network.
Question for everyone with knowledge: Would dry-ice blasting harm any of the parts? I had an undercarriage done and it did no damage, including rubber parts and paint.
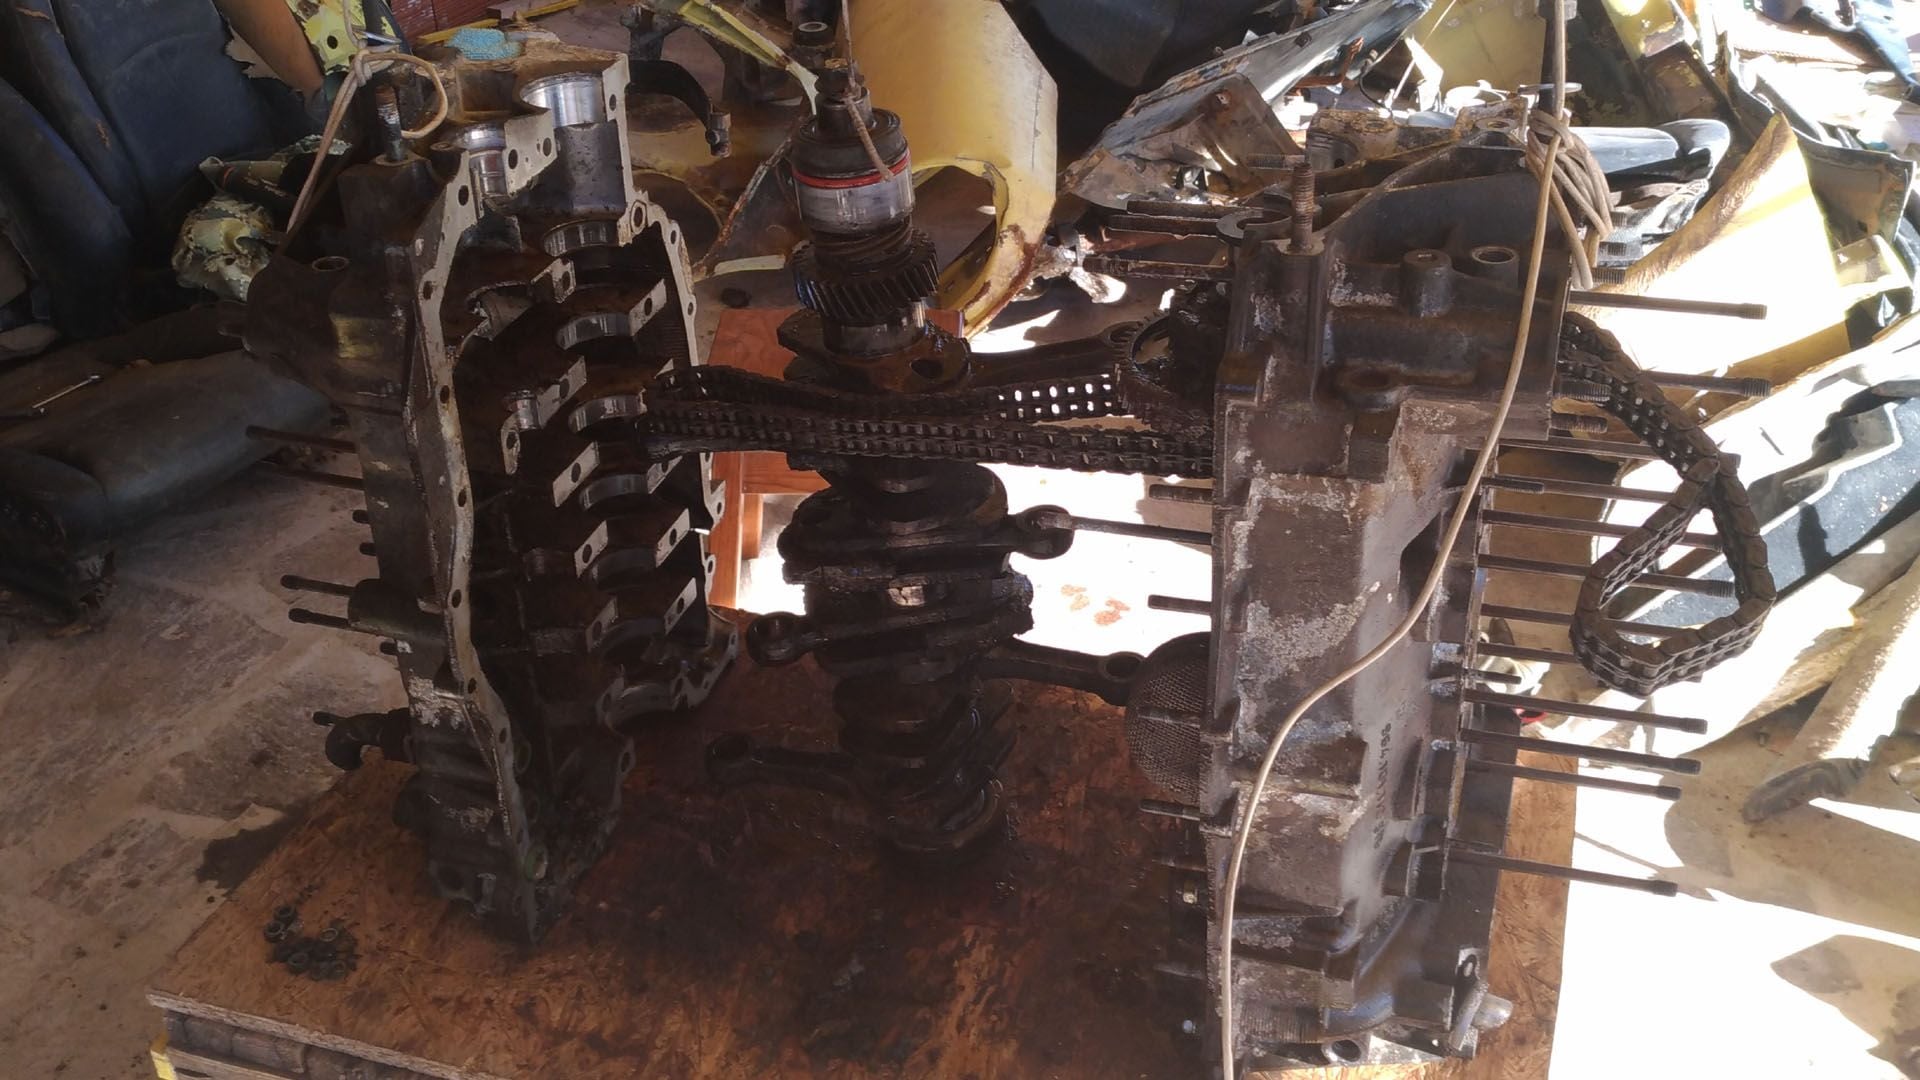
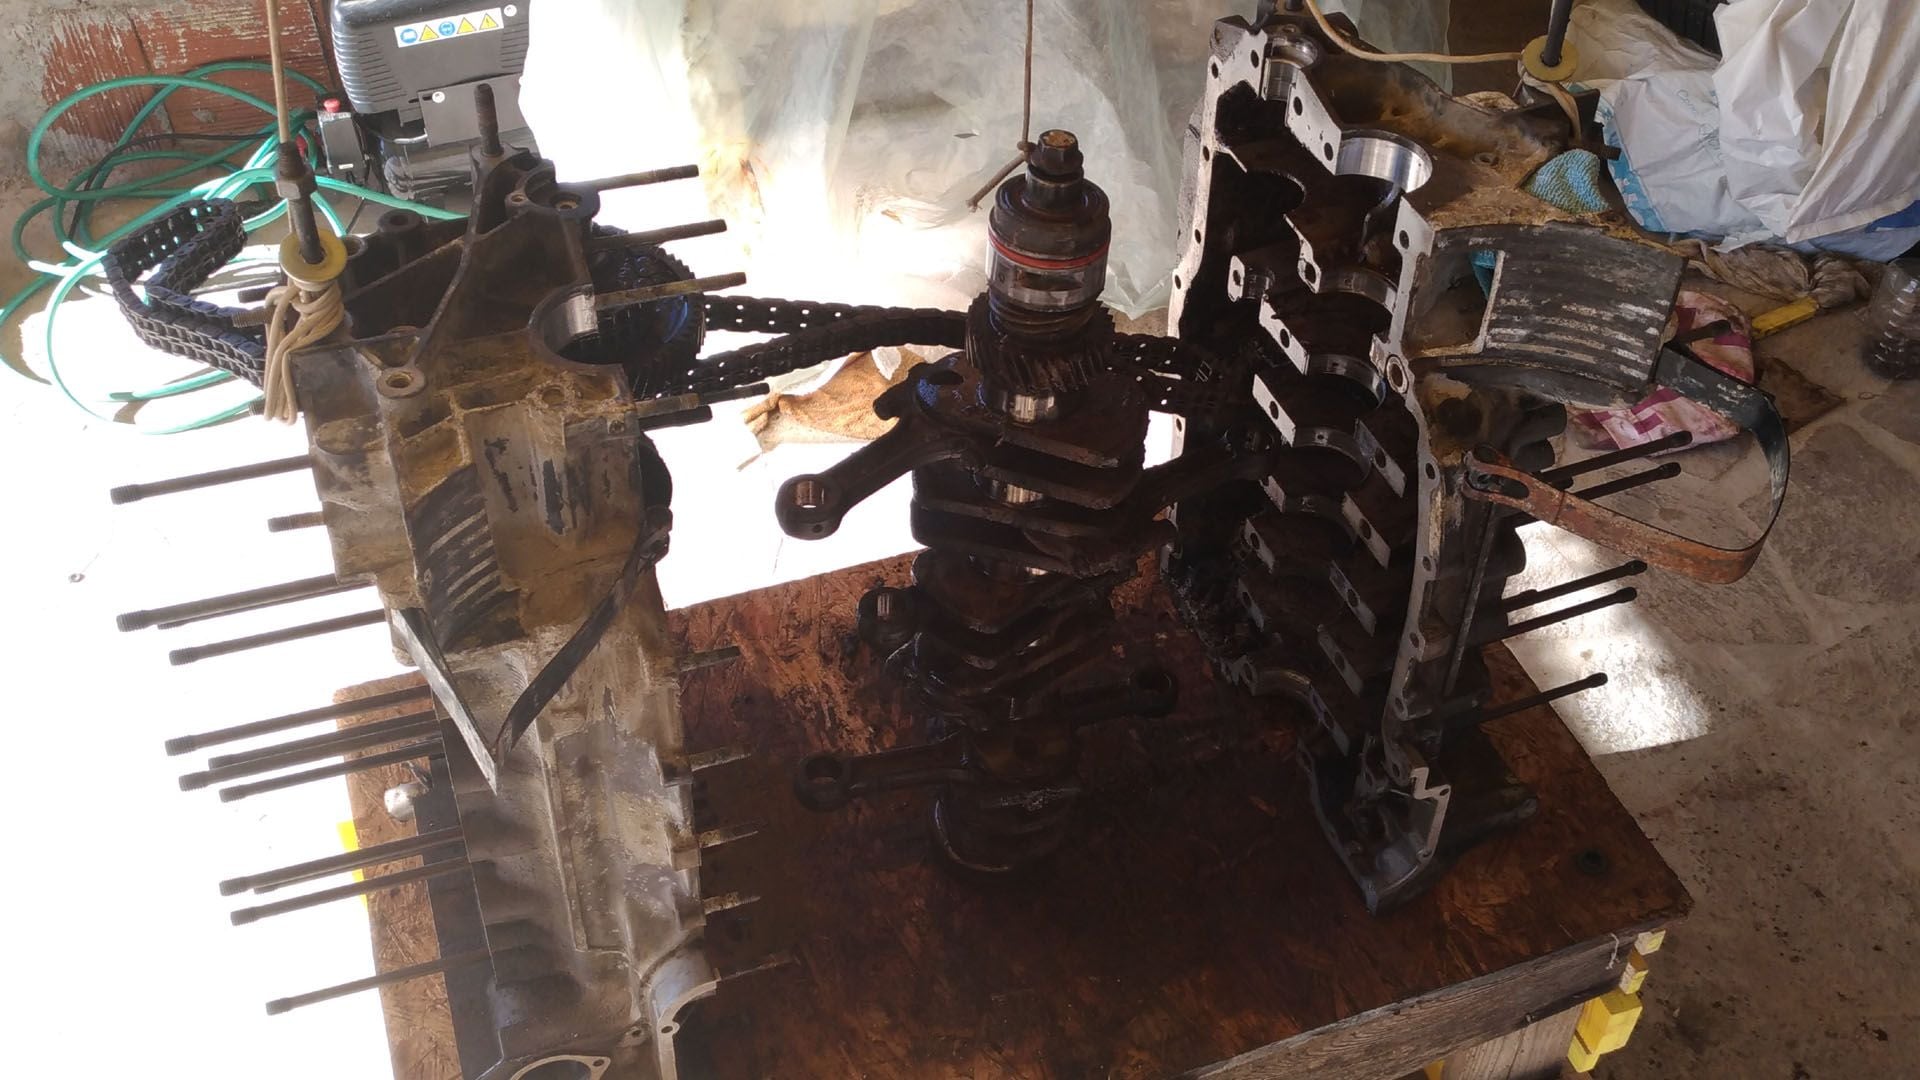
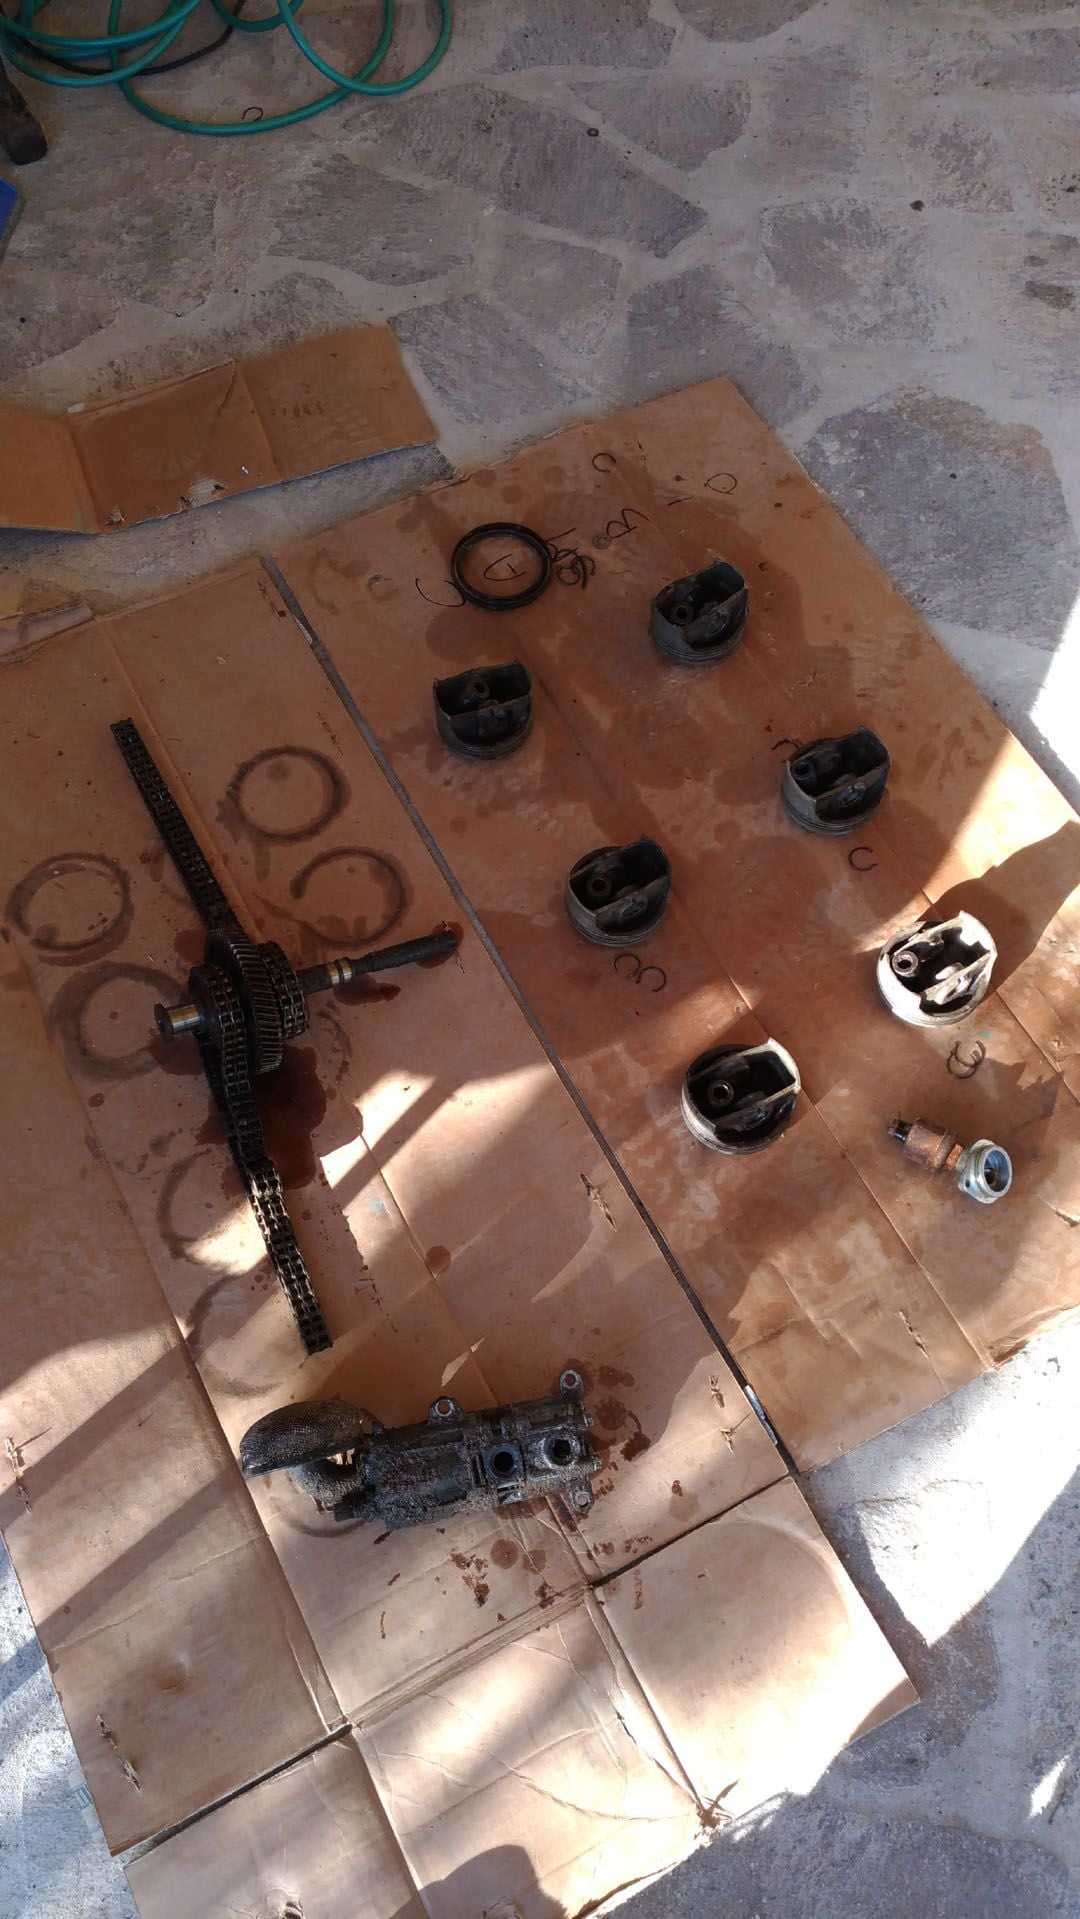
It was not easy to disconnect the pistons from the connecting rods: the crankshaft could not make a complete revolution, due to the presence of debris that blocked the gears of the distribution.
However, in the end I managed to do it, with a lot of elbow grease: once I learned how to do it, the clips that fix the connecting rod pins also came off quite easily.
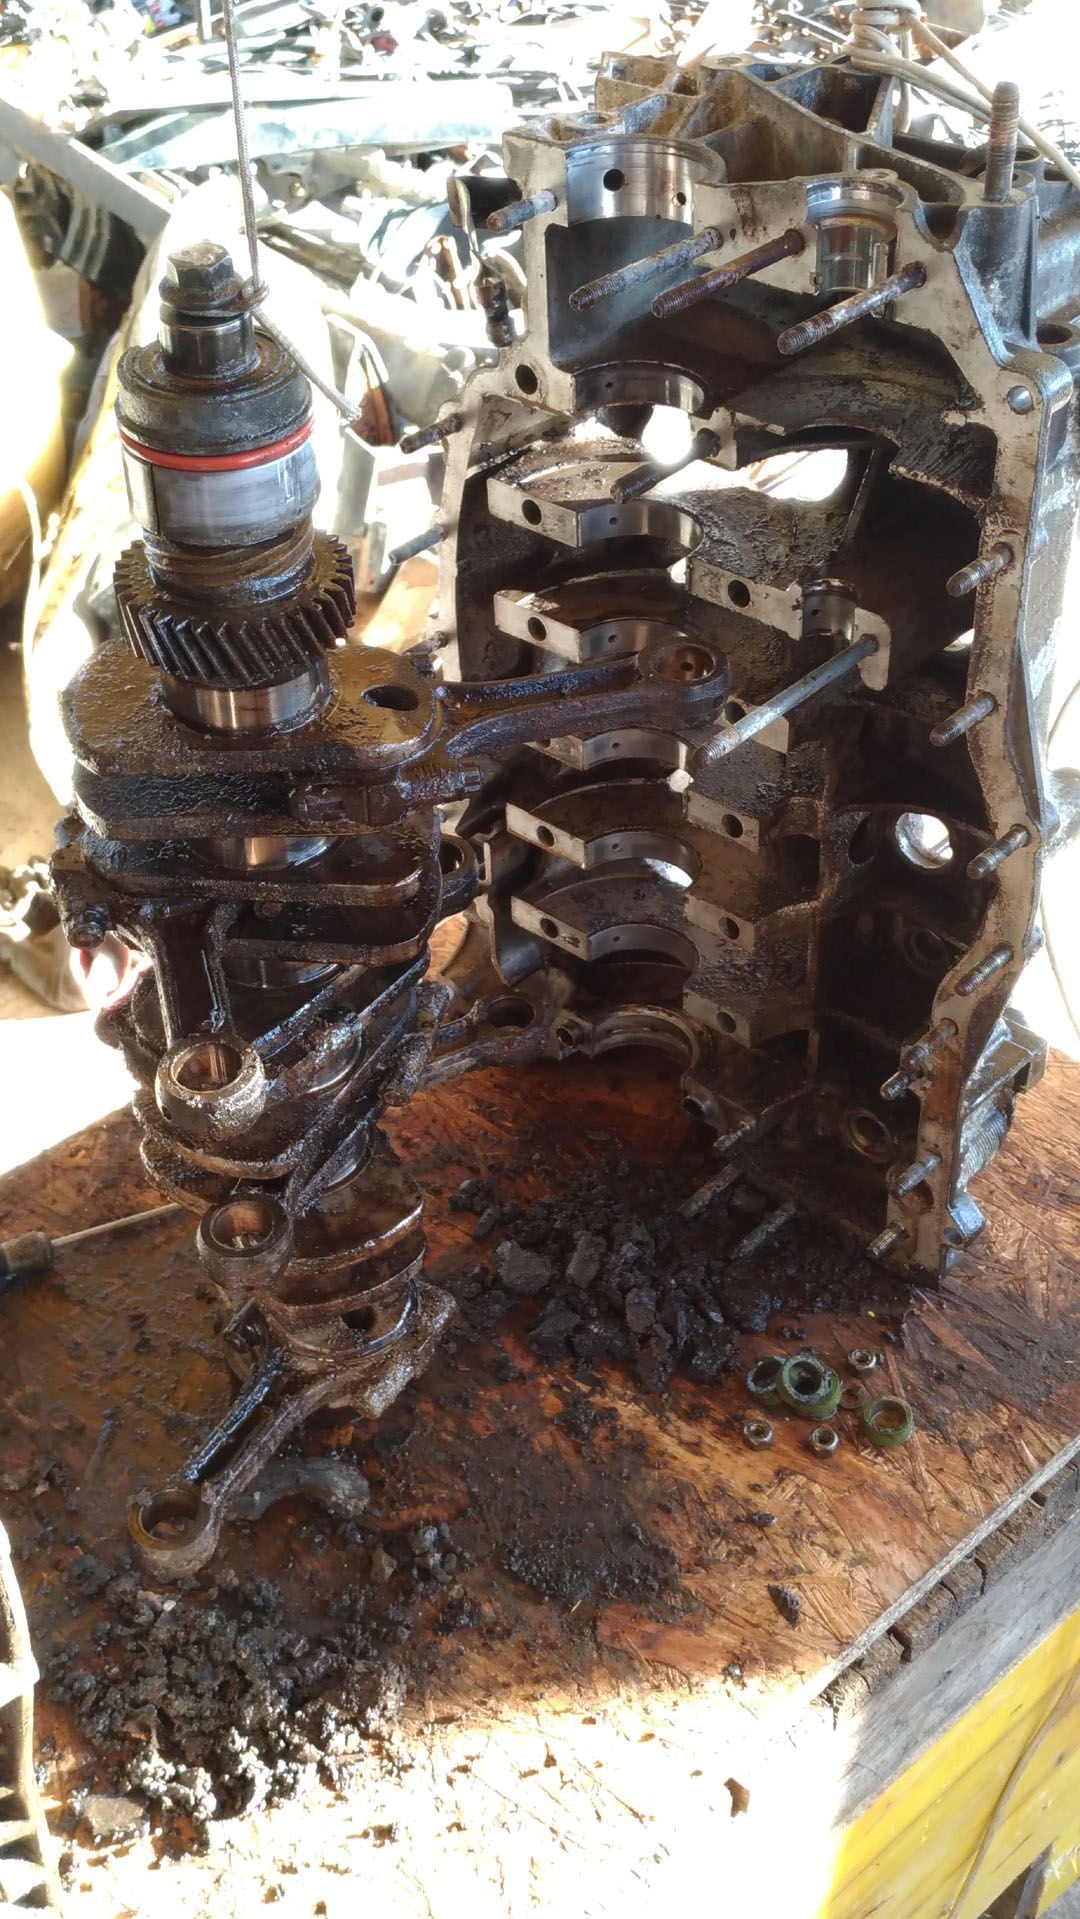
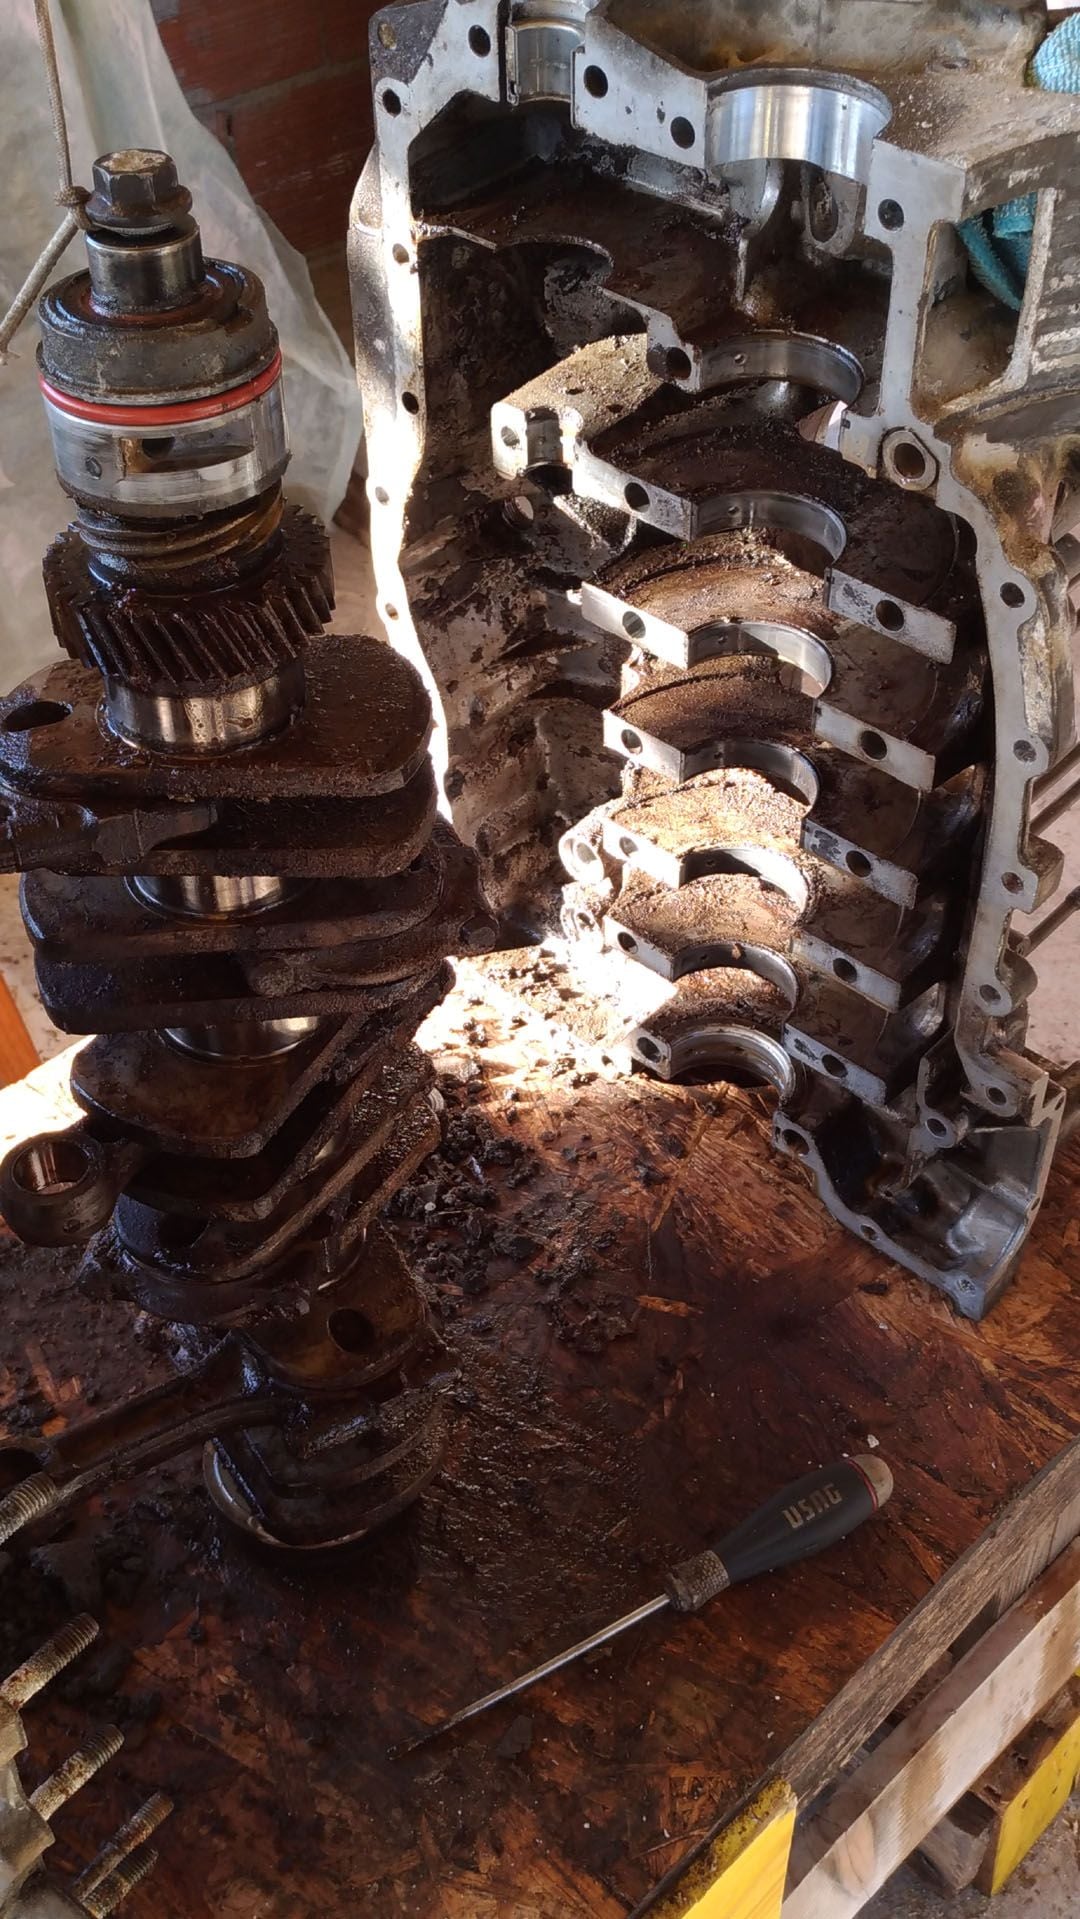
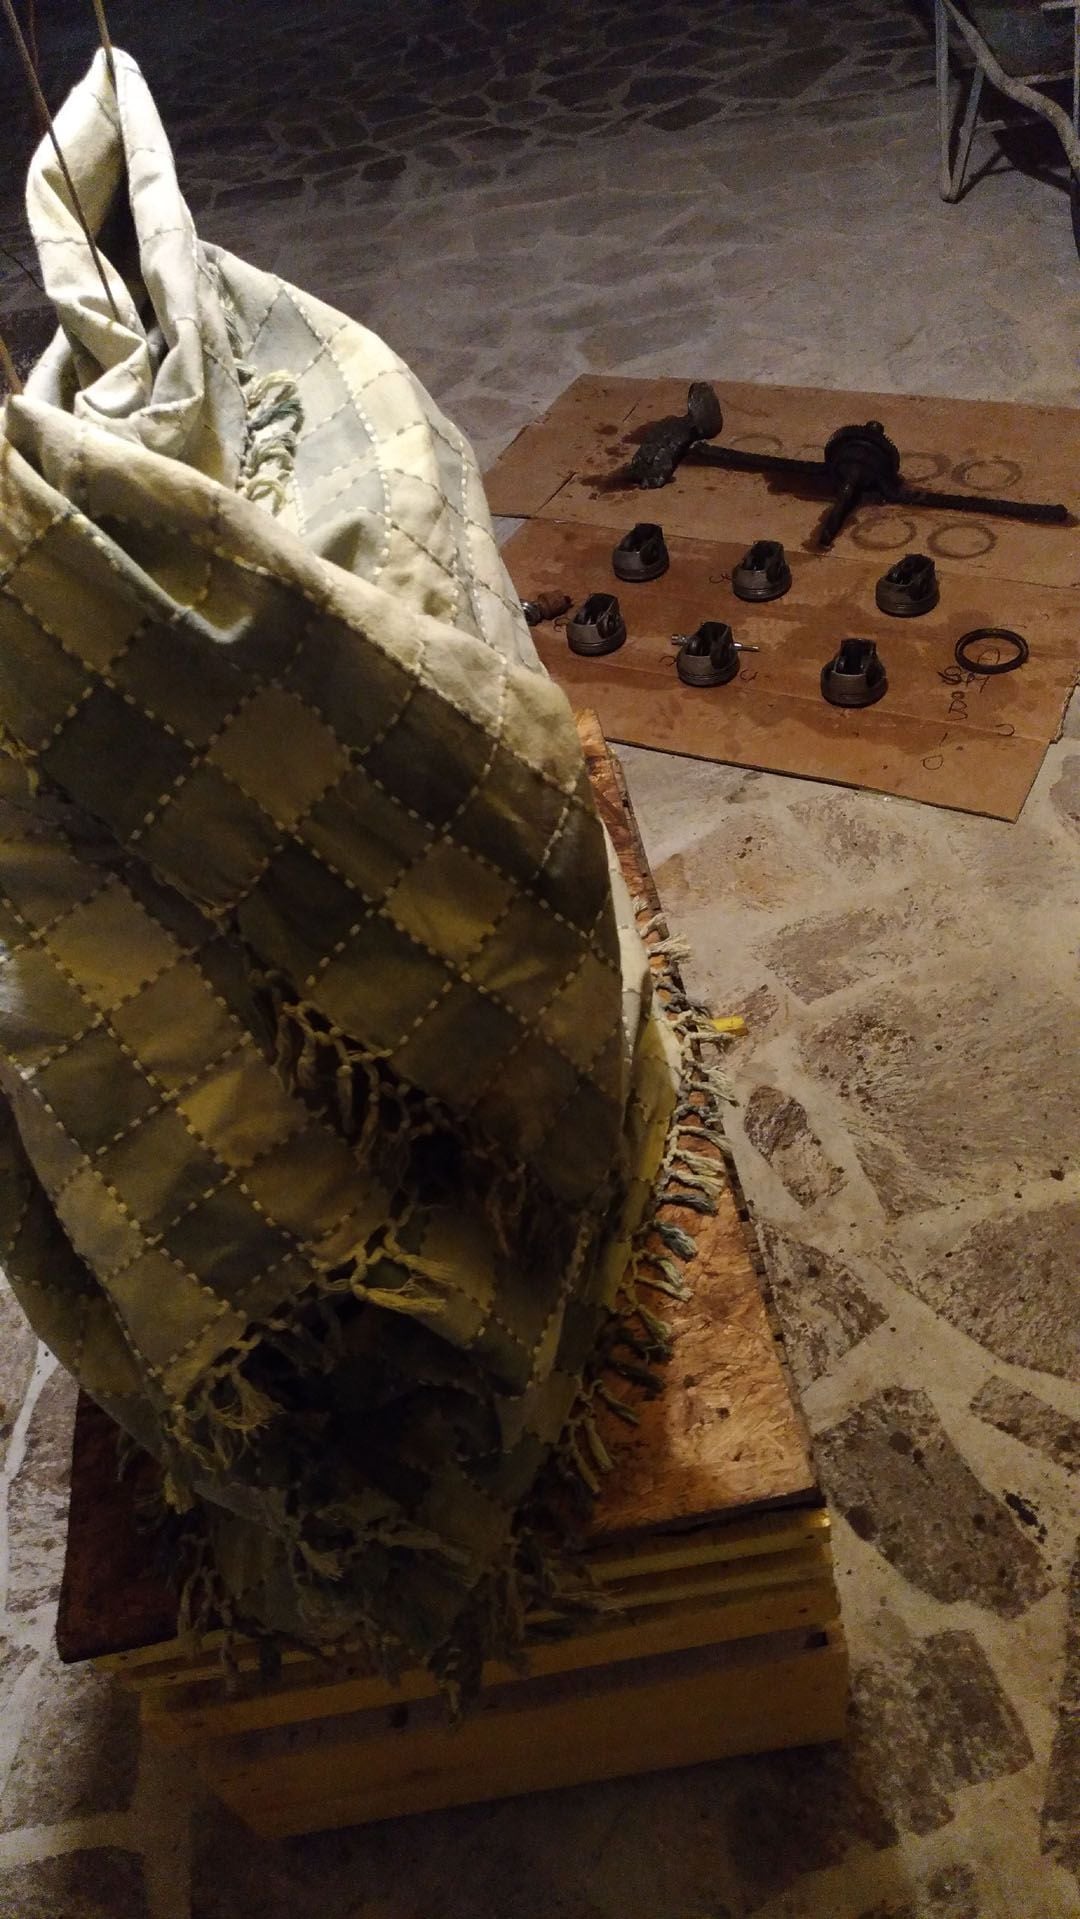
Doing the work alone, I preferred to place the engine block in vertical position, tying the three parts (crankshaft and the two parts of the engine block) to the structure, so as to prevent one of the three pieces from falling to the ground while operating in the splitting "process" (hammer and wood).
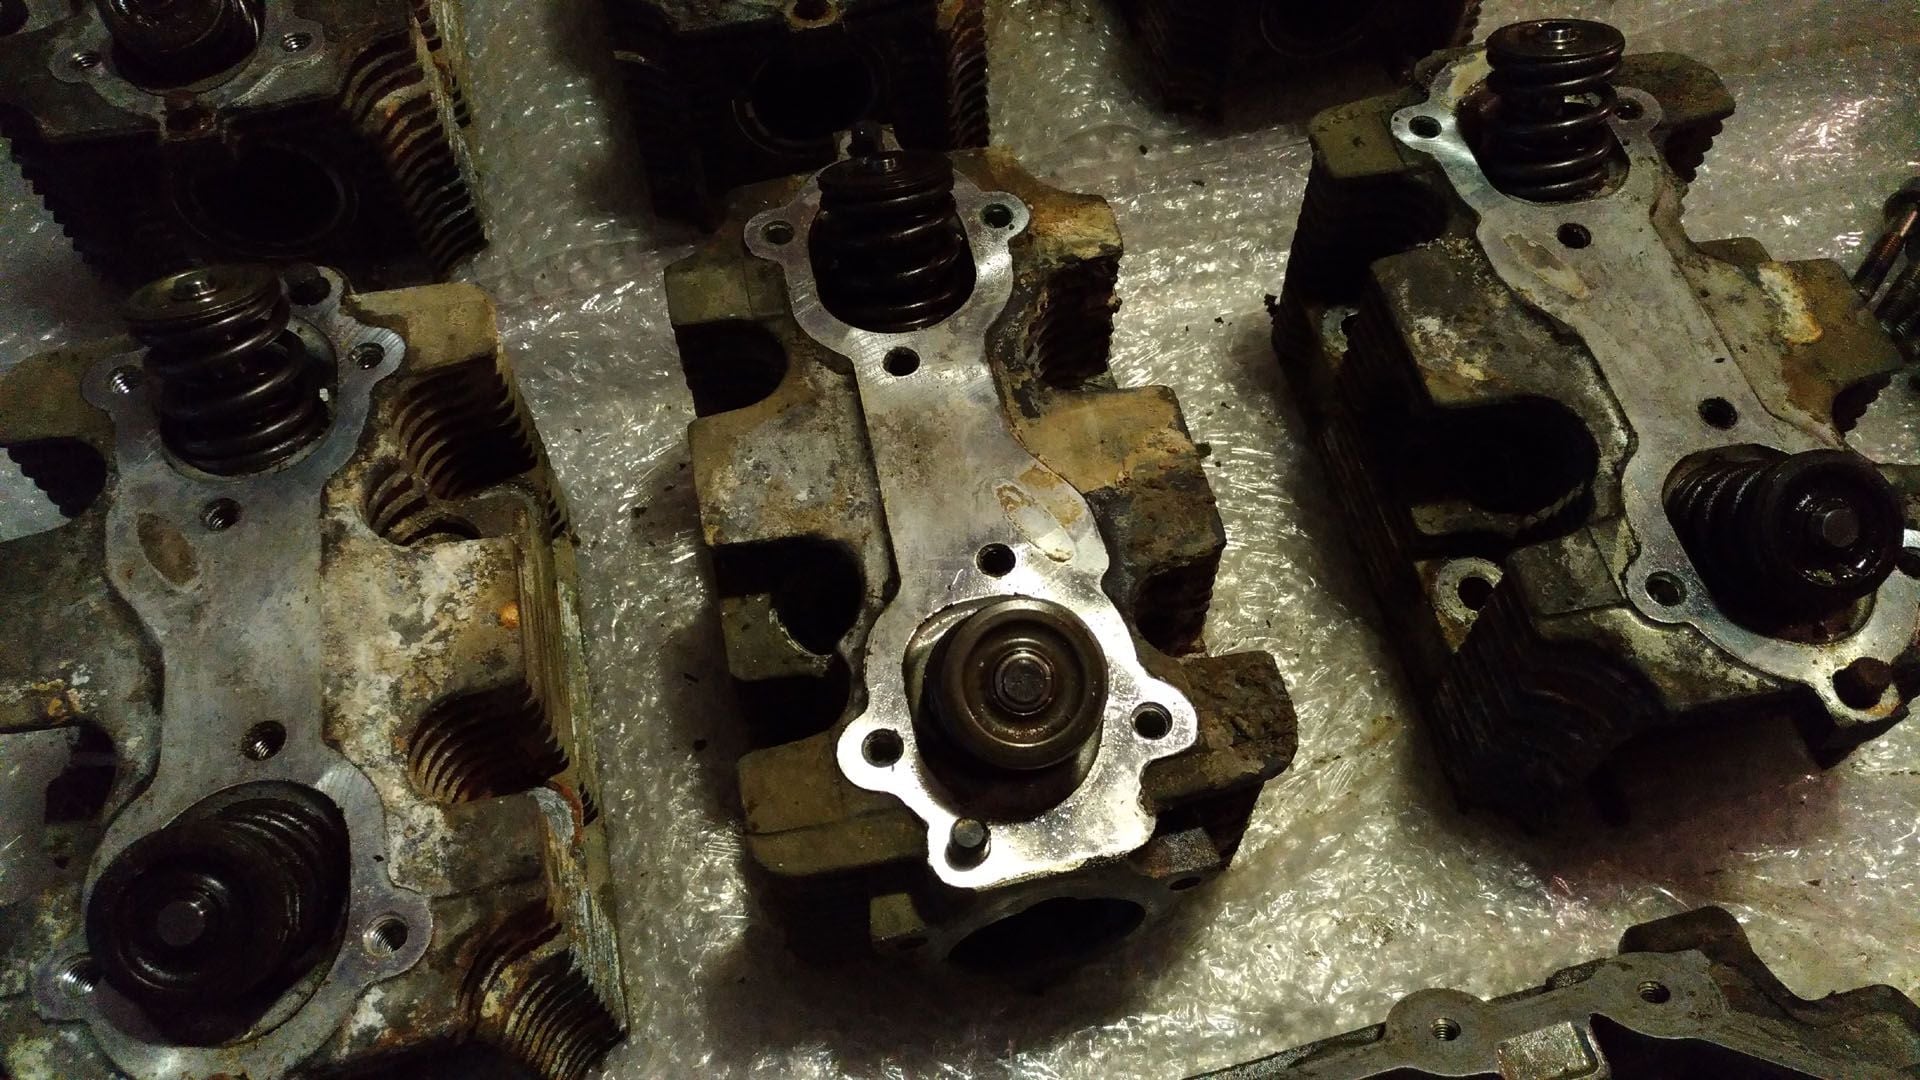
In any case it's a bit like opening the easter egg ... the surprise is the crankshaft
(or the oil pump, if you prefer)
This time I do not see any signs of rust or corrosion anywhere, but I wait until tomorrow, after having cleaned the three pieces with the pressure washer.
definitely the dirtiest project I have ever seen on this forum! Awesome work!
Dry ice blasting will work great and not damage any parts. We used it all the time on site cleaning large motors and generators including the cabling and windings. Windings in some cases are only protected by a couple of mils of varnish insulation and never any damage. The equipment is expensive to buy or rent and you need a big *** air compressor!!
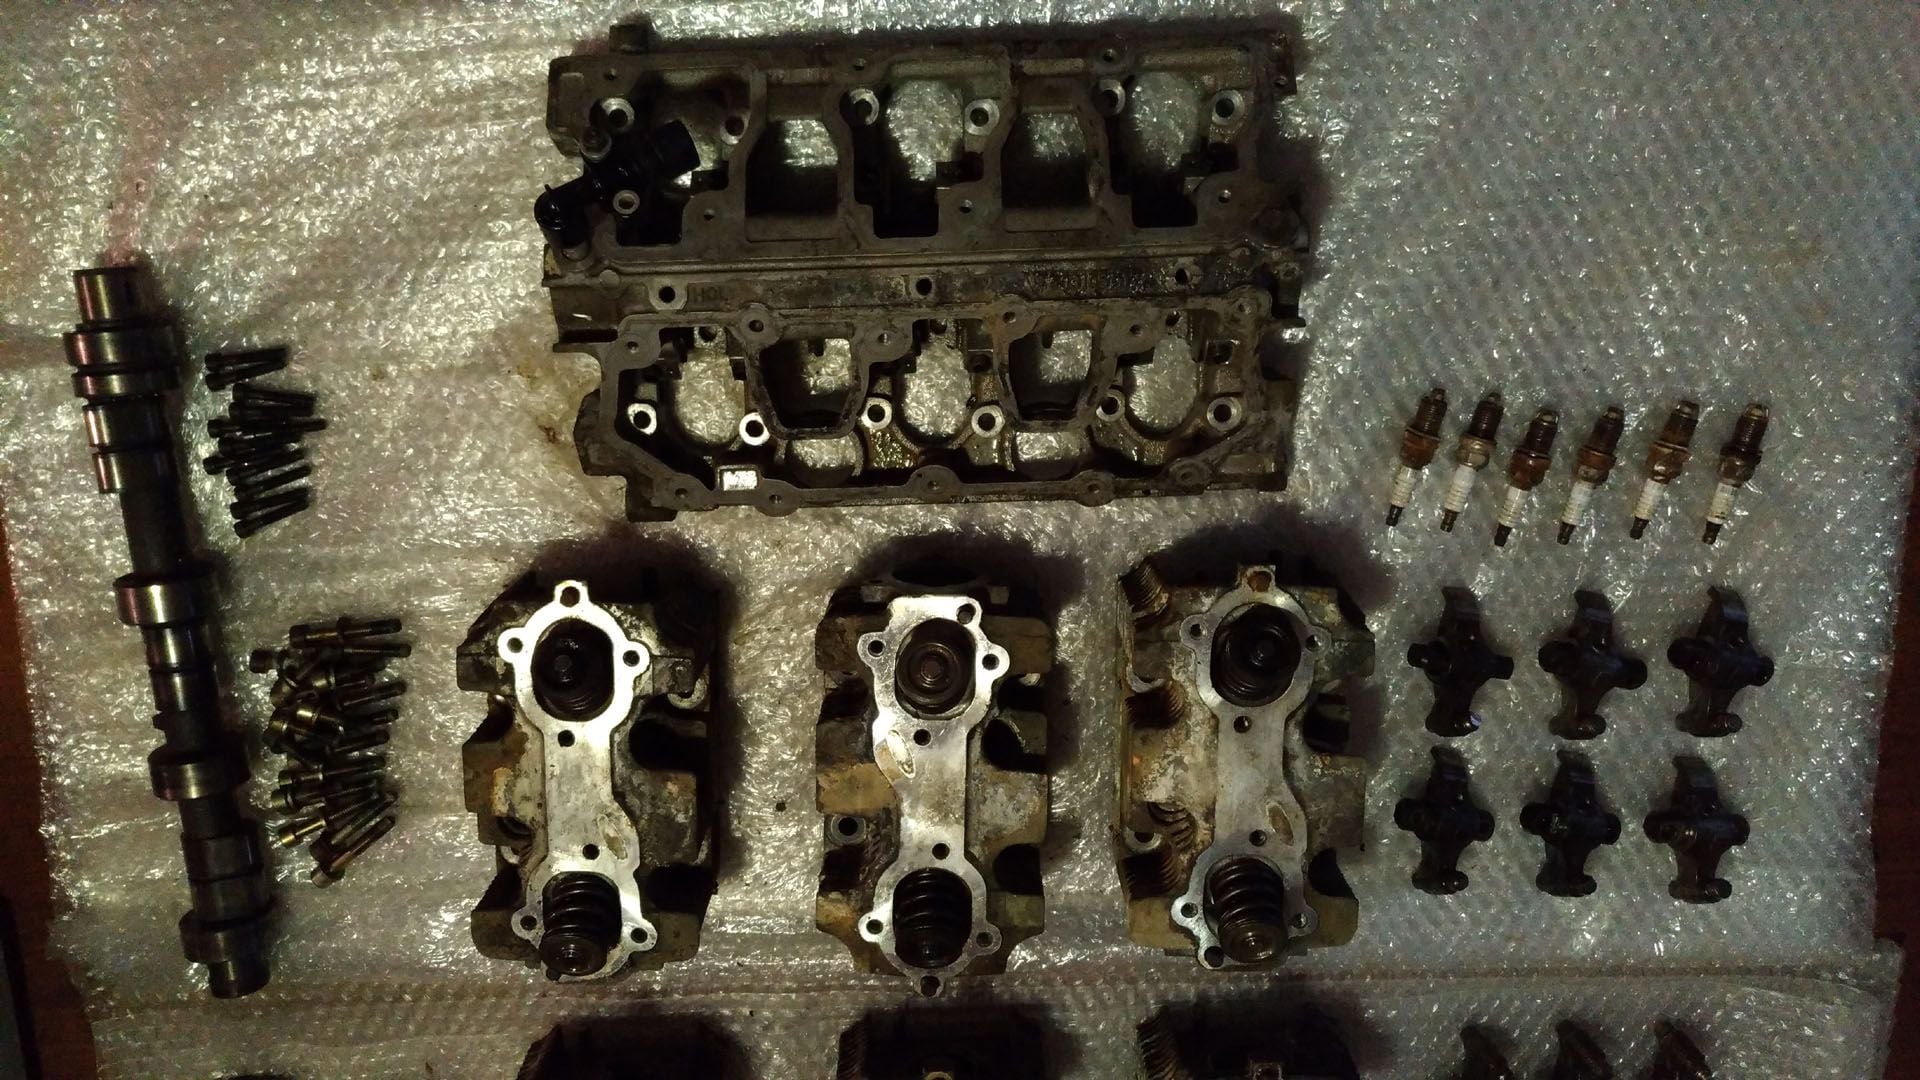
Can anyone tell me how to remove the valve return springs?
Dry ice blasting will work great and not damage any parts.
Great great advice: thank you very much, I didn't even know such a cleaning system could exist...it seems to be perfect, for deep cleaning without having any effect onto the metal parts. In my case most of the dirt is sand that has cemented over the years, very very hard almost of the consistency of a rock.
You have to push on the part called coupelle and then the two clavettes will go out ....
there is a special tool for this , but you could do that with a let’s say 20 mm socket and a hammer. To reassemble you will need the tool !
I would think the "limestone" as you call it is really aluminium oxide of some variety, either from oxygen in the water or electrolysis from Al-Fe battery effect
either way there is less material than original
I would think the "limestone" as you call it is really aluminium oxide of some variety, either from oxygen in the water or electrolysis from Al-Fe battery effect
either way there is less material than original
Uhm, I am reasonably sure it is not.
The body itself has it onto the painting. Strong as stone, attached to the paint, with hot water and some hard work it melts and it is visible it is made of ground, very fine ground, probably a mix of clay and silt, cementizie over the years, mating sarfaces, paradoxically protecting them.
Where aluminum has produced oxide is so clear and evident, no question about that: the distribution chain left and right seats have been melt by electrolysis, becoming fragile almost as a biscuit, leaving near them a sort of deposit made of oxide.
probably the metal alloy of the engine block, cylinder and cylinder heads is different.
But the last word is up to experts of the grinding workshop where all the parts will be cleaned and after that evaluated.
You have to push on the part called coupelle and then the two clavettes will go out ....
there is a special tool for this , but you could do that with a let’s say 20 mm socket and a hammer. To reassemble you will need the tool !
Thank you: this morning I brought the engine parts to the grinding workshop to be cleaned with ultrasonic waves and analised in its tolerances.
In maximum 10 days I will know if the cylinders and piston are in good shape or not...finger crossed.


 01-13-2019, 04:19 PM