Best HID upgrade
#61
Rennlist Member
Thread Starter
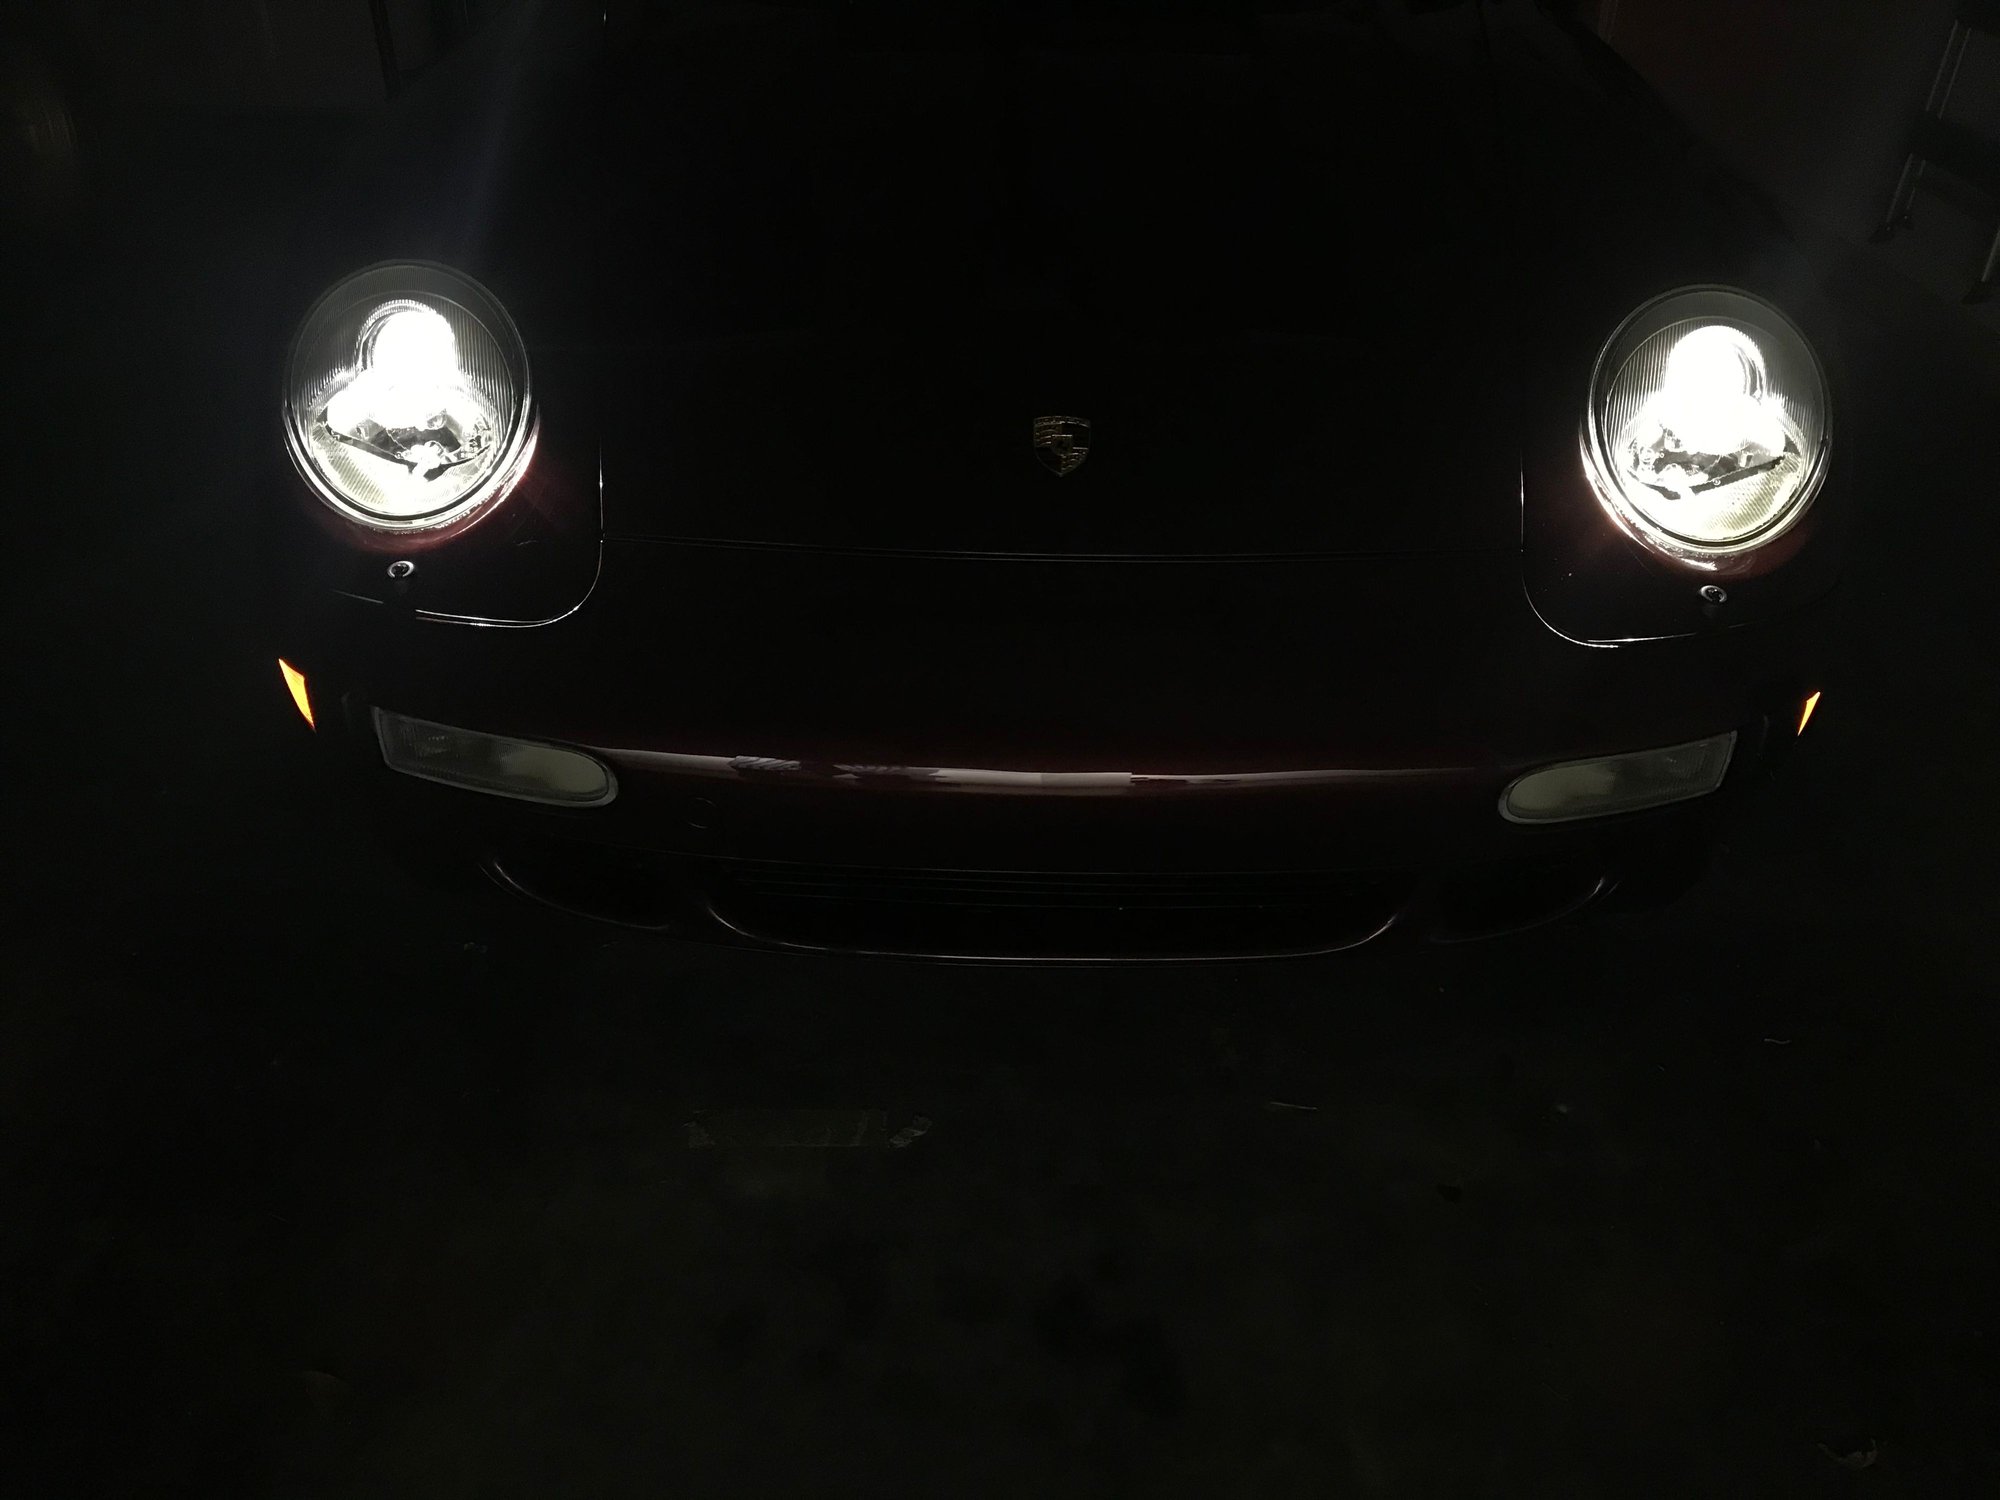
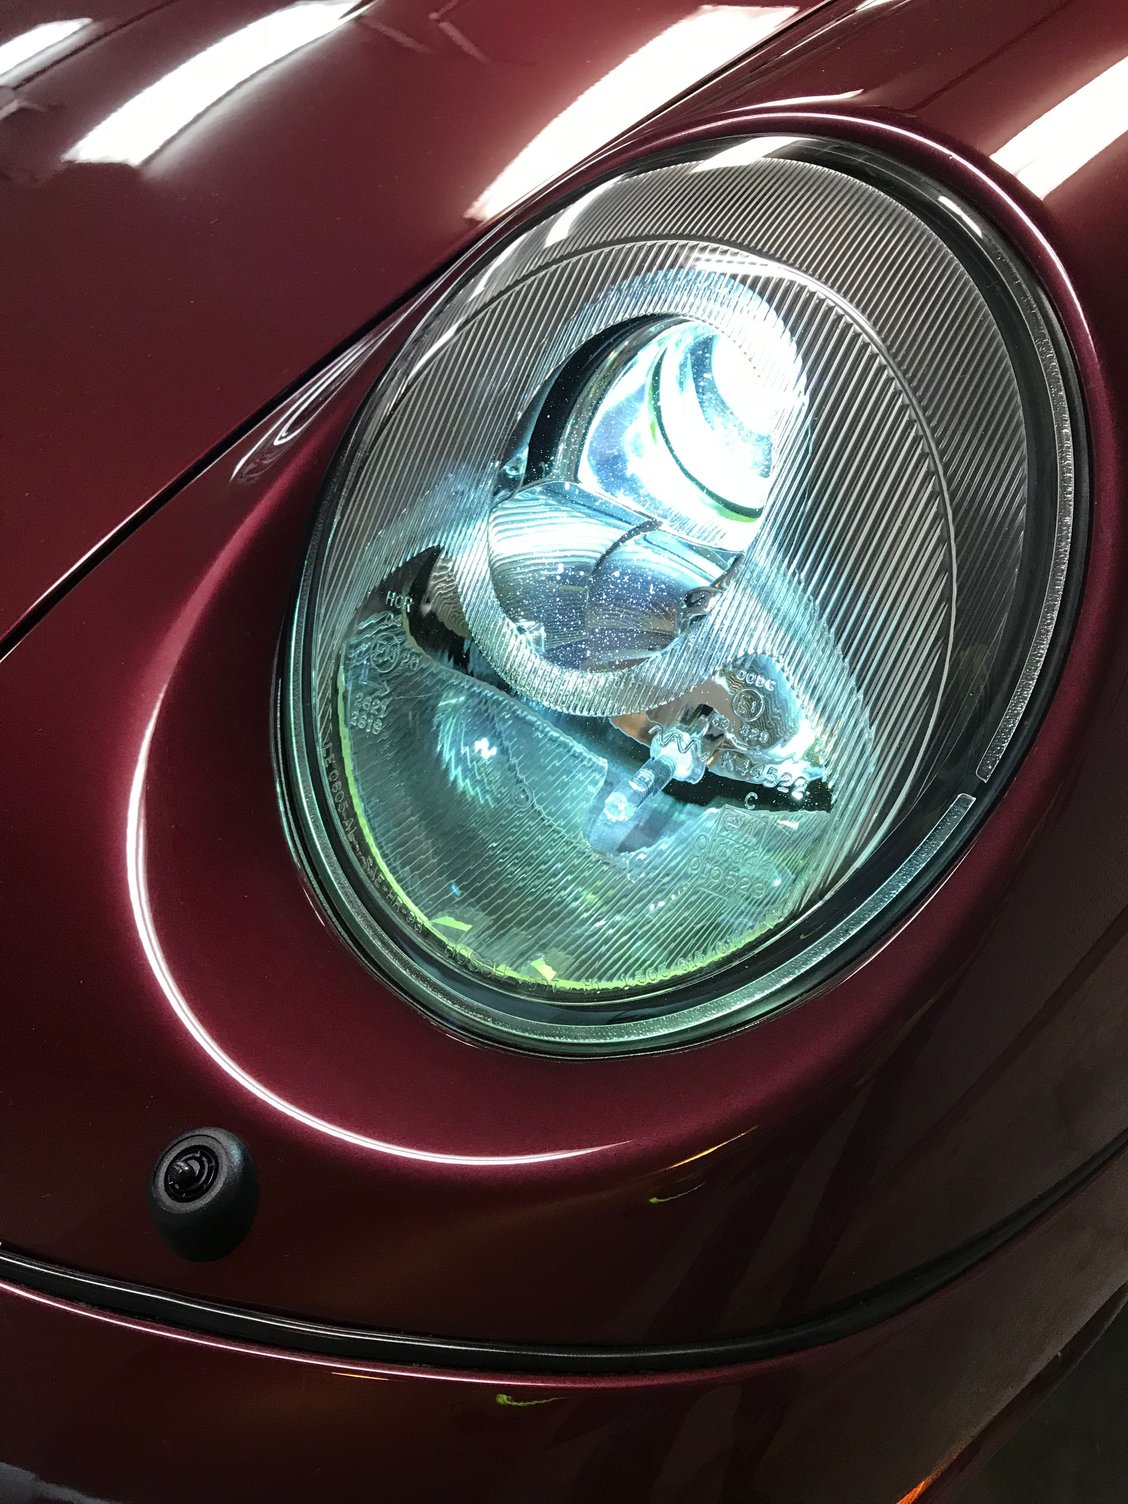
got it, thank you!
So i installed everything, and have to say it looks great. Difference is "day and night"

i will address the high beam issue later this week when i get the splitter.
however, i also have ine more issue: the park/marker led lights do not work, unless i do not know how to operate them. I thought they come on with the main low beams...
So i installed everything, and have to say it looks great. Difference is "day and night"


i will address the high beam issue later this week when i get the splitter.
however, i also have ine more issue: the park/marker led lights do not work, unless i do not know how to operate them. I thought they come on with the main low beams...
#63
I am in. Finally going to do the lights. Which one (a) 4300 Kelvin or (b) 6000 Kelvin? I spend a lot of time on the freeway in SoCal and don't want every driver in front of me getting mad about the lights. Opinions and suggestions welcomed?
#64
Rennlist Member
Thread Starter
Don't know if this helps. Maybe some one with the 6000 K can chime in.
#65
Rennlist Member
6000 K is not necessarily brighter, just a deeper blue, as I understood. 4300 is closer to OEM color. I noticed after 20-30 seconds of turning on, the xenon 4300 K light loses its initial blue hue, and becomes a bright, clear light with the faintest blue tinge in it. I suspect the 6000 K stays blue...
Don't know if this helps. Maybe some one with the 6000 K can chime in.
Don't know if this helps. Maybe some one with the 6000 K can chime in.
#68
Rennlist Member
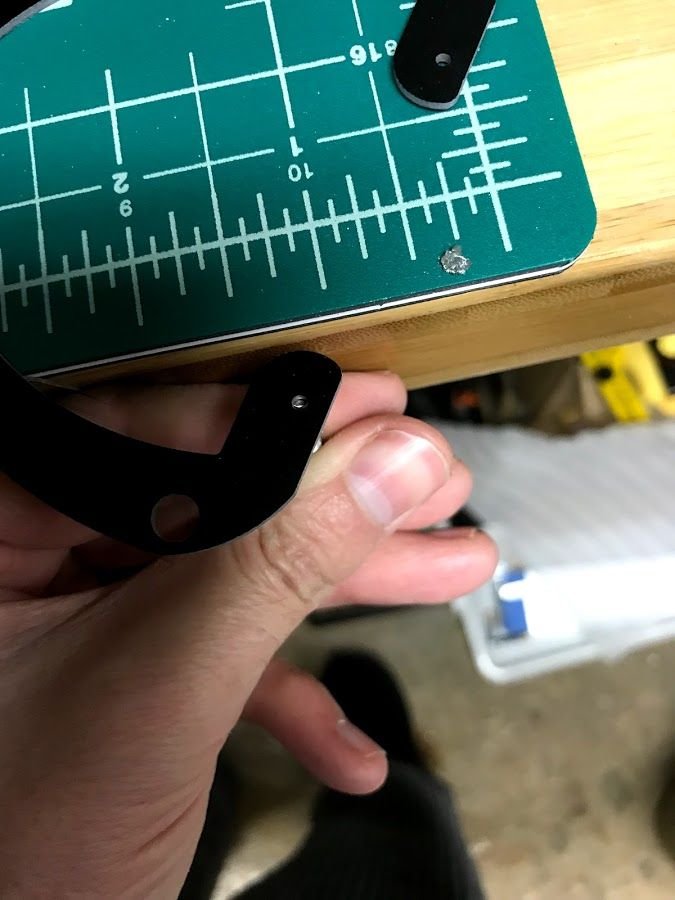
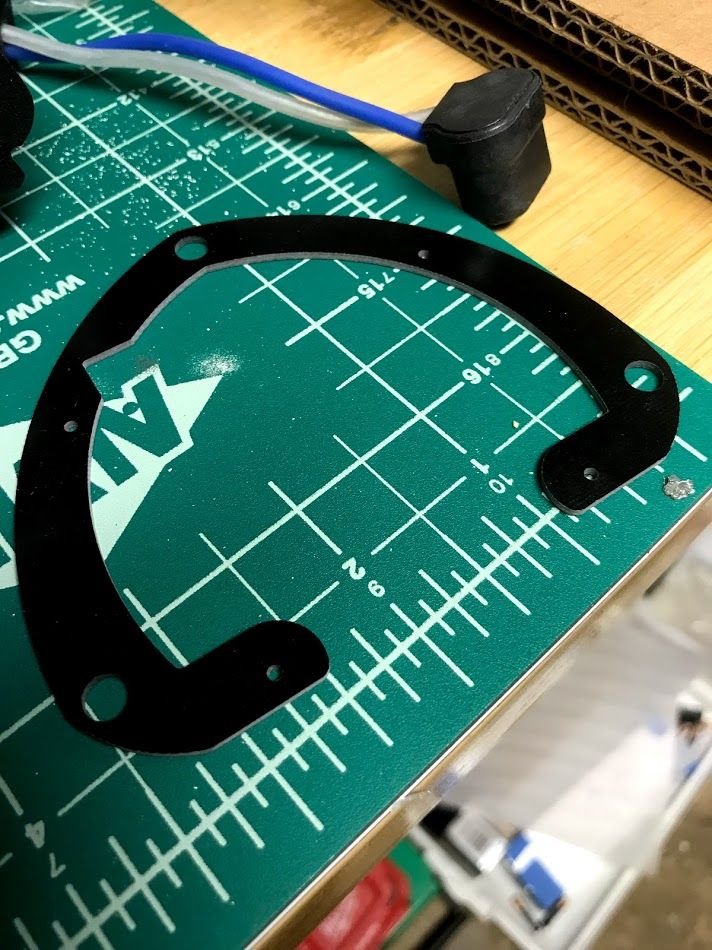
I'm not 2 minutes into this and there is already a problem. The 30mm bolts that go through the new projector and supposedly into their 'custom' bracket are too big to do so without drilling into the bracket to make the mounting holes bigger. I emailed support to make sure that's what I'm supposed to do but it's frustrating as they don't open till 10am and it's 7am here. I wanted to get this done and dusted while my better half was in the land of Nod. I can't see any other way around drilling. The holes just aren't big enough but it's maddening as it's their projector, hardware and bracket, you'd think they'd know what size to make the holes for it all to fit. If you look at the first picture of the kit all laid out in this install of 6SpeedOnline forums, you can see the mounting holes are considerably bigger.
https://www.6speedonline.com/forums/...what-took.html
Maybe I'll just drill and move forward....hrrrrmmmmm.
#70
Rennlist Member
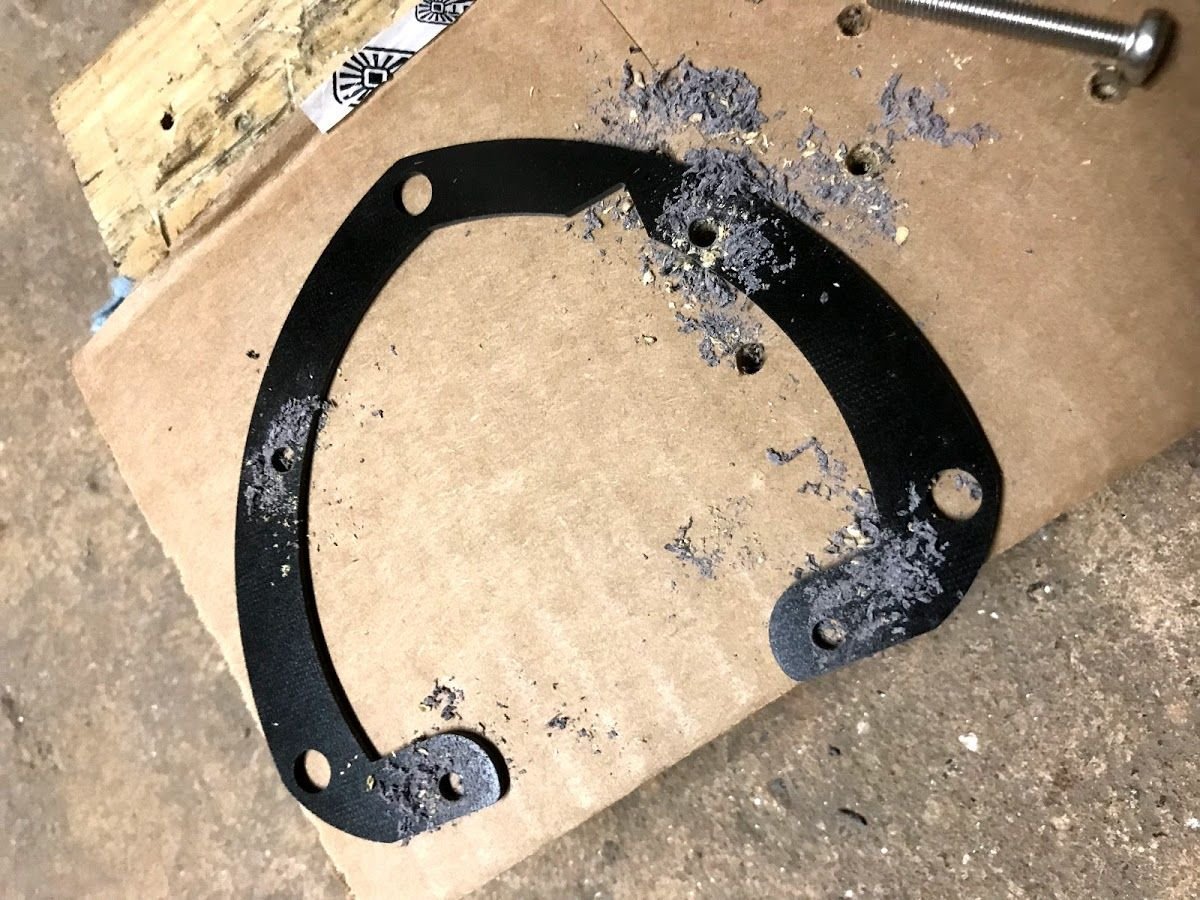
Drill and file.
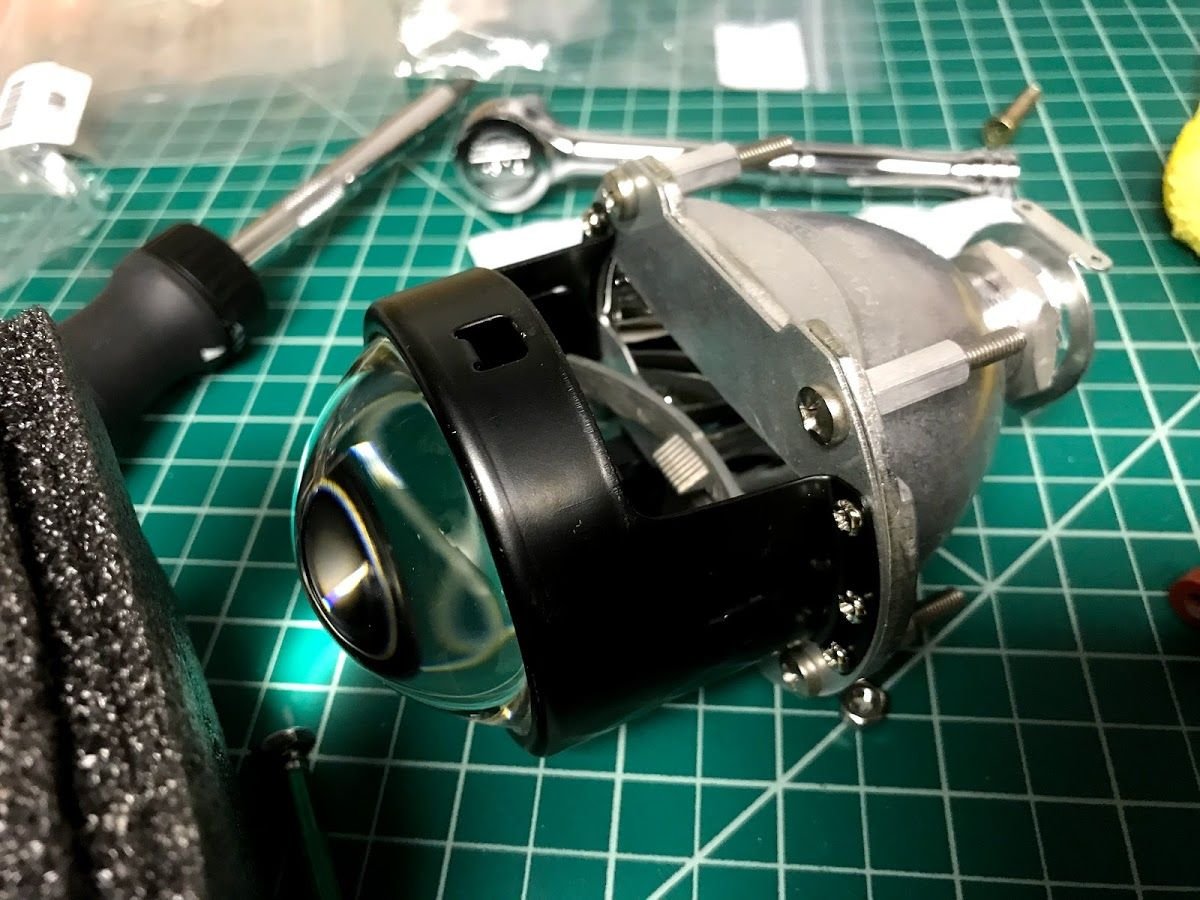
Bolts and spacers on new projector.
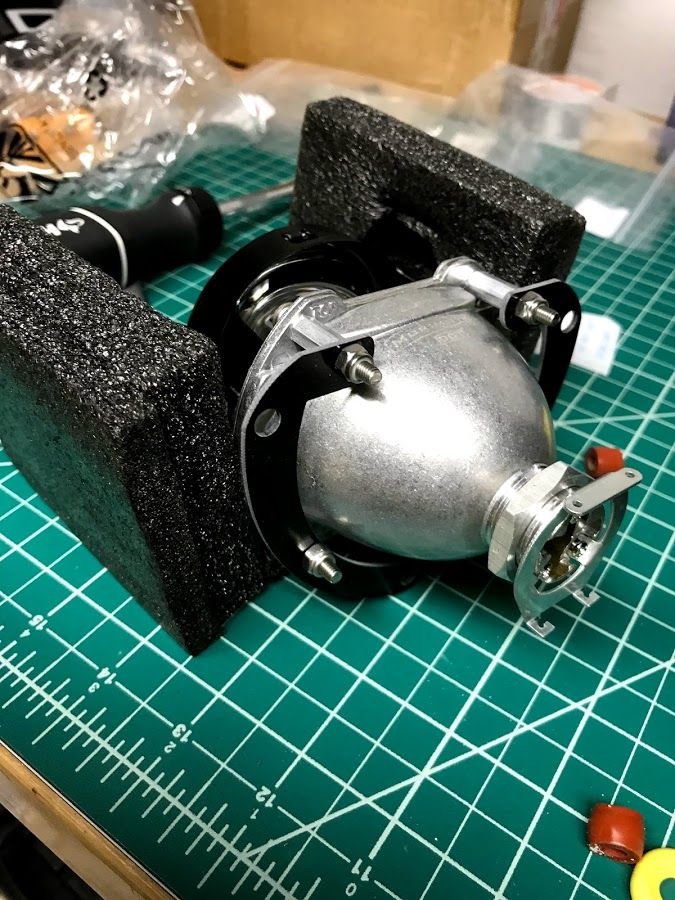
Mounting frame installed.
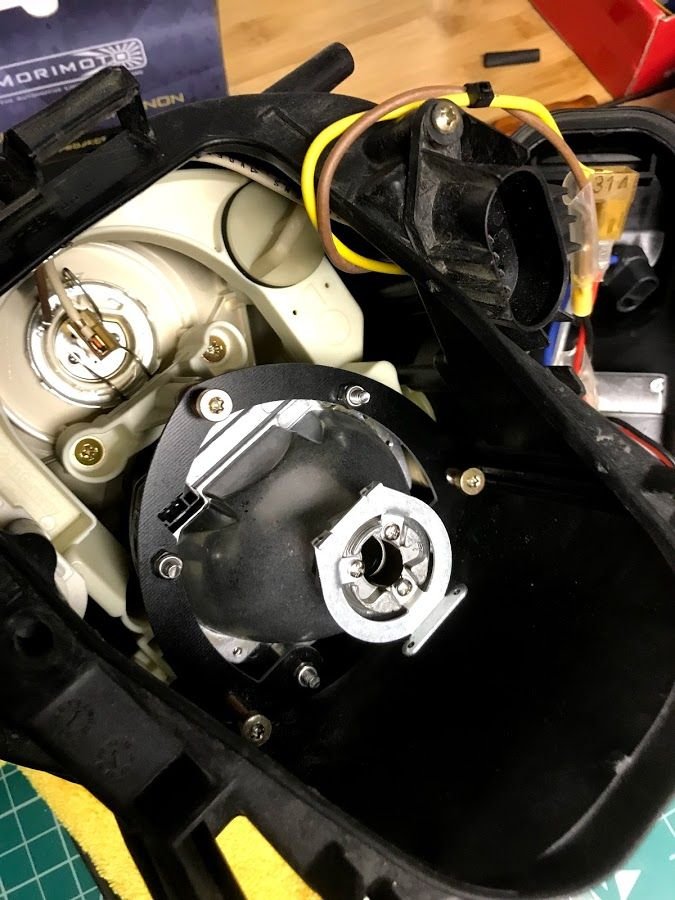
Into light.
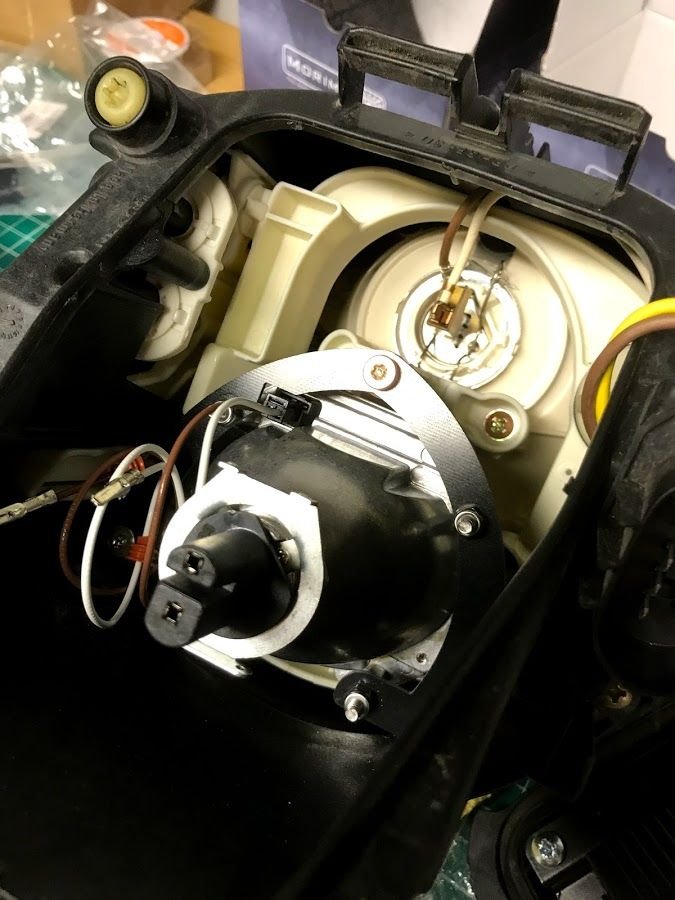
Can't put this in backwards.
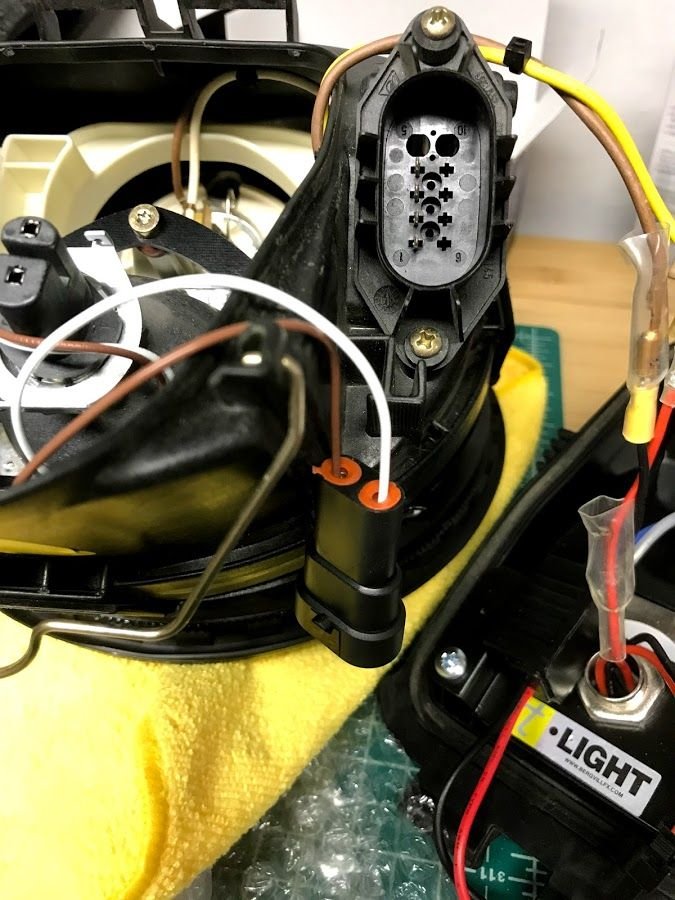
Make sure to get this correct.
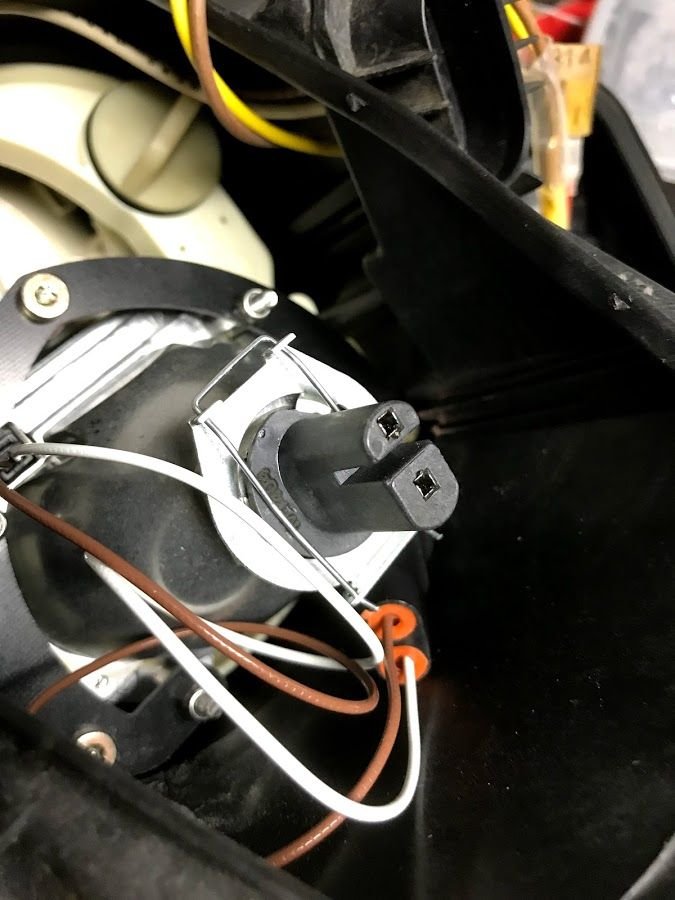
Spring clip added.
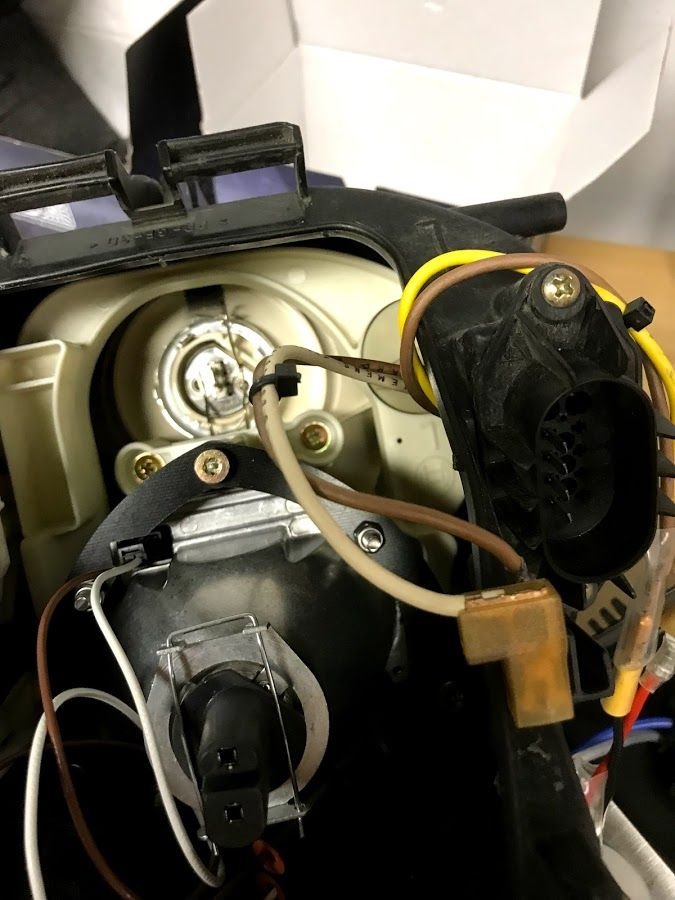
Disconnect from high beam.
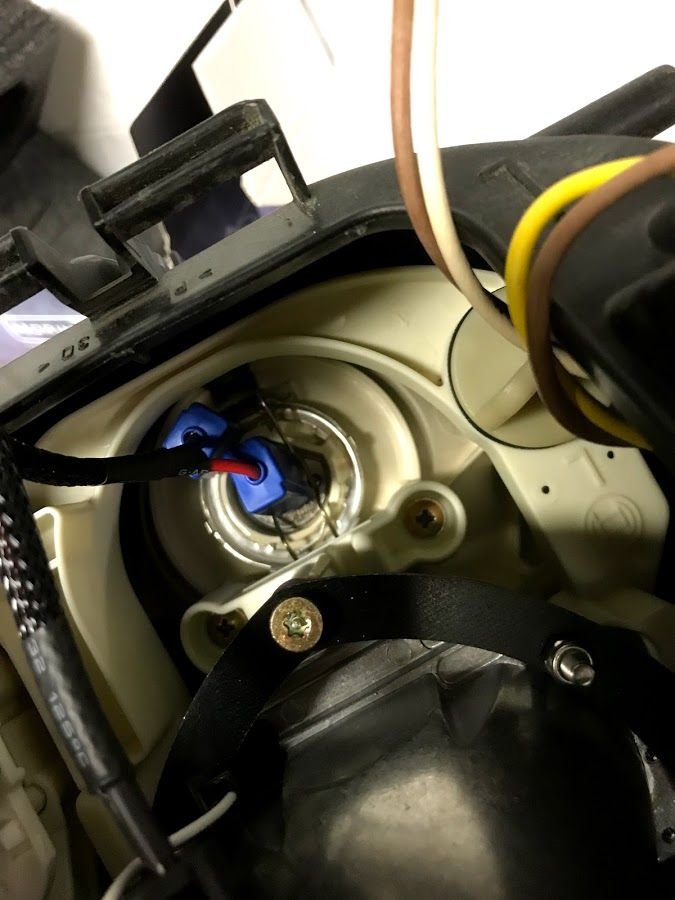
PITA to connect these two. Tiny space, no room to move. I ended up cutting back the rubber that keeps the red and black wires together to give a fraction more flexibility.
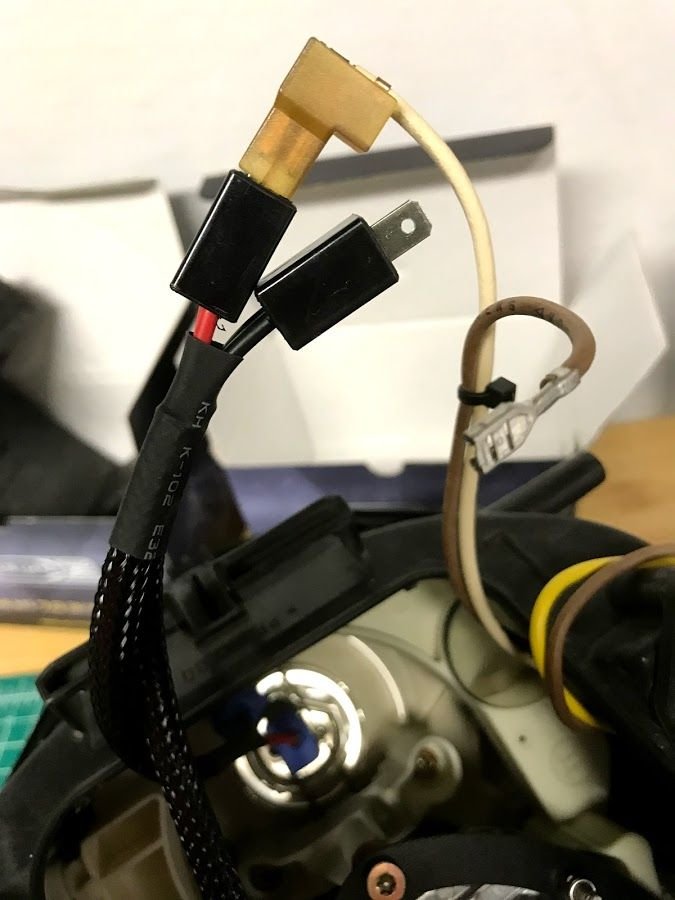
Also and ***-pain. Widening brown connector to fit around blade on other end of harness.
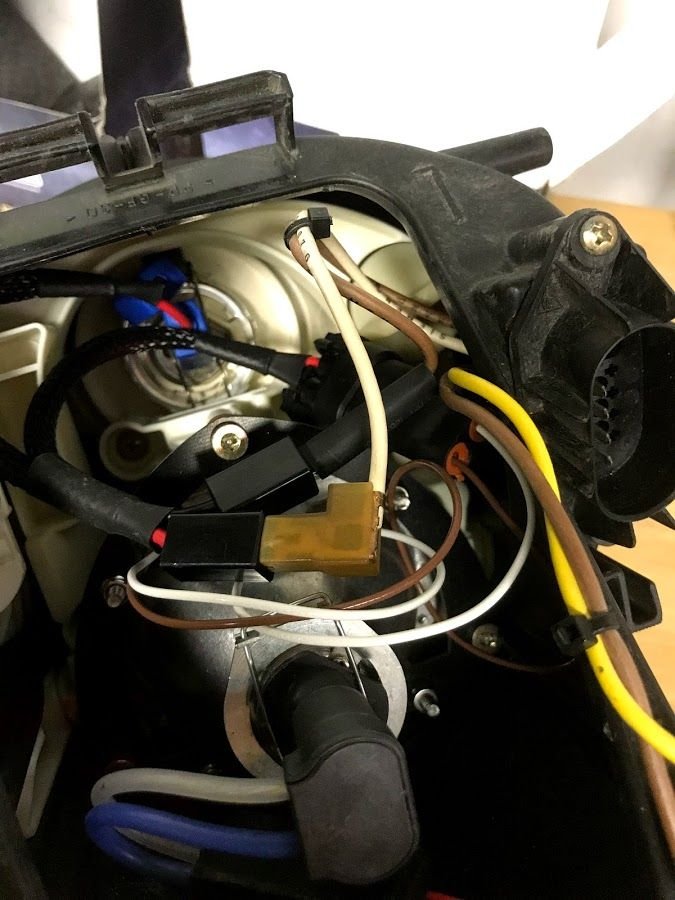
All done. Now tuck it in and test it on the car.
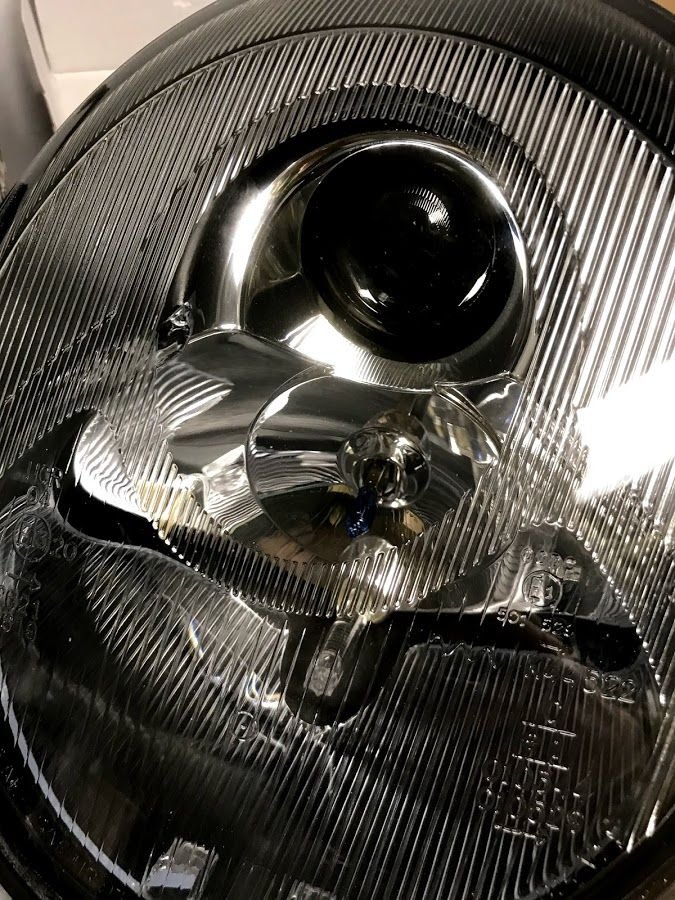
Ta-da!
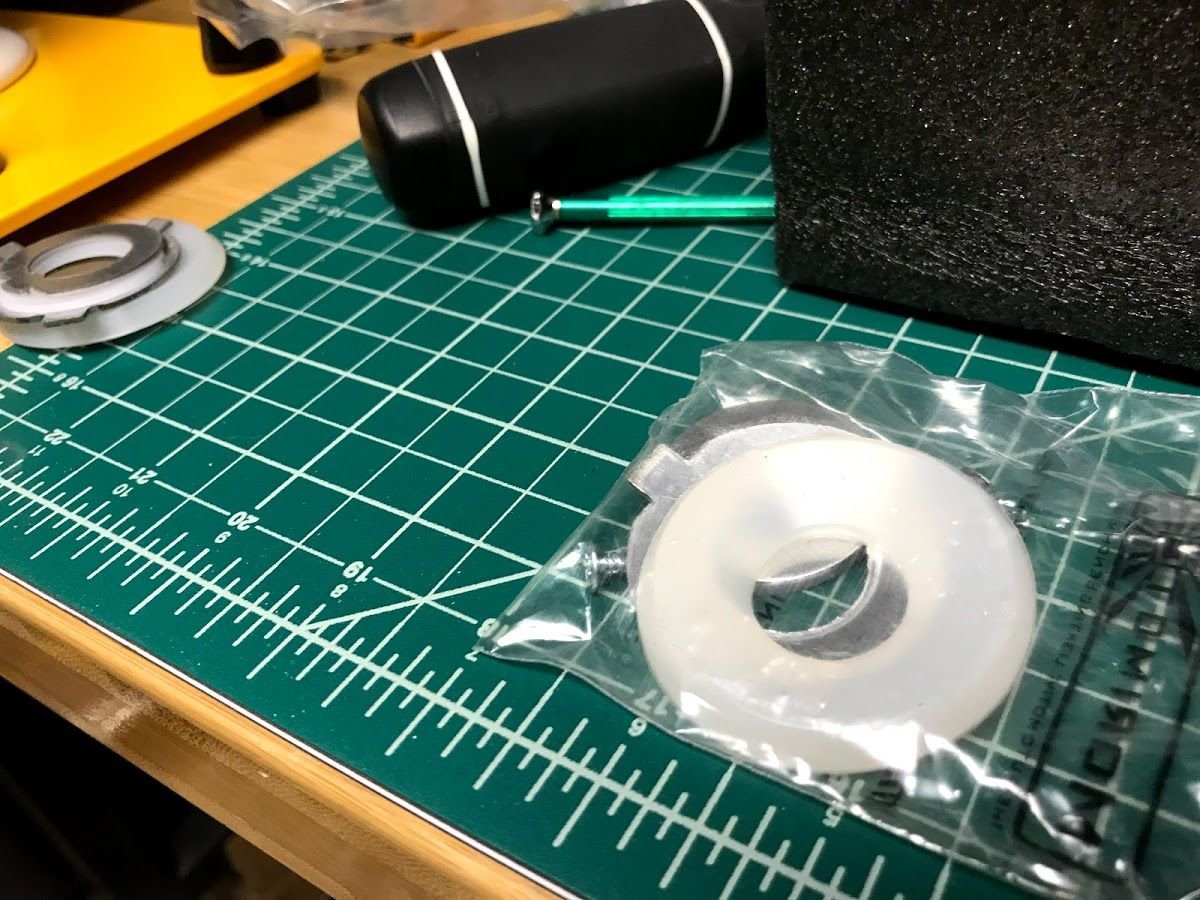
As I had Tore's kit in the light housing, none of this stuff is needed thankfully. It means you're not drilling through the back of the case and attaching ballasts to the inside of the frunk.
#71
#72
Rennlist Member
Had a slight issue and had to take apart the passenger side light again. One of the wires wasn't connecting as it should have and I wasn't getting the solenoid on the passenger side engaging. All working now. I went for a spin (almost literally as I powered out a corner on cold racey tires in 29 degrees) and the difference is unbelievable! Possibly the best $160 I've spent. Tores kit and this is an unbeatable duo.
G
G
#73
Had a slight issue and had to take apart the passenger side light again. One of the wires wasn't connecting as it should have and I wasn't getting the solenoid on the passenger side engaging. All working now. I went for a spin (almost literally as I powered out a corner on cold racey tires in 29 degrees) and the difference is unbelievable! Possibly the best $160 I've spent. Tores kit and this is an unbeatable duo.
G
G
#74
Rennlist Member
Thread Starter
Awesome work, the pictures are great. I guess I was lucky, my brackets came with the correct size holes. You made nothing of it and solve the issue right away. Another testament to the high yield nature of this simple, affordable upgrade.
#75
Interesting post. Subscribed and just added to my wishlist.


