When you click on links to various merchants on this site and make a purchase, this can result in this site earning a commission. Affiliate programs and affiliations include, but are not limited to, the eBay Partner Network.
While you're attacking this, and if ya don't have one, might wanna strut tower brace. Elephant, Rennline etc have them. :-)
Thanks. I saw a used one at my local p-car dismantler for cheap. I assume they are all the same as it is just metal and some adjustable ball joints to keep the struts stable? Do they make a difference in handling?
Strut tower braces definitely cut down on front end flex and sometimes windshield creaking sounds if yours is doing that. They are relatively cheap and an easy DIY so why not add one?
As for "are they all the same?" Some are modeled after factory design, some aren't. The main differences have to do with the hardware and how they fix to the strut towers.
You're making great headway on your suspension! Might as well slap a brace on there too. Then get out of the garage and drive it!
Thanks. I saw a used one at my local p-car dismantler for cheap. I assume they are all the same as it is just metal and some adjustable ball joints to keep the struts stable? Do they make a difference in handling?
I think it makes the steering feel a little more direct. Subtle change but a nice and easy mod.
I finally got my parts from Sunset to start the PSS10 install. I followed the factory and bentley guides and replaced all of the nuts and bolts that were called out. Here is the parts list courtesy of @tlaloc95...
- Upper Mount Gasket for front shocks.
- 993-341-511-01 x2
- Lock nuts that are used to secure the shock top hats both front and rear suspension. 16 nuts total. 8 for the front. 8 for the rear.
- 900-380-005-01 x16
- Lock nuts and bolts to attach front control arms to frame.
- 999-084-445-01 x2
- 900-082-118-01 x2
- 900-082-137-01 x2
- Lock nuts and bolts to attach the front shock to the wheel carrier.
- 999-067-039-01 x2
- 999-072-006-01 x2
- 993-343-156-00 x2
- Lock nuts to attach front carrier to the front control arm ball joint. (I didn't end up using these as I got a free pair from when I replaced the ball joints.)
- 999-084-449-09 x2
- M030 anti roll bar (22MM)
- 993-343-707-01 x1
- M030 anti roll bar bushing (22MM)
- 964-343-792-22 x2
- M030 front drop link (Driver side)
- 993-343-069-00 x1
- M030 front drop link (Passenger side)
- 993-343-070-00 x1
- Lock nuts and bolts to attach front drop link to ARB
- 900-074-380-01 x1
- 900-910-031-01 x1
- Lock nuts and washers to attach ARB to frame
- 900-910-022-09 x2
- 999-025-125-01 x4
-Metal clip that attaches brake hose to strut
-113-611-715A x2
1. Installed new rubber gaskets to my assembled PSS10 struts
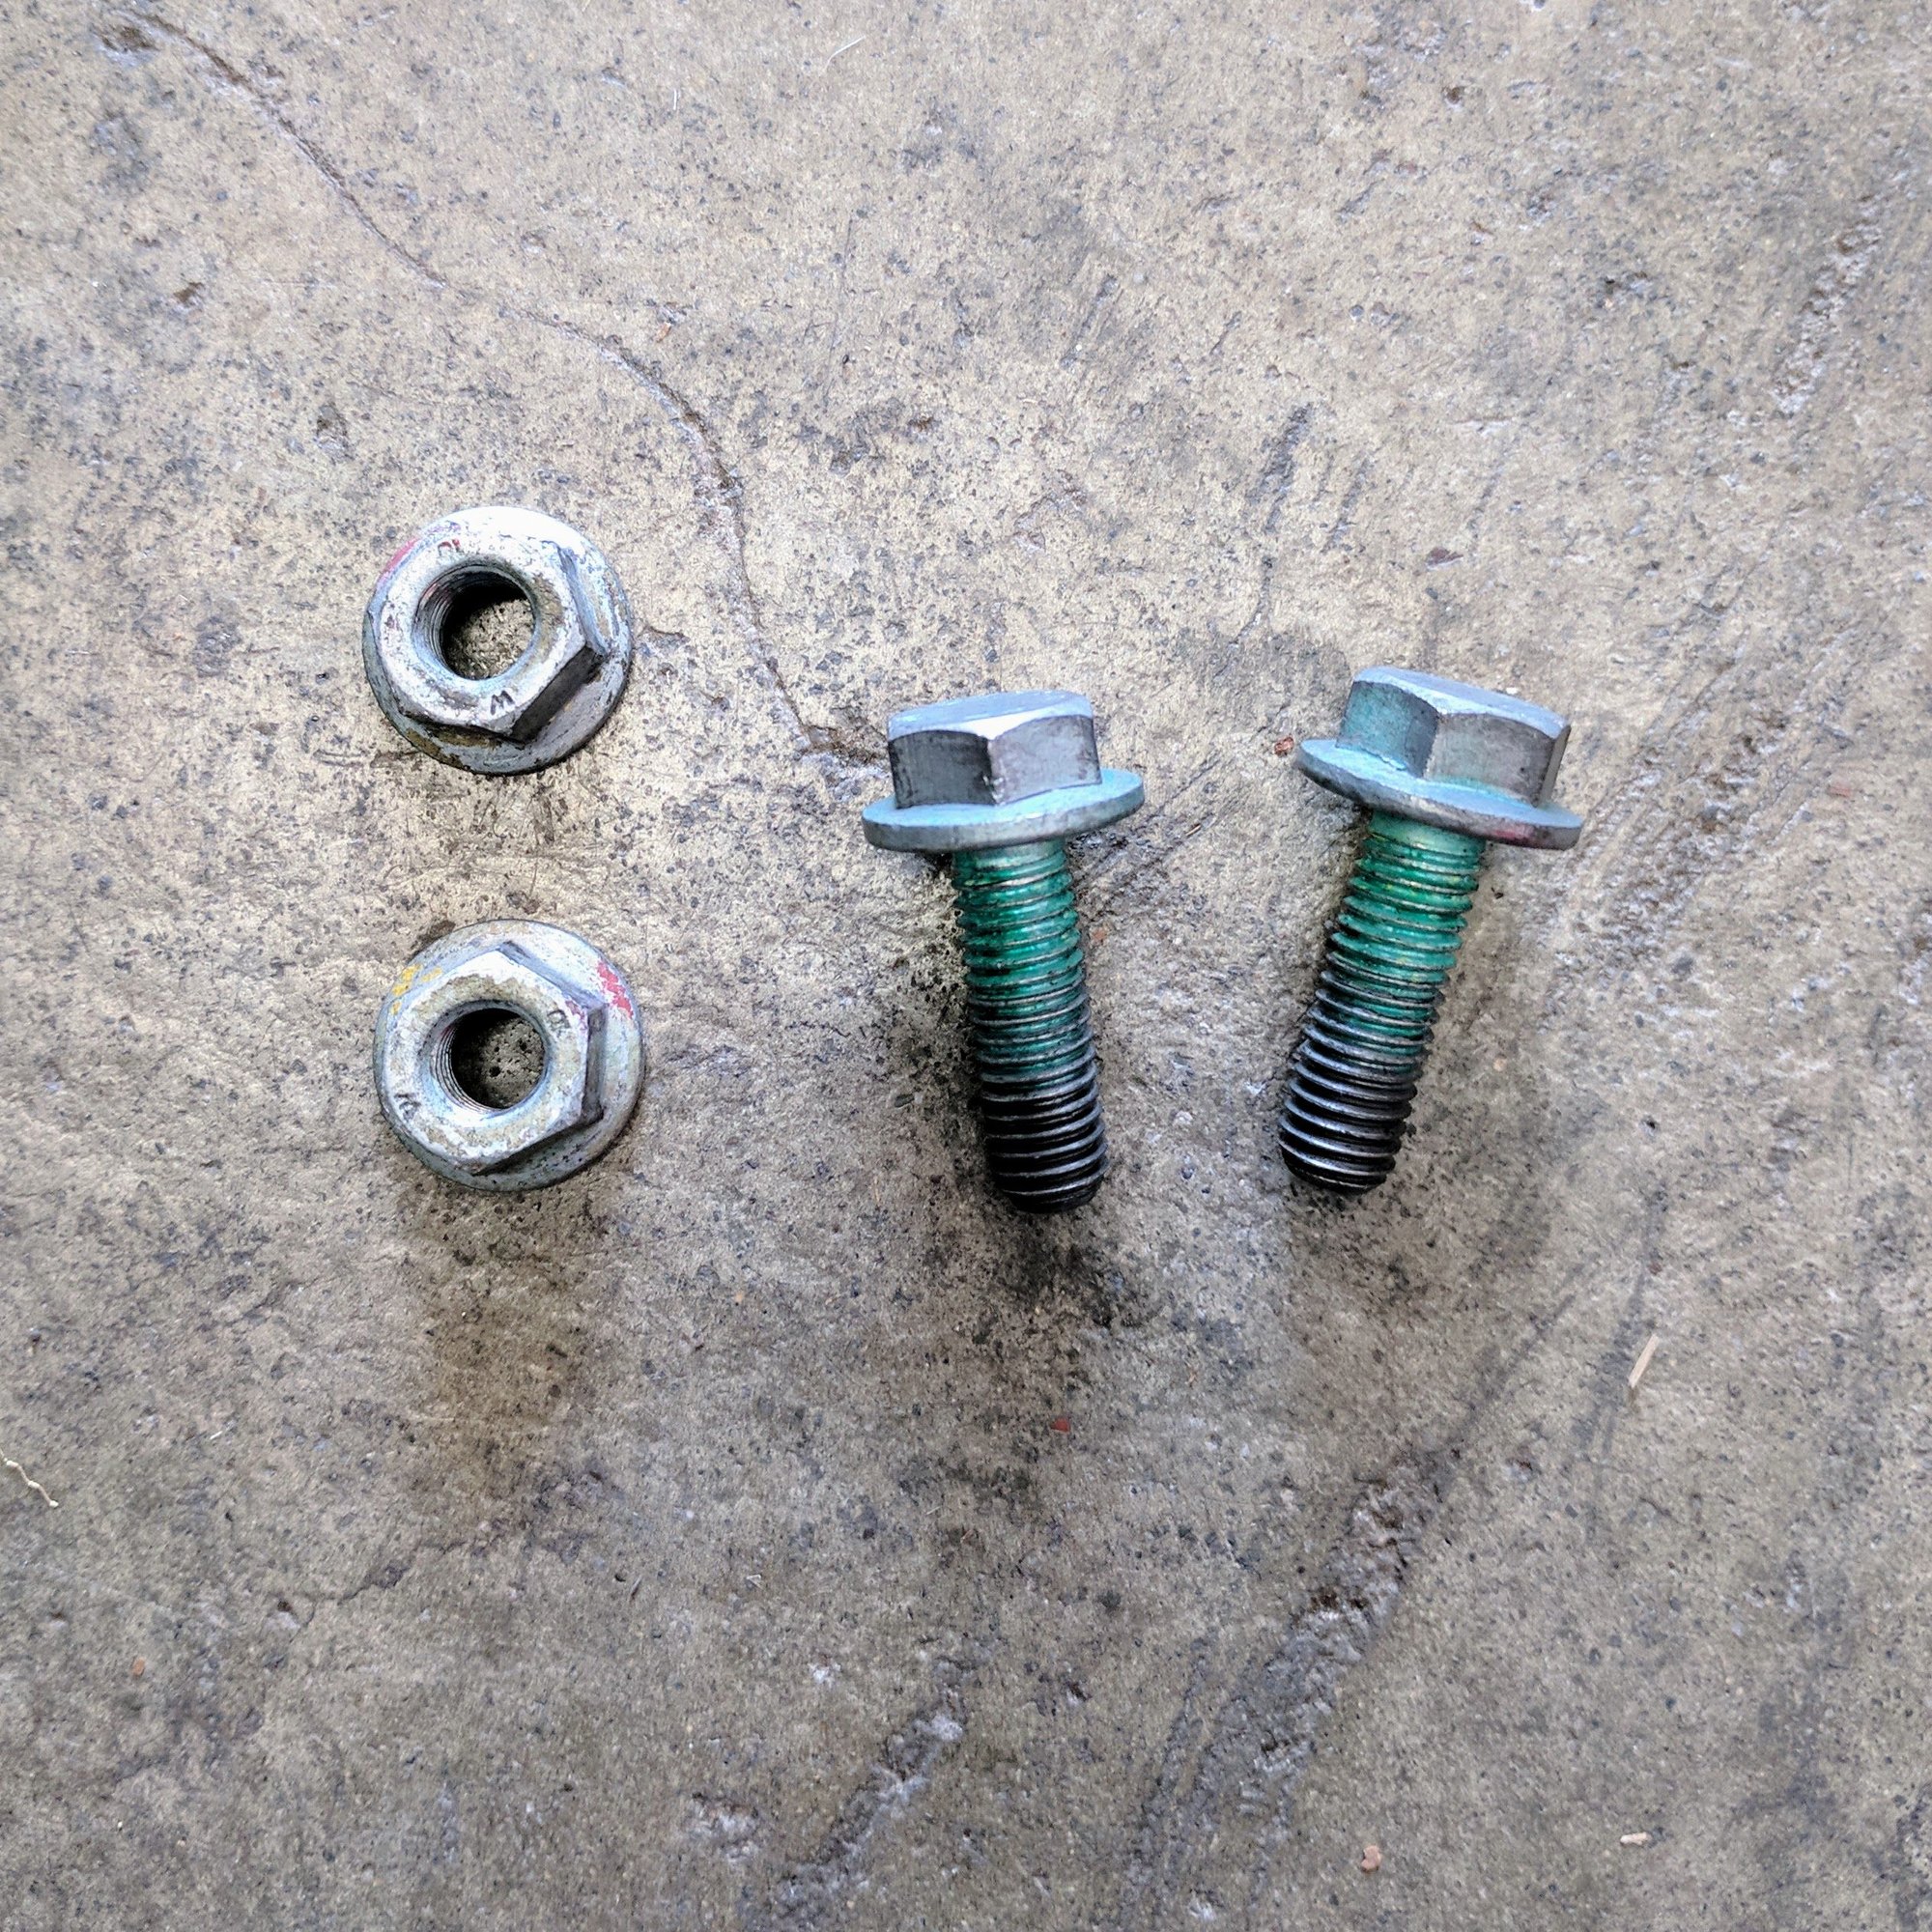
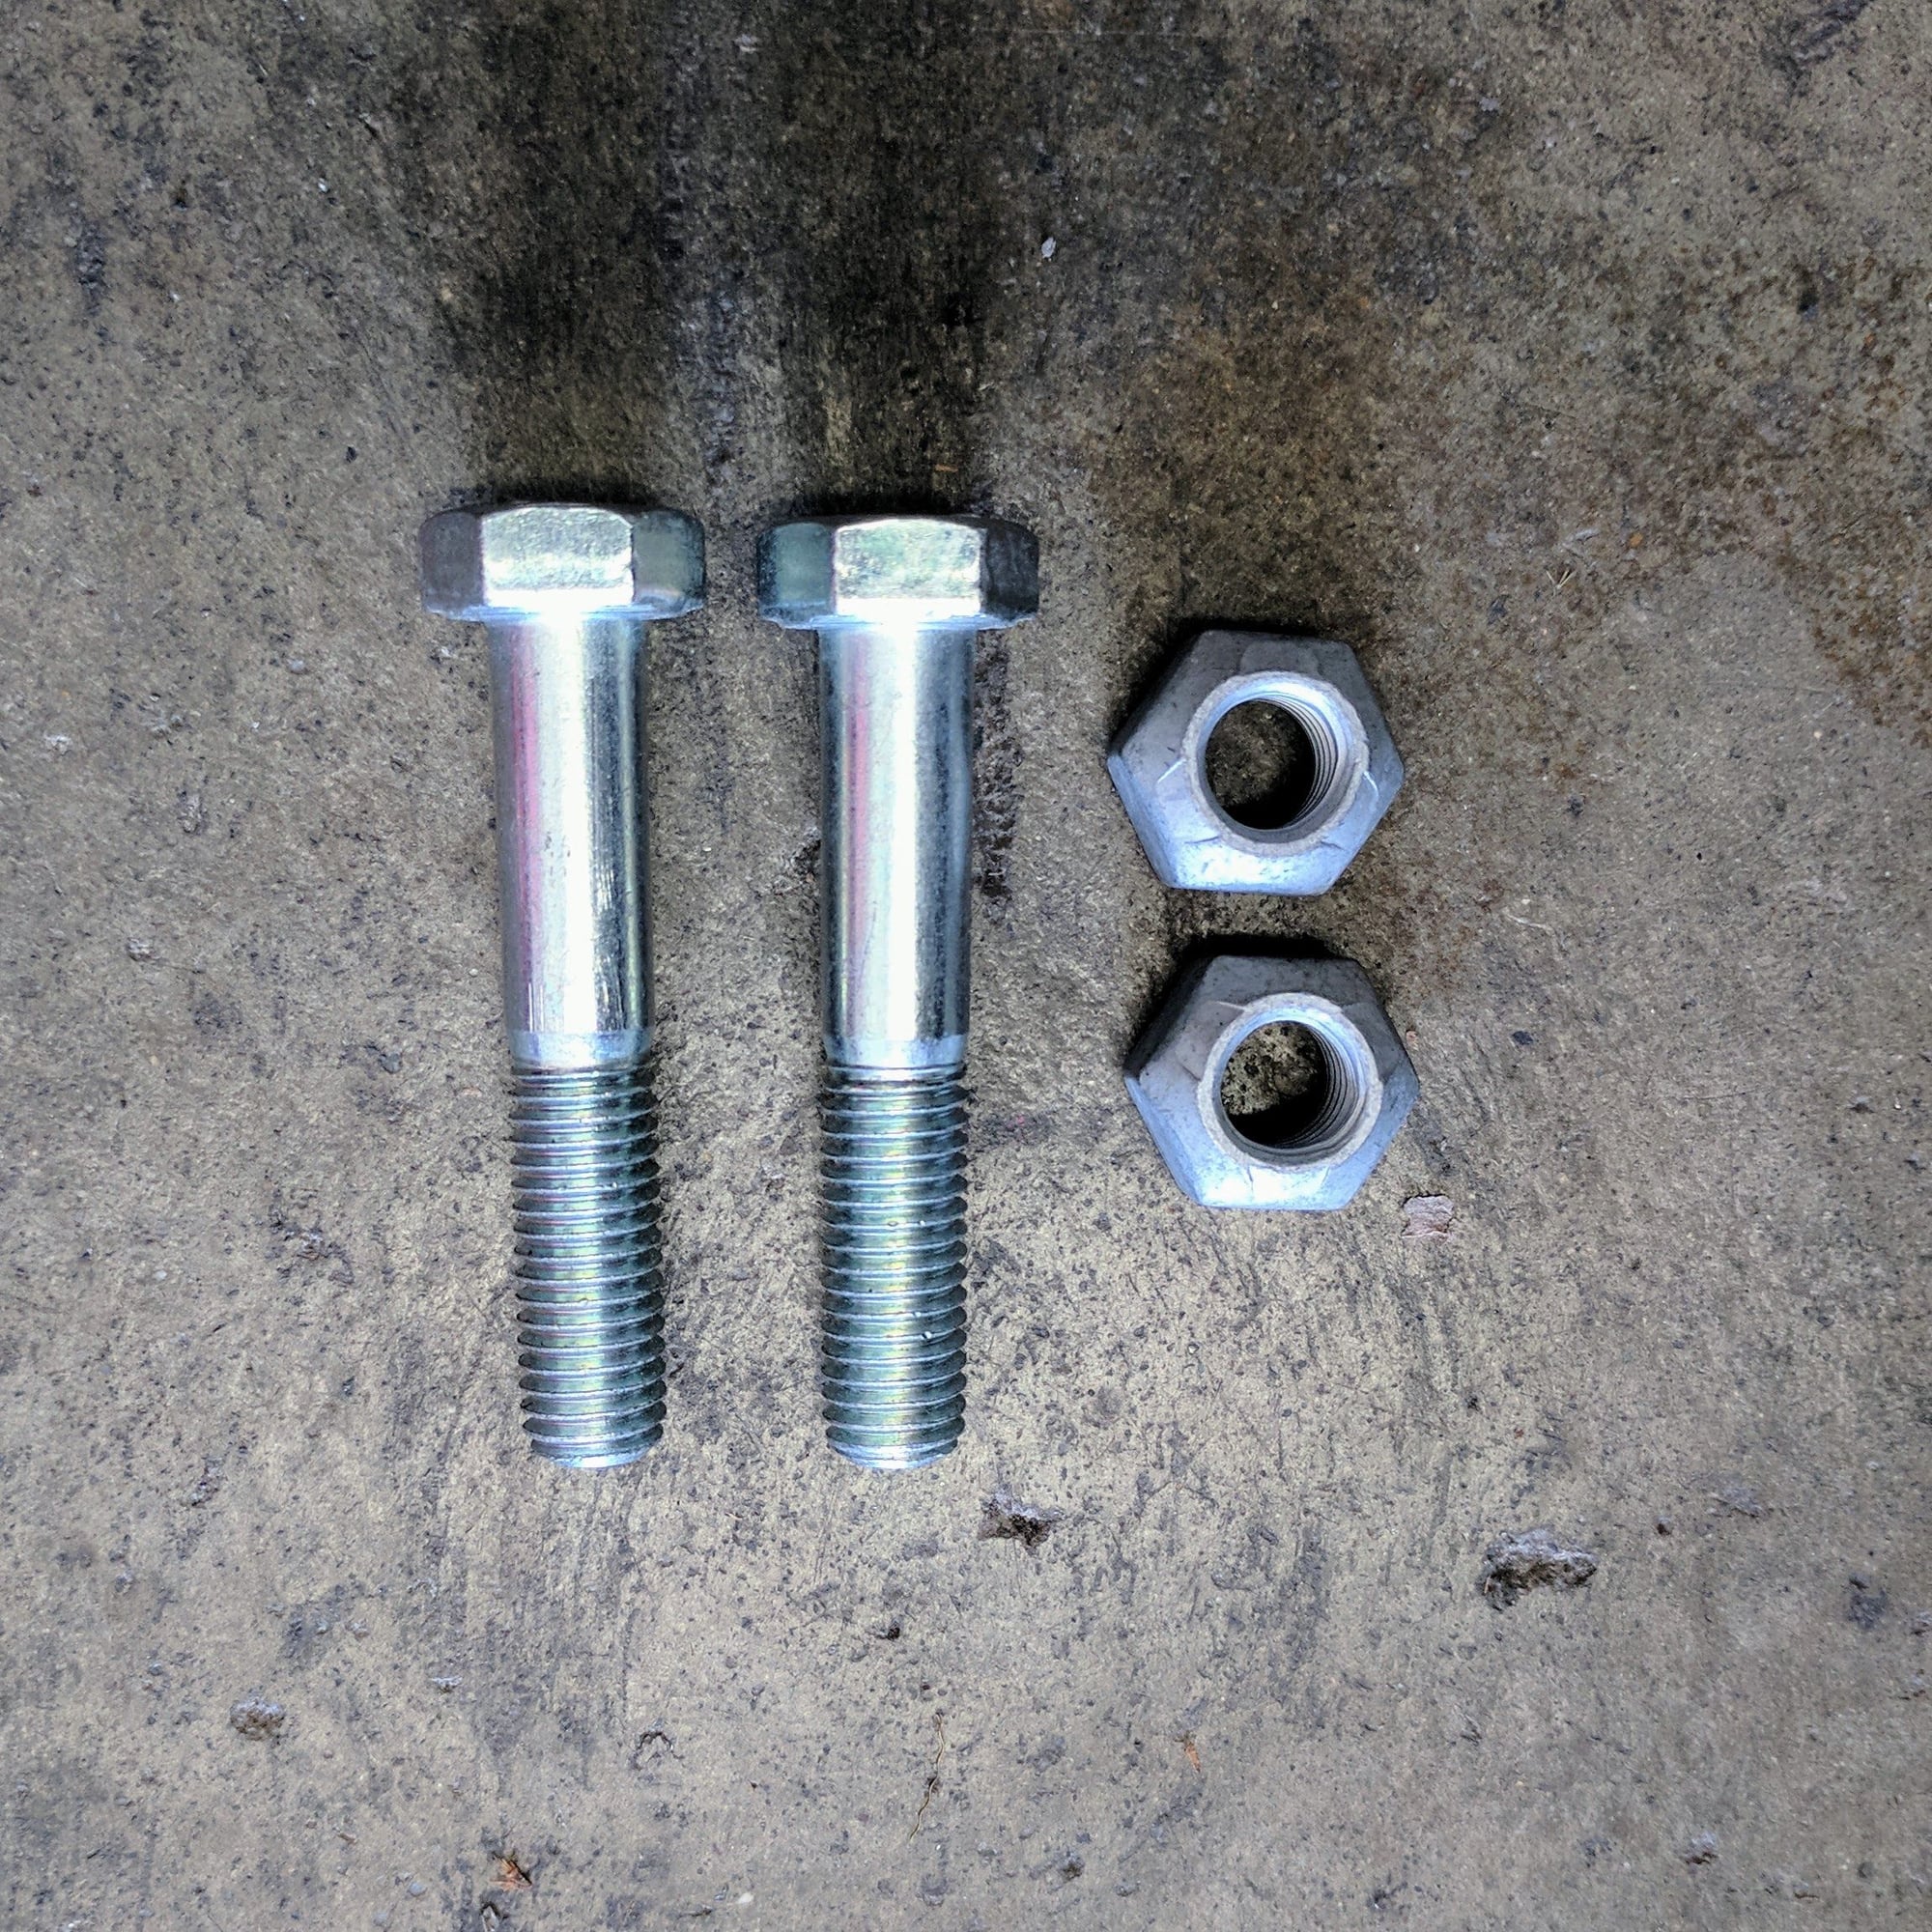
2. Here are the old nuts and bolts for the ARB clamps...
PET calls out washers and different nuts for the ARB clamps. Here they are...
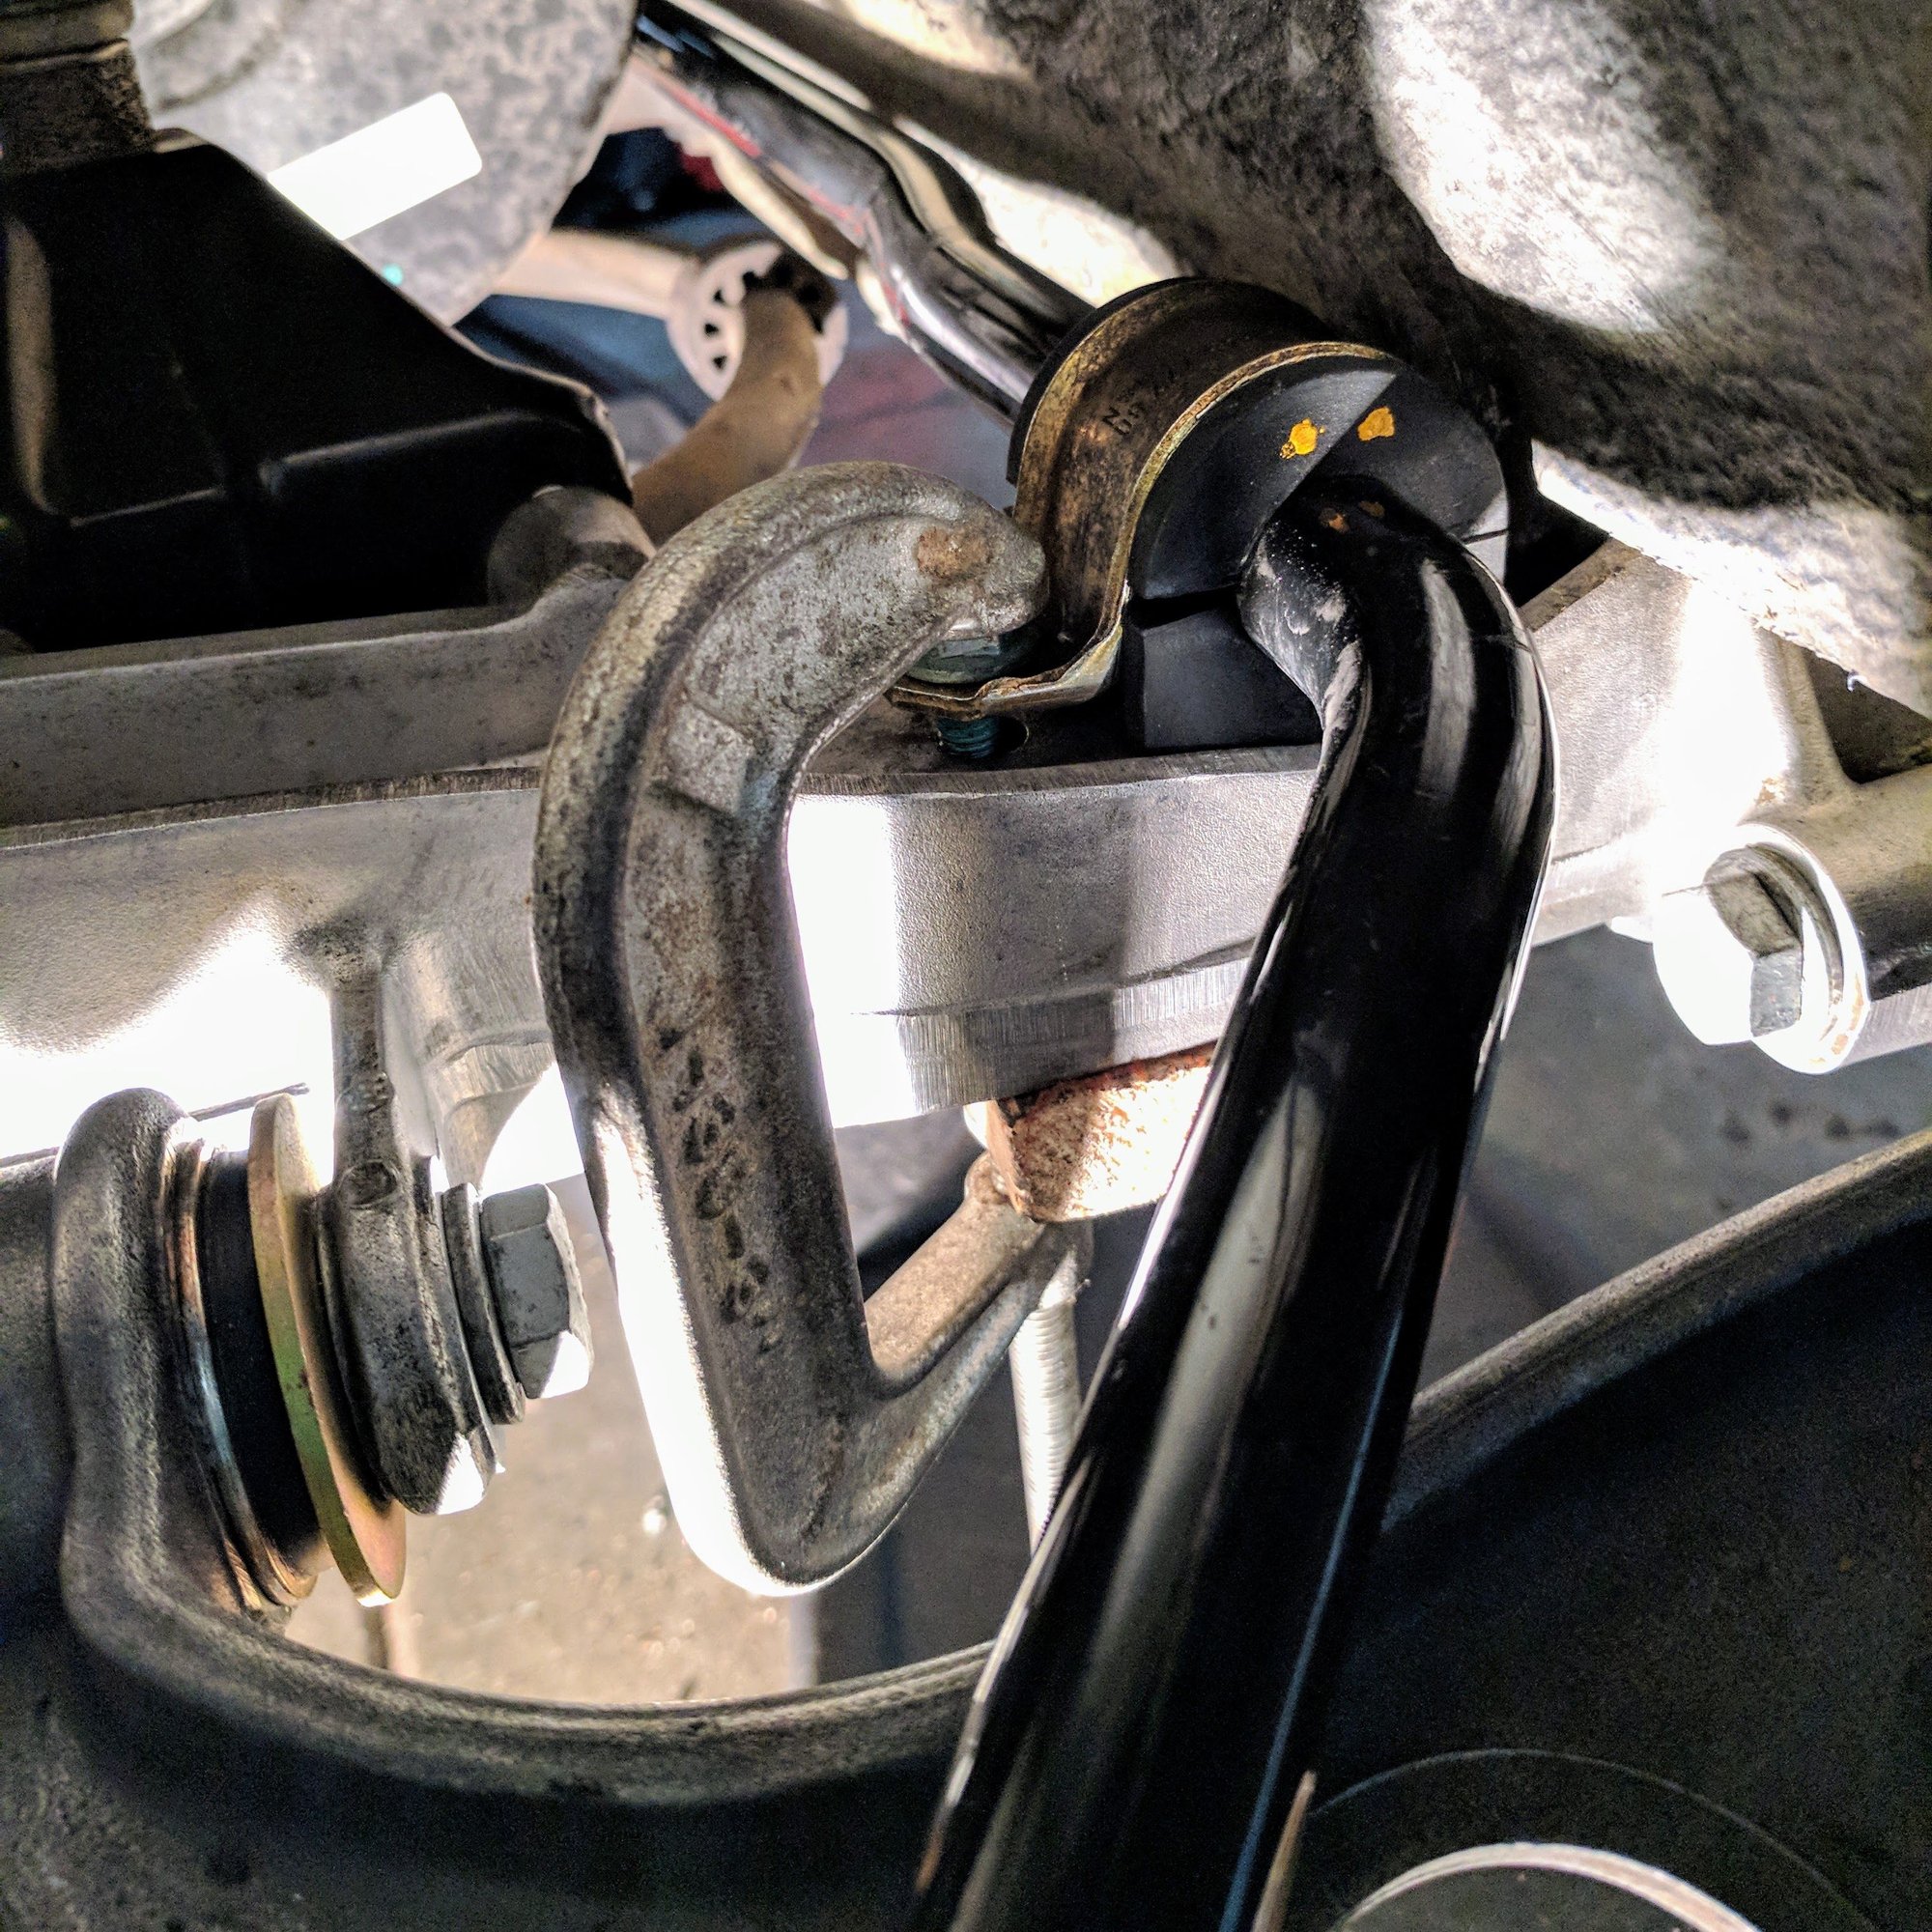
Getting the M030 ARB with new 22MM bushings was just as a PIA to get them in as it was to pull the old ones out. Used some soapy water which helped slide them into the clamps. Installed the reconditioned control arms with new elephant sport bushings and ball joints to the frame with new nuts and bolts. I didn't torque them until I have loaded the front suspension via putting the front on some ramps... Then used a 3" c-clamp and a small block of wood to press the ARB clamp down, so I could get the new ARB clamp nuts, washers, and bolts started. Again didn't torque them until the front was loaded.
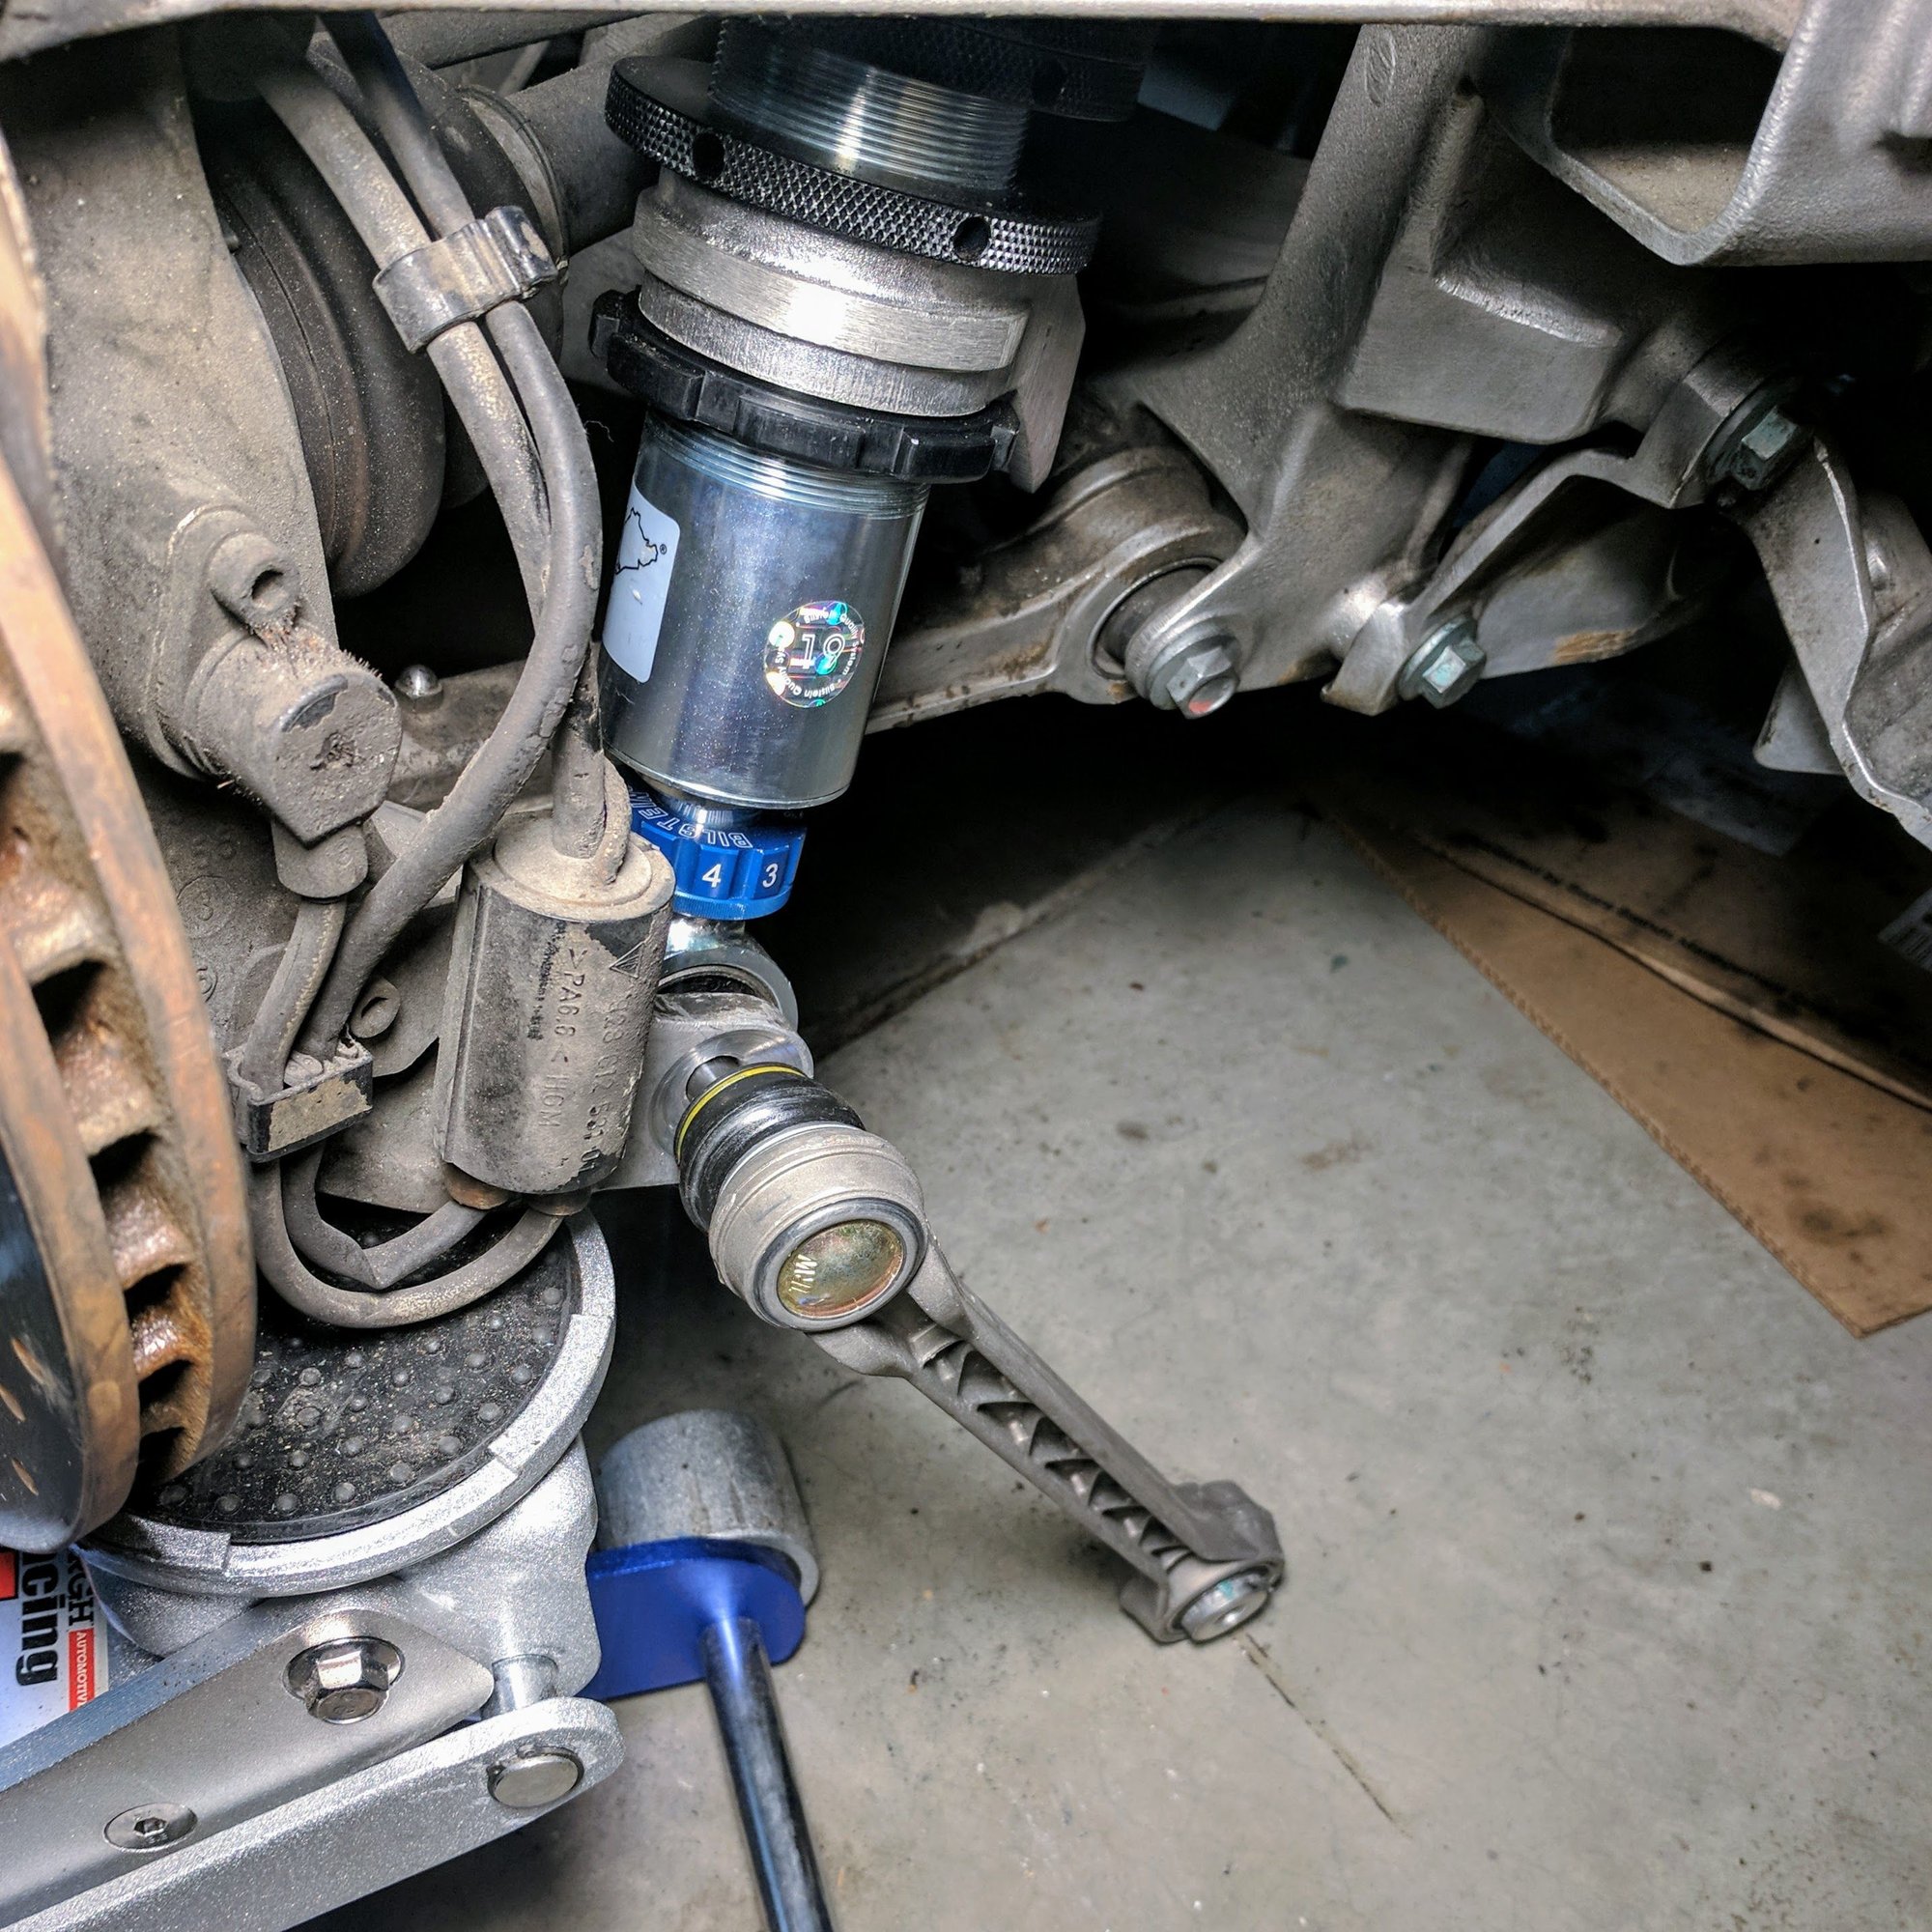
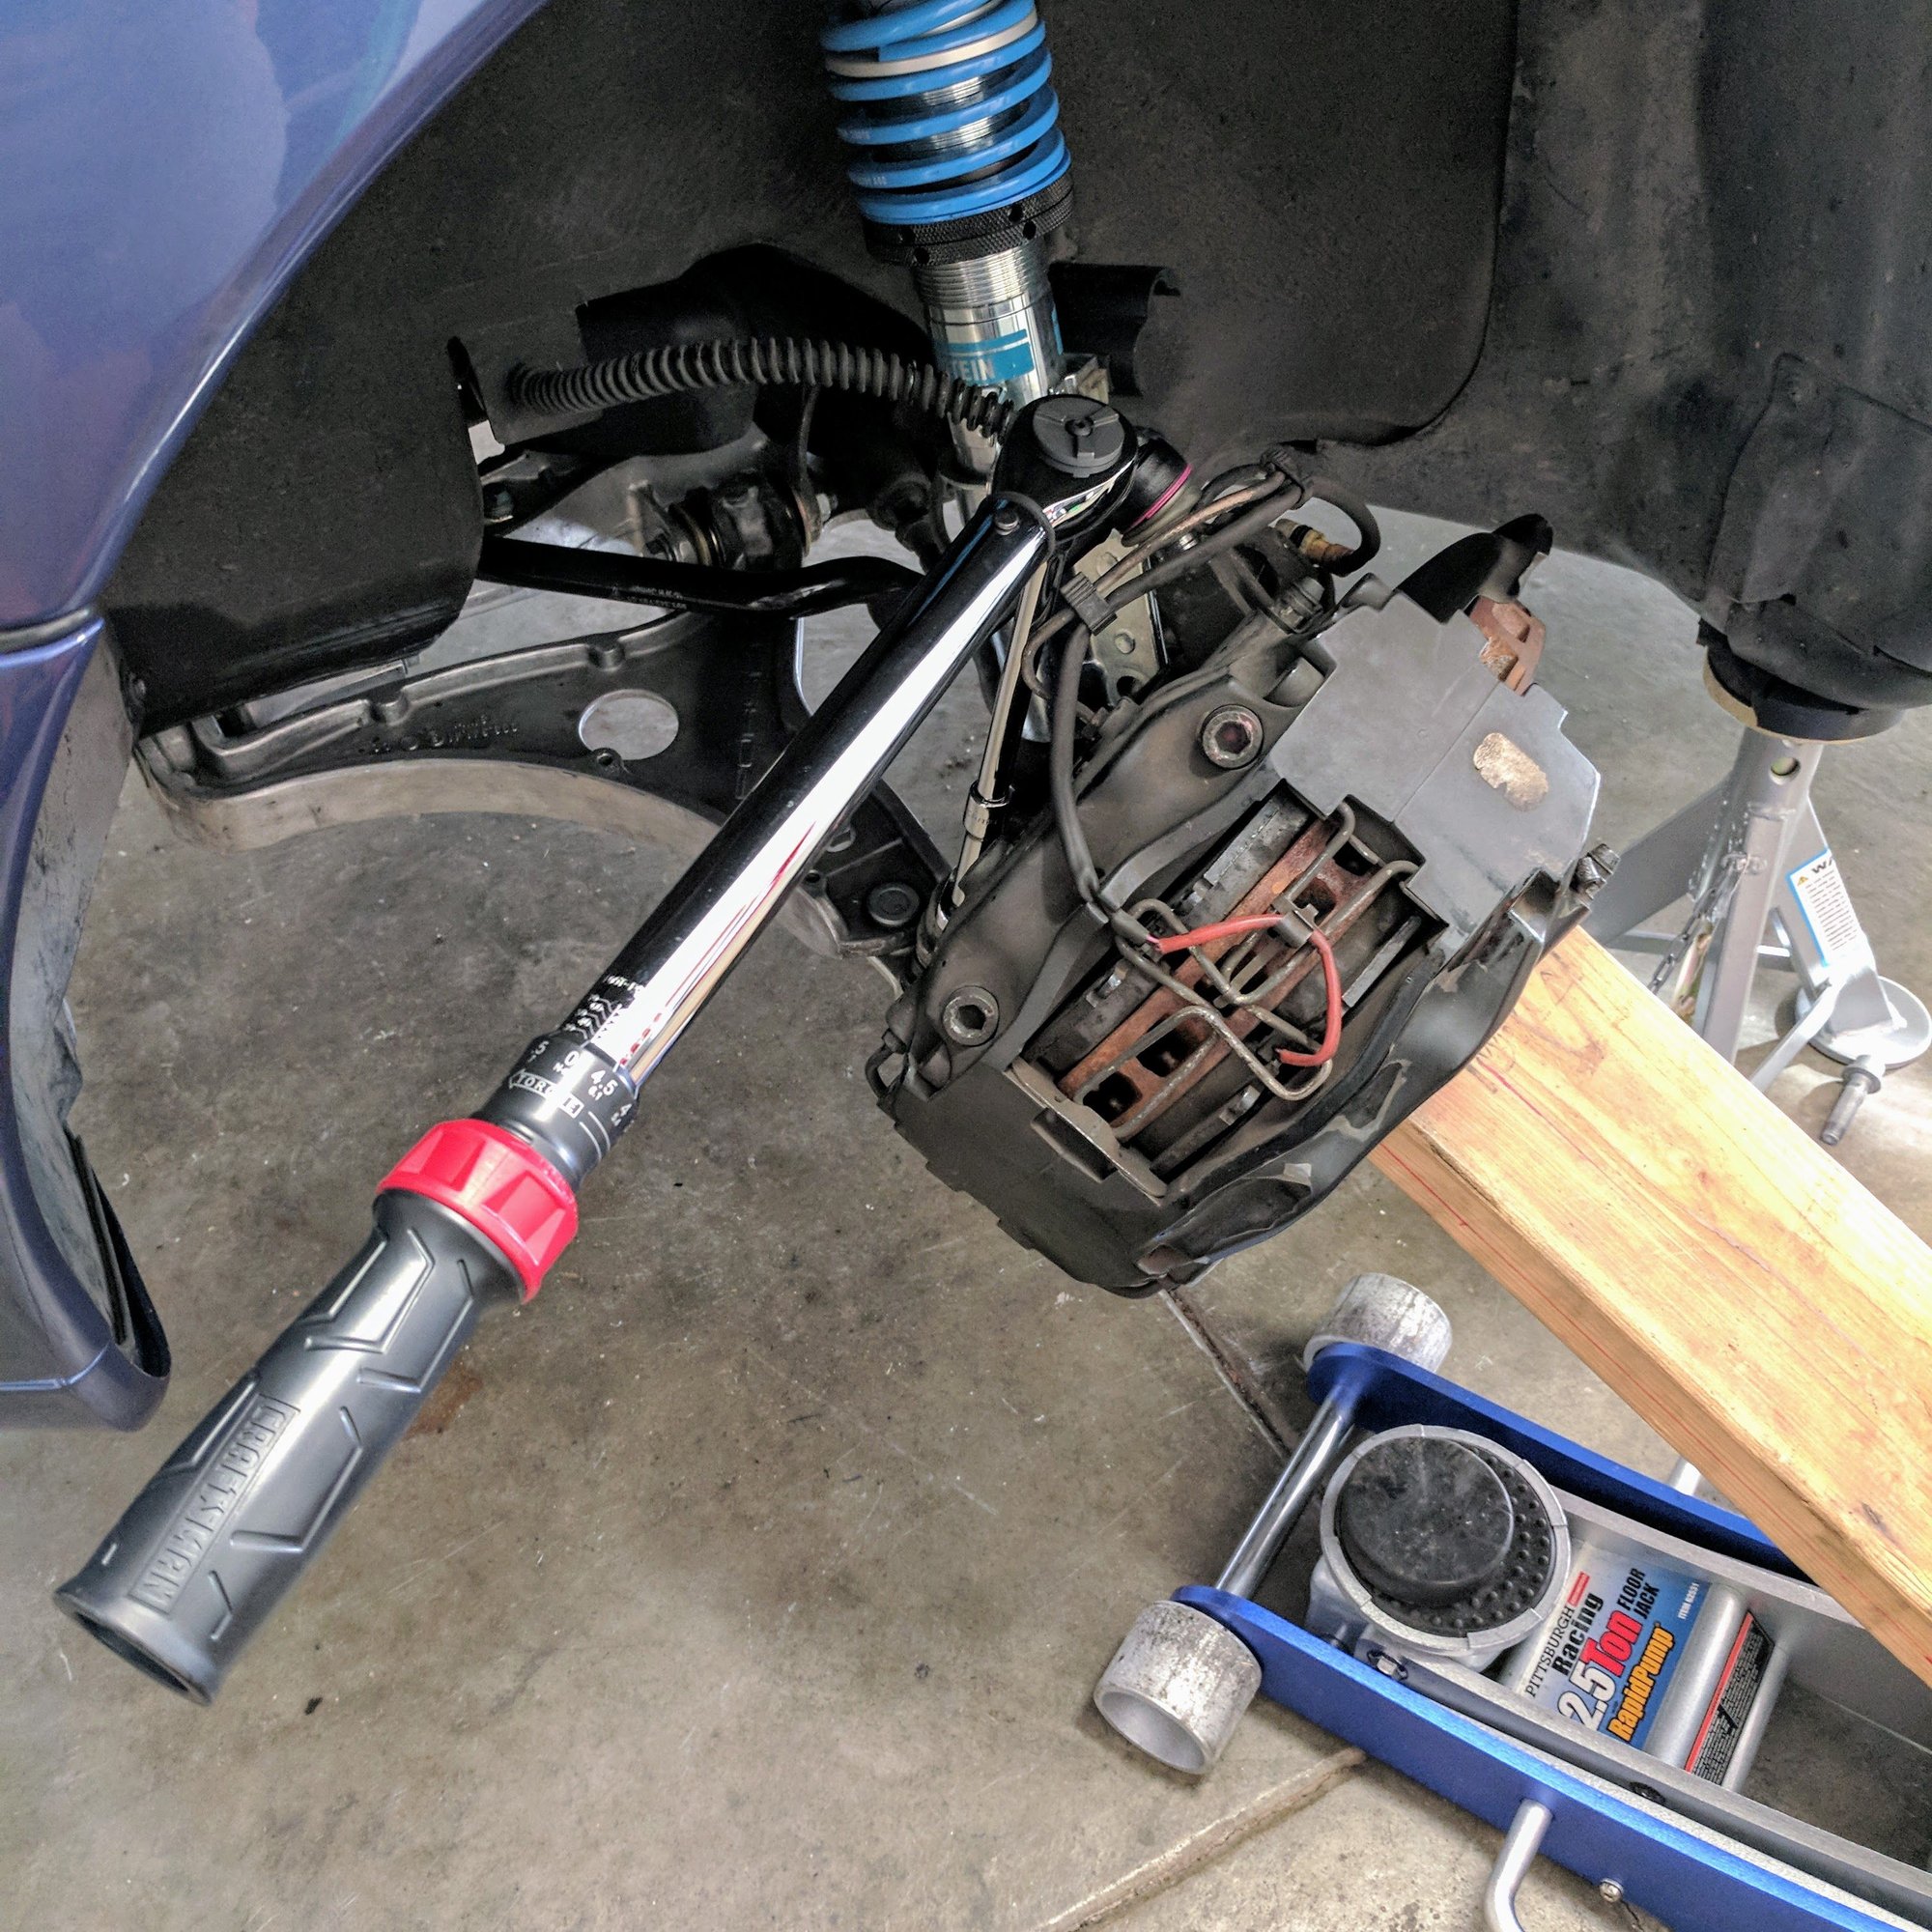
4. Using one hand I lifted the PSS10 strut into the wheel well and hand threaded new bolts. Lightly tightened and again didn't torque them until the front was loaded. I lifted the carrier on the ball joint and then used my floor jack and a 2x6 to prop the carrier to an angle so I could torque the ball joint nut. This was the only way I could get my wrench in to torque it as I made the mistake to assemble everything first realizing there is no space in the wheel well for my torque wrench.
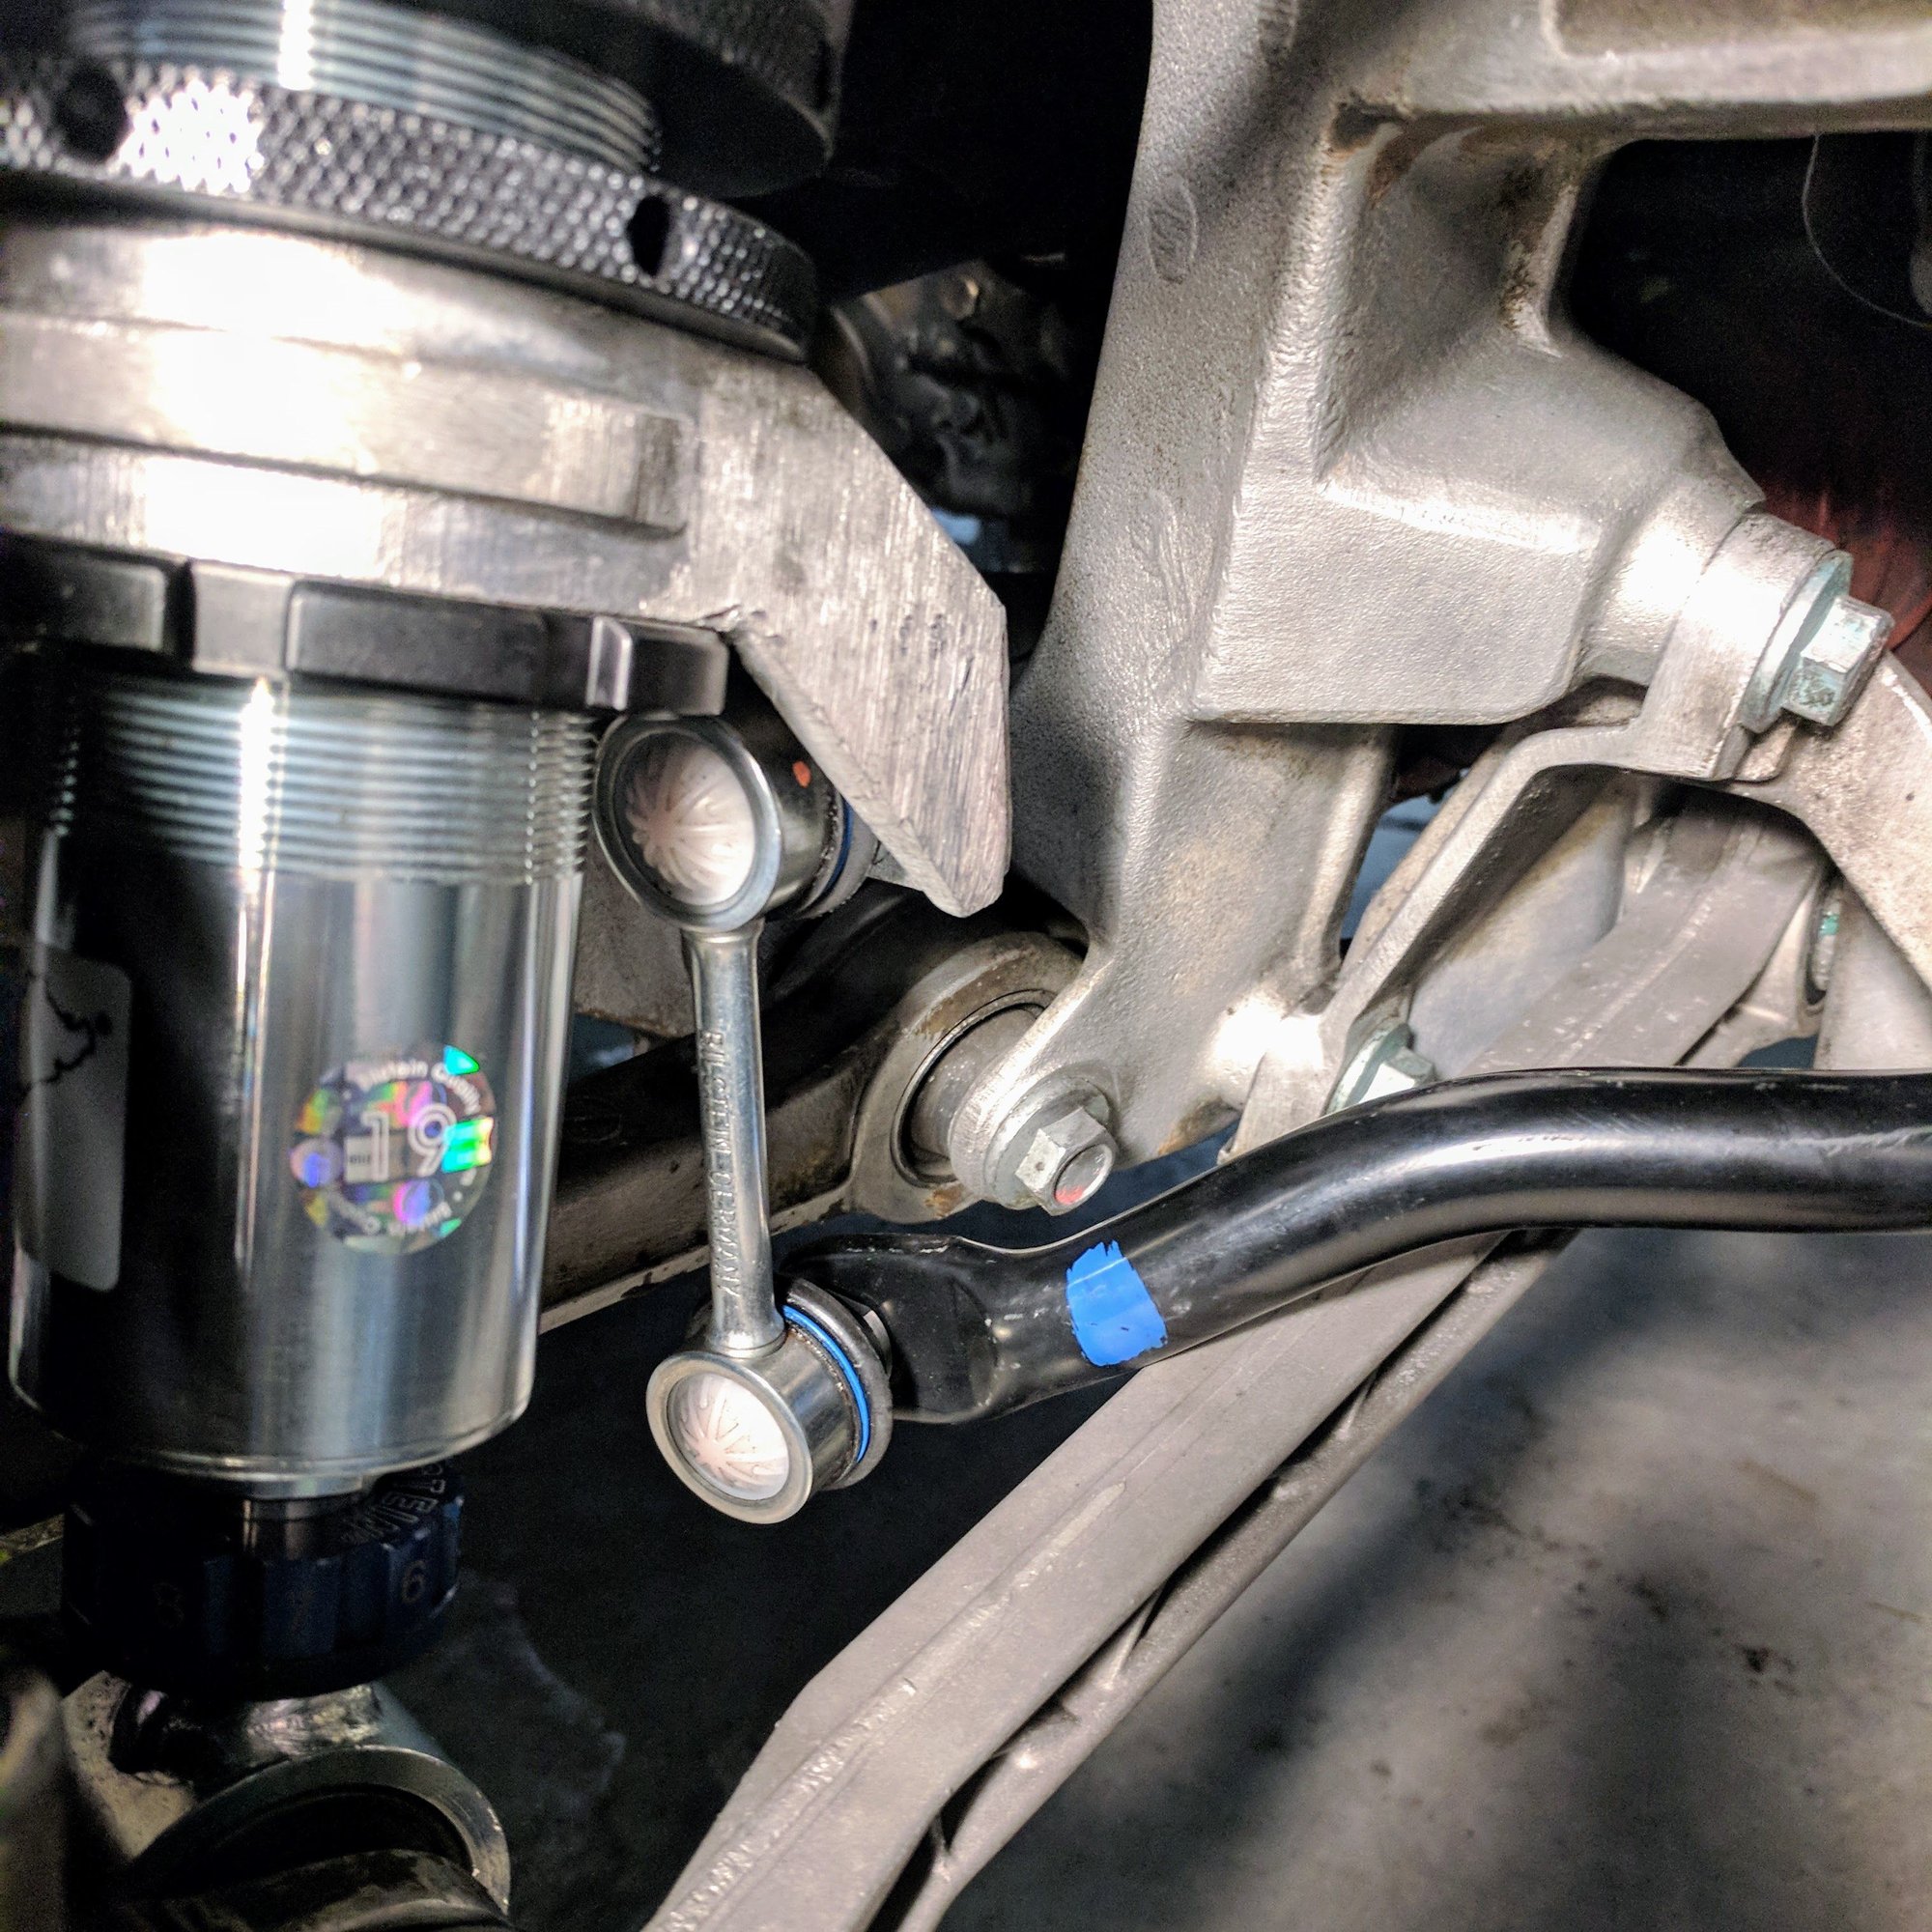
5. In with the new M030 front drop links. Look how much more beefier they are than the stock ones...
6.Similarly for the front drop links, I used the floor jack to hold the carrier at an angle so I could torque it on the carrier. Then added the new strut bolts and nuts and torqued them. Reattached the brake tube to the strut with new clips and the various electrical bits.
7. Attached the drop links with new nuts and bolts and torqued them to the ARB.
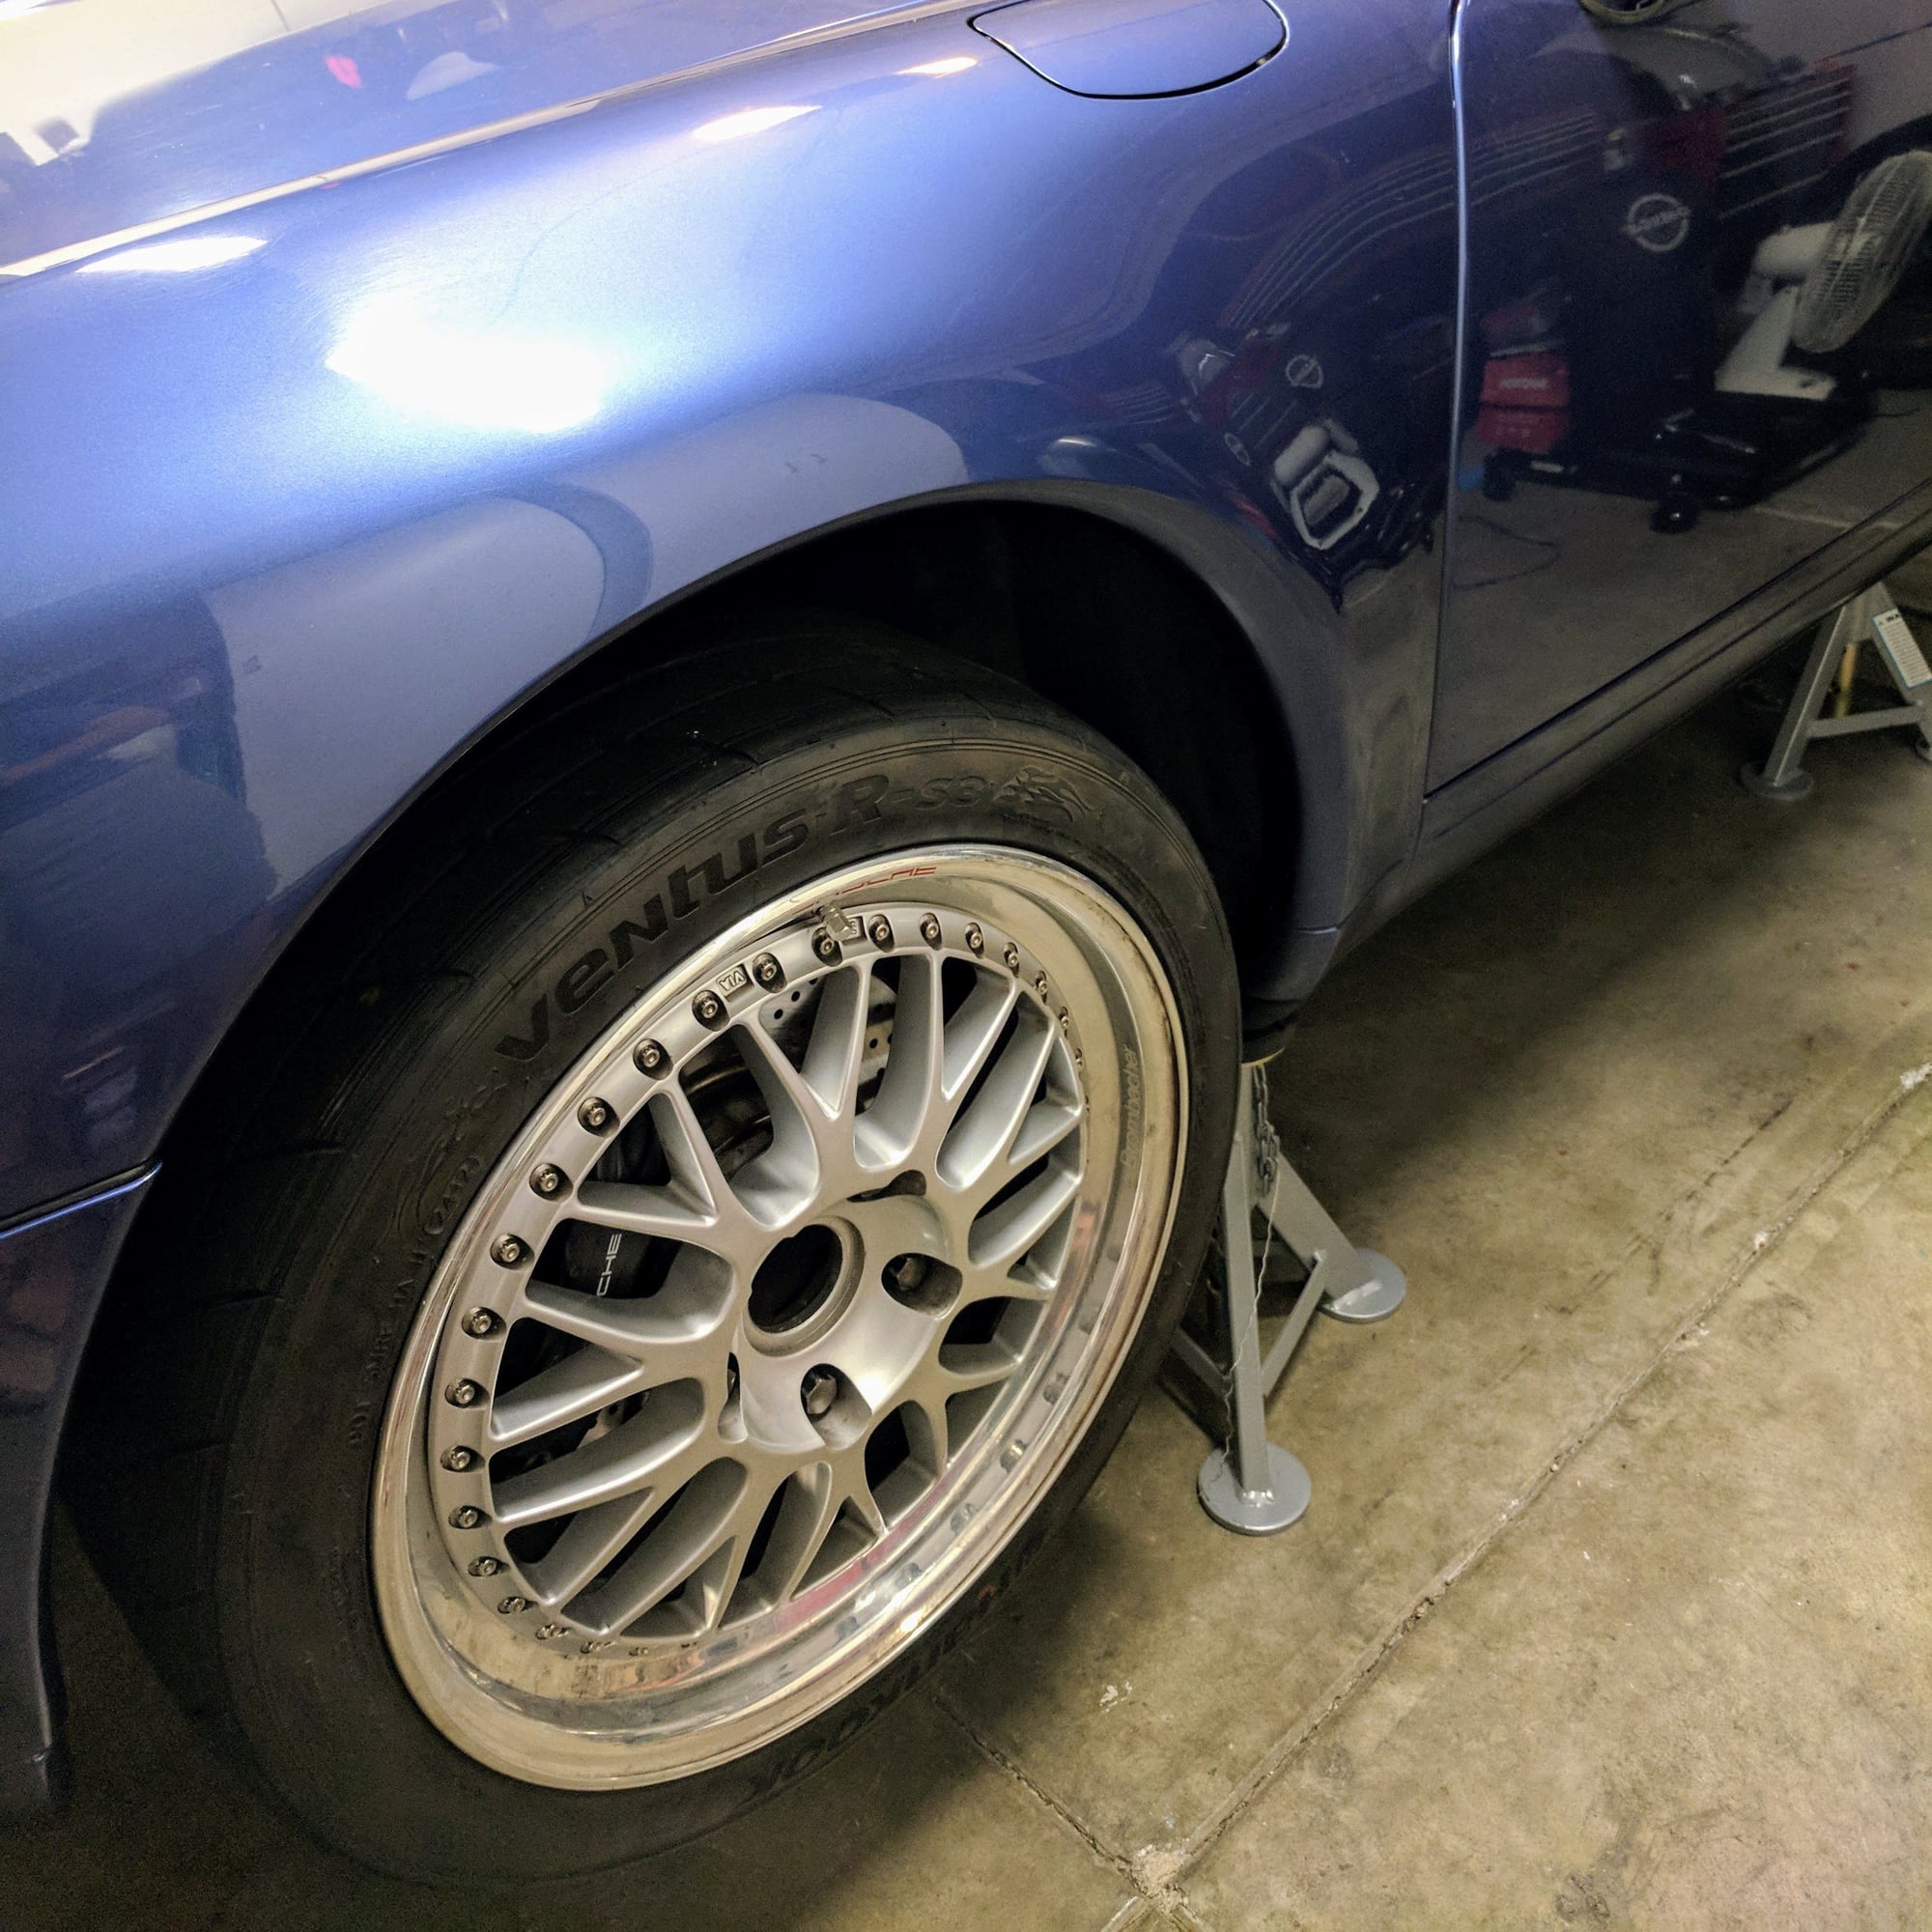
6. Finally all buttoned up with my Works Brombacher 18's. Yes I know they are filthy and need a polish Ready for final torquing the top hats, control arms, and ARB clamps.
Next up the rear PSS10 struts, new toe control arms, and M030 rear ARB...
The top hats can be torqued with the suspension unloaded. I ended up torquing to spec with the car on jacks and then torquing once more when the car was loaded up. This ensures the top of the shock is nice and stable when you lower it and then you torque once more to account for any shifting or squishing once the weight is on.
The bushings are what you need to ensure are only finger-tight before loading them, so that the rubber is all in proper rotational alignment when you put the final torque on.
I hate to do this to you but, while you're were in there...
Its not a bad time to pick up some Techna-Fit brake lines from FD Motorsports, pads and turn the rotors if needed and there's enough meat on them. Also, maybe a caliper refresh and/or repaint...
P.S.
Dont forget to budget for a quality alignment and corner balancing.
...Welcome to the slippery slope! ; )
EDIT:
Sorry I just realized you had buttoned up the front end...
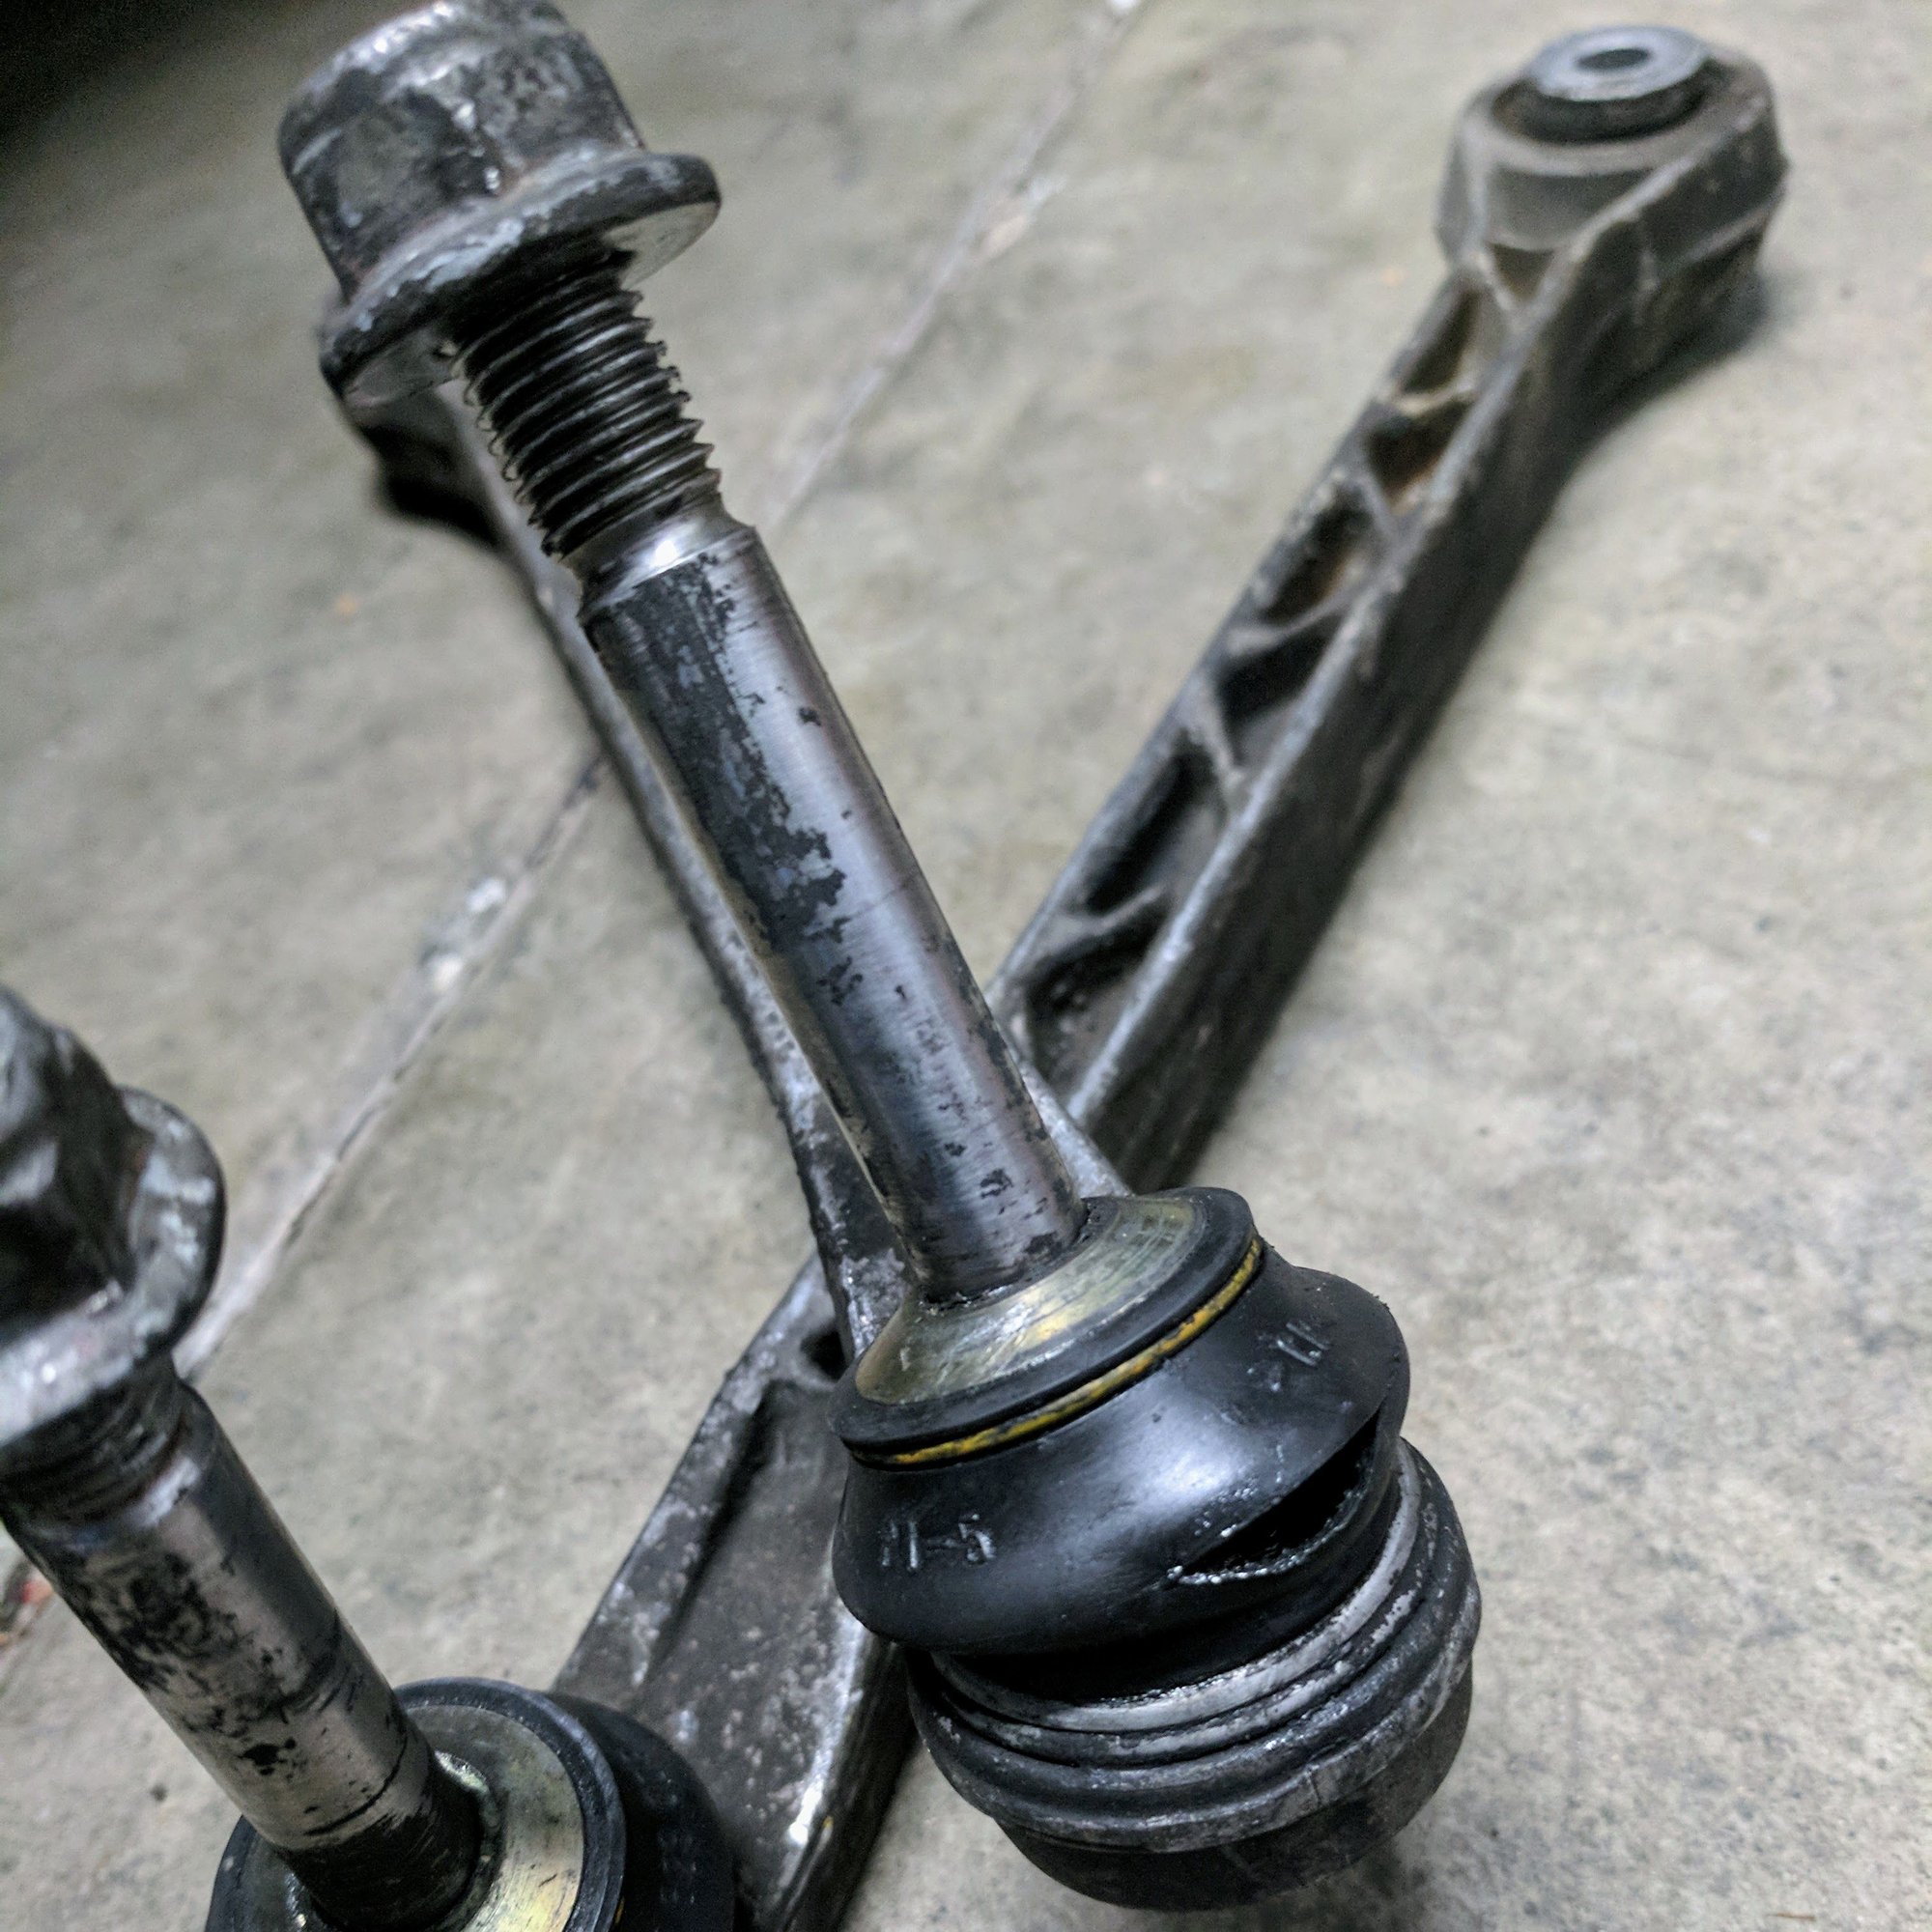
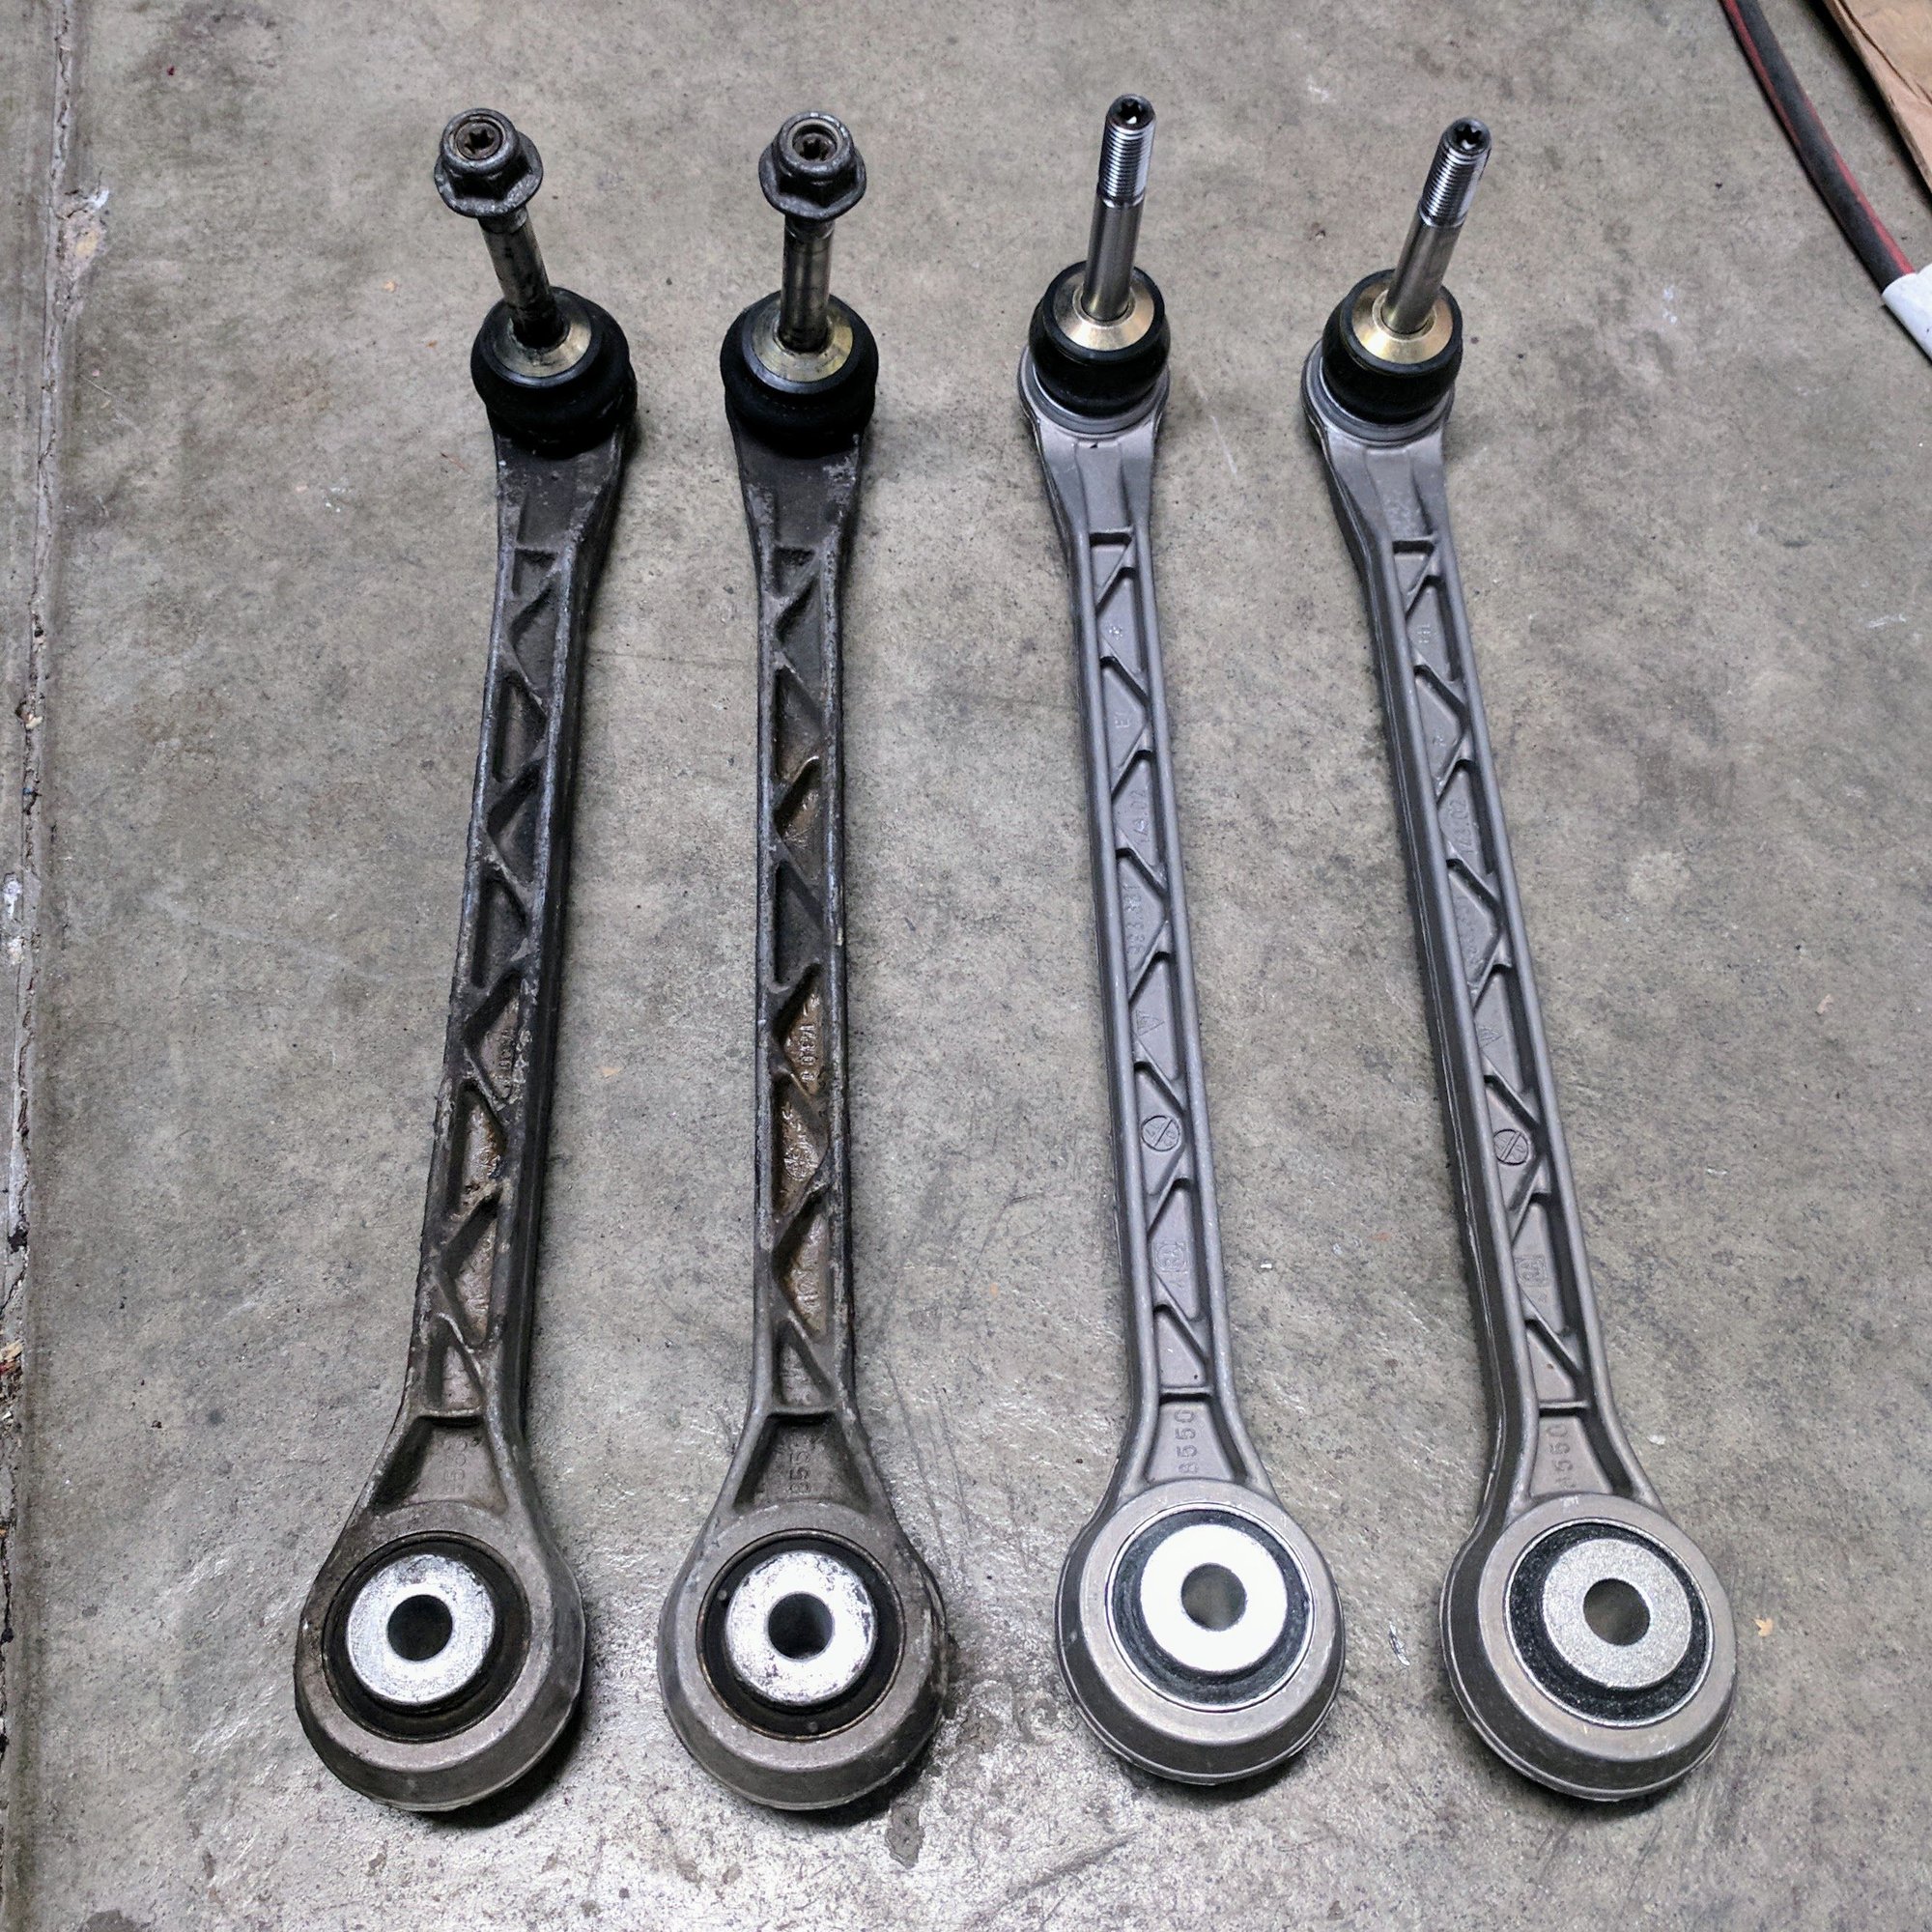
My new toe arms arrived. Besides the dust covers for the ball joints being torn, it was pretty easy to tell the ball joints were worn as they flopped around when compared with the new ones which were very firm.
Getting the rear strut in was more involved doing it solo as you need to lift it the opening which you can't see without sticking your head in the engine bay. I used my jack to hold it up and make minor adjustments to line up the top hat.
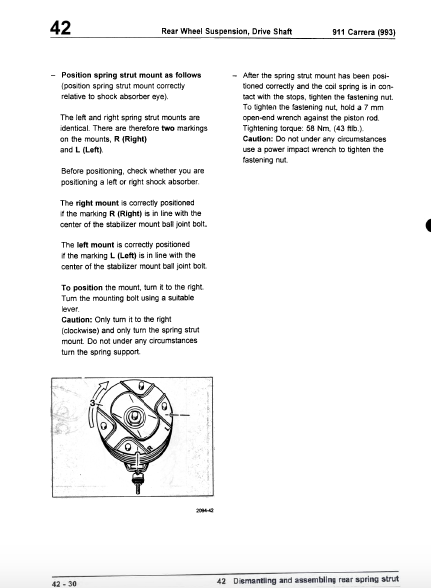
Thanks to @Tlaloc75 he pointed out the rear top hat for the rear strut has a certain direction they need to be installed in, which the FSM (factory service manual) explains clearly on Volume 4- Chapter 42- Page 30. He had trouble corner balancing the rear and found that once he got them in the right direction it balanced right away. I unfortunately found this out after I installed them, so I removed the struts again and realigned the top hats in the right direction.
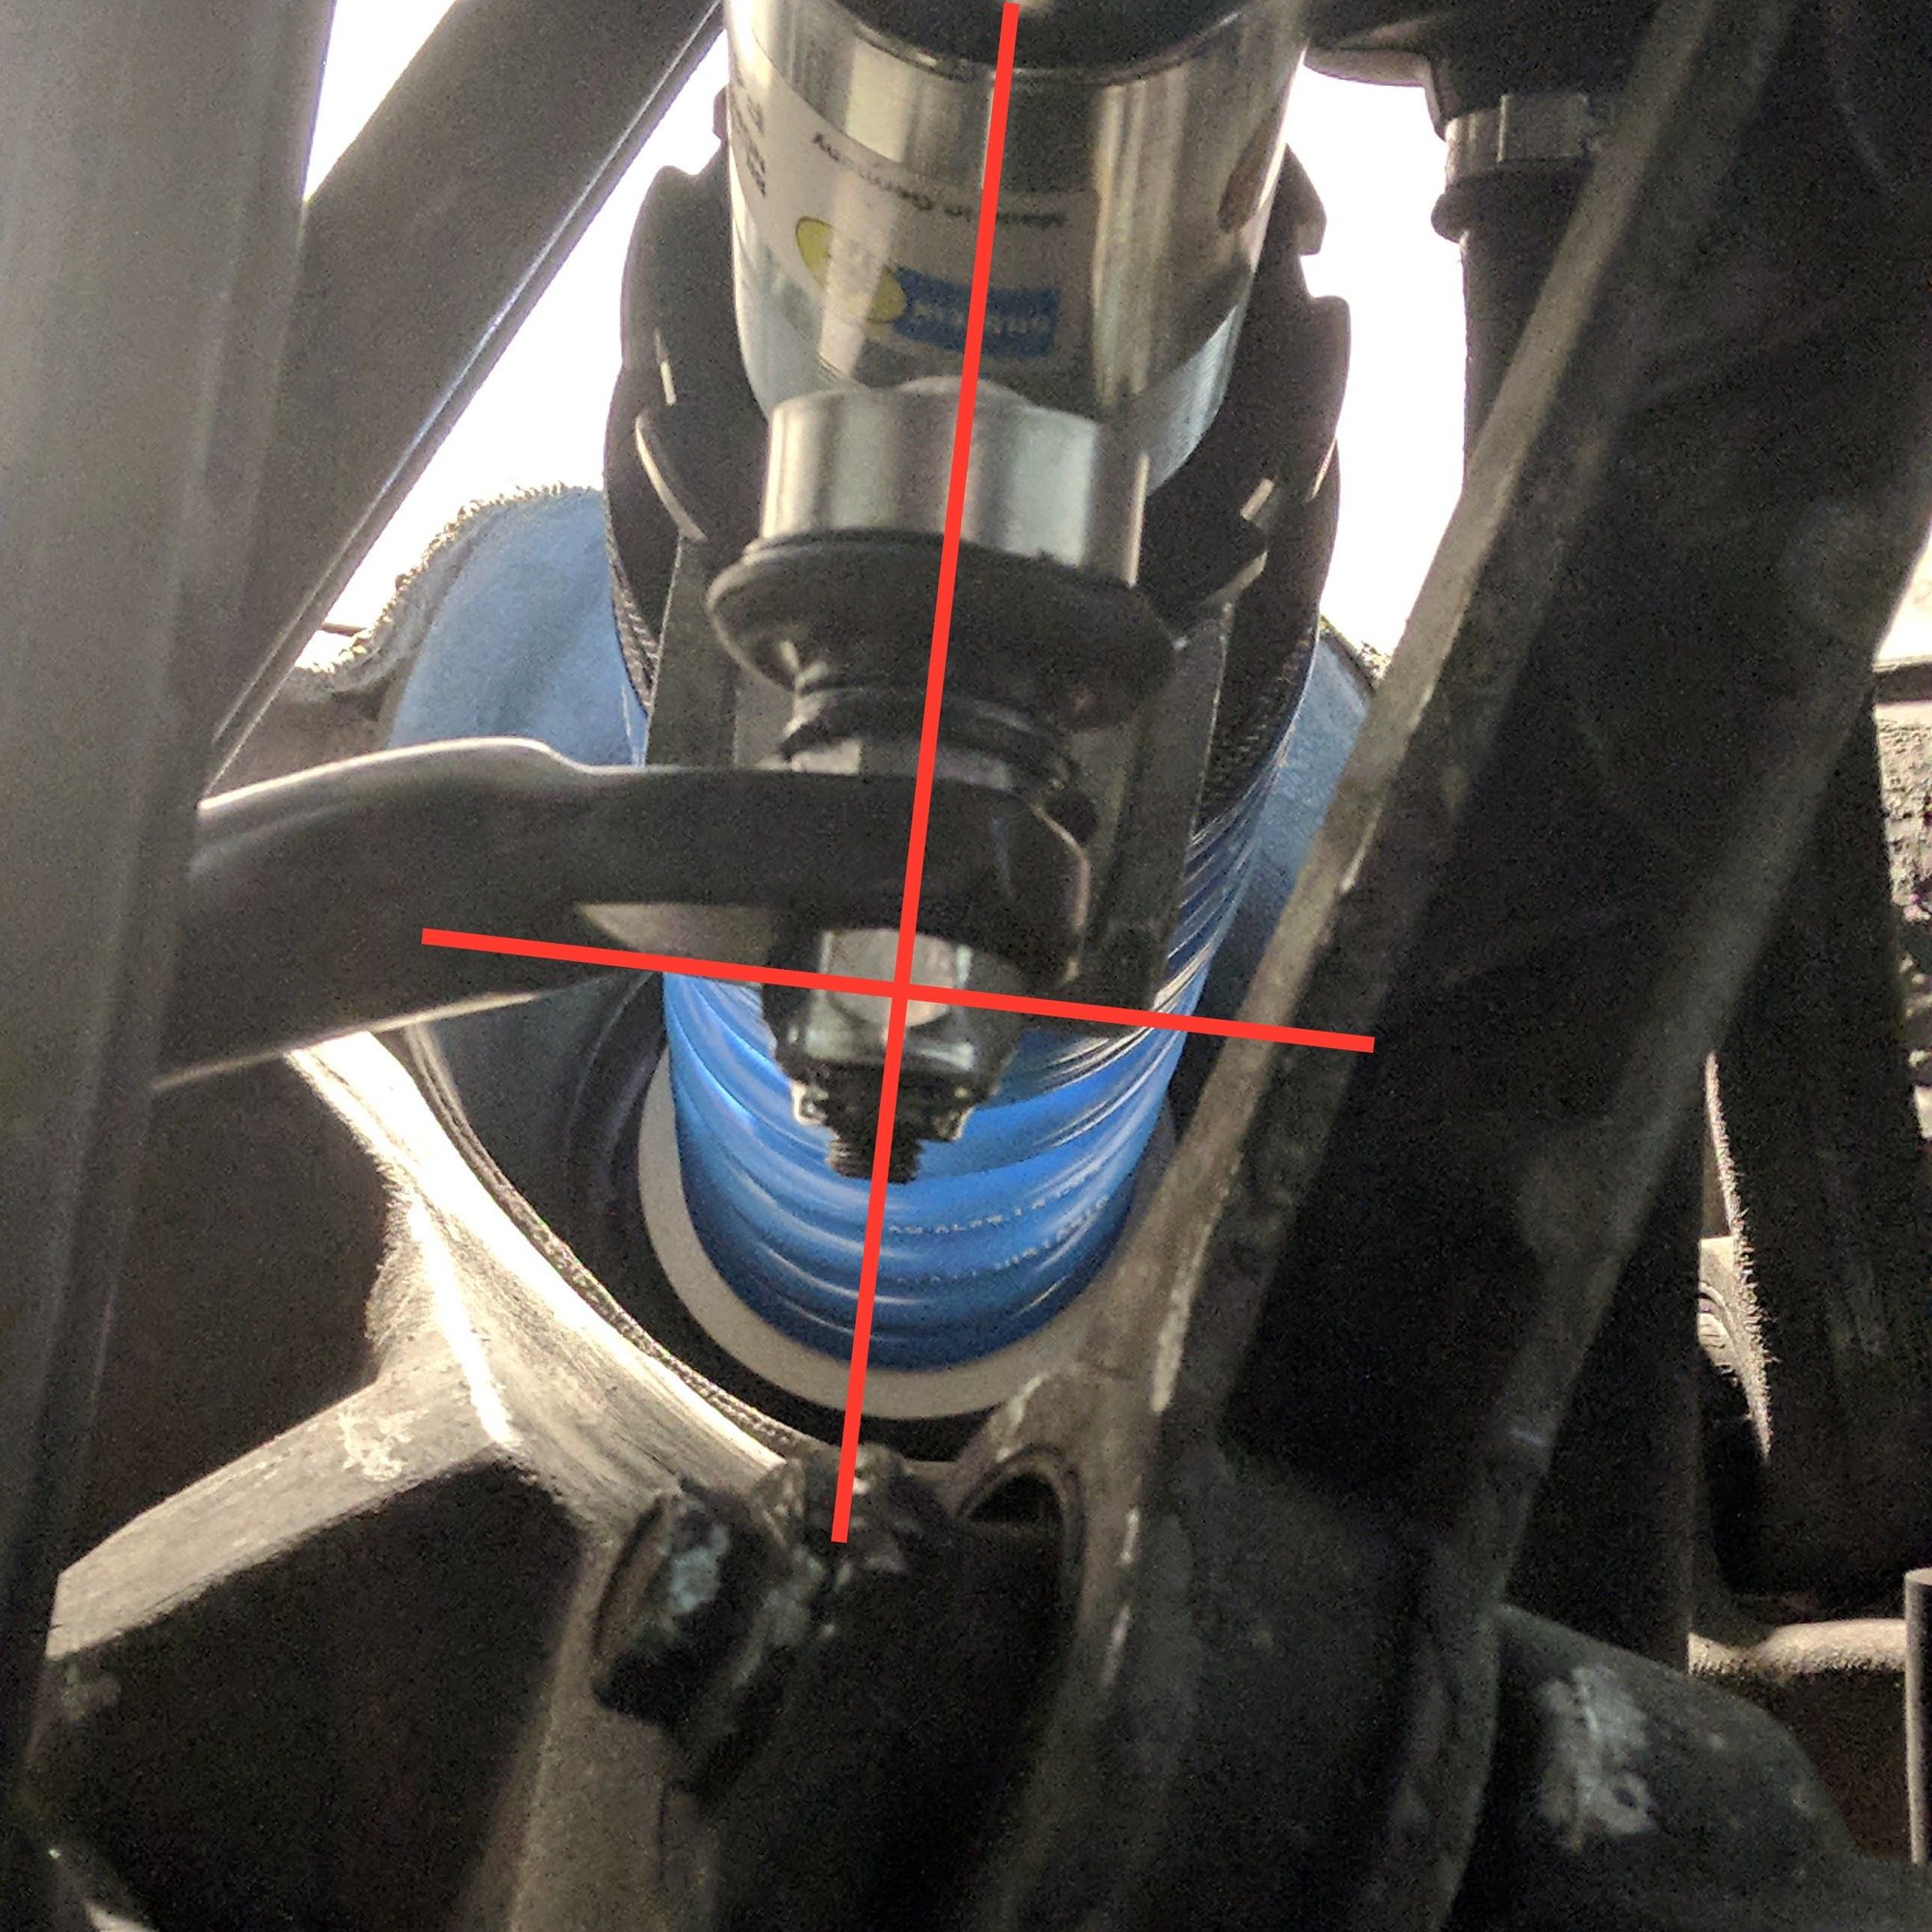
The second redo I had was once I got the toe control arm and rear ARB installed, I found out the recommended height of 175MM for my drop link perch was too high since my ARB was resting on the toe control arm.
I really didn't want to drop the toe control arm out again, so at first I tried to remove the ball joint end of the toe control arm to pull it out of the strut. Maybe because my bushings are new there was no give so ultimately I was forced to uninstall the ARB and remove the eccentric bolt to drop the toe control arm out again so I could pull out the strut to spin the drop link perch up. At the end I had to spin it seven times to get enough clearance for the ARB to not touch the toe control arm... after five times attempts at installing/removing the toe control arm, ARB, and drop links. Lets just say I got pretty good replacing the toe control arm at the end of five tries.The technique I used was...
Loosen the allen bolts that hold the exhaust tubes so you could get a socket ratchet to loosen/tighten the eccentric nut.
On the driver side, the eccentric bolt cannot be removed unless you jack your engine up as the heat exchanger is blocking it.
If you pull the toe control arm so the hole is on the out side of the slot it makes it easy to slide the eccentric bolt in and out.
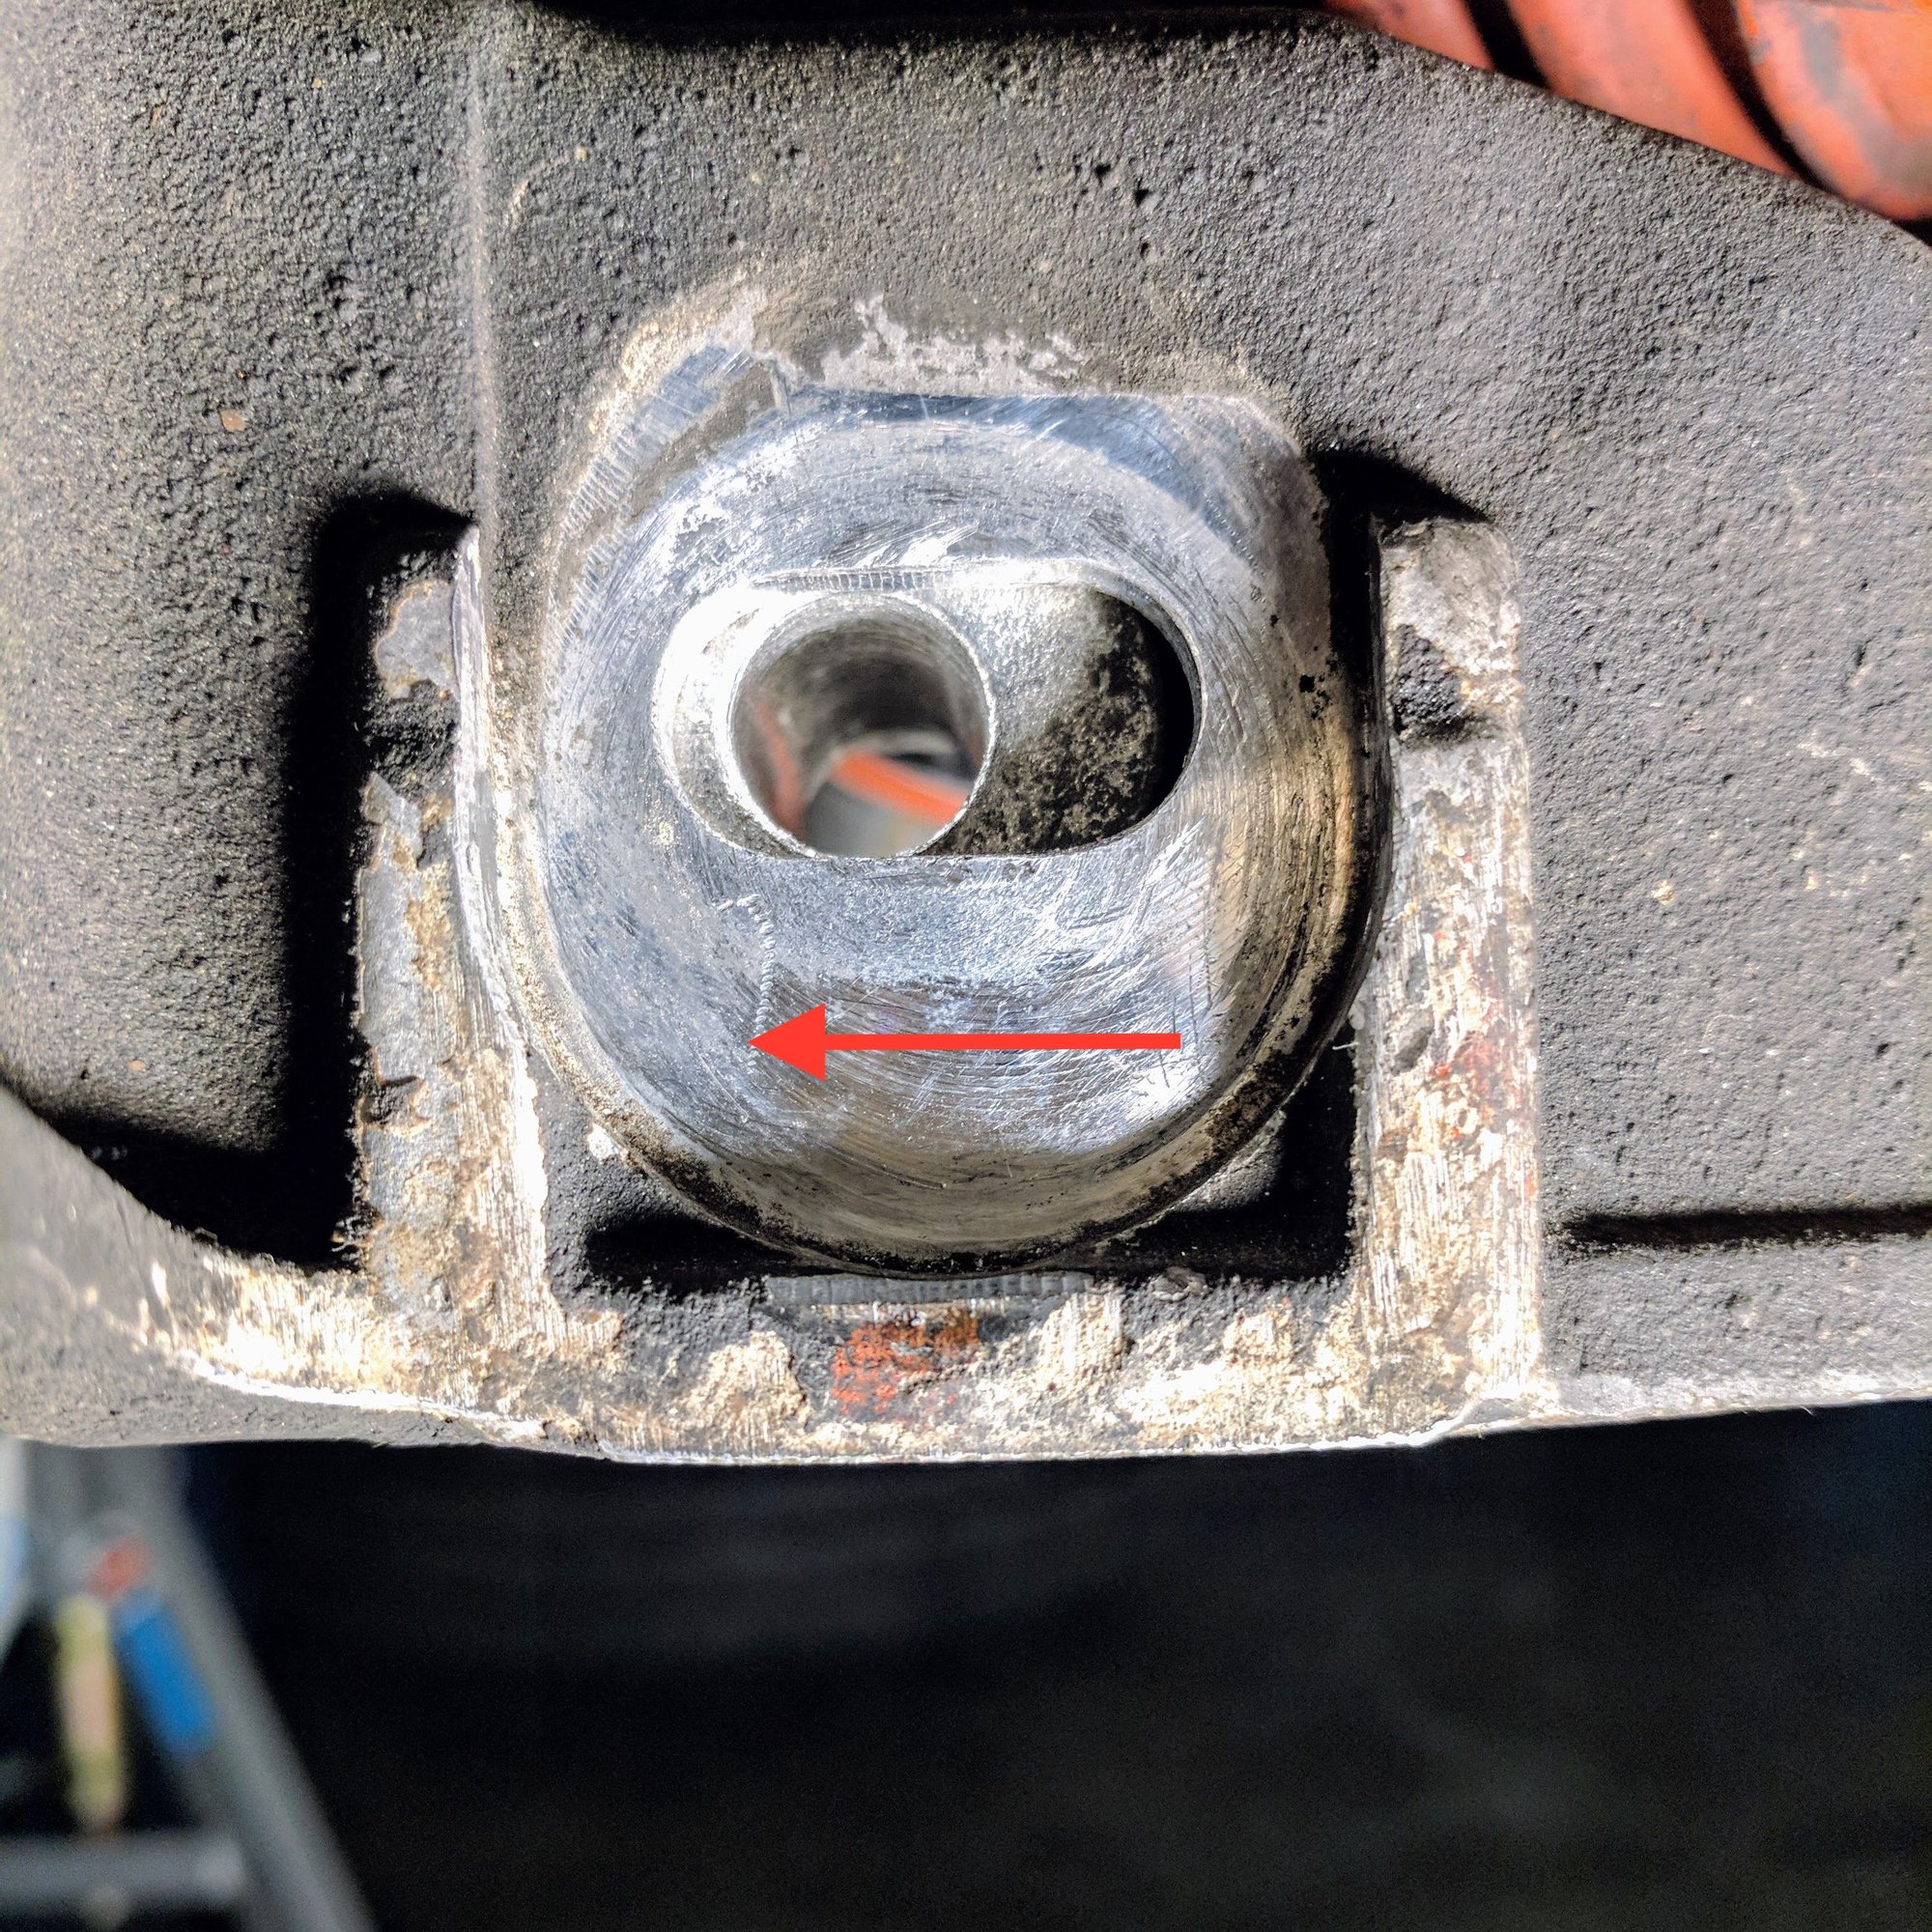
After I got the drop link perches finally at the right height so the ARB would not touch the toe control arm the last step was to align the perch so that it is on the same plane as the ARB. I used my selfie camera on my phone and positioned it directly under the perch and ARB so I could make adjustments in real time. I found having your head under the carrier and eyeballing it was impossible to get any level of accuracy.
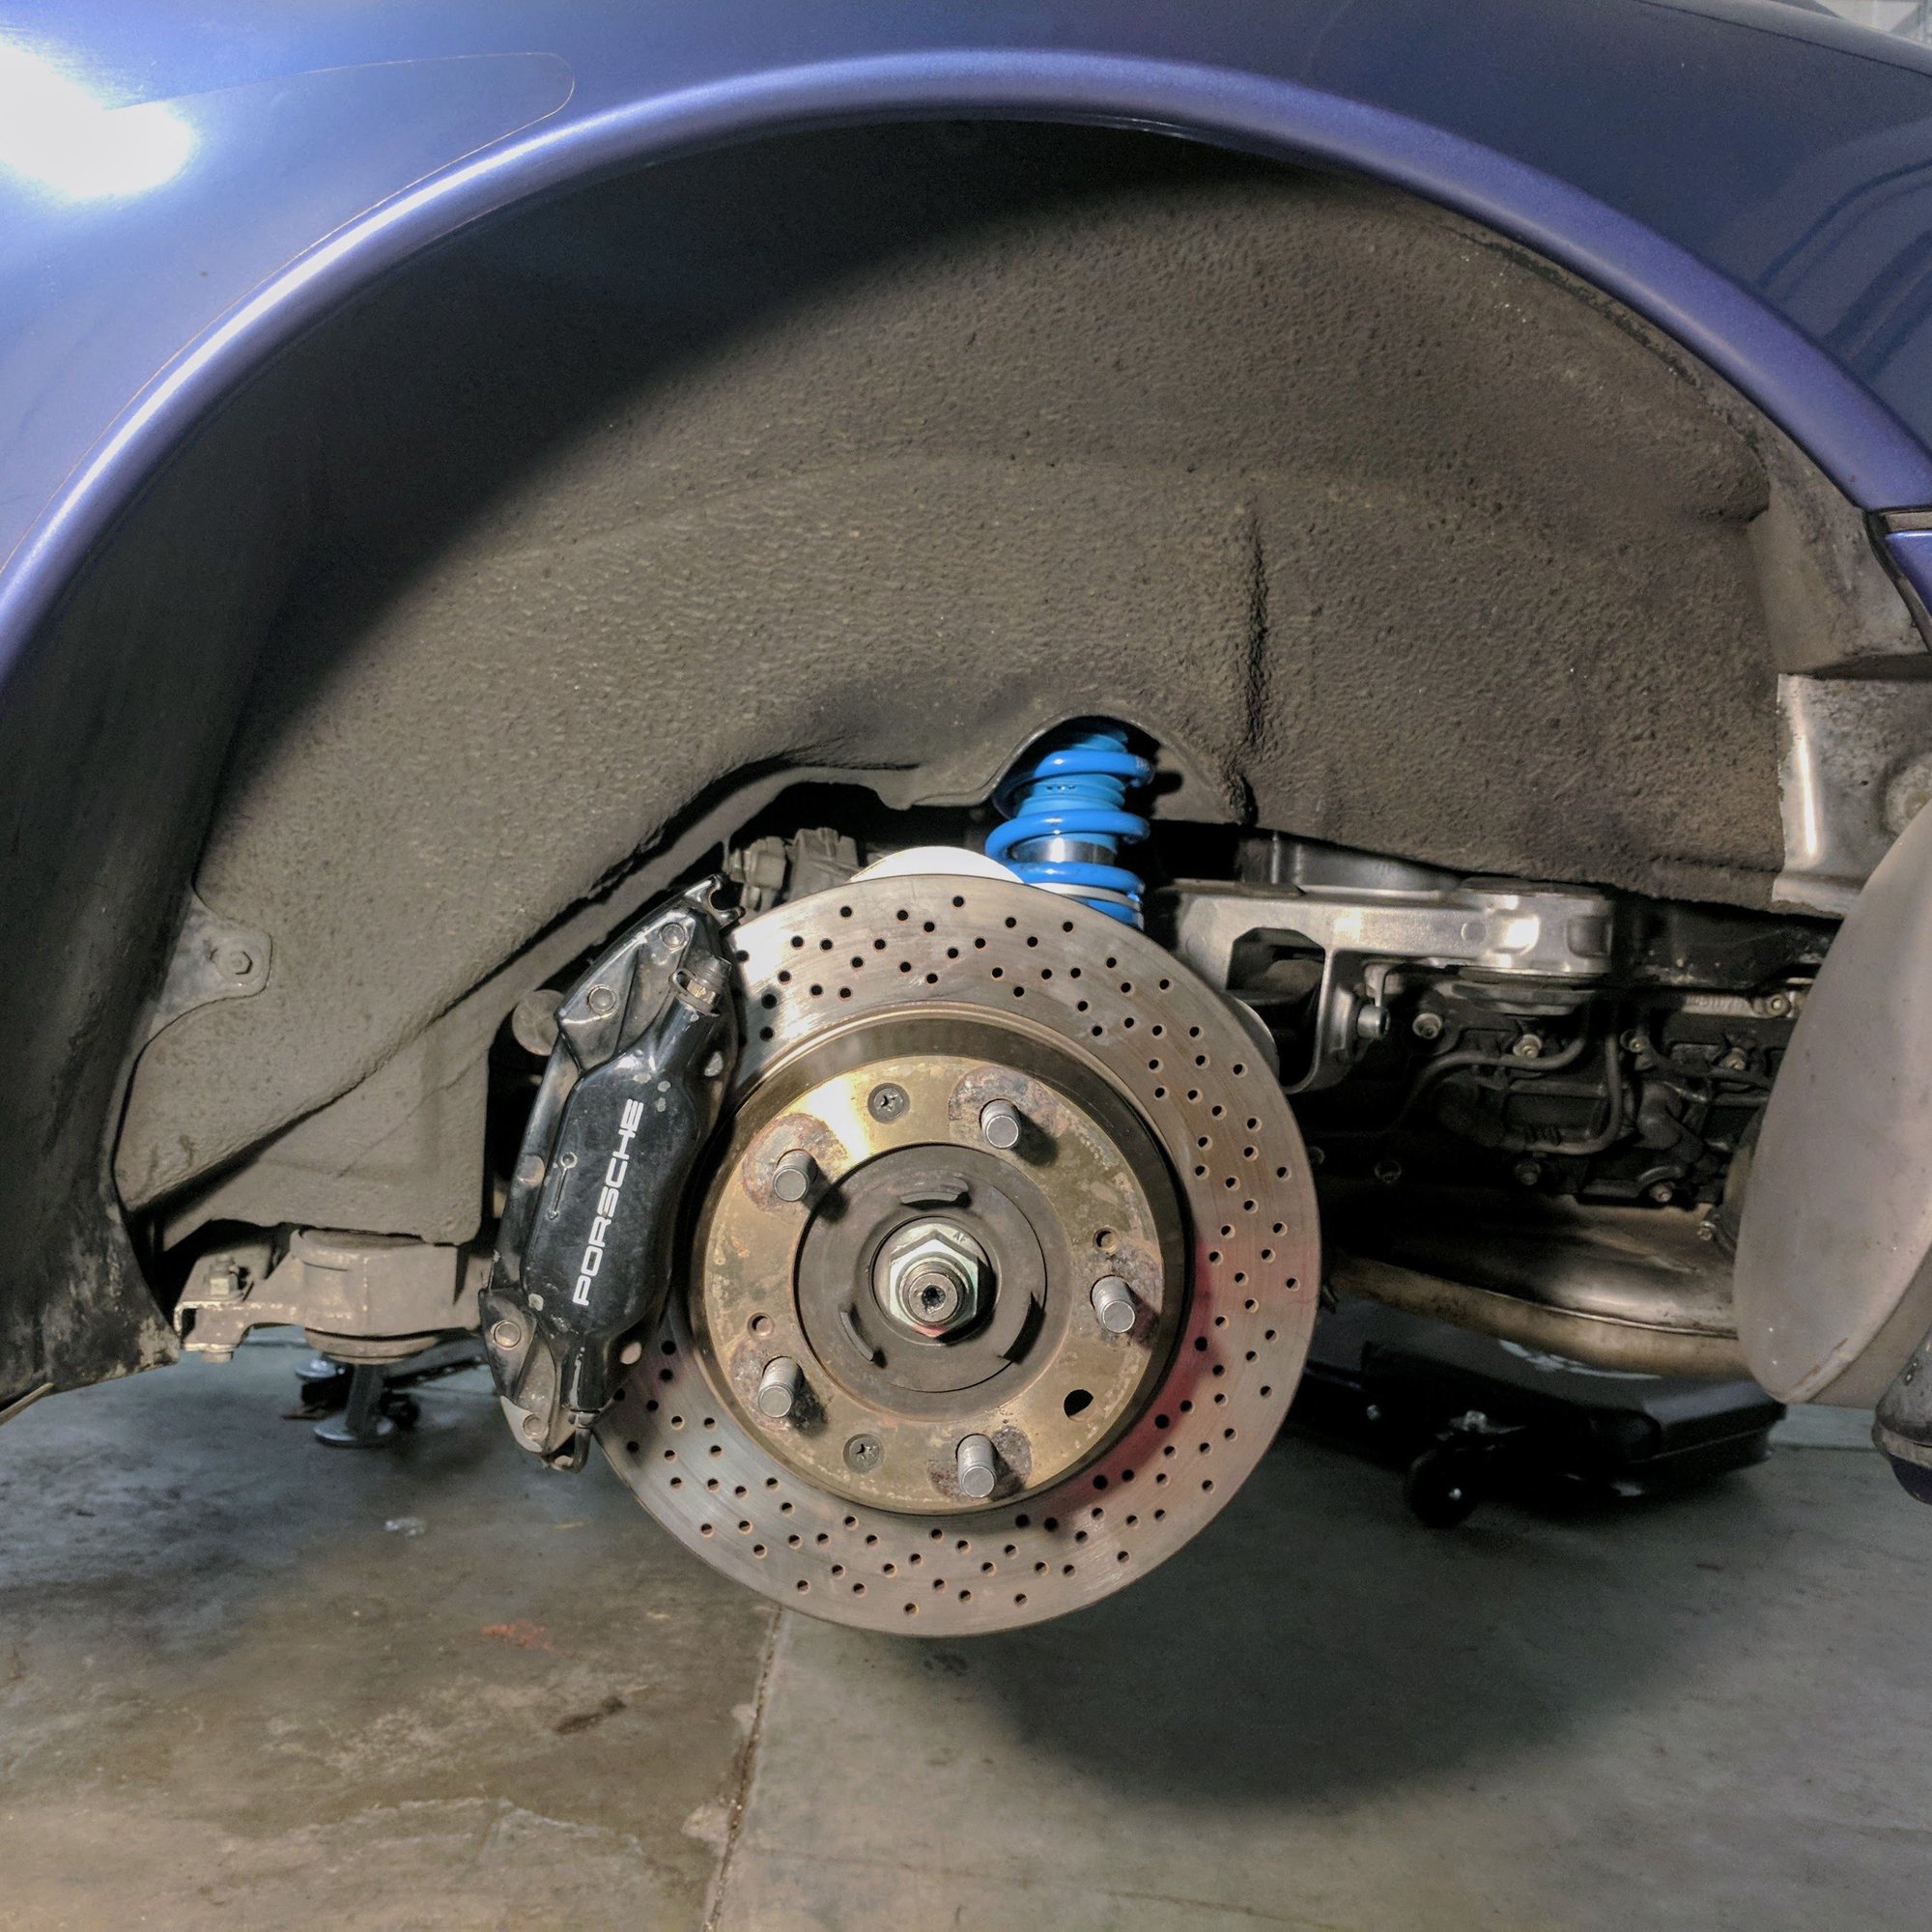
Done!... Removing the cosmoline from the wheel well will be a project another time.
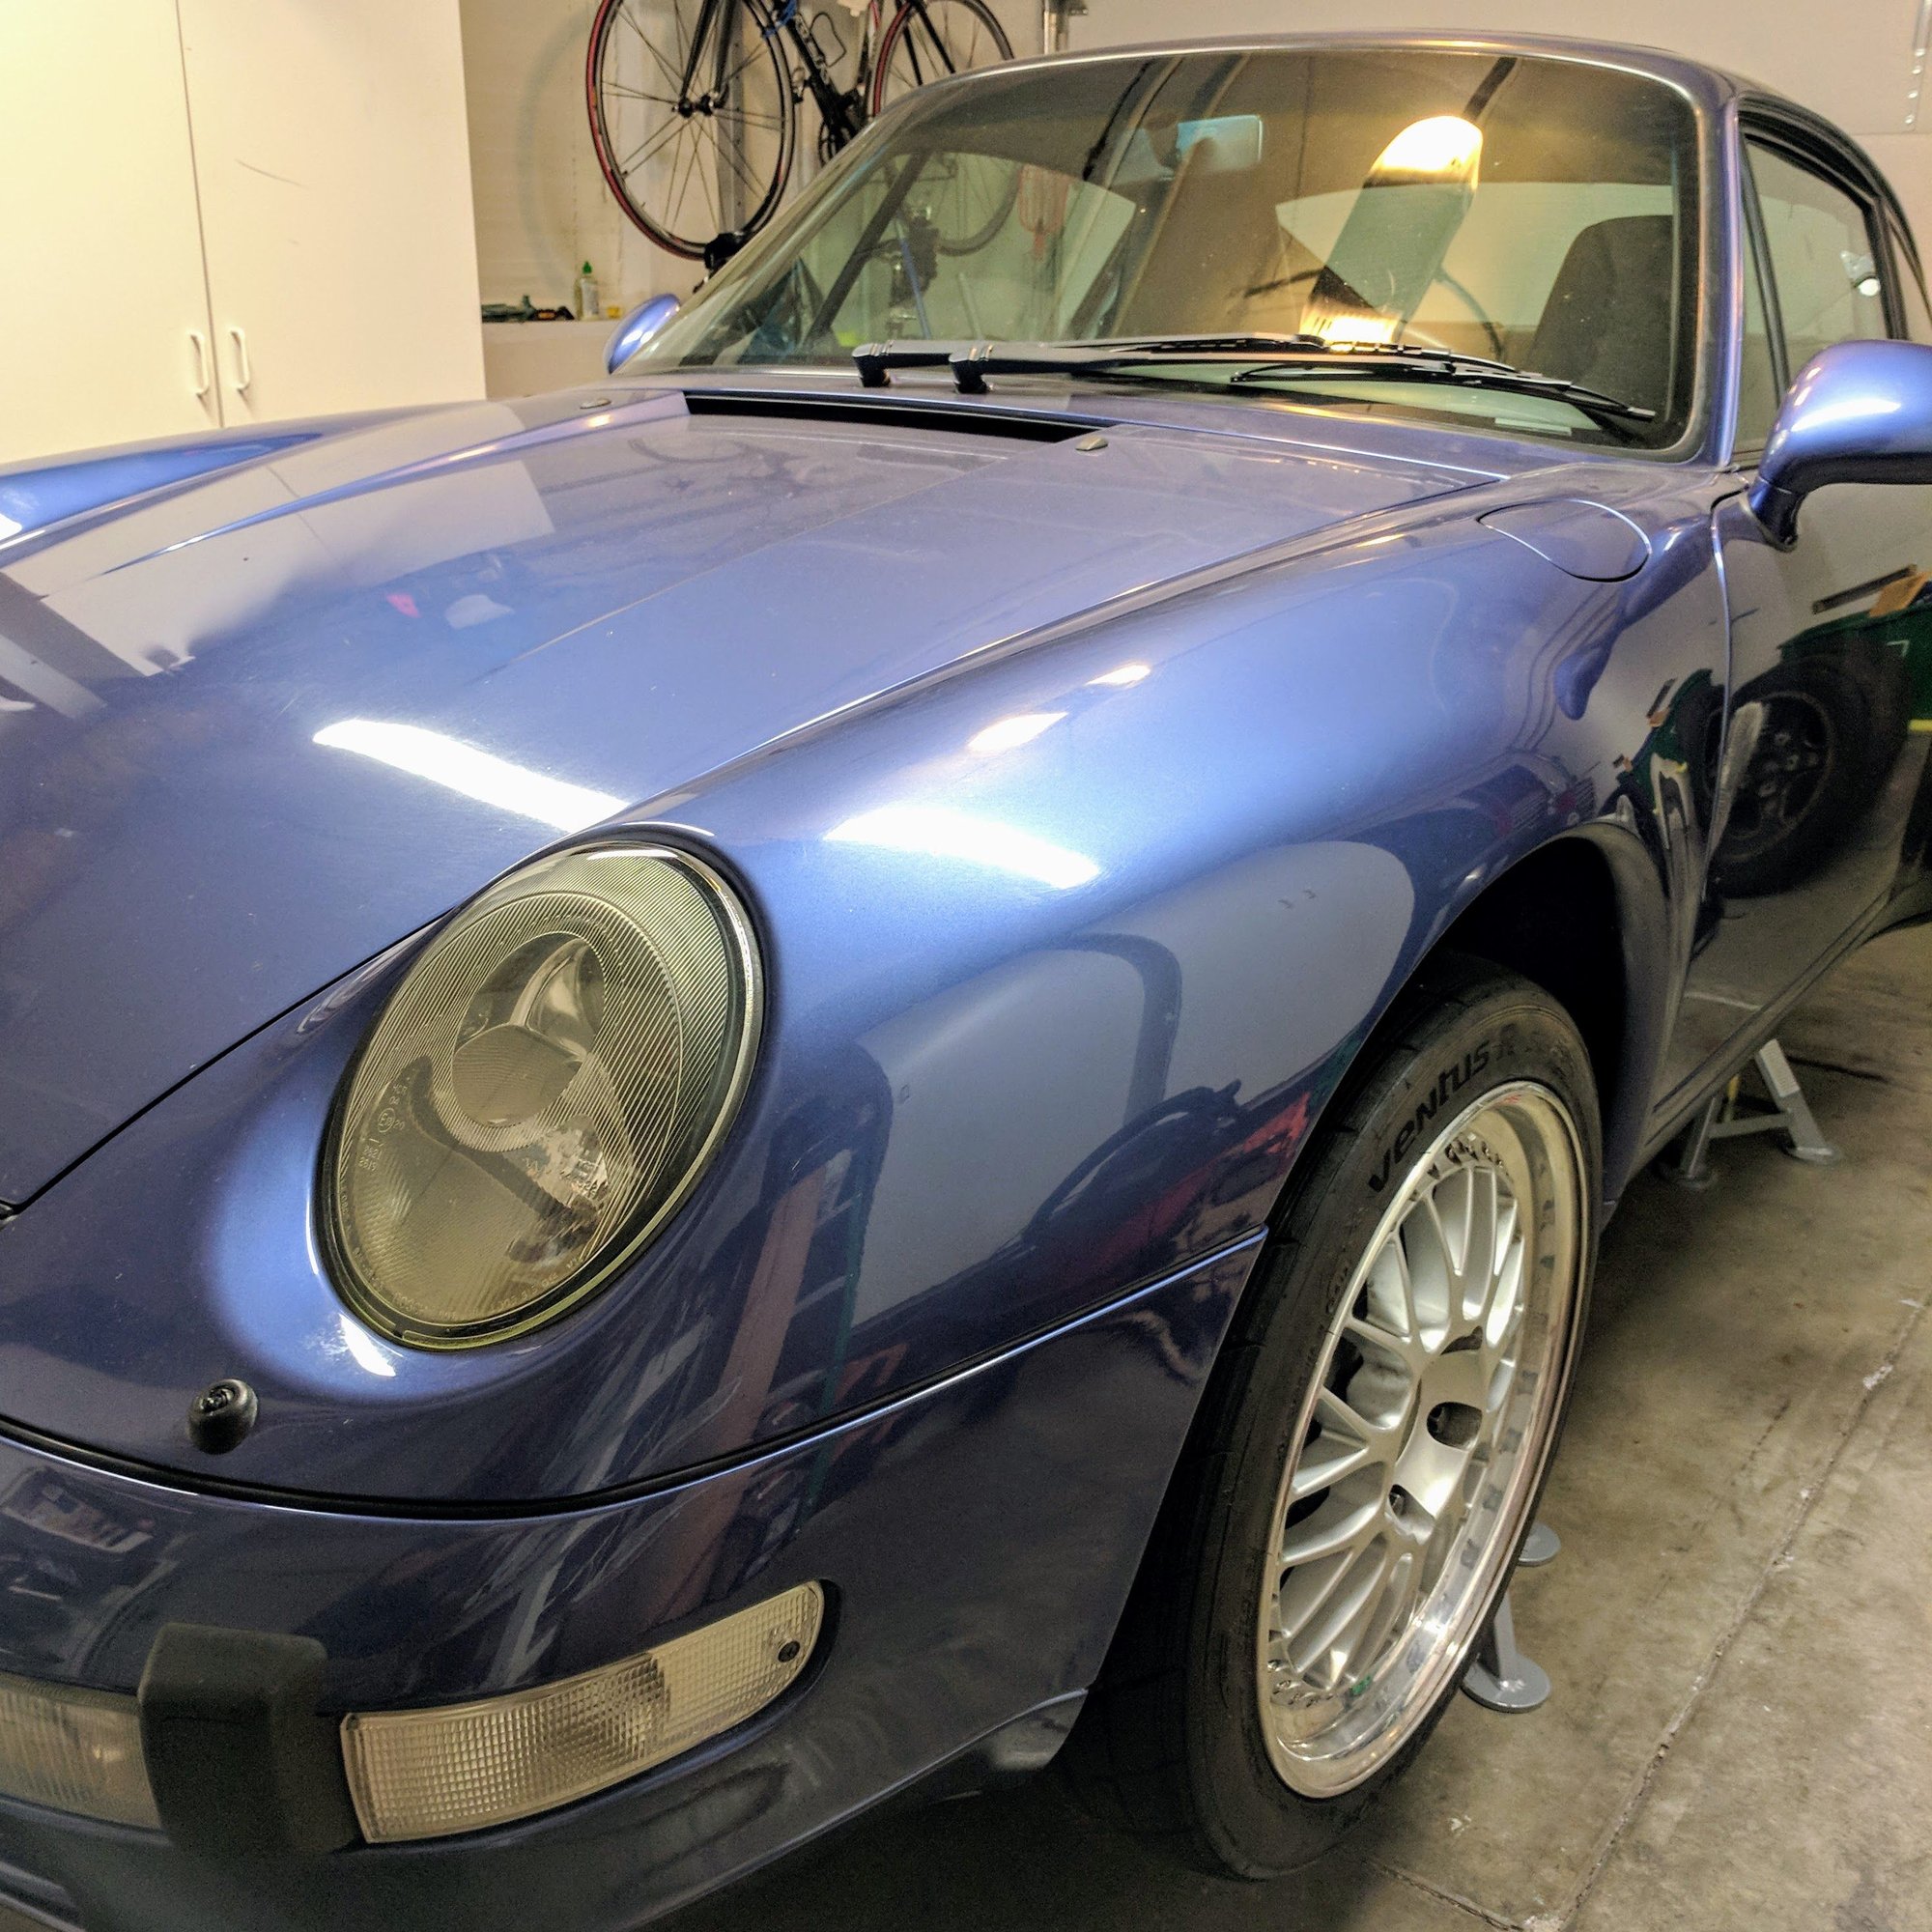
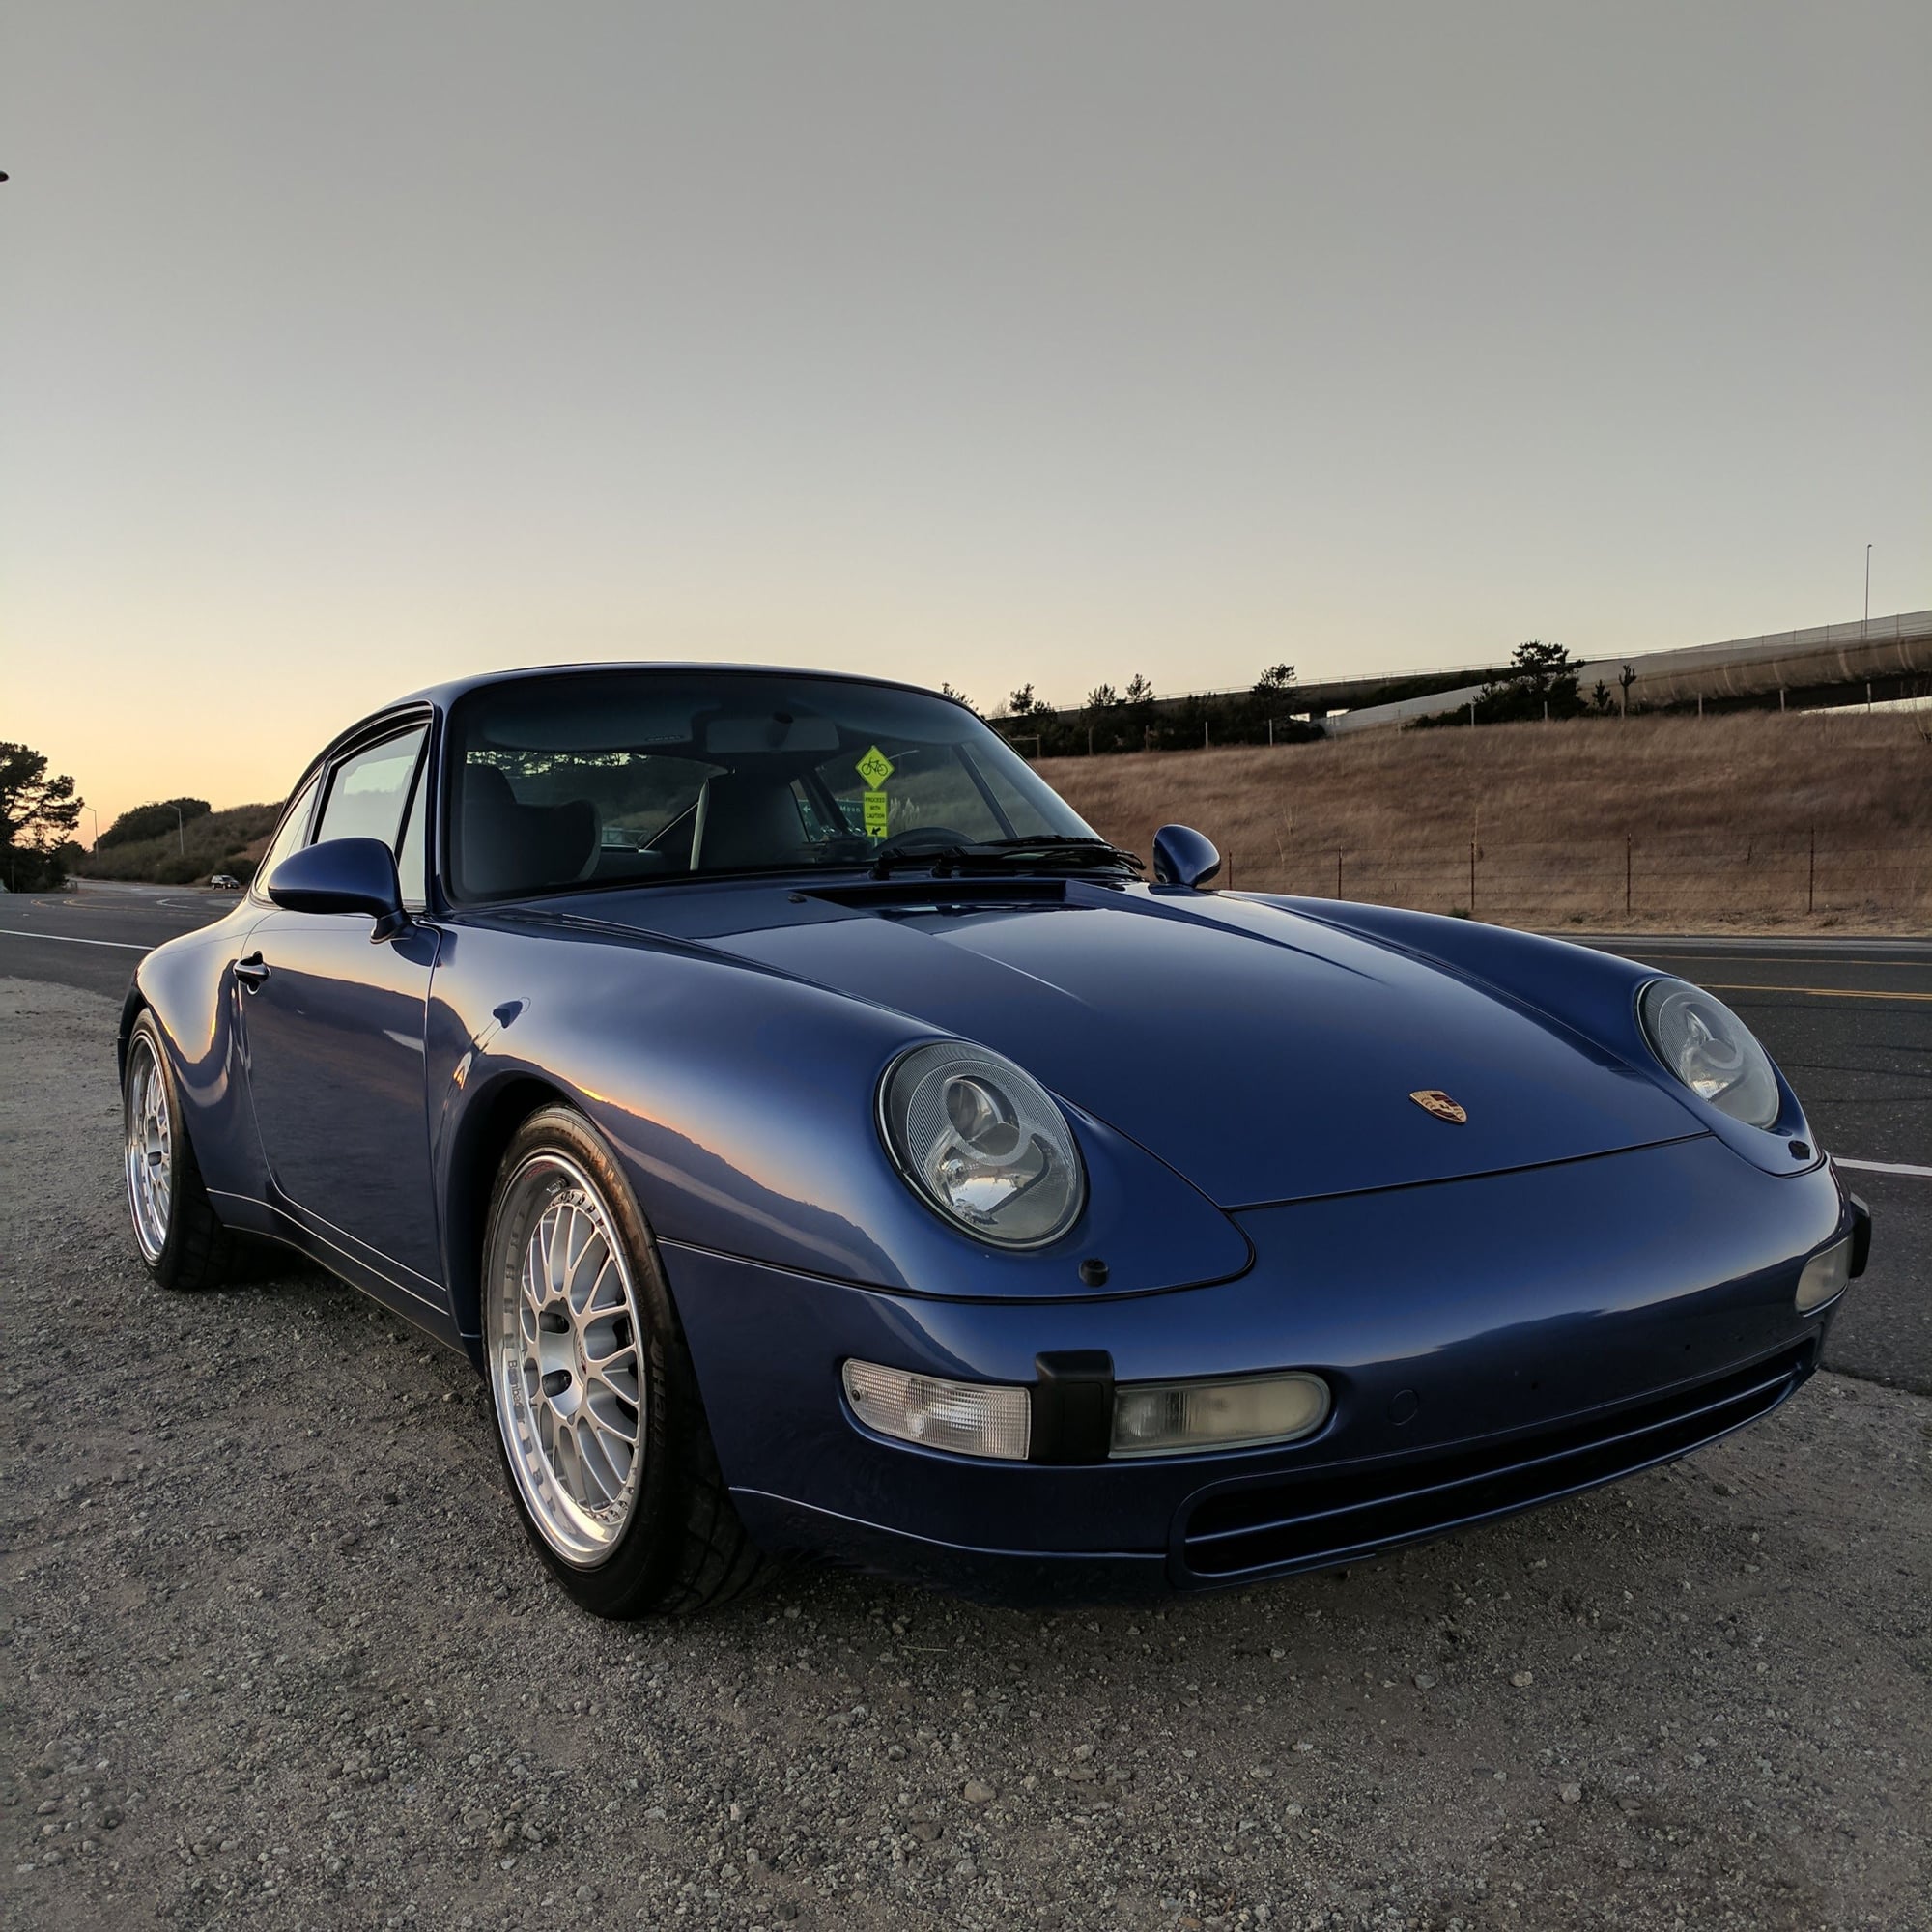
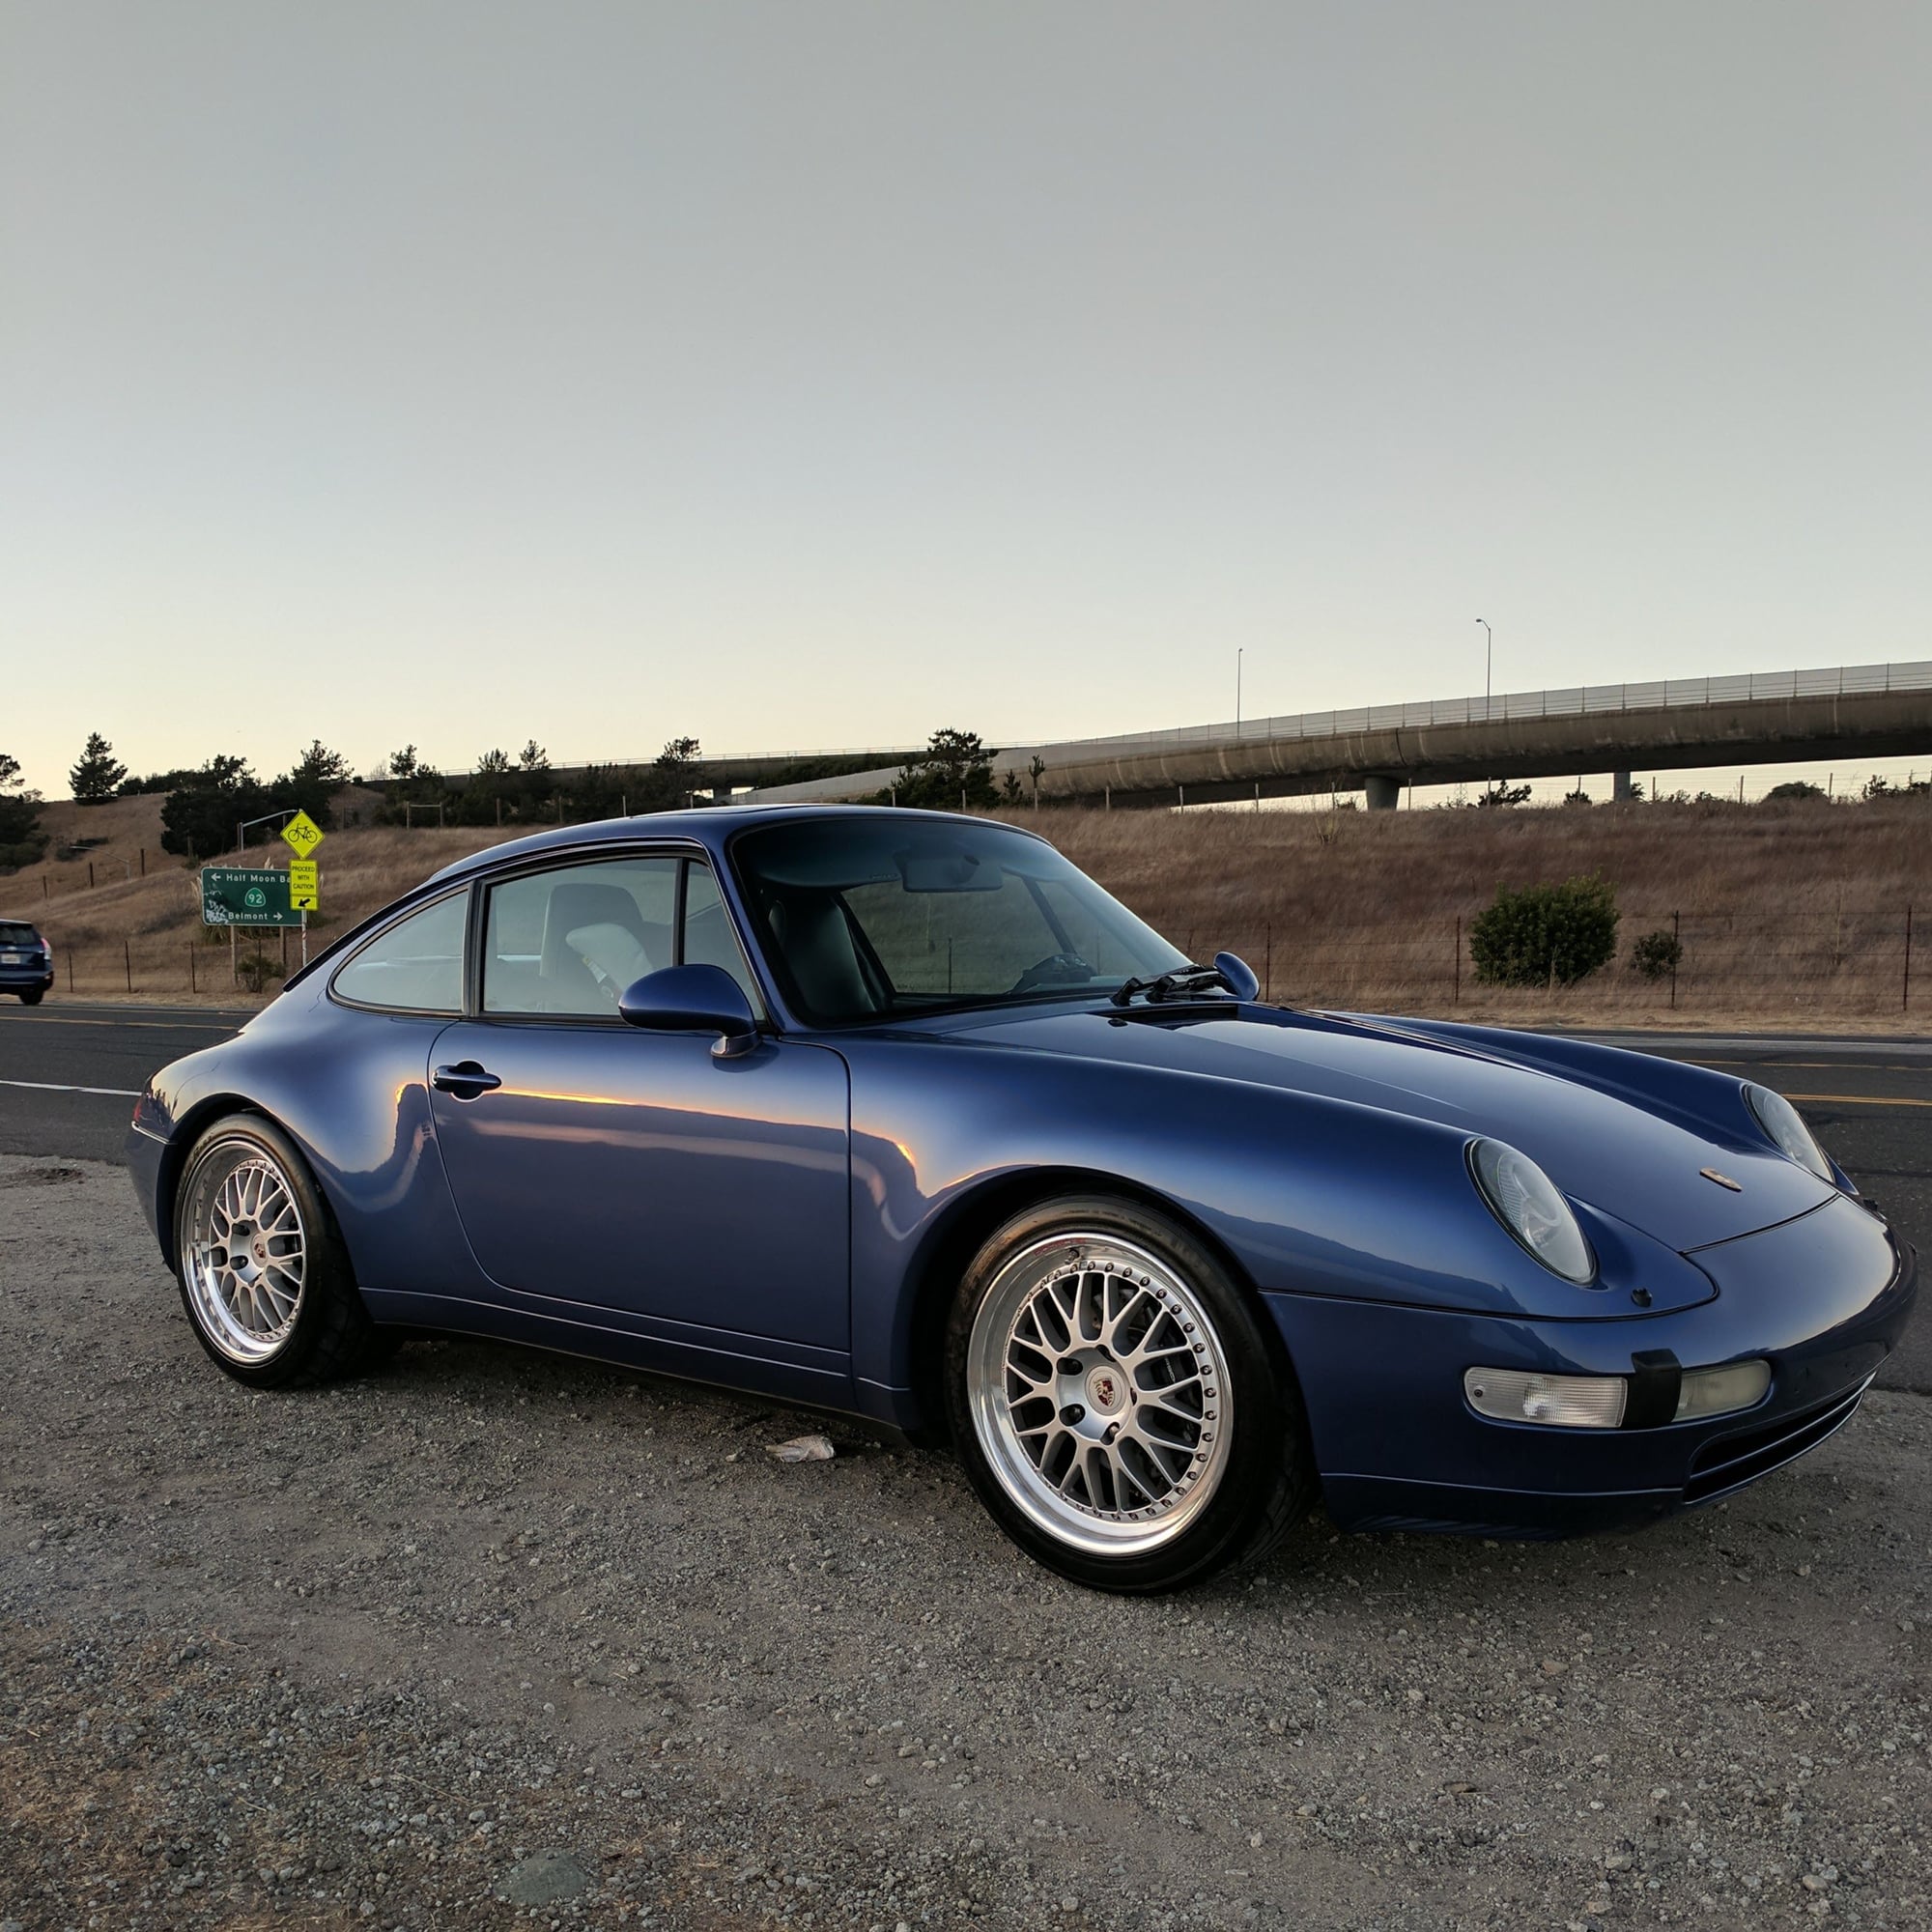
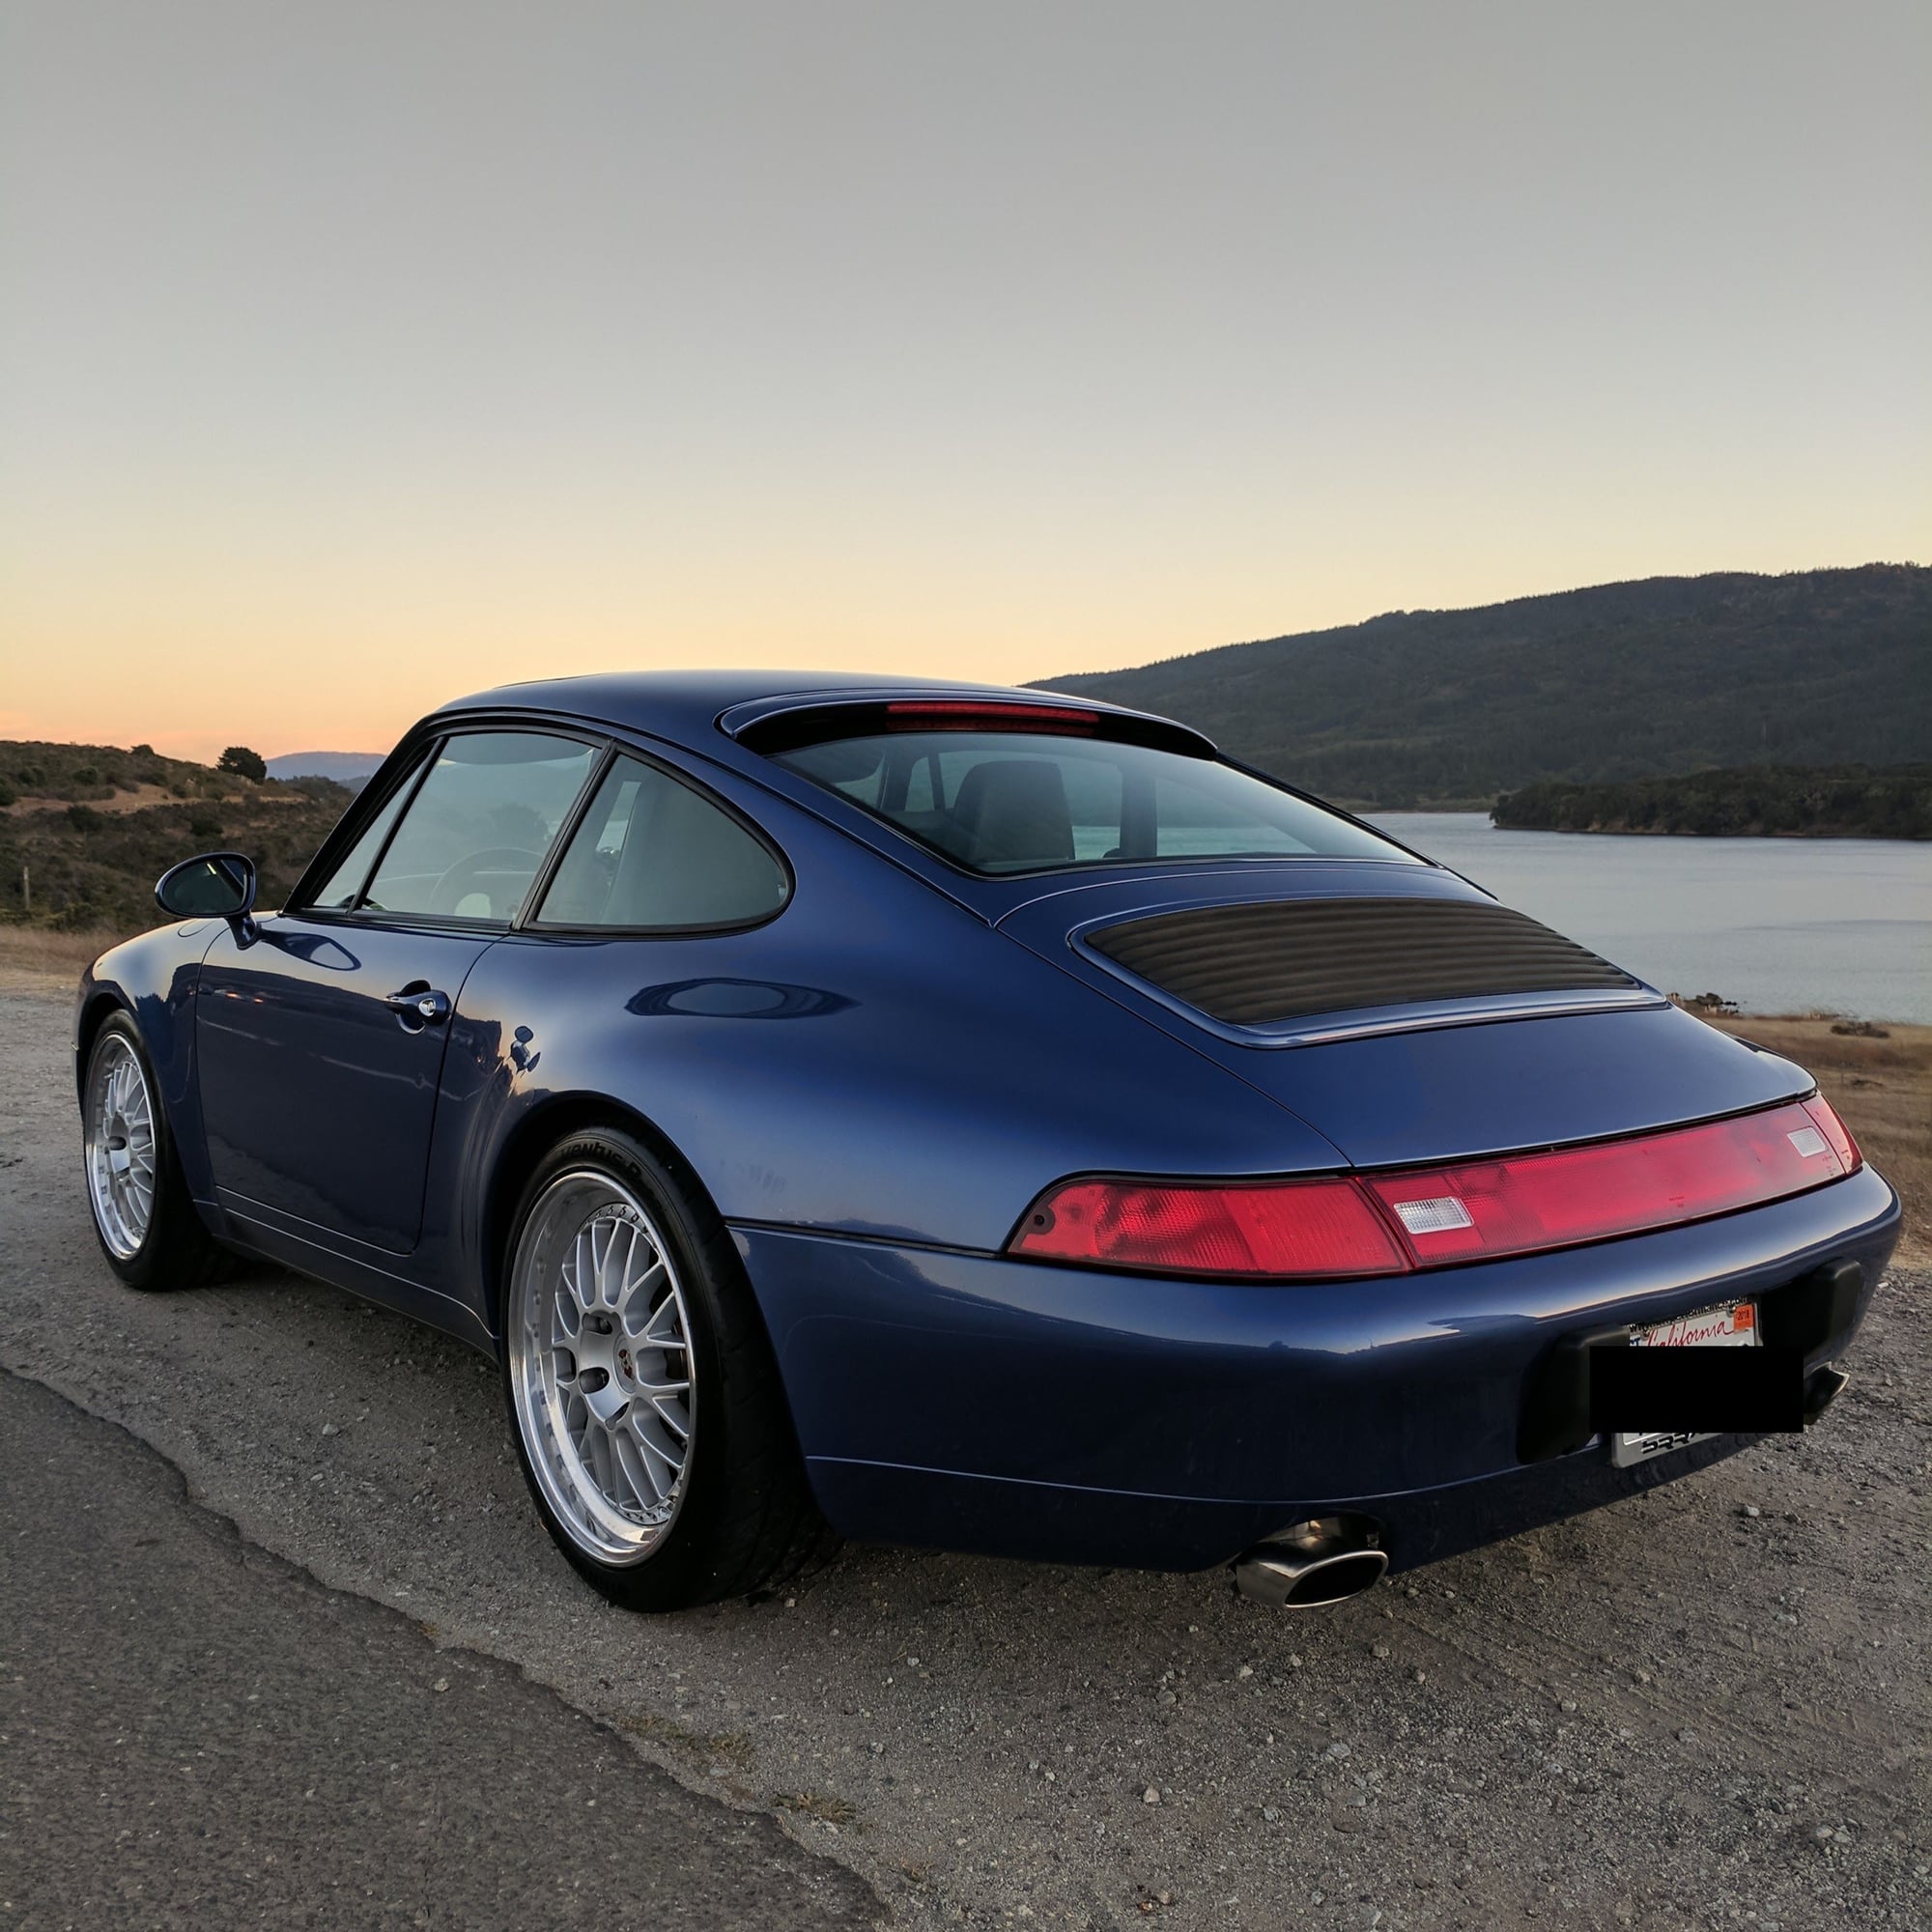
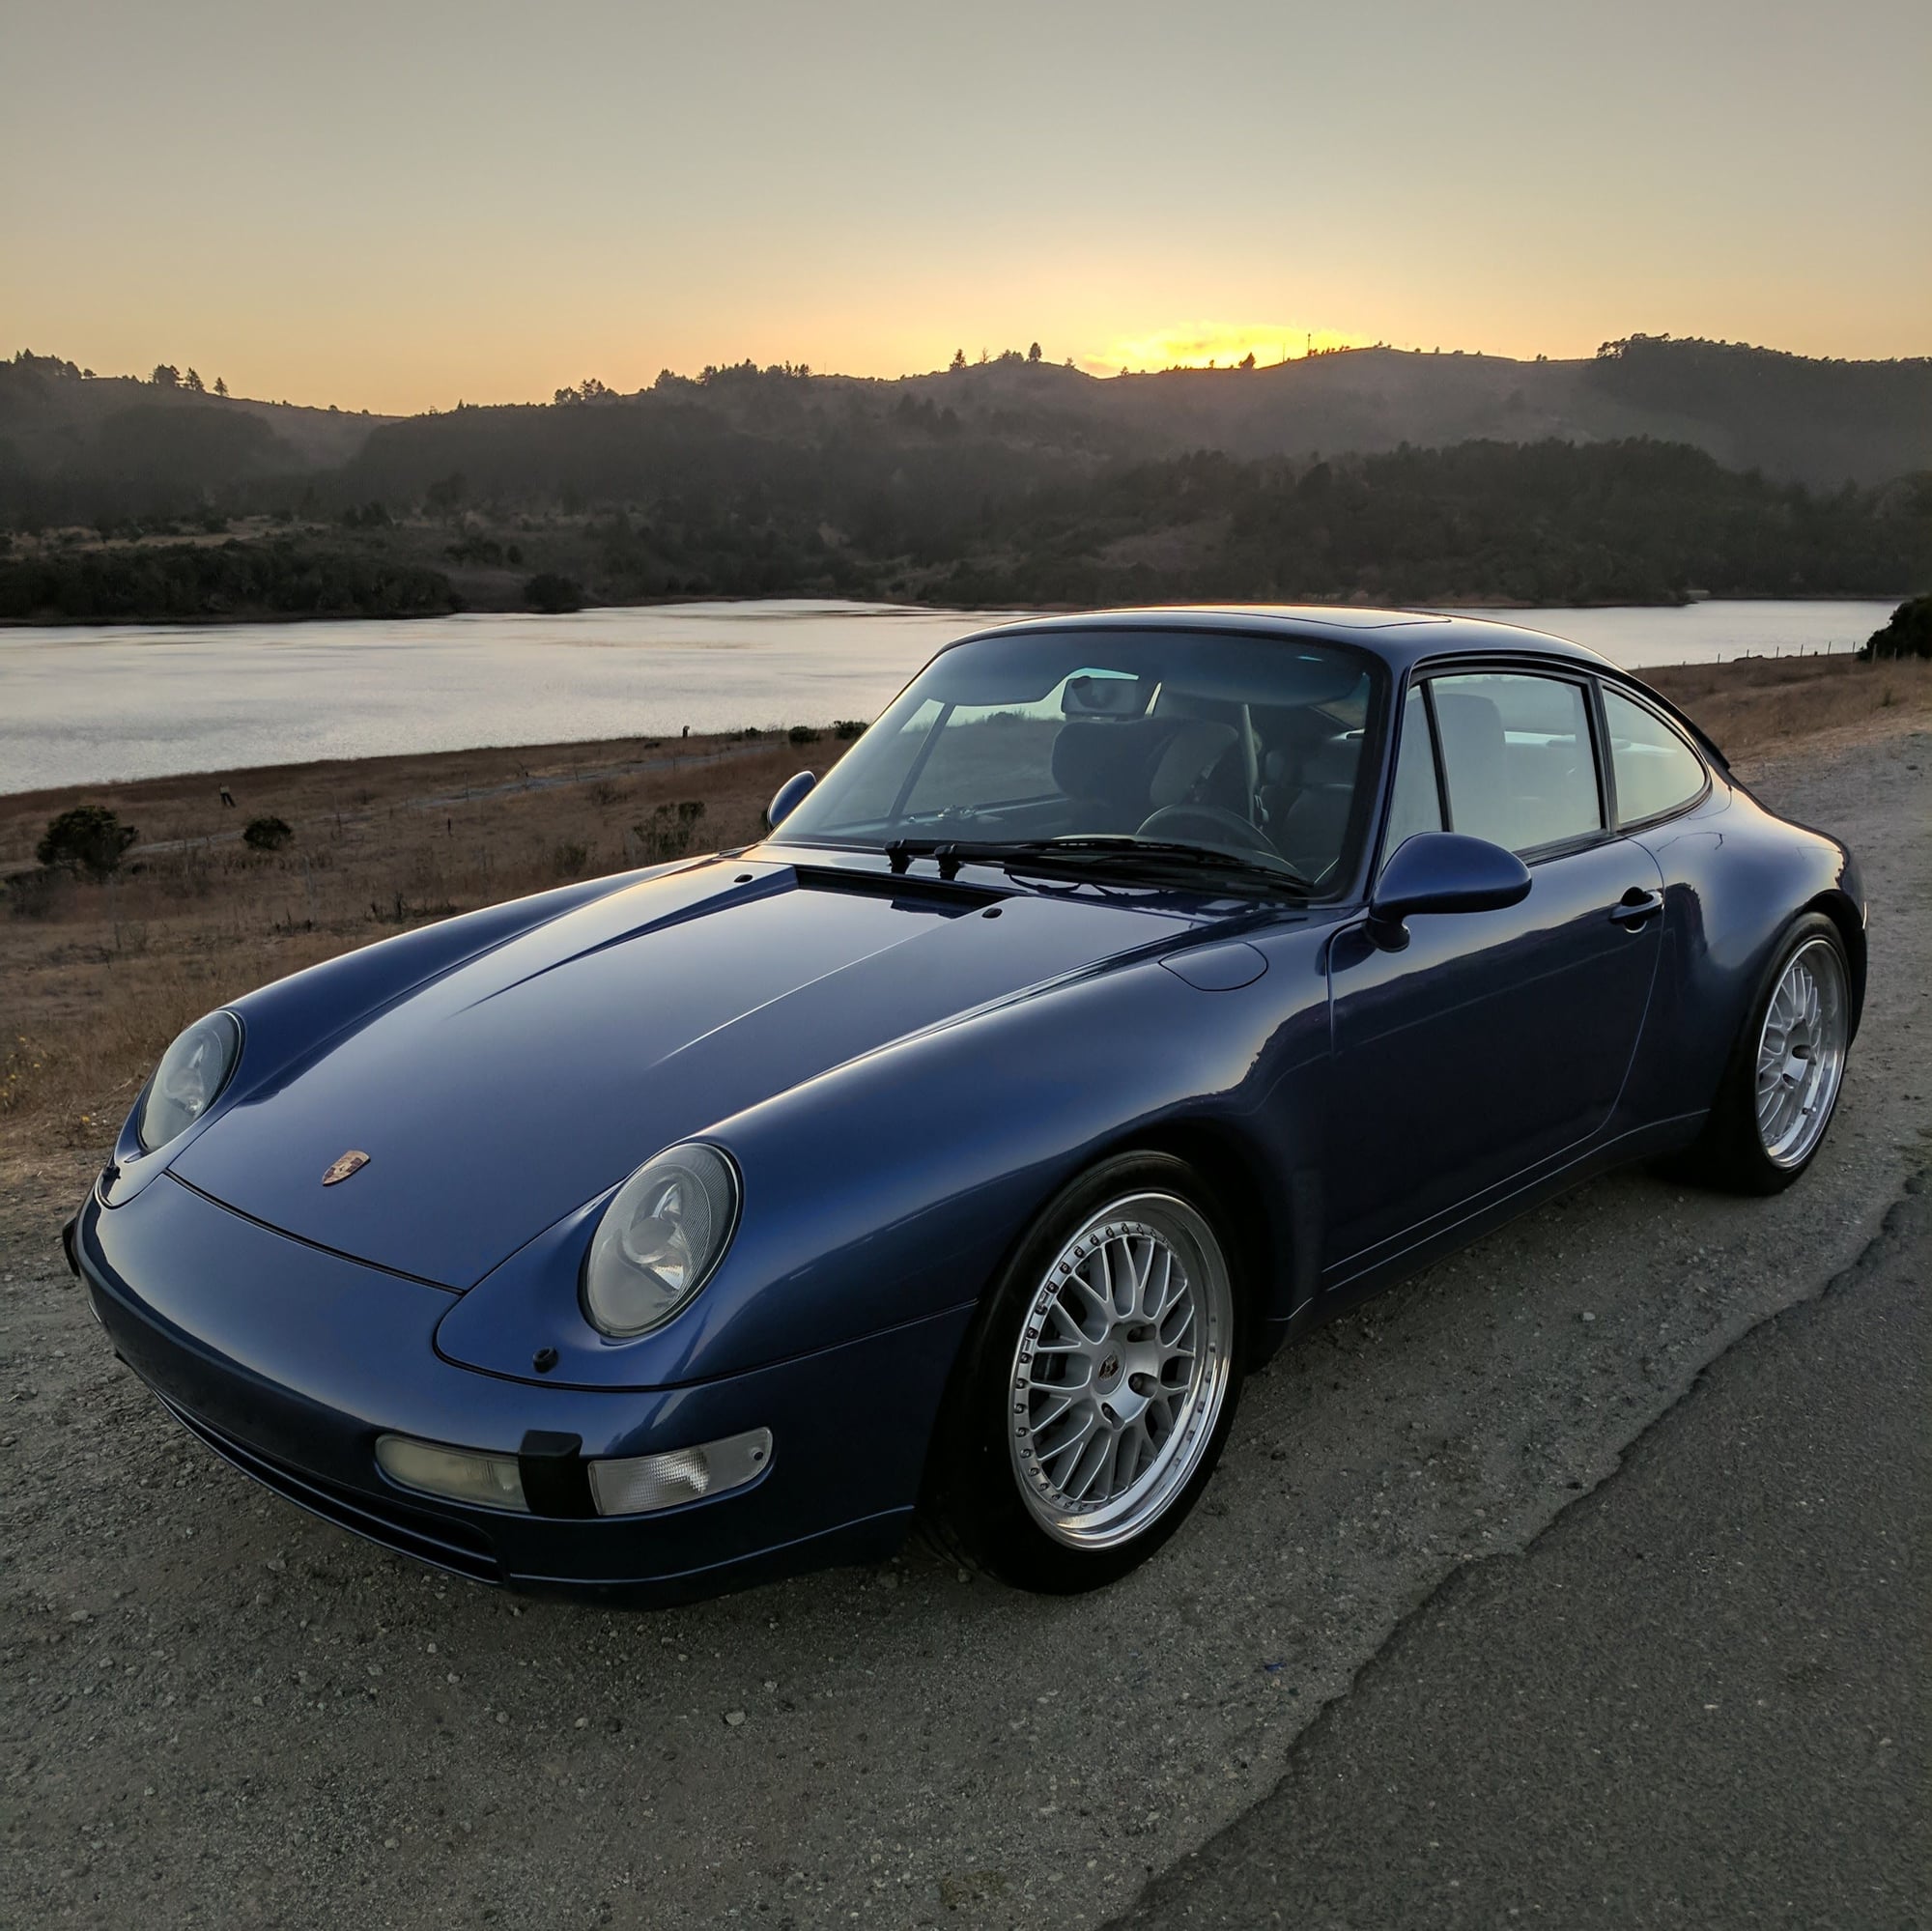
Here she is all cleaned up a few days later. The suspension settled significantly. Right after the install the space between the tire and the wheel well was about three fingers. It is now about one.
She has not been aligned nor corner balanced yet as Roger Krause Racing (local shop that has the kinematic toe tool) is busy. They told me to drive her for a while to let the new bushings and struts settle before an appointment which works out. I know that having her too low to RS height will cause bump steer so will eventually tinker with her until I get it to between RS and ROW.
Driving her on some of the canyon roads near my house has been fun. Cornering is night and day. I can just lay on the throttle around a corner and she just tracks so easily around. My old M3 would start to understeer when I would do the same so very different feel with a 993... for the better. On the straights the steering is a bit loose and fast, with bumps causing the steering to be twitchy. Will start to play with the tire pressure and height to see what happens. I know she will just get better with a proper alignment and balance. For now going for a drive tomorrow morning with my buddies somewhere in the Santa Cruz mountains!
Shout out to @Tlaloc75 and @Overboosted28. Your tips and tricks through this was very helpful. Thank you!
I hate to do this to you but, while you're were in there...
Its not a bad time to pick up some Techna-Fit brake lines from FD Motorsports, pads and turn the rotors if needed and there's enough meat on them. Also, maybe a caliper refresh and/or repaint...
P.S.
Dont forget to budget for a quality alignment and corner balancing.
...Welcome to the slippery slope! ; )
EDIT:
Sorry I just realized you had buttoned up the front end...
Samurai,
I have a full set of unused Techna-fit brake lines from FDM i purchased a couple months back and never even opened the bag. PM if interested....I won't be using them.
My new toe arms arrived. Besides the dust covers for the ball joints being torn, it was pretty easy to tell the ball joints were worn as they flopped around when compared with the new ones which were very firm.
Getting the rear strut in was more involved doing it solo as you need to lift it the opening which you can't see without sticking your head in the engine bay. I used my jack to hold it up and make minor adjustments to line up the top hat.
Thanks to @Tlaloc75 he pointed out the rear top hat for the rear strut has a certain direction they need to be installed in, which the FSM (factory service manual) explains clearly on Volume 4- Chapter 42- Page 30. He had trouble corner balancing the rear and found that once he got them in the right direction it balanced right away. I unfortunately found this out after I installed them, so I removed the struts again and realigned the top hats in the right direction.
The second redo I had was once I got the toe control arm and rear ARB installed, I found out the recommended height of 175MM for my drop link perch was too high since my ARB was resting on the toe control arm.
I really didn't want to drop the toe control arm out again, so at first I tried to remove the ball joint end of the toe control arm to pull it out of the strut. Maybe because my bushings are new there was no give so ultimately I was forced to uninstall the ARB and remove the eccentric bolt to drop the toe control arm out again so I could pull out the strut to spin the drop link perch up. At the end I had to spin it seven times to get enough clearance for the ARB to not touch the toe control arm... after five times attempts at installing/removing the toe control arm, ARB, and drop links. Lets just say I got pretty good replacing the toe control arm at the end of five tries.The technique I used was...
Loosen the allen bolts that hold the exhaust tubes so you could get a socket ratchet to loosen/tighten the eccentric nut.
On the driver side, the eccentric bolt cannot be removed unless you jack your engine up as the heat exchanger is blocking it.
If you pull the toe control arm so the hole is on the out side of the slot it makes it easy to slide the eccentric bolt in and out.
After I got the drop link perches finally at the right height so the ARB would not touch the toe control arm the last step was to align the perch so that it is on the same plane as the ARB. I used my selfie camera on my phone and positioned it directly under the perch and ARB so I could make adjustments in real time. I found having your head under the carrier and eyeballing it was impossible to get any level of accuracy.
Done!... Removing the cosmoline from the wheel well will be a project another time.
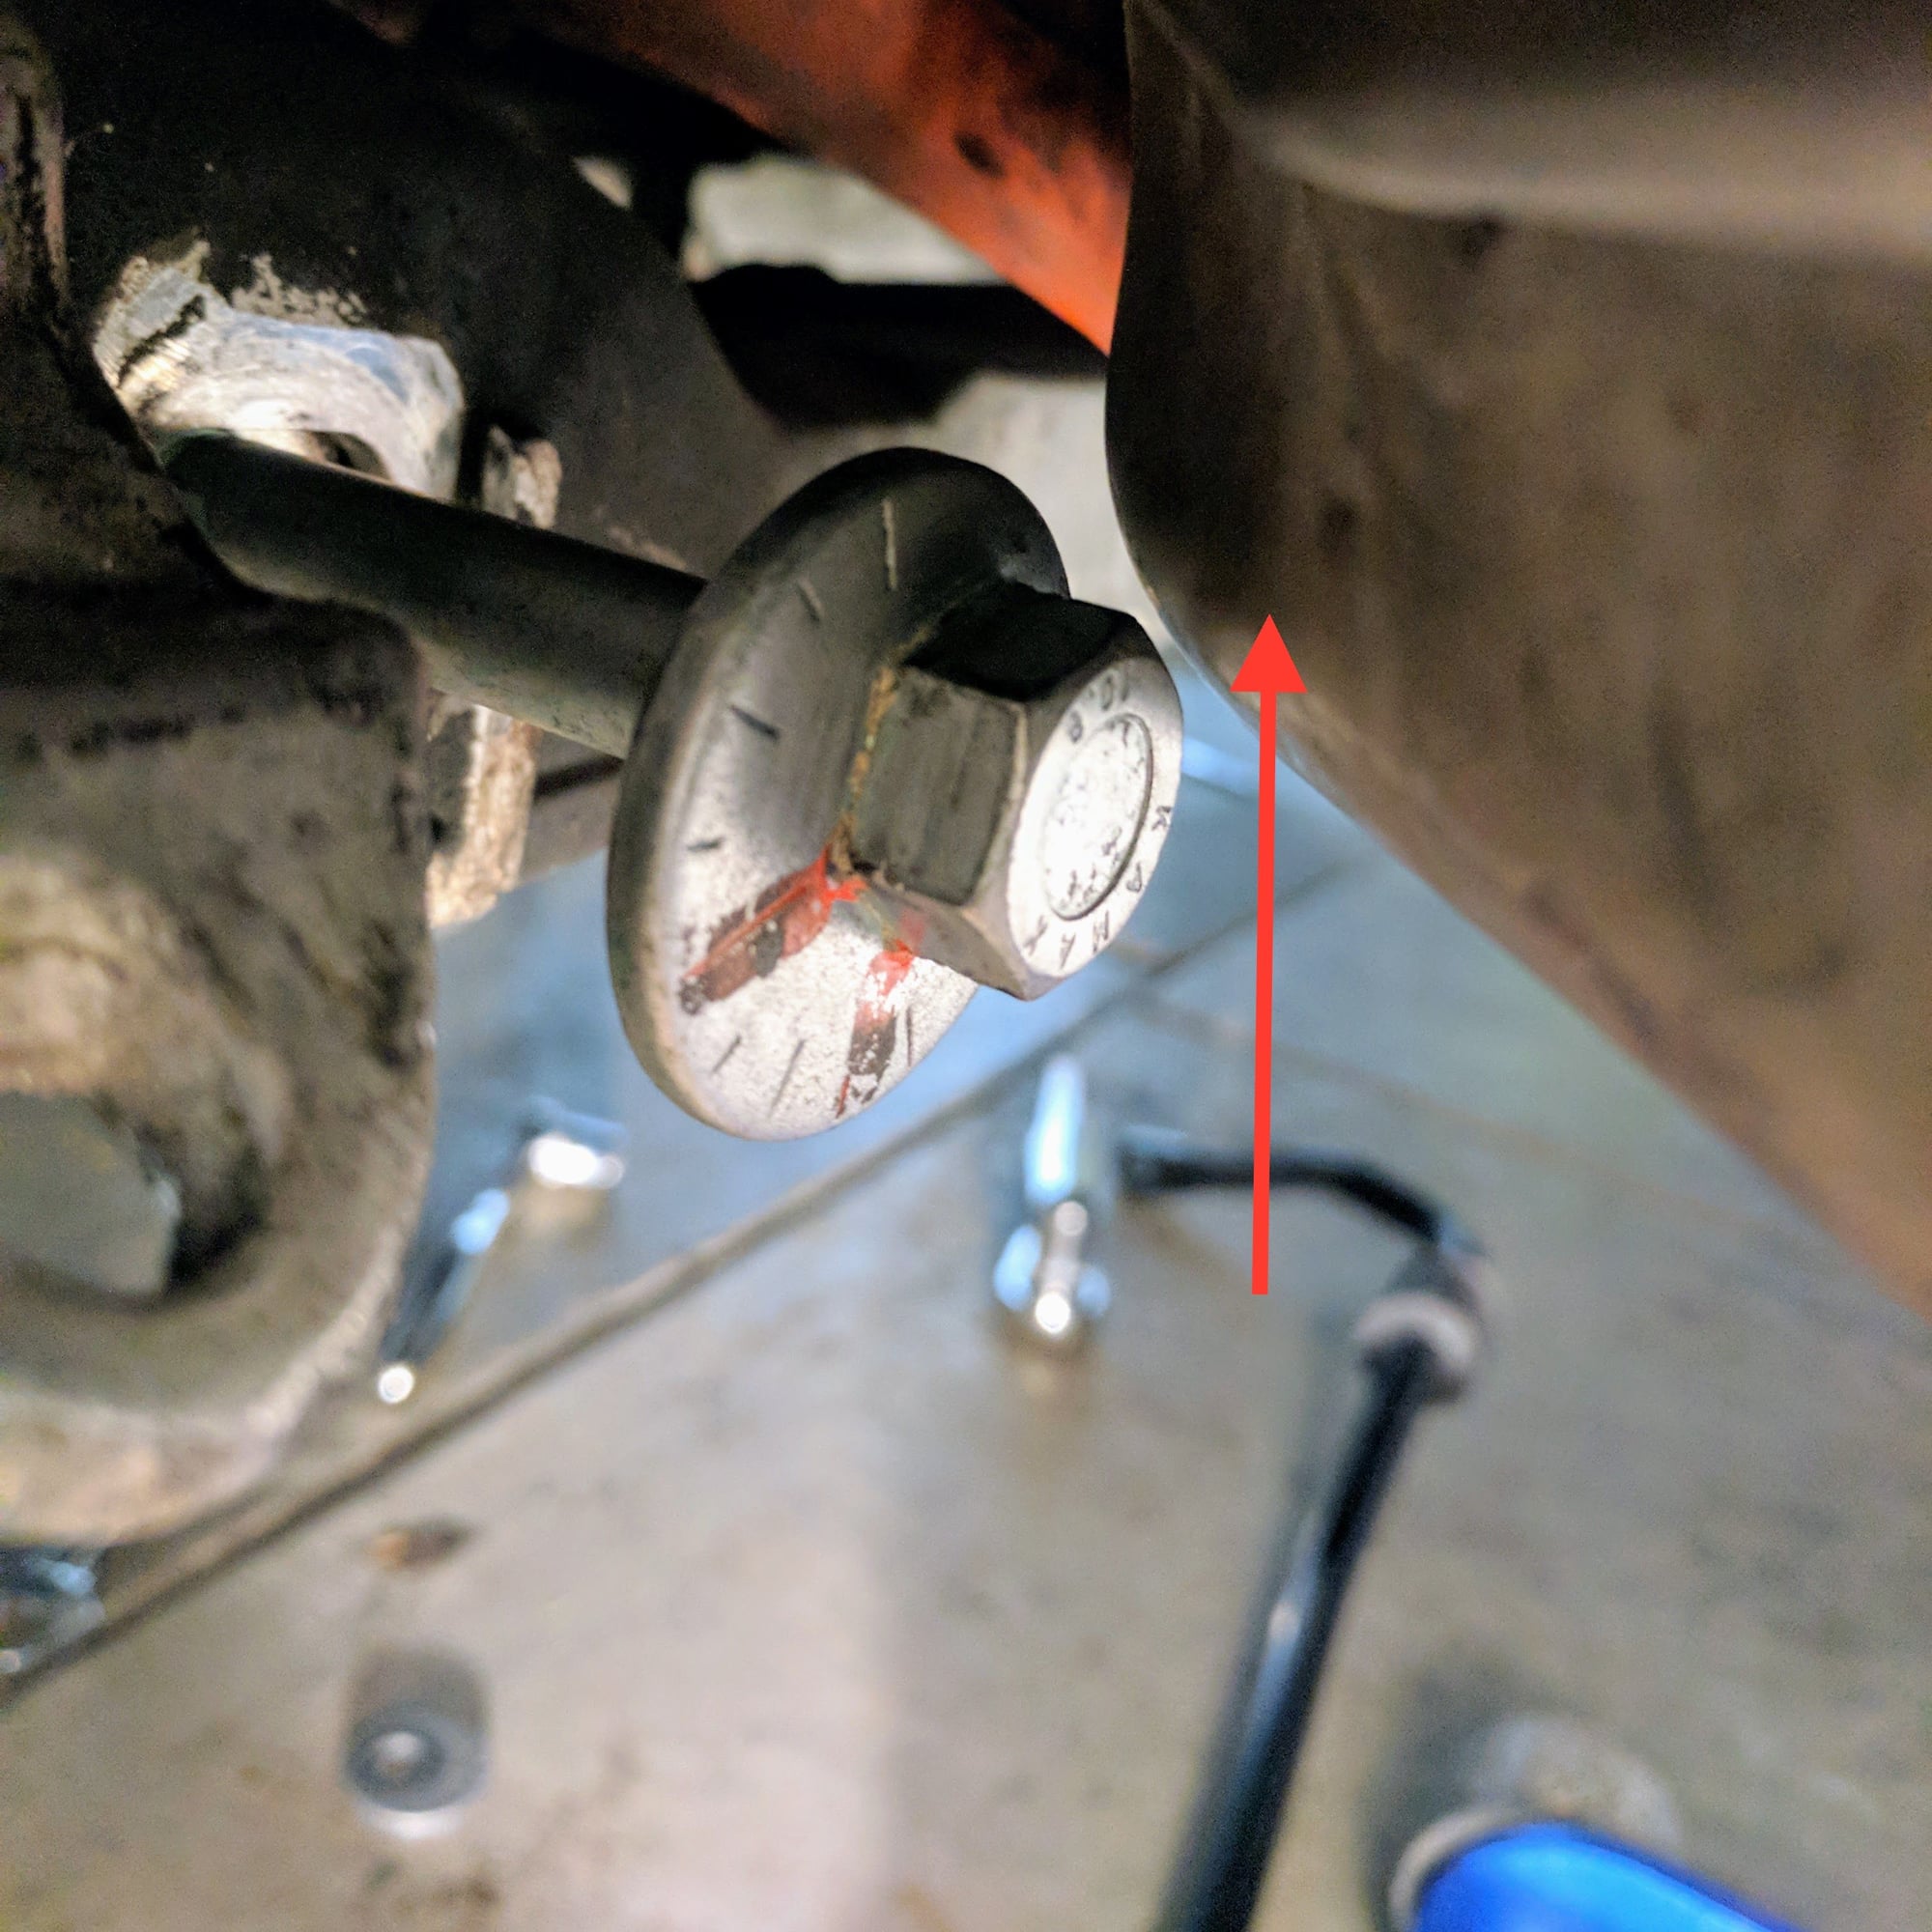
Here's another tip I just remembered after seeing your writeup and pictures. Once you get the toe-arm eccentric bolt out the first time, which is a pain due to the heat exchanger location, you can put it in the opposite direction so you never have to deal with that again. In other words, there is no reason the eccentric can't face forward instead of rearward!
Also, I added the elephant eccentric locks at this point as well. The kits covers all the eccentrics but I think the toe arm is the most important. Not sure if its really necessary but its nice for piece of mind.
BTW, your pics look really great. For a first approximation, no corner balance and no alignment, the stance looks very good.
What's your ride height at currently? The numbers I sent you are right between RS and RoW so they could be a good target if that's your goal.
The fact it drives well in its current state is a very good sign. The front will feel much better once aligned. These cars are very sensitive to toe and I can guarantee that both your toe and caster are out in front and your toe is out in back. Probably not by a huge amount, but even a little bit is noticeable.
Today at sunrise I met up with an old buddy and his p-car friends to go for a spirited run through the Redwood forests above Saratoga. I forgot my GoPro, but here is another RLister @SLVron who shot one a few years back to give you an idea of the drive.
I was chasing a 996 GT2 and a pair of 997.2 GT3s and they put me through my paces. I was clearly out horsepowered as they would pull away effortlessly on the straights, but I was right behind them through the turns... I think this is a good thing as I am sure I would get myself into some trouble with more ponies.
It was a great morning as it was an couple of hours of spirited turns I learned how she would behave under different conditions. A hard brake before a turn, get back on the gas, then accelerate out, turn after turn she was very predictable, glued to the road, and tracked effortlessly. It was only when there was some sort of bump and the road would unload my front suspension and the steering would get twitchy, but as long as I was on the gas she would recover easily.
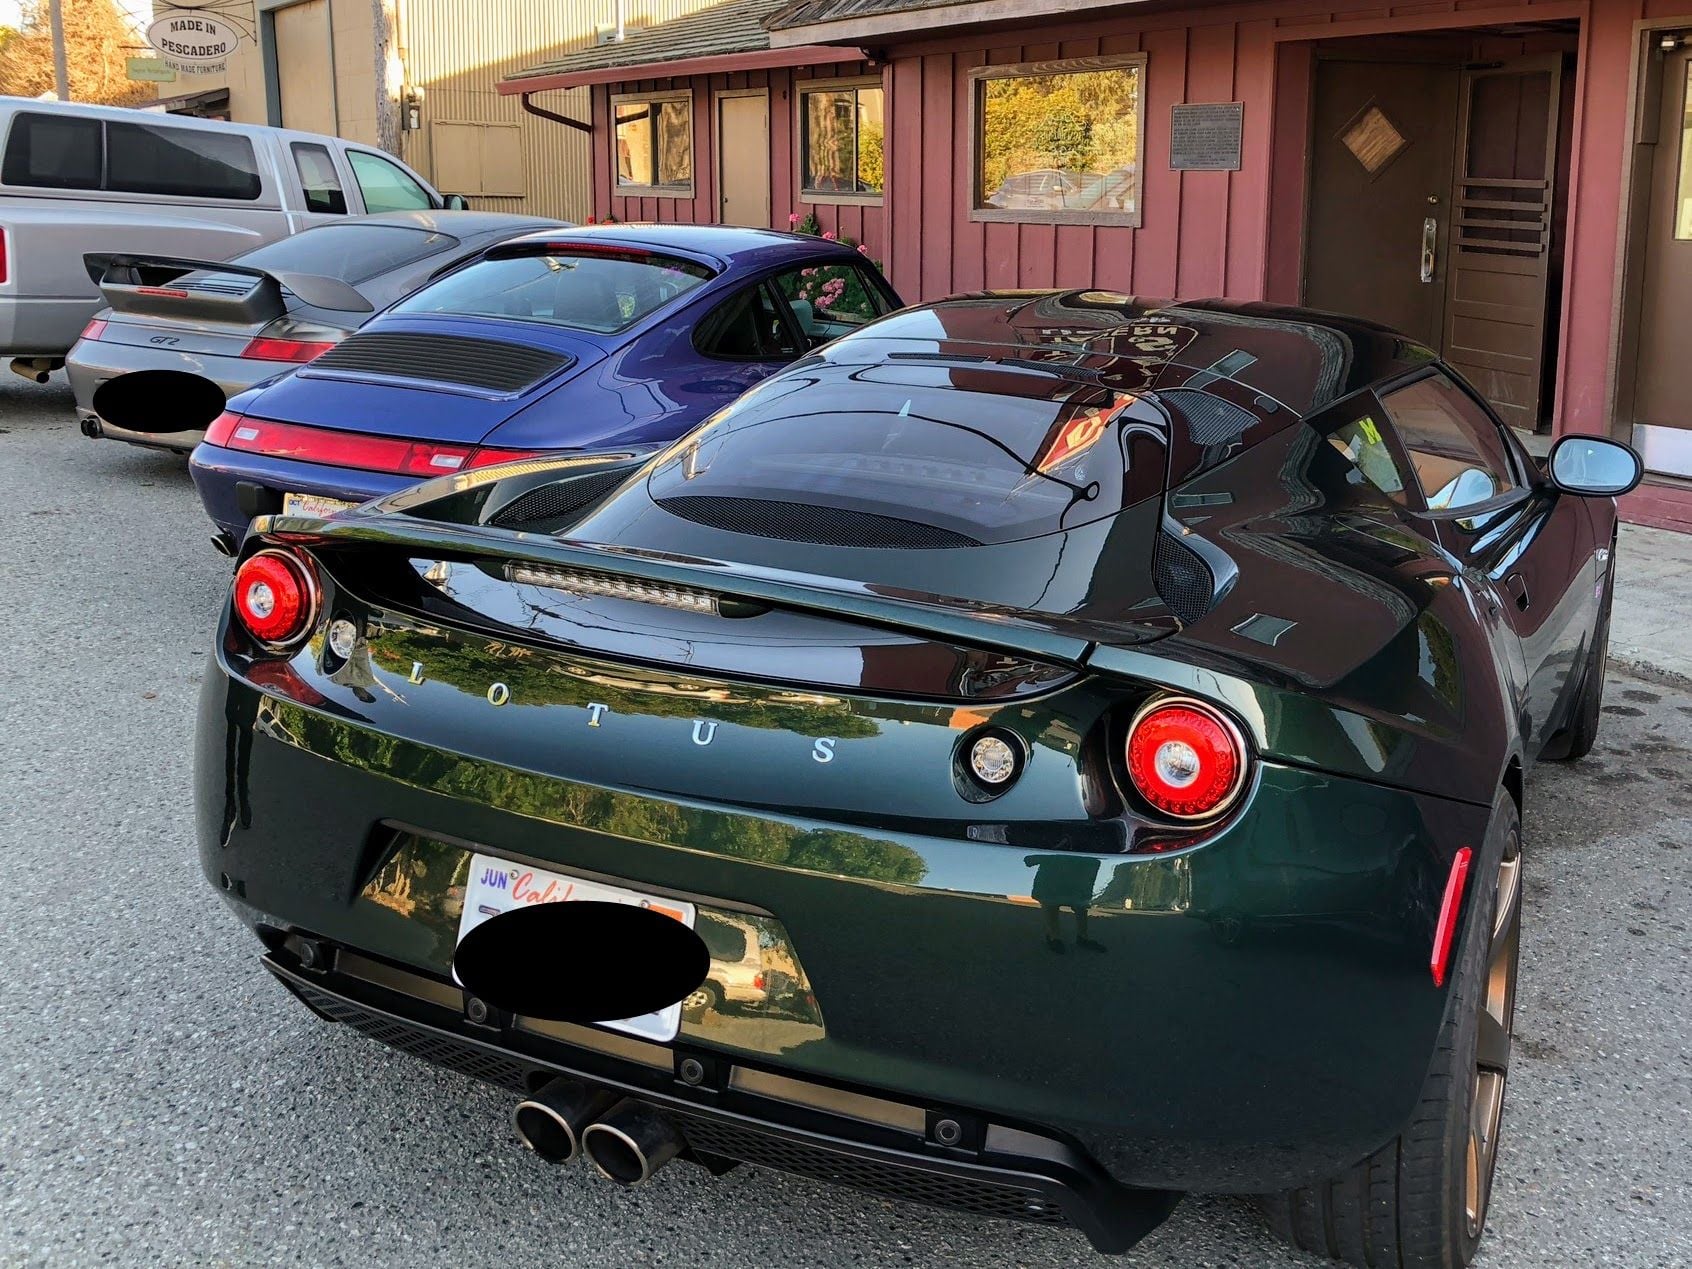
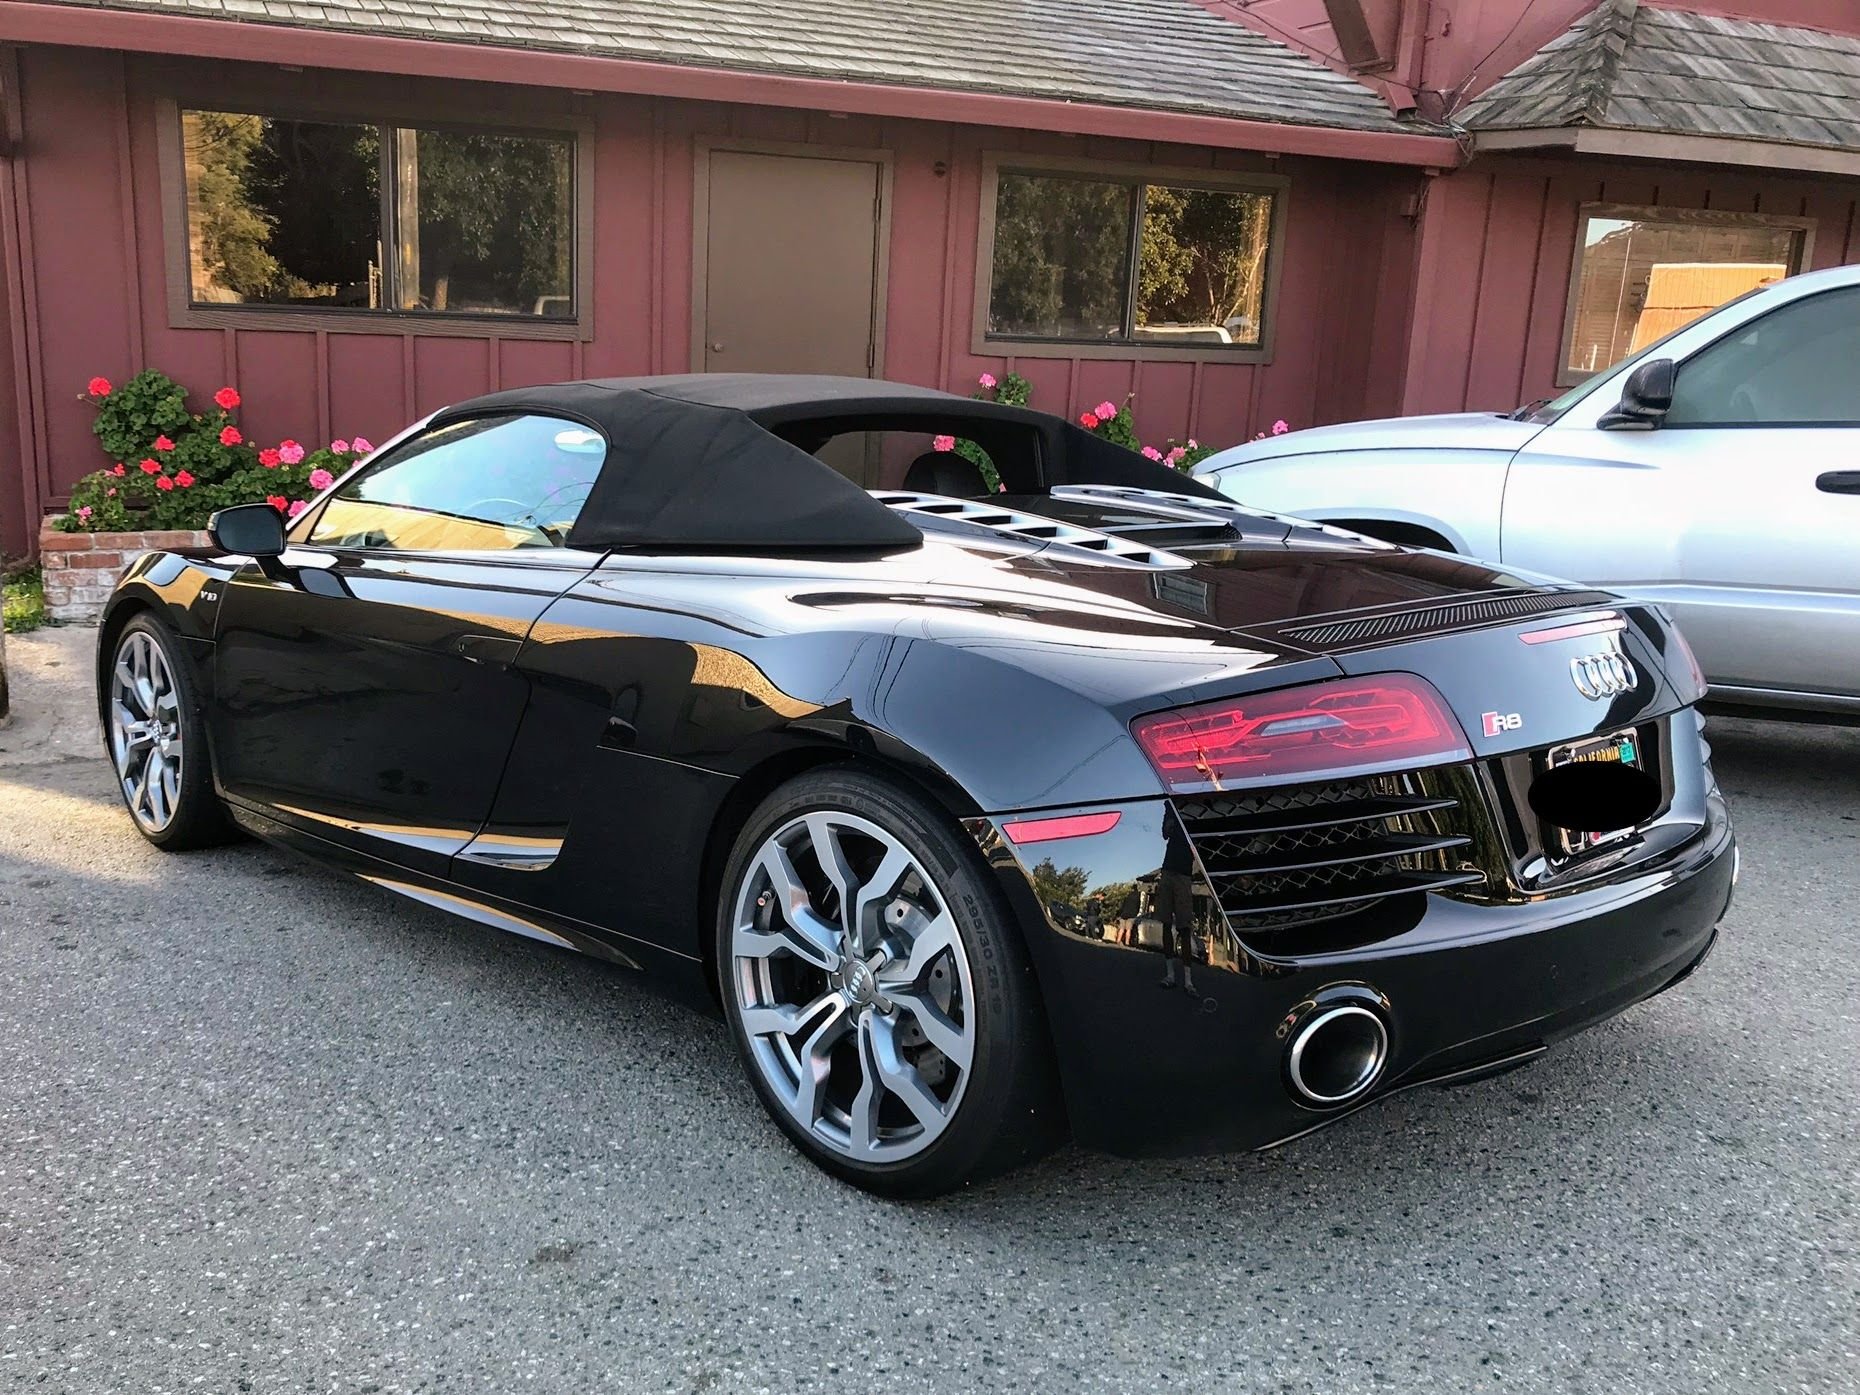
We ended up in Pescadero for a coffee and met up with a larger group of drivers. In the end there was a 991, pair of 997.2 GT3s, 996 GT2, 996 Turbo, my 993, Audi R8, Lotus Evora, E90 M3, E46 M3, GTI, and a Can-Am Spyder and we all went back up the hill to hang out at Alice's before we all had to disband for our respective family duties for Sunday afternoon.
This is my buddy's 996 GT2 next to my 993
Isn't this a beautiful British Racing Green Lotus?
This super clean R8 is the organizer's ride. I was sandwiched between the GT2 and him on the drive back up the hill. CHP kept us at respectable speeds who decided to follow us when he saw our train of cars leave Pescadero
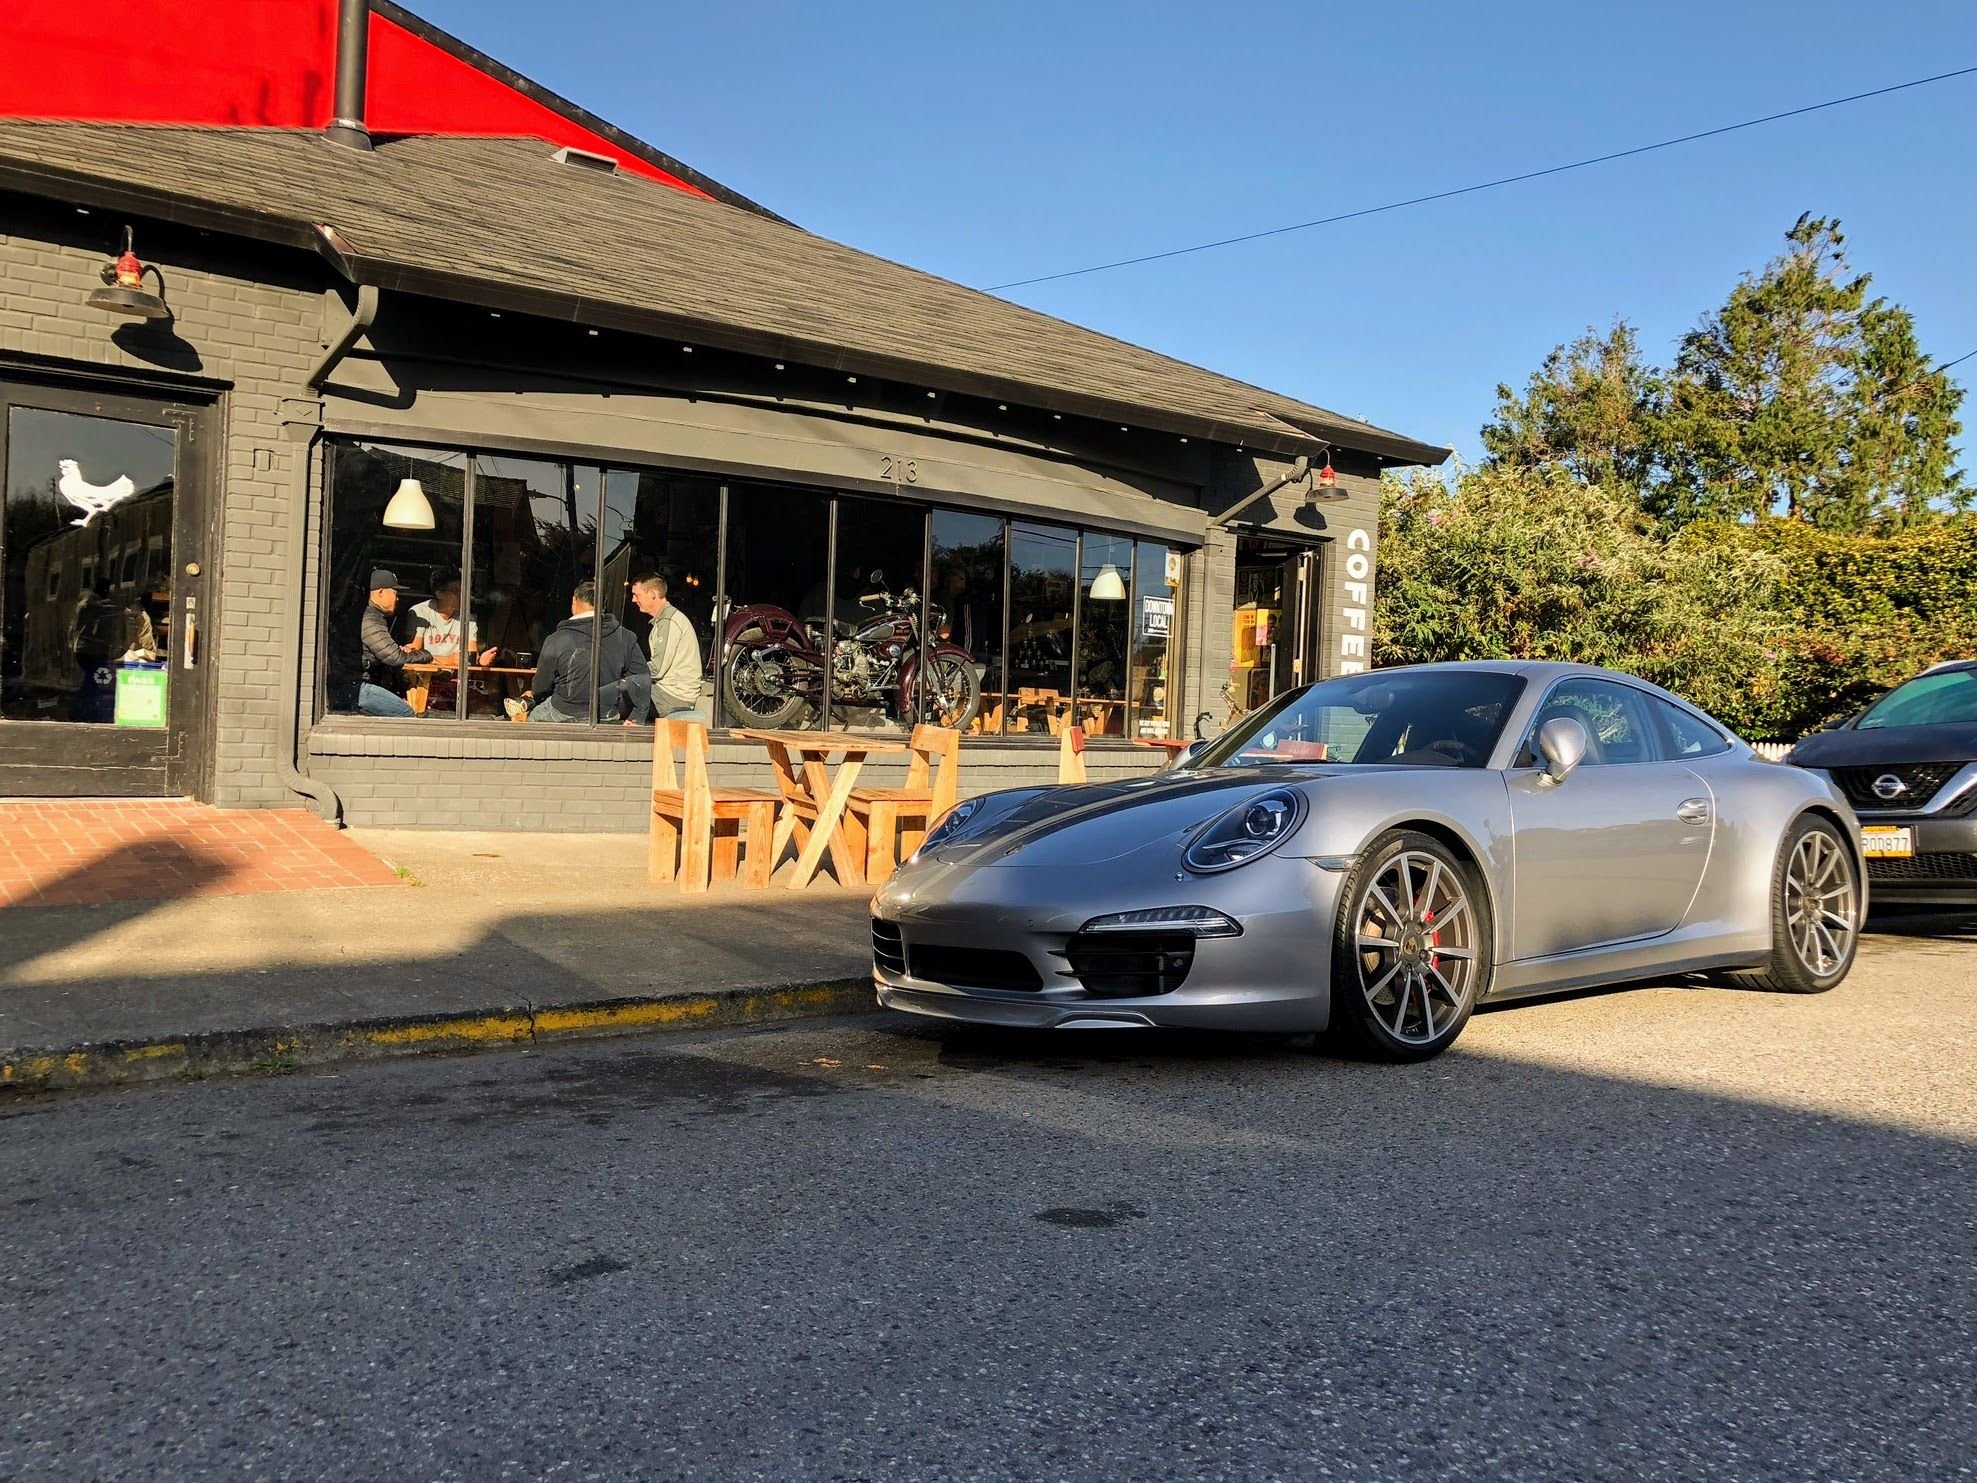
Here are the other 997.2 GT3s that I was chasing after.
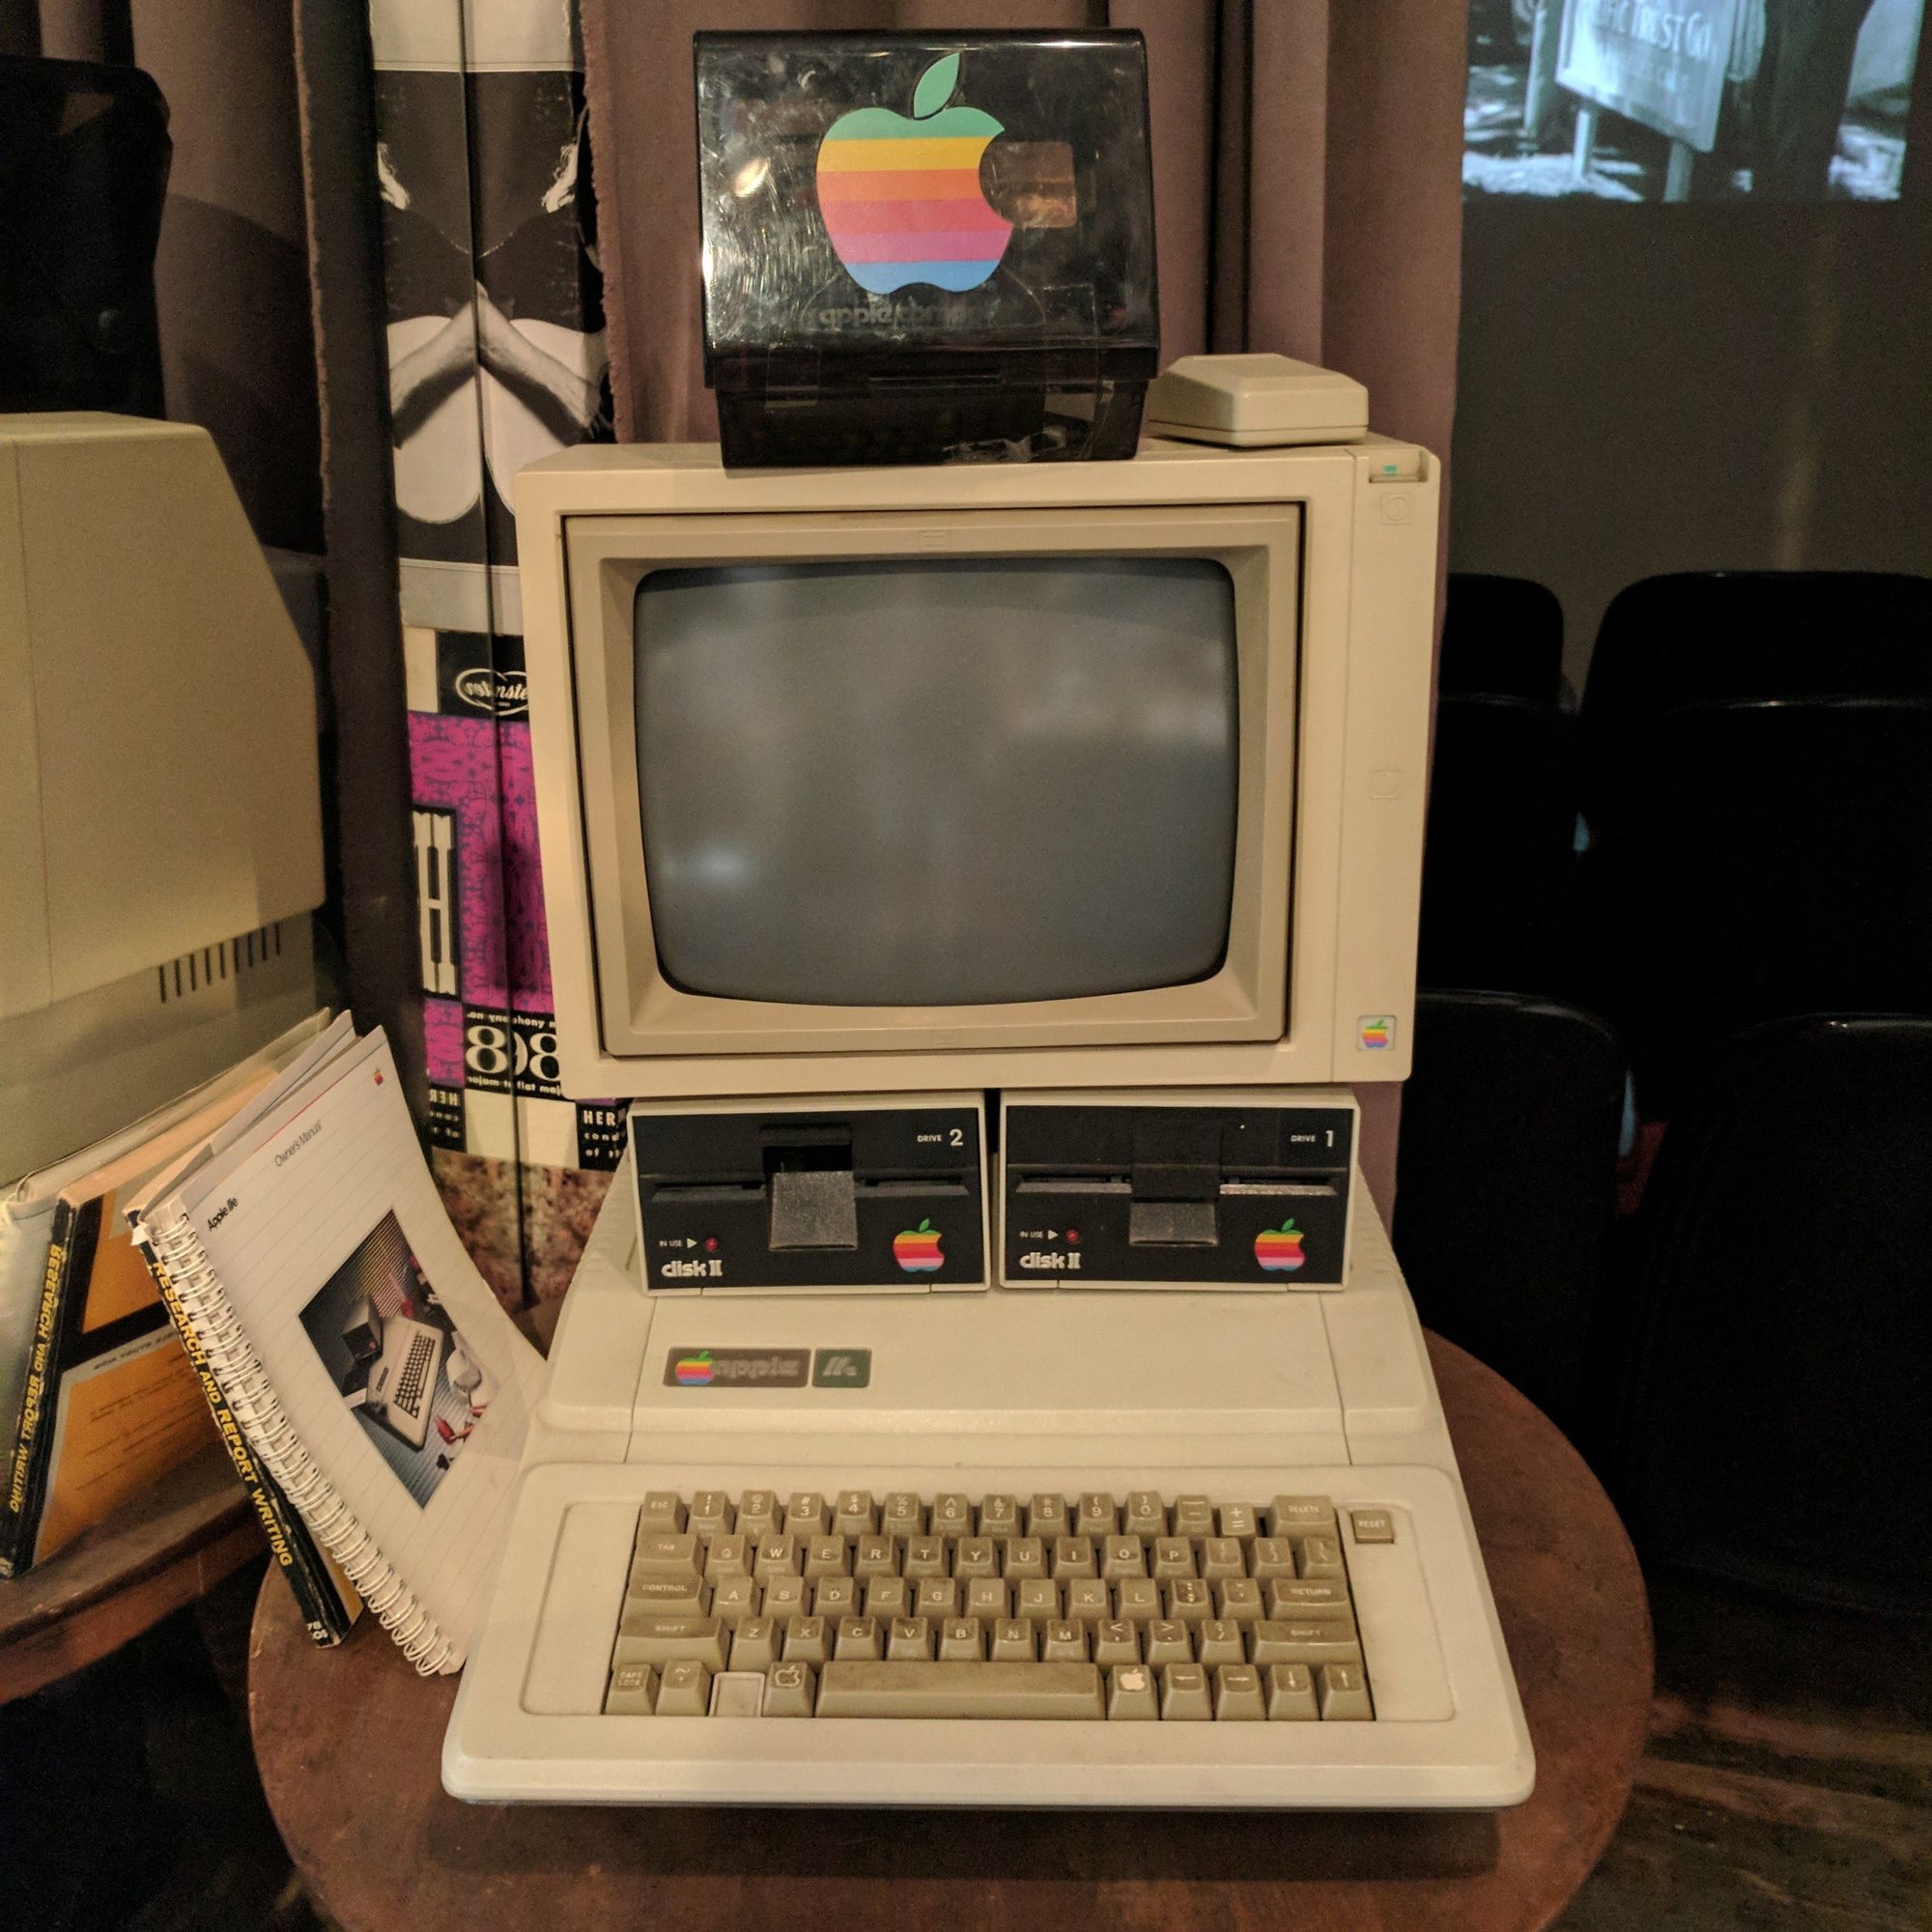
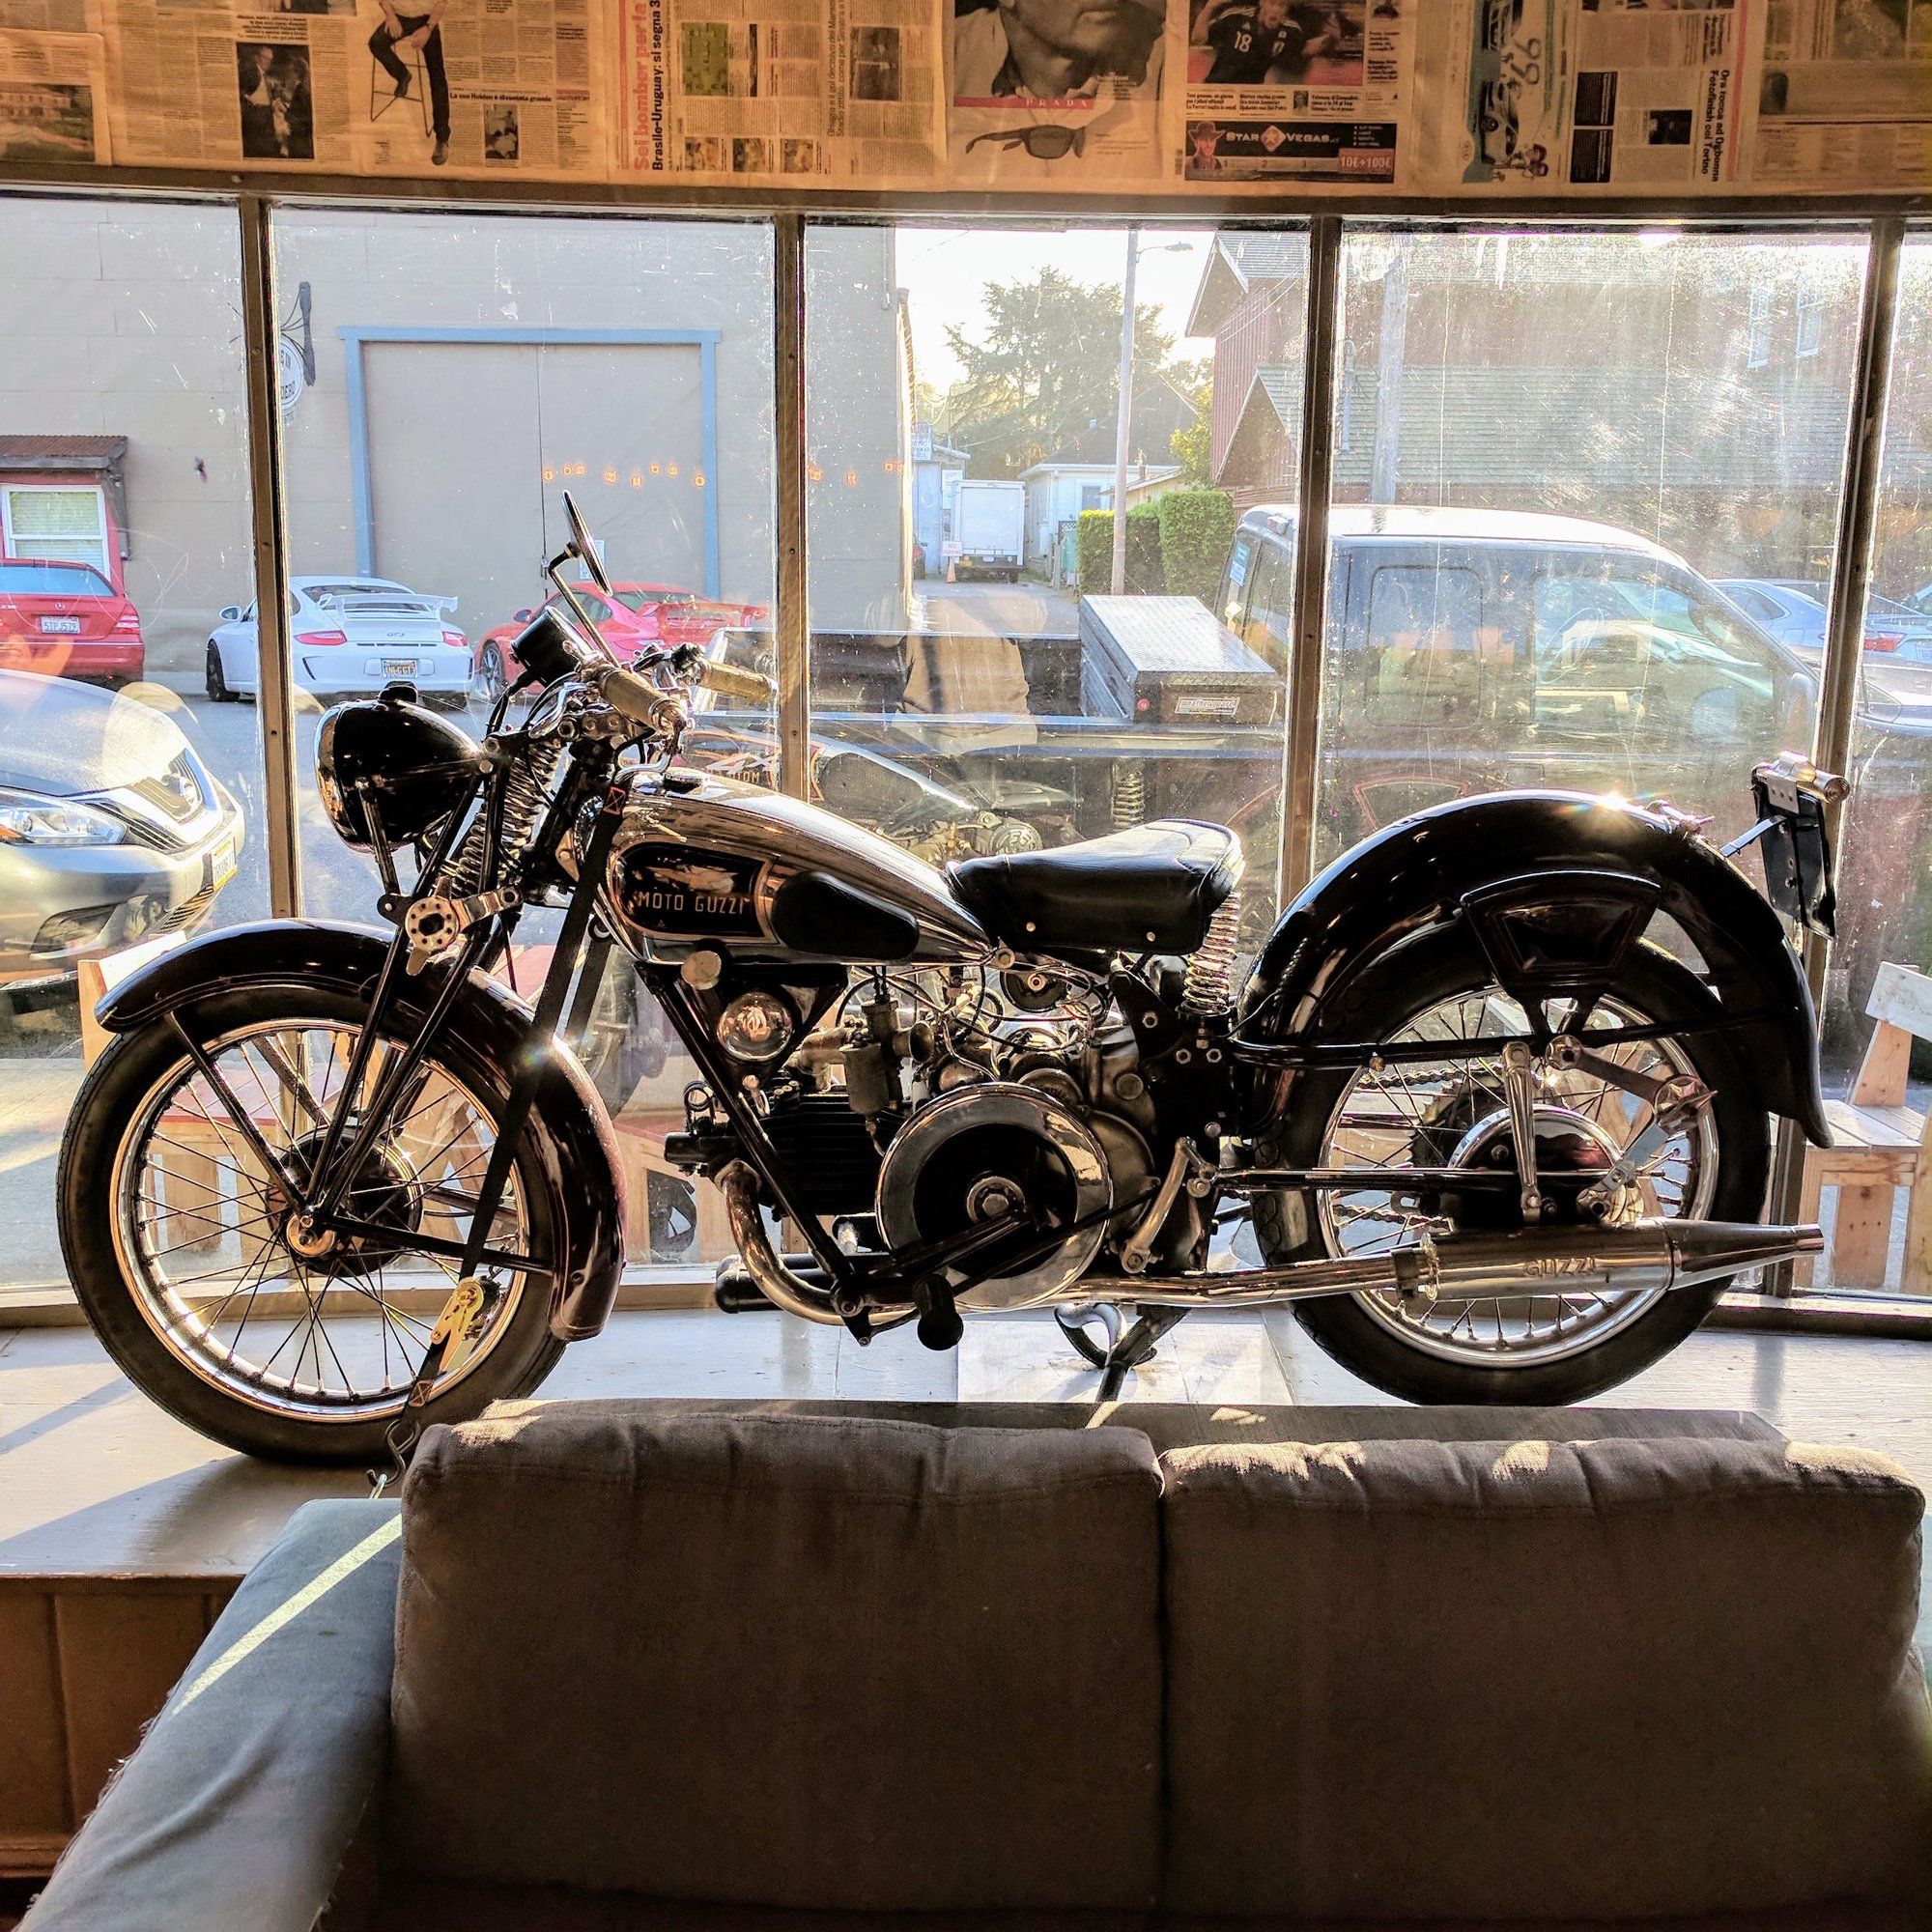
Pescadero coffee shop. Had a cool Apple and Moto Guzzi bike inside.
Apple II. I learned to program on one of these when I was in elementary school.
BTW, your pics look really great. For a first approximation, no corner balance and no alignment, the stance looks very good.
What's your ride height at currently? The numbers I sent you are right between RS and RoW so they could be a good target if that's your goal.
The fact it drives well in its current state is a very good sign. The front will feel much better once aligned. These cars are very sensitive to toe and I can guarantee that both your toe and caster are out in front and your toe is out in back. Probably not by a huge amount, but even a little bit is noticeable.
Nice job all around!
Thanks. After today, the setup felt better as I probably got used to her more. I just tape measured my fender height and they are both 25 1/2". I don't have the 1/4" recommended downslope from front to back... Hopefully I will have some time this week to do a proper MM ride height measurement so I know where I need to go. I did adjust my air pressure to 35/37 from 42/42 which the tire shop filled them to when I got my tires rebalanced and I failed to check the pressure before putting them on the day before on my initial test drive.
The only thing I noticed is some squeaky noise from the front which I am guessing is my new M030 rubber bushings getting broken in. I think you and Overboosted28 are using PU ARB bushings and silicone lube?


 09-27-2017, 09:34 PM


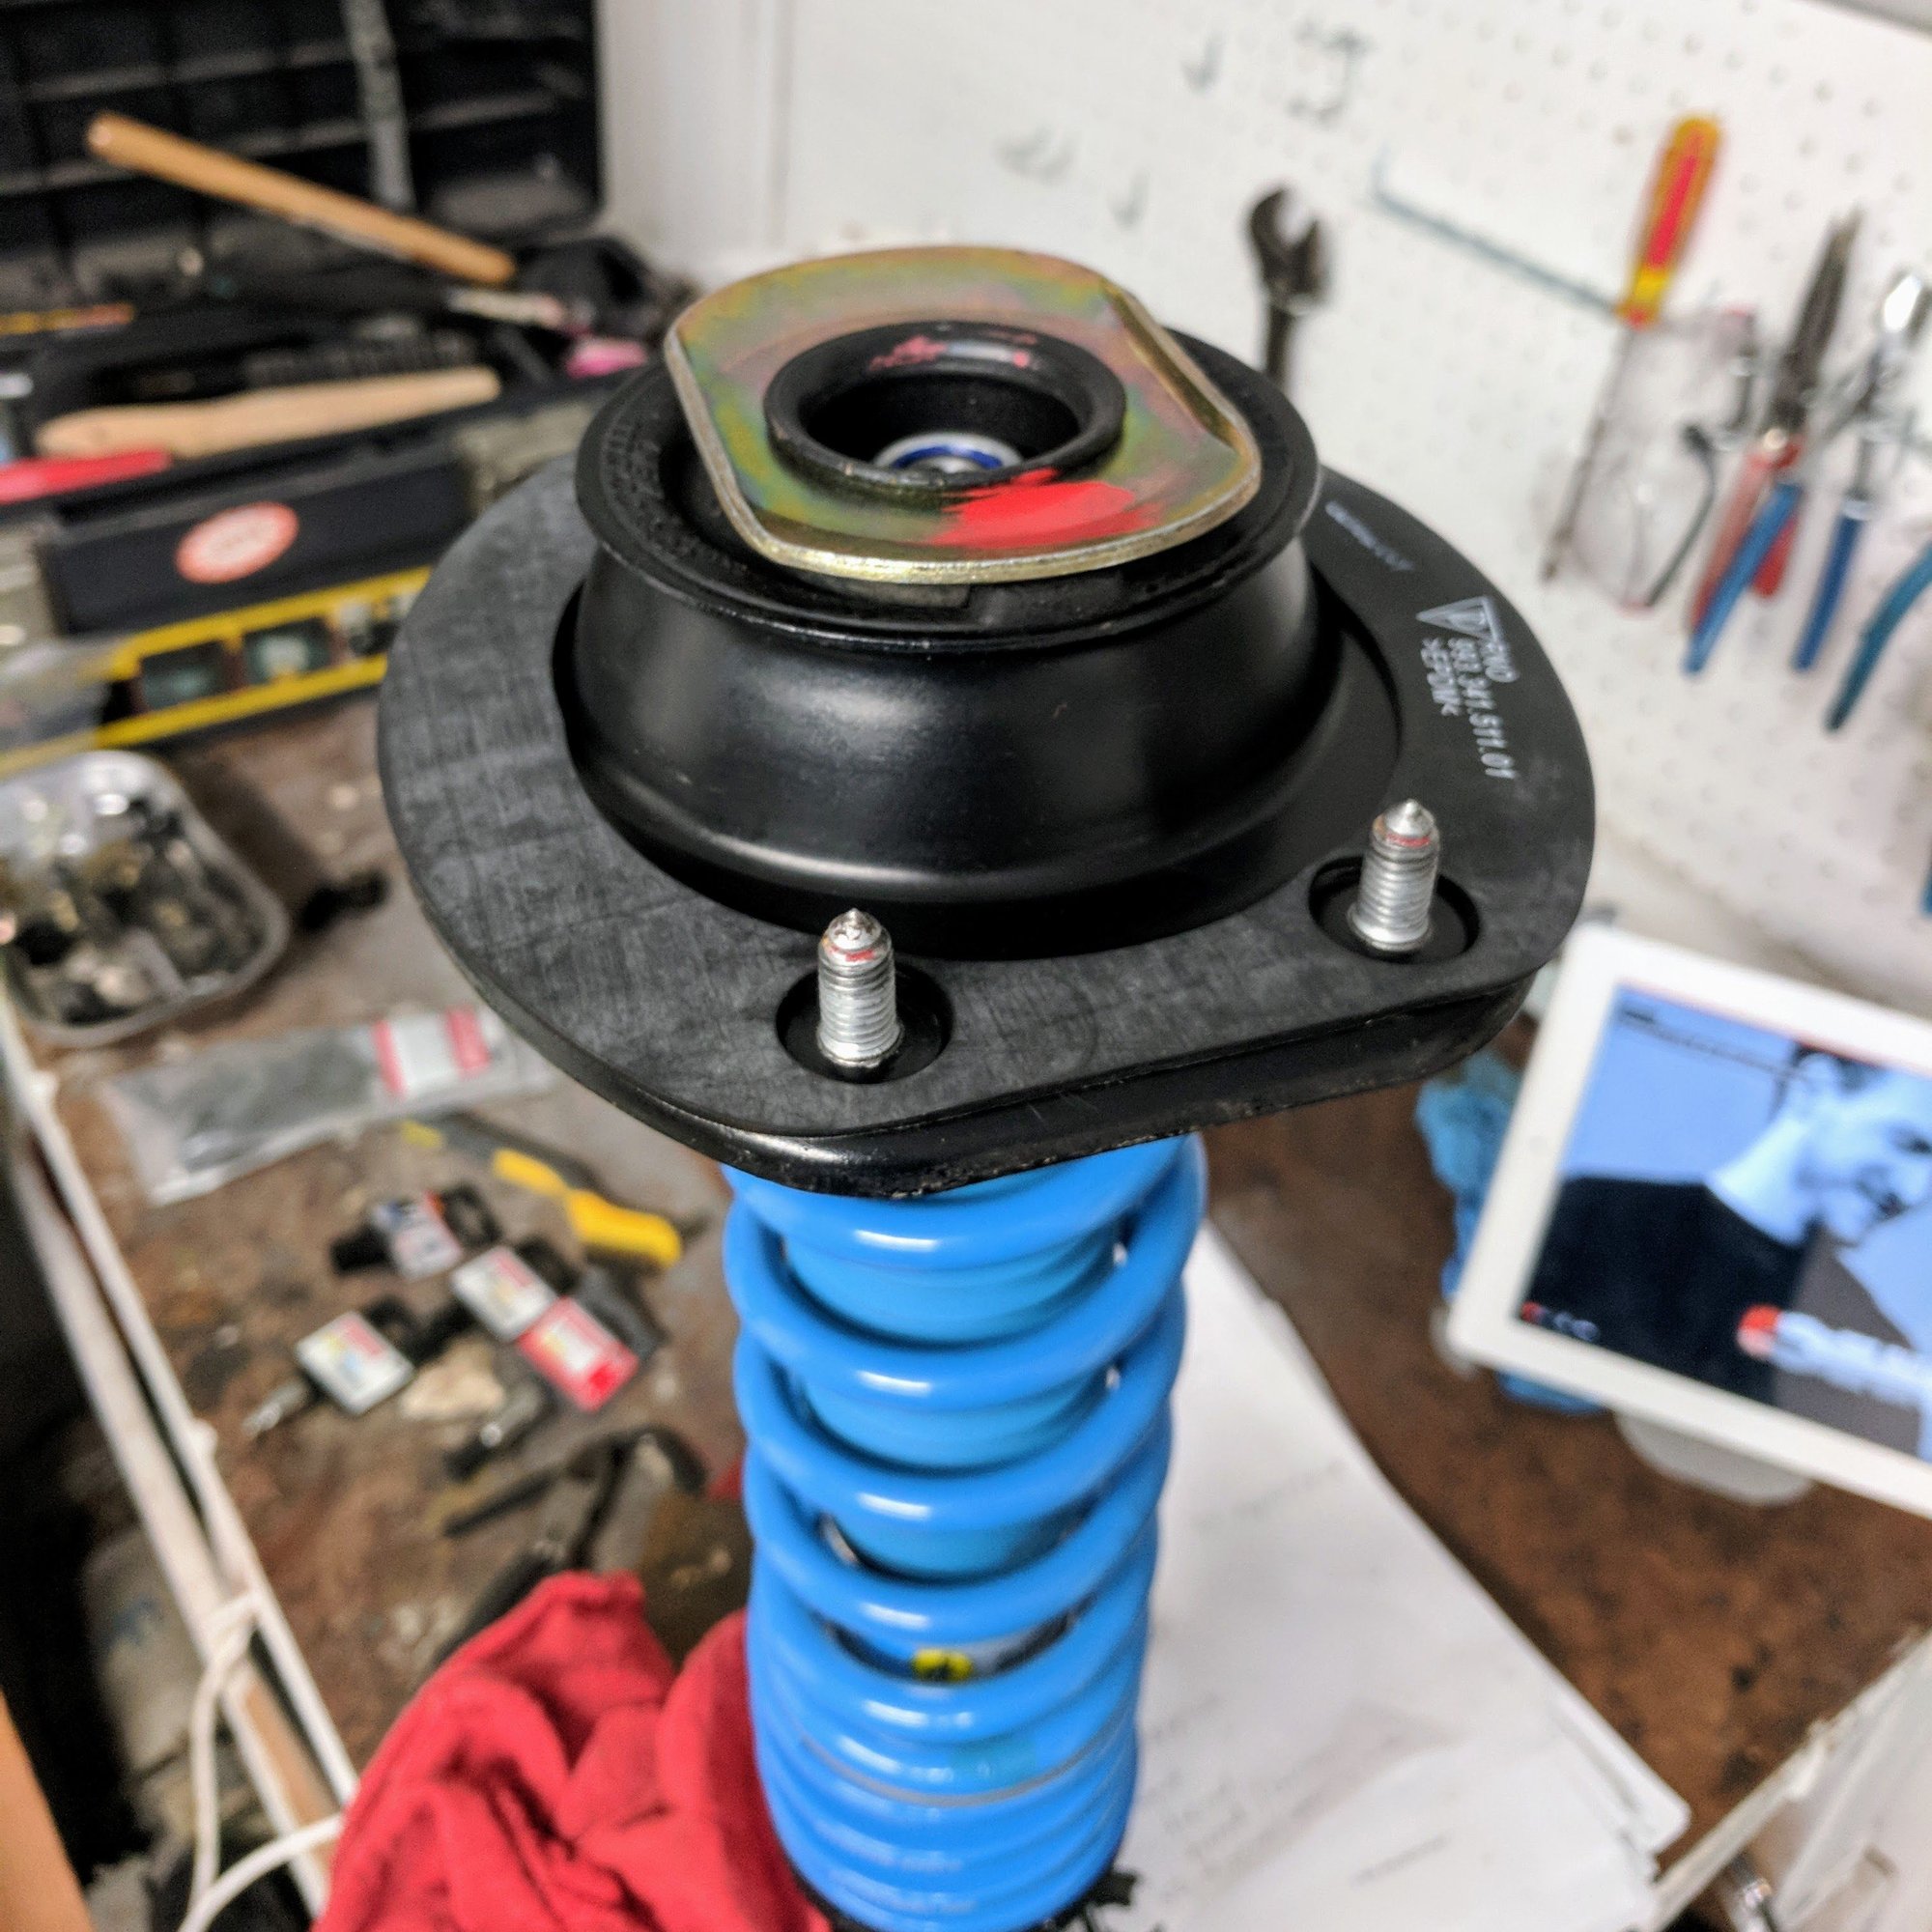


 Ready for final torquing the top hats, control arms, and ARB clamps.