When you click on links to various merchants on this site and make a purchase, this can result in this site earning a commission. Affiliate programs and affiliations include, but are not limited to, the eBay Partner Network.
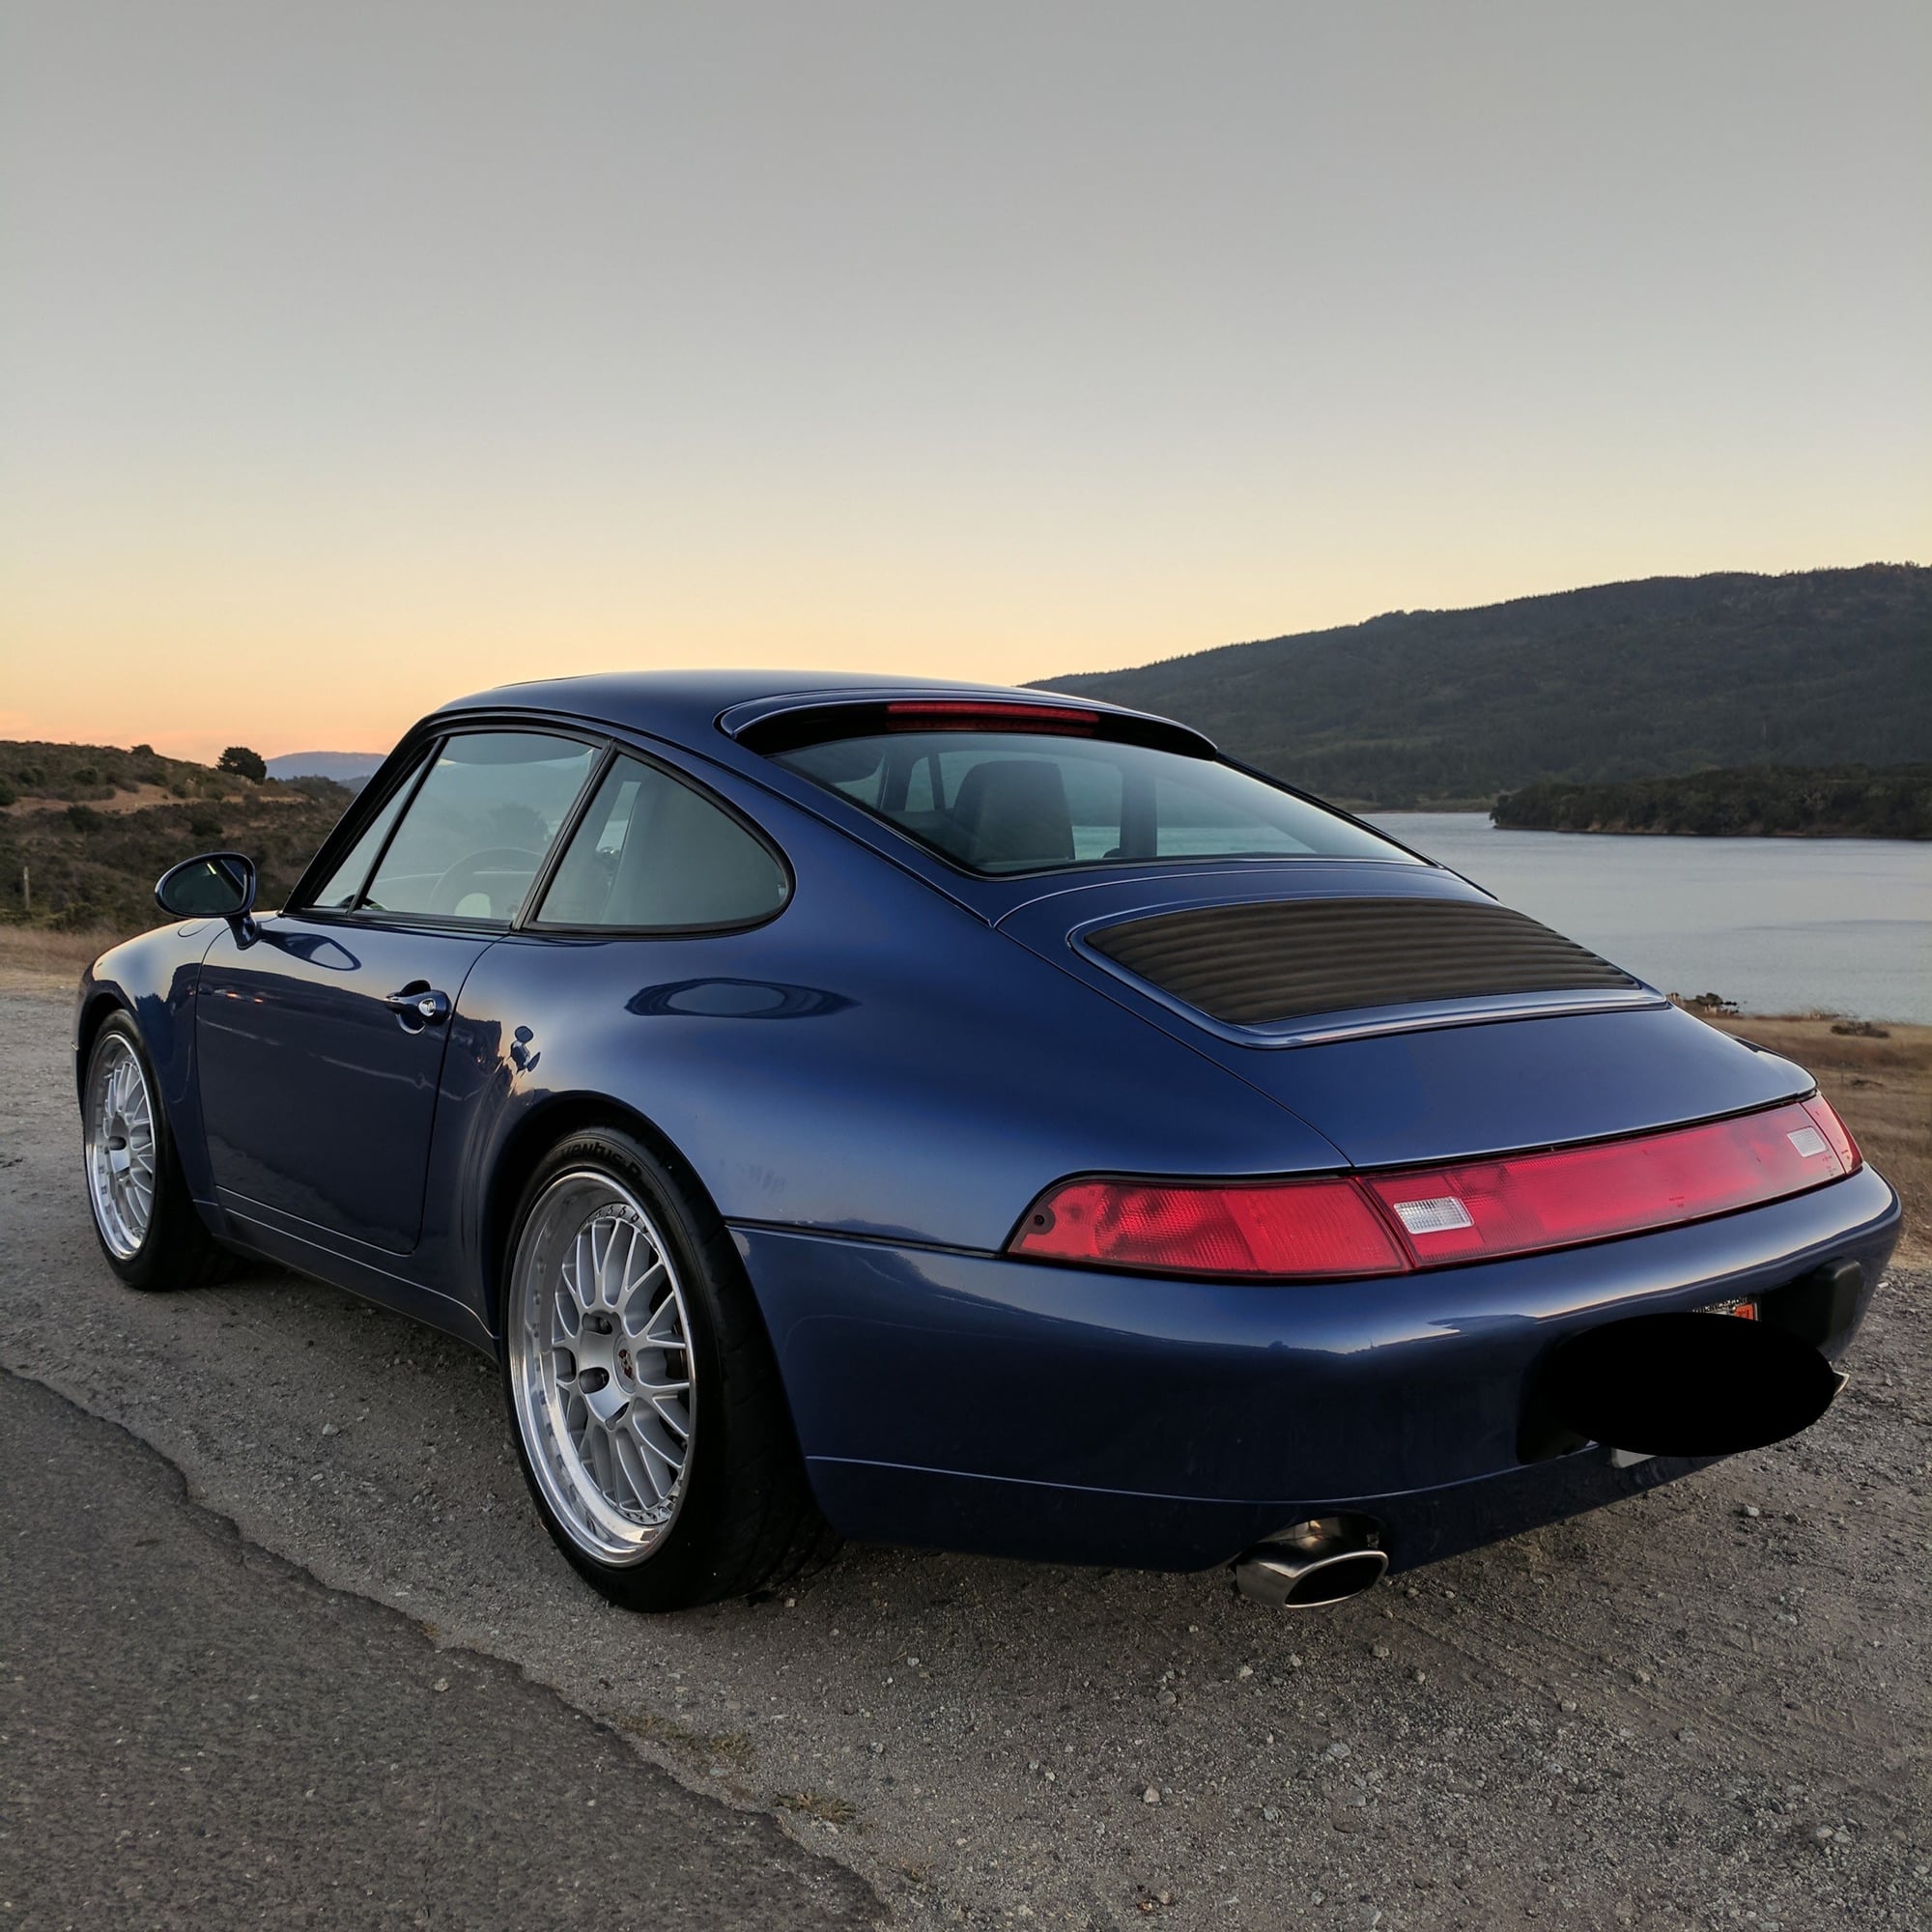
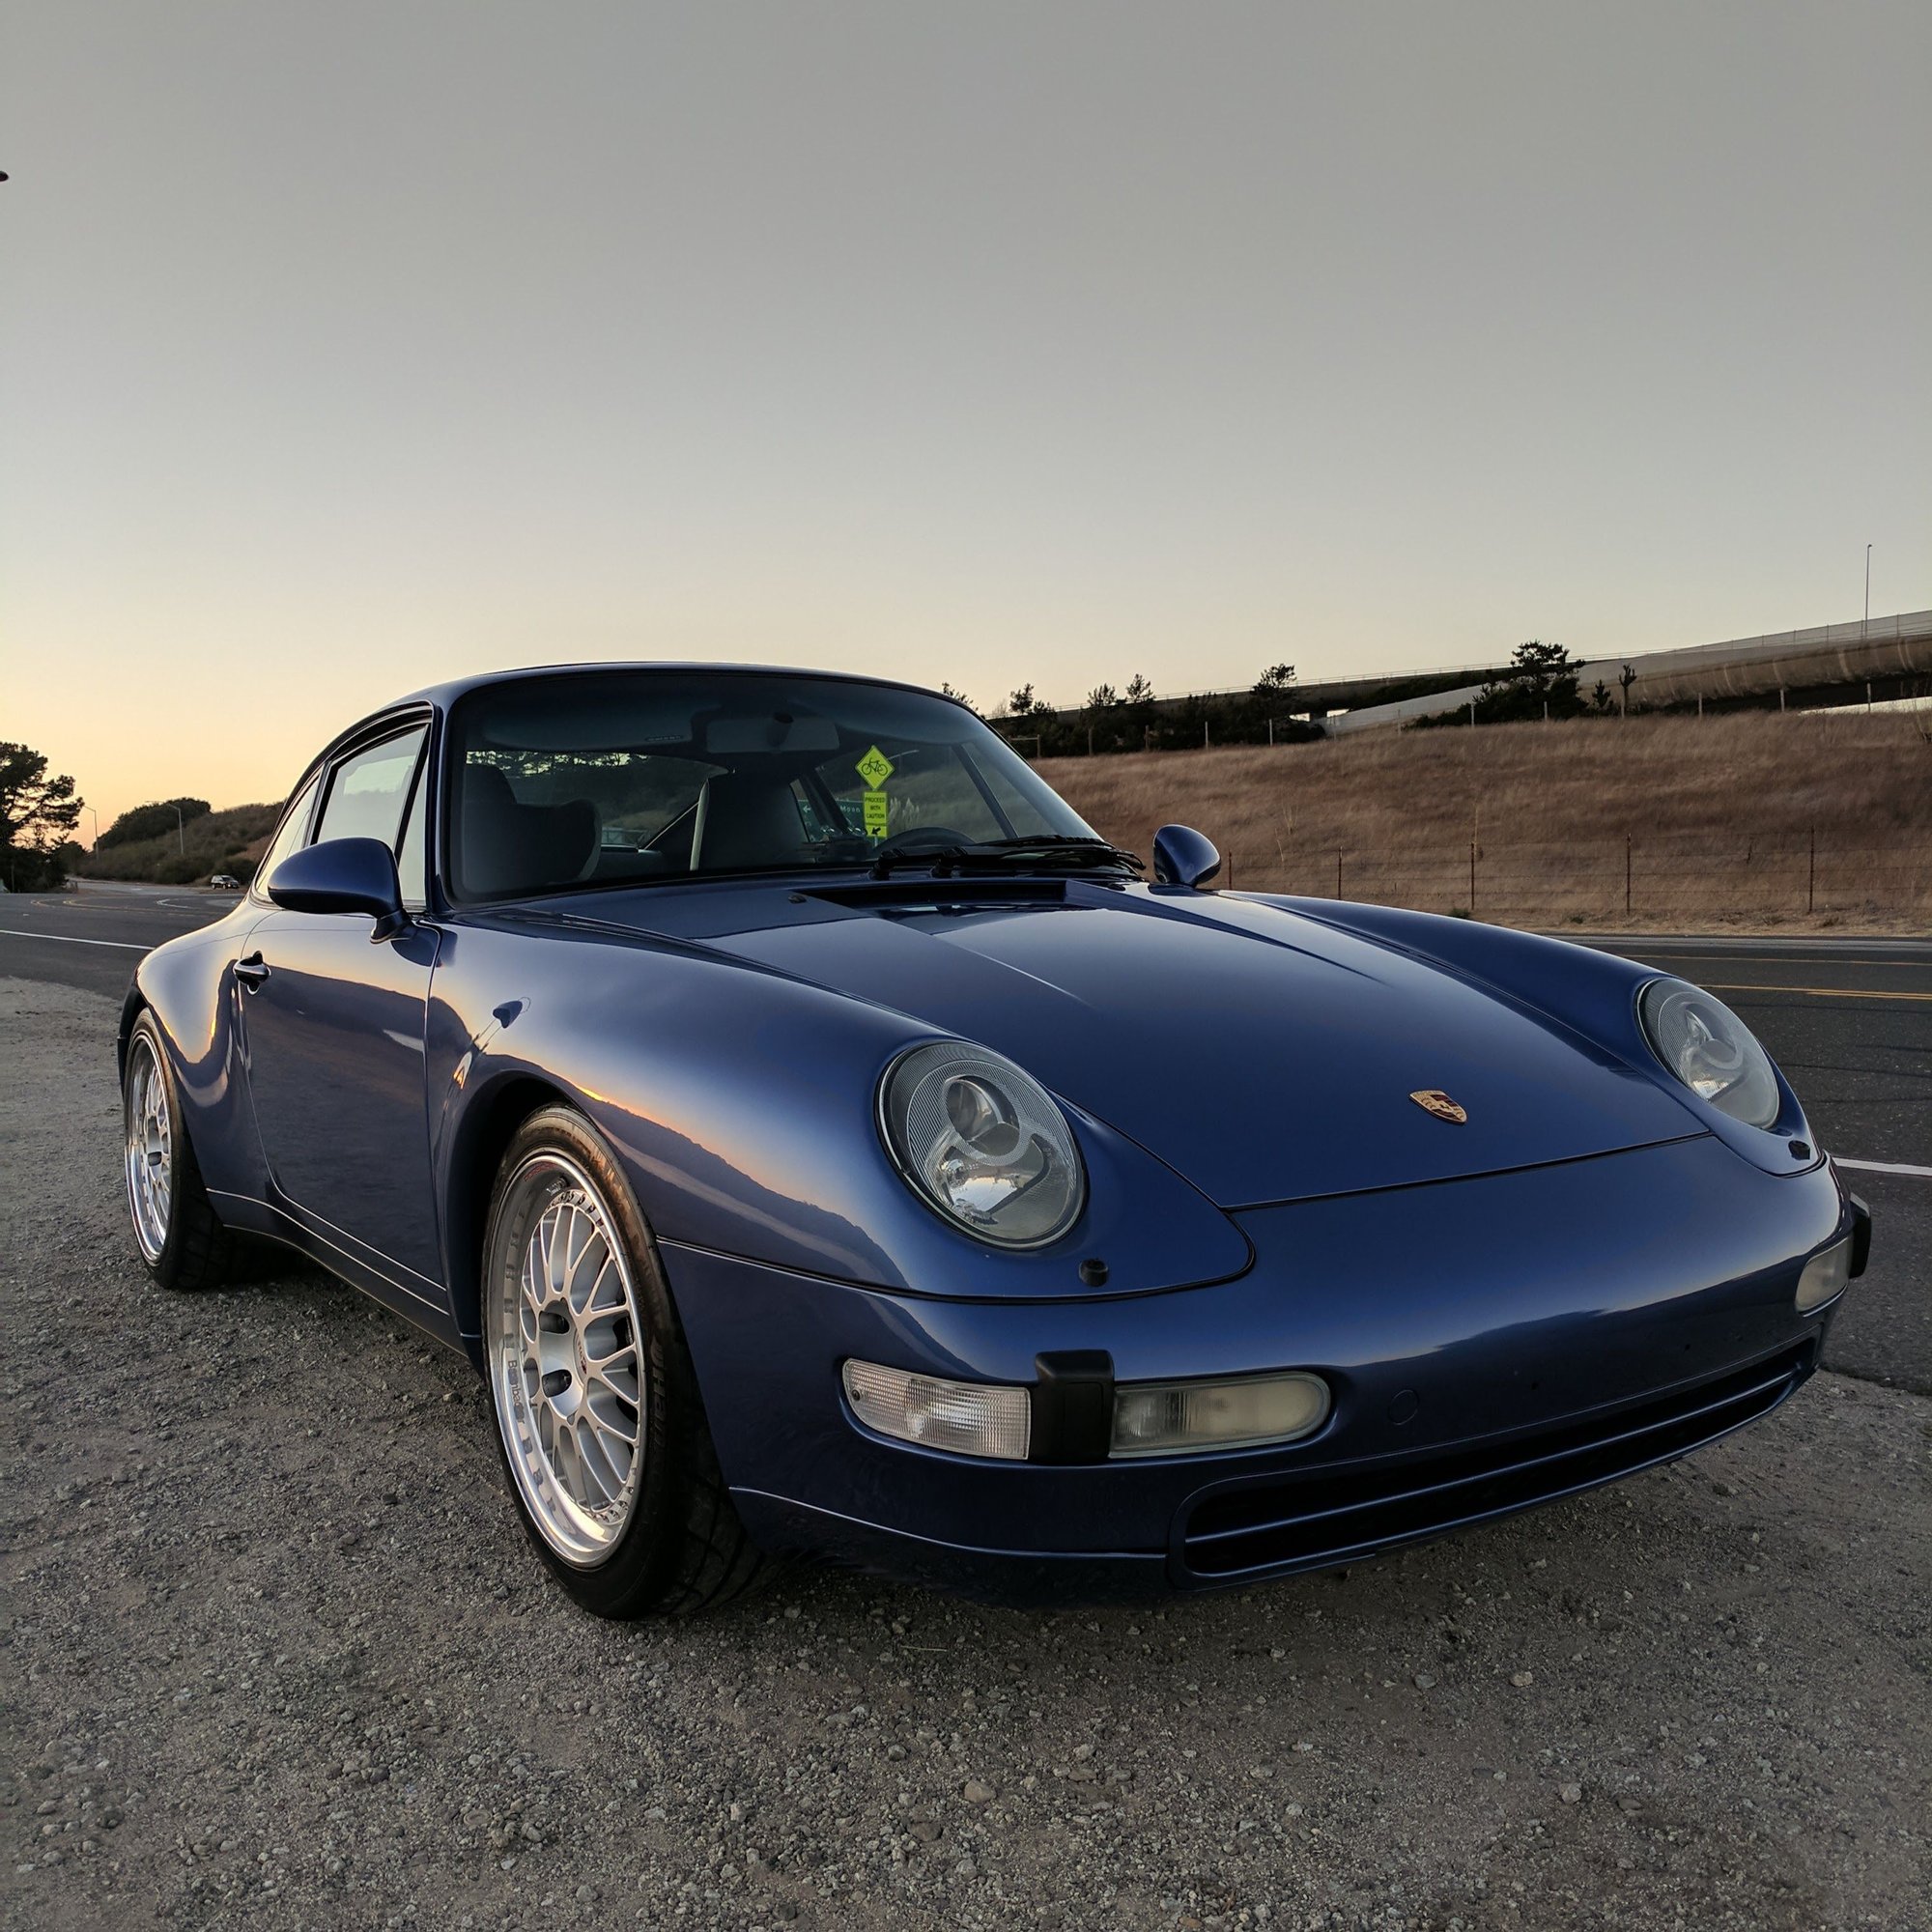
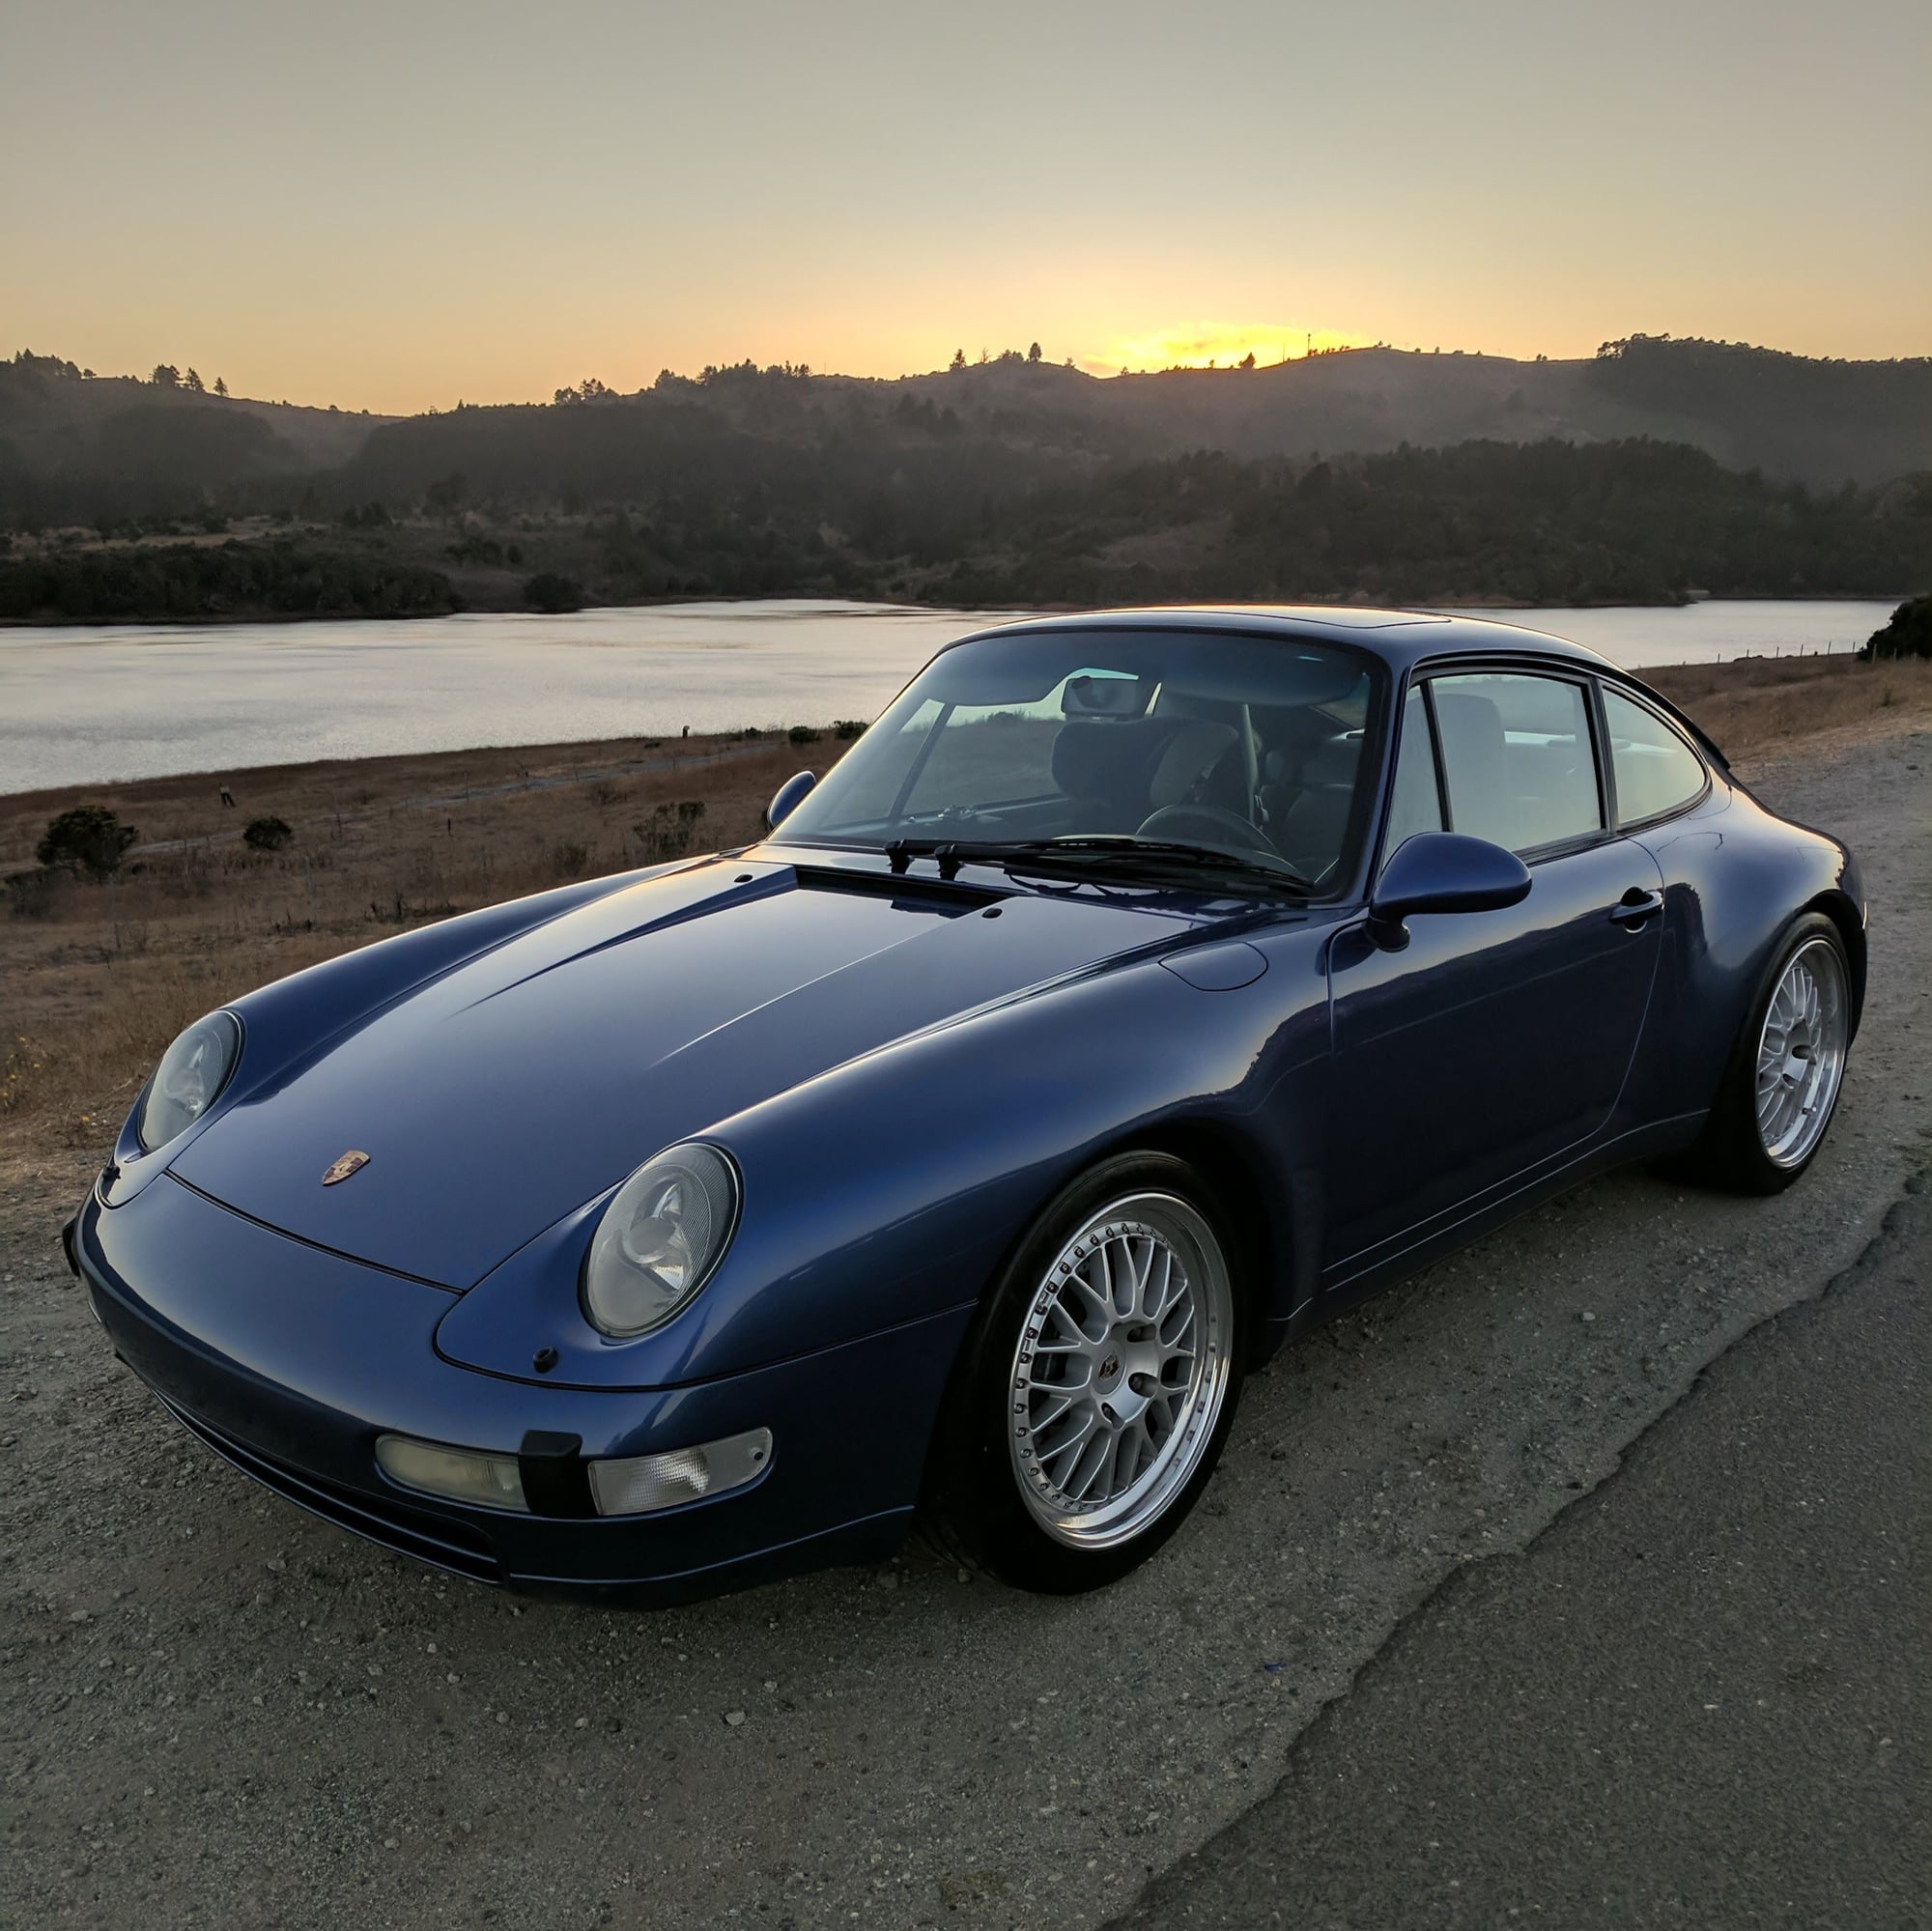
This is my upgrades, repairs, and restoration log I have done on my 97 993 Coupe.
I am an engineer, builder, and creator of things. I grew up working on 2 and 4 stroke dirt bikes and modded my cars when I was younger and had time. I have rebuilt a few engines, so not afraid of wrenching. Back then all I had was shop manuals. How different it is now with great boards like this help us amateur hacks to get dirty jobs done.
2018
Sept 27: Added pics from Elephant bushing install, strut and arb removal
Oct 2: Added pics from PSS9 front strut, front control arm, and M030 ARB install
Oct 7: Added pics from PSS9 rear strut and toe control arm install
Oct 8: Added pics from Canonball Coffee Run
Nov 22: Added pics from PS belt install
Nov 23: Added pics from PS reservoir replacement and PS fluid flush
Jan 9: Added pics from Rear Suspension Overhaul, Tie Rods, Motor Mounts, Cosmoline Clean Up
April 9: Added pics from head unit and component speaker install
May 18: Added pics from clock spring repair/install 2019
March 4: Added pics from spark plug wire replacement
March 18: Added pics from clutch master and slave cylinder replacement
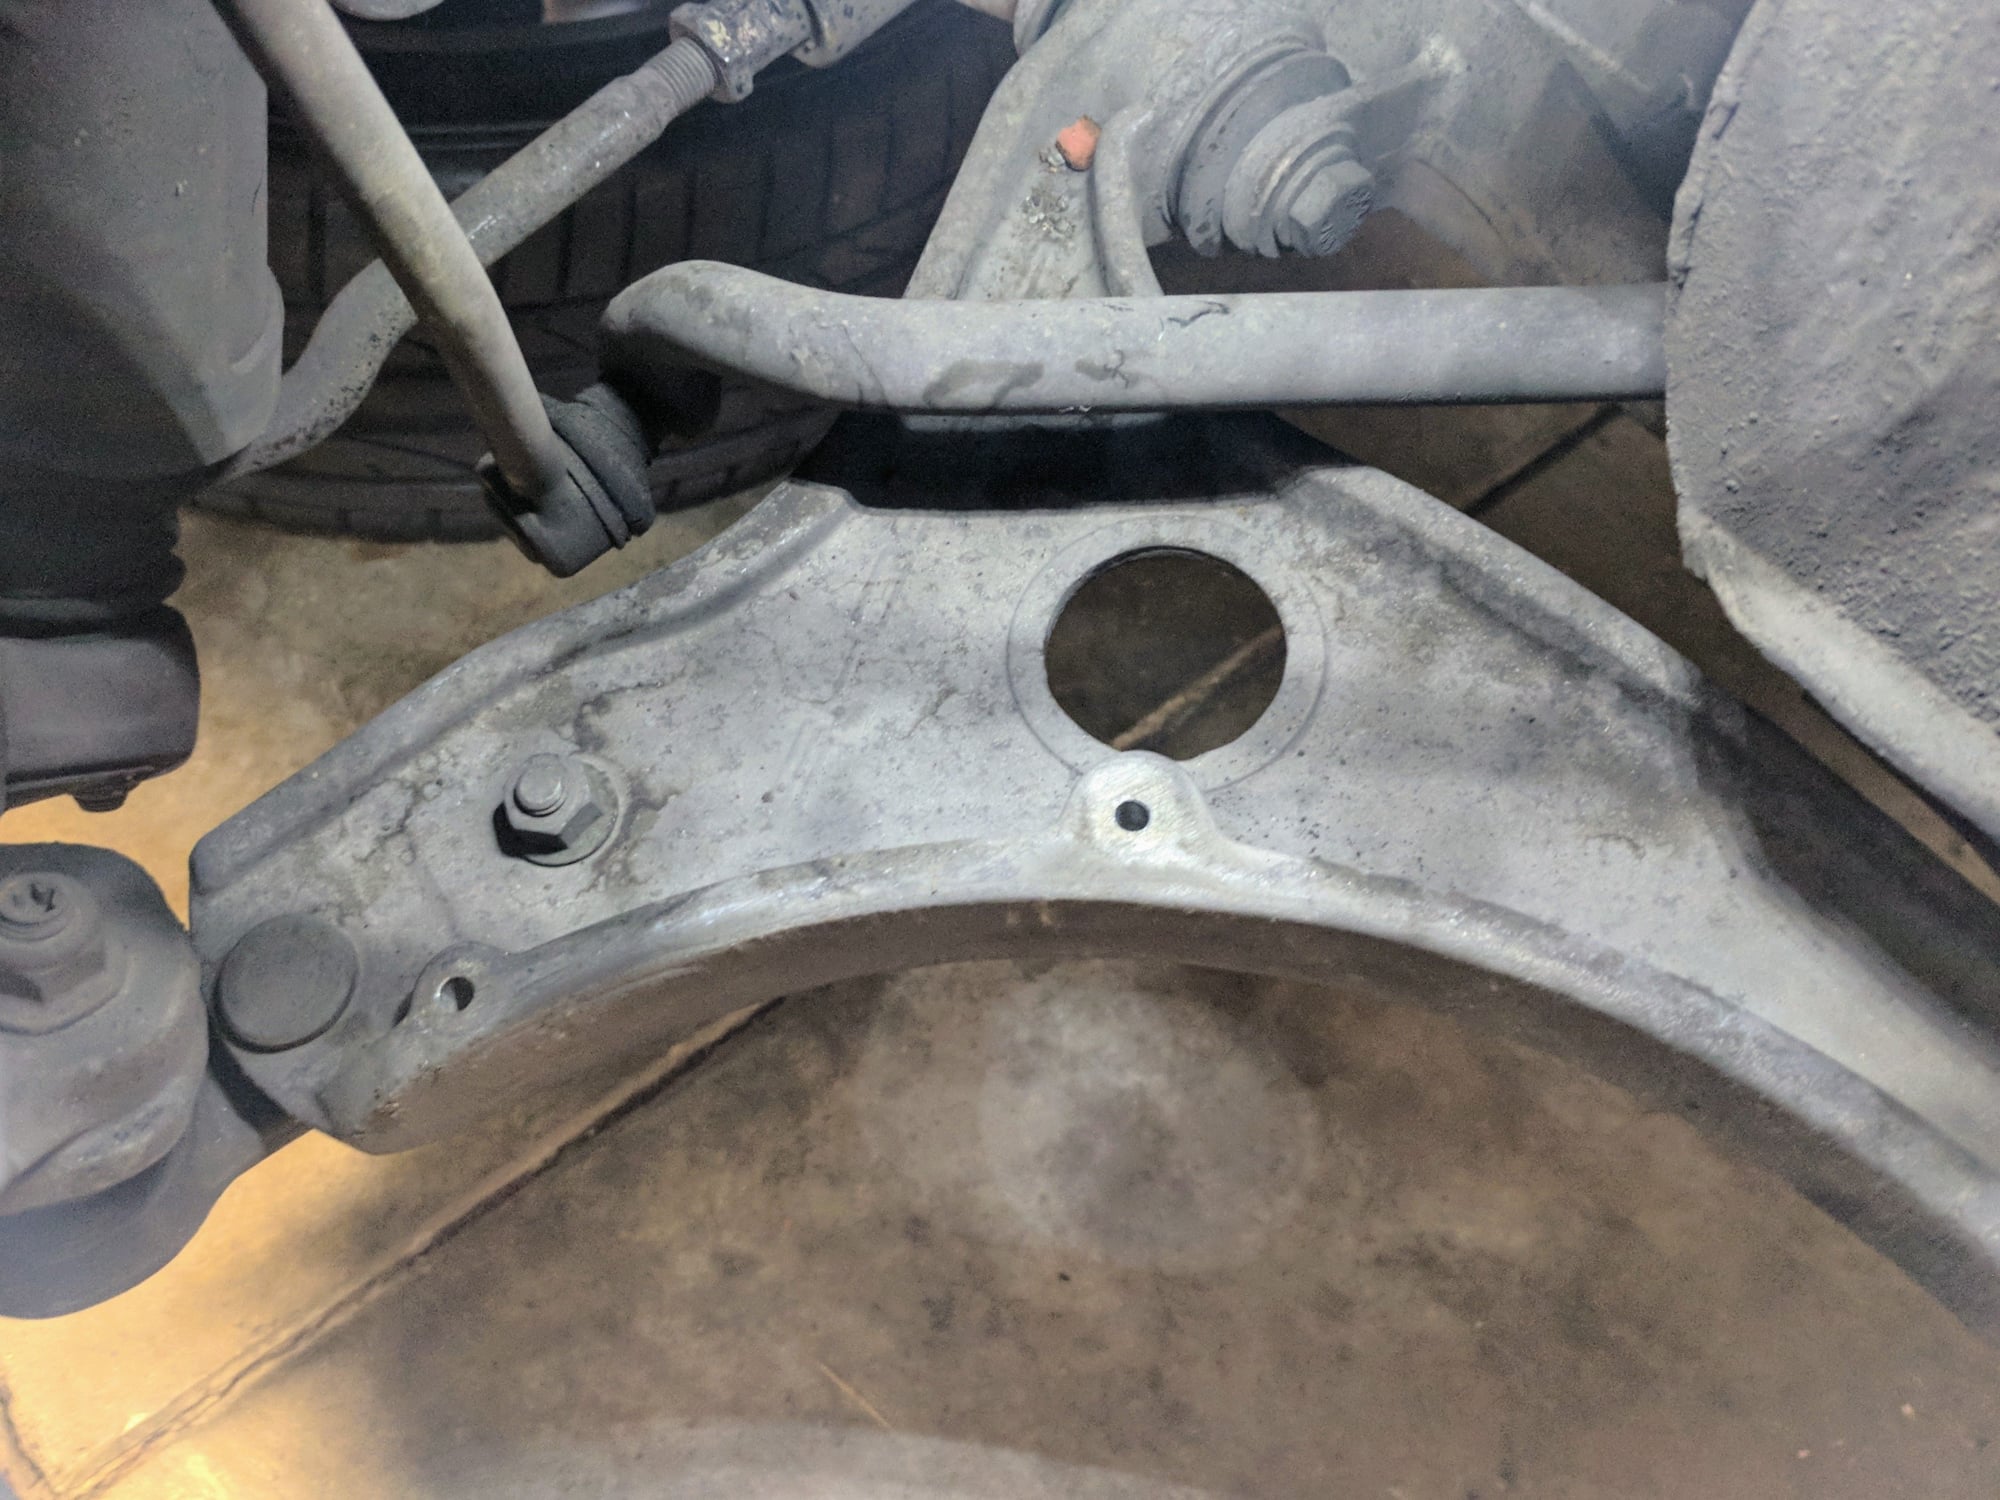
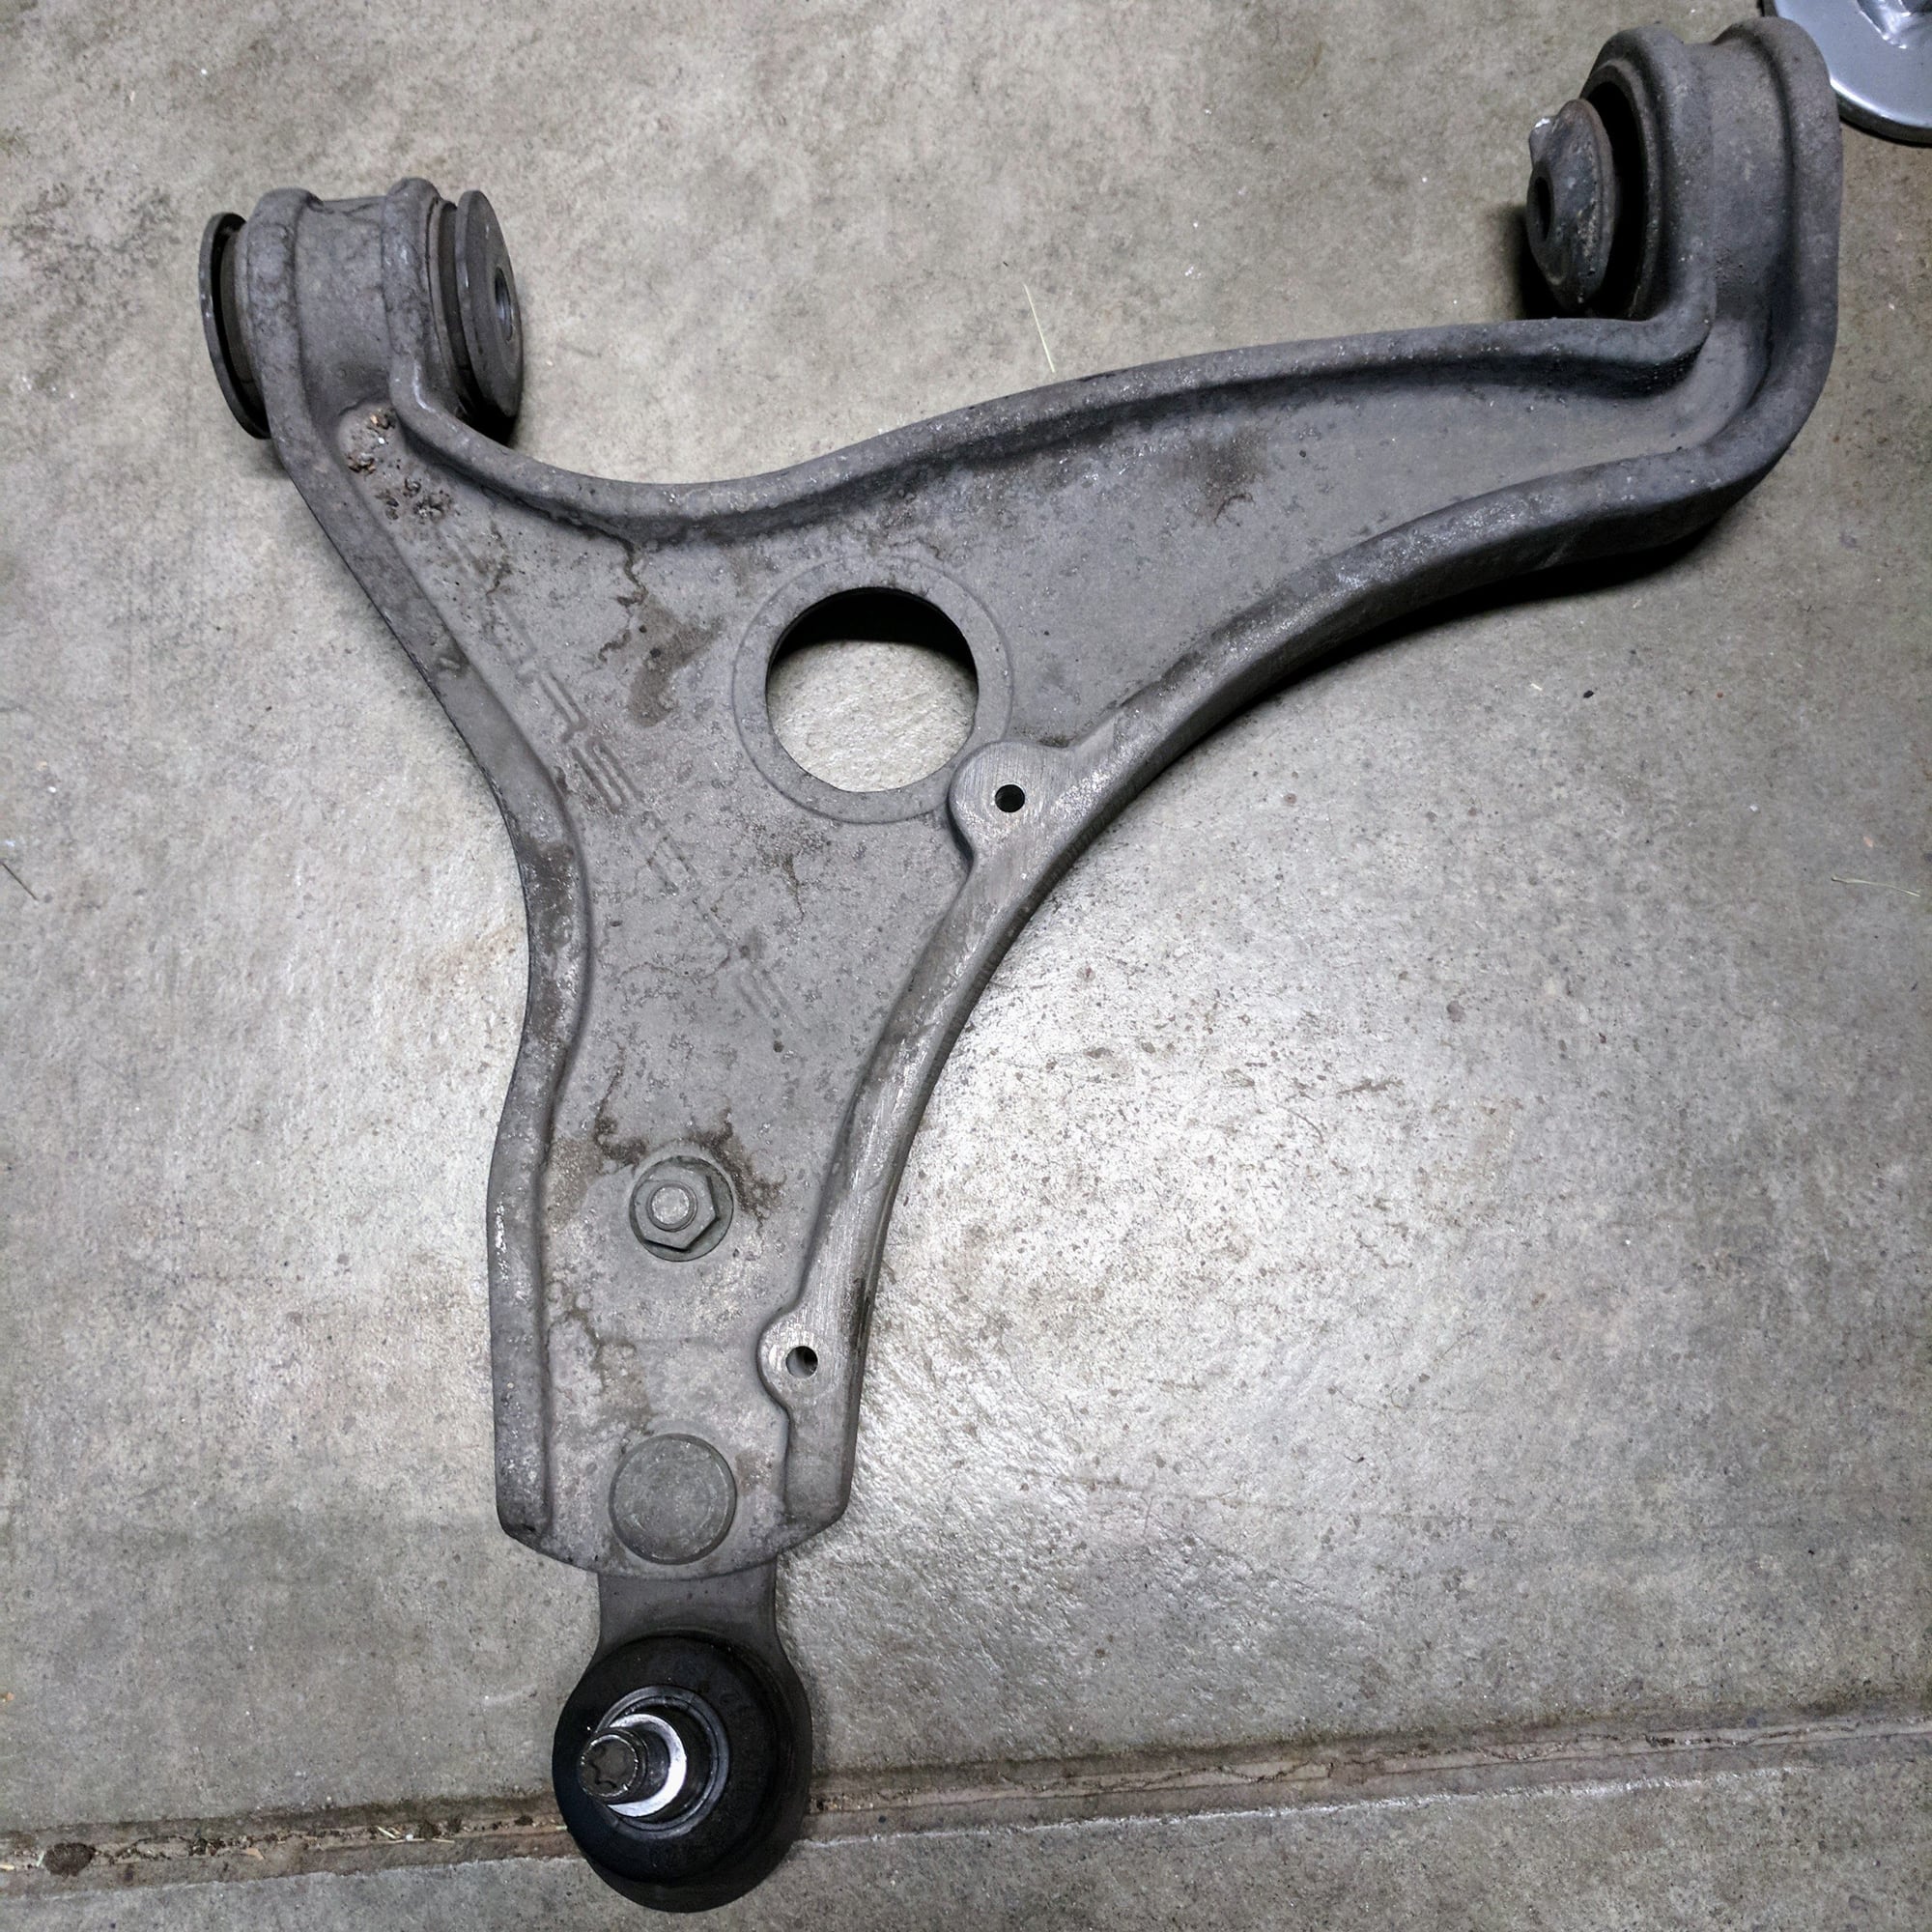
I started with repairing my control arm bushings with a the install of a new set as I had an annoying 50mph shimmy that got pretty old after a few days driving her on my commute to work.
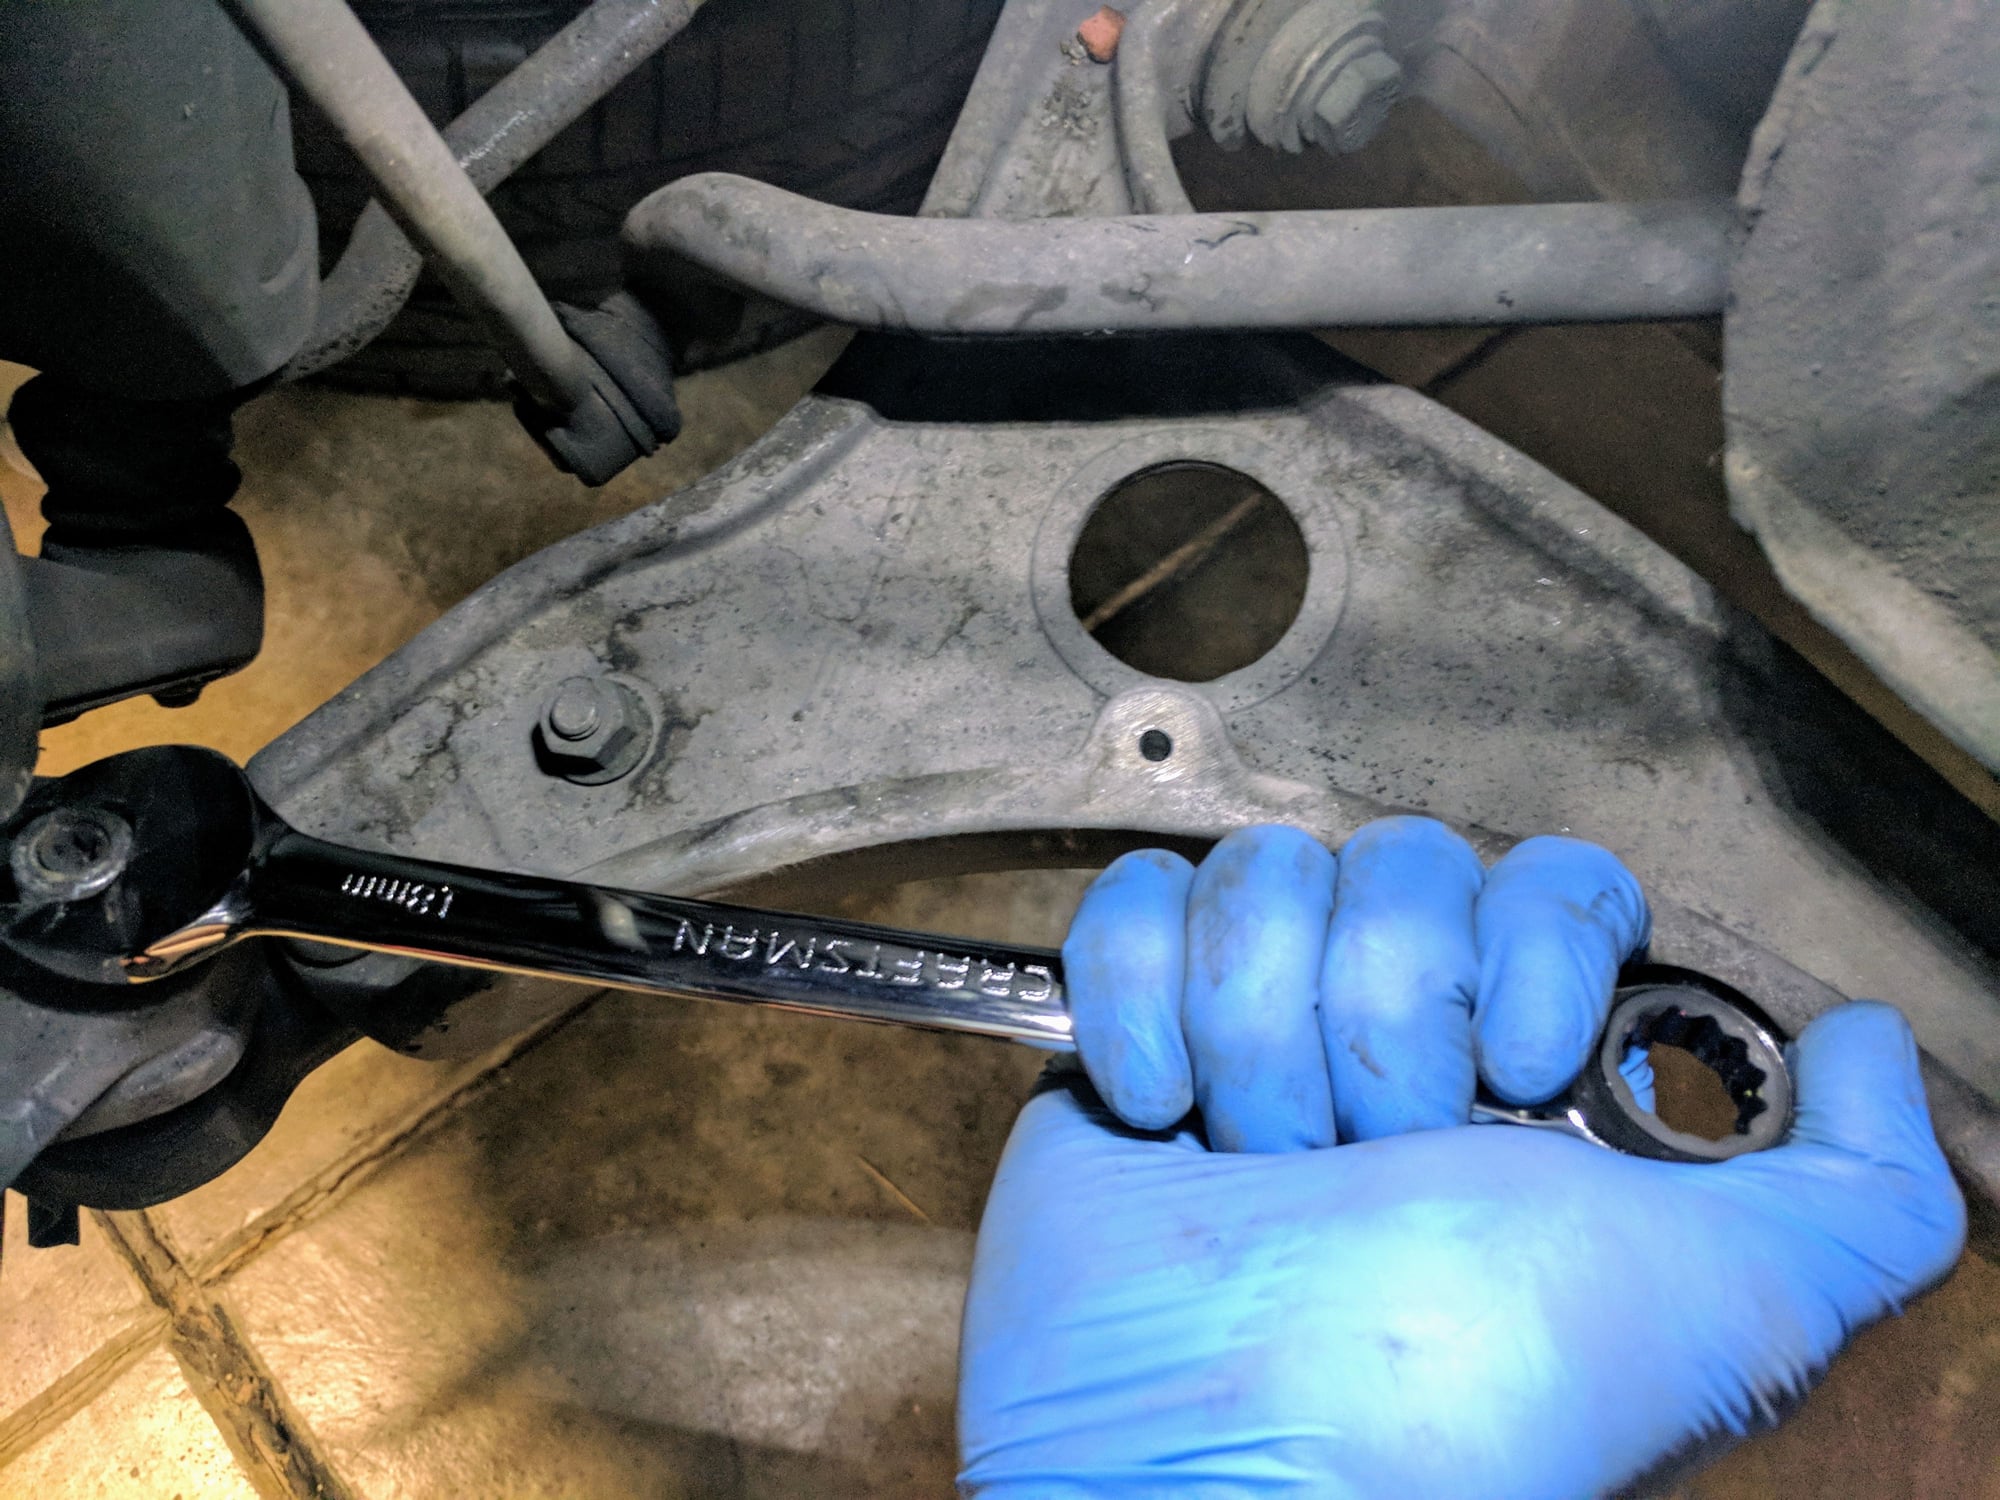
Tools needed to remove the control arm
19MM socket
19MM wrench
18MM socket
18MM wrench
10MM socket
10MM wrench
Breaker bar or a 1/2" ratchet Ball joint separator
Procedure:
1. Turn your steering rack so you can get easier access to the front of the control arm
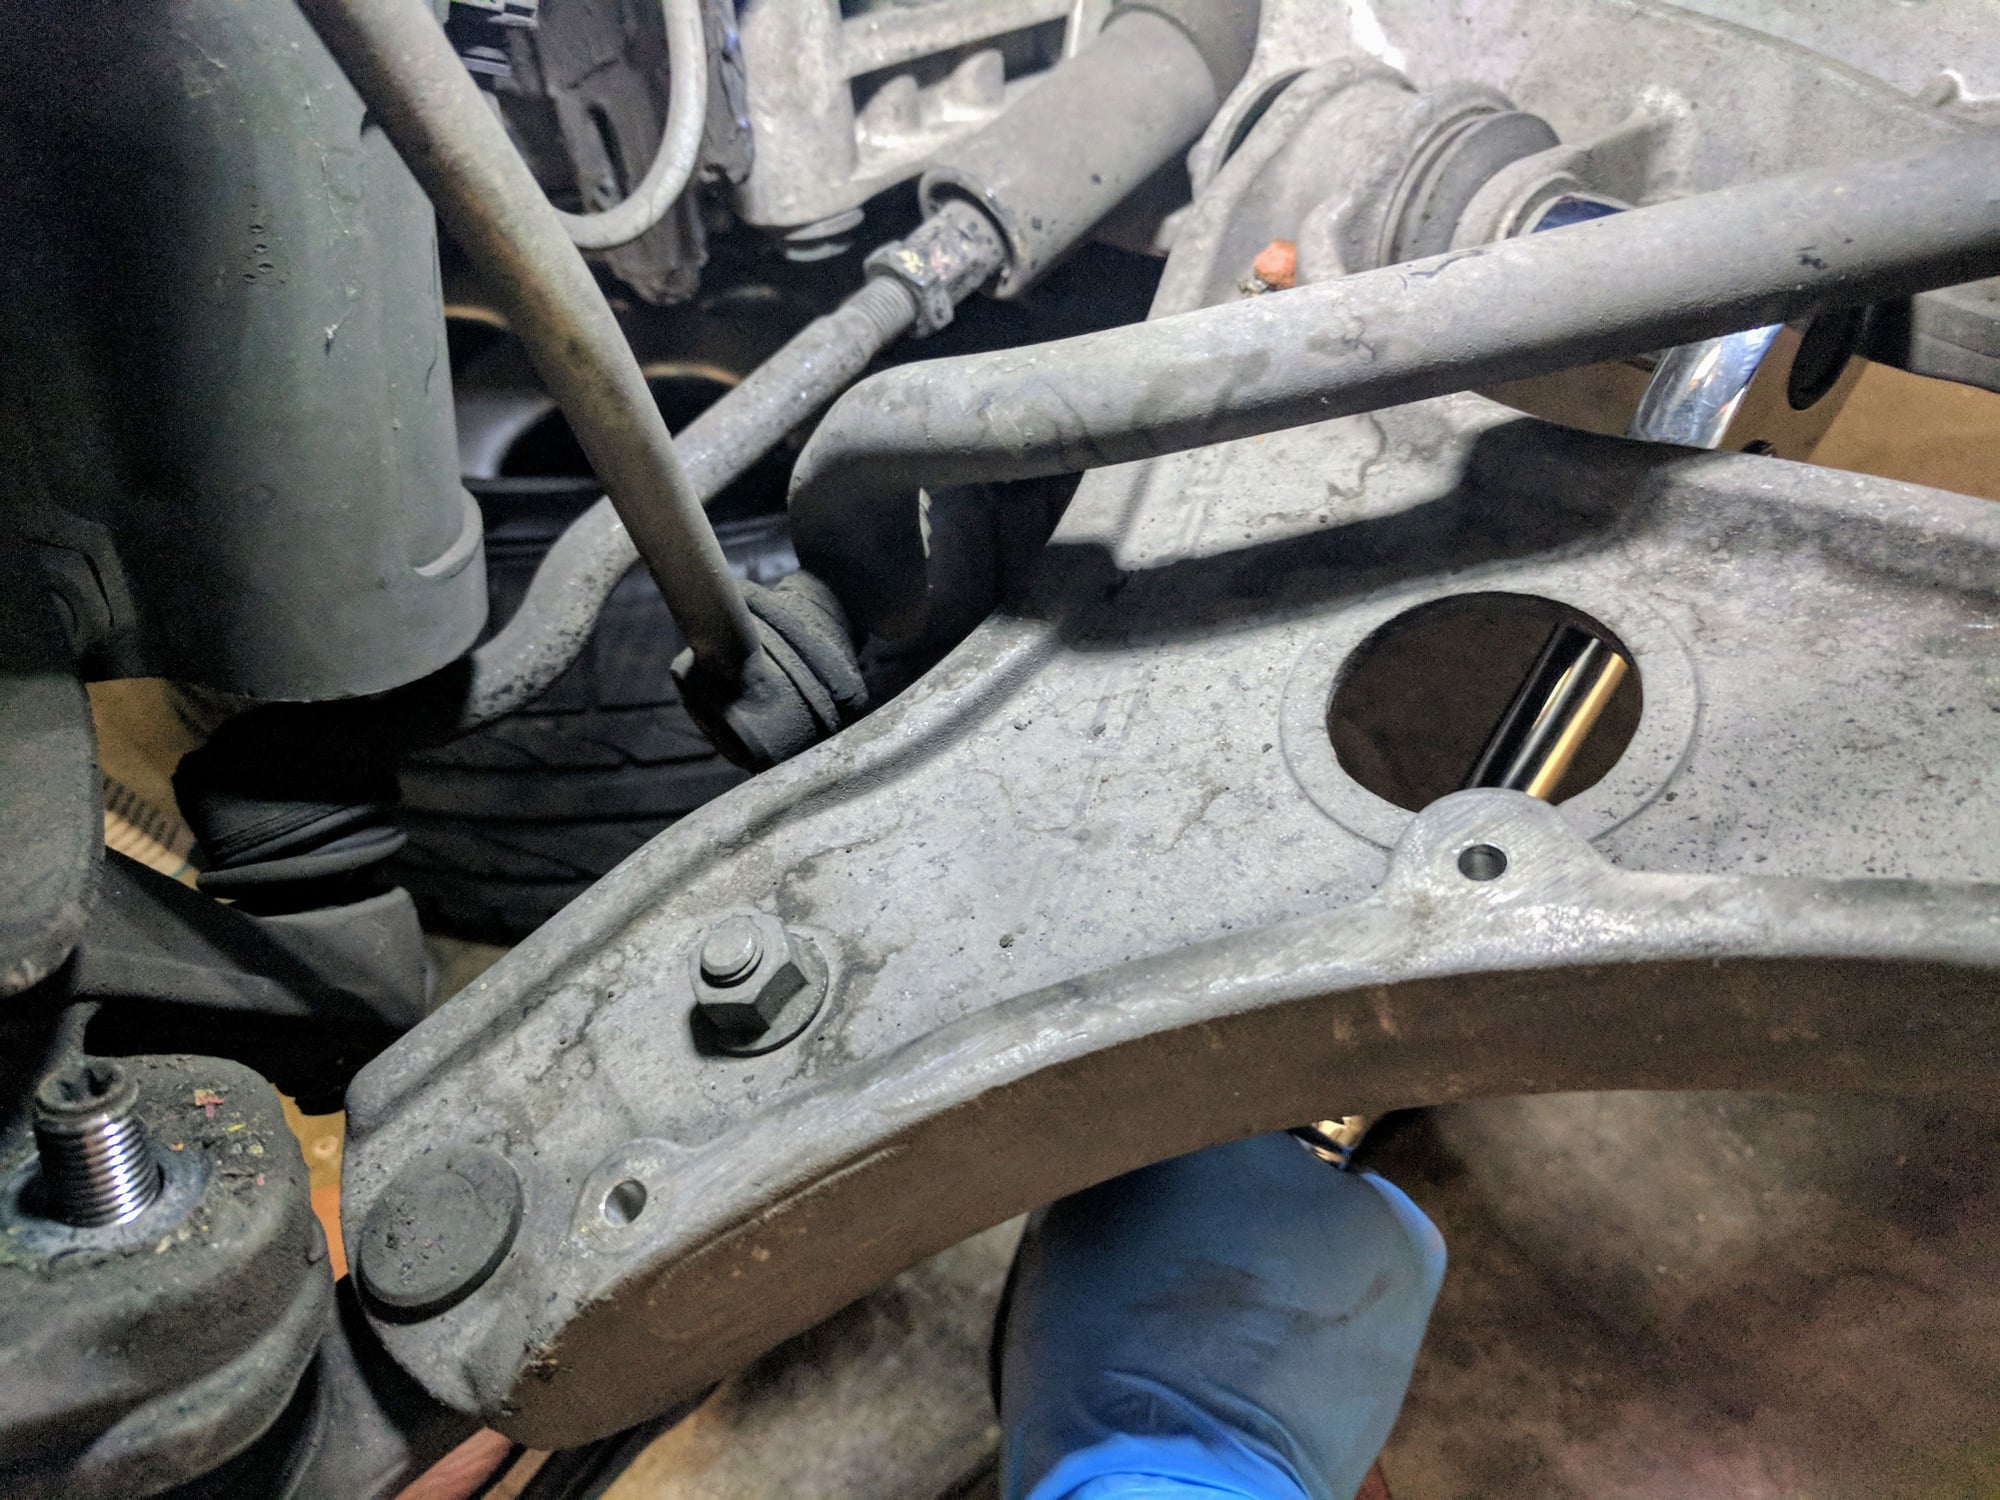
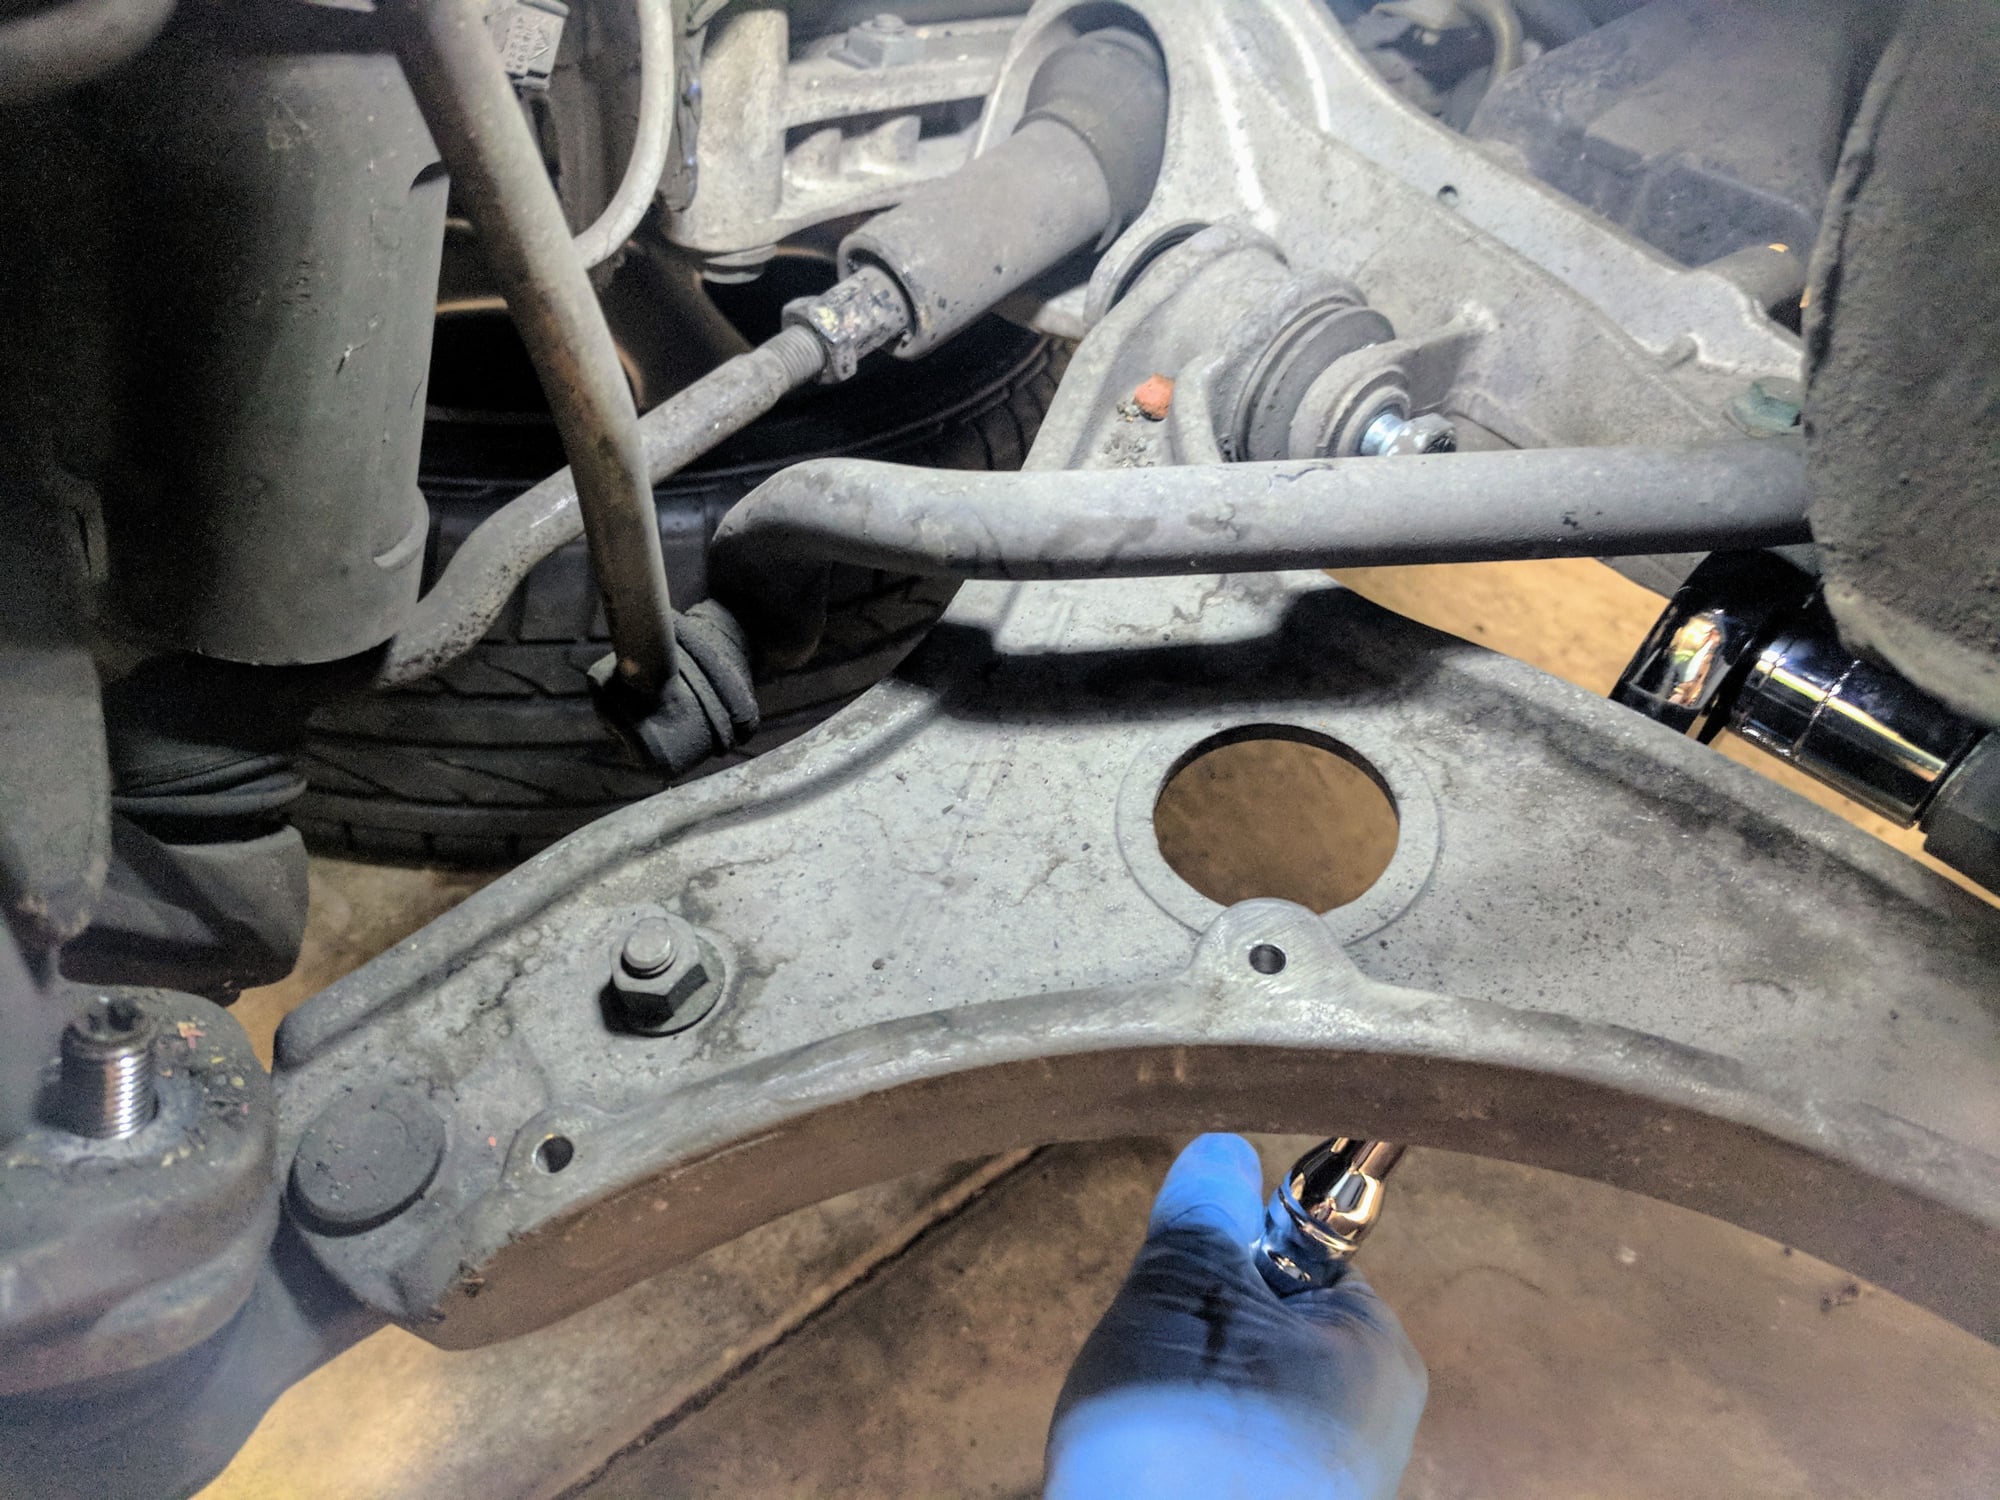
2. Remove the plastic air deflector attached to the control arm with a 10MM socket and wrench
3. Remove the nut that attaches the knuckle to the control arm with a 18MM wrench
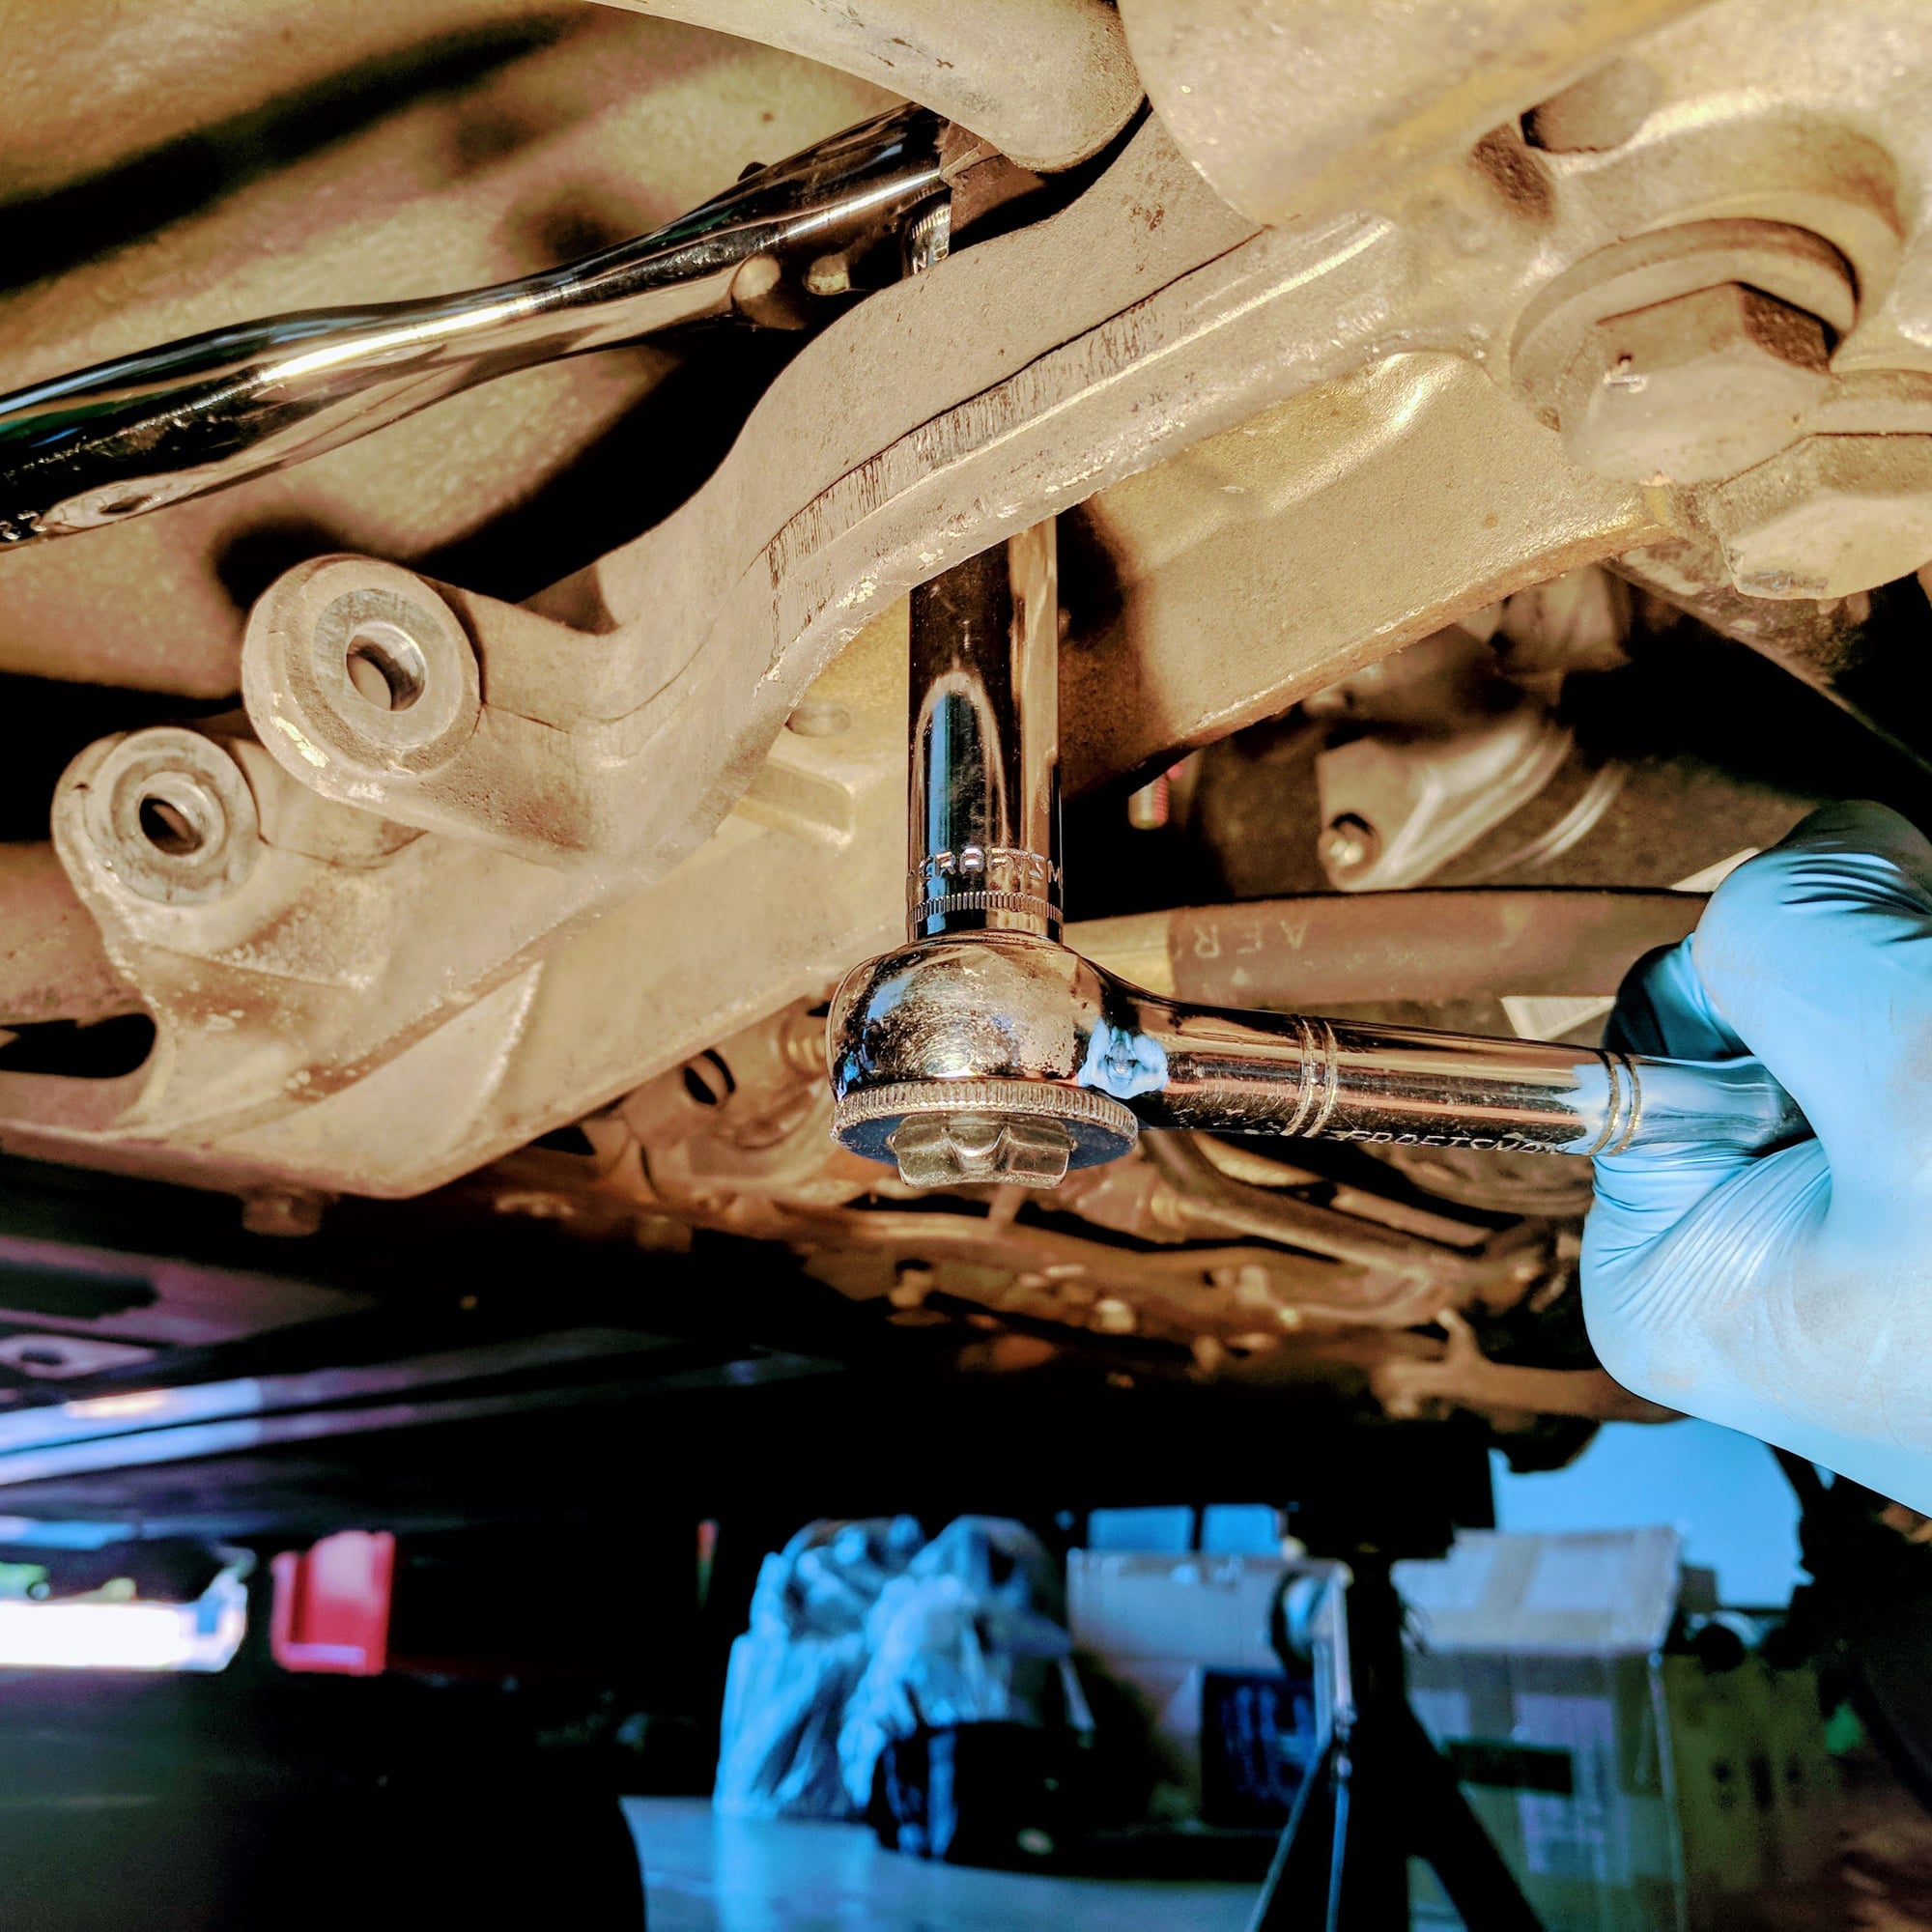
4. Remove the bolts that attach the control arm to the frame with a 19MM socket. I used a 1/2" ratchet as the bolts were torqued on pretty tight
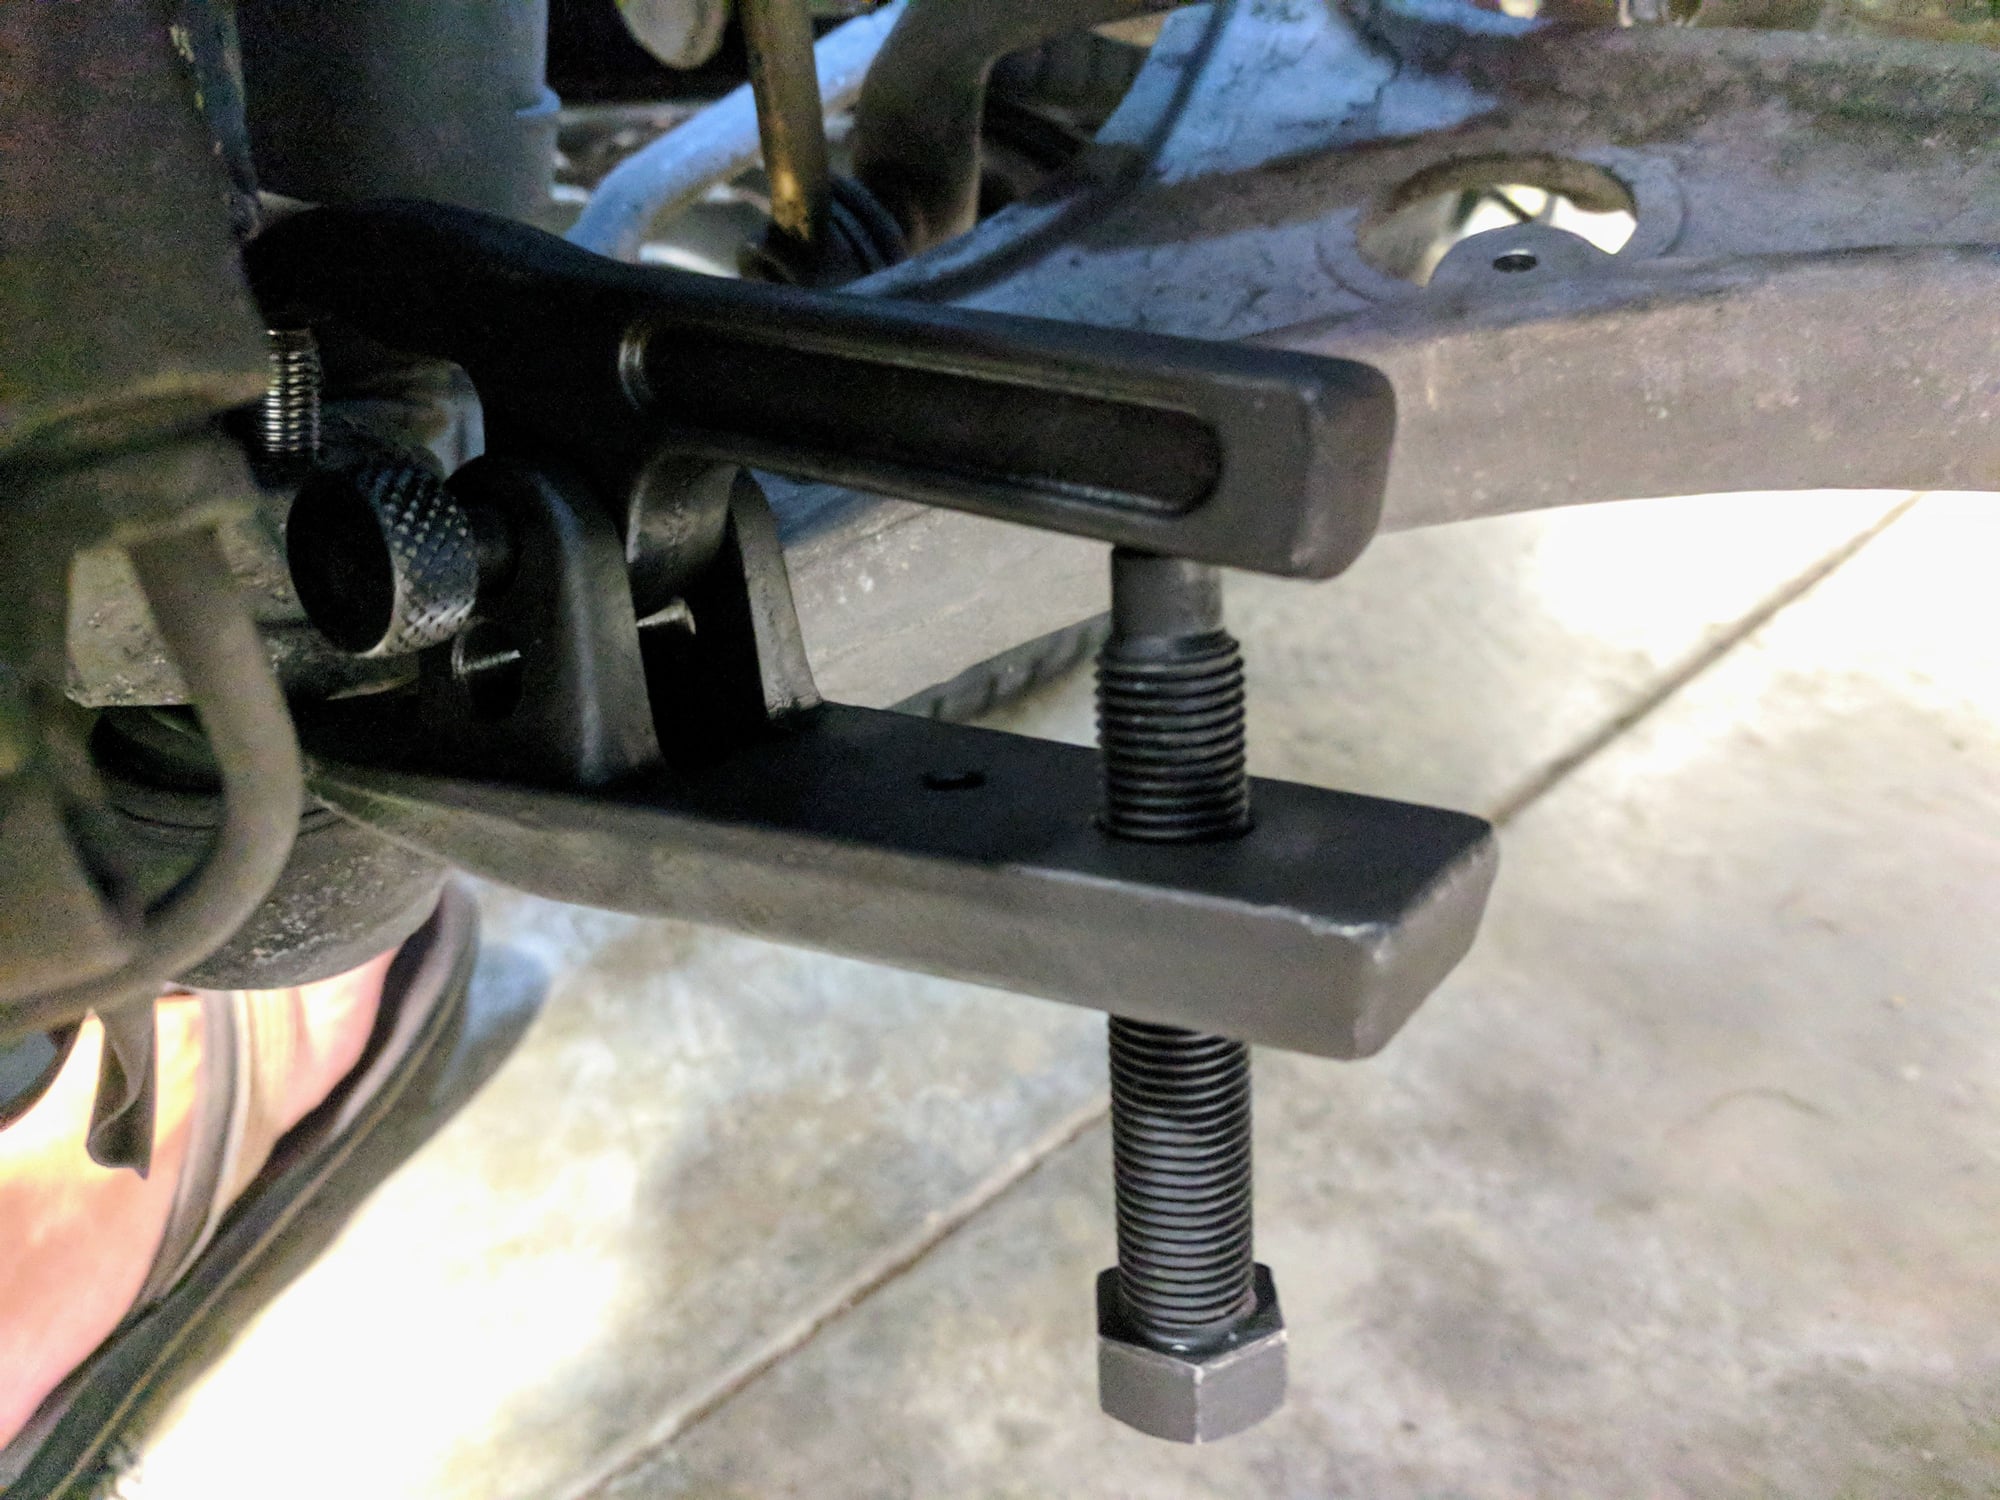
5. Detach the knuckle from the control arm with a ball joint separator.
I would say on the second arm it came out much faster as I figured out what not to do the second time around. I will include some of those tips below that was missing in the above instructions.
Tools needed:
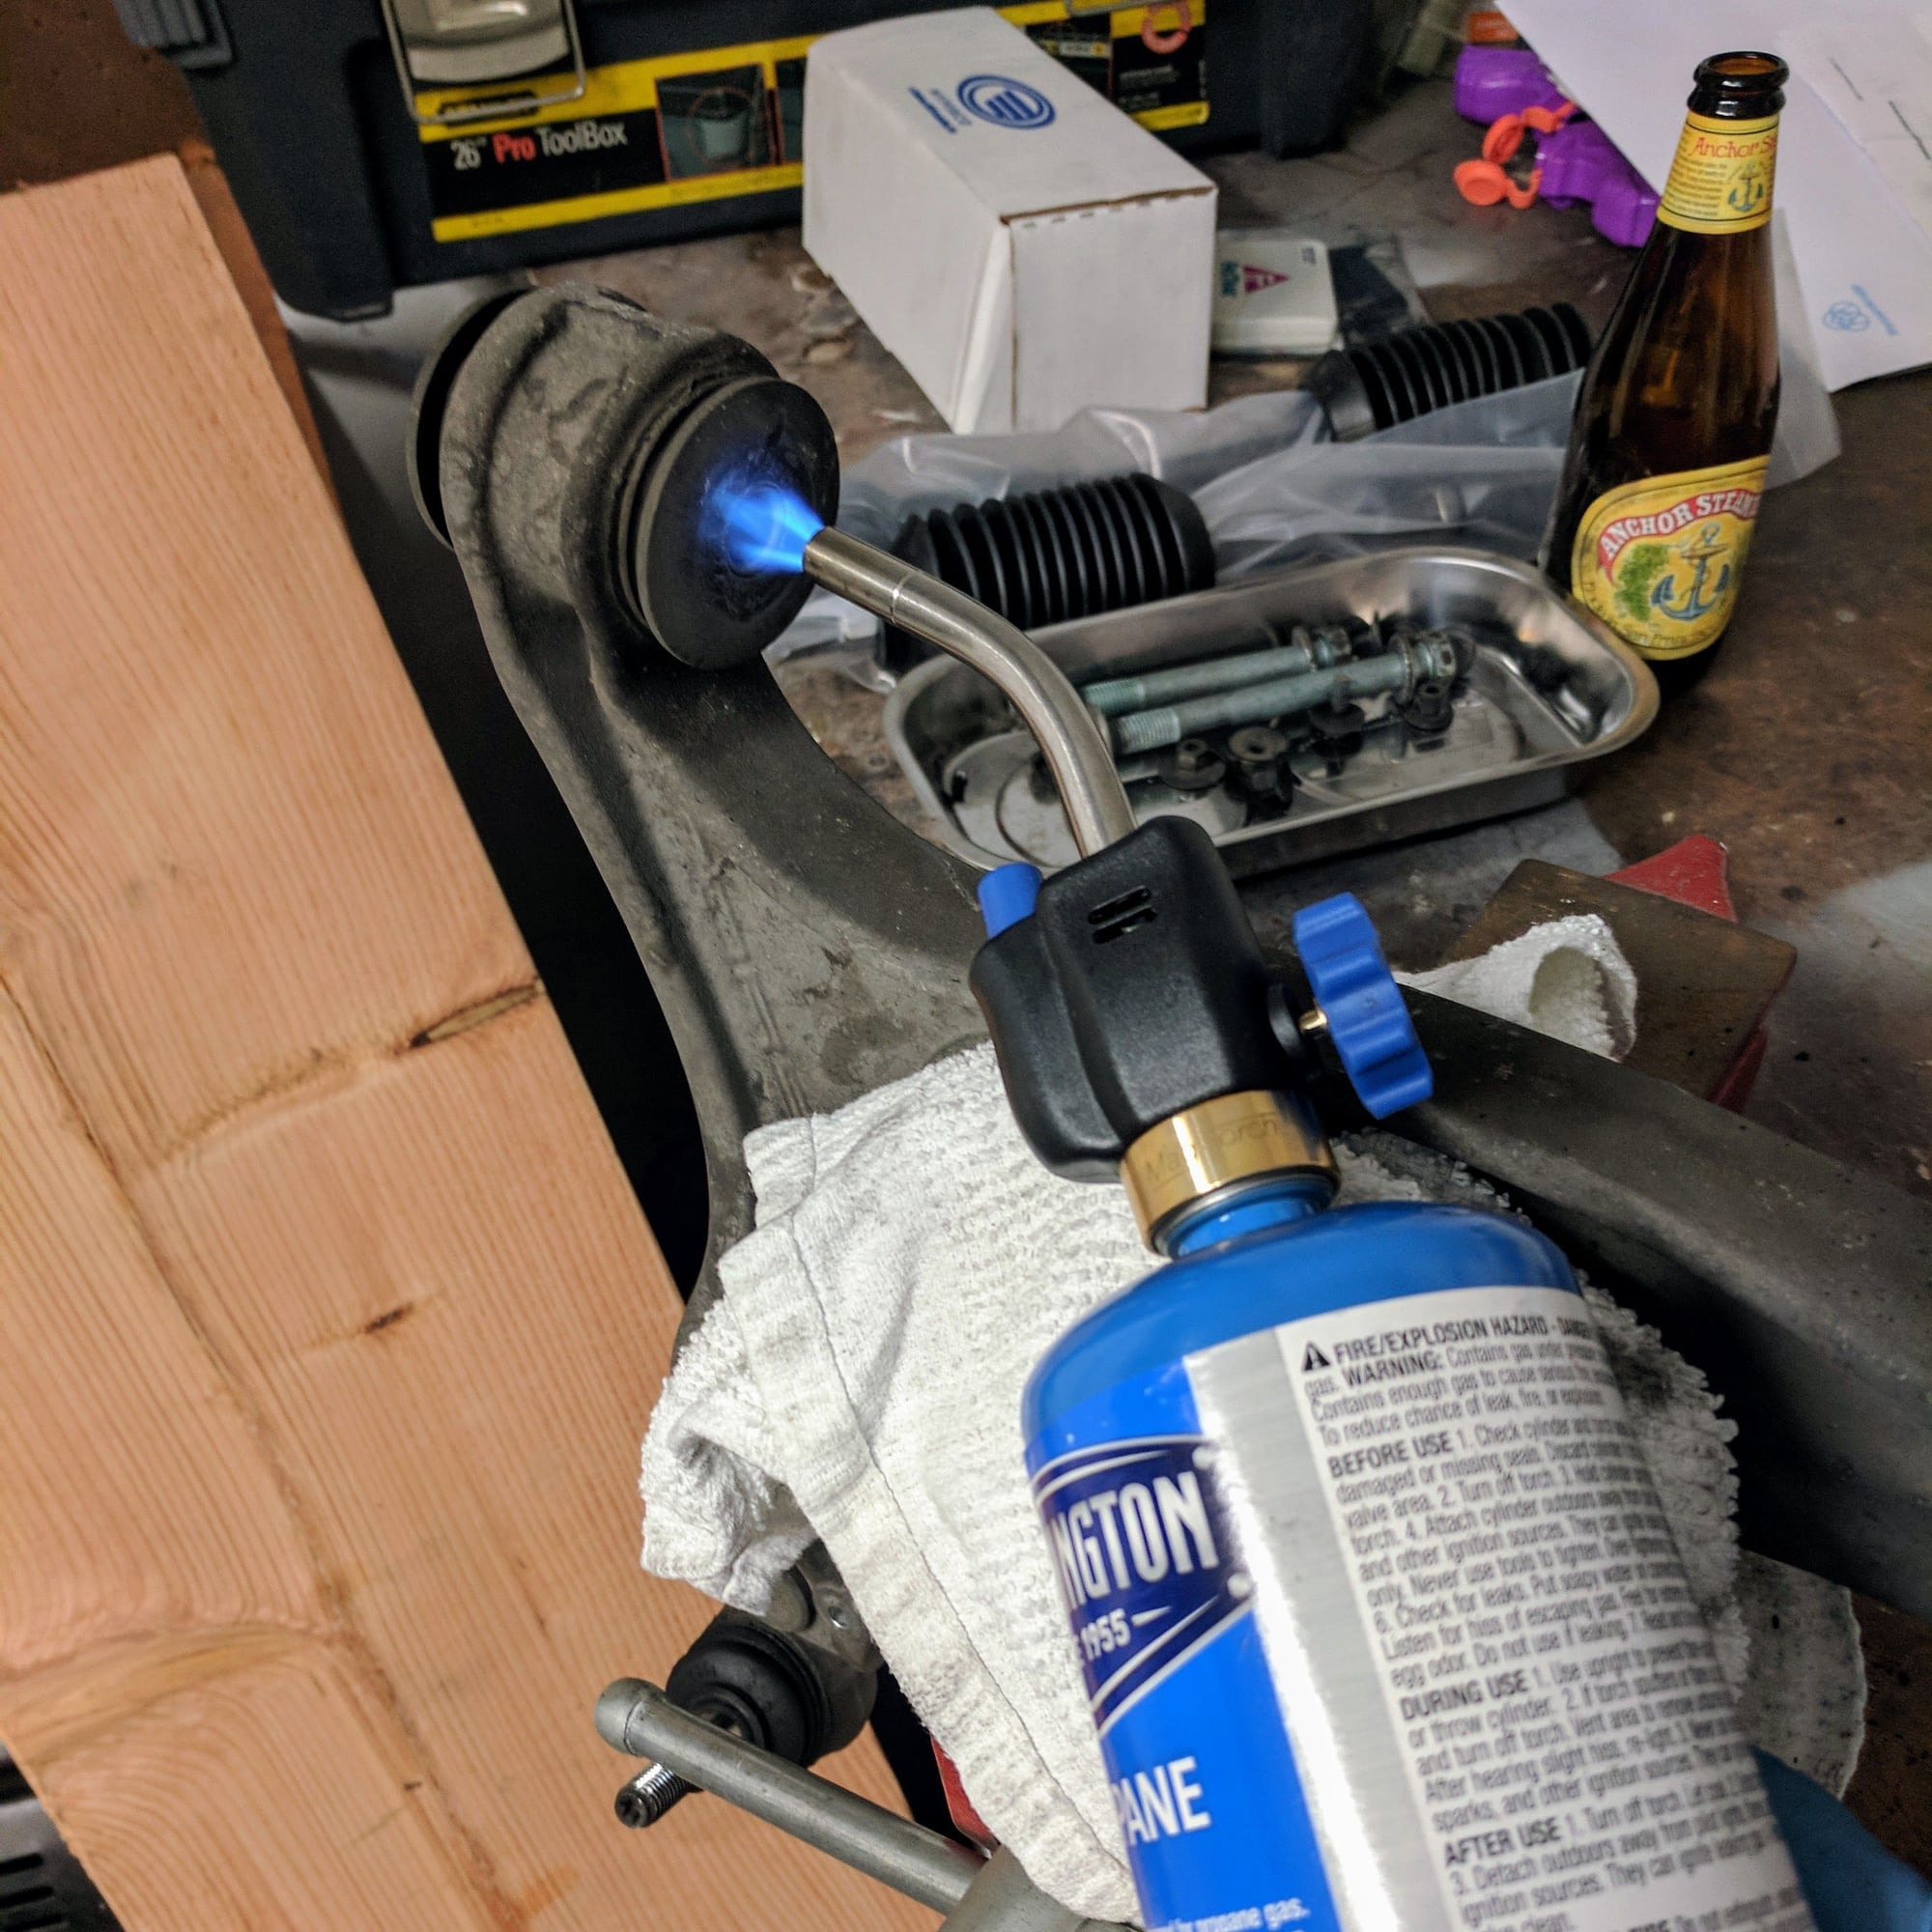
Propane torch
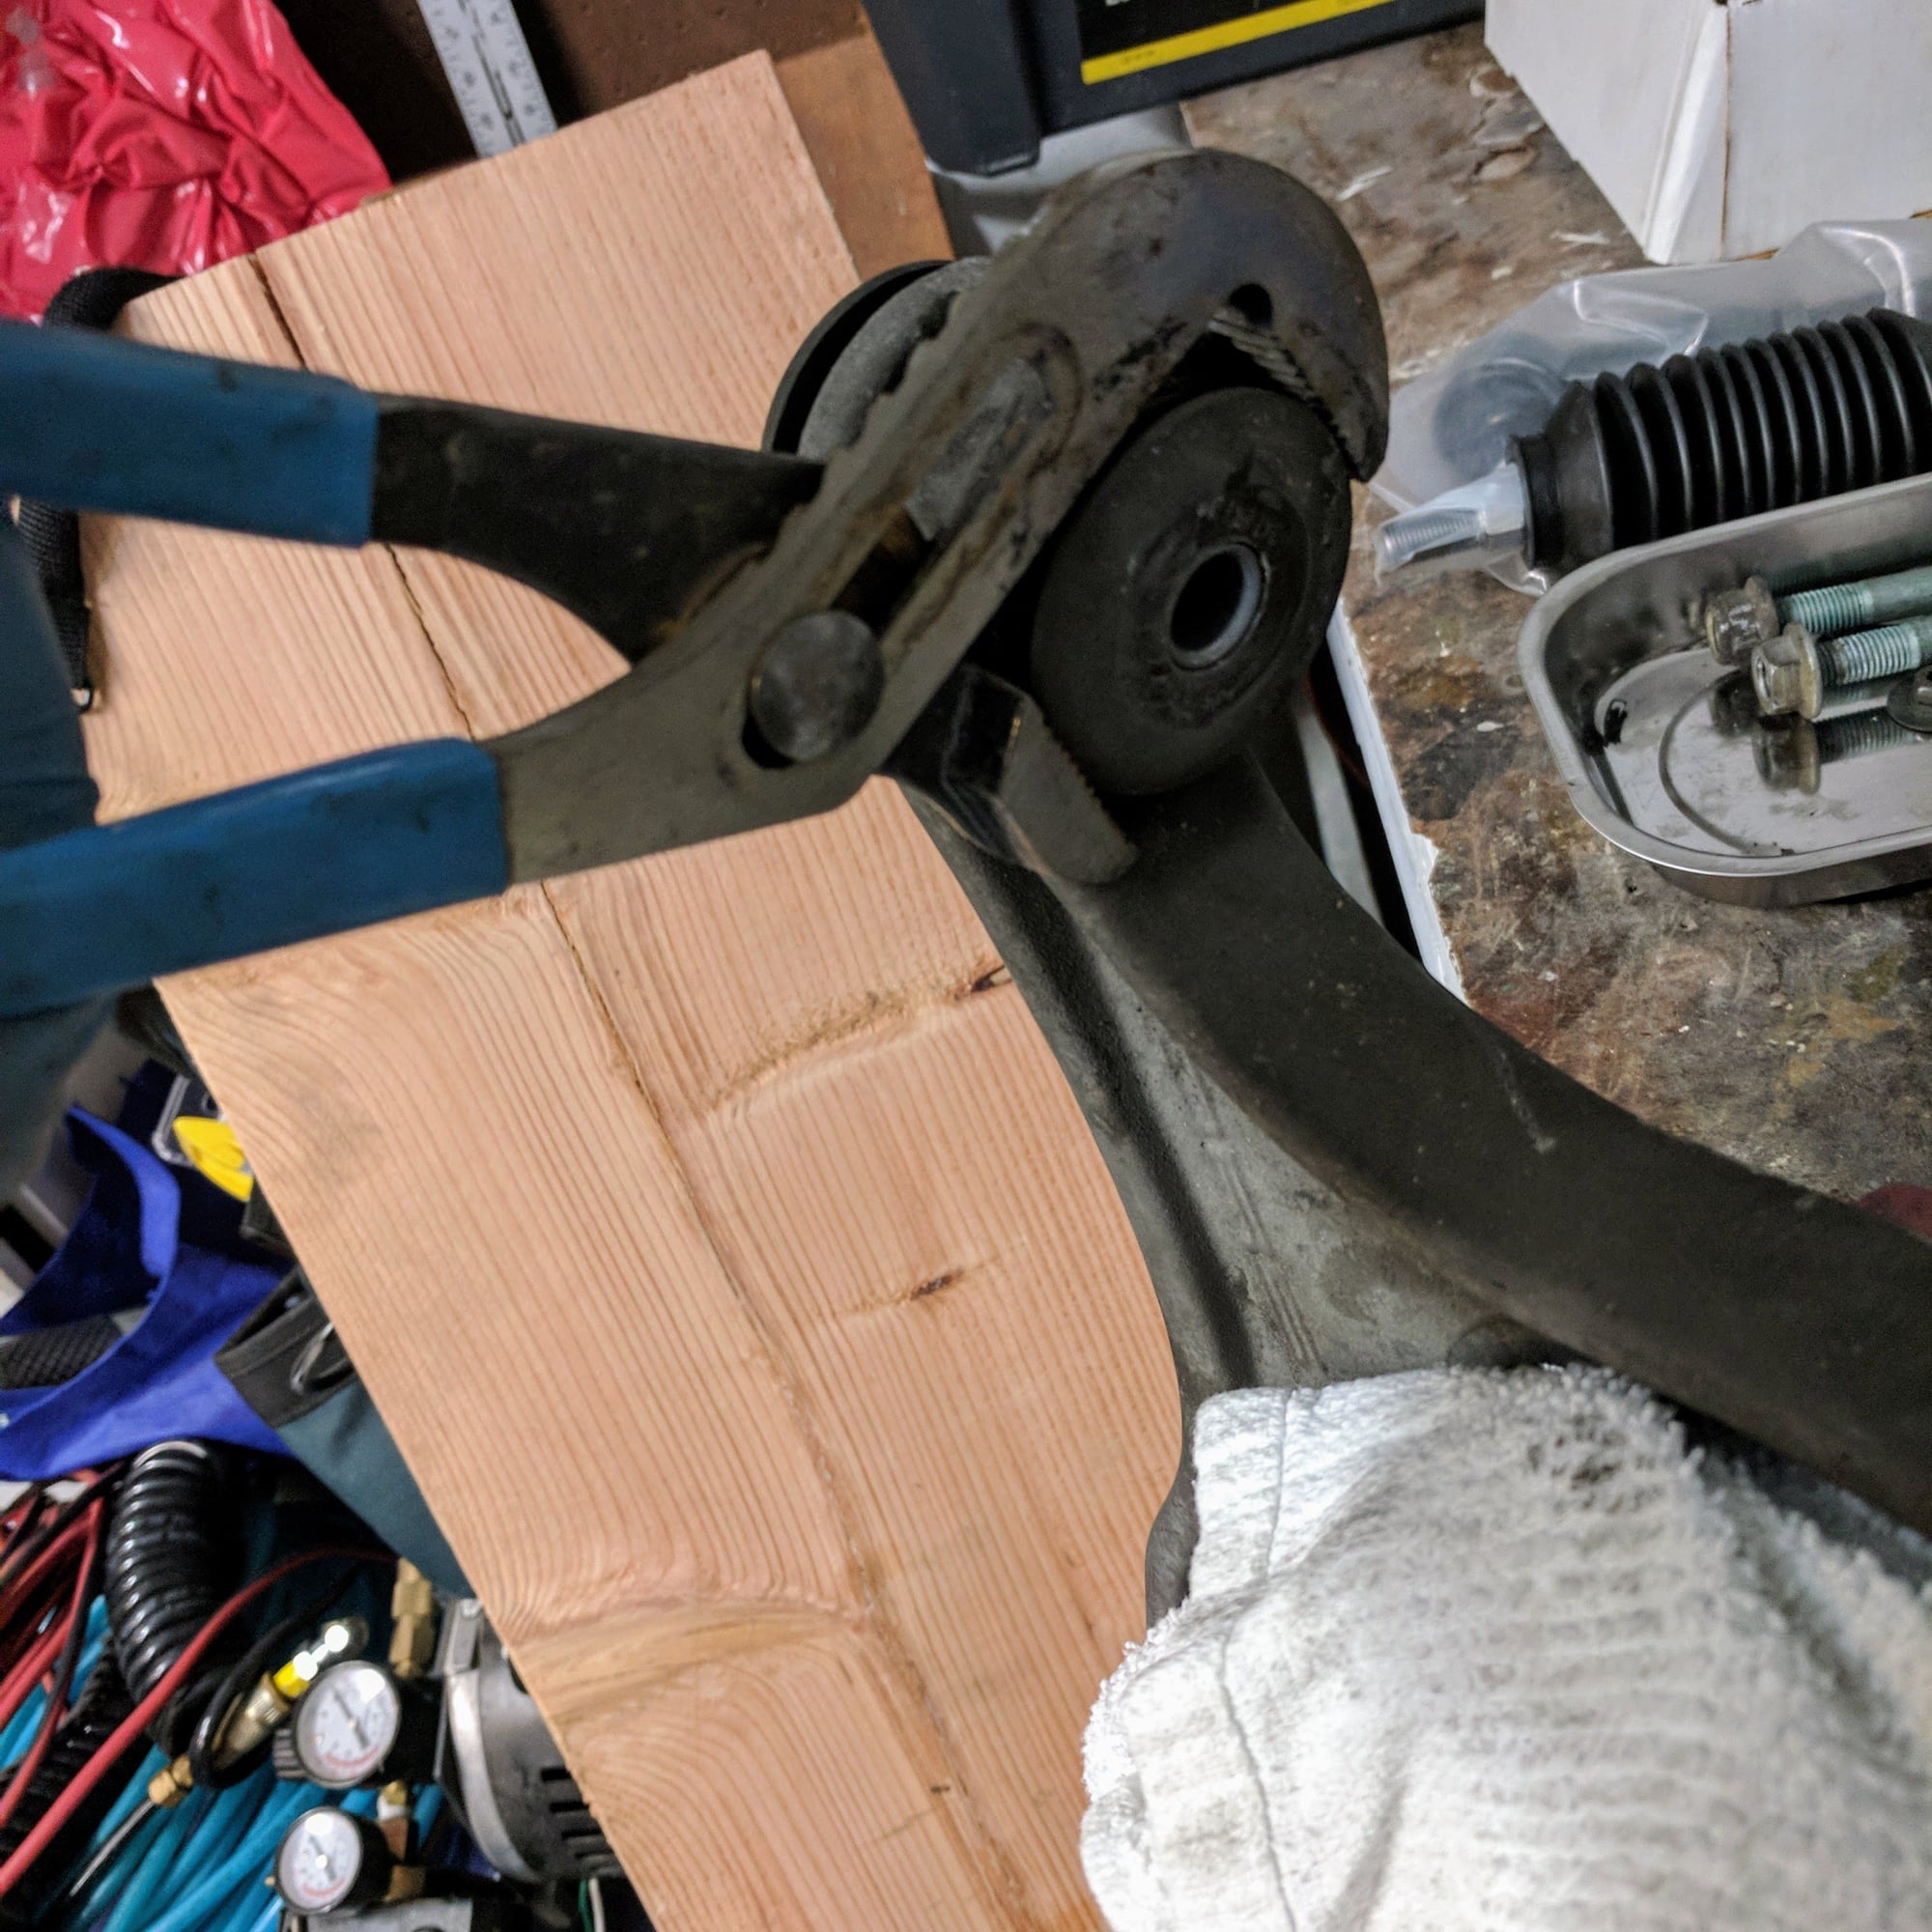
Channel locks
Hammer Chisel set
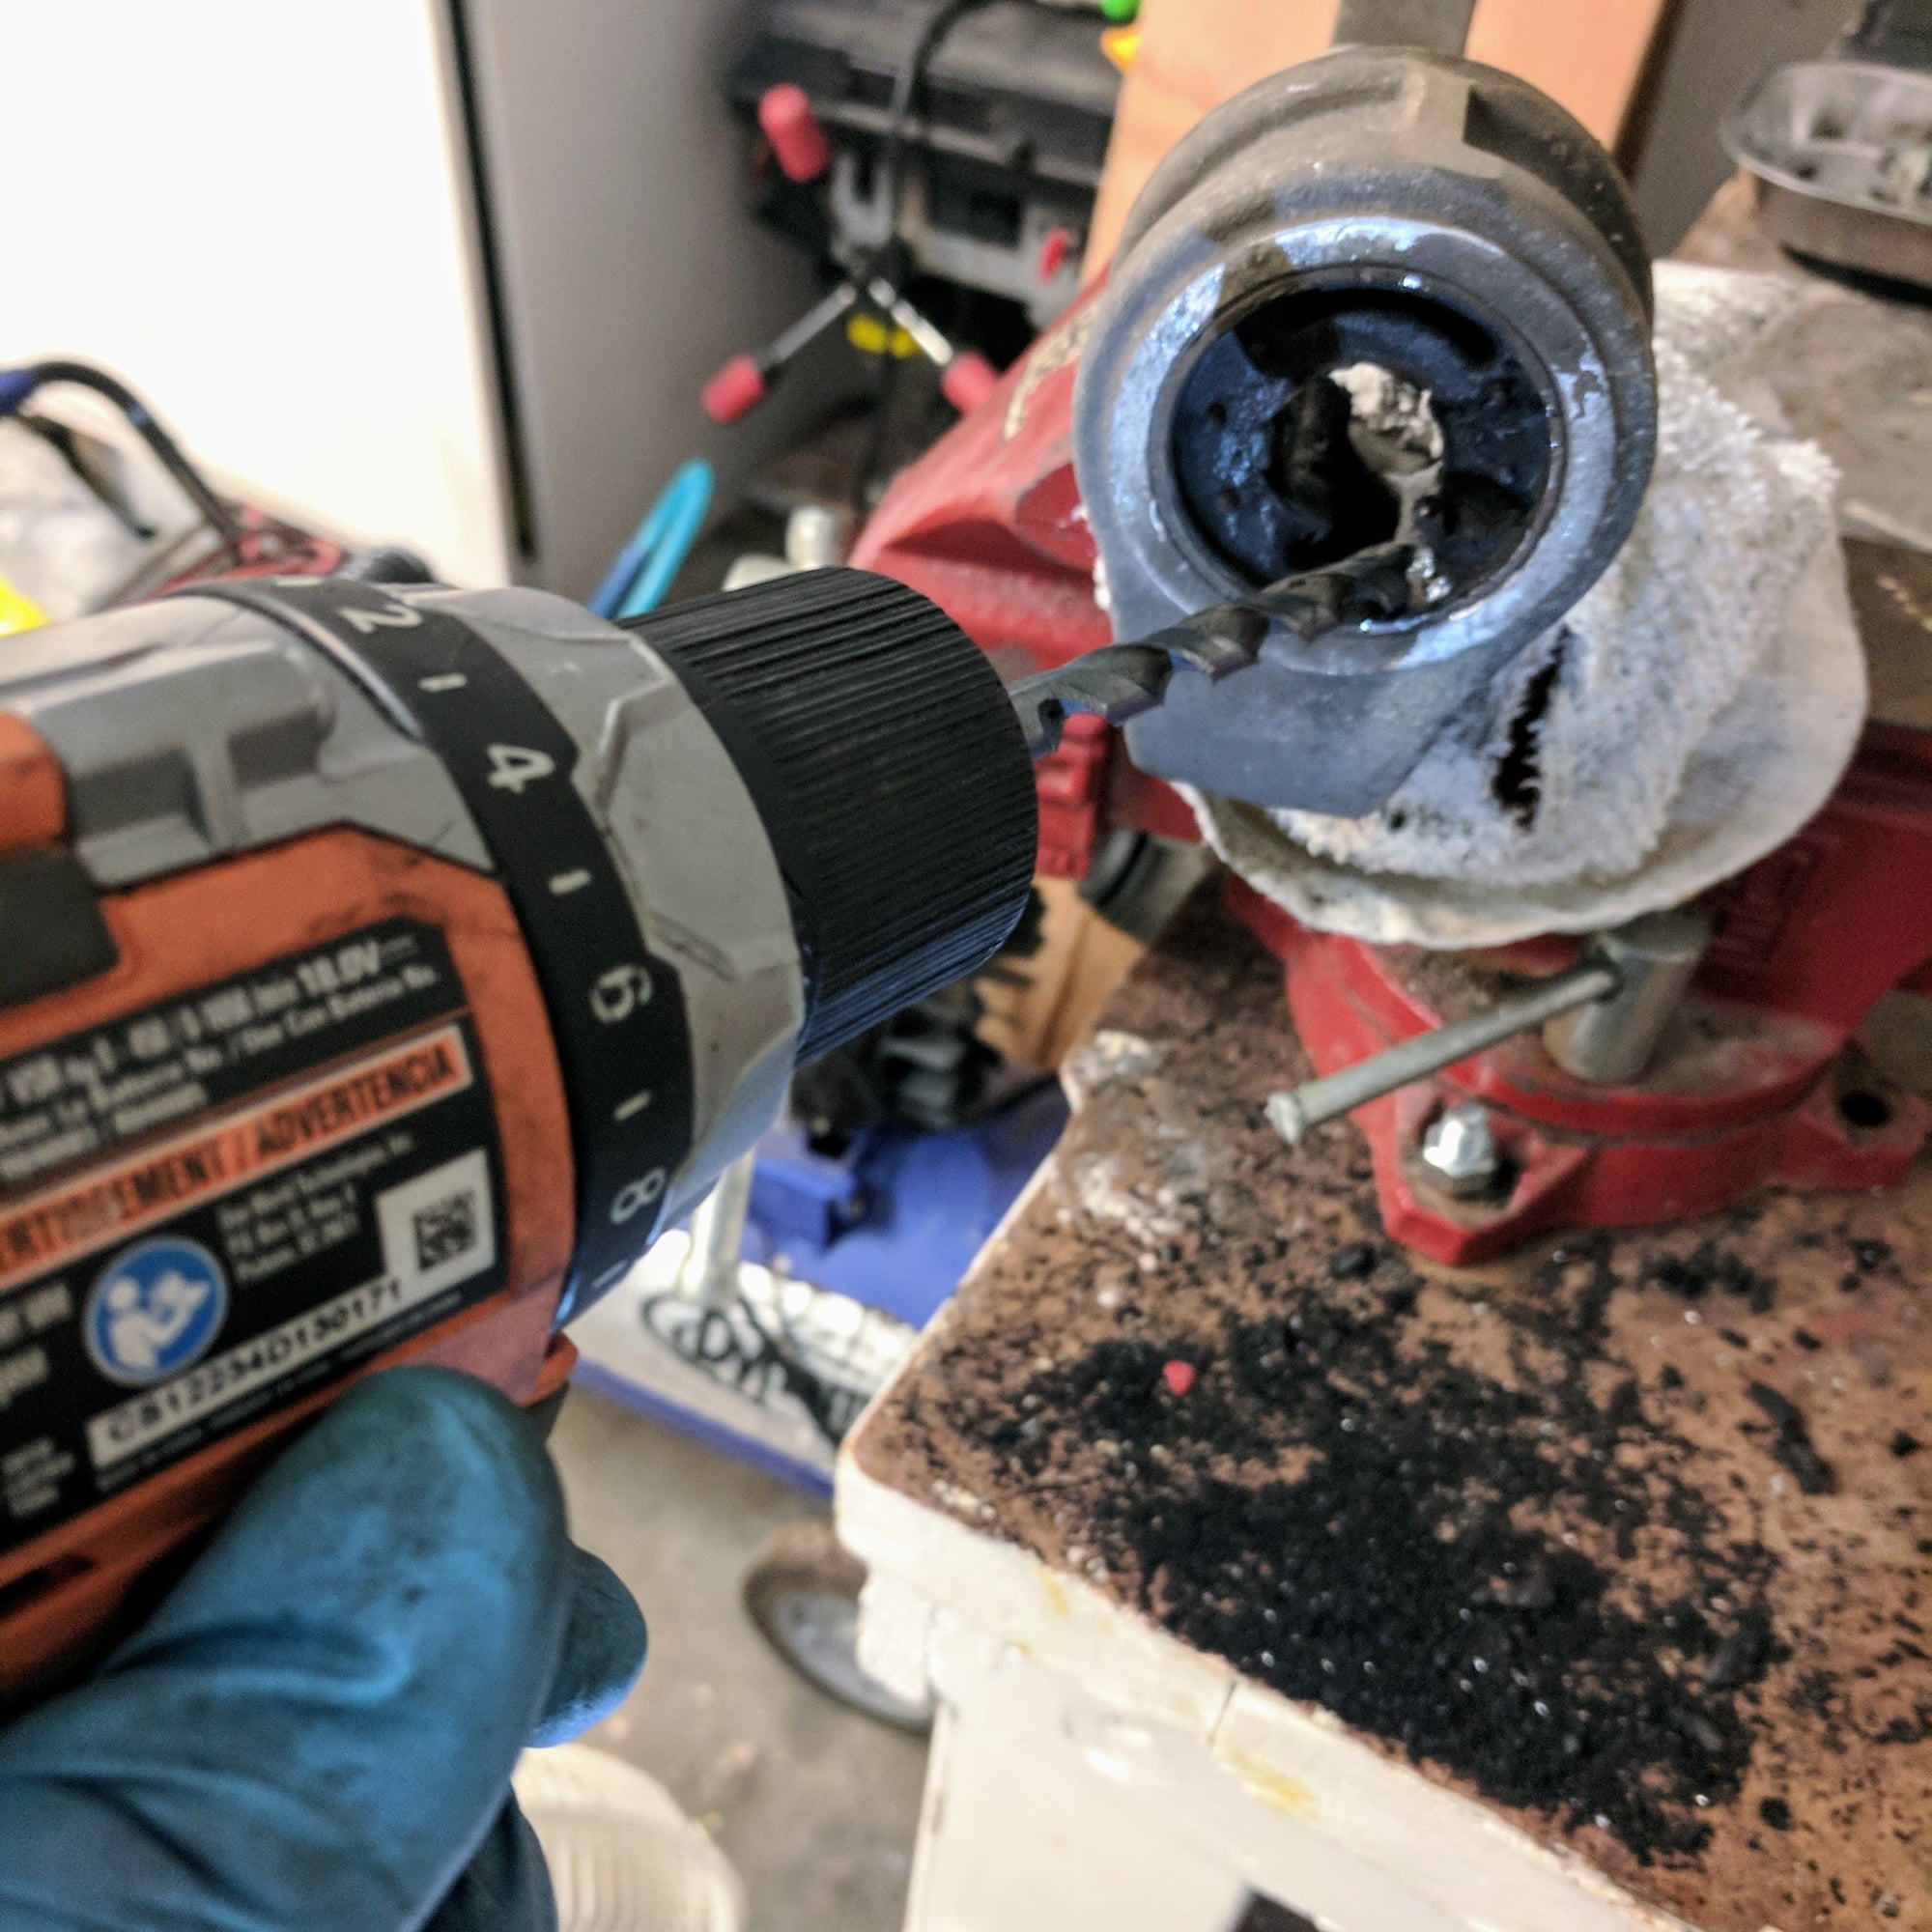
Drill and 3/8" bit
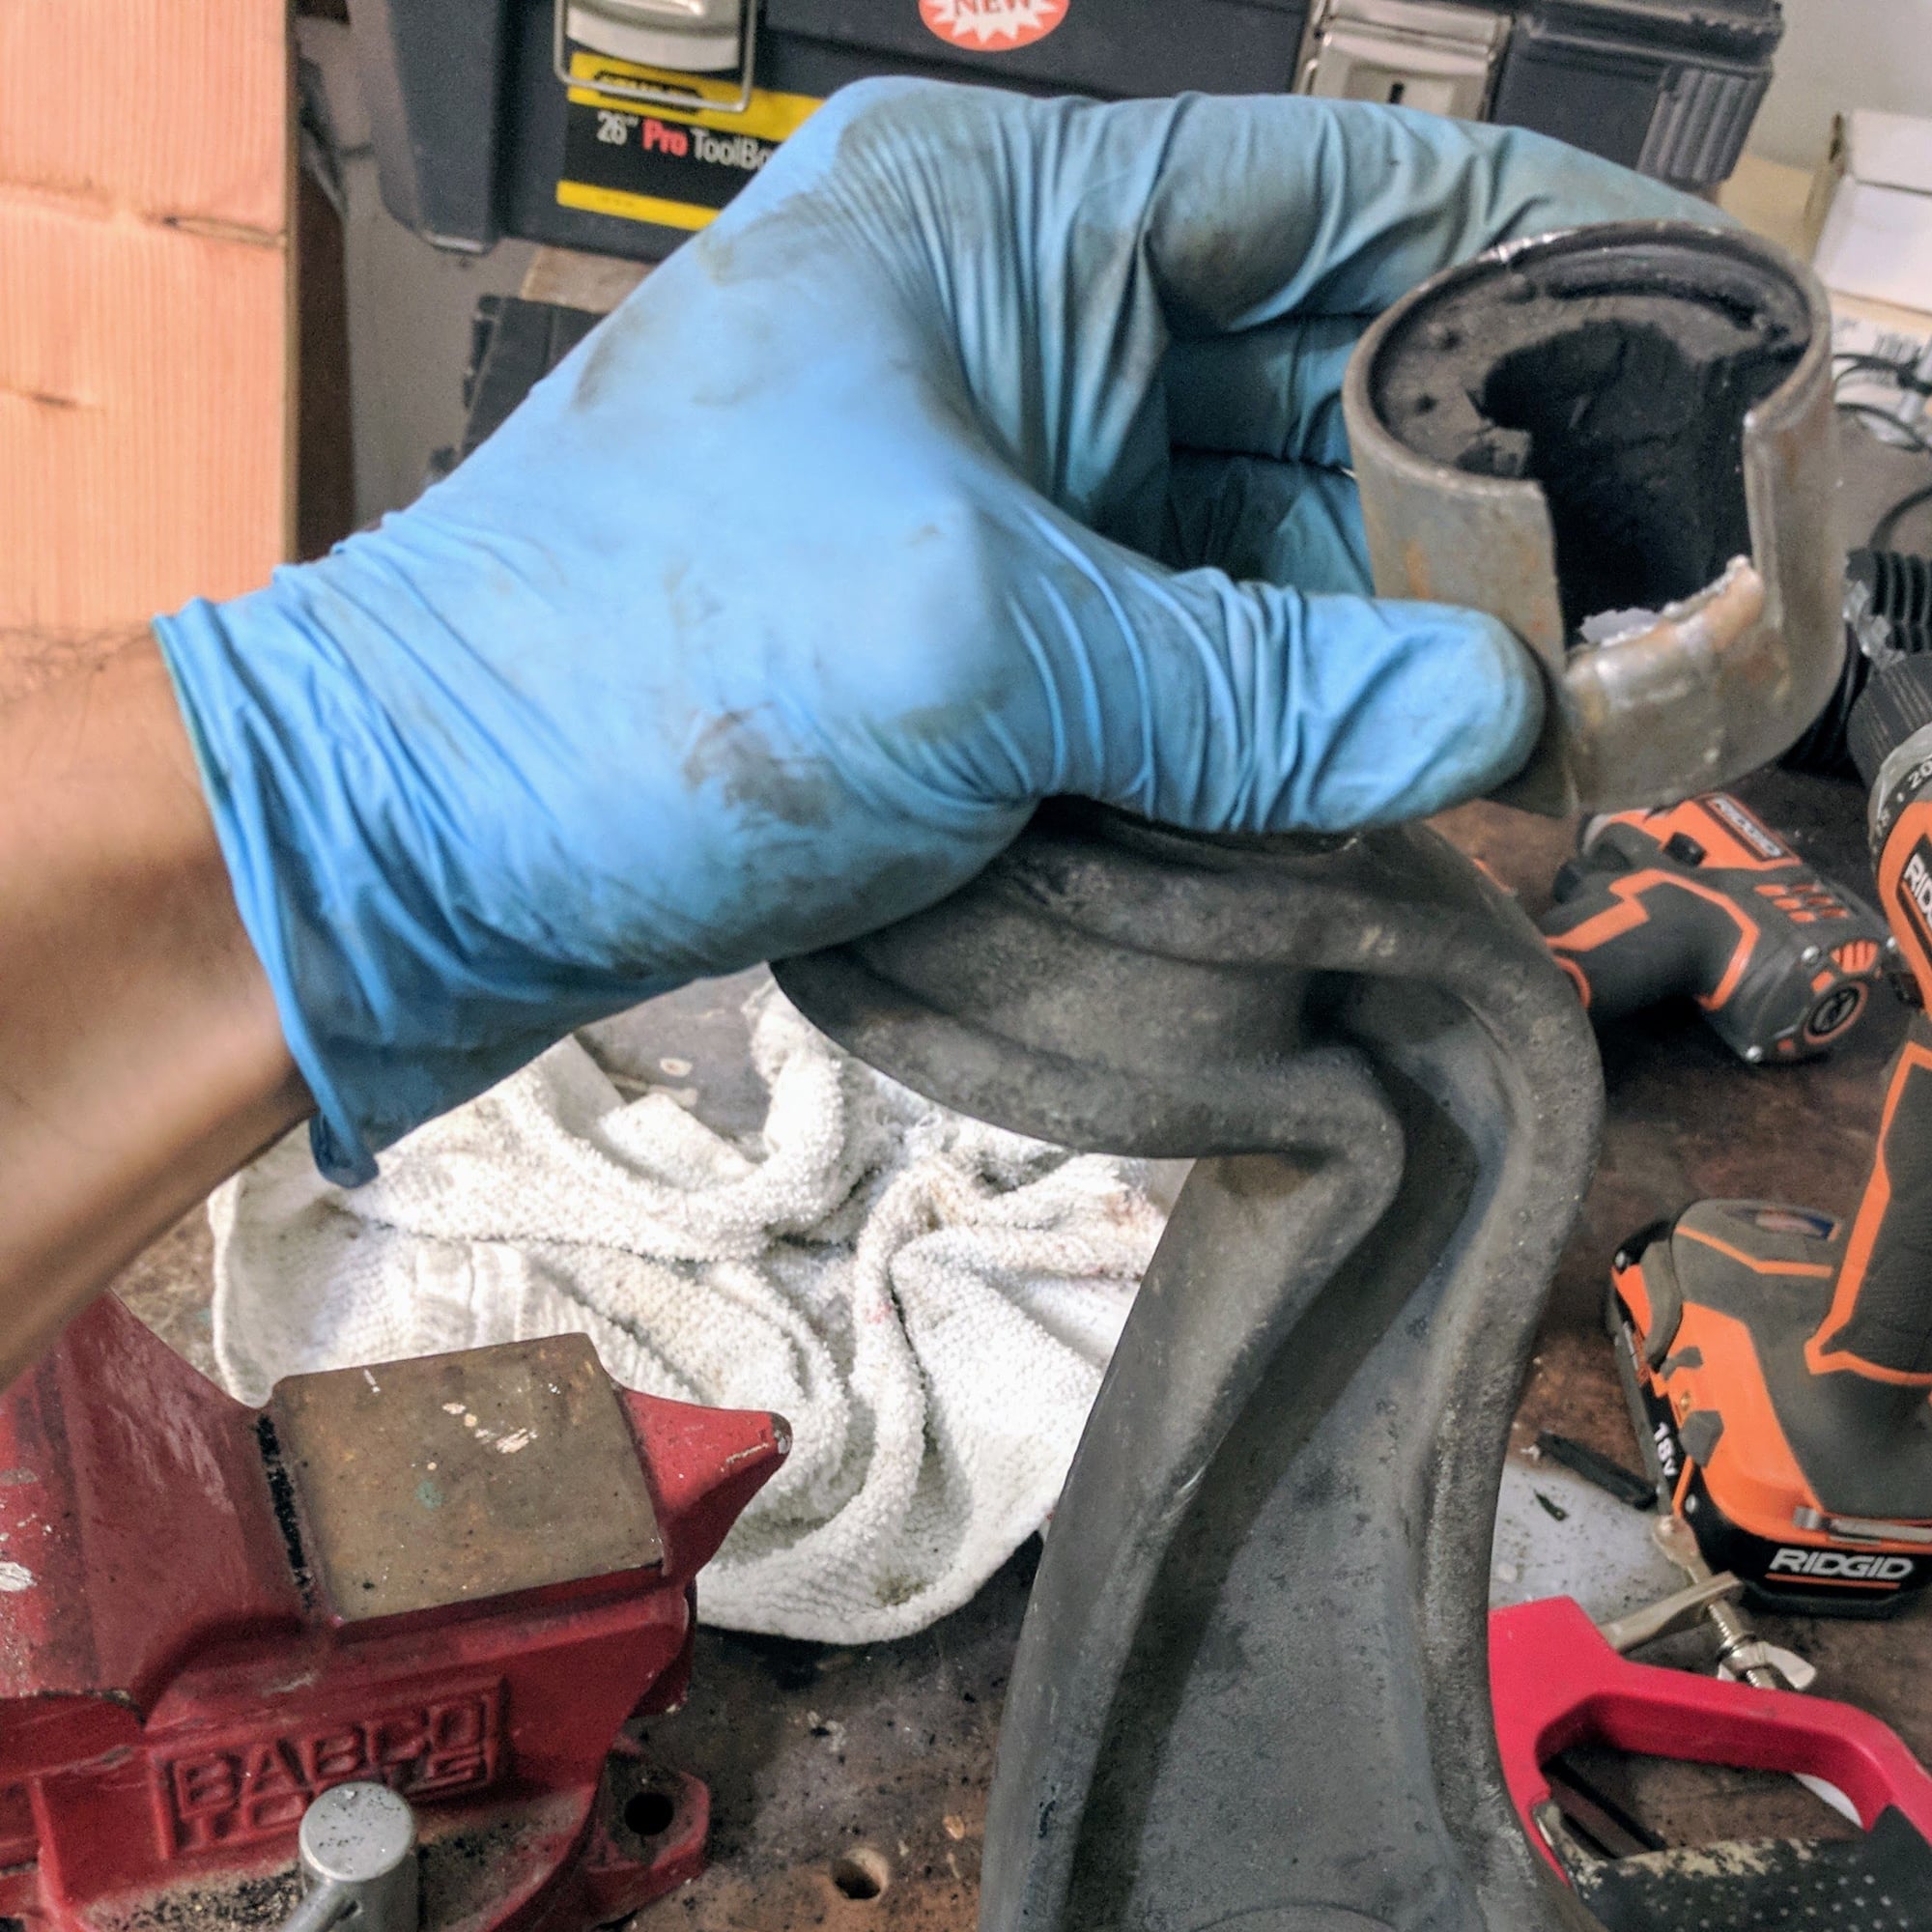
1. Put the control arm in a vise. Heat the steel inner sleeves and use channel locks and twist them off. Like what the instructions say, heat them until the rubber starts smoking.
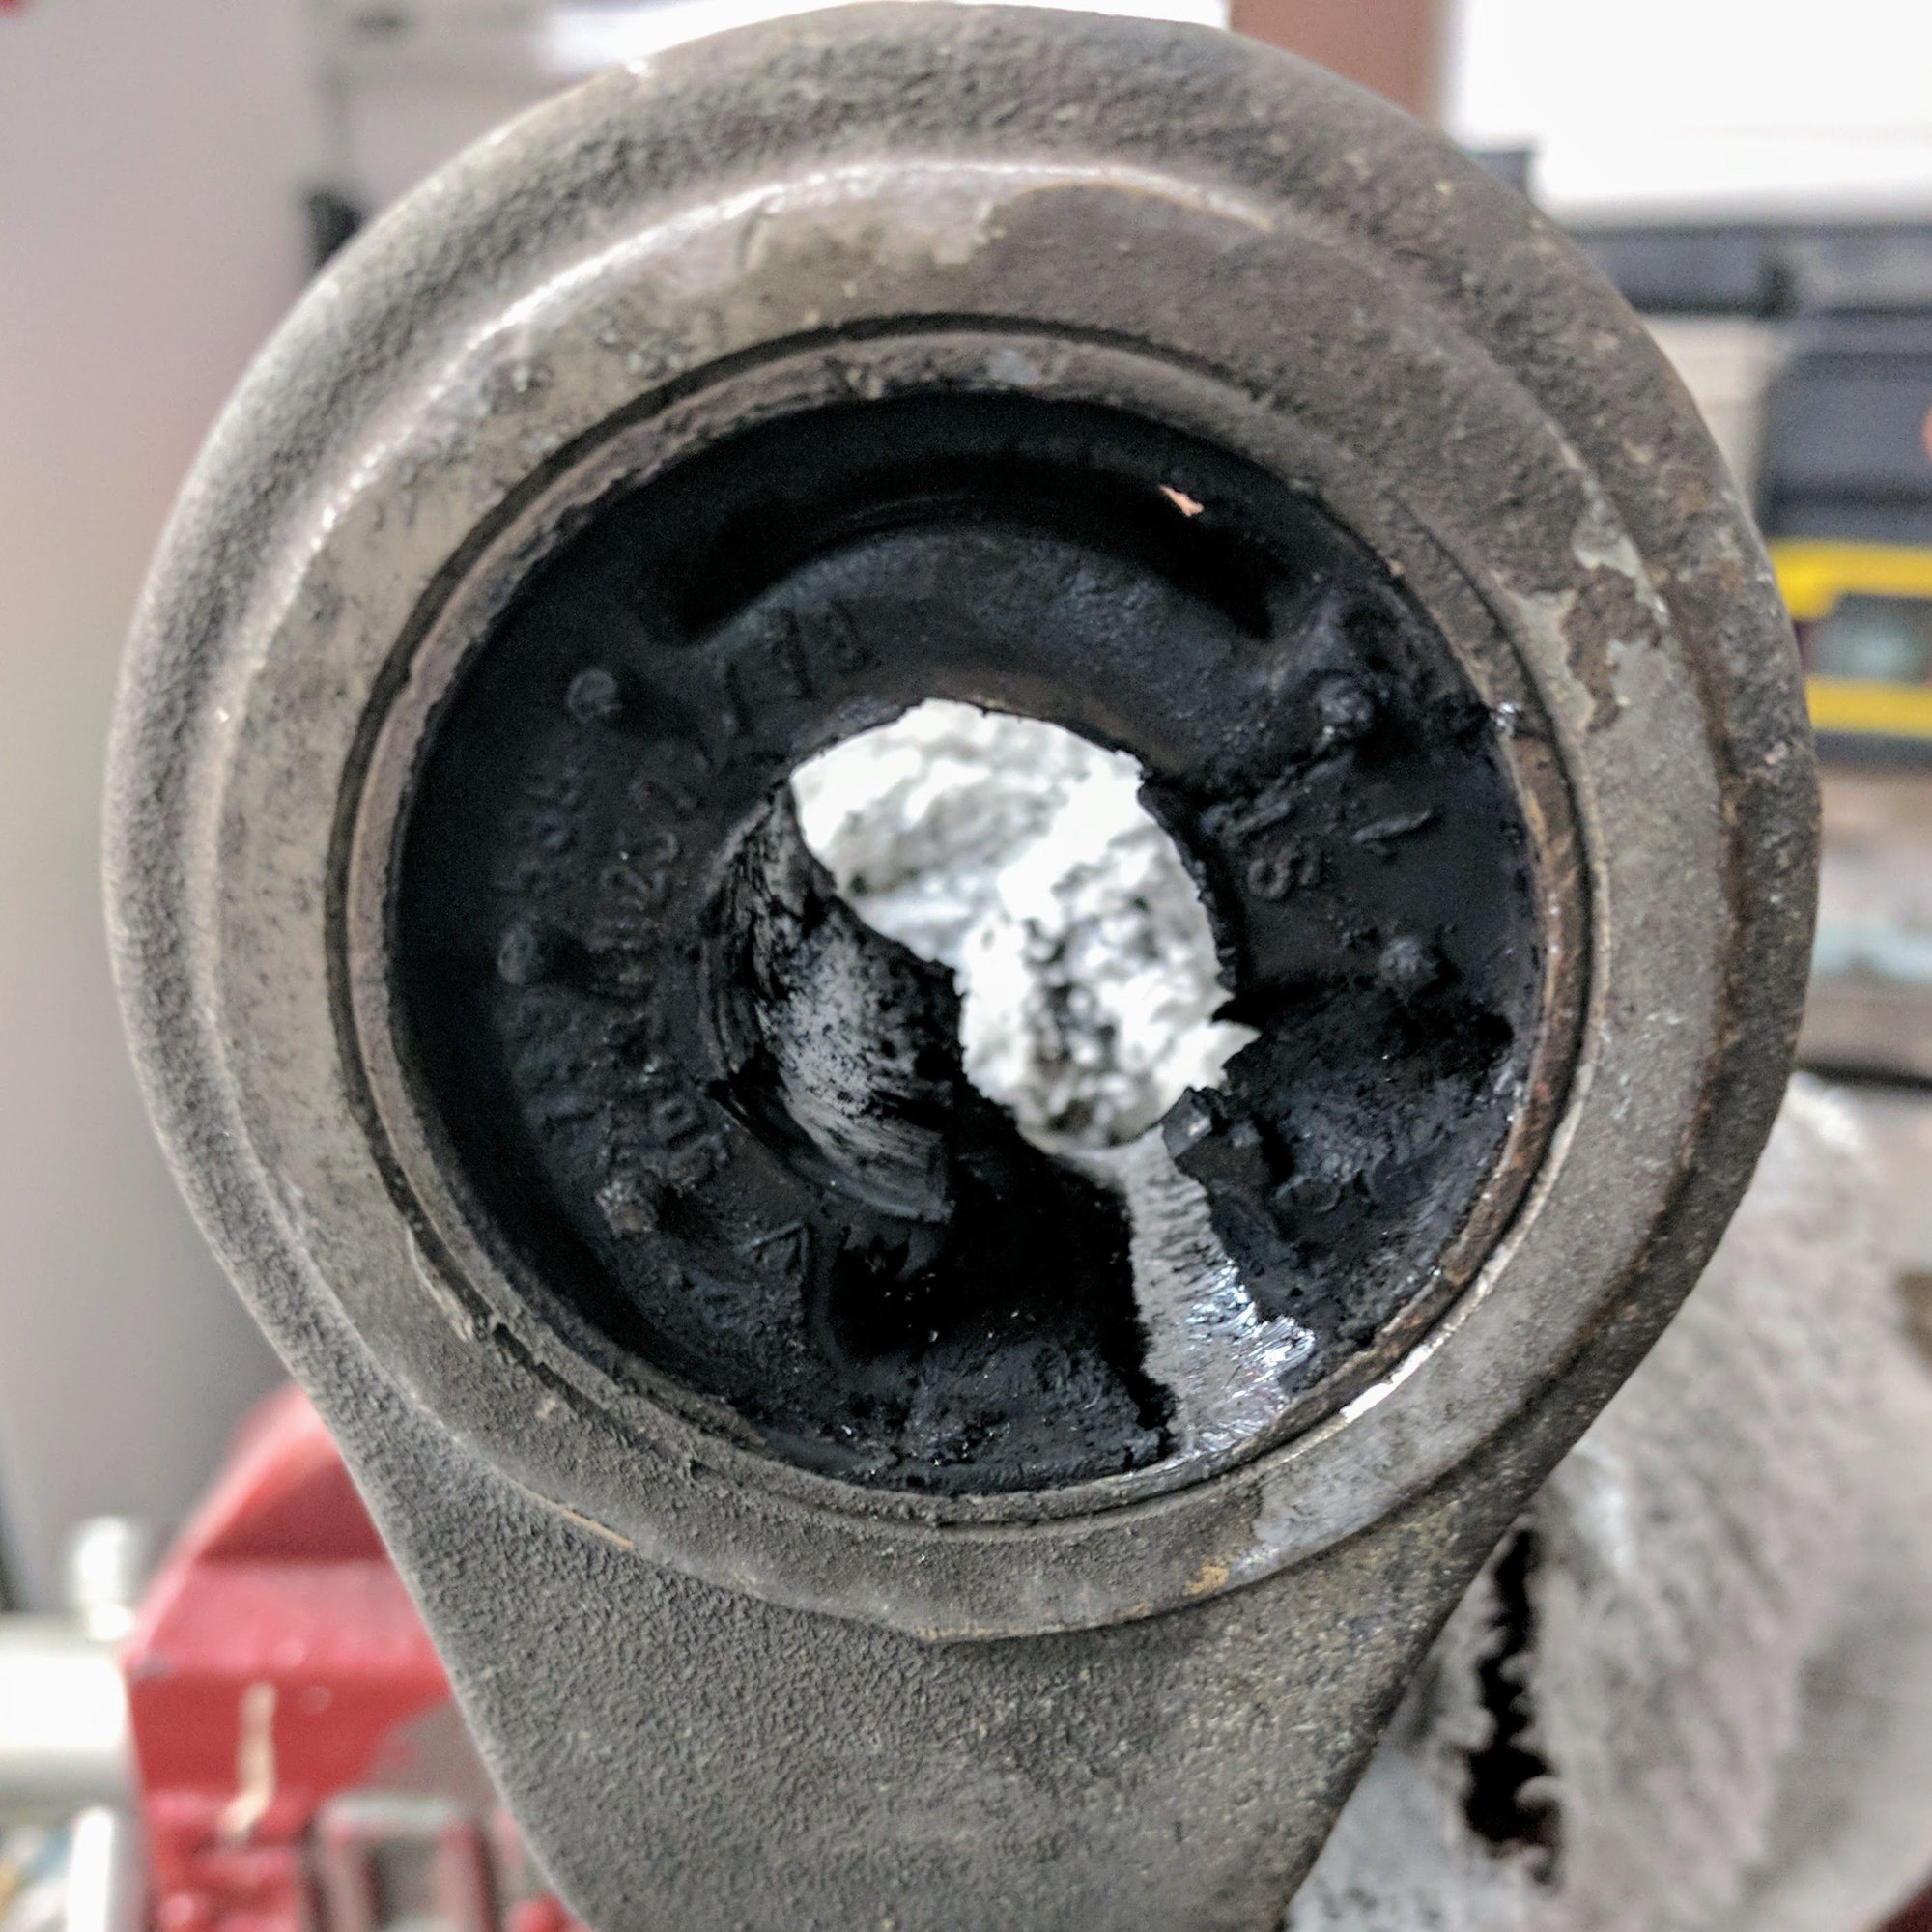
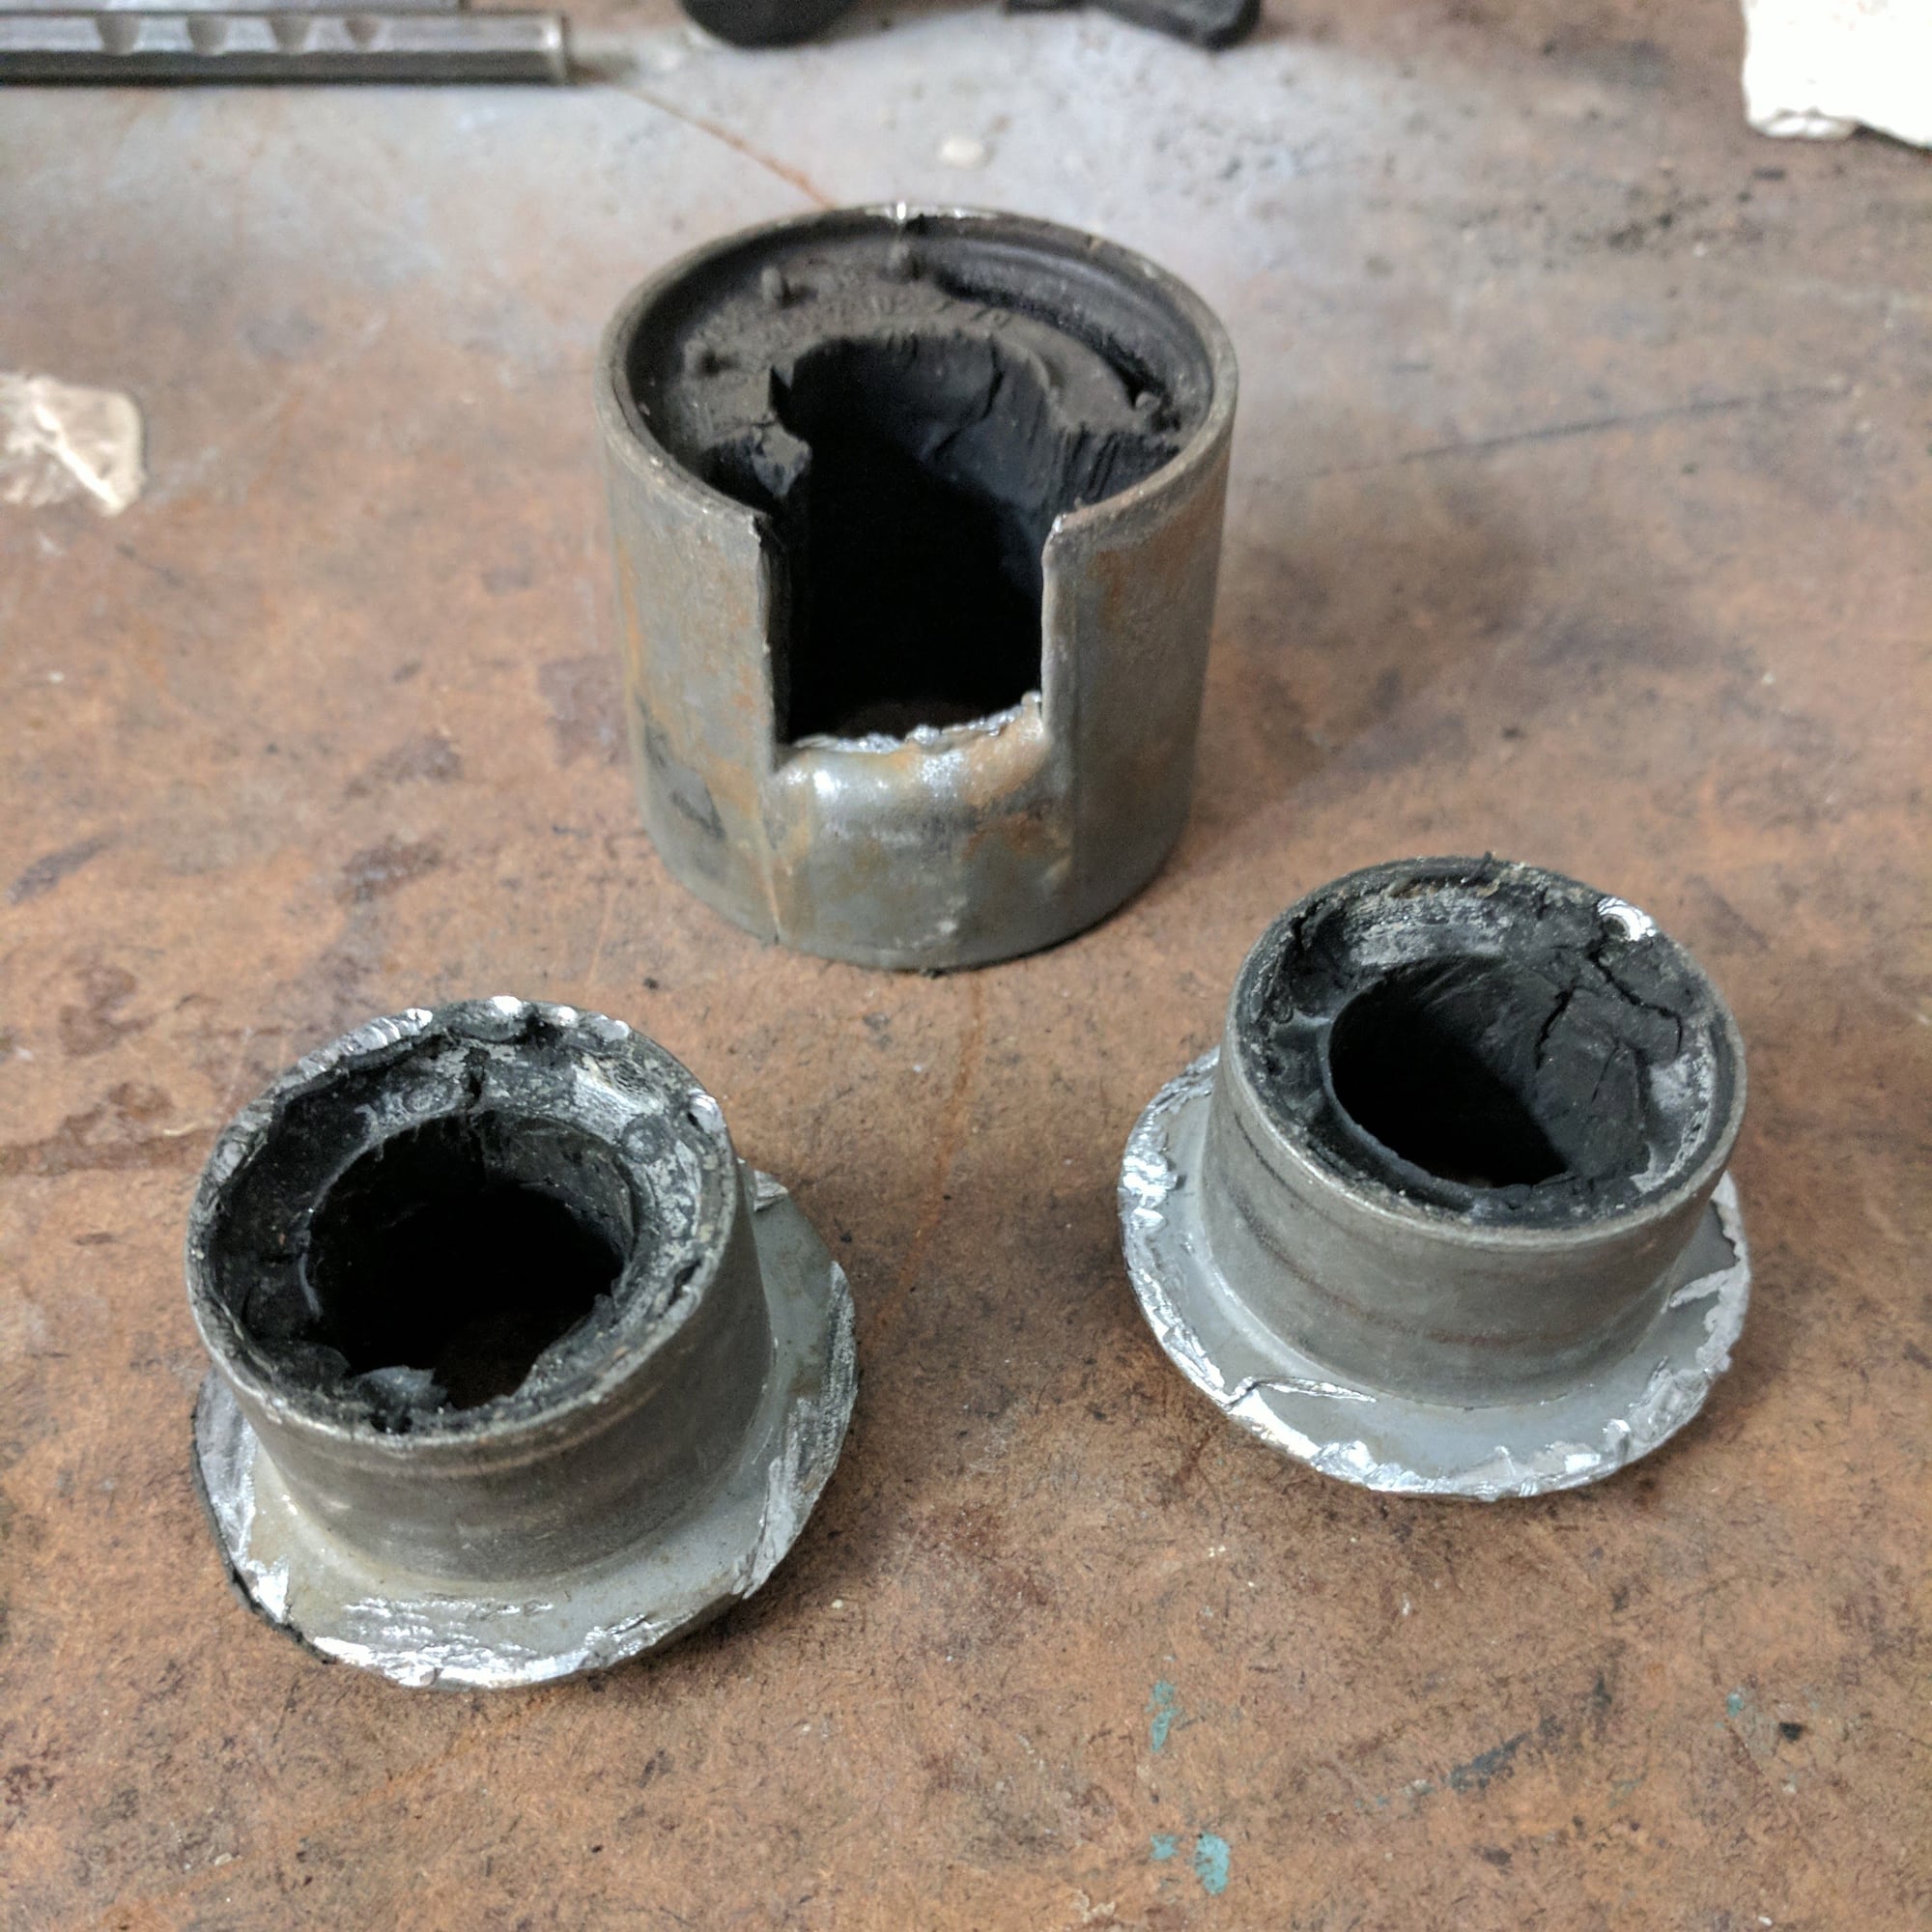
2. Use the drill and make two 3/8" slots in the rubber 90 degrees apart so that there is a gap from the center to the outer steel ring of the bushing. Then use a saw to take the rubber section out so there is only 3/4 of the bushing is left in the bushing.
Initially tried to directly saw into the rubber to get to the outer steel ring per the instructions. This was a futile effort. The drill blasted through the rubber easily down to the outer steel ring in seconds.
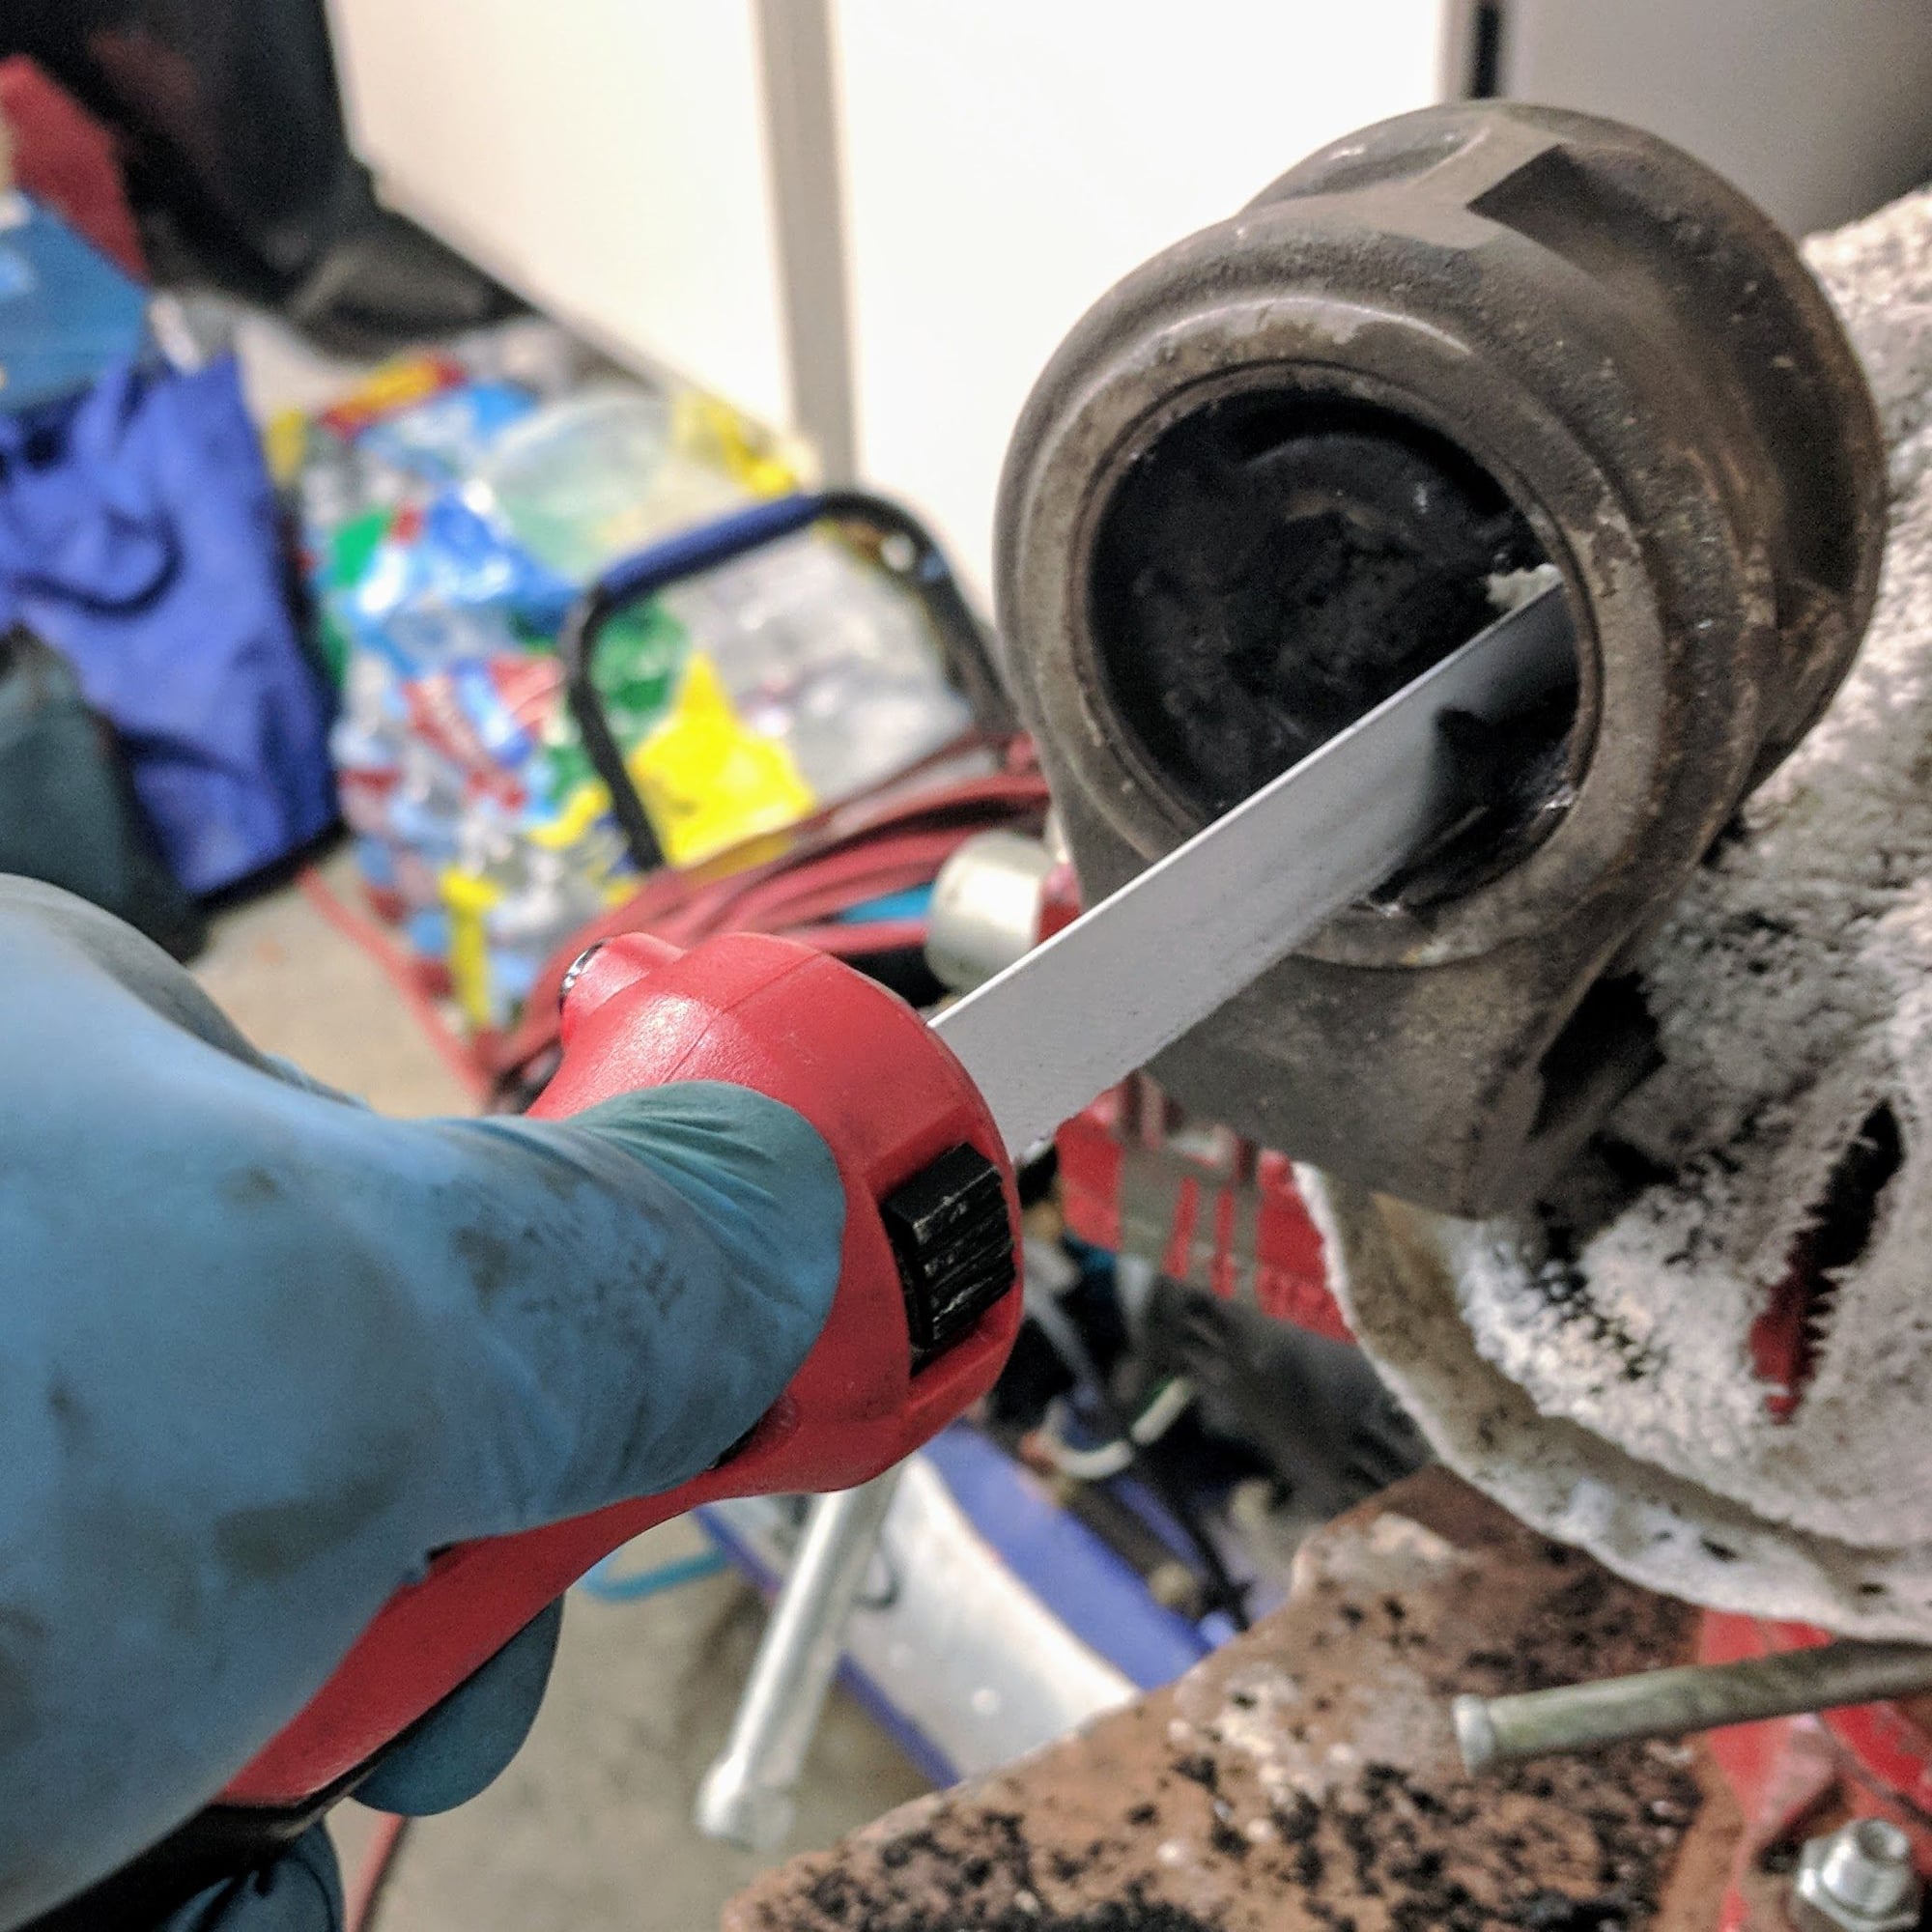
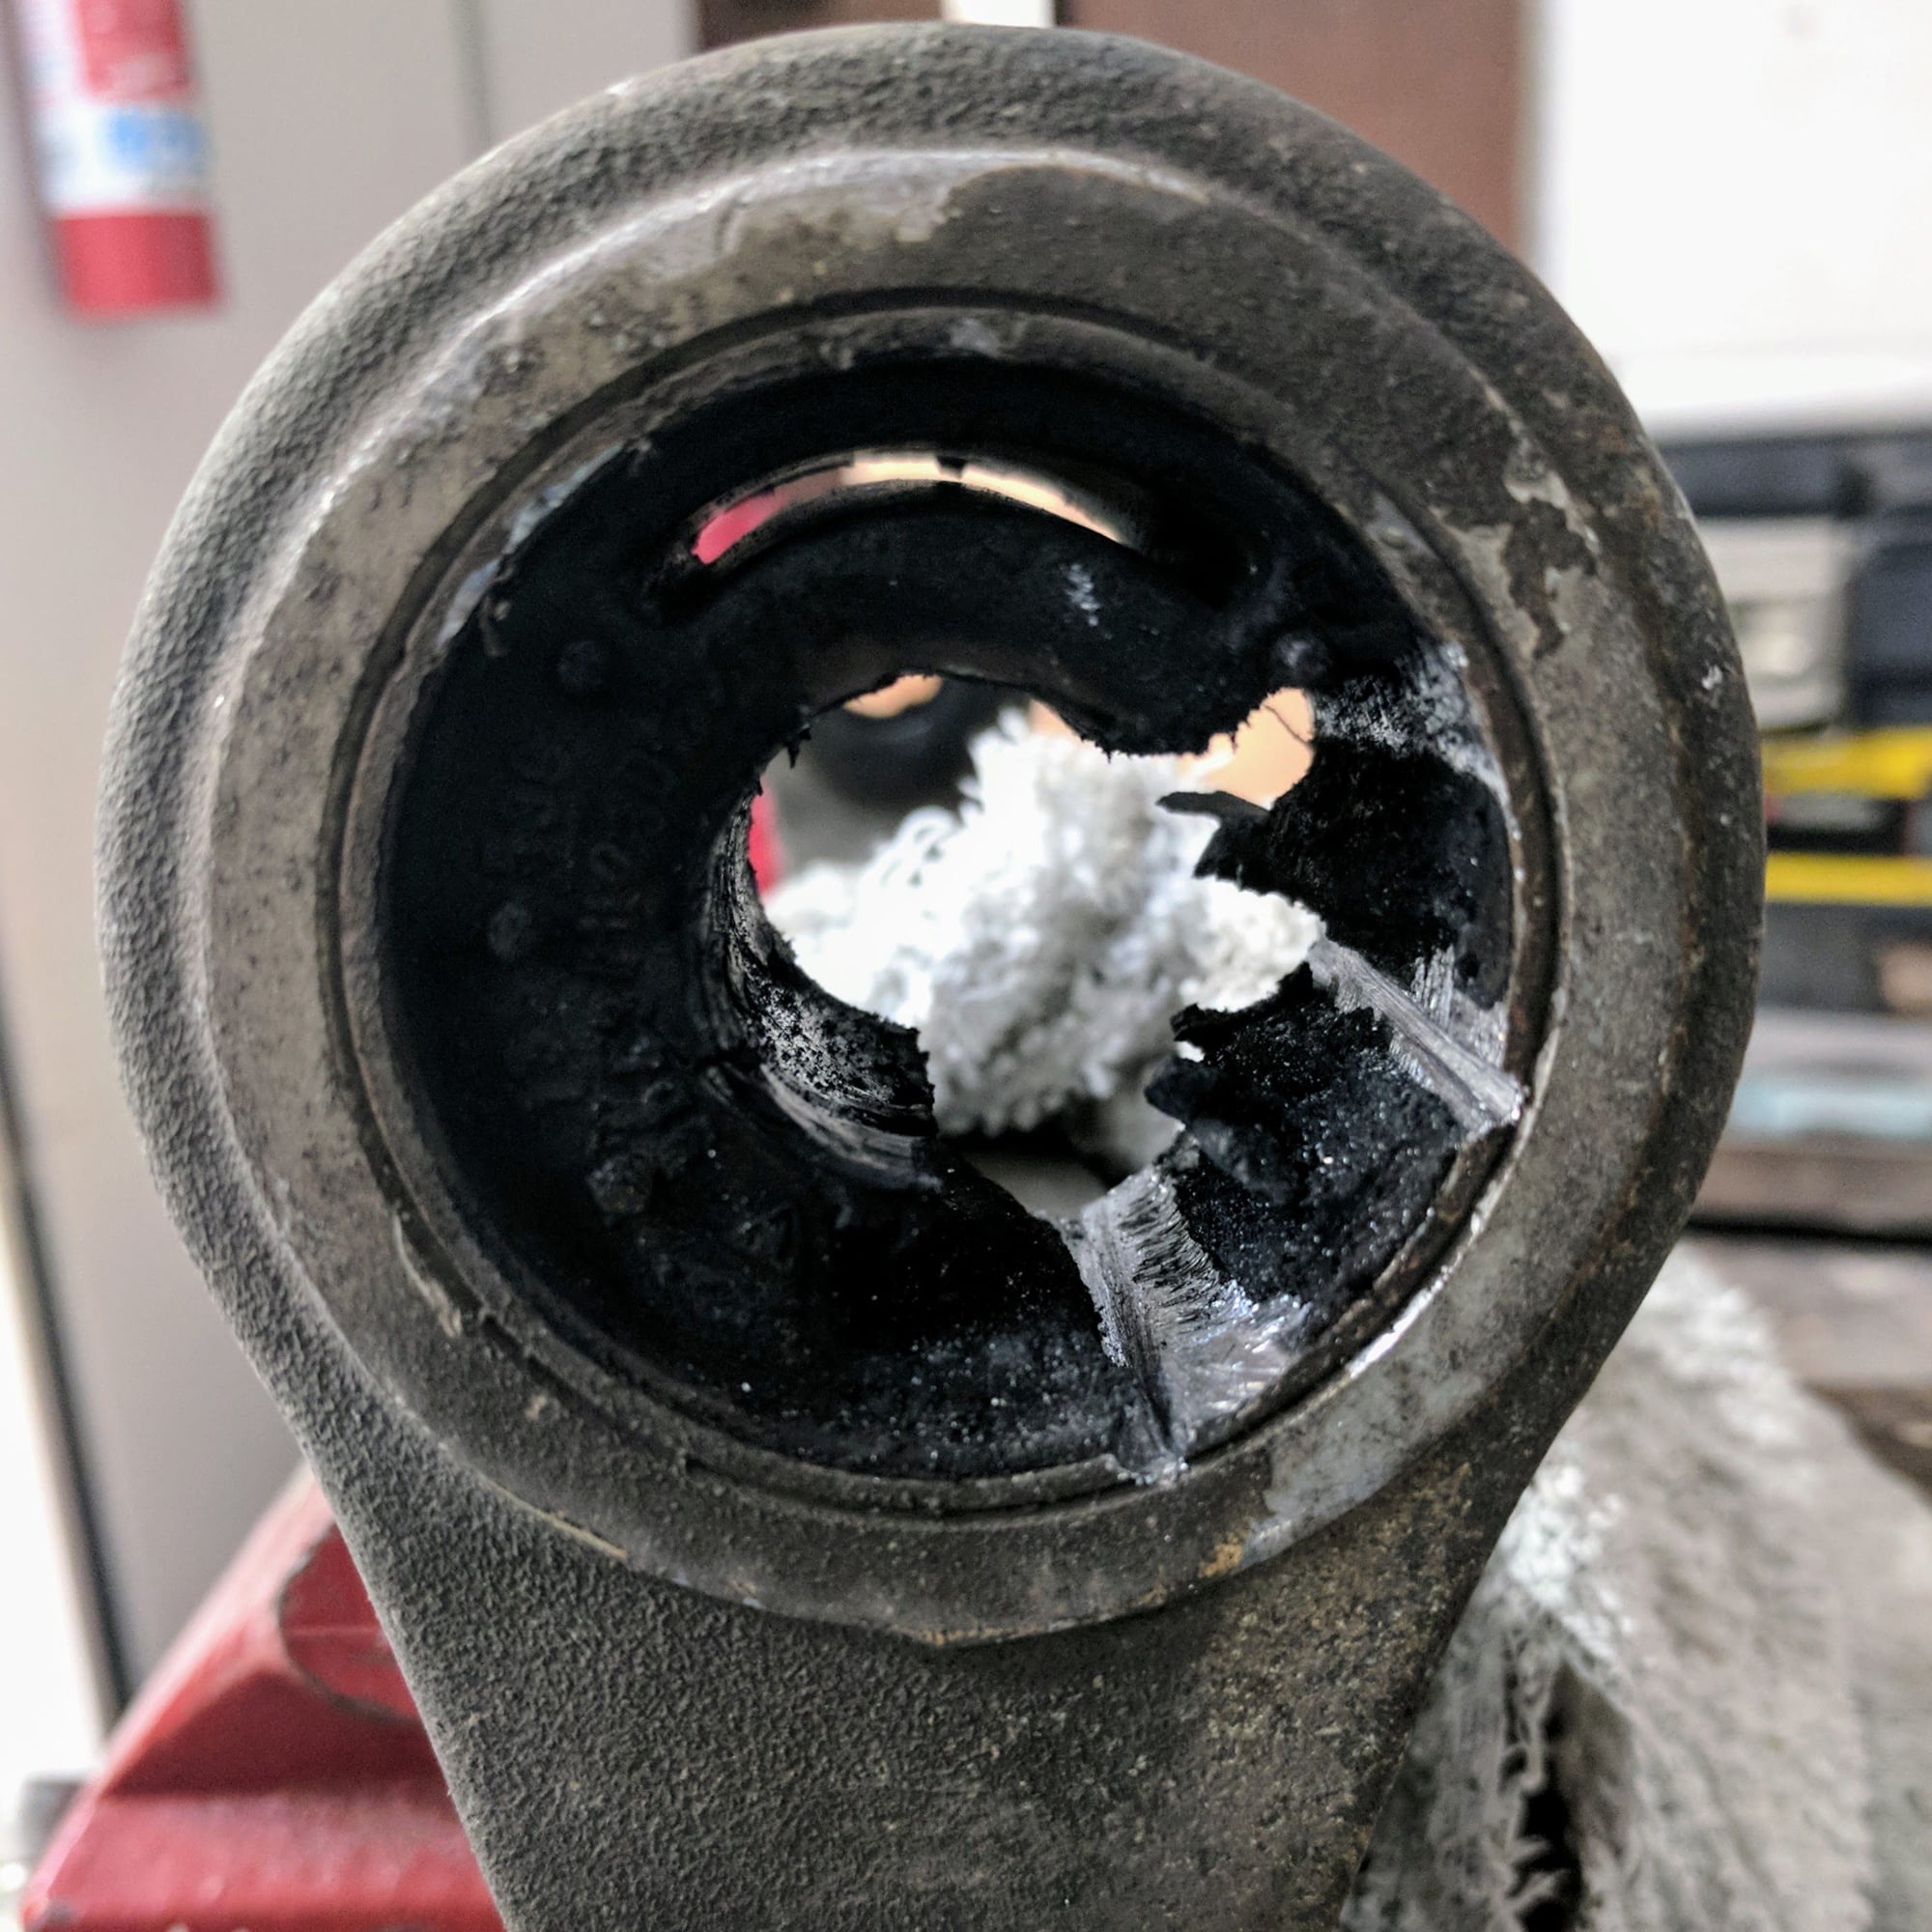
Use the jab saw to saw into the outer steel ring almost to the control arm so there is two notches approximately book ending the section you removed from the bushing. I tried to use the hack saw per the instructions and found it too flimsey. The sawzall blade of the jab saw makes the job of cutting out the rubber and cutting into the outer sleeve much faster.
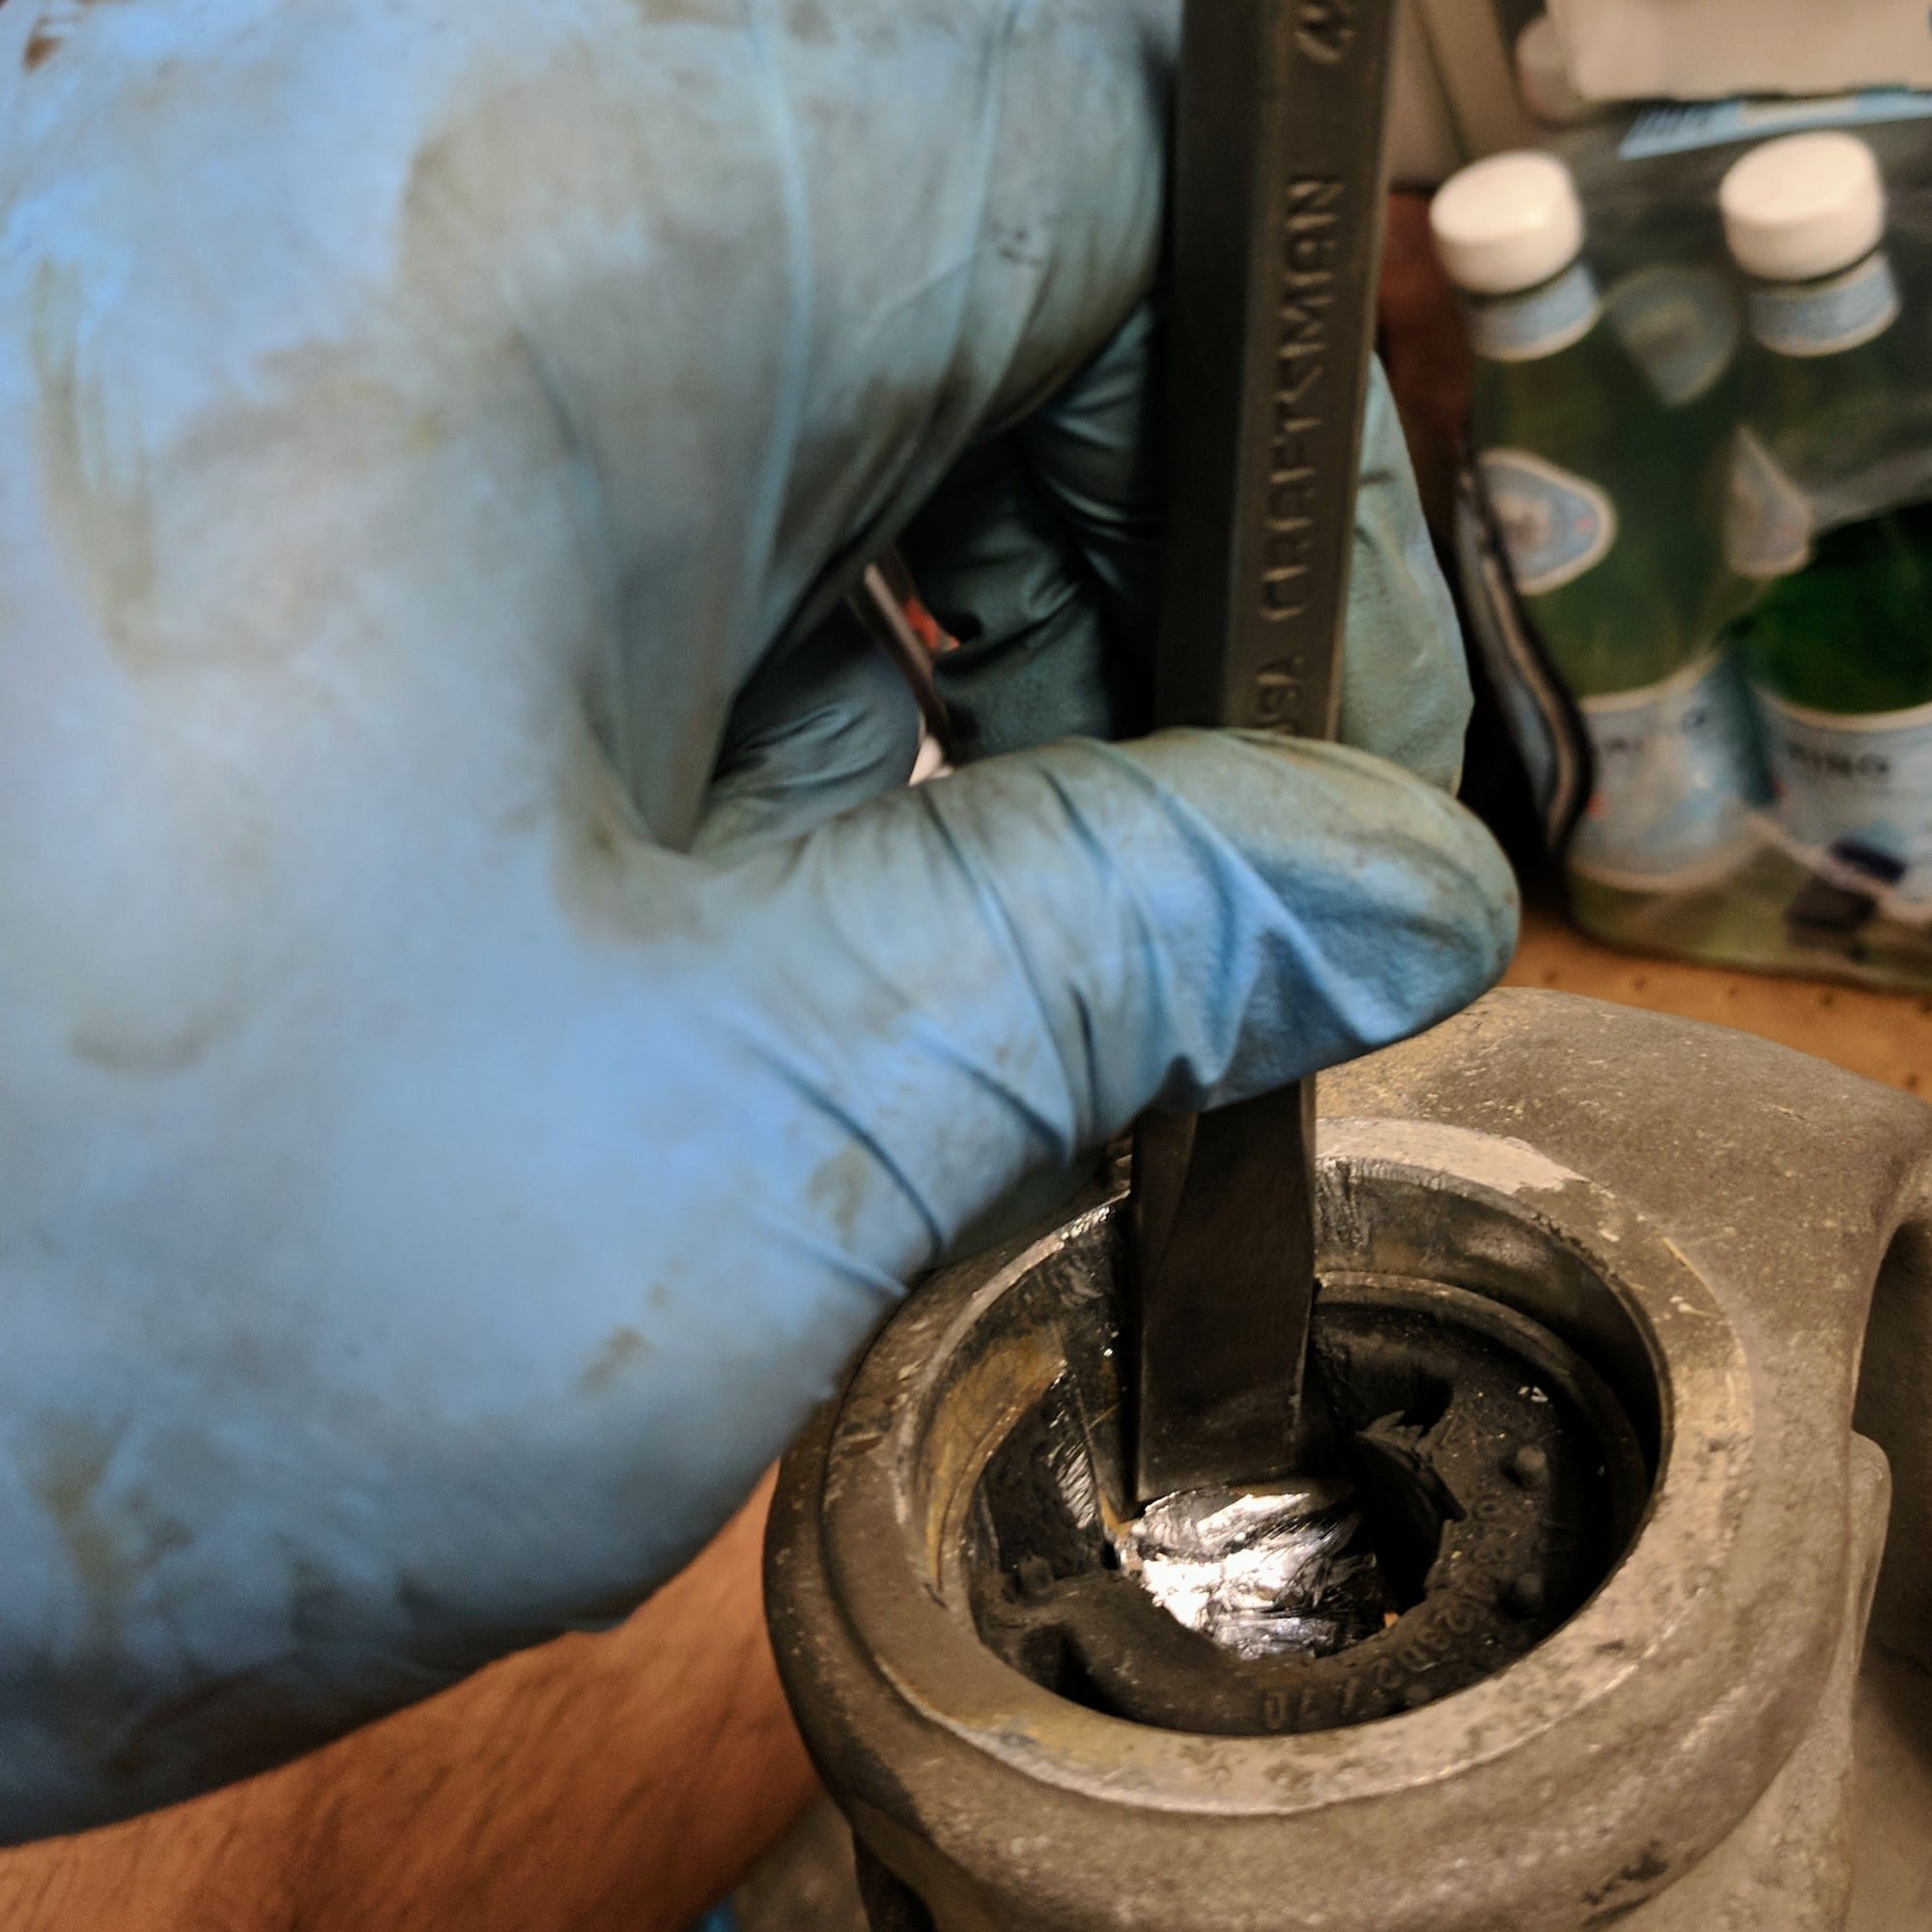
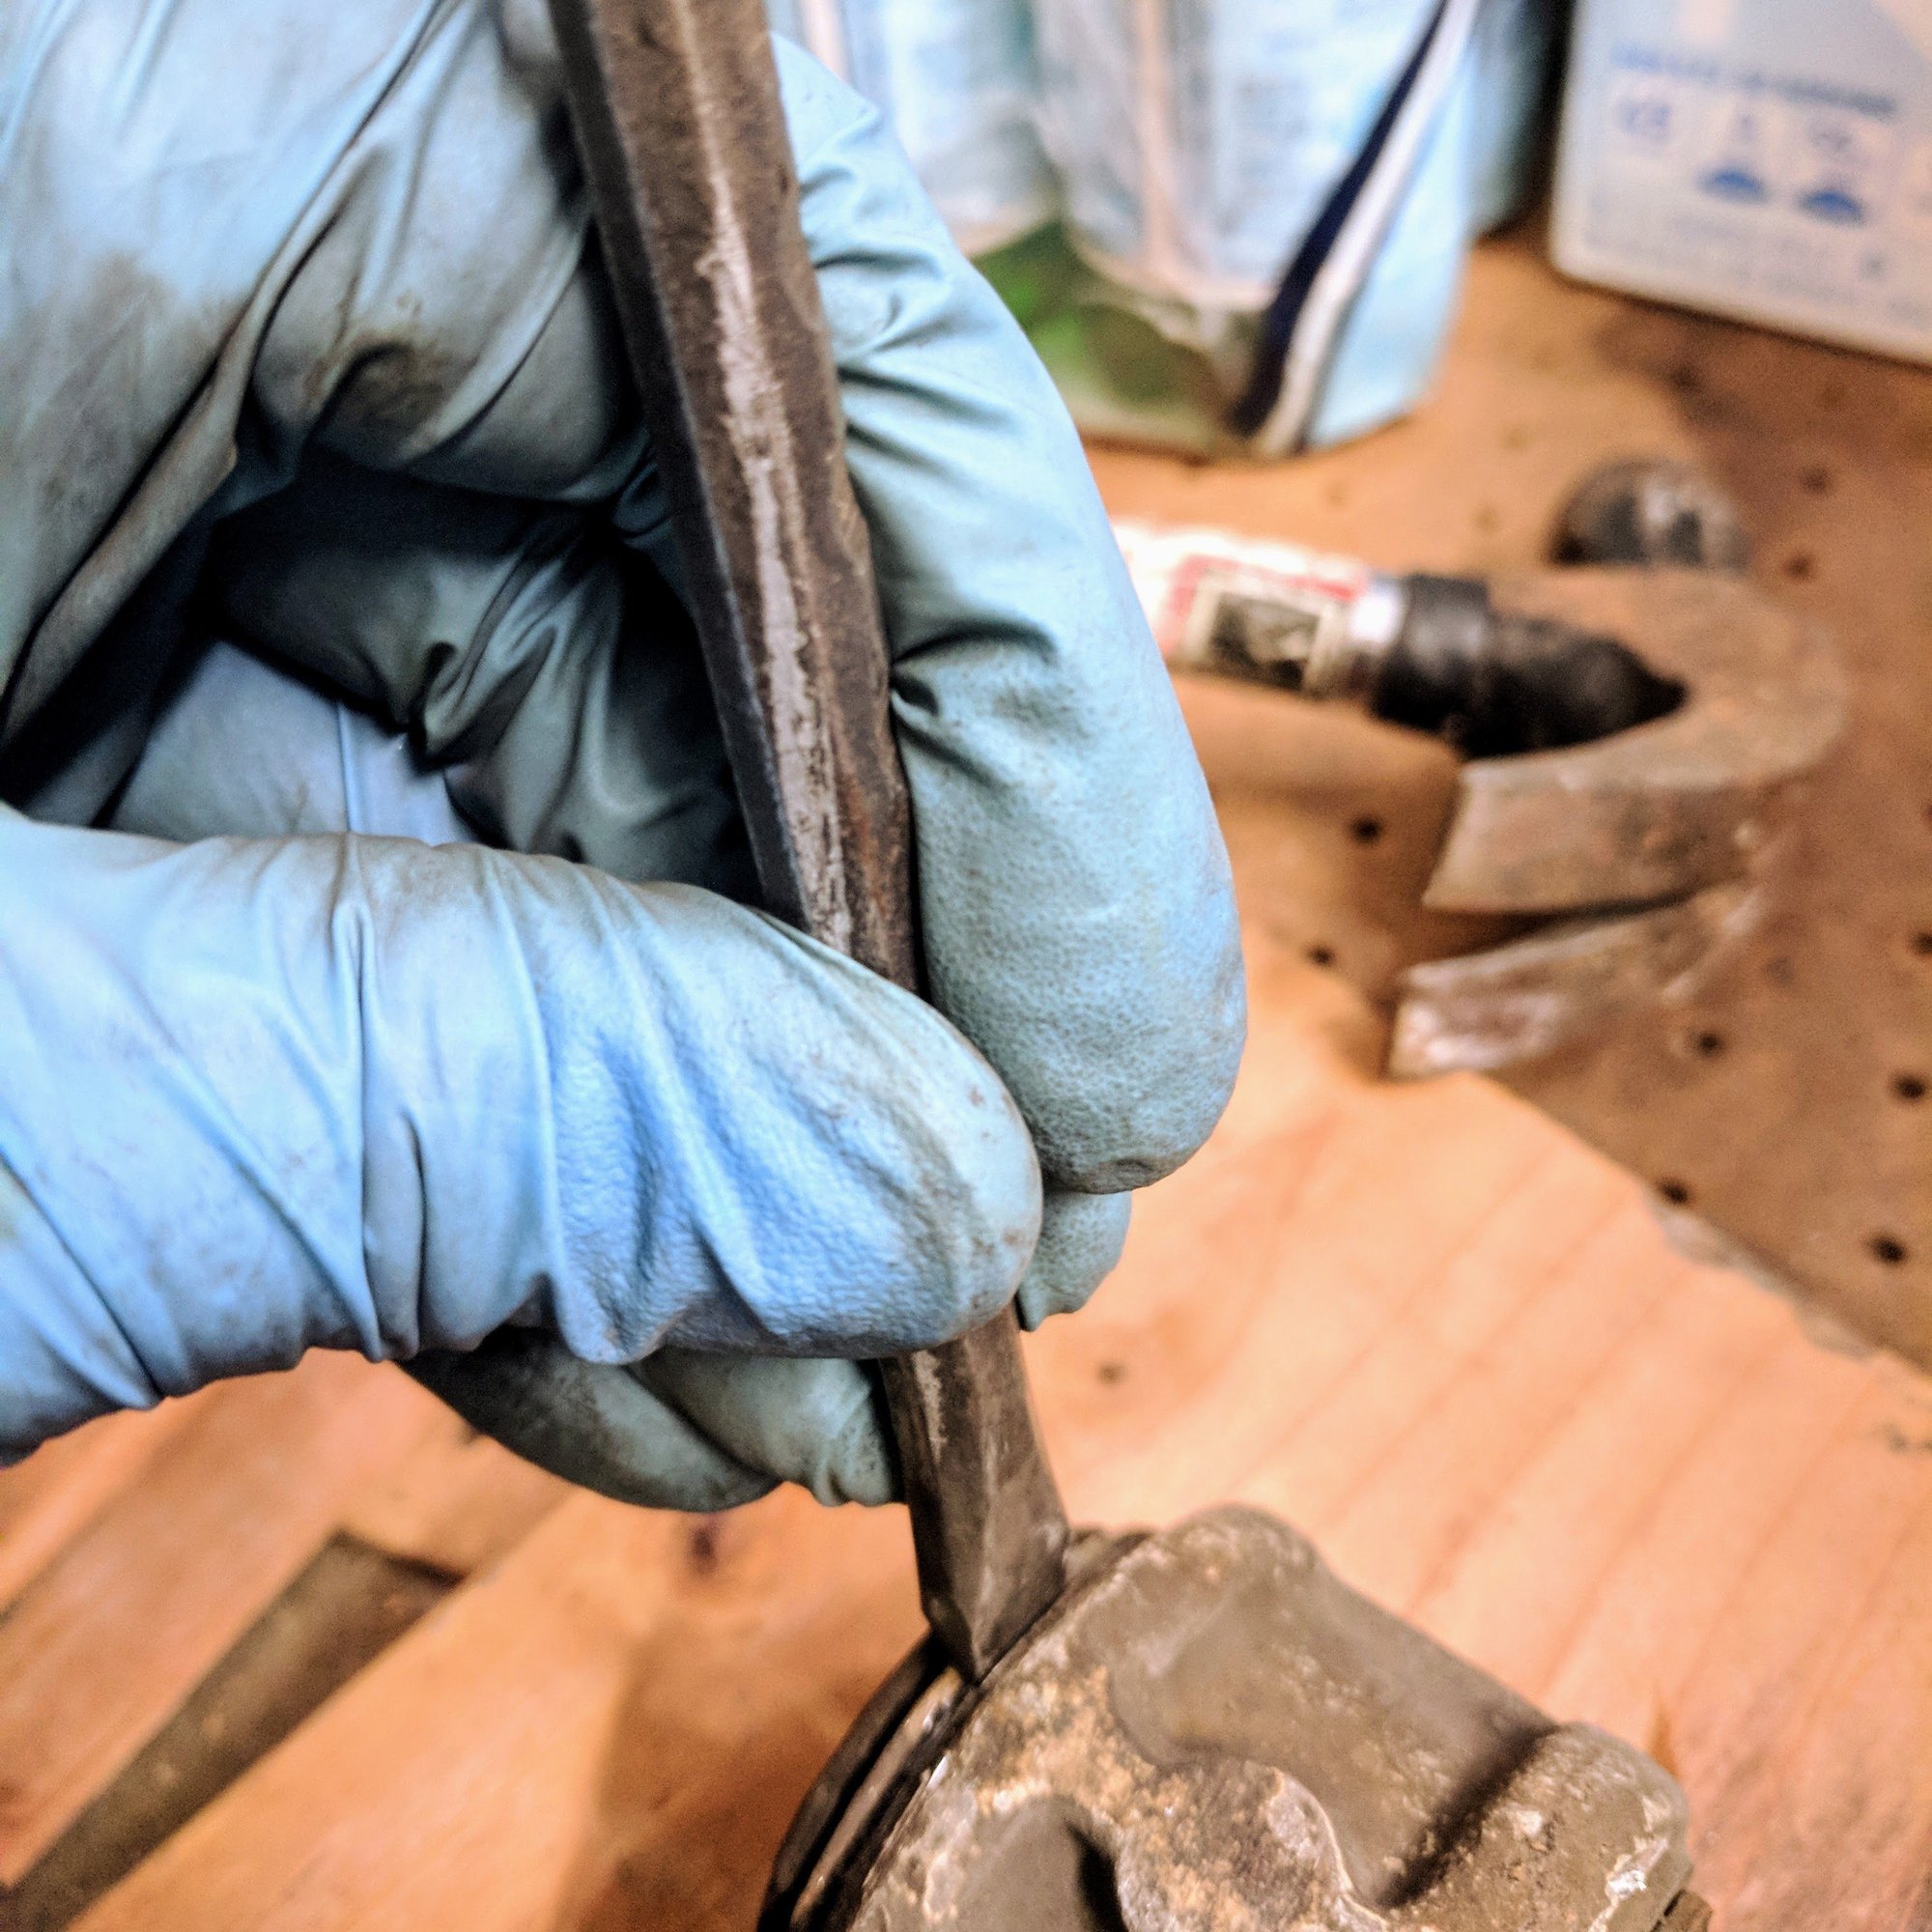
3. Use the chisel and start to hammer out the 90 degree section out of the bushing. This is where you need extreme patience. Eventually it will curl down easily and once you get the half way the entire bushing will pop out. The craftsman set is nice as it has a few different ones you can use to get the curl going from starting with the small ones to eventually the bigger ones... I found that the 90 degree section was much easier to bang out than just just working on one of the notches that the instructions call out.
4. Use the chisel and hammer away at the lips of the forward bushings per the instructions. With another beer and patience they will come out...
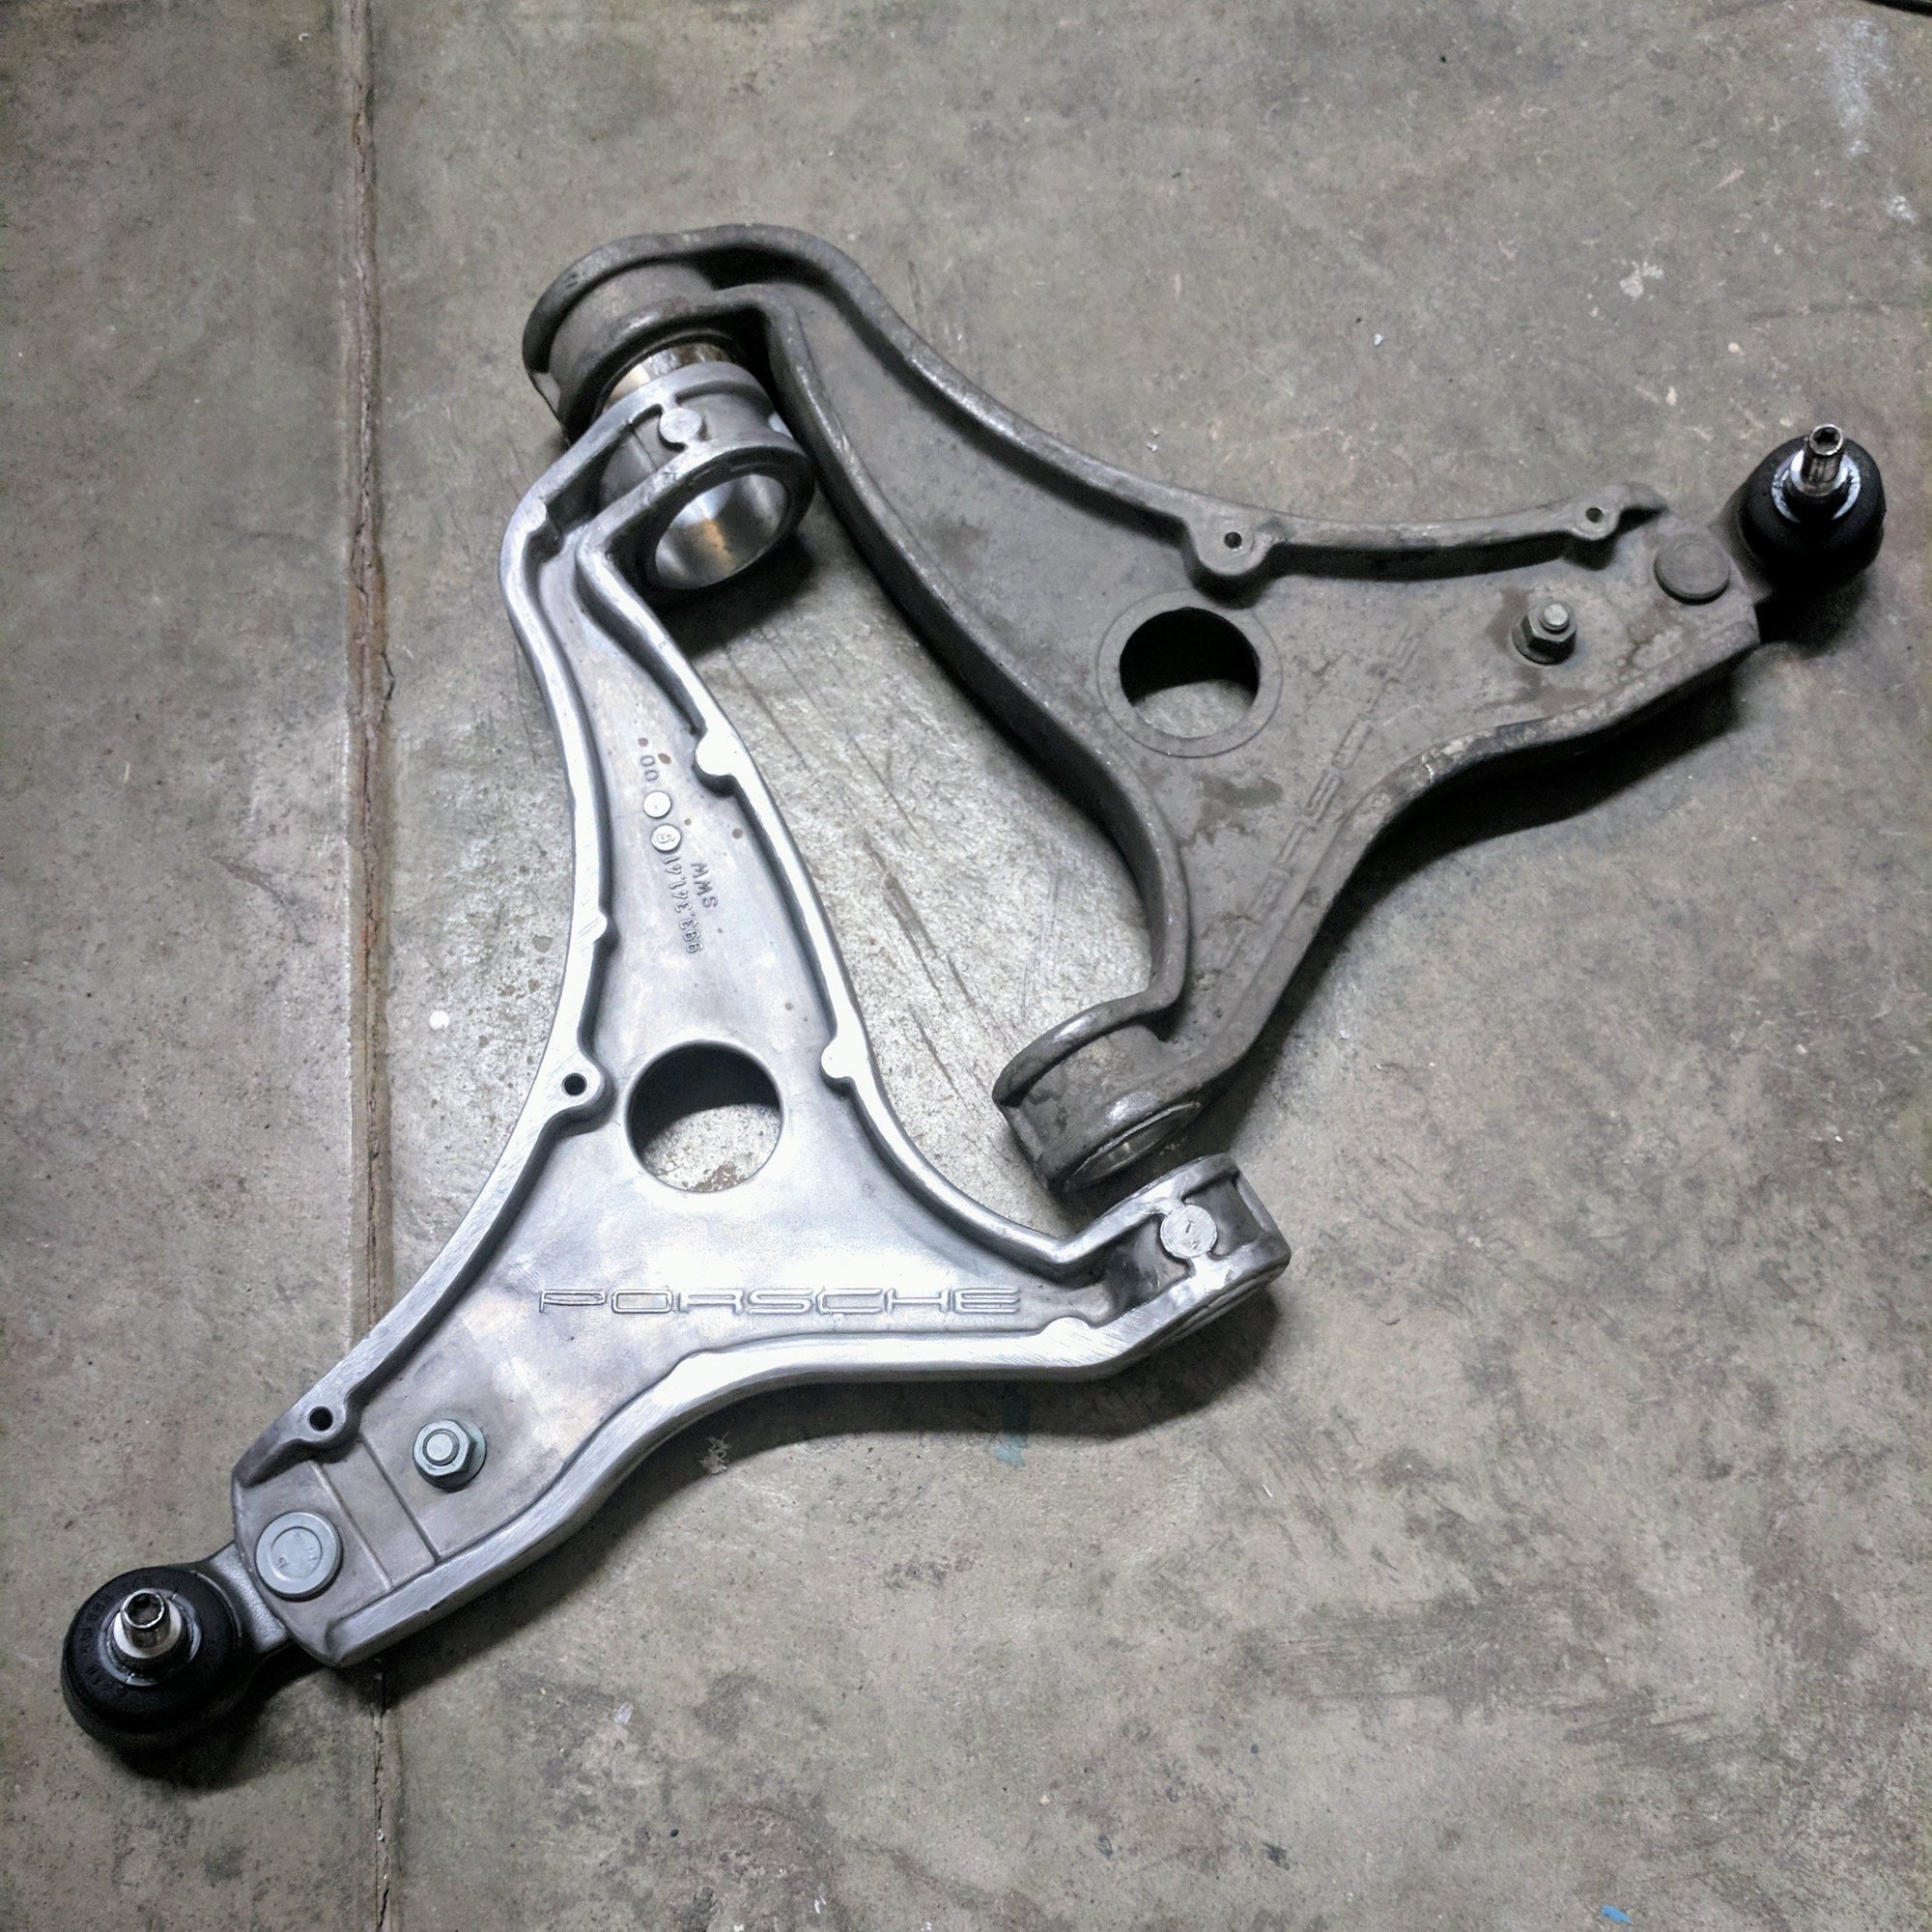
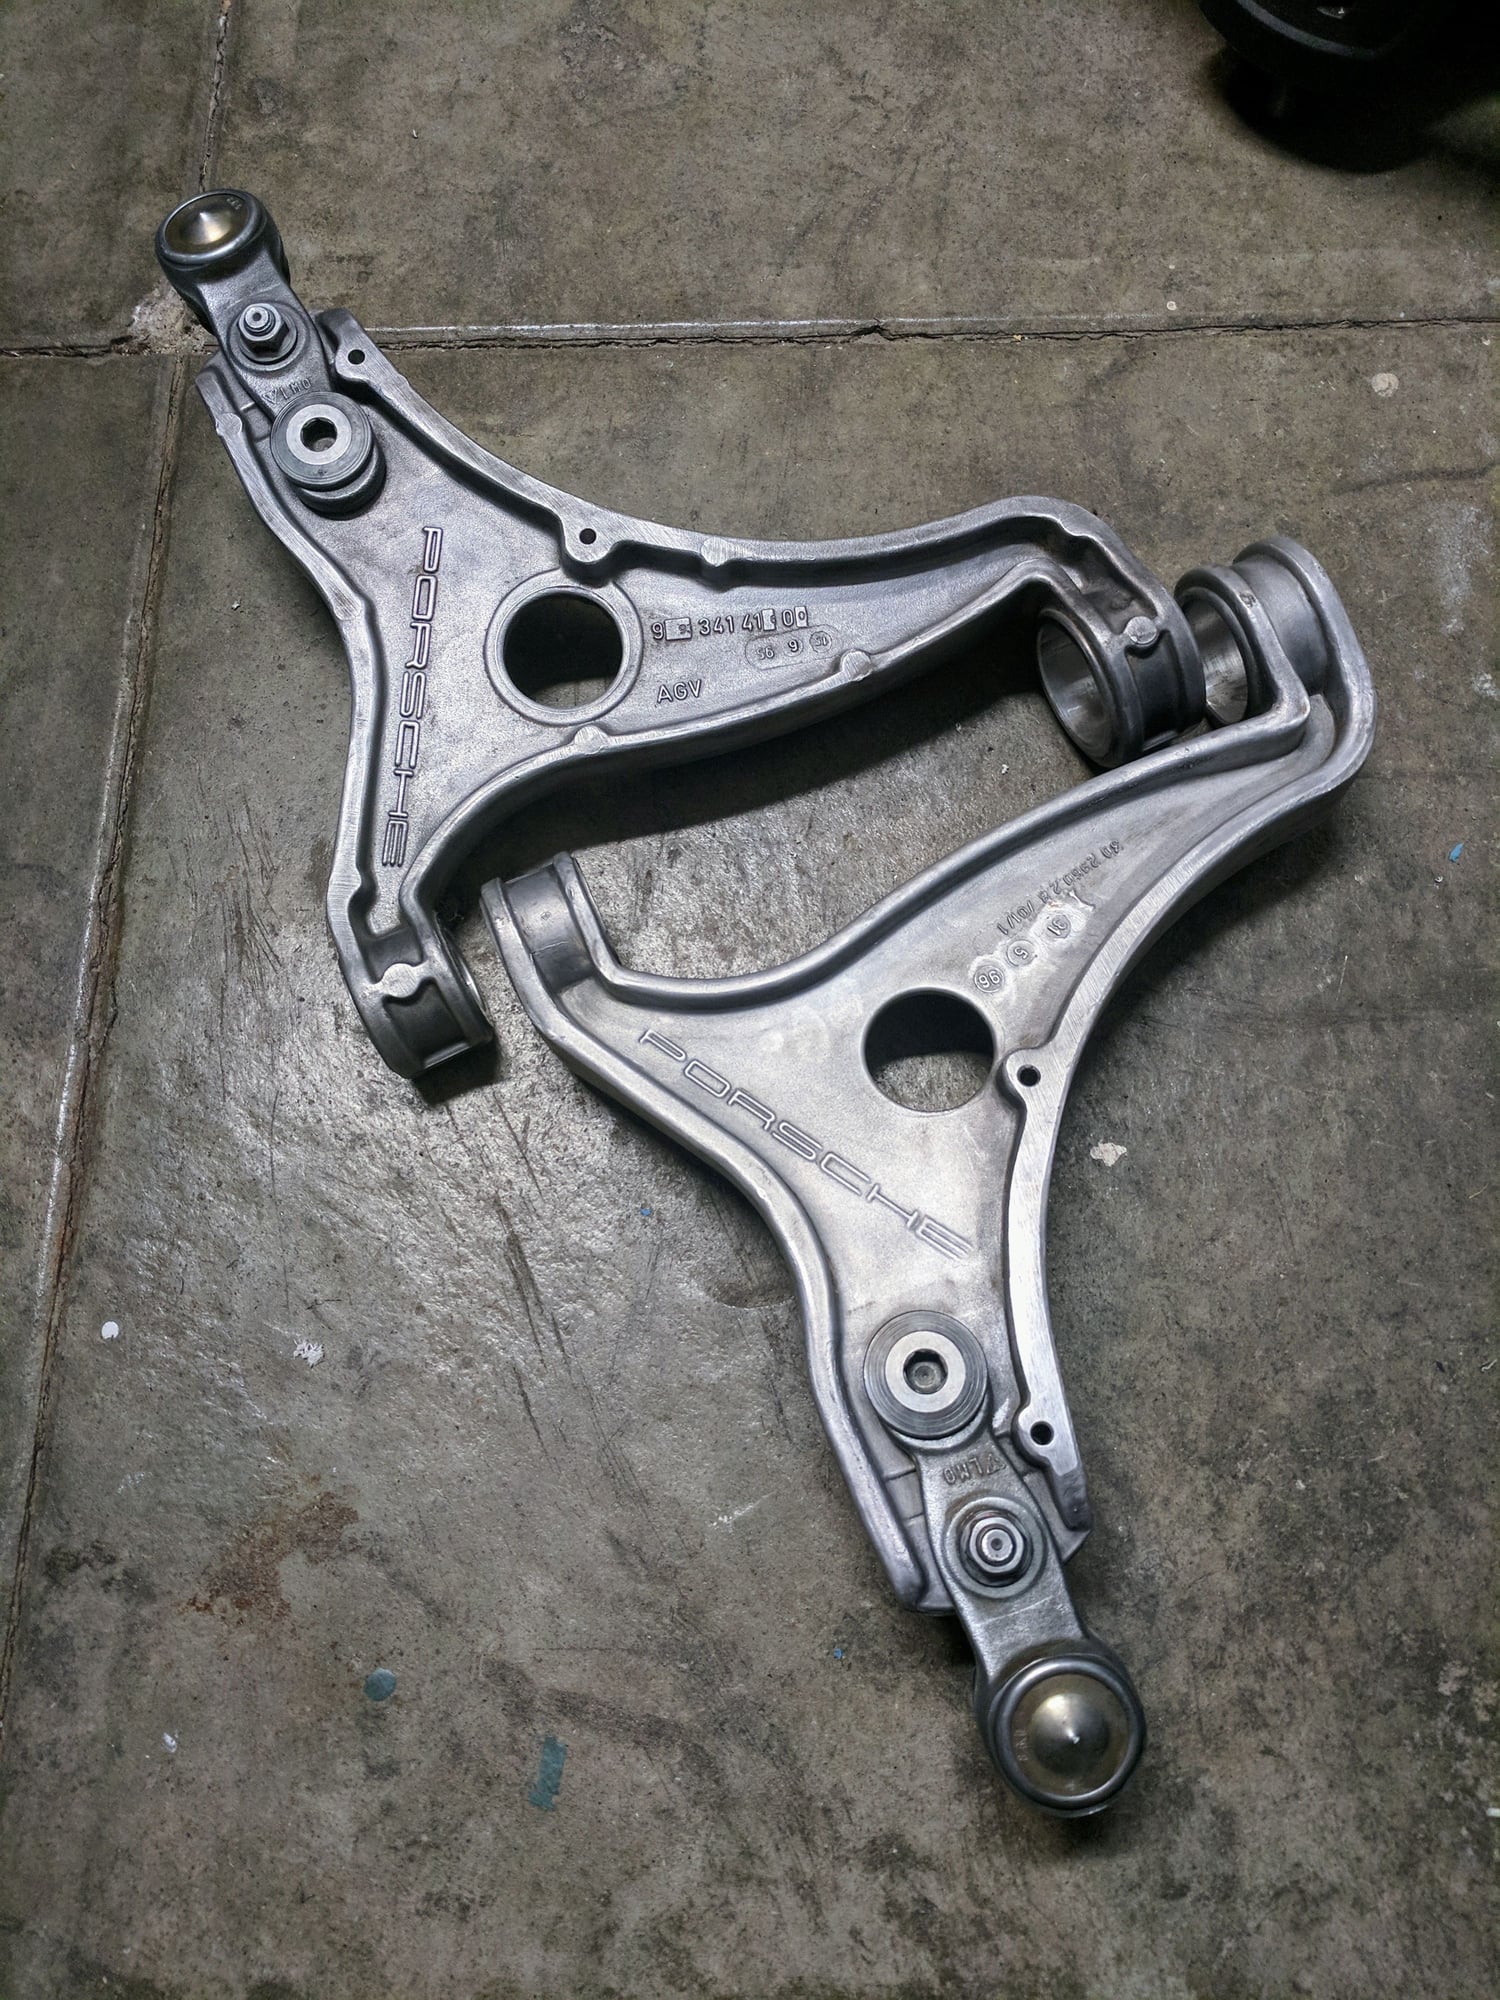
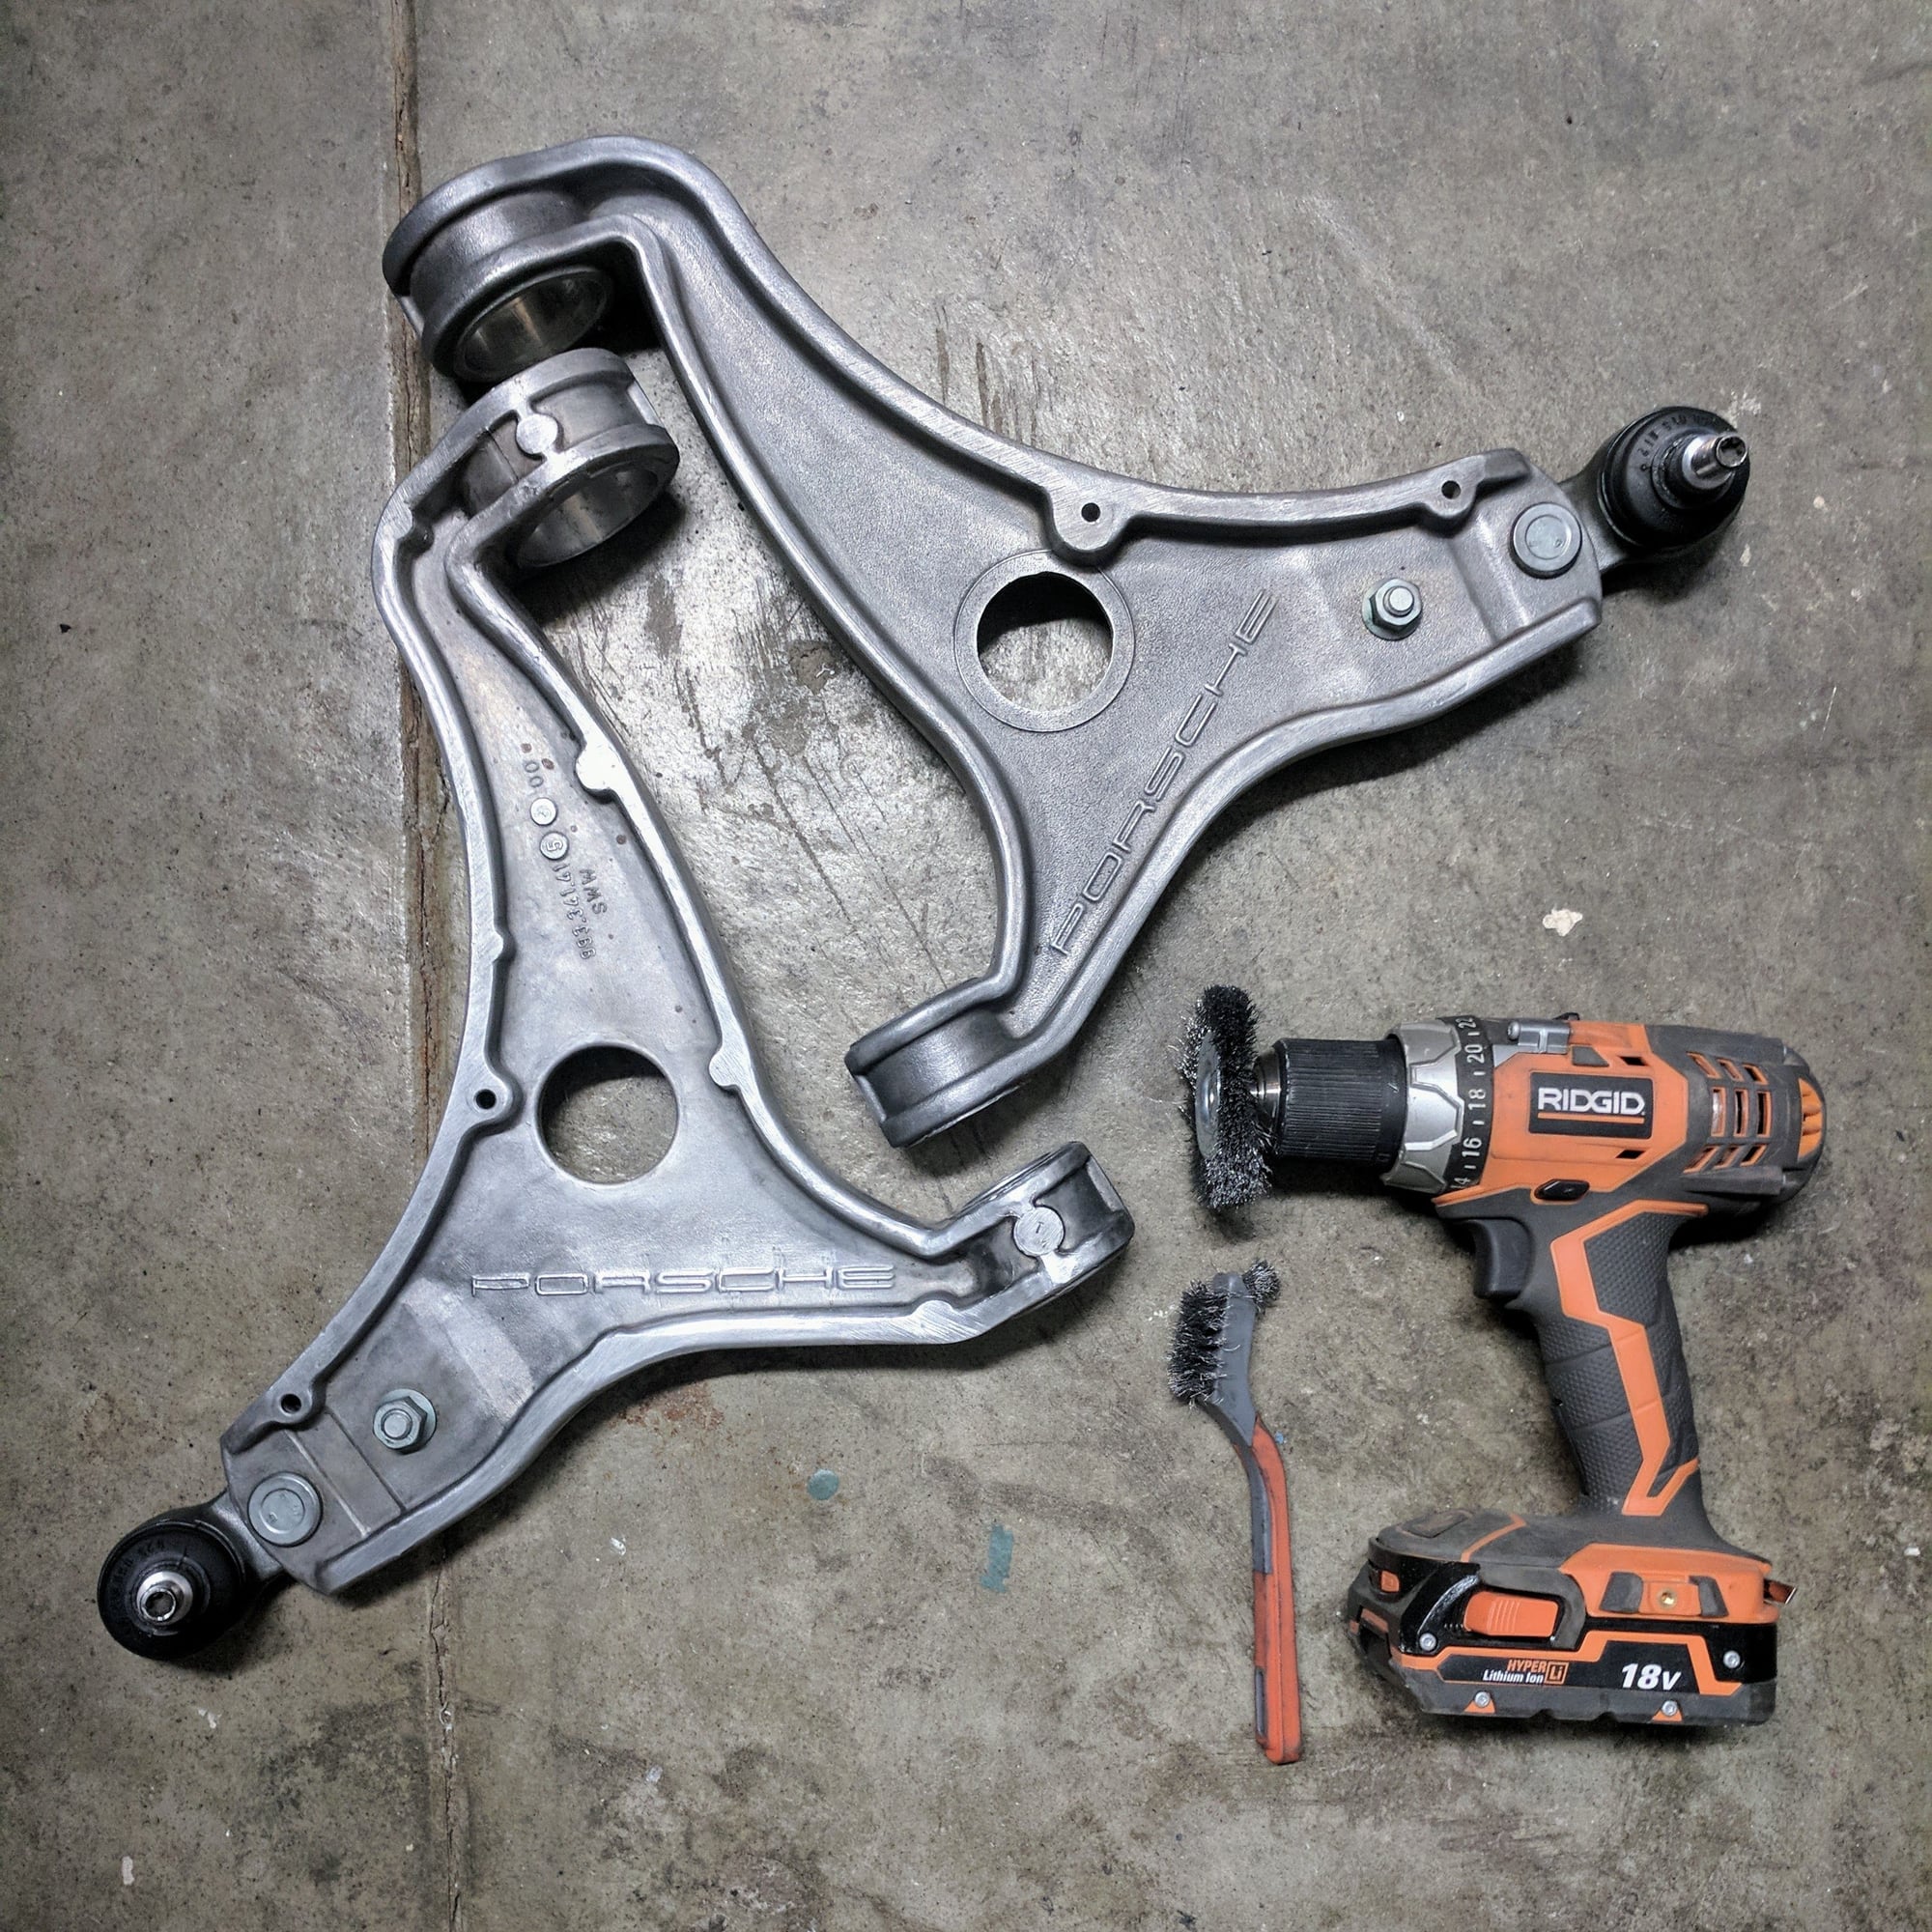
Given the bushings and control arms are out I decided to take off the 20 year old cosmoline and try to return the arms to their natural aluminum finish. Since it was the weekend none of the media blasters were open so I used a drill with a fine wire wheel as well as a fine wire brush and some sweat to polish the arms.
I tried different brushes starting with nylon, brass, and eventually steel. The cosmoline is tough and so the fine wire wheel and brush were the only ones that had enough abrasive action to remove the cosmoline. I am pleased with the results.
Control arm coated with cosmoline and one without...
Pro tip - when reinstalling the arms, load the suspension fully before tightening the arms beyond finger tight. Not just to ensure the bushings are oriented correctly but also to ensure the tab stays perfectly slotted into the notch. Loading the front can be tricky on jacks, I ended up rolling the front up on ramps and then jacking the rear up to get enough weight on the front.
Since you're also in the bay area, why didn't you let ER handle the bushings by dropping the control arms to their shop?
Some of us, myself included, would rather take the money we save @ maybe $125 per MH and spend it elsewhere.
OR
Remove your control arms and ship them along with your (Walrod, (rennlist member) bushing kit to , (AOW162435, Andreas, rennlist member) for old bushing removal, finish, and fitment of new bushings.
See bottom of his signature block in post # 6 above. Nice!
Guys... behind with posting my progress. Here is an update...
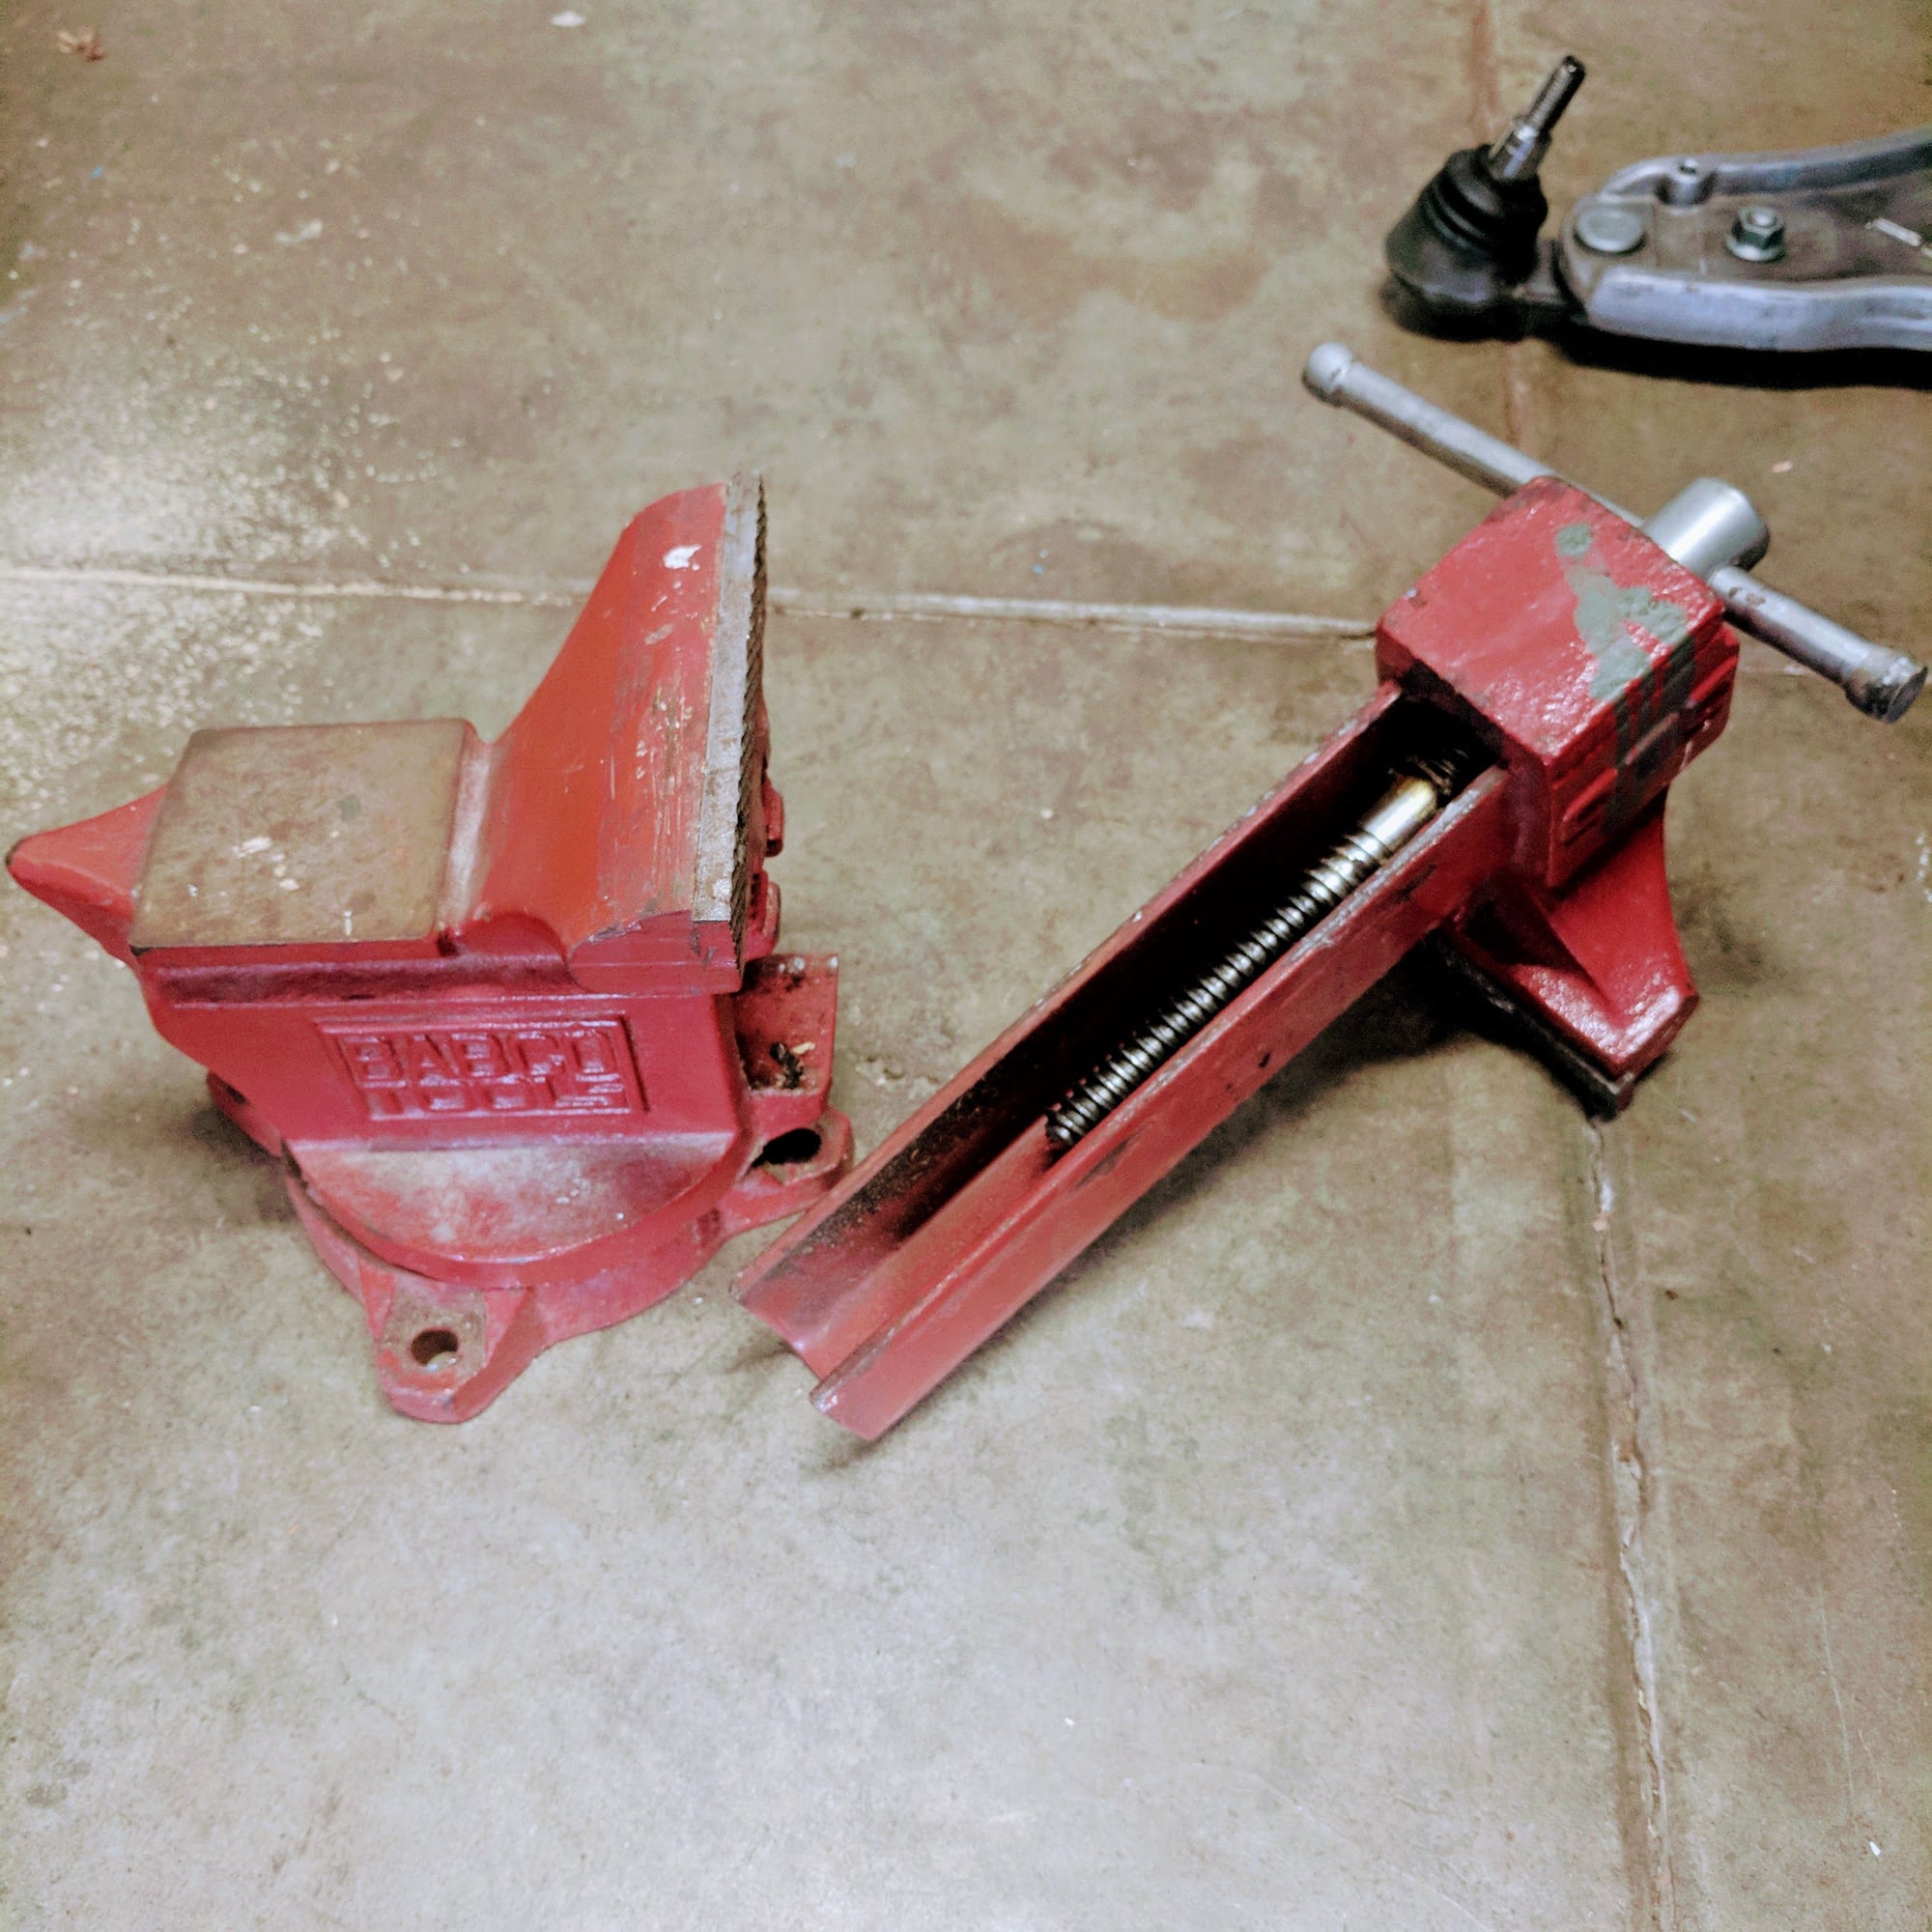
Last week attempted to install the Elephant sport bushings with my table vise. Had my first DIY #fail. I used my car jack handle as a lever to crank down my cheapo vise to push the rear bushing in. Well my vise broke from the torque. Luckily it broke on the bolt so was able to recover my vise minus it not being able to open as wide anymore...
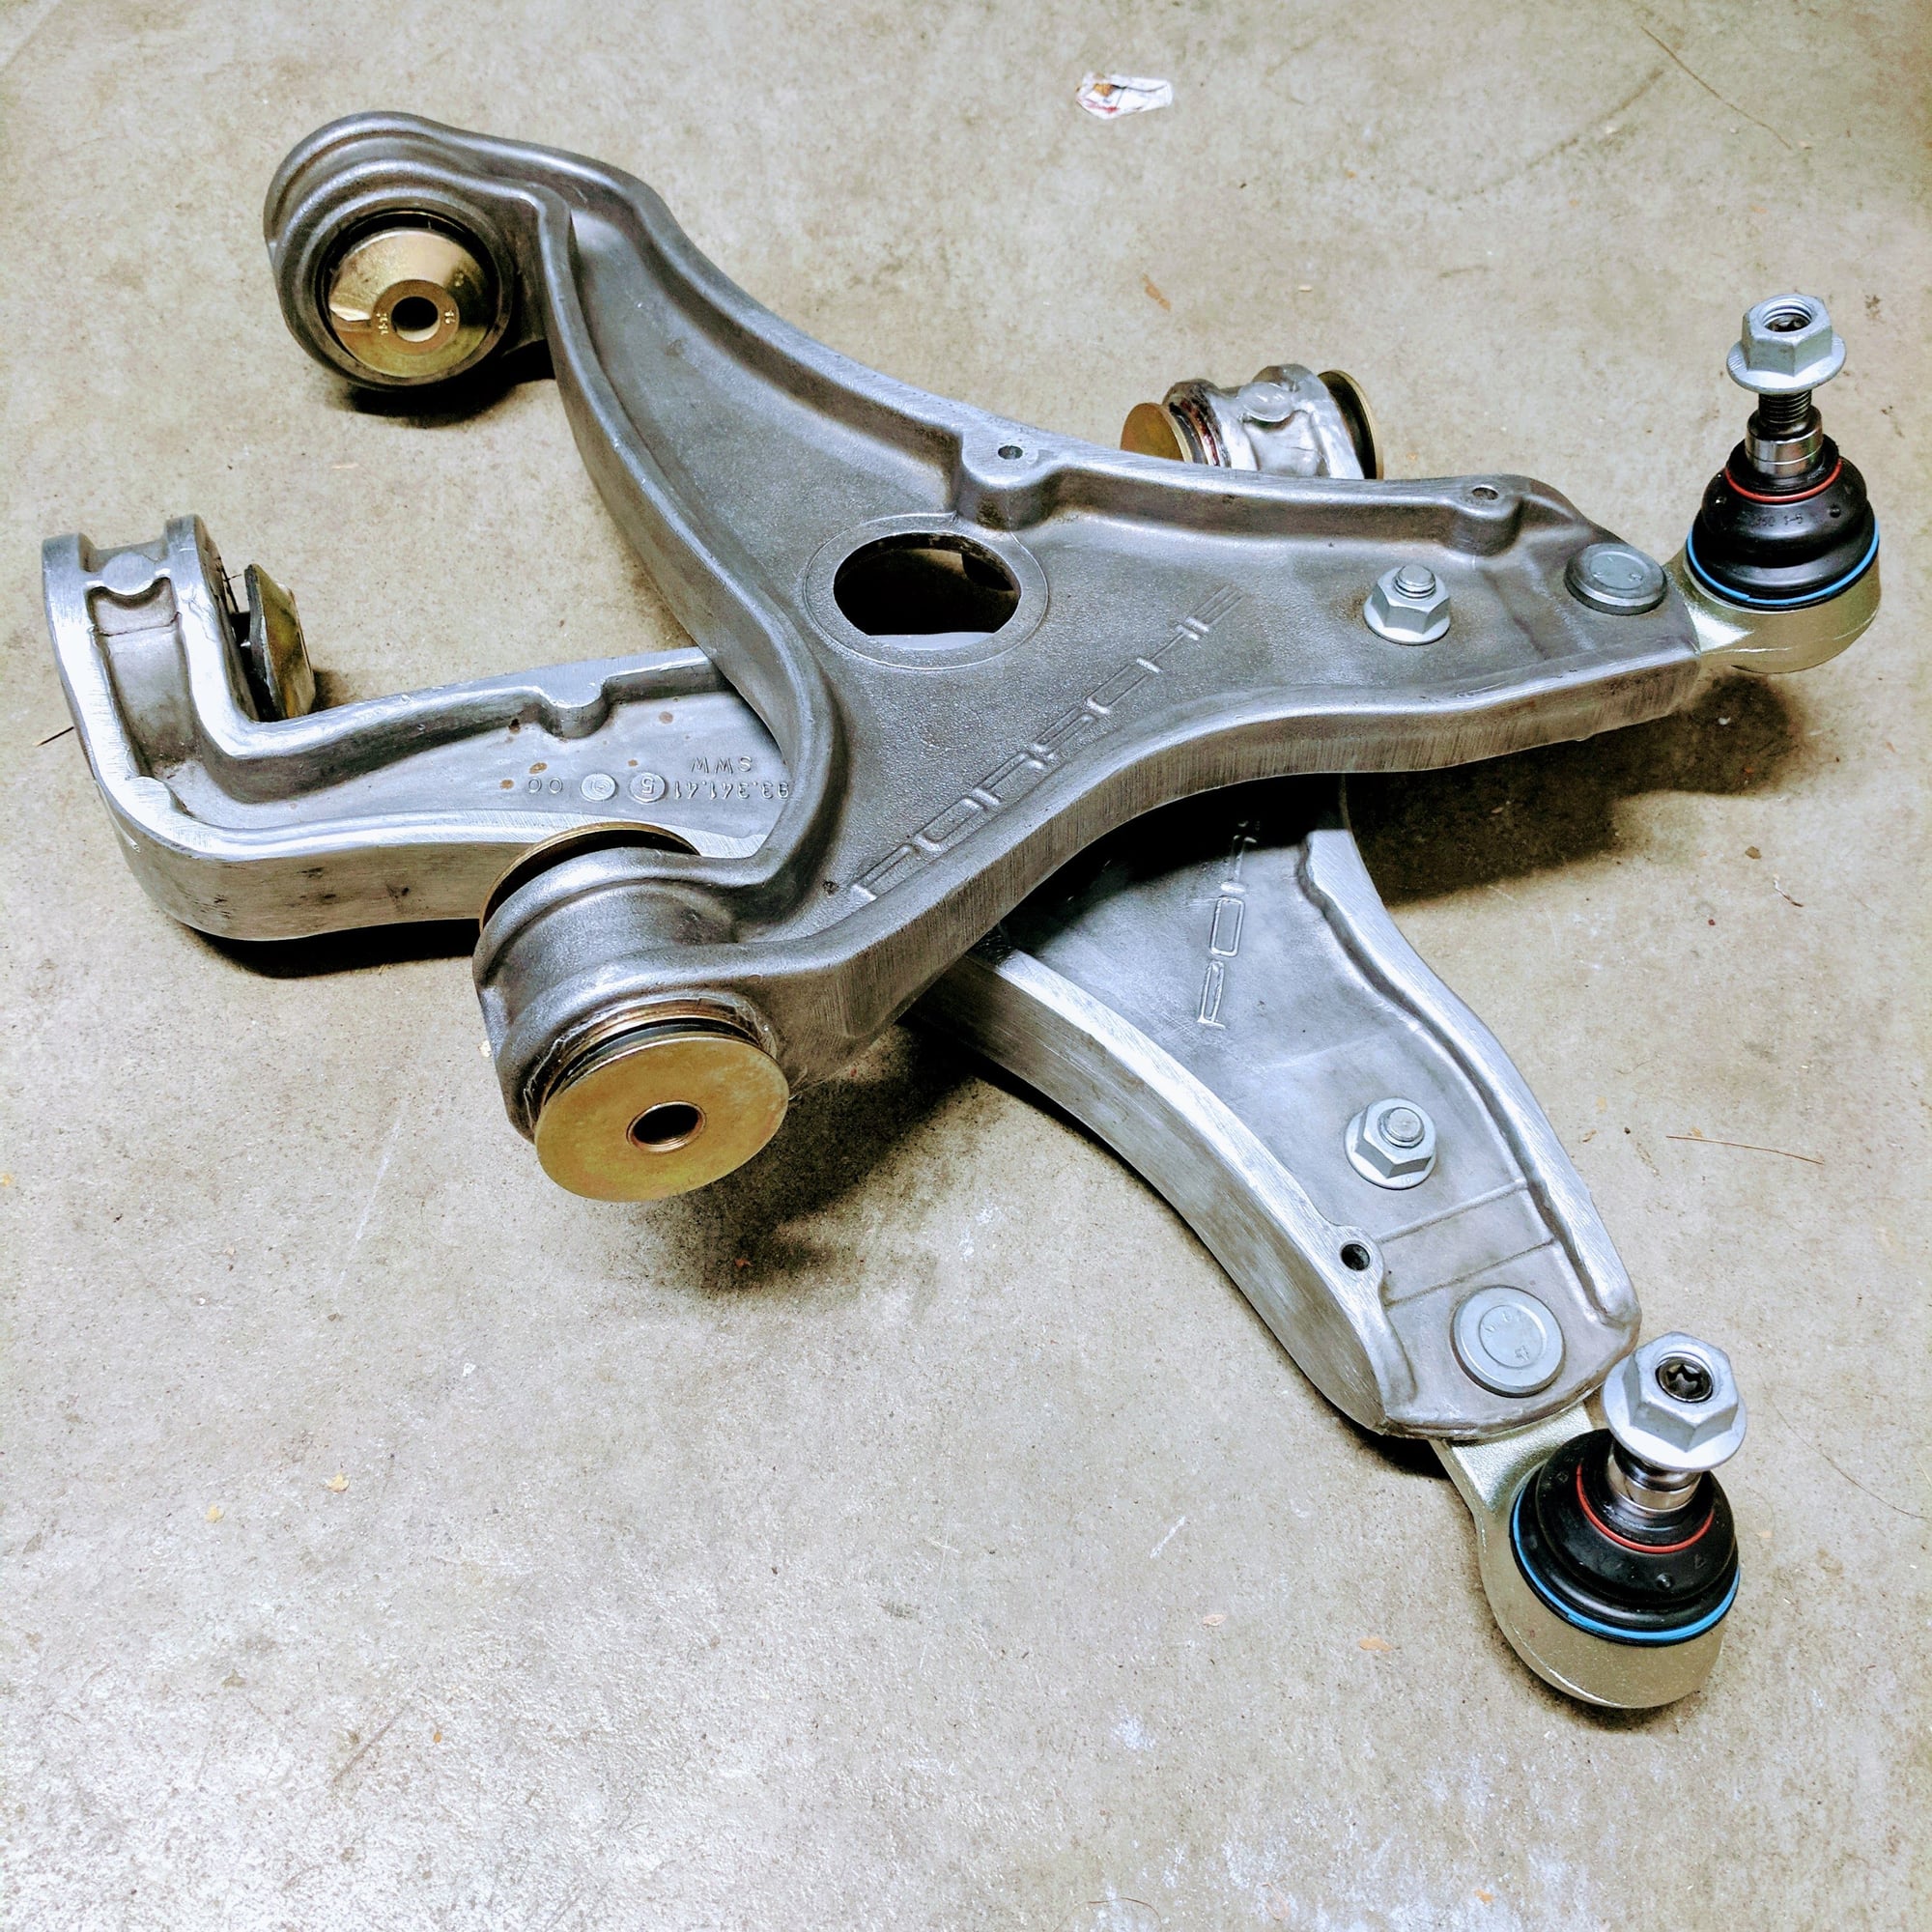
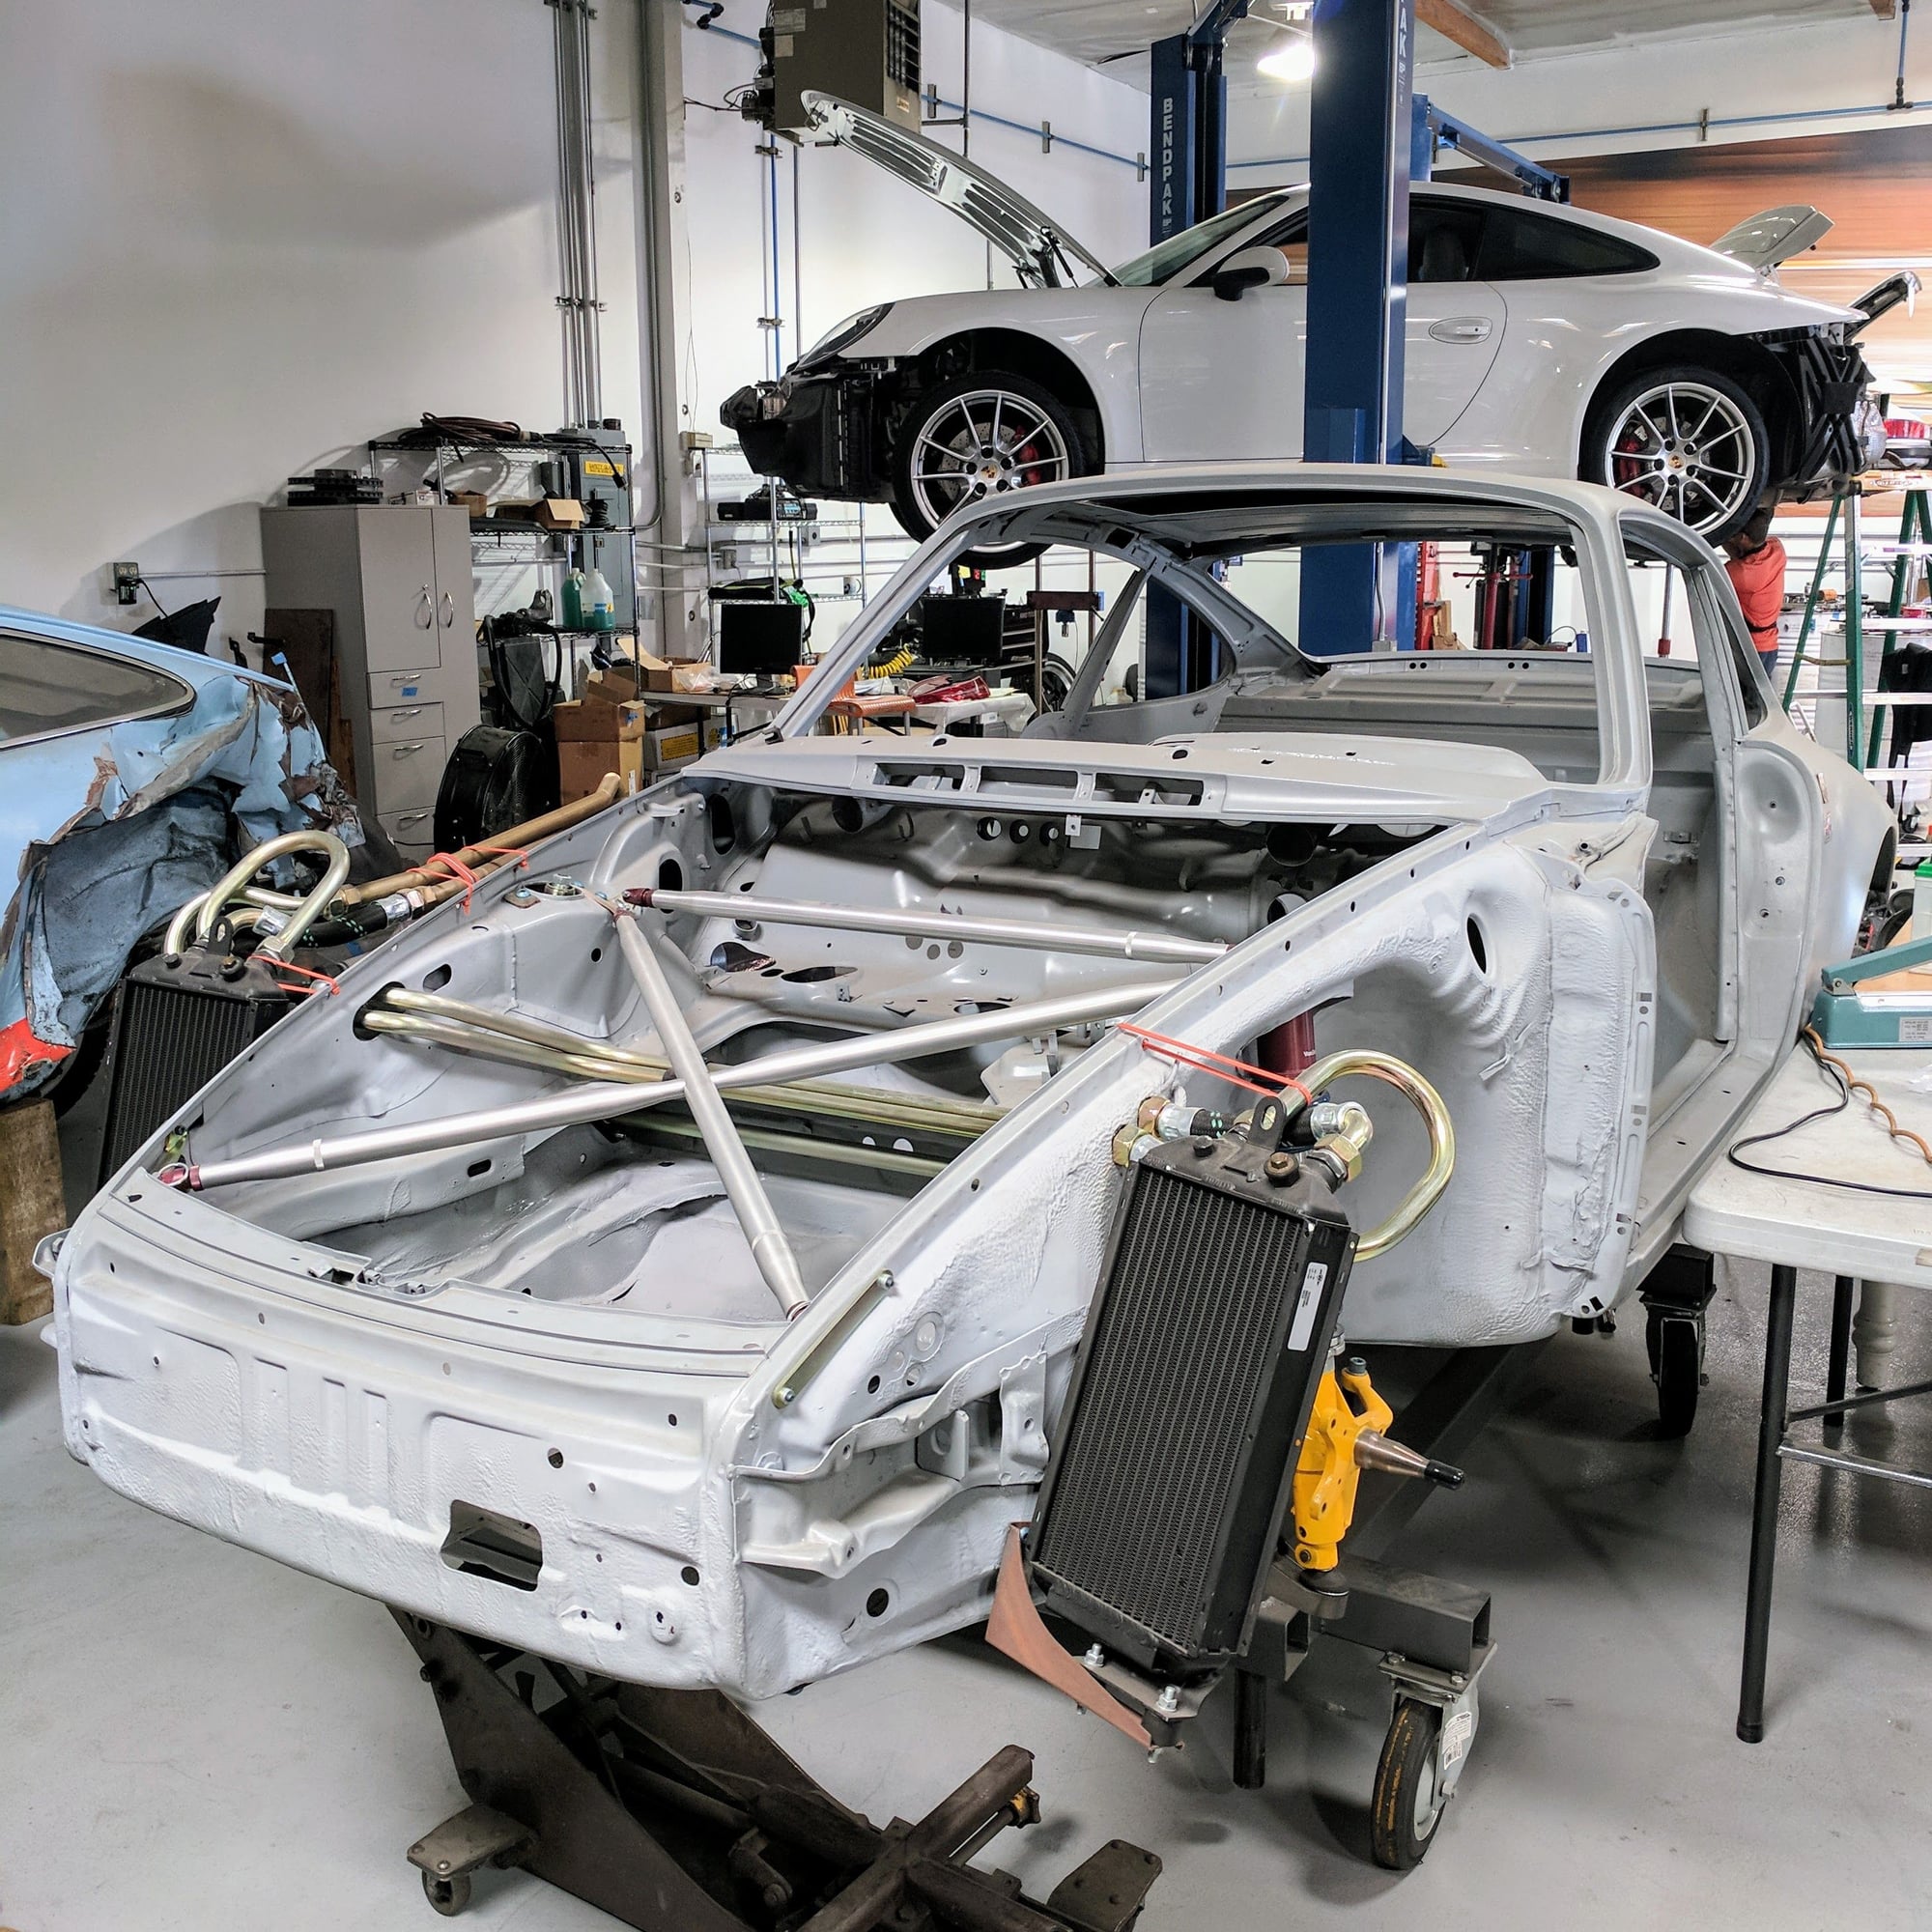
After that setback asked Chuck @ Elephant Racing to push in my bushings for me for a nominal service fee. Had him also check out my front ball joints and toe control arm ball joints. He found some issues with them so he installed a new pair of lemforder ball joints along with my bushings, and ordered a new pair of OEM toe control arms. Got some tips and tricks to install the control arms, tie rods, and sway bar bushings so all in all time well spent.
Here is one of his project cars in his shop...
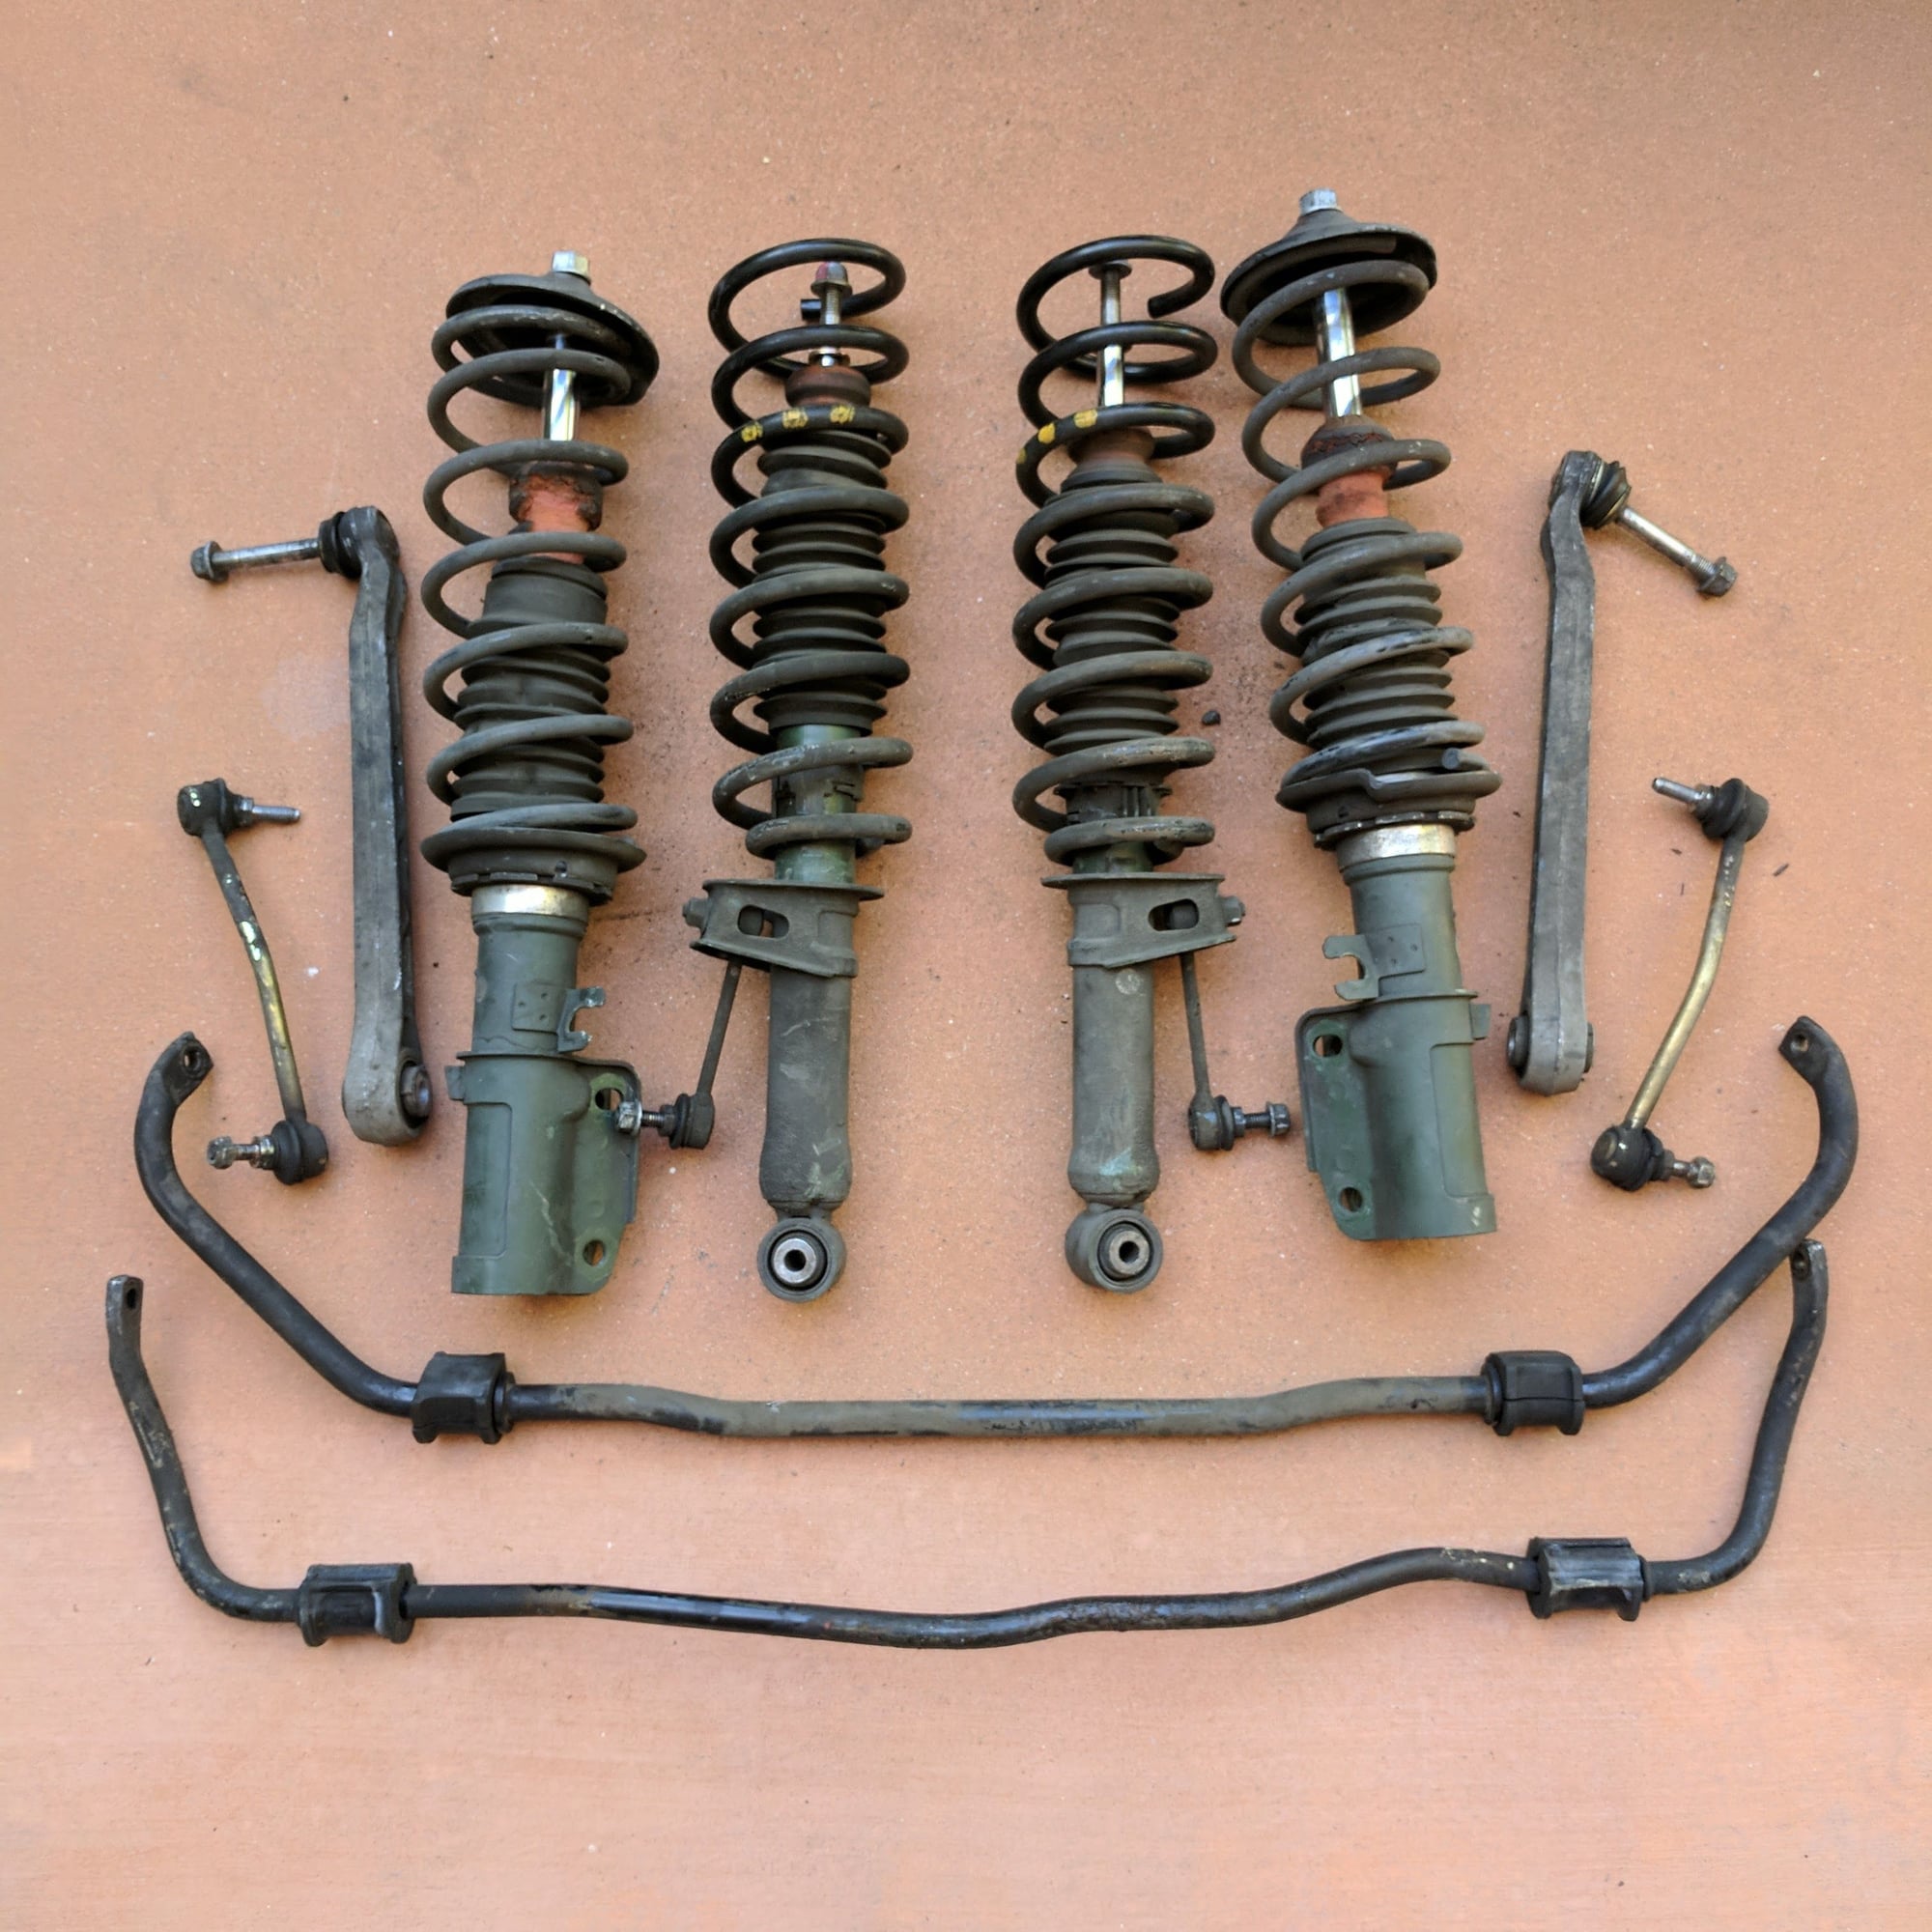
Now that I got my control arms ready, next step is to install my PSS10 kit!
A veteran RLister shared with me a Bilstein HD DIY install guide that was also very good. Using those two guides and the Bentley guide made the removal process pretty straight forward. Attached are a few extra steps/hacks I did that were not documented in the guides...
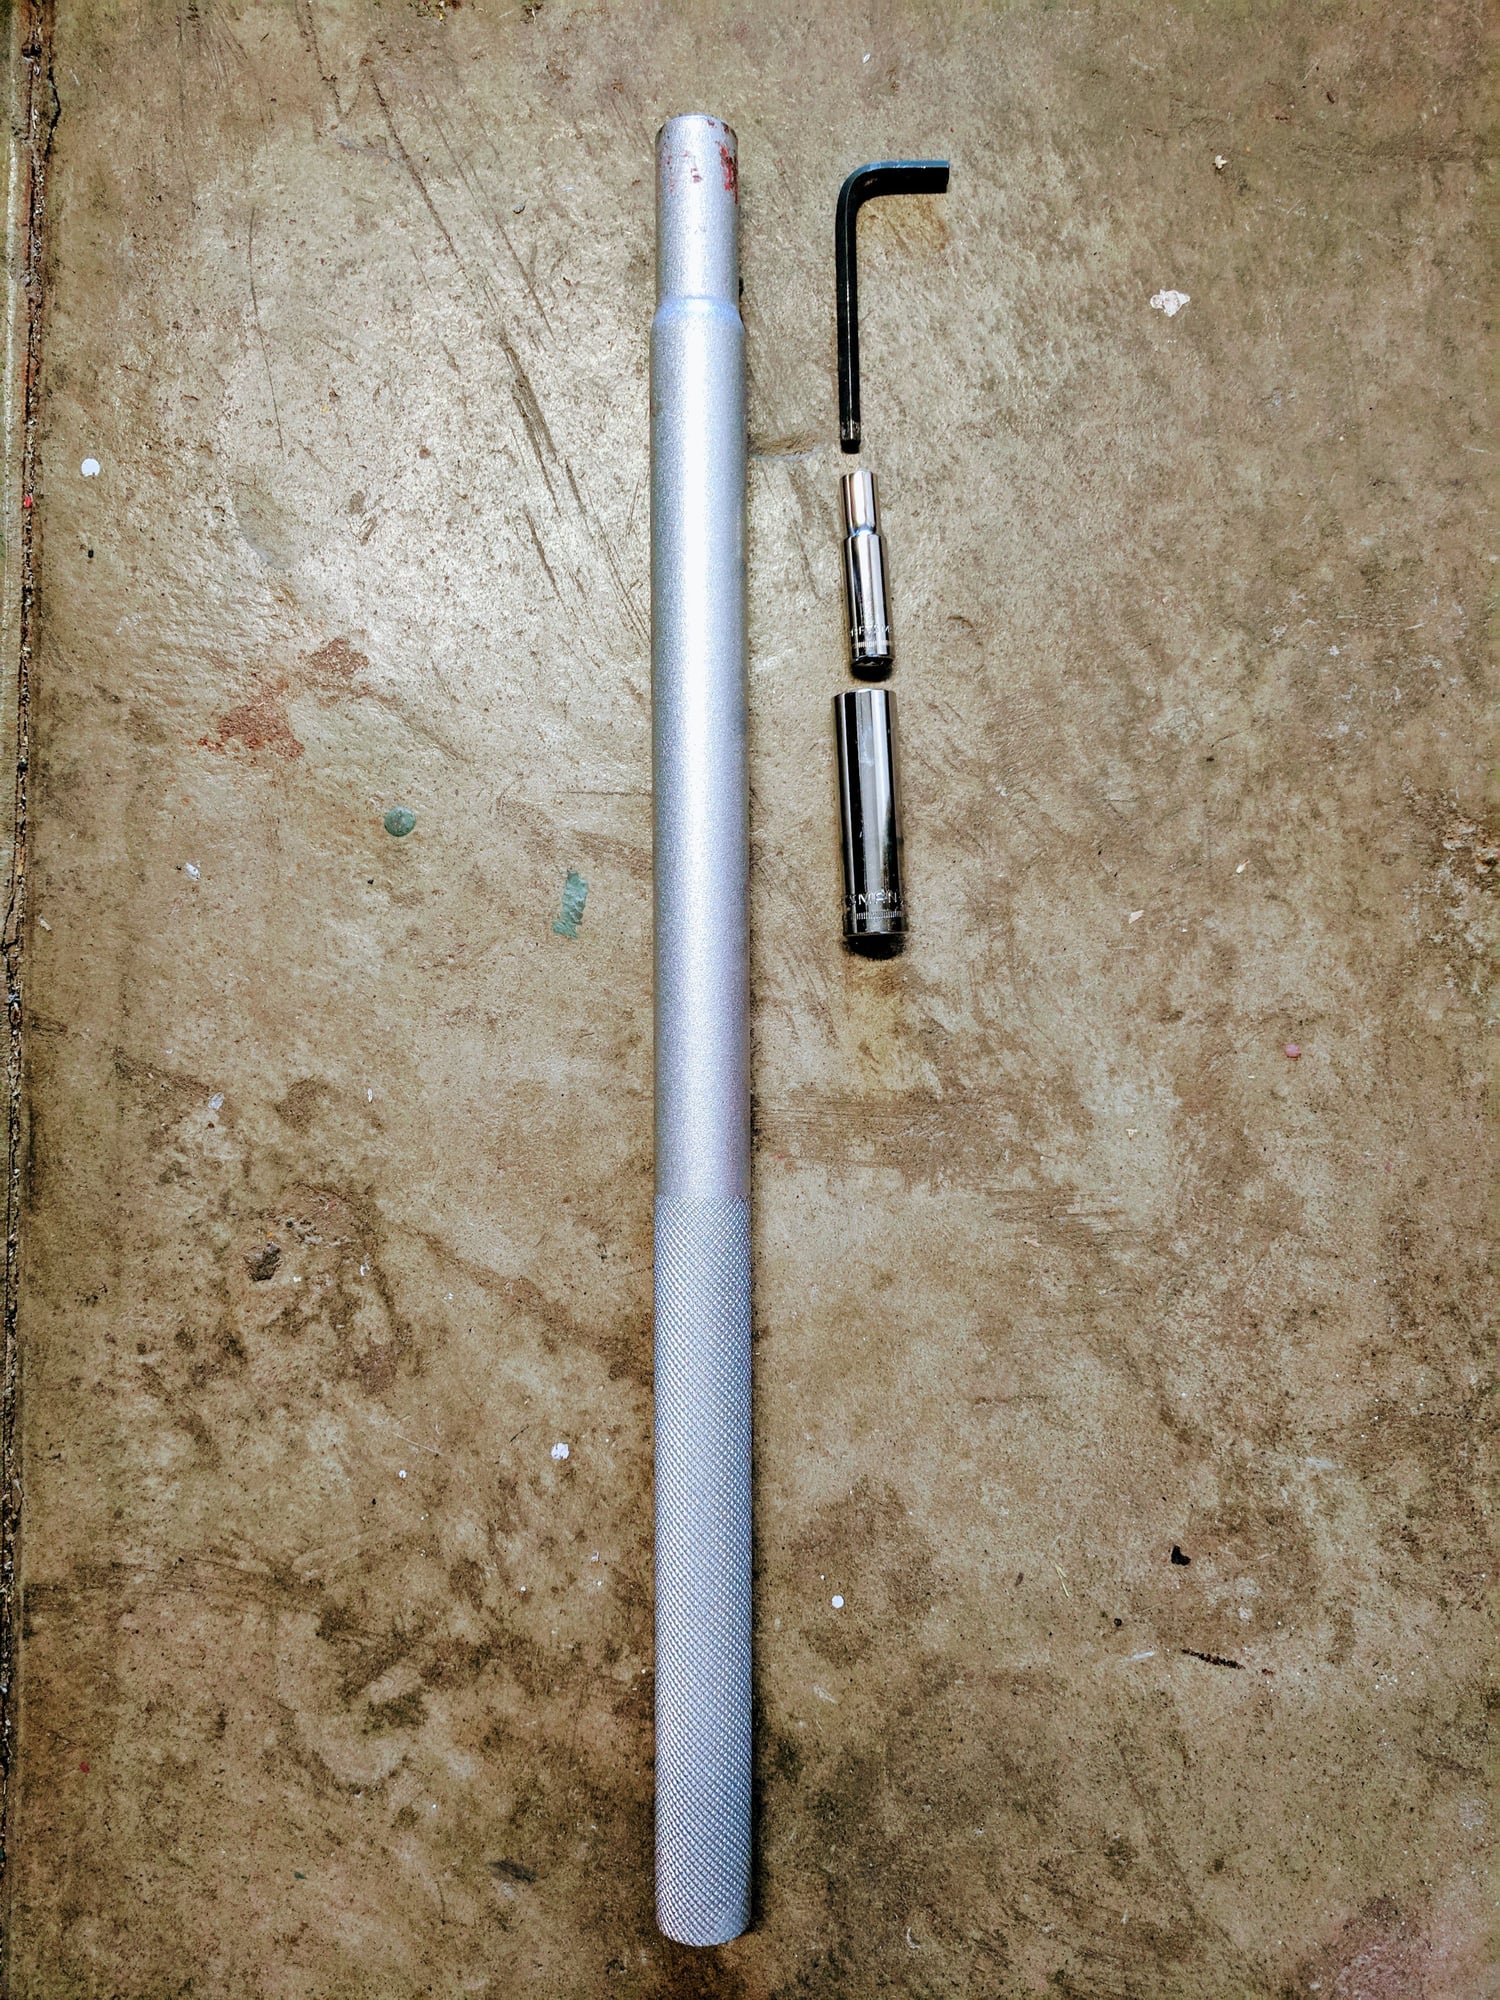
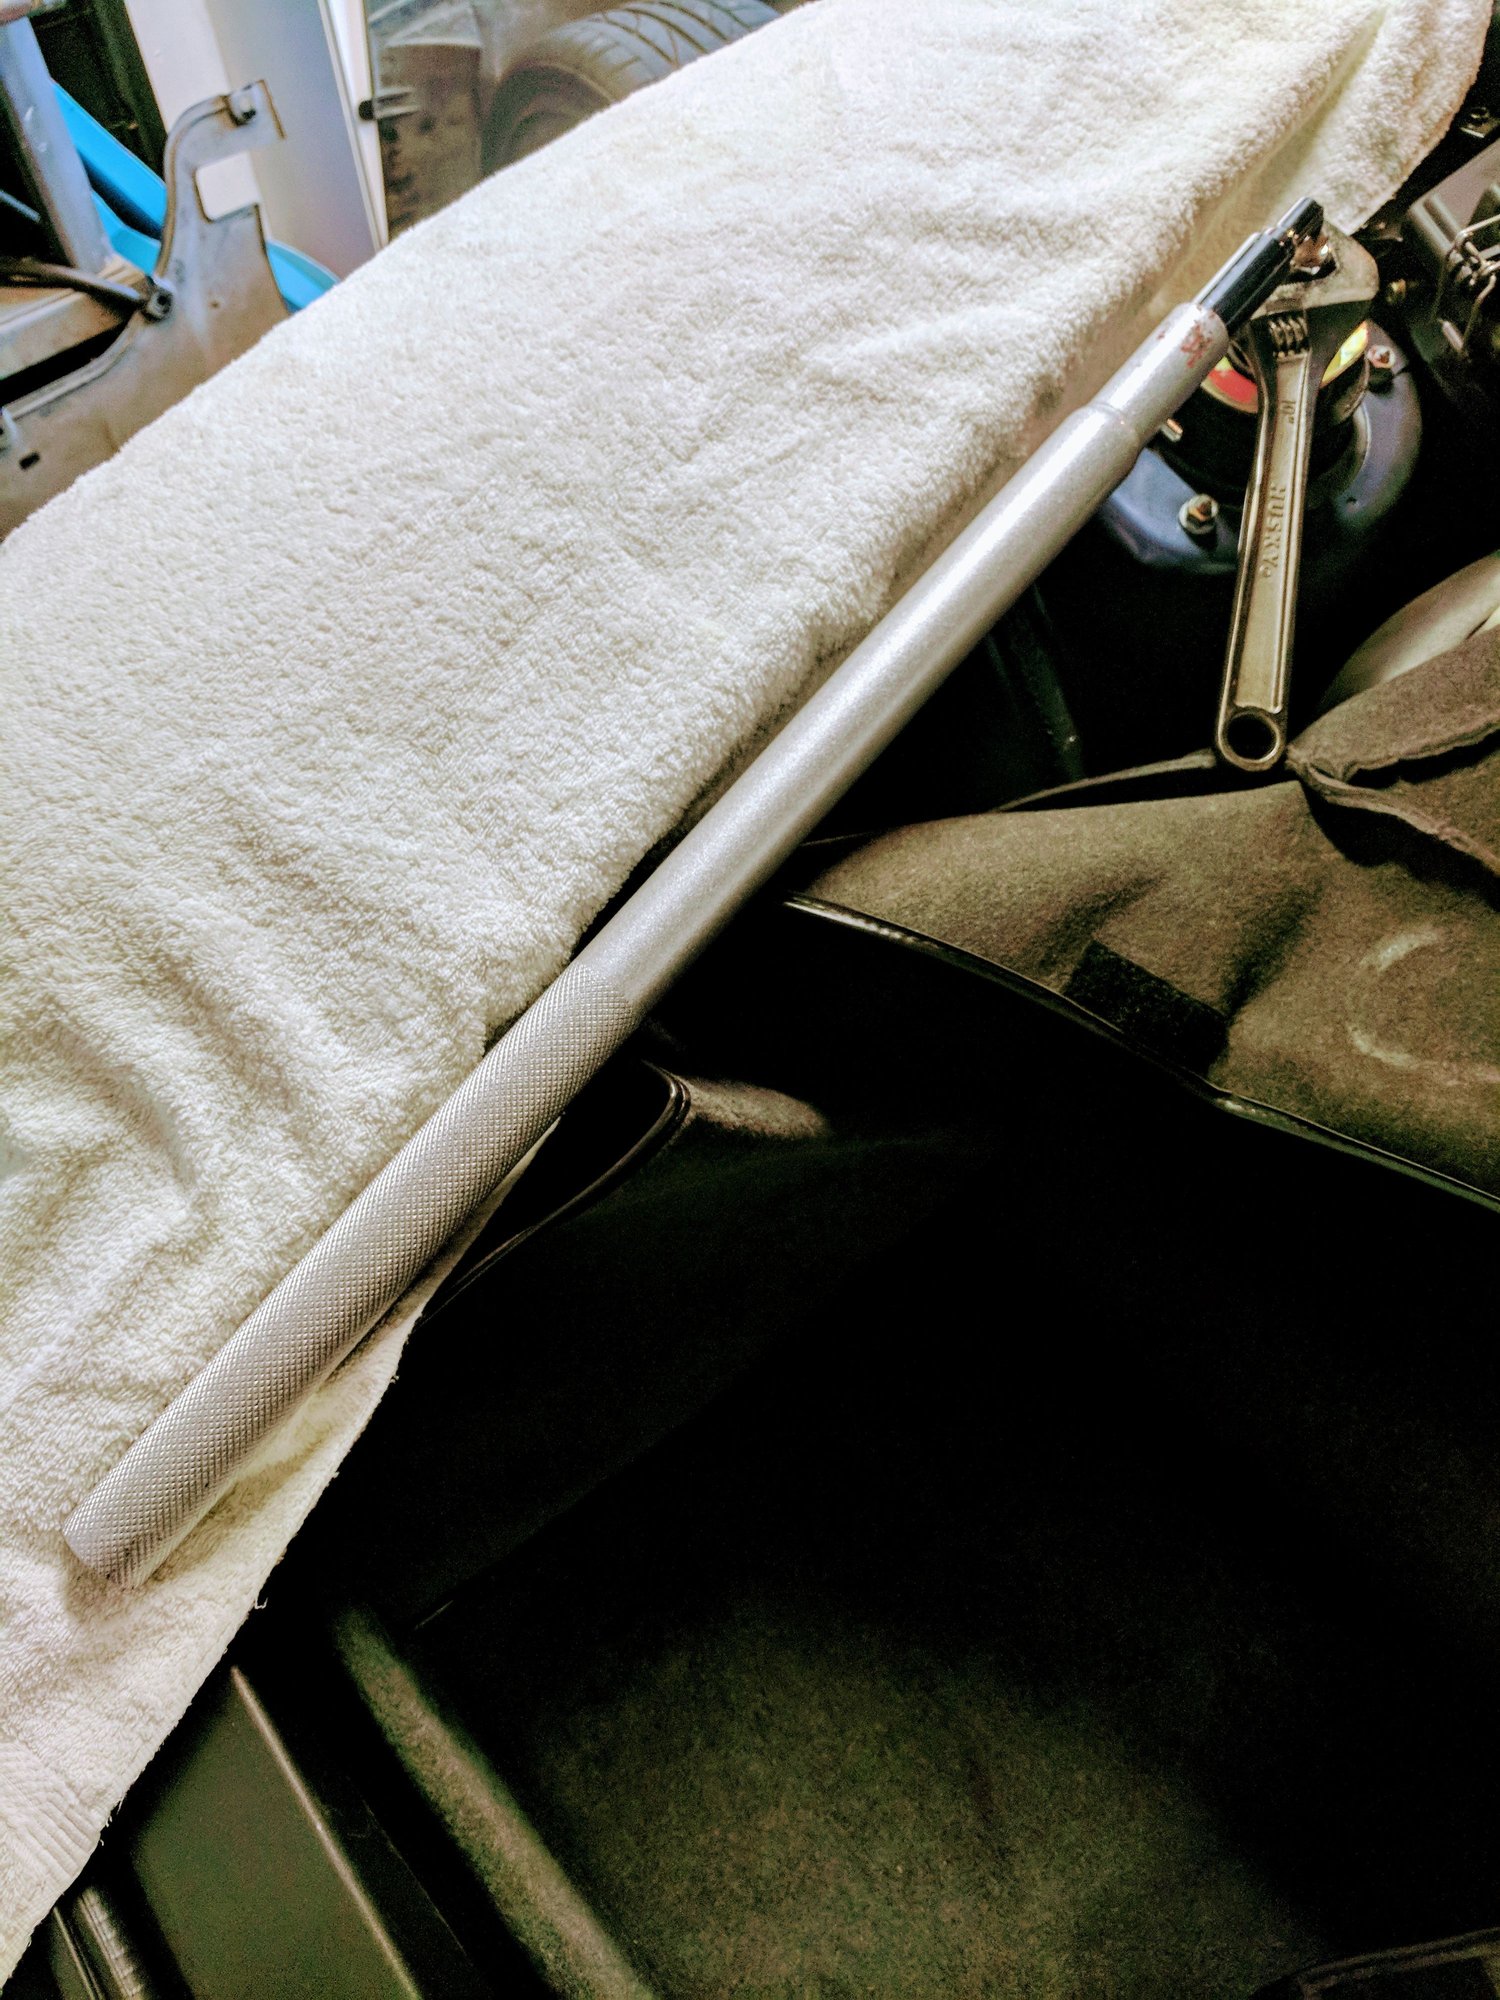
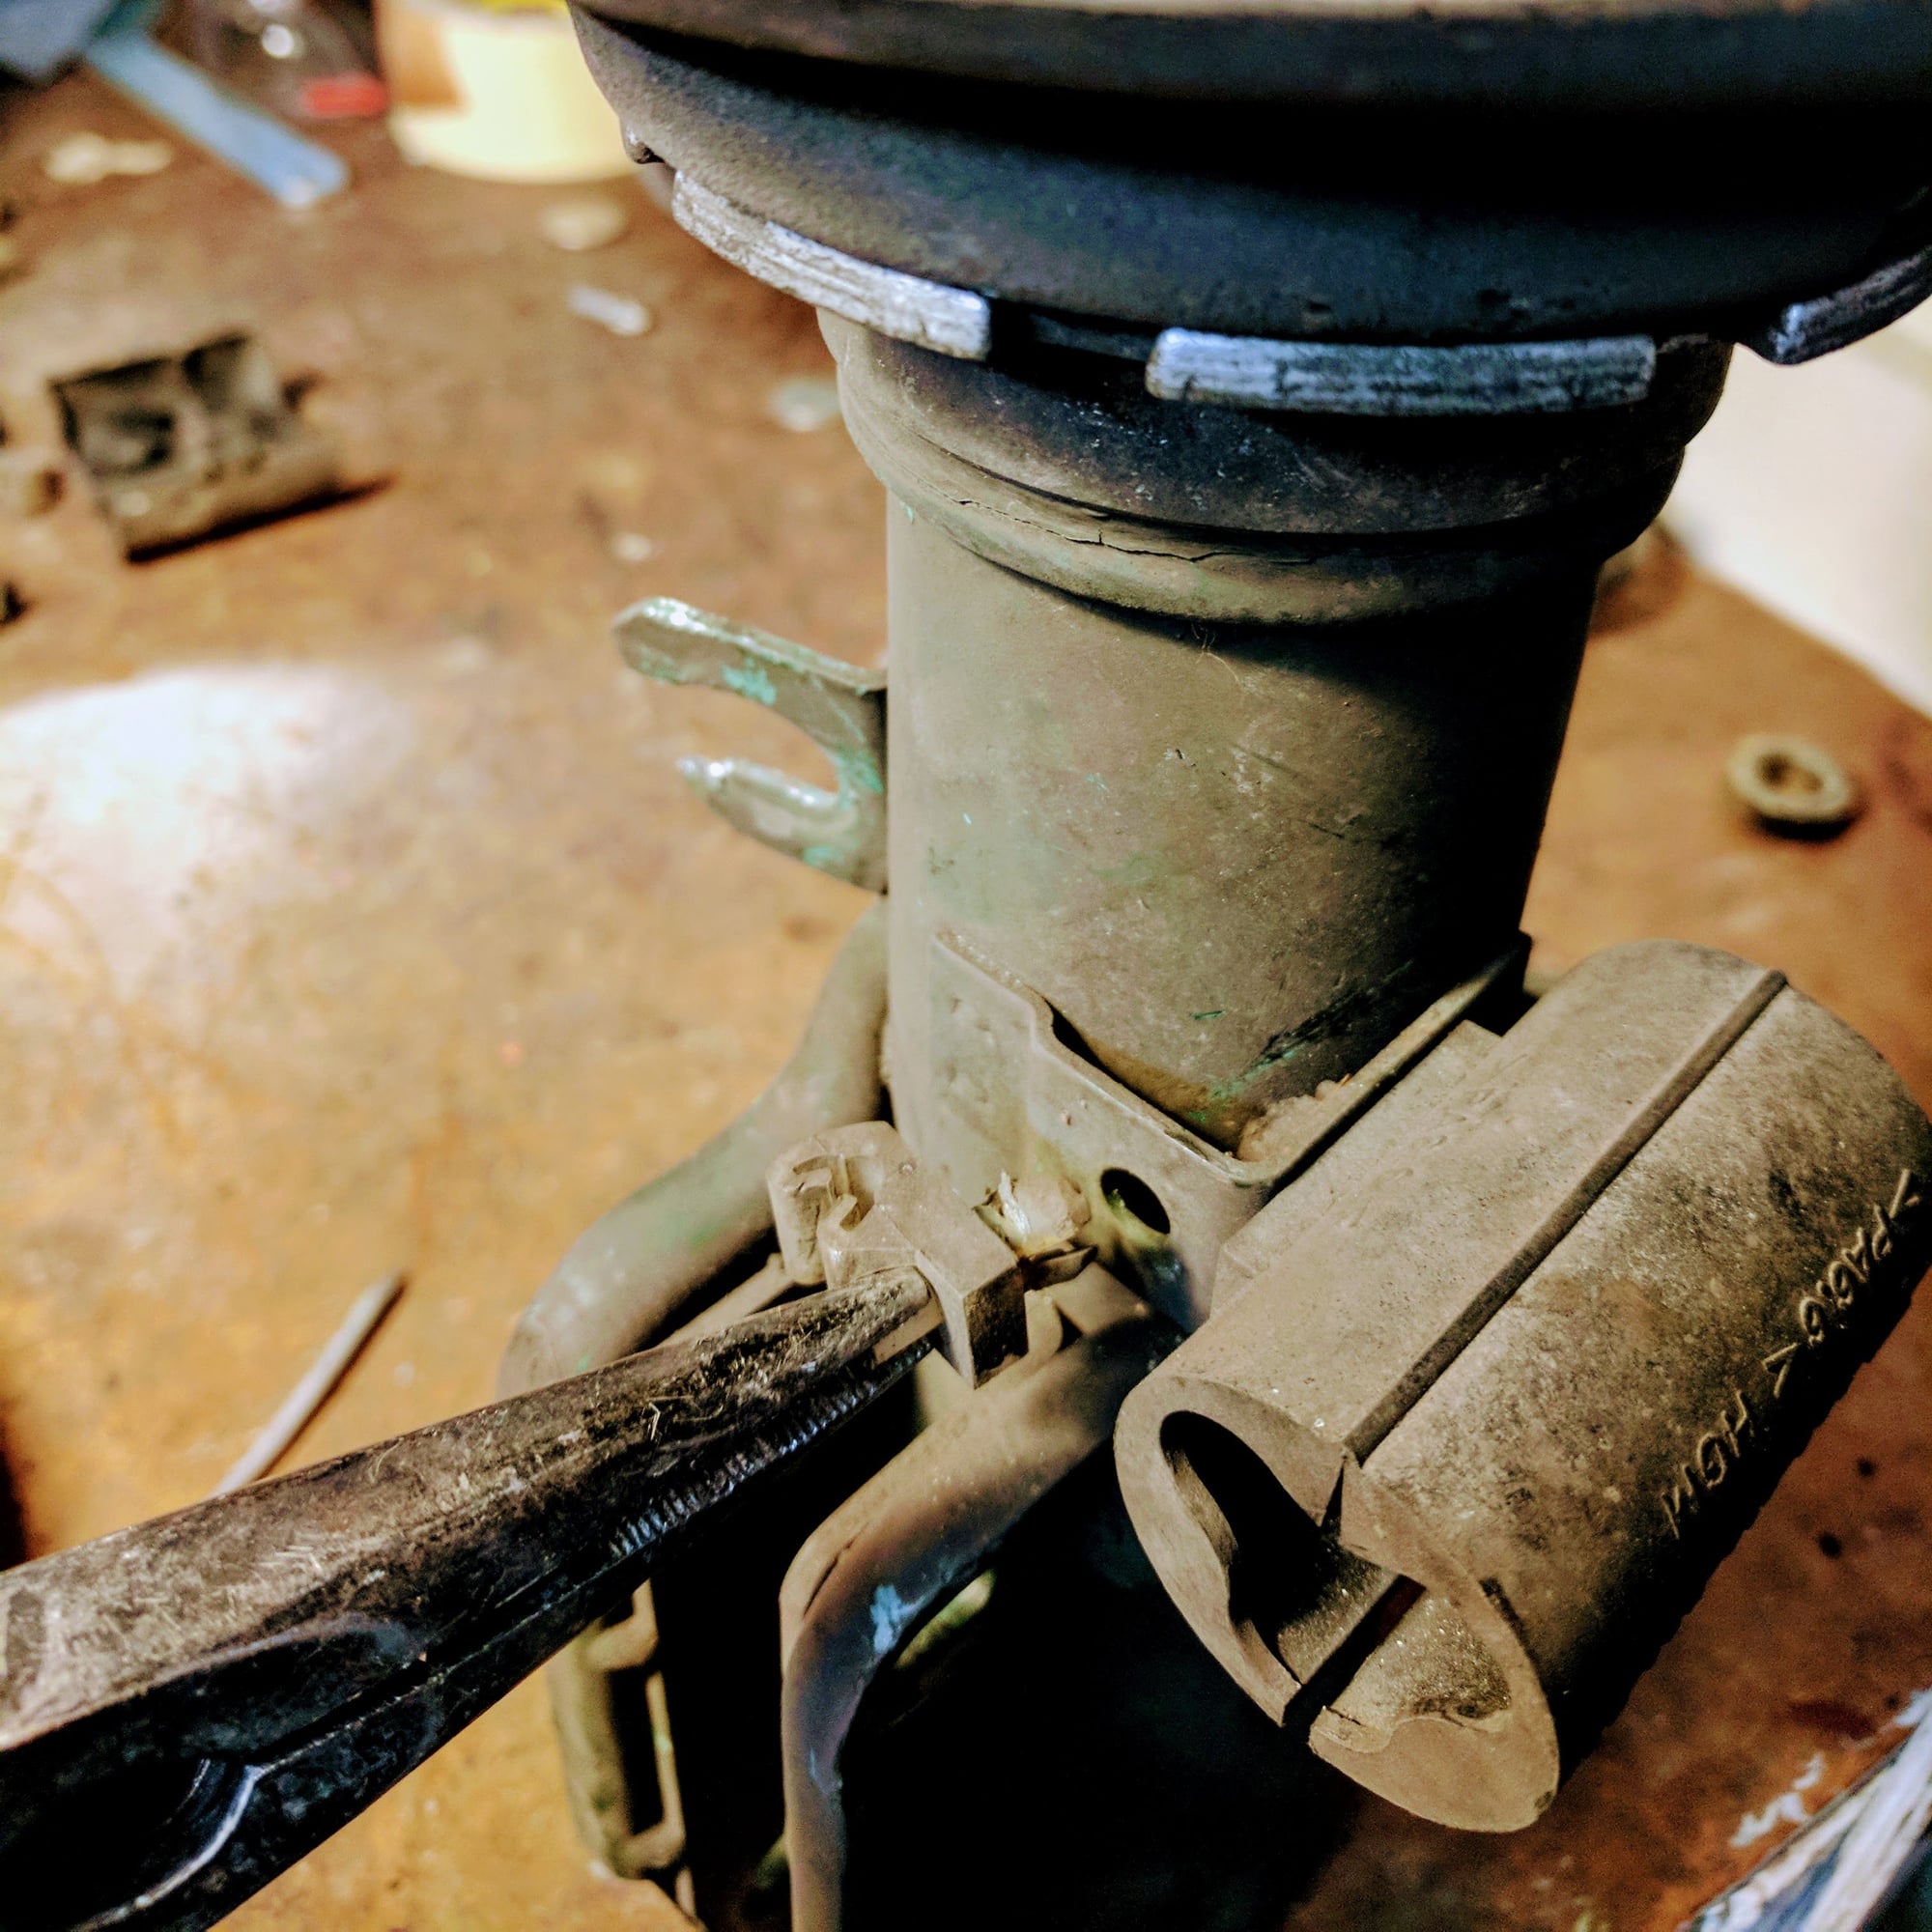
1. Loosening the top hat on the front strut is a big PIA. I used my floor jack handle (the same one that broke my vise) and some sockets to improvise an allen key with a massive breaker bar. This made it really easy to loosen the nut...
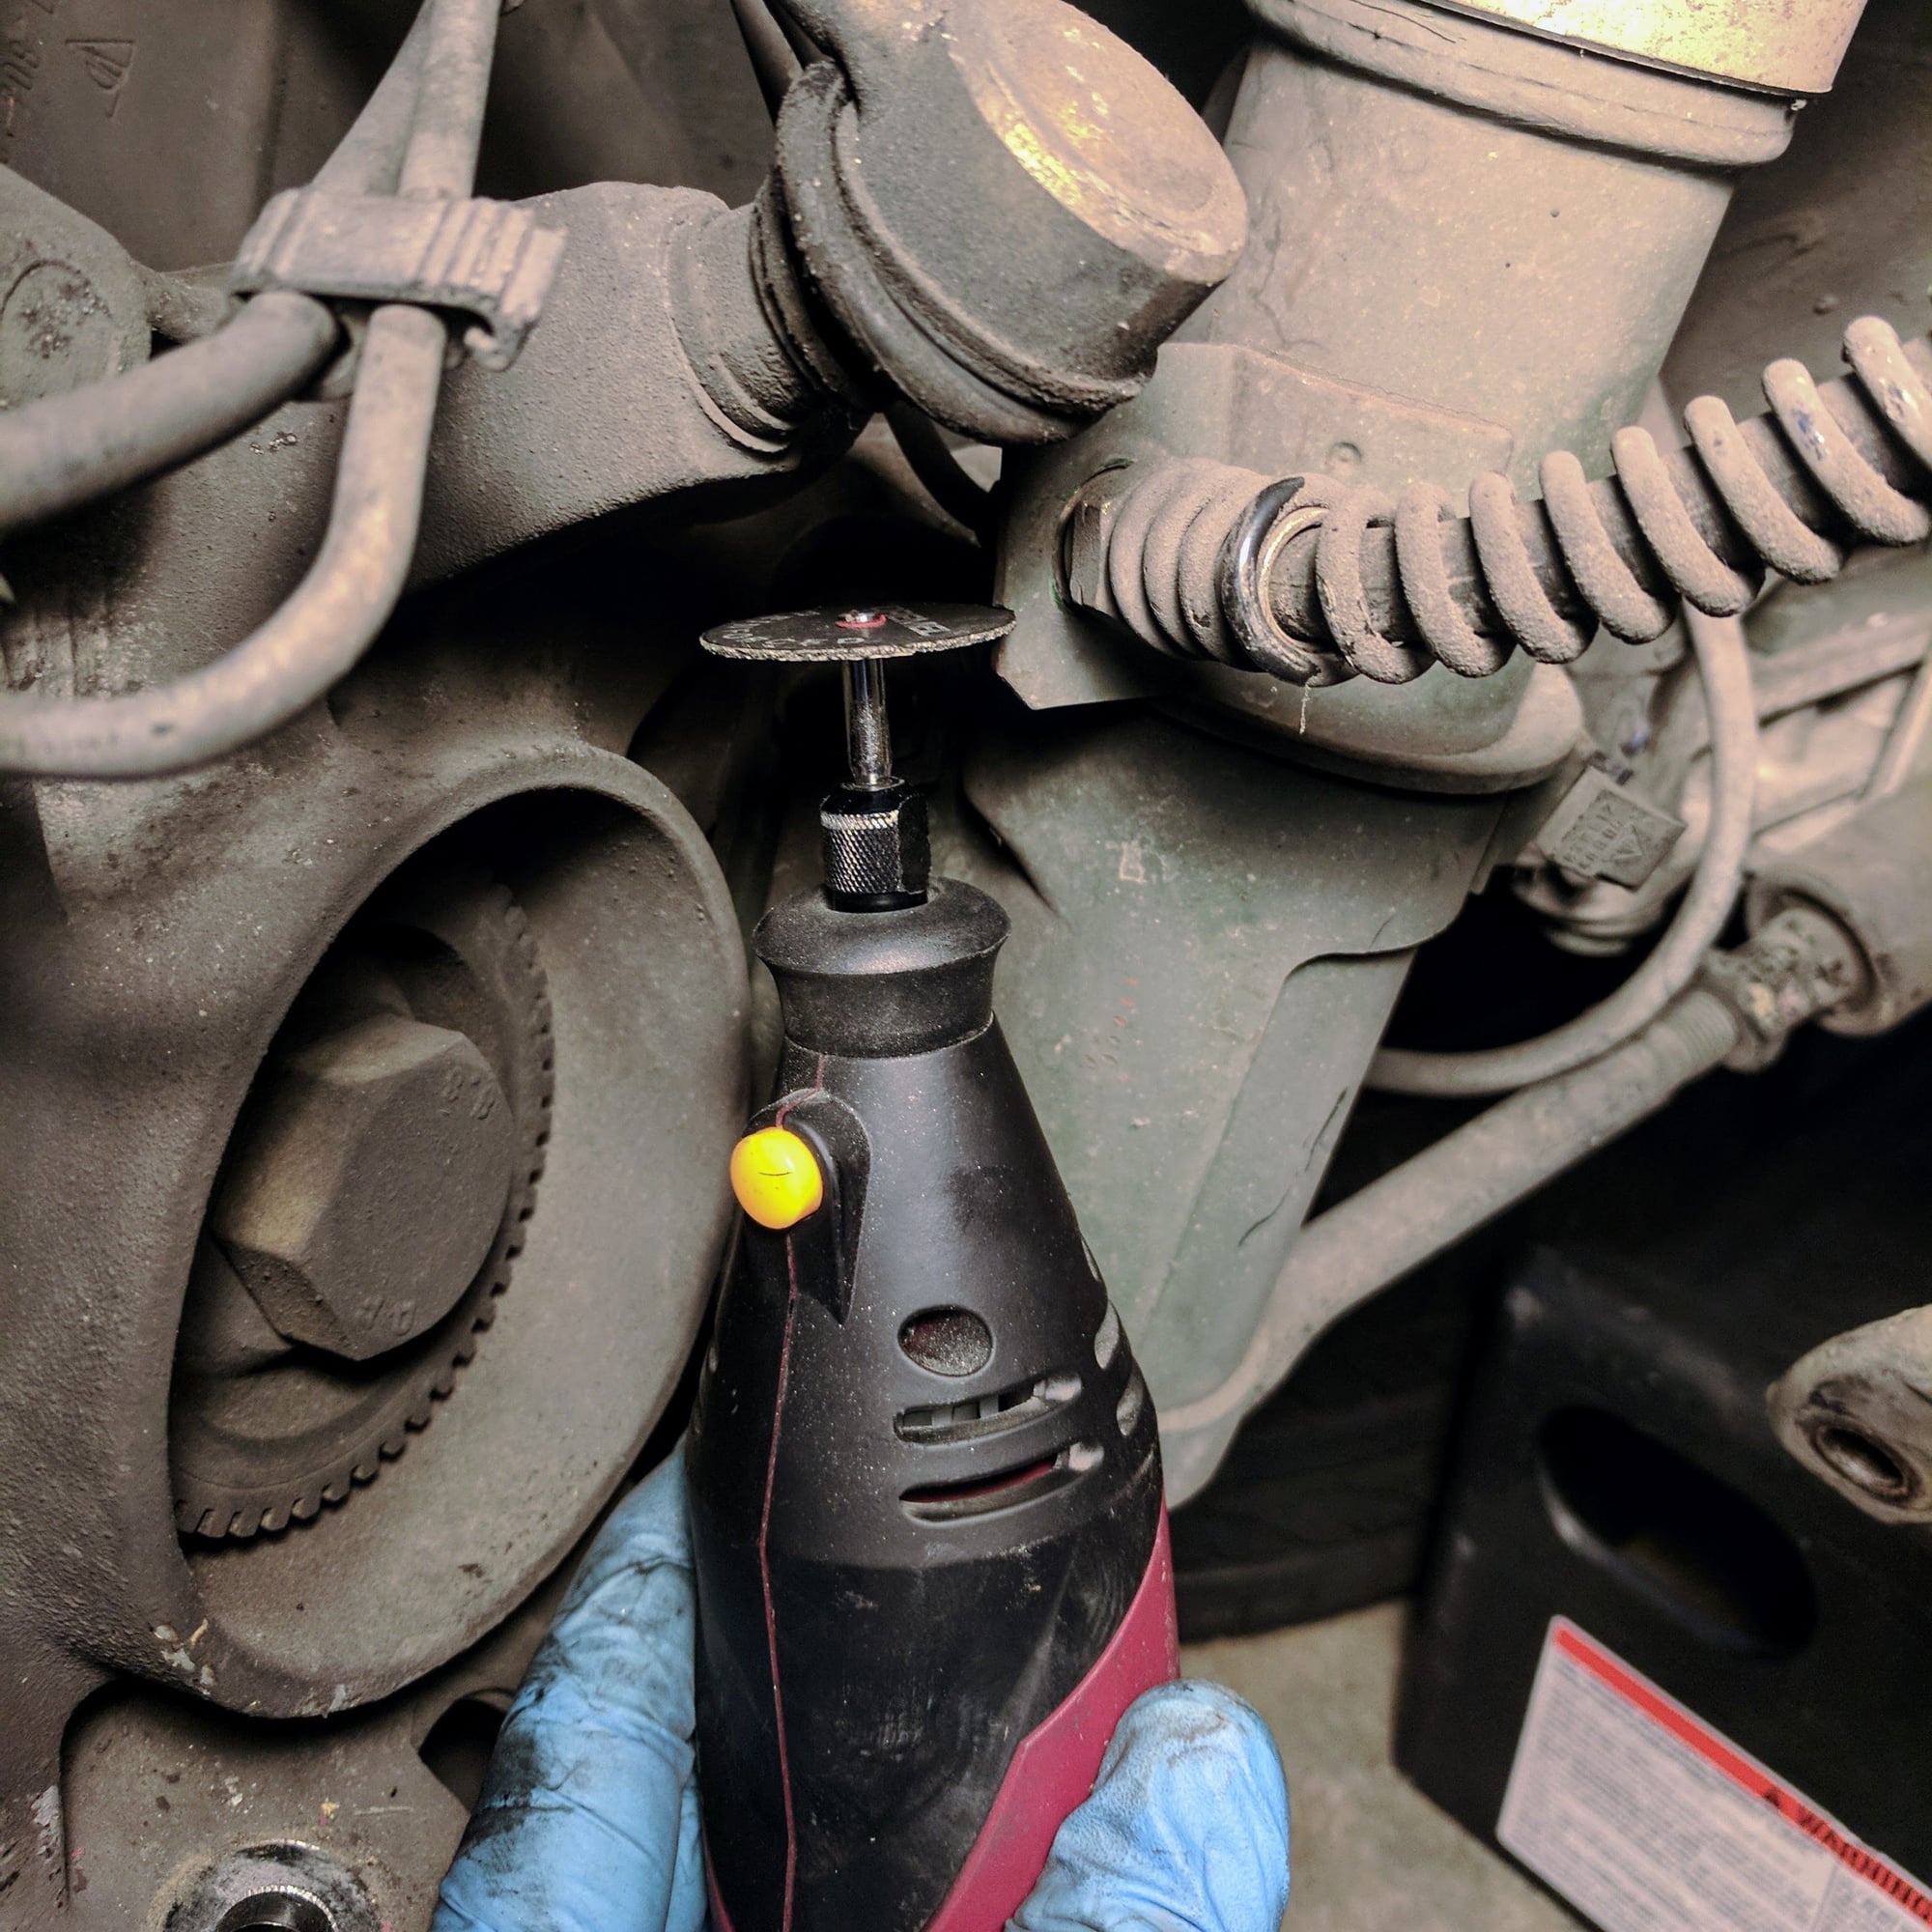
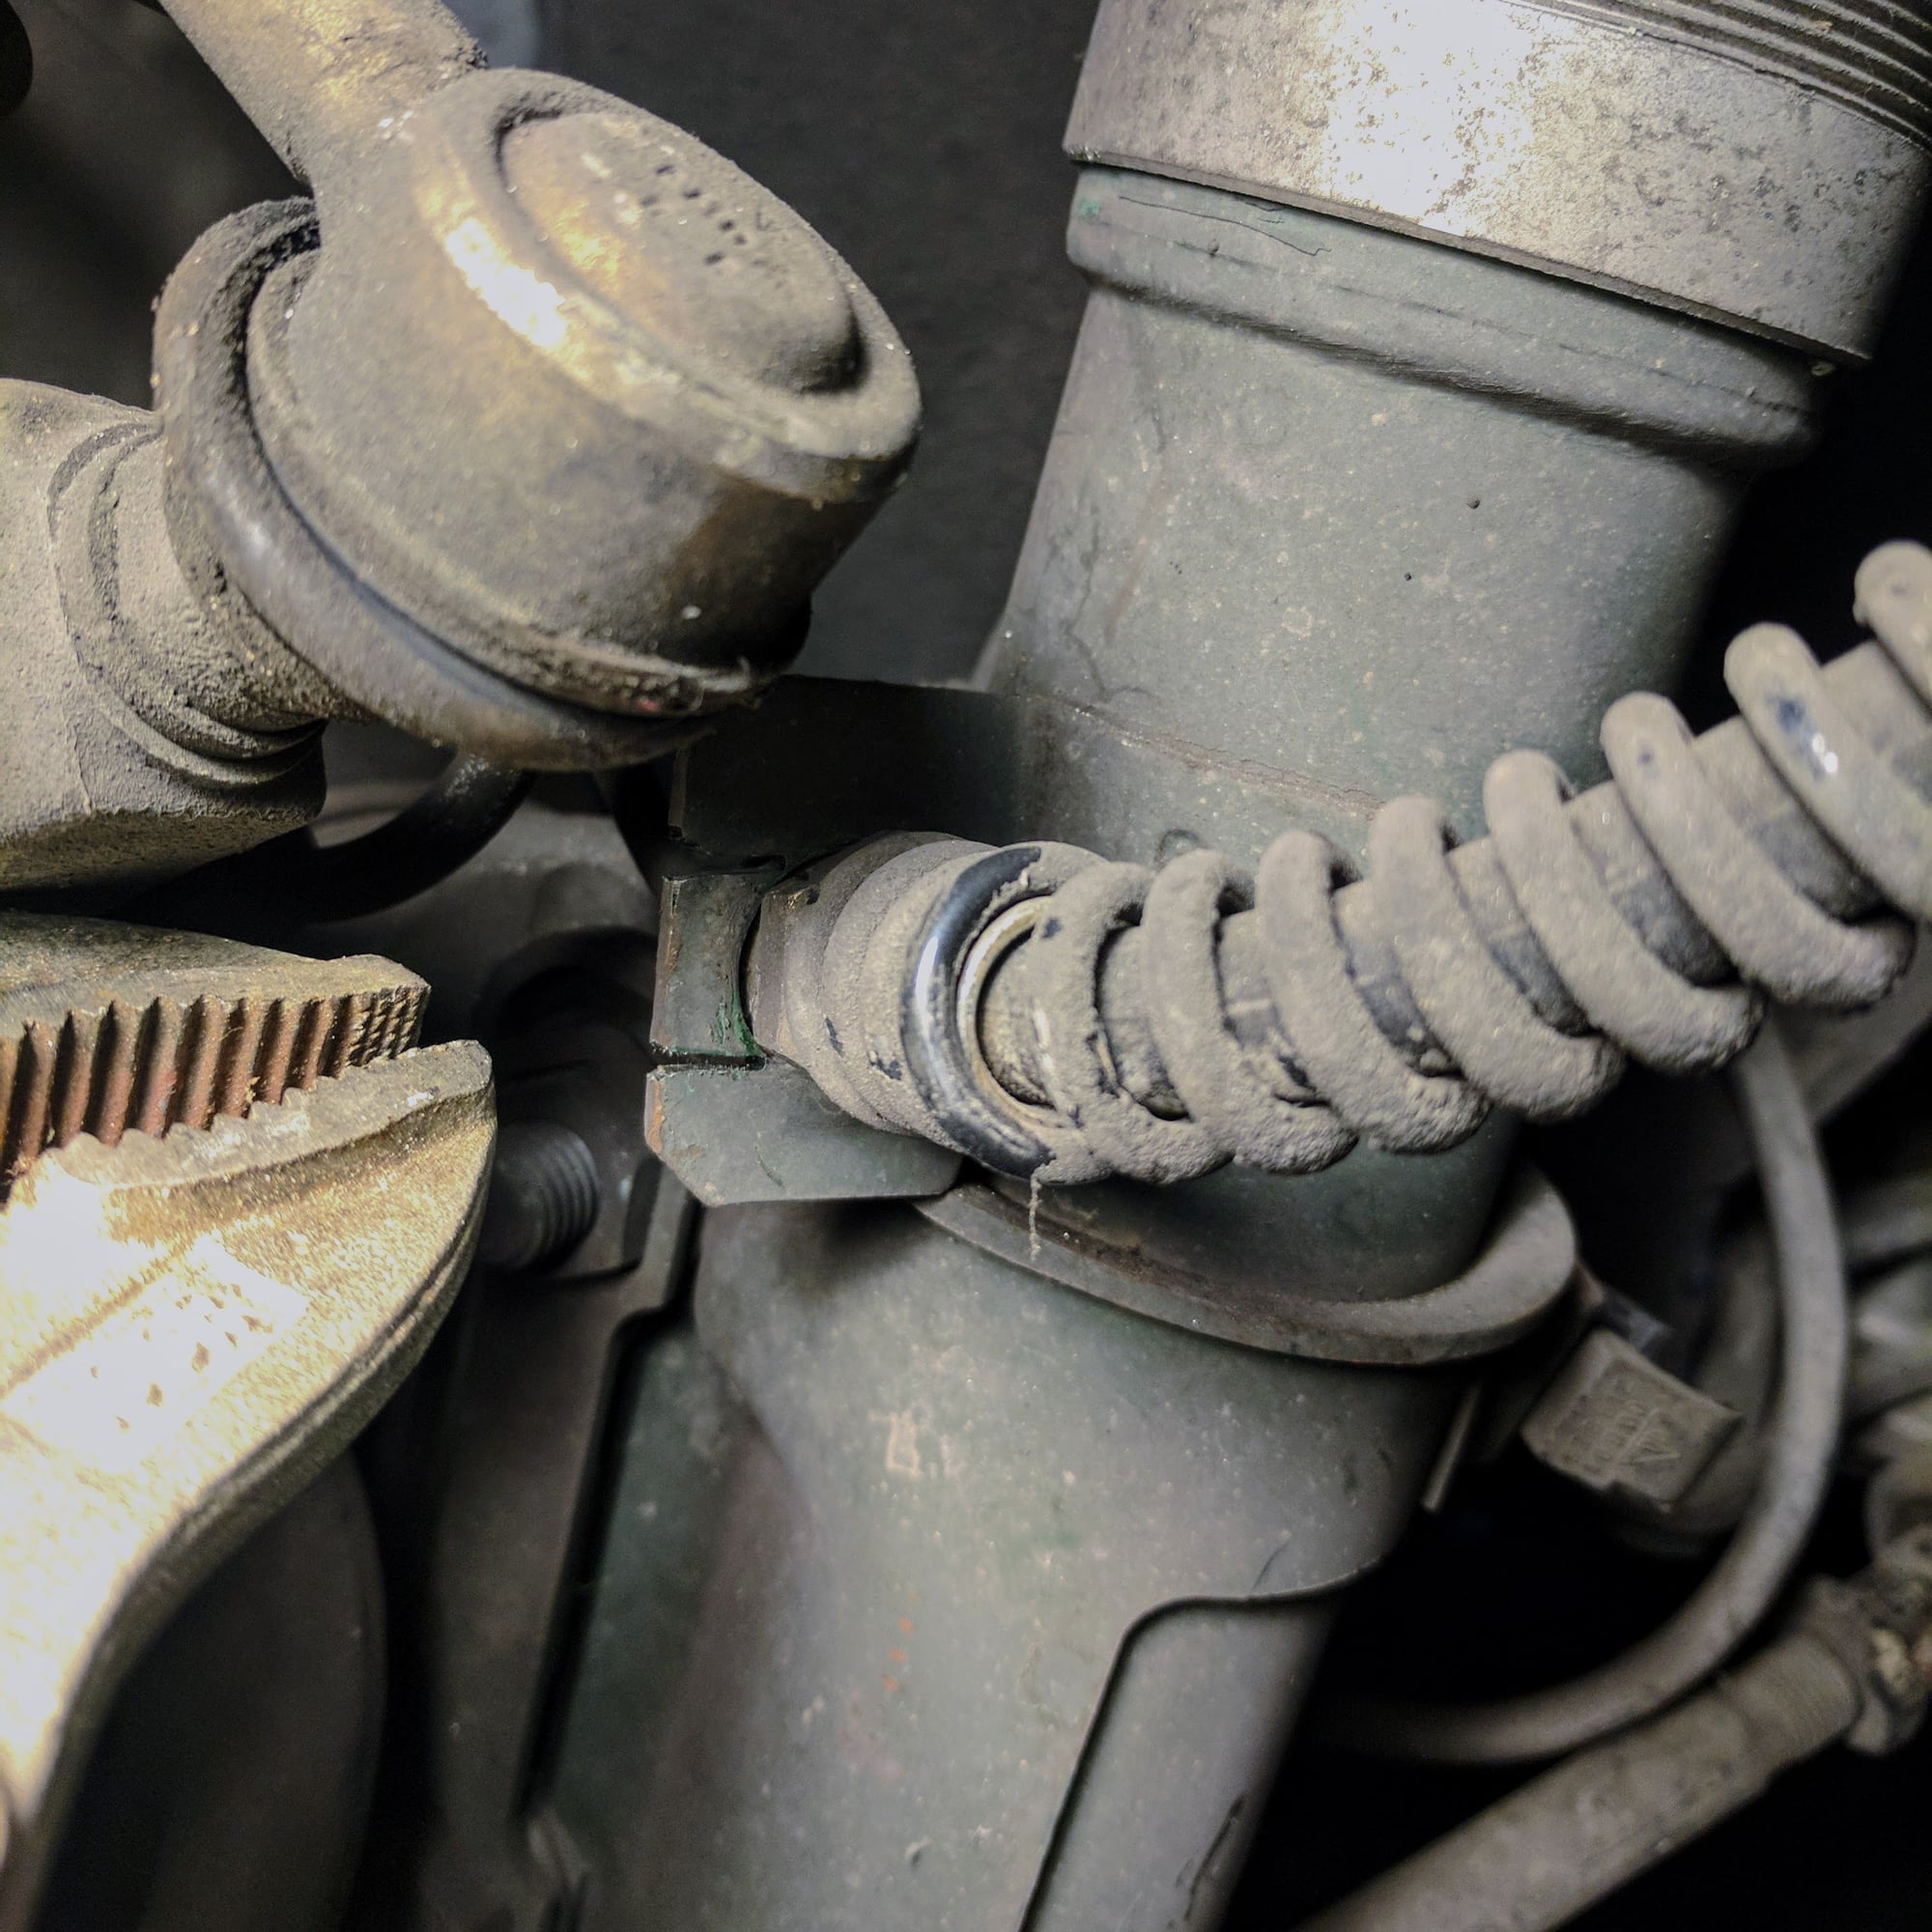
2. Since I had stock struts that were not modded before, the brake lines fed through the strut. In the Bilstein HD DIY guide it shows you how to cut the strut so you can keep the brake lines intact so you don't have to bleed your brakes, which I didn't want to do as I just power flushed and bled my brakes. To do this you need to detach the front drop link from the carrier so you can get the dremel in position to cut the strut.
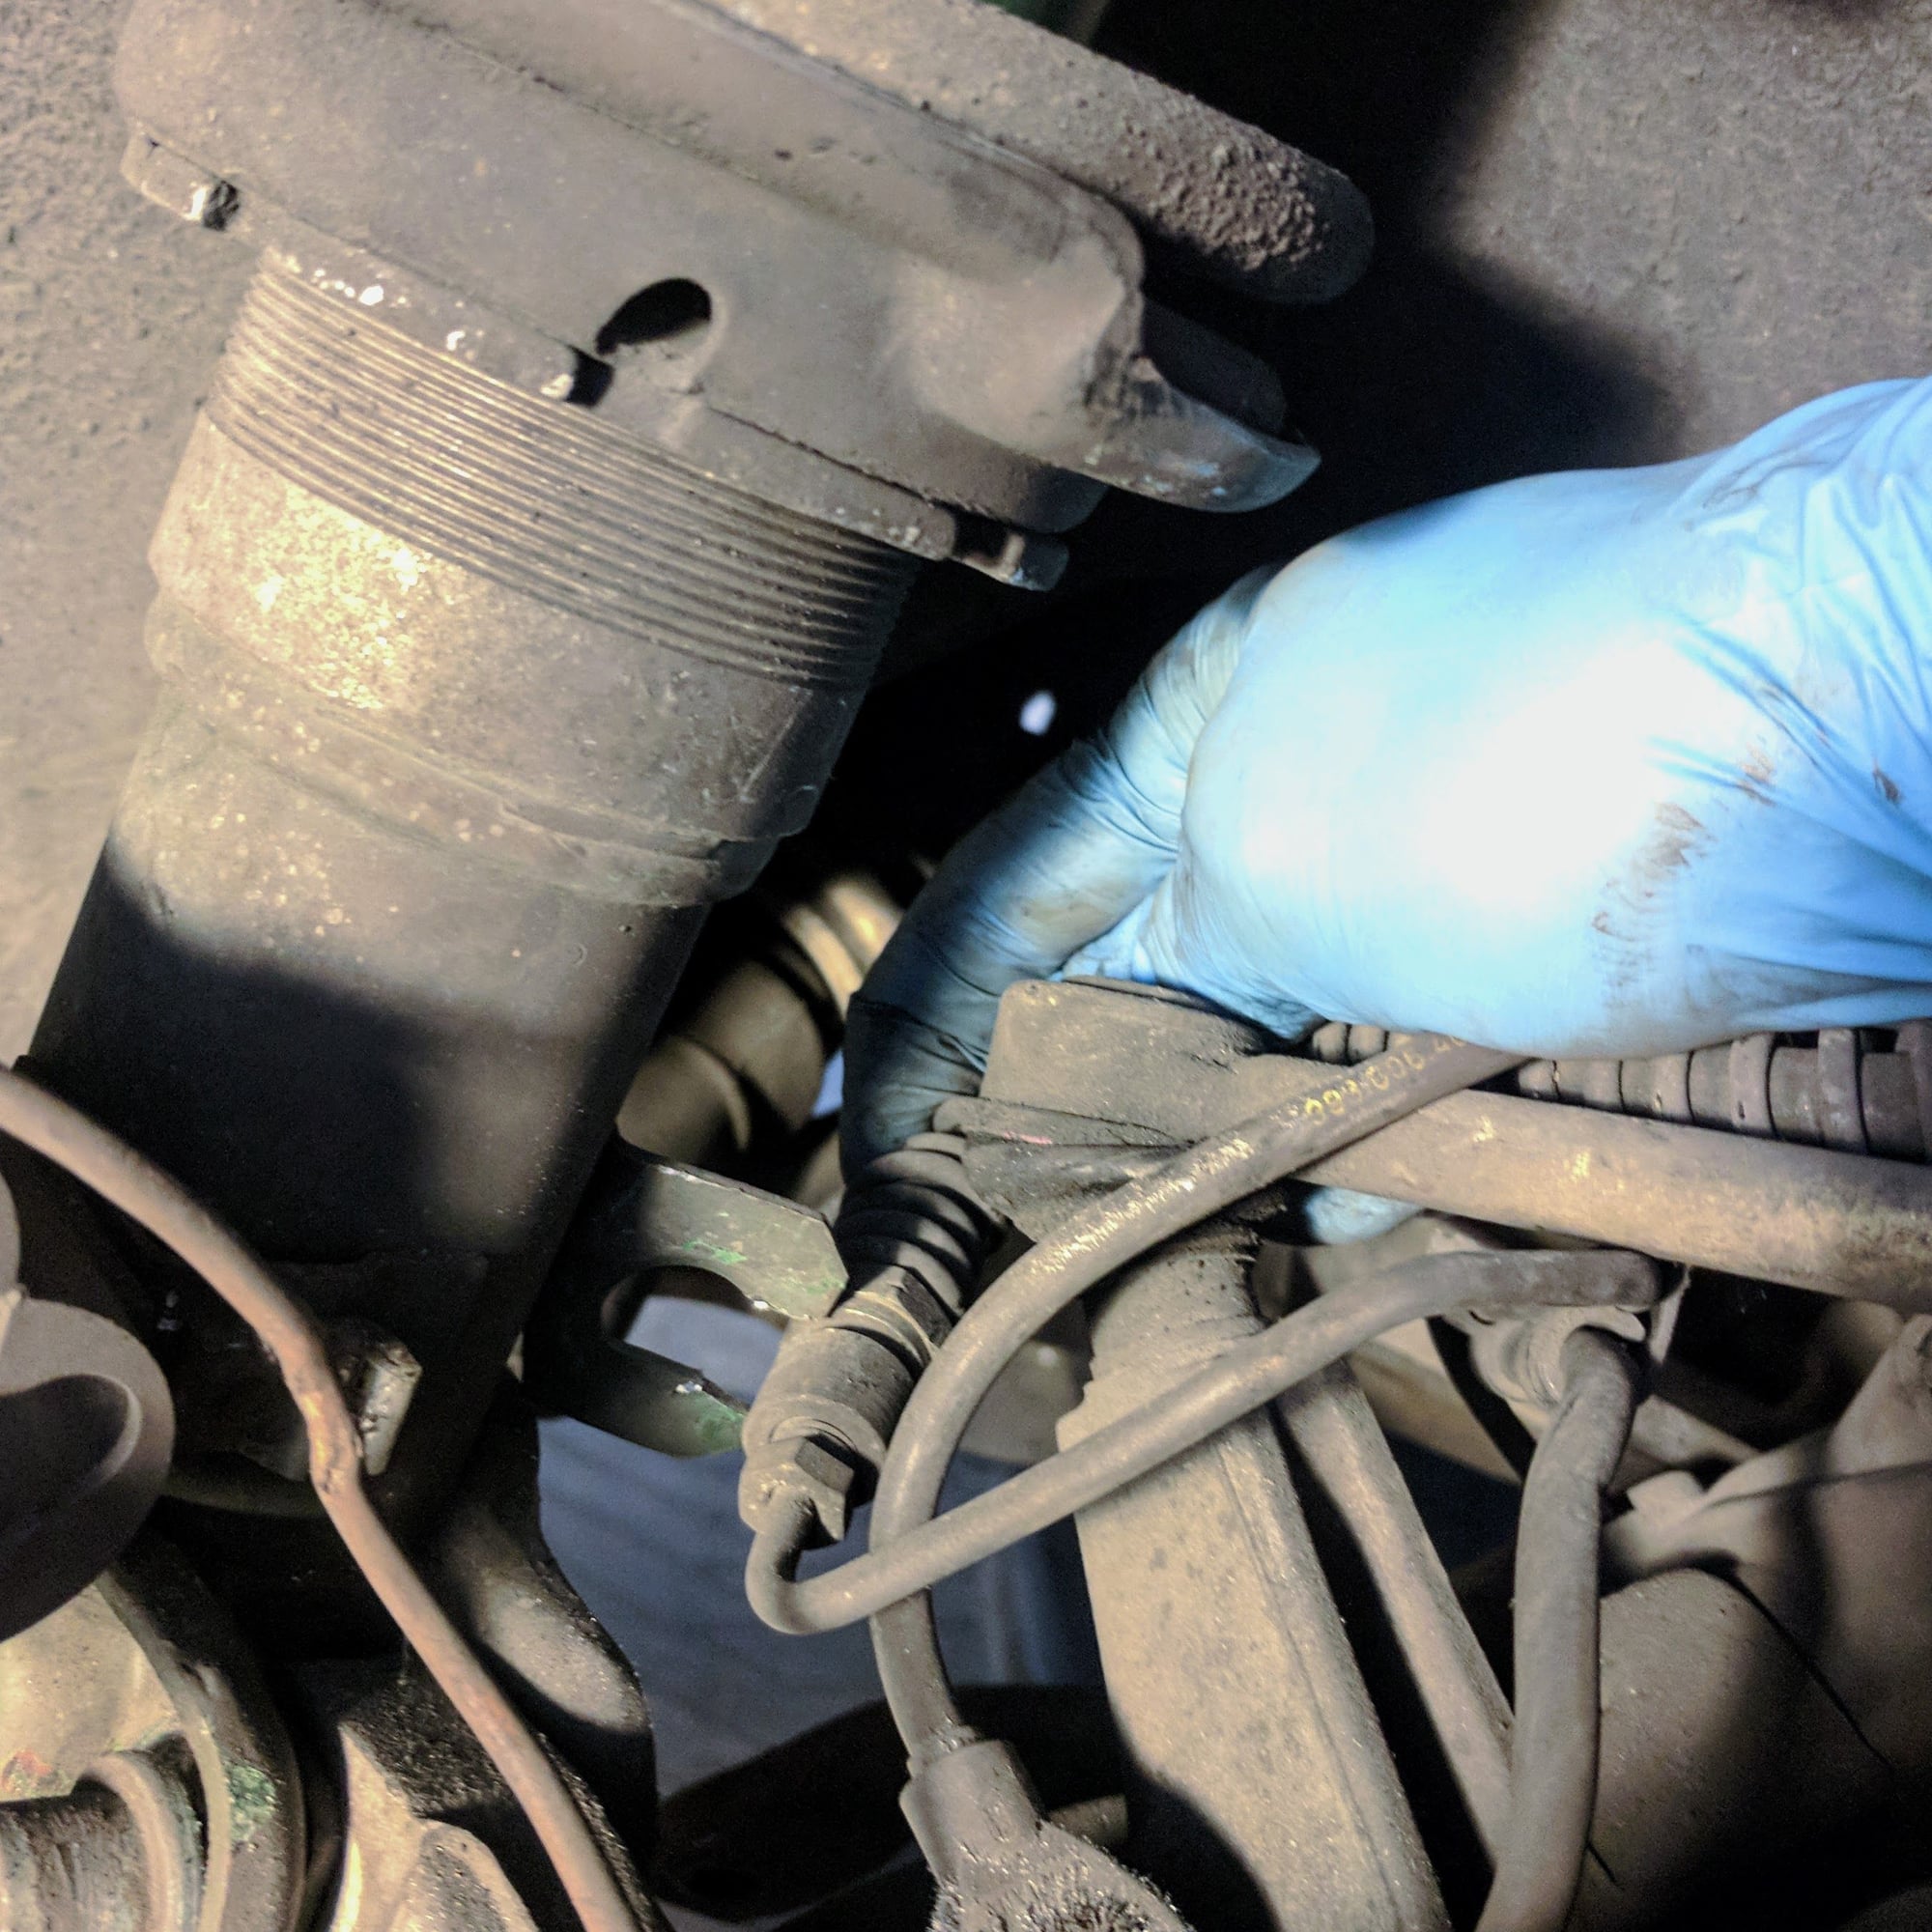
3. Removing the various plastic bits that attach the brake sensors to the strut is easy to do with a punch and a bent nail. Using those things I was able to get behind the nubbin that held the plastic bits and push it out enough so I can pull out the nubbin with some needle noise pliers.
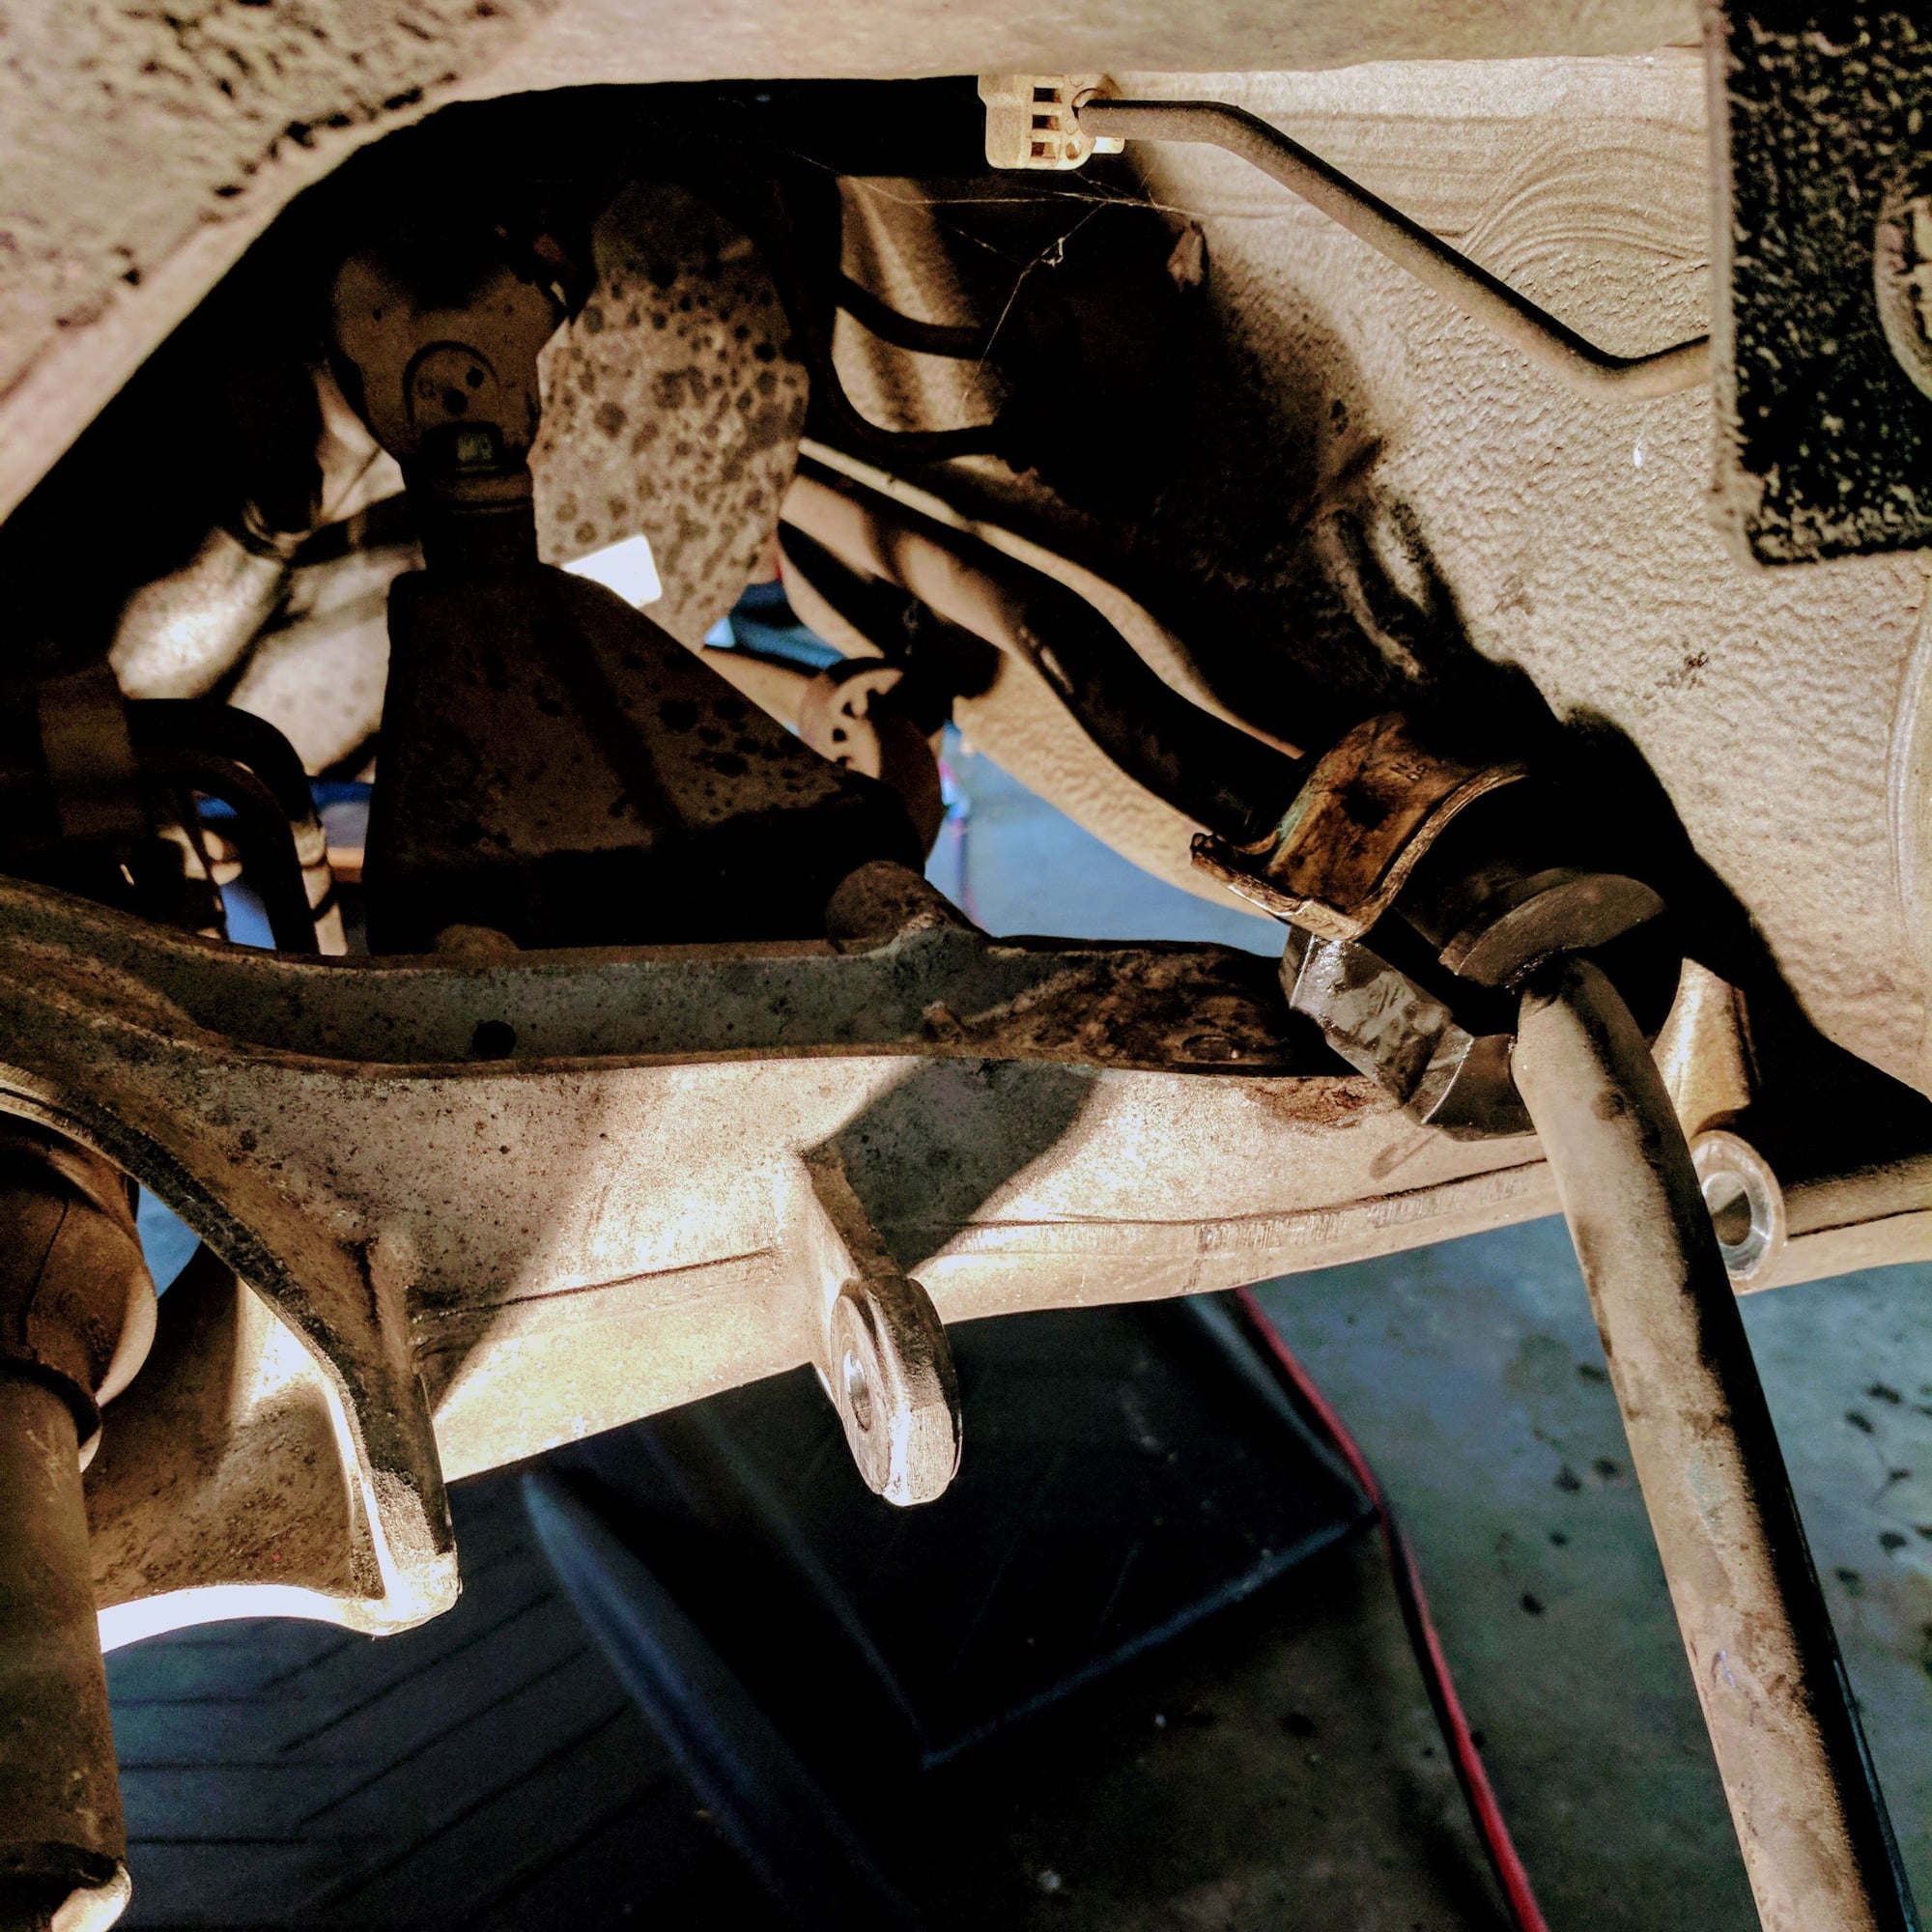
4. Removing the front ARB (anti roll bar) was a bigger PIA. After loosening the brackets that hold it down, I used some WD-40 and through force and perseverance got the bushing out. I started with the passenger side first and then went to the driver side afterward. That was a good decision as the passenger side has more room to get behind the bushing to push it out which helped give enough play in the ARB to push out the driver side one later.
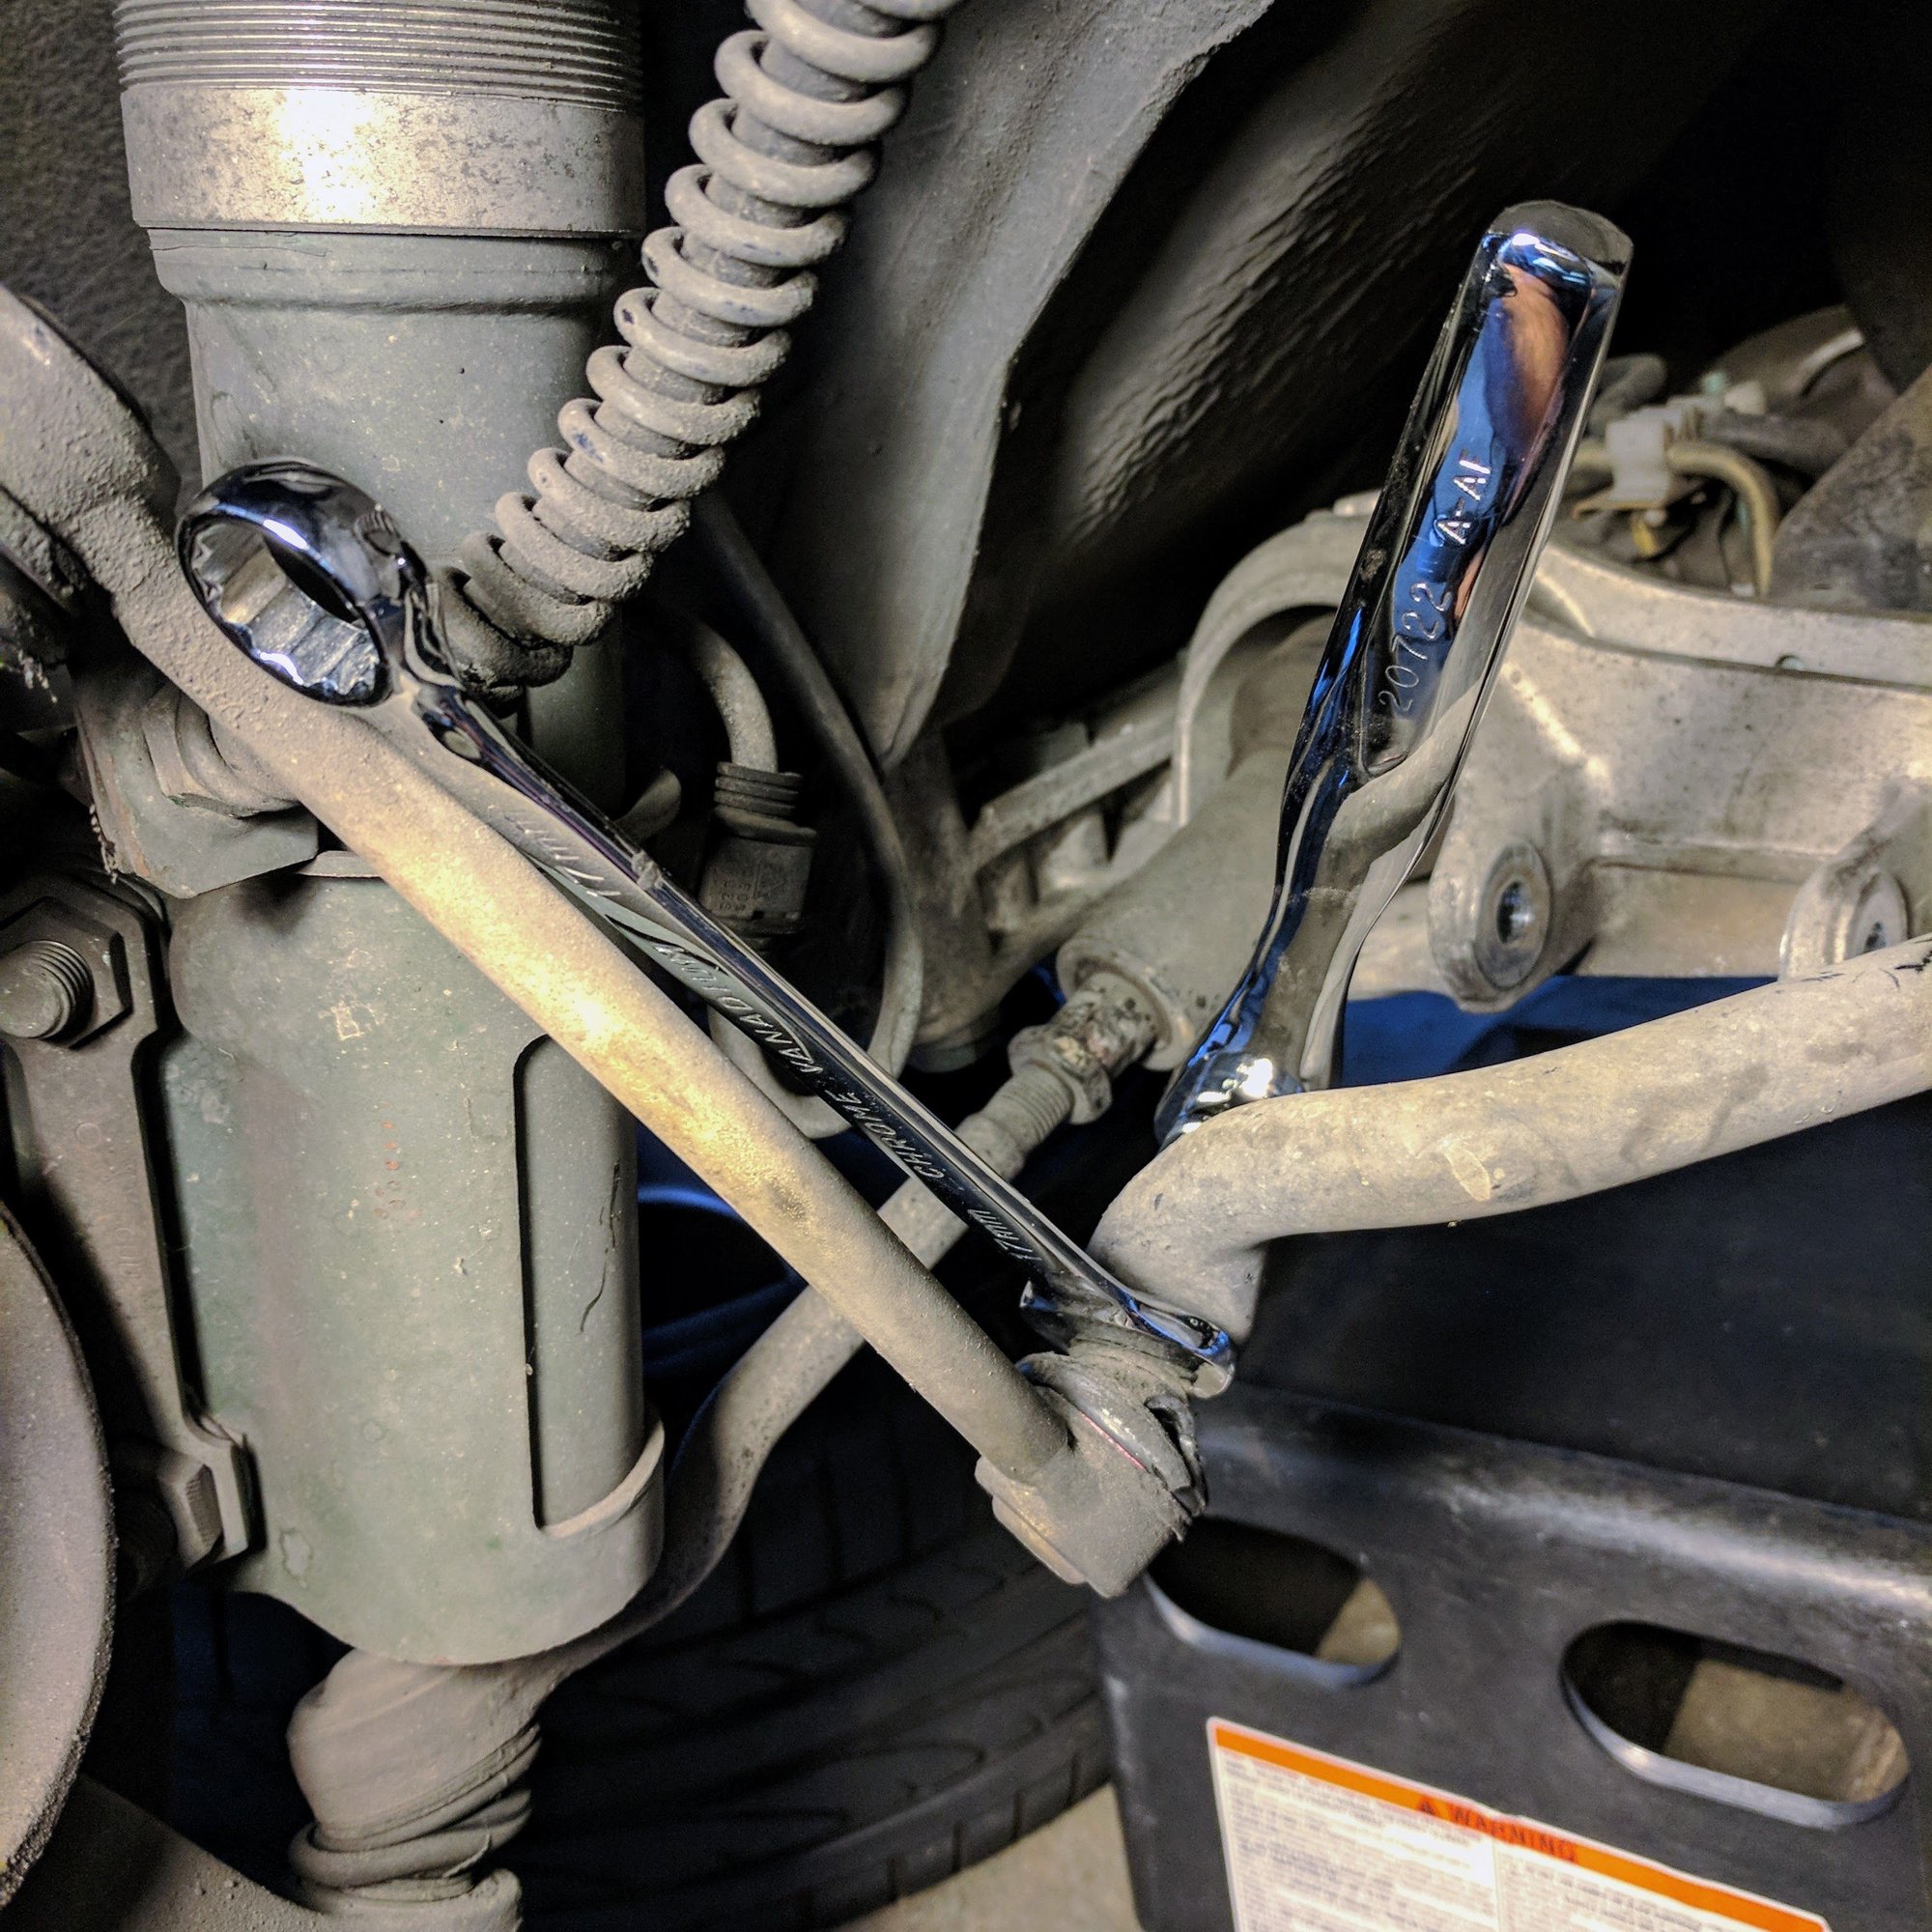
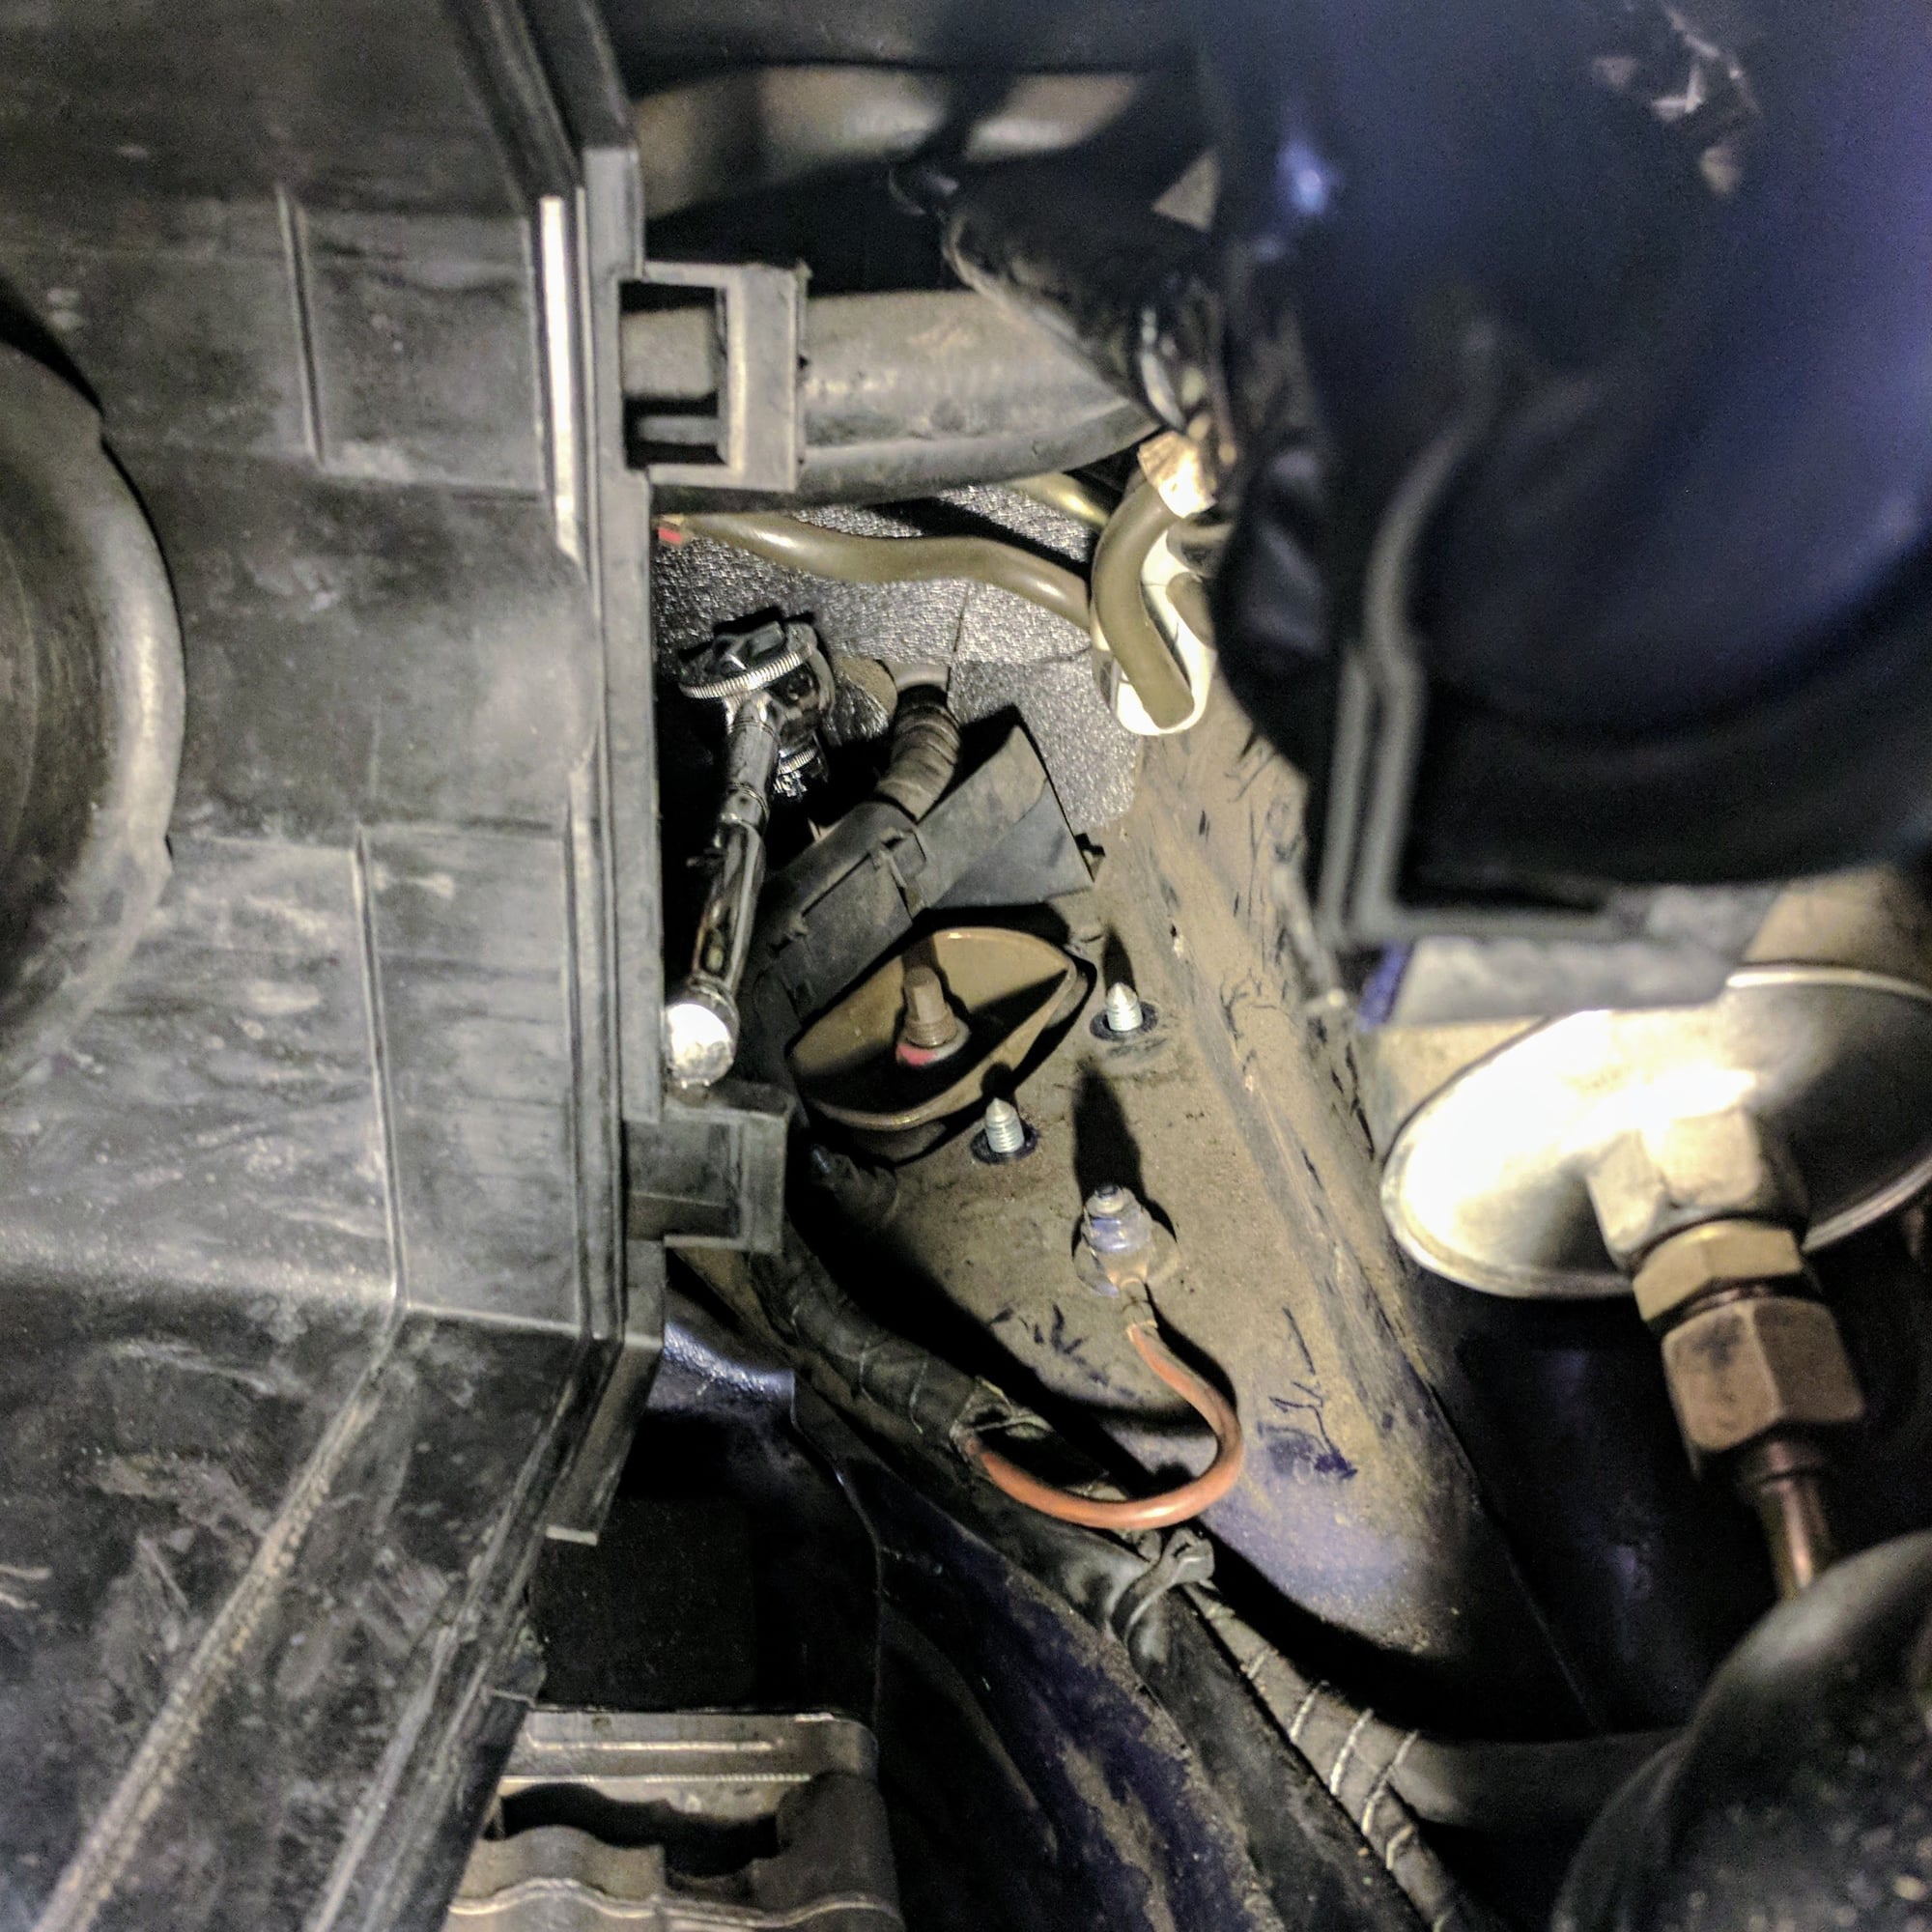
5. I was able to just remove the airbox cover to get to the rear passenger side strut mount. The space it tight, but if you have a ratchet with small teeth it will eventually come out.
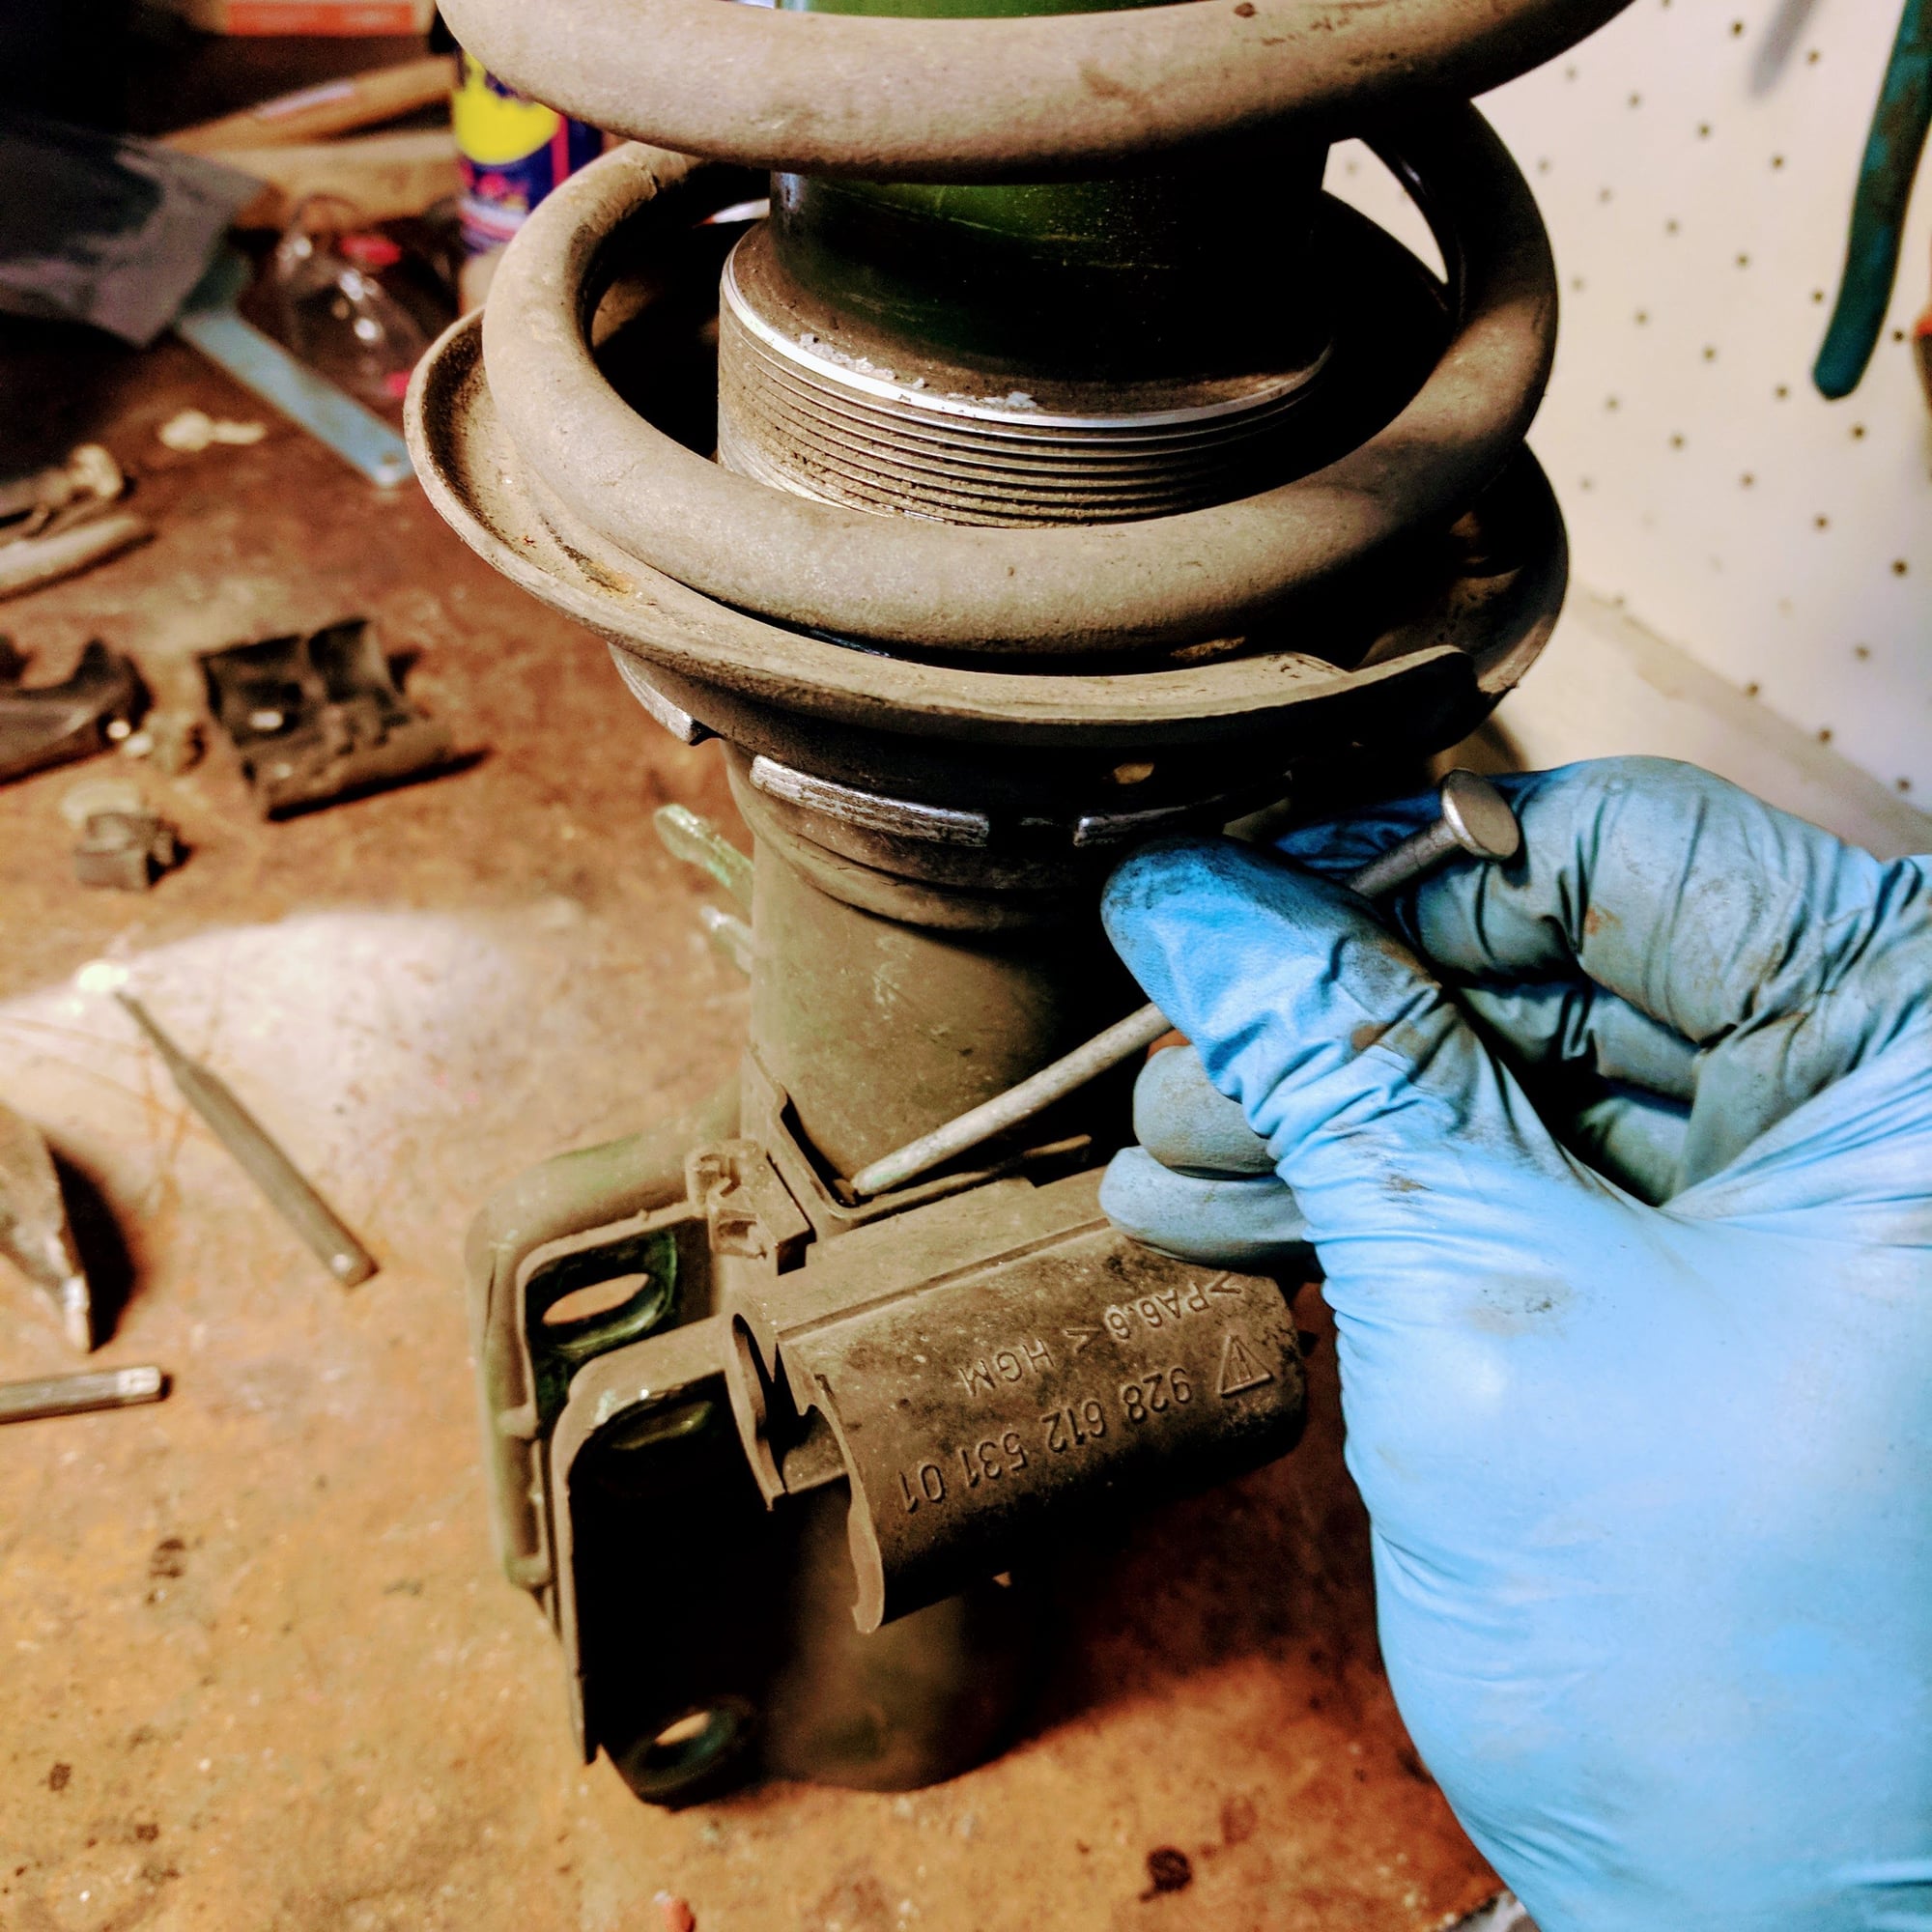
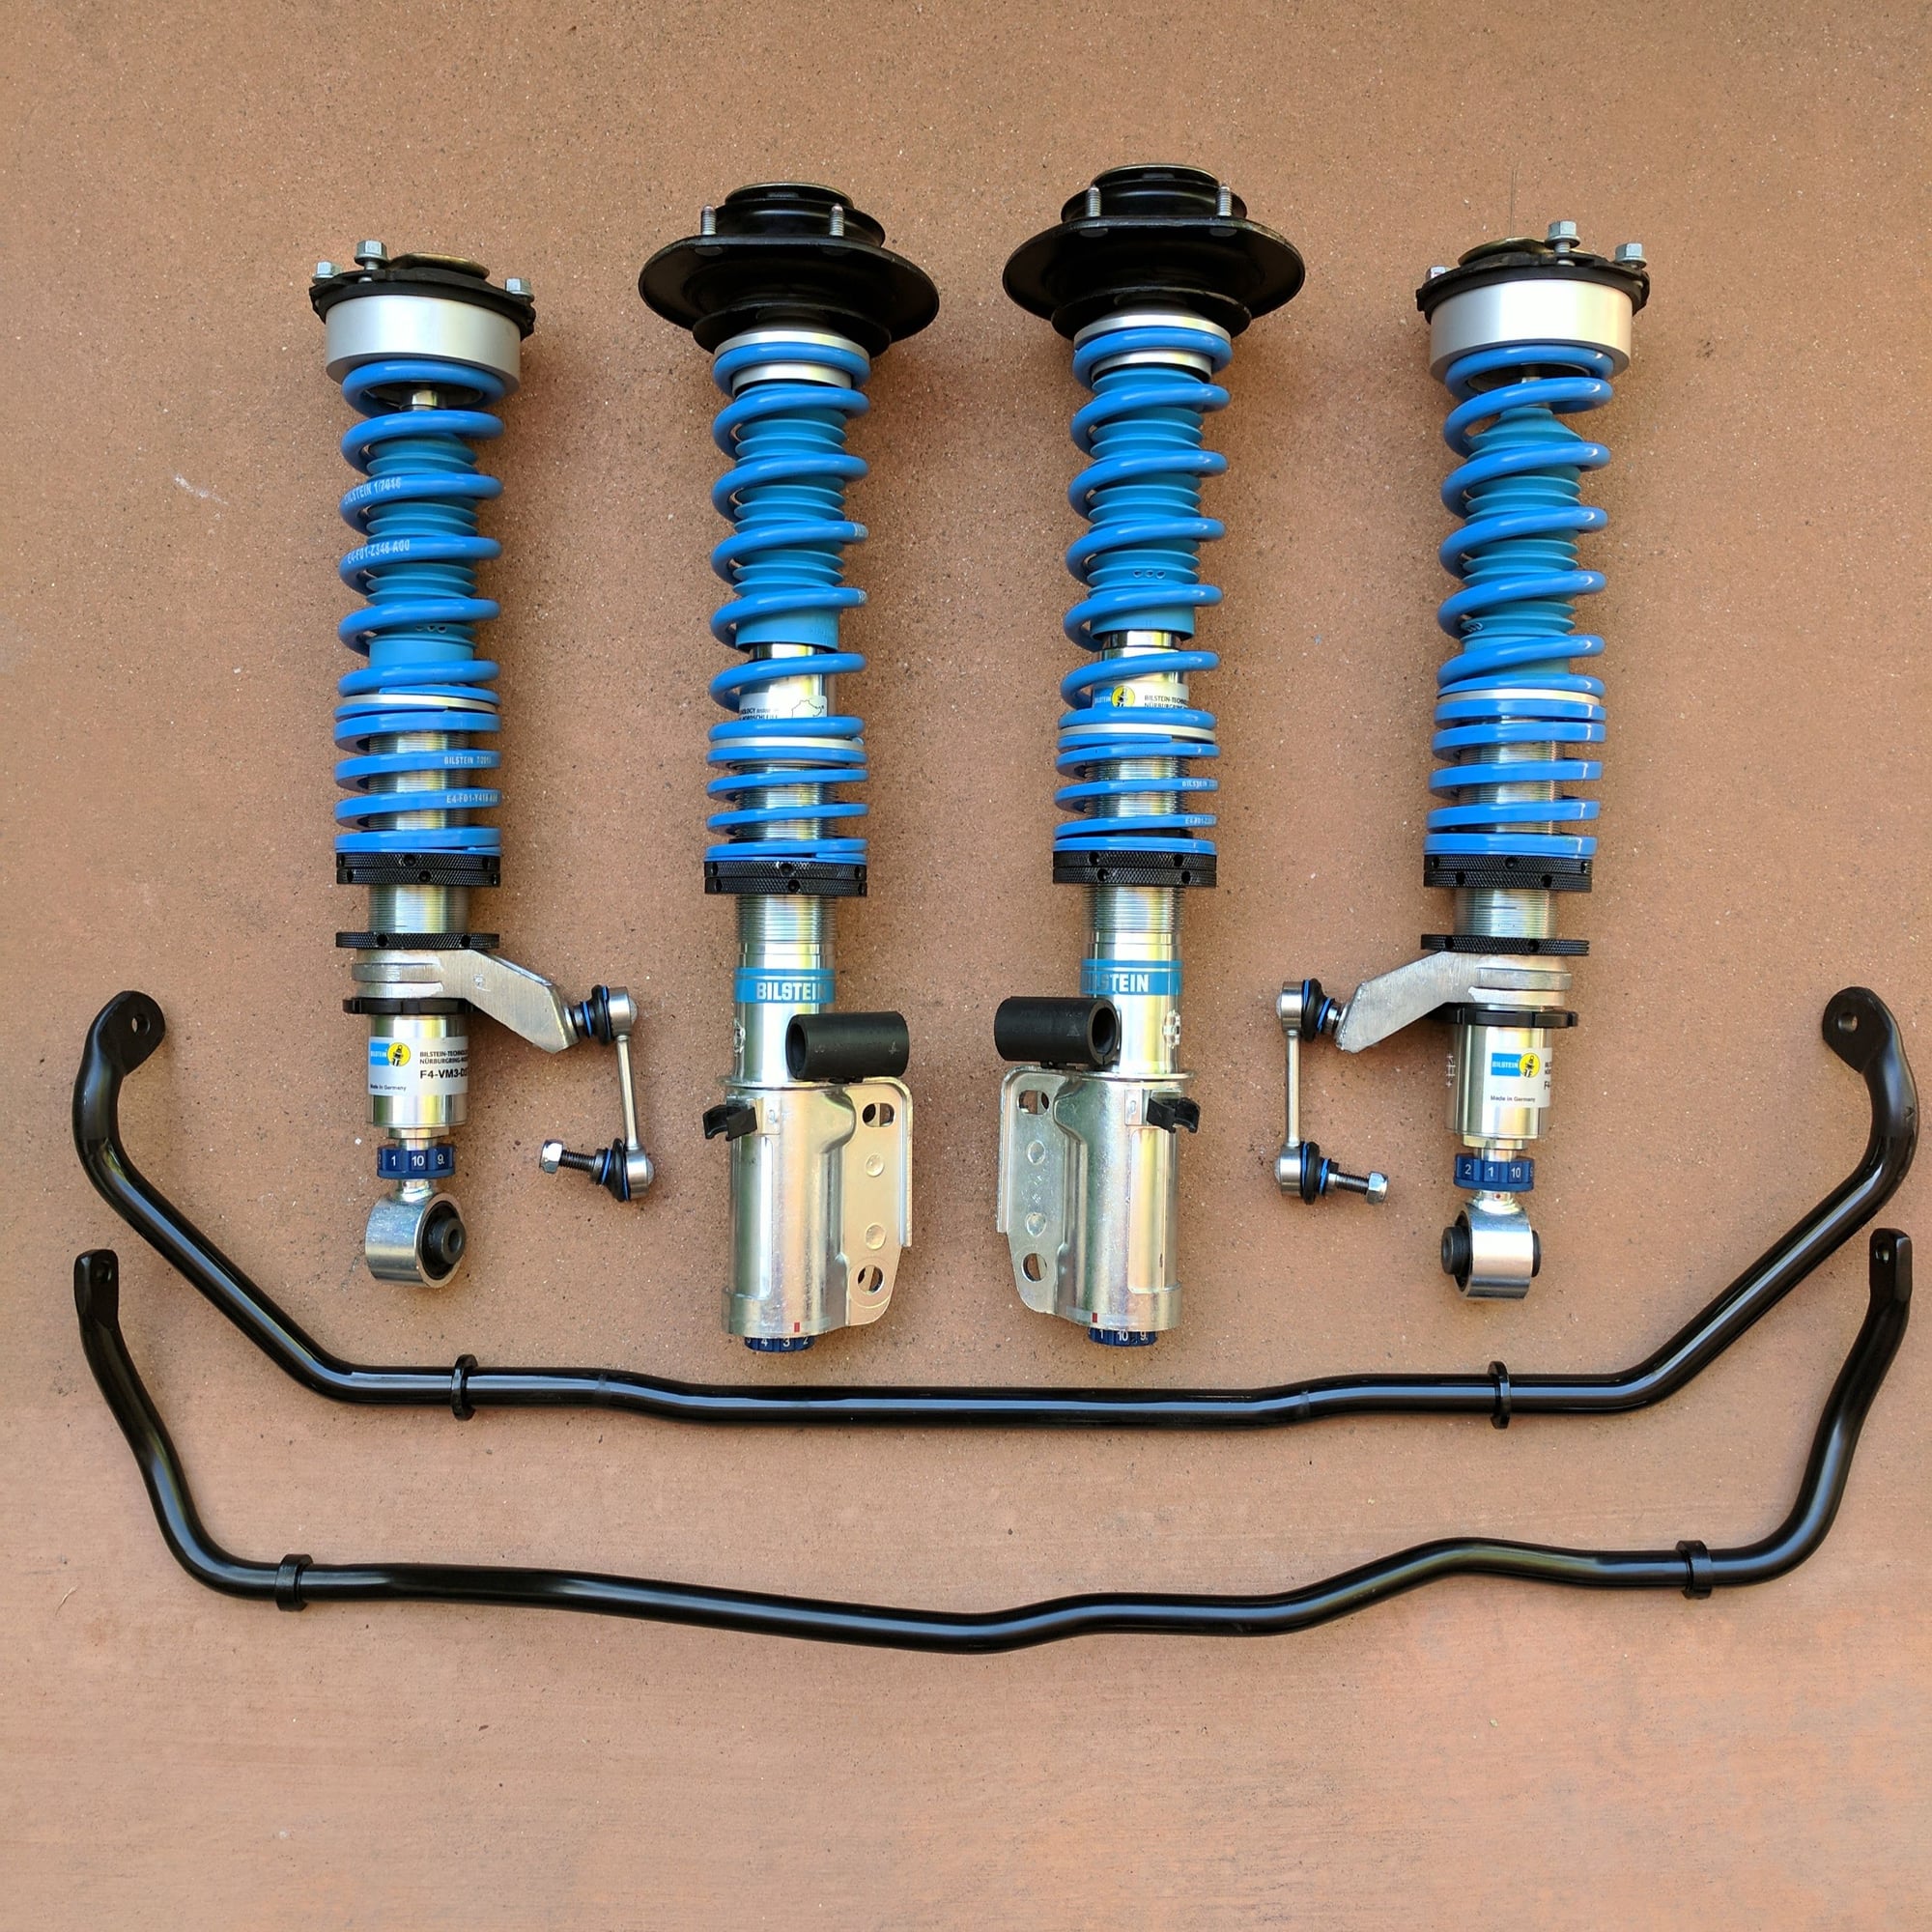
With all of that done, then following the steps in the PSS10 DIY guide you dissemble the old...
and reassemble the new...
Now I am ready for the ARB and PSS10 strut install!
 09-10-2017, 04:57 AM