When you click on links to various merchants on this site and make a purchase, this can result in this site earning a commission. Affiliate programs and affiliations include, but are not limited to, the eBay Partner Network.
What? Who paints something and then sands it off? Sand, Primer, sand, paint, clear, clear�wet sand/polish optional depending on your expectations. 911�s don�t have a show car paint job. They have orange peel etc. The factory isn�t doing anything special to these parts to make them look better than any other car out there
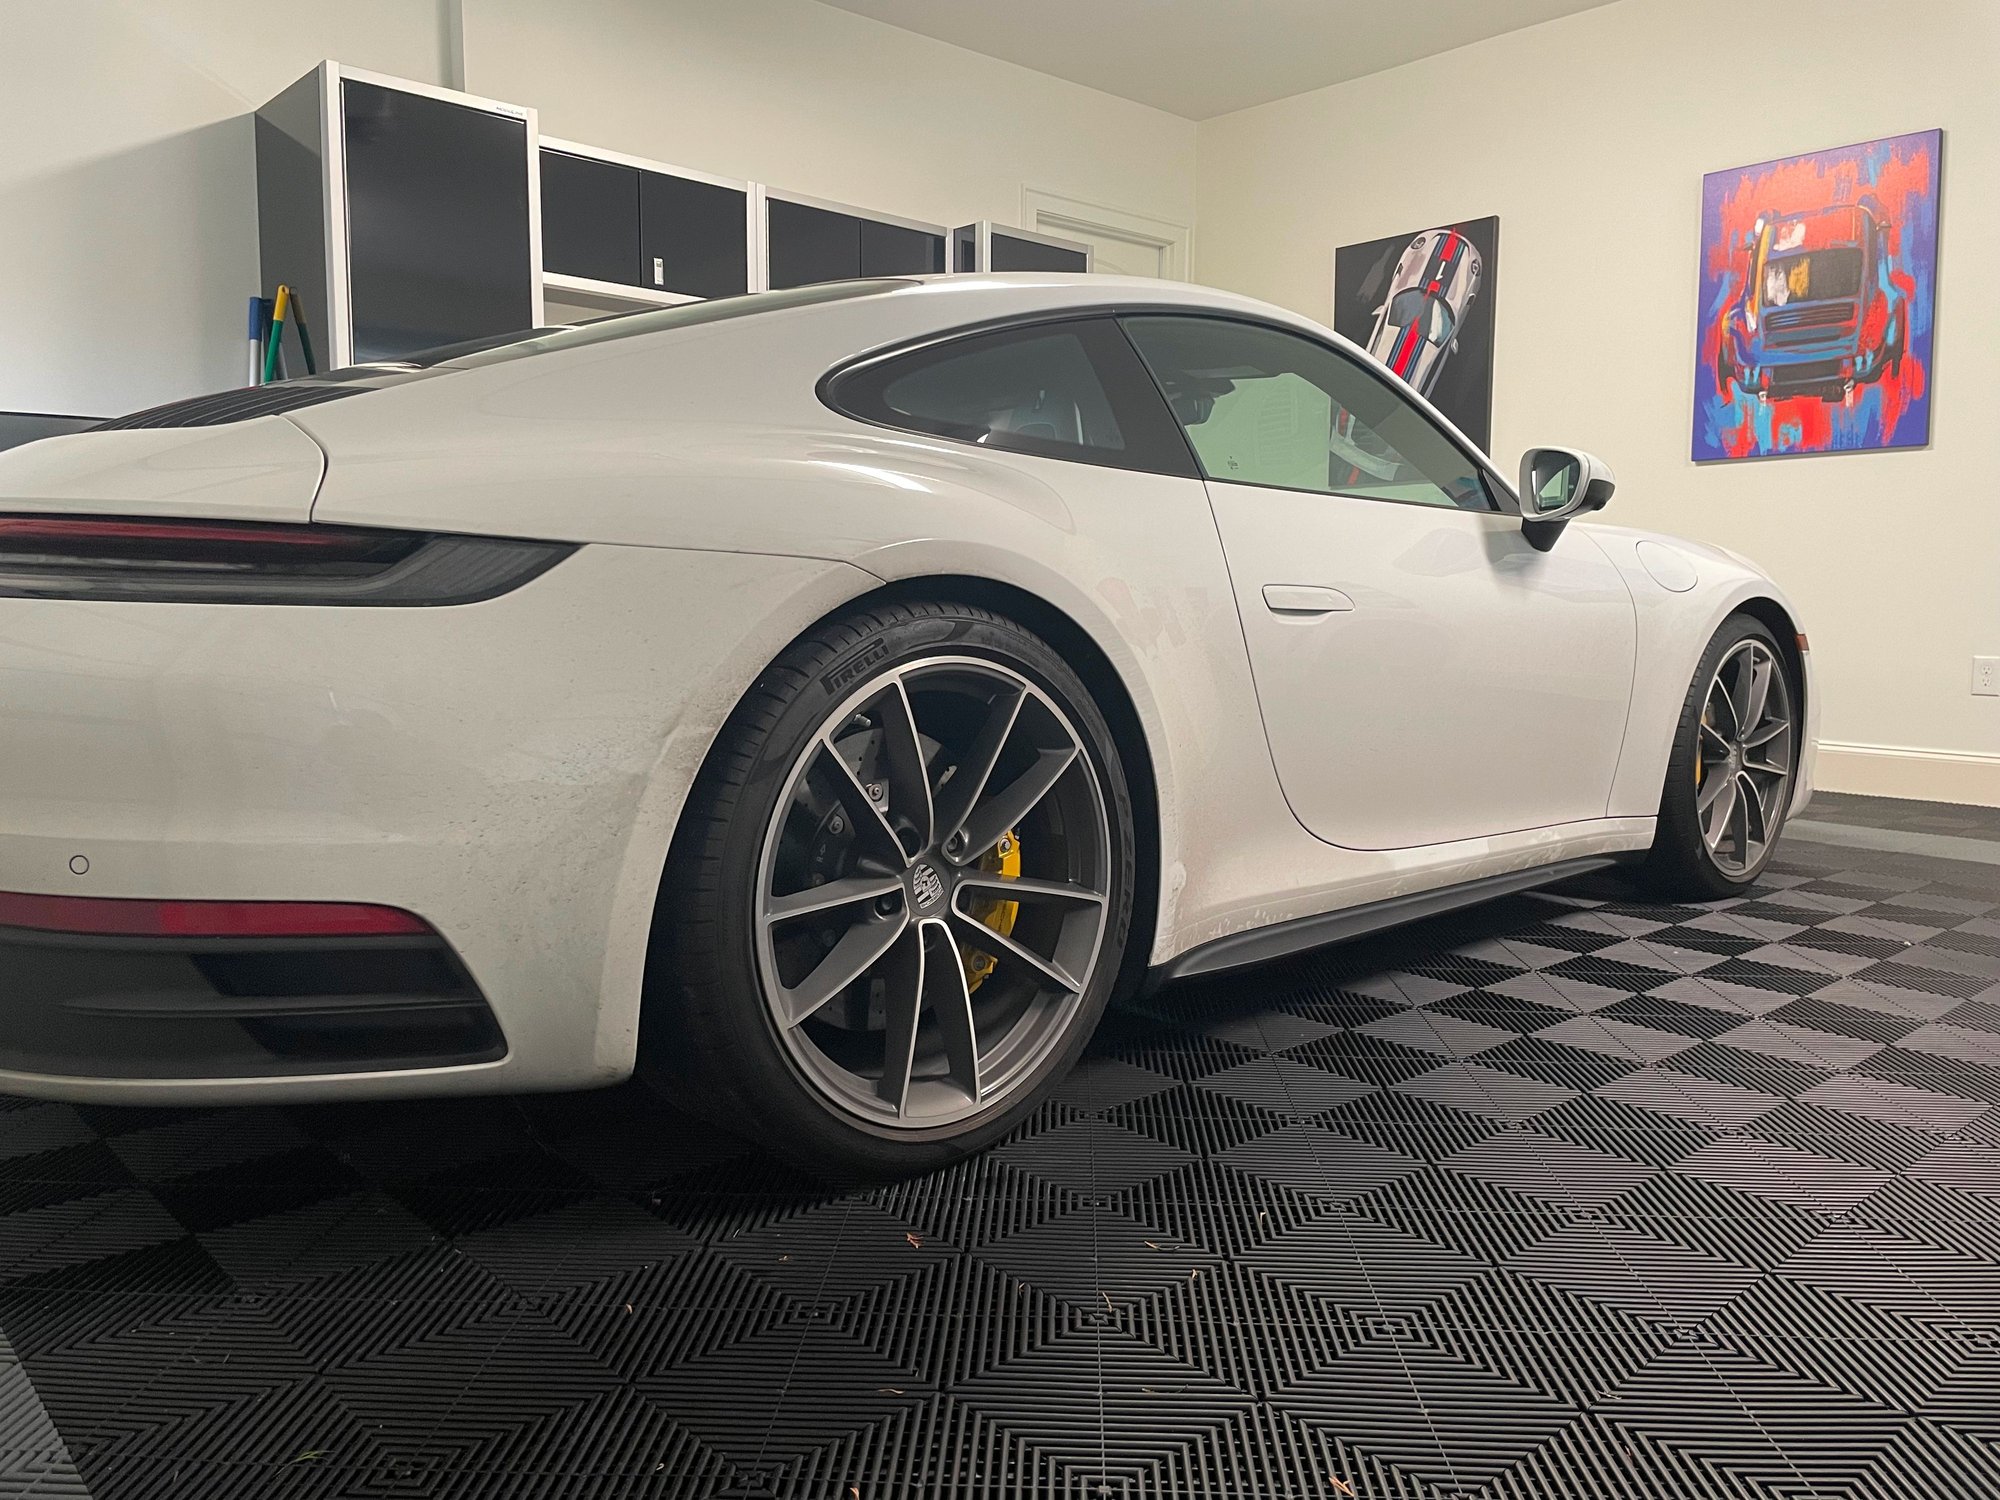
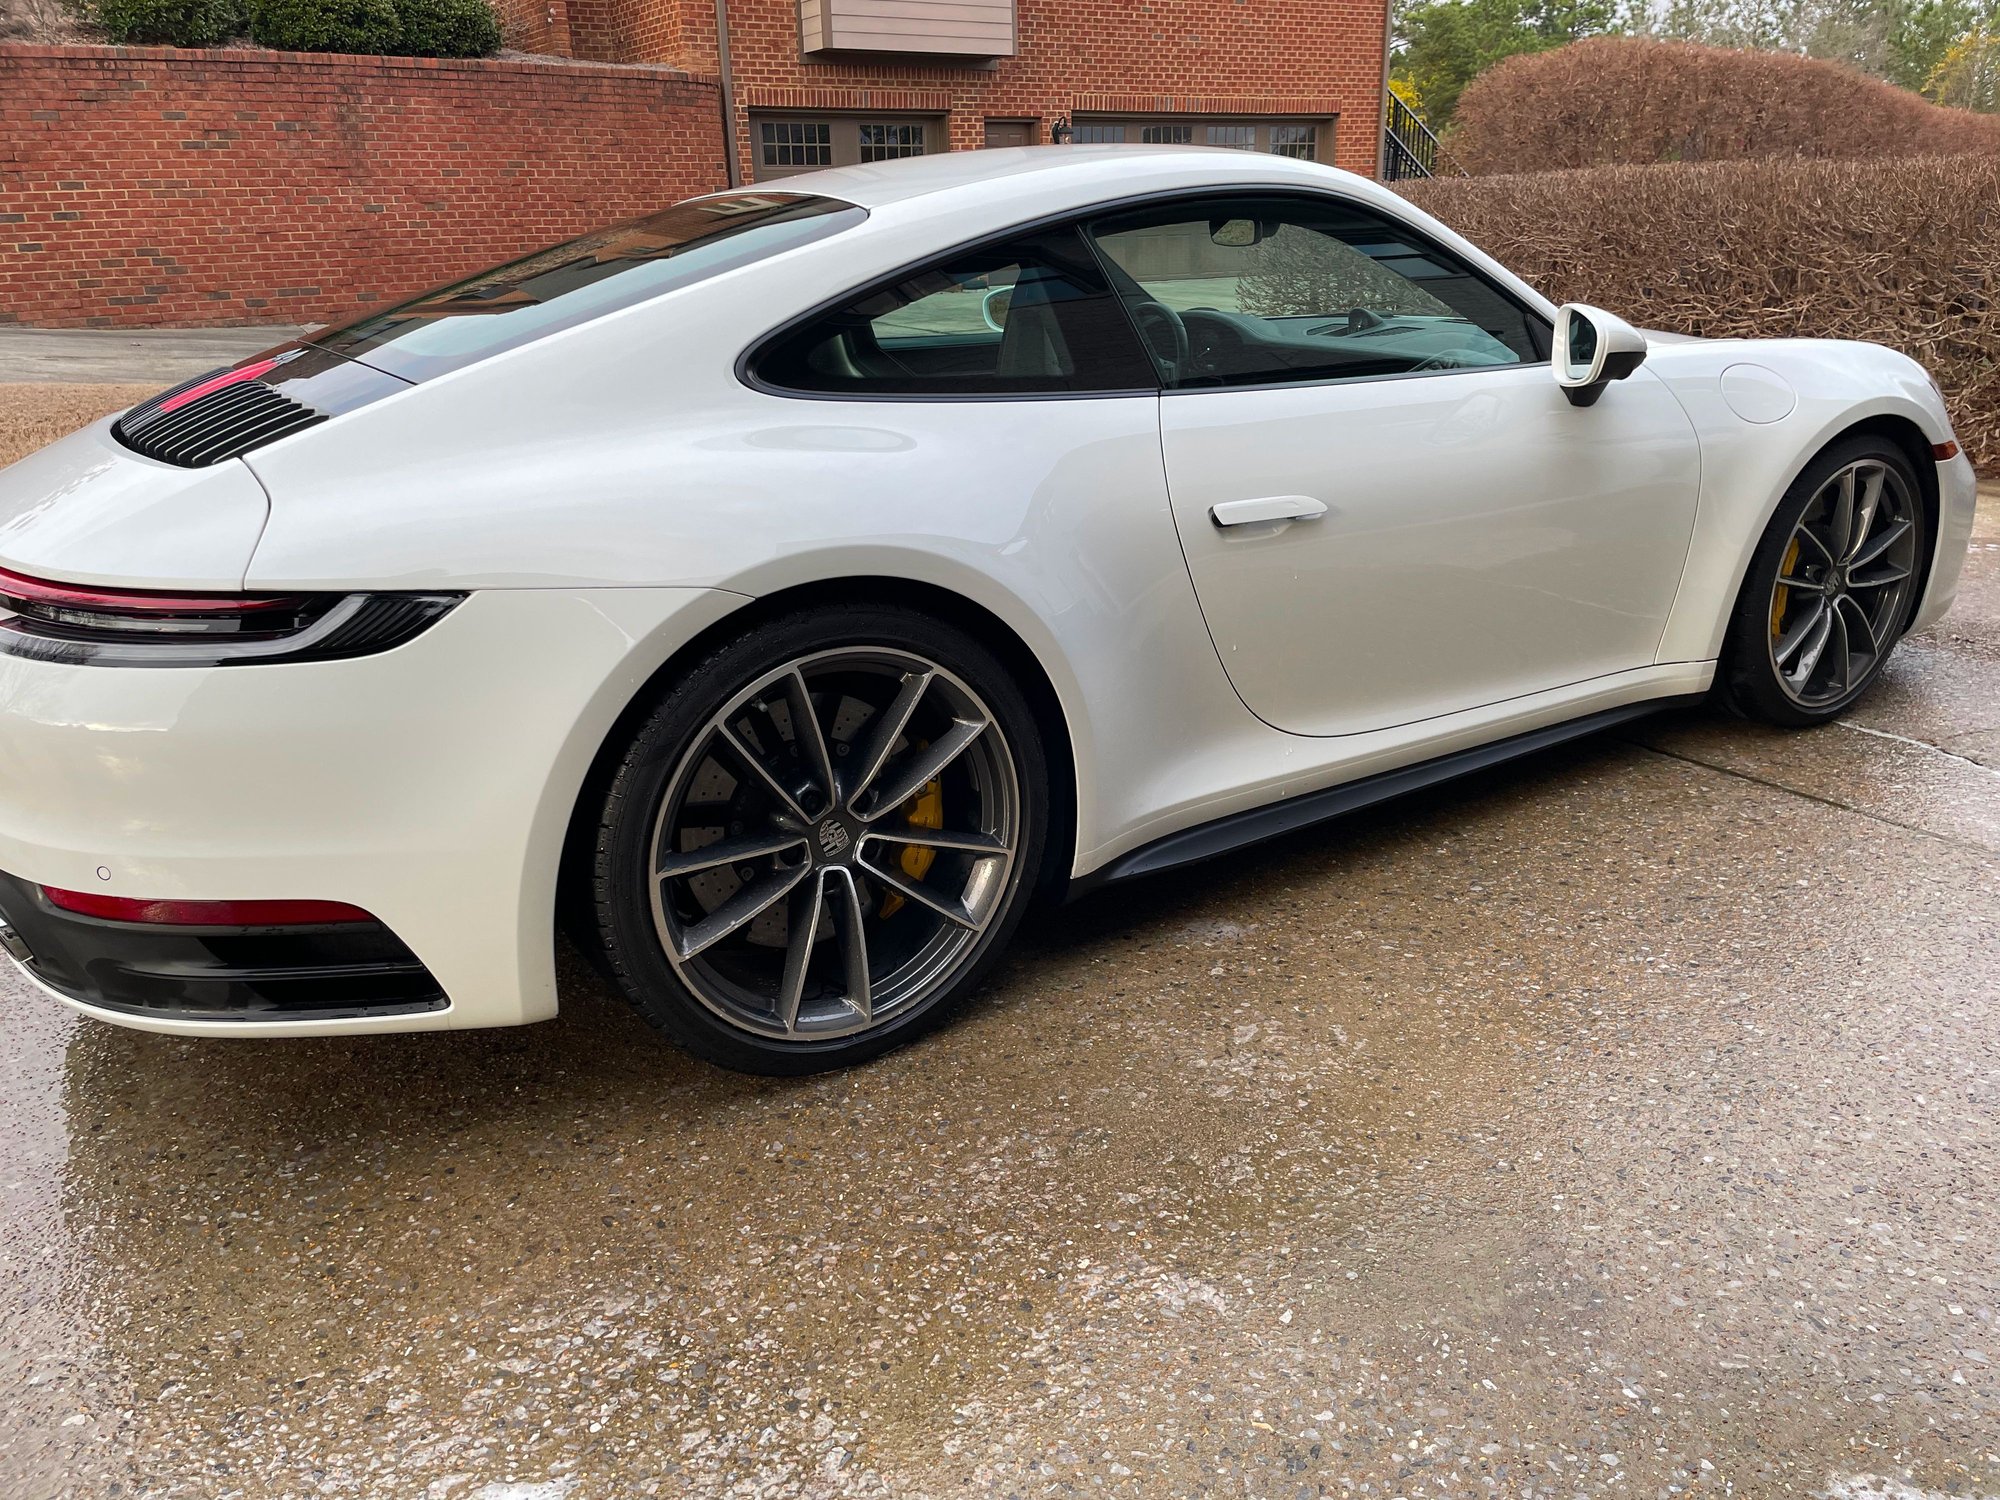
I am not sure what you are saying but my painter also sanded, primed, paint, sanded, second coat.....clear, polish...my painter makes the first coat a little thicker to have material to sand it smooth to remove the plastic texture completely. And from the looks of my car he knows what he is doing. Just did the same for my mirror bottoms...the pic below does not do it justice as the surface of the painted side-skirts looks identical to the rest of the car
I am not sure what you are saying but my painter also sanded, primed, paint, sanded, second coat.....clear, polish...my painter makes the first coat a little thicker to have material to sand it smooth to remove the plastic texture completely. And from the looks of my car he knows what he is doing. Just did the same for my mirror bottoms...the pic below does not do it justice as the surface of the painted side-skirts looks identical to the rest of the car 
THAT looks great. Did you PPF? How much did they charge for painting?
Just a heads up on the install...the skirt fits pretty easily (1 screw up front, 3 in back, clips snapping really easily) but I had a hell of a time getting the 7 push locks on each side to "click" securely...when I realized that the oval white pieces that the push lock clicks into must be all the way through the skirt holes, it went very smoothly...but it took a while to figure that out. The video post #392 is very good but he does not mention that.
A few pointers to add to the installation shown in Post #392::
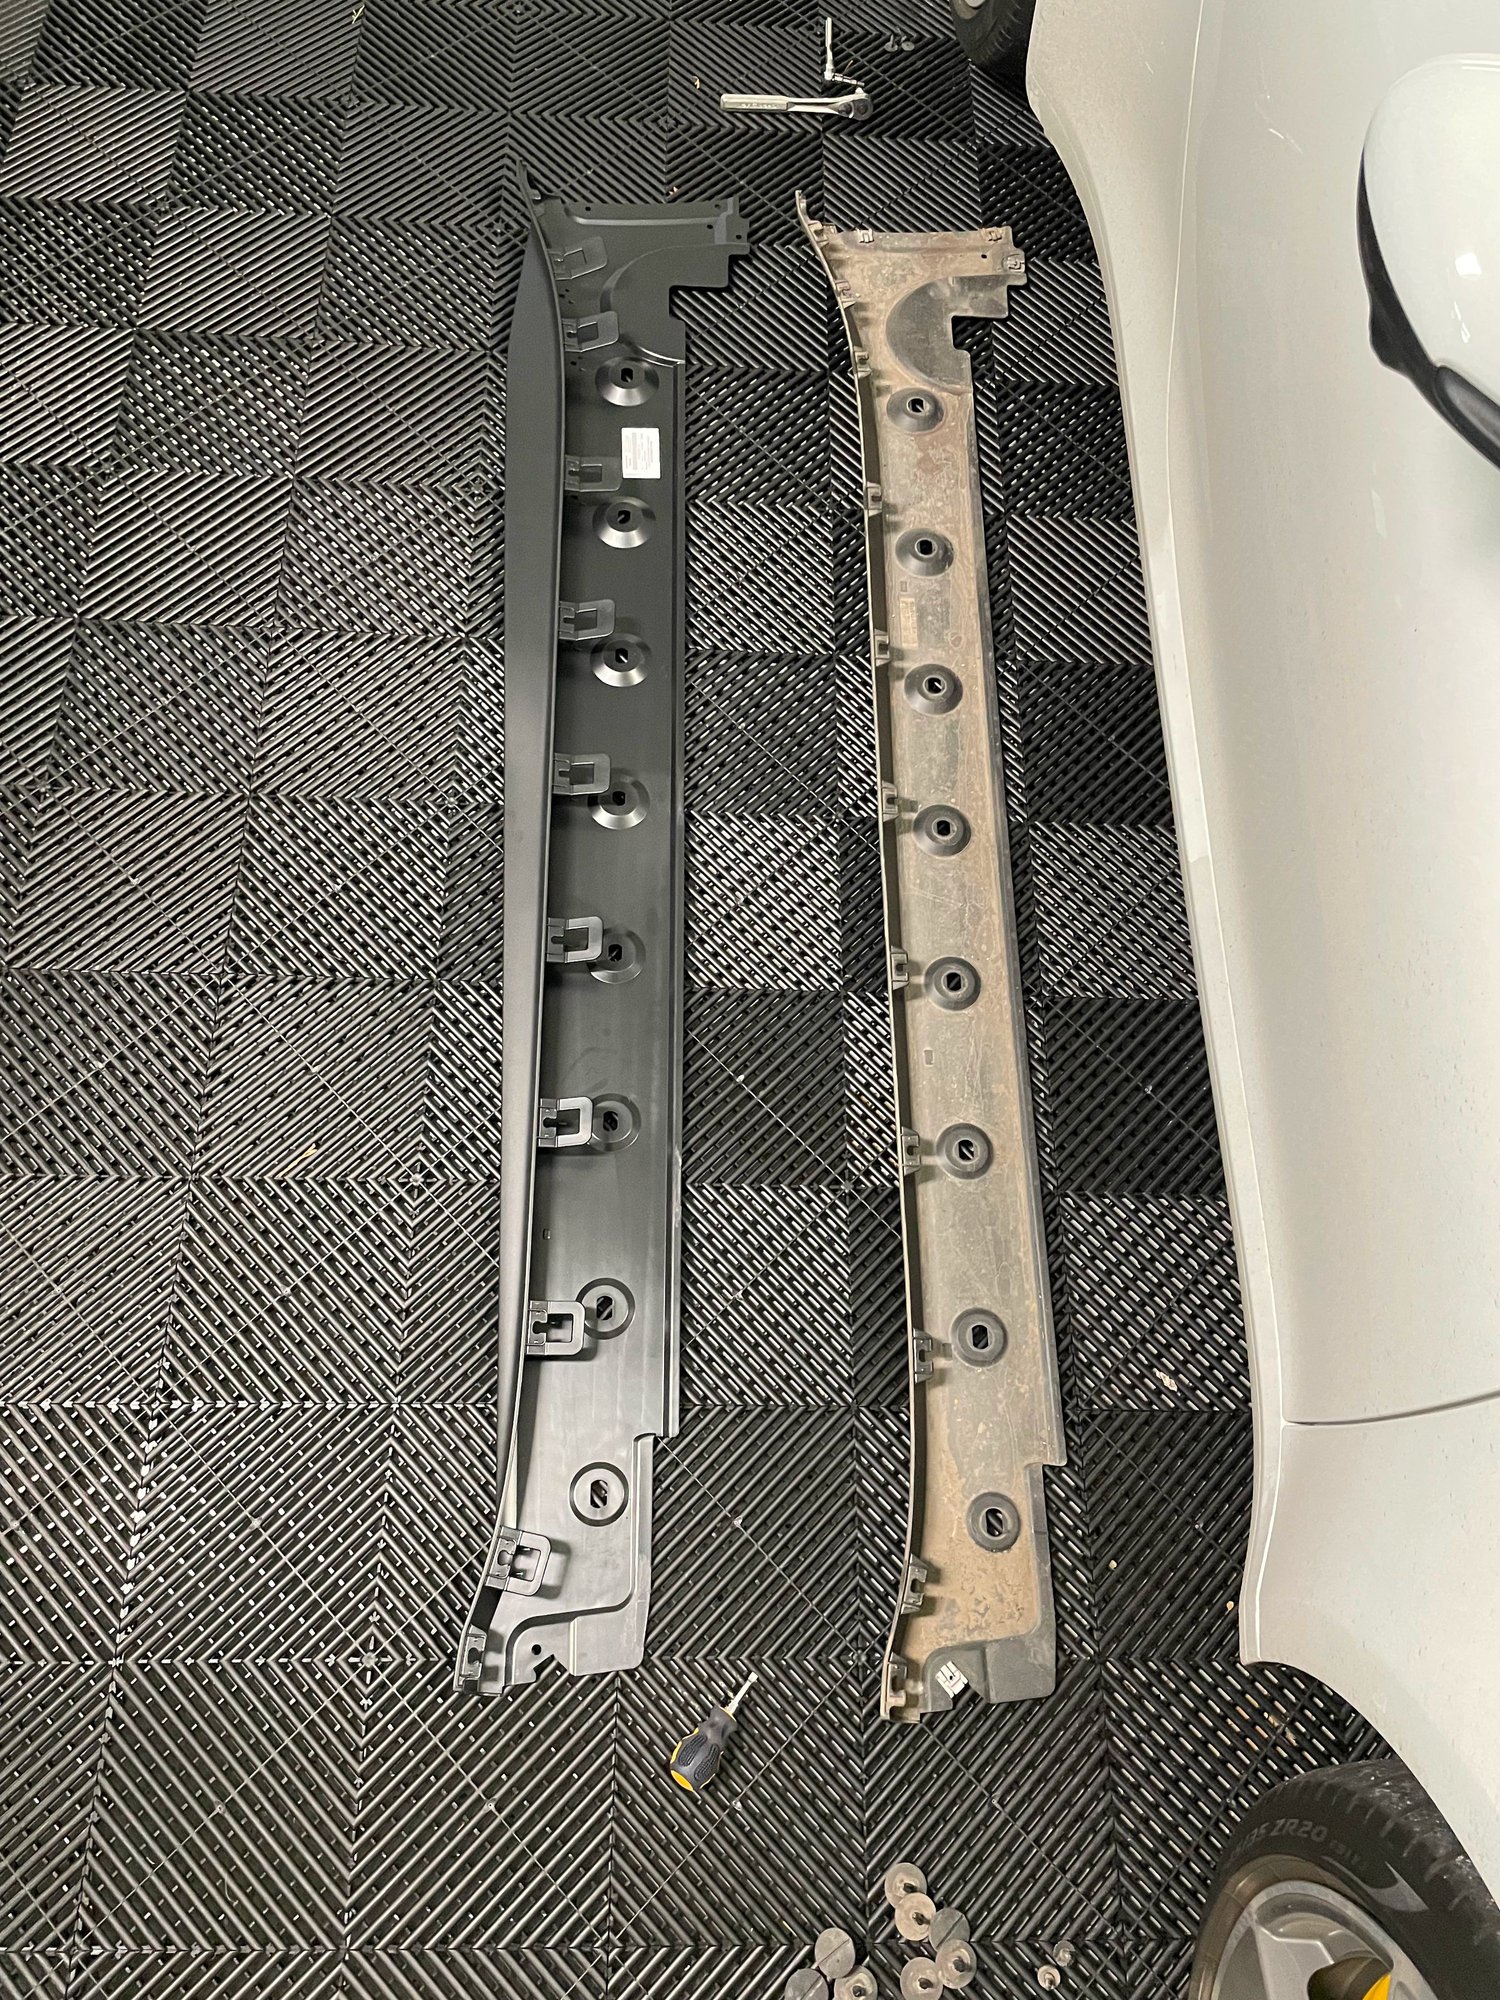
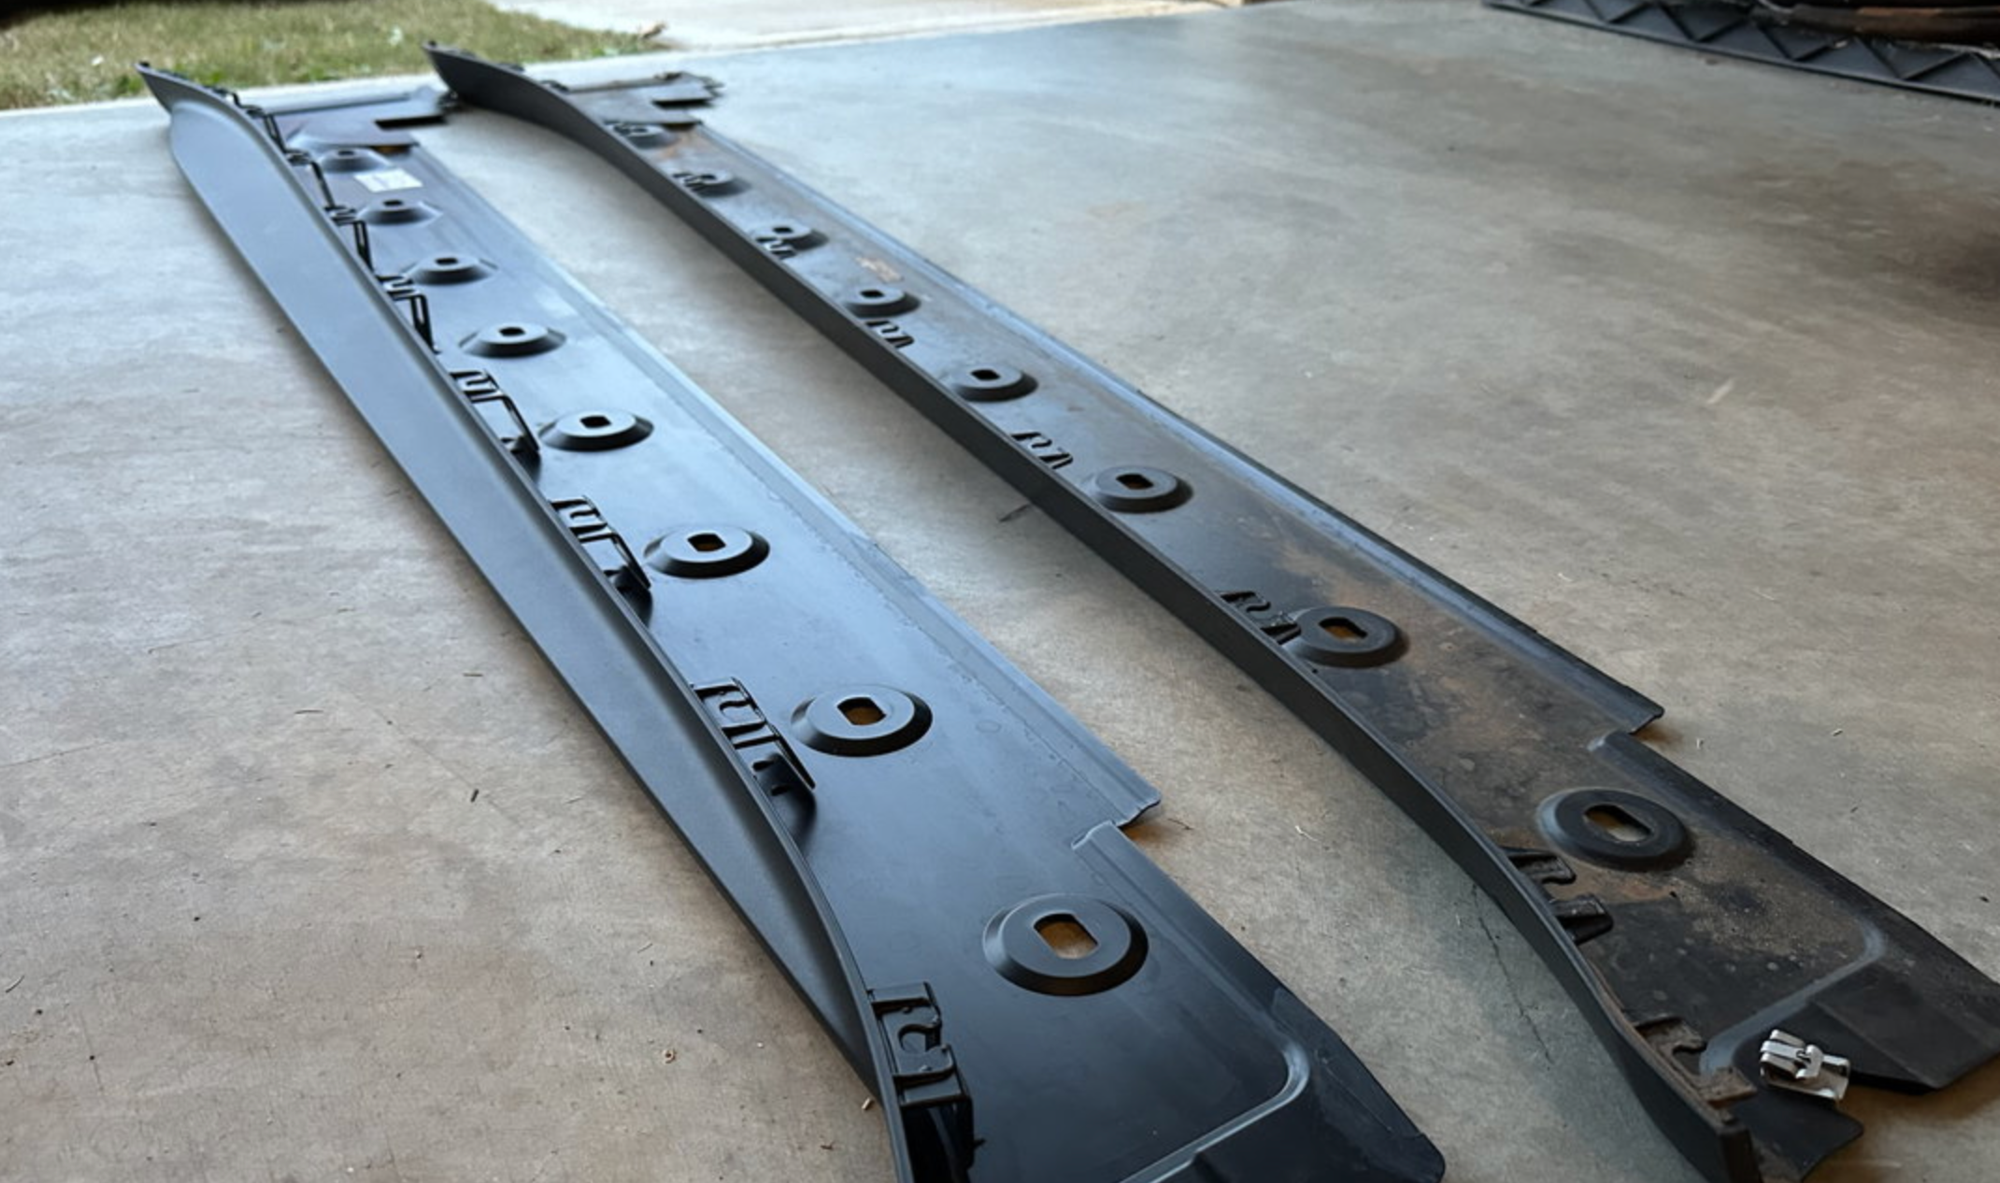
There are 8 Push Clips. They are NOT screw-in items. The "Screw Driver" slot should be at 90* to the length of the car to remove them (they will practically fall out). To reinstall these clips, align the slot with the length of the car and push until you hear it click. Note: If you do not hear a click, it's not installed correctly. The plastic piece that the Push Clips snap into "MUST" be flush with the Side Skirt, close enough will not suffice. The "trick" is to make sure the Side Skirt inside edge is fully inserted between the floor pan and the plastic body sheet along the entire length of the Side Skirt. If it is not fully inserted along it's entire length you will not be successful. A Trim Tool such as can be had fro Harbor Freight or Amazon.com is very helpful when doing this. Take a close look at the alignment of the original side skirt and the other plastic pieces it fits with along its entire length before you remove it.
IMHO, while it's not necessary to remove the inboard Torx 20 Screw at the front wheel well, doing so makes the installation of the Side Skirt much easier. This is because it allows the wheel well plastic to be moved a bit further out of the way when installing the new Side Skirt.
Getting the various plastic shields lined up, particularly at the rear, when installing the Side Skirts, can be a done lot easier if the Side Skirt is installed from the back working towards the front of the car.
You do not need to jack the car up to do this job, but having a bright low profile flashlight makes the job so-o-o-o-o-o-o much easier when getting everything aligned.
A few pointers to add to the installation shown in Post #392::
There are 8 Push Clips. They are NOT screw-in items. The "Screw Driver" slot should be at 90* to the length of the car to remove them (they will practically fall out). To reinstall these clips, align the slot with the length of the car and push until you hear it click. Note: If you do not hear a click, it's not installed correctly. The plastic piece that the Push Clips snap into "MUST" be flush with the Side Skirt, close enough will not suffice. The "trick" is to make sure the Side Skirt inside edge is fully inserted between the floor pan and the plastic body sheet along the entire length of the Side Skirt. If it is not fully inserted along it's entire length you will not be successful. A Trim Tool such as can be had fro Harbor Freight or Amazon.com is very helpful when doing this. Take a close look at the alignment of the original side skirt and the other plastic pieces it fits with along its entire length before you remove it.
IMHO, while it's not necessary to remove the inboard Torx 20 Screw at the front wheel well, doing so makes the installation of the Side Skirt much easier. This is because it allows the wheel well plastic to be moved a bit further out of the way when installing the new Side Skirt.
Getting the various plastic shields lined up, particularly at the rear, when installing the Side Skirts, can be a done lot easier if the Side Skirt is installed from the back working towards the front of the car.
You do not need to jack the car up to do this job, but having a bright low profile flashlight makes the job so-o-o-o-o-o-o much easier when getting everything aligned.
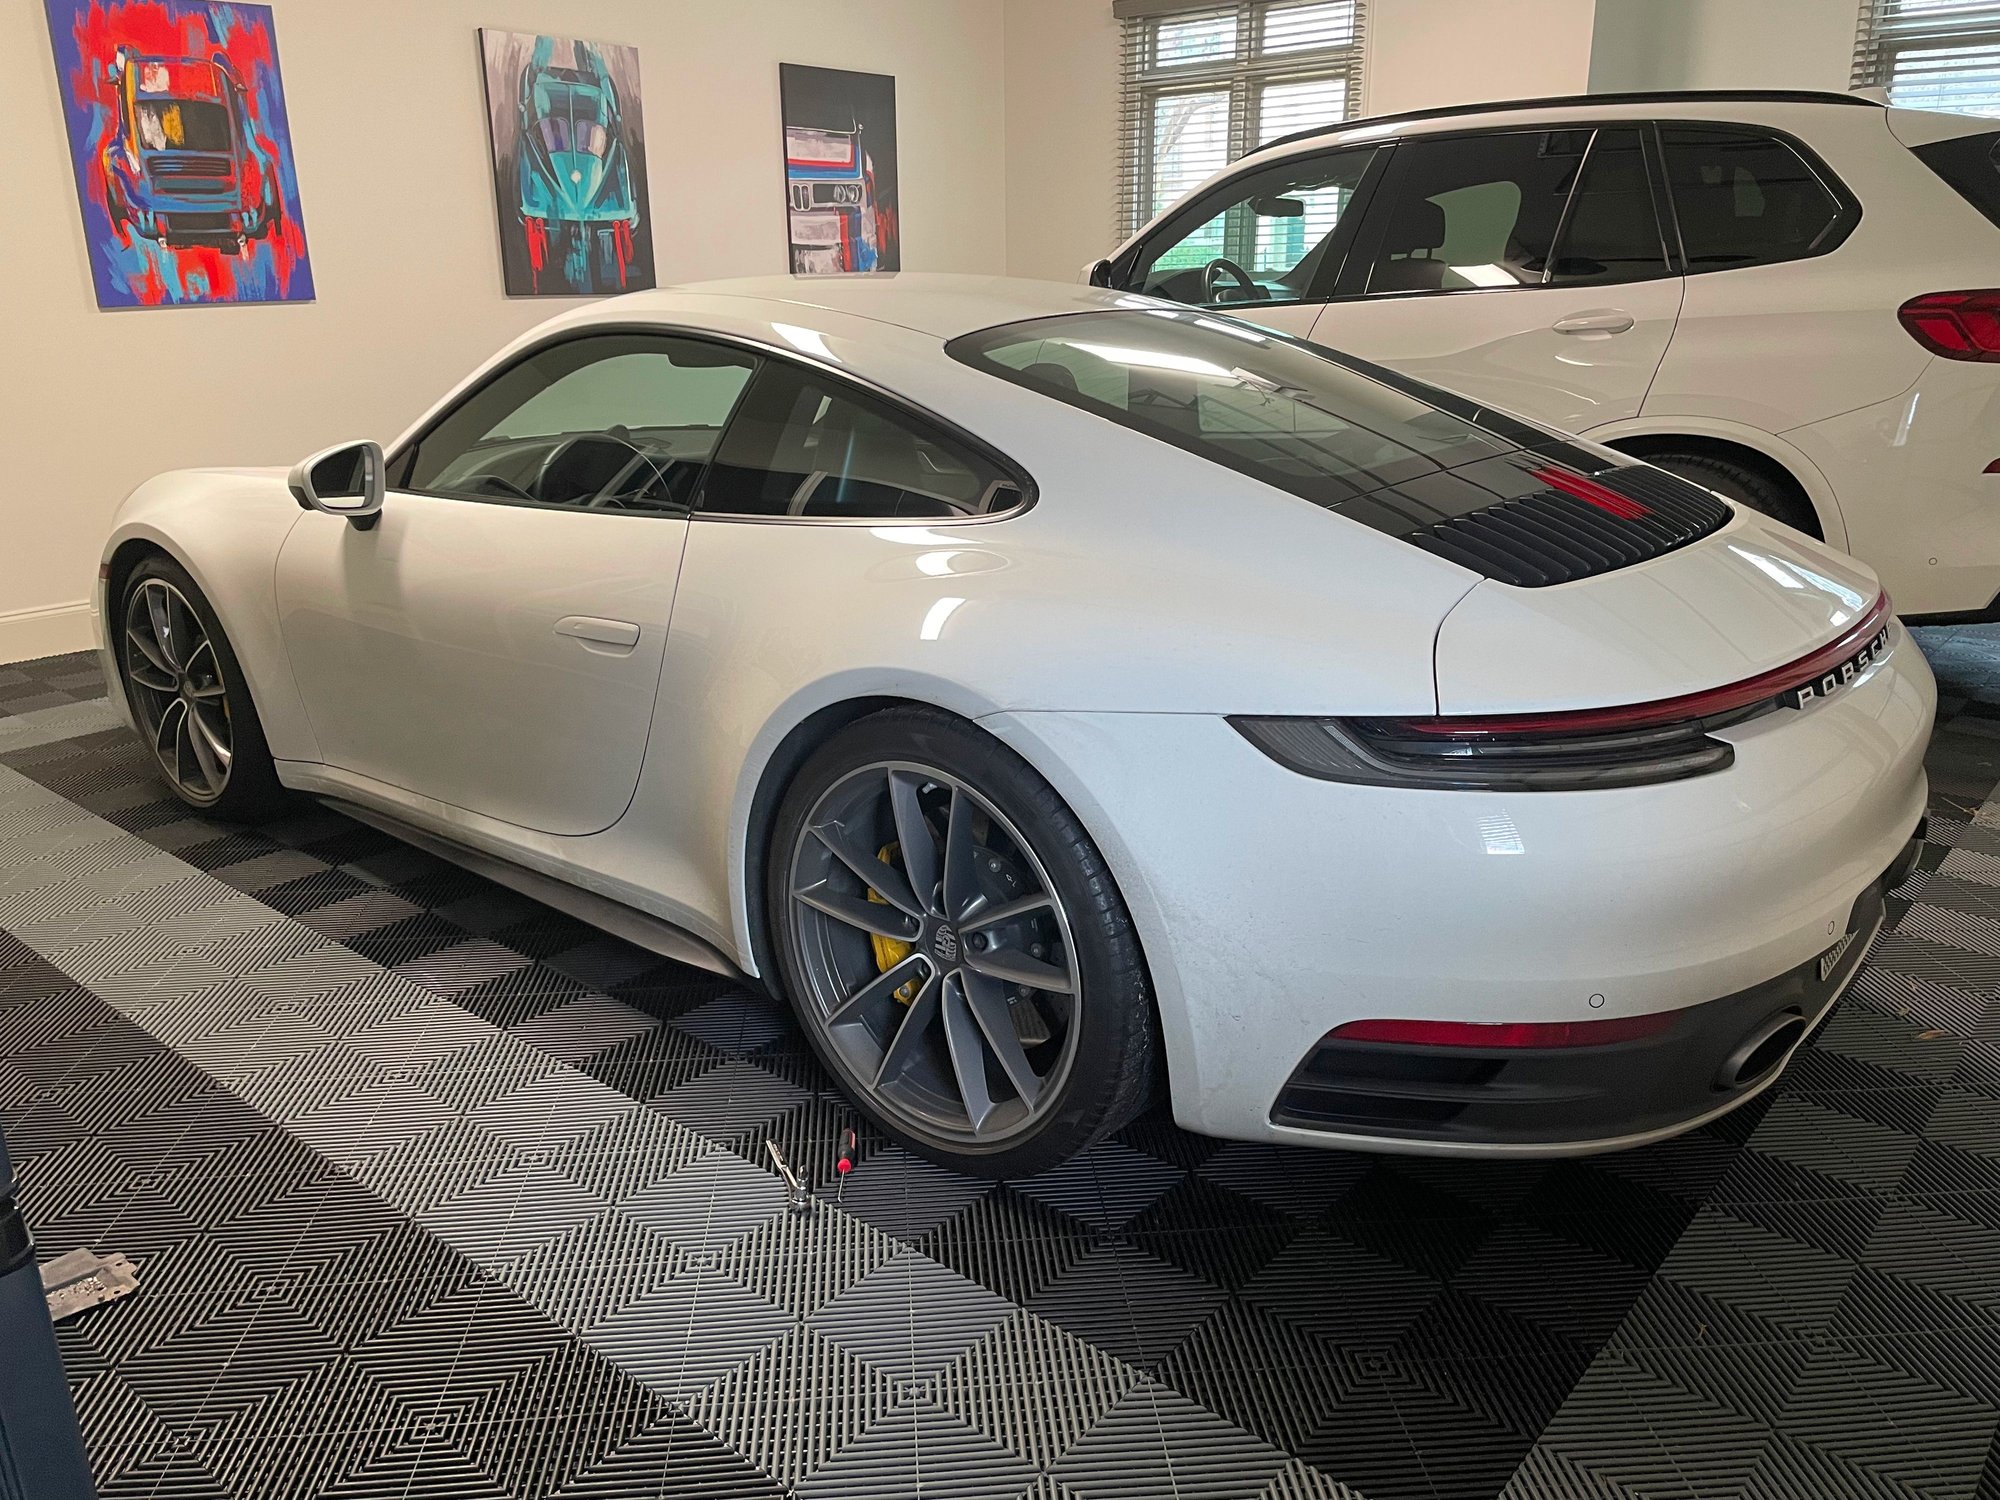
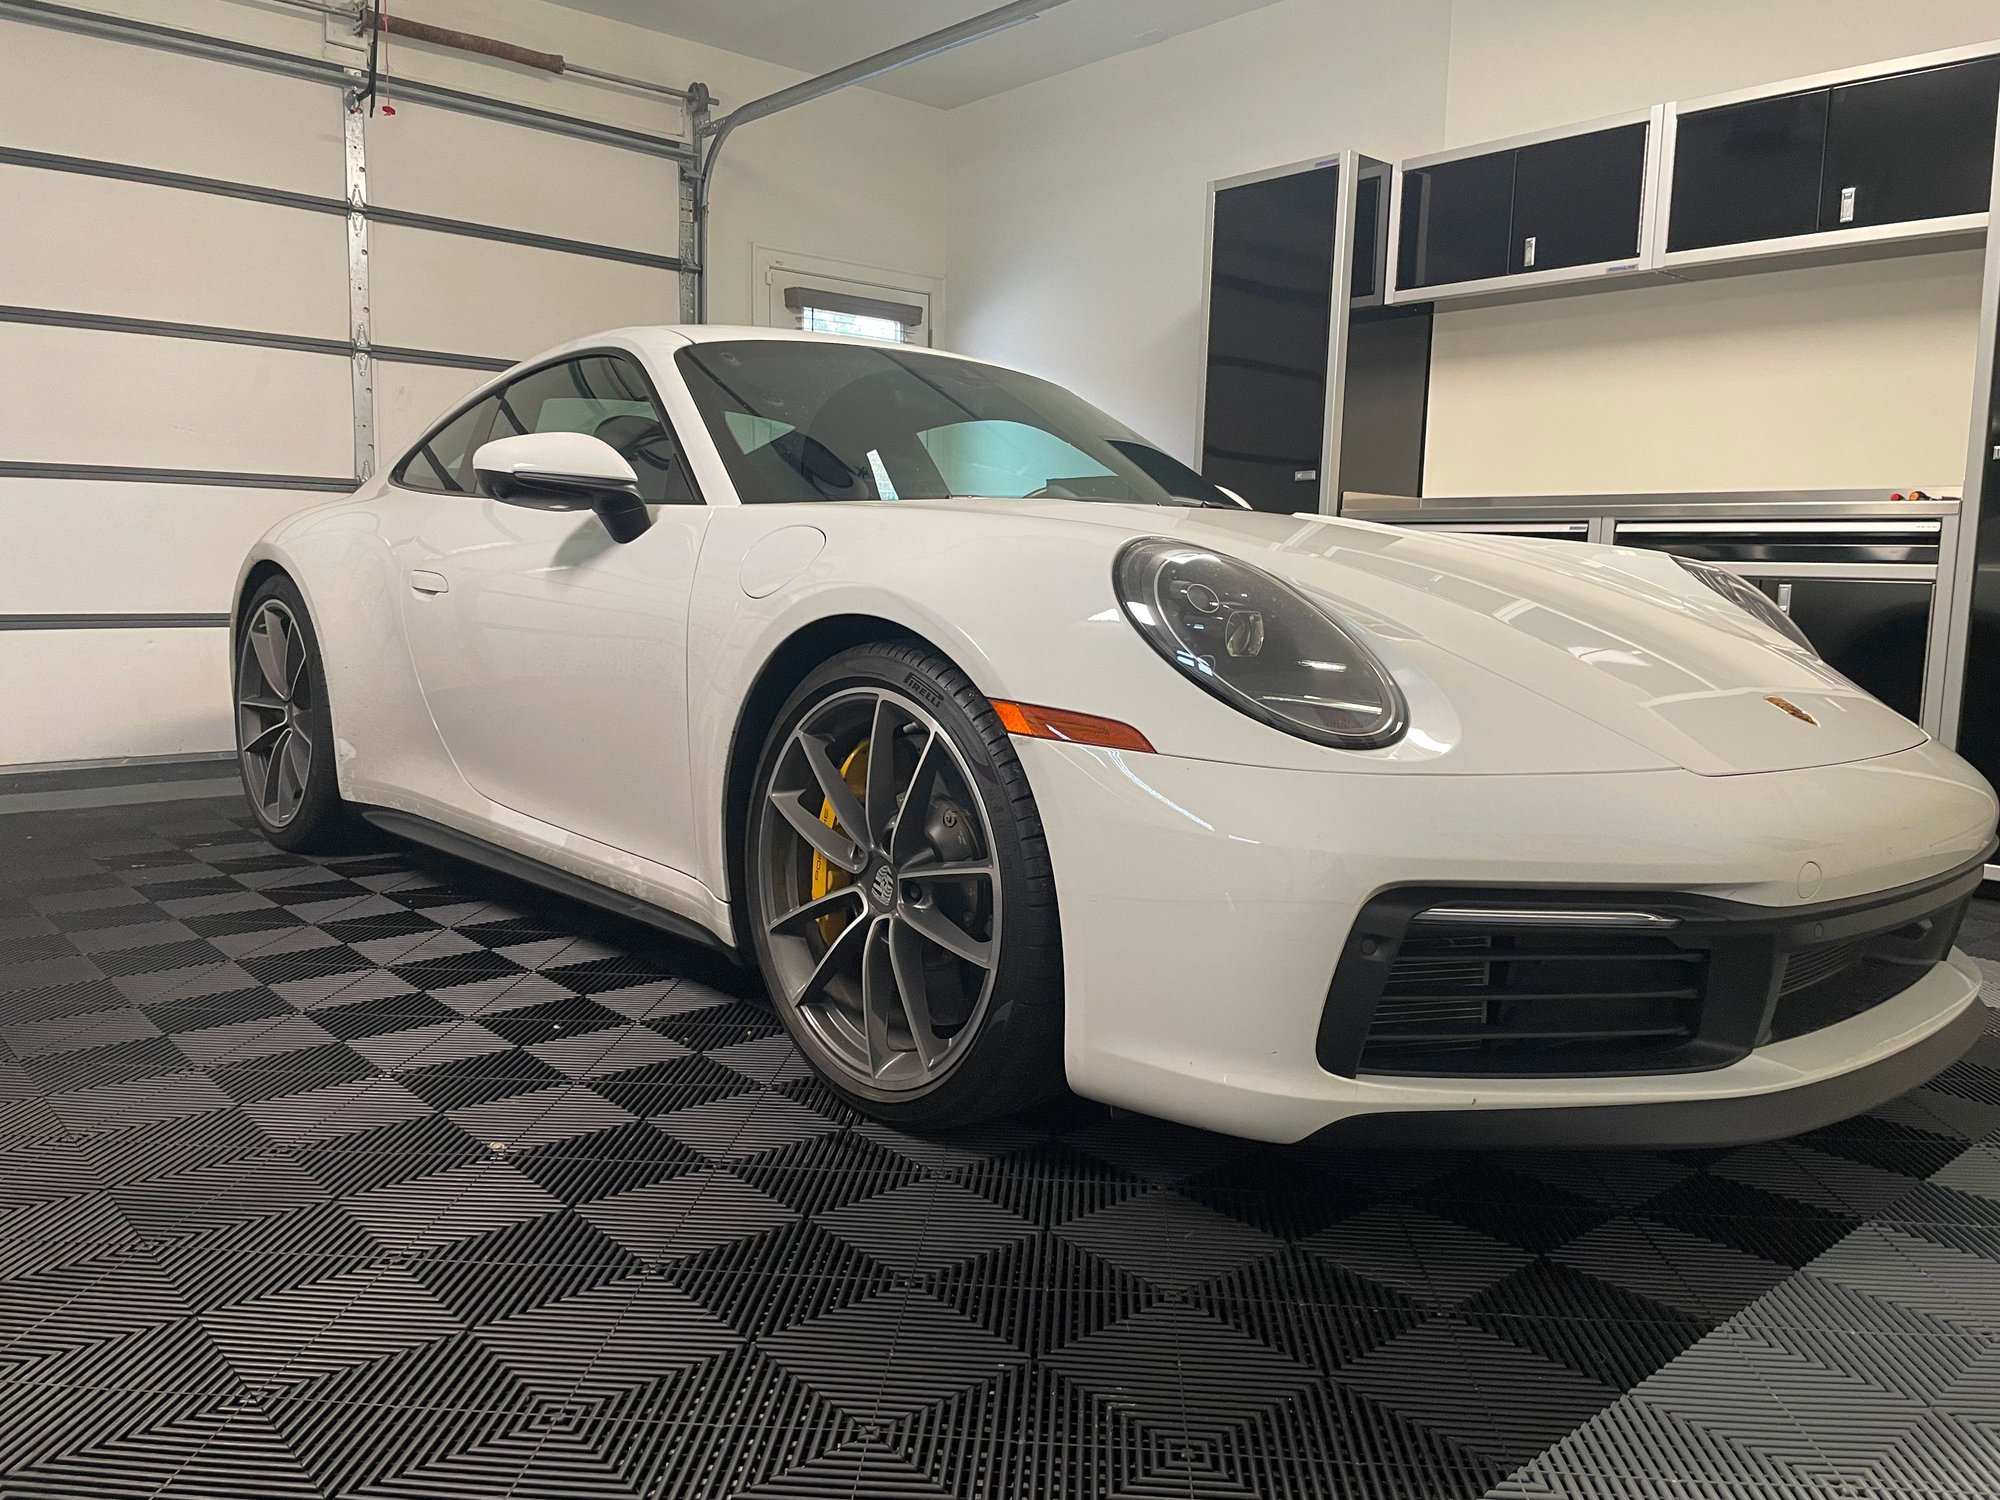
Here's the finished product on my 2021 C2S:
.
I posted exactly the same thing in the comments section of the YouTube ...I loosened the middle nut of the floor pan to make the skirt slide right under it...then retightened it after installation. For those going to DIY, test the large round clips before you start the install. It becomes very obvious what the "click" that you're listening for is.
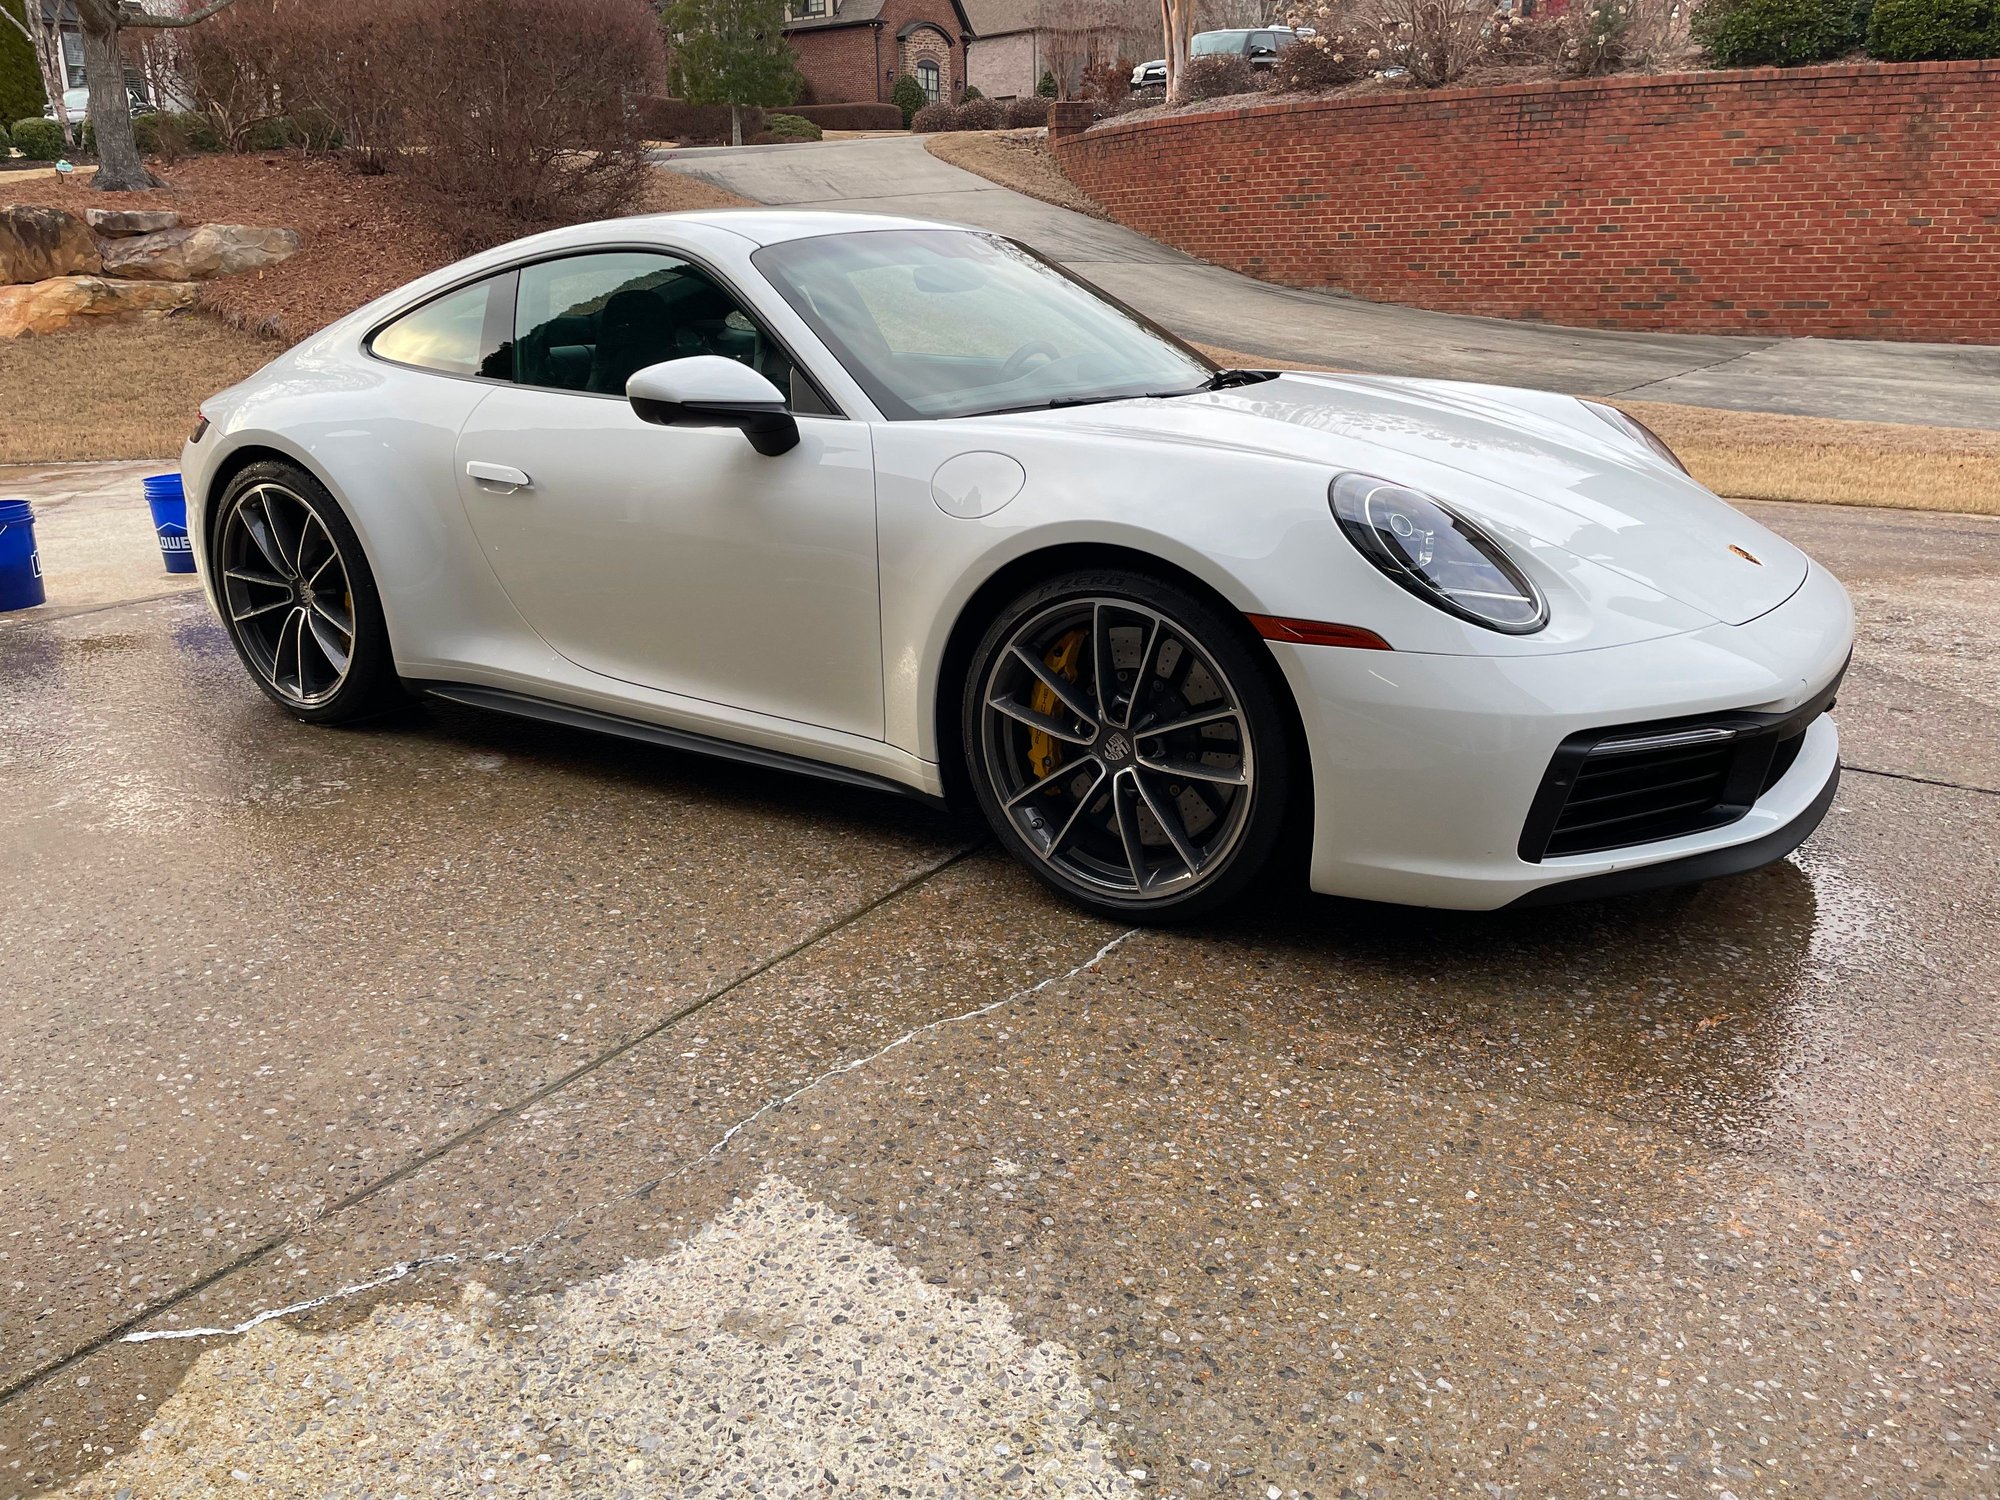
Just installed mine today. Please excuse the car, it was filthy...but was finally able to get a wash in. I ordered from Suncoast Parts and shipping was quick and well packaged. Overall it was a pretty quick install. I was able to install them on the ground in about 1 hour for both sides and didn't have to use my lift. The previous posts really helped so I would suggest referencing them if you're installing them at home.
Might be a double post from my old account, but just finished the install today. Ordered from Suncoast parts with quick shipping. It took around an hour to do both sides. I was able to do it on the ground and didn't have to use my lift. Overall I'm very pleased with the outcome. I def recommend reading the key points noted above, they really helped. Forgive the filthy car, it needed a wash!
So the clips on the GT3 skirt are different than the clips on the regular skirt?
not sure which "clips" you mean...if it's the plastic...they work exactly the same...someone posted earlier that you break off the 7 tabs that slide over the fasteners...that is wrong...the tabs bend downward at a right angle and helps to stiffen the skirt...when you install it, it looks the similar to original w/o stiffeners at right angle...you remove the 3 metal "clips" from the rear and 1 from the front and place them in exactly the same place on the new
skirt...there are 2 20Tx screws and 2 10Tx (reused) .....the 7 large round plastic clips are also re-used....
Last edited by tomtomtomtom; 02-25-2023 at 11:28 AM.
not sure which "clips" you mean...if it's the plastic...they work exactly the same...someone posted earlier that you break off the 7 tabs that slide over the fasteners...that is wrong...the tabs bend downward at a right angle and helps to stiffen the skirt...when you install it, it looks the similar to original w/o stiffeners at right angle...you remove the 3 metal "clips" from the rear and 1 from the front and place them in exactly the same place on the new
skirt...there are 2 20Tx screws and 2 10Tx (reused) .....the 7 large round plastic clips are also re-used....
Thank you! Yes, I was referring to the plastic clips (I call them) that slide into the side of the car. Maybe tabs is a better name for them? Now I understand it that you bend them down as the skirt slides in.
So I felt like I knew enough to get this done and I started working on it today. I finally had it in and it looked like everything was done correctly. When I started putting the torx screws back in I realized that the part where the 3d screw goes in needed to slide under the piece that covers the bottom of the car. It was the only mistake I made but I had to pull the side skirt off. No matter what I tried I could not get that part of the rear side skirt to go under the other part and get the rest of the side skirt re-installed. I will mess with it again tomorrow. Is there any particular technique you all used to get this rear section on correctly?
I attached the front and had my wife hold the long edge just touching...I then got the back positioned properly...banged in the long edge and then screwed the back in place...used an awl to line up the holes easier and did not tighten down the 3 back screws until they were all started.
The last thing that you need to watch out for is that the 7 white oval brackets come all the way through the ovals on the skirt. If the inside edge doesn't slip under the car's bottom pan, they will not allow the ovals to meet...remember, the large round plastic fasteners are not screws...line the slot front to back and just gently push...you should hear the click. I found that starting in the back was easier to get those ovals and inner edge lined up correctly.
Once you do one side correctly, you'll say how easy was this when doing the 2nd side.

 02-09-2023, 05:42 PM