When you click on links to various merchants on this site and make a purchase, this can result in this site earning a commission. Affiliate programs and affiliations include, but are not limited to, the eBay Partner Network.
Ok - fully tested out the folding mirrors this morning - the thing I didn't implement last night was the option to power fold on door lock, as that menu option wasn't present in my GT3T. This morning, I tried a few options, and got the menu item to appear (using Keyless Go ROW selection), and then re-coding the BCM1, BCM2, and PCM. Everything now works as it should - can fold mirrors both from button on drivers door, and they automatically fold on door lock if that item is checked in vehicle settings on PCM.
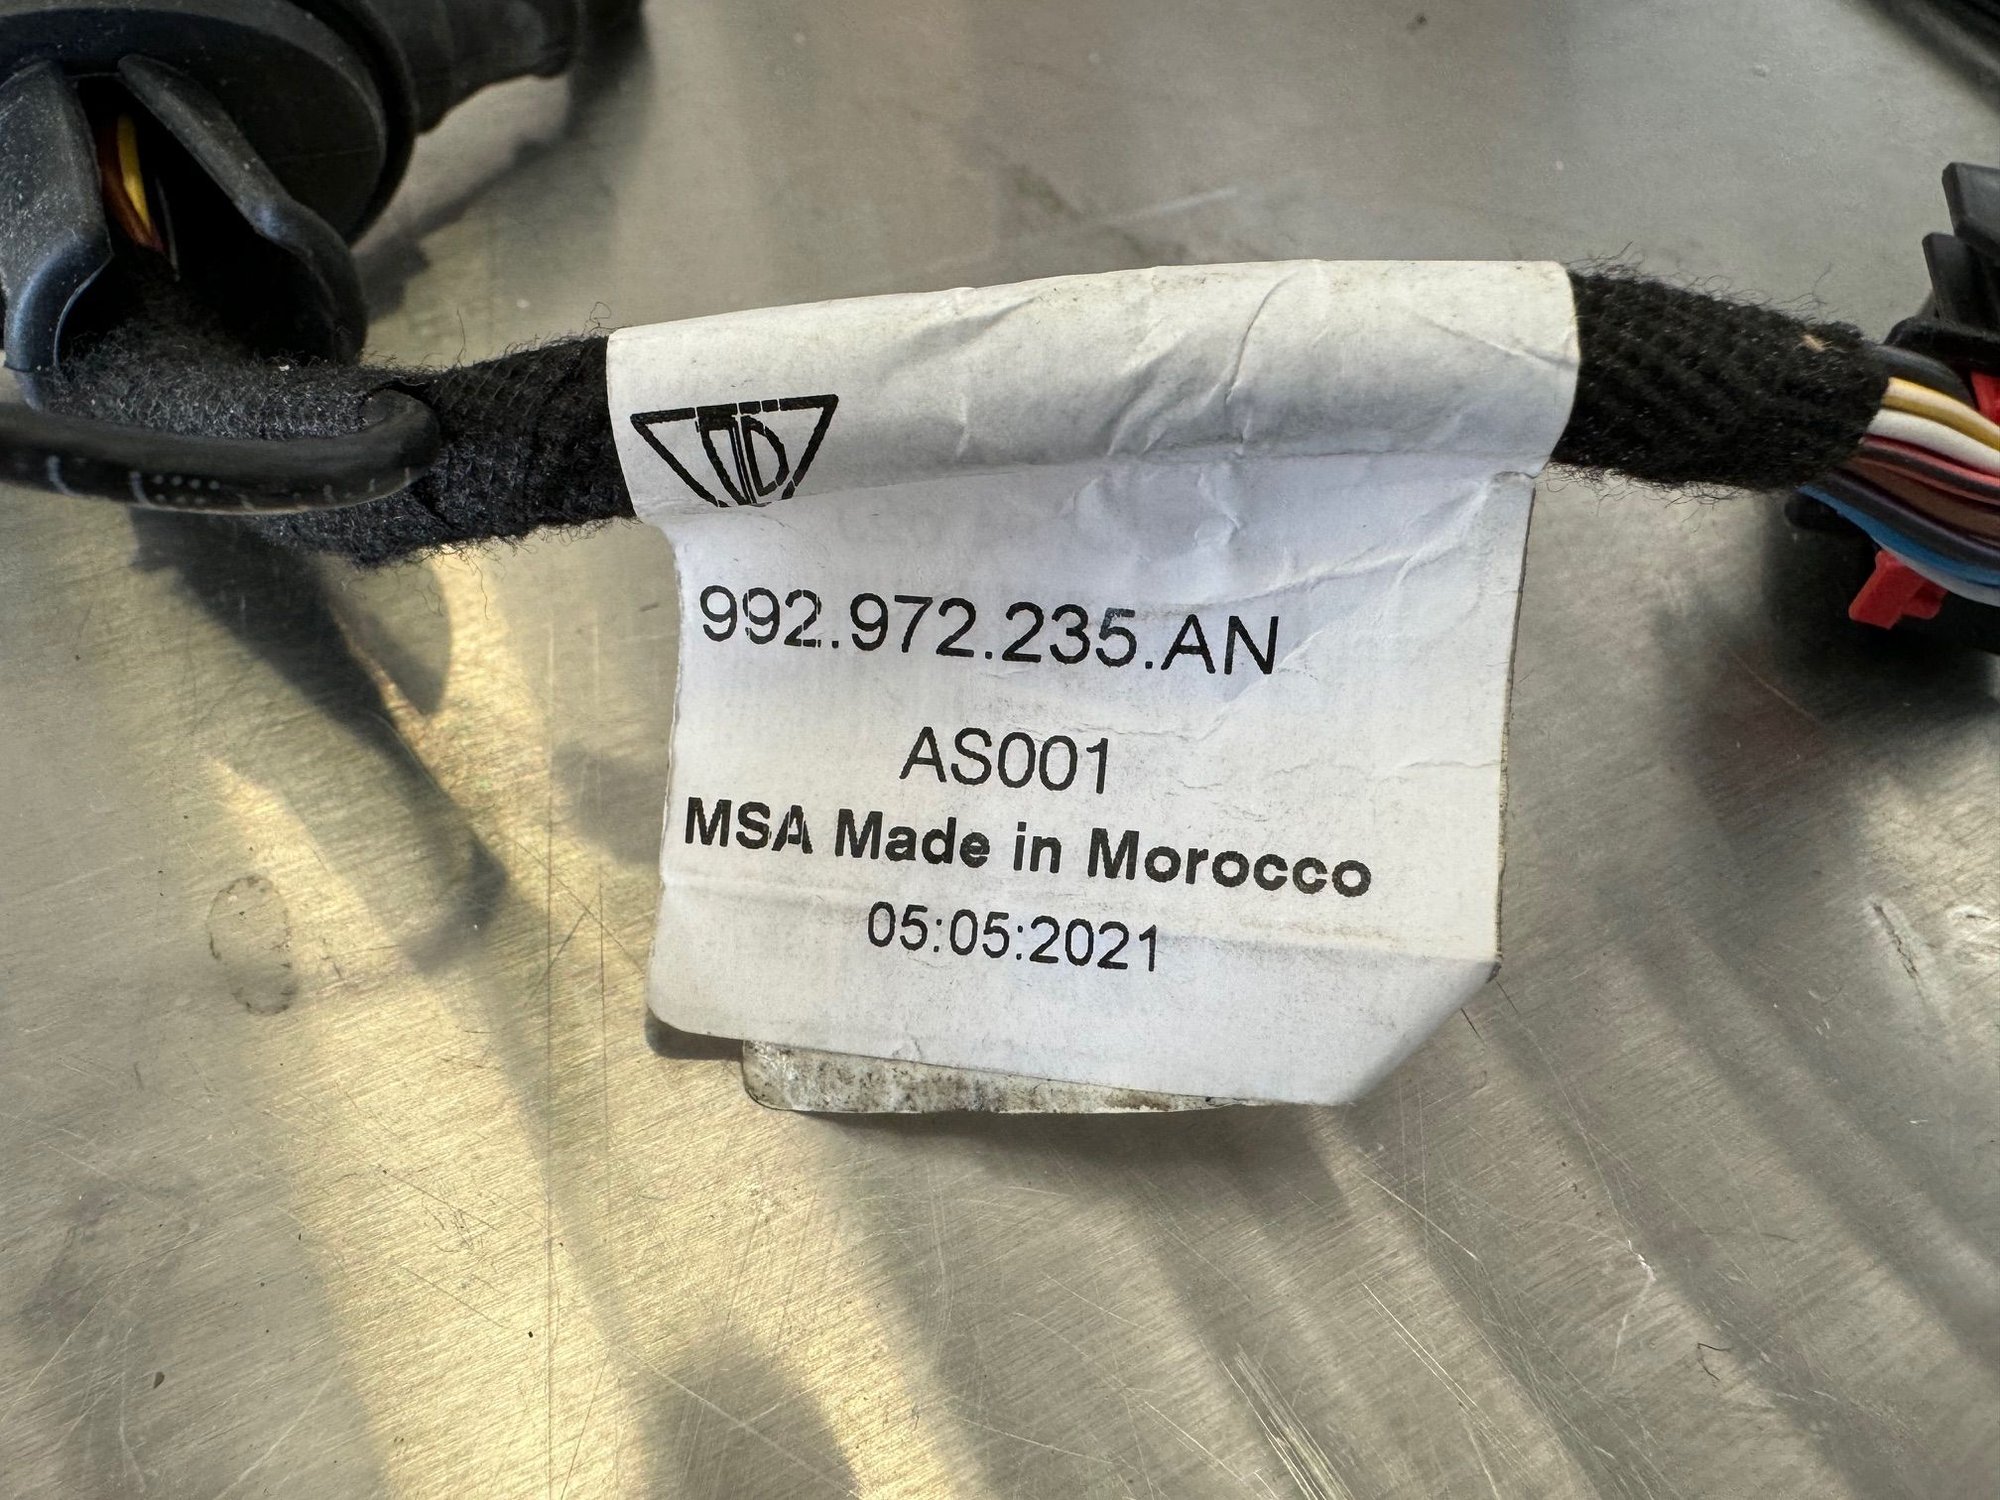
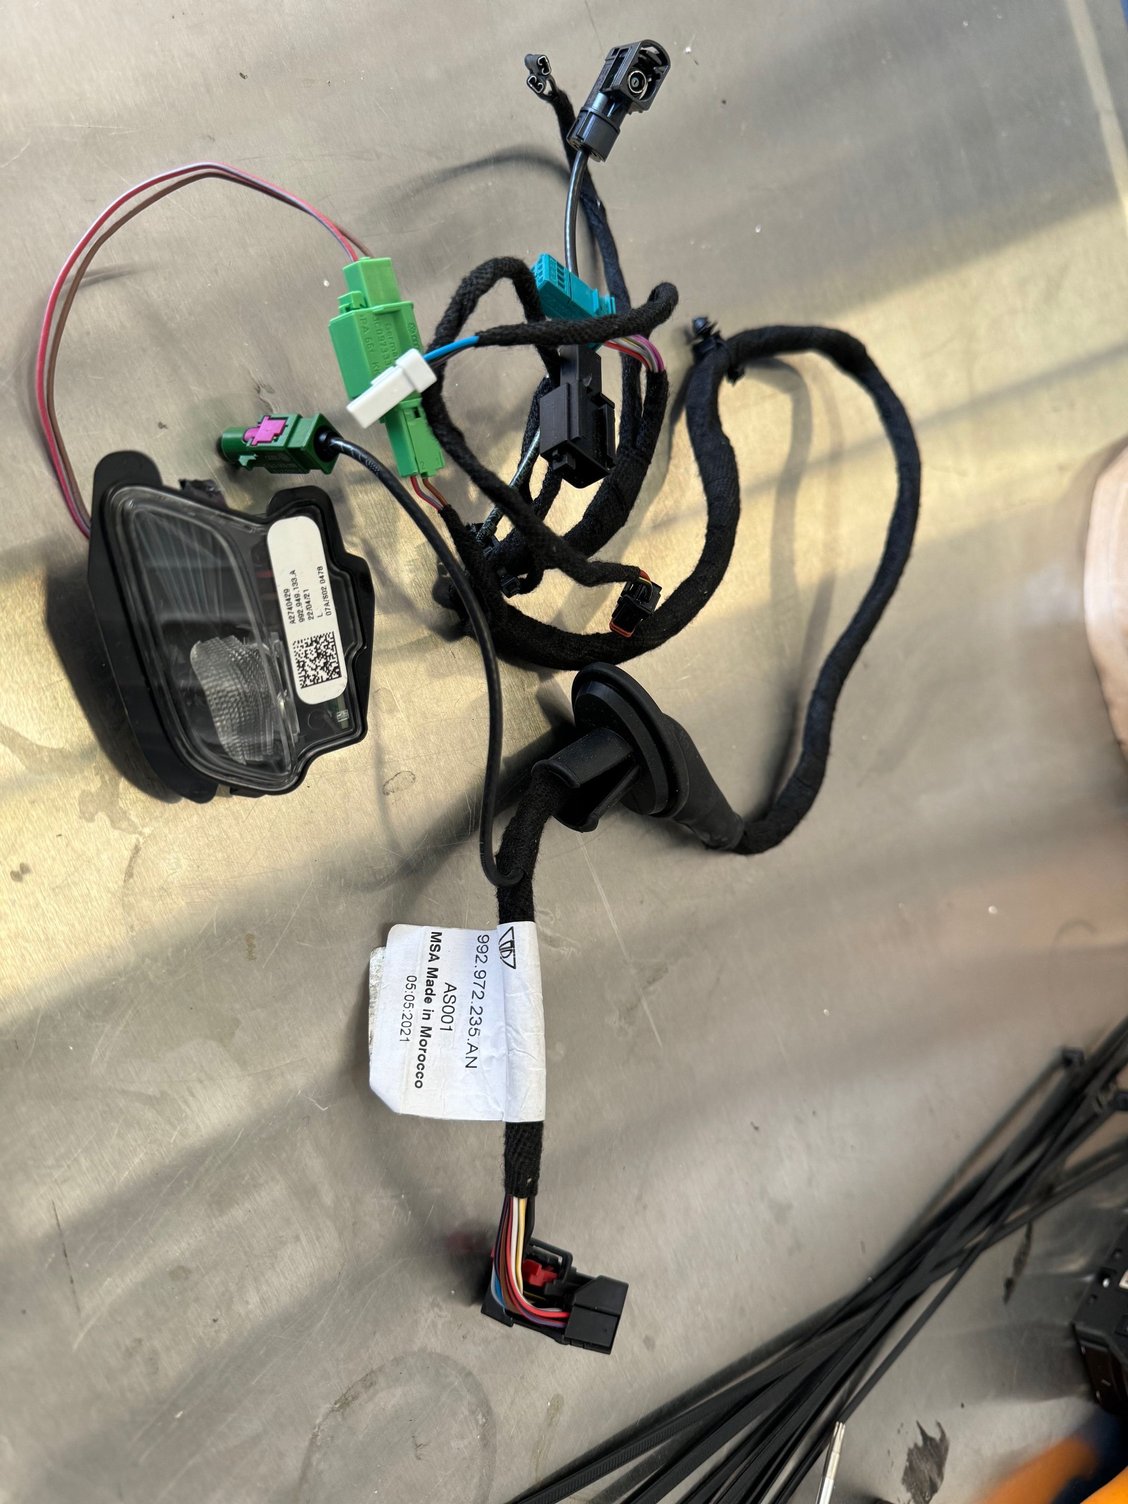
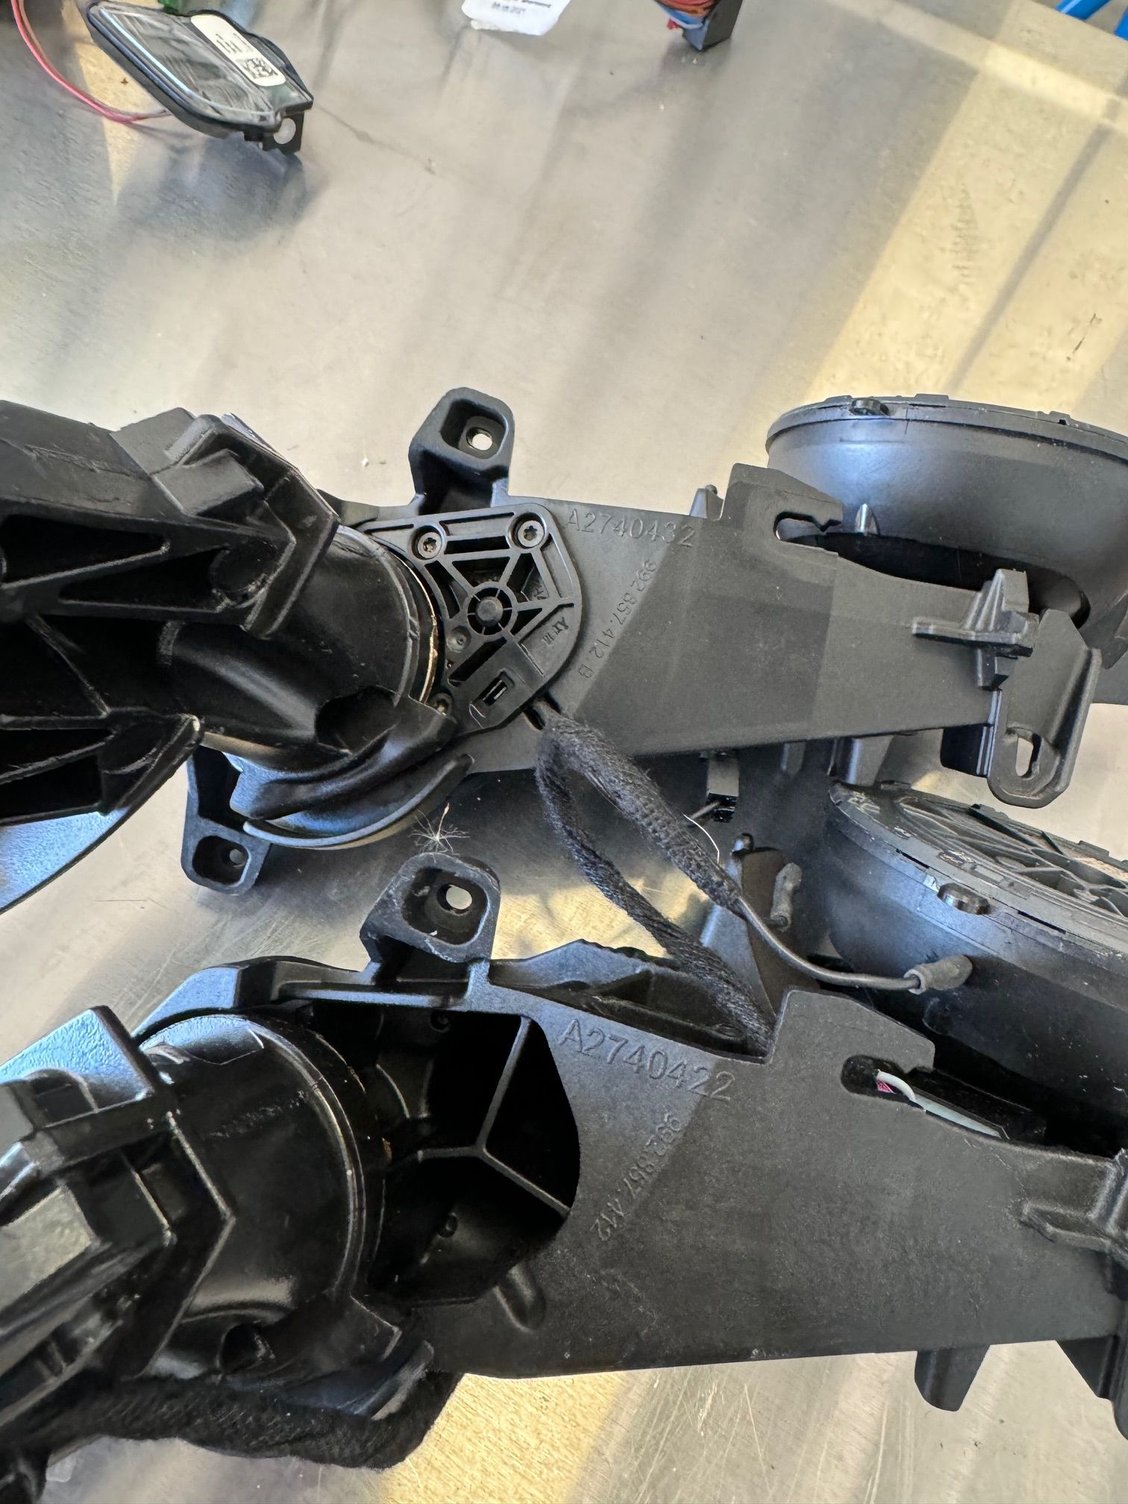
As far as the mechanics of the conversion, you will need the power mirror "guts", Porsche PN 992.857.411.B and 992.857.412.B - these are about $430 each from Sunset Porsche. Then you will need to wiring harness - the one I used is PN 992.972.235.AN - this includes wires for camera and external light. If you don't want cameras or lights, you can use a different harness, but this one works even without these features hooked up. Harnesses are about $160 each. Lastly you will need to door switch - PN 992-959-858-K-HTO - $230. You might be able to find a complete used set of mirrors on ebay and save some $$s -
The install is as follows:
Roll windows ALL THE WAY up - you won't be able to remove mirrors unless window are fully up.
Disconnect battery
Remove door panels (lots of threads on how to do this)
Unplug mirror wiring harness
Remove mirrors using long 10MM double hex driver.
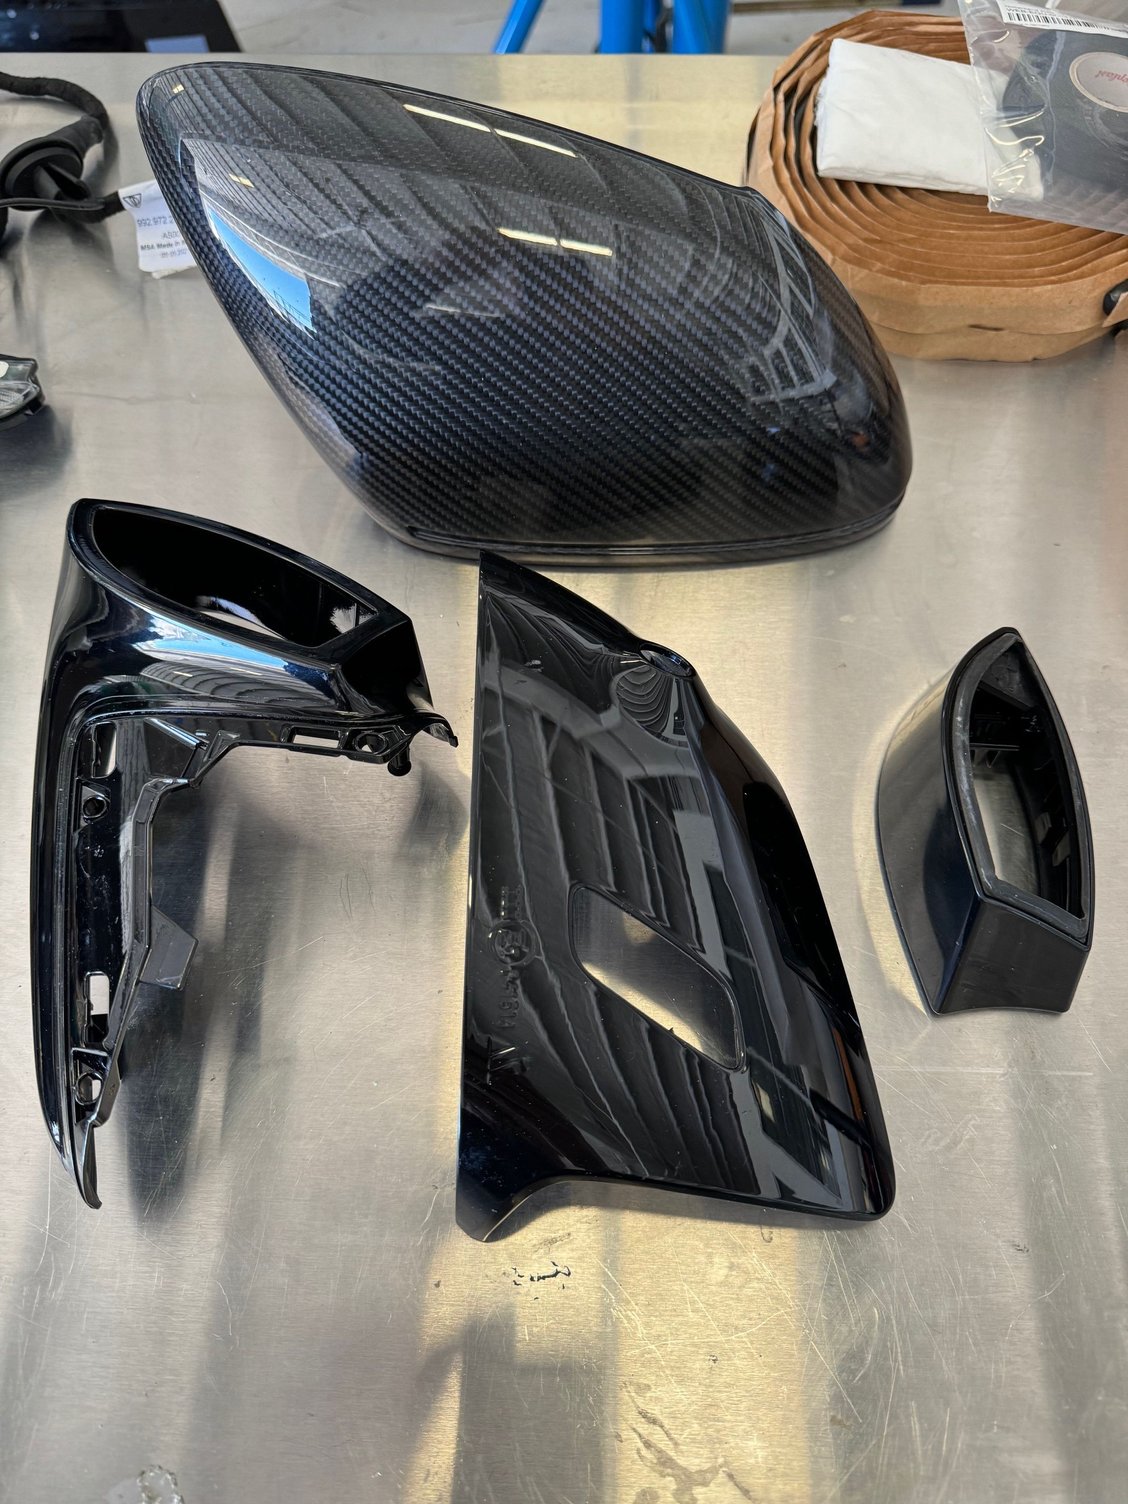
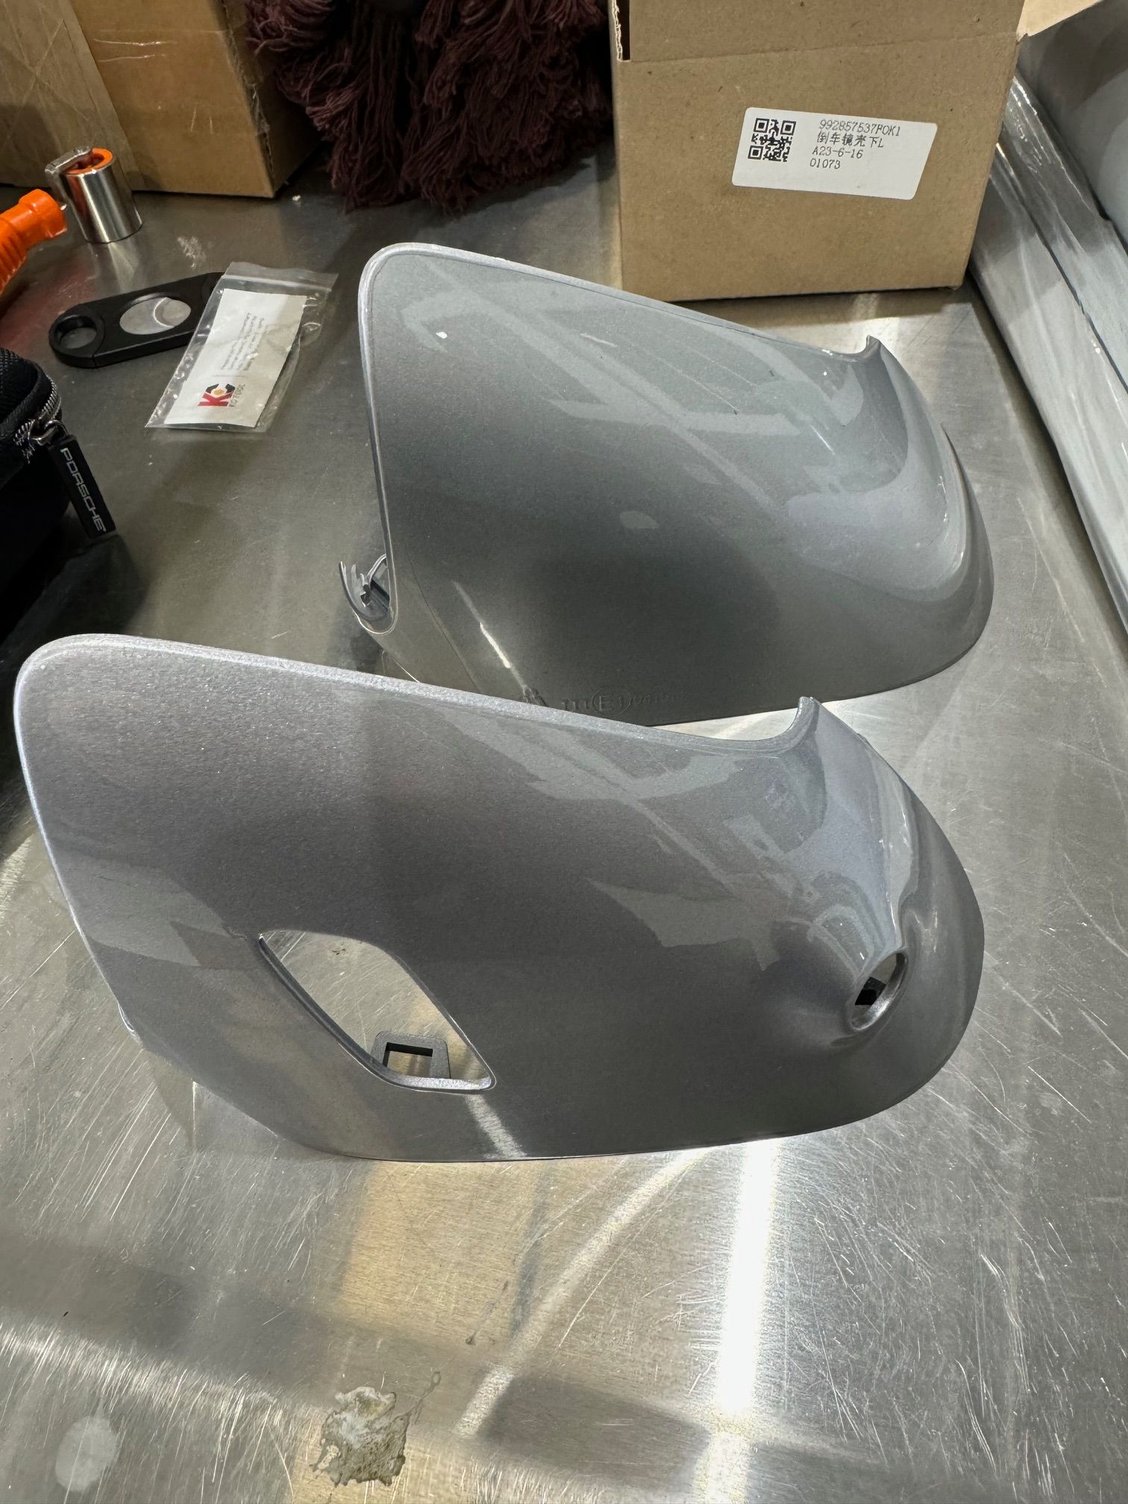
Disassemble mirrors - there are 4 plastic. pieces the surround the mirror. Be careful and take your time. Its relatively easy to break the plastic.
Install wiring harness on new motorized guts
Re-assemble the stock housings onto the new guts.
Install mirrors, plug in electric connection
Remove and replace window switch that now has power-folding button
Re-assemble door panels
Connect battery
In PIWIS, under F7 menu, "Maintenance of vehicle data", change manual mirrors to electric folding mirrors, and then SAVE. Also I changed keyless entry NAR to keyless entry ROW. SAVE.
Now auto-code BCM1, BCM2, and PCM
BINGO! Done.
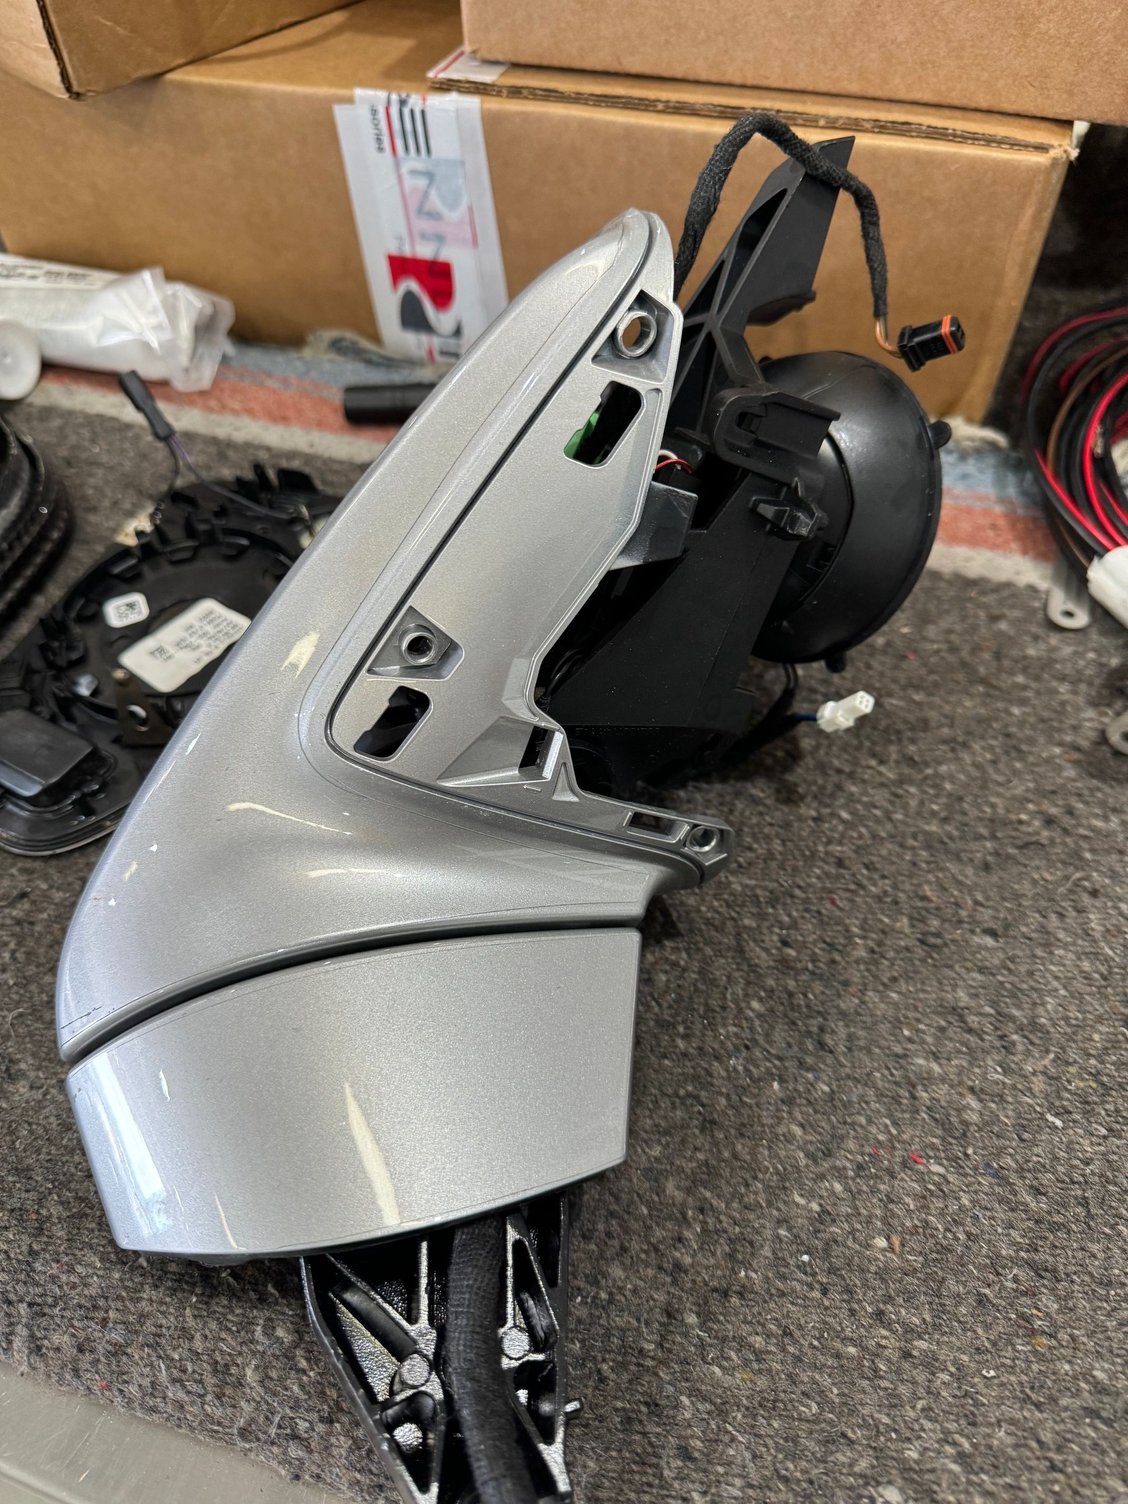
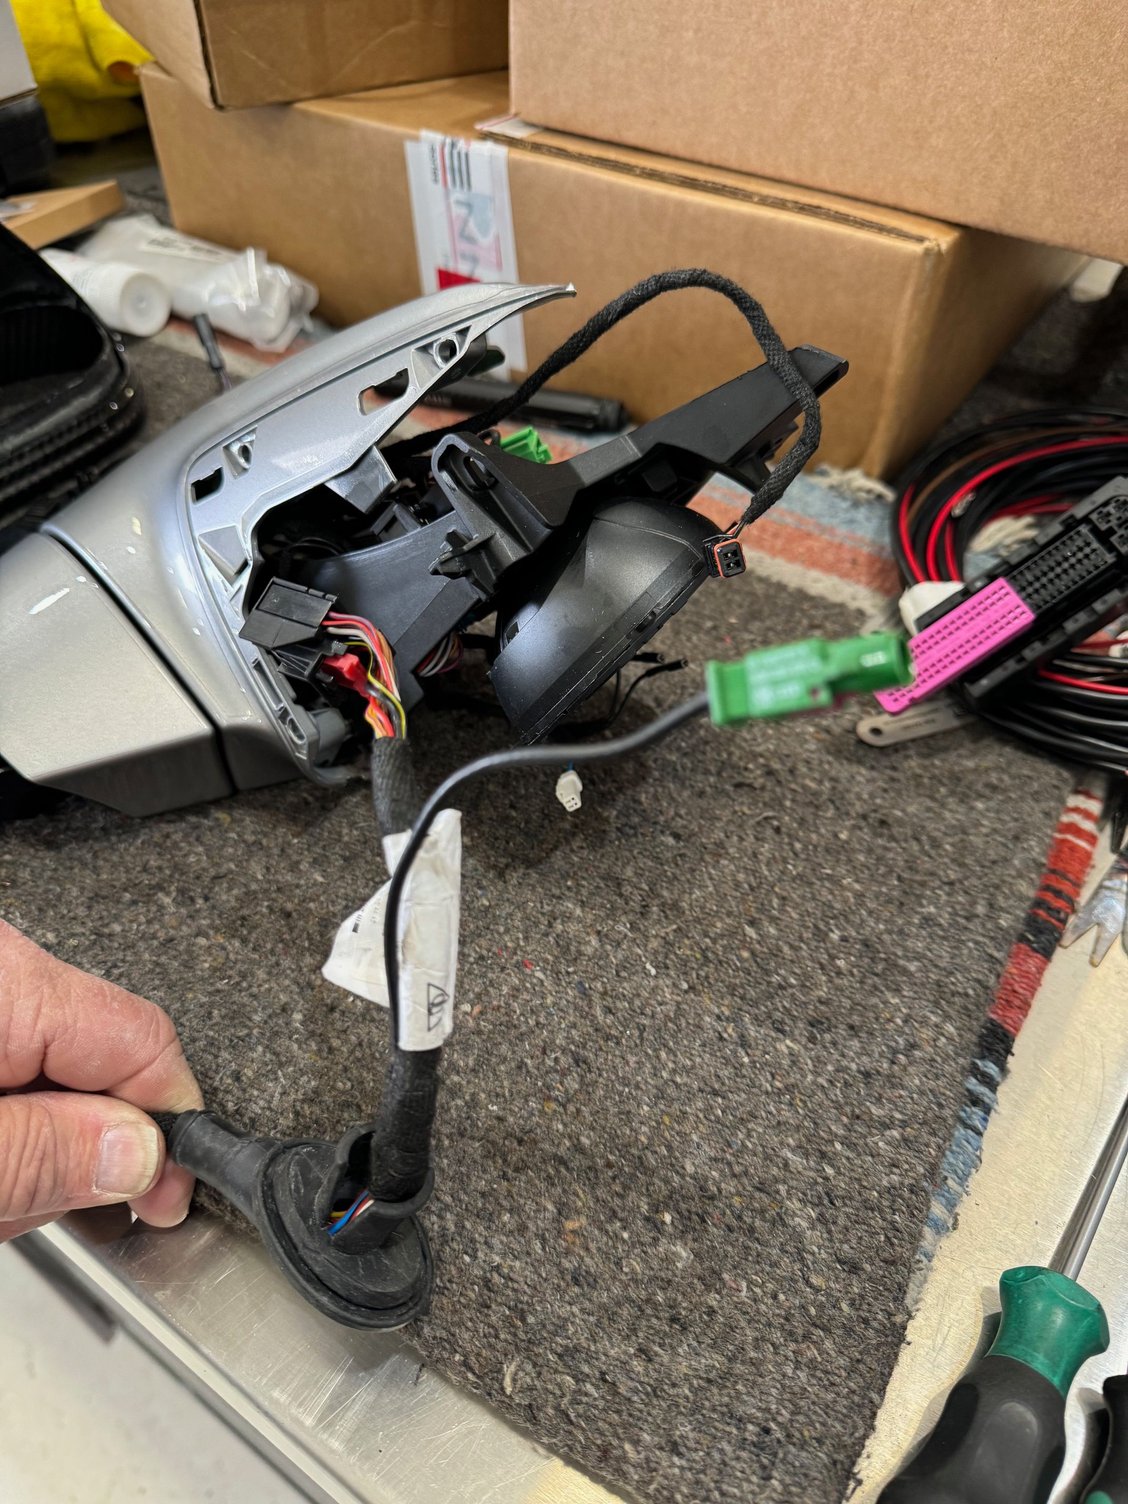
here is the PN for the loom I used - this one has all the features, so there are others you can use besides this one, but I don't know all the relevant PNs. This one will work for any application or configuration. Here's a photo of the loom I used . . New "guts" with motor. Here is a comparison of the "guts" w/ motor and w/o Here are the 4 plastic pieces for the mirror housing - the main difference is the center front piece (bottom of mirror) that comes in blank (stock GT3), light, or light and camera. This particular one has light and camera.
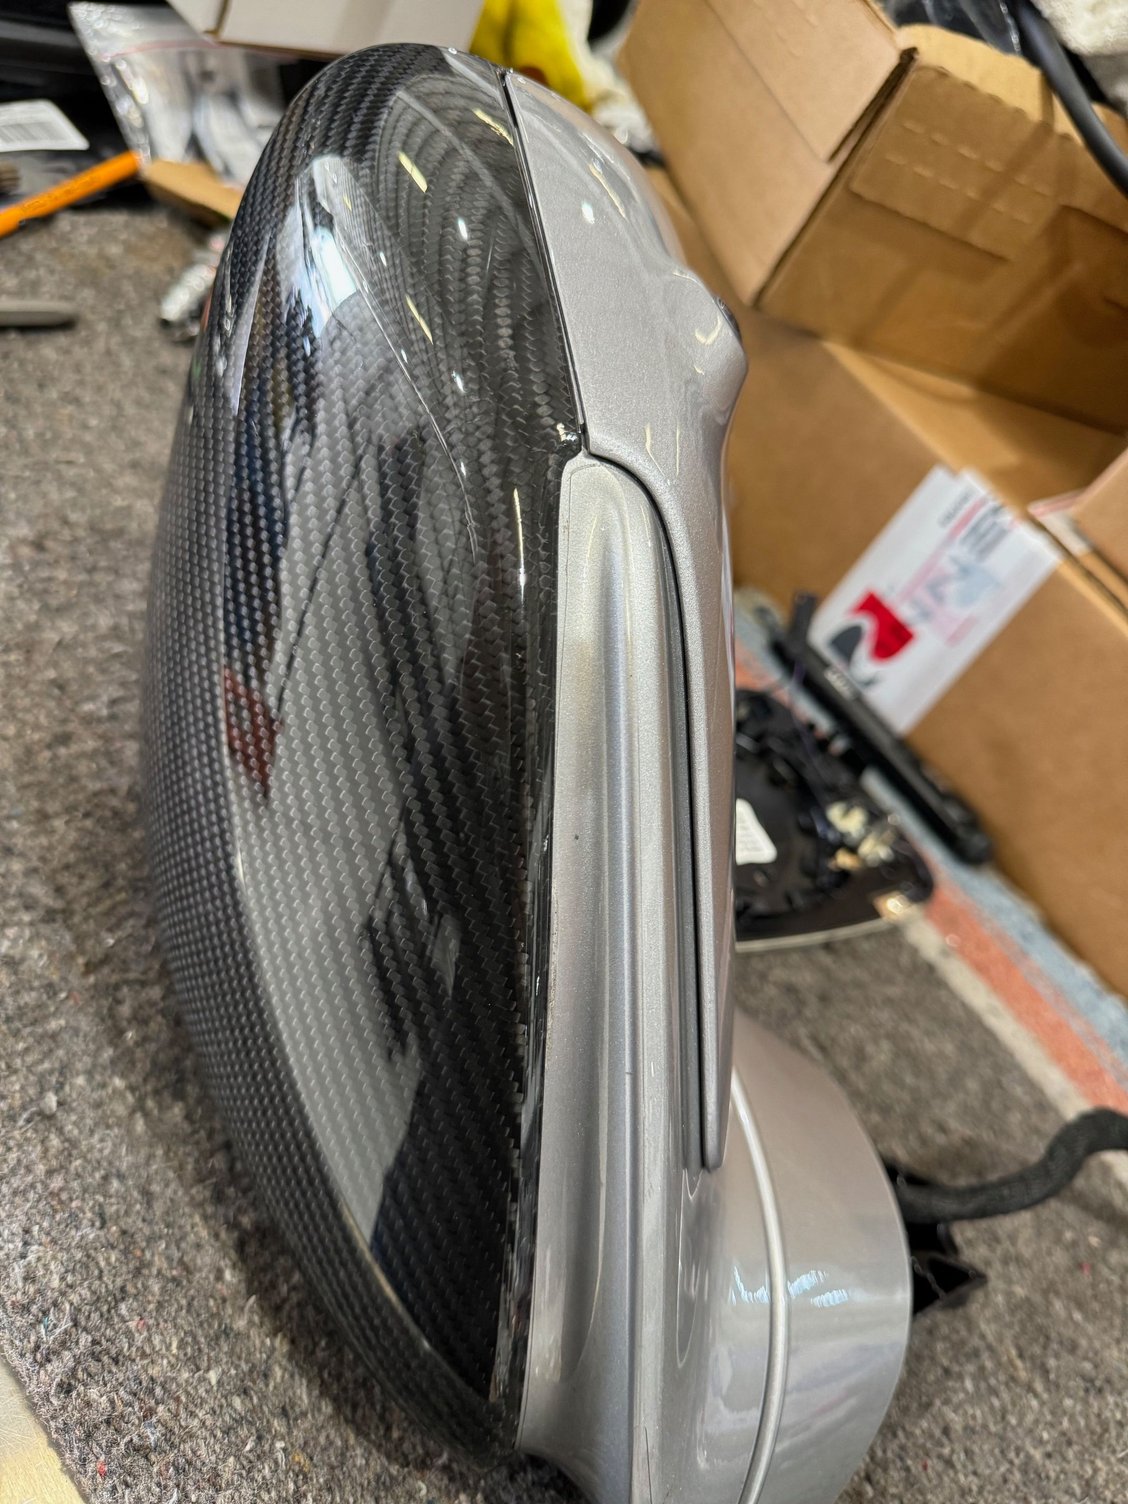
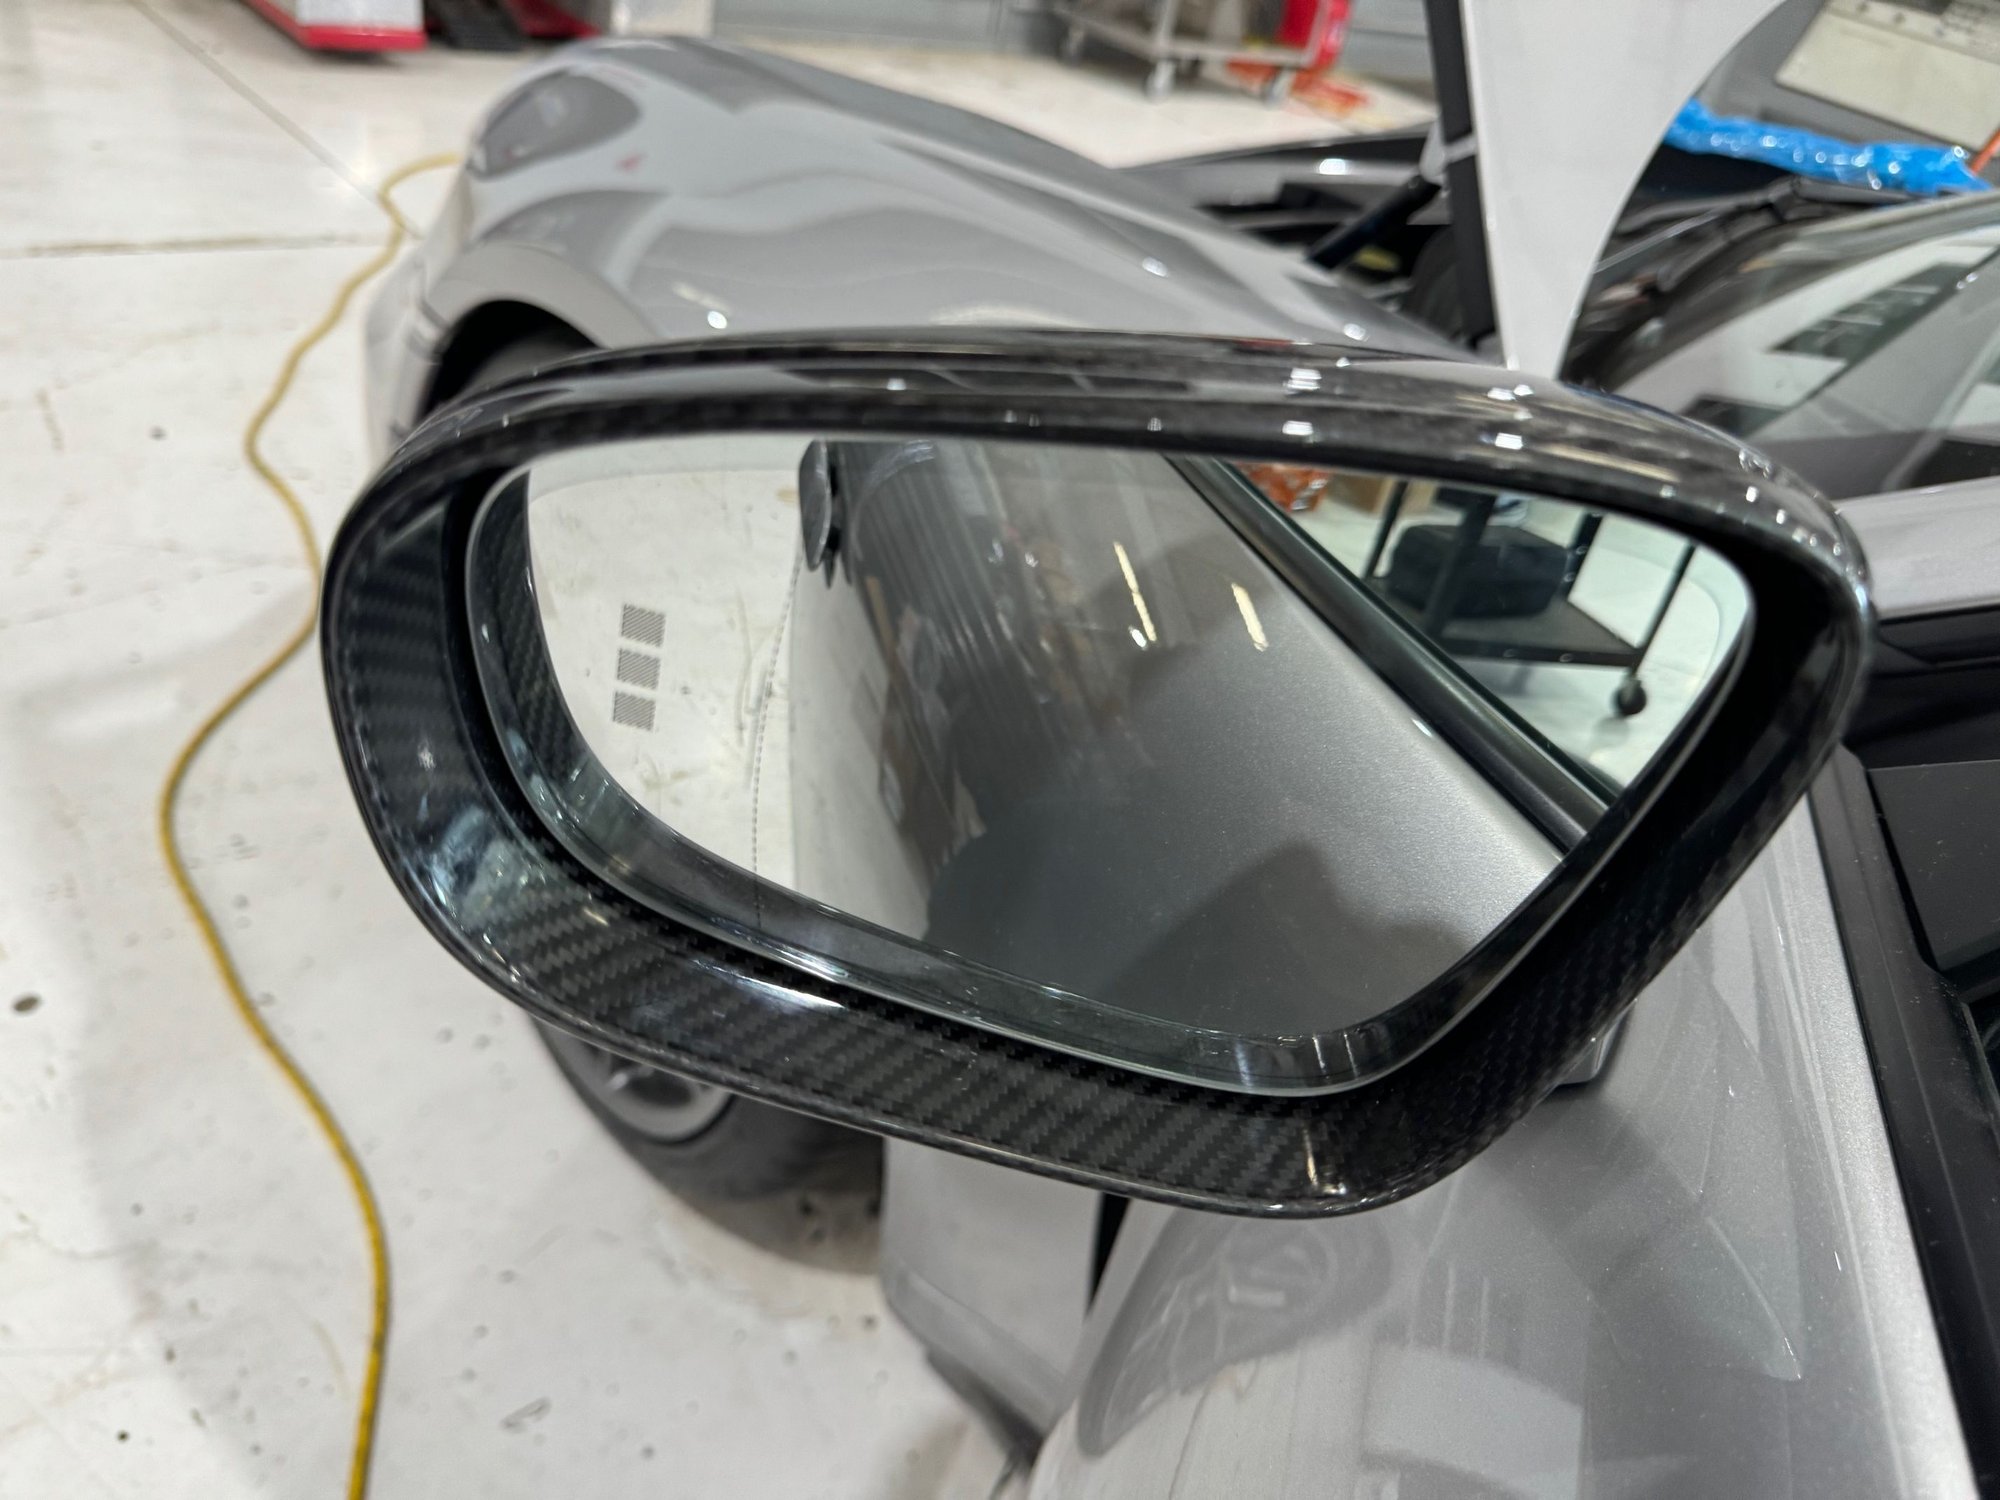
I authored another post of an expensive way to get carbon housings - a conversion kit is available that includes all new plastic and carbon tops for about $1,300. If you want to add lights or camera, then get the "D" kit, and have painted to body color. Also, the harness referenced above includes connection for auto-dimming / heated mirrors, so that will be activated at the same time if you don't have it already. I also used the "euro" asymetric mirrors on both sides I purchased here - quite a bargain actually:
Really a straighforward project - and my scale wasn't accurate enough to discern the difference between motorized and non-motorized - it truly is almost a zero weight penalty.
One small change to above - I changed Keyless go back to NAR from ROW and the menu item to fold mirrors on door lock remained, so not sure why it initially didn't show up, but in any case, it's there and works perfectly. . .
Spent this afternoon retrofitting the 992 PODs (passanger occupancy detector) sensor into the 991 18 ways seats - should be able to test that out eary this week and cross that one off the list as well. Hopefully parts arrive soon so we can tackle heated steering wheel, comfort opening and 360 view cameras . . .
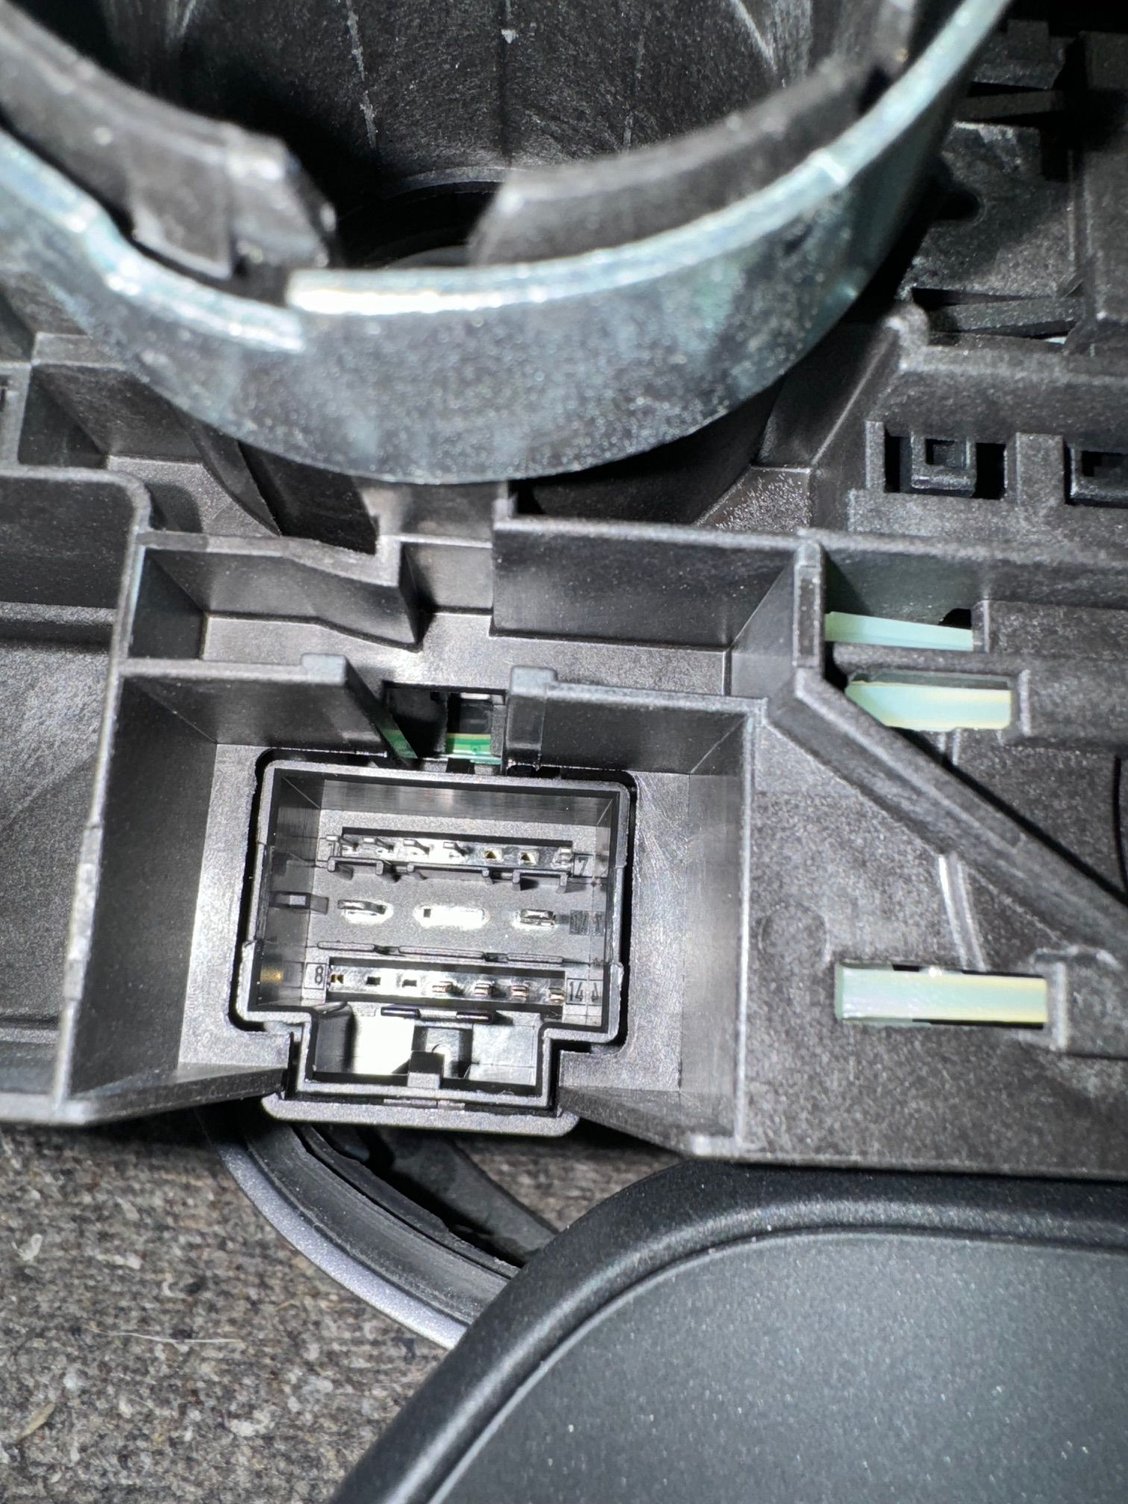
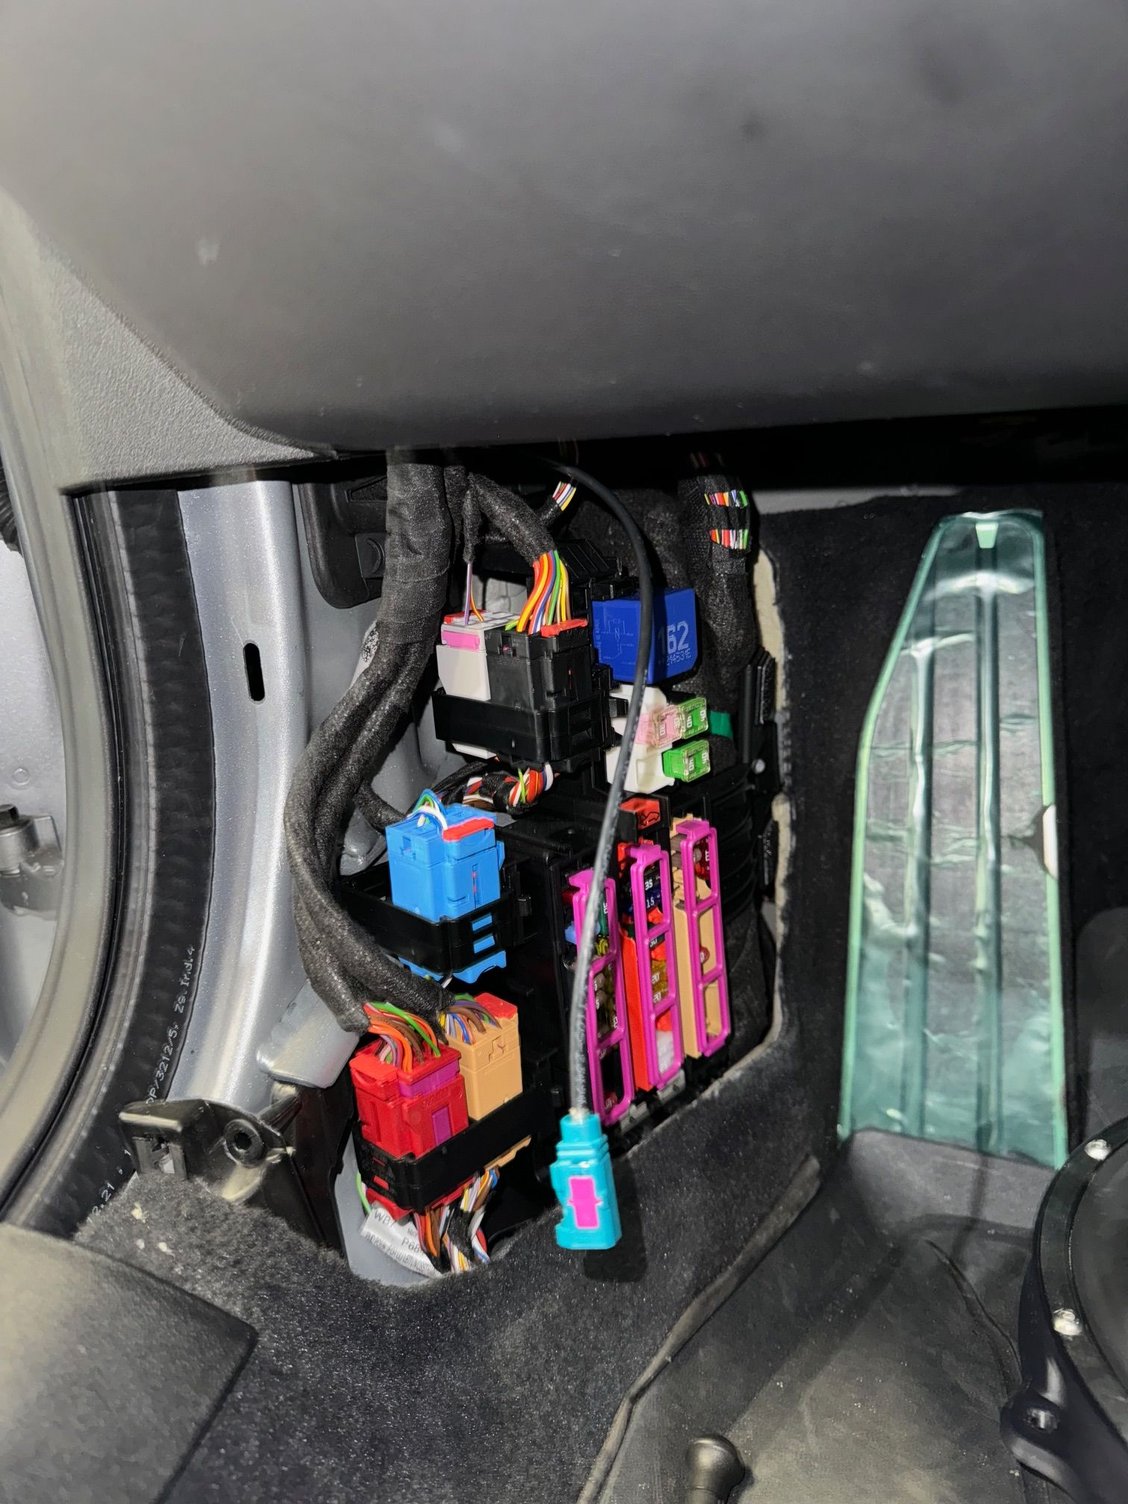
Well, a few steps forward and a few back. I spend the better part of 2 days trying to get the heated steering wheel to work - very, very frustrating. Previously, I purchased a used steering wheel electronics unit off of ebay, and could not get it to communicate at all - dead. Luckily, the ebay seller accepted a return. I then made the decision to purchase a new OEM unit - about $500. Installed it a few days ago, and sure enough, it talks to the rest of the system, but no steering wheel heat, no multi-function buttons, and no paddle shifters!! Well, then I remembered that the GT3 steering wheel has a different internal harness than all the other 992s, for no apparent reason, but my friend at protechparts.eu pointed this out to me. I thus decided to swap the GT3 steering wheel for a turbo wheel. Bingo- now I got the MF buttons to work, but no heat, and no paddles. Well, as with the heated seats, there is a missing supply wire to the steering wheel electronics unit - the wire the supplies the +12V to the heater. Thus, I now have to add that wire from the steering wheel column, to the LH dash connector, and then to the LH fuse box (.5mm green/red - P15 steering column to P1 of LH dash connection point, and then from there to fuse box P A4A). Short runs, but a total PITA. So that's the next step. Next mystery - why no paddle shifters?? Well, as you can see in the attached photos, it seems that the PN I purchased is for a MANUAL car - Jesus H. !! No pins for the paddles, which are pins 9&10.
I refuse to admit defeat here, so now I get to give another $500 to Porsche for hopefully the correct steering wheel electronics. This seemingly simple mod has turned into a nightmare, but I'm determined to KICK IT"S ***.
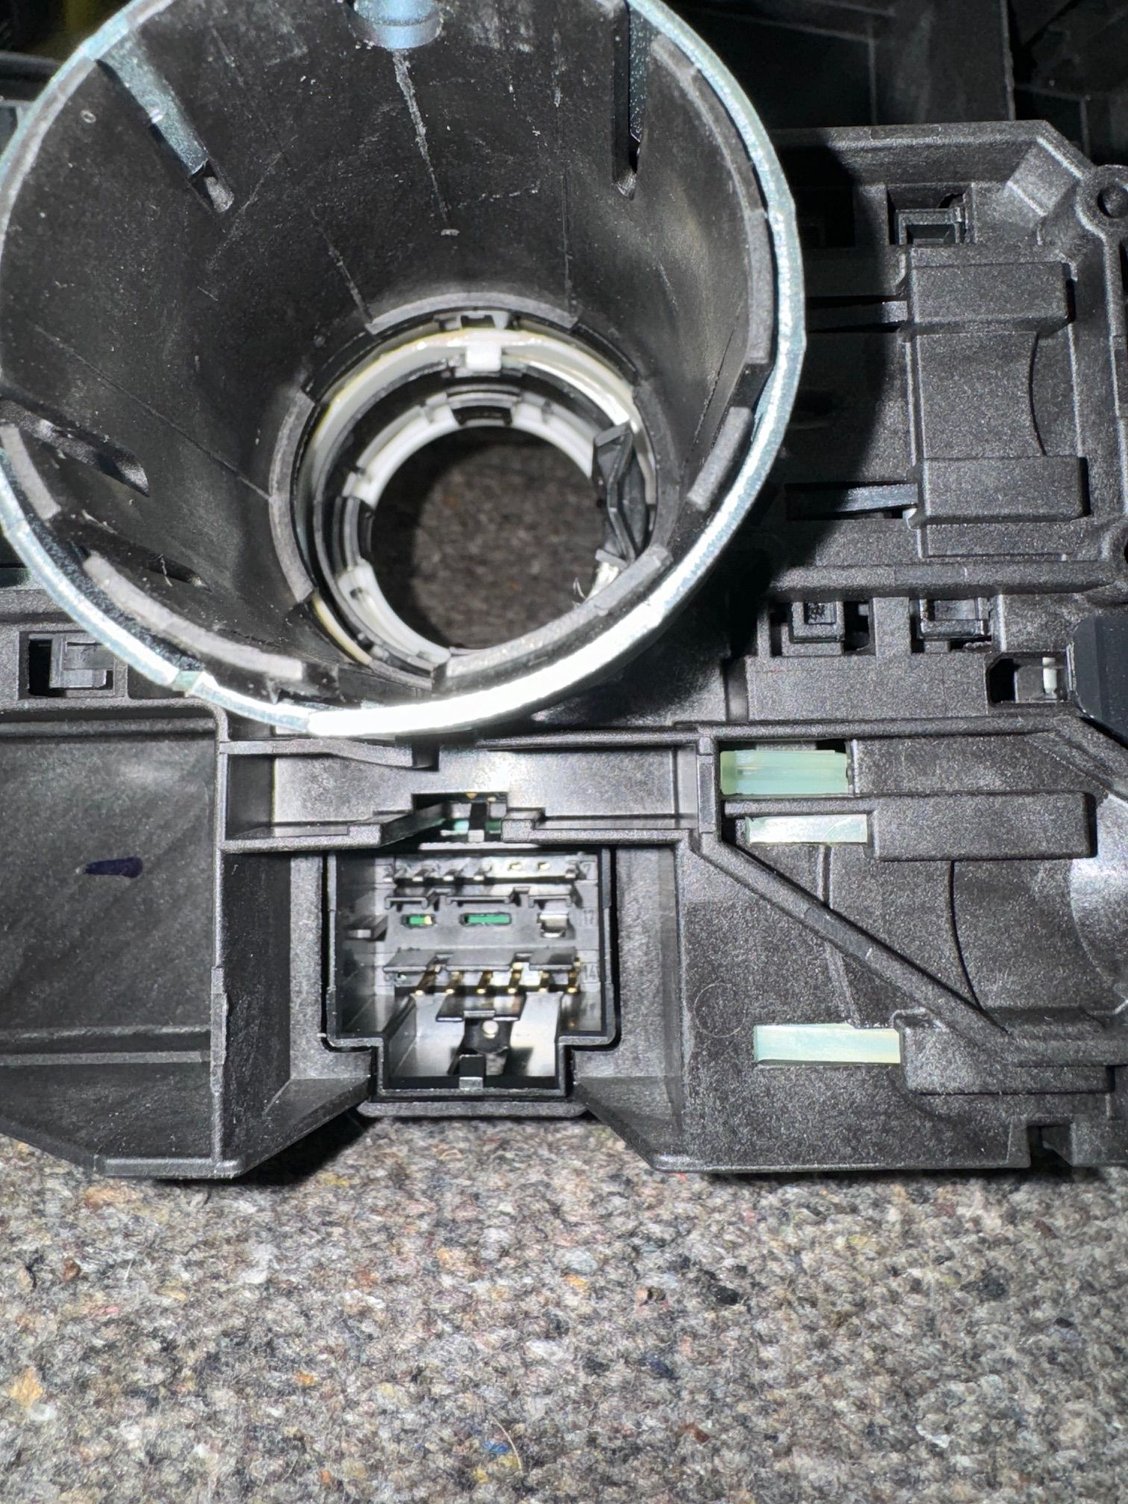
FYI, I'll post the differences between the GT3 and other 992 steering wheel harnesses - most of the wires are the same, just a few wires swapped around. It's not that difficult to de-pin the steering wheel plug and adapt to whichever configuration you need. . . this is the "New" Steering wheel electronic unit - the power pins are the center row - heating source P 15 on Left, and Ground P17 on R. Note that bottom row Pins 8,9,10 missing - 8 isn't used, but 9 & 10 are paddle shifters!! This unit is for a manual car - ****!! This is the original GT3 steering wheel electronics unit. Note that P15 (big pin center row Left) is missing - that's steering wheel heat power. Also note that 8 is missing (not used), but 9&10 are there - paddle shifters . . .
I also started on the installation of the 360 camera view project. The GT3 comes with a rear view camera only, and the "convenience" controller is mounted in the Frunk. The GT3 controller has one Low-Voltage Differential Signaling (LVDS) connector, and a big multi-pin connector. All the cameras on Porsche 992s are connected with LVDS cables (high-speed twisted pairs - they look like mini-coax cables). The new controller has slots for 5 cameras (5 LVDS connections) and one 4 pin LVDS to feed from the controller to the PCM.
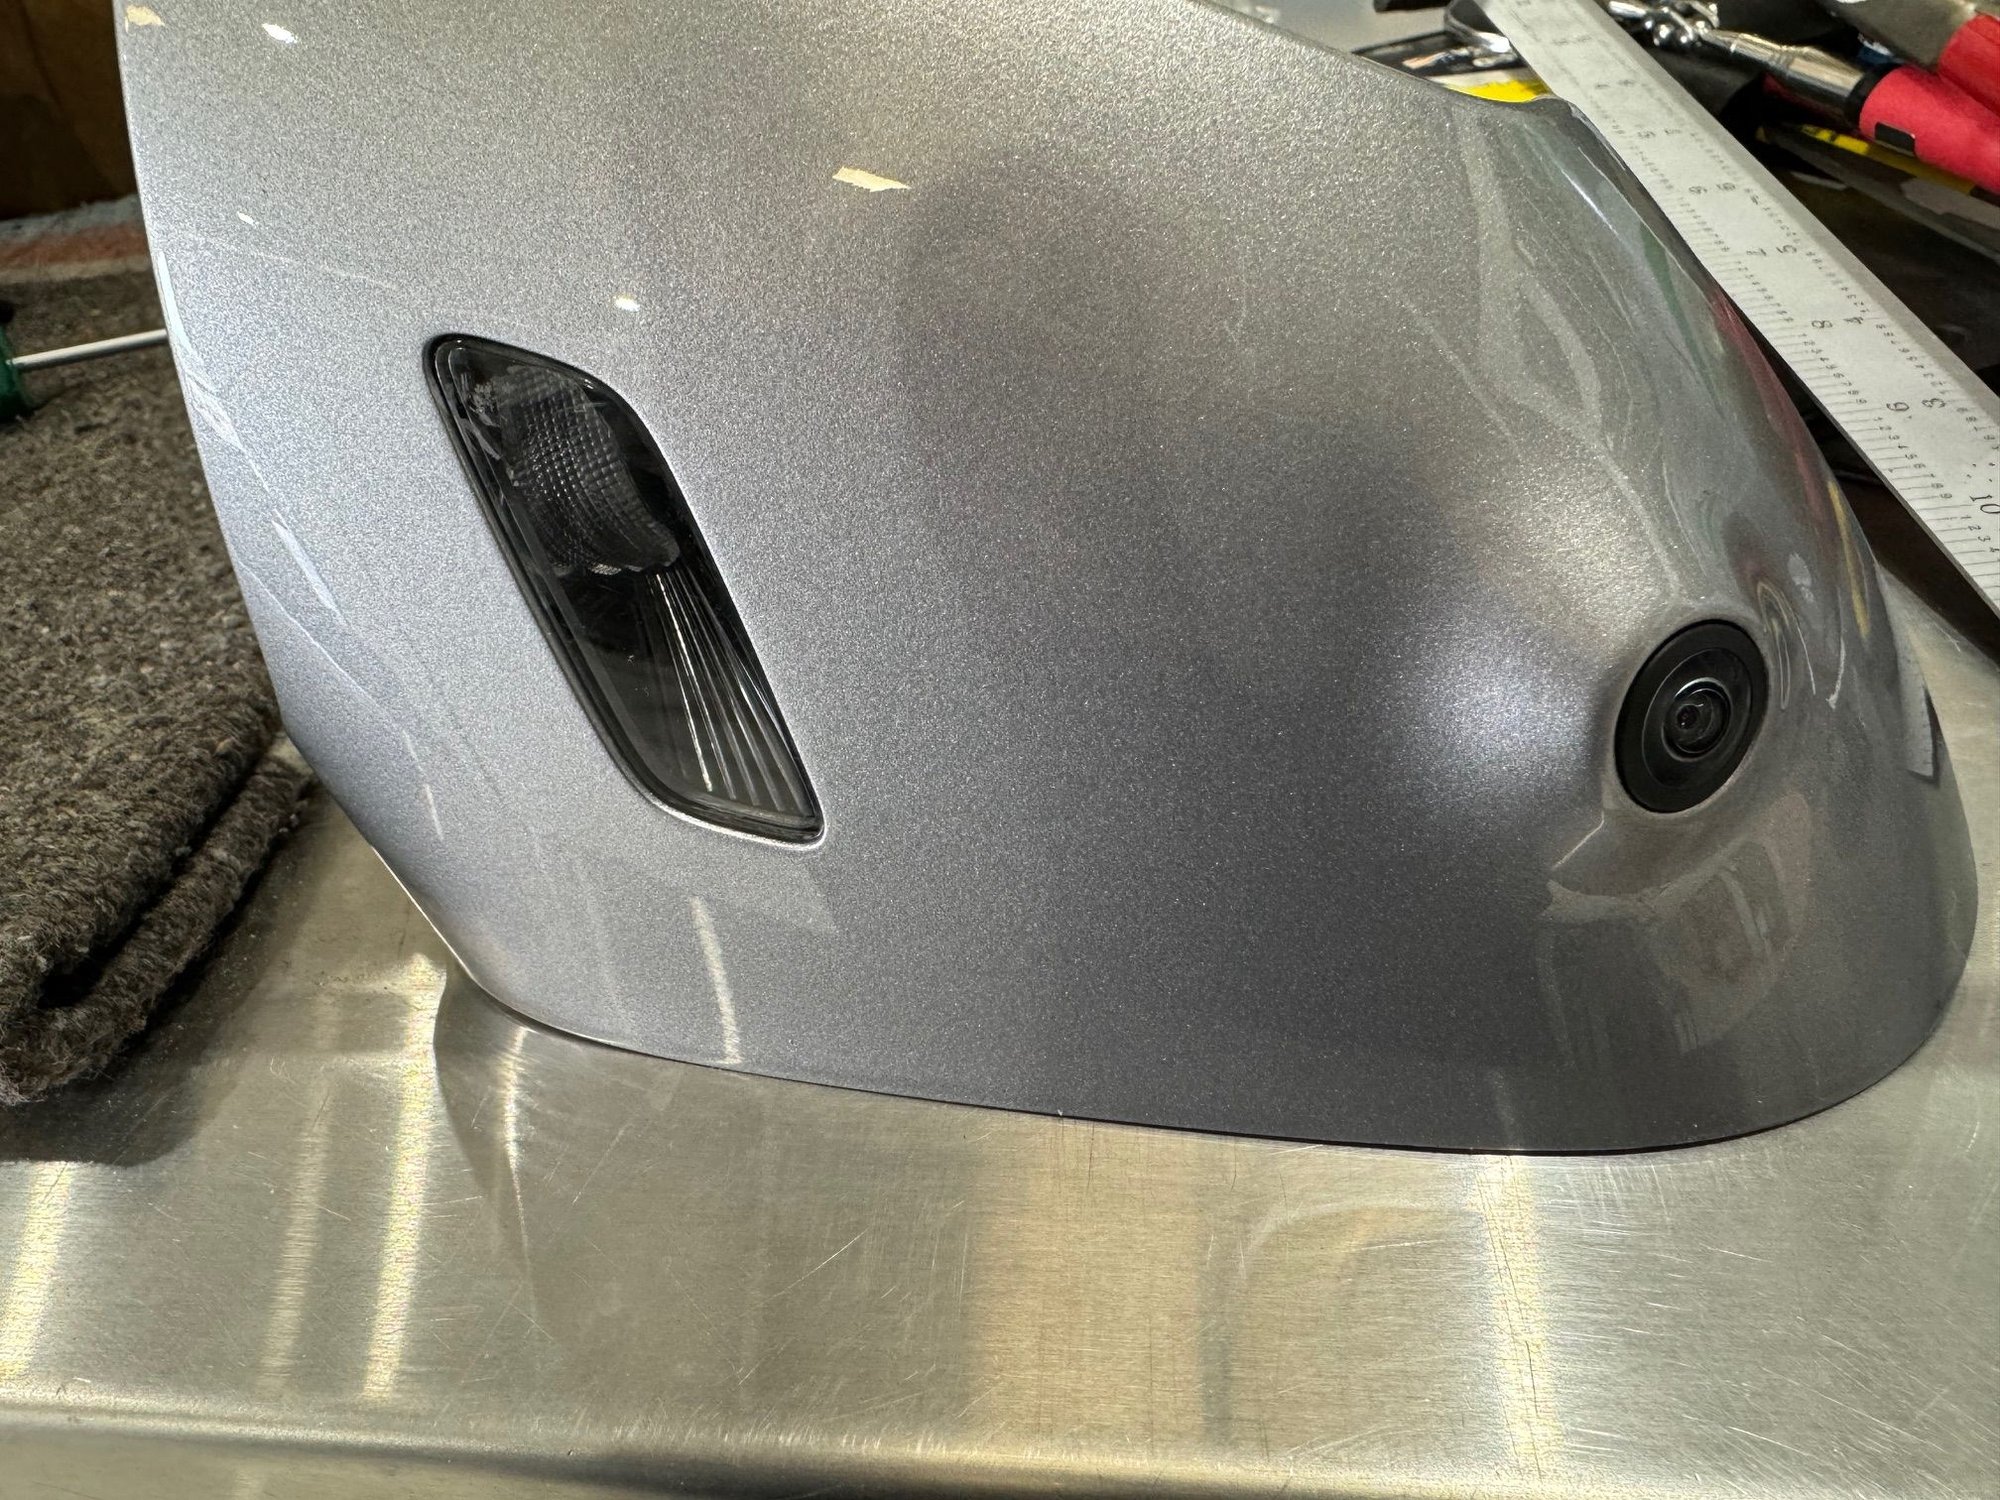
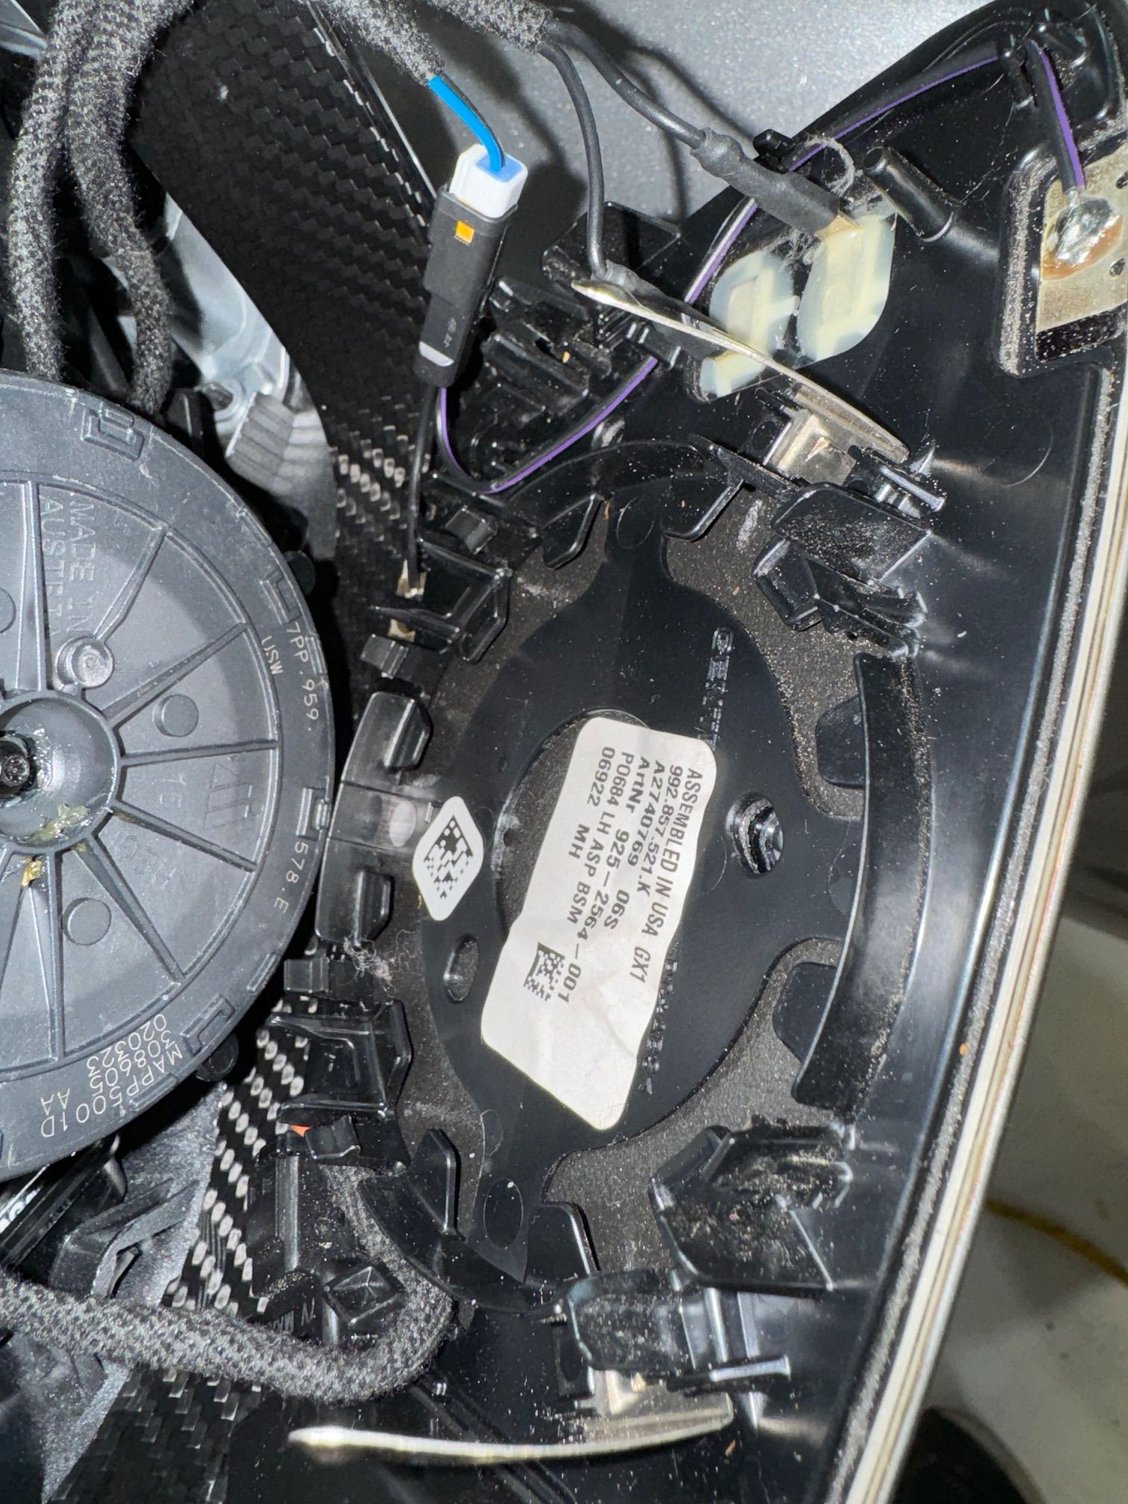
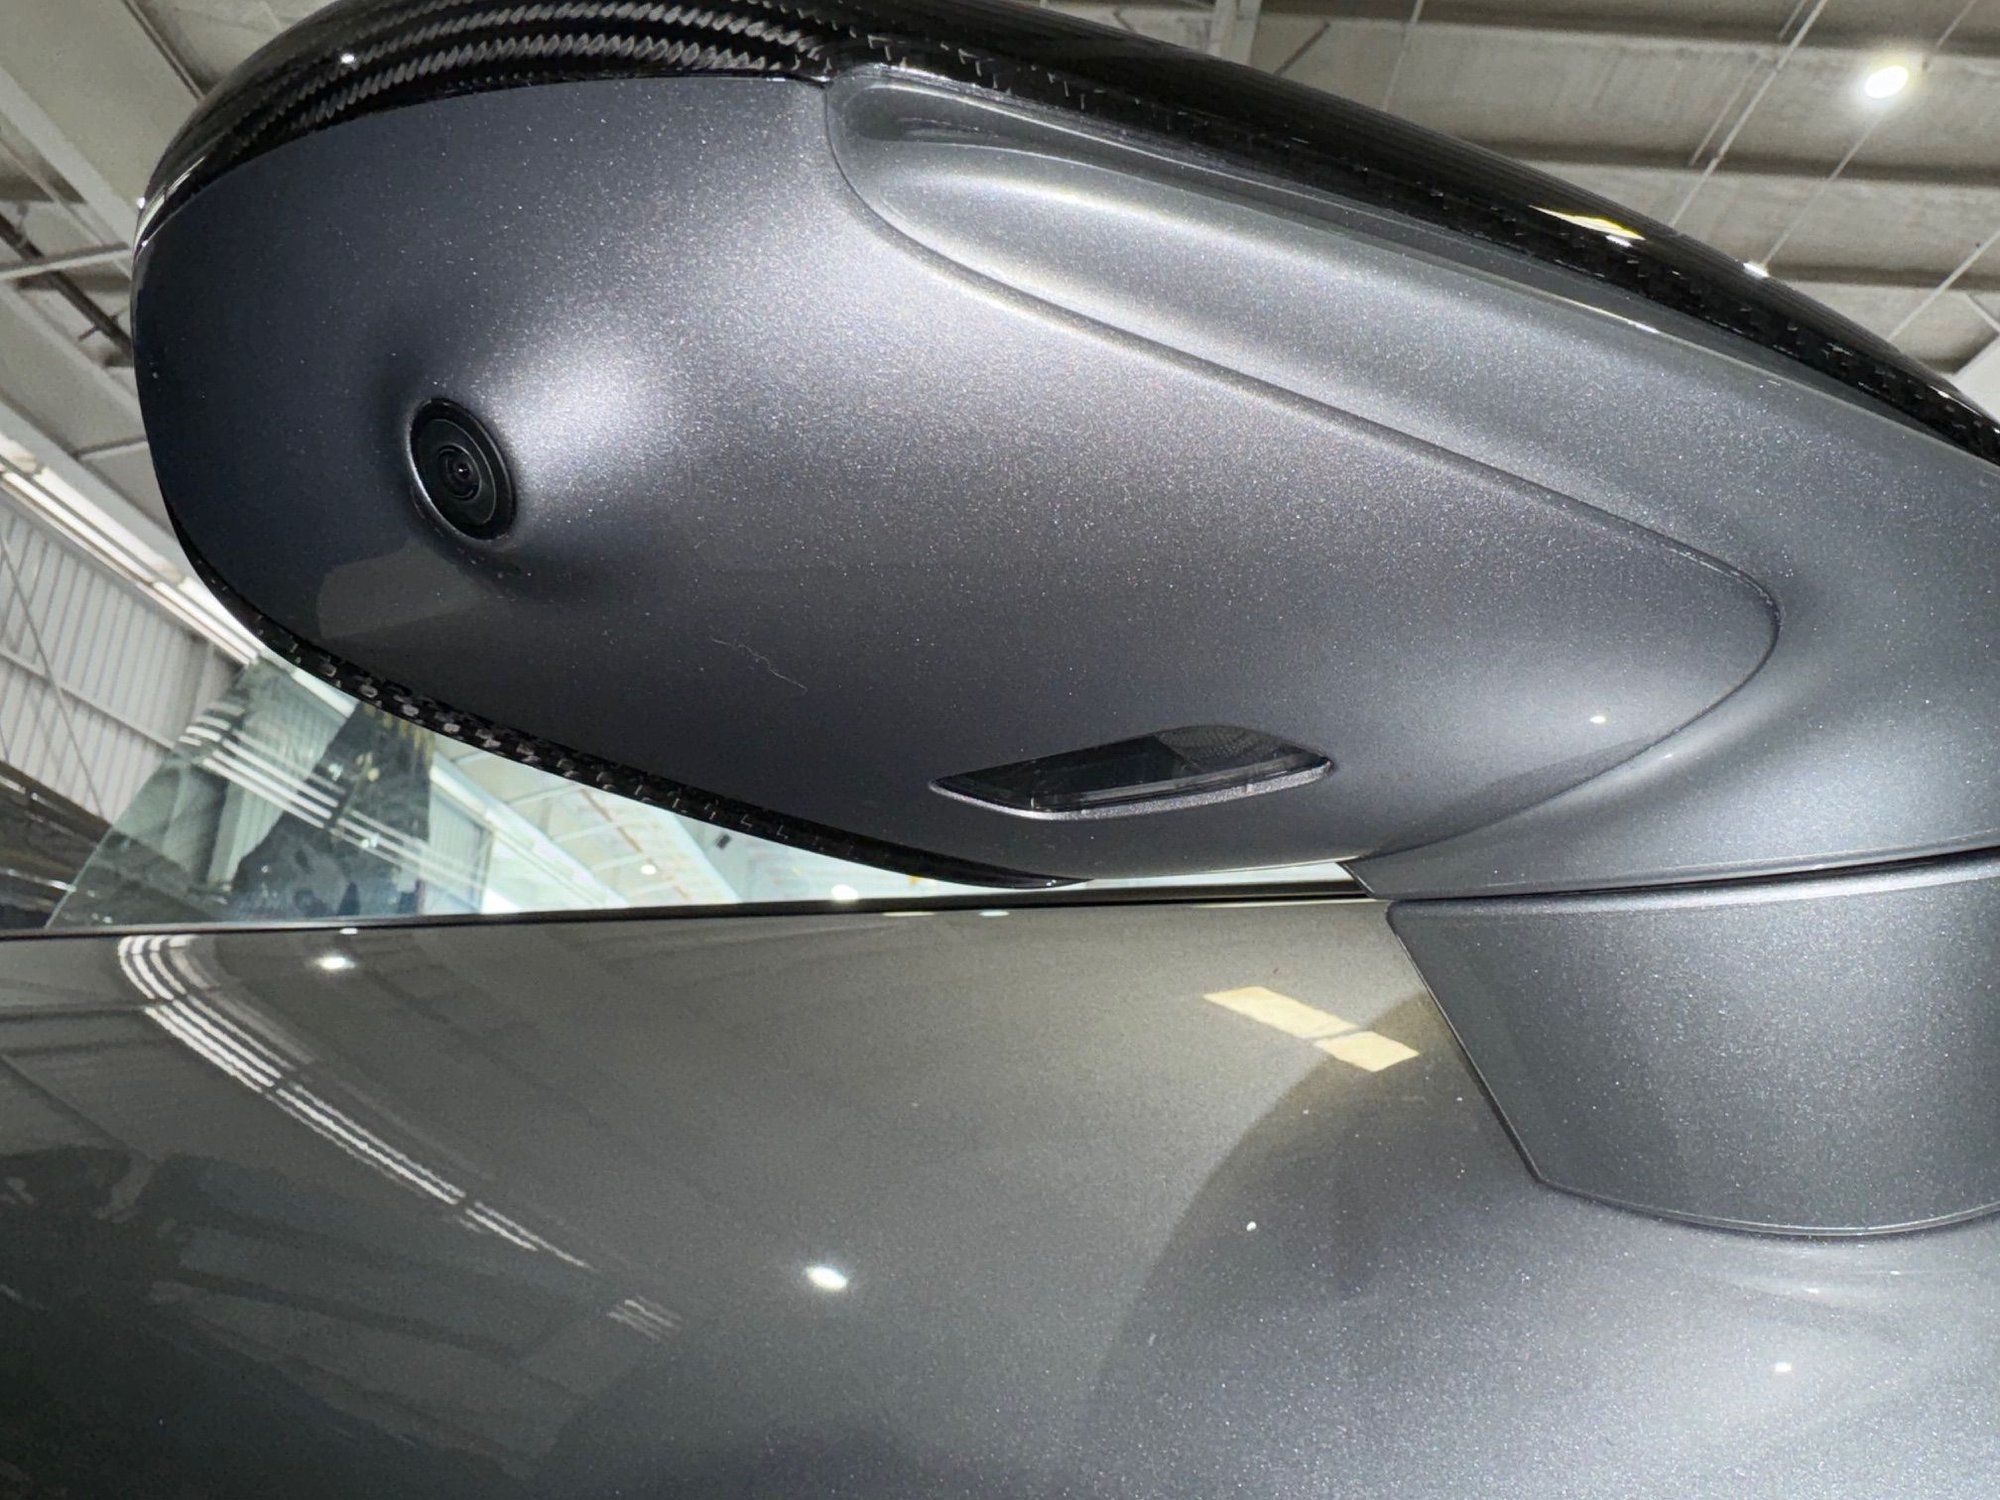
Thus this project entails adding 3 cameras - 1 to each mirror, and one to the front. We will re-use the rear camera and wiring. The new connector mounts in the same bracket as the old one - bolts right in. We then de-pin the old connector and re-use the power, ground, and CAN lines in the new, larger controller connector. they use the same pins, so just de-pin, and swap over. Next step is to run the LVDS wires from each mirror to the frunk, from the frunk controller to the PCM (the 4 wire LVDS), and a short LVDS from the front bumper to the controller. For the mirrors, you will need a new bottom plate that has the provision for a camera and light - I'll post PN later - it's an inexpensive part, but needs to be painted to match the car. I painted these last week, and now have the mirrors back installed.
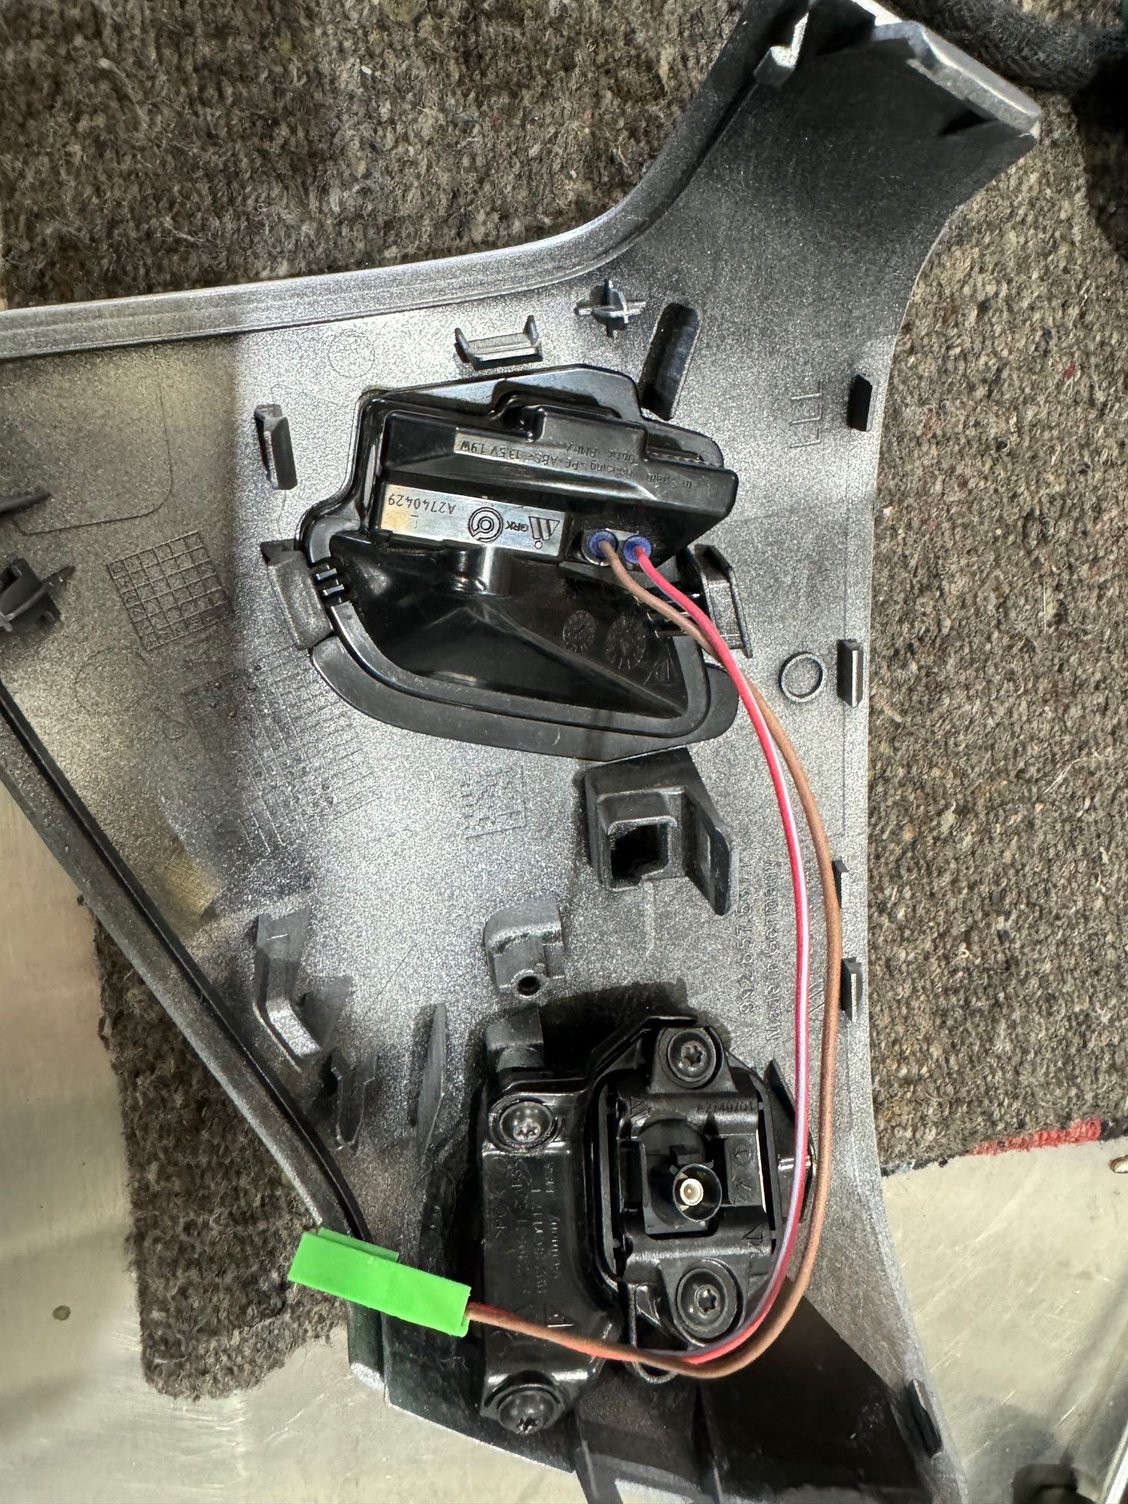
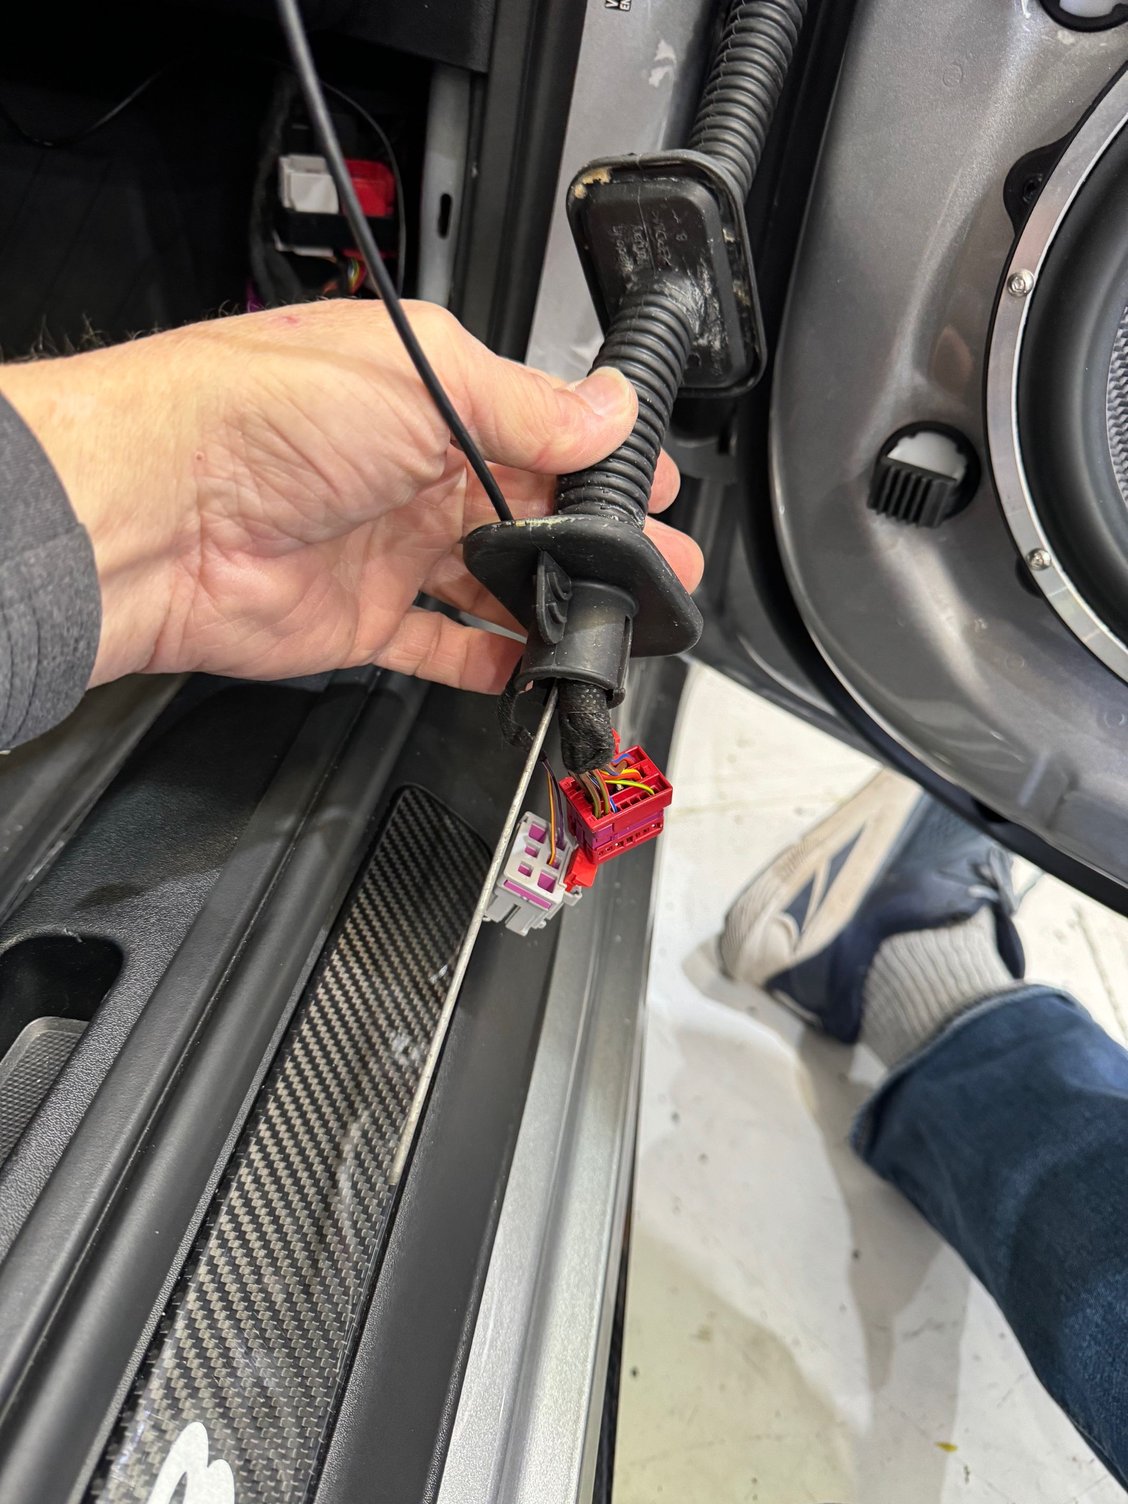
All the cameras are the same - just different housings. In a subsequent post, I'll post all the PNs in case anyone wants to duplicate this. I had a set of mirror wires that already had the LVDS wires from the mirrors to the door connector - thus I just had to add a LVDS wire from the door to the lower front panel, where it will connect to a LVDS extension cable that goes through the cowling to the frunk controller. I've yet to route these wires, and it looks to be quite challenging, so I'll post photos as I tackle this.
I've looked at the front bumper, and there seems to be plenty of room to discretely mount the front camera in the front air scoop without it being hideous. I intend to place it a bit further back in the scoop, so unless you are at ground level, you won't see it. The rear camera plugs right in to the new controller.
I've looked through PIWIS, and all the features are there to program this, so don't expect any real difficulties on the programming side once the wires are run. This is not a simple job, and not sure if it's worth the effort, but it's a cool challenge, and now that I have all the parts, I'll get it working.
Then we will move onto comfort opening. I got a notice that my new door handles with the touch sensors have arrived, so I'll get those painted, and installed in the next few weeks. I also have a few antennas to install, and then some programming. Wish me luck!!
I guess the good news is that if you have a 992 GT3 Manual, you are all set to add heated steering wheel - no problems at all. All that is needed is to swap out the wheel for a heated version, the steering column switch unit (PN 992 953 502 EK HUO) and then add the one wire from Pin 15 to the fuse box (through the dash connector pin 1). Still trying to figure out if a steering column switch unit exists that has both the GT3 paddle shift wires (pins 9 and 10) and the heating source (pin 15). I've written to a few sources in Europe to see if we can figure out if that configuration exists as there is no way to determine it via the parts manual. So, the manual trans mafia wins again!!
A bit more work on the 360 camera view project today - finished the mirror install and routing the LVDS wires through the doors to the lower front panels - now just need to thread them to the frunk! Here are some PNs for those interested:
Mirror harness with power folding, heating, dimming, cameras and lights (every feature) - 992.972.235.AN
Mirror bottoms with camera cutouts and lights - 992.857.538.F and 992.857.539.F
Rear camera housing (if you car doesn't have a rear camera already) - 992.807.997.B.OK1
Door camera housings - 992.857.117 & 992.857.118 (bottom housing) - 992.857.155.A top housing (same both sides)
Cameras (4 required - front, rear, mirror L, mirror R) - 4NO.980.546 (this is the generic PN so will be much less expensive than the Porsche PN)
Video Processor computer - 4K4.907.117.L
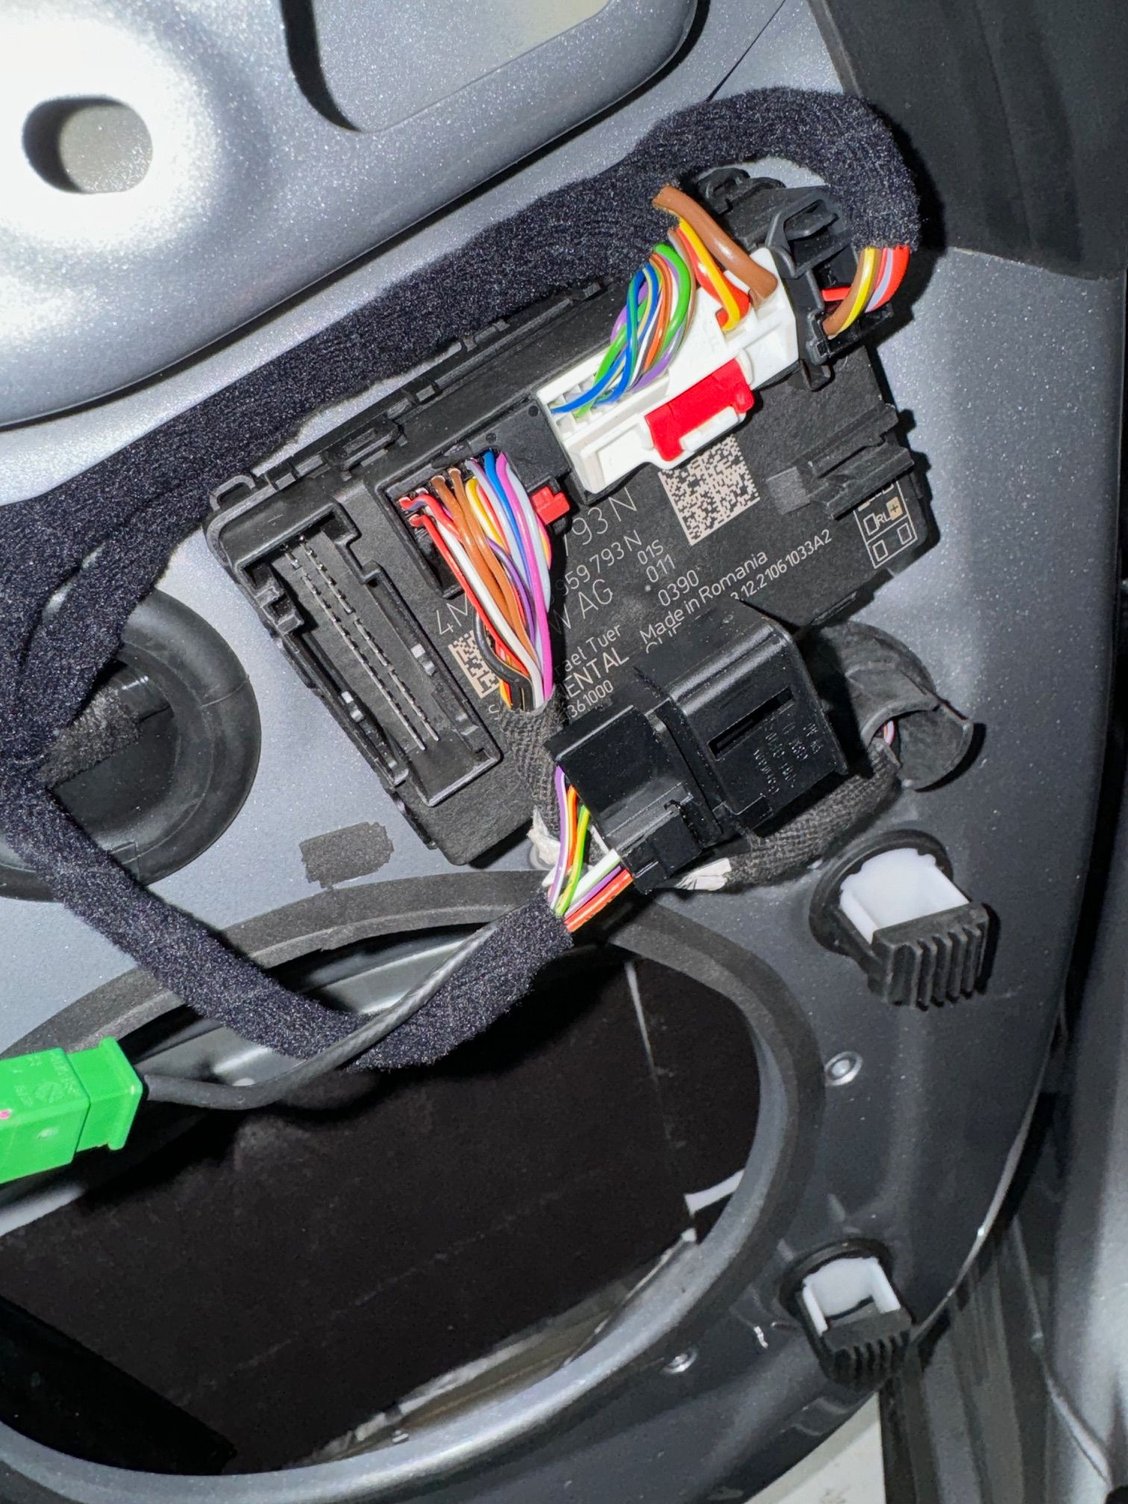
This is the mirrors disassembled and ready for new bottoms w/ cameras and lights here's the new wiring harness that has all the features (power fold, heat, dimming, camera and lights) This is the new bottom (after paint) compared to the old bottom without camera and light. New bottom assembled w/ camera and lights Bottom view with camera and light installed Mirror fully assembled and ready for install These are the connections on the mirrors for heat & dimming. Back on the car w/ new features . . .turned out perfectly! Also, these are the "euro" asymetric mirrors - wider angle of view. They take some getting use to, but very nice feature for blind-spot monitoring . .. Here's the process of fishing the LVDS wire for the camera through the door harness - not that difficult really Used a piece of aircraft hinge pin that I had laying around as a fish tape - worked perfectly This is the original bracket in the frunk where the new controller mounts Driver's side done - ready to fish the wires to the frunk. Just a few of the door controller w/ the new LVDS camera wires - WAY easier to pull these wires in w/o the speaker in place.
Ok - some progress today - got power folding mirrors working on the GT3T as well as heated seats! For mirrors, I found a used set that had heat, dimming, folding and cameras - then added a PN 992-959-858-K-HTO window switch (has the power folding button). Then some quick programming with PIWIS and bingo - works!
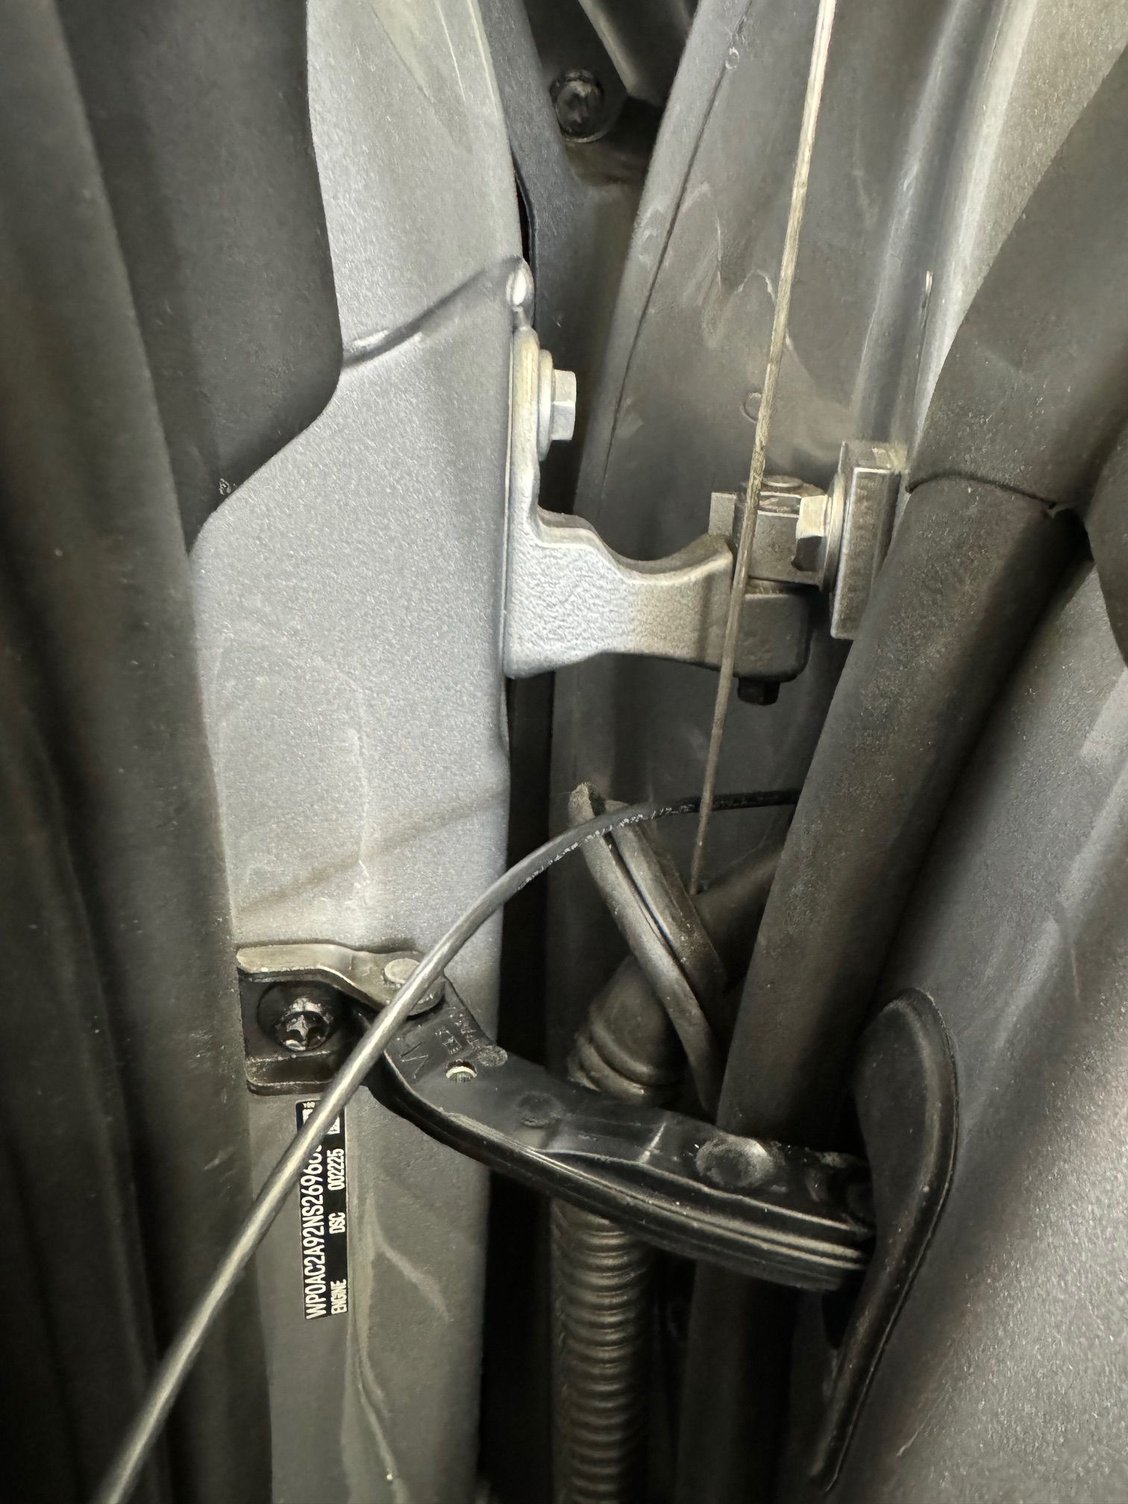
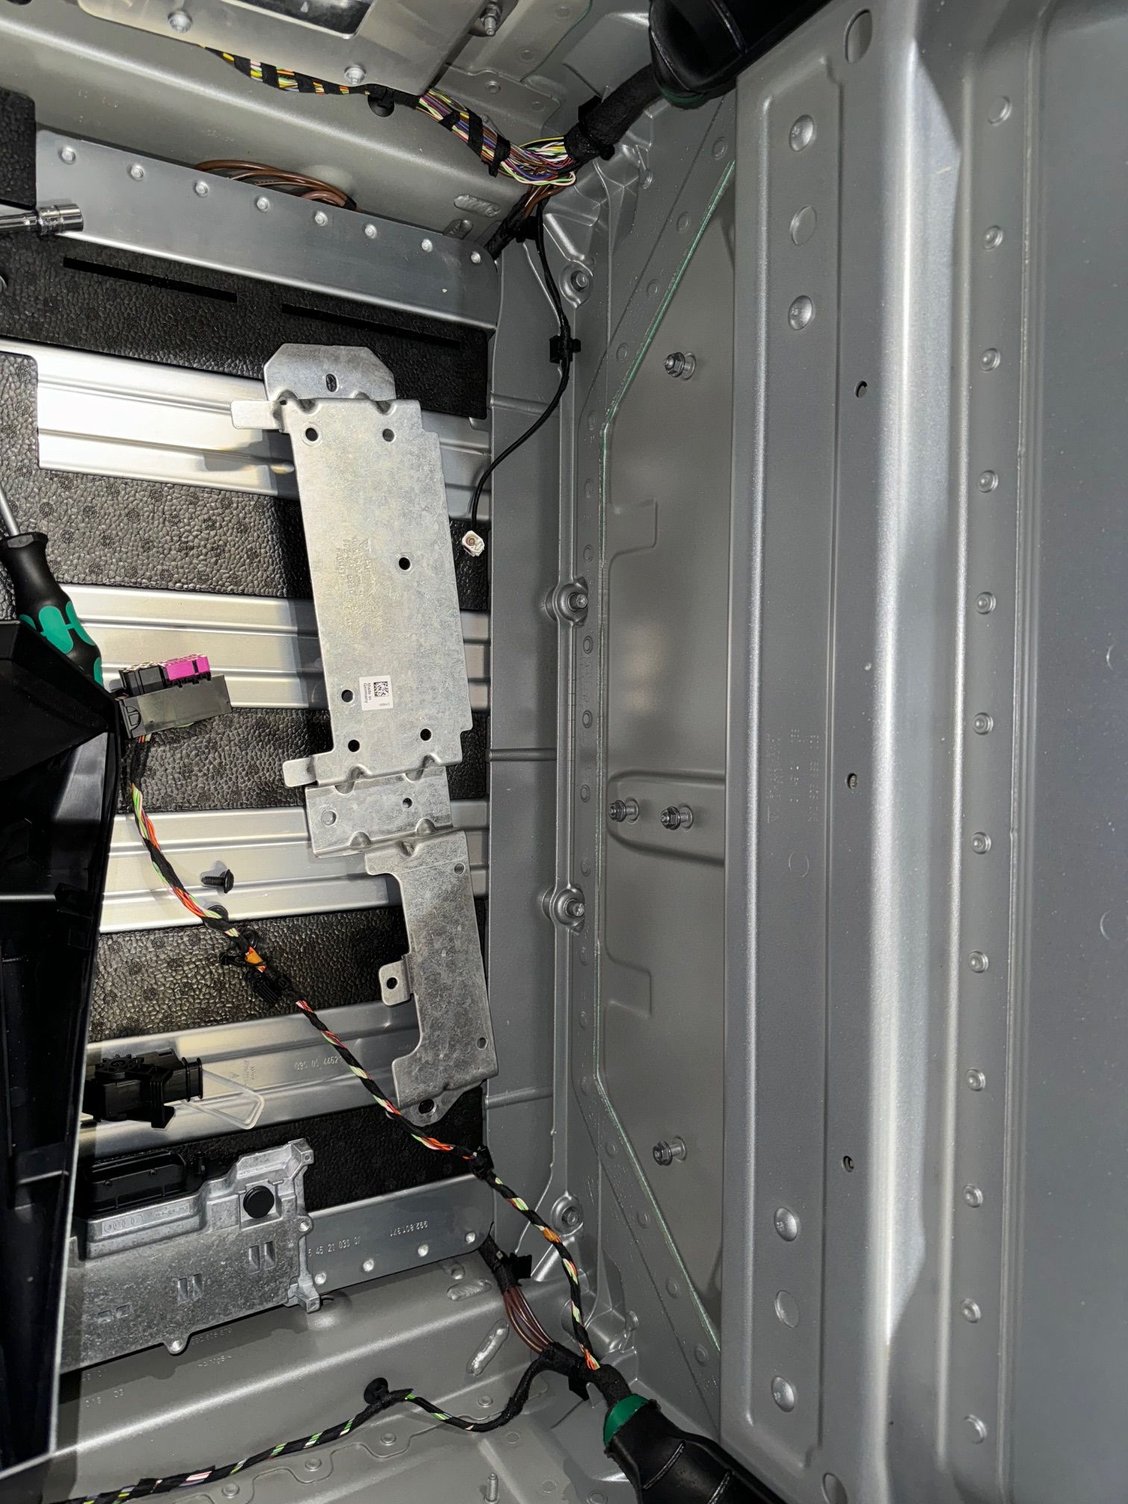
For the heated seats, I had to add 5 wires to each seat connector (really 4, but the 991 generation seat has a separate ground on pin 13, so added that as well). The 992 generation seat has separate circuits for seat base and back heaters, while the 991, both are on one circuit. I intend to rewire the 991 seats I have to separate the heating circuits so that I can take advantage of the "heat balance" control (mix between seat bottom and back heat". Each seat connection when you order buckets, lacks the 4 wires for heat (two supply, two control) - thus to add heated seats to a bucket car, you need to run 4 wires from each seat connector to BCM1, which is located right above driver's side fuse box. I went ahead and purchased color coded wires to match the factory drawing - kind of a PITA as had to pull seats, carpet, center console etc.
Next up heated steering wheel - the new column switch should be here next week, so should have that working here shortly. I also ordered the memory seat button for the drivers door - the PNs for the seat controllers are different between the 992 Turbo S seats and the 992 GT3 - I need pull my TTS seats to see what the supplier PN is for the controller and then try and figure out what else is required for memory seats. I'm pretty confident I'll get these working as well.
Haven't really done much research on "comfort opening" - I know door handles are different as the comfort closing feature requires a capacitance pad on the door handle. I ordered a set of handles to experiment with. I'll probably tackle this one with I install the 360 deg camera mod . . .
I'm pretty happy that it now seems we can add back all the silly deletions that Porsche implemented on the GT3. Will make it a much more pleasurable driving experience!
correct me if I�m wrong but you only need an updated clock spring with the heating plug not a whole stalk switch which is more than twice as expensive
I'm not positive, but this part does not show up in the 992 parts catalog - I think this might be a 991 generation part - still used in Cayman?? How did you come across this? Maybe this can be retrofit or adapted into the 992 stalk switch.
That would be a huge find if so - I'll check out the switch unit tomorrow and see if it comes apart - the 992 GT3 uses the old generation 7 speed PDK - all the other 992s use the 8 speed. But I believe the Cayman still uses the 7 speed, so possibly the same paddle wiring. An excellent lead - thanks!!
I did see that this clock spring is for the newer Caymans, and the 2019 and older 911s, so indeed a 991 gen part. But that doesn't mean it won't work as I'm pretty sure the steering wheel plug and the heating plugs are identical.
it should work and it would be a lot less effort replacing the clock spring. Try it and let us know ! See if the PN of your clock spring matches with what I mentioned im leaning towards that being a yes


 04-07-2024, 05:22 PM