When you click on links to various merchants on this site and make a purchase, this can result in this site earning a commission. Affiliate programs and affiliations include, but are not limited to, the eBay Partner Network.
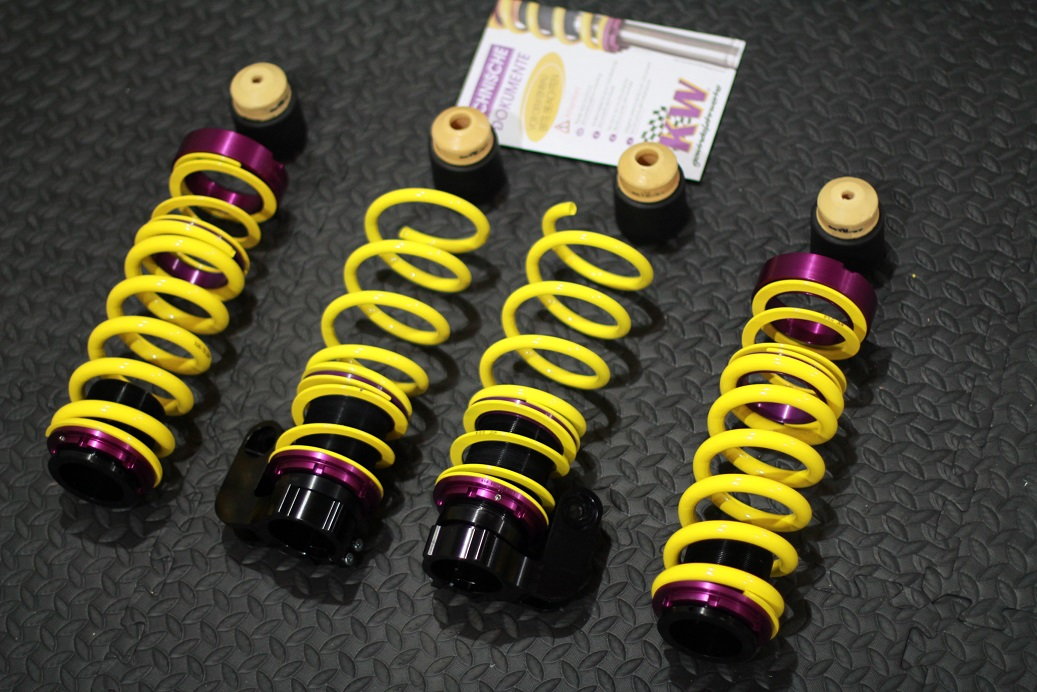
JNOSOL'S KW HAS INSTALL
991 GTS with PASM and PDCC
KW Part Number: 25371045 (PDCC version)
I love the way the 991 GTS drives, but I know the suspension can be improved if lowered to GT3 ride height standard with corner balancing. Plus, the GT3 wheel gap is much smaller and better looking. PASM is around 20mm lower than standard and GT3 is about 20mm lower than PASM, so my target ride height was 20-22mm lower.
I chose KW HAS because it retains PASM and PDCC, it's also the only brand the rides closest to stock (KW is famous for its ride quality). I don't like the idea of springs replacement because you can't do corner balance and the ride height is static. Speaking with other forum members like VISE (Rob), they seem to love the way the KW HAS rides so I was sold.
Tools needed:
1/2 impact gun (optional: I used Ryobi 18v gun)
Wrenches: 9mm (open-end), 10mm (open end), 13mm, 16mm, 18mm, 20mm
Sockets: 2.5mm hex, T-55 Torx, 13mm deep, 16mm, 18mm, 27mm, 19mm/21mm Schwaben Strut Nut Socket (bought from ECS Tuning)
Right Angle Pick Tool
Torque Wrenches
Nylon Zipties - Rated 175lb (10qty)
Pry Bars (optional)
Rubber Mallot
Flat Head Screwdriver
A friend to help
FRONT
(1) Jack the car up, remove wheel, then partially rest the wheel onto a jack stand until the spring compresses (slide another jack stand in a secured spot for safety)
(2) Use 2 175lb nylon zipties to secure the spring from unwinding
(3) Remove the 3 top covers under the frunk, unclip the PASM cable with an angled pick tool.
(4) Remove the 3qty 13mm bolts to loosen the camber plate (make sure to mark these 3 bolts location to restore OEM alignment).
(5) Remove the lower 18mm strut spindle nut and PDCC rod nut (if applicable)
(6) The strut should now be loose, slide the camber plates out of the way.
(7) Now unbolt the top strut rod nut using a 21mm Schwaben Strut Nut Socket and 10mm wrench.
(8) Carefully cut the zipties to unload the springs, then slide the springs/strut from the hole as shown.
(9) Remove the OEM spring perch/dust covers/bump stops/brackets from the OEM struts (do not cut anything as I was being an idiot following Elephant Racing instruction). The metal top caps do come off with a flat head and hammering.
(10) Put everything instructed by KW manual, torque the top strut nut to 35ft-lb, camber plates 3 13mm to 24ft-lb, spindle 18mm at 63ft-lb, and 18mm PDCC bolt at 63ft-lb. Adjust the perch front to be 1.25" as shown below. You can tighten the KW perch 2.5mm to 1ft-lb, don't over tighten.
Repeat the other side
REAR
(1) Jack the car up, remove wheel, then partially rest the wheel onto a jack stand until the spring compresses (slide another jack stand in a secured spot for safety)
(2) Use 3 175lb nylon zipties to secure the spring from unwinding
(3) From the inside, remove the carpeting behind the rear seats (front the front verticle edge). Nothing is hold it other than pressure, no clip/nothing. Just pull up enough to have space to work with.
(4) Remove the 3qty 13mm bolts to loosen the camber plate
(5) Remove lower control arm with 18mm wrench and 16mm socket using impact if you have it
(6) Remove the lower strut bolt using T55 torx and 27mm socket with impact gun
(7) Remove S-shape lower control arm with 20mm wrench and 18mm socket using impact if you have it
(8) Wiggle the entire strut/spring out, need to push and pull the hub to make it come out.
(9) Now unbolt the top strut rod nut using a 19mm Schwaben Strut Nut Socket and 9mm wrench.
(10) Install everything instructed by KW instruction. Set perch to about 1" as shown above.
(11) Put everything back in reverse. Top strut nut at torque is 32ft-lb, 3 13mm above is 24ft-lb, S-shape control arm is 88ft-lb, lower strut bolt is 63ft-lb, lower control arm is 63ft-lb.
Total project time is 4hrs if you have all the tools. It will take 2 weeks for the new springs to settle so don't do alignment/corner balance until then. I hope you enjoyed this DIY. Cheeers.
dhirm5 (03-27-2020),donR (10-01-2019),minh (10-01-2019),NightBlueTTS (07-26-2019),usccharles (10-02-2019),ZerOG (03-11-2020) and 1 others liked this post. (Show less...)
WOW! That is a very comprehensive and concise write-up! Thanks for posting.
Not a problem, it will save someone else a huge headache. My whole damn toolbox didn't have a T55 torx.
Originally Posted by Jbgill6535
Looks Good. Where did you source the HAS?
A dealer hooked me up. Supreme Power and Vivid usually give pretty good pricing on KW as well.
Originally Posted by -Ryan-
Ha. That damn elephant racing picture of the spring perch being cut caused so much confusion. Car looks great.
I know, right. They need to take that cutting the perch photo off, it's scaring people from buying it. Good news is it's a cheap part to replacement. Thanks bro.
Looks great, where is your ride height set right now (ie. height to bottom of fender front/rear)? I just had mine raised up to SPASM height and swapped back to OEM wheels + Michelin PA4s for the winter, made me a bit sad but it will come in handy once the snow comes.
Looks great, where is your ride height set right now (ie. height to bottom of fender front/rear)? I just had mine raised up to SPASM height and swapped back to OEM wheels + Michelin PA4s for the winter, made me a bit sad but it will come in handy once the snow comes.
2.75" from the top of the "wheel" to the edge of the fender all around.
Originally Posted by awrryan
Did you really use zip ties to keep the springs compressed? Is that safe? I was taught to use proper spring compressors.
Heavy Duty Zip ties rating at 175lb each, 2 of them is 350lbs which is more than enough for the front spring rate. For the rear, use 3 of them. There's no room for an actual spring compressor and impact (very tight). The zipties method is much quicker.
I might've swap springs a few times in my life with this method (since the Honda Civic Import days).
2.75" from the top of the "wheel" to the edge of the fender all around.
I normally measure from fender edge to the ground through the middle of the wheel, if you get a minute would be interested to see where you sit and where you end up after corner balance.
I normally measure from fender edge to the ground through the middle of the wheel, if you get a minute would be interested to see where you sit and where you end up after corner balance.
26.5" front and 26.8" rear (ground to fender, through wheel center). It will take another 2 weeks to fully settle.

 11-29-2016, 12:46 PM