When you click on links to various merchants on this site and make a purchase, this can result in this site earning a commission. Affiliate programs and affiliations include, but are not limited to, the eBay Partner Network.
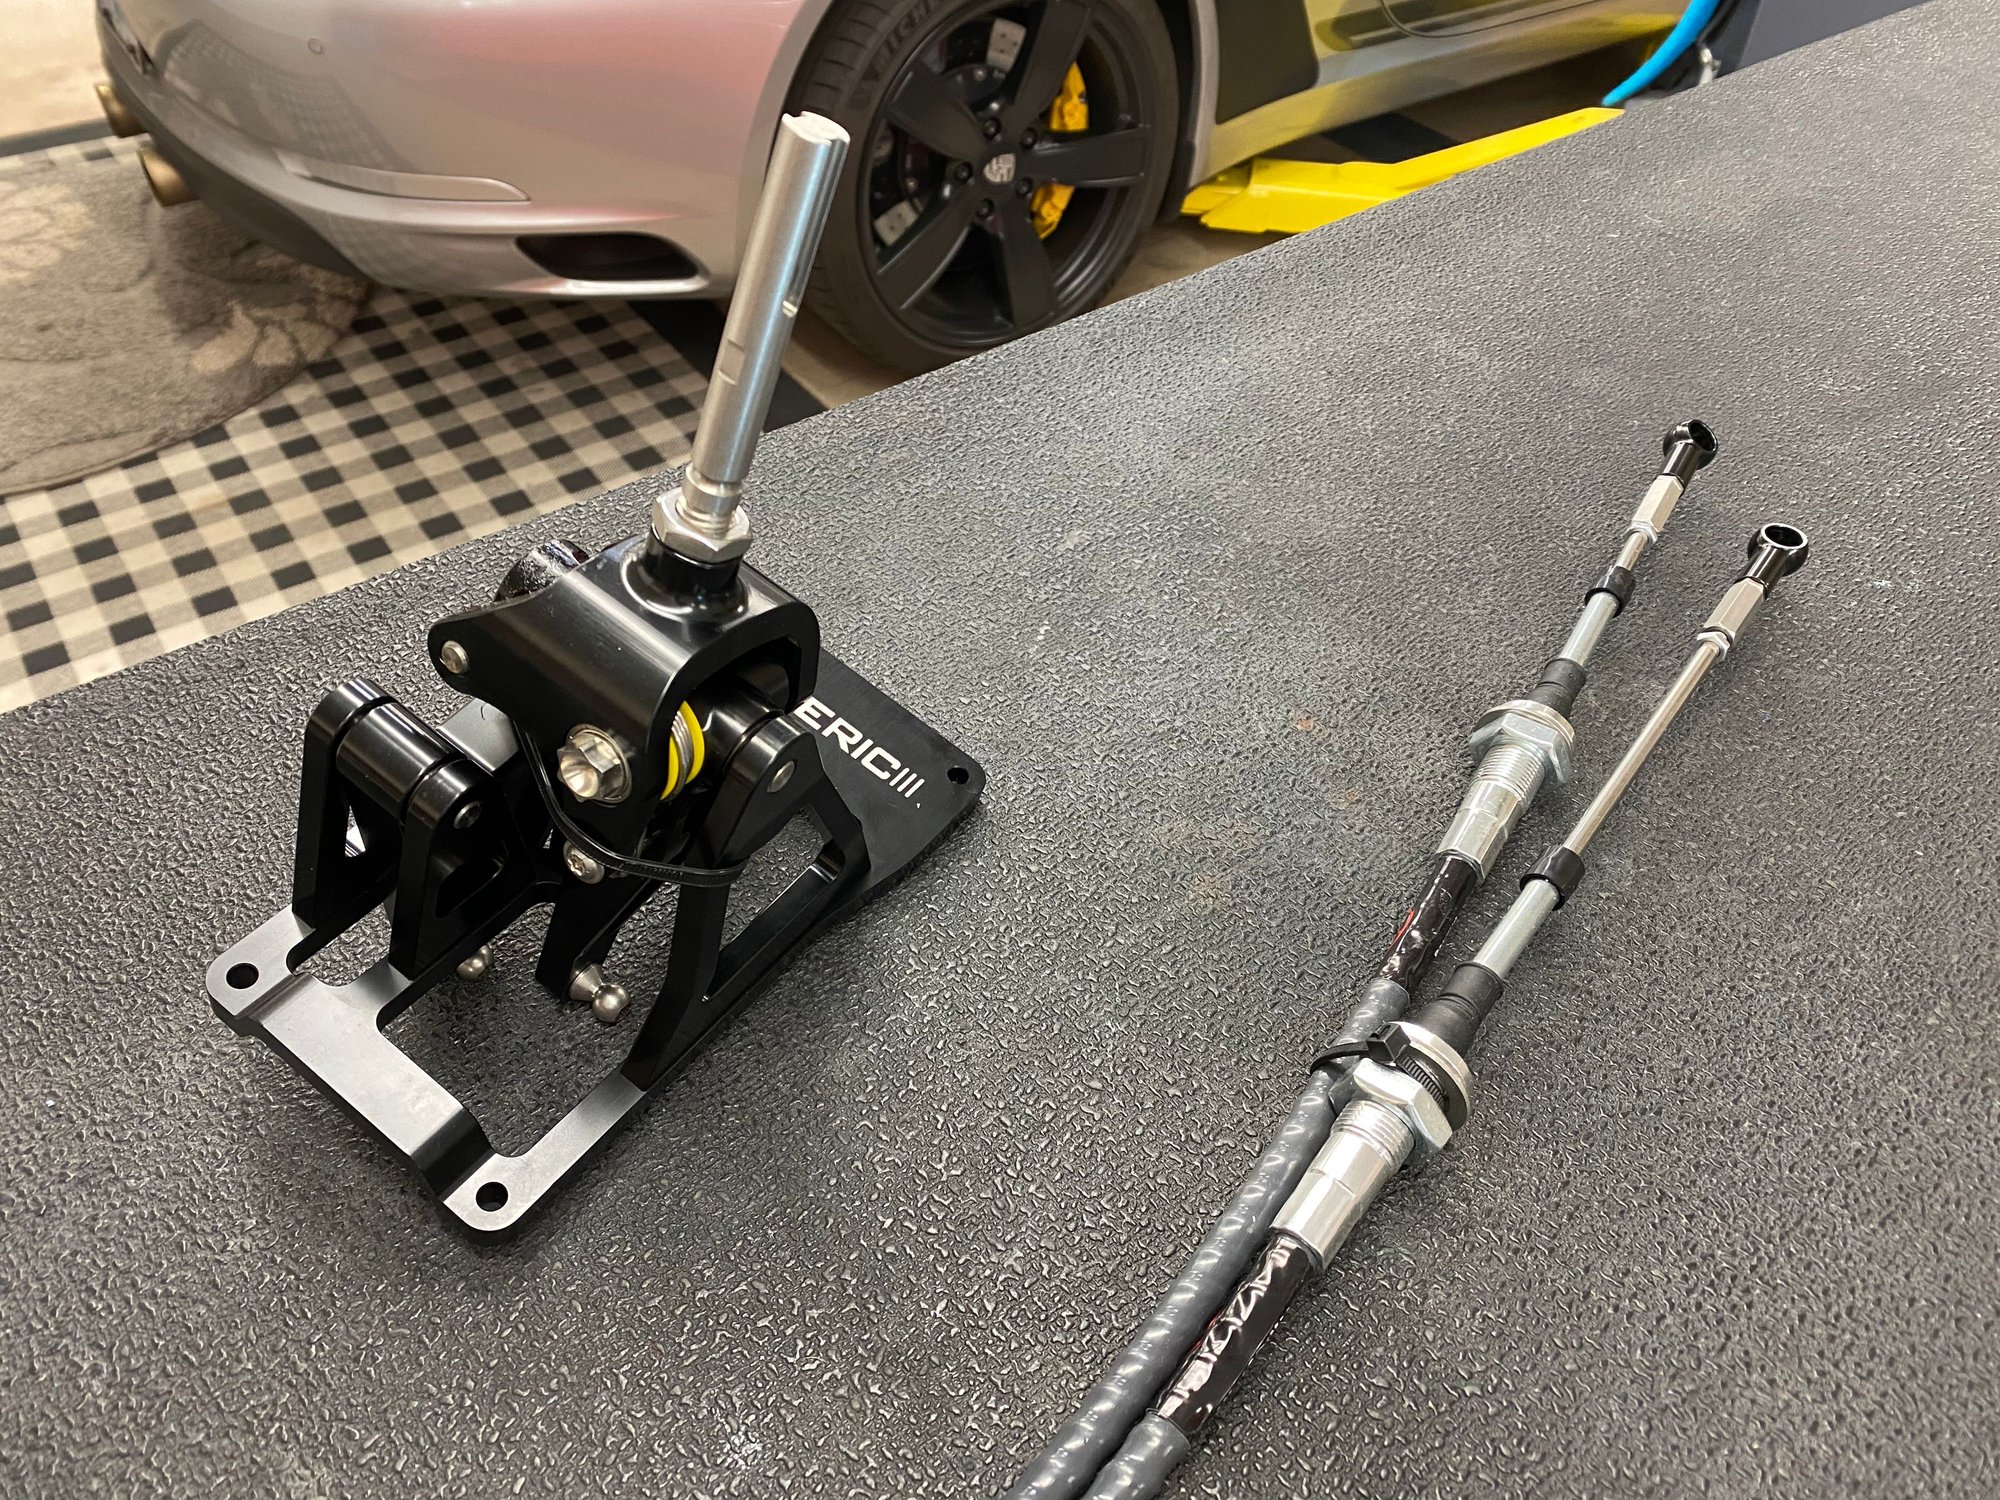
I installed the shifter a year or so ago with no issues and finally decided I'd install the cables.
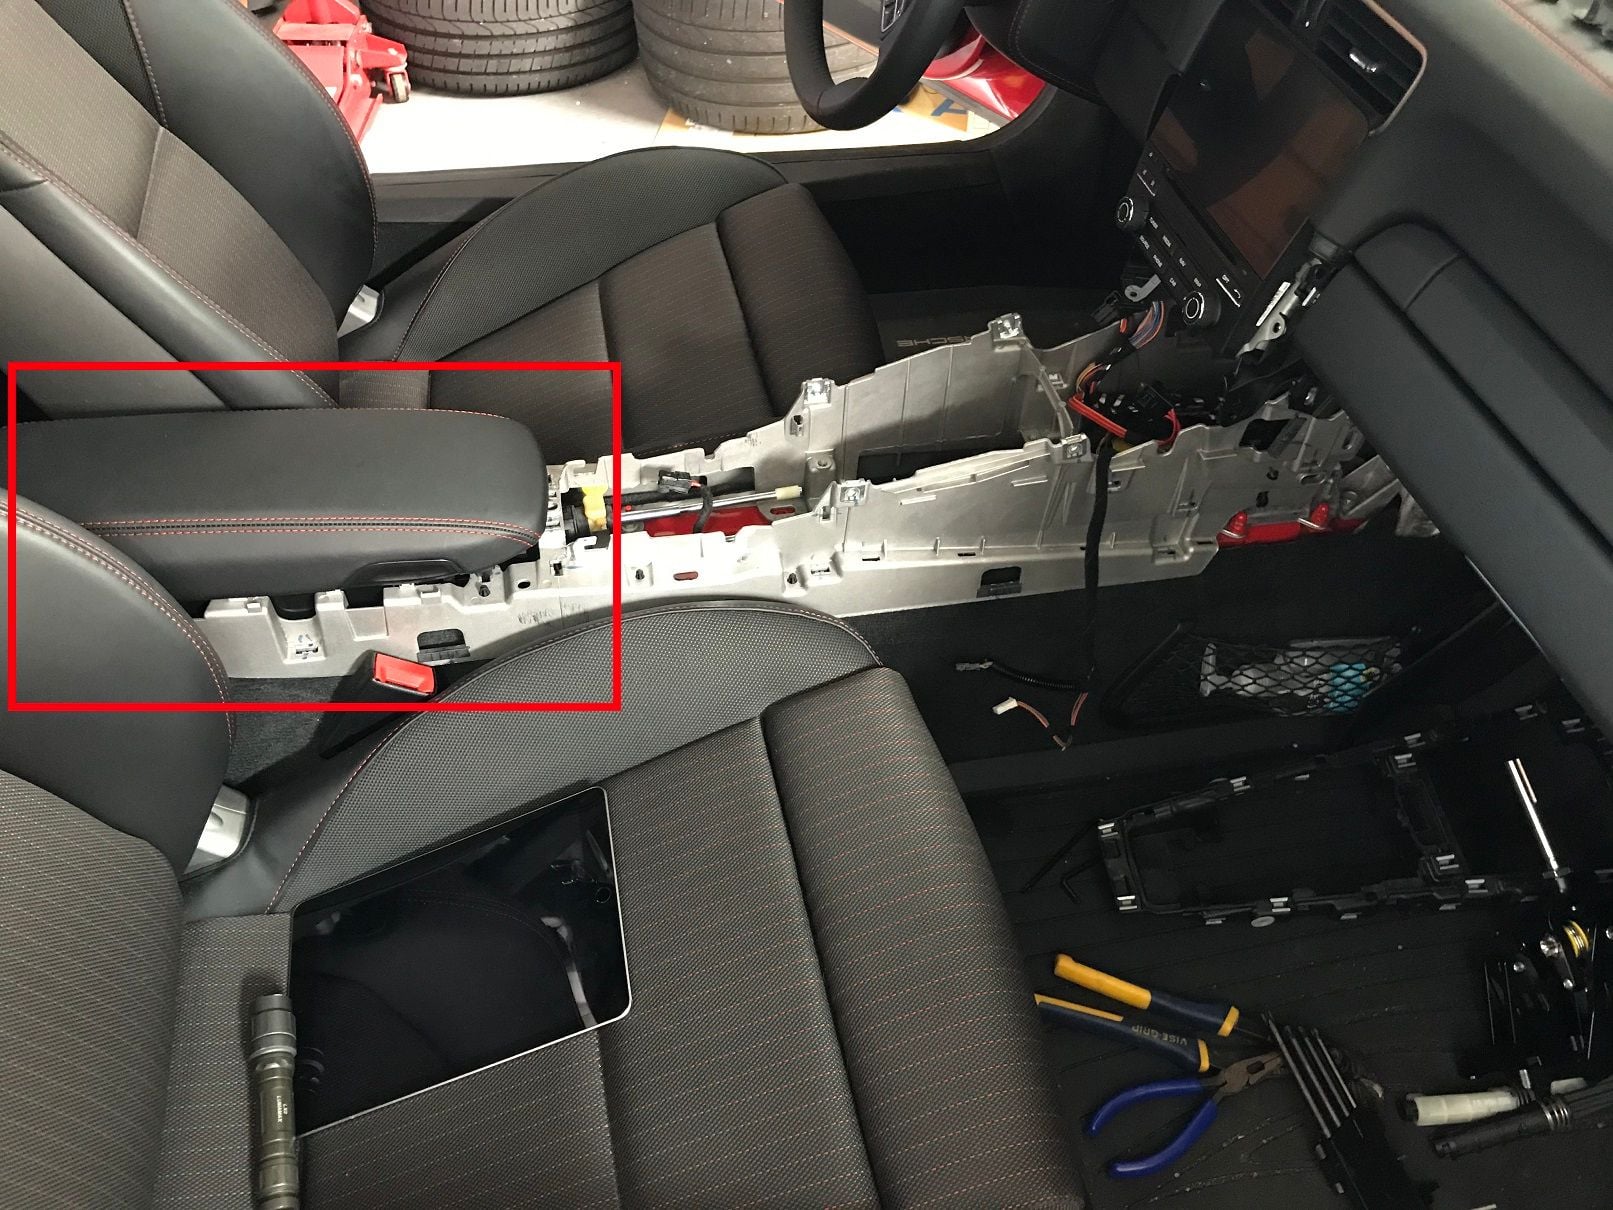
I've carefully removed almost everything, even underneath is prepped, and can't get access to the area underneath the console storage. UGH.
Step #4 details removing the needed Torx screws (4 on the base and 2 in the front) but now I've been stuck for hours at step #5 of the cable install guide.
"You can now carefully pull the console out of your car and remove the cables."
The Numeric video completely skips the details on actually removing the console and Step #5 in the guide states:
"You can now carefully pull the console out of your car and remove the cables."
Nope.
The front of the console lifts up but it's the rear half that I cannot figure out how it comes out.
The rear seats are out and lifting up the carpet from the back doesn't offer any clues. I'm not sure if there are more bolts underneath the leather console/phone holder section but it's absolutely secure in the rear half.
Any help/guidance would be great. I'm so frustrated that I'm close to giving up and putting it all back together.
In the meantime, I'm still googling and looking for any clues...
I had the exact same issue. Lift up the rubber mat in the rear centre console. There are two bolts underneath the rubber mat that hold down the console that need to be removed.
I had the exact same issue. Lift up the rubber mat in the rear centre console. There are two bolts underneath the rubber mat that hold down the console that need to be removed.
Thank you so much!
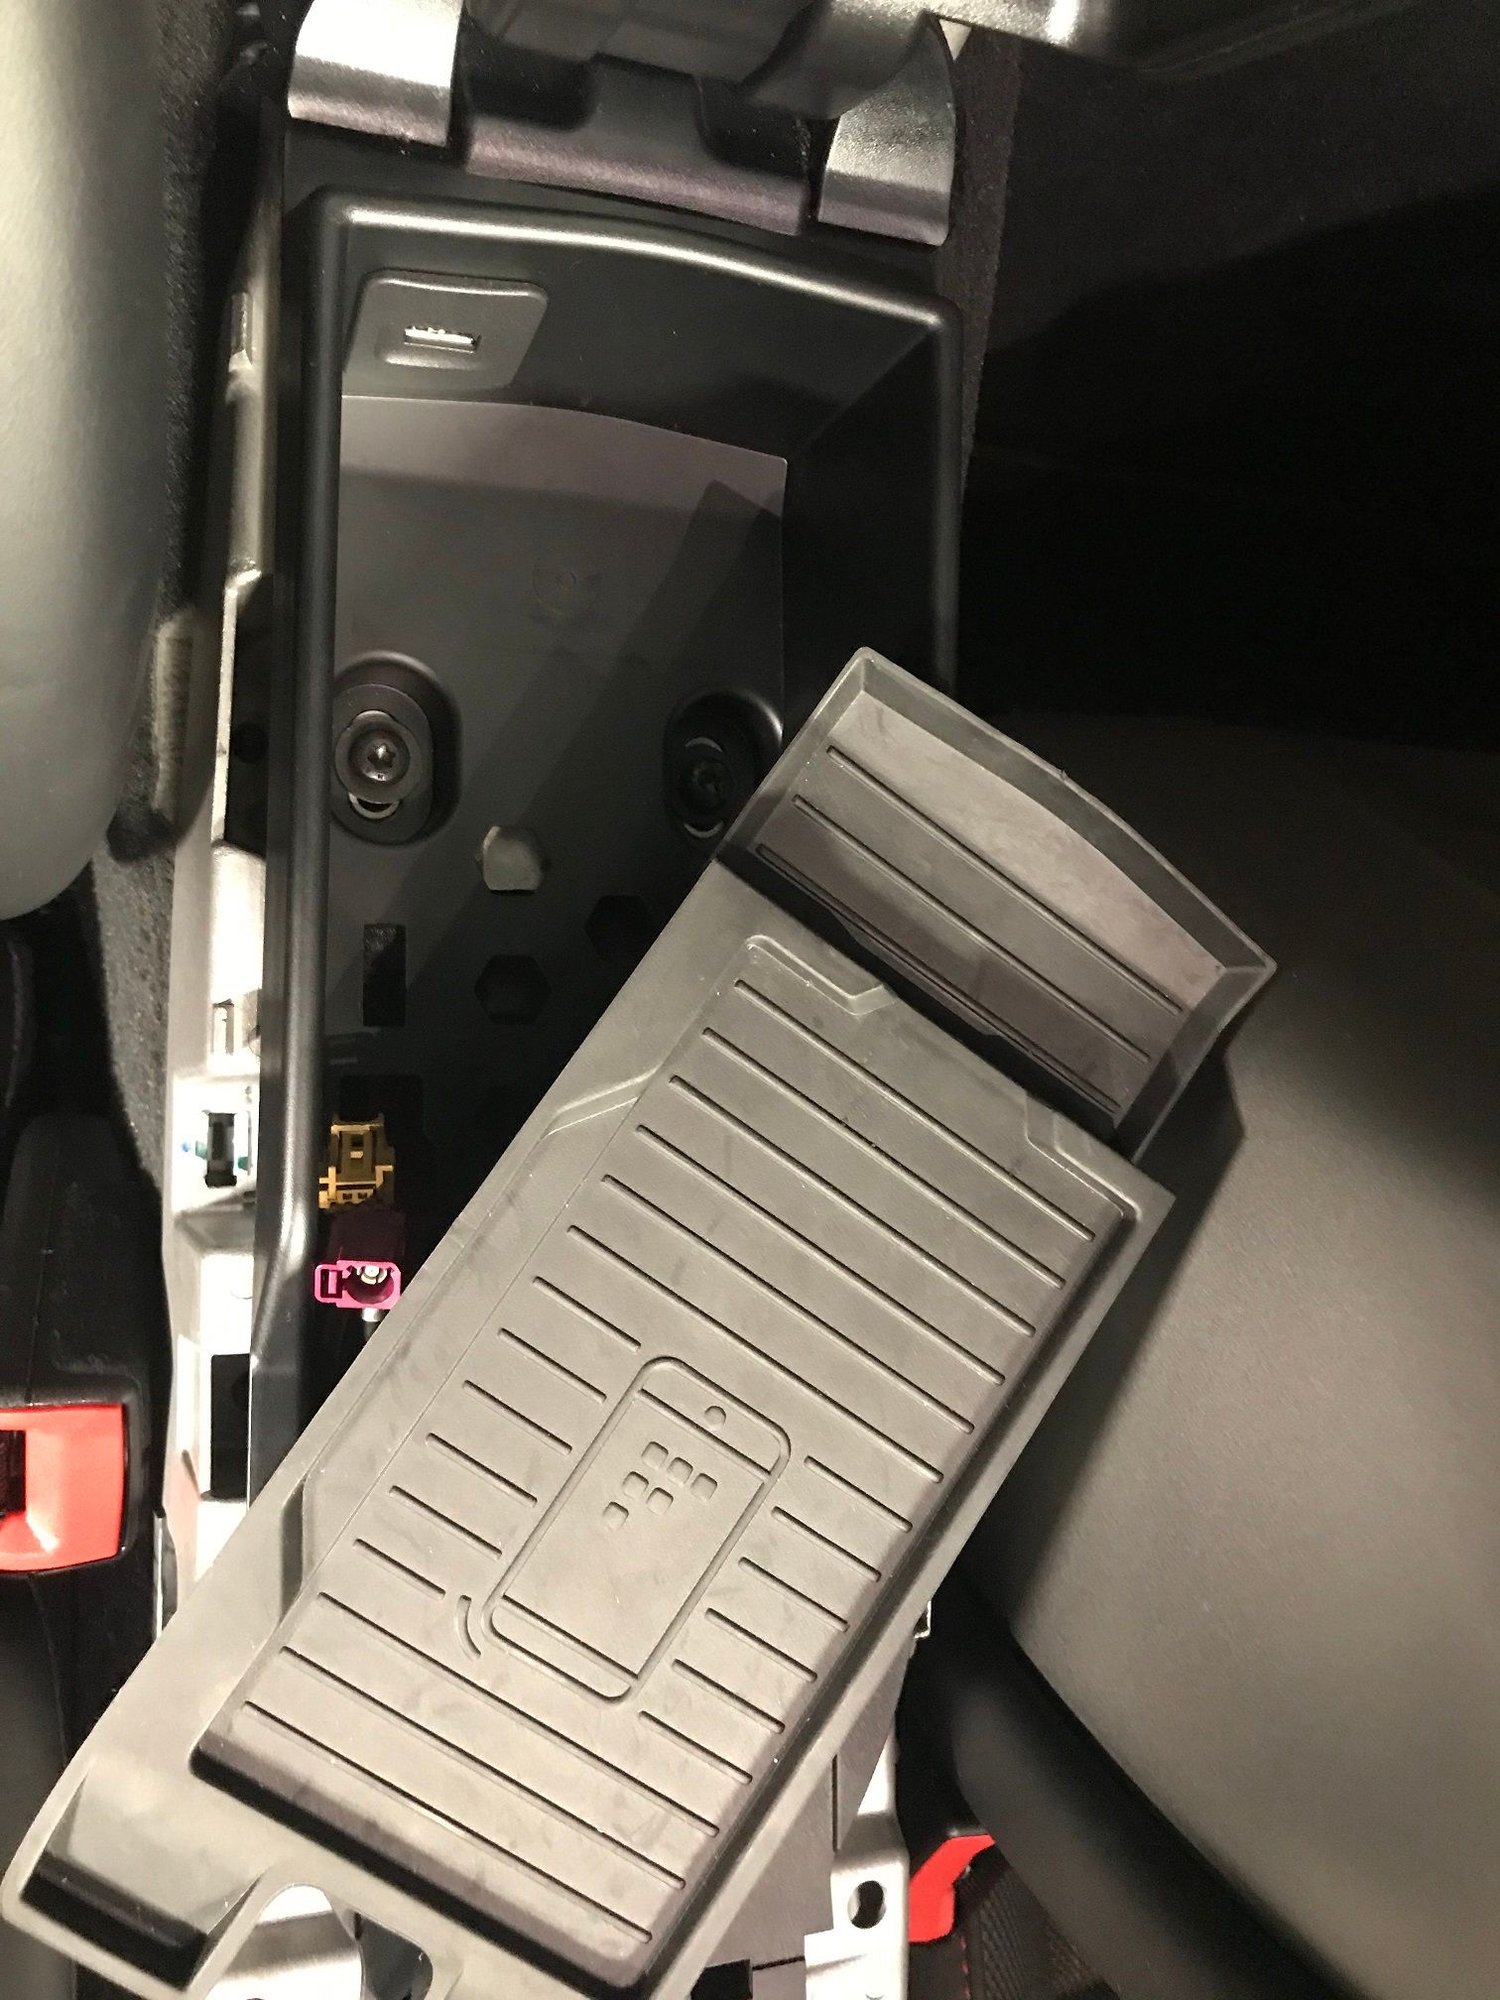
I have the wireless charging mat in there so the rubber doesn't pull up fully (only partially in the small rear piece). I had to just pull the charging base straight up and there are two clips holding it in place and I have access to the bolts now.
I'll take pictures tomorrow since I'm watching playoff football now.
I'll be able to sleep tonight and get started in the morning!
All done. I have to admit it's a lot more time consuming when it's the first time figuring things out.
My only issue/complaint is that the cables were a few centimeters too long so that when routing them through the rubber gasket they wouldn't come through at the same angle as the stock cables and had to curve a bit once they pass through the opening inside the car. They actually come through the from a slight angle left to right instead of right to left so the gasket would not fit 100%. I spent a lot of time adjusting the cables through the gasket and couldn't get it just right.
The installation instructions should be updated to reflect the additional bolts beneath the storage console. Newer cars that have the wireless charging are probably a bit different than just lifting up the rubber mat.
Here are pictures of the charger to give you idea of what's holding it in there:
I'll be back later if anyone has any specific questions.
Don't forget to use the silicone tubing on the section of the shifter cable that's outside of cabin. From just behind the rear centre console to the cable end mounts on the transmission :-)
Step #4 details removing the needed Torx screws (4 on the base and 2 in the front) but now I've been stuck for hours at step #5 of the cable install guide.
"You can now carefully pull the console out of your car and remove the cables."
The Numeric video completely skips the details on actually removing the console and Step #5 in the guide states:
"You can now carefully pull the console out of your car and remove the cables."
Nope.
Brother, I hear you and am with you 100%. Lots of critical info missing in the instruction manual and videos. I was going to put the car back together without the cables too. But thanks to your thread the information has been FOUND!! Thank you !!!
Brother, I hear you and am with you 100%. Lots of critical info missing in the instruction manual and videos. I was going to put the car back together without the cables too. But thanks to your thread the information has been FOUND!! Thank you !!!
Don't forget to use the silicone tubing on the section of the shifter cable that's outside of cabin. From just behind the rear centre console to the cable end mounts on the transmission :-)
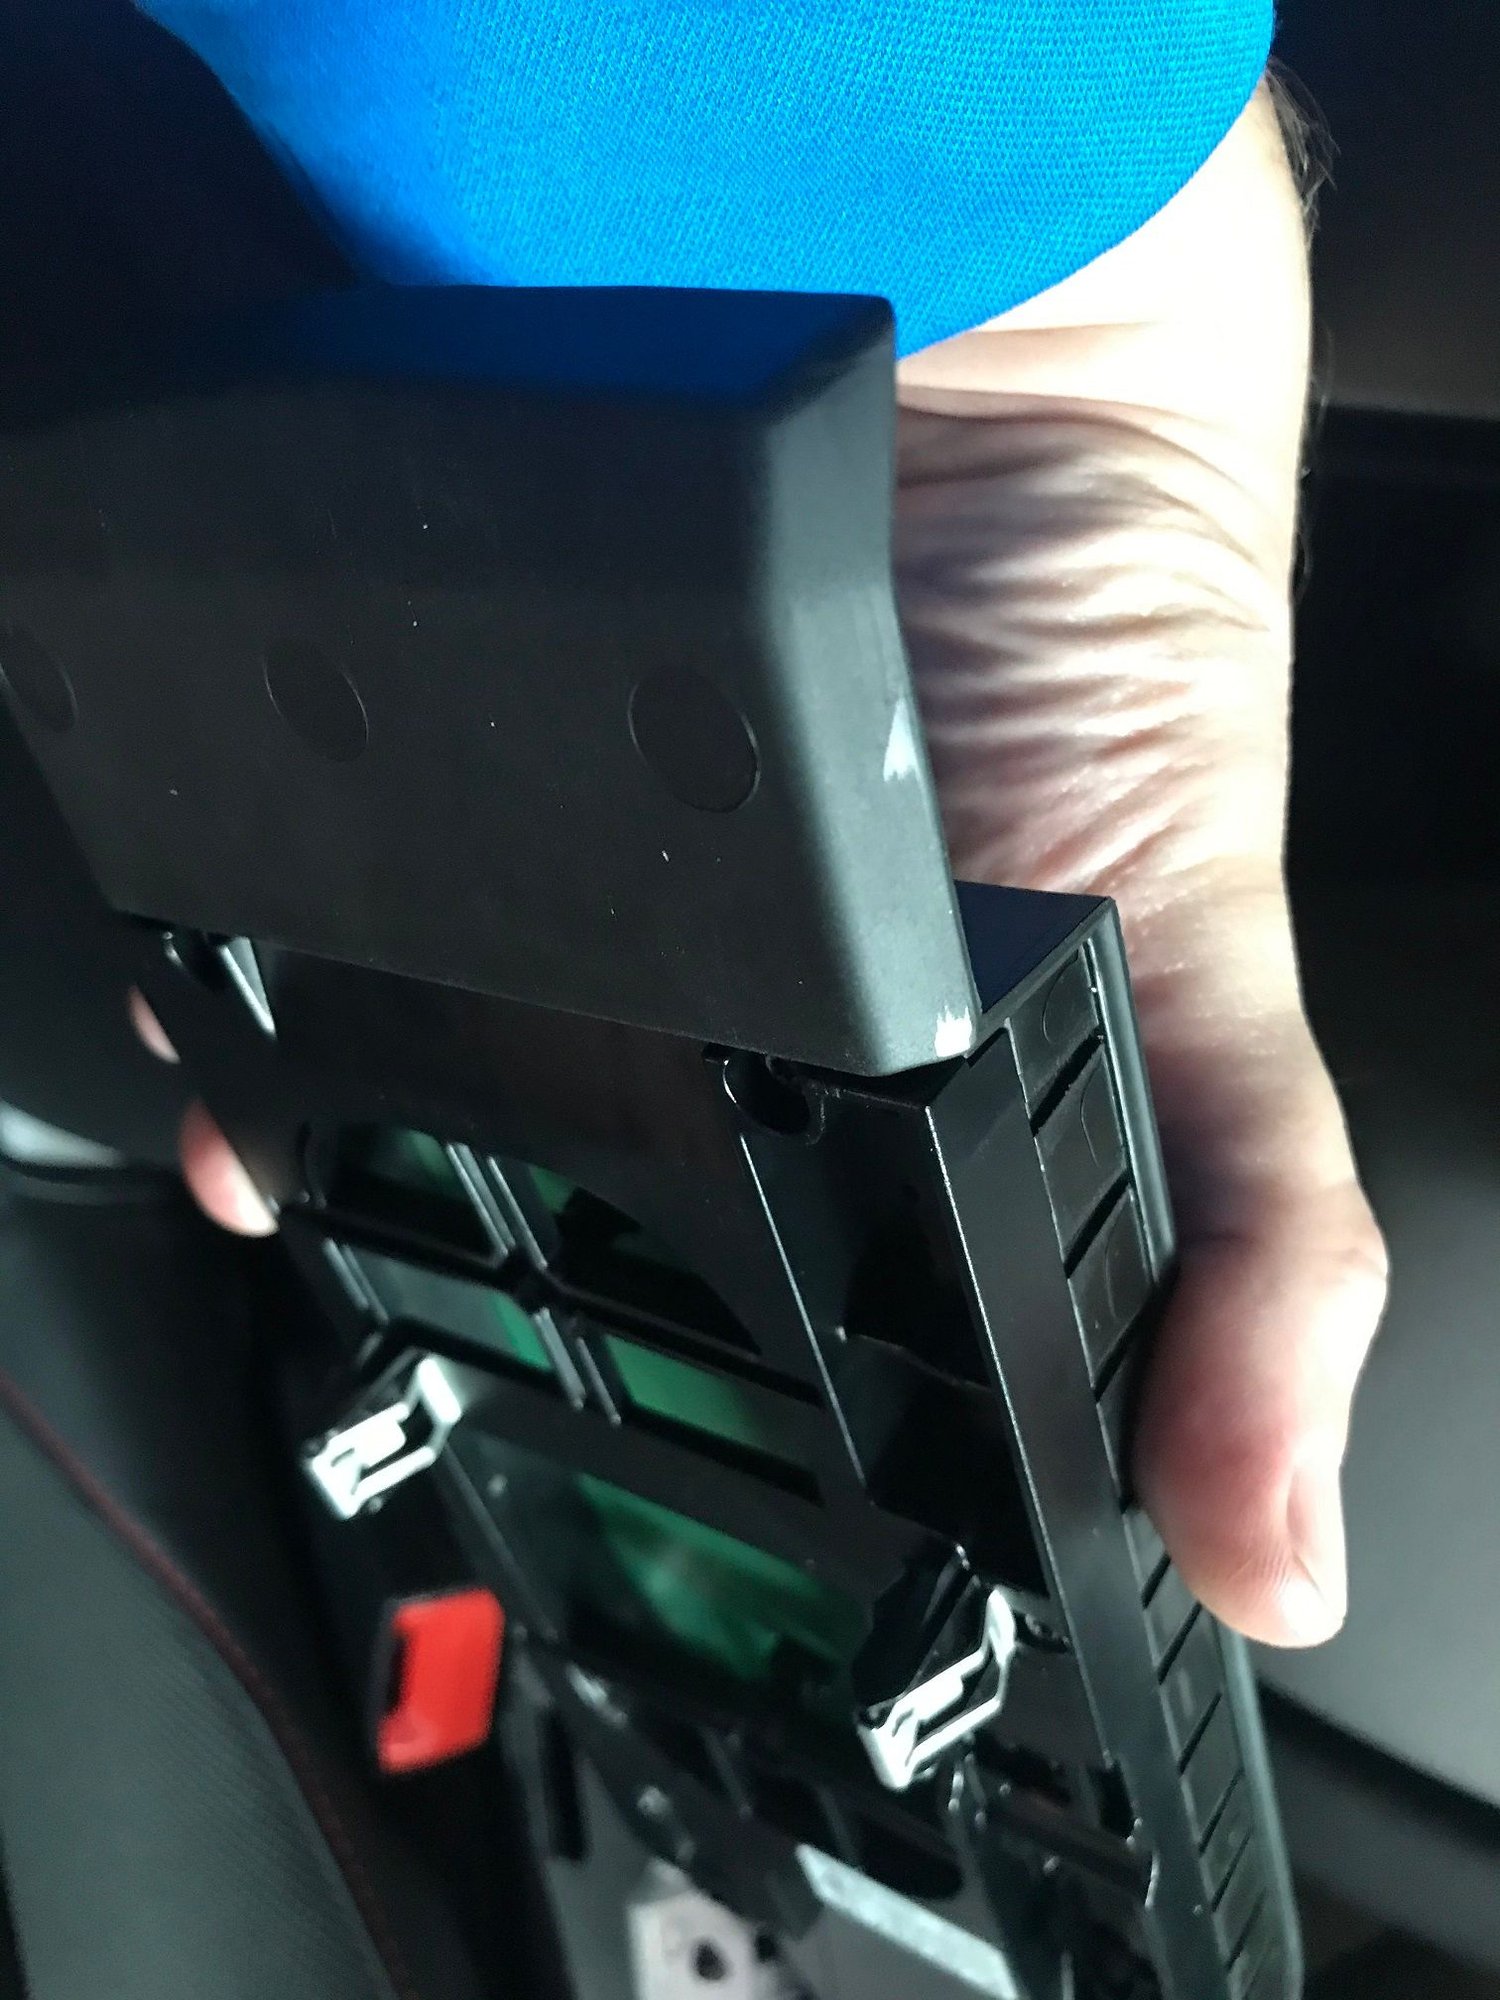
I received the Numeric Shifter and Cables yesterday. Started on the project and after about 2 hours of removing all the center console wire's and radio cables, sensor? wires, plastic side panels (broke off almost all the clips) and hidden bolts, now ready to remove the OEM cables. How do you remove the plastic locking clips on the OEM cable ends?
I received the Numeric Shifter and Cables yesterday. Started on the project and after about 2 hours of removing all the center console wire's and radio cables, sensor? wires, plastic side panels (broke off almost all the clips) and hidden bolts, now ready to remove the OEM cables. How do you remove the plastic locking clips on the OEM cable ends?
Best to pry them off with a screwdriver and some leverage. They'll pop off just make sure you pry them straight out as much as you can.


 01-09-2021, 04:37 PM