When you click on links to various merchants on this site and make a purchase, this can result in this site earning a commission. Affiliate programs and affiliations include, but are not limited to, the eBay Partner Network.
All right. Finally got this thing on… Starting a new thread because the original thread kinda took a detour…
Breaking this down into 3 different sections:
1.) Install
2.) Performance impression
3.) Daily drivability impression
TL;DR: If you’re looking for a nice bump in power that doesn’t involve taking out your ECU and risking your warranty at a high level, then I would totally go JB4 route. Not sure how it compares to other piggy back units, however given the experience with my 991.2 C2 and my past dealing with BMS and the team, I wouldn’t consider anything else at the moment.
Install TL;DR:
- Relatively simple, in comparison with other units.
- No need to remove bumper
- About 30 – 45 min if you take your time
Performance TL;DR:
- Very noticeable increase in power
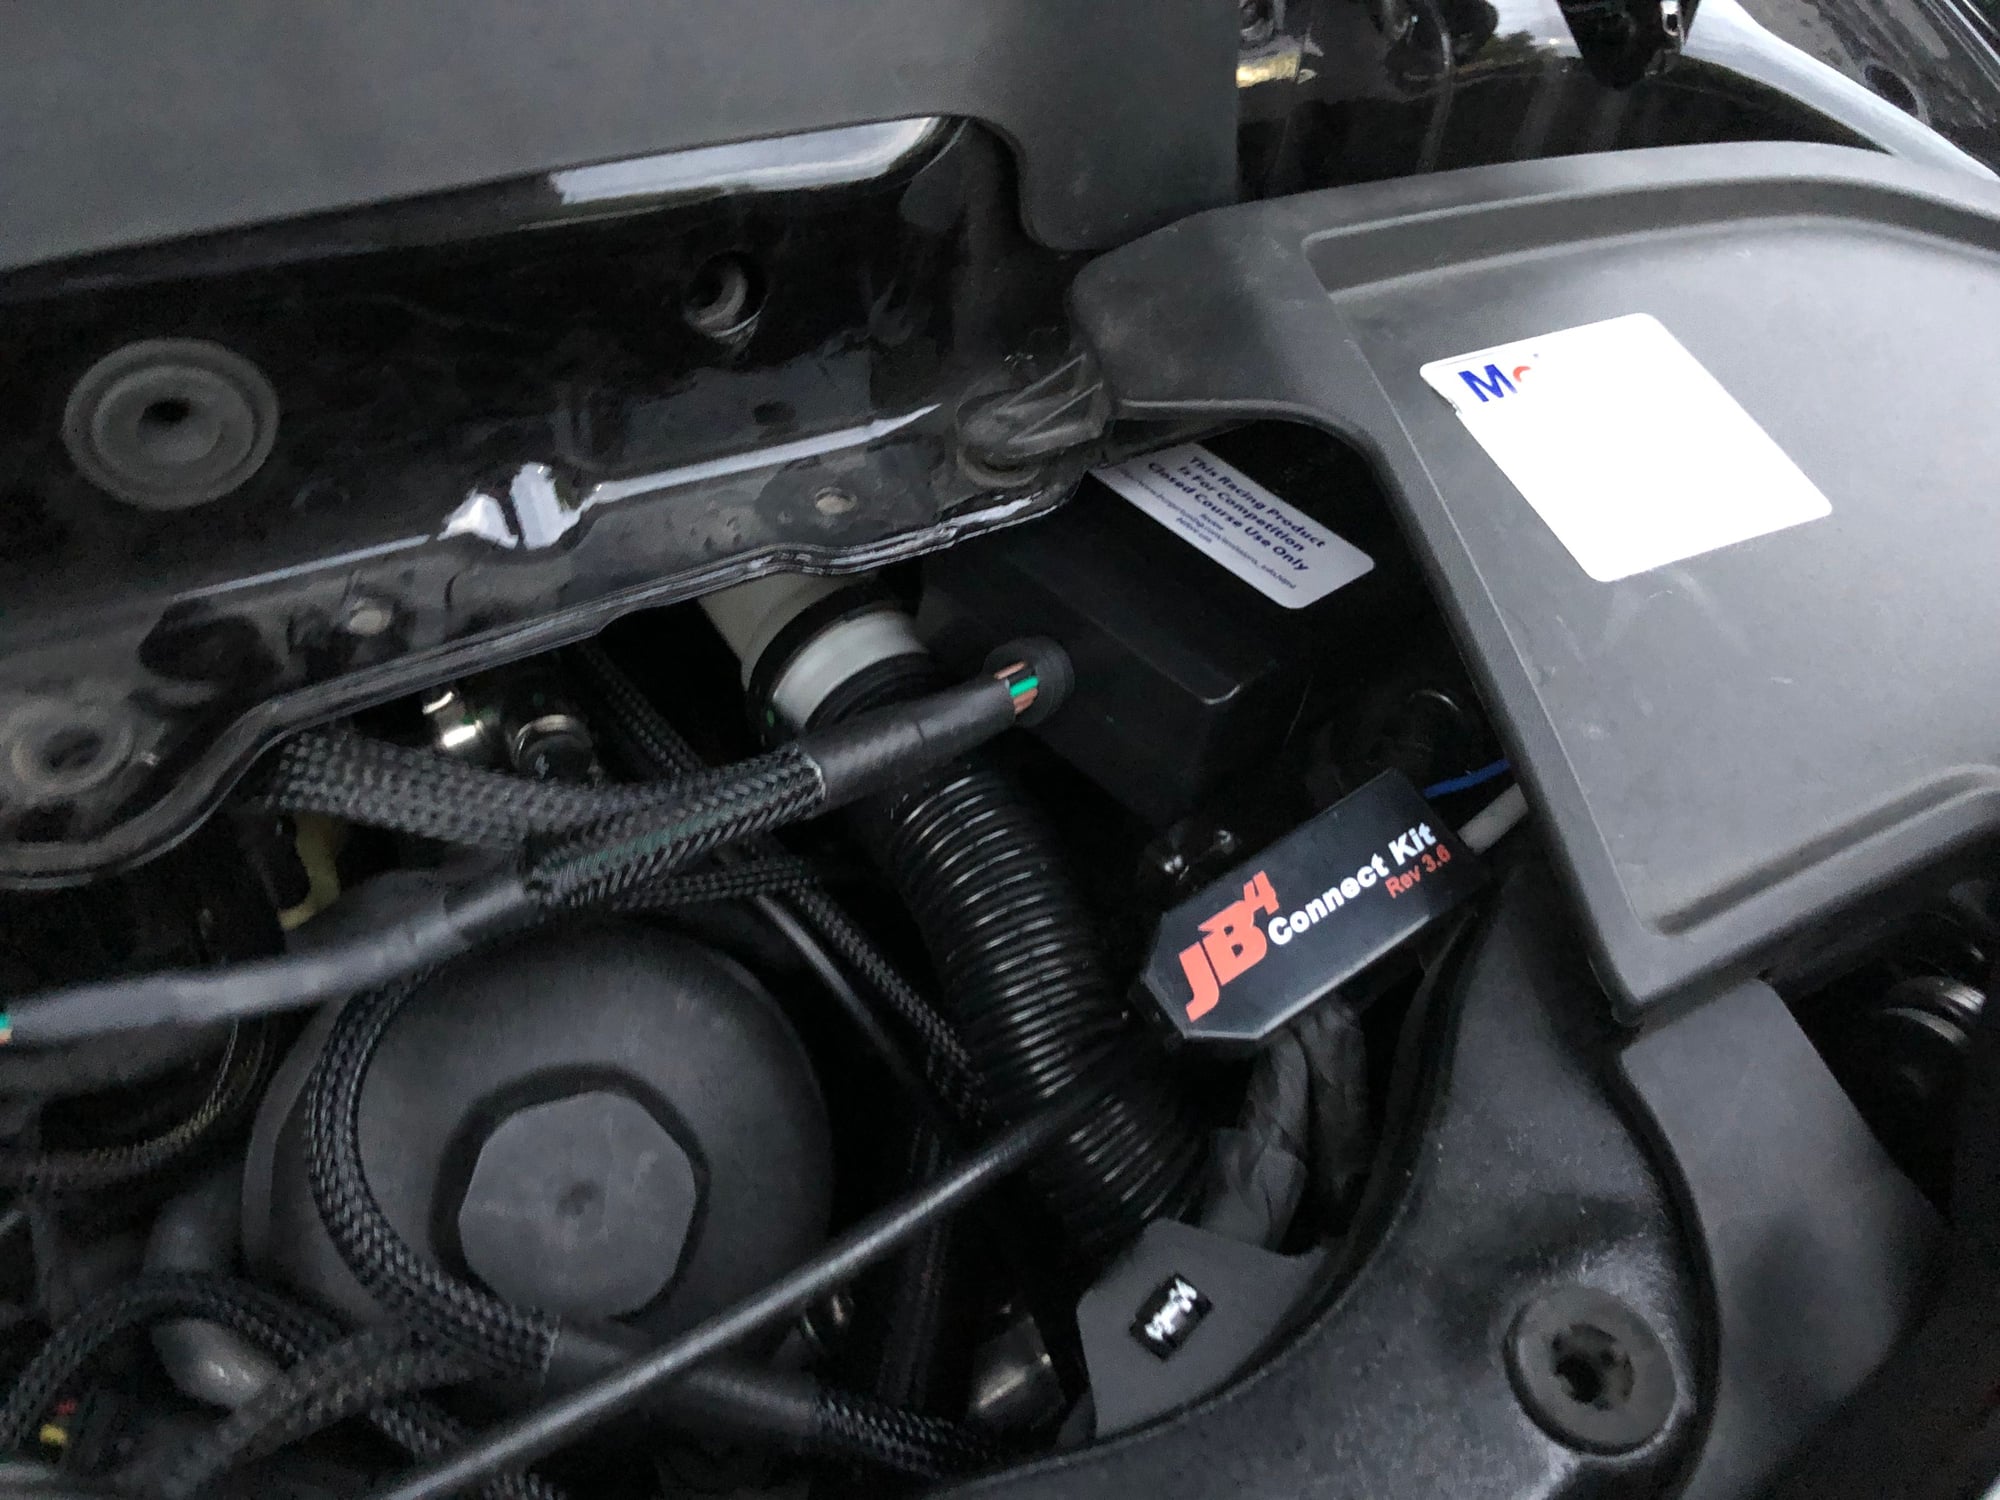
- Not going to make your car a built GTR, but definitely significantly faster than stock
- Logging suite and app are ace
Drivability TL;DR:
- Not jumpy or unrefined in any way during normal driving
- No codes or issues experienced (so far)
- Feels just as refined as stock
Install
Overall, not hard just requires proper prep and a slow pace. There are only 2 sensors, one on the Y-pipe and one on the intake manifold. Y-pipe is easy to access…intake manifold is more involved. Still, possible to do without removing any body panels. Only tool needed was an 11mm socket to disconnect the negative battery terminal. Took my 5 minutes to get the engine cover off. About 30 minutes for both the sensor and wire routing. Another 5 minutes to reassembly.
1.) With a cool car, unlock car, roll down windows, and pop the frunk and engine cover open. Do not turn on the car (or let it run for too long). You do not want to work while the engine is hot/warm.
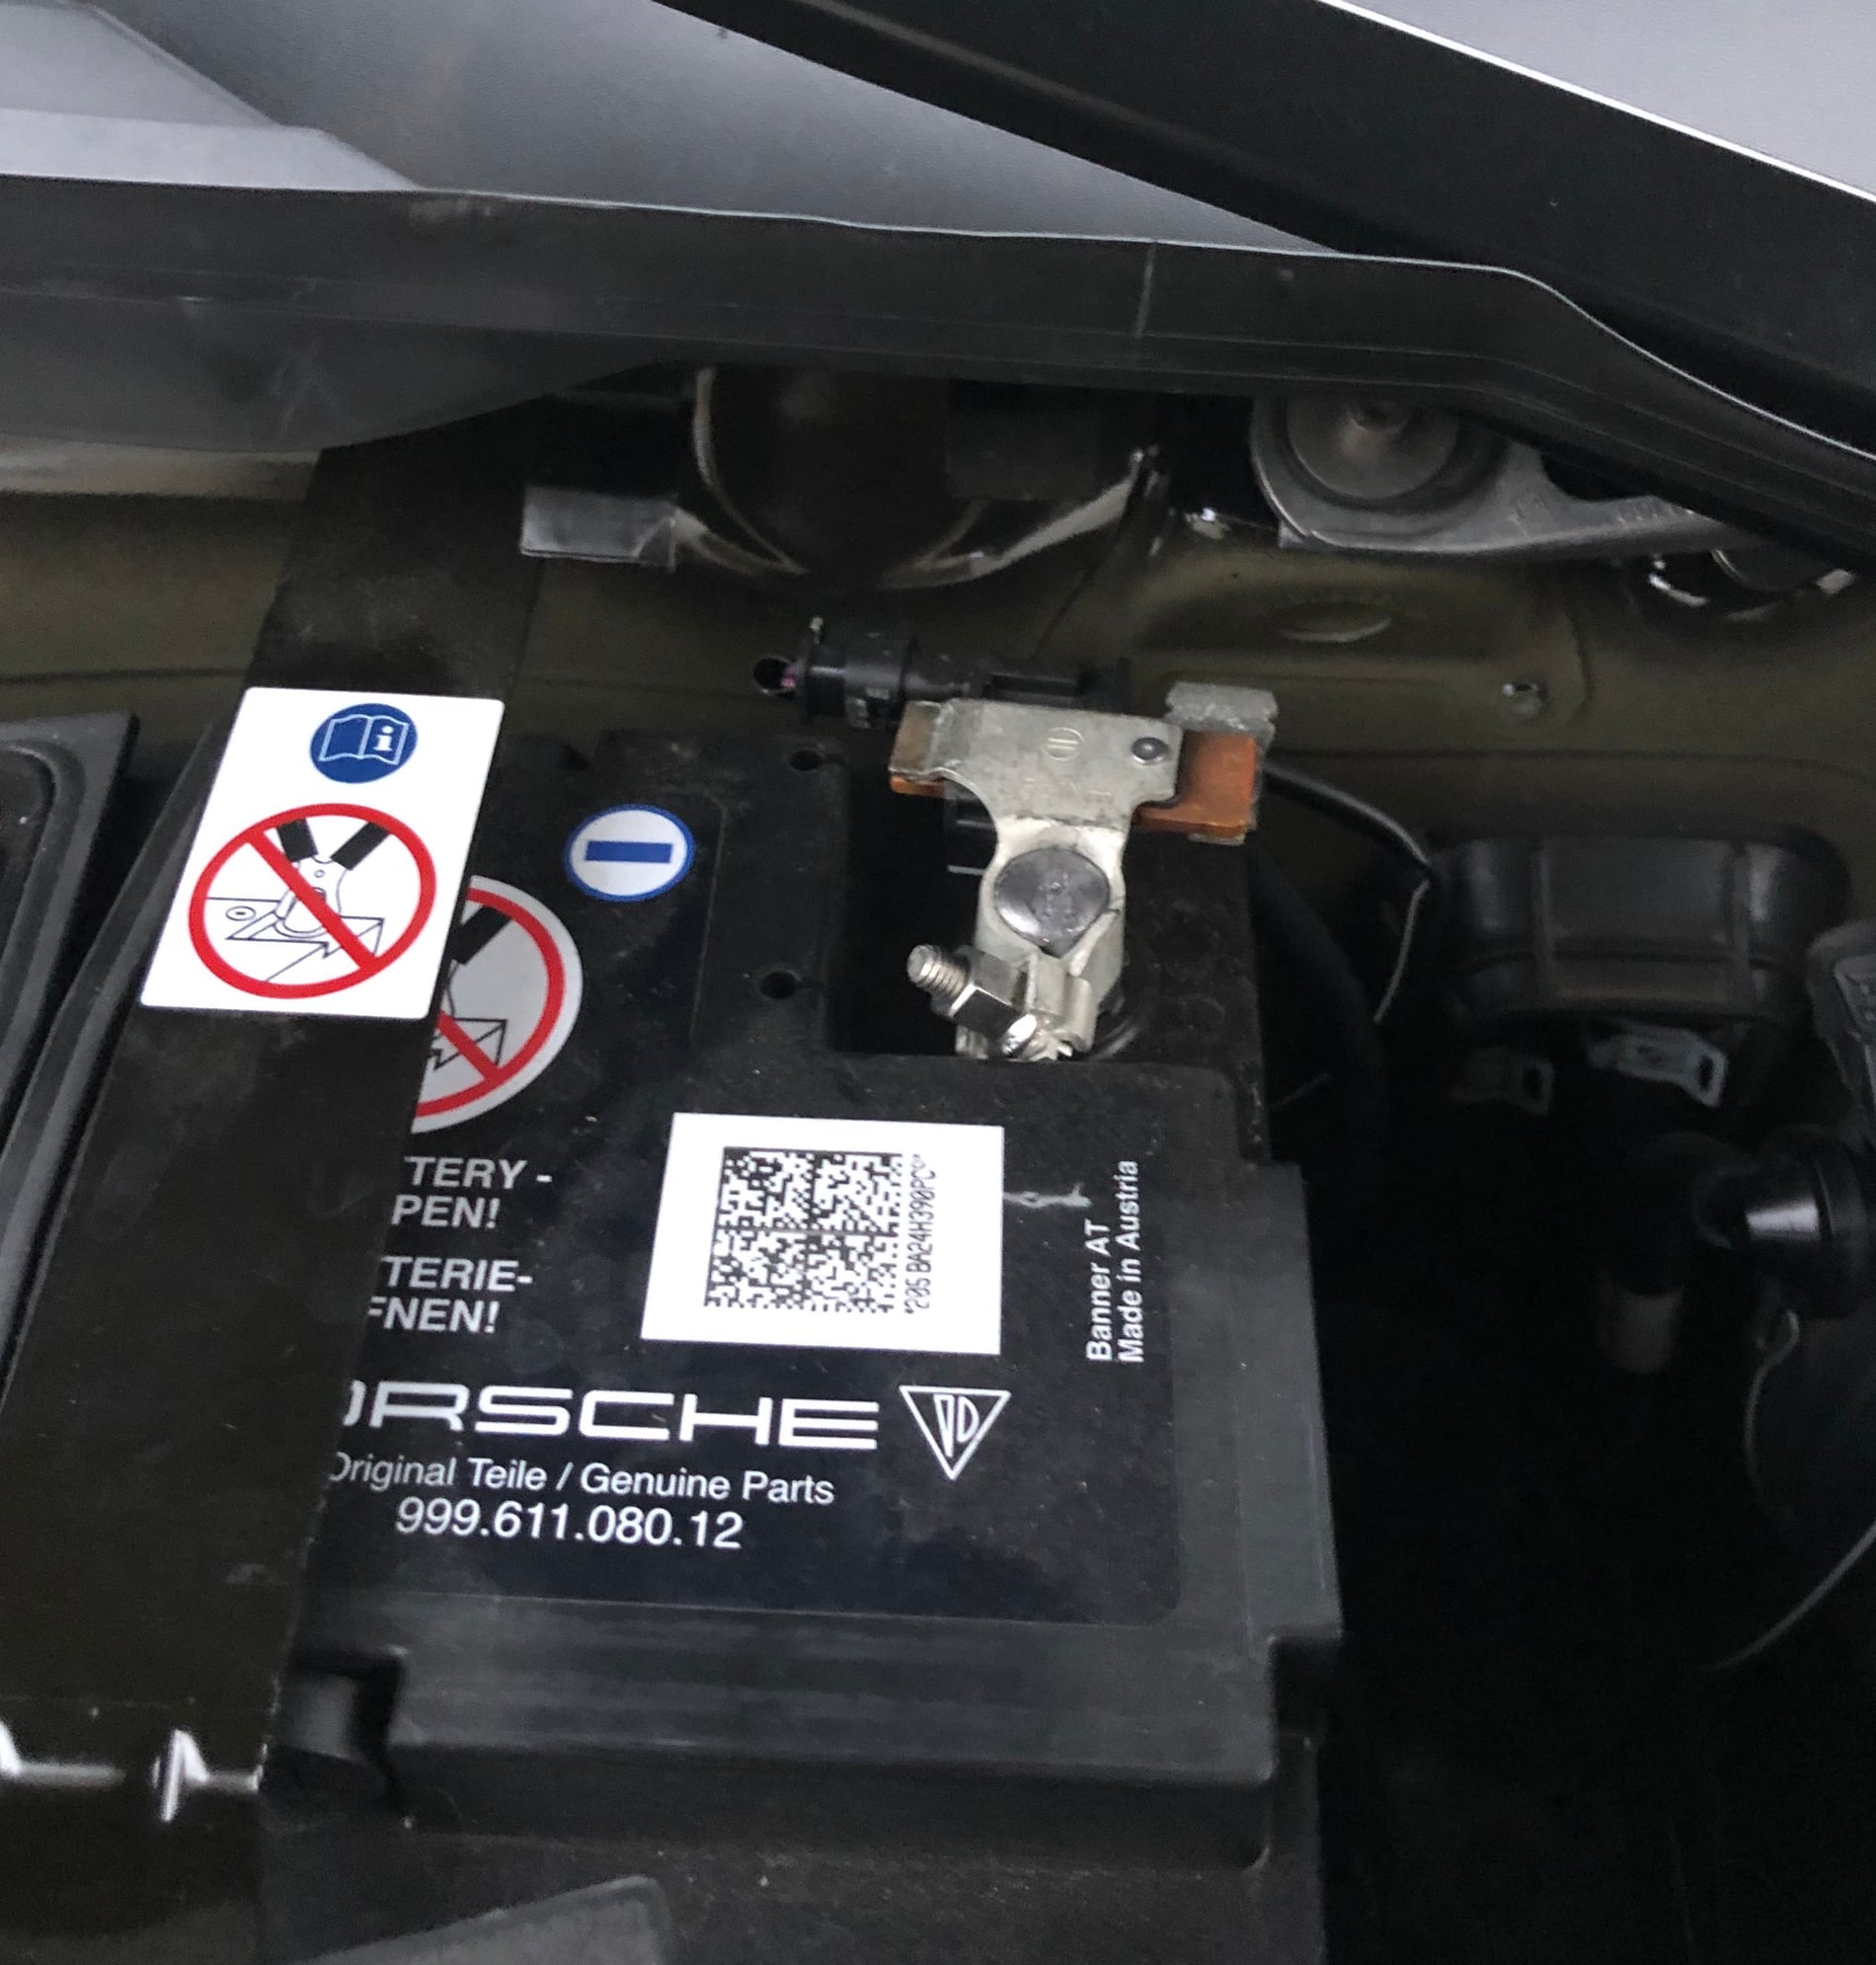
2.) In the frunk, pop off the top cover exposing the battery. Take 11mm socket and disconnect the negative battery terminal. This will cut power to all systems (including the DME and all the sensors). Optional step, though I’ve always done this when install piggyback tunes in the past. Lowers the risk of shorting something during install…
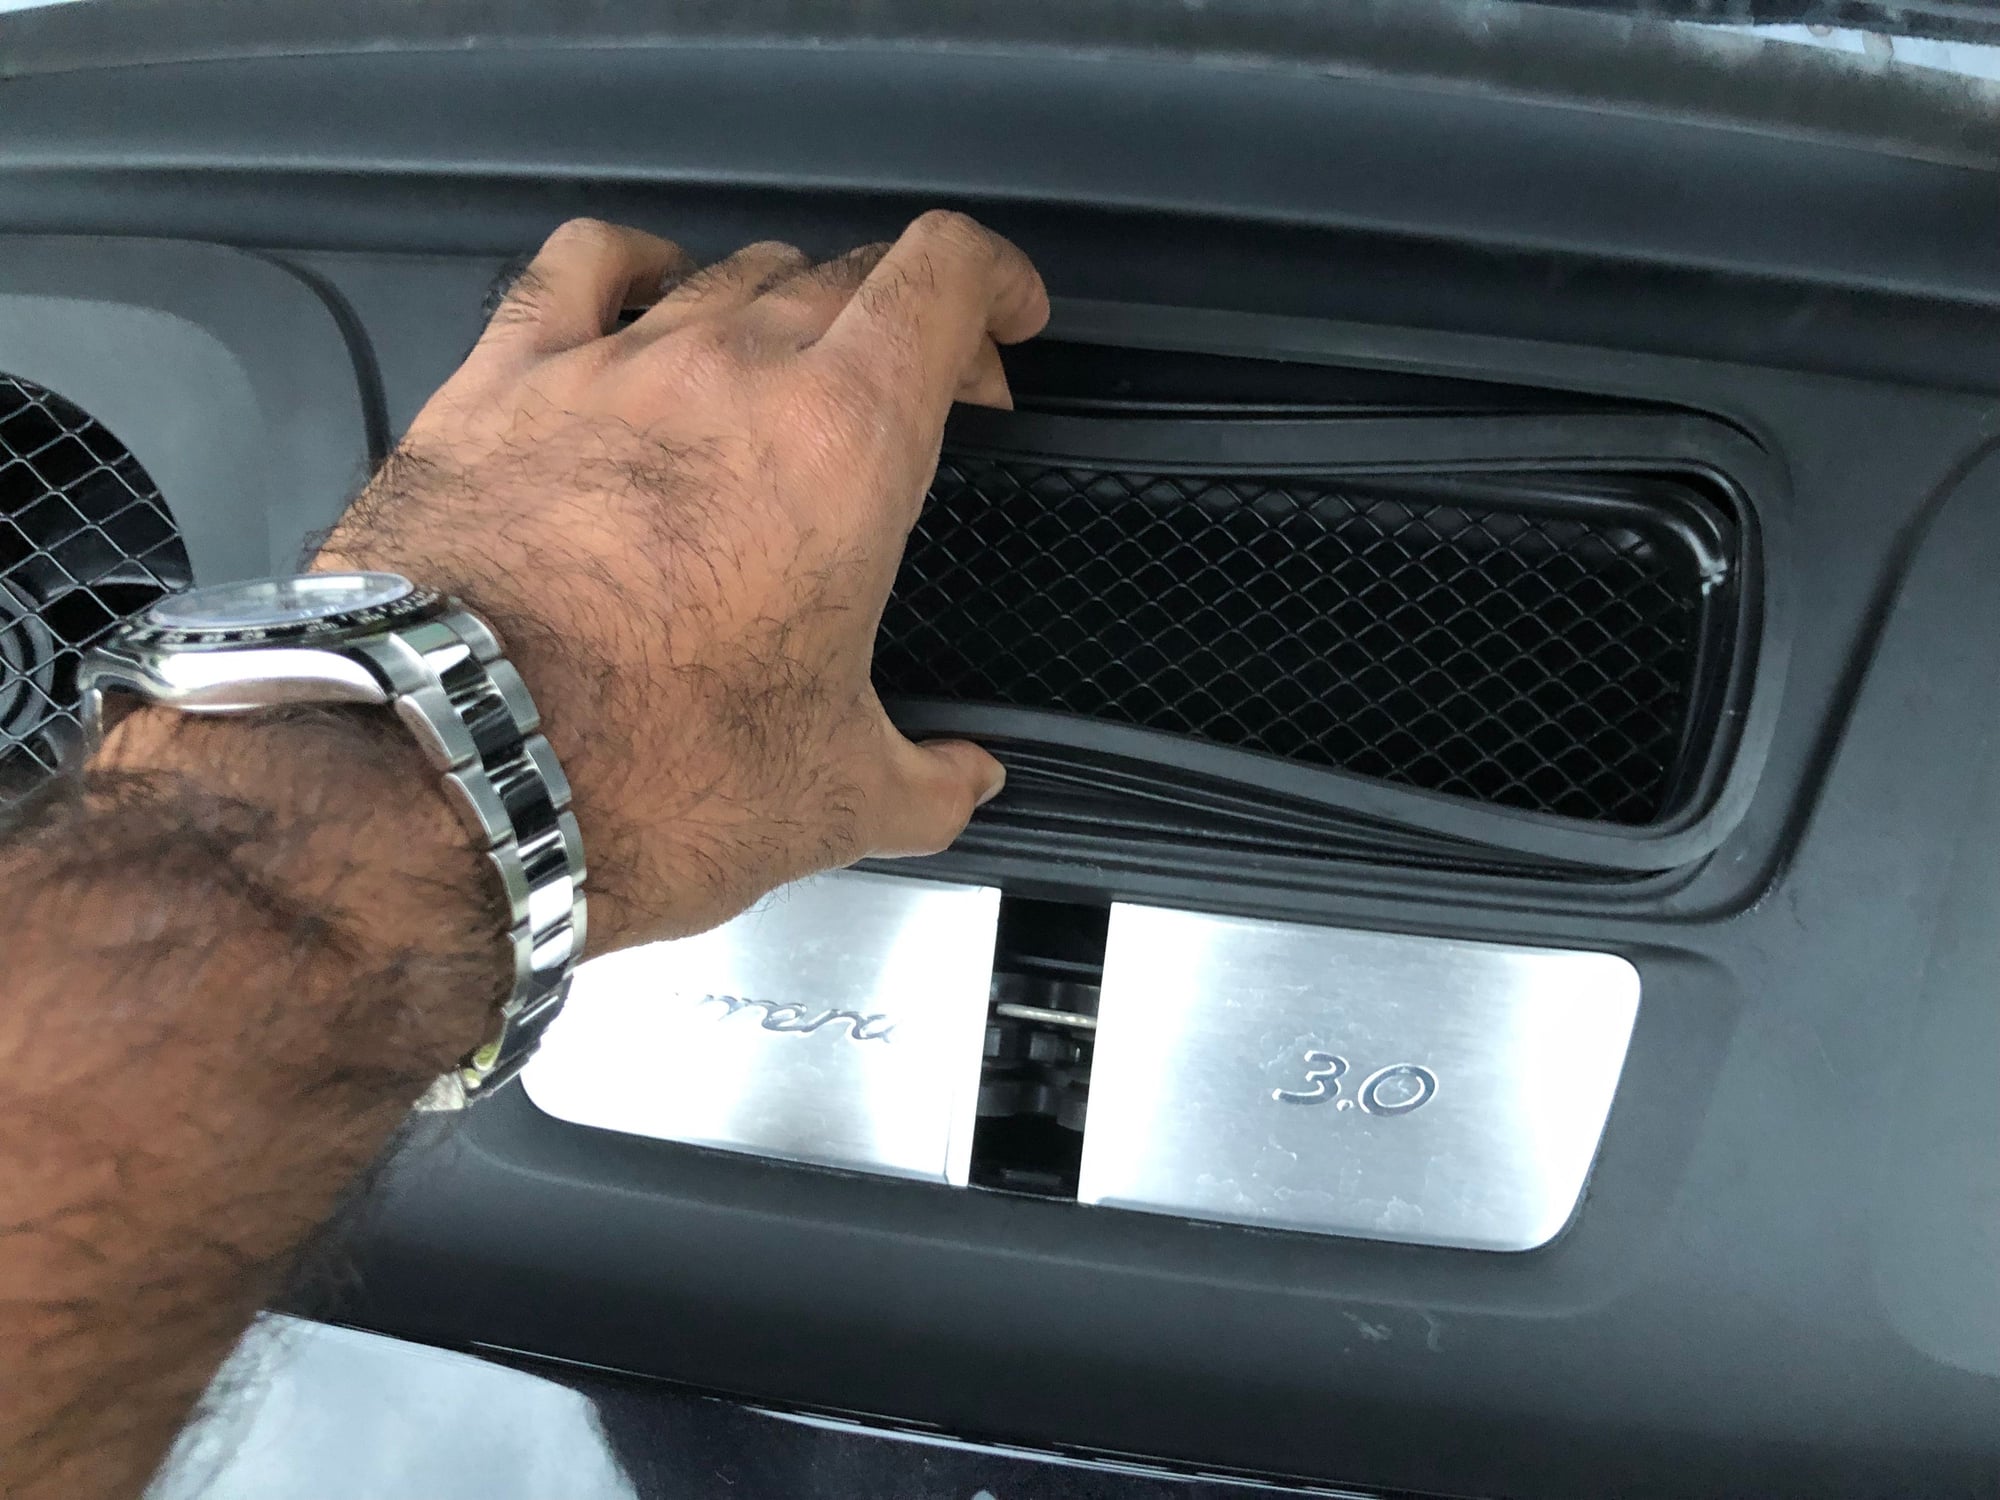
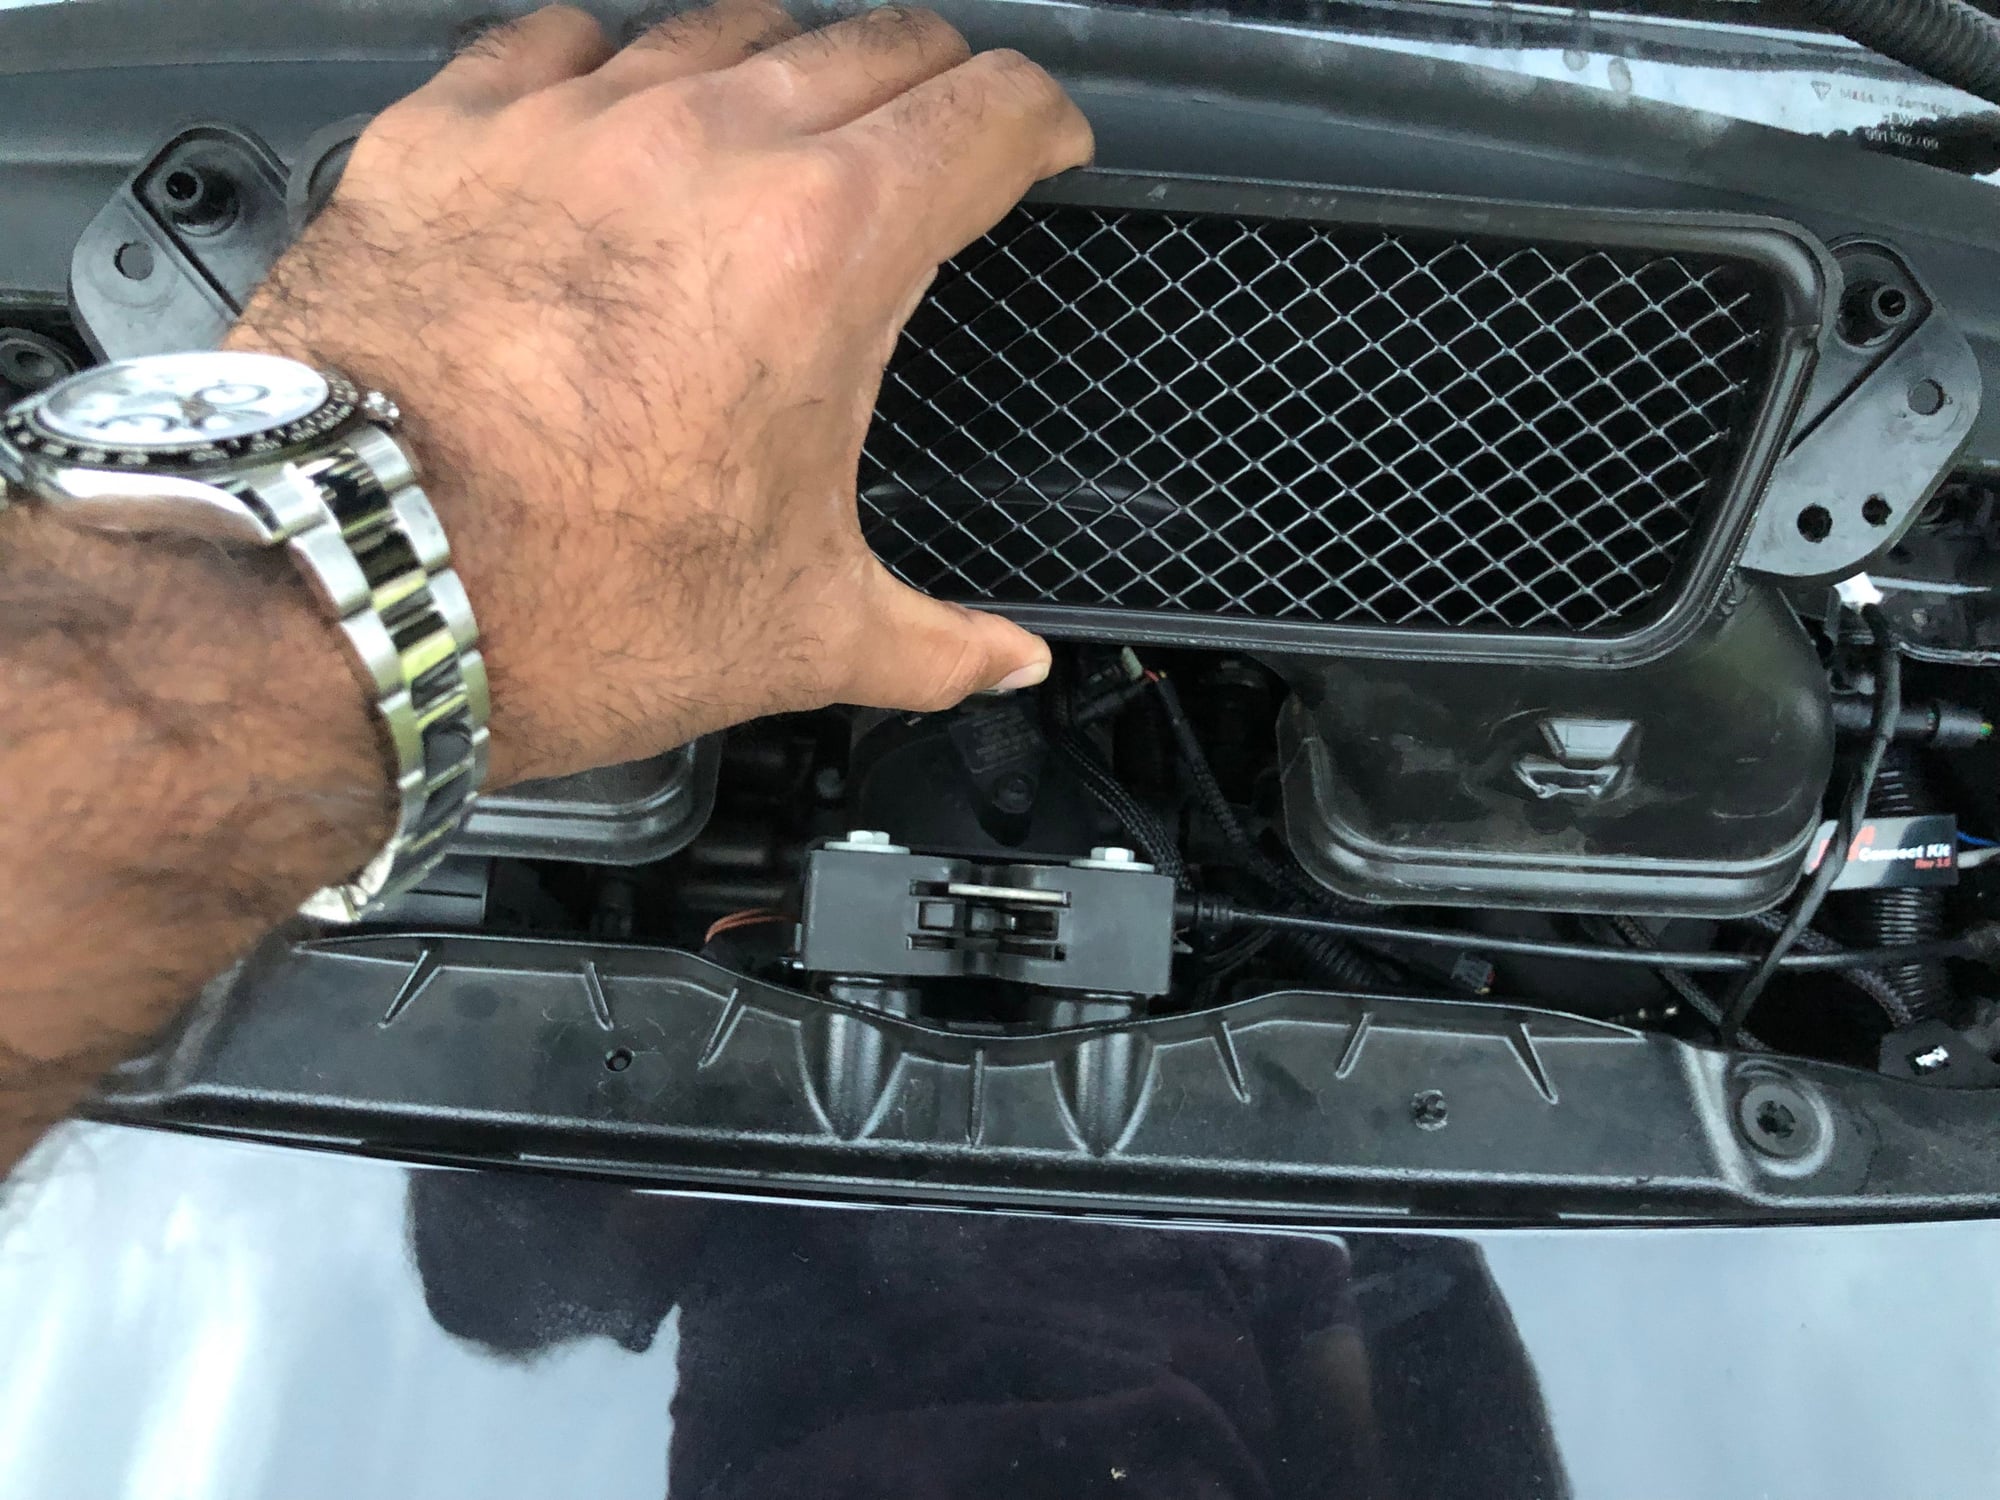
3.) In the rear of the car, remove the duct leading to the intake plenum. Pinch outside wall to flex the stiff plastic clip. This will allow you to slip the rubber off the retaining wall, freeing the duct.
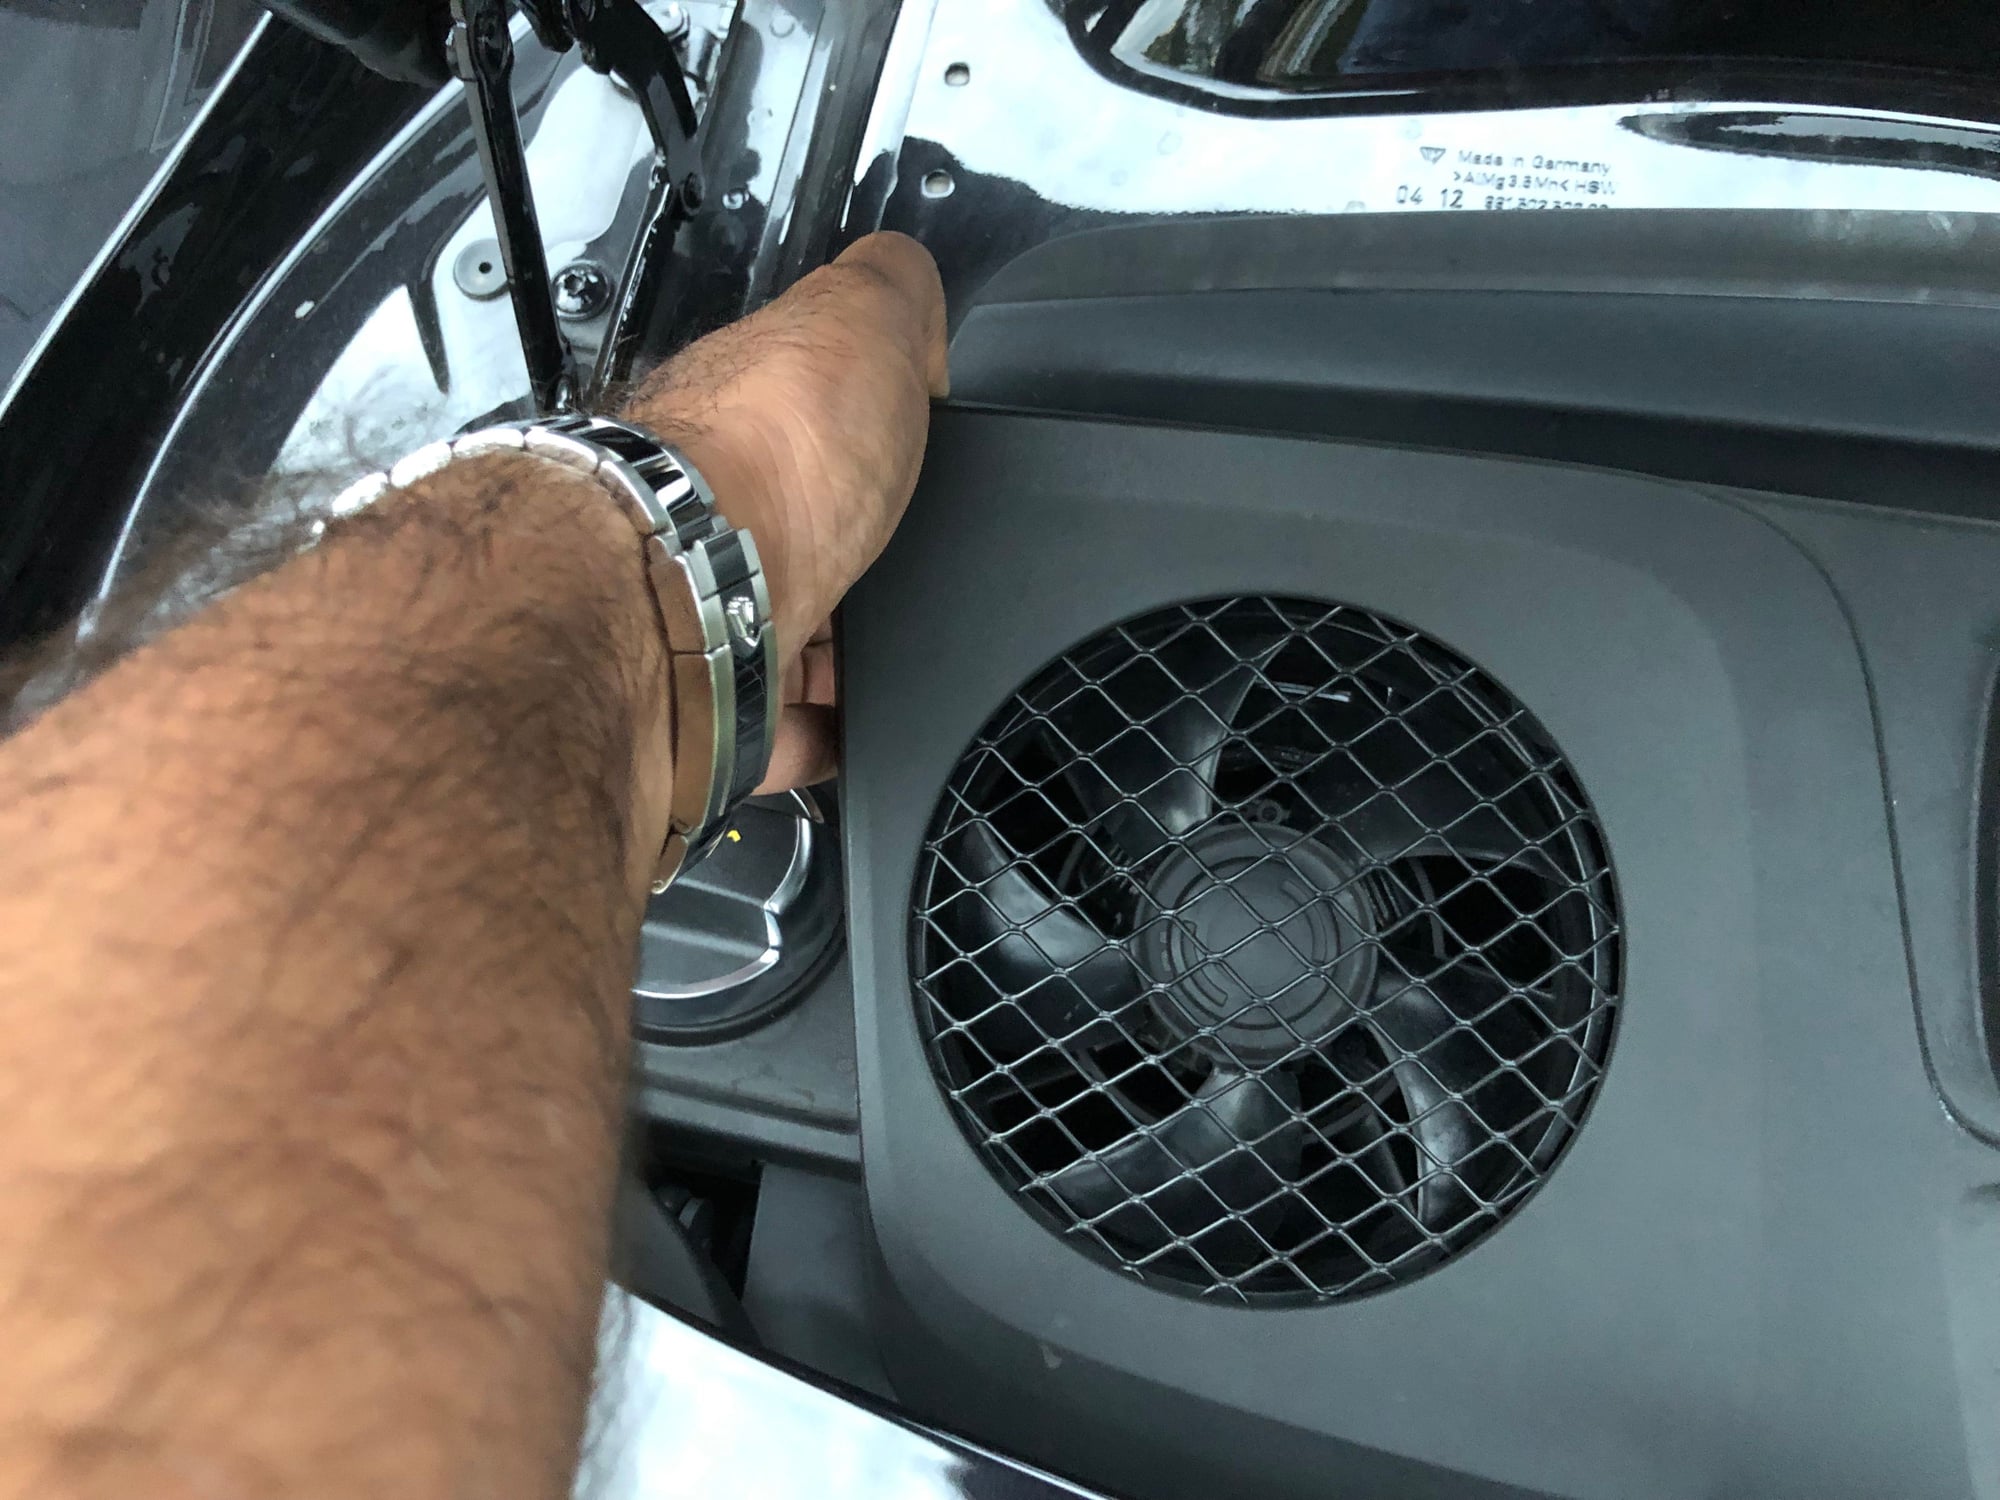
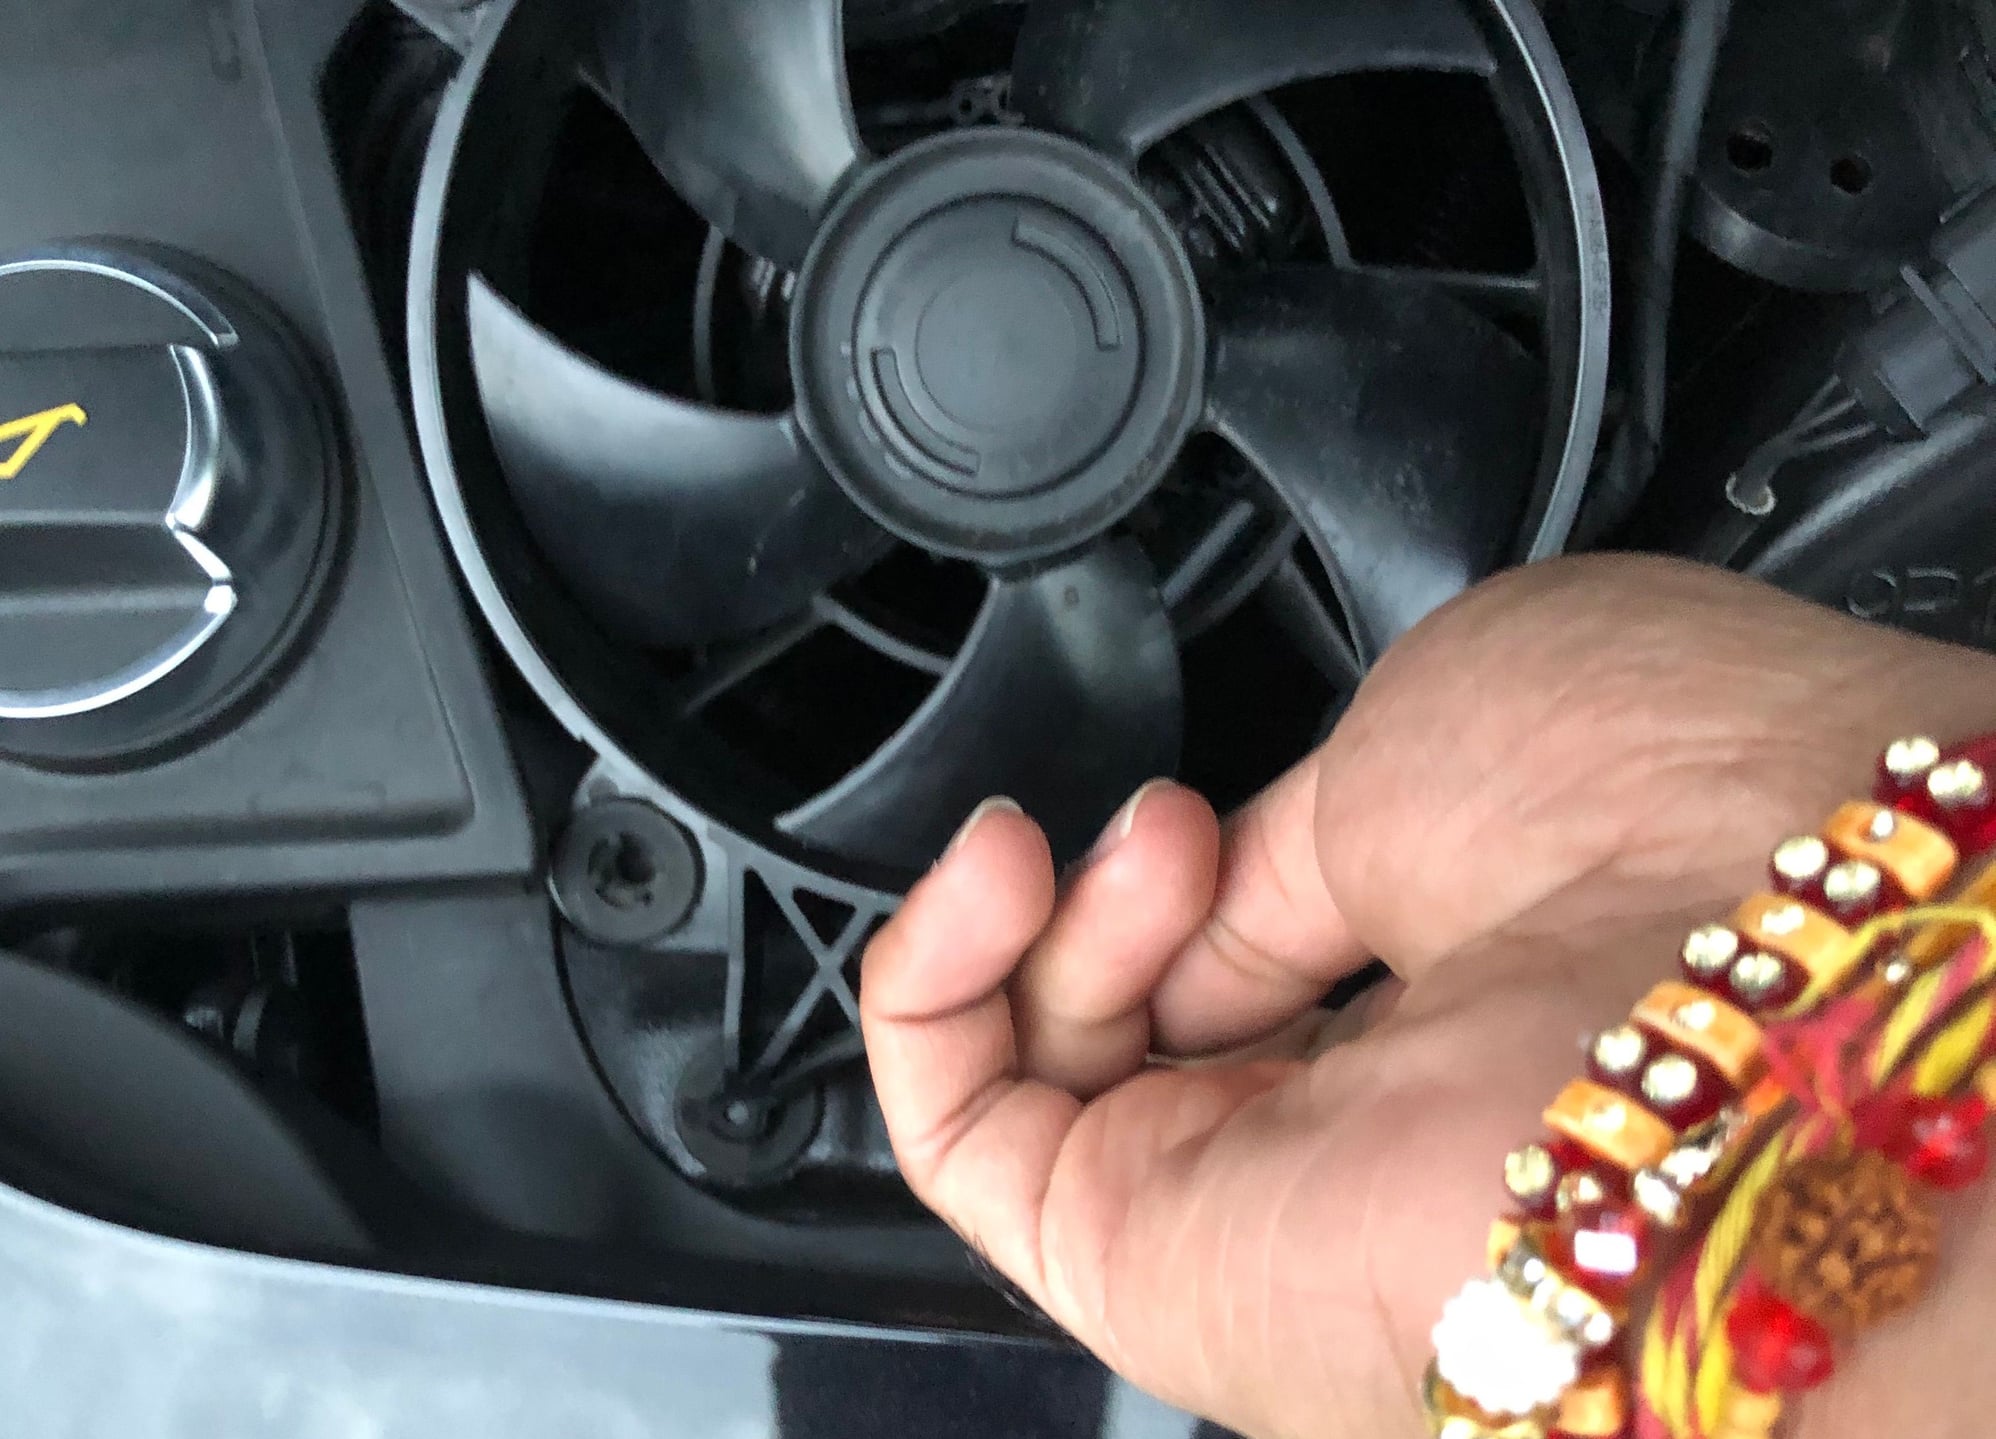
4.) Pull on the top edge of the plastic cover to free from top corner retaining plugs. Once free, repeat with bottom corner plugs. Once loose, shift up and lift out, exposing the fans and their connector pieces.
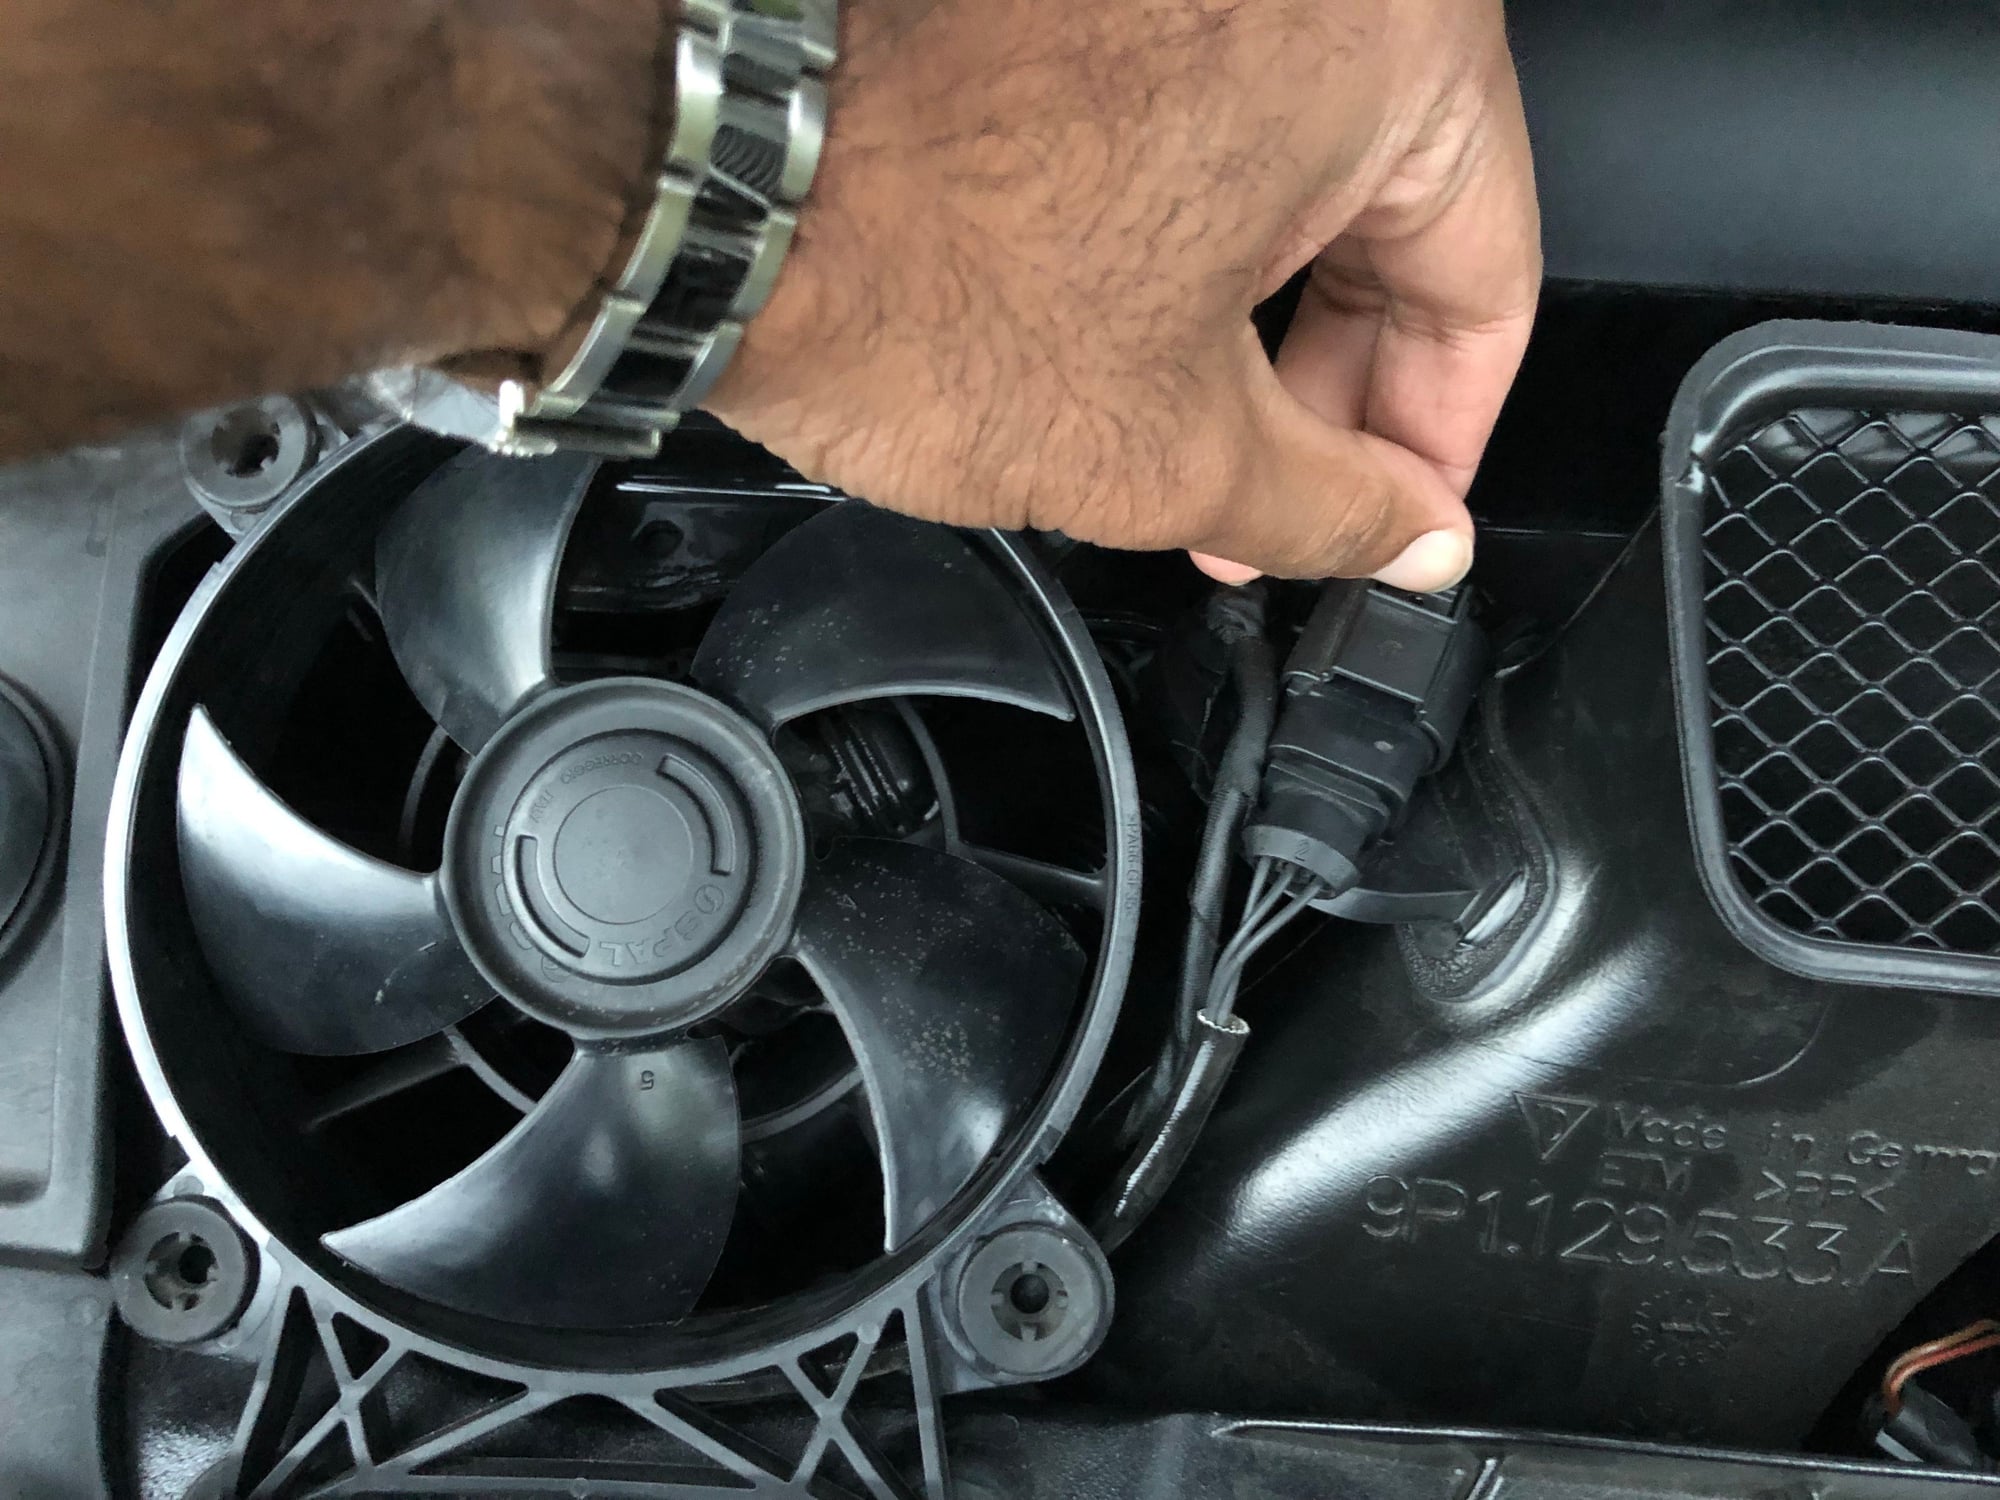
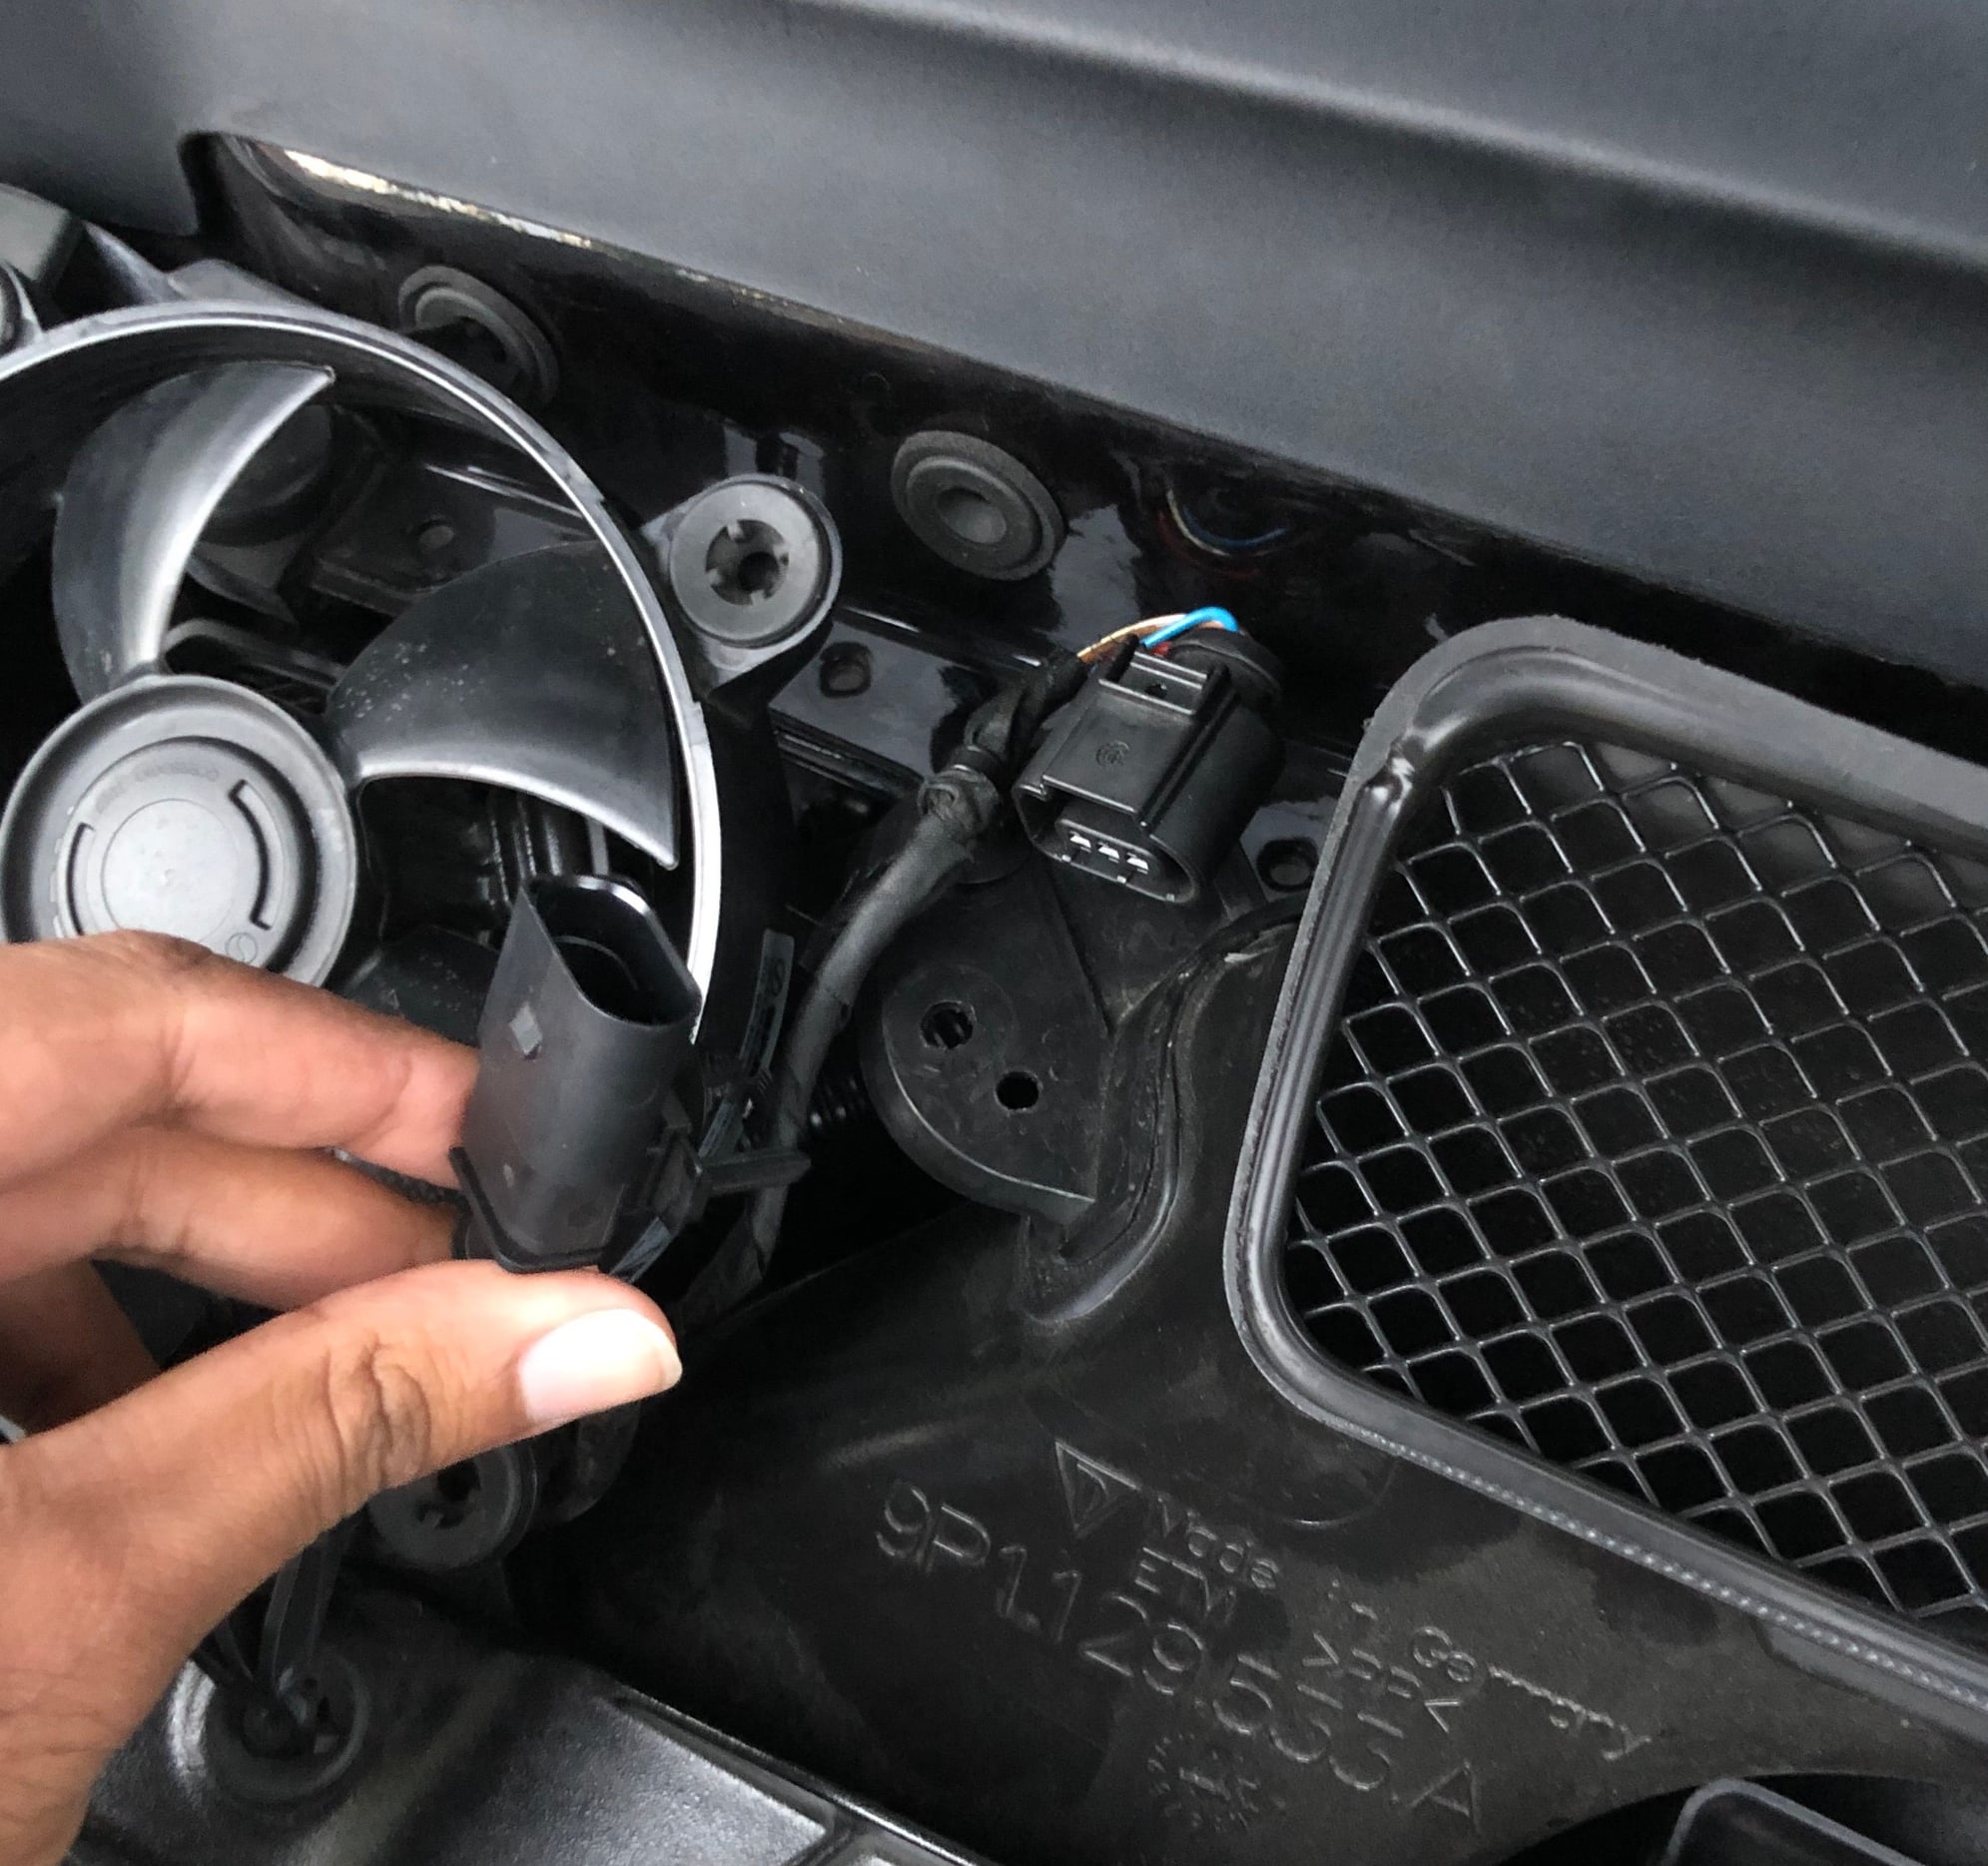
5.) Pick a fan, and grab the connector. Push the tab on the rear of the connection, and pull firmly to release the connection. There is a retaining piece to keep the fans affixed to the frame. To release, pull firm and pinch the pin from underneath. Same goes for the clip wire. Remove fan and tuck the clip away from the opening. Repeat for the other fan. Make sure you note which fan is right and left.
6.) To remove the plenum, first unhook the release cable from its seat on the plenum. Then, firm lift on the plenum, releasing the pressure holds from the interior plumbing. Lift out completely from bay.
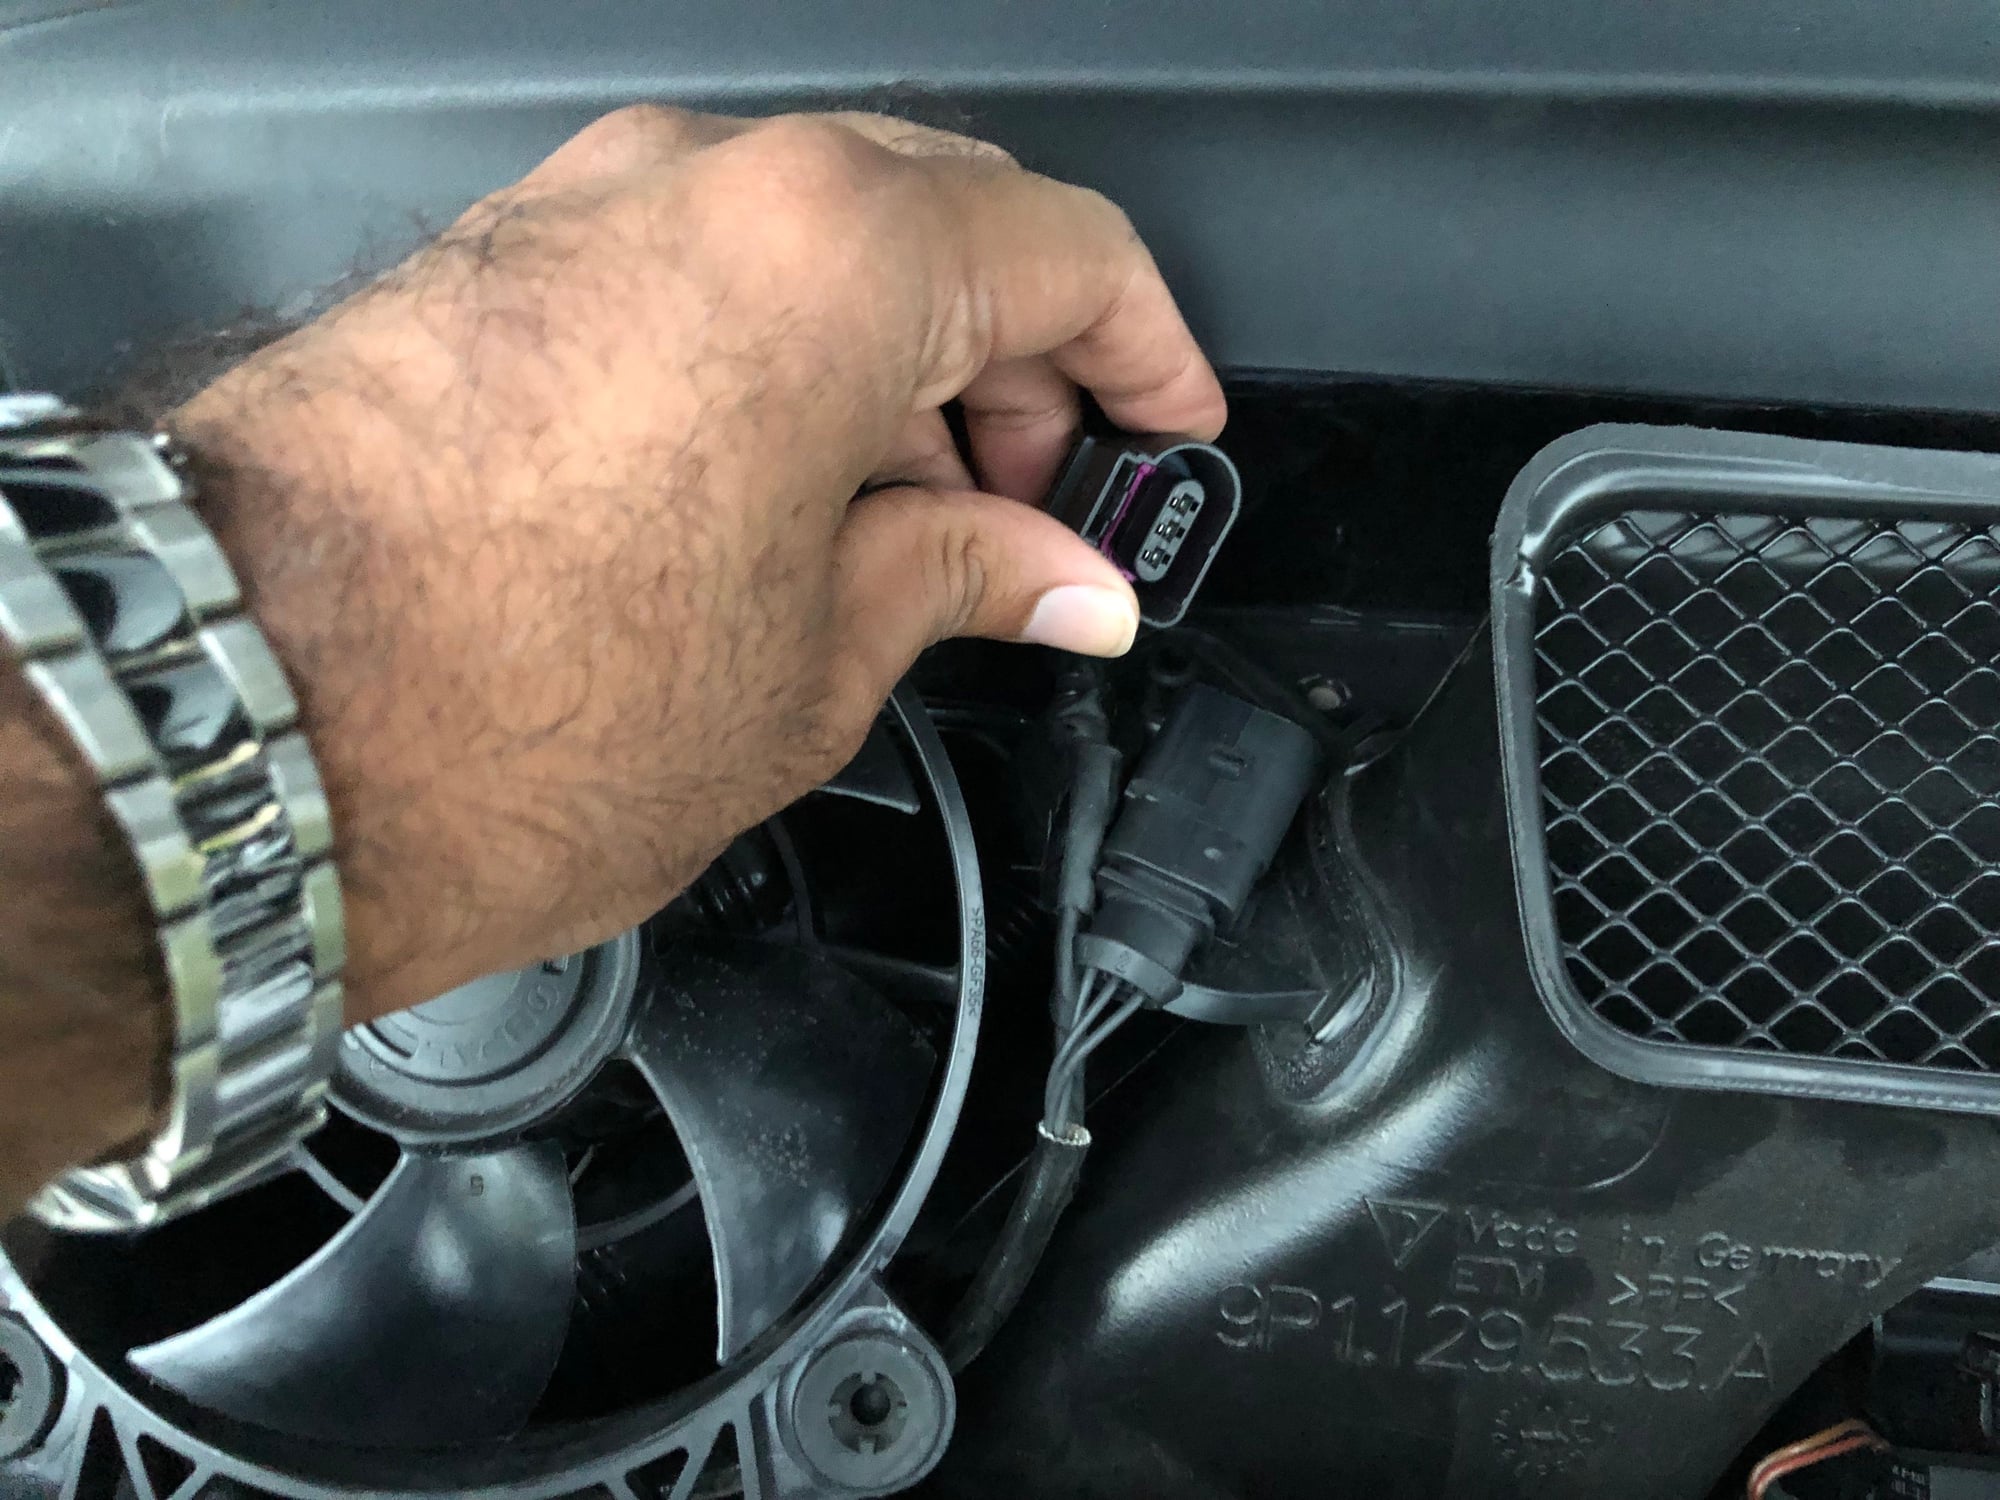
7.) Note position of the Y-pipe sensor. Practice releasing and installing the connector with 1 hand. Get a feel for how the plug releases and the behavior of the plug when properly inserted.
8.) Optional: Grab some lube (lotion or Vaseline) and make sure your hands are somewhat moist and slippery. I got gorilla arms and hands, so this helped with squeezing into tight spots to reach the sensor.
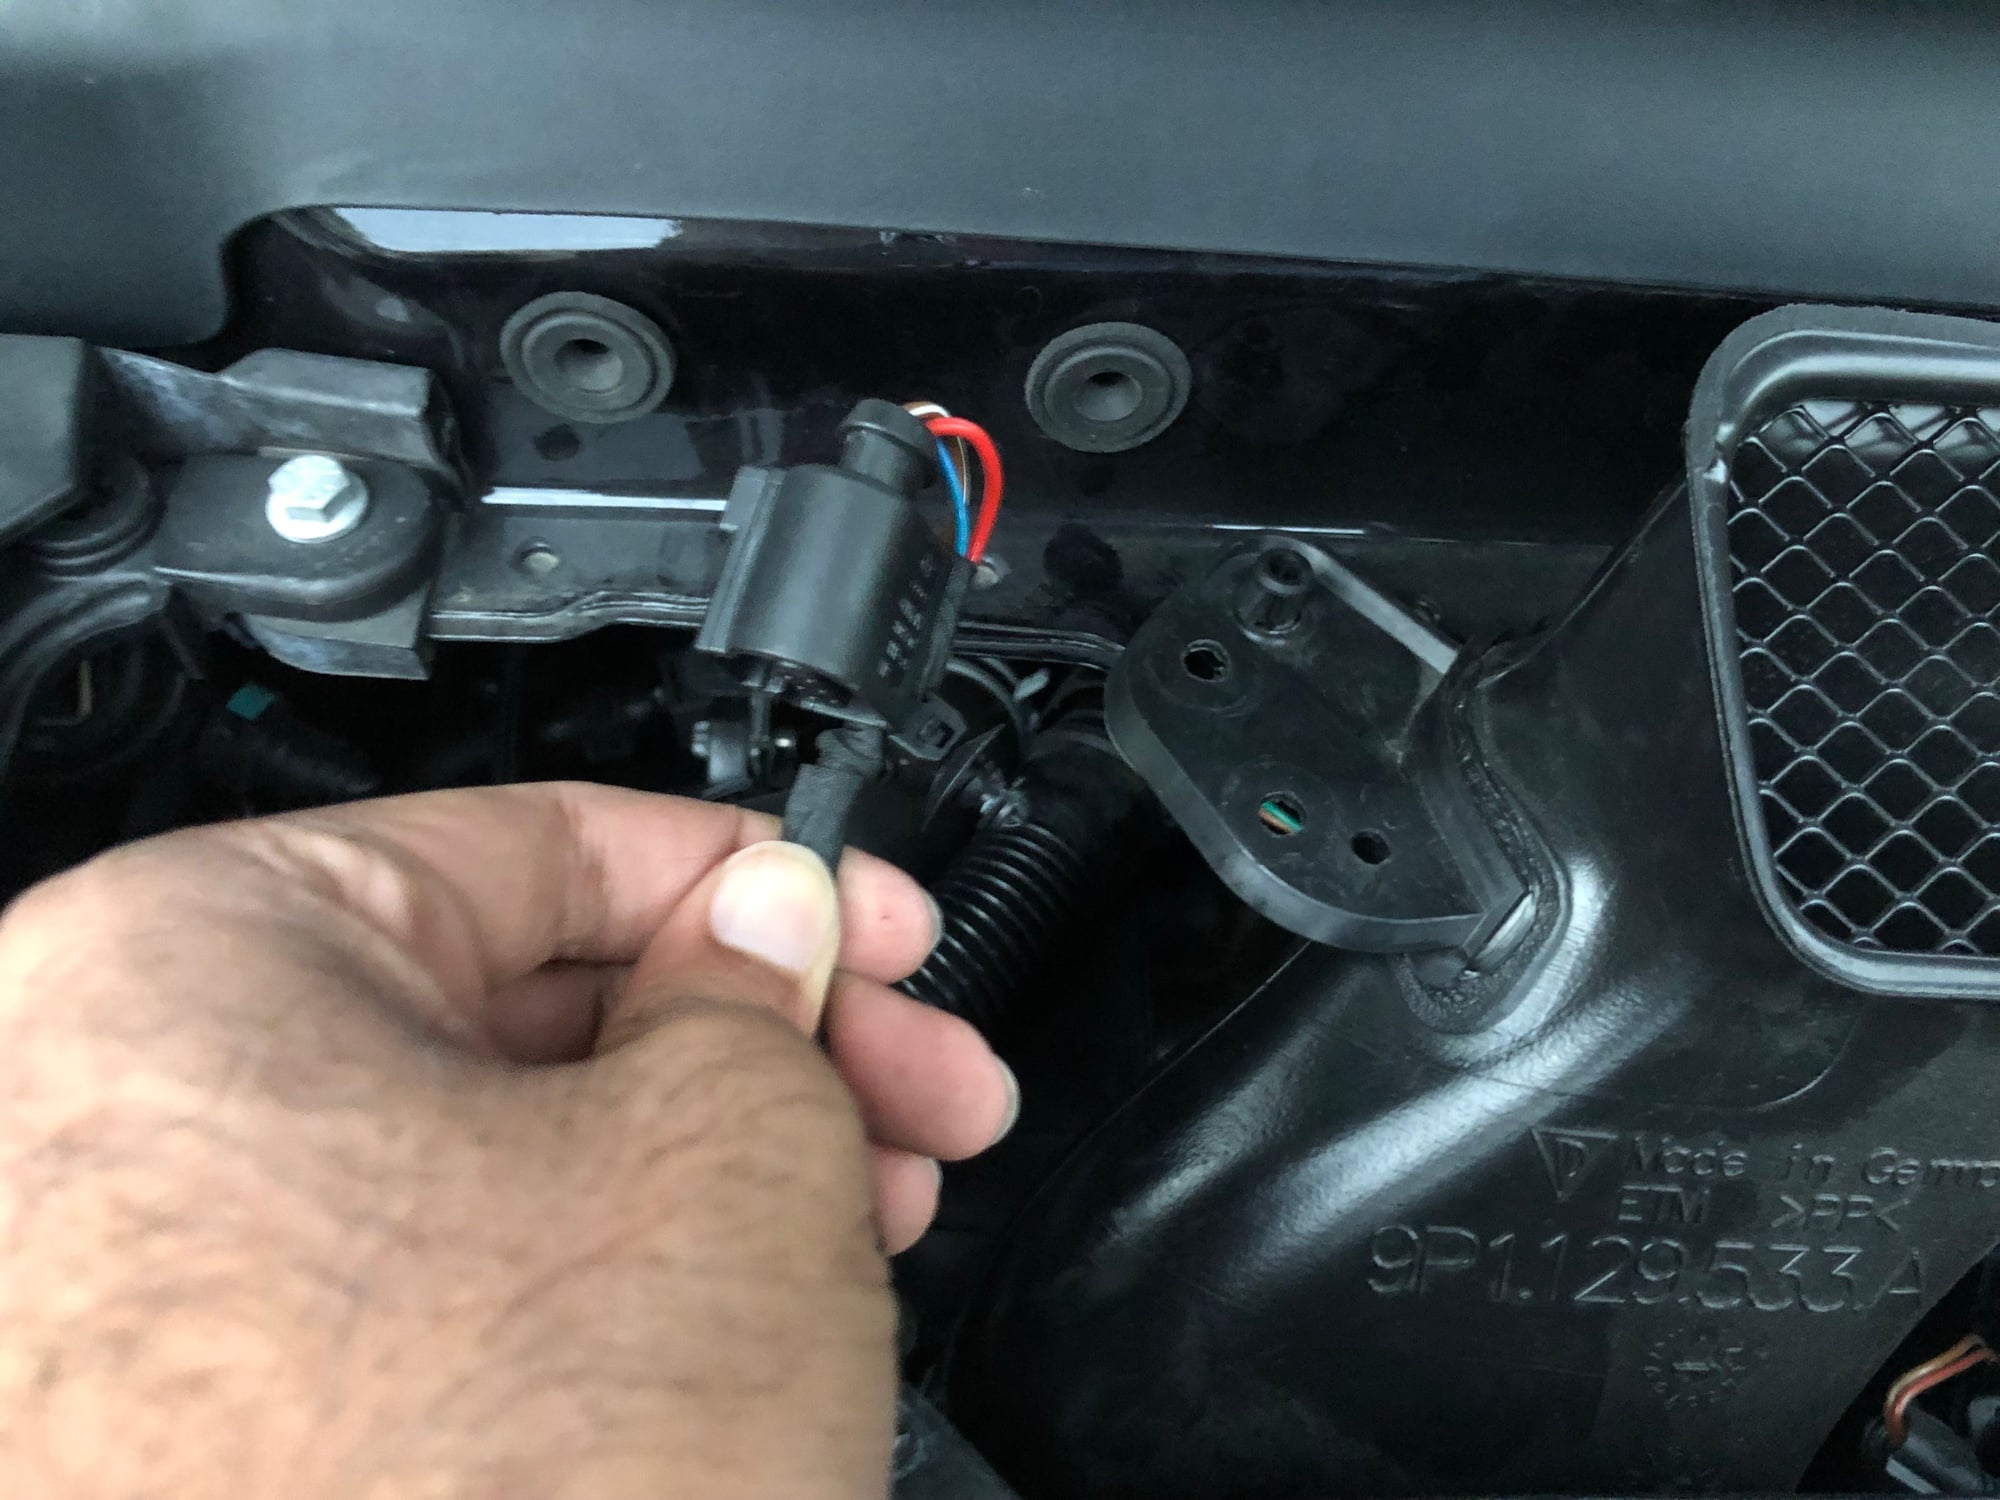
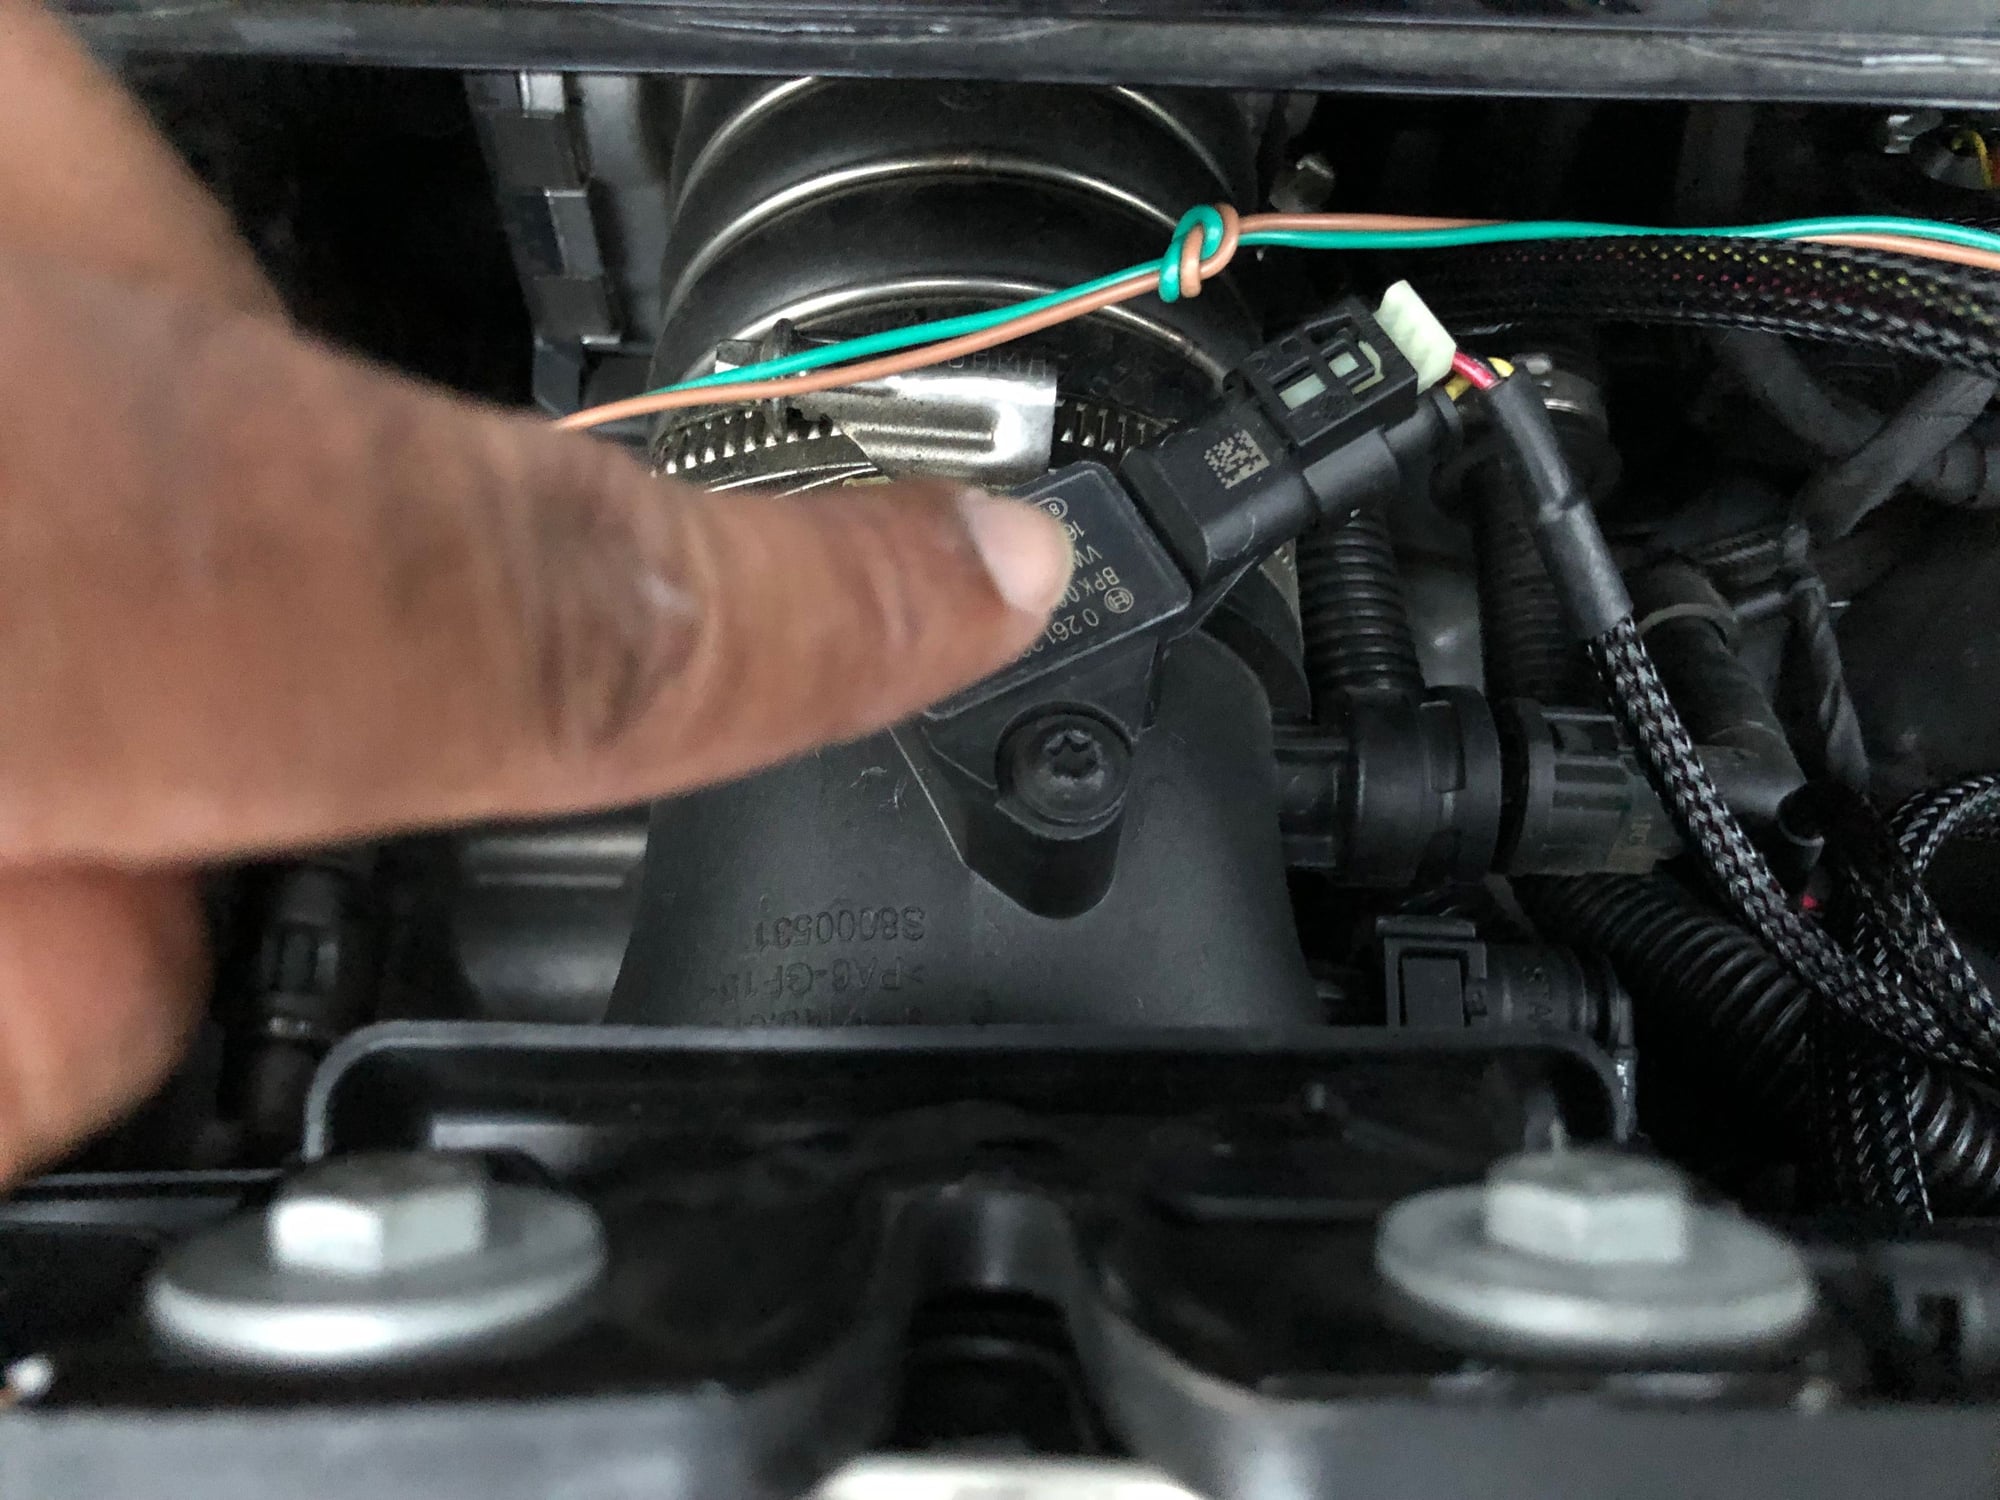
9.) Reaching the intake connector requires giving your car a minor colonoscopy. Note the position of the sensor and plug. Route the wiring harness with the brown and black wires near the connector area. Go in with a flat hand work your way down there. I have large hands, so I needed to do some squeezing (hence the lube). Get your hand behind the connector. Once down there grab the back and release the plug. Grab the JB4 female end and insert the DME end into it. Will take some finessing, but it is possible. Once that’s in, grab the male JB4 end and plug into the sensor plug. Make sure it’s securely attached (should not be loose). Once satisfied, slowly get your hand/arm out. Be careful not to tear any skin. Again, will require some finessing but it’s possible. Practicing with the Y-pipe connector and building some muscle memory goes a long way.
10.) Repeat connection steps for the Y-pipe (not as hard). Yellow/Red cable wiring harness.
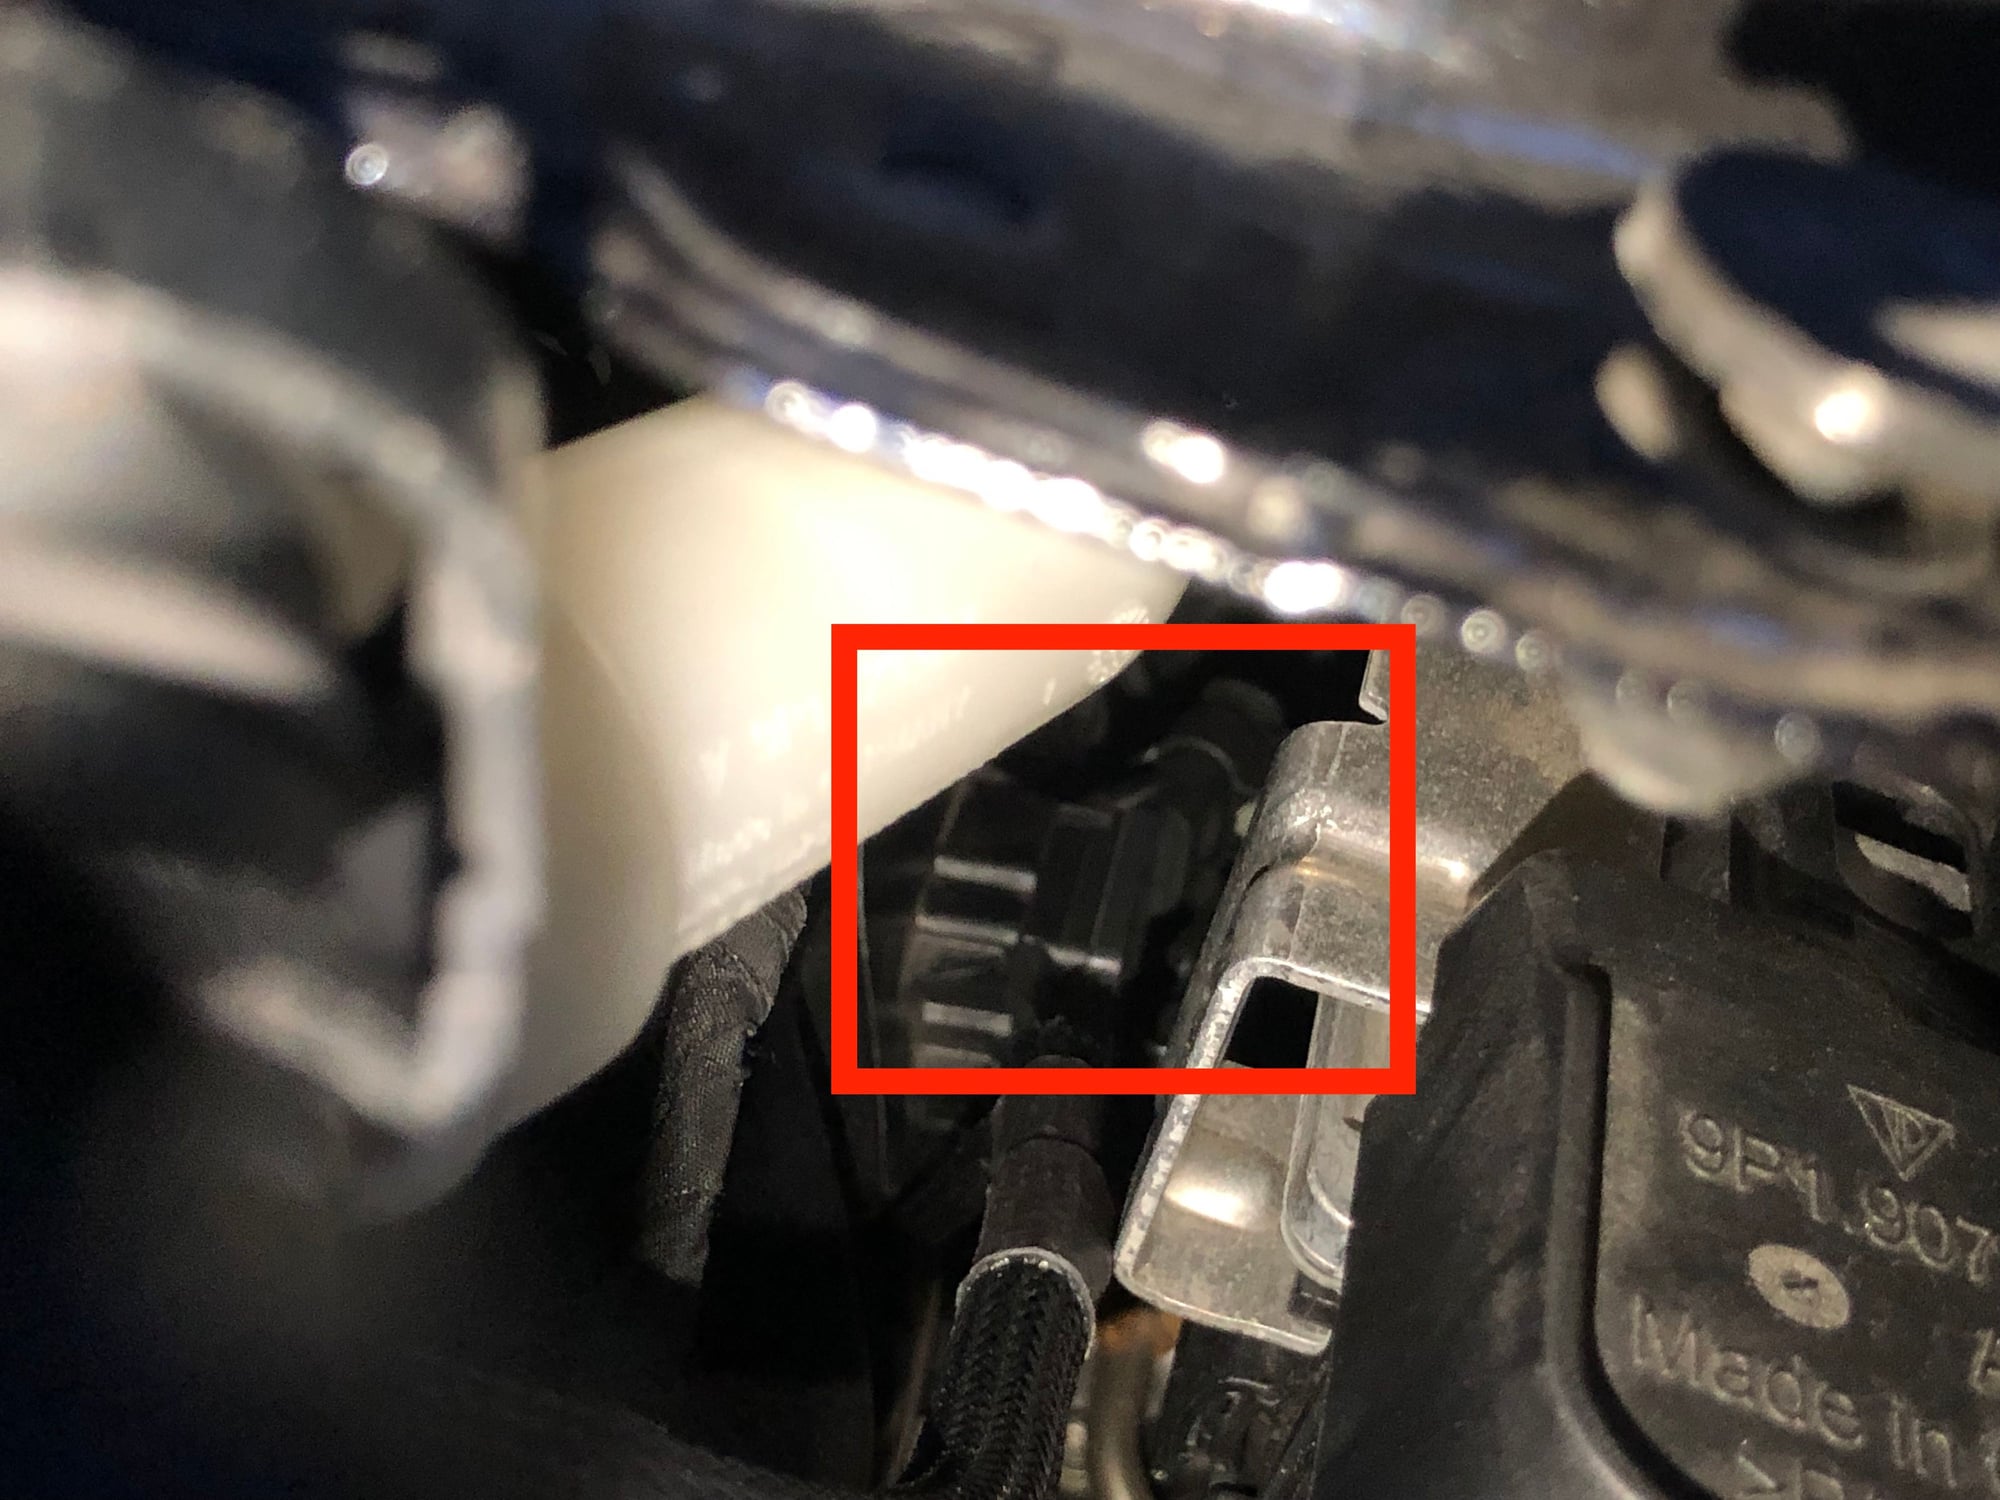
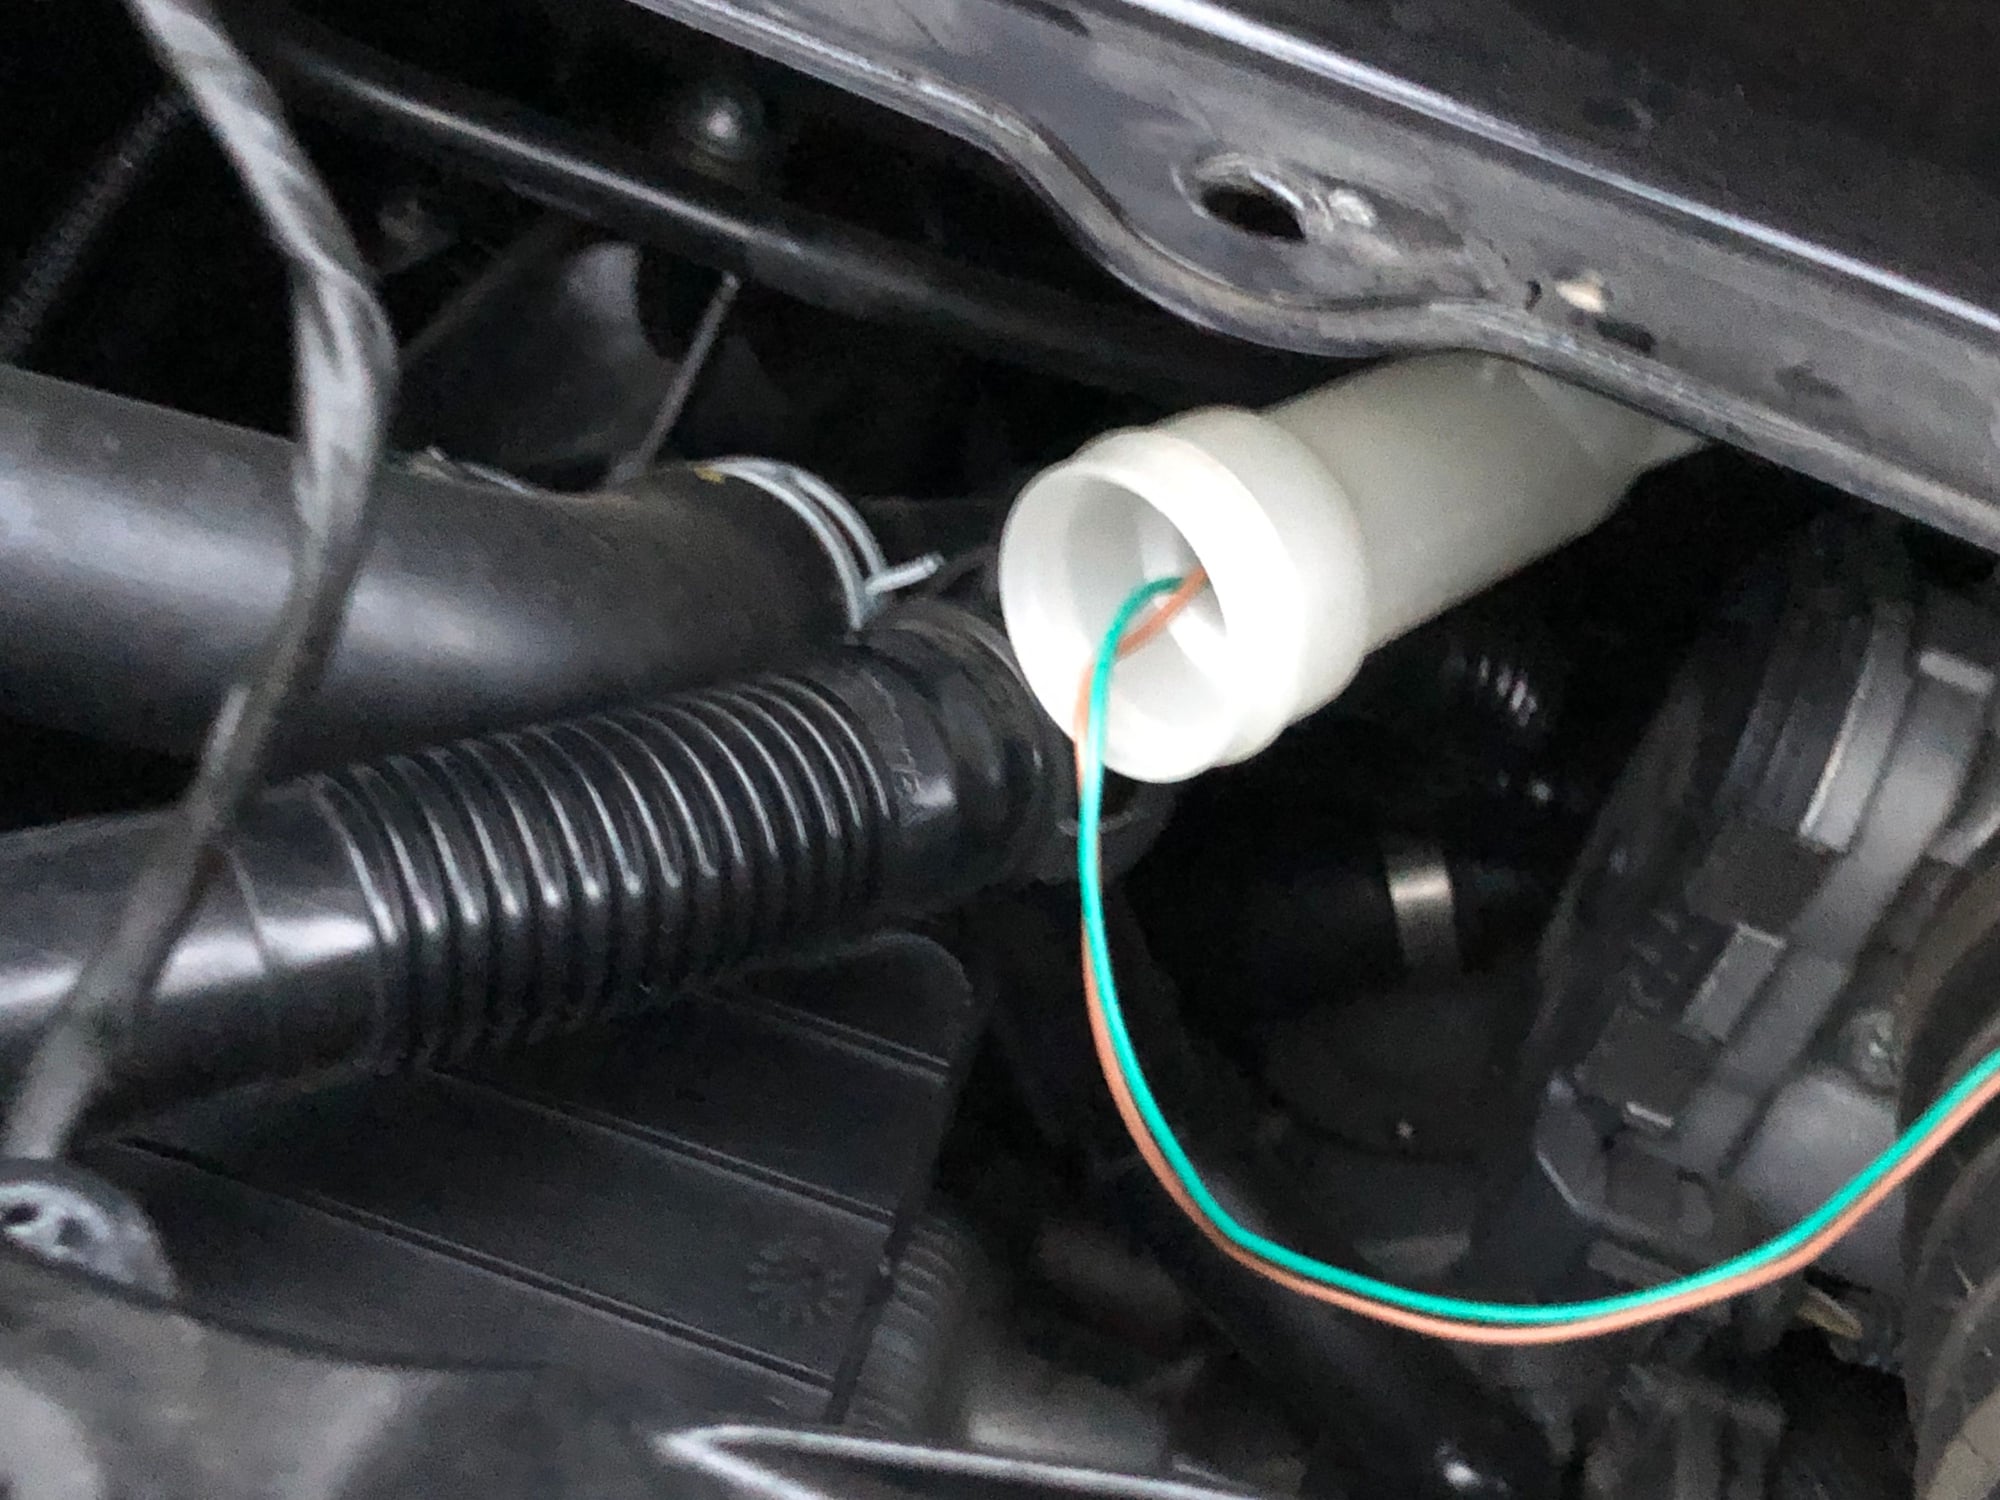
11.) Disconnect the sound tube on the left side, route the green wire through till it stops moving
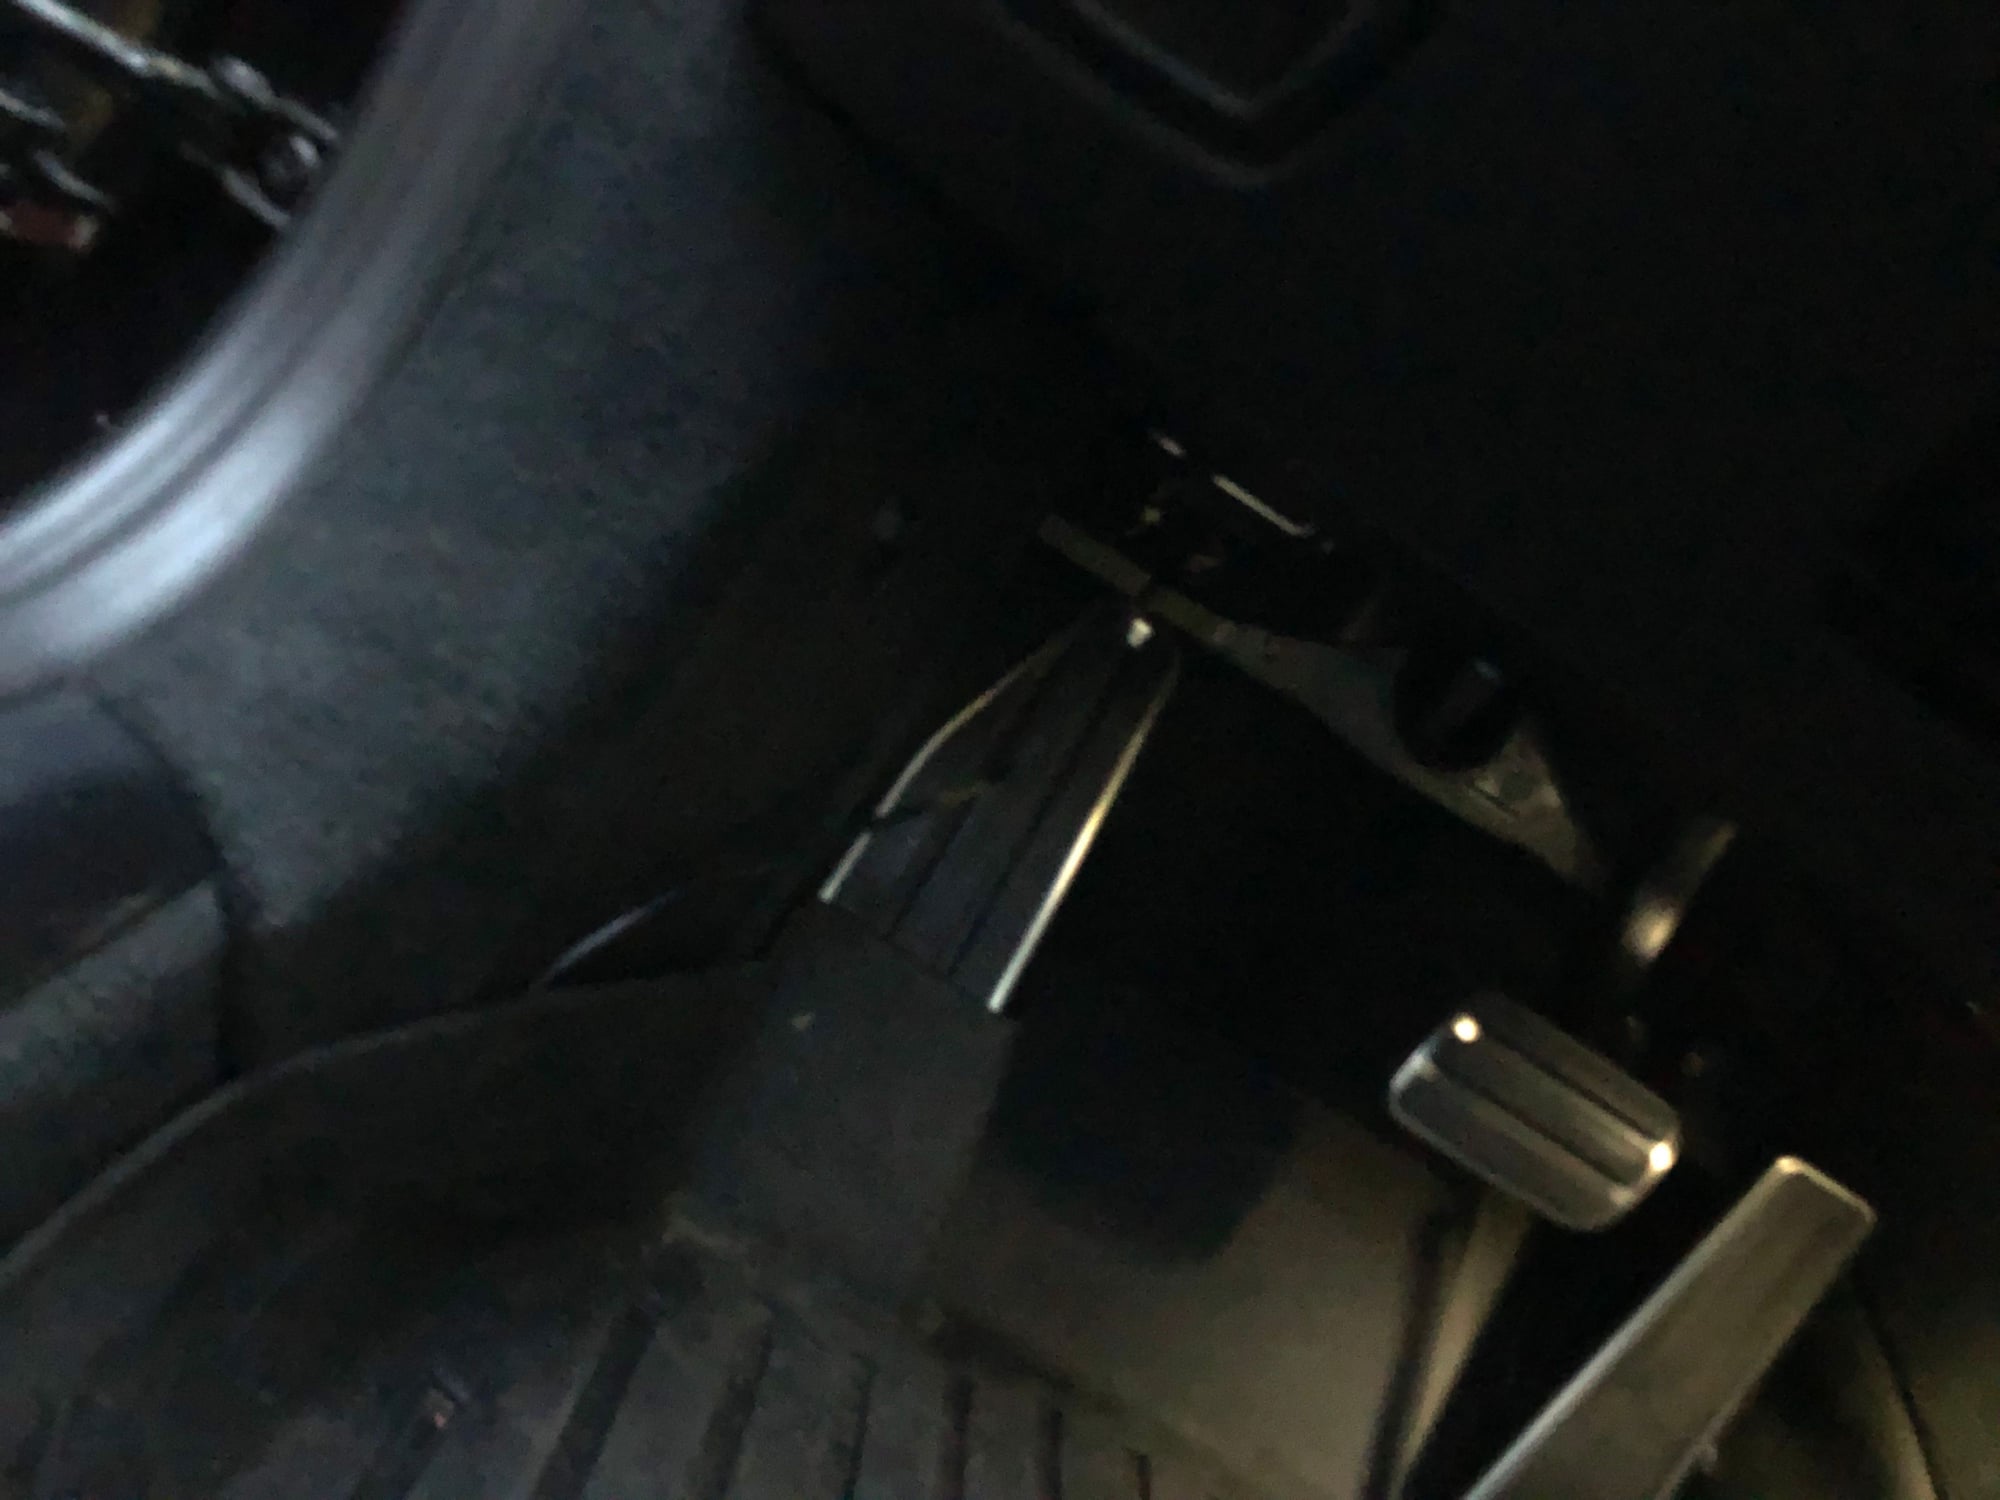
12.) Inside car, fold seats back and pop the top carpet cover off on driver side. Just grab and pull firmly. Green wire should be there. Pull through completely and connect the OBD wire to the plug. Then plug into the OBD port, near the accelerator pedal. Once connected, push wiring underneath floor matt and into the side seems to hide. Reattach the carpet cover.
13.) Reconnect the tube if you want to. I didn’t. Tuck the JB4 unit into the right-hand side of the engine compartment. There’s a little space where it tucks nicely. Zip tie if you want to.
14.) Repeat steps 6-1 in reverse to reassemble the plenum, fans, cover, and battery. Once connected, start car and make sure no CEL. Connect to the app if you have the Bluetooth option.
15.) Go for a quick spin to make sure everything is well. There shouldn’t be any CELs or warnings…
Will take a few miles to adapt, but you’ll notice a decent bump during the first couple of pulls. Once the car has some miles on it with the unit, it picks up in power and it’s very noticeable the change.
Performance
Initial impressions after install were nice, though a bit underwhelming at first. Car felt the same down low in the revs, however really picked up after 4500. JB4 was set on map 1 and driven for about 100 miles or so. Definitely became more noticeable after a days worth of driving. Pulled like a train throughout the range; no more fall off feel after 5000 rpm, like how it feels on stock. It pulls very strong once boost kicks in, all the way to redline. After shifts, the boost is held and it’s a noticeable pull when into next gear.
Map 1 is a great starter map. Map 2 turned it up a notch more. Definitely a bit more pull during acceleration. The way to car picks up in RPM after 5500 rpm is legit. Stock, car feels like it’s being held back and falls off a bit. With Map 2, car keeps pulling hard till redline, and keeps intensity through the gear. I love it!!!
The JB4 Bluetooth kit is optional. I would honestly not get the unit without this option. Worth the extra money; gives you a lot more control and ability. I’ve been logging regularly to make sure timing and AFRs are stable (they have been). Map switching on the fly is sweet. Very little lag in data communications; it’s super responsive. Auto-log feature is love and hate. I like that it starts a log when I do a pull, and automatically ends once I lift off…sometimes it starts when I’m aggressively passing someone though. Kinda annoying, though I’ll blame this on me. The manual log function works very well.
Hoping to try E85 mixes in the coming week, once I burn through 1 more tank. I have about 300 miles on this unit in the past 3 days. Hopefully should have another 200-300 by next weekend.
Drivability
Cruising around how I normally do (sport mode, manual shift), car feels factory in terms of refinement. Definitely feels a bit more powerful, however everything is still smooth. Shifts in both auto and manual mode are still quick and snappy. No jerkiness or anything abnormal so far…
Haven’t had any codes or CELs (knock on wood). Scan function from the JB4 app shows nothing wrong. Drove car through light rain (not by choice). Weather proofing seems to be up to snuff.
If you’re concerned about compromising the refined feel of the car with this unit, I would not be too concerned. I used it all day for my Saturday rounds, and it all seemed to be business as normal (though it just moved a bit faster).
Final Thoughts
Overall, very satisfied with the JB4. Would definitely recommend this to anybody looking for some more performance, without the need to remove ECU. A proper flash tune may provide a bit more flexibility for performance gains…but this is more than enough for me. Performance bump with map 1 and 2 is worth it alone. The app and extra maps is even better. I can geek out with the logging software and the user adjustable map function if I want to as well, which is sweet.
Was very satisfied with BMS when I had my Bimmer. This holds true with their Porsche offering. Excited to see how this platform develops as more people jump on board!
I'll attach a PDF of the install guide for those who want it.
Let me know if there are any specific questions. Will post some logs once I pick out the good ones. Will also provide dragy results once I find some open (safe) space to play.
Very nice write up; thanks.
How do you manage to avoid scratching that bracelet? I swear my Hulk gets scratches sitting in the winder.
It's scratched up, lol, but the Rolex Oystersteel is pretty robust stuff. I wear cuffed shirts most of the time, so that cover's it for the most part.
Wait nearly 3 years for the thing. I've been wearing it 90% of the time since acquiring in March.
It's scratched up, lol, but the Rolex Oystersteel is pretty robust stuff. I wear cuffed shirts most of the time, so that cover's it for the most part.
Wait nearly 3 years for the thing. I've been wearing it 90% of the time since acquiring in March.
Probably get it polished when I go for service.
The first thing I do when I am doing anything around my car is remove all jewelry, watches, belt buckles, etc. to prevent scratches to those and the car...even my wife is trained to do so automatically when I need her assistance!
The first thing I do when I am doing anything around my car is remove all jewelry, watches, belt buckles, etc. to prevent scratches to those and the car...even my wife is trained to do so automatically when I need her assistance!
Usually, I do the same, especially when working on my car. This time around, I kept it on as I wasn't going to reach inside the car.
It's scratched up, lol, but the Rolex Oystersteel is pretty robust stuff. I wear cuffed shirts most of the time, so that cover's it for the most part.
Wait nearly 3 years for the thing. I've been wearing it 90% of the time since acquiring in March.
Probably get it polished when I go for service.
good for you, that was the first thing I noticed lol. Life is short, wear it and enjoy it. I've worn my DaytonaC just about daily for the last 2 years since I got mine, can't take it off my wrist! The watch can take it, and the small scratches etc add character and make it your own
good for you, that was the first thing I noticed lol. Life is short, wear it and enjoy it. I've worn my DaytonaC just about daily for the last 2 years since I got mine, can't take it off my wrist! The watch can take it, and the small scratches etc add character and make it your own
Thank you Aatish!! I'm glad you're enjoying the JB4.
Post up your logs whenever you get a chance so we can look them over.
PS,
That is a nice Daytona for sure. I just got a GMT Batman, and Coke for my birthday next week.
Turning 29, I think it was time for my first Rolex... or two

 08-25-2019, 11:48 PM