
Black Trim Sport Chrono
 02-06-2019, 10:59 PM
#46
Rennlist Member
Thread Starter
Join Date: Jul 2001
Location: Marineland FL
Posts: 12,493
Likes: 0
Received 3,432 Likes
on
2,347 Posts
 02-08-2019, 04:06 PM
#48
Rennlist Member
Its been cold, wet and windy but I couldn’t wait.
finally had some sun out.
i turned up the firepit in the gazebo.
did 3 coats 8-10” away from it, I used satin black. Looks pretty shinny when wet.
now its drying in the study fingers cross.
pictures in a few days once its fully cured.
finally had some sun out.
i turned up the firepit in the gazebo.
did 3 coats 8-10” away from it, I used satin black. Looks pretty shinny when wet.
now its drying in the study fingers cross.
pictures in a few days once its fully cured.


 02-09-2019, 03:29 PM
#51
Rennlist Member
Thread Starter
Join Date: Jul 2001
Location: Marineland FL
Posts: 12,493
Likes: 0
Received 3,432 Likes
on
2,347 Posts
Yeah, I agree. Look at mine again and you will see that my Satin paint was a perfect match for the dash gauges; however, I cannot recall what kind it was since the can was empty when I finished and I tossed it (properly of course).
 02-09-2019, 03:52 PM
#53
Rennlist Member
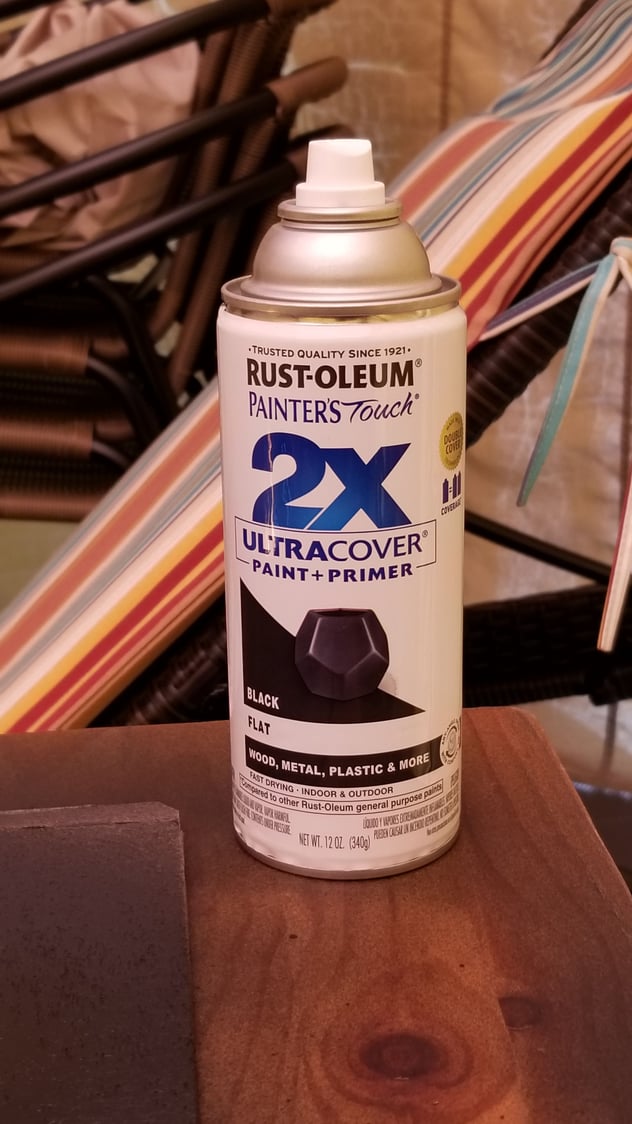
do you recall the brand or anything on the can, which may give an idea what it was?
02-10-2019, 12:16 AM
#55
Rennlist Member
02-16-2019, 02:32 PM
#56
Rennlist Member
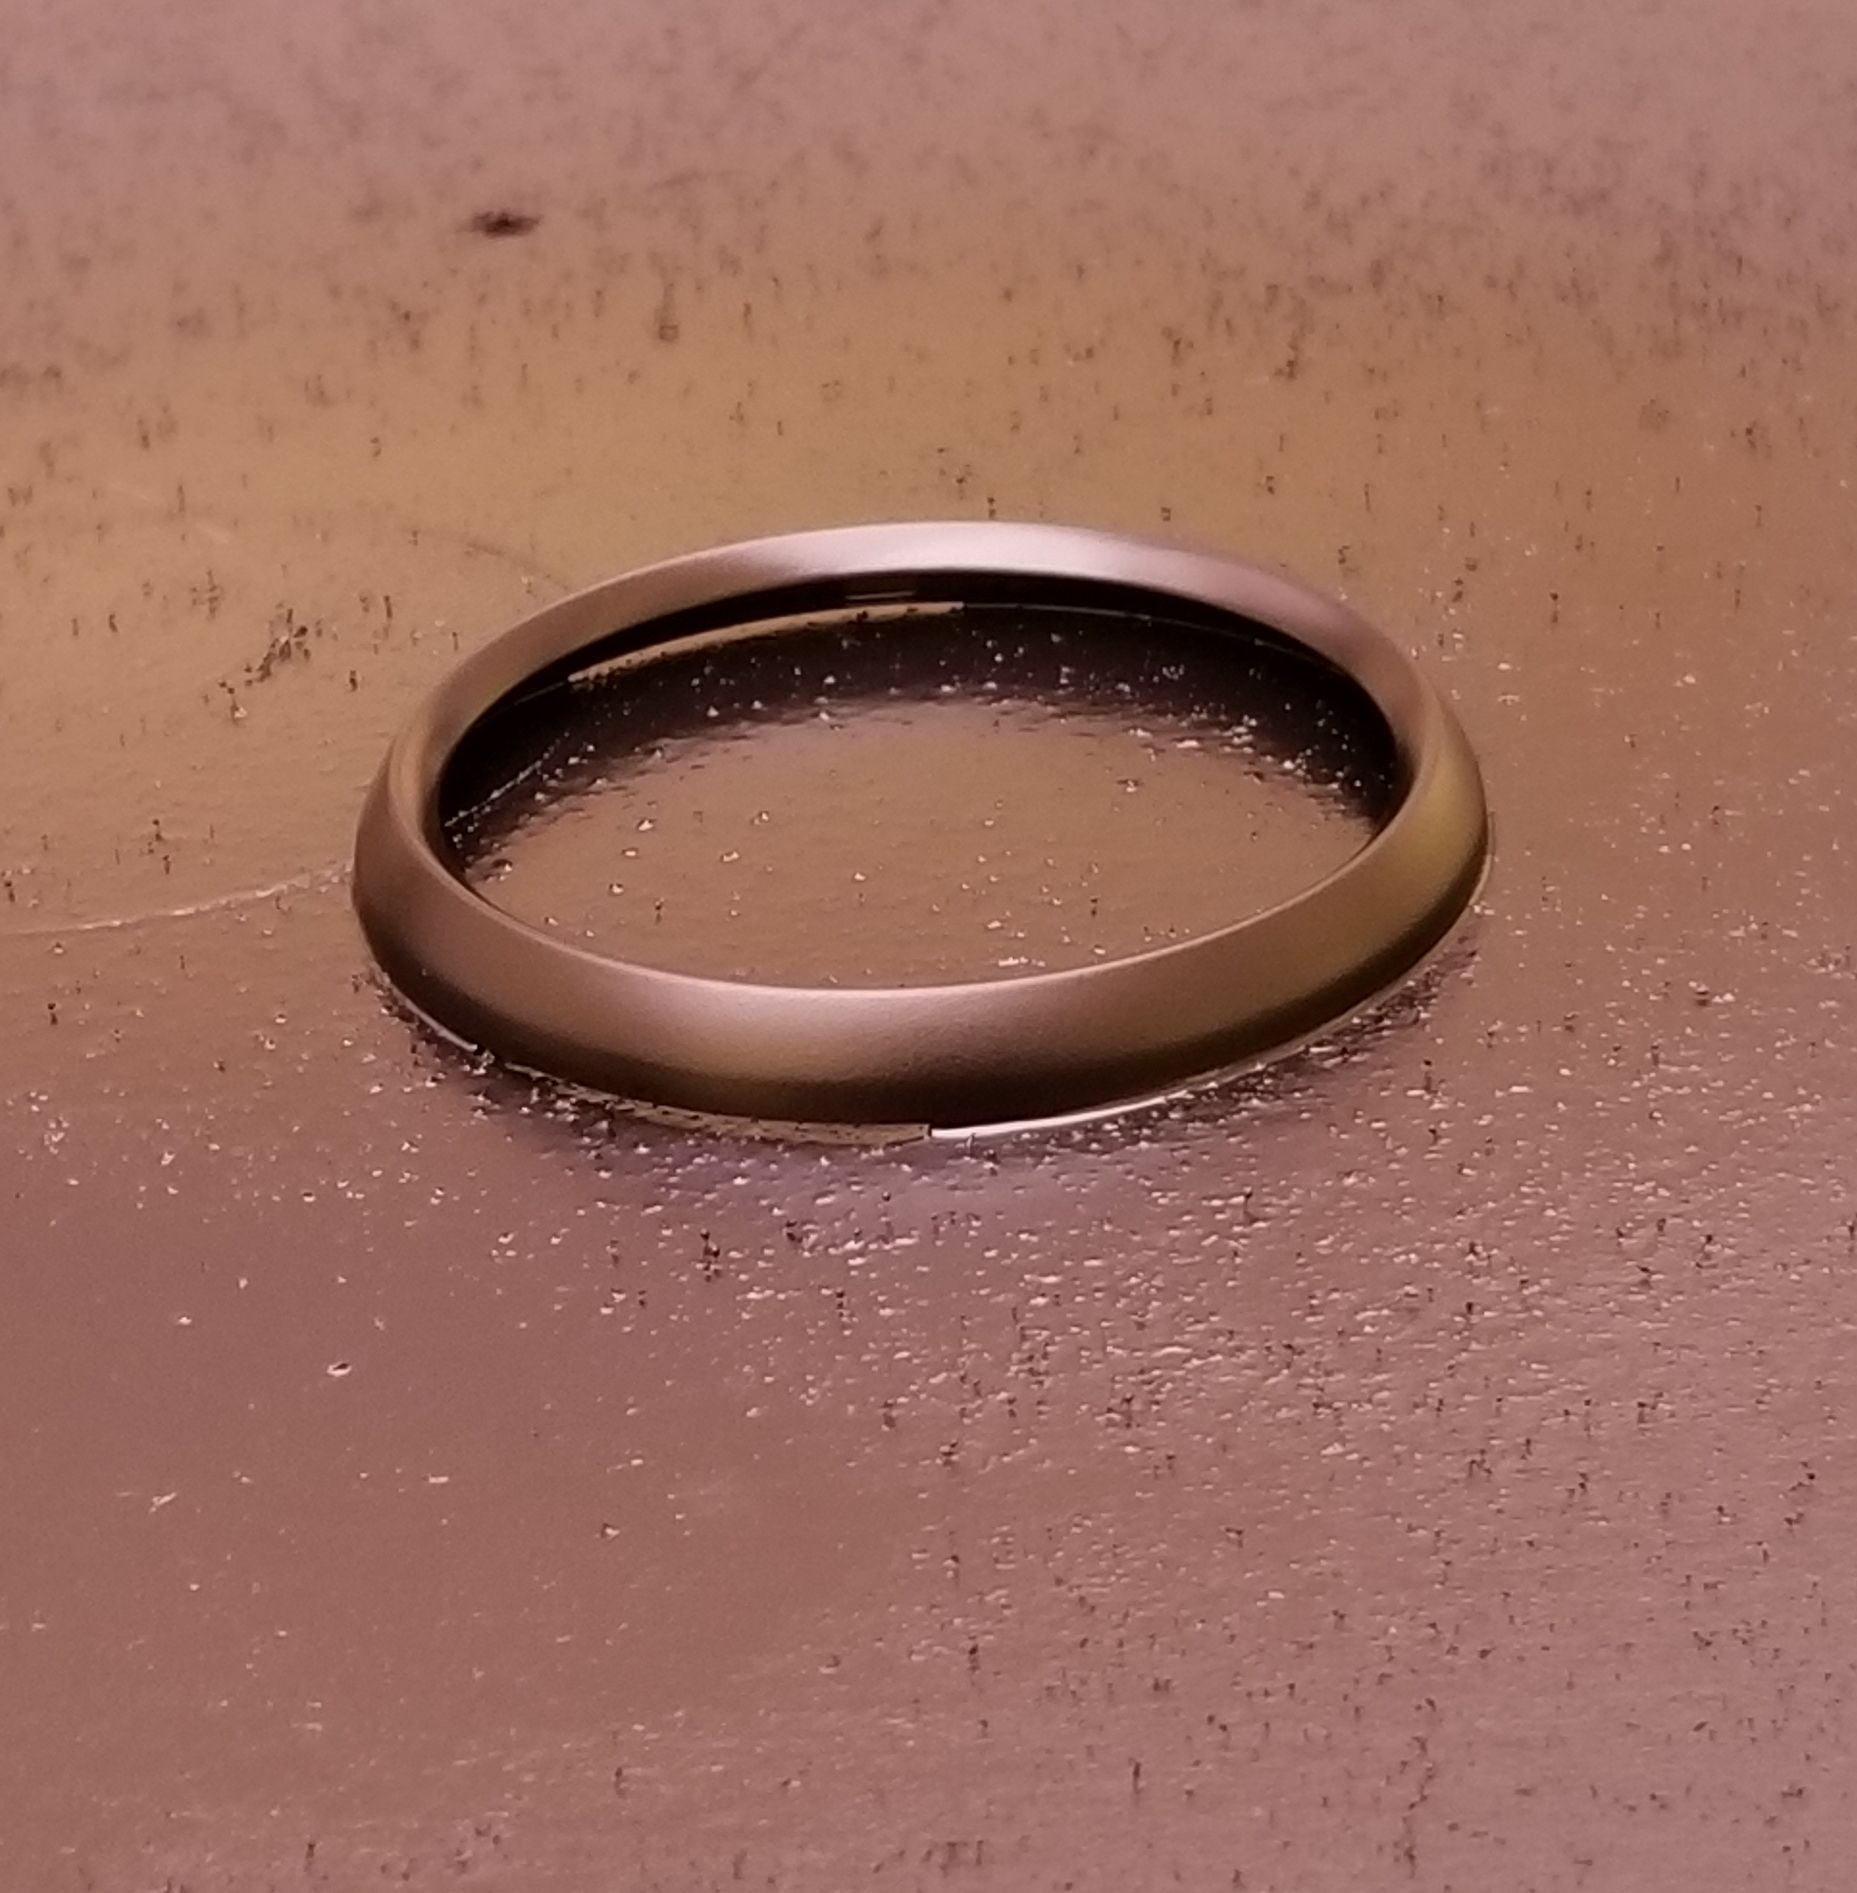
Some tips for future explorers.
The flat black gave the best matching finish in my opinion
The drying time between coats on the instructions is bogus
The clear finish on it is very slick, start by wiping well with alcohol or paint prep spray
Take usual precautions to avoid contamination
First light coat took 7min plus to dry, you can see by the sheen so be patient. You will see some beading as the oem surface is very slick
Second coat took over 10min
3rd coat about 45min thats when you will see proper coverage
Just did a 4th coat and will give it over an hour before moving it
Instructions say it will take 7 days to cure on plastic
So next week I'll see if another coat is needed
A cigar helps during the process

 02-16-2019, 03:18 PM
#57
Rennlist Member
Thread Starter
Join Date: Jul 2001
Location: Marineland FL
Posts: 12,493
Likes: 0
Received 3,432 Likes
on
2,347 Posts
"Patience, young grasshopper"
I probably used the elcheapo Walmart brand paint and several very light coats so the paint does not run. After x# of coats it will look good and before popping it back on put it next to your dash gauges to see how it matches. The SC clock is not too close to the dash gauges so if it is little off don't fret.
I probably used the elcheapo Walmart brand paint and several very light coats so the paint does not run. After x# of coats it will look good and before popping it back on put it next to your dash gauges to see how it matches. The SC clock is not too close to the dash gauges so if it is little off don't fret.
 02-16-2019, 03:57 PM
#59
Rennlist Member
Thread Starter
Join Date: Jul 2001
Location: Marineland FL
Posts: 12,493
Likes: 0
Received 3,432 Likes
on
2,347 Posts
Take a pic when you install it...hard to tell from your pic above.


