When you click on links to various merchants on this site and make a purchase, this can result in this site earning a commission. Affiliate programs and affiliations include, but are not limited to, the eBay Partner Network.
Way cheaper than the blendmount AND it comes with a tap that works perfectly, so for $45 you get a mount (metal, high quality) and a tap that's long enough to work easily.
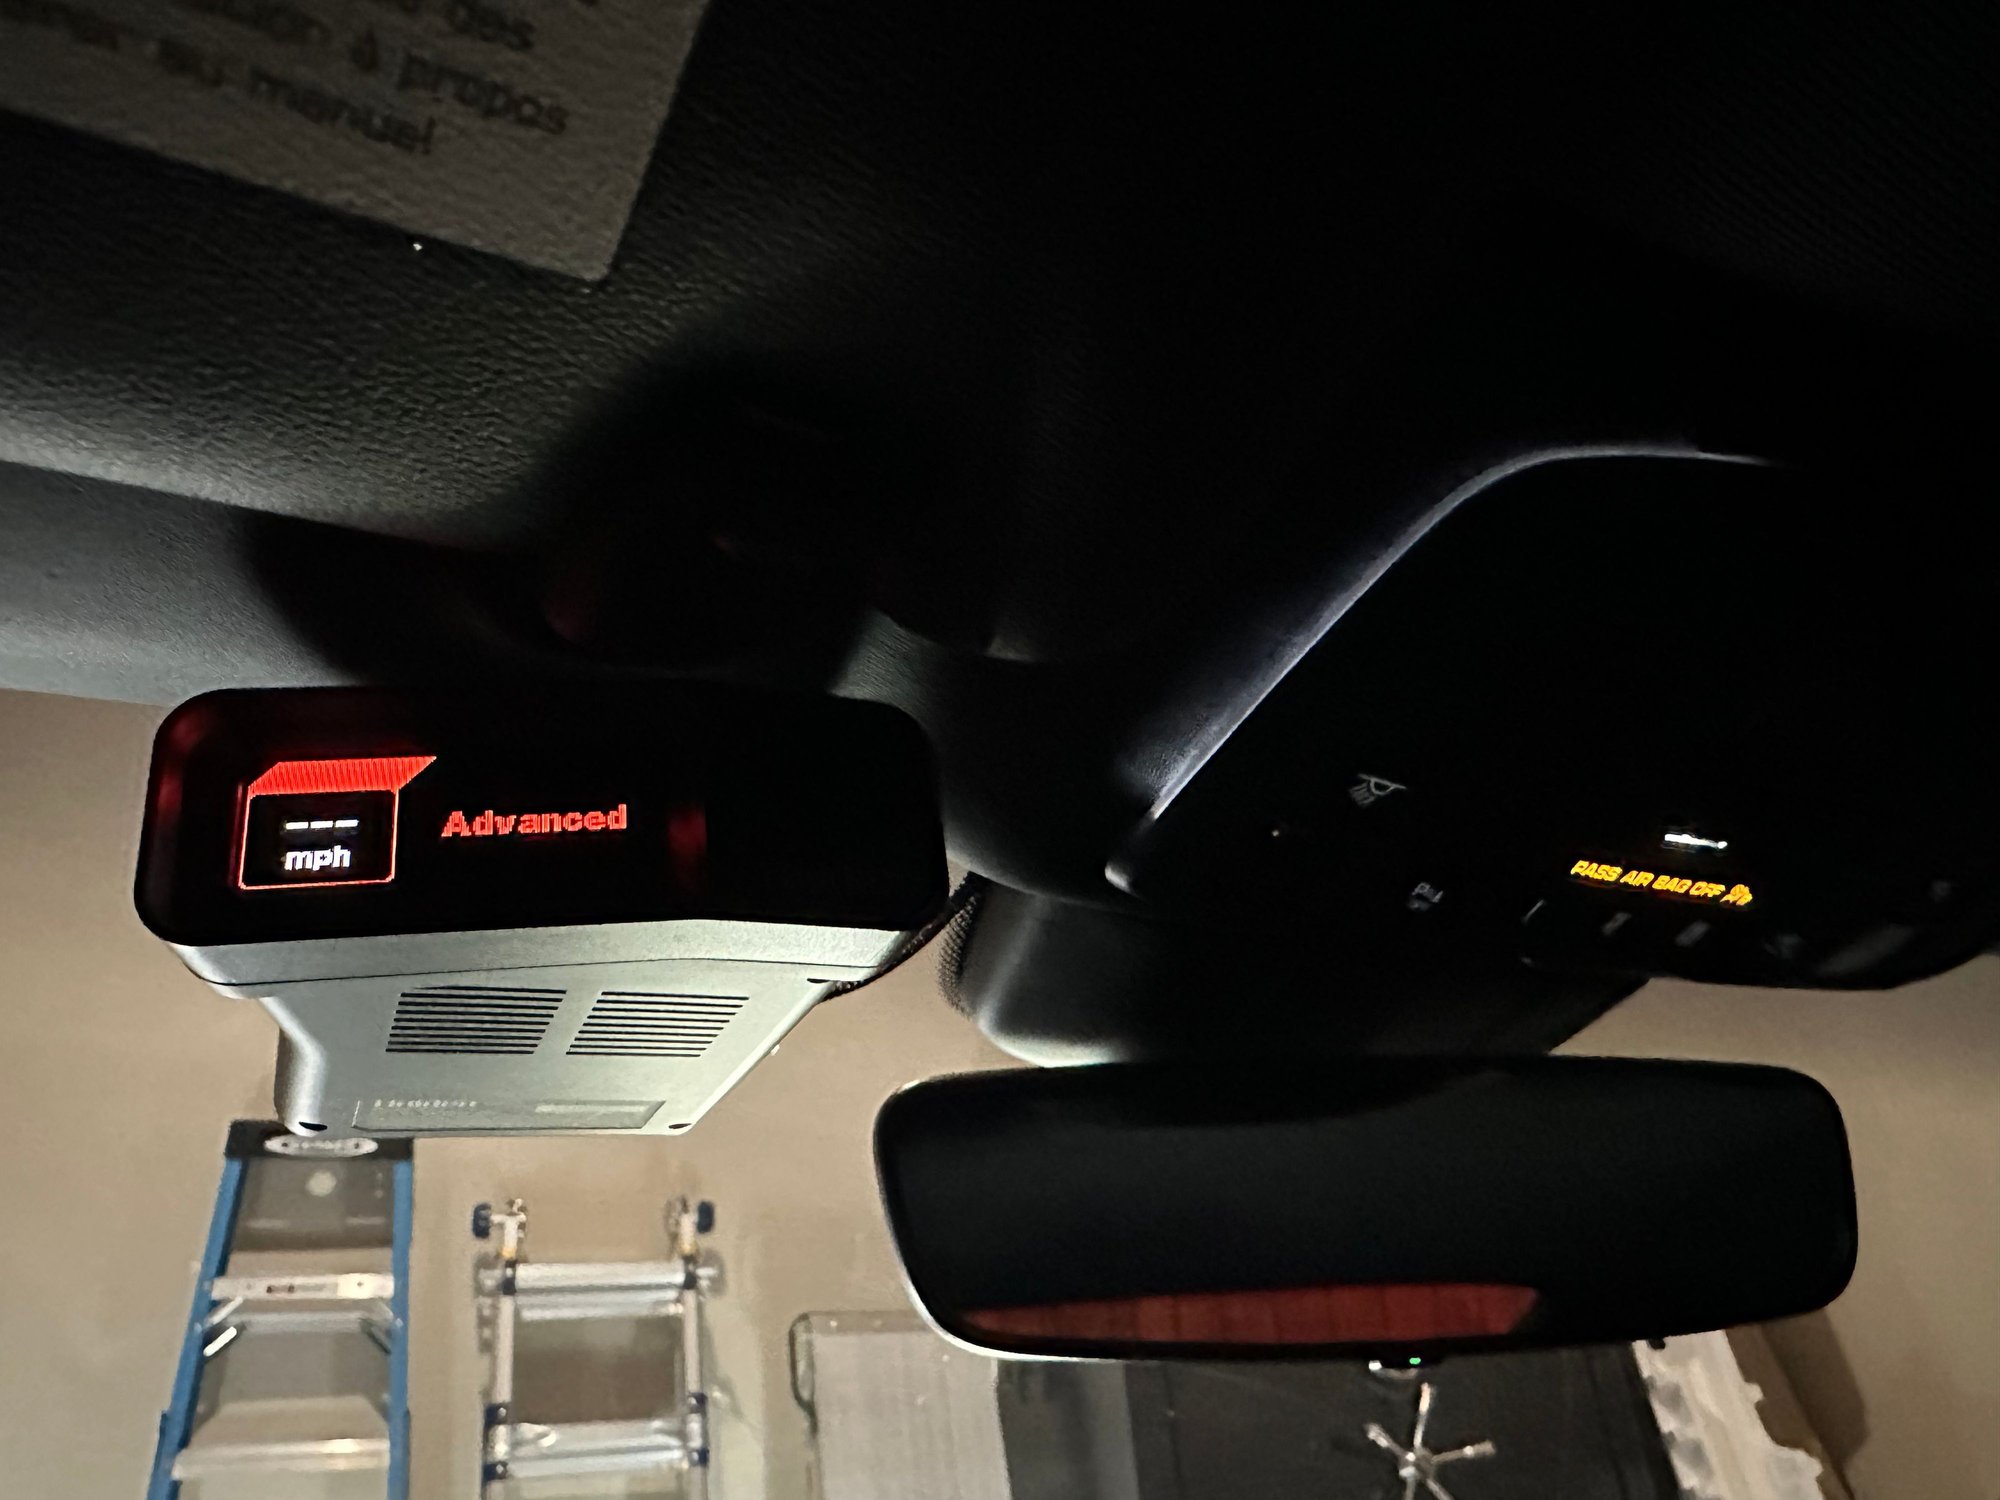
So after a break-in and window repair I added the M2 camera to my Escort 360 on a Blendmount, which has been installed using this method for a year now. First off, its very easy to reuse the existing bolts that come with Blendmount to attach the camera to the side.
Now I'm looking to find an always-on positive source wire up in the top (the camera requires this for bump protection instant-on and I believe the radar detector can be set to time off at a given interval). Anyone know what wire I should tap up there? thnx
See post #127 of this thread and watch his video. I did the exact same thing using the same kit.
@go.illini Just did this on my 981 Cayman S and your tutorial made it simple (I especially appreciated the tip about feeding the wire in above the headliner; great idea and it worked like a charm!).
Thanks for taking the time to post this; much appreciated.
Thanks to all the contributors on this thread, but especially @go.illini for the super-easy-to-follow instructions and parts info. Once everything arrived I was able to put it all together and get the whole thing installed in about 15 minutes! Unlike most who mount it on the passenger side, I mounted it as high as possible on the drivers side so that it's more in my line off sight and so I'm not having to reach across the car to mute alerts. Stuff like this is why I love this forum!
Thanks for the DIY! I used this last night to great success. Found the 15" cable to be best for my R7 (RJ is on the right), given that I place it on the passenger side of the rear mirror.
Great information in this thread. I initially followed a YouTube video instruction on how to wire the Escort Redline 360c using the MirrorTap - tapping into the (always on) power source that powers the interior reading lights. The first problem, I found, with this technique was that I blew the fuse (twice) when putting the metal prongs into the appropriate slots. I replaced the 5 fuse with a 10 fuse and that solved that problem. But, I found - not surprisingly - that the radar detector did not turn on with ignition, nor did it turn off when I turned the car off. How annoying.
Fast forward to this thread and, voila, I now have a radar that turns on and off, in sync with the car. Total game-changer.
My addition to this thread is to be careful when removing the yellow female/blue male plug from its surrounding clips. I broke the plastic, at about the midpoint of the yellow plastic piece, when trying to pry it out. There is not a visible split in the plastic but it definitely cracked when I was prying. The good news is that everything still works just fine, so my misstep did not prove costly. I have plastic pry tools and I was ultimately able to get the piece out by placing a thin ply tool from right to left, on top of the plug (above the plug, toward the roof), and then prying down. This was made easier by popping out the two plastic pieces in front of the rearview mirror as it gave me more light and more overall room to work.
I have a 2016 991.1 GTS cab and I used the MT-1015.
I was trying to follow what others have done, but it looks like the wire colors I have are different, unless I am missing something. I have the auto dimming mirror on my 2023 Cayman GTS. Does anyone know which wires I should tap into for switched power? I tried to check voltages with a multimeter, but was getting some weird results. Drivers side connector (L): 1: red, black, purple 2: red, brown, purple
Passenger side connector(R): 3: red, purple, black 4: blue, red, brown


 02-24-2021 | 01:35 PM