When you click on links to various merchants on this site and make a purchase, this can result in this site earning a commission. Affiliate programs and affiliations include, but are not limited to, the eBay Partner Network.
Really? I had the same cheesy problem with my 987. I guess Porsche can't be bothered with details.
1. It's a supplier issue.
2. This is well known across the industry on, ironically, higher end cars. Just google Ferrari Sticky Buttons for one example.
Can you post a photo of the painted SC mode switch? Debating doing this on mine too!!
I have not painted the entire SC mode switch as shown in the pic that grendeirt posted a link to. I am planning to put a Miami Blue dot in the center though, like the one that Suncoast sells, and the outer/forward facing edge if I can get it right!
I have not painted the entire SC mode switch as shown in the pic that grendeirt posted a link to. I am planning to put a Miami Blue dot in the center though, like the one that Suncoast sells, and the outer/forward facing edge if I can get it right!
I�m surprised your not going for the whole dial in Miami Blue
If the part is not that expensive on Suncoast, I will try my hands on it before trying to remove the one in my car.
I�m surprised your not going for the whole dial in Miami Blue
If the part is not that expensive on Suncoast, I will try my hands on it before trying to remove the one in my car.
I read in the referenced thread that it "pops right off" but I would want to know how (where to put the trim tool, etc.) before I tried it since that part cannot be bought alone.
Based on what I was just told I am going to give it a shot, and send it to Eric at Bumperplugs.com to paint since I know it will be perfect as he has done countless parts for me over the years. I was told to use 2 credit cards from behind to pop it off but I have trim removal tools so I will use those.
Based on what I was just told I am going to give it a shot, and send it to Eric at Bumperplugs.com to paint since I know it will be perfect as he has done countless parts for me over the years. I was told to use 2 credit cards from behind to pop it off but I have trim removal tools so I will use those.
My only concern here is to not have the dial while it's being painted. That could take 2 weeks or more.
Anybody knows how much the whole assembly costs?
My only concern here is to not have the dial while it's being painted. That could take 2 weeks or more.
Anybody knows how much the whole assembly costs?
We have to see what it looks like when it comes off but it appears that just the outside pops off (what is painted in the pic) and not the whole assembly so you can still select PSE from the button on the center console. And 2 weeks to me is nothing to get it done!
We have to see what it looks like when it comes off but it appears that just the outside pops off (what is painted in the pic) and not the whole assembly so you can still select PSE from the button on the center console. And 2 weeks to me is nothing to get it done!
I just removed it! Super easy...
I used a credit card on the right side an it popped a little bit. I then pulled with my fingernail on the left side.
The dial can be turned without the outer ring.
Nice, and I will do the same. I want it to look perfect so it is worth the time and money to send it to Eric. I have painted a few small pieces like the radio button trim rings in the pic above but the SC mode switch is more noticeable, and when he clear coats it one cannot tell the difference from OEM.
I will also send the part to Eric. I wonder if the clear coat he usually uses also work for parts that are frequently touched...
Here is his email: eric@bumperplugs.com
And yes, the clear coat he uses is perfect and again, the parts he has done for me are actually better than OEM. He did my key halves and I have dropped them a few times - no scratches, etc.
If it helps I took it off in 10 seconds! A couple of us are sending them to Eric at Bumperplugs to paint so if you want to do the same email him. And I have had the ruler for years, which I got from my Uncle who worked there.
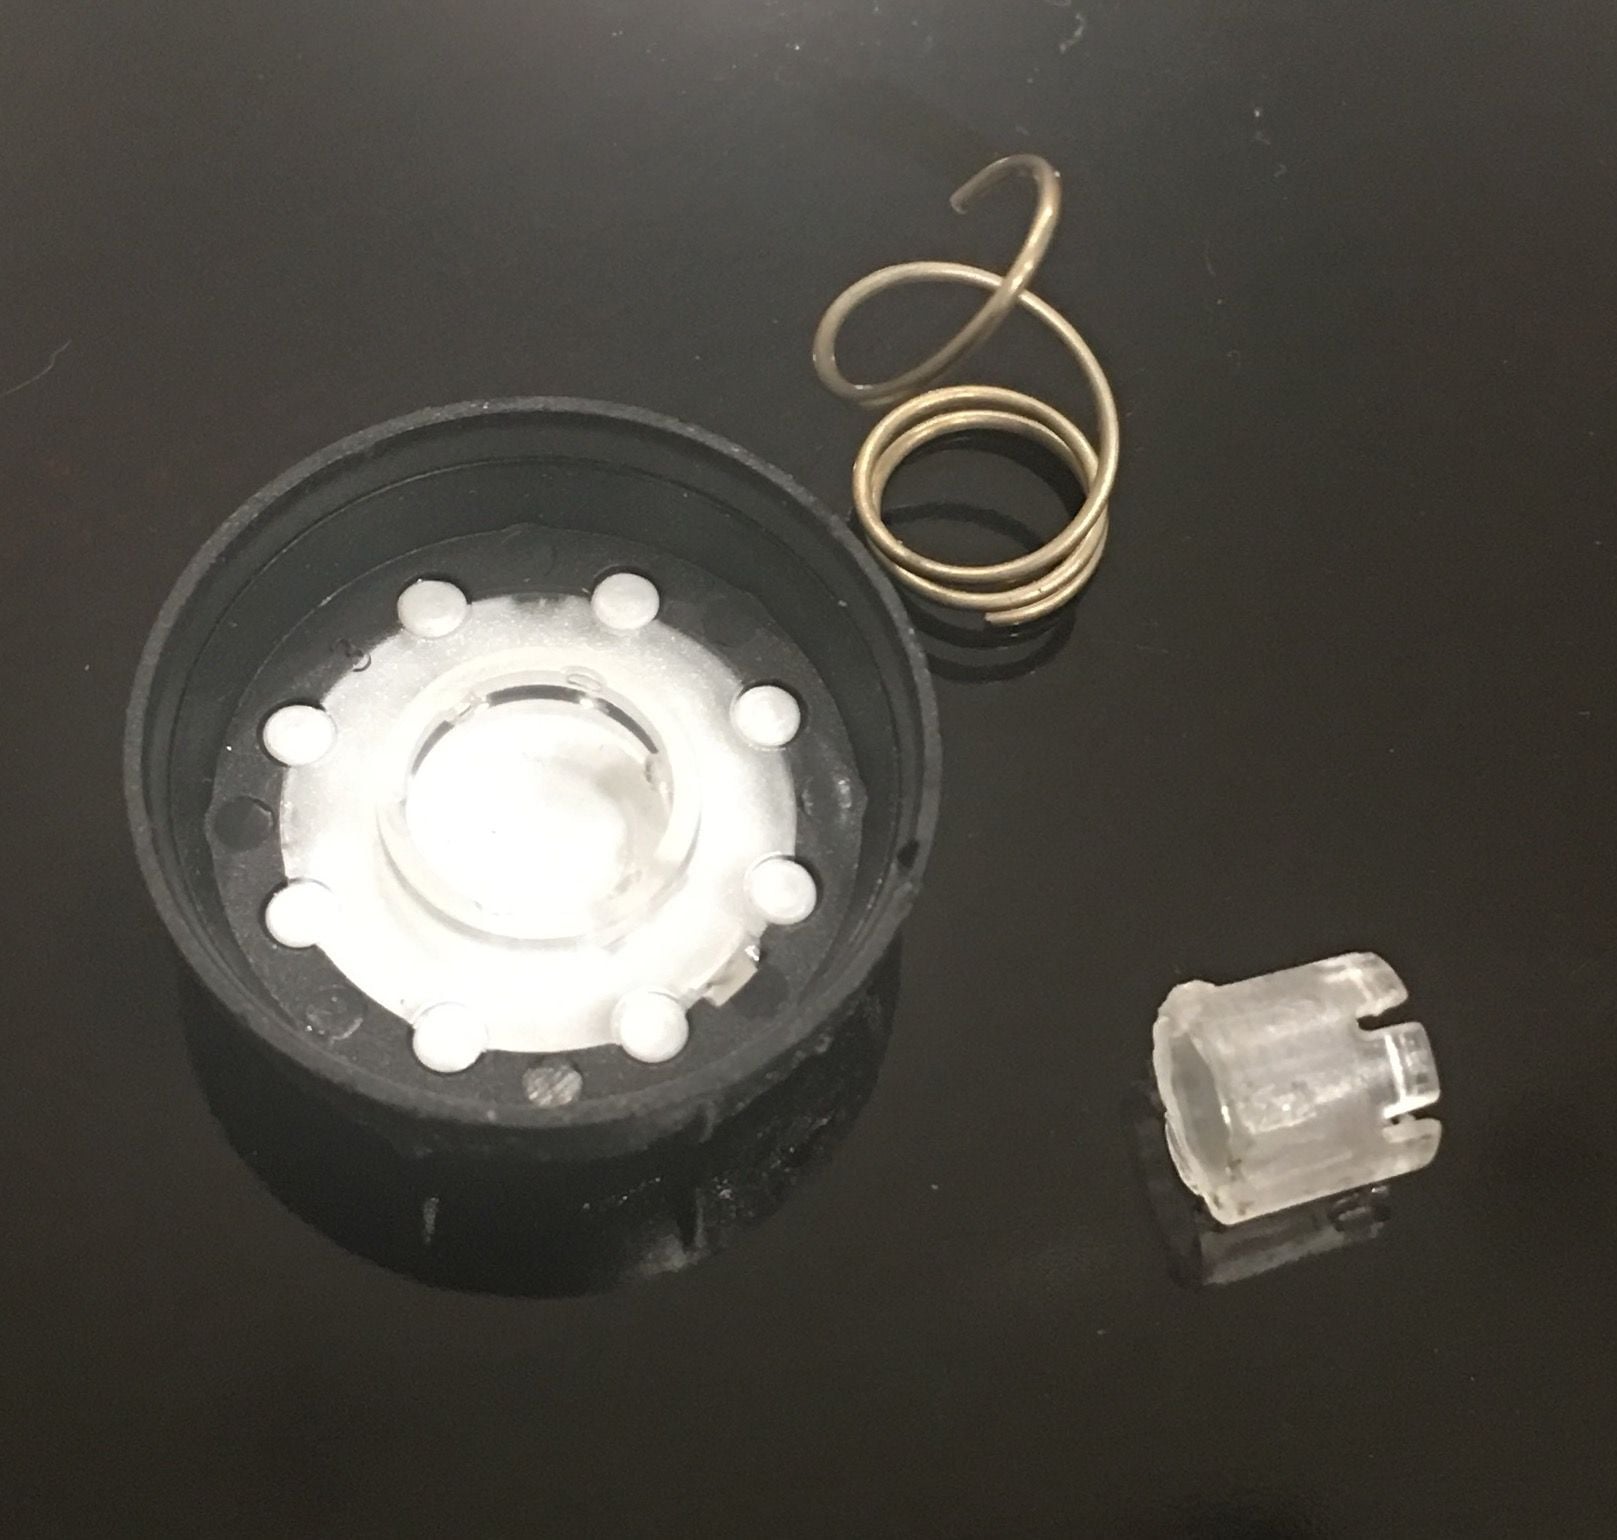
Was able to finally replace one button but destroyed the original one in the process. Its a hard pull and I had to use a small flathead screw and tweezers to fish out the spring and the plastic that broke off from the main button
I decided not to mess with the other one and just cleaned it with alcohol then put some 303 aerospace protectant after
hi did you have to re install that metal shaft in the plastic, that can be seen in your picture, with the new ****? Cause I thought it is a part of the PCM
I just took the ones out of my Spyder - I used a butter knife behind the button and they both came off with no damage - I am going to paint them Yellow along with the 4 centers on the vent adjustment pieces.


 07-26-2019, 09:40 AM