When you click on links to various merchants on this site and make a purchase, this can result in this site earning a commission. Affiliate programs and affiliations include, but are not limited to, the eBay Partner Network.
Great updates and I’m looking forward to reading the review.
My OCD is getting the better of me , I would have a very hard time not cleaning up the engine bay and undercarriage. For me it’s not just for appearances but also knowing if there’s anything leaking and or potentially near its end of life.
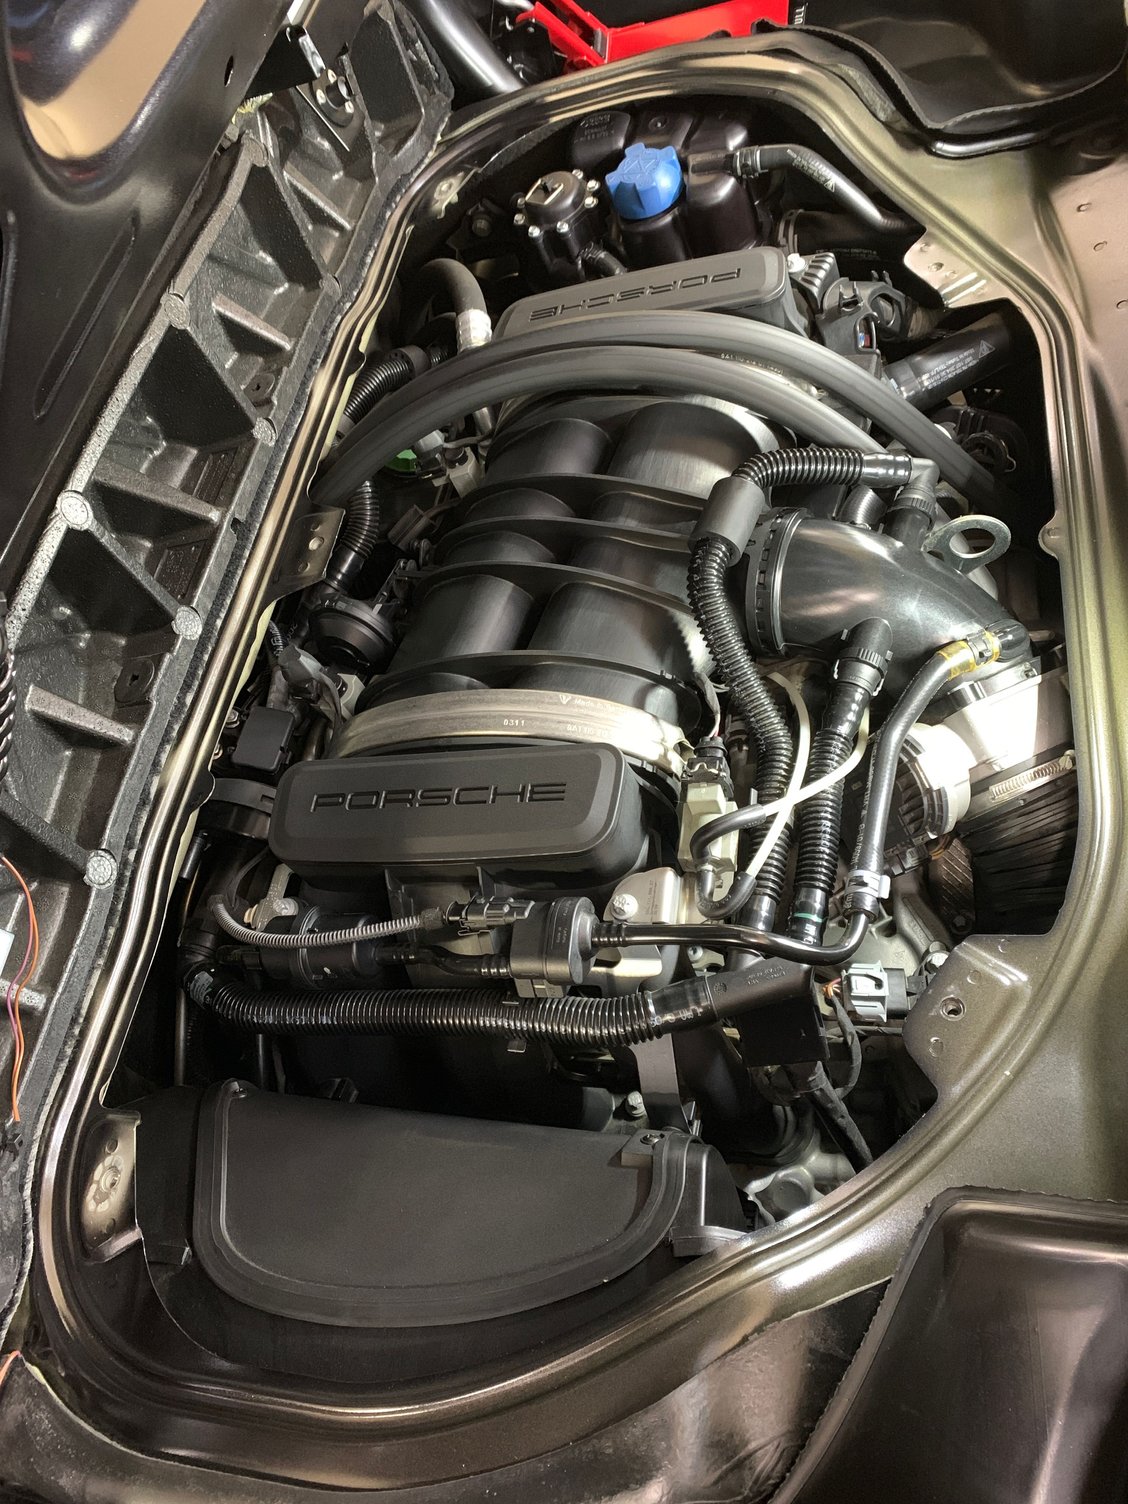
Oh trust me, it bugs me too! I'm just waiting to clean it while focusing on more pressing matters. Definitely agree on its benefit in terms of identifying leaks. I think I may do the clear engine cover too but again, other priorities for now. Here's my other engine bay that I wipe down after every car wash. Took a while to get it to this level.
Originally Posted by Marine Blue
Do you have plans to switch to X73 suspension or are you sticking with the Base suspension for now?
Right now I'm thinking of just going with lowering springs. Since it's my daily driver, I'm not sure if I want the added stiffness. The shocks on the M5 are way overdue (still on the original ones with 114k miles) so I'll probably replace those first.
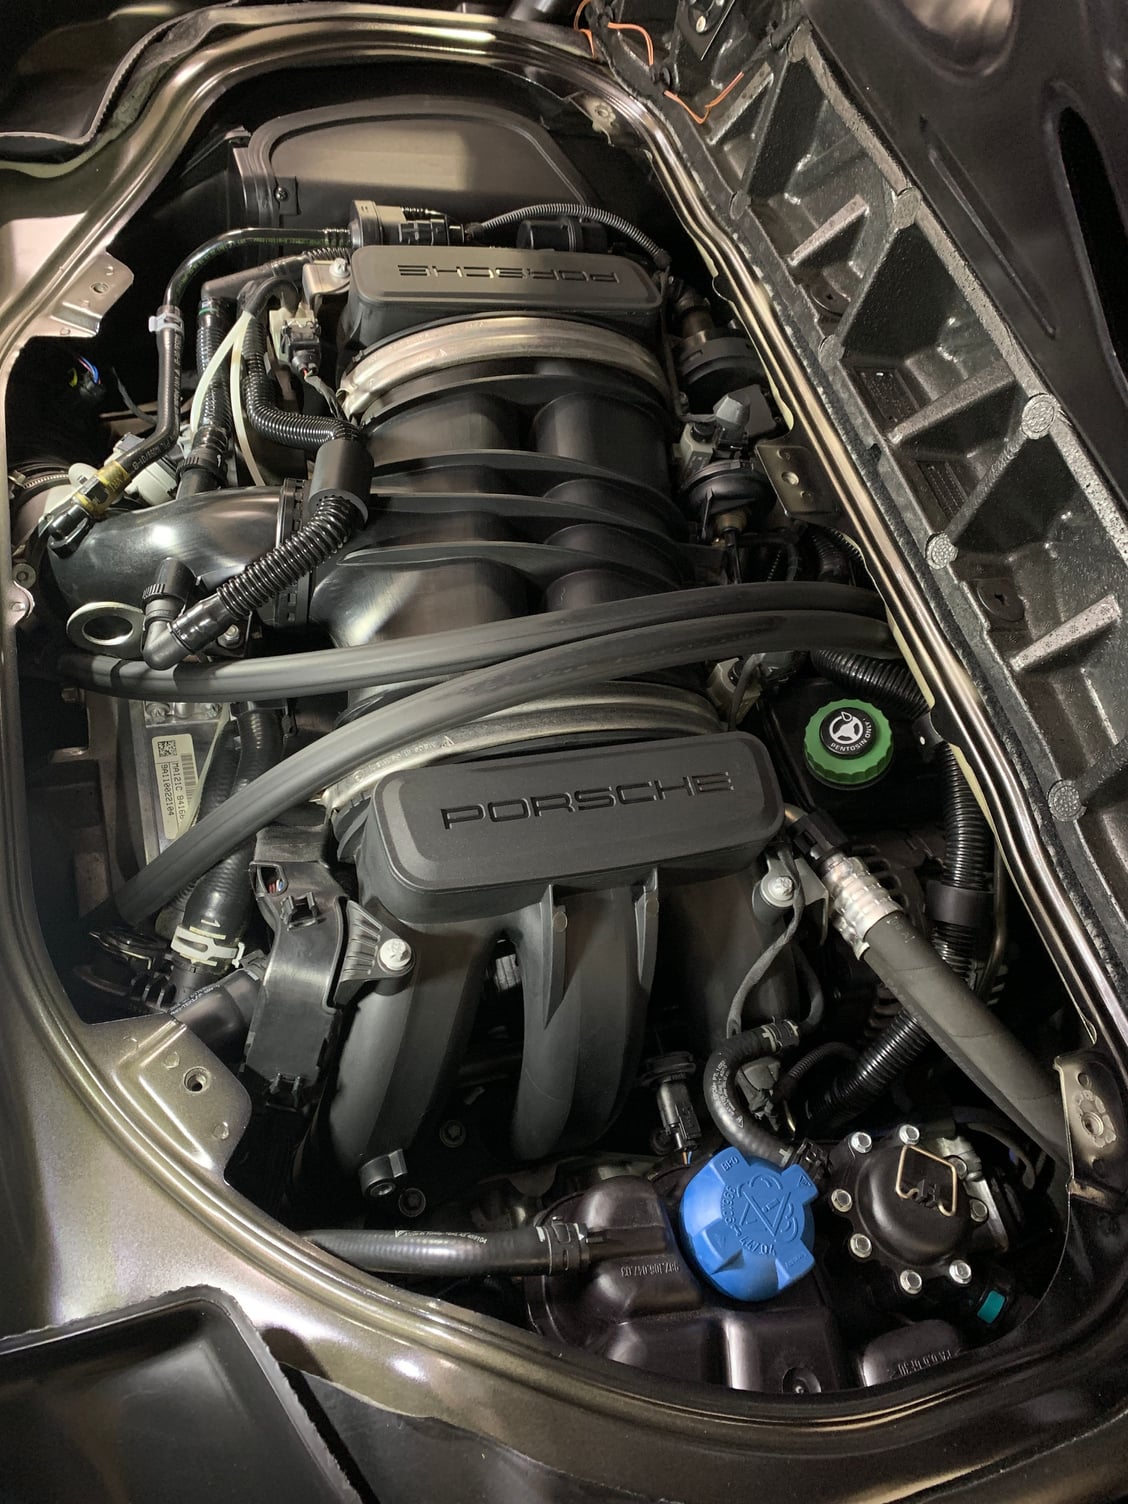
Ok seeing the M5 engine bay makes me realize you�re as bad as I am. Our mid engine cars are much more difficult to clean due to the limited access and the potential for water to get into the interior trunk area. I usually clean the engine bay every 12 - 18 months to stay ahead of it and it allows me to clean it by hand using quick detail spray and microfibers. Here�s a shot from a couple months ago:
The x73 really isn�t harsh unless you�re going over larger bumps, it might be worth considering if you decide not to do the springs. Another alternative would be to get the springs from the x73 and add the shocks later when needed. It�s a much easier pill to swallow if you�re doing your own labor.
Did you steal those photos from the Petersen? That looks fantastic. Wait, did you buy yours new? Feel like it's easier to maintain if it starts off clean.
Given the prices of the X73/Cayman R suspension, I think I'd spring for coilovers at that point. I like the idea of adjusting the dampening for a spirited canyon drive, then dial it down a notch for daily duties. But you're right in that I could just get the R springs instead of Eibach/H&R.
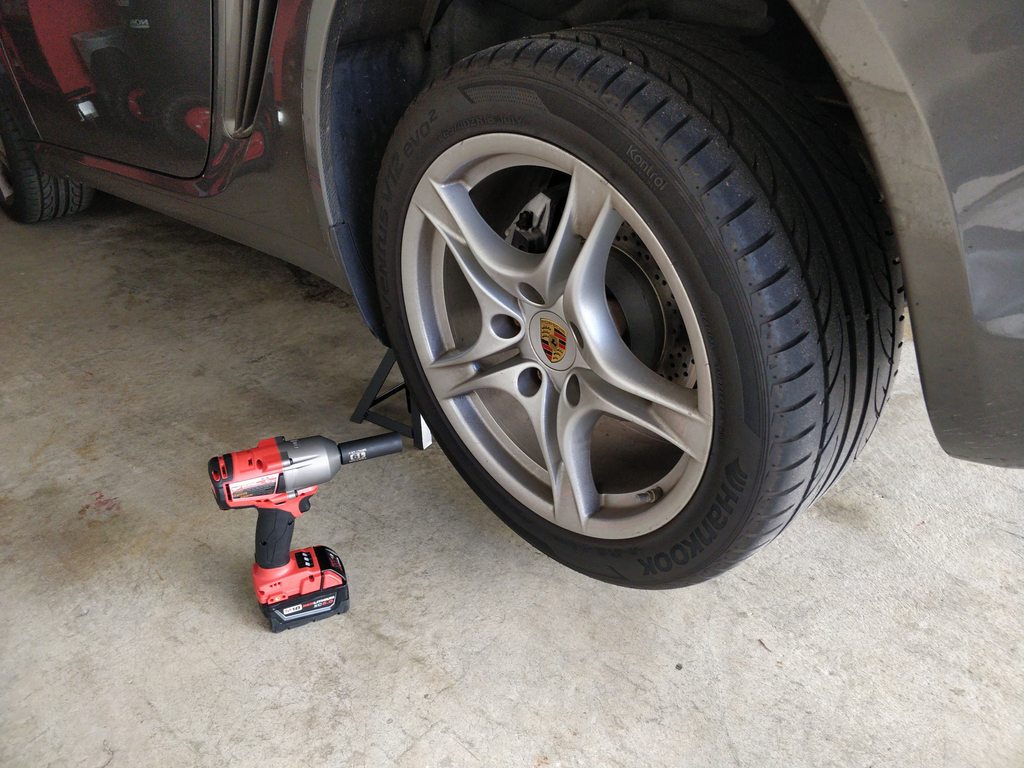
Sure you gotta take the wheels off, but once you get access, plug extraction should be a piece of cake. Sorta.
Excited to use my new 1/2" impact.
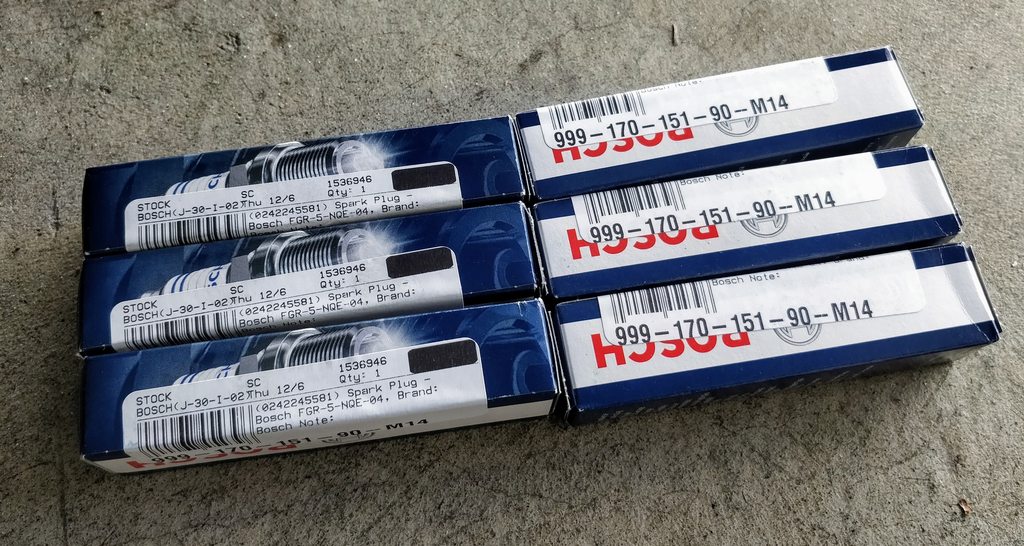
New plugs.
Removed the fender liners and getting to the heat shield.
We're in.
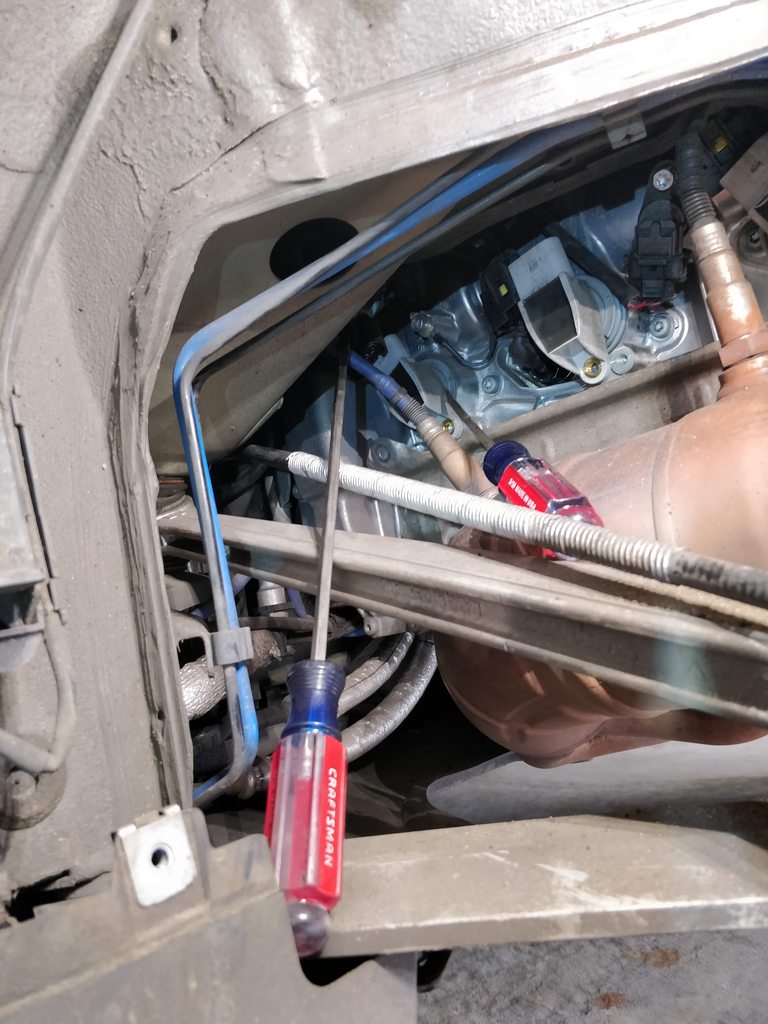
Used a couple of long flatheads to remove the coil pack connectors.
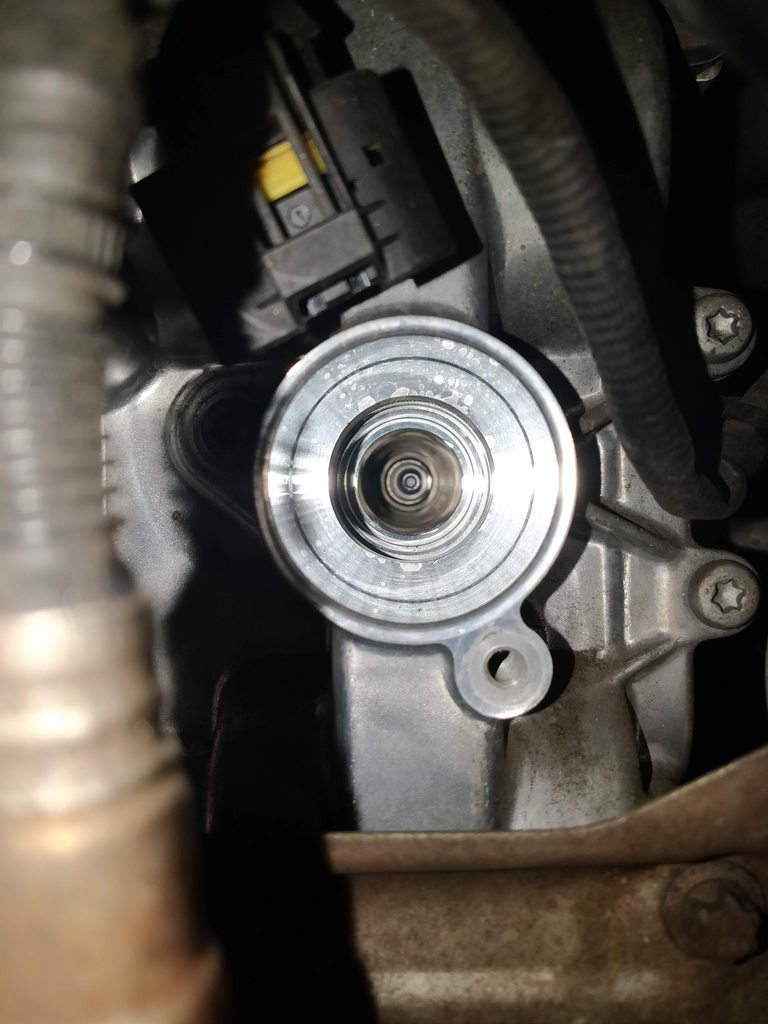
I see you.
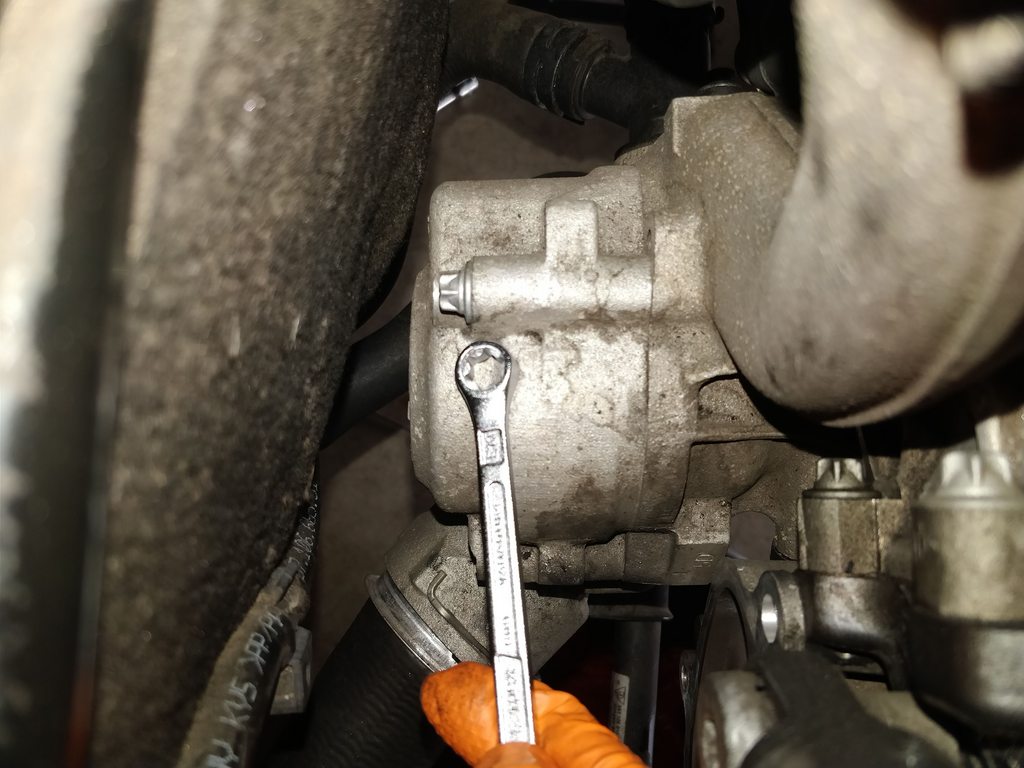
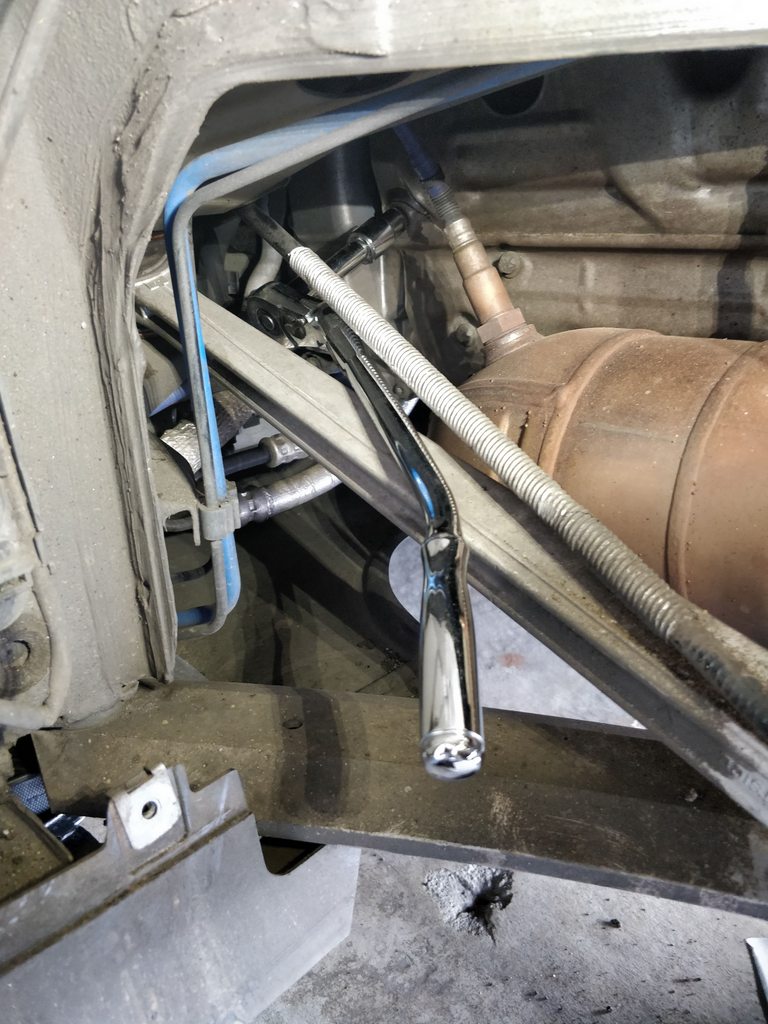
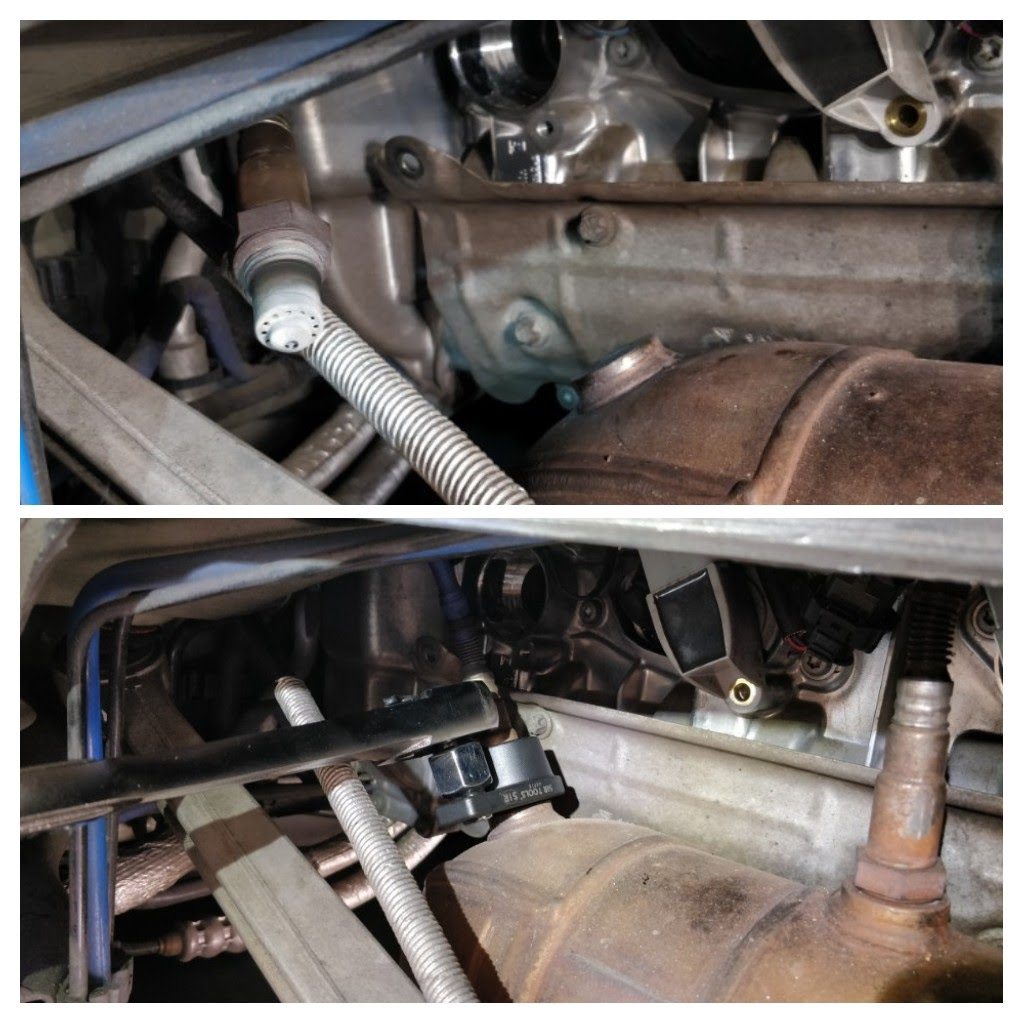
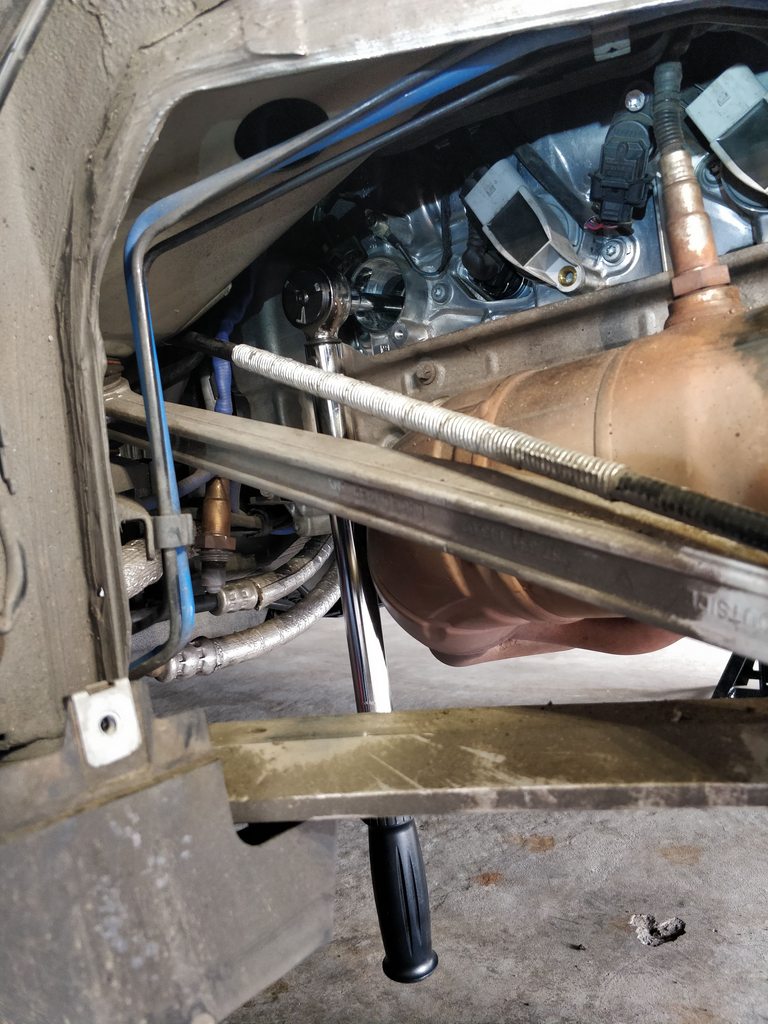
One of the oxygen sensors was in the way so removed it for easier access. Used the special wrench for it based on habit, but there's plenty of room to use a standard 22mm wrench.
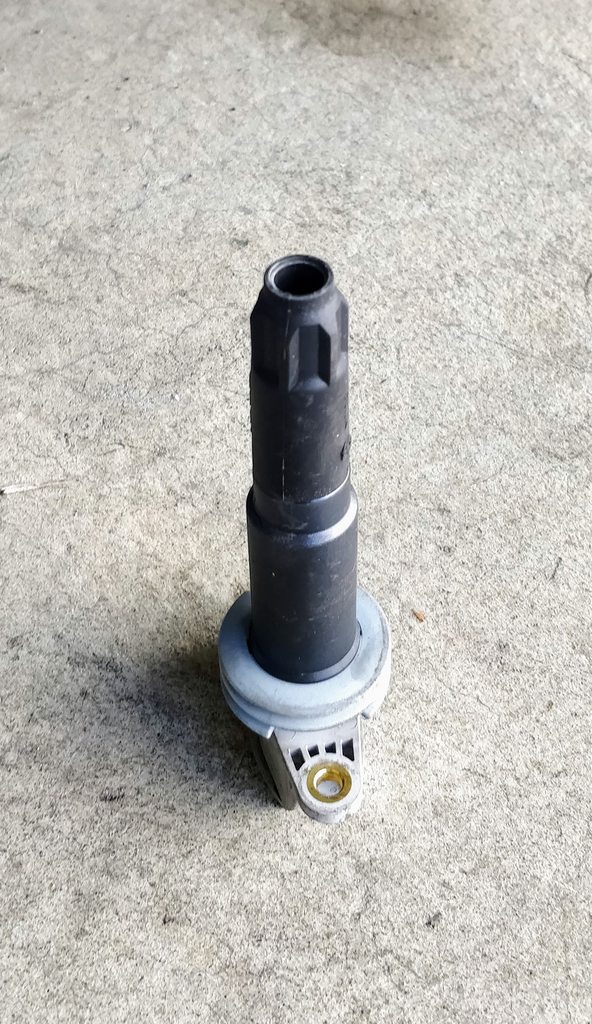
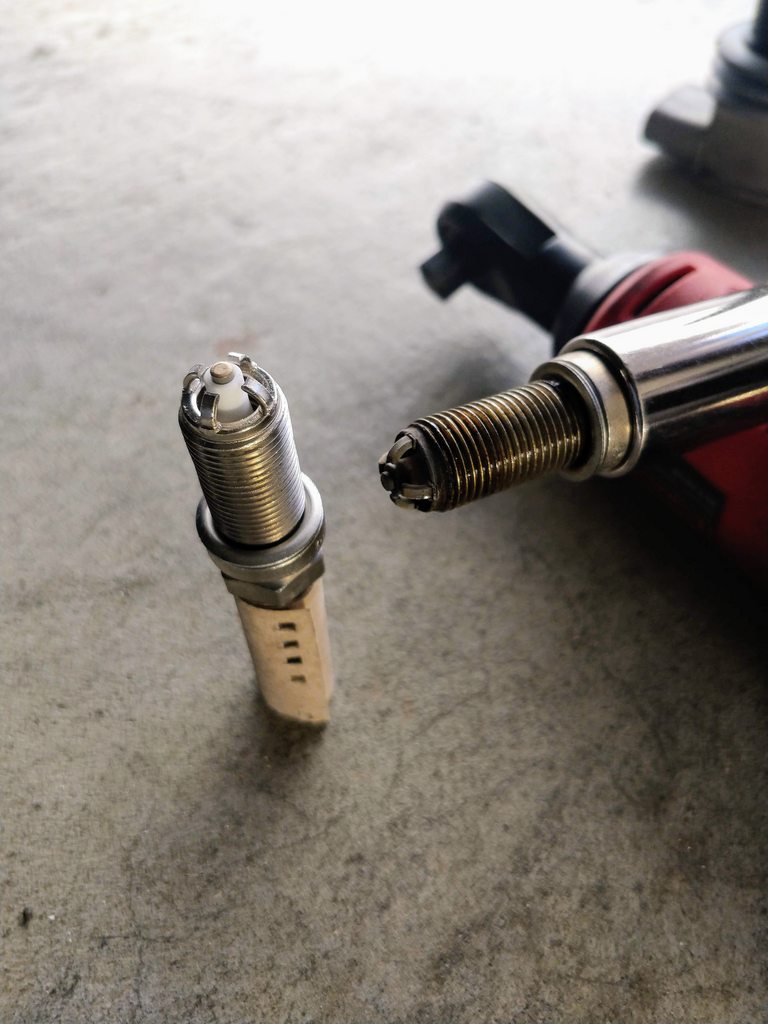
First plug removed; looked pretty good. I have no documentation if they've ever replaced though and they're scheduled for every 40k miles.
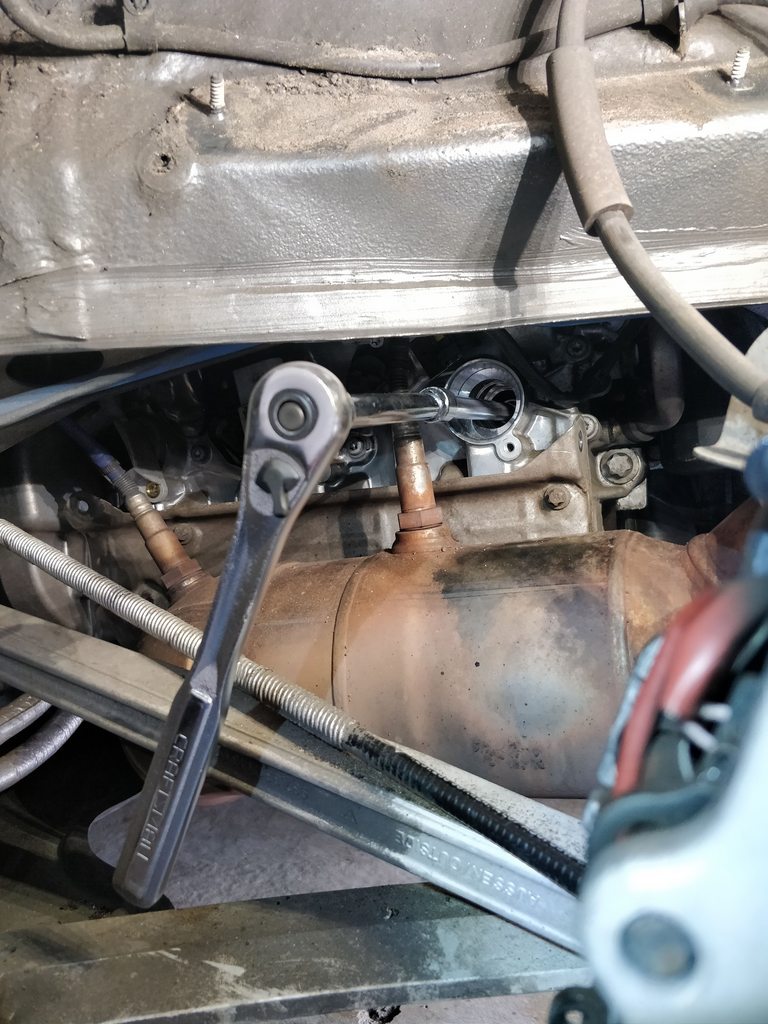
I've heard of people using universal joints to get access to cylinders 1 & 4, but removing the lower panel gives you enough room, as illustrated below.
Torqued to 30 Nm and did not apply any anti-seize per Porsche spec. So the driver side went swimmingly.
Moved over to the passenger side and removing everything was even faster since it was the 2nd time around. Started with cylinder #3 and that easily came out as well. Nice.
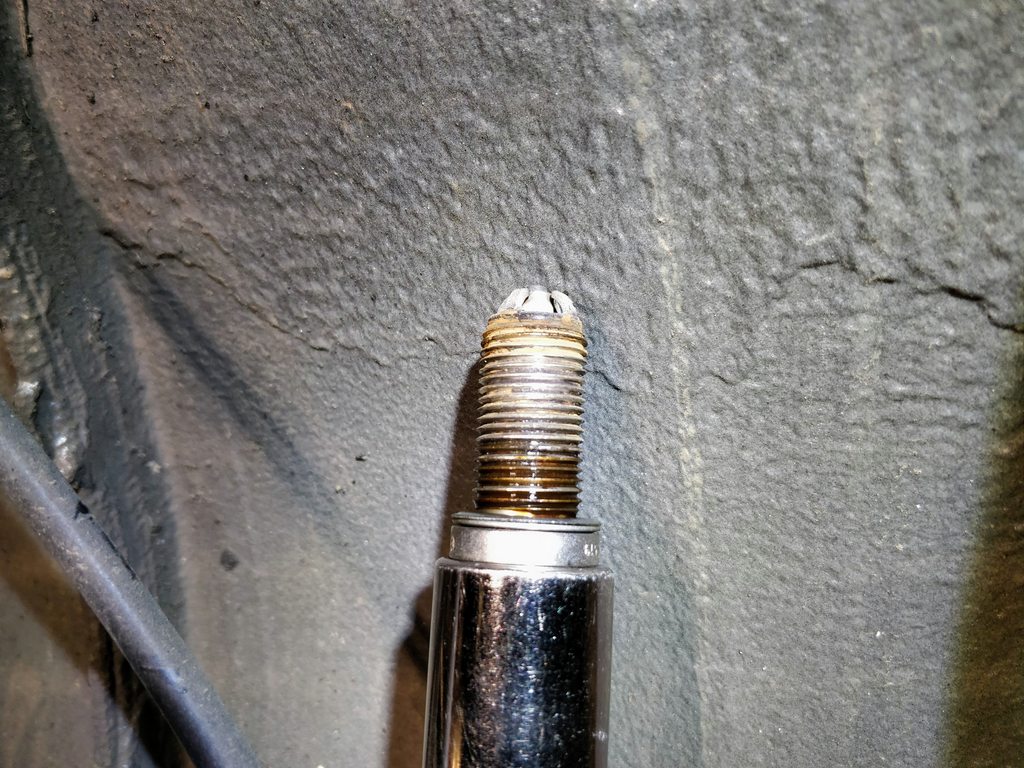
But for both #2 and #1, I had a horrible time. Needed my 18" breaker bar to crack 'em loose and needed a lot of force to unscrew them. I kept thinking they were cross-threaded but no way to know until they're out. The worst was cylinder #1 where I could only get 1/16th of a turn on my 1/2" ratchet. Not fun but ultimately got both out.
Cylinder #2:
Cylinder #1:
I'm curious why only 2 of them had corrosion, and why both on that side...
Did you steal those photos from the Petersen? That looks fantastic. Wait, did you buy yours new? Feel like it's easier to maintain if it starts off clean.
Given the prices of the X73/Cayman R suspension, I think I'd spring for coilovers at that point. I like the idea of adjusting the dampening for a spirited canyon drive, then dial it down a notch for daily duties. But you're right in that I could just get the R springs instead of Eibach/H&R.
I did buy mine new and I agree that maintaining is tons easier than getting something that hasn�t been regularly detailed.
Keep your eyes peeled for a used set of X73�s, they do pop up on occasion and usually at a much lower price than new. Otherwise you�re right, coil overs are going to be cheaper and offer more flexibility.
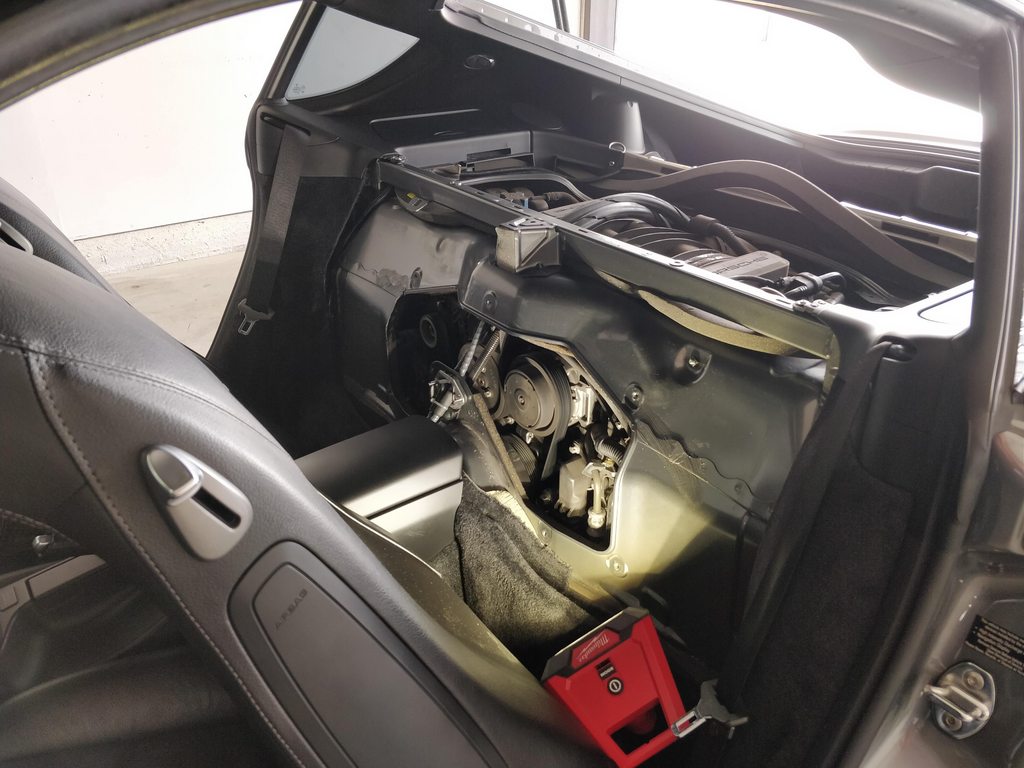
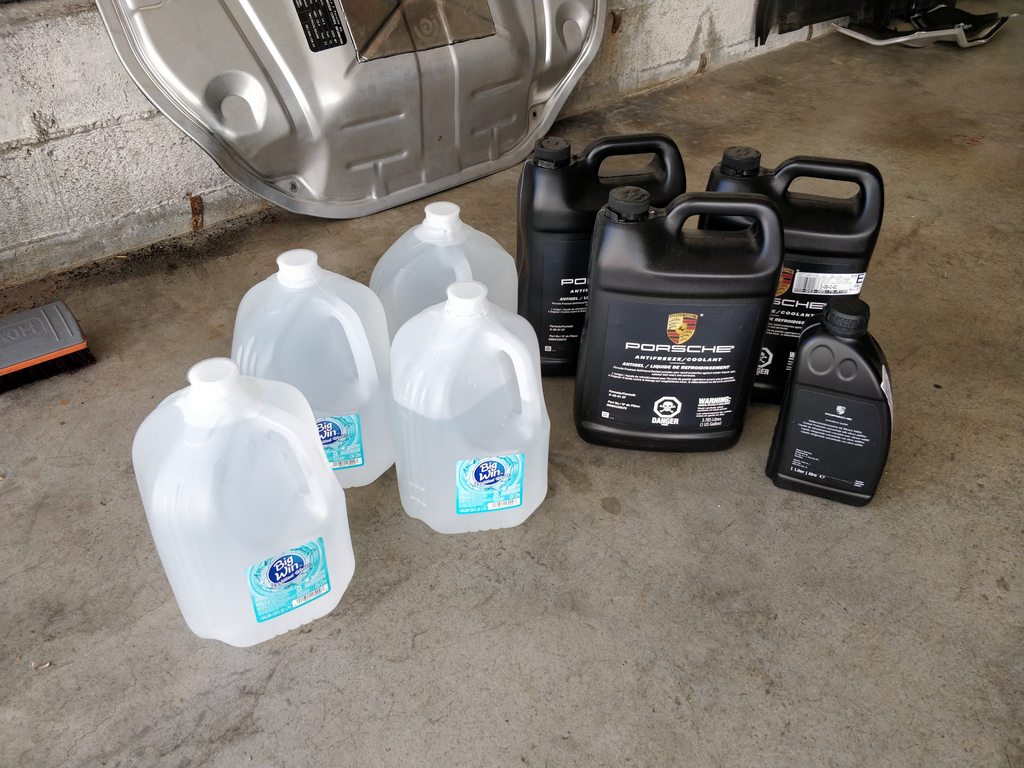
Tackled the last major item on my short-term to-do list with a new water pump, thermostat, and associated coolant flush. Dealer quote for this job: $1,890.
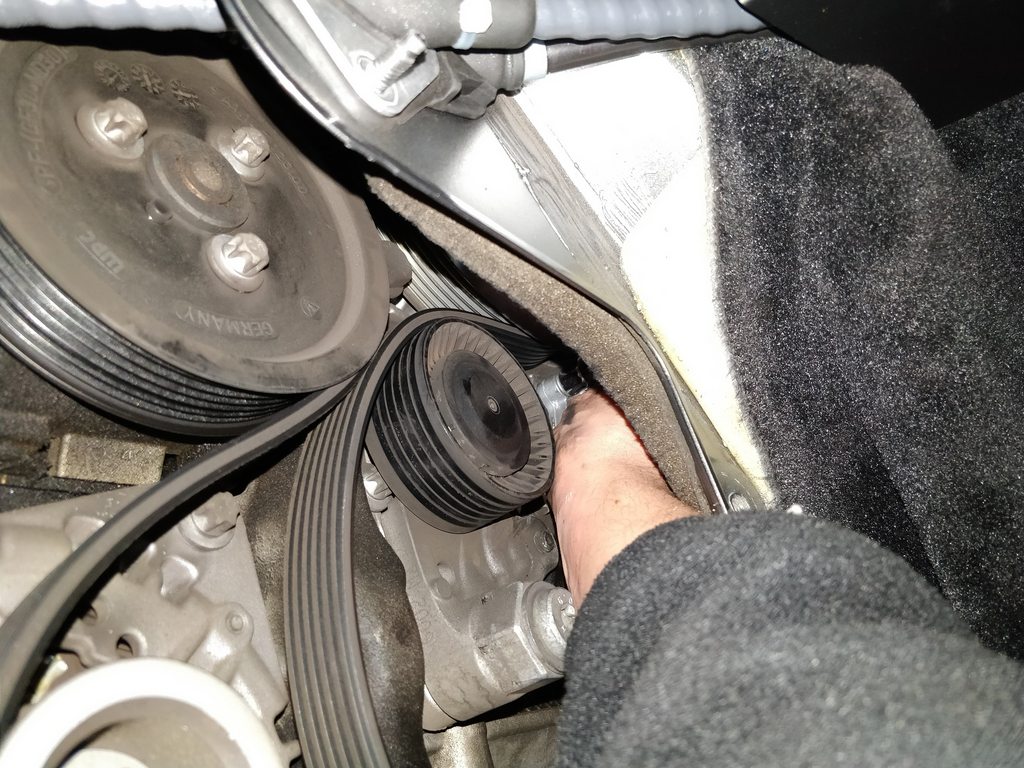
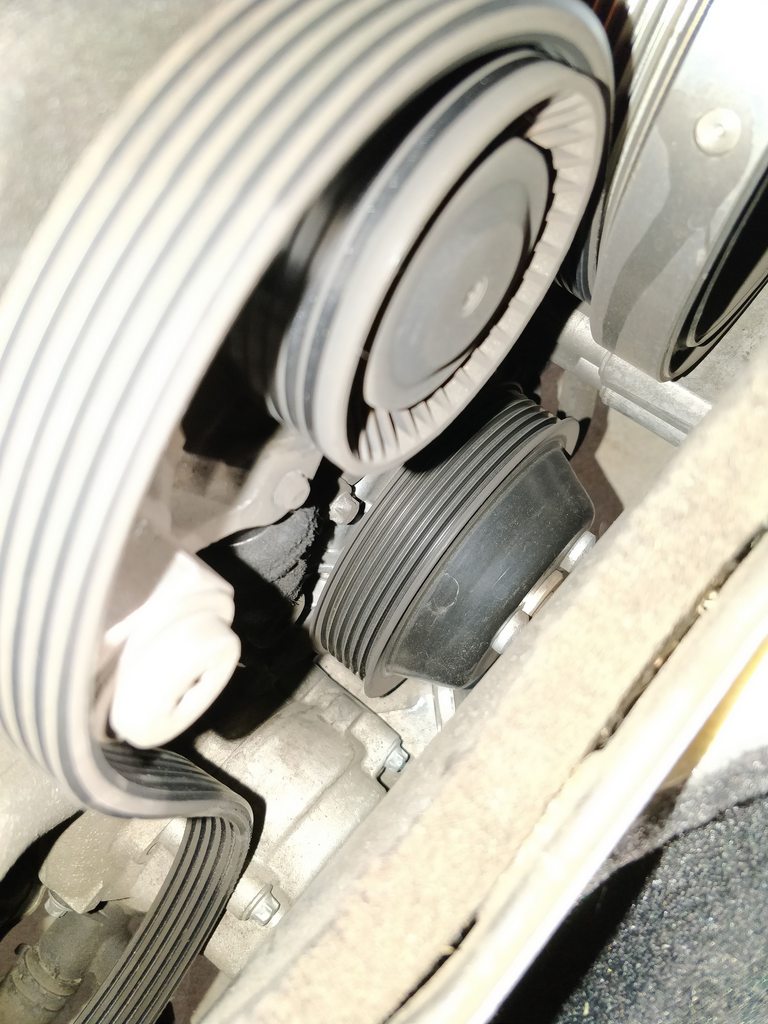
Engine covers removed and belt removed from the WP pulley.
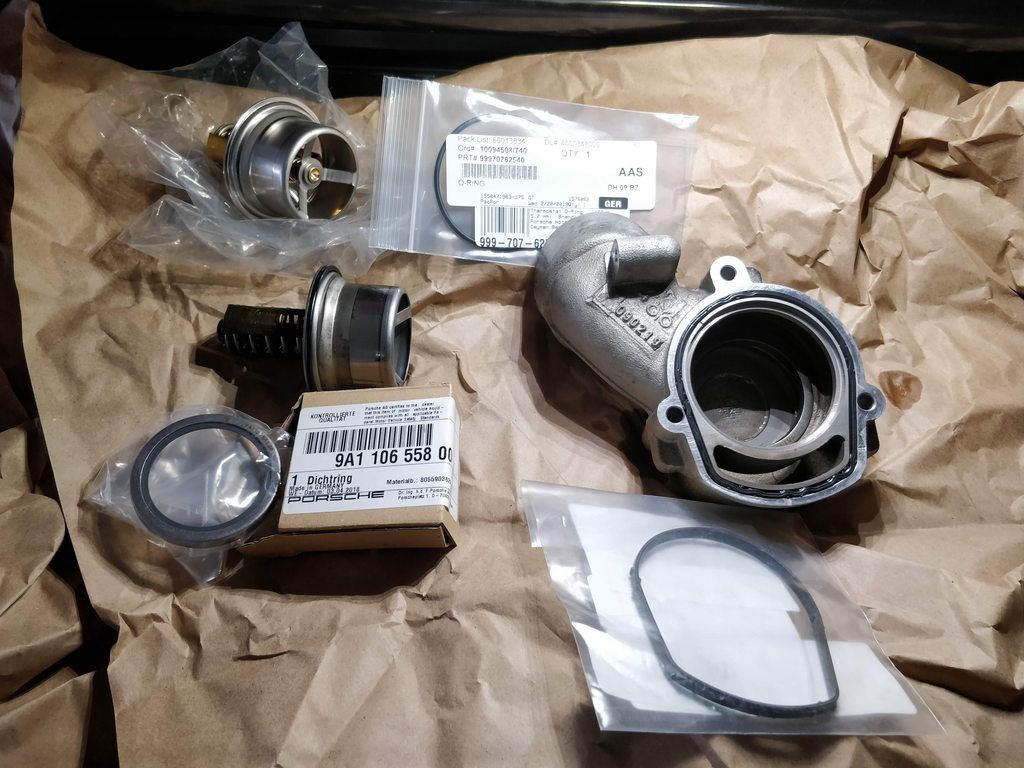
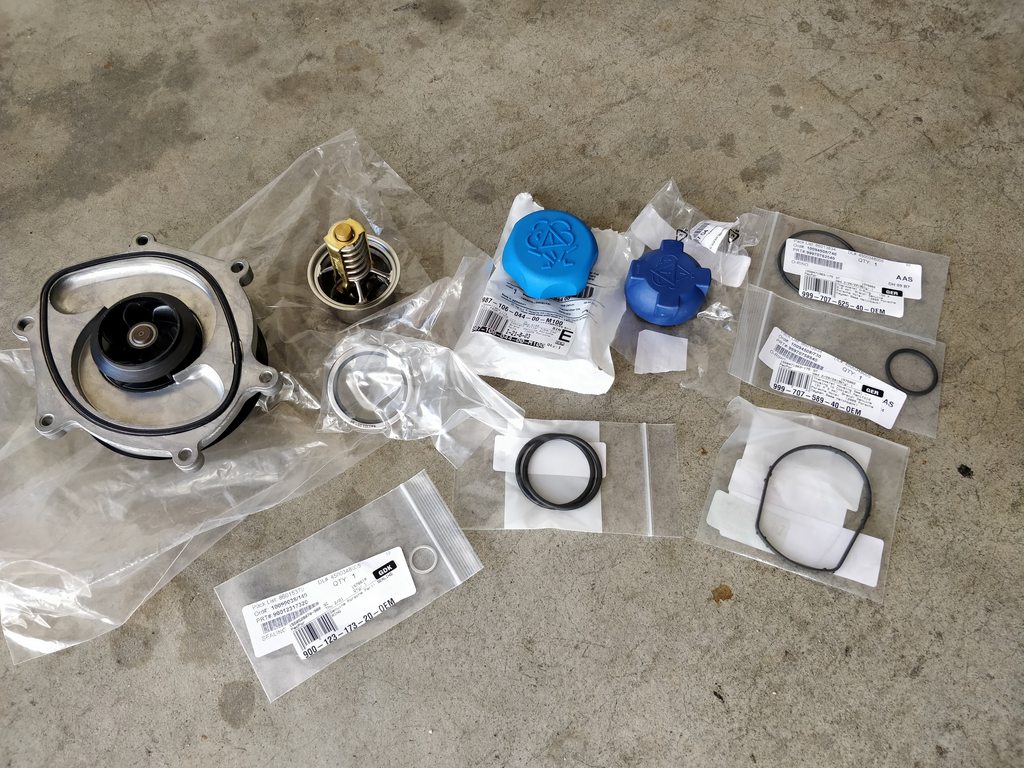
Supplies.
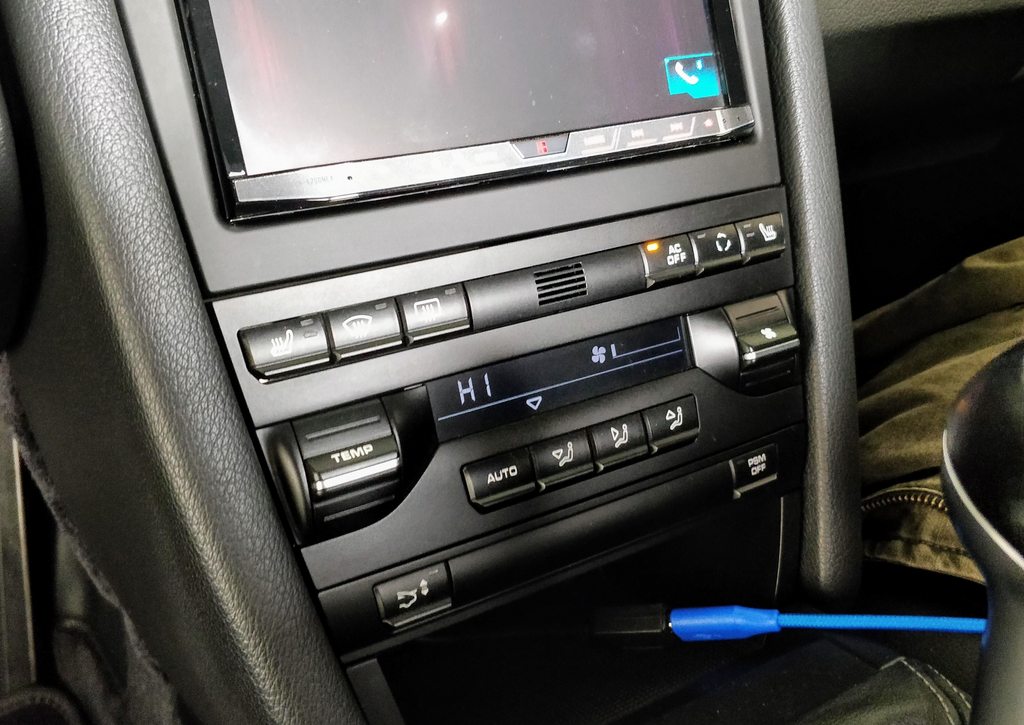
To ensure the coolant drains from the heater core, put the temp on high and fan on low.
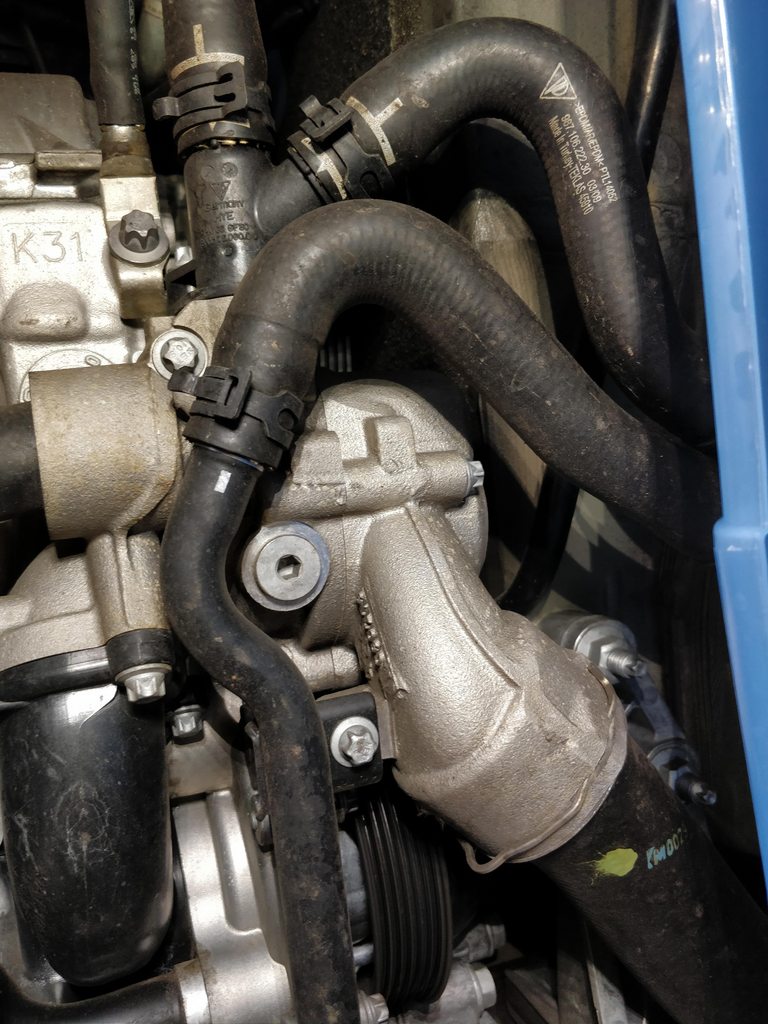
Coolant drain plug in the thermostat housing.
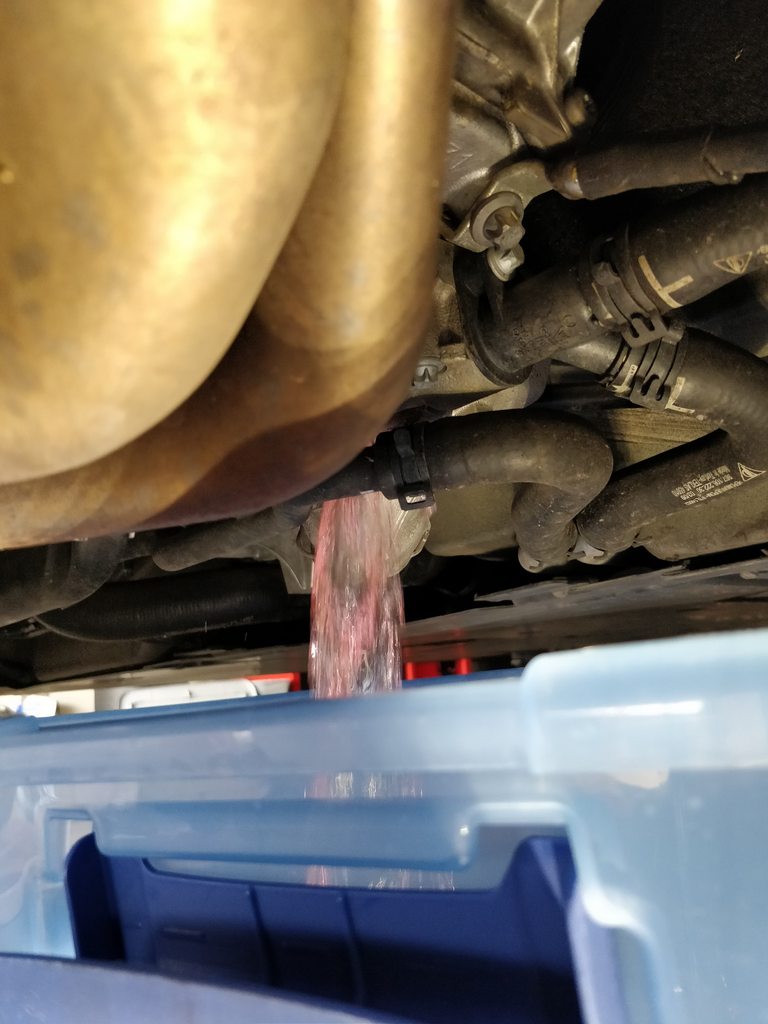
And we're flowing from the block.
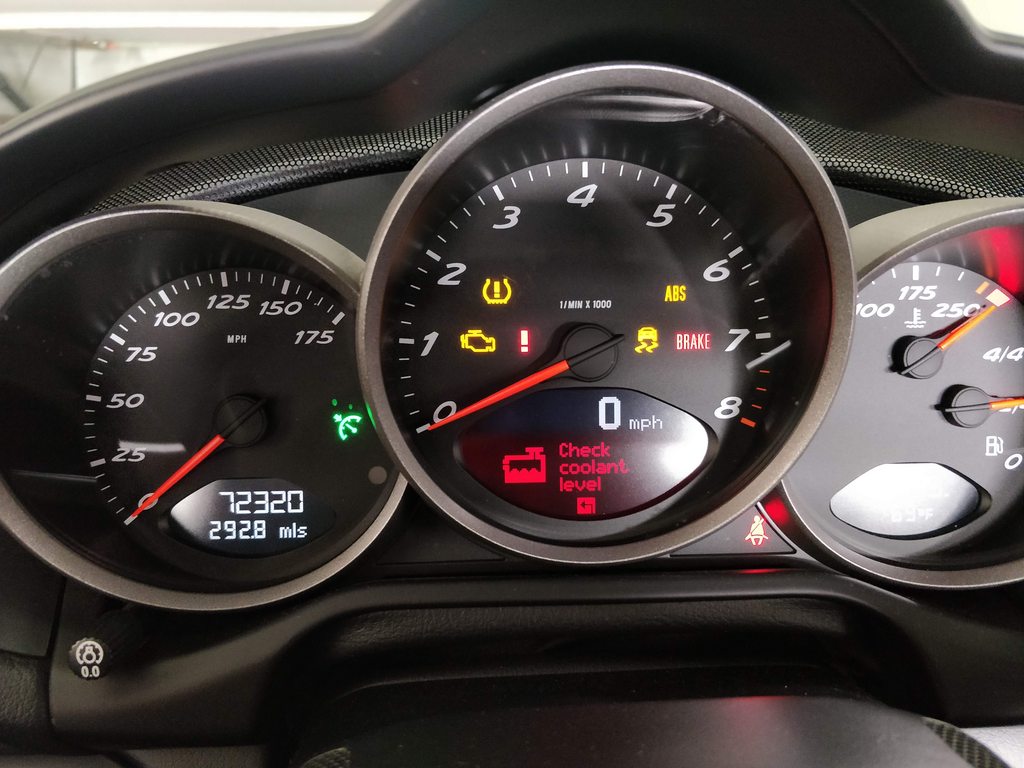
Good news: coolant level sensor works.
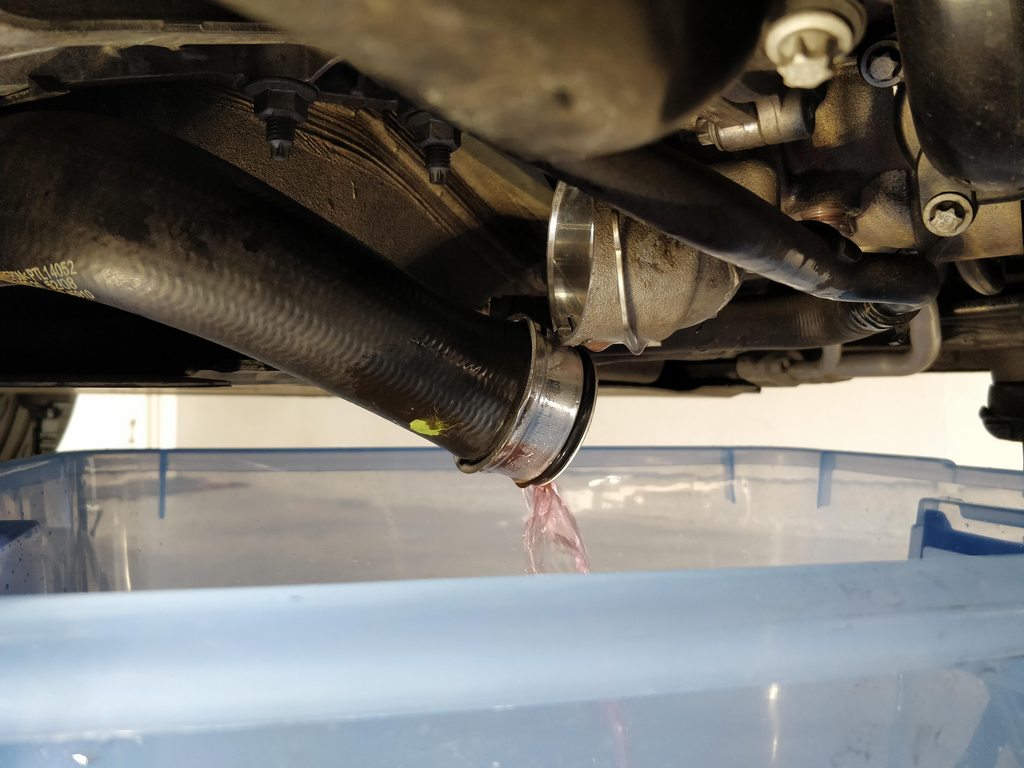
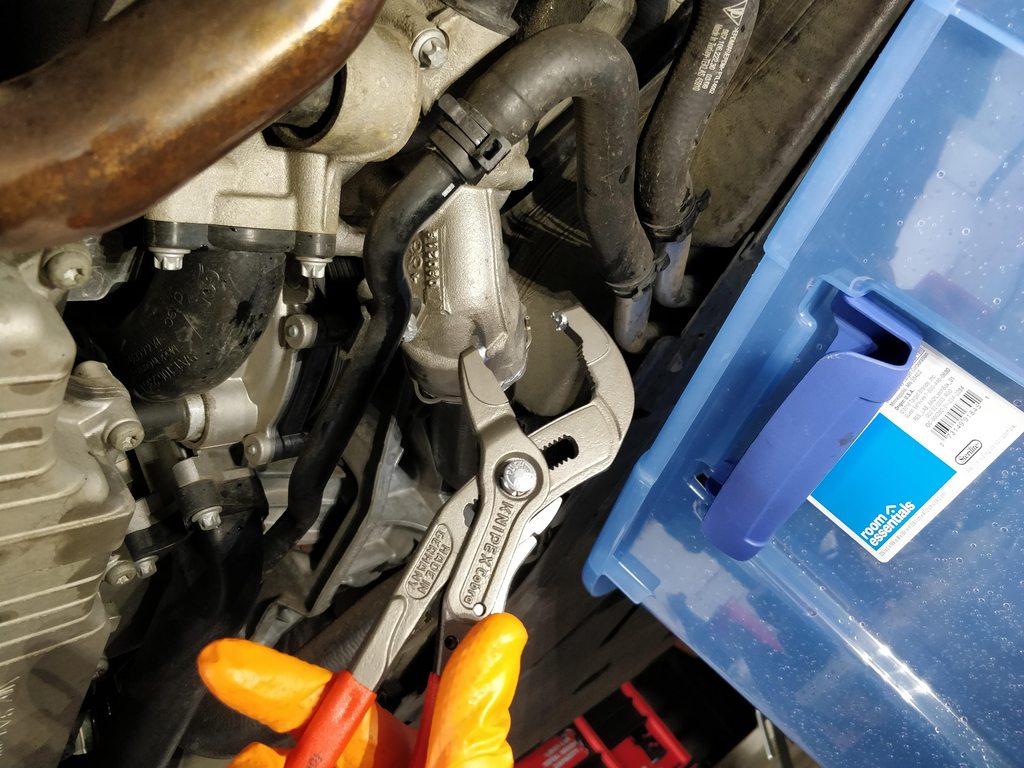
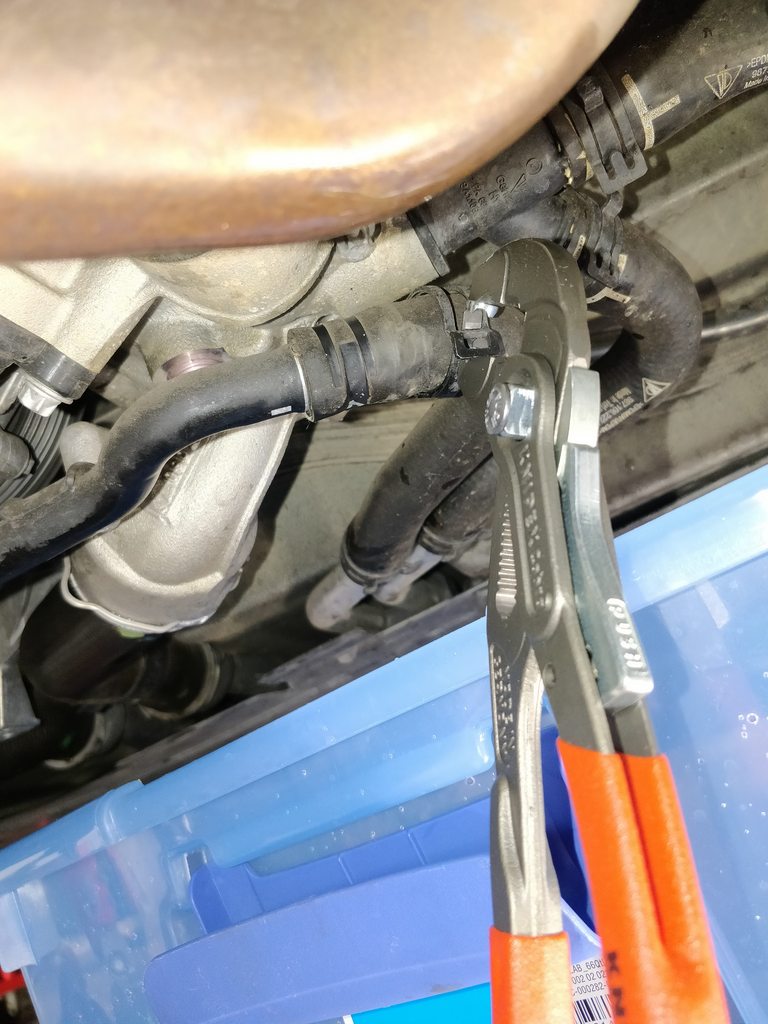
Loosened the supply & return hoses for the radiators.
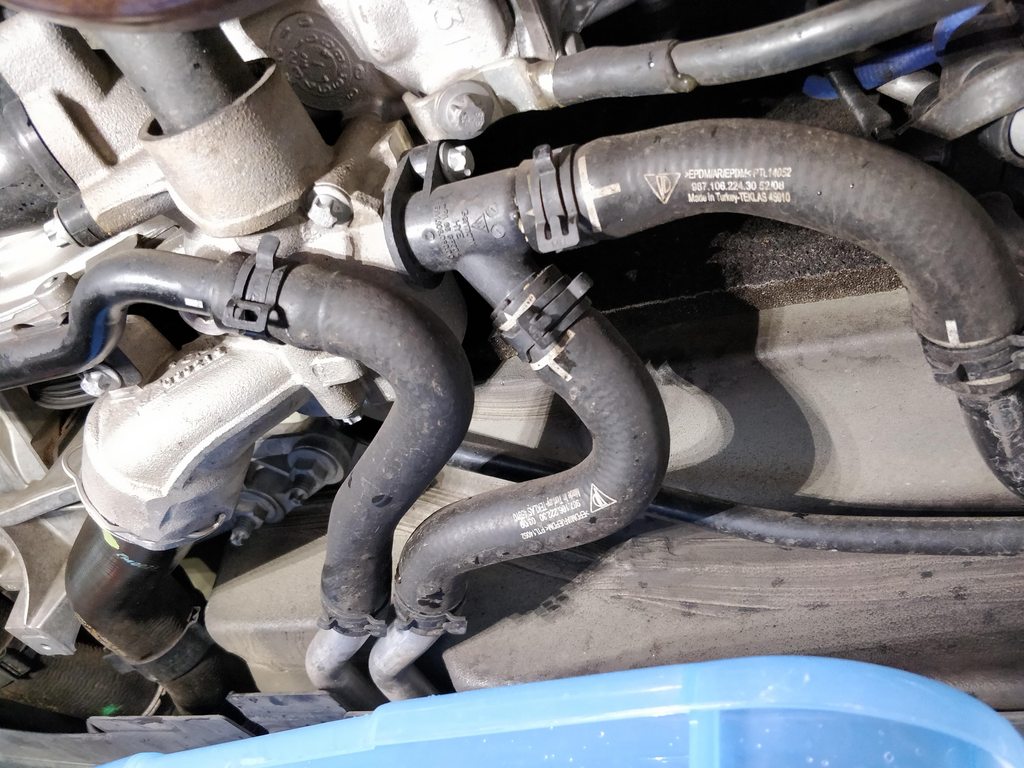
Need to loosen the clamps on the heater hoses for more drainage.
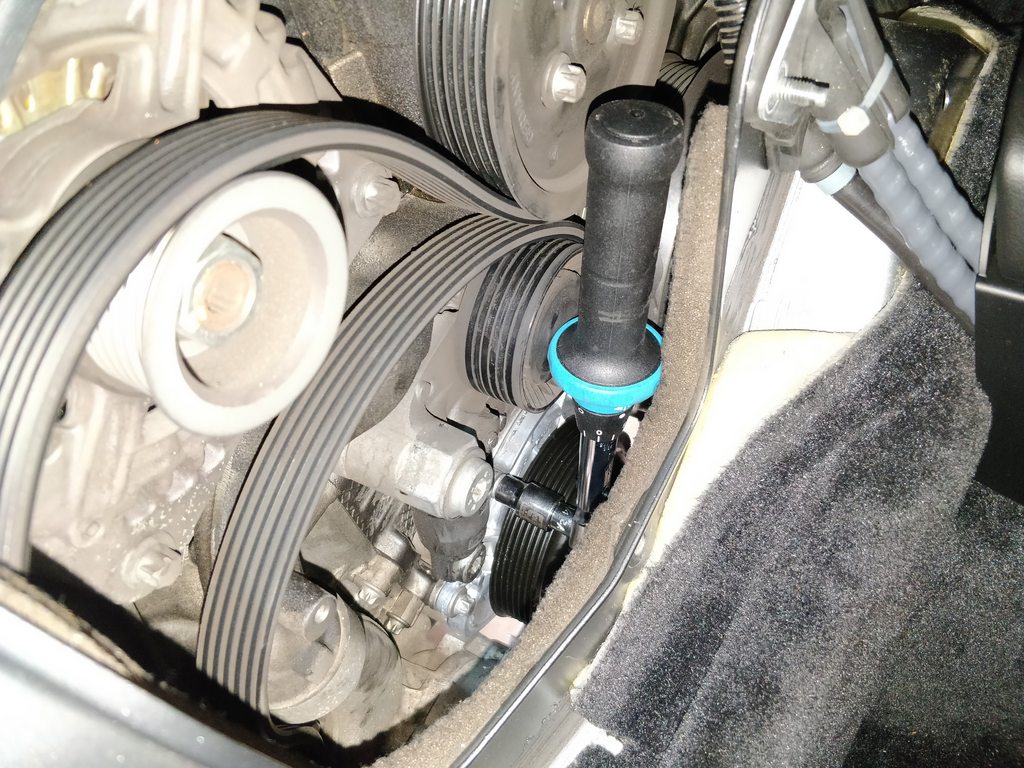
Piece of cake with the right tool.
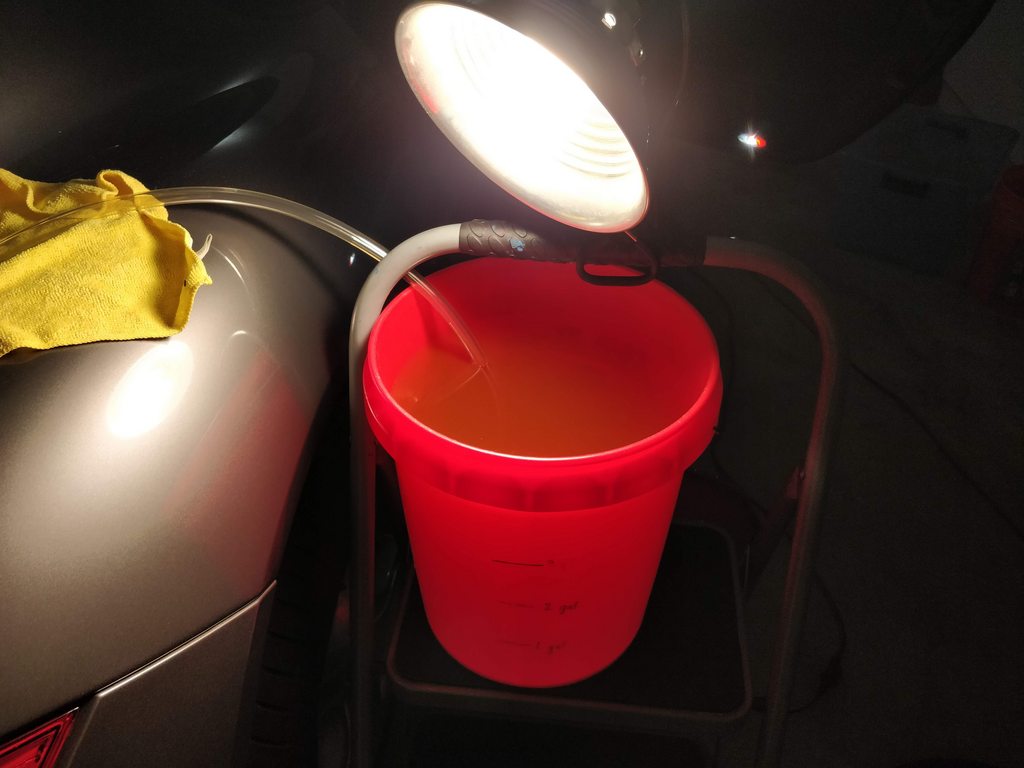
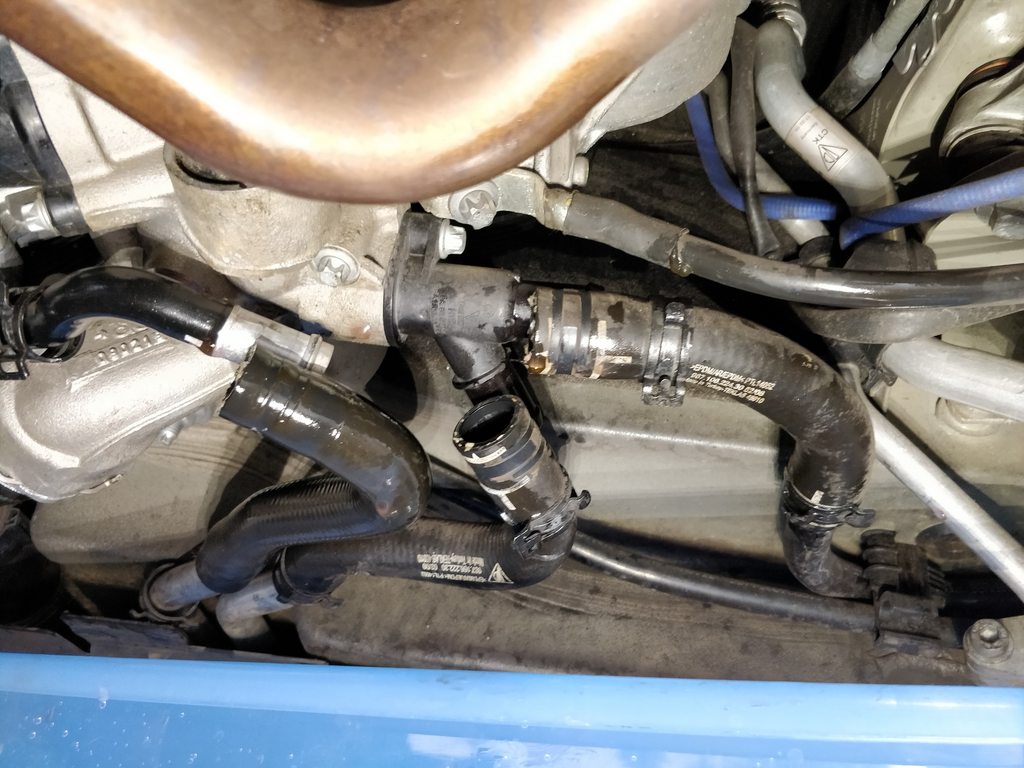
All told, I got a little over 4 gallons to drain out. Was hoping for more but didn't feel like trying to raise the front of the car without a center lifting point.
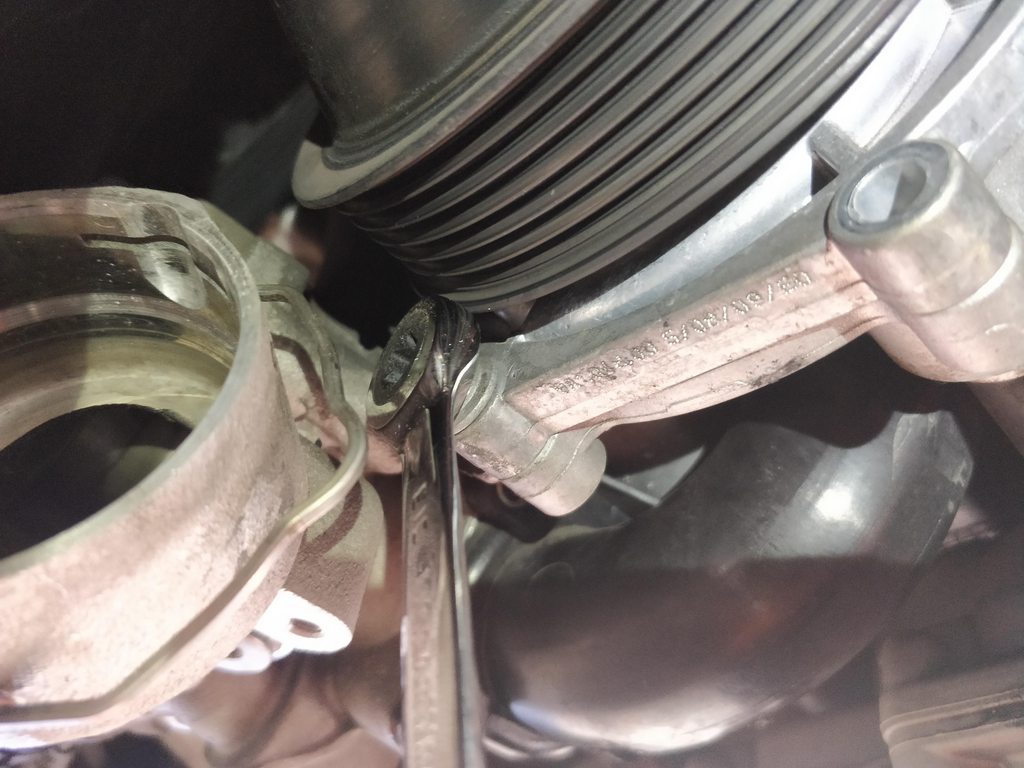
Now to remove the 5, E10 and 1, E12 torx bolt. I only had sockets which was a problem, so day 1 ended here. Ordered a ratcheting wrench on Amazon and started again the next day, so that's where we pick up this adventure.
Now we're cooking with fire.
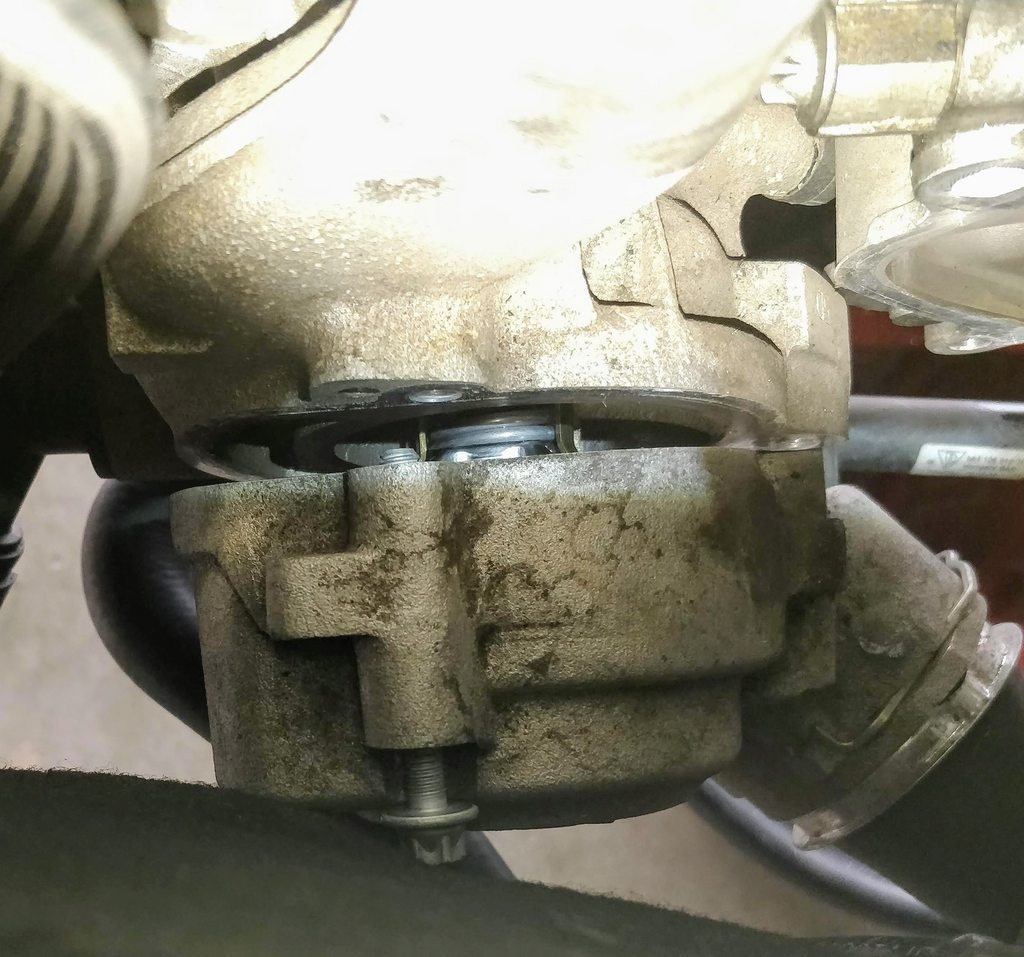
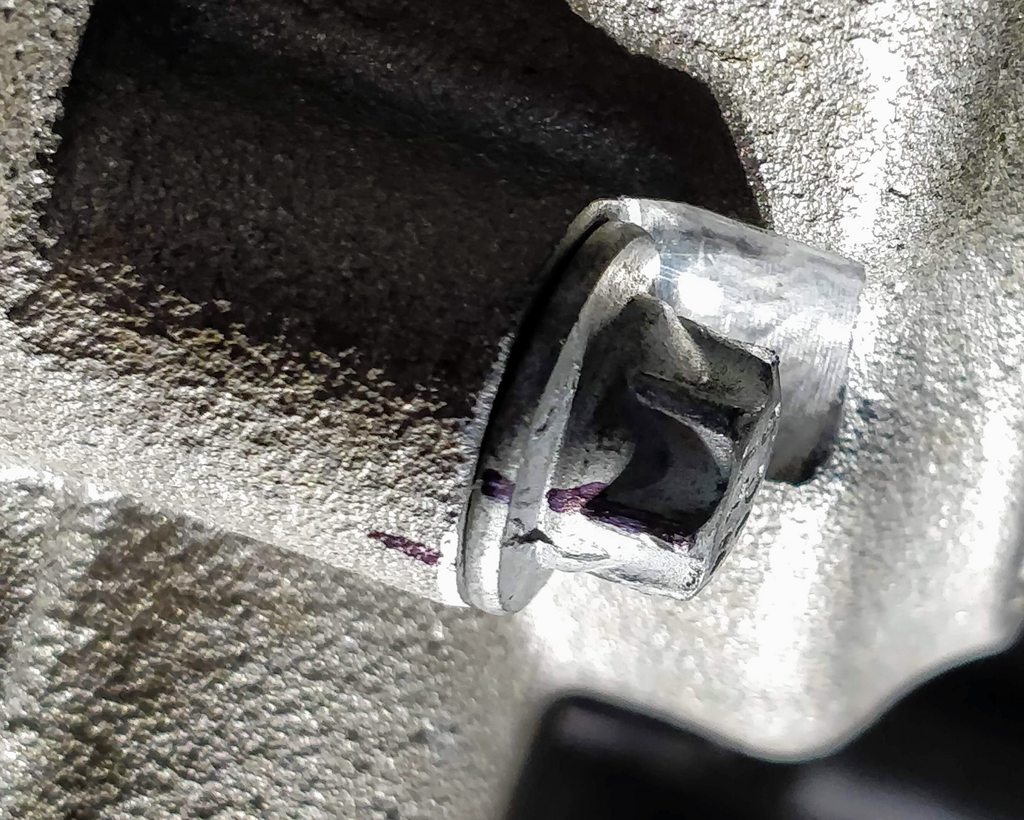
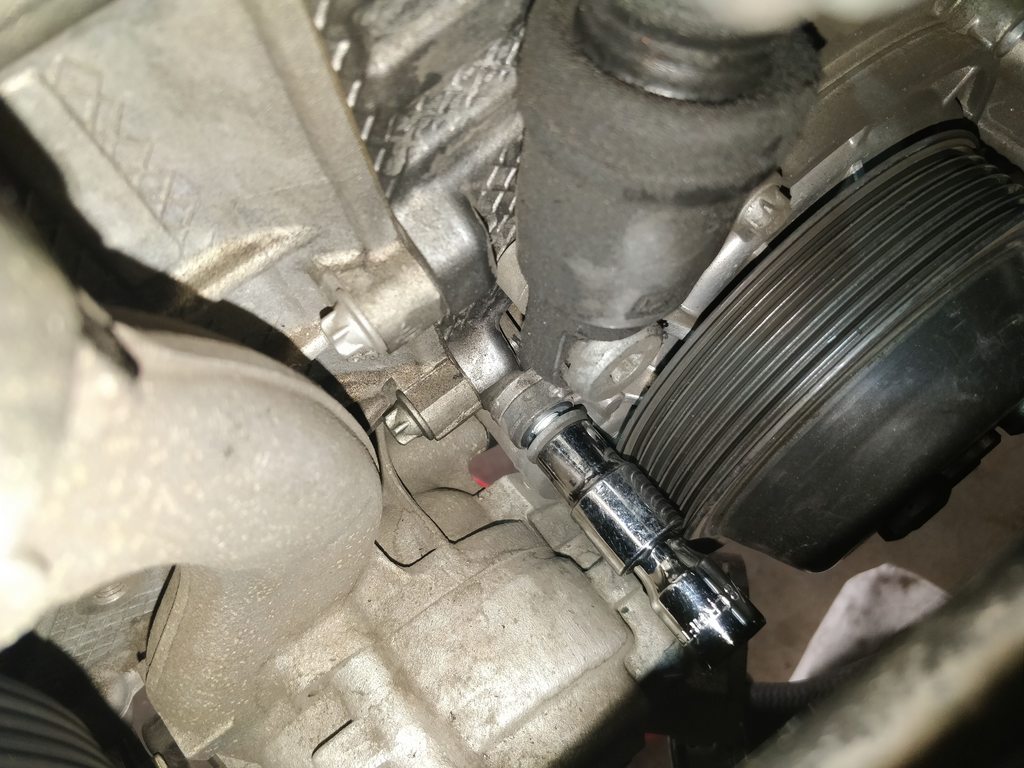
Removed the E12 bolt with relatively plenty of room.
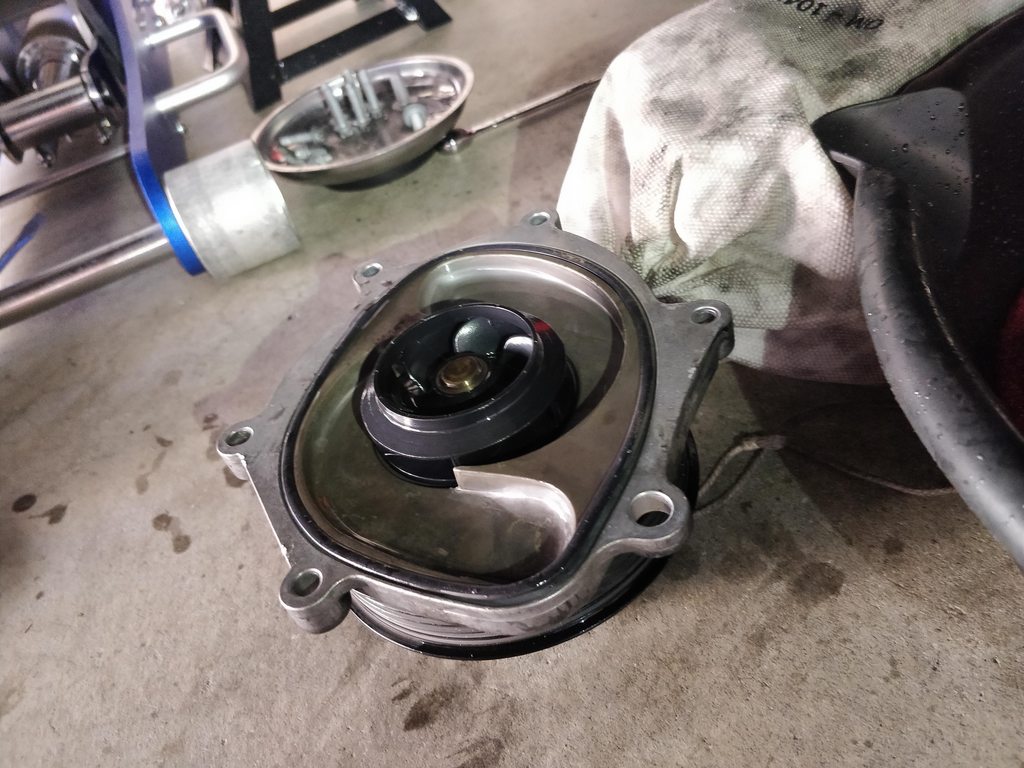
And it's out. Bearing actually felt OK, though compared to the new unit, there was just the slightest bit of play. Probably would've been fine for a while but no regrets on doing this now.
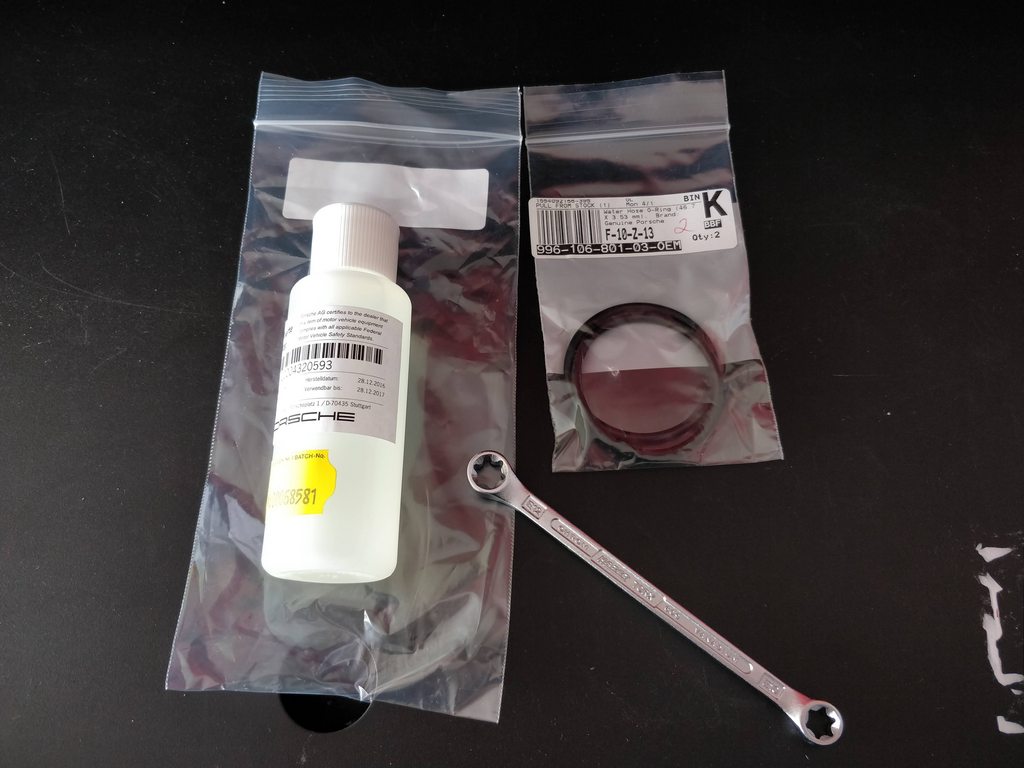
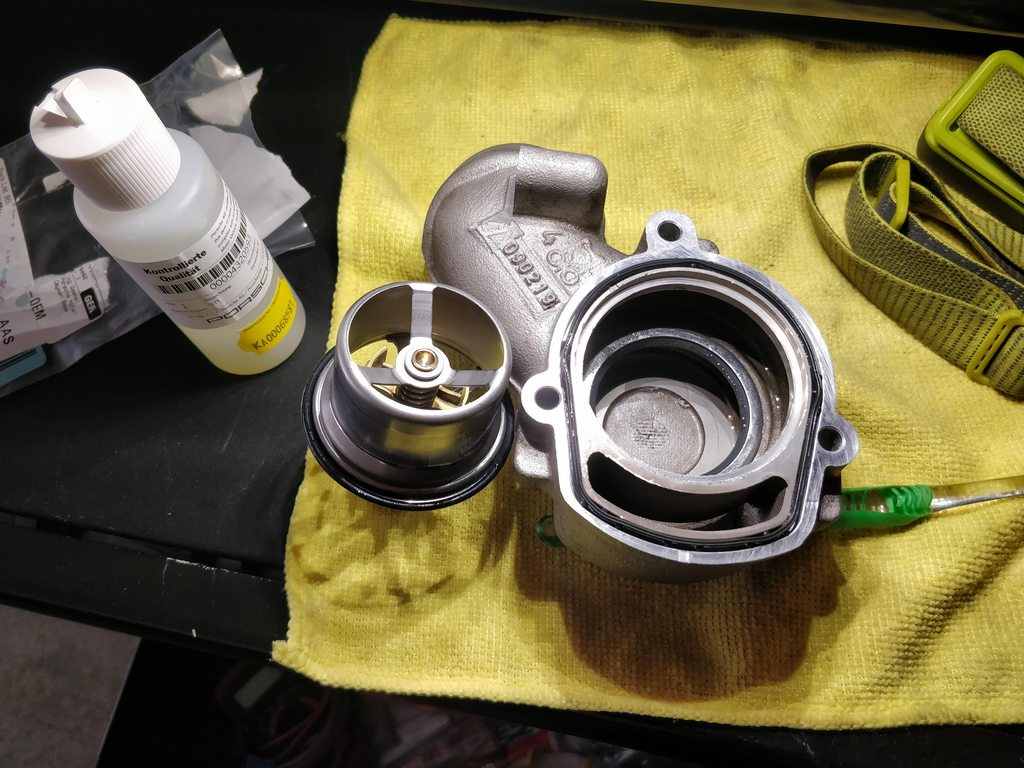
Now for the thermostat. Same E10 torx bolts, except the top one has such little clearance that my ratcheting wrench wouldn't fit. And so another purchase for a box-end E10/E12 wrench, plus the proper lubricant for the O-rings.
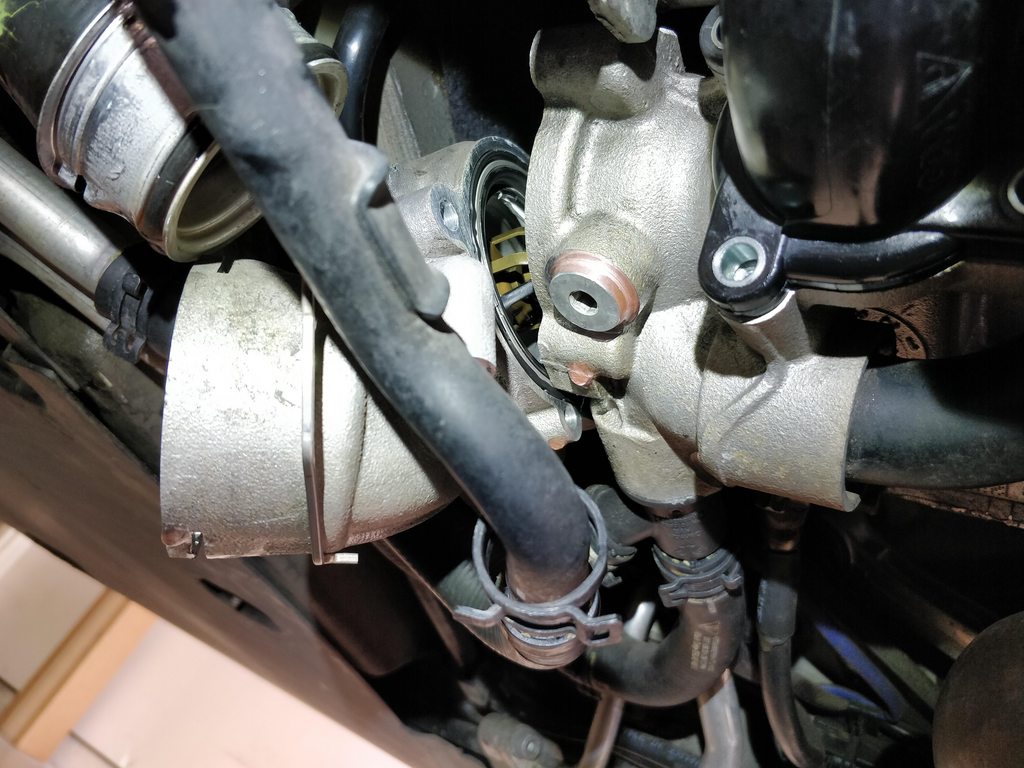
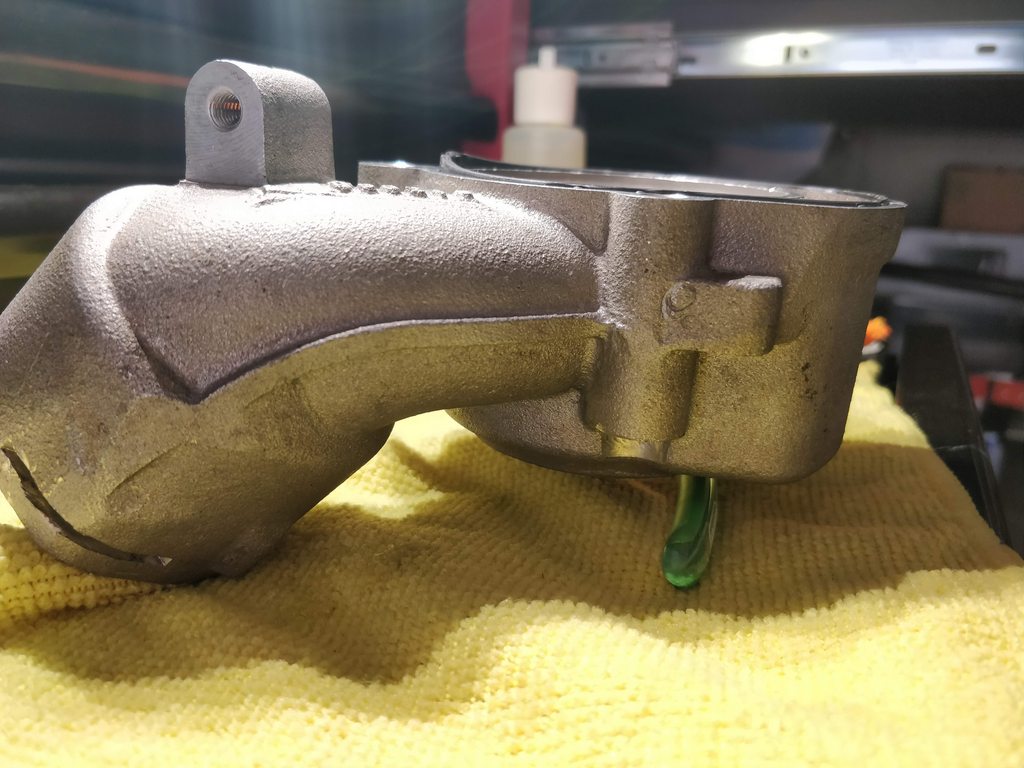
Thermostat coming out.
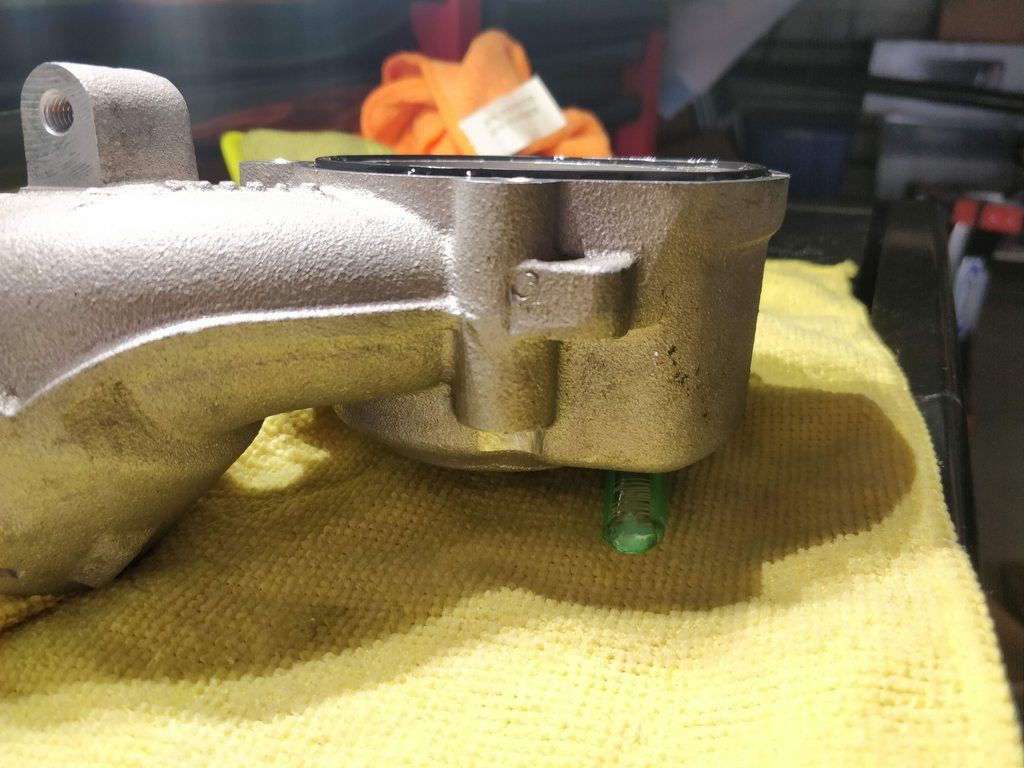
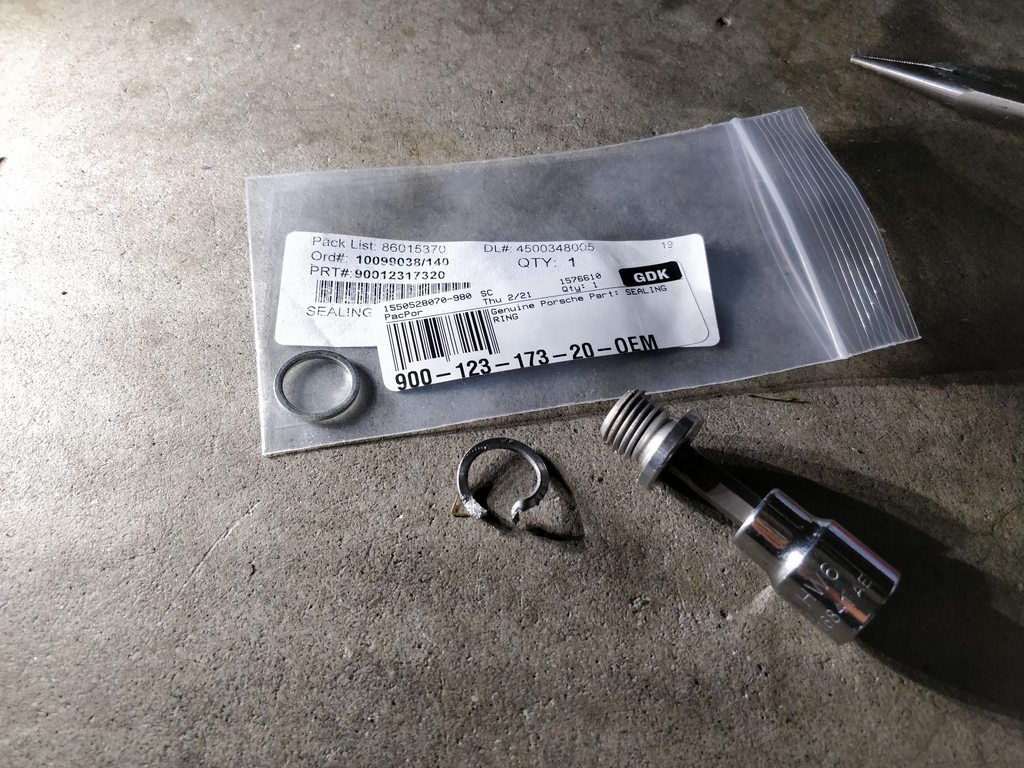
Alright, so you see that Dichtring in the lower left? Yeah...you could probably leave that in as its removal is a royal PITA.
I was being overzealous with my "change all rubber parts while you're in there" motto but pretty sure this wasn't meant to be a serviceable part. Tried picking it at, grabbing it with pliers, and I just couldn't get it to budge. I then decided I should just leave it, except by this point it was already too damaged.
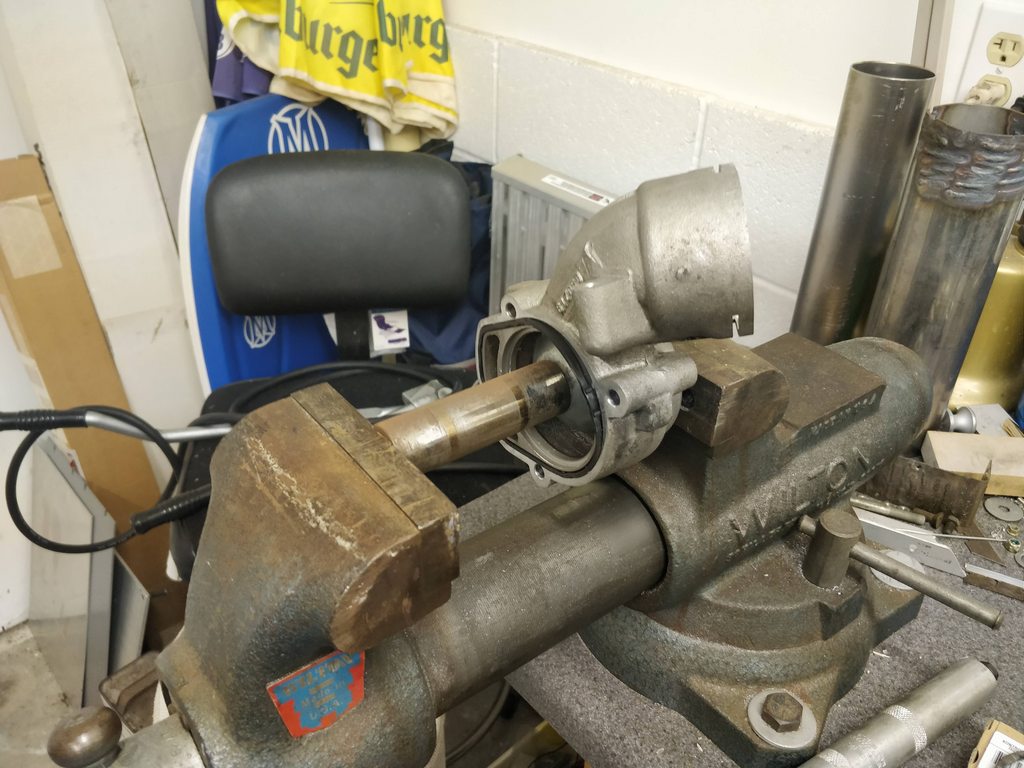
So went over to my buddy's place who's got way more tools than me, and ended up using this monstrosity to pull it out while using a vise to hold it. It's a slide hammer that he bought from Harbor Freight a long, long time ago.
Then to install the new one, we had to press it in while making sure it didn't get stuck as the clearance is really tight. So yeah, don't do this.
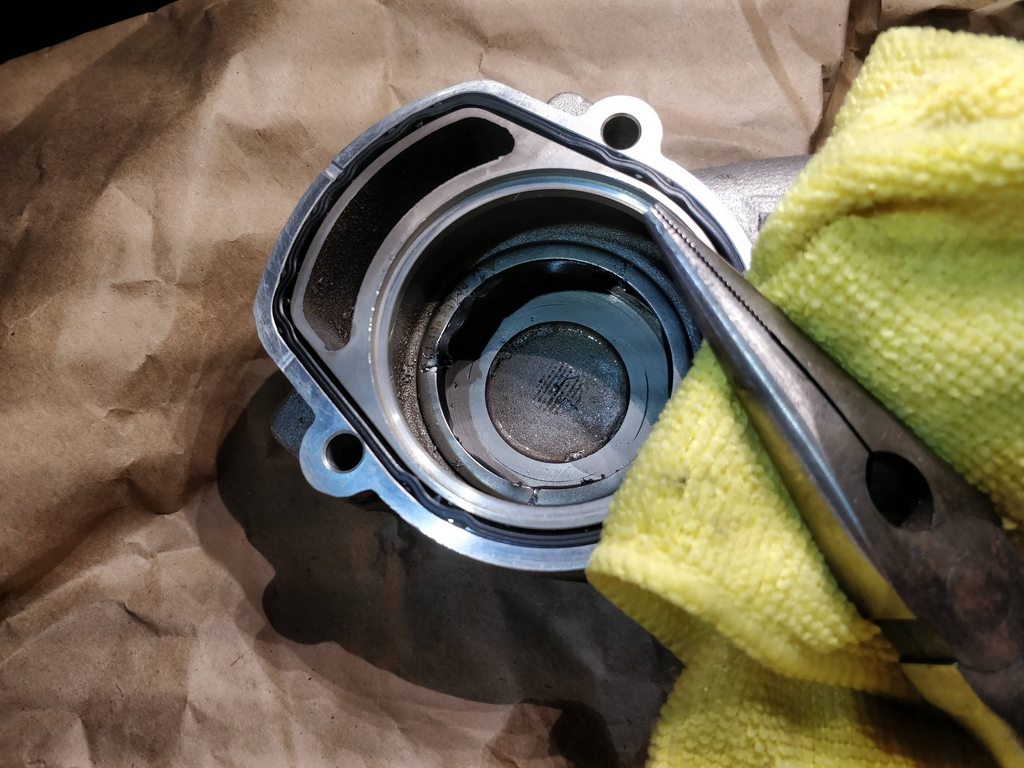
With that taken care of, back to my place and swapping out the housing seal.
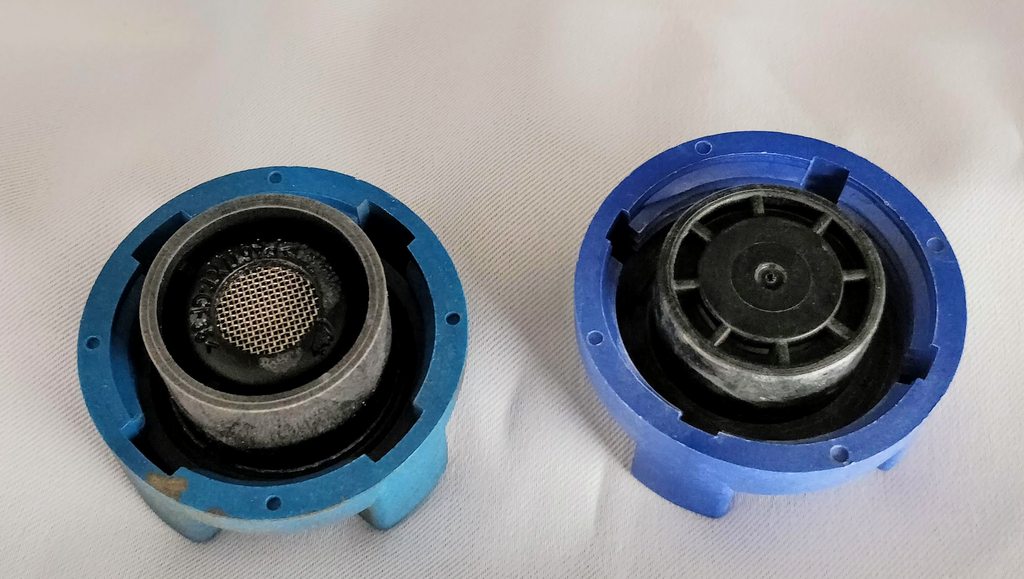
Old:
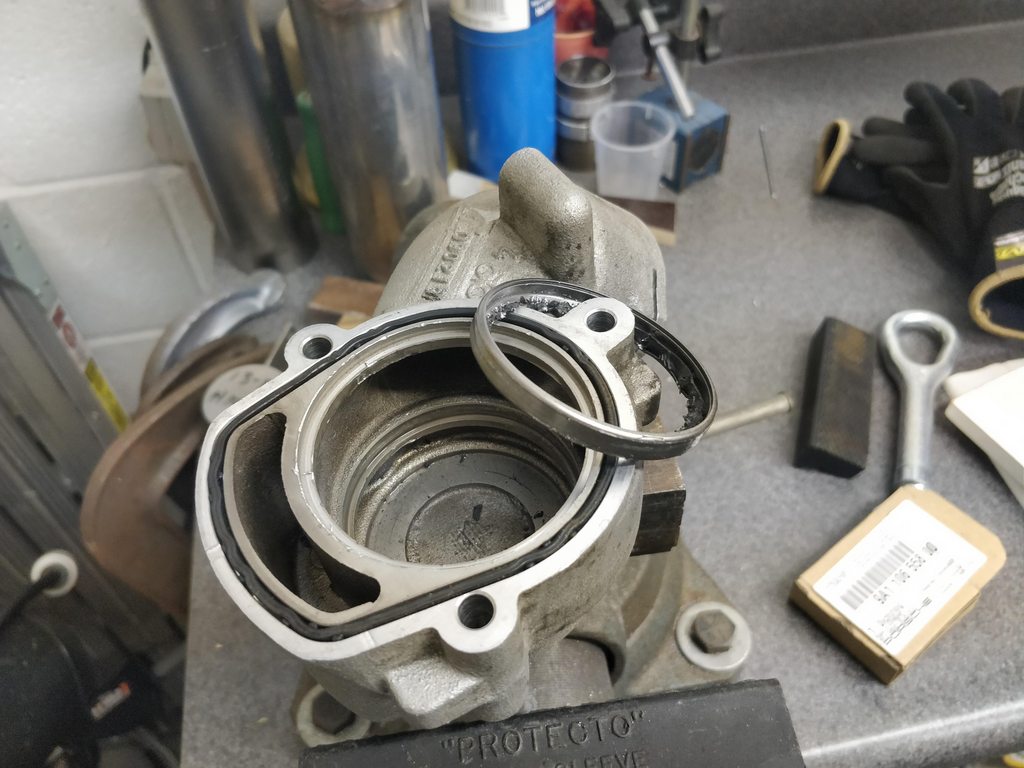
New:
Applied lubricant and replaced the t-stat O-ring too.
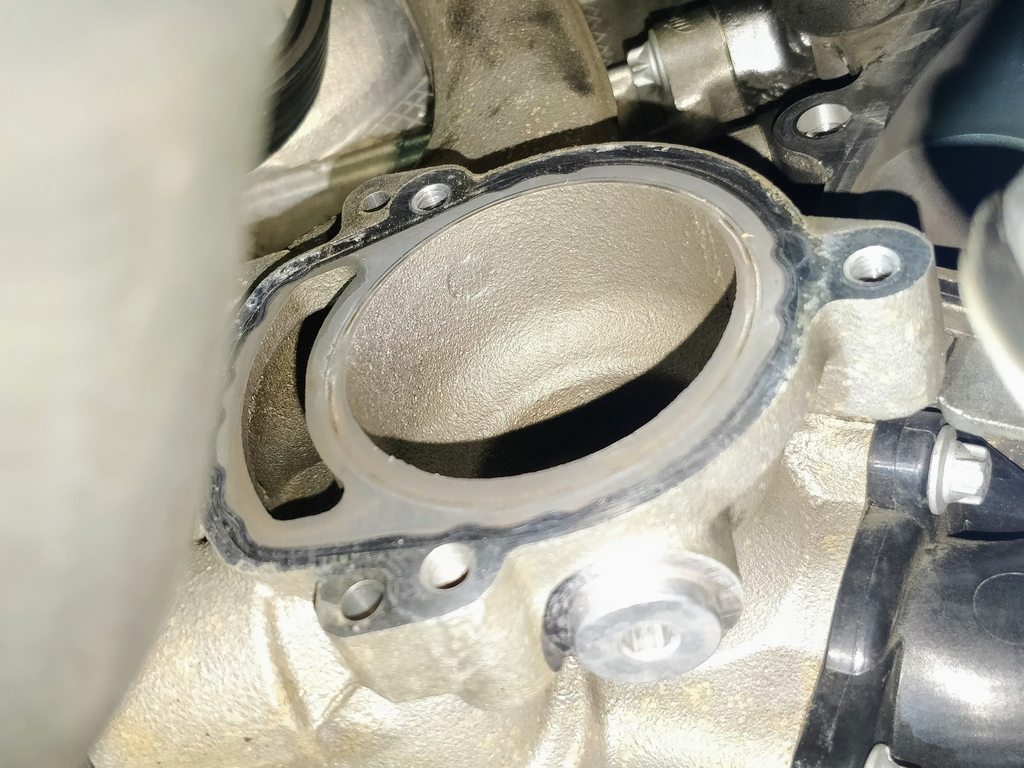
Cleaned up the mating surface with a razor blade and polishing pad (also did this for the WP connection).
Reinstalled the t-stat housing. Not wanting to spring for the $900 special torque wrench, here's what I did: I tightened the bolt where my torque wrench could access until it was snug, then marked it.
Then torqued to 13 Nm and observed I needed about another ~1/16 of a turn, so that's what I tried to duplicate for the other bolts with tight access.
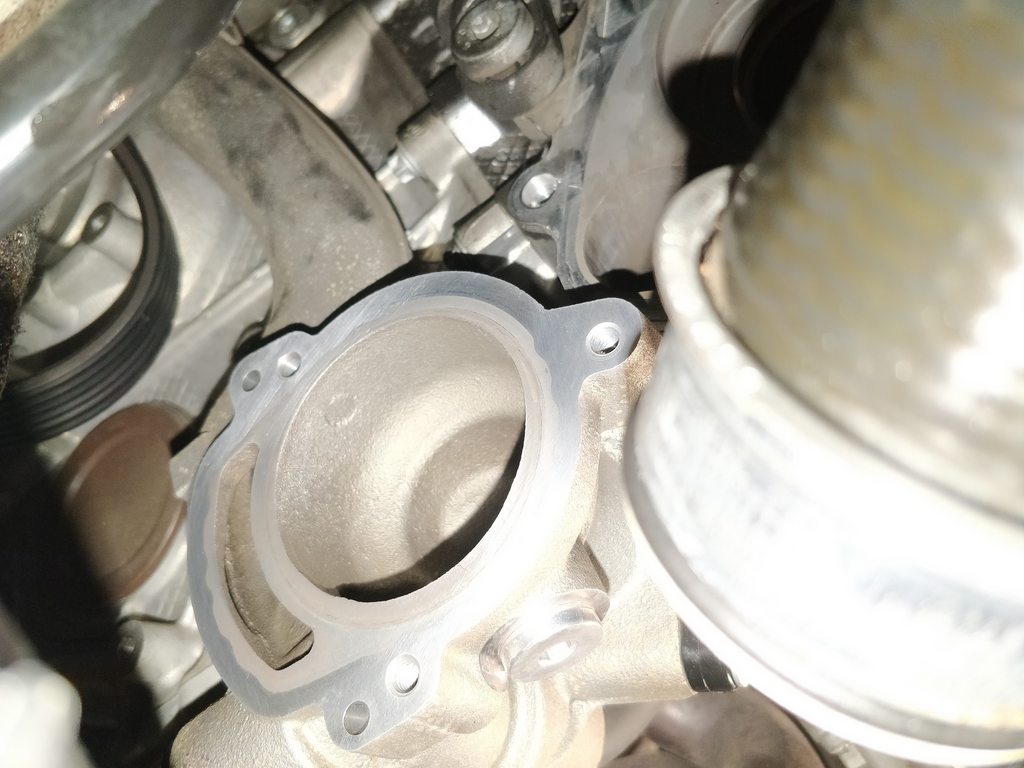
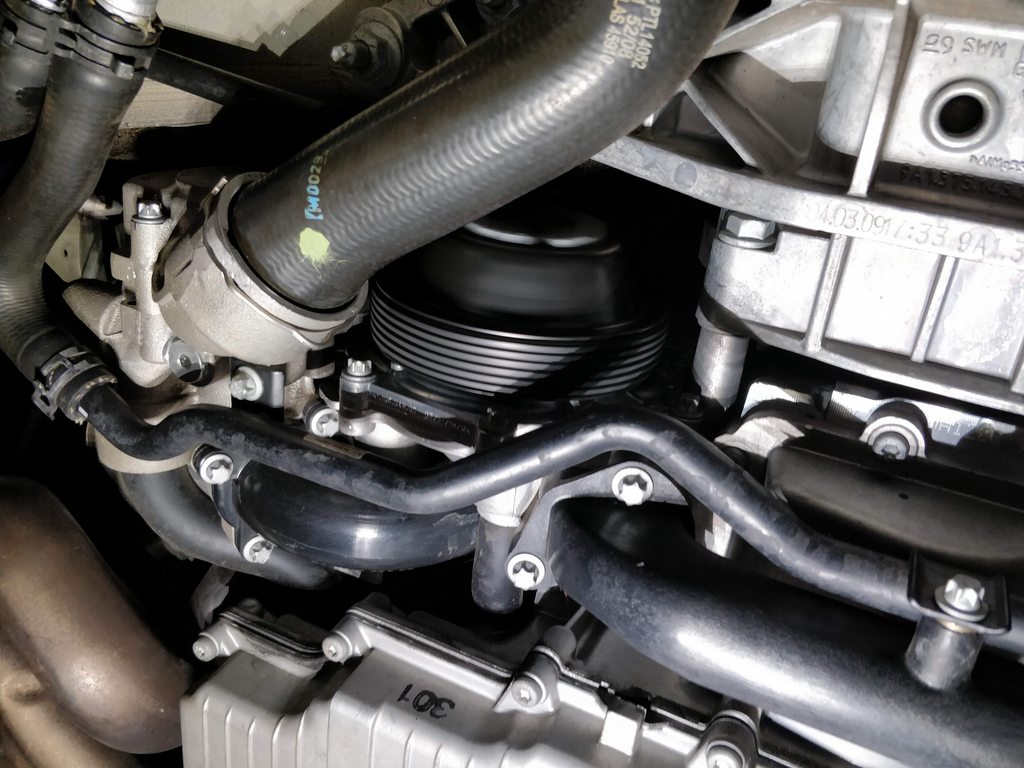
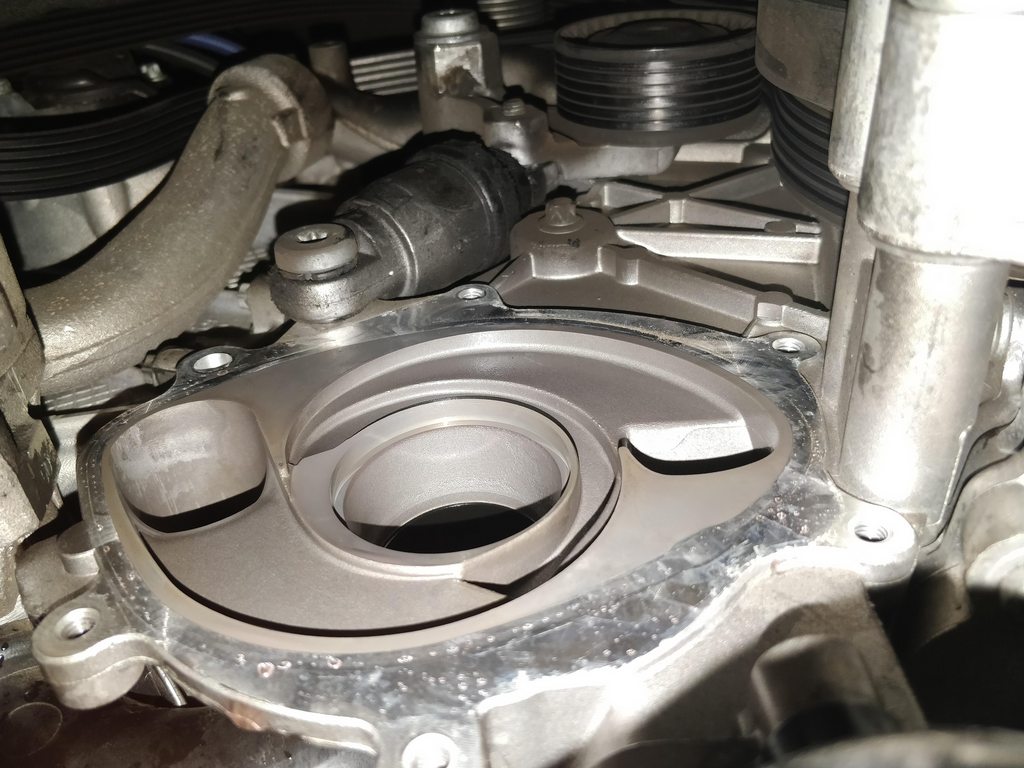
Getting ready to install the WP.
Plenty of room guys.
The aluminum crush washer for the t-stat housing had contracted to the point where I needed to cut it for removal. Couldn't find torque specs for it so went with 25 Nm.
Replaced the caps for the filler neck and expansion tank for good measure.
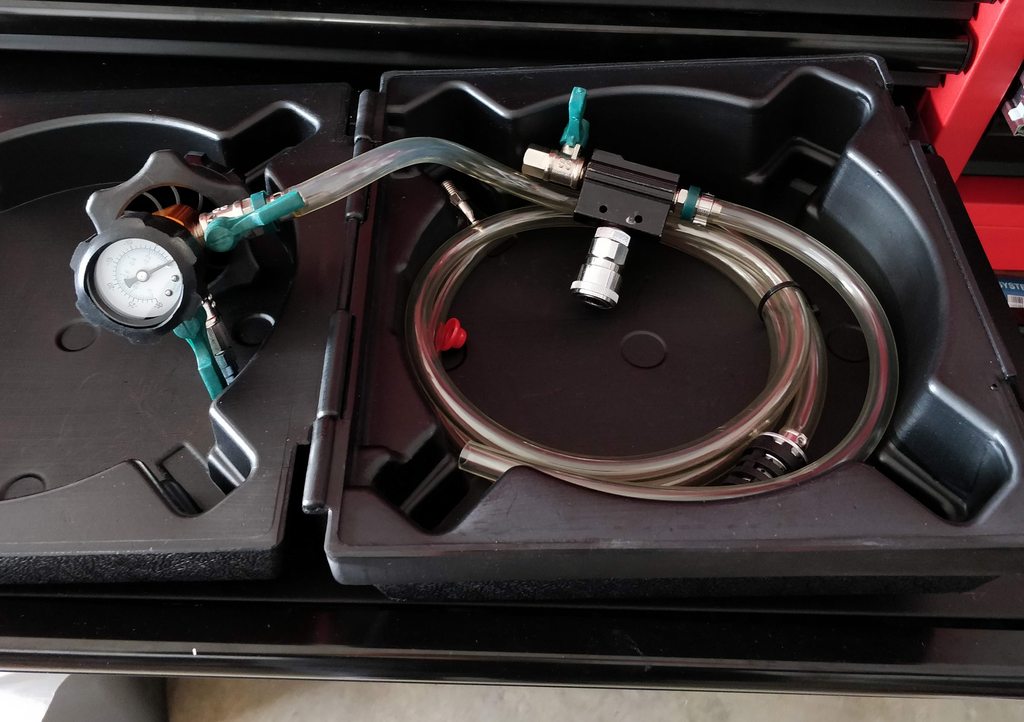
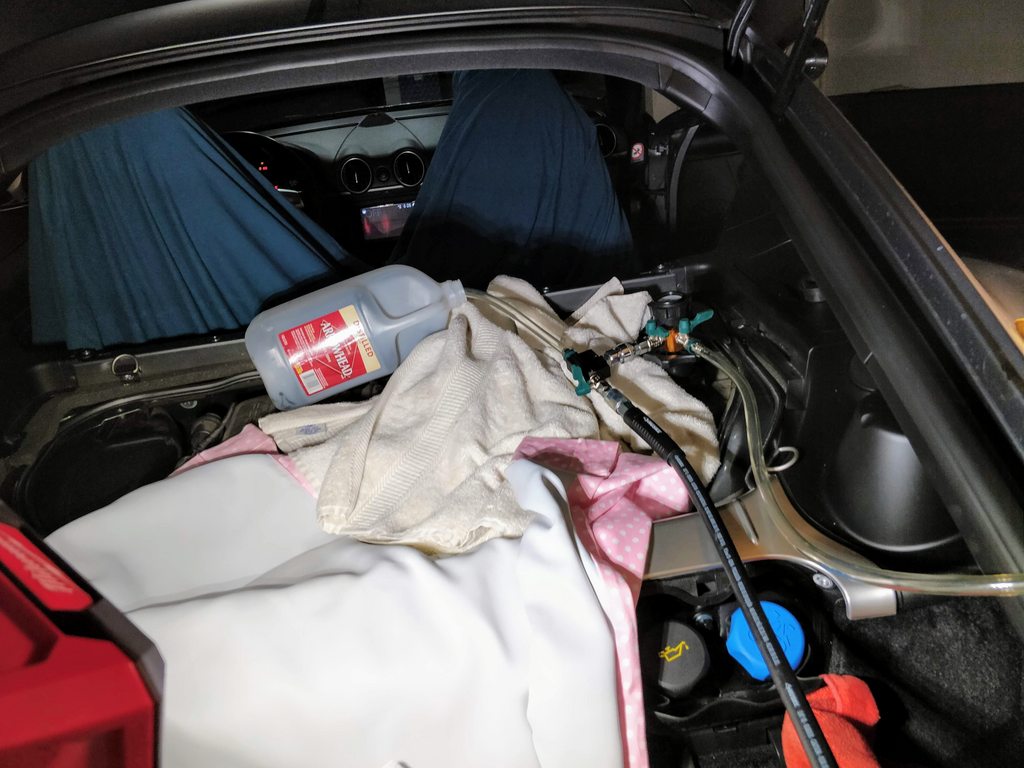
Bought the Schwaben purge/refill tool for drawing a vacuum on the system.
This was the original setup but I could never get a tight seal on the filler neck.
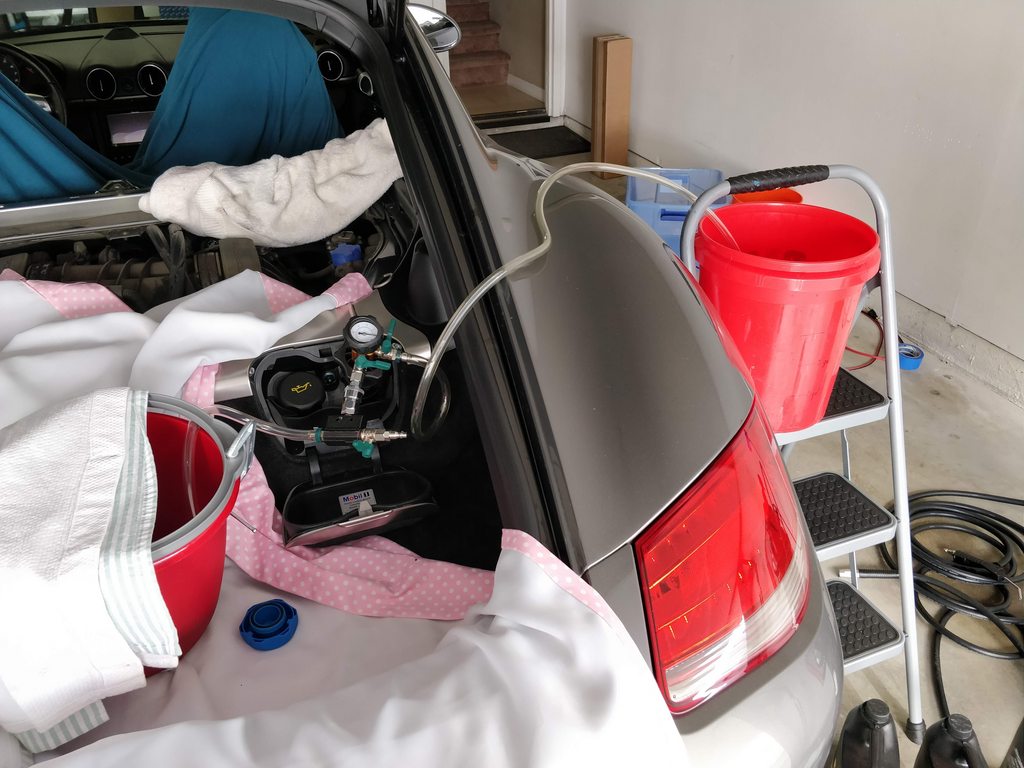
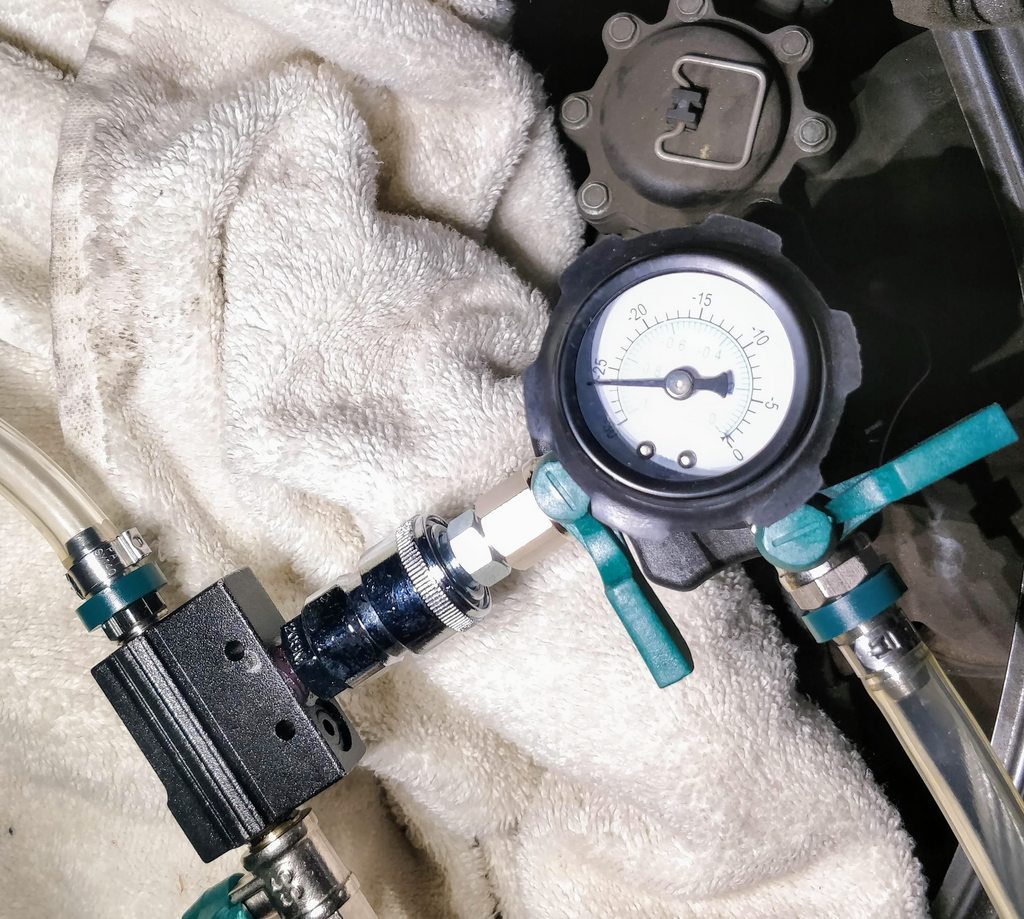
Ended up having to use the expansion tank instead which worked easily. Was able to pull -26 in-Hg and hold it steady for 2 minutes. No leaks!
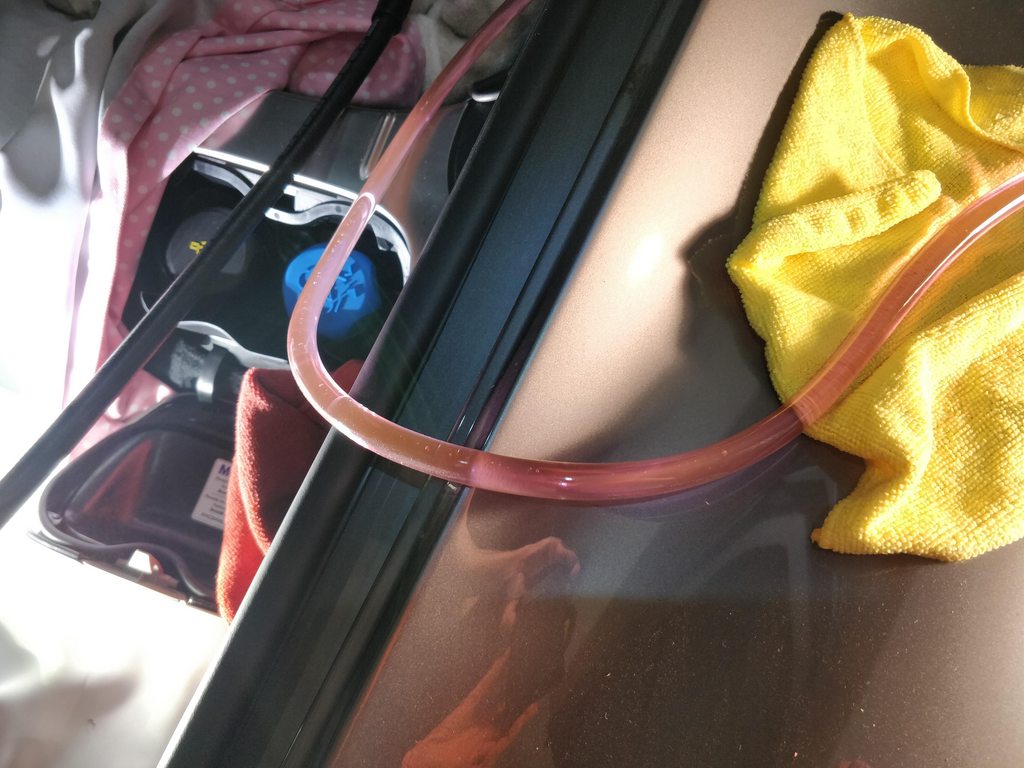
Then opened up the suction valve and starting filling it up.
I'm heading up to NorCal this weekend via 101/33/58/229 and then I'll be taking PCH on the way back. Then I'll decide on what to do with the suspension.
I'm heading up to NorCal this weekend via 101/33/58/229 and then I'll be taking PCH on the way back. Then I'll decide on what to do with the suspension.
That will be a fun drive! Definitely post back when you have had a chance to play with it on the twisties.
BTW - There is a pretty good option on the key fob fix for anyone who is, perhaps, a little less adventurous.
Background: One of my original keys finally came apart so many times, pieces of plastic were actually missing. Tragedy was just one more 'drop' away. No more. Found this and couldn't be happier with the work. If your key still works, but the case is cracked, falling apart, and not staying together... it is a great option.
Got my reworked key back in days. It maintained coding to the car, looks absolutely perfect, and solved the problem... all at a fraction of the costs required for dealer replacement.
No commercial interest, just a very happy customer.
Catching up on this thread and just wanted to say... bravo. Dialogue and pictures are awesome. Thanks for taking the time to document these items.
Thanks! I do this for all my cars and it's always fun to look back and remember everything I've done. It also helps for future buyers to see how I've treated the car.
Originally Posted by Marine Blue
That will be a fun drive! Definitely post back when you have had a chance to play with it on the twisties.
Will do, however this morning I discovered a ticking noise that sounds like a stuck lifter. It's silent at idle and audible when I raise the RPMs. Sounds like it's coming from the frunk which doesn't really make sense. Gonna have a co-worker rev it while I stand outside. Hoping it's nothing serious as I've been really looking forward to this trip. All the work done so far was in preparation for it.
BTW - There is a pretty good option on the key fob fix for anyone who is, perhaps, a little less adventurous.
Background: One of my original keys finally came apart so many times, pieces of plastic were actually missing. Tragedy was just one more 'drop' away. No more. Found this and couldn't be happier with the work. If your key still works, but the case is cracked, falling apart, and not staying together... it is a great option.
Got my reworked key back in days. It maintained coding to the car, looks absolutely perfect, and solved the problem... all at a fraction of the costs required for dealer replacement.
No commercial interest, just a very happy customer.
I did that with my key. Looks and feels better. However, I lost all my auto unlock and trunk open functionality.
I'm heading up to NorCal this weekend via 101/33/58/229 and then I'll be taking PCH on the way back. Then I'll decide on what to do with the suspension.
Not sure if your canyon drive has made an impression one way or the other about your suspension. If I had to do this again, I would start with Ohlins R&T coilovers and their basic spring setup of 400 lb/in f and 458 lb/in rear. They are valved for this spring rate and work very well. Some Ohlin owners who do not track their cars feel the fronts are a little stiff, that info coming from Pistonheads in England, where their back country roads are very twisty, but not too many pot holes. They feel that 350 lb/in in front is more appropriate for this car and its weight bias. Ohlins do not have helper springs, so the preload is important to get right as you want a little to assure when in the air, the spring still has some tension, to assure a smooth landing.
I would also recommend a solid thrust puck in the middle of your lower control arm as well as the inner bearing replaced with a stiffer bearing material. If not needing a lot of camber from the LCA's then sticking with your OEM arms work very well. Lastly, if you go this coilover route and lower the car, you most likely will need adjustable down links (helps keep preload out of the swaybars) and adjustable rear toe links to get the toe in within your prescribled range. Corner balance really helps the balance of the car, which can be done just before the final alignment on the rack. Ohlins have a lot of ride height adjustment on the barrel of the shock, so that is not a problem when corner balancing/dropping the car.. The rake can be adjusted before the corner balance as well. I would suggest that mininal rake be applied as it helps the rear keep traction out of the corners. If you go with minimal rake, make sure you use a Pedro's Technobrace to tighten up the frame rails from torquing in corner entry and especially under hard threshold braking preventing rear brake wiggle.
I did that with my key. Looks and feels better. However, I lost all my auto unlock and trunk open functionality.
Curious. Did you use the same folks I did (eBay link)? 'Cause, as long as the key was working, it was pretty much guaranteed to come back working the same way (no interruption in programming).

 03-25-2019, 01:58 PM
 , I would have a very hard time not cleaning up the engine bay and undercarriage. For me it’s not just for appearances but also knowing if there’s anything leaking and or potentially near its end of life.


 And so another purchase for a box-end E10/E12 wrench, plus the proper lubricant for the O-rings.