When you click on links to various merchants on this site and make a purchase, this can result in this site earning a commission. Affiliate programs and affiliations include, but are not limited to, the eBay Partner Network.
Mr12Volt sent me the instructions and files to replace their splash screen that appears for about 5 seconds when you start the car. Mr12Volt P2000 is an interface that upgrades PCM 3.1 to support Apple Car Play, Android Auto, and cameras. Attached are Boxster splash screens I made.
Contact Mr12Volt Customer Service Chat to get the update file. I can't include it because it will be outdated when they update the firmware and it might be dangerous if flashed to the wrong model.
Instructions:
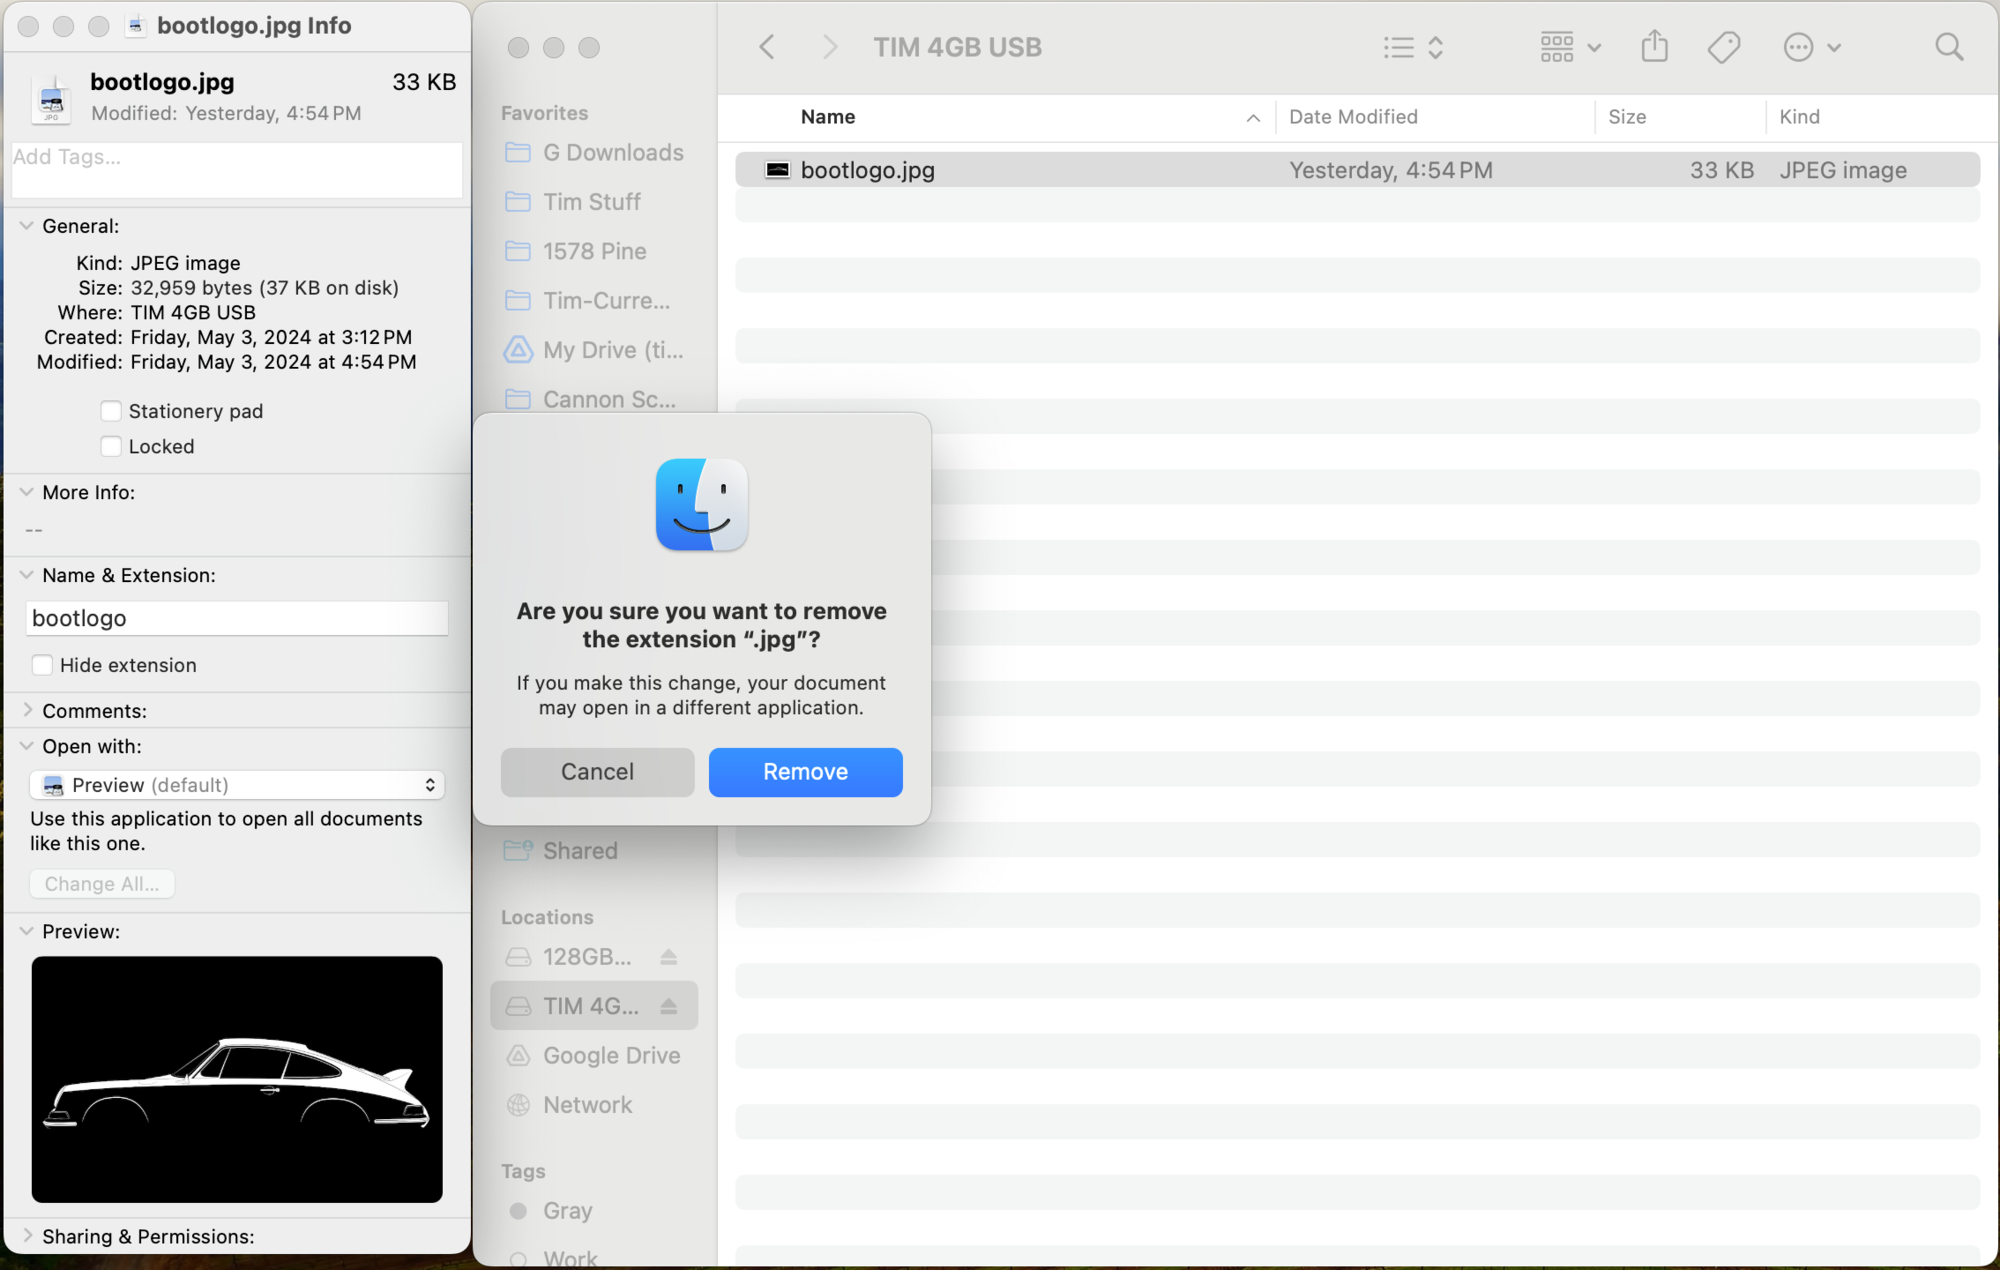
1. Create an 800x480 JPG and name it "bootlogo" with no file extension.
2. Format a 32GB or smaller USB thumb drive as FAT32.
3. Copy the bootlogo and update file to the root of the drive, and plug it in to the P2000's USB.
4. Go to Settings > System > Factory Mode > Reboot. The firmware update will install and the new splash is ready (your old settings are retained).
Notes:
I used an SD card with a USB reader instead of a thumb drive. Silhouettes of other models are available here. I created the splashes using Paint.net and saved them as a 100% quality 4:4:4 JPG.
hoping you can advise how you routed the bulk connector. I have A Boxster 987.2 and have difficulties trying to tuck the extra harness with bulk connector. Any tips is greatly appreciated.
This looks clean. Where did you place the Mr12Volt control unit to have the SD card extension placed in this location?
This post is not mine. I�m was just commenting on it. mr12v placement will depend on your model vehicle. I have a Boxster 987.2 and will be placing the unit above the drive side air duct. I don�t have any space on the floor under the dash. I will tie wrap it to the duct. Others have mounted it in this location.
4gb usb drive
FAT32
Only file on the drive
36k file size
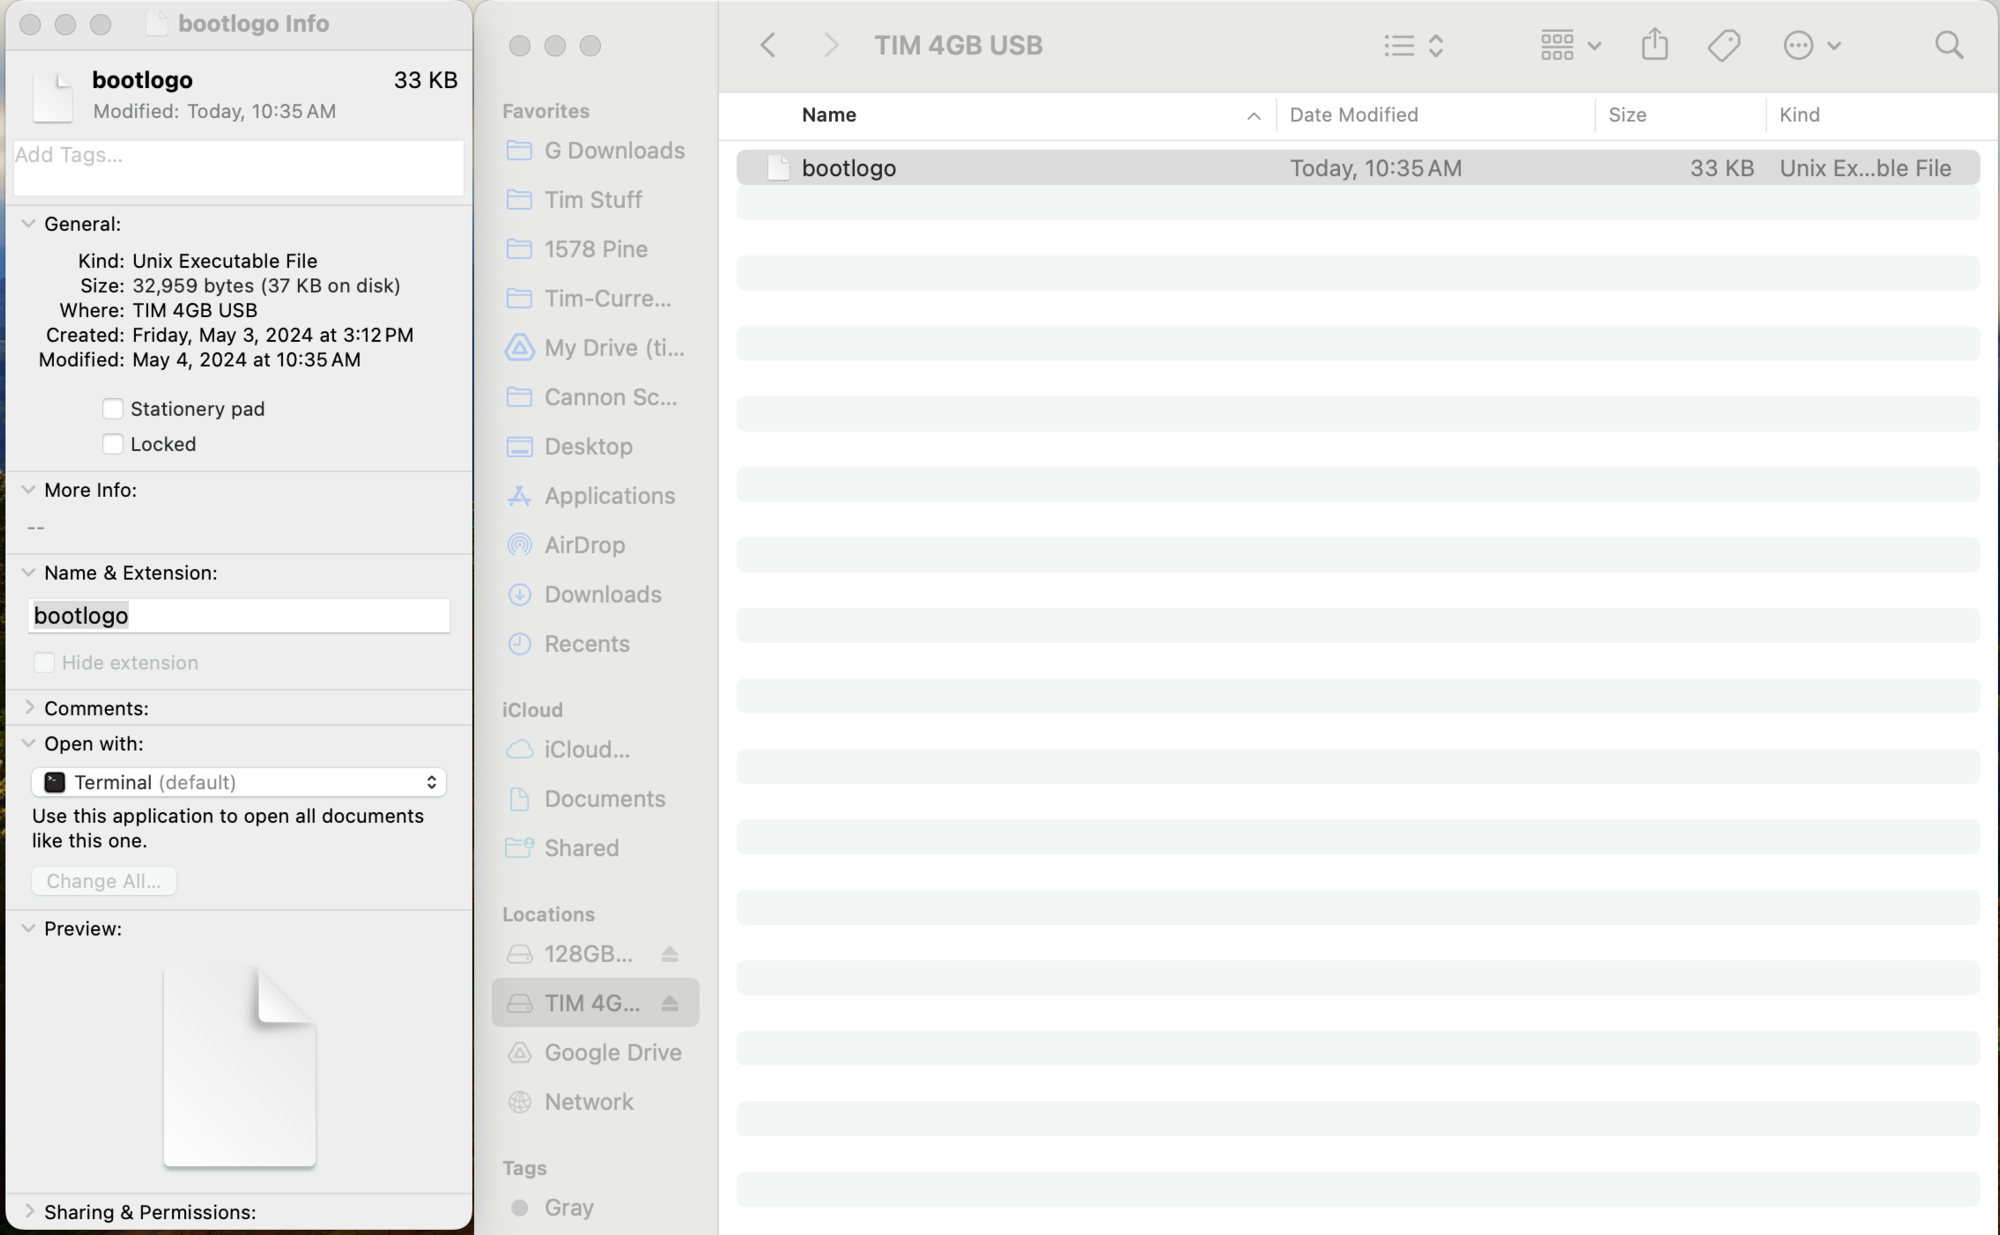
No extension(which makes it an unelecutable file on my Mac, no idea how the mr12v box would be albe to apply this without a file type?)
Back with extension
Cold boot, quick on then off, plugged in USB before turning key on, after turning key on, etc.
4gb usb drive
FAT32
Only file on the drive
36k file size
No extension(which makes it an unelecutable file on my Mac, no idea how the mr12v box would be albe to apply this without a file type?)
Back with extension
Cold boot, quick on then off, plugged in USB before turning key on, after turning key on, etc.
Any more ideas? Firmware update needed?
Should work. What's the image size?
__________________
Modernize your P-Car w/ Mr12Volt. Apple Carplay and Android Auto with superior audio quality, features, and support. Reach out for specials! Torque.Acs@gmail.com or Roman (267) 317-8229
4gb usb drive
FAT32
Only file on the drive
36k file size
No extension(which makes it an unelecutable file on my Mac, no idea how the mr12v box would be albe to apply this without a file type?)
Back with extension
Cold boot, quick on then off, plugged in USB before turning key on, after turning key on, etc.
Any more ideas? Firmware update needed?
Did you include the update tool file supplied my Mr12v in the USB stick?
also, are you sure you removed the extension correctly? Renaming the file without the extension doesn�t remove it. If the file appearance changes after removing the extension then you�re good. If not, there�s a procedure to do it that I found on line.
the new image must be approximately 400x240 or it may not work. Enter 400 and it will automatically adjust the Y dimension accordingly.
Prepare a USB stick 16GB or less, FAT32 formatted (or erase a larger USB stick and create an active partition of 16GB or less)
Unzip the file and place the two files into the root directory of the USB stick Use Windows Painter to save a jpg file with 400x240 resolution, filename must be bootlogo.jpg
If you create the image in Photoshop, make sure the jpeg is output with "baseline encoding" filename must be saved as bootlogo.jpg after the image file is created, use file manager to remove the file extension .jpg from bootlogo.jpg
Unzip the update tool in the attachment, you will get two files:
update
bootlogo
Replace the file bootlogo with the new bootlogo you have just created
now place these two files into the USB stick
Plug the usb stick into the p2000 then go to
P2000>Setting>System>Factory>select Reboot Once reboot you should see the new logo created by you.
[I don't seem to be able to edit my post so adding a new one, sorry]
I followed the bootlogo update procedure but couldn't get it to work. Some suggested to use lower resolution image. In the end I tried *everything*: 800x480, 600x360, 400x240, with EXIF data, without EXIF data, baseline encoding, progressive encoding, sRGB color space, grayscale color space, no compression, various compression/quality settings, nothing worked.
What finally DID work: Formatted a different USB drive as FAT16, not FAT32 then used this 800x480 splash screen in sRGB color space and voil�! it worked!
Don't ask me what made the difference, new stick, FAT16, sRGB� I don't know. But man is this thing finicky!
Below is said sRGB version of the splash screen I posted above. Maybe that was (part of) the issue, who knows.
What finally DID work: Formatted a different USB drive as FAT16, not FAT32 then used this 800x480 splash screen in sRGB color space and voil�! it worked!
Don't ask me what made the difference, new stick, FAT16, sRGB… I don't know. But man is this thing finicky!
It is VERY finicky. I thought I'd bricked my unit, as it just went into a reboot loop at first, then froze with garbage on the screen after I pulled the USB drive out. I got it working with a different thumb drive, though. FAT16 versus FAT32 has nothing to do with it, it's just twitchy.
Another pro tip: before concluding that Roman sent the wrong spacers for your XM-compatible installation, check the bottom of the box.
 03-25-2024, 10:41 PM