When you click on links to various merchants on this site and make a purchase, this can result in this site earning a commission. Affiliate programs and affiliations include, but are not limited to, the eBay Partner Network.
nice.
however, you are missing out, by not putting in the relays. probably missing around 20% of the potential brightness.
the addition of higher wattage bulbs, without the relays, will result in the the hi/lo beam switch burning out, even sooner. my new switch was around 500 bucks. : (
you can built your own relay set-up for approximately 15 bucks. you can easily make it plug and play. no compromising of originality.
IMHO Relays are a really good addition, as you remove the load from the internal column mounted hi/low switch.
IMHO Relays are a really good addition, as you remove the load from the internal column mounted hi/low switch.
1. Is there a way to have the brighter light that the H4 set brings, but still have a yellow/warmer color (like your avatar picture)? I hate the super bright white (the bluer/colder color)...
2. Also [from the Pelican help article] the kit that Pelican sells has a link to a relay kit from JWest Engineering, but their instructions state "Not for 964 or later 911." So what relay kit are you guys using with the 964?
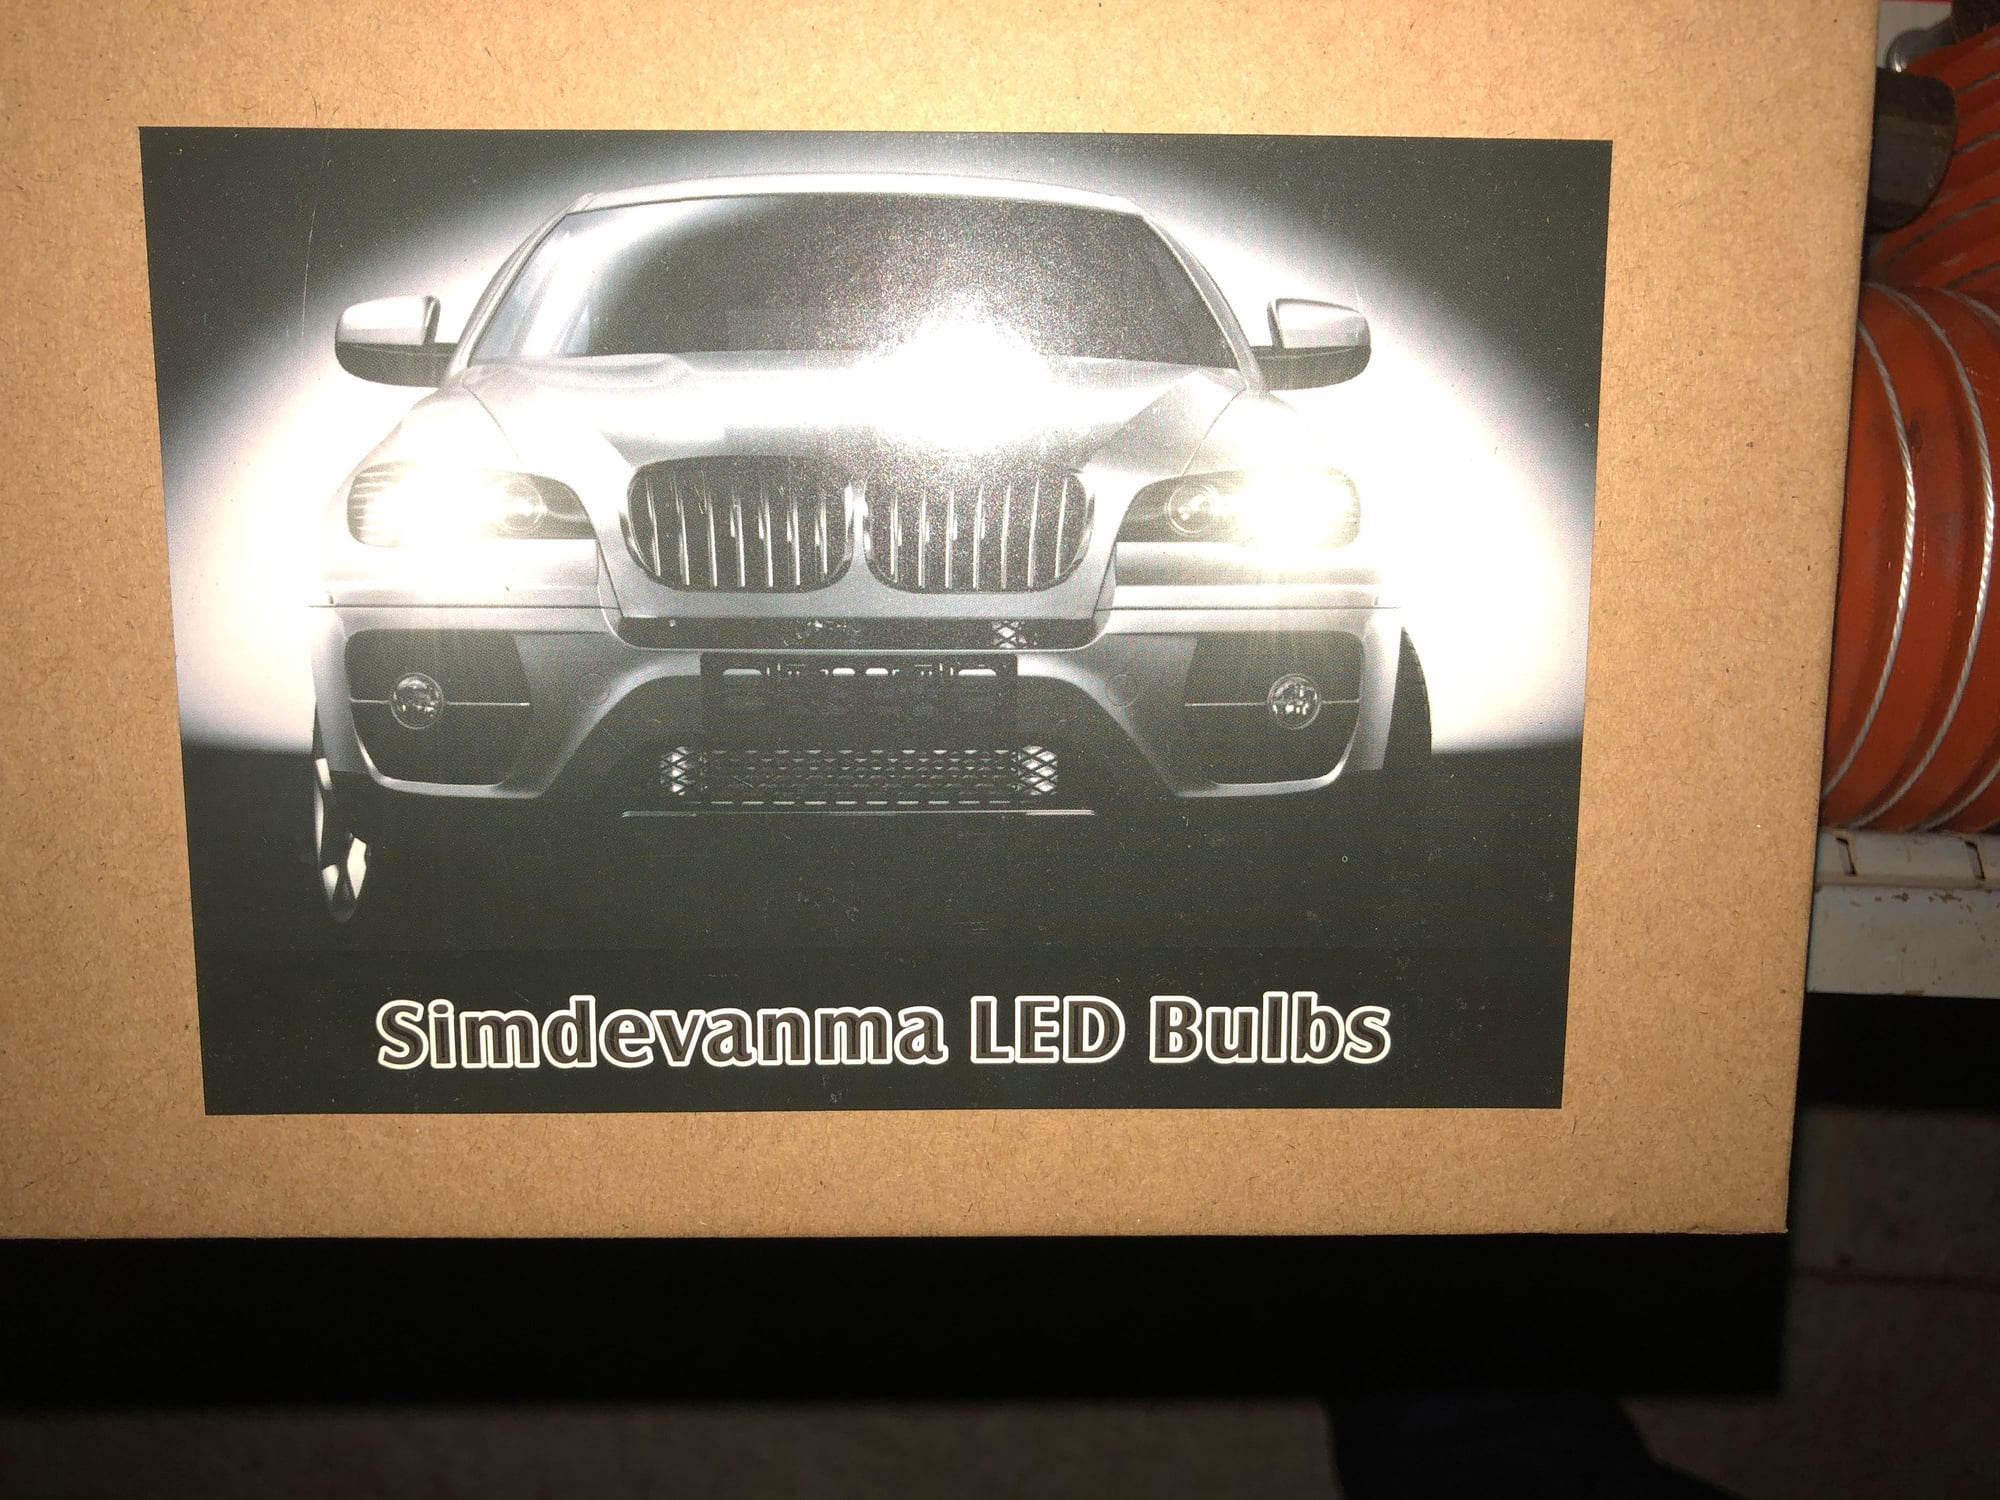
Agreed. Great writeup. I ended up ditching the whole relay and H4 bulbs path and went with these Simdevanma LED lights for a whopping $40. Low energy usage and no need for relays. Also, plenty bright.
Two questions (potentially stupid but I'll ask anyway):
1) Do those LED's allow for both low & high beams?
2) How is the cutoff with the asymmetrically fluted lenses on your H4 assemblies?
I currently have a set of Audette's JW Speaker LED H4 headlights on my 964. They perform great, but I have been debating getting fluted lenses to give it a more classic/correct look.
From what I've read, it seems that LED's do not do well with asymmetrical fluting and that symmetrically fluted lenses would be better.
A good illustration of the cutoff variation is found midway (step 6) through this diy guide from Closed Course Motorsport (no affiliation). I think symmetrically fluted lenses might be a good compromise of correct visual appearance and performance.
I am always a fan of simple and cost effective, so if these Simdevanma LED's are quality units, I think it's a great solution!
- Ben
Originally Posted by apanossi
Agreed. Great writeup. I ended up ditching the whole relay and H4 bulbs path and went with these Simdevanma LED lights for a whopping $40. Low energy usage and no need for relays. Also, plenty bright.
I've got another question - according to the 964 parts diagram, there is a gasket that goes between the outer "beauty" trim rings and the inner headlamp rings. The part number is 911-631-115-02 on illustration 905-00 (Electrical > Headlamp) and is different from the headlamp to body gasket. Are these necessary or do they generally get left out? I imagine they may be helpful in keeping moisture out? Any thoughts on this? Or am I reading the diagram incorrectly?
I've got another question - according to the 964 parts diagram, there is a gasket that goes between the outer "beauty" trim rings and the inner headlamp rings. The part number is 911-631-115-02 on illustration 905-00 (Electrical > Headlamp) and is different from the headlamp to body gasket. Are these necessary or do they generally get left out? I imagine they may be helpful in keeping moisture out? Any thoughts on this? Or am I reading the diagram incorrectly?
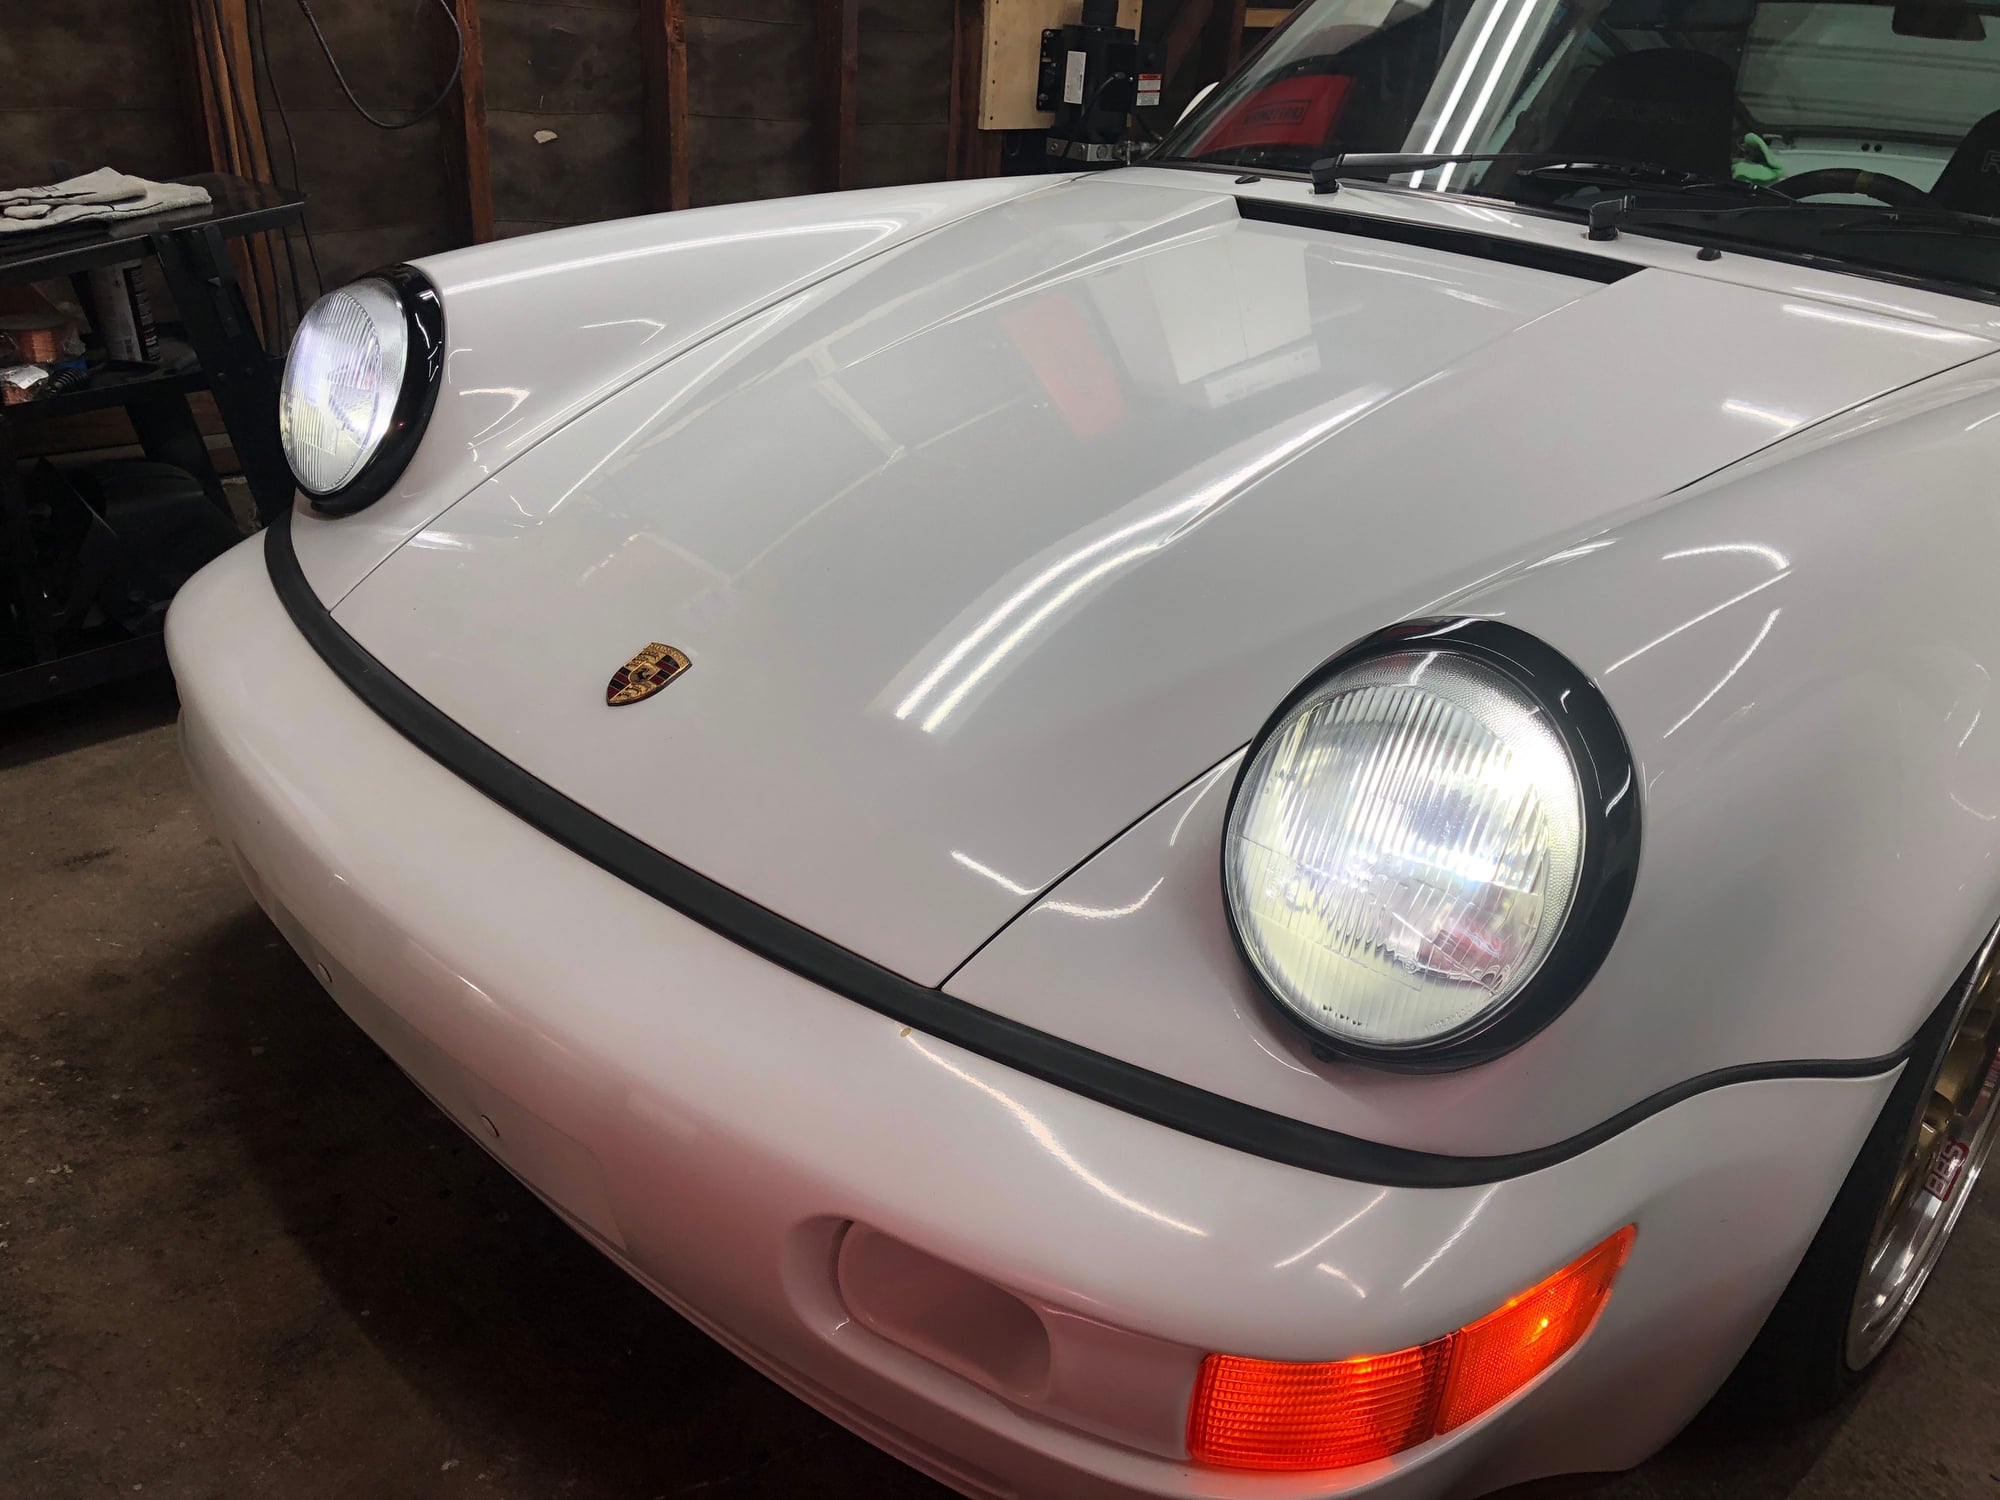
Skip the gasket behind the outermost trim. I was wondering about that gasket as well, so I ordered it. But you'll see, there's really no room to put it on. The beauty trim is a tight fit as is. The high and low beams work great on my LEDs. The cutoffs appear pretty much the same as they did with the standard H4 bulb. Then again, I don't think I have paid that much attention to it. Subjectively, I drive at night very comfortably with good visualization. I've been using mine for about a year now with no issues.
Skip the gasket behind the outermost trim. I was wondering about that gasket as well, so I ordered it. But you'll see, there's really no room to put it on. The beauty trim is a tight fit as is. The high and low beams work great on my LEDs. The cutoffs appear pretty much the same as they did with the standard H4 bulb. Then again, I don't think I have paid that much attention to it. Subjectively, I drive at night very comfortably with good visualization. I've been using mine for about a year now with no issues.
Awesome, thanks for the information, that is good to know!! Yeah, I was kinda wondering how an additional gasket would even get in there. And it's good to hear you are happy with the lighting performance at night. I know since I've switched to LED's I've been very pleased with the performance, I would just like a little more of a classic look with some fluted lenses. And I need to find some cooler H3's for my foglights so they better match the LED headlight color.
I also just ordered the new LED rear/brake and direction light kit from Tore at Bergvill FX. These simple mods make our cars much safer, and more enjoyable to drive. https://www.bergvillfx.com/index.php...-us-amber.html
I did the H5-H4 conversion as well, using parts bought from Pelikan. Although the quality of light is much improved over OEM, the various parts making up the conversion are not nearly as robustly-made as the OED 'bucket'. In addition, I re-wired it all next to the battery, so the dash switch switches the relays that now send juice to the lights (which are now 100W paint-melters). The relays are configured so that high beam illuminates ONLY the high beam filaments, not both high & low filaments - in the interest of keeping heat under control in a 25-y-o car's headlights.
Nevertheless, I am more impressed with the illumination I get from the stock Xenon HID headlights on my '08 VW R32. And I am still more impressed with the headlights I have found on the brand-new cars (Honda and Renault) I have rented when in England the past two years.
Consequently, I have watched the latest HID/LED/etc. conversions with interest. Frankly, I don't much like the looks (when dark) of some of them, and prefer something that looks like the original car ... until it is dark out & the lights are on. So will keep watching.
I know this is an old post, but hopefully it is still active. I have installed H4s on my 964 but don't have a clue where or how to use the plastic piece that comes with the mounting screws. Does it go over the shaft of the double threaded screw before it attaches to the headlight bucket, or does it go on afterwards, on the head of the screw, so that it is interposed between the headlight mounting screw and the trim ring? If this was mentioned, I missed it and my apology.
I installed H4's on my Targa just recently also. The retention screws I used included a little clear/white cap that fits on the end with a little teeny screw that goes in afterwards. If that's the piece you mean then I believe it goes on the head of the screw after installation *if* you are then going to install the 'beauty rings'. If not then I'd leave them off. There were also some little plastic washers for the adjuster screws - I think those are just to keep them from scraping off the paint/primer (maybe they also help water seal?).

 12-23-2016, 05:09 PM


 Here�s my install thread. https://rennlist.com/forums/964-foru...installed.html

