When you click on links to various merchants on this site and make a purchase, this can result in this site earning a commission. Affiliate programs and affiliations include, but are not limited to, the eBay Partner Network.
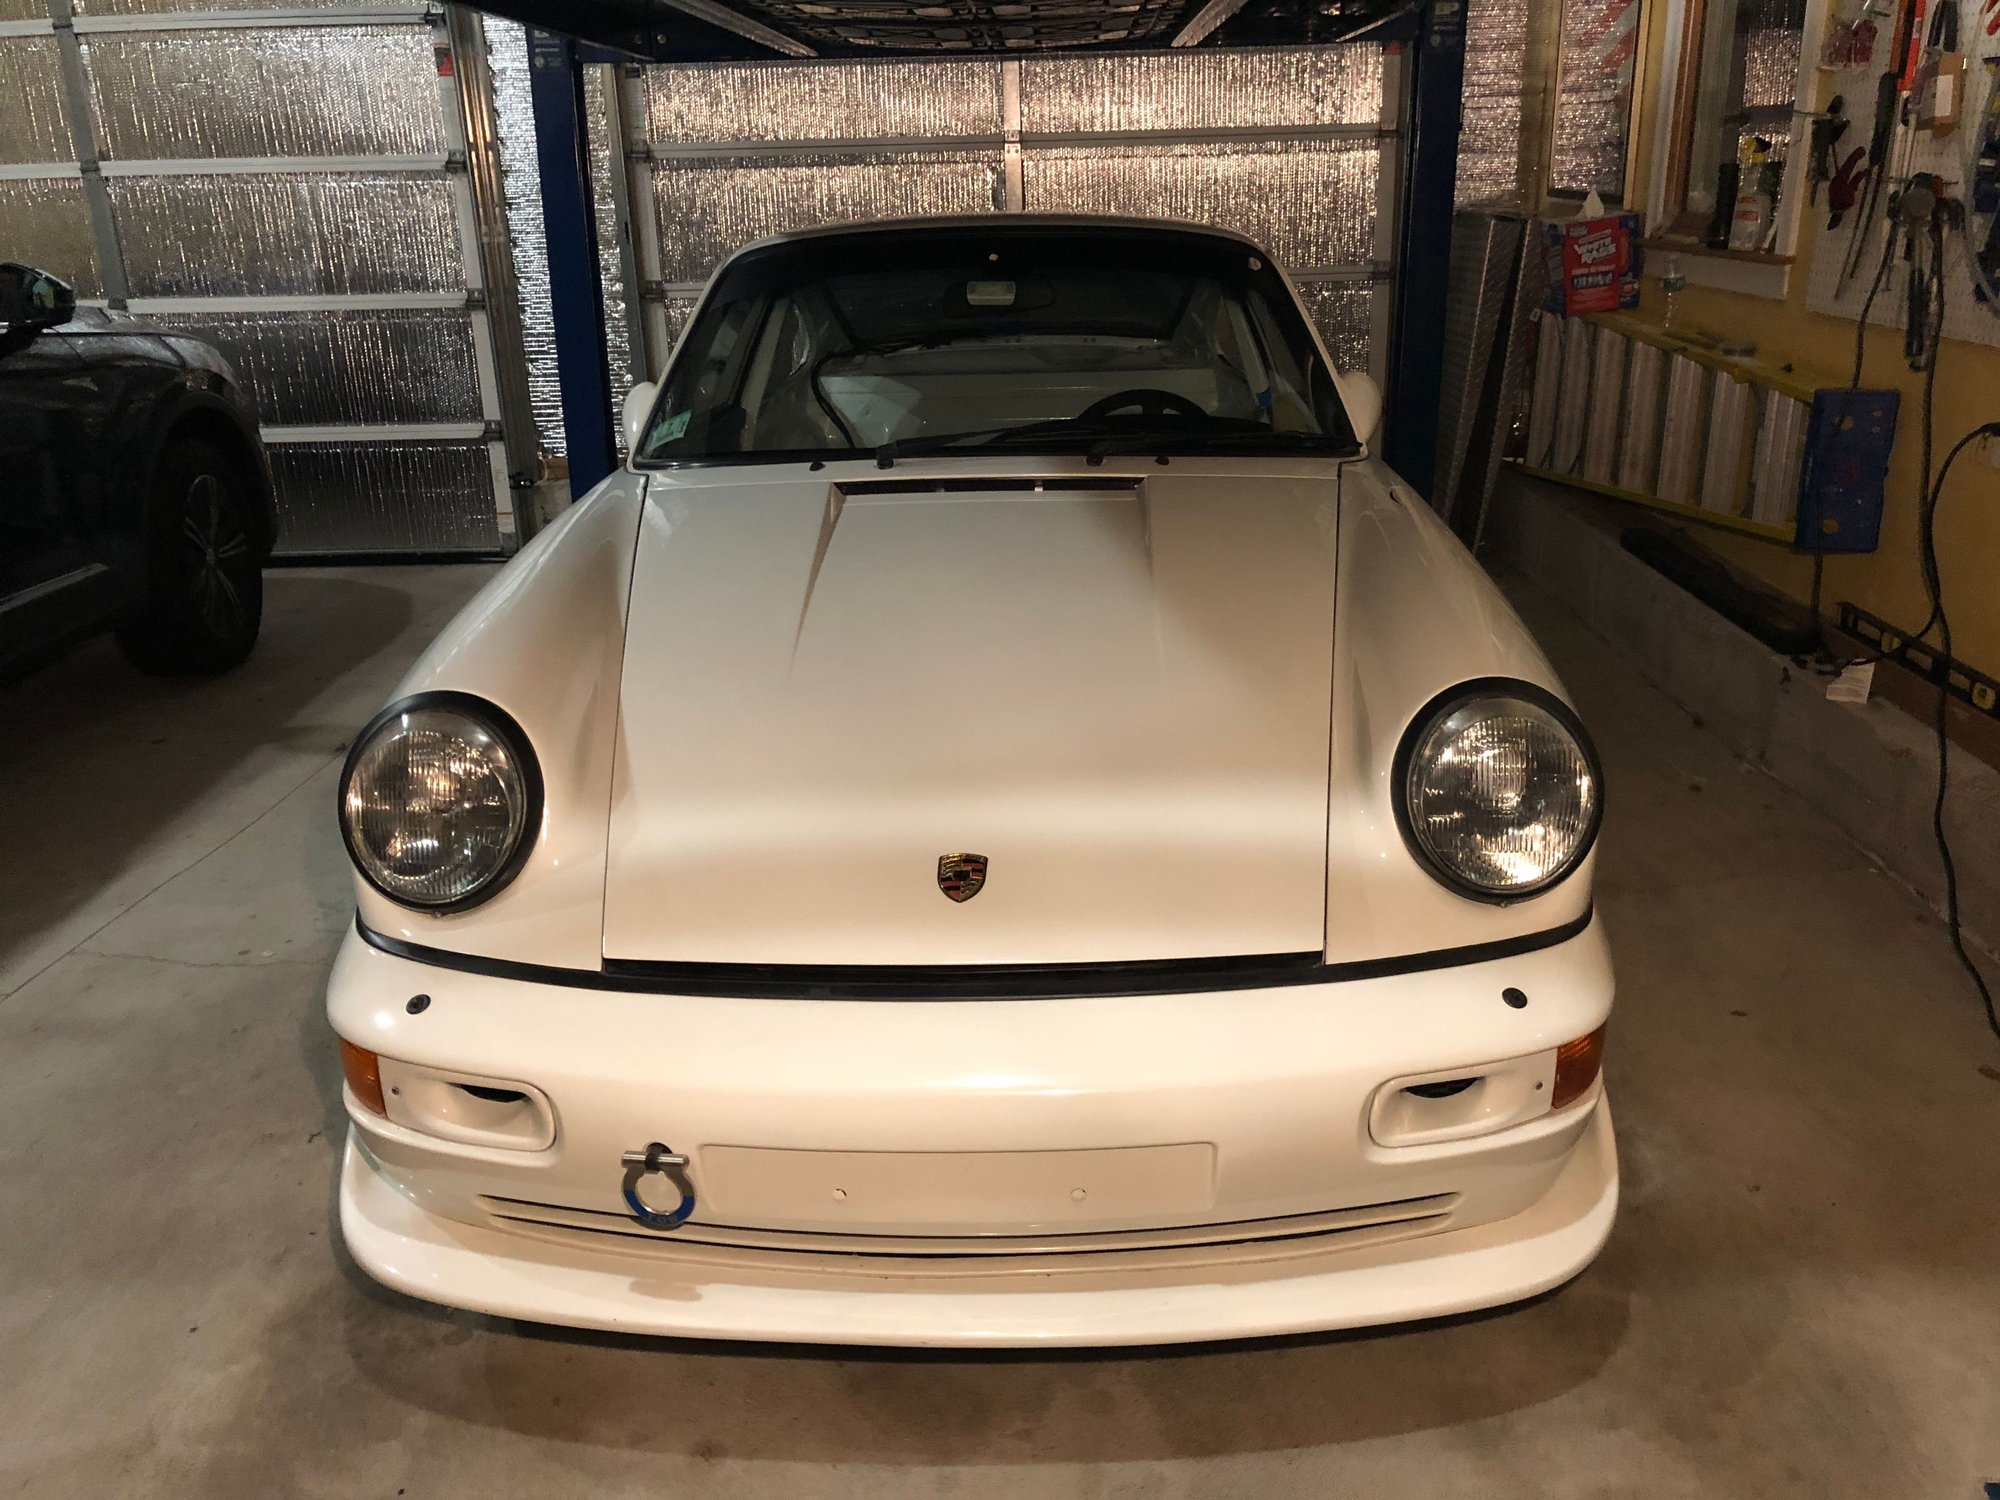
I just recently installed the Flat6 Illumination BI-LED headlights on my 964. The lights are a quick and easy install, and make the car safer and more fun to drive at night. Alignment is also quick and easy. The light is brighter and crisper, with a wider field vision. I also like the fact that the LED's draw less power than the stock headlights. This is a plug and play solution for our 964's, with quality fit and finish. The responsiveness and service from Francois were also both exceptional.
I learned a few things along the way during the install (read screw-ups by me), that I thought might be of help to others installing these lights.
You can easily swap both headlights out in about a half hour. if you're OCD like me, however, you'll opt to polish the inner housings, dremel off the rusted brackets, and touch up with some Rustoleum primer/paint which will add another half hour or so.
Removing the stock headlights is pretty straightforward. Great YouTube thread here.
. Do NOT attempt to remove the adjusting screws with the rubber gaskets at 12 and 9 O'Clock. Simply unscrew the Phillips head screw located at the bottom of the shroud cover at 6 O'Clock, and gently remove the shroud by pulling up and out. With the shroud removed, you will now be able to see the four Phillips head screws securing the stock assembly at 8, 10, 2 and 4 O'Clock. Simply remove these four screws and the unit pulls right out. Now simply disconnect the H4 or H5 connector and you're done. Next remove the 30 year old headlight gasket, but take note how the gasket groove is seated in the outside seam of the headlight.
Next spray some PB blaster on the lower mourning bracket located at 6 O'Clock. This will knock down any rust on the bracket, and make it much easier to screw in the new Allen screw. You will no longer be utilizing the four remaining brackets. One screw will now conveniently hold everything securely in place.
For the OCD guys, now is the time to clean and polish the housings. If you find rust on any of the brackets like I did, knock it down with a dremel with a wire brush and touch it up with some rust inhibitor. I find the Rustoleum paint/primer works well, and it dries quickly so you can get back to work.
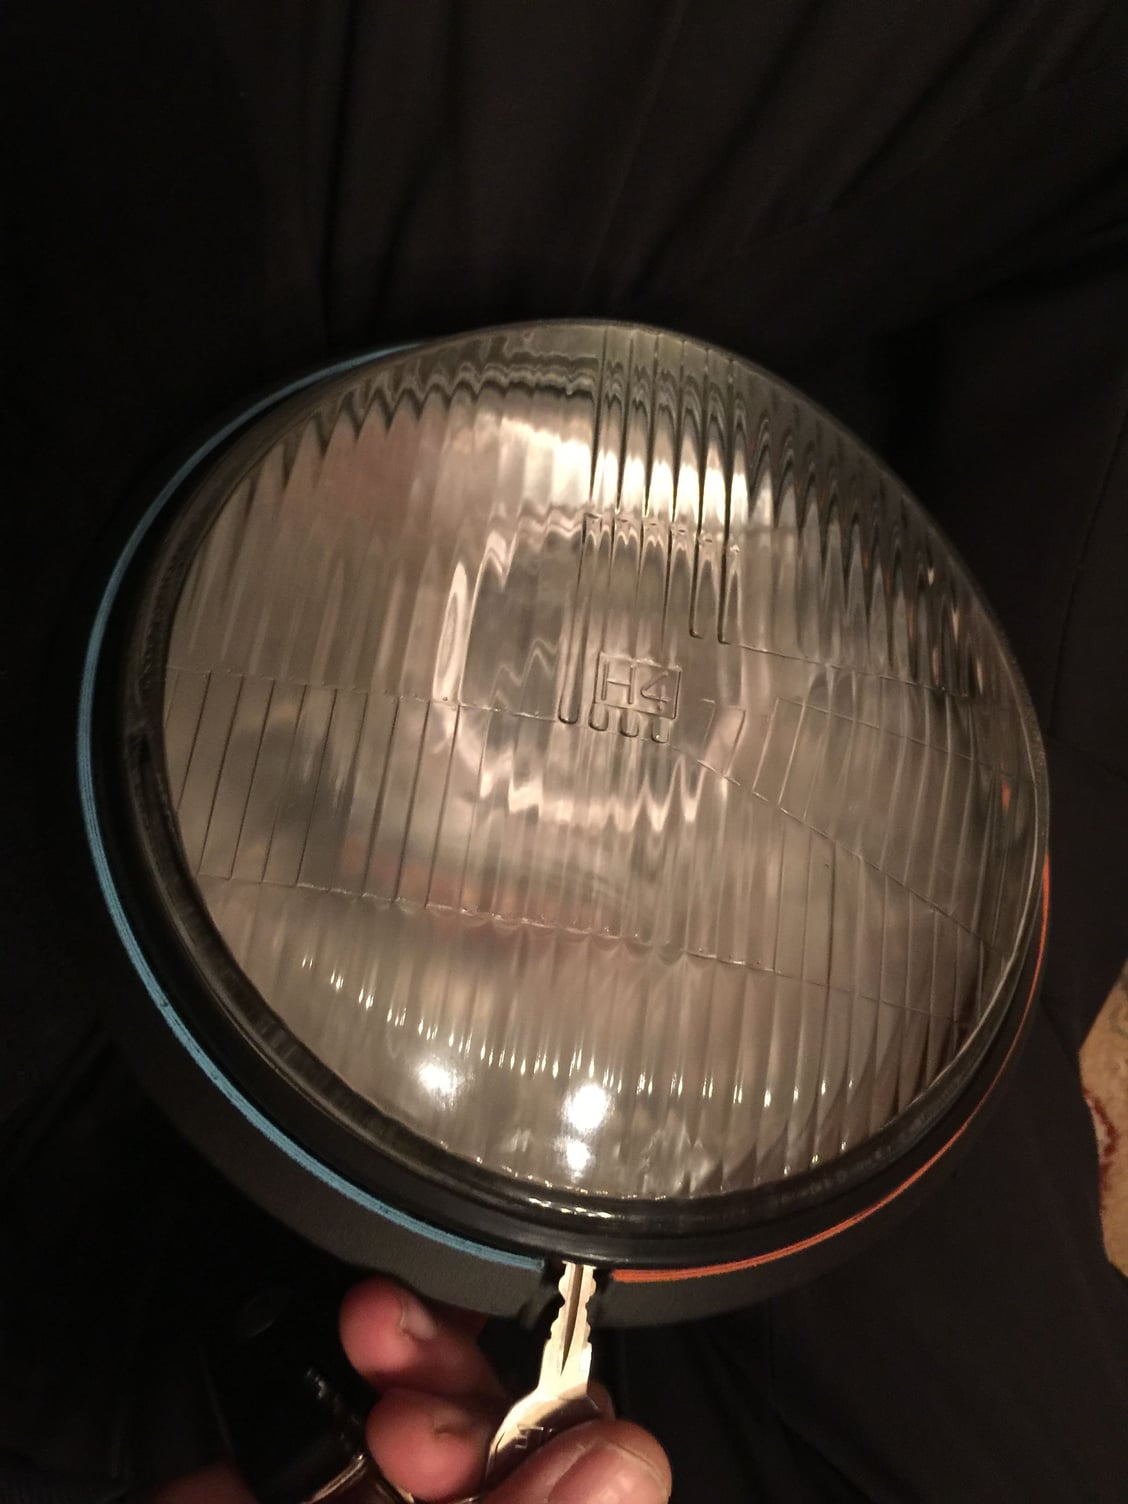
Now you're ready to install the headlights. The instructions are clear and concise, with seven steps that aren't oversimplified like many other kits. The headlights are partially assembled for packing, so you'll first need to remove the glass lens, and the housing. Remove the glass lens by inserting a key at 6 O'Clock where there is a gap in the gasket, and gently pry upward. Gently pull the glass off pulling outward and releasing slowly from the bottom to the top.
Step 1: Now your ready to install the rubber gaskets. TIP: Simply insert the grooved end into the outside lip of the bucket, and use both hands to work the gasket into the seam of the bucket lip. The round bucket makes it easy to work the gasket back and forth ensuring a tight and proper fit, even in the hard to access recesses at the base. Carefully check to make sure the flat side of the gasket is lined up along the perimeter.
Step 2: Next step is to carefully connect the female connectors on the car to the male connectors on the light assemblies. TIP: Make sure the connectors are properly aligned! If not properly aligned the connectors can get pushed back out of the housing. Inspect before and after for proper alignment and fit. My first attempt running the lights was a no-go. A misaligned connector was the cause. A quick push and realignment of the middle connector, and all was good and in working order. The plastic locking tabs on the stock female connector had snapped off long ago, so I used some electrical tape to keep things secure.
Step 3: Connect (hang) the housing bracket to (on) the hook located at the top of the bucket,
Step 4: Now gently pull down working side to side pulling the housing down from top to bottom around the bucket ensuring a tight and flat seal, with the hole in the housing bottom properly aligned with the mounting bracket located at the bottom of the bucket. TIP: insert a zip tie to ensure alignment, and to temporarily secure the assembly during the beam adjustment in Step 5.
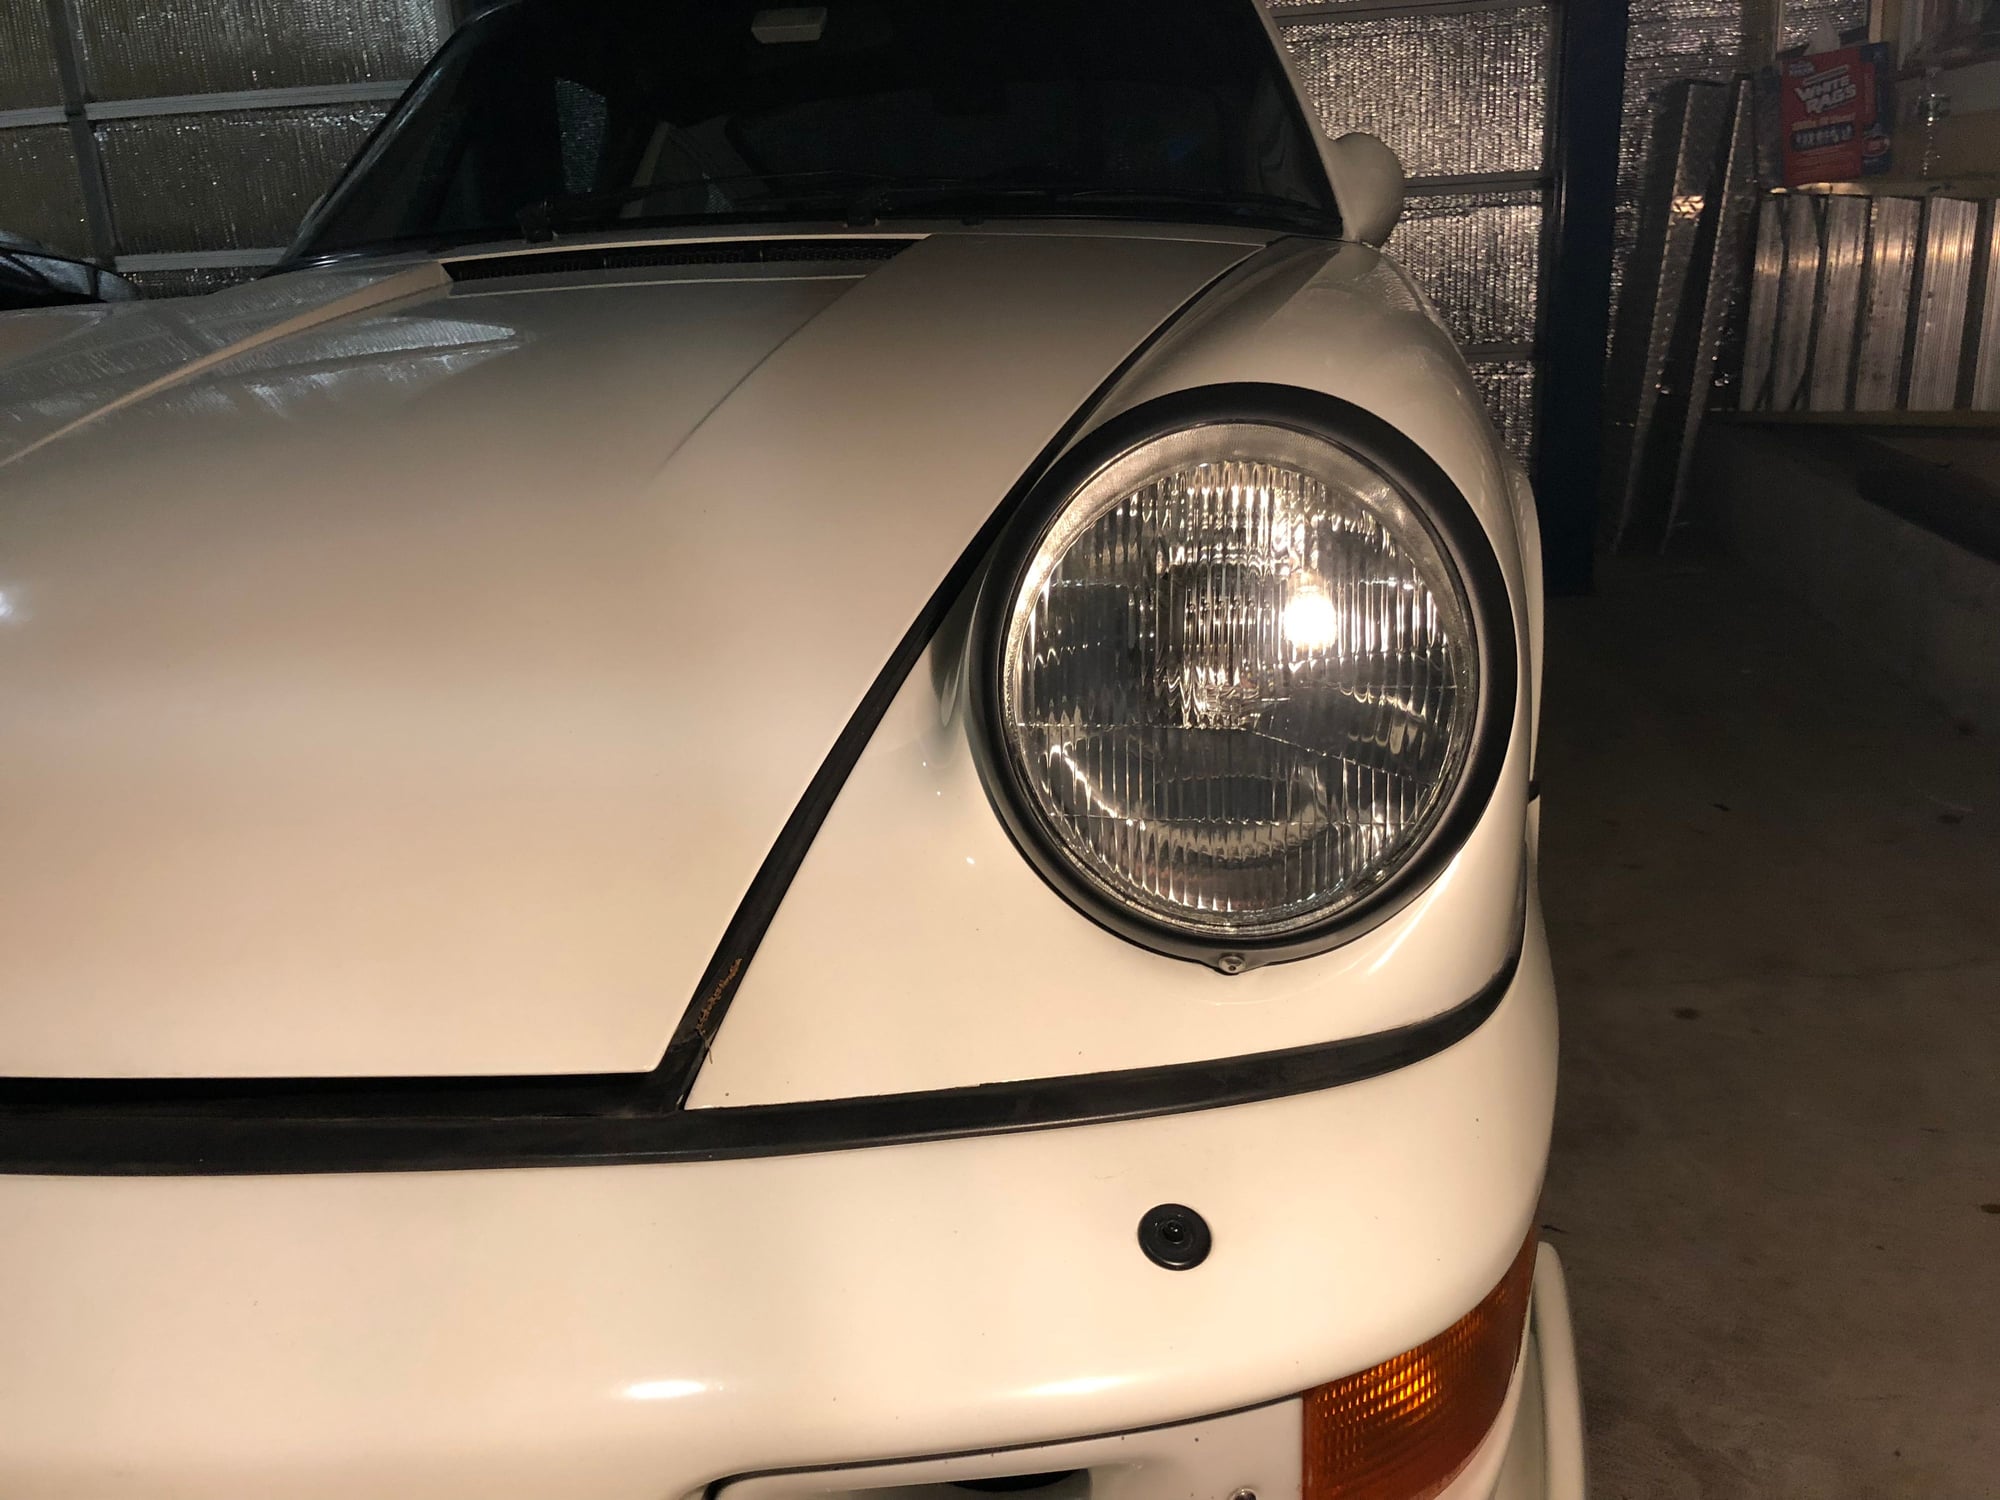
Step 5: Adjust the beams by adjusting the top Phillips head screw for vertical adjustment, and the right and left Phillips head screws for horizontal adjustment. Adjustment is very straightforward and simple. With a wide beam, I found little to no issue with alignment. The beam is crisp and clear!
Step 6: With the beams properly aligned, now you're ready to insert the housing and lens. Disconnect the zip tie if you used one, and insert the housing around the projector into the groove in the housing. Next insert the lens carefully working your way from top to bottom. TIP:Take advantage of the round shape and work the lens back and forth gently from top to bottom for a tight seal. I failed to do this the first time around and simply pressed on the bottom to "snap" the lens into place. With the "snap" there was also a "crack". Francois was kind enough to send me a replacement lens free of charge, but you've all been warned. Work the lens into place slowly from top to bottom, with no snapping at the base. Replacement lenses are only $25 per lens. I ordered an additional set of clear lenses for black tie occasions. I think these lenses may be a bit thinner than the stock ones, but at $25 per lens they're relatively expendable and not worth wrapping in XPel IMHO.
Step 7: Insert the trim ring working again from top to bottom, and ensuring a tight and proper seal. Insert the allen screw at the base of the unit. The PB blaster sprayed earlier will make quick and easy work of this. TIP: keep downward pressure applied to the trim ring while installing the Allen screw as the trim ring. This will prevent the trim ring from pulling up and torquing the screw.
NOW YOU ARE READY TO ENJOY YOUR NIGHT TIME DRIVING!
Here are a few photos to start. I will post some more photos, but it's not so easy doing this on my iPhone and we're both out of juice.
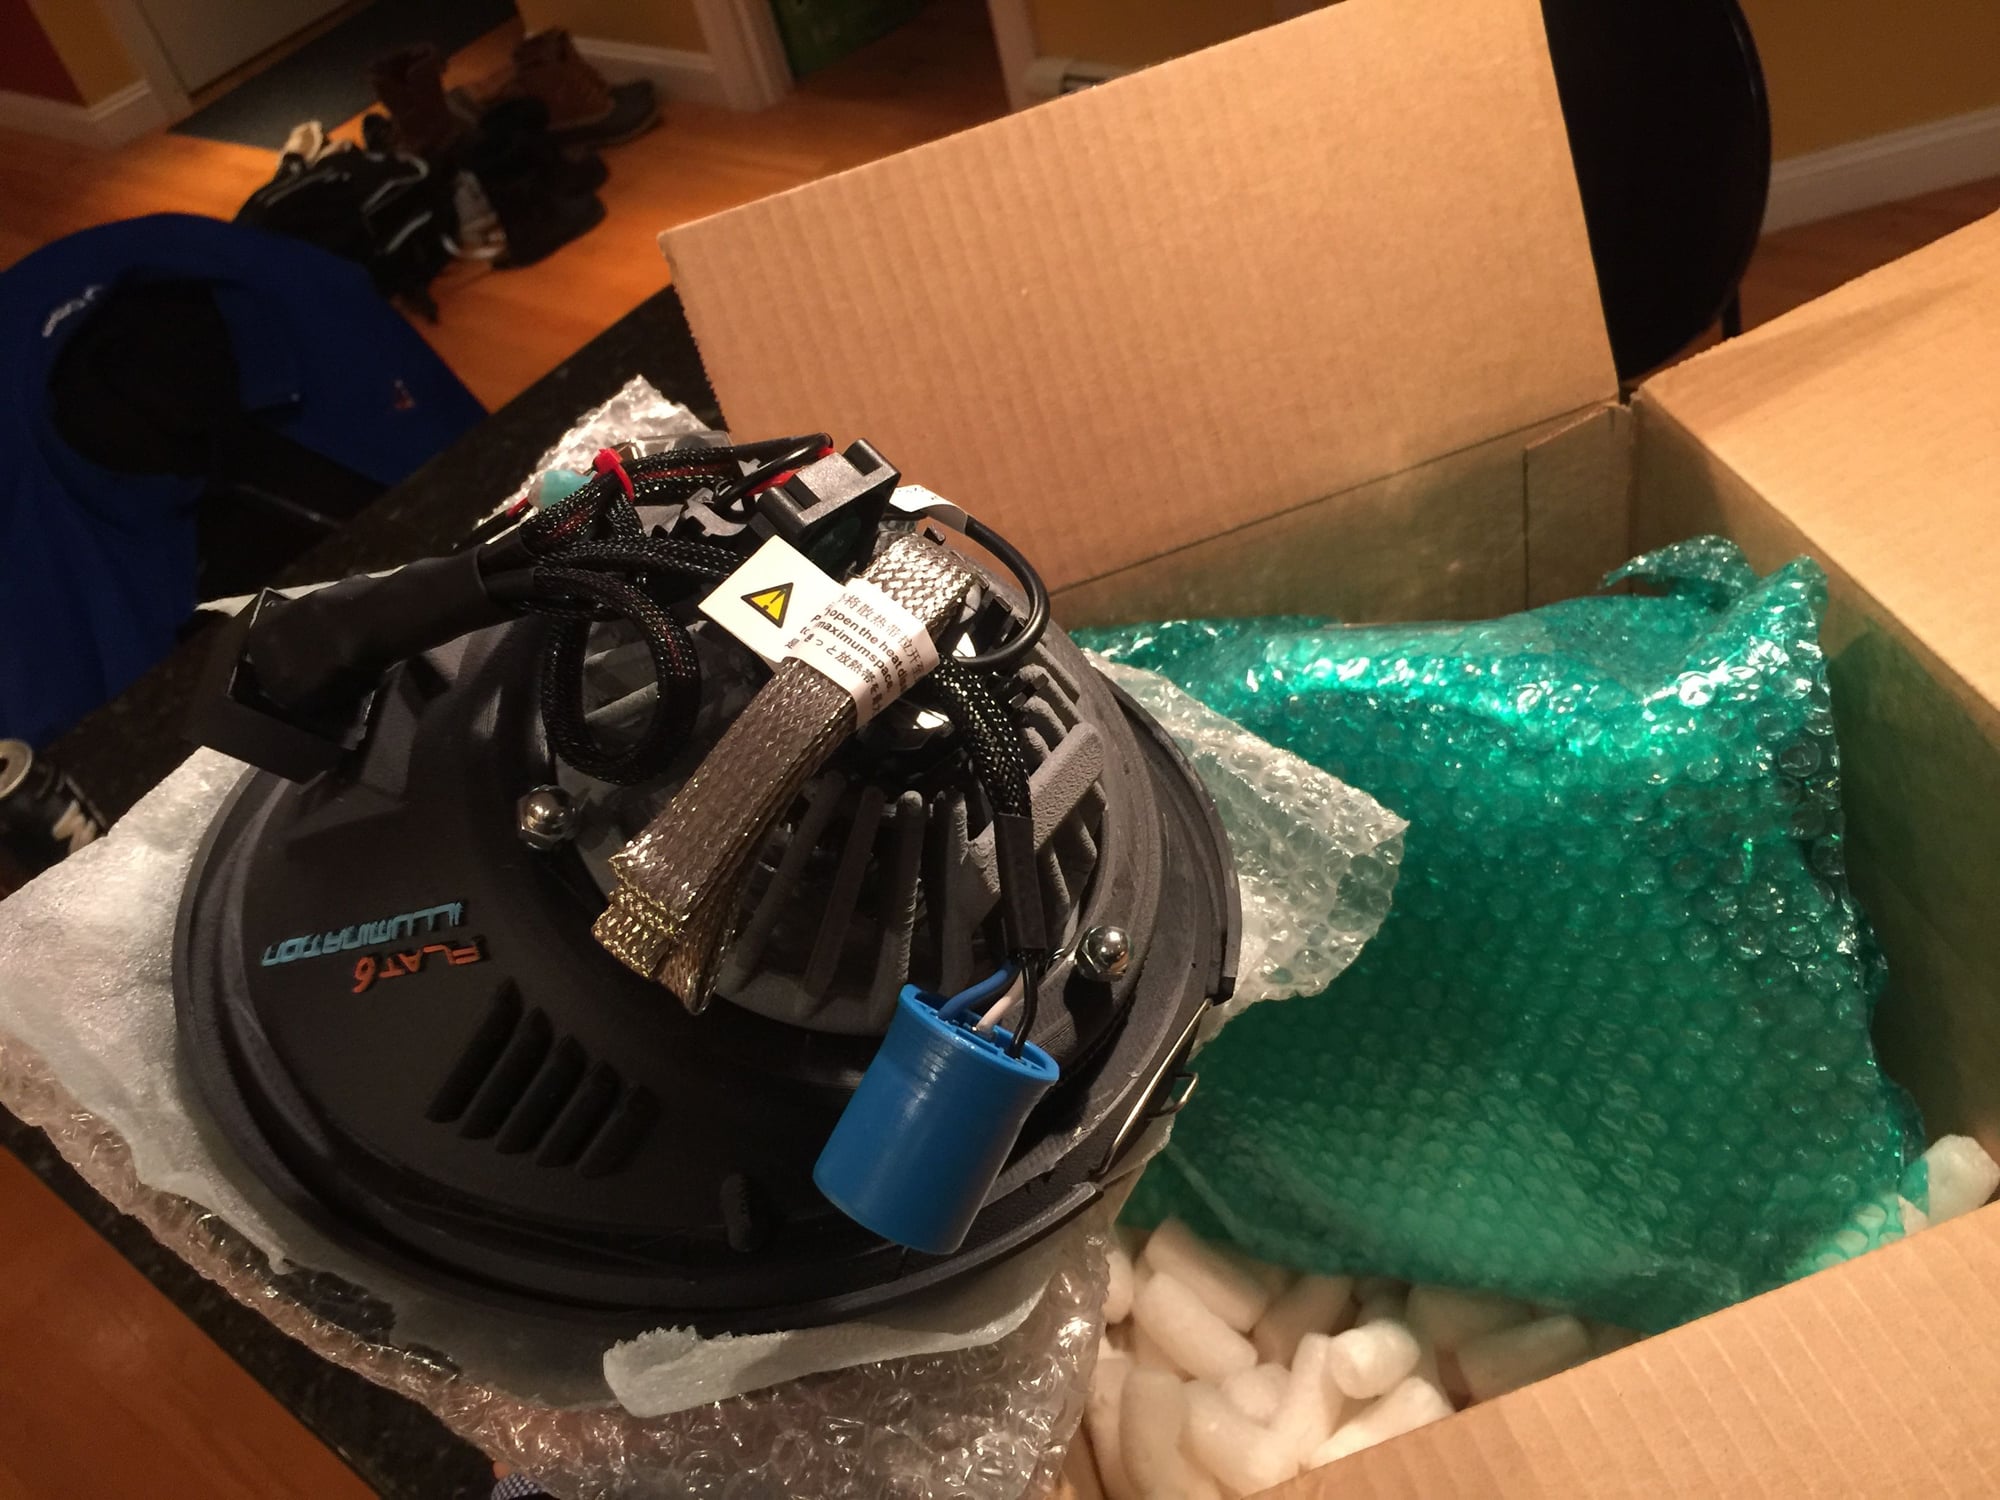
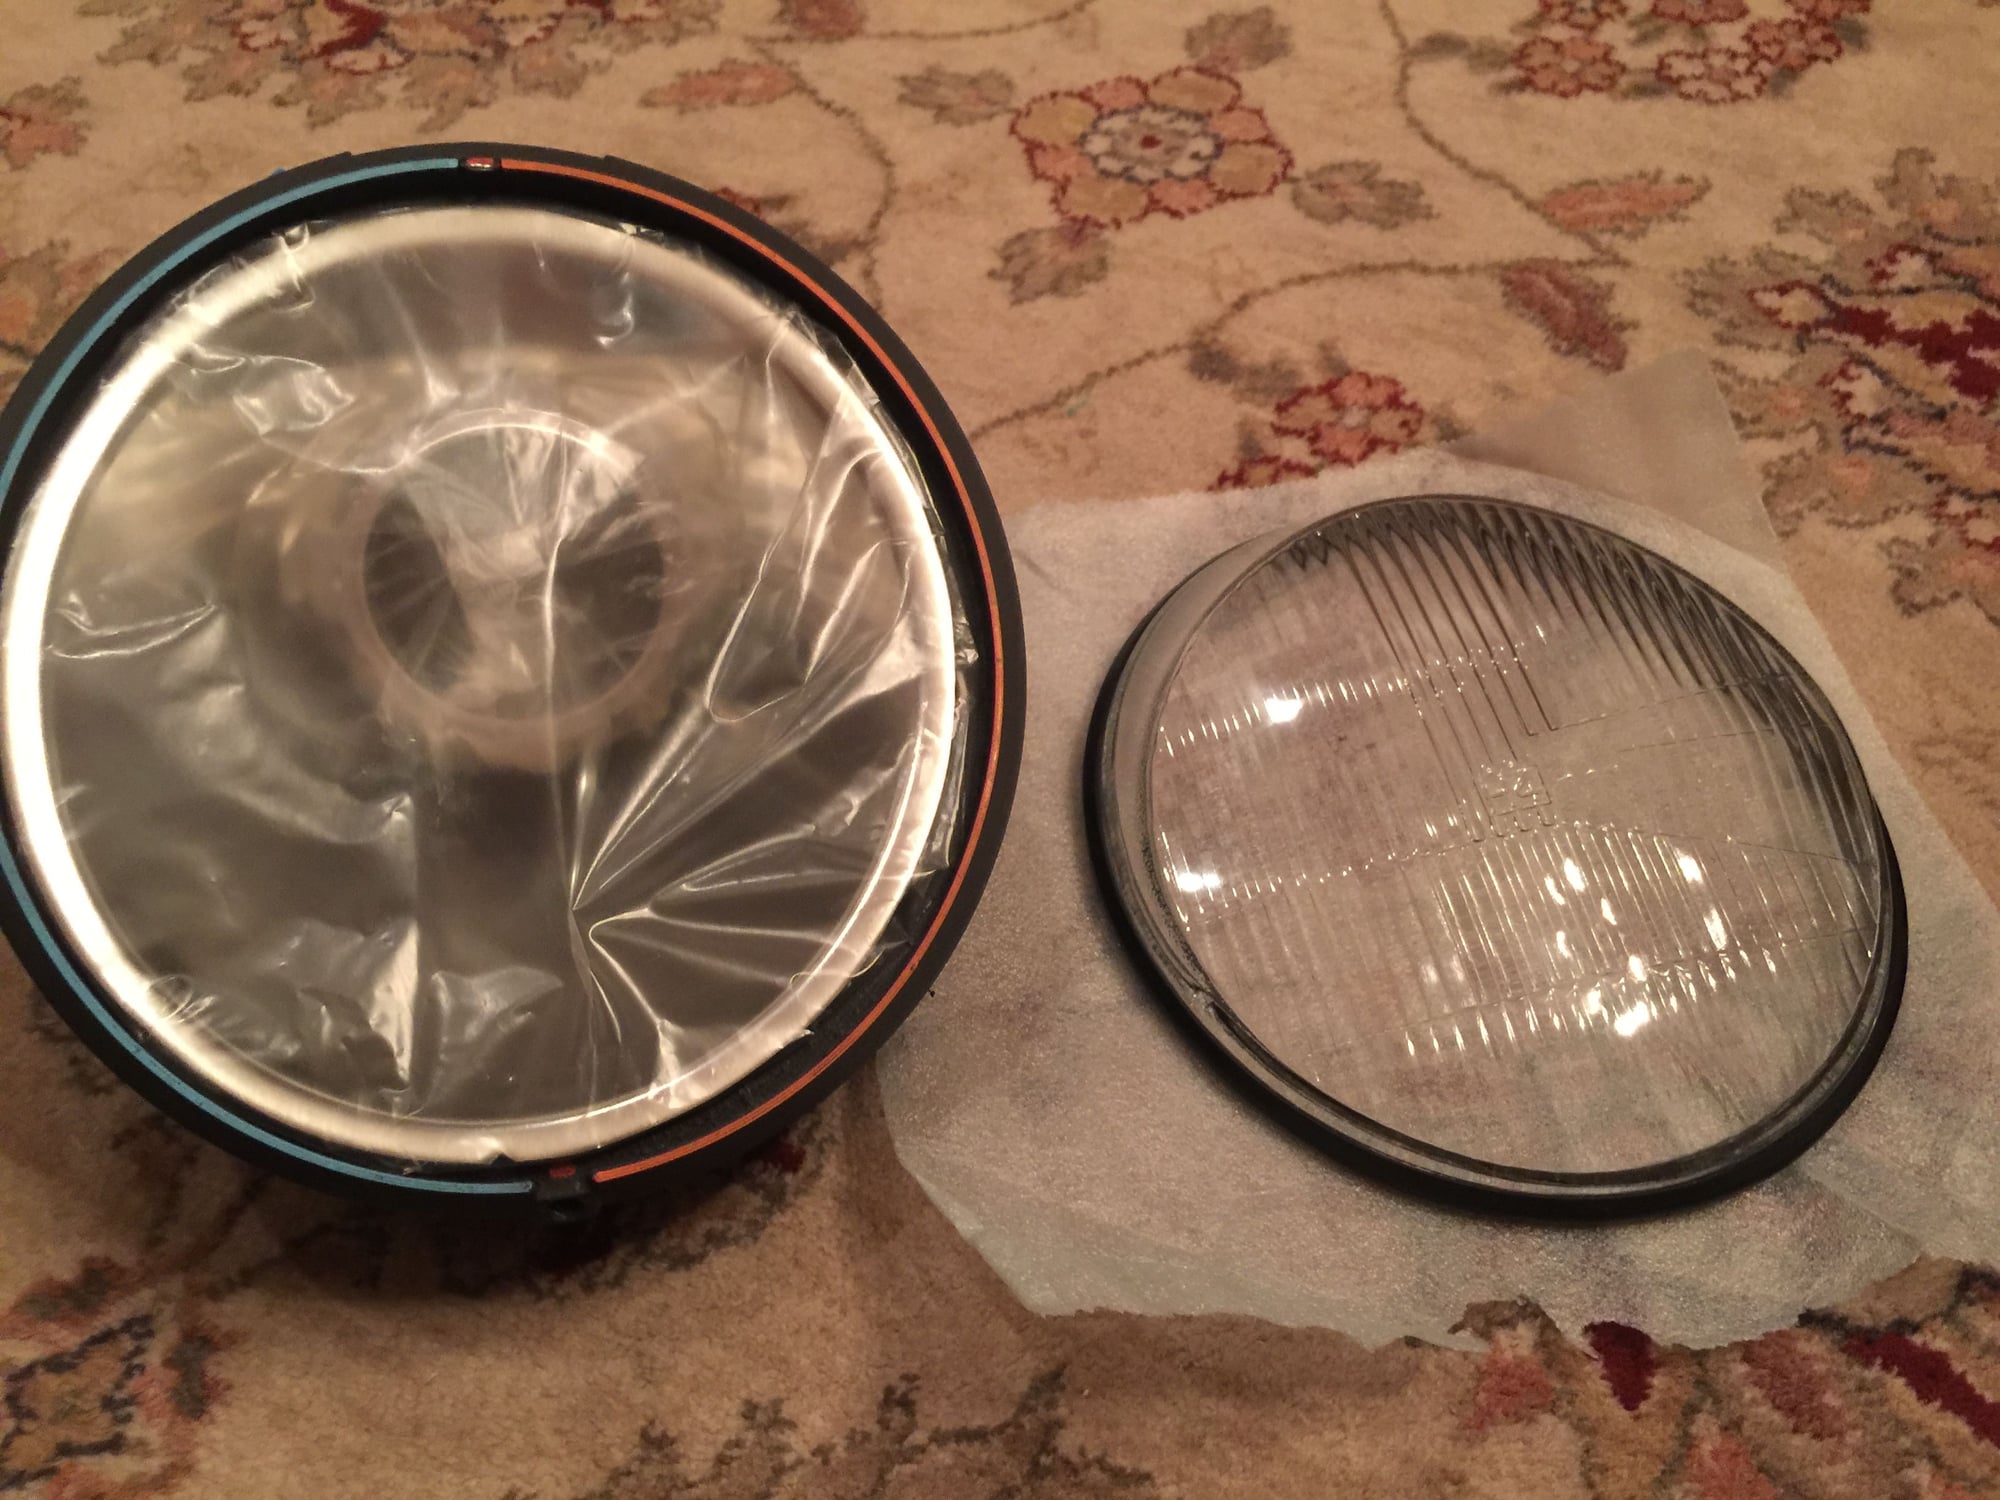
Lights were carefully packed and arrived safely
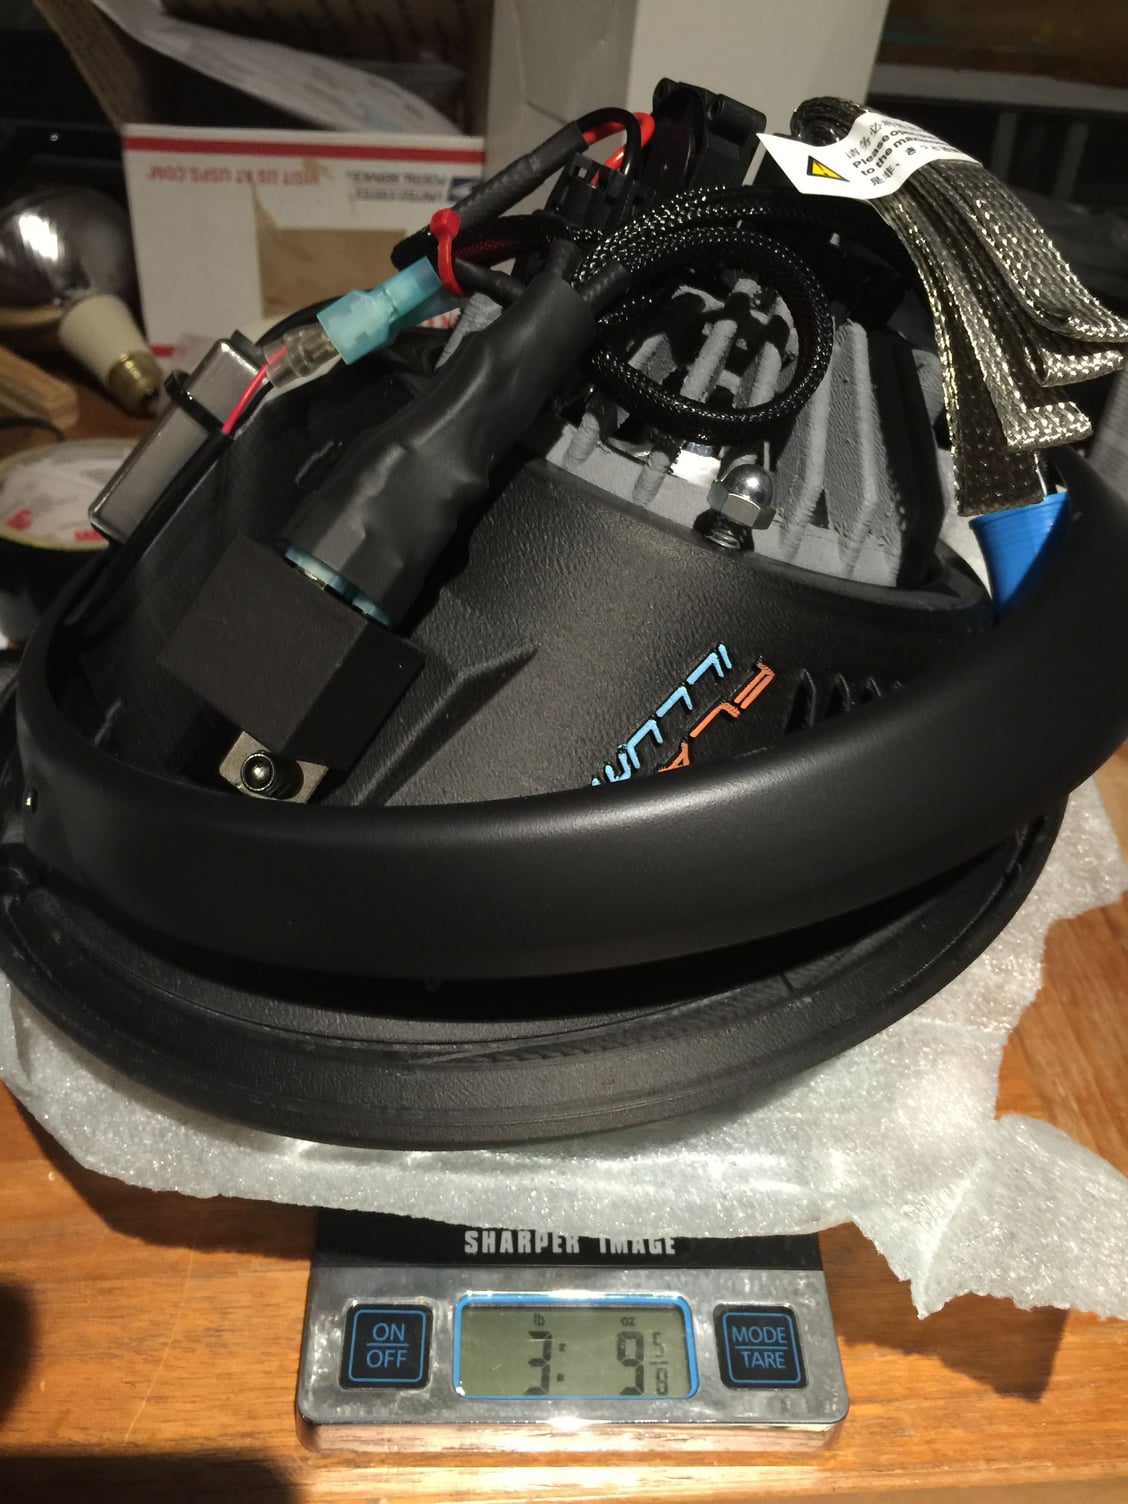
LED Lights are just a few ounces heavier than the stock lights
Components are combined for packaging. Carefully remove lens by inserting a key in opening at base of lens and carefully pry off from bottom to top.
Check to make sure connectors are properly aligned and fully extended. Note short pin in middle - bad.
Pin in middle is now extended properly and straight. Good. Now connect to the female connector in the bucket and you're plugged in!
Simply hang the light fixture bracket on top hook of the bucket
Work the light from top to bottom ensuring right gasket seal and proper alignment with bottom hole. Use zip tie to temporarily secure the units while adjusting lights
Last edited by Foxman; 12-24-2017 at 09:14 PM.
Reason: Typo
Love that they don't look like singer lights or some other way to modern looking setup. I might need these. Even h4 aren't all that bright. Great write-up
What did you replace – H4's? How would you compare the beam pattern to the LEDs? Are these beams adjustable right and left at wells up and down? - nevermind- just re read the post. You adjust them before adding the lenses.
Id really like to get a set of these but just worry about passing the inspection here in Japan.
Nice write up and description of potential issues. Do these lights have both high and low beams?
I had aftermarket halogen lights in my car when I purchased it and they were very bright but had no high low and failed inspection.
thanks Craig
Nice write up and description of potential issues. Do these lights have both high and low beams?
I had aftermarket halogen lights in my car when I purchased it and they were very bright but had no high low and failed inspection.
thanks Craig
Thanks Criag, these are Bi-LED lights with high and low LED beams. Adjusting the low beams will adjust the high beams at same time. The high beams have a much higher cutoff, but don't seem to throw off much more light than the already bright low beams.
Originally Posted by Jjm4life
Love that they don't look like singer lights or some other way to modern looking setup. I might need these. Even h4 aren't all that bright. Great write-up
Thanks Jjm4life. They do offer the flat clear lenses that look like the singer lights, but I agree the fluted lenses look much more appropriate on a 964.
Originally Posted by Peteinjp
My H4's have a little bulb for the parking light- do yours have some provision for that?
Pete
Pete, I did not detect any small parking bulbs, but I was unaware of this feature.
By request, posting up a few photos of the Bi-LED lights with the fluted lenses and chrome reflectors. Nice to see that Rennline is now carrying this product. Rennline knows a good thing. http://www.rennline.com/BI-LED-Headl...ductinfo/EL13/
By request, posting up a few photos of the Bi-LED lights with the fluted lenses and chrome reflectors. Nice to see that Rennline is now carrying this product. Rennline knows a good thing. http://www.rennline.com/BI-LED-Headl...ductinfo/EL13/
Finally an aftermarket set of headlights that work and don�t look out of place. This is reasonably low on my priority list for the car, but this will definitely be the way I go when I do actually upgrade them. Thanks for sharing!


 12-24-2017, 04:28 PM


 http://www.rennline.com/BI-LED-Headl...ductinfo/EL13/