When you click on links to various merchants on this site and make a purchase, this can result in this site earning a commission. Affiliate programs and affiliations include, but are not limited to, the eBay Partner Network.
From the sounds of it, is your chassis guy Joey? It's hard to beat the value of the club sports. My car arrived today. I should probably register it before I start buying parts.
When you did your door panels, did you consider going to manual windows for weight? I'd like to change mine as well, but don't know the actual weight savings of removing the motors.
Let's see some pics of the new toy!
Re the Windows... I'm not sure you save much. The window motor weighs about a pound, you'd have to add in removing wiring and other hassles mid rather save weight other places. My car won't go on full,weight reduction for some time. For now it's the basics but that will take a couple 100 out (lighter wheels, seats, door panels, spare tire, tools, uprights, brakes, suspension bits, carpets, sound deadening, rear blower motor, battery...)
Joey will be doing the chassis work. (Hopefully done by end of year) Bbi will be doing the fabrication work, build the engine.
Massive amount of parts ordered this week so pics will start flowing soon.
So what else did you order. Curious to see the yellow lamps on the red car. For the record, I wanted to do that already as well. But that was when I thought I was getting a navy car. Curious to see them on red.
So what else did you order. Curious to see the yellow lamps on the red car. For the record, I wanted to do that already as well. But that was when I thought I was getting a navy car. Curious to see them on red.
Pictures will come after a quick detail...
Very long list of parts :-) I'll post once they start coming in.
I don't plan on yellow lamps on mine, I have H4 that are in really good shape on it, put on in the 90's (have receipt!) and have a really thick clear bra on them for a long time.
A few things have started to arrive, with lots more coming next week:
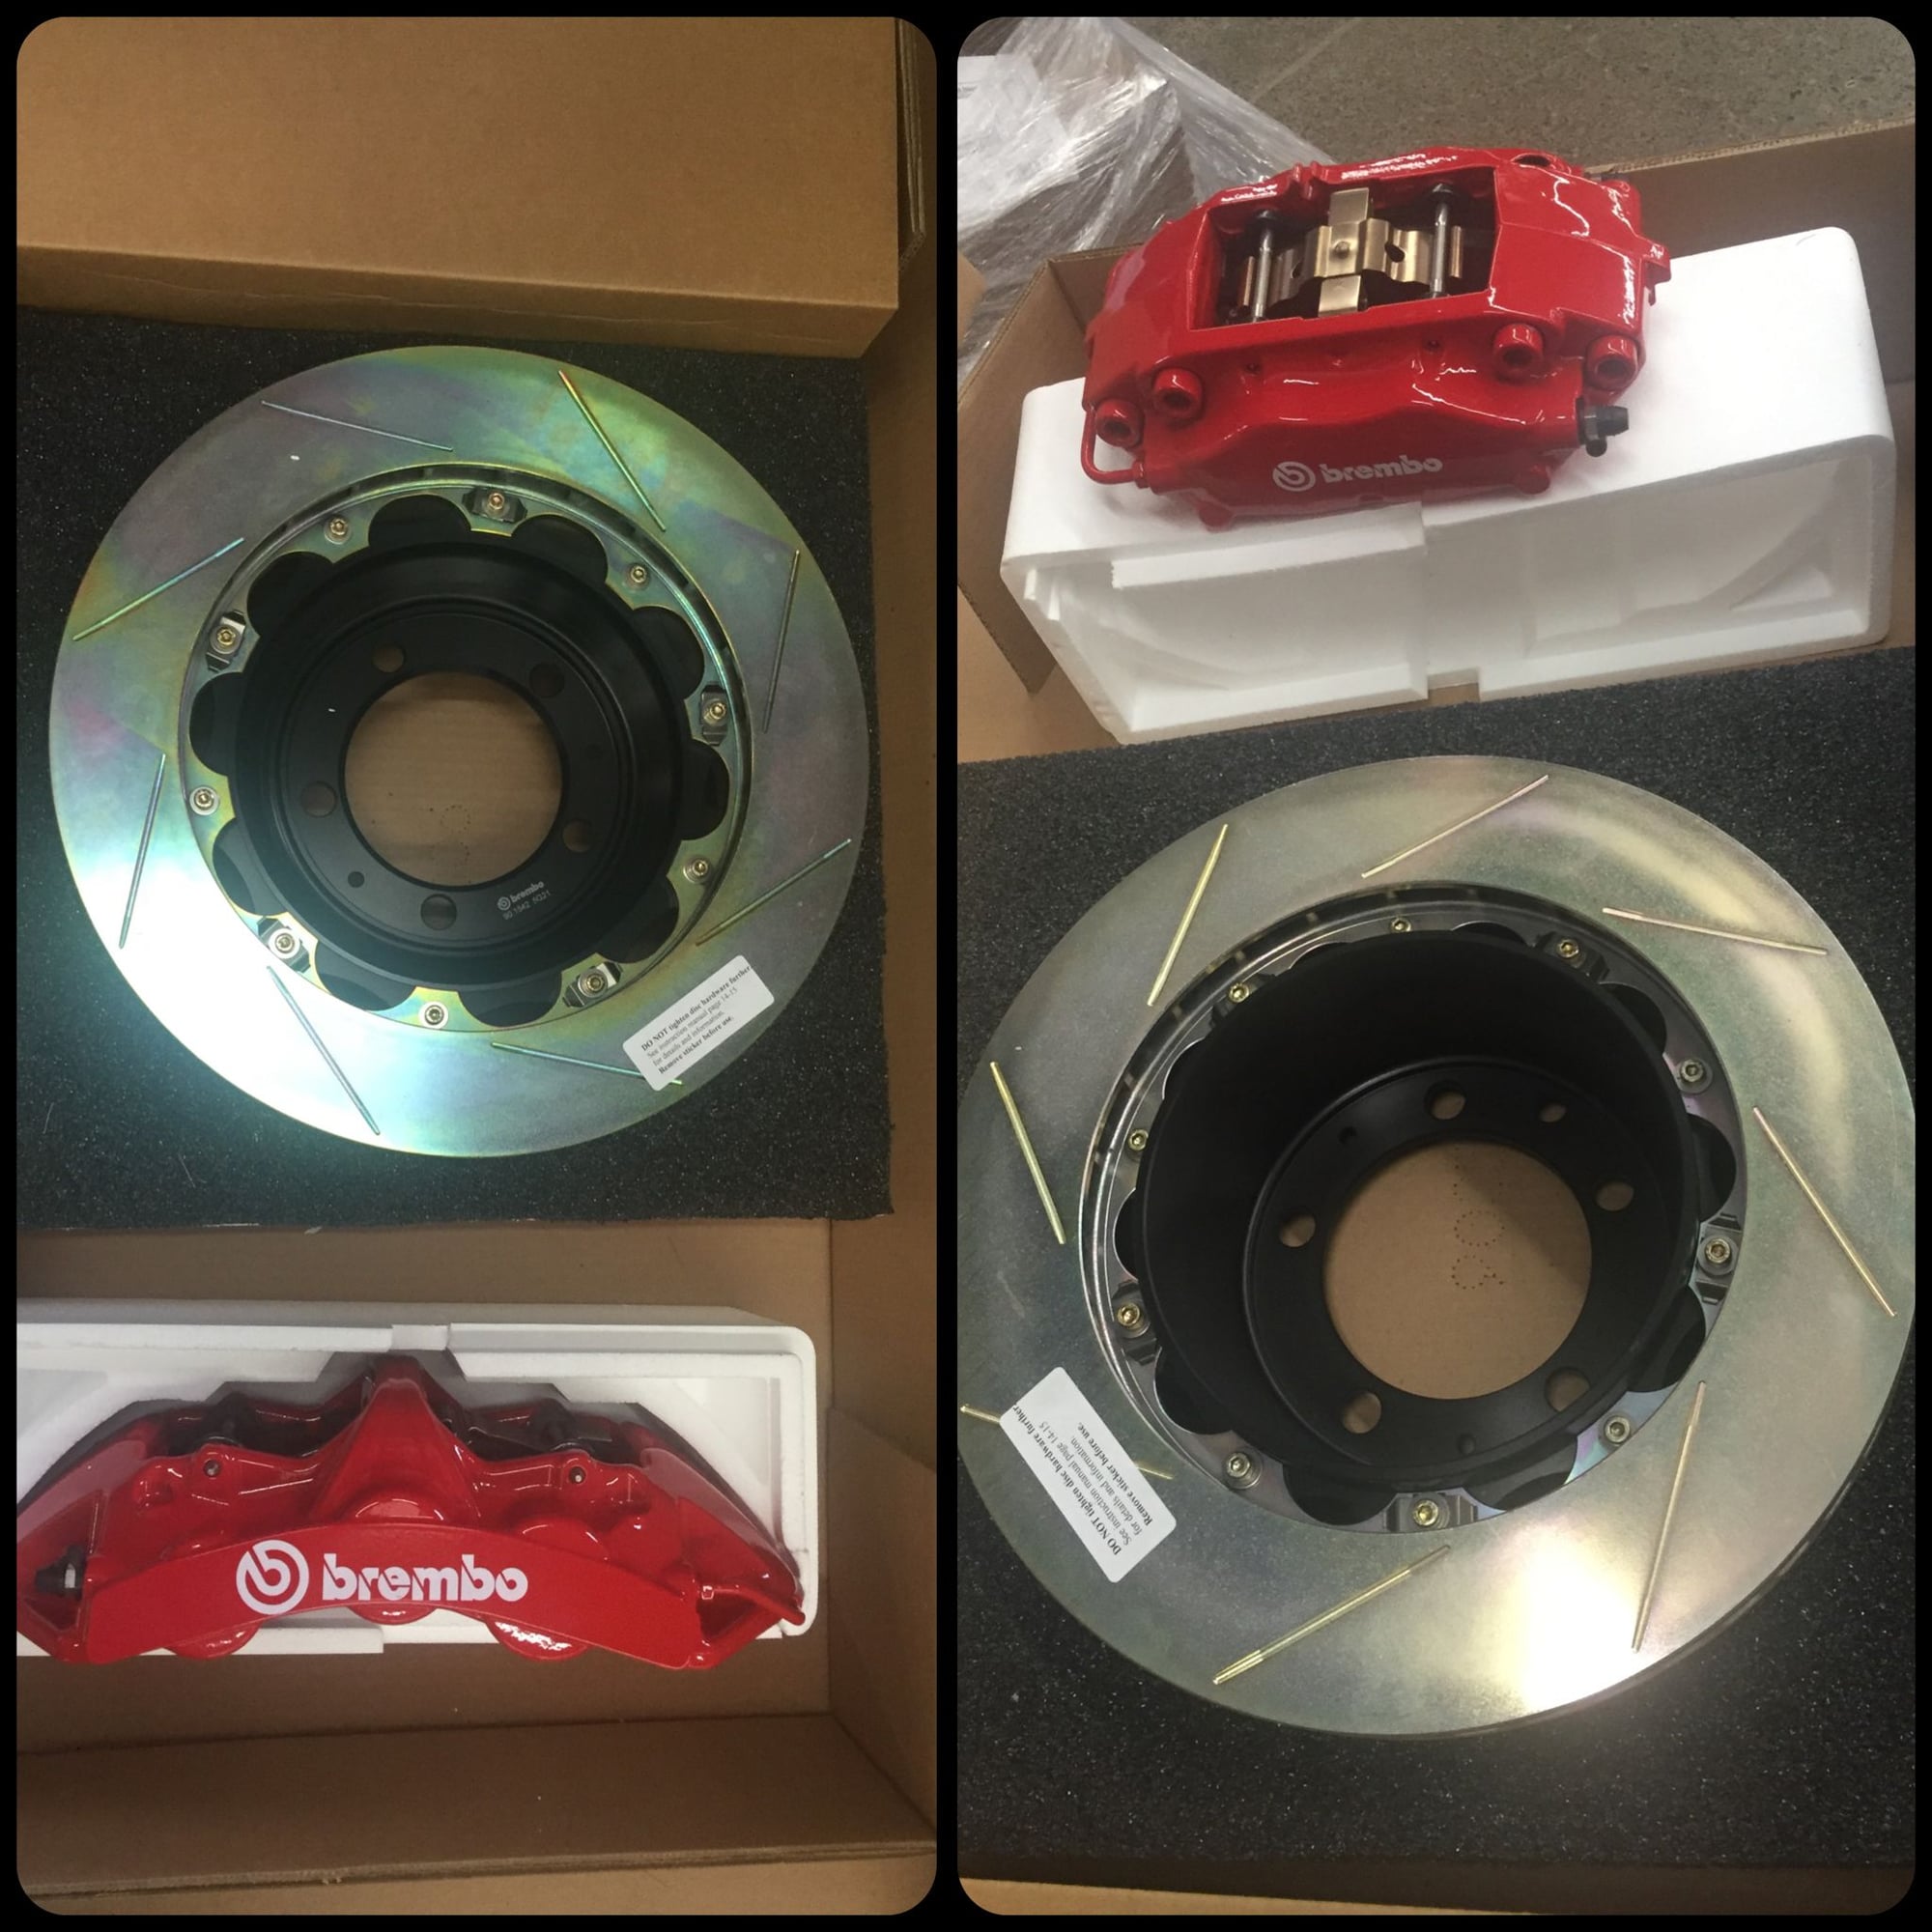
--Front and rear brembo brake kits
--Wheels, tires
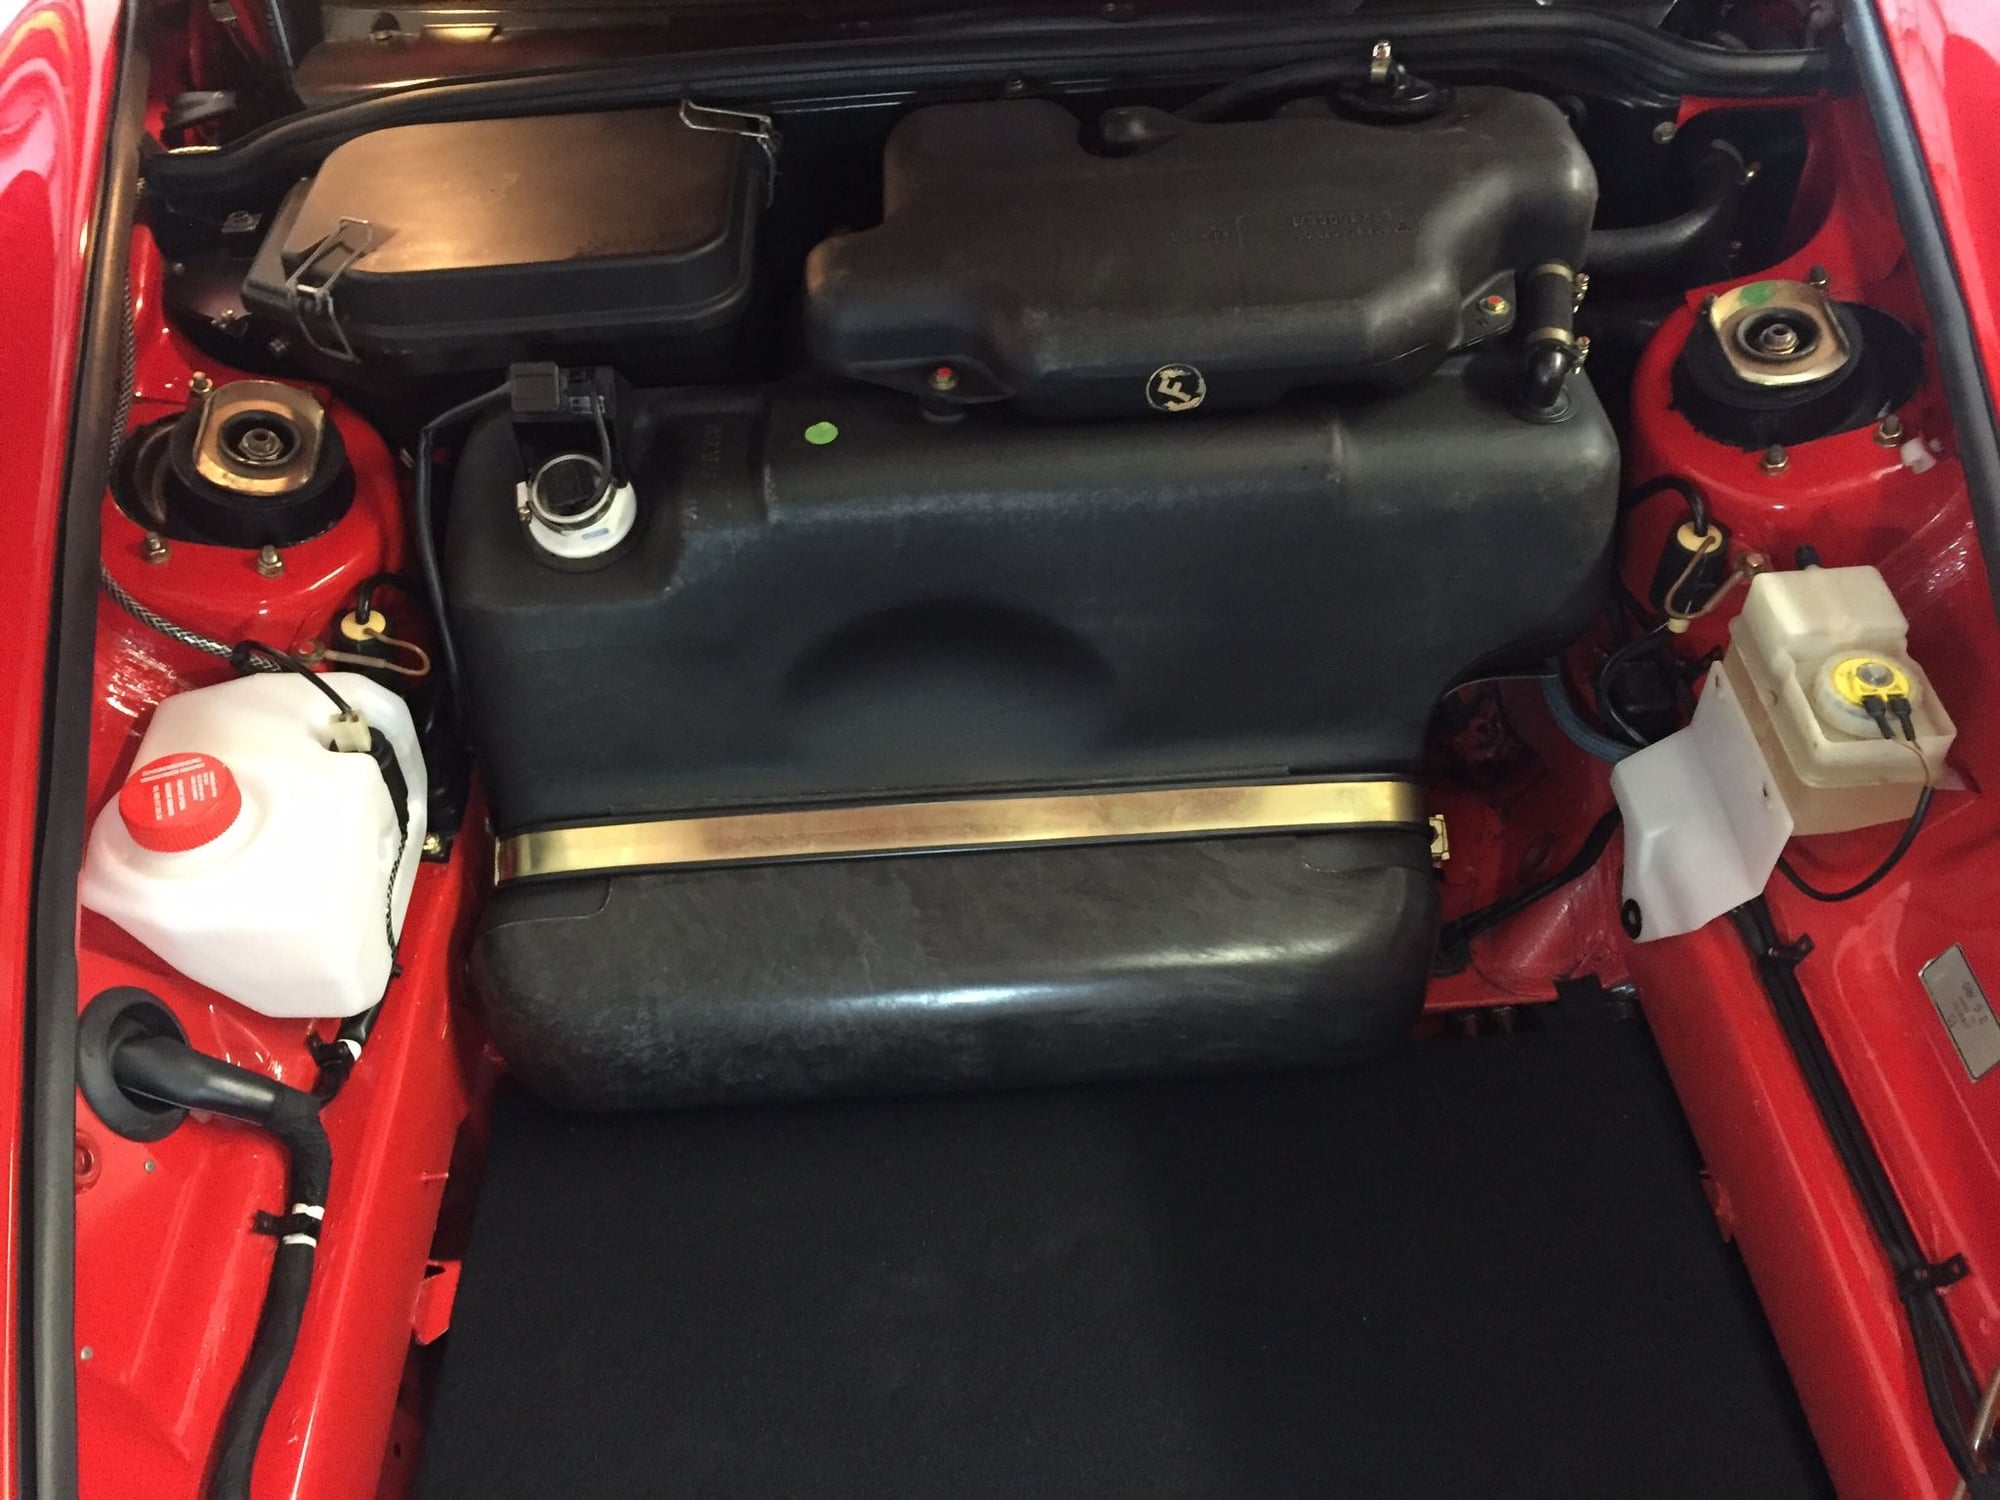
--Lots of little "bits" to address some detail things (like the RS style washer tank)
--All suspension parts other than the dampers which are about a week or so out
Will be posting more pics soon. The chassis work should be done by end of year, then the car goes in for some additional work in mid January to do the cage, exhaust, flywheel, some additional brake mods, interior mods, etc.
Out the gate the car will look "mostly stock" other than the wheels and stance, a few bits here and there.
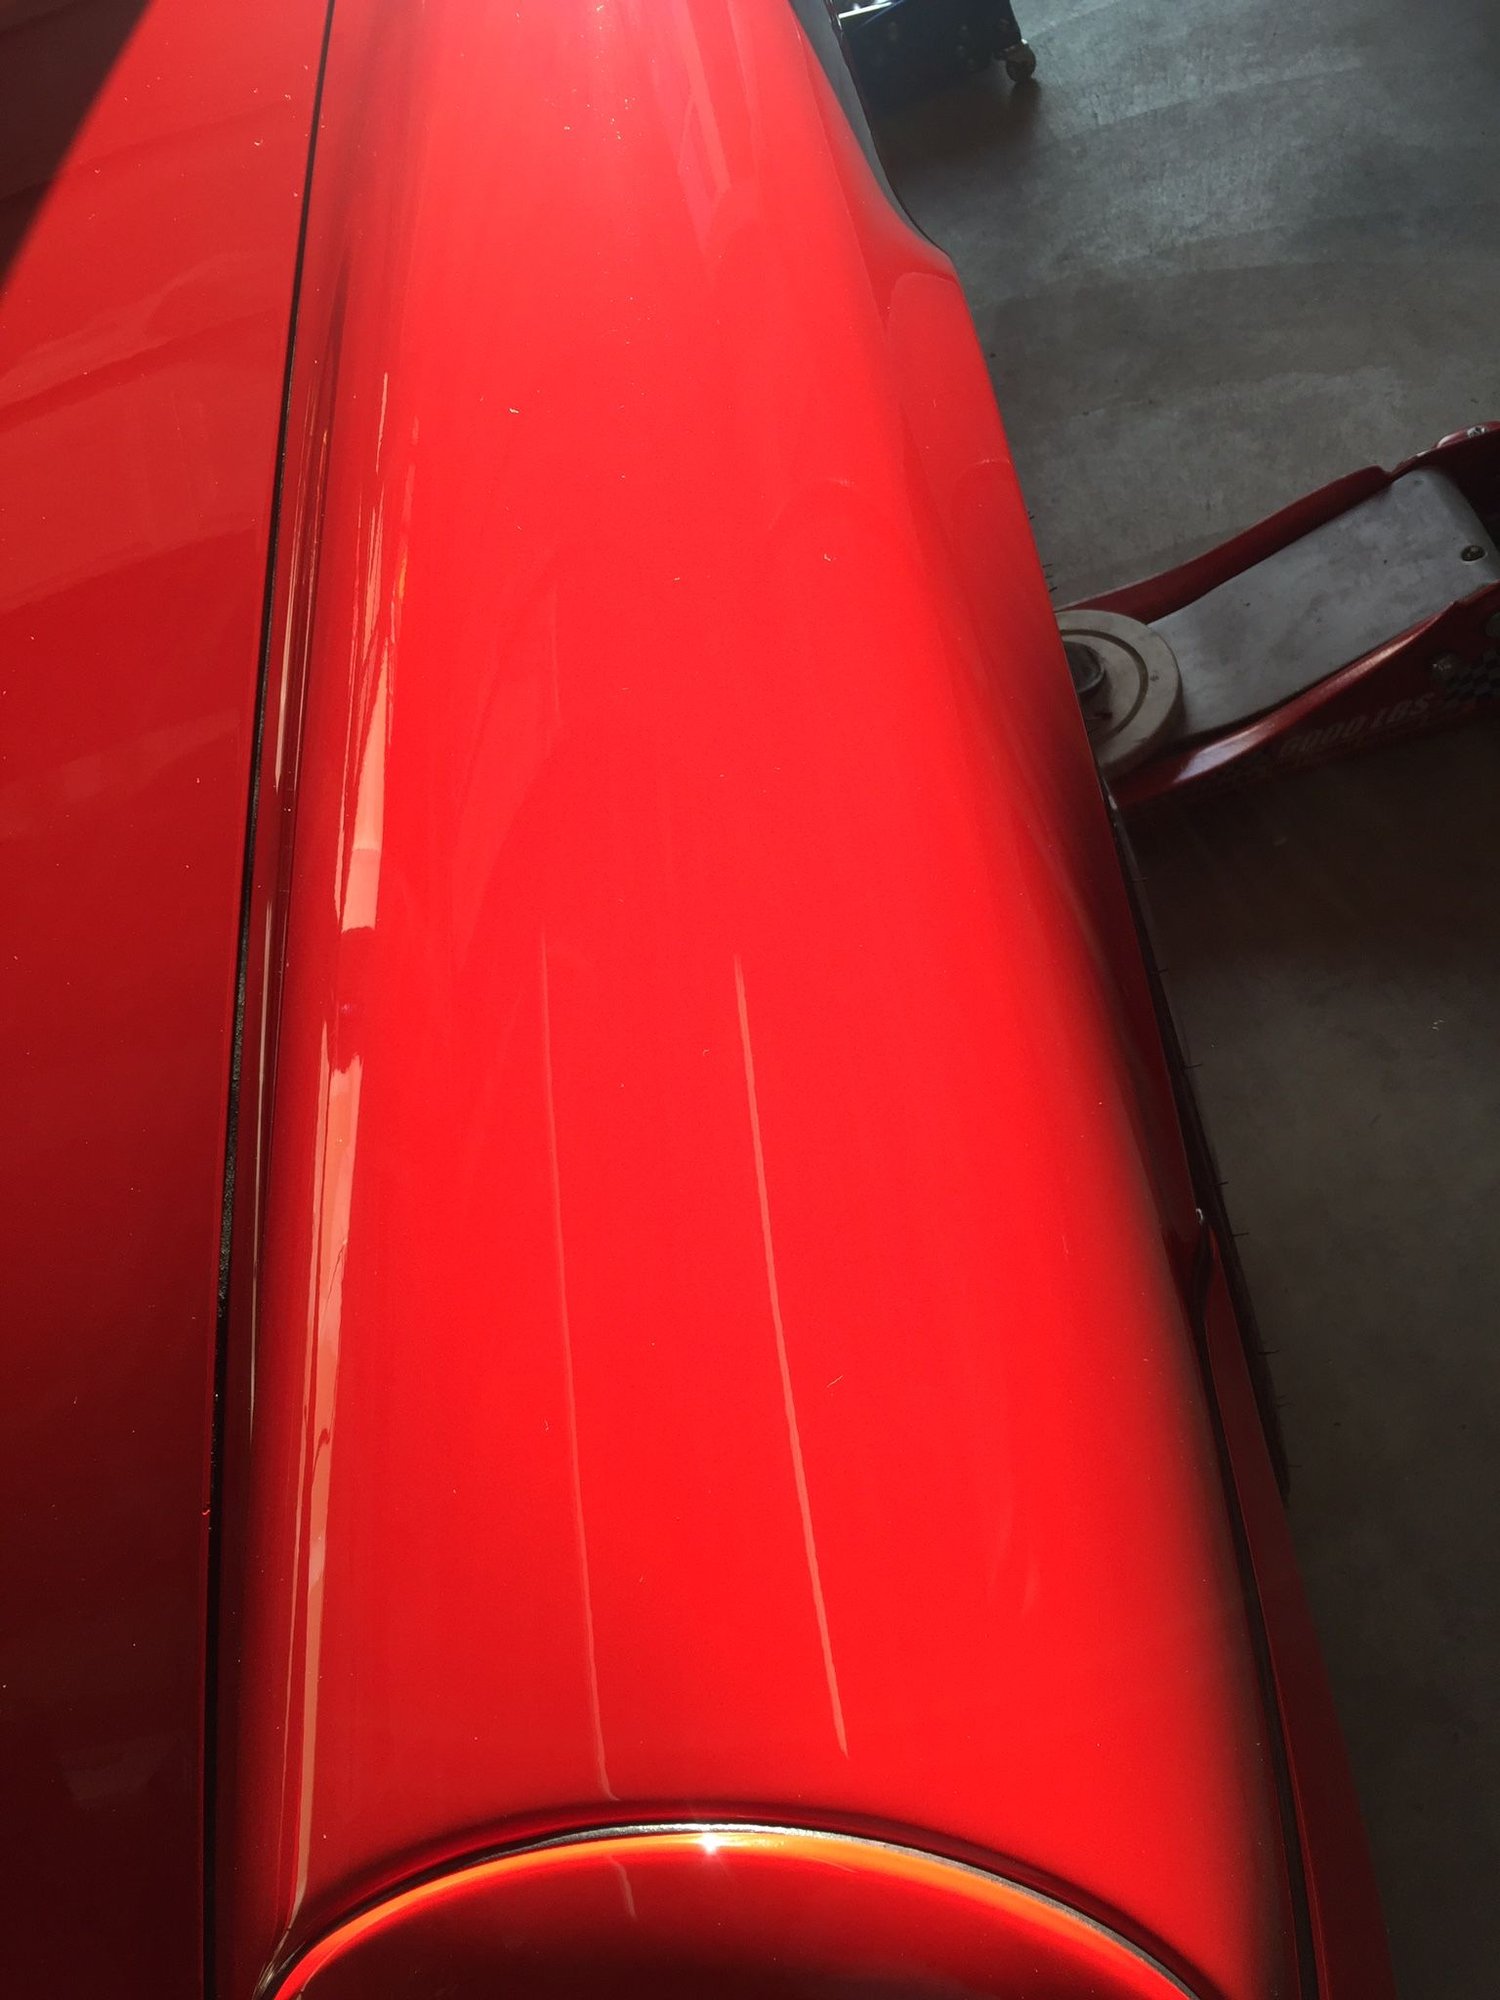
I spent the holiday weekend polishing and detailing the car and it looks really excellent.
A couple little projects today. First topped synthetic wax with p21s carnauba wax and the car is gleaming.
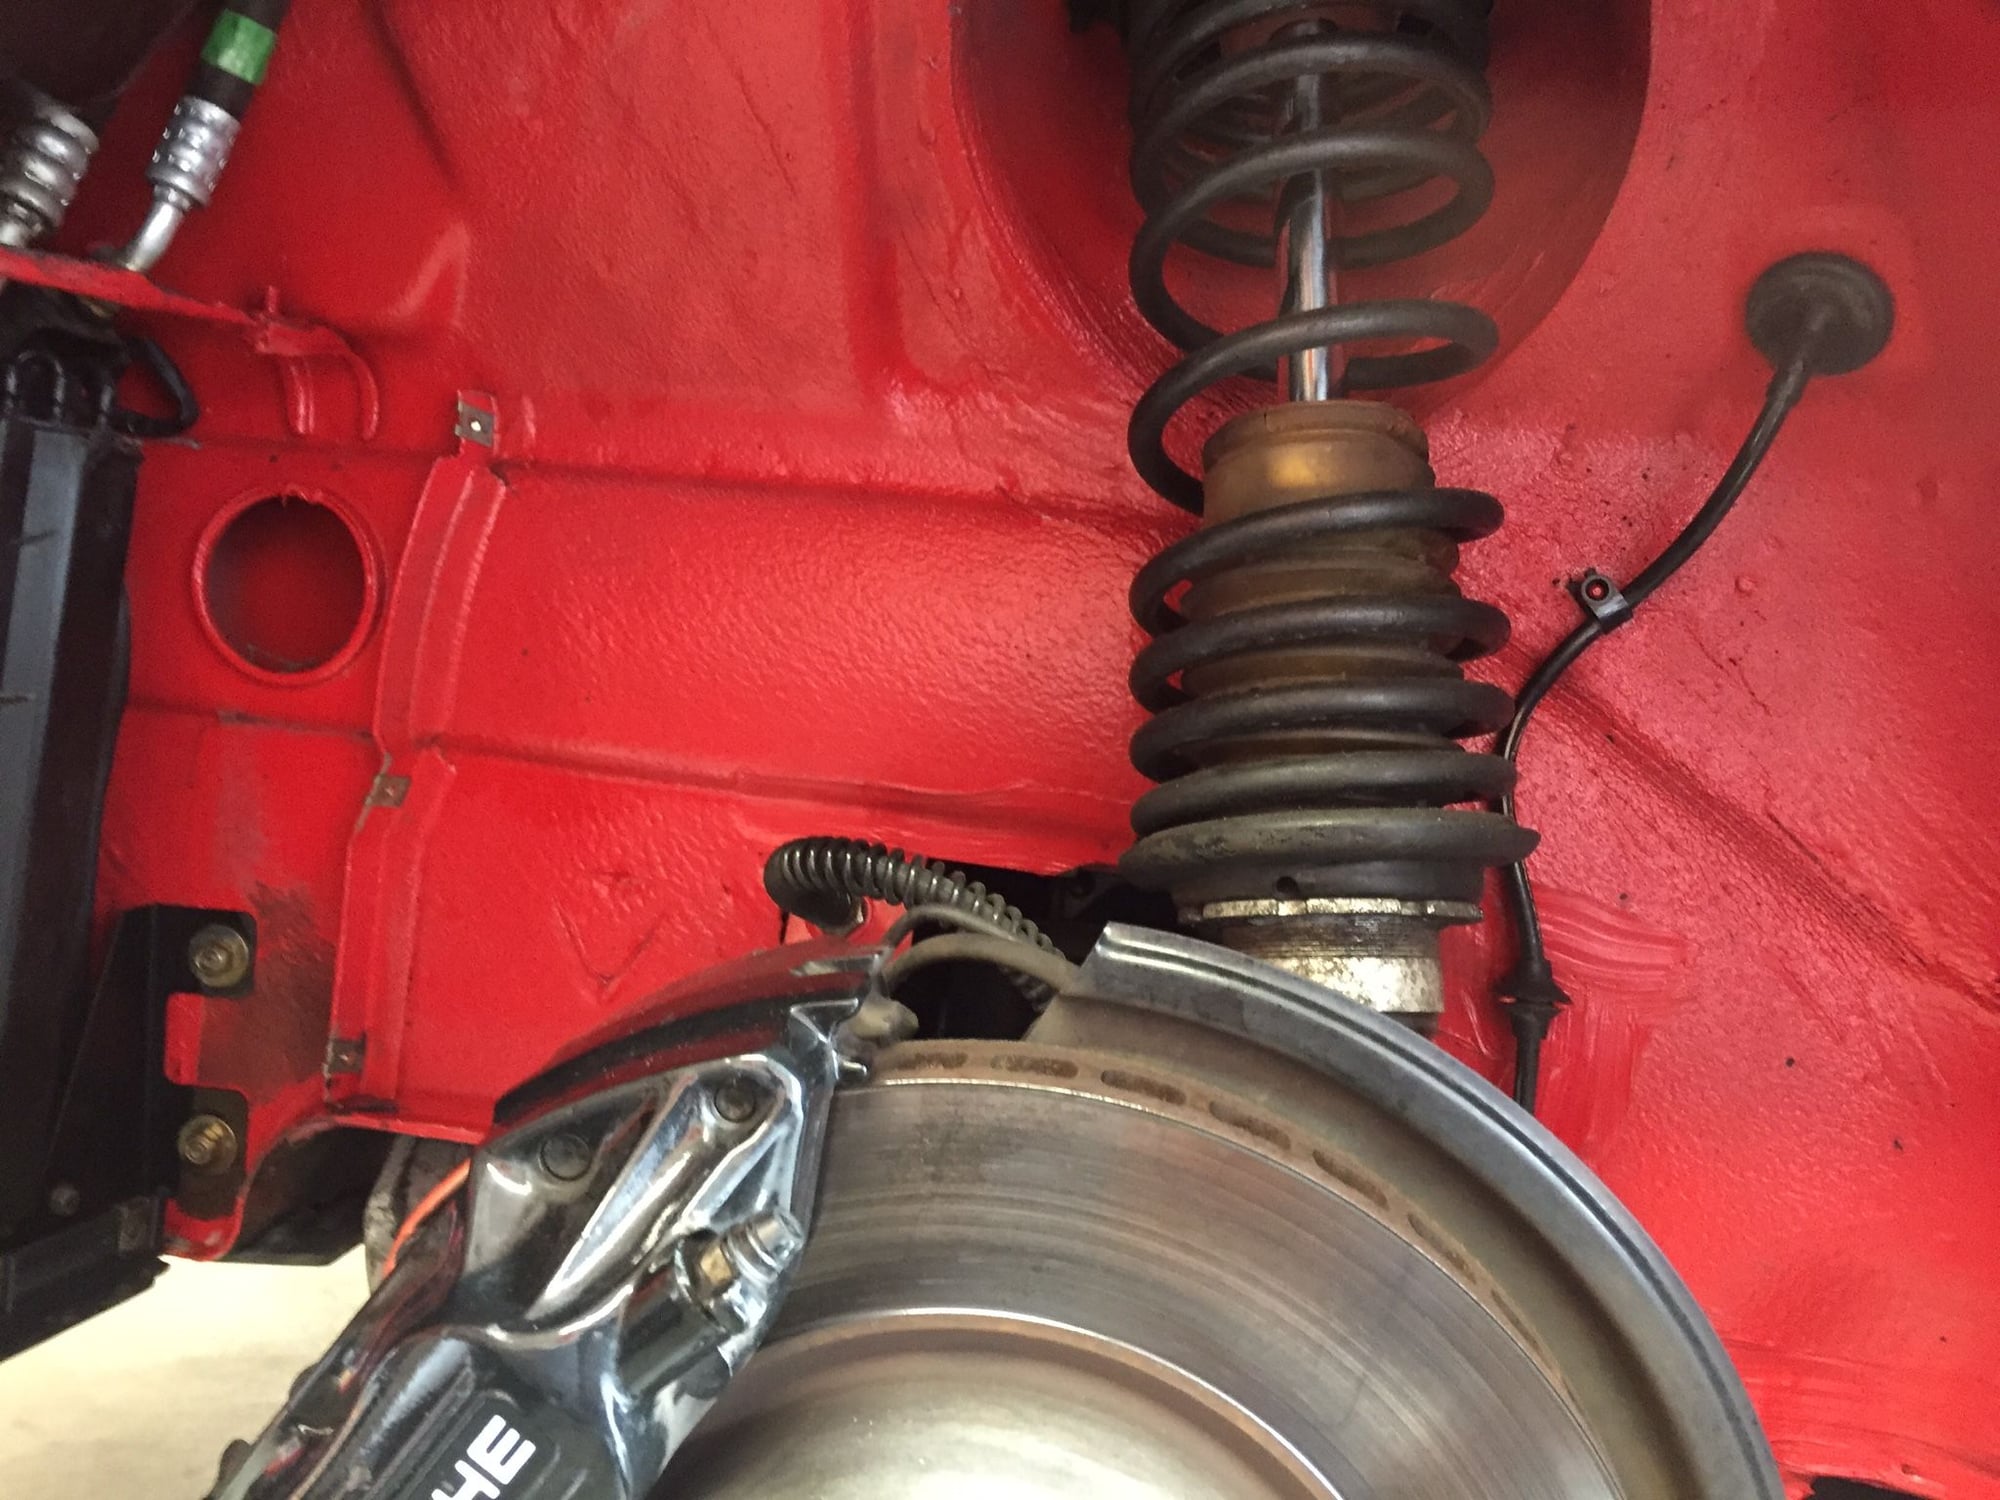
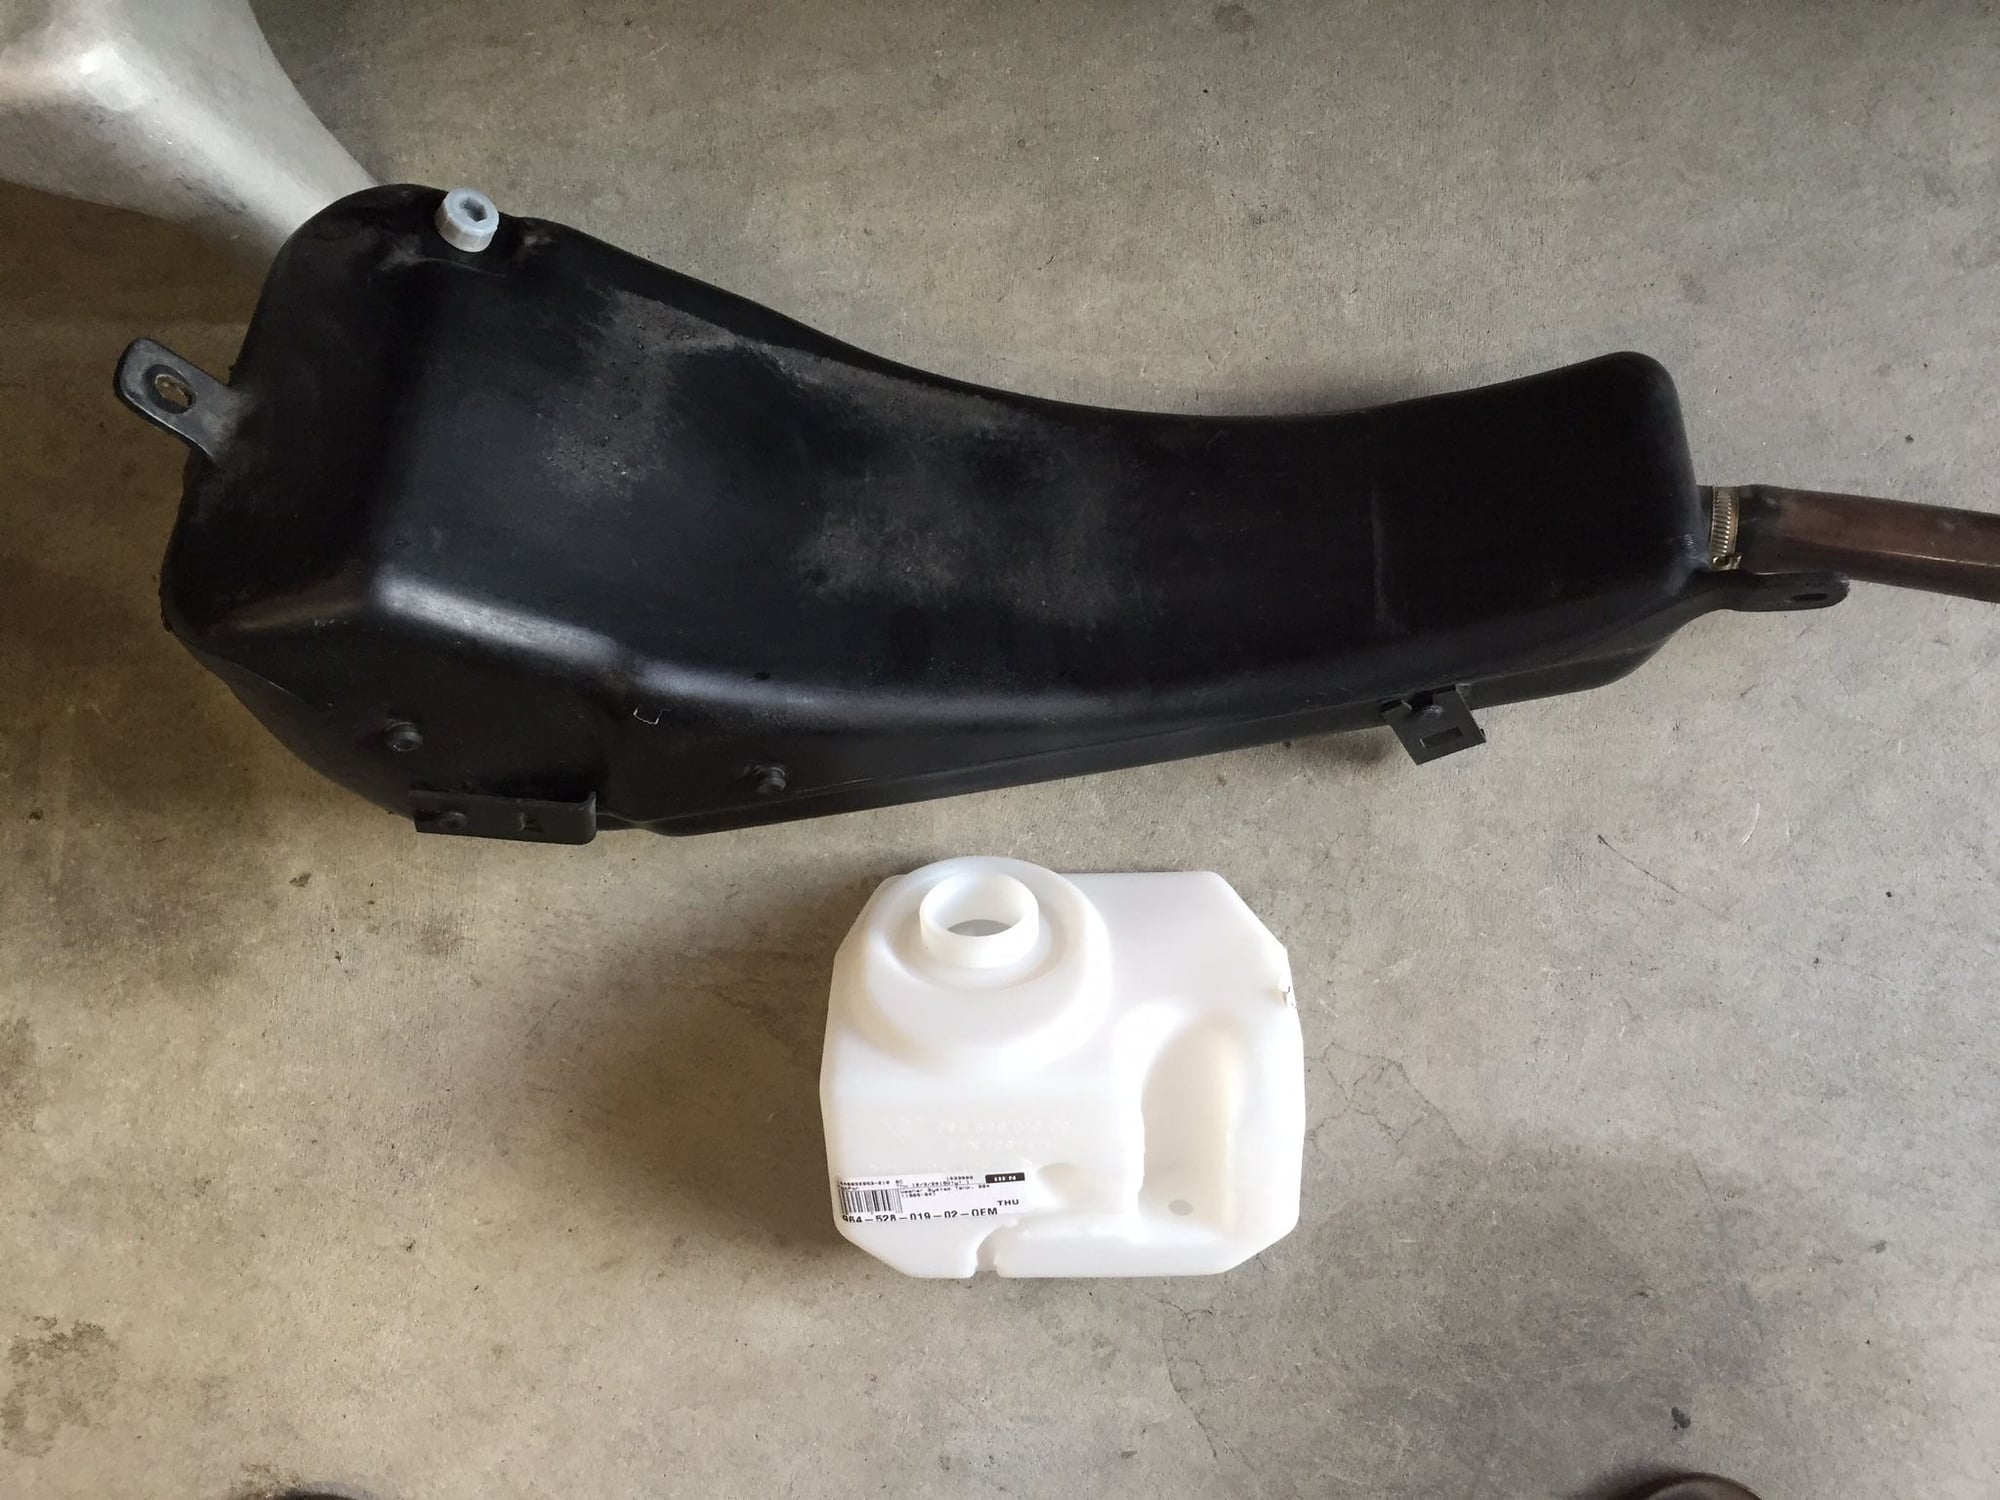
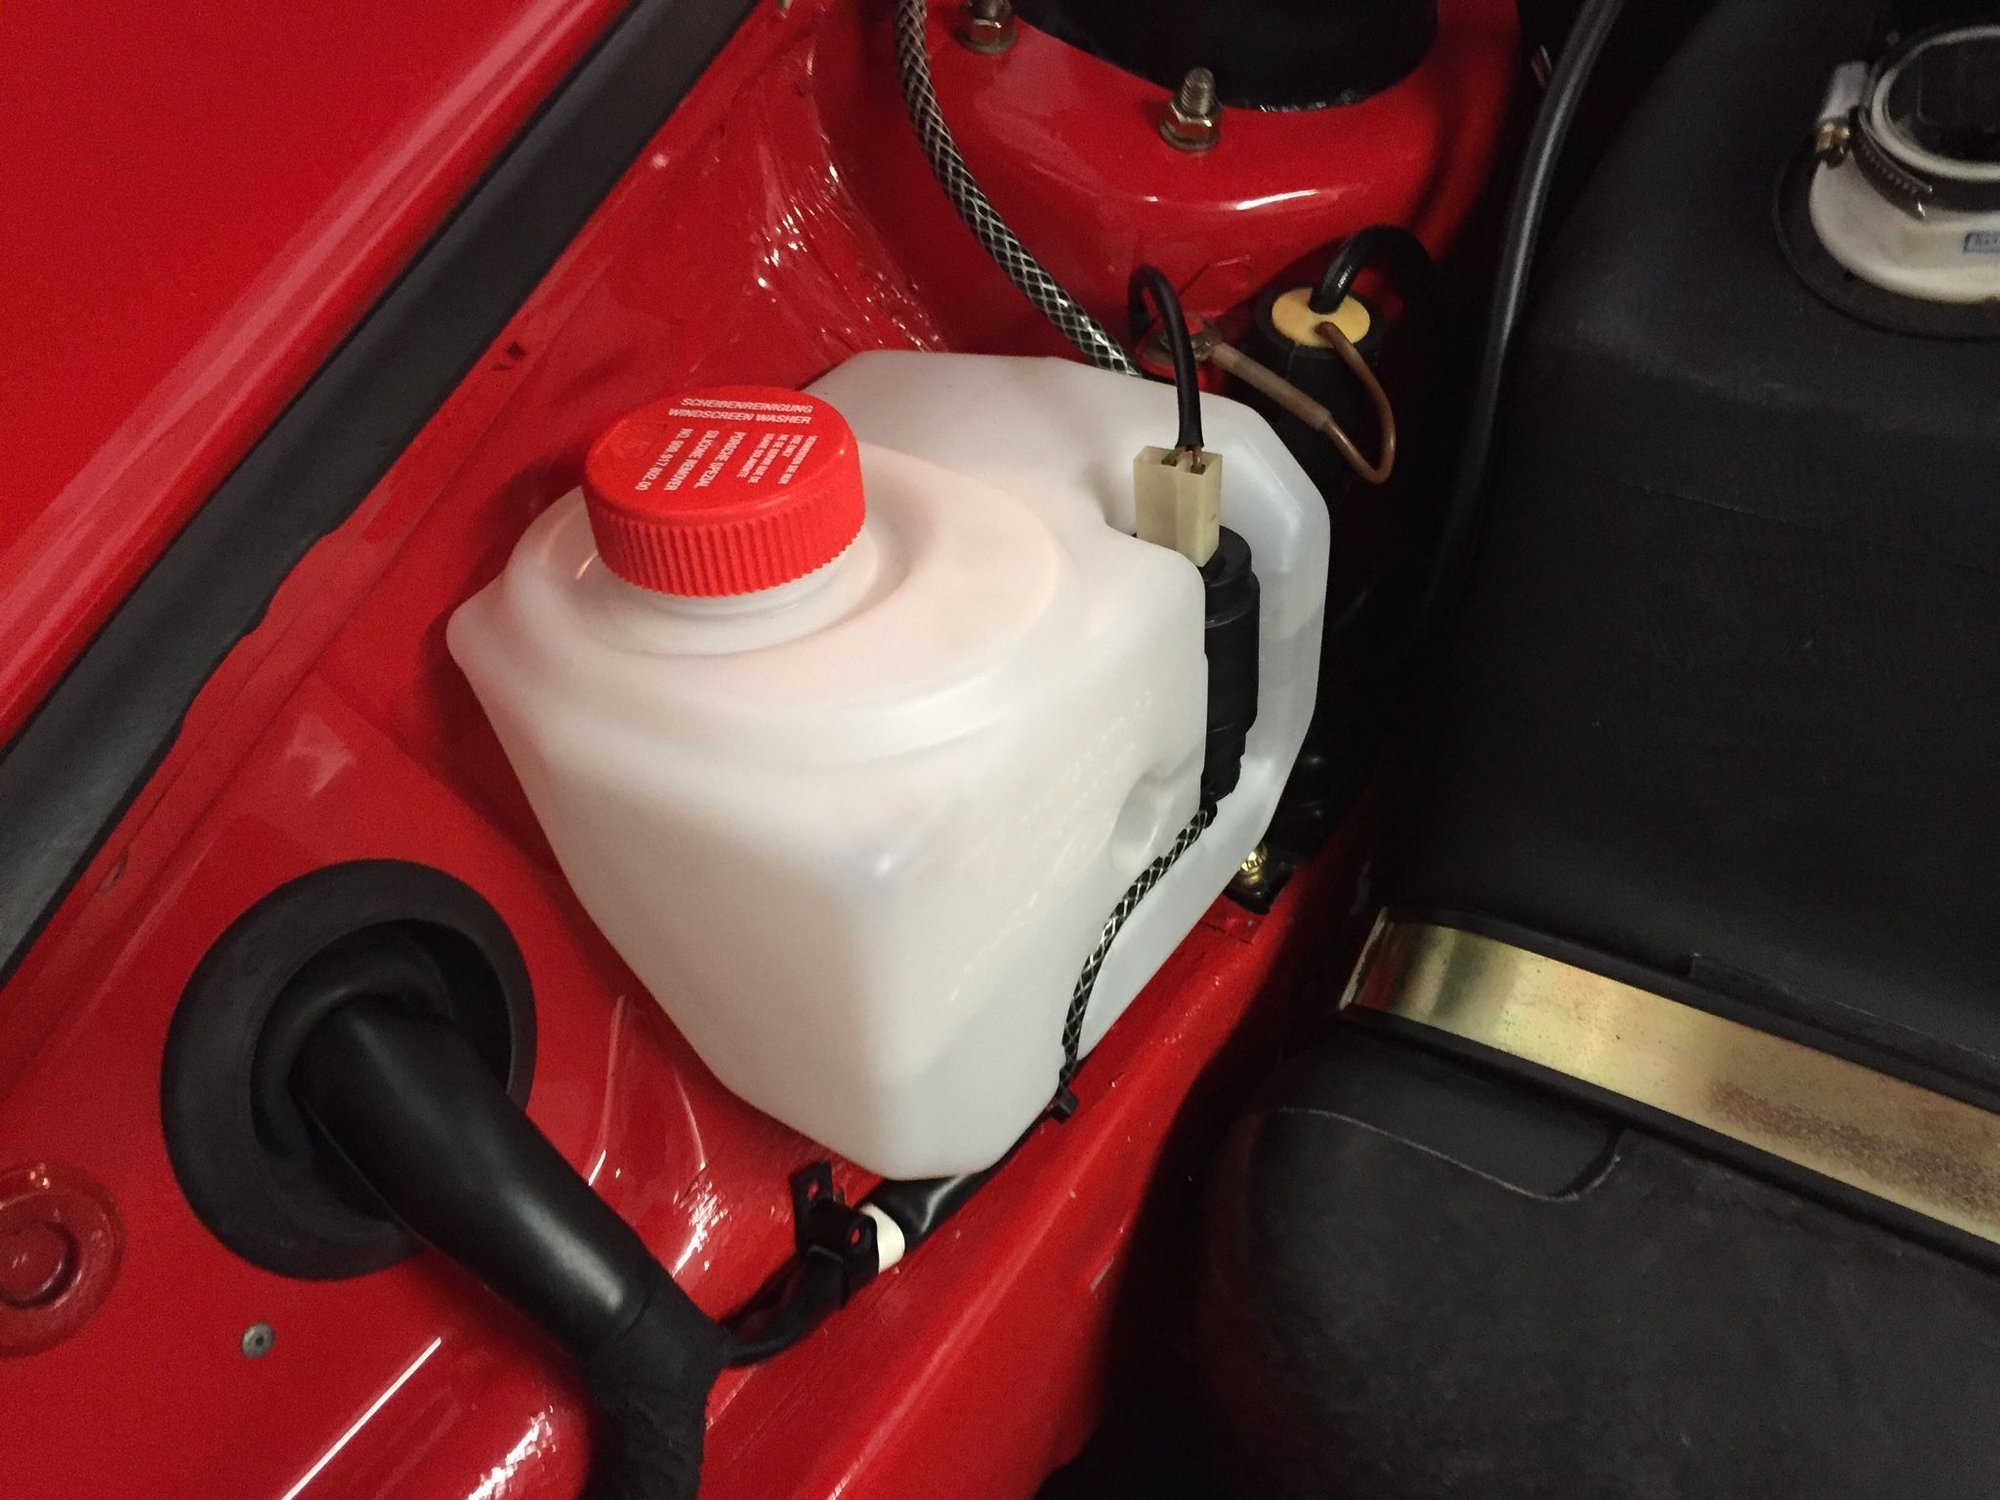
Pulled driver fender liner off, drained washer tank, pulled it out, and will replace with the intensive tank mounted in the frunk as in the Carrera RS. This is a pretty easy mod and the parts aren't too expensive. You do need to relocate the wiring obviously for the pump. Filled this will save about 10lbs and just look kinda cool :-). Factory mounting is already in the frunk.
Also nice to see fenders are clean and no surprises under the liners.
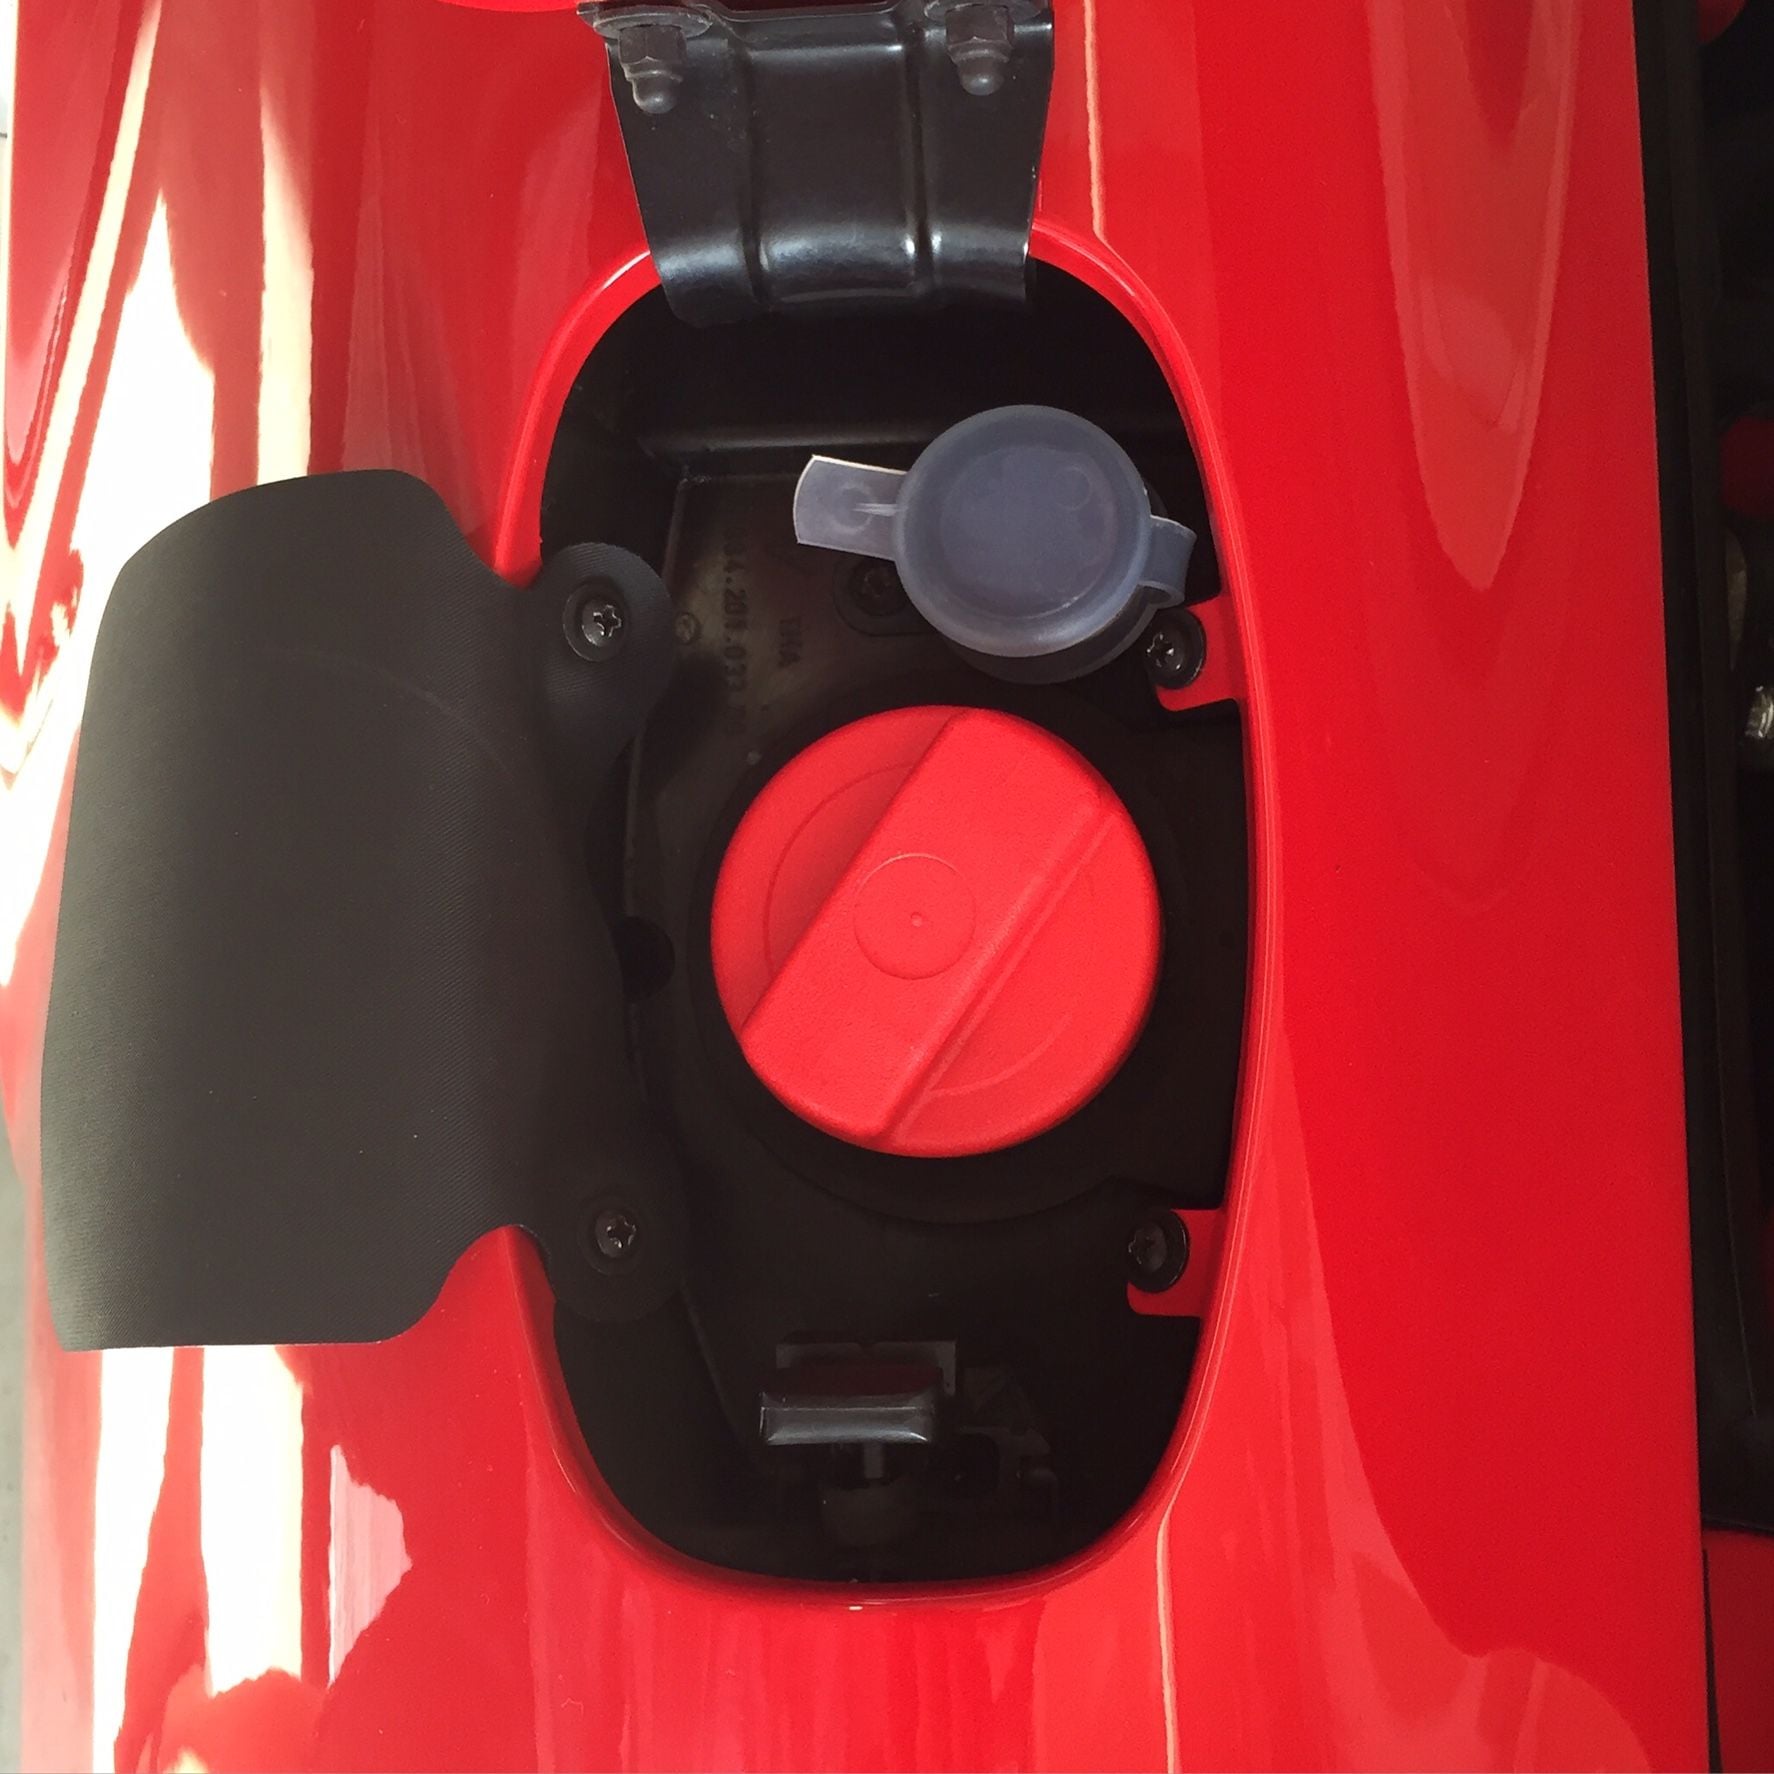
Oh and my OCD got the best of me and I replaced the fuel filler, flap, screws, and water filler caps. I hated the faded look.
Pulled driver fender liner off, drained washer tank, pulled it out, and will replace with the intensive tank mounted in the frunk as in the Carrera RS. This is a pretty easy mod and the parts aren't too expensive. You do need to relocate the wiring obviously for the pump. Filled this will save about 10lbs and just look kinda cool :-). Factory mounting is already in the frunk.
Any more info on this mod or a DIY? Sounds like a great idea.
I'll post some additional pictures later after I get it working :-) these are the parts needed, plus wire zip ties heat shrink 3m super 33 electrical tape and a few other bits.
If your car has headlight washers, you'll lose that functionality. If your car has the intensive system, I have no idea how you'd do this mod as you'd need to cap off the normal system probably.
How To:
1. Pull drivers front wheel and remove fender liner, the tank if the black thing up top.
2. There is a hex, white plug, on the bottom of of the tank, pull that, have a big bucket handy, that will drain the fluid.
3. 2 10mm bolts + remove the hose clamp from the filler side, tank will pull right out
4. You should see 3 plugs, 1 pump (if you have headlight washers you'll have 2 pumps), and 1 hose, 2 if you have HL washers
5. Disconnect the 2 plugs on the tank, cut the hose at the pump.
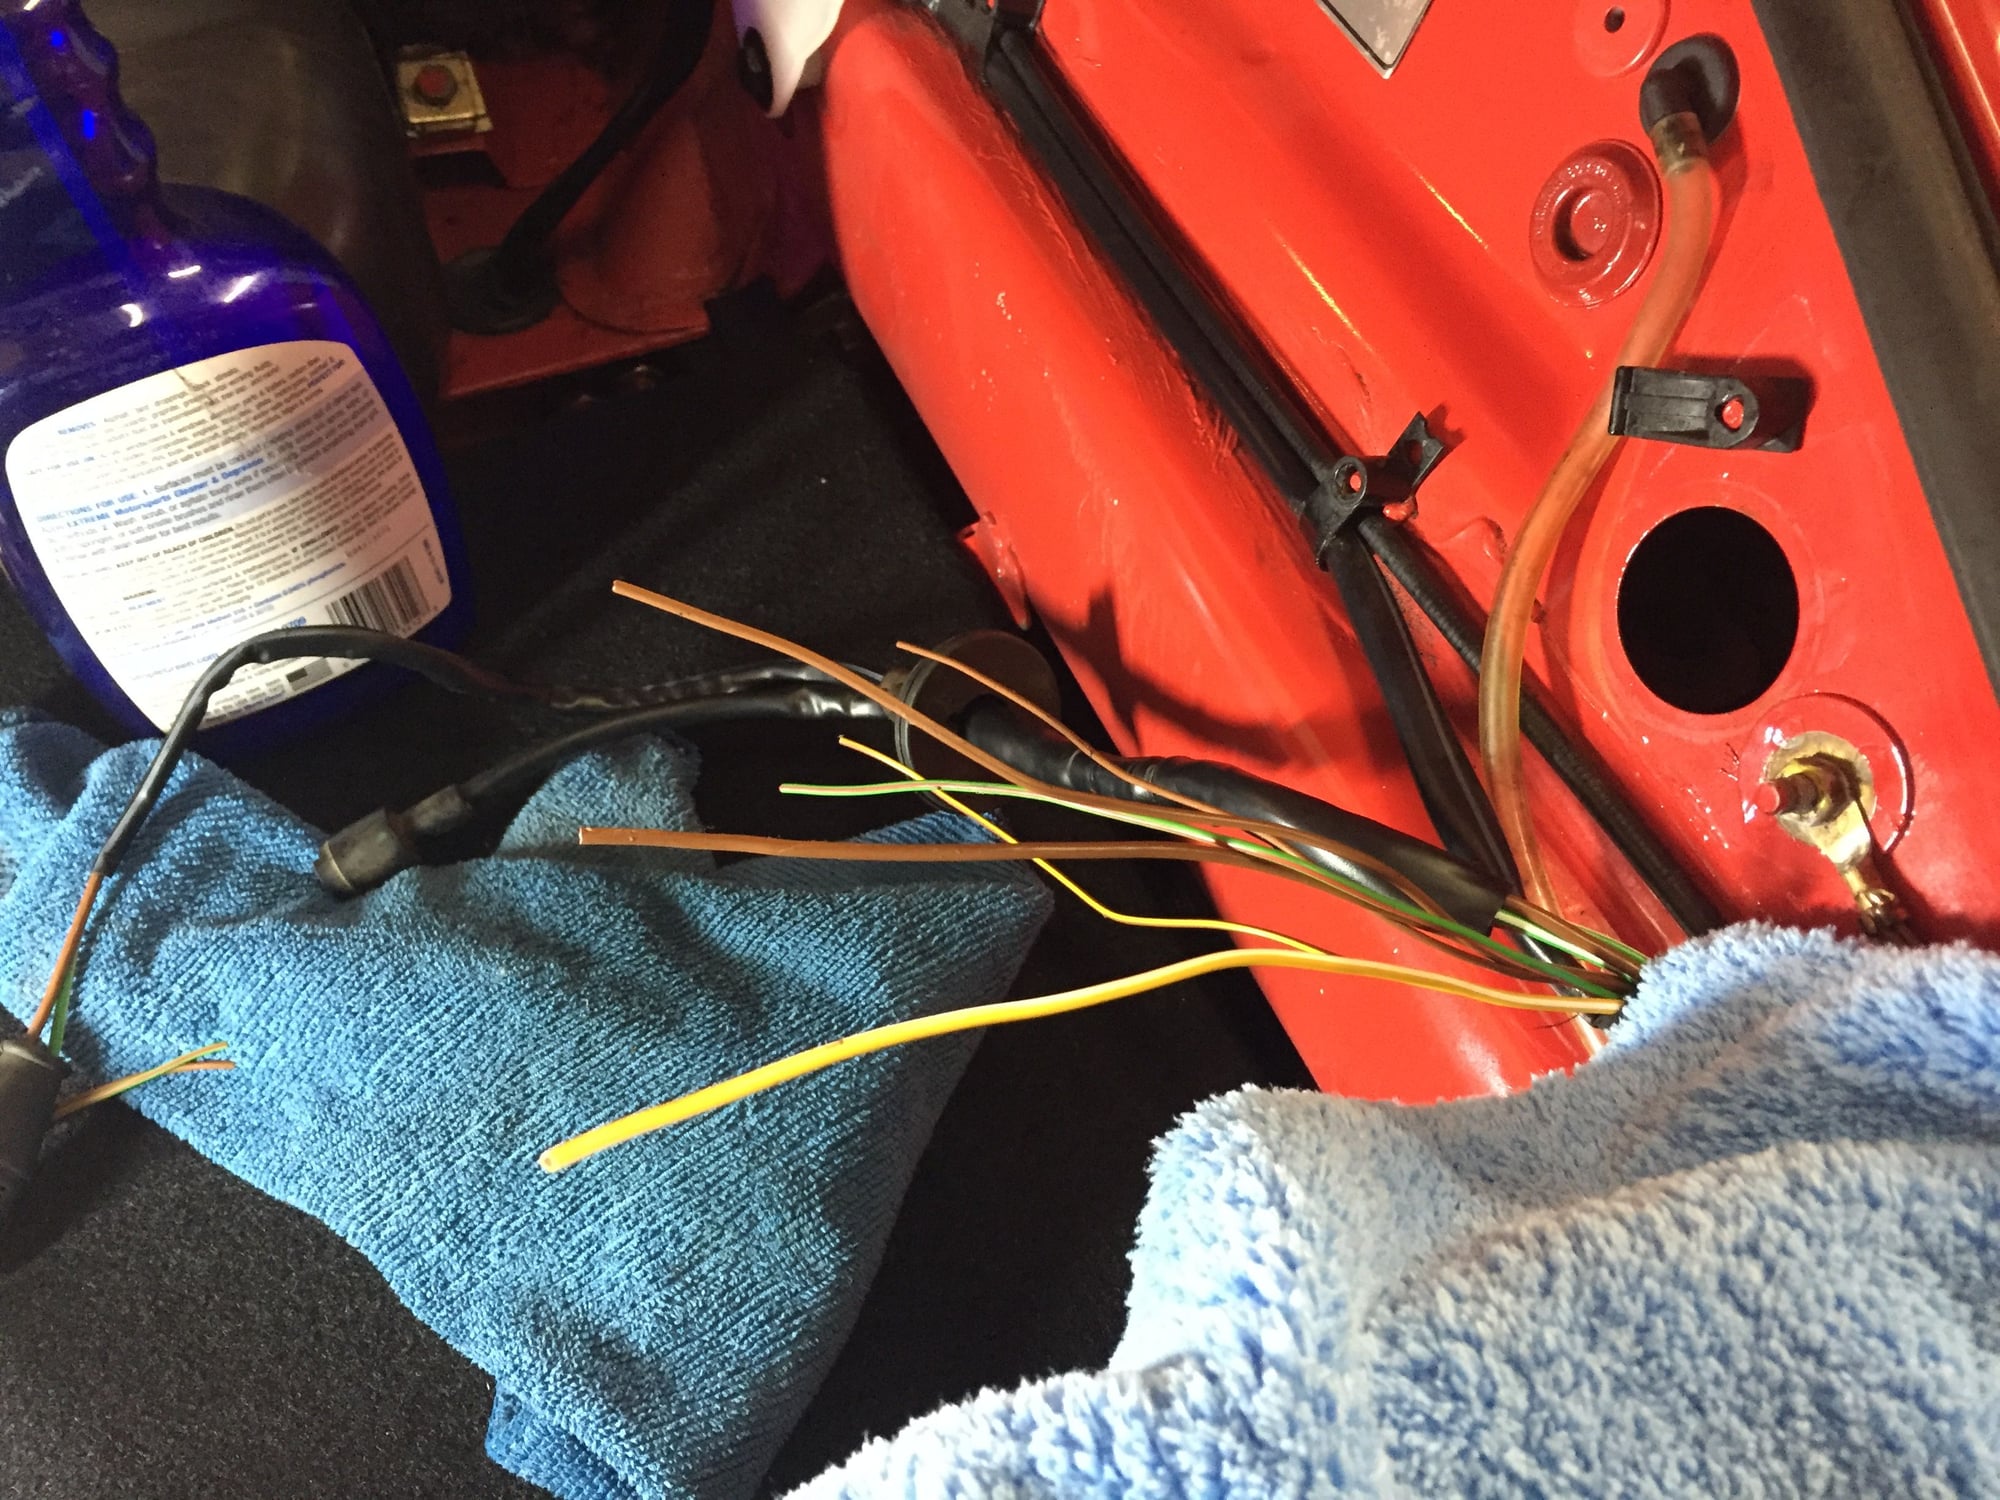
6. The 2 plugs, one is for pump, 1 is for the level low light on the dash. I metered the level light float, when it's "up" the circuit is open (light off), when it's "down" it's shorted (light on). So you should be able to leave this unplugged and have no light. The wire you need are the green with red stripe and brown (ground) of same size
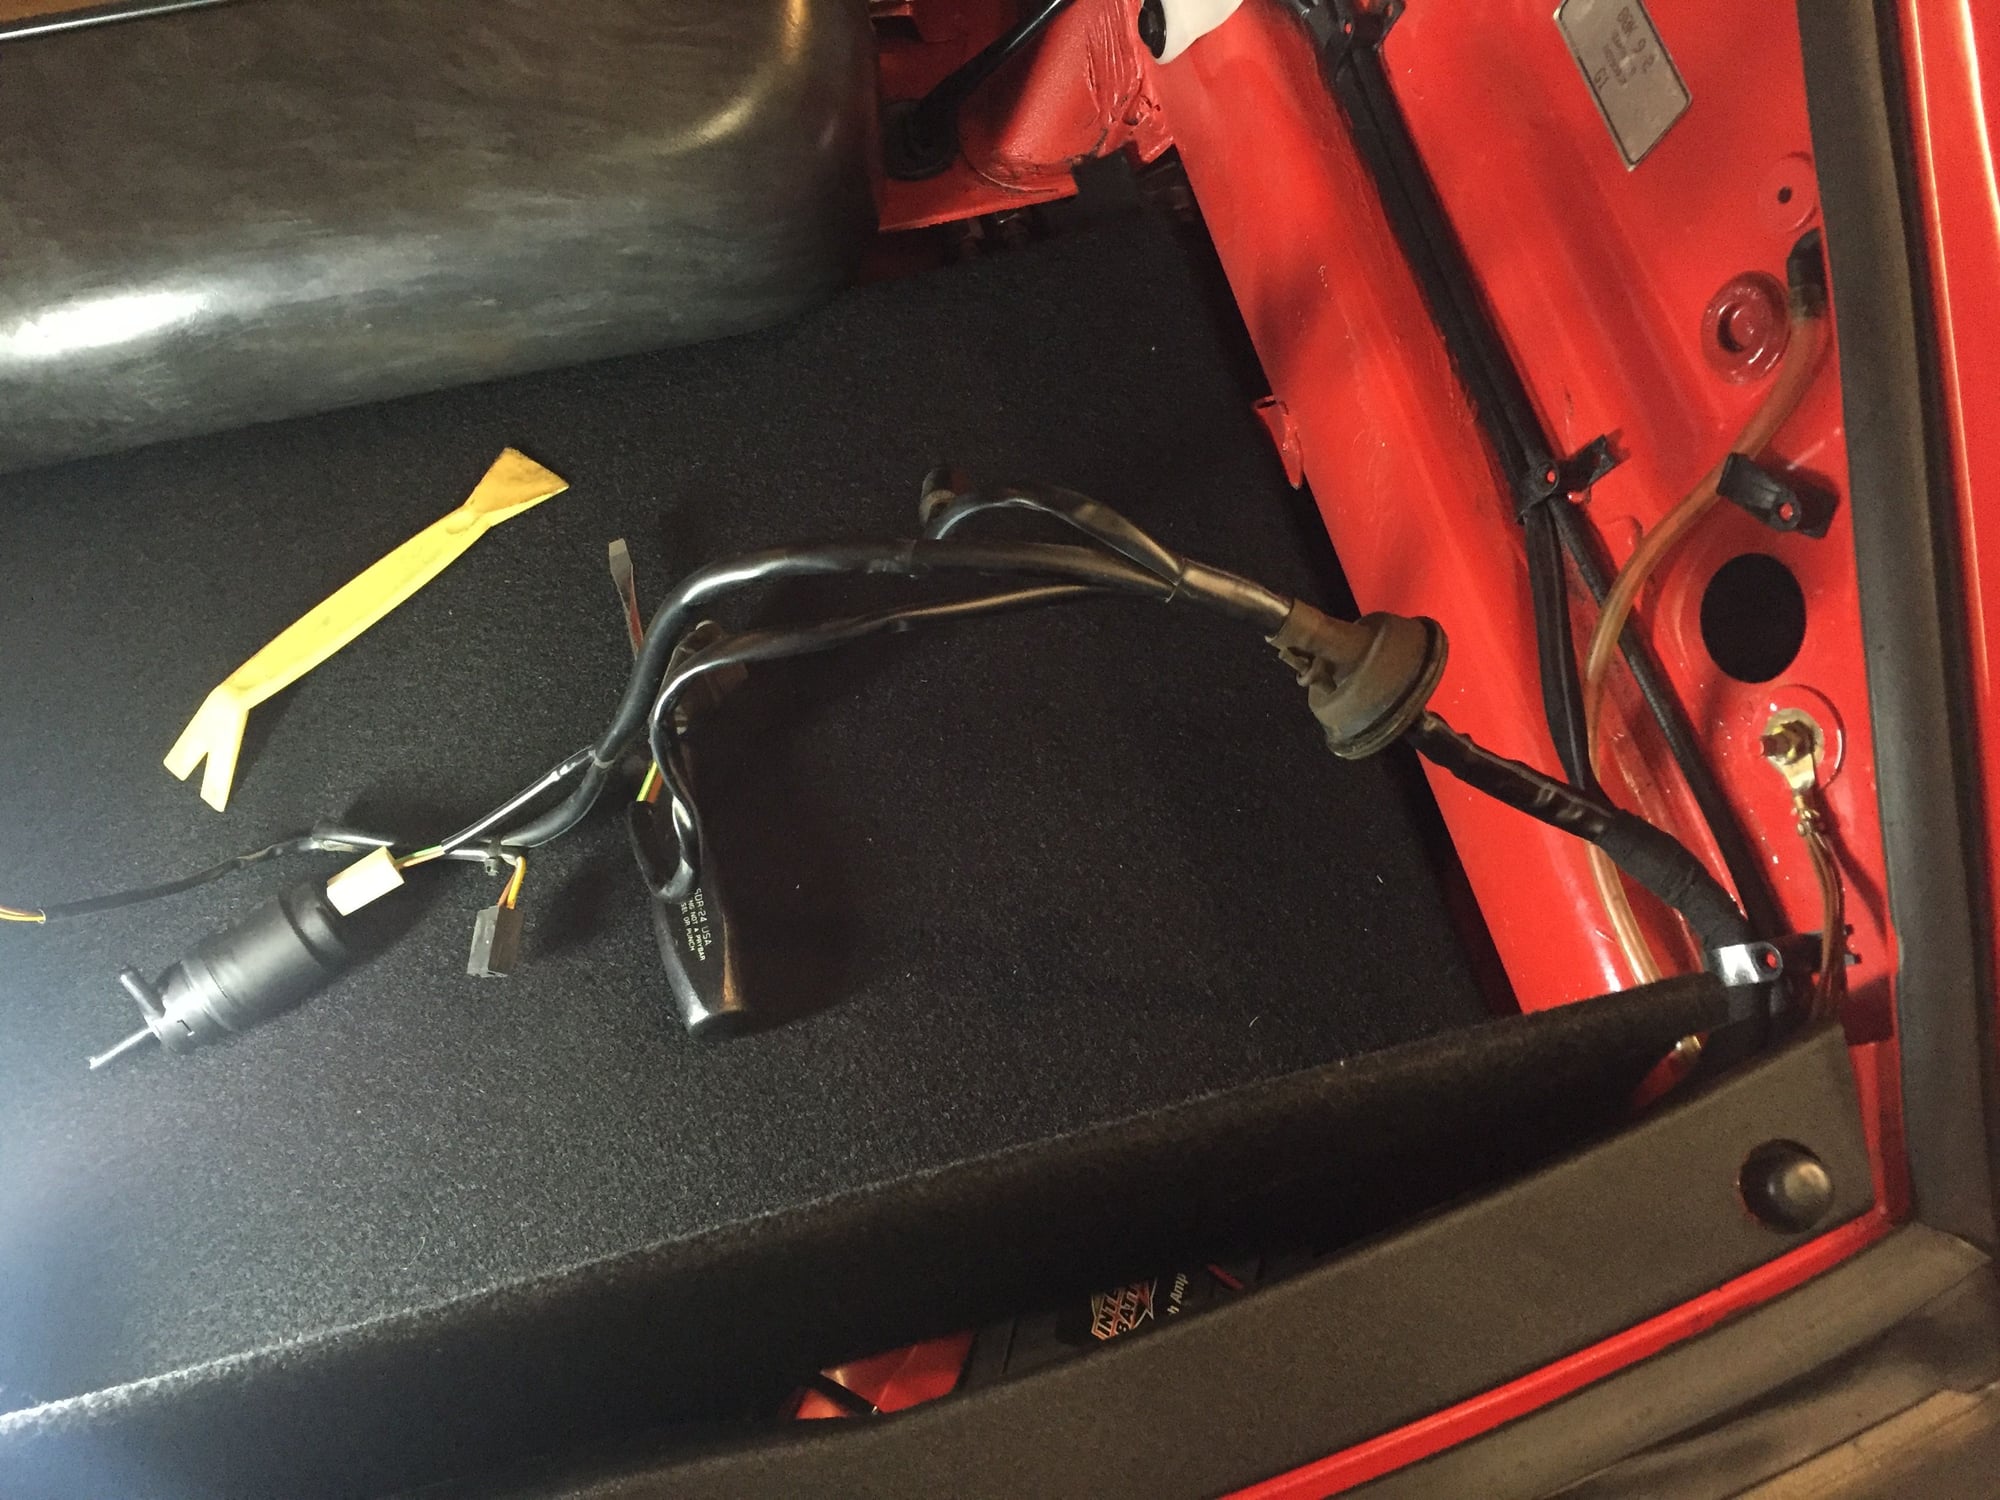
7. Disconnect the AC plug wire, and disconnect the sensor wire plug. Release the firewall grommet and pull the cables through
8. Work the grommet back, locate the 6 wires for the washer (2 for level, 2 for washer pump, 2 for HL pump (mine was there, I do not have HL washer)) cut them off leaving room to tap and heat shrink off
8a. Pull the hose out through the firewall
9. Get some wire, long enough to route to the new pump location, tap the wire, tap on the original plug remember yo want the green/red + brown. The rest you can heat shrink off and tie out of the way.
10. Reinsert the grommet and route the AC wiring back, replace the liner
11. Route the wire to the pump location on the passenger side of the car, make it look nice, wrap the wire, tie it up
12. Route the pump hose back and up over to the driver side T where you'll tap into the washer system.
13. That's more or less it
No more wheel travel the tank is above the fender liner
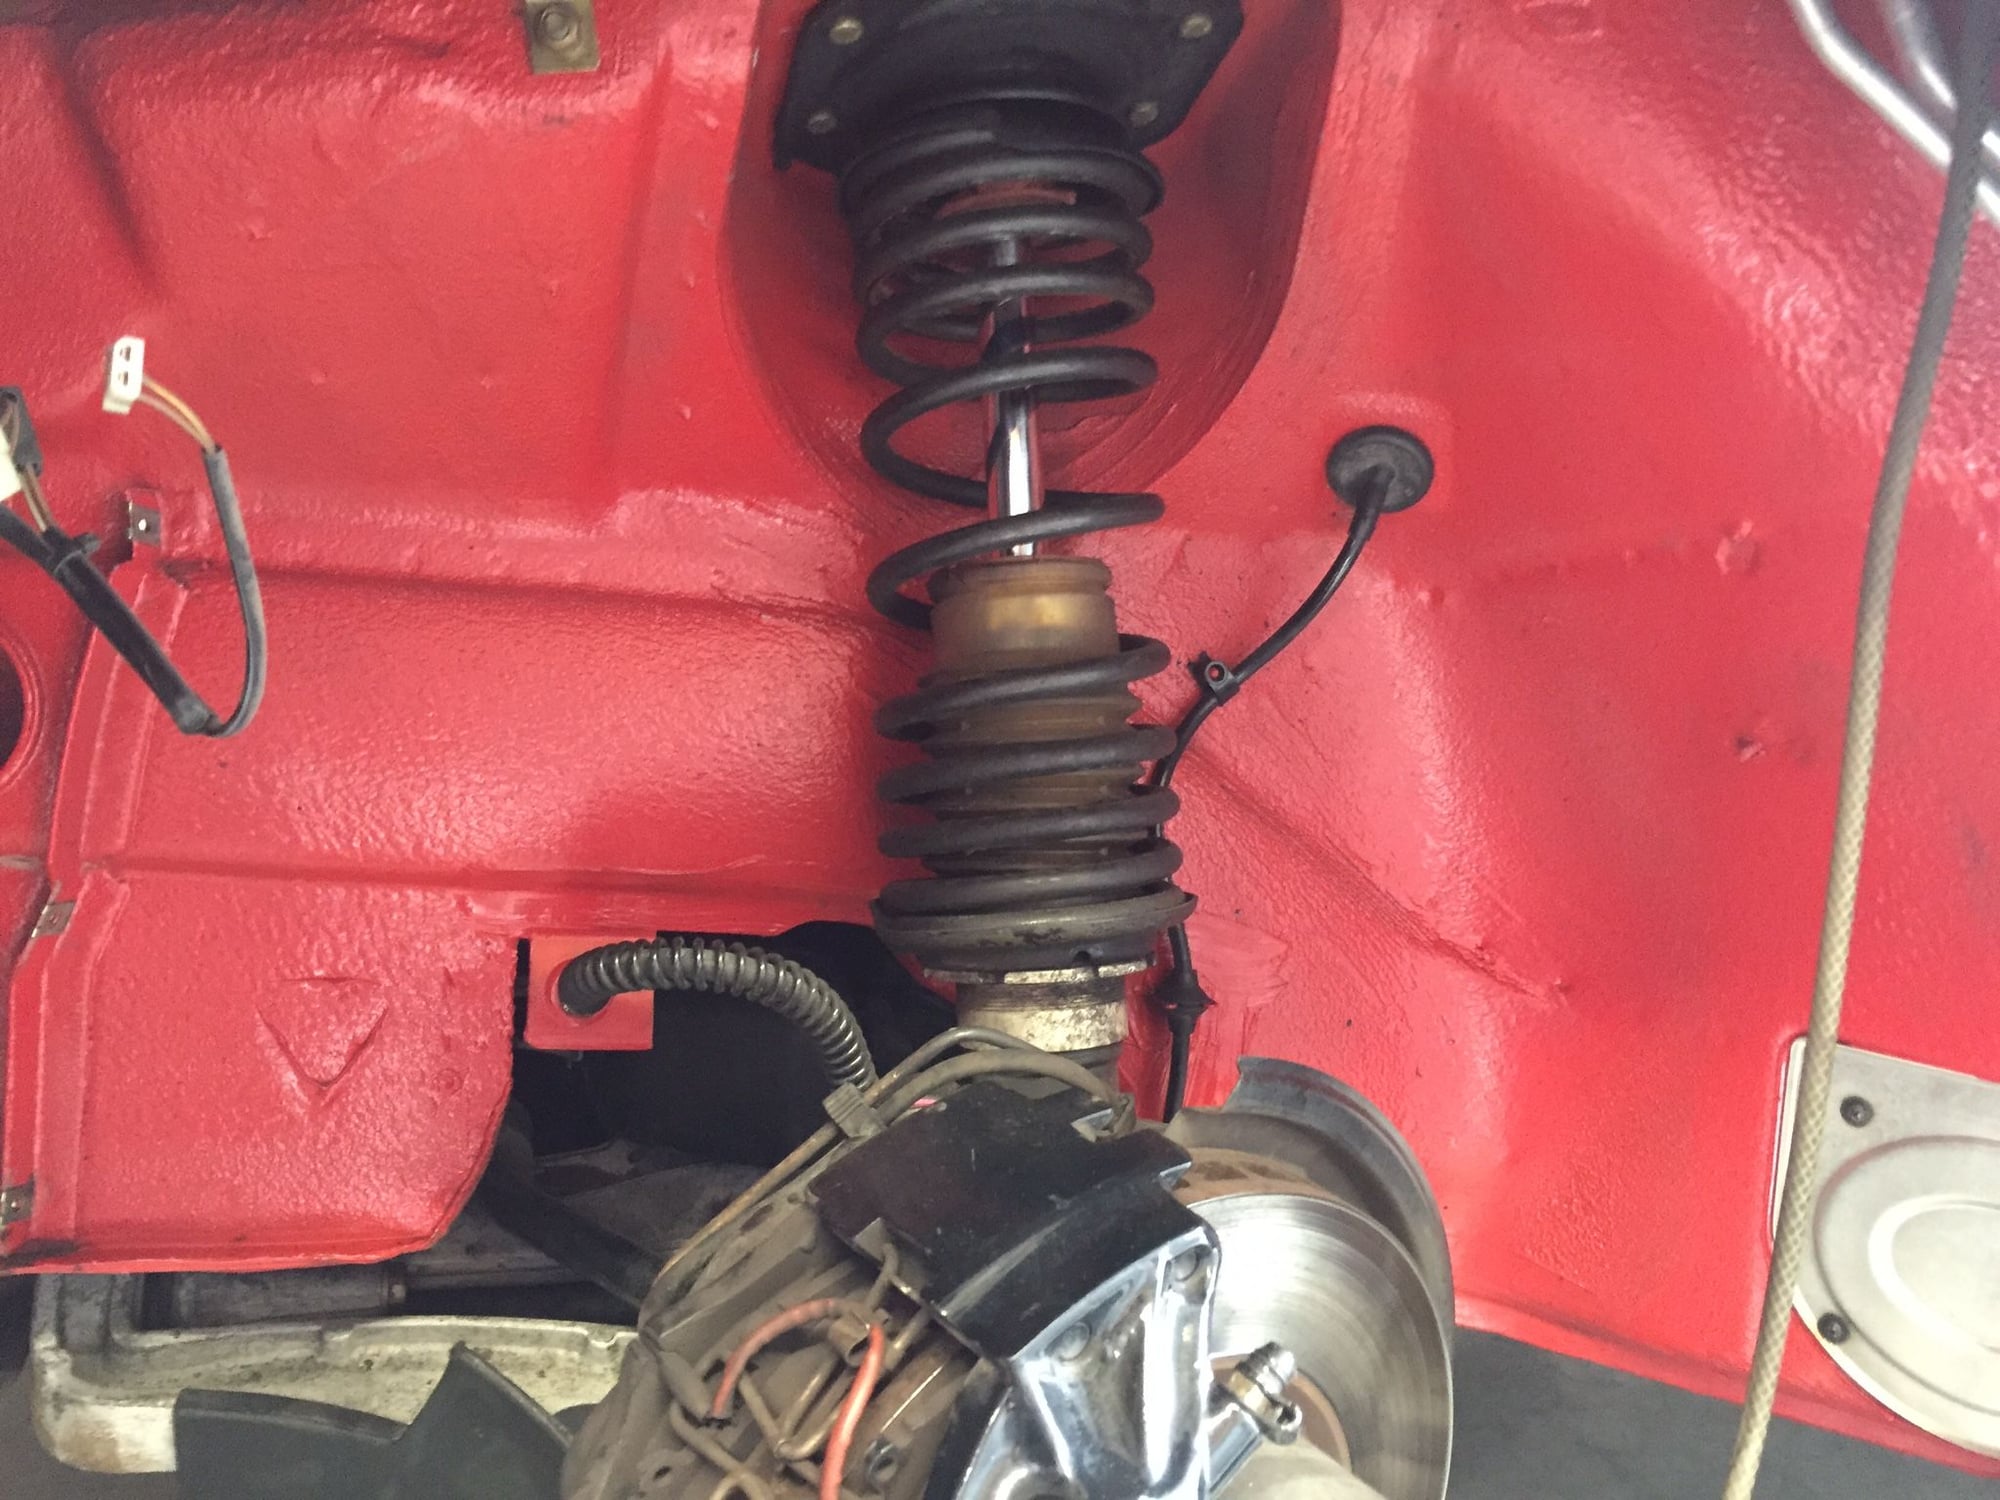
I will install kW club sports. Spring rates are custom I'm not sure if damping is tweaked other than when he sets up the compression and rebound.
I'll be running nt01 tires and BBS E88 wheels. Those will be mounted up next week. Wheels are gold polished lips.
Dampers should be in Friday, all other suspension components are in hand. It's a VERY long list. Literally, EVERYTHING including Evo uprights, basically the full ERP catalog, tarret drop links, RS sways, etc.
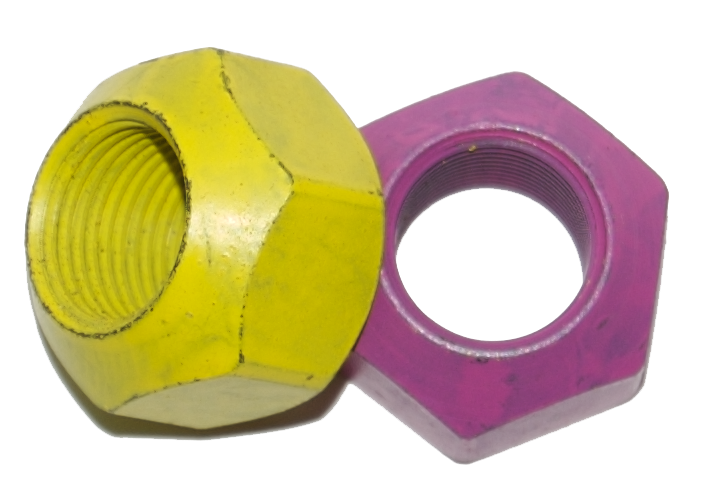
Car will be dropped off in a week or so, will take about a week for the full job and setup. After this it will have: Full suspension, brakes, wheels/tires, MSI studs + yellow nuts (I love these things!), and a few rothsport bits (steering rack brace, bushing, RSR style strut bar).
After first of the year the rest of the build starts.
I'll post pics of all the parts for the chassis before they go on the car, and then after.
Now back to the garage to finish my silly washer tank project (which is done, works great!)
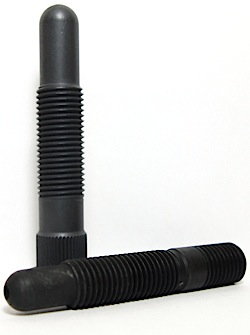
And...wheels studs ordered. http://www.msiracingproducts.com/products.html
These really are the best out there. Run these on my RS and they are in perfect condition after many, many days.
52mm bullnose studs should work great, with their yellow open ended lug nuts.

 11-25-2015, 12:43 AM