964 C4 light refurb
#1111
Rennlist Member
Thread Starter
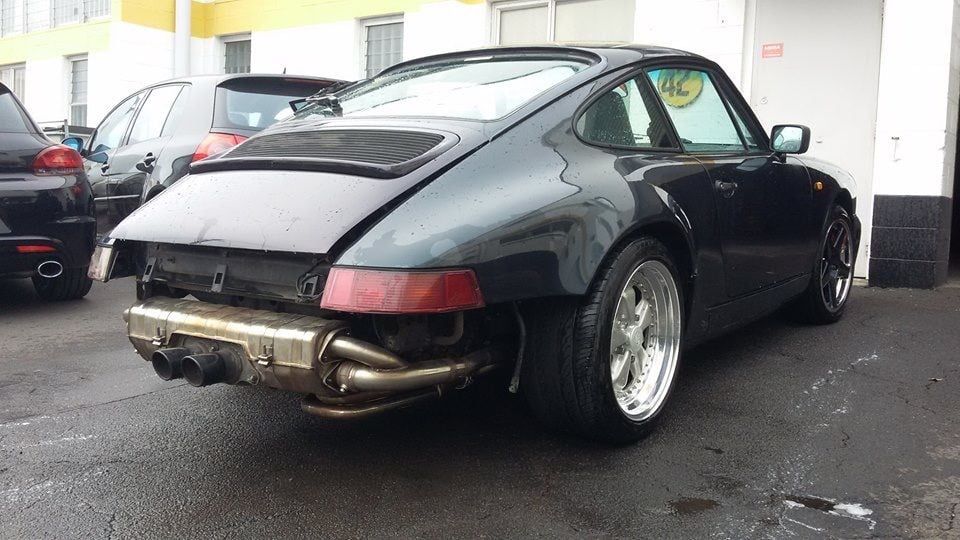
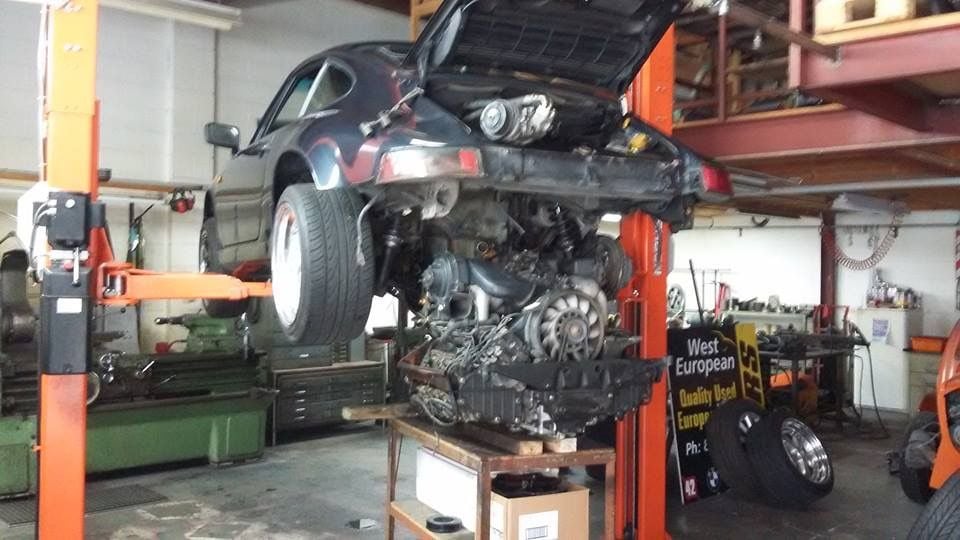
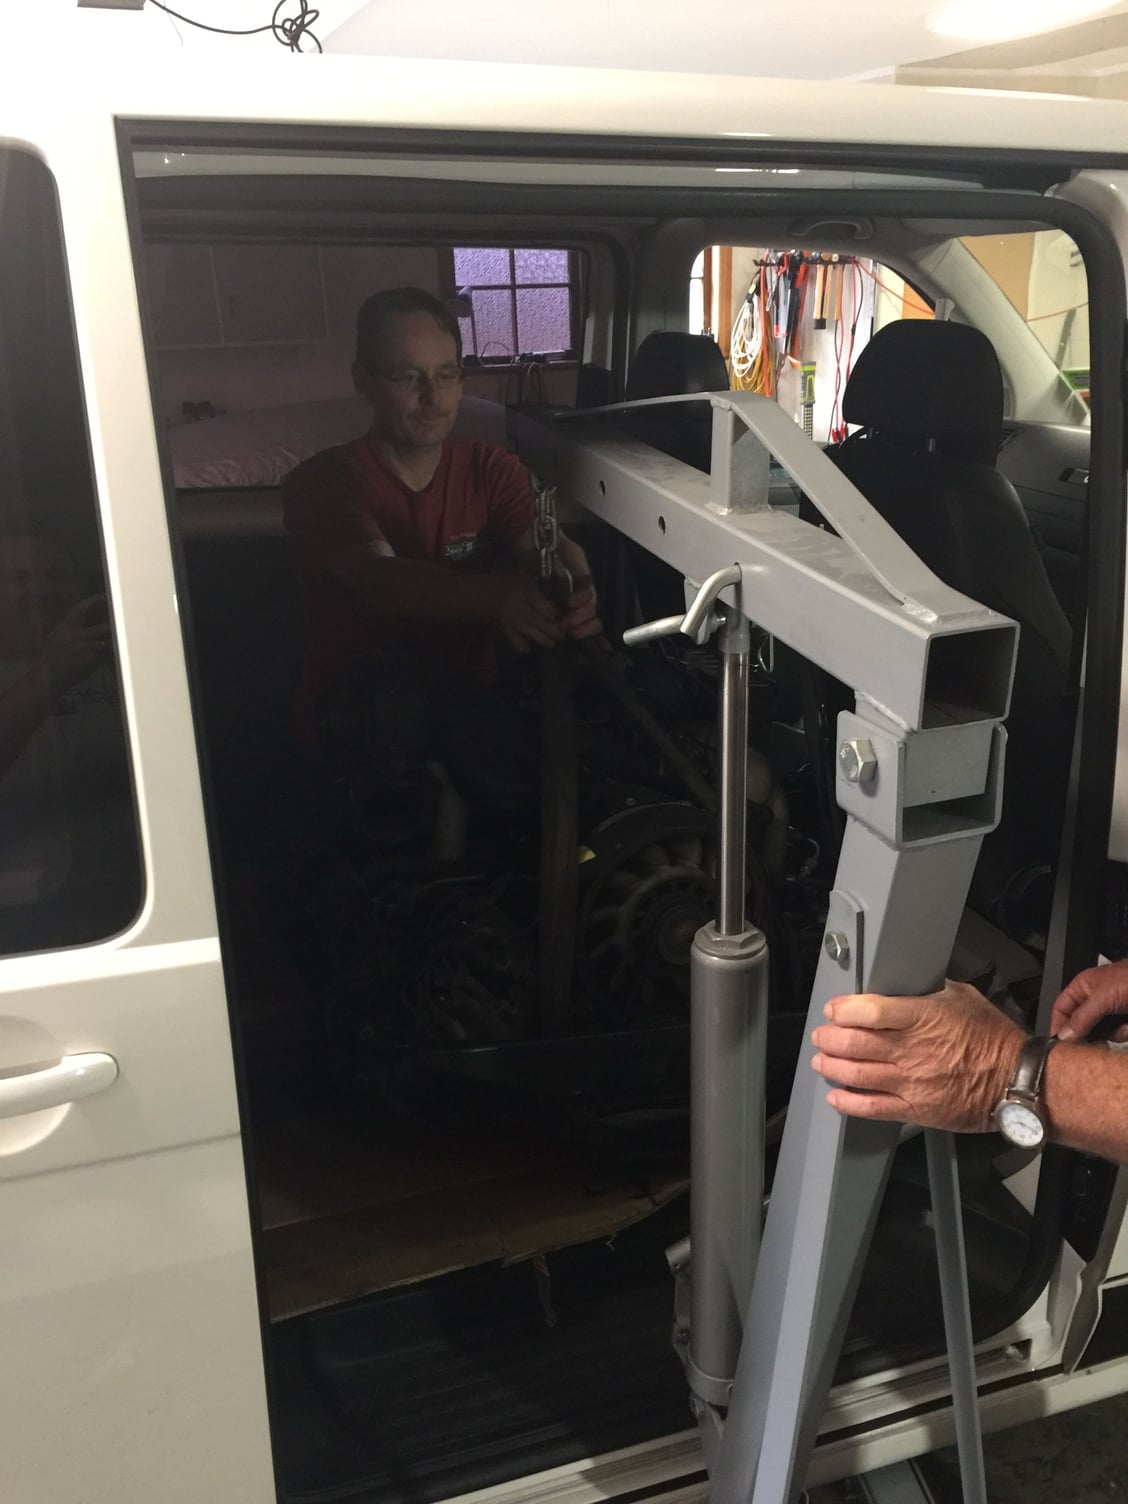
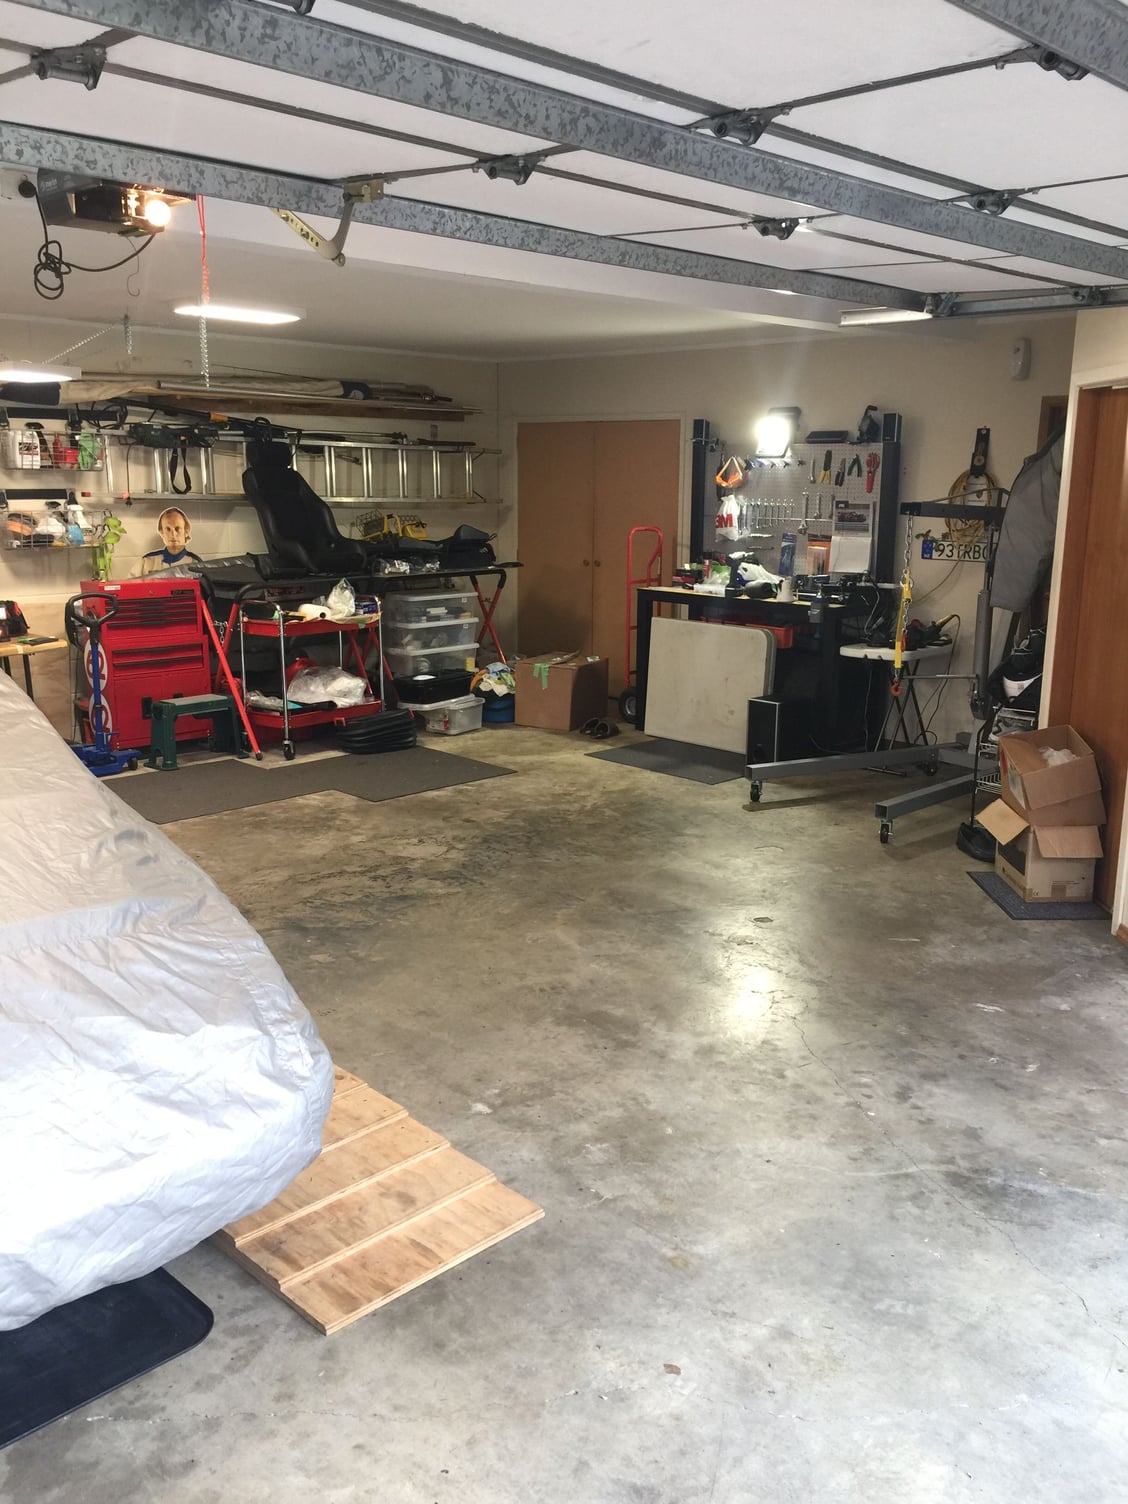
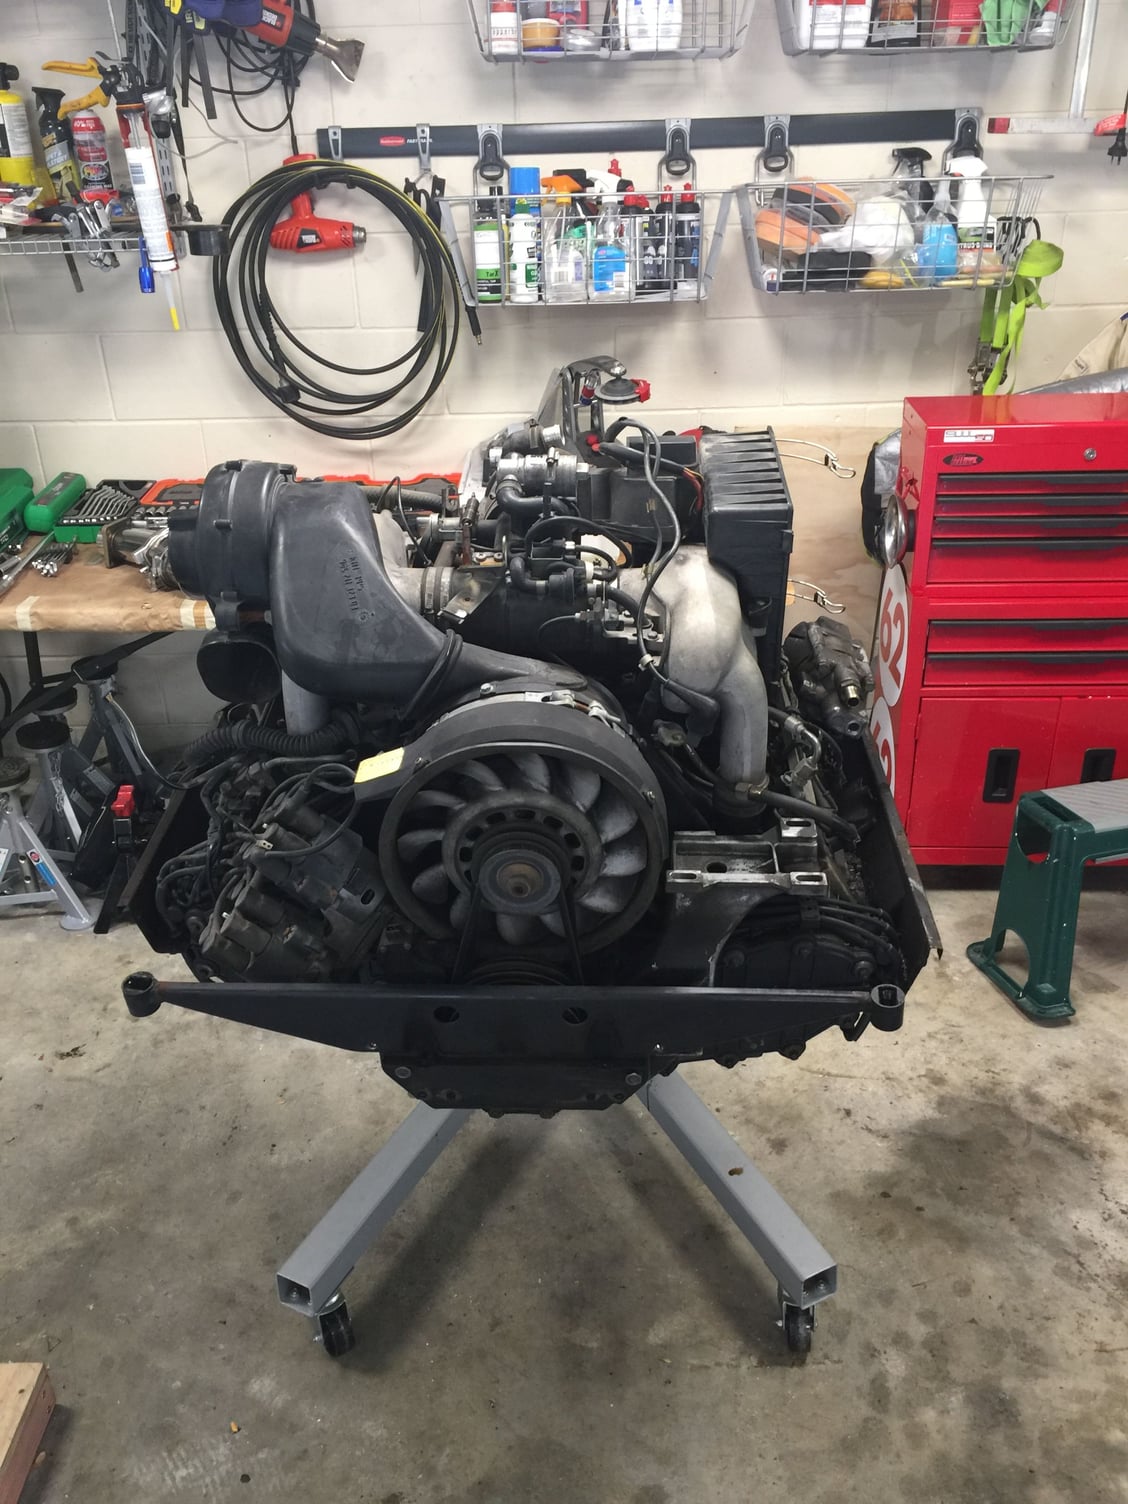
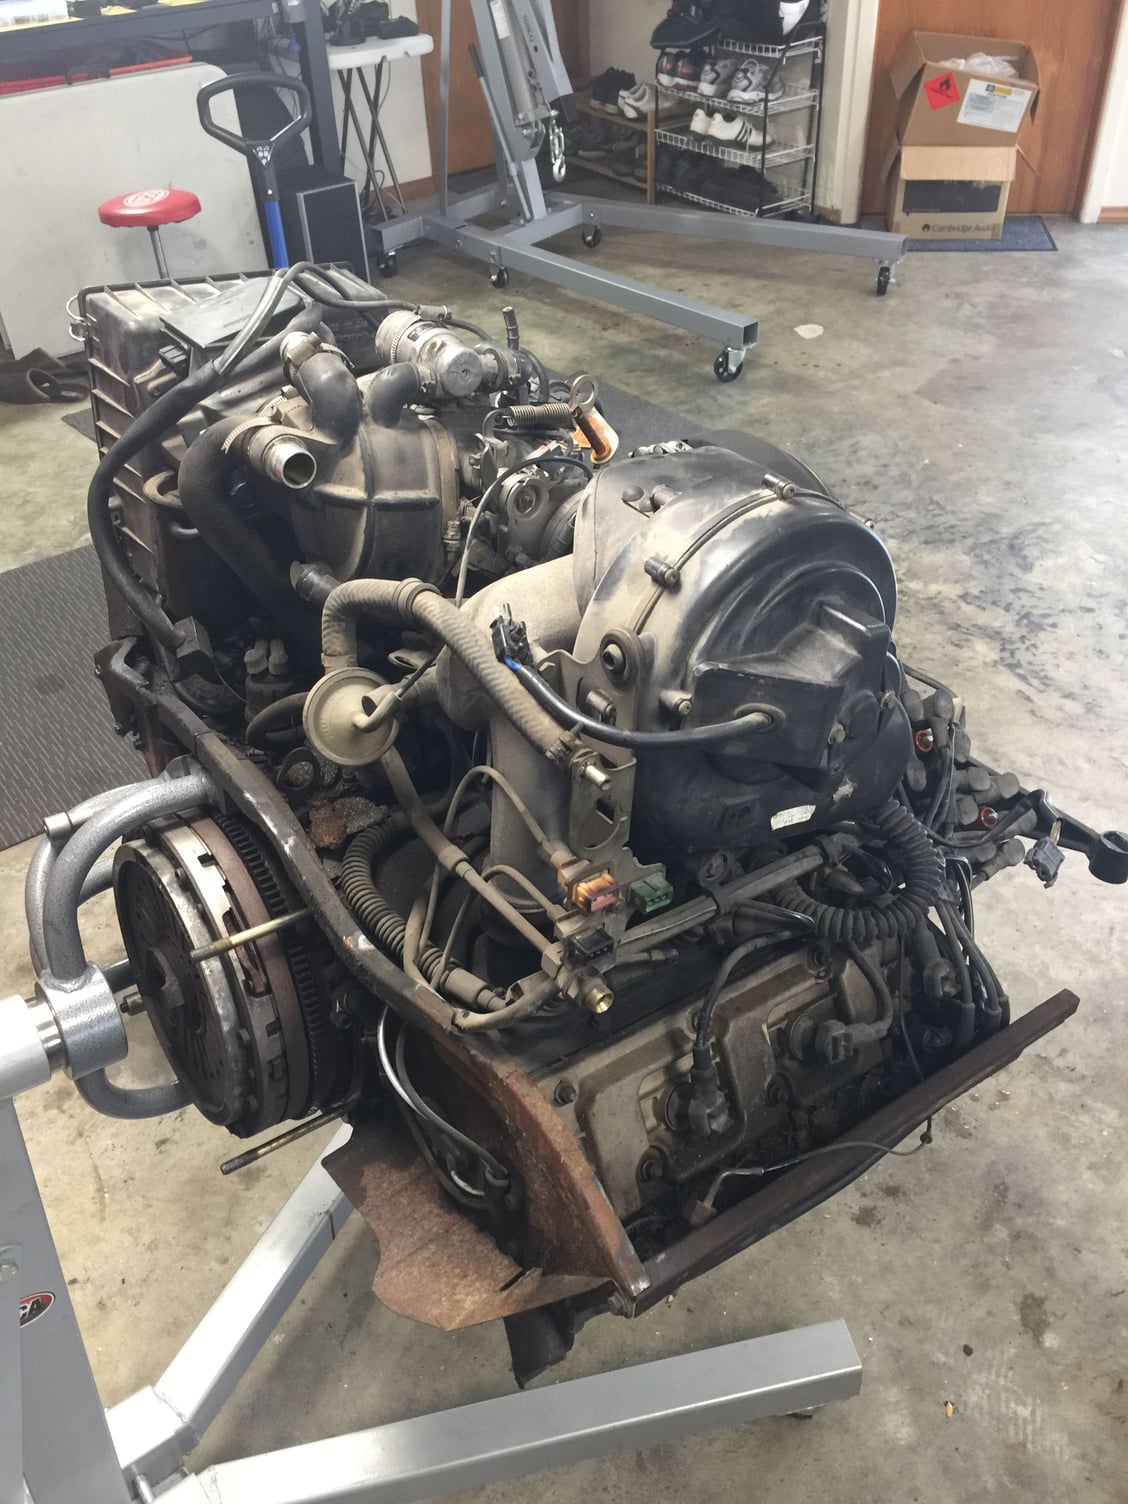
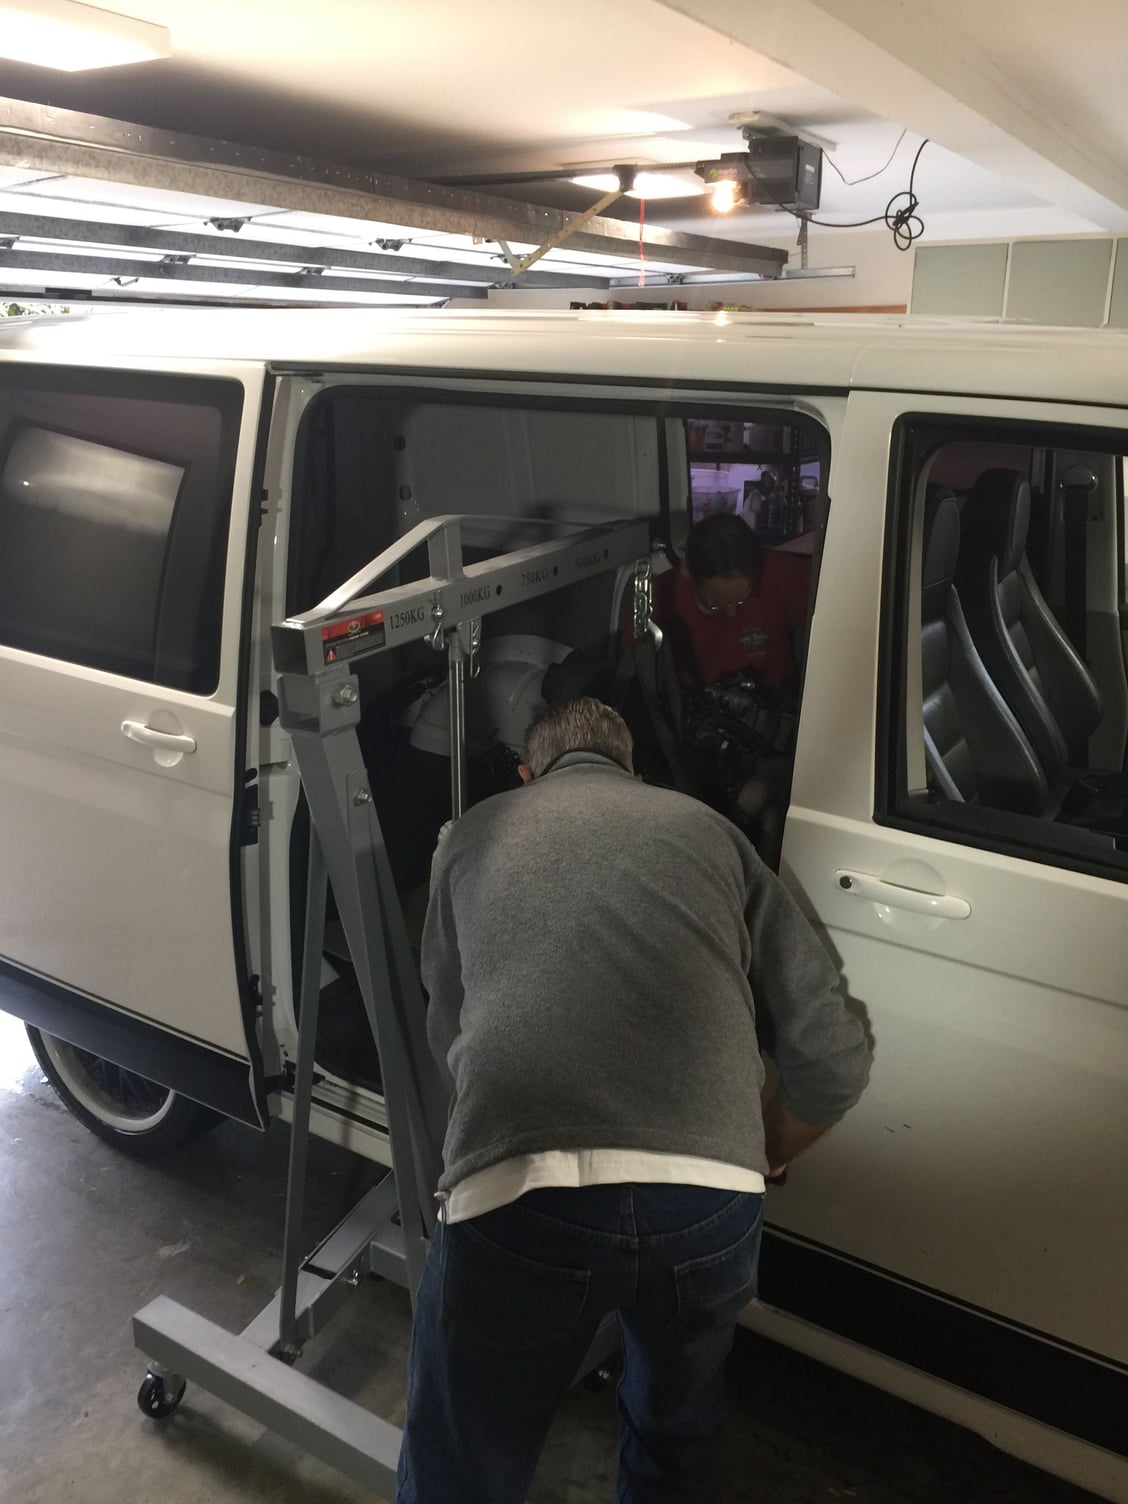
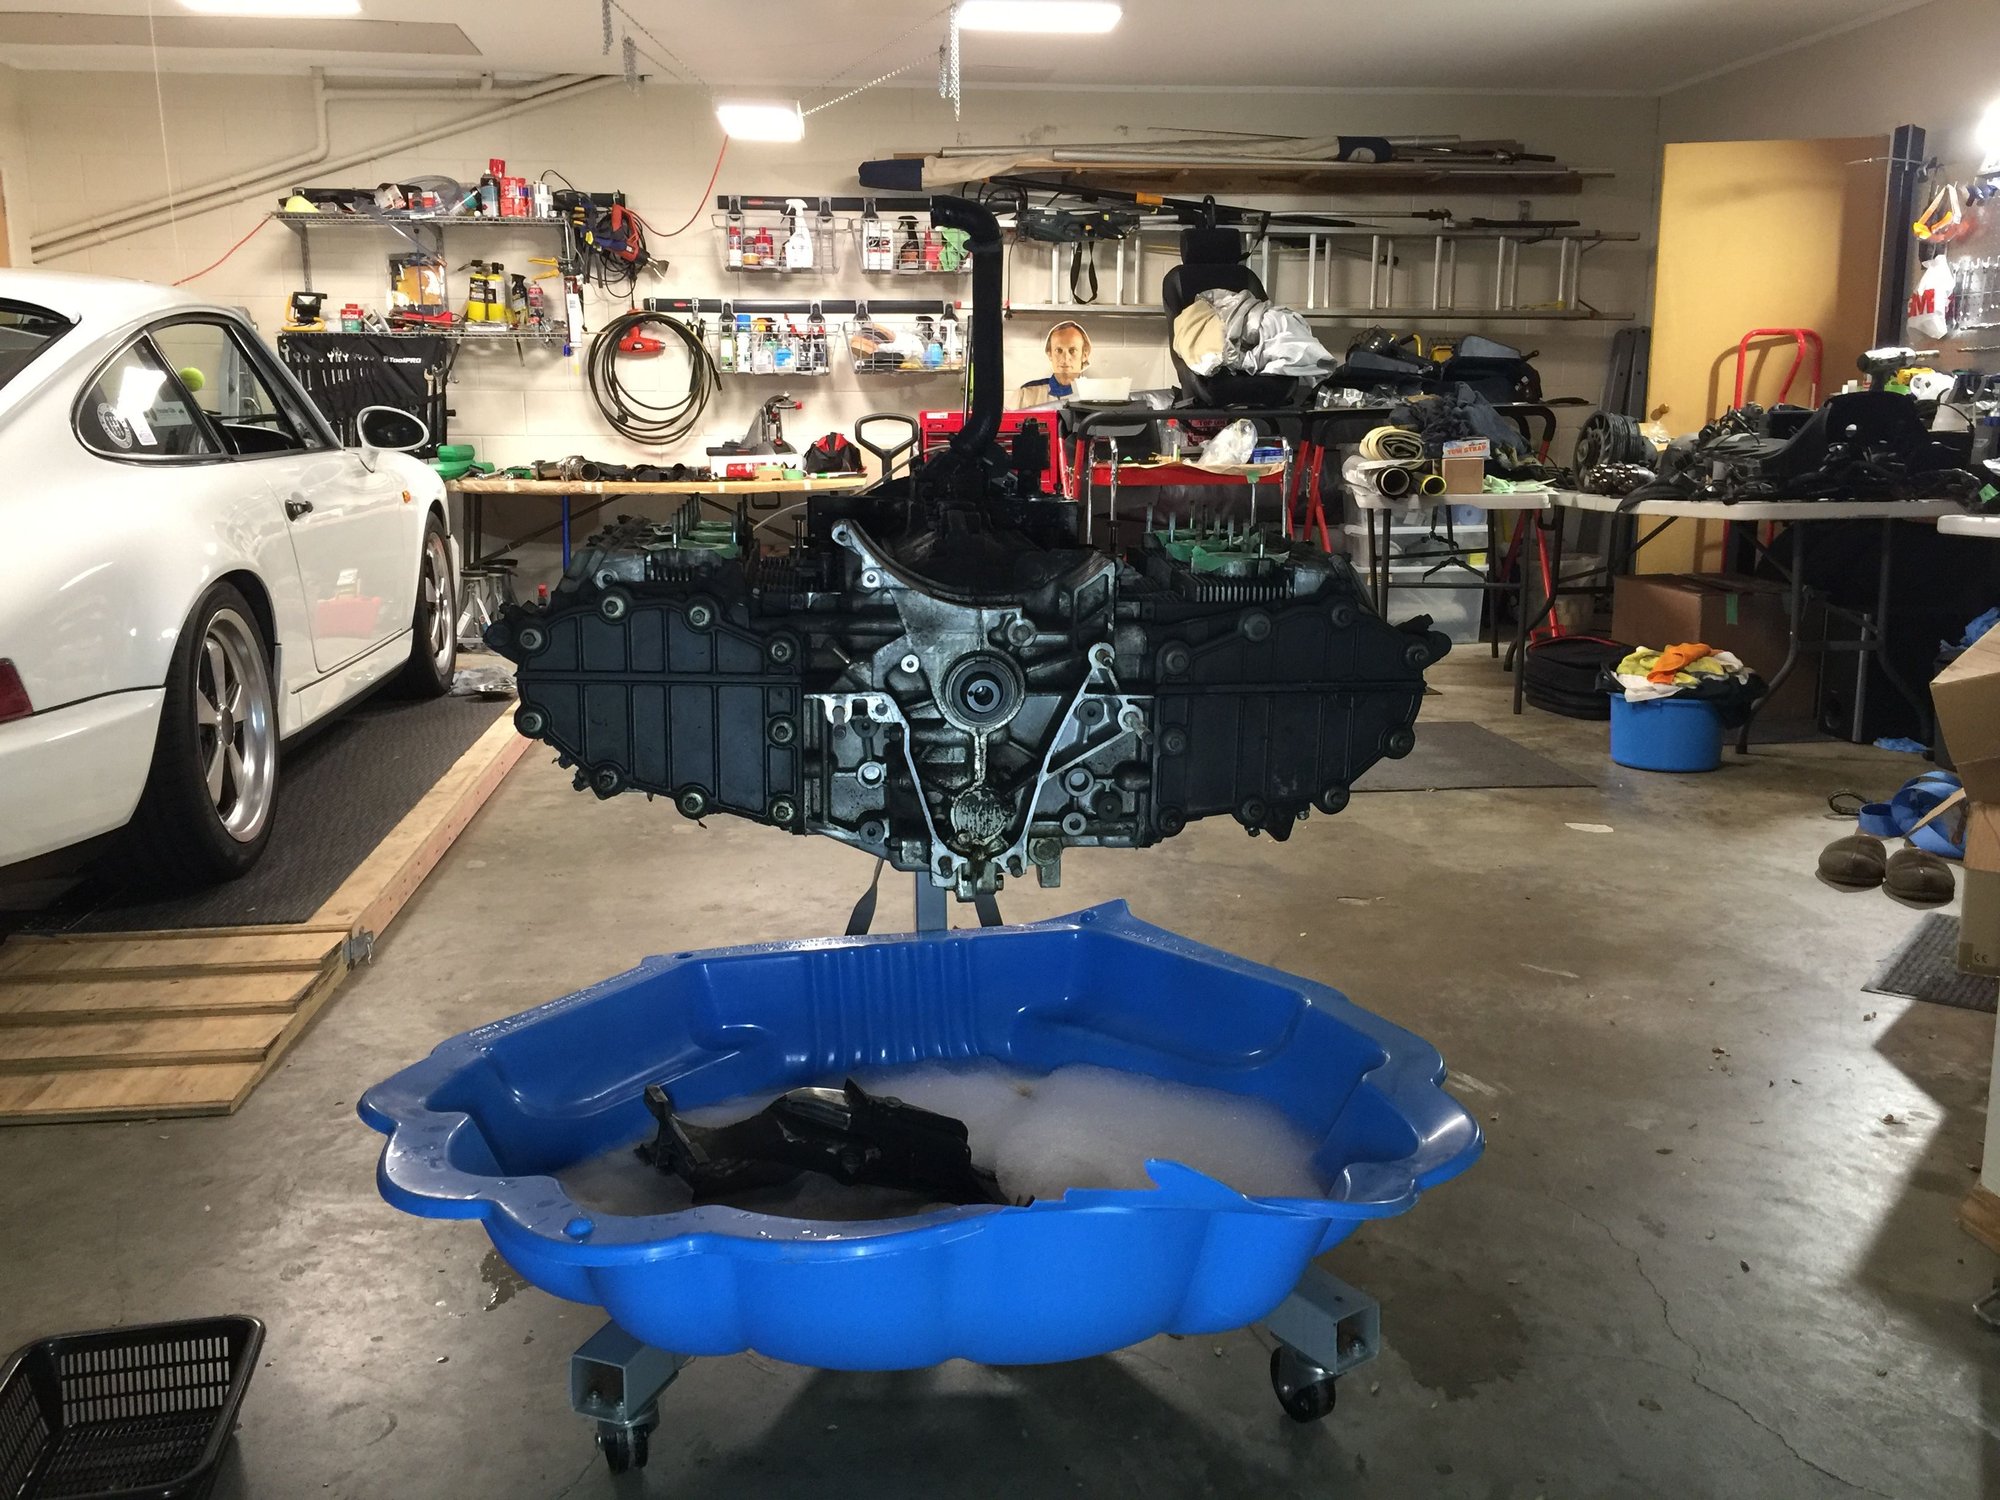
Reading posts from other first time engine rebuilders there’s a lingering desire to do a second engine at some stage, but how do you do that without owning another car? Well, I’ve found a way. A local Rennlister has put the faith in me to rebuild his 107,000km ex Japan motor while he does a back date on the body.
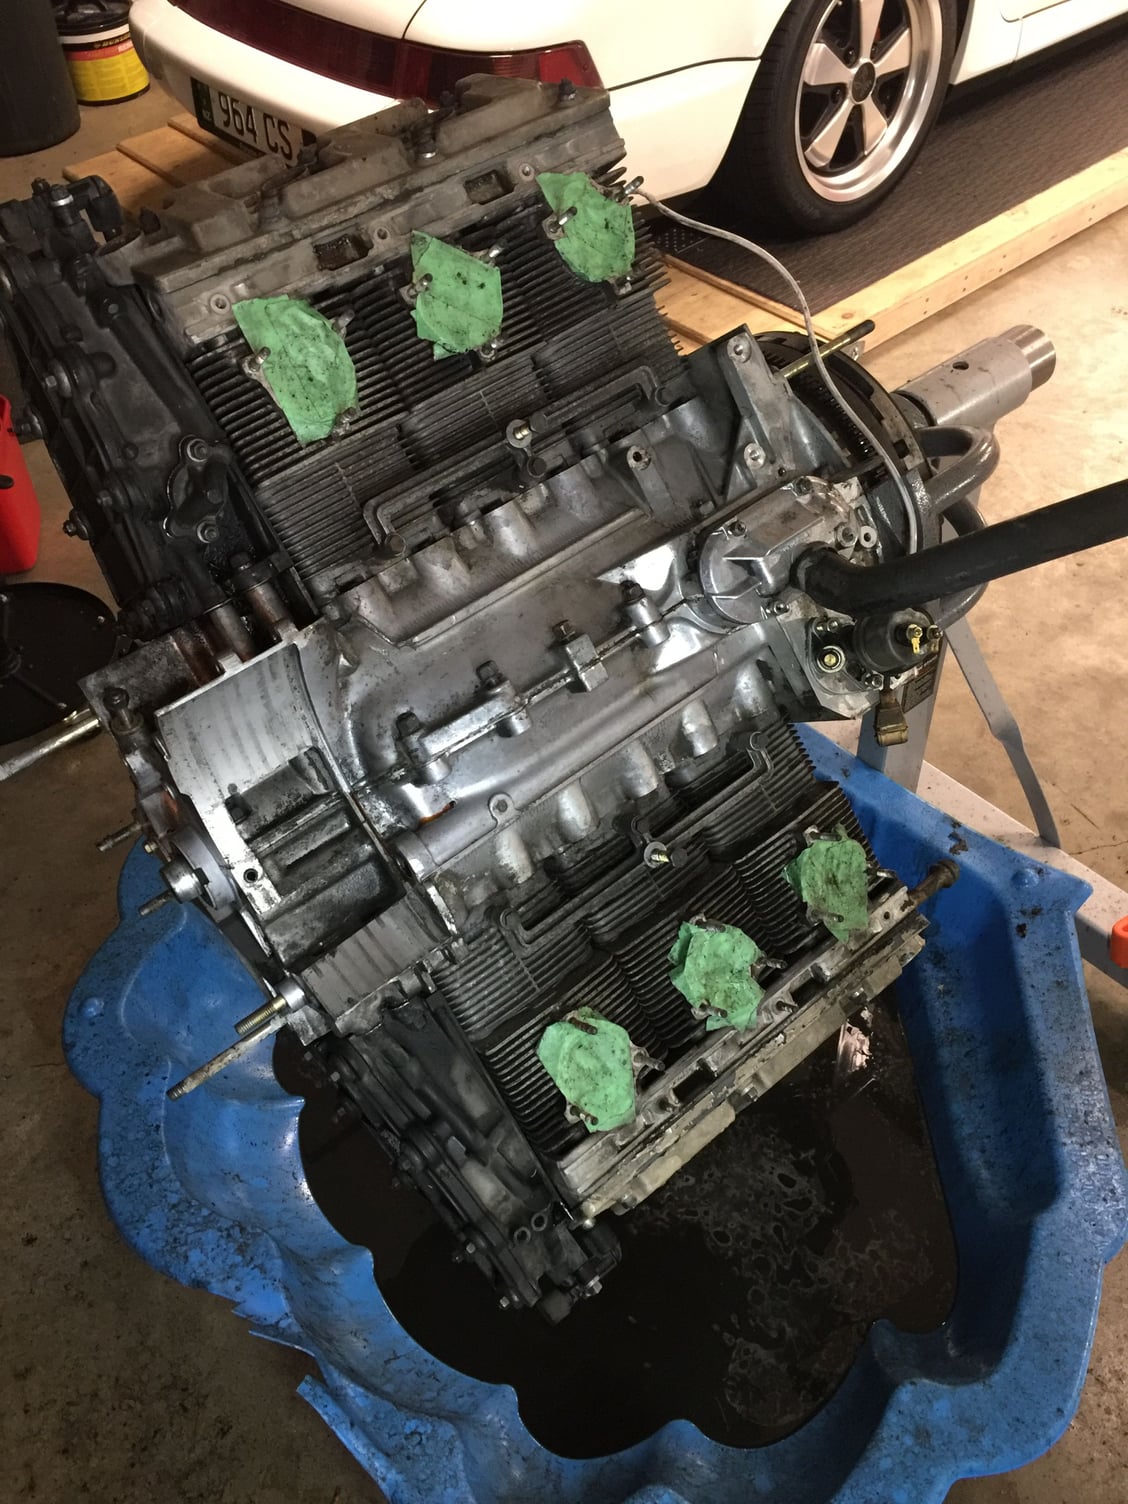
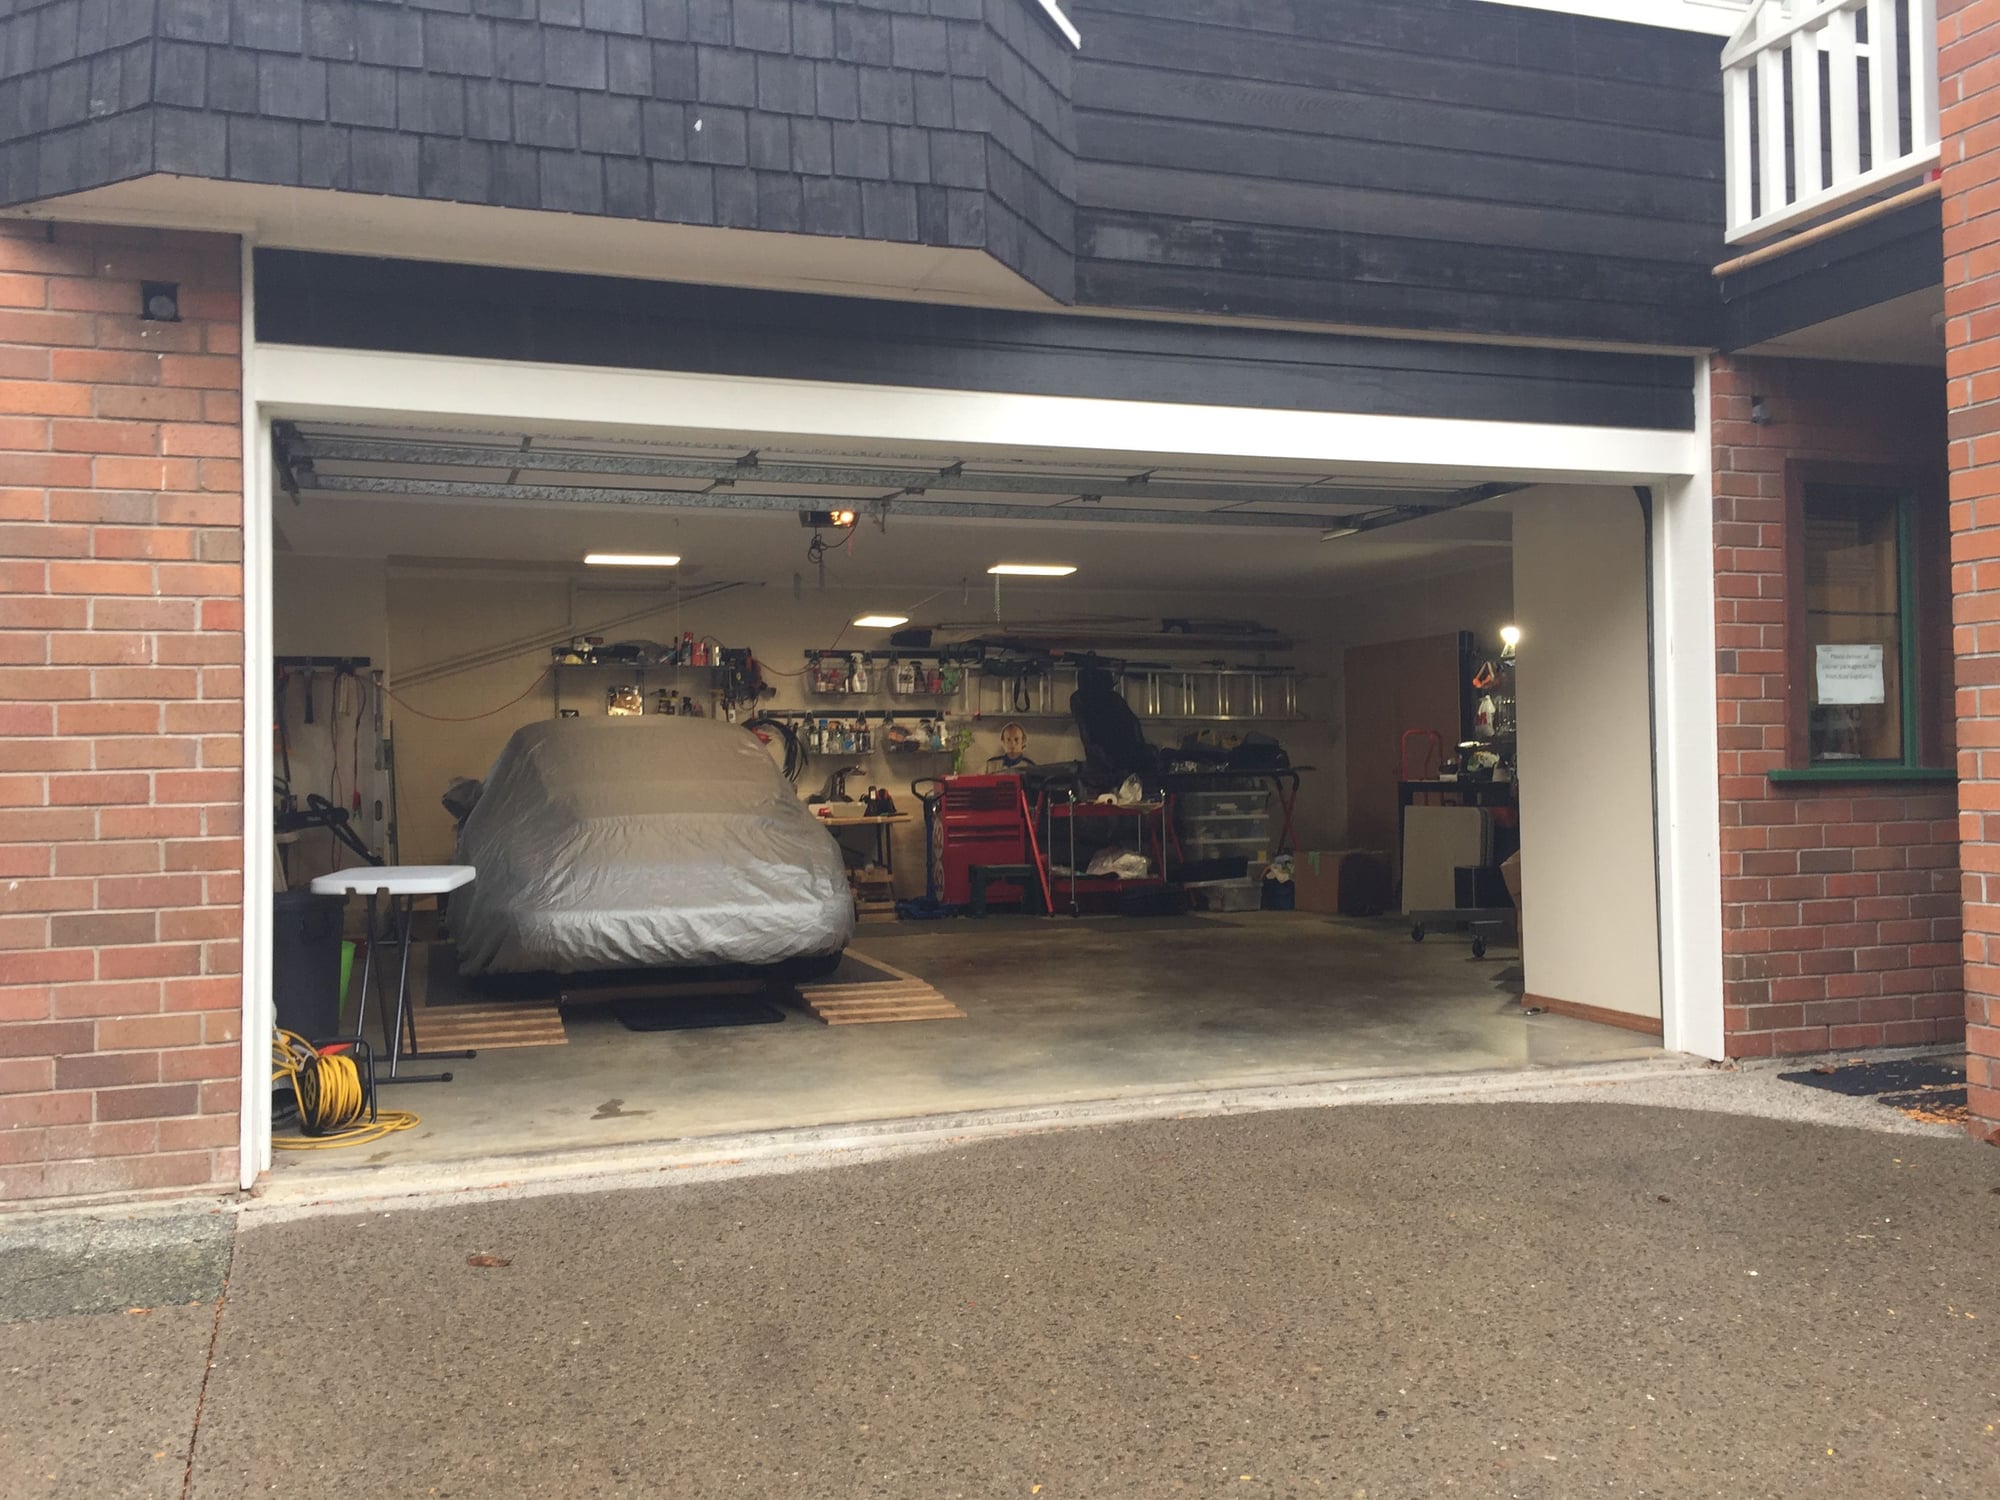
Yesterday, he delivered the engine to my garage. This will be my Winter (Southern Hemisphere) Project. I’m not sure how much I will document here as it looks relatively straight forward so not worthy of a new thread and this thread is long enough as it is.
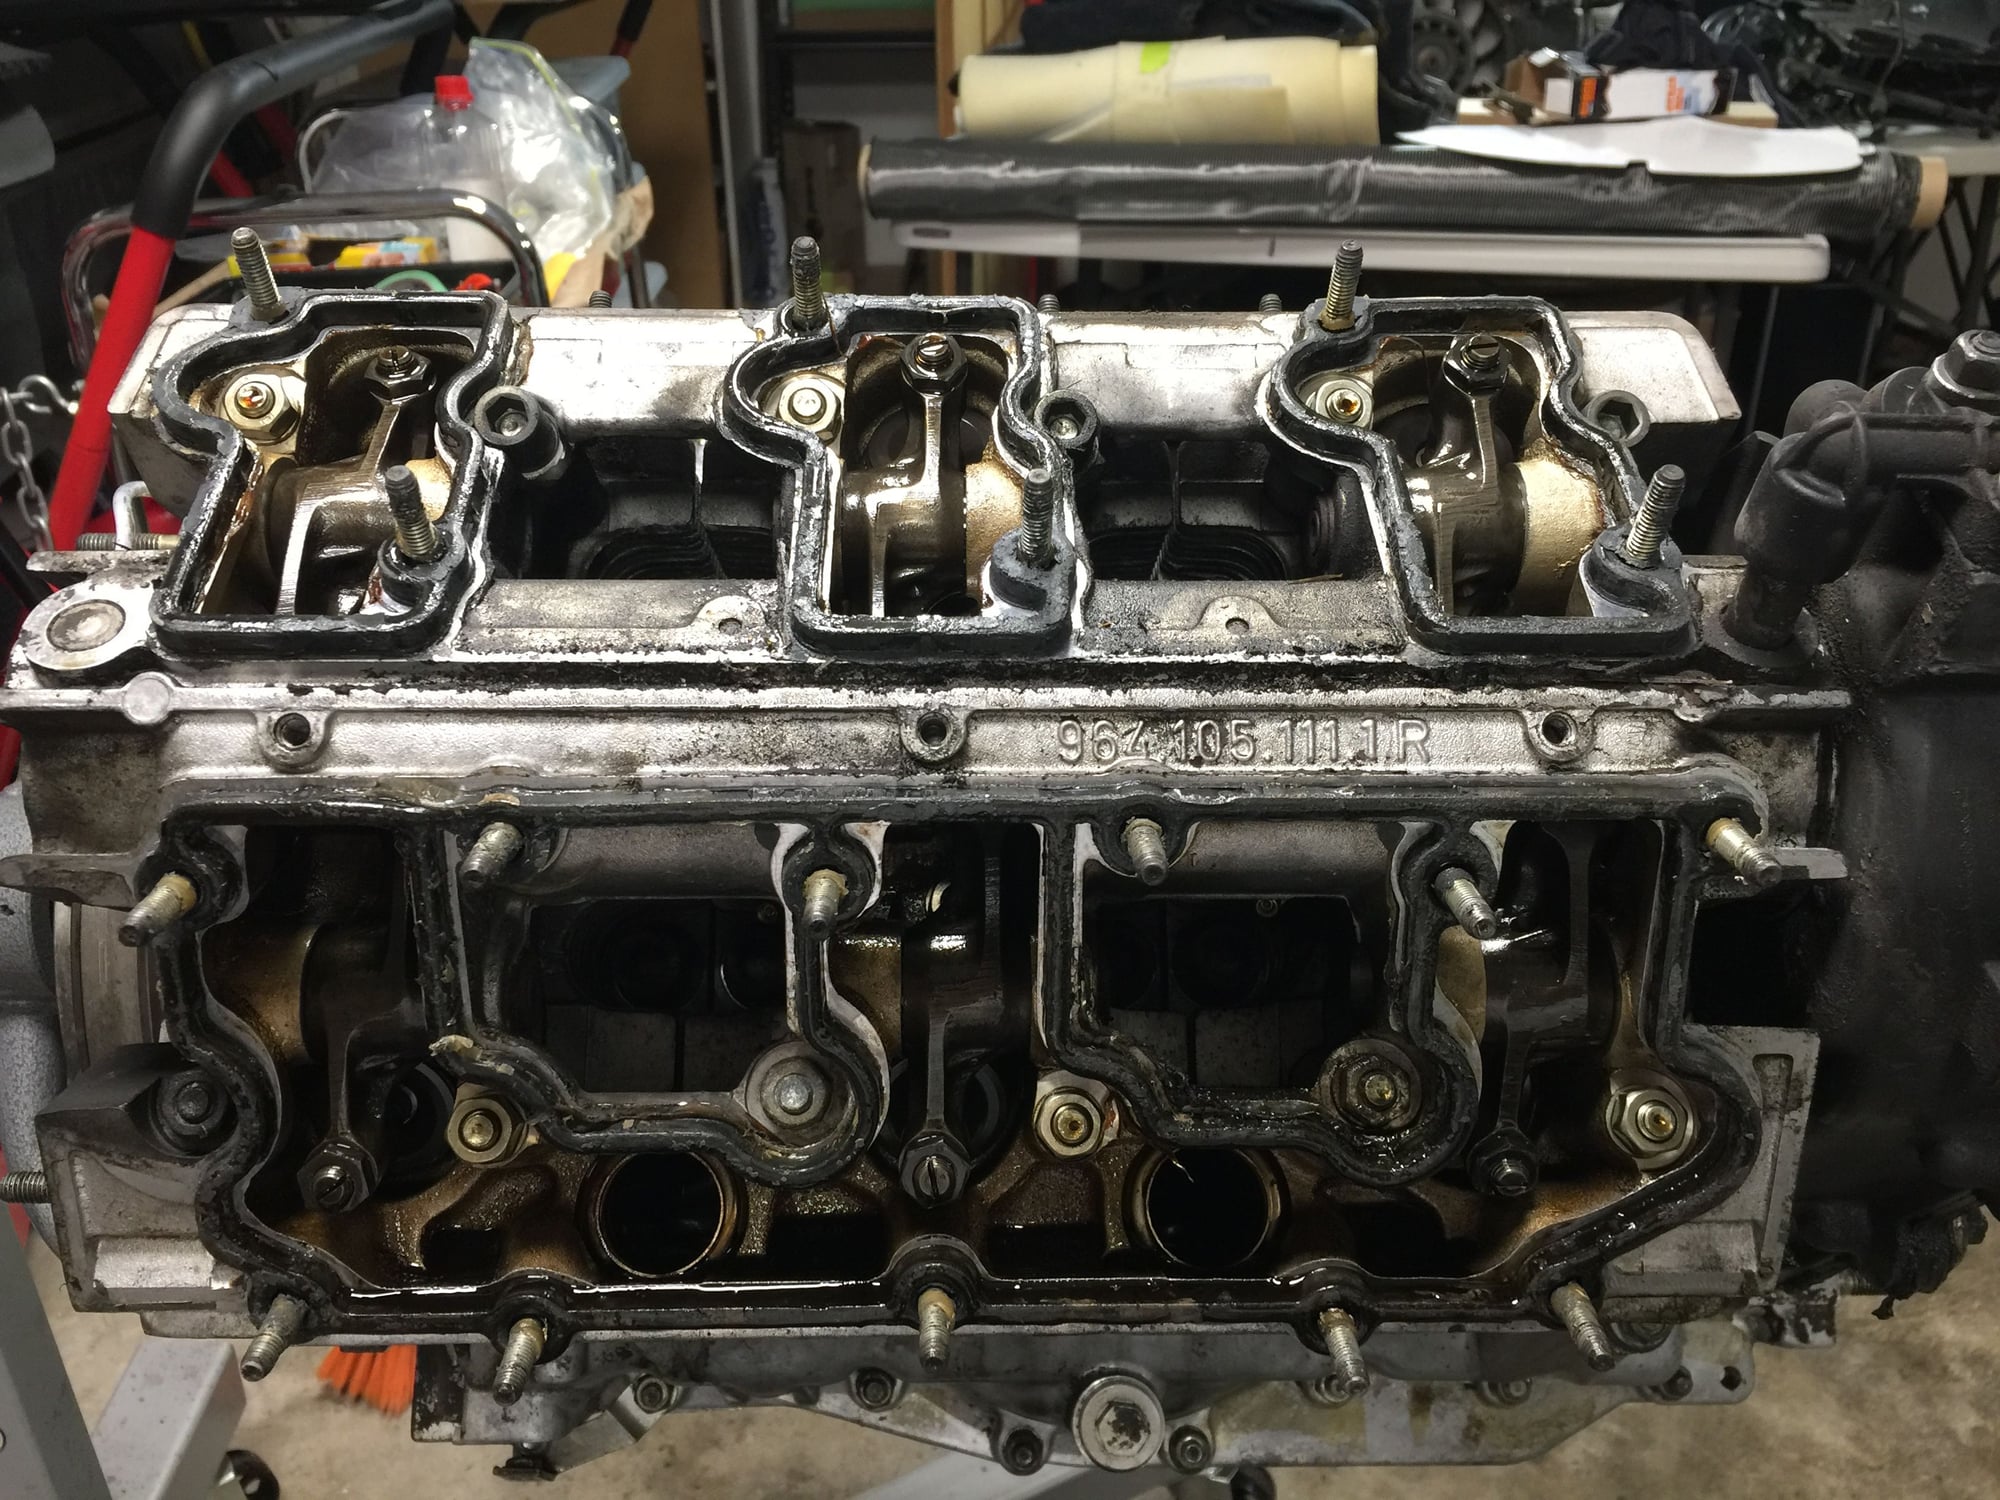
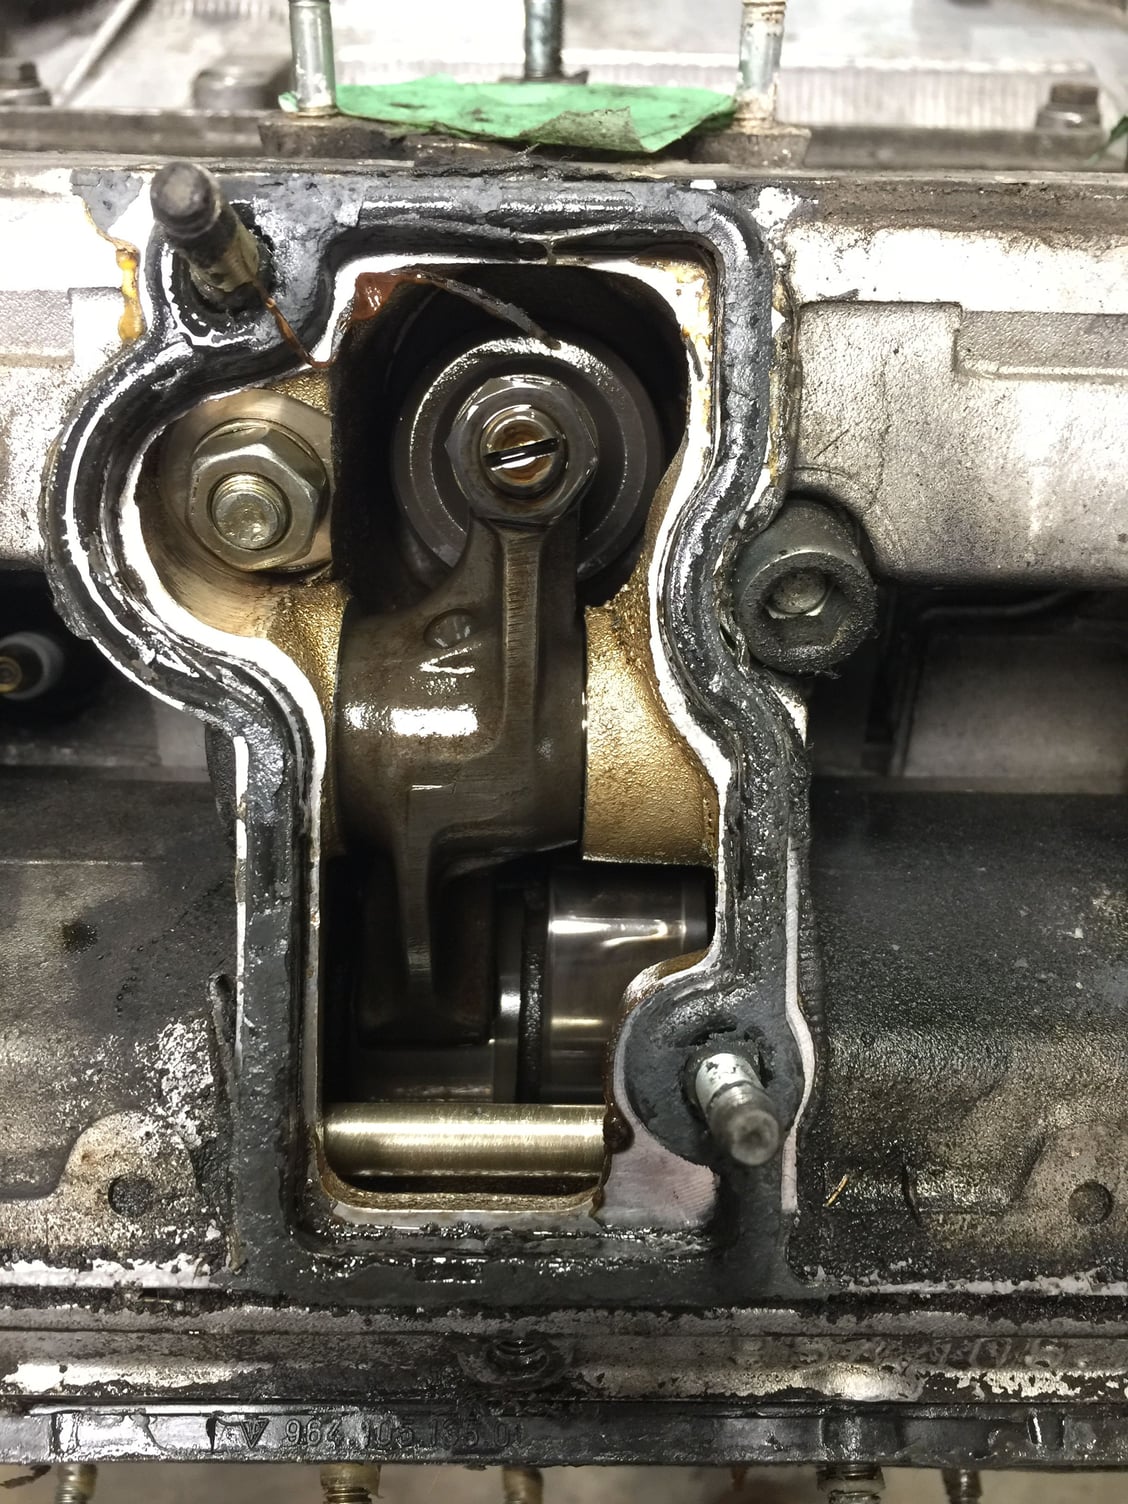
Anyway, here are some pics
#1112
Rennlist Member
Thread Starter
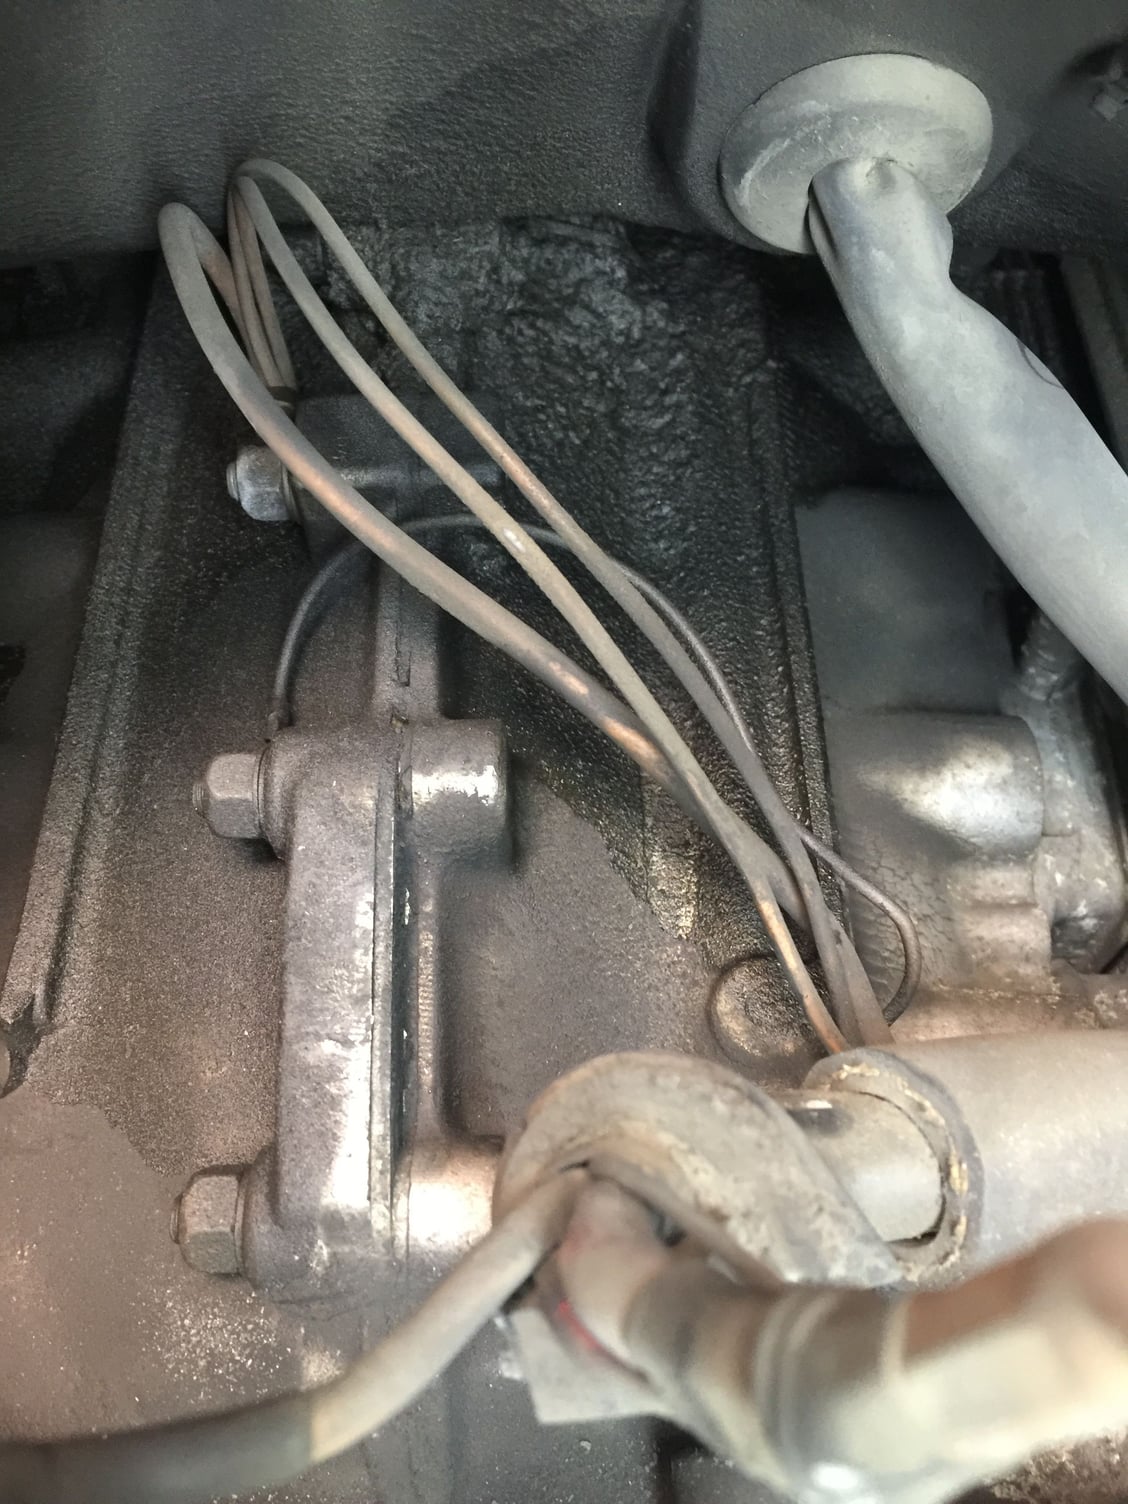
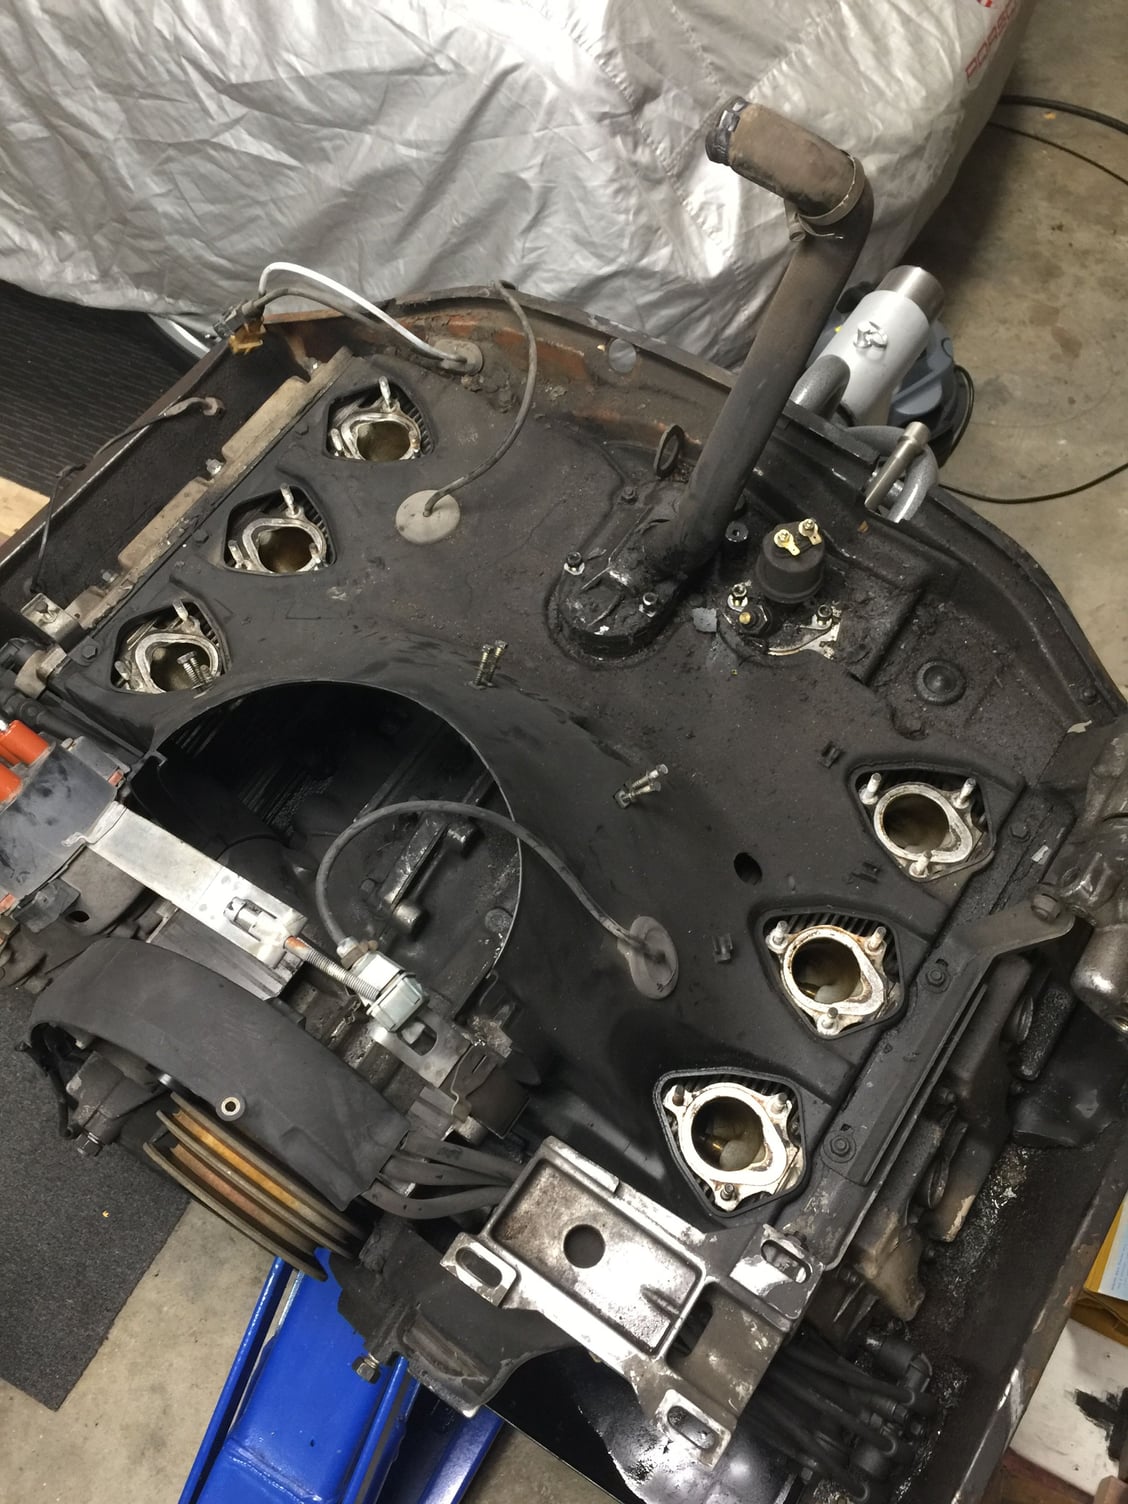
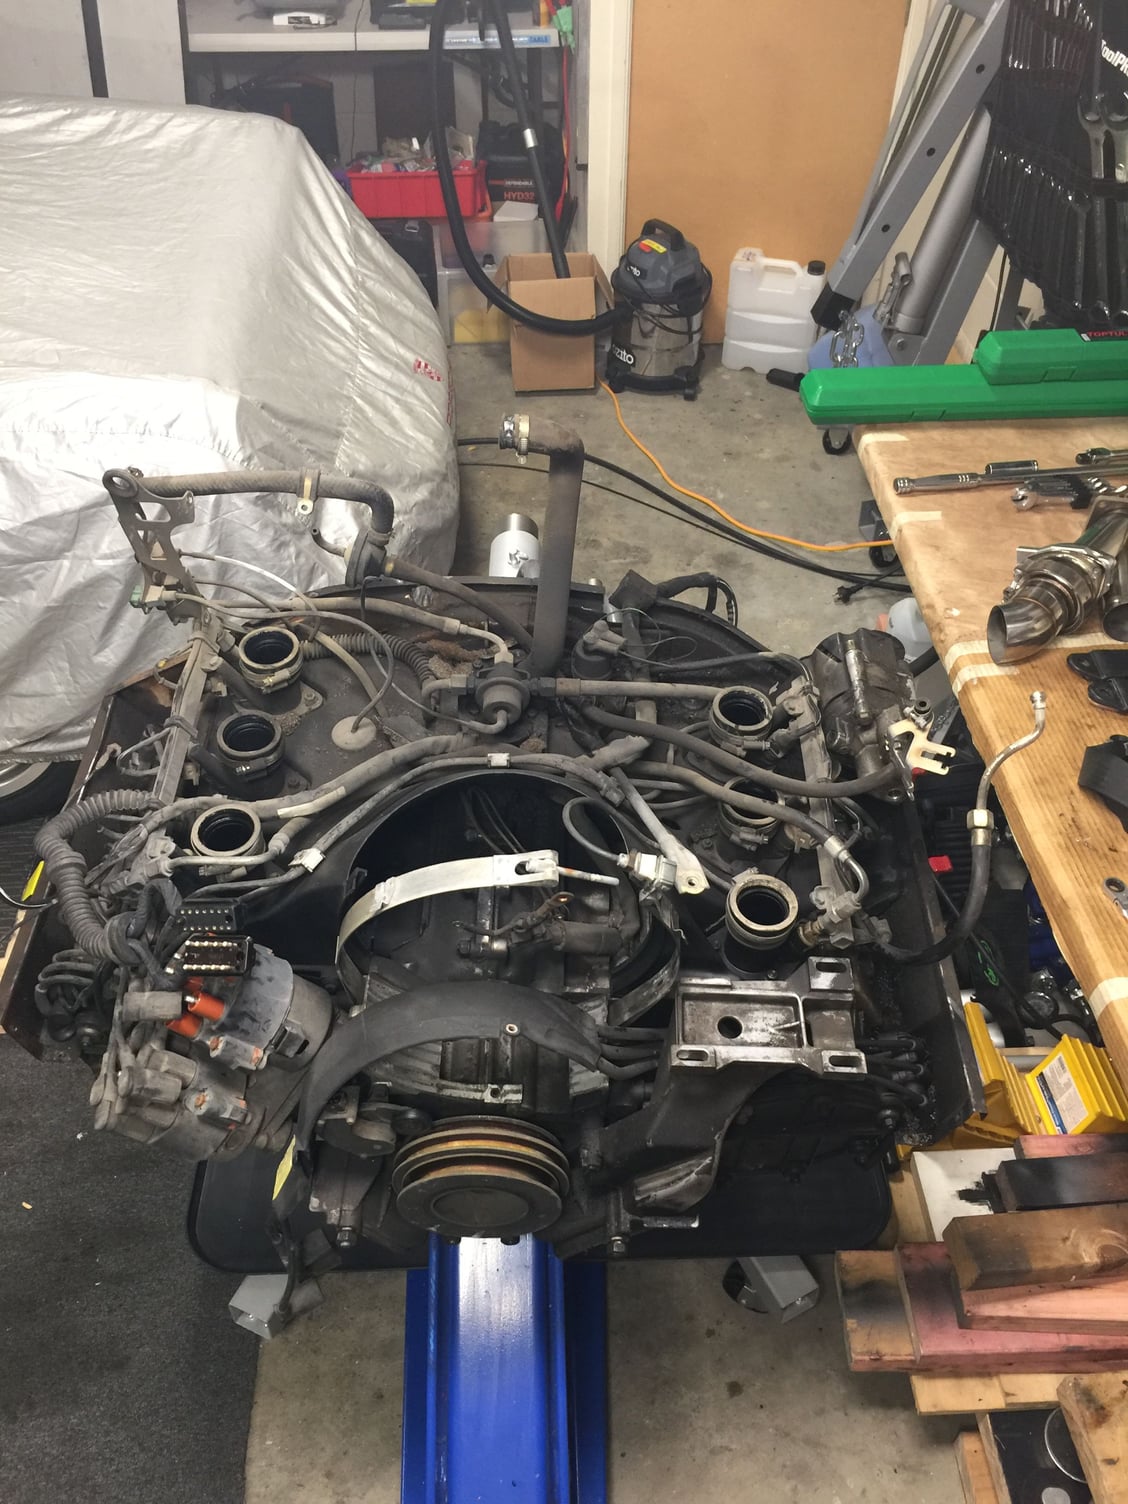
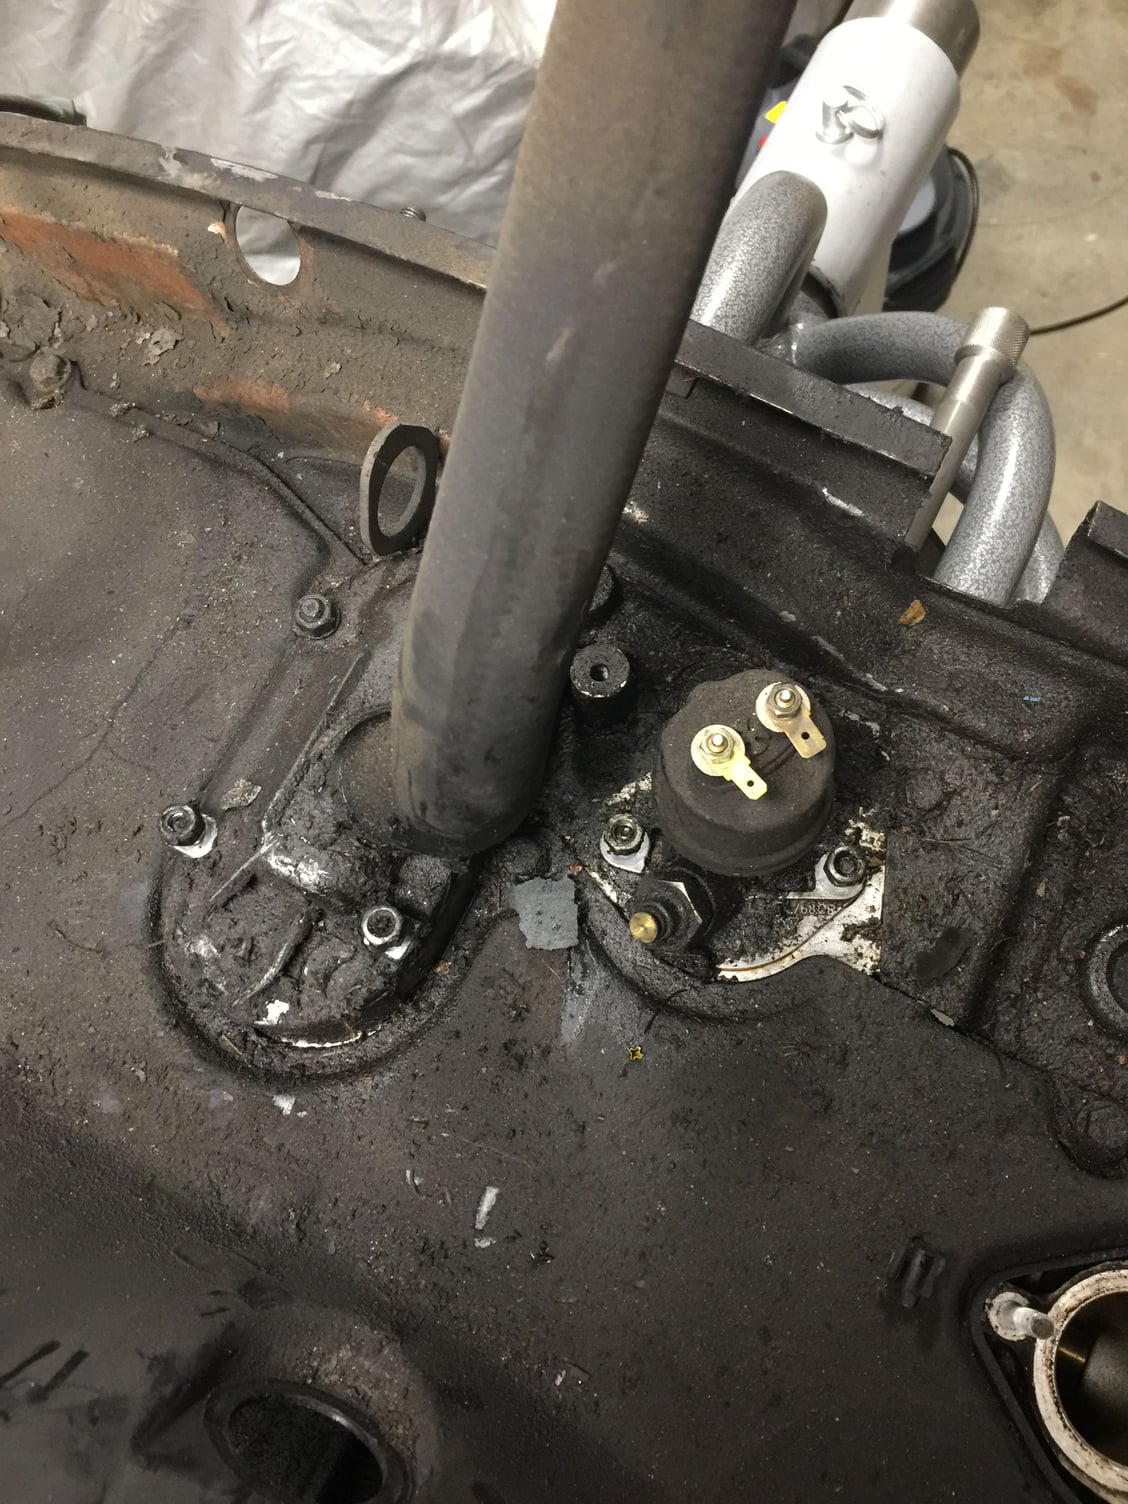
The car owner, Racoguy, is a skilled creator (check out his home made 3 piece Fuchs and GT3 exhaust) so he will do what he enjoys and Iíll do my part. The engine looks relatively clean as I dismantle it. So far a lot of the oil seems to be from the breather.
#1113
Look forward to seeing this. I think you should put it all up in a new diy engine rebuild thread!
I looked racoguys threads up. Looks like a really clever guy. Did he ever finish the wheels?
I looked racoguys threads up. Looks like a really clever guy. Did he ever finish the wheels?
#1114
Rennlist Member
Thread Starter
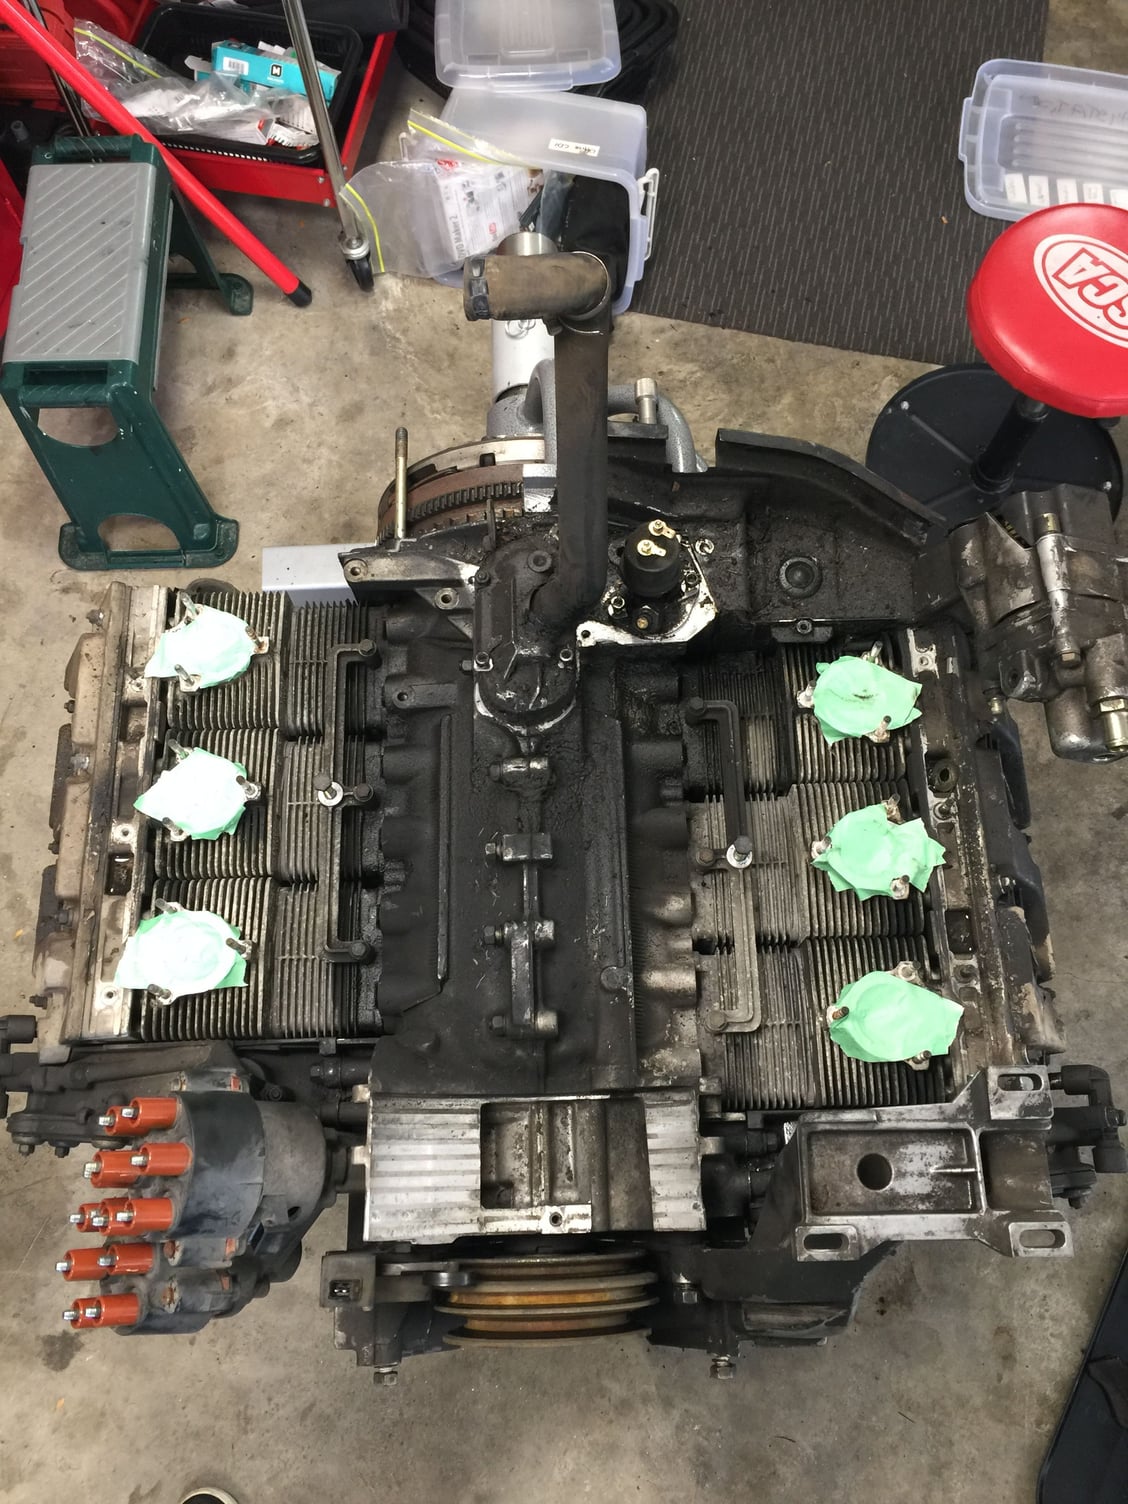
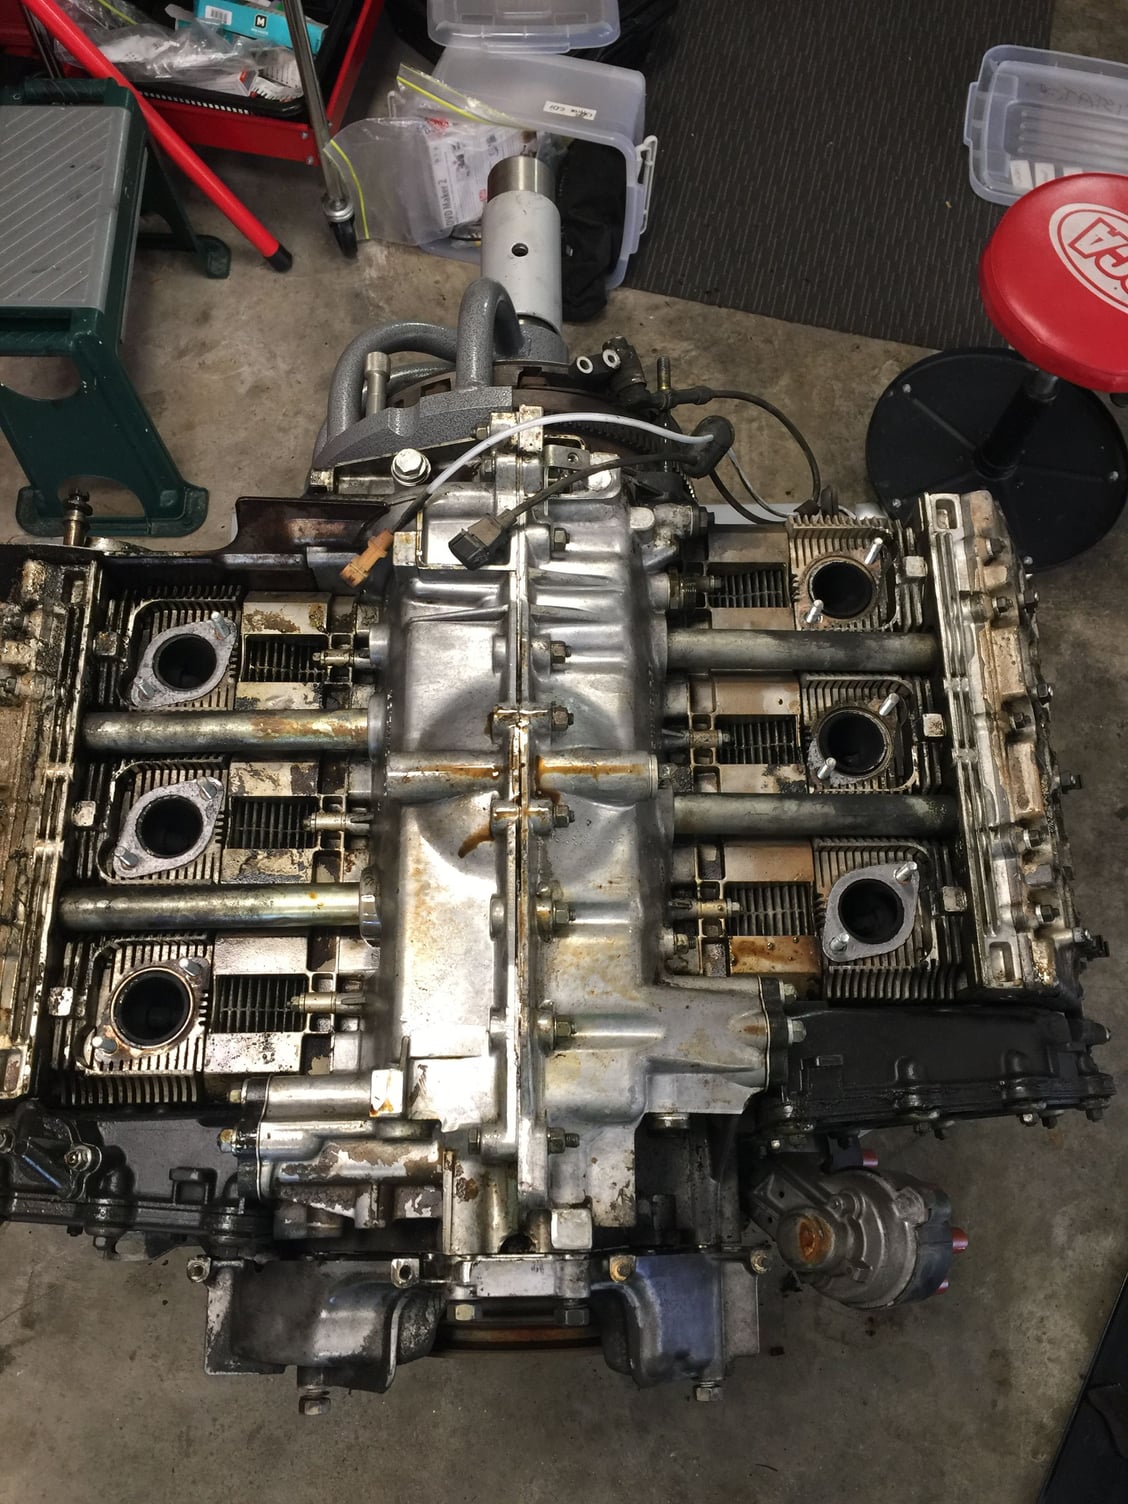
My part in this build is to provide the base engine rebuild i.e. split the case, change bearings and reseal. It seems to be easy so far. Nothing special to mention so I think Iíll just update occasionally here as there are already enough rebuild threads out there. Day one has me down to the long block.
#1115
He appears to have finished the rear wheels so Iíd be surprised if he hasnít done the fronts.
My part in this build is to provide the base engine rebuild i.e. split the case, change bearings and reseal. It seems to be easy so far. Nothing special to mention so I think Iíll just update occasionally here as there are already enough rebuild threads out there. Day one has me down to the long block.
Way above my level of expertise! Keep us updated!
ps: shouldn't you have been spending day one waiting on the Mrs for mothers day
 haha
haha
#1117
Sounds like a good day to me 

#1118
Rennlist Member
Thread Starter
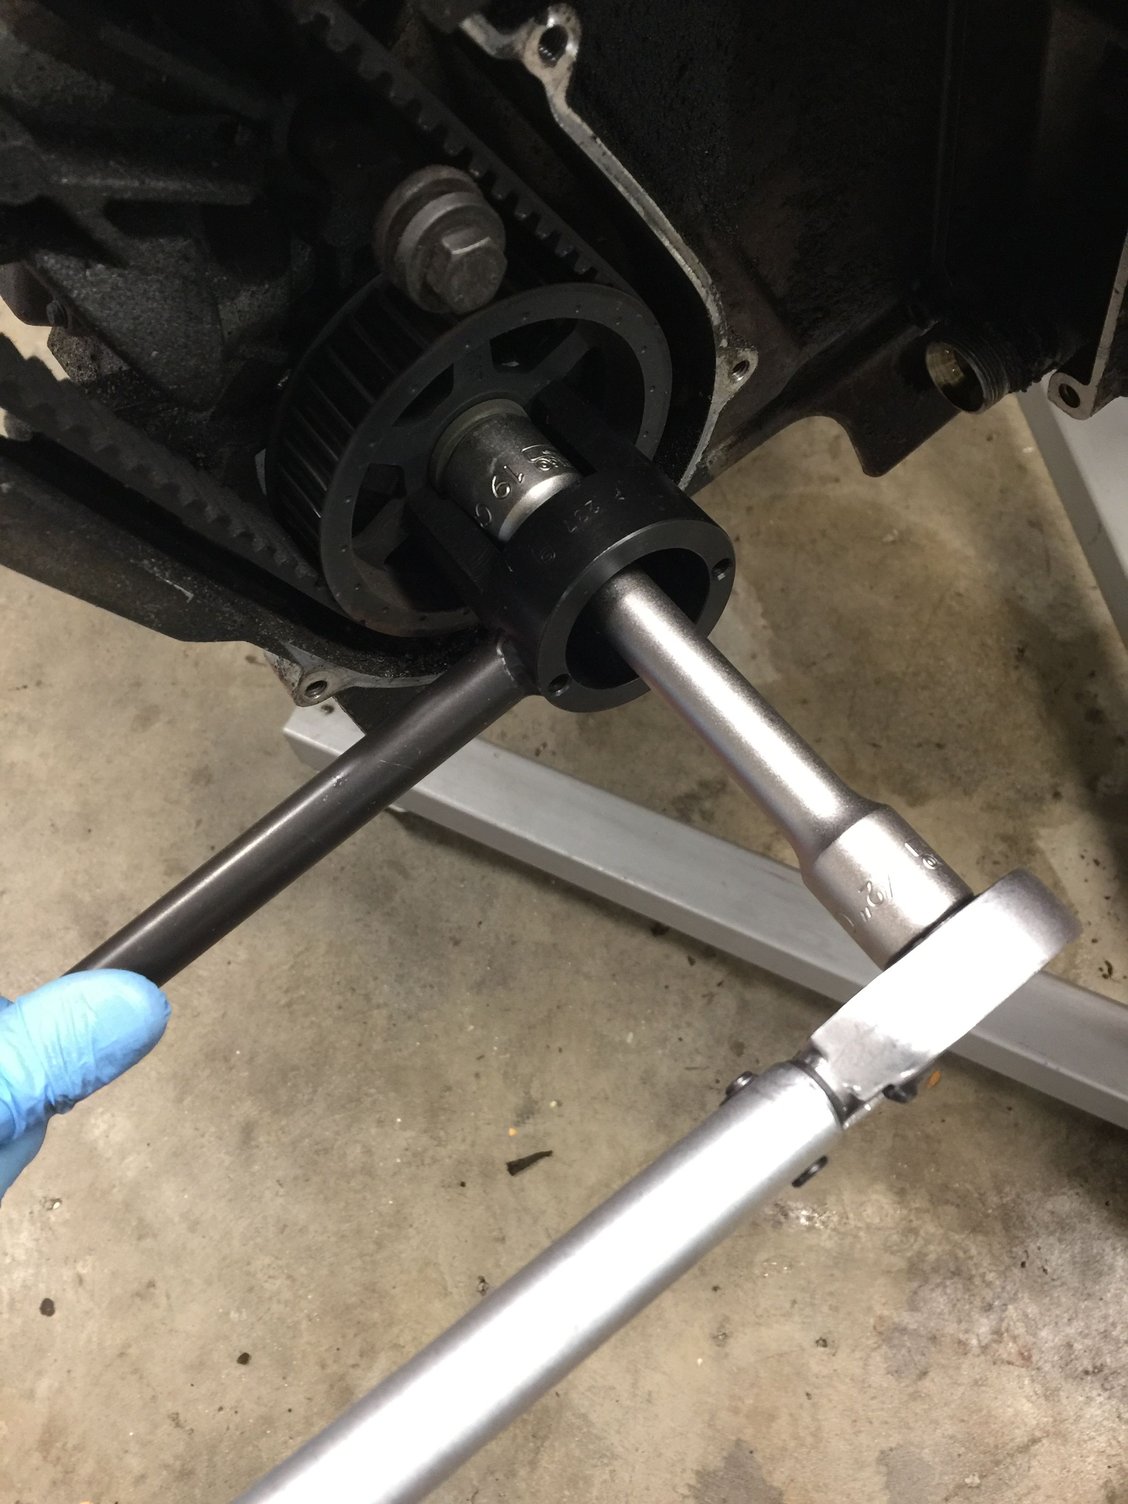
Power steering bolt tip, I think from Rob.
The camshaft tool is a perfect way to hold the power steering drive wheel still and undo the bolt. No possibility of tweaking the camshaft.
#1119
Rennlist Member
Thread Starter
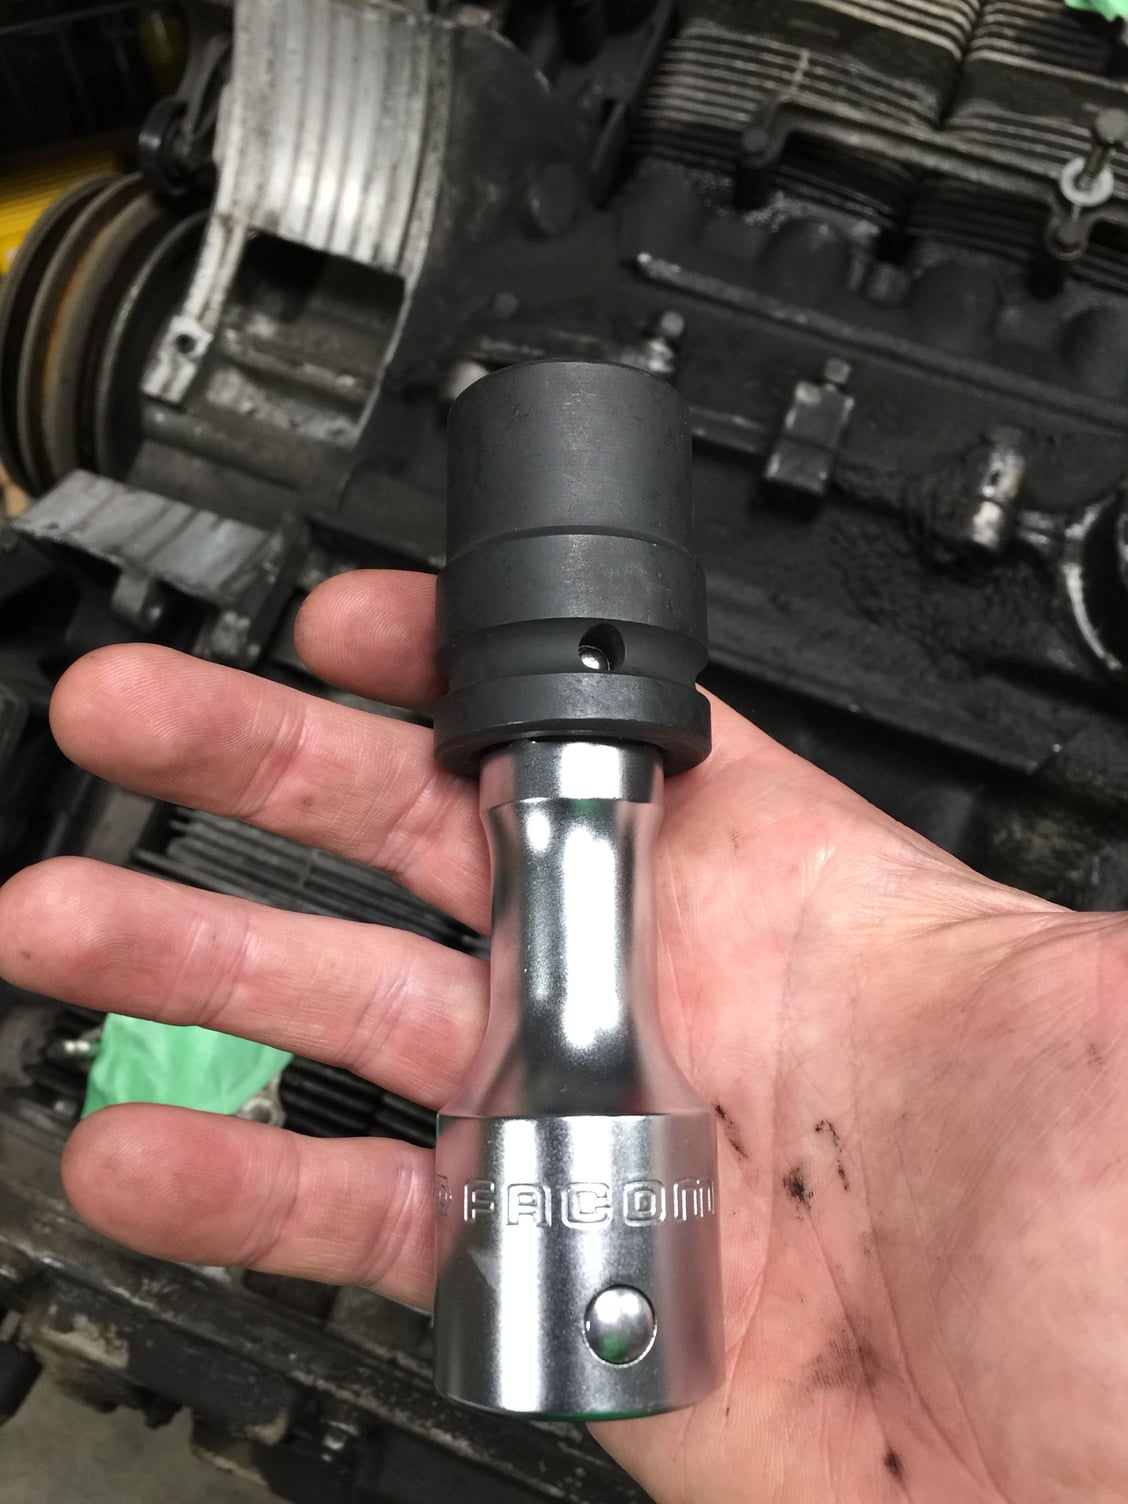
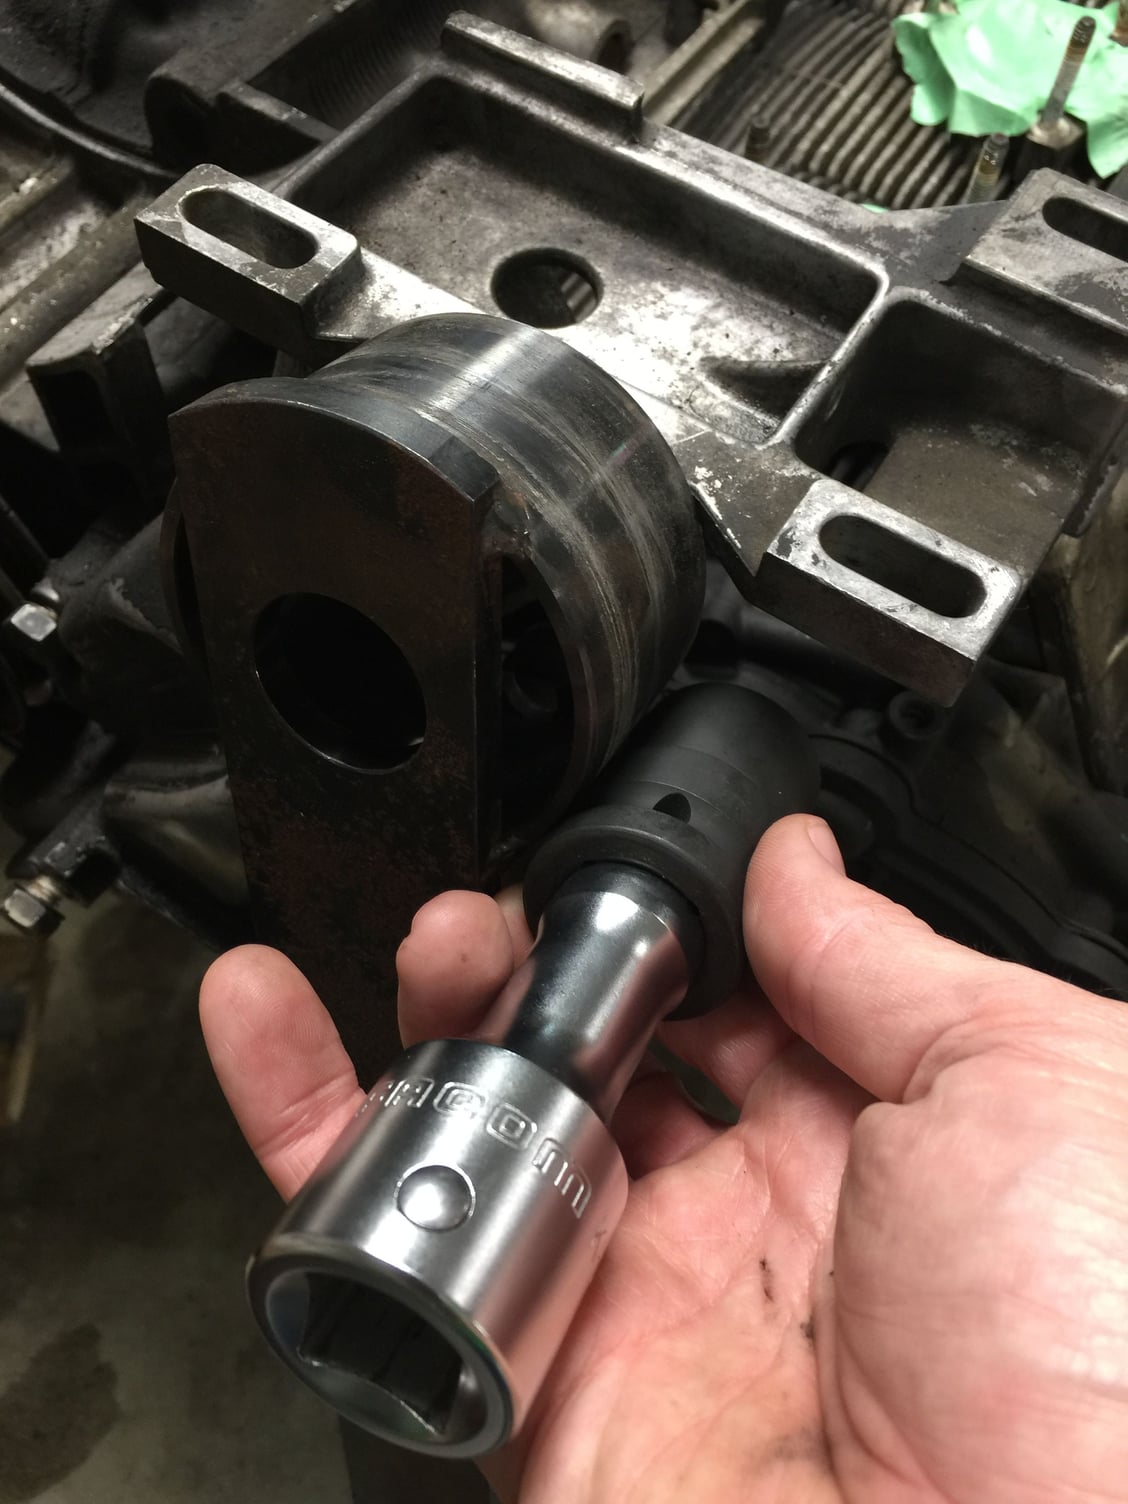
Not so lucky with the pulley bolt. The original bolt is 22mm, but the new version is 18mm. The torque setting is 175 ft/lbs so the preference is a 3/4Ē socket, however the 22mm 3/4Ē socket wonít fit with the Porsche tool. The socket is too long and the shoulder hits the tool. I either need to find another socket or alter the tool.
Update: I used the 3/4" to 1/2" adapter and a 1/2" 22mm socket. That gives me the range on the torque wrench and the 1/2" seems to be up to handling 175 ft lb.
Last edited by John McM; 05-13-2018 at 05:08 PM.
#1120
Burning Brakes
My tech says it's always best to hold the camshaft at the same end you are loosening or tightening. He does not like holding at the opposite end, saying that has caused an end to shear off in very rare cases..... Nonetheless. ..
#1121
Rennlist Member
Thread Starter
Originally Posted by Super90
My tech says it's always best to hold the camshaft at the same end you are loosening or tightening. He does not like holding at the opposite end, saying that has caused an end to shear off in very rare cases..... Nonetheless. ..
Last edited by John McM; 05-13-2018 at 08:17 PM.
#1122
Rennlist Member
Thread Starter
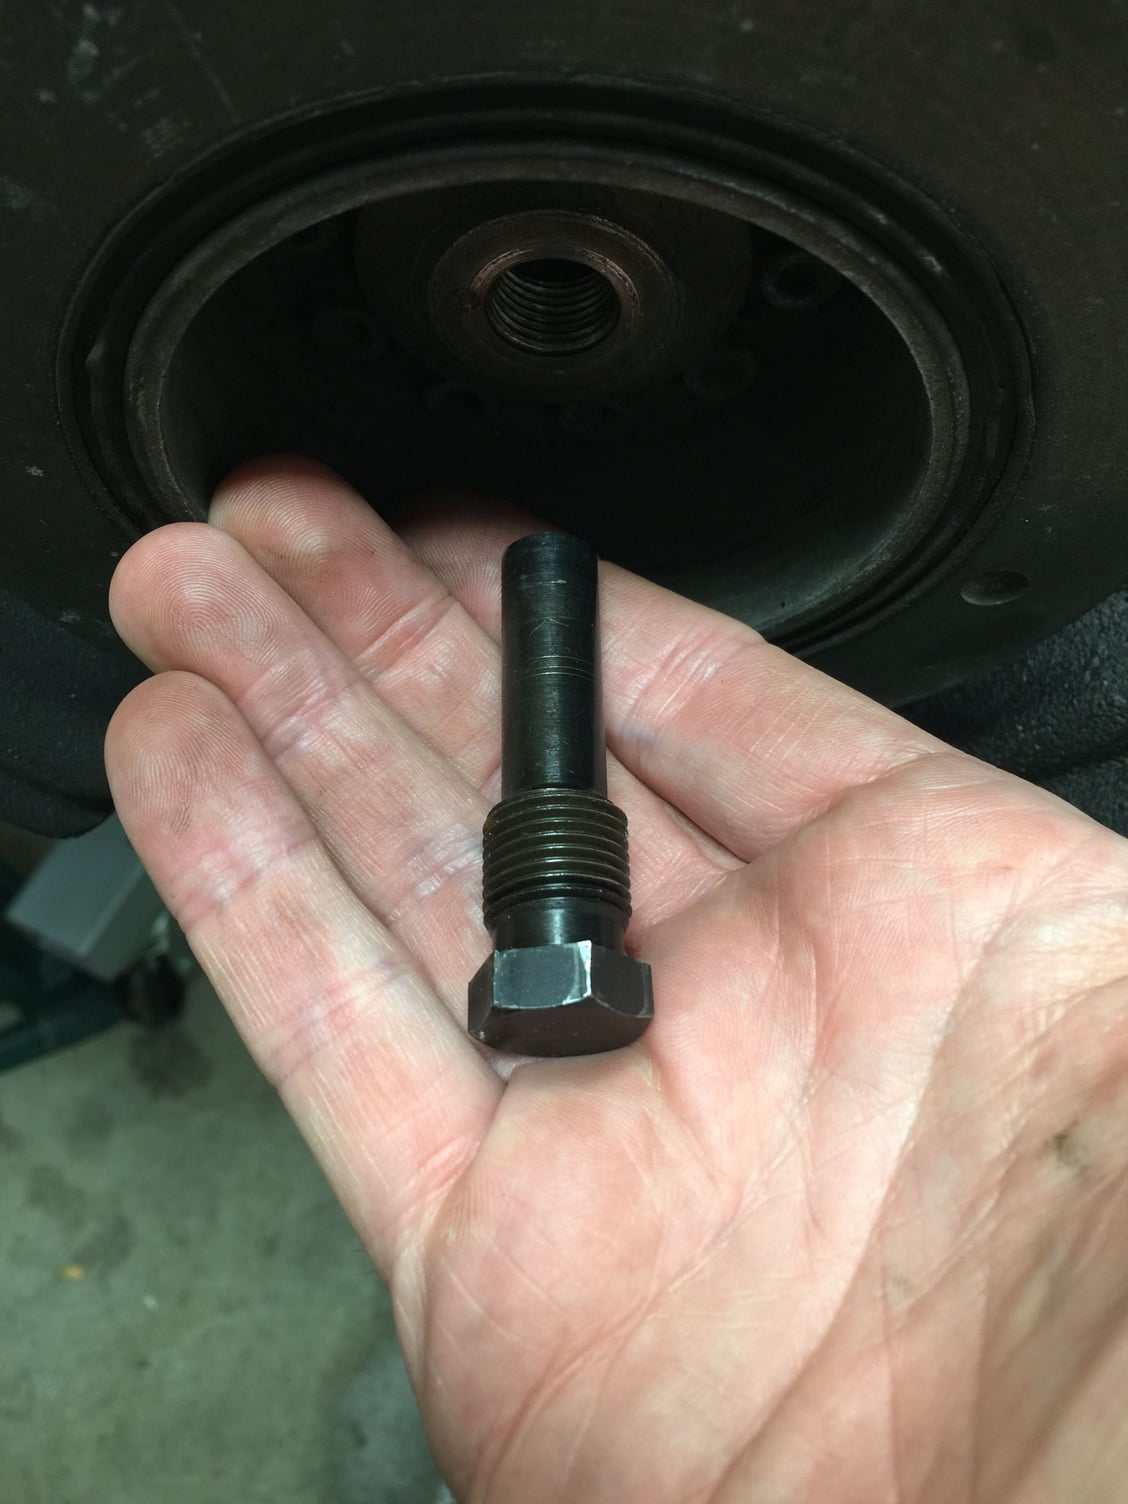
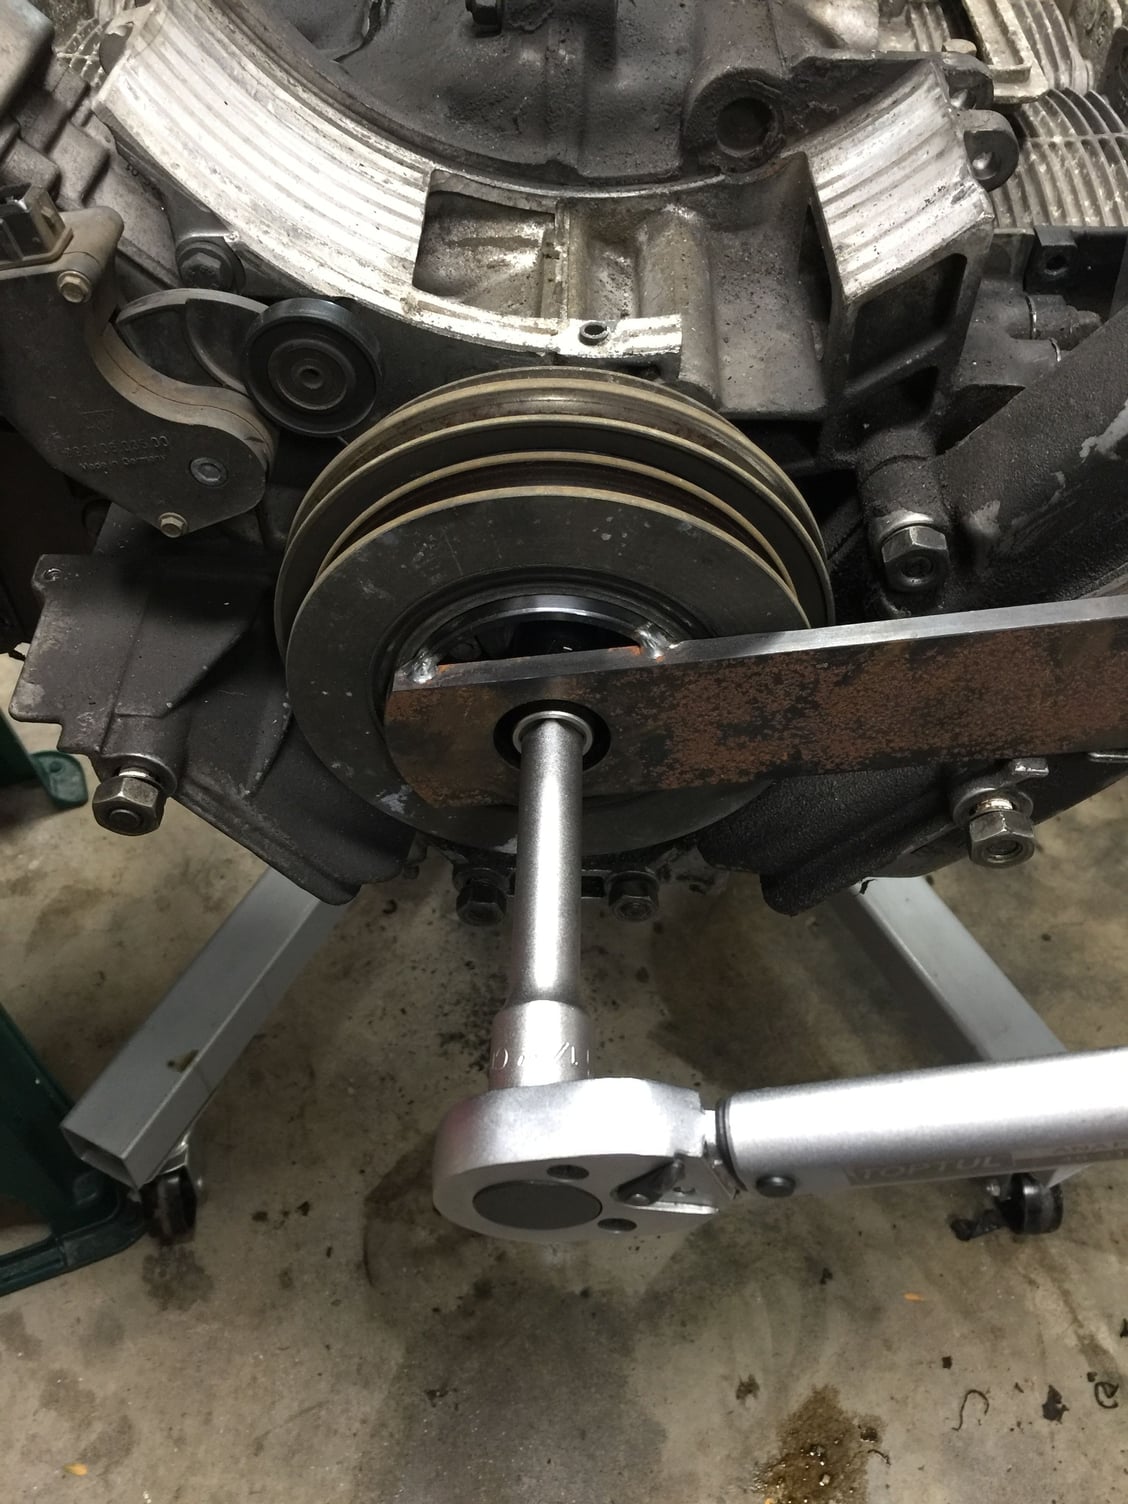
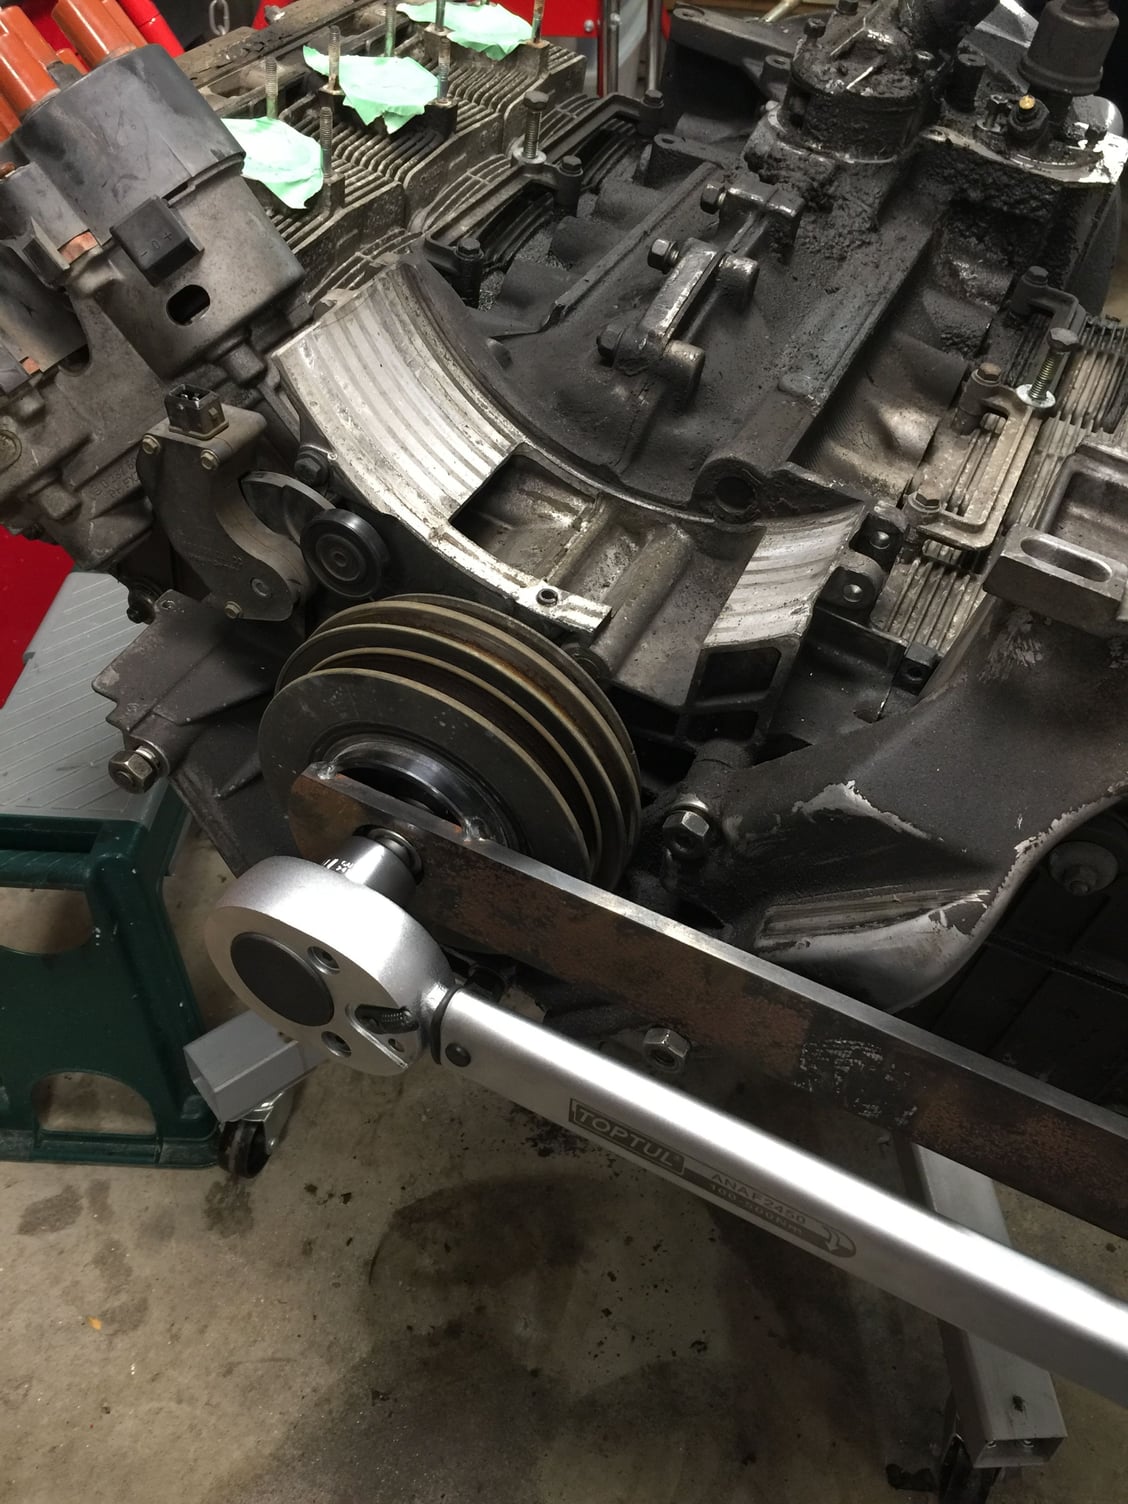
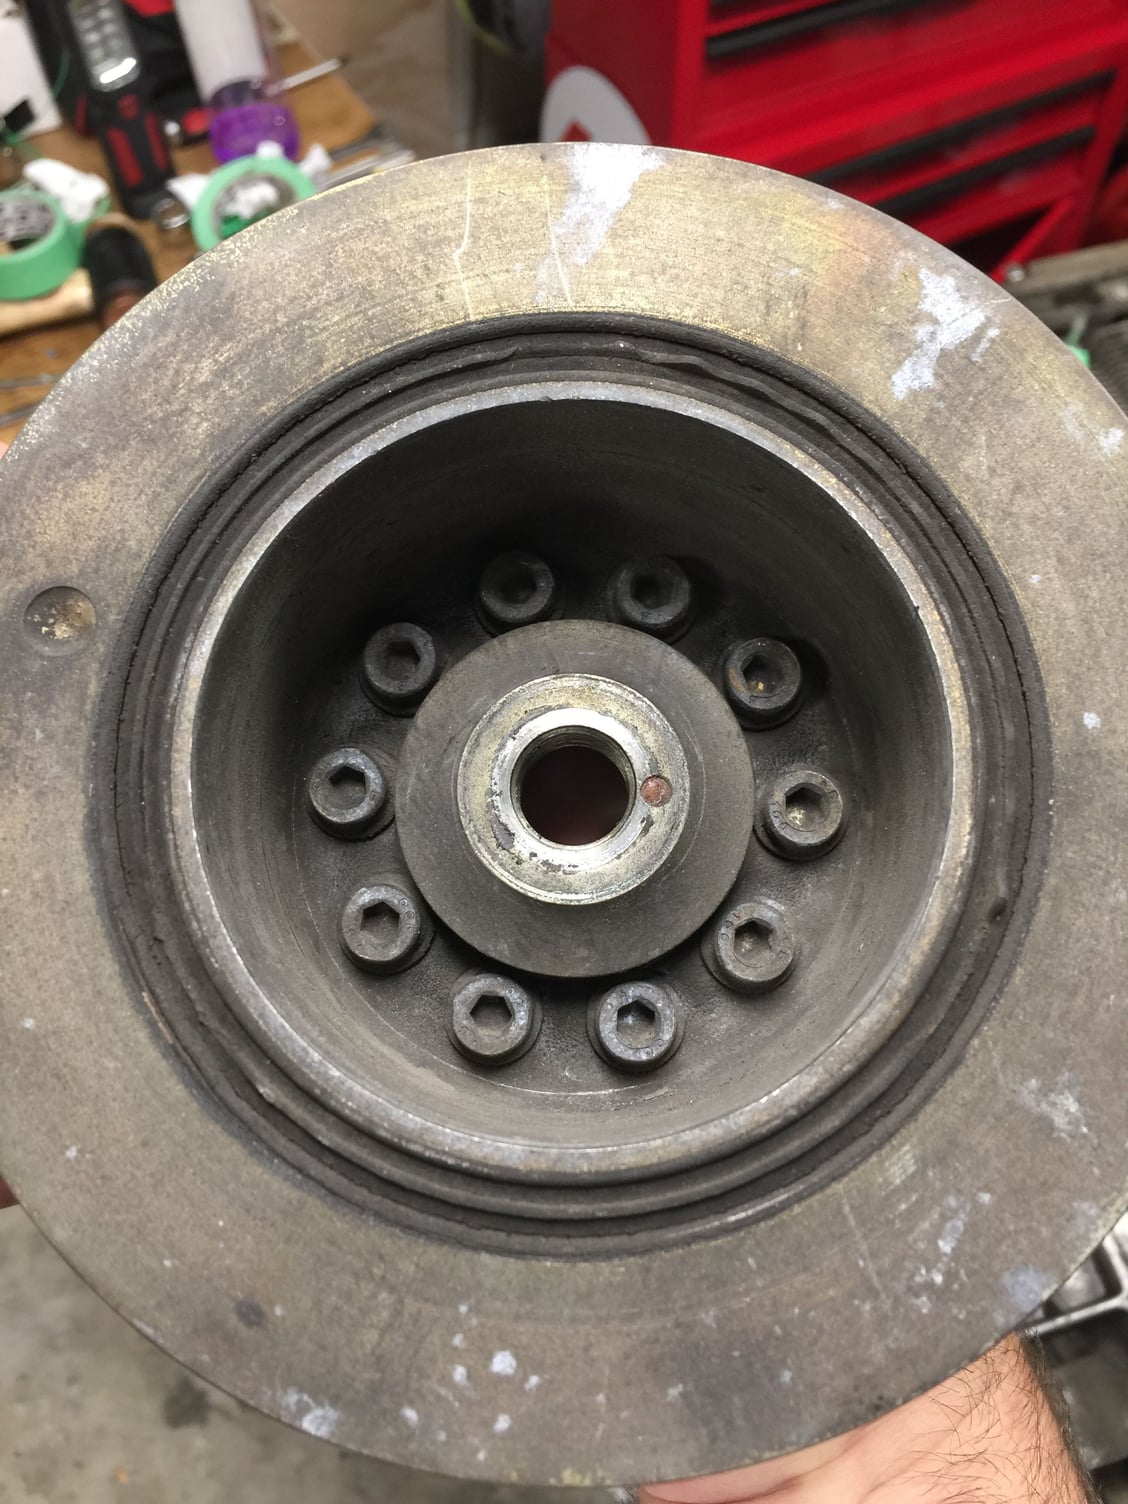
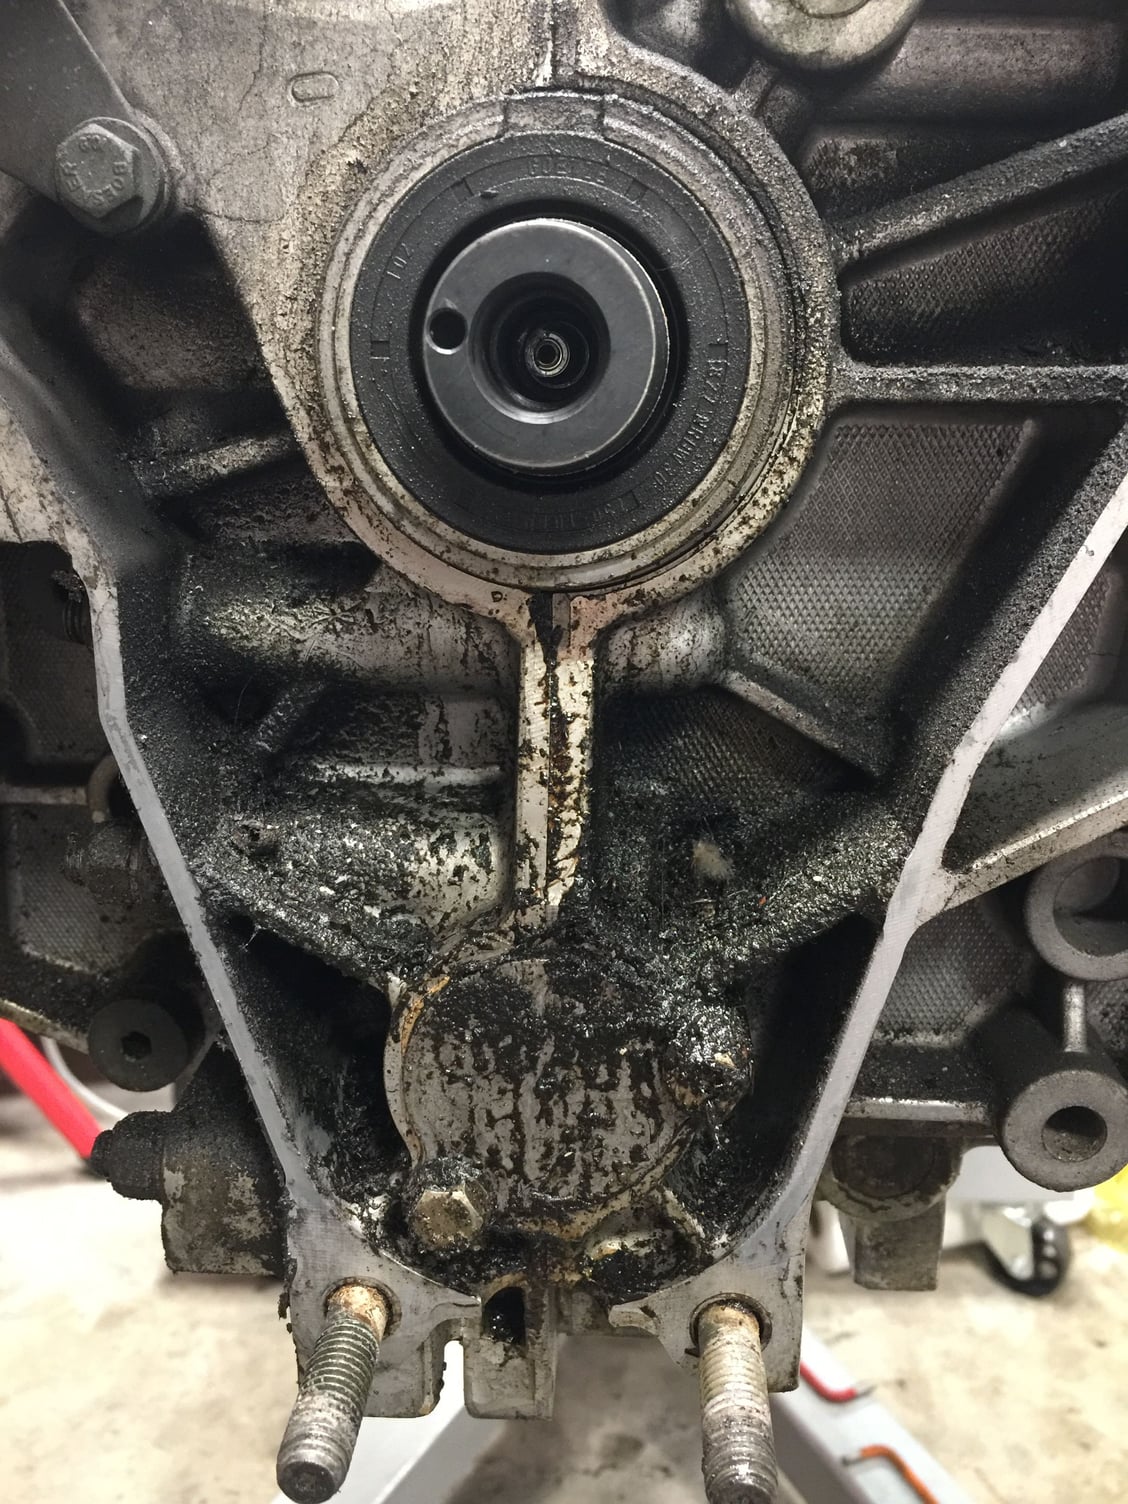
1/2Ē 22mm socket and the Porsche tool sorted the pulley bolt, then itís the other special tool to force the pulley off the shaft. It came off with a real cracking noise. The general nose bearing and IMs cover area show some leakage but not bad. .


