Notices
964 Forum 1989-1994
Sponsored by:
Sponsored by:

964 C4 light refurb

Thread Tools
 
Search this Thread
 
Old 03-10-2018, 01:45 PM
  #1036  
CBA
Rennlist Member
 
CBA's Avatar
 
Join Date: Sep 2014
Location: California
Posts: 375
Received 13 Likes on 10 Posts
Default

Project looks fun. Curious what or why did you build the wood platform for?
Old 03-10-2018, 02:02 PM
  #1037  
John McM
Rennlist Member
Thread Starter
 
John McM's Avatar
 
Join Date: May 2001
Location: Auckland, New Zealand.
Posts: 13,206
Received 567 Likes on 339 Posts
Default


Originally Posted by CBA
Project looks fun. Curious what or why did you build the wood platform for?
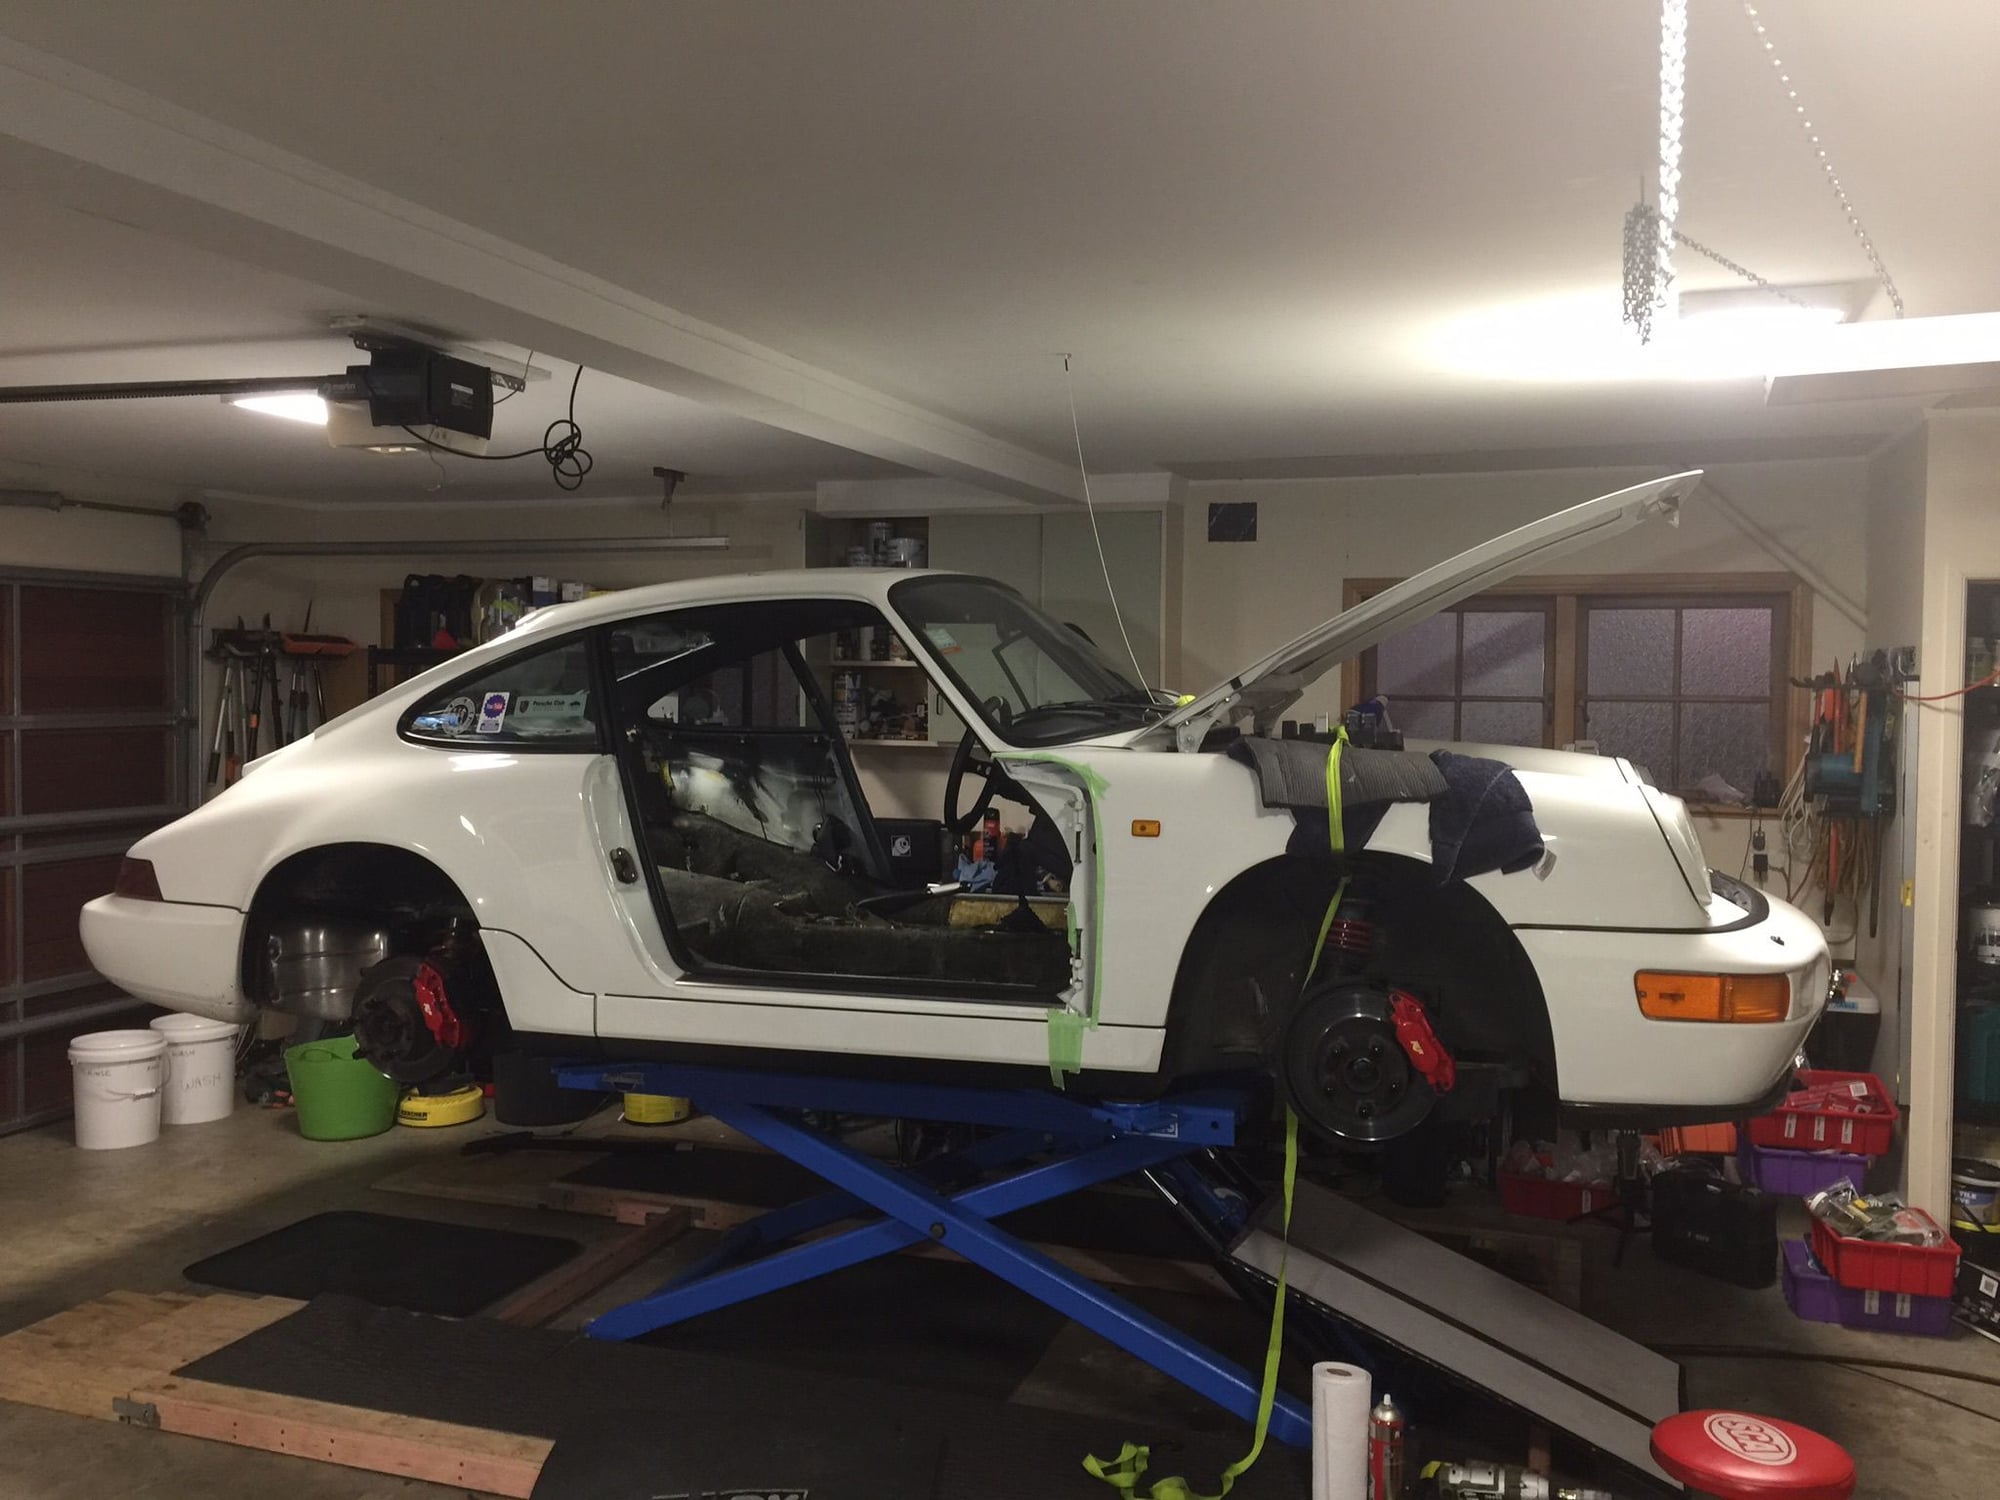
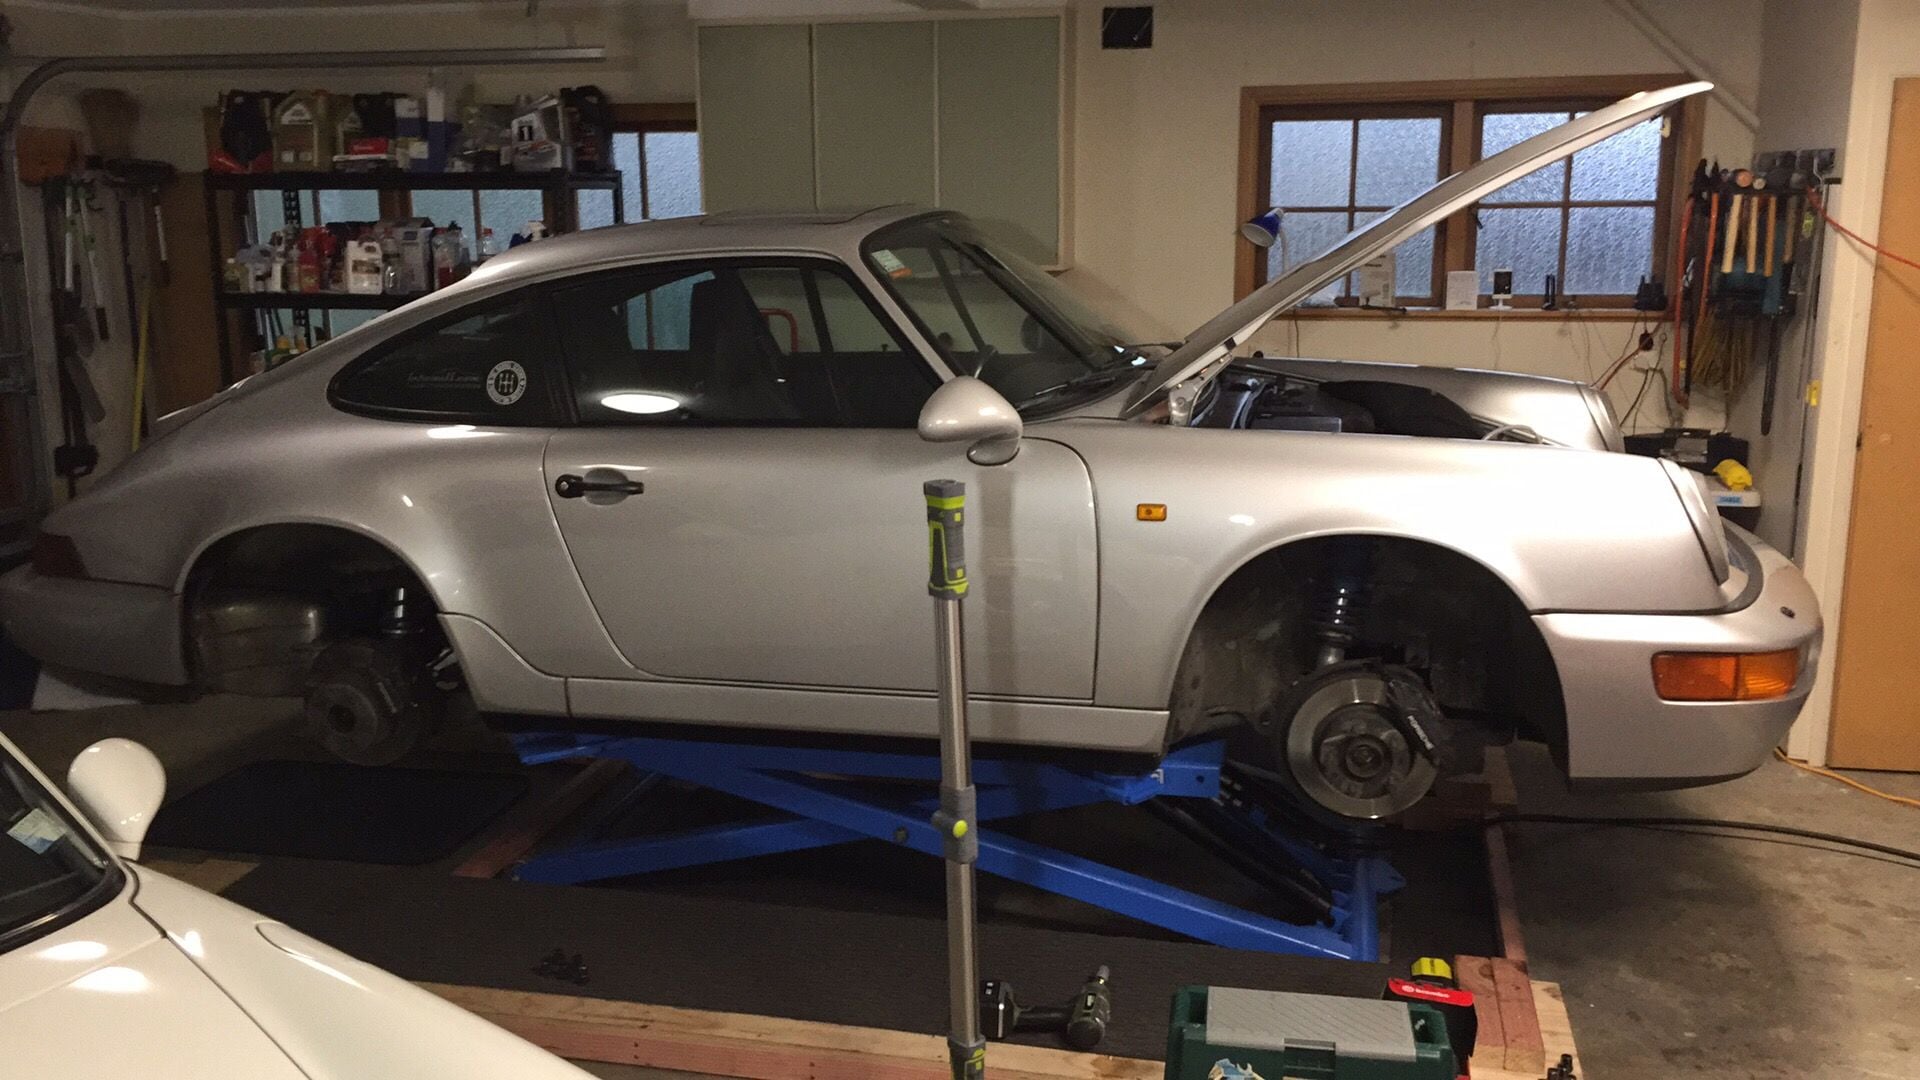
Those are ramps to allow me to use a floor mounted scissor lift
Old 03-10-2018, 02:41 PM
  #1038  
CBA
Rennlist Member
 
CBA's Avatar
 
Join Date: Sep 2014
Location: California
Posts: 375
Received 13 Likes on 10 Posts
Default

10-4. Learn something new everyday.
Old 03-10-2018, 03:29 PM
  #1039  
John McM
Rennlist Member
Thread Starter
 
John McM's Avatar
 
Join Date: May 2001
Location: Auckland, New Zealand.
Posts: 13,206
Received 567 Likes on 339 Posts
Default

An earlier view
Old 03-11-2018, 04:43 AM
  #1040  
John McM
Rennlist Member
Thread Starter
 
John McM's Avatar
 
Join Date: May 2001
Location: Auckland, New Zealand.
Posts: 13,206
Received 567 Likes on 339 Posts
Default


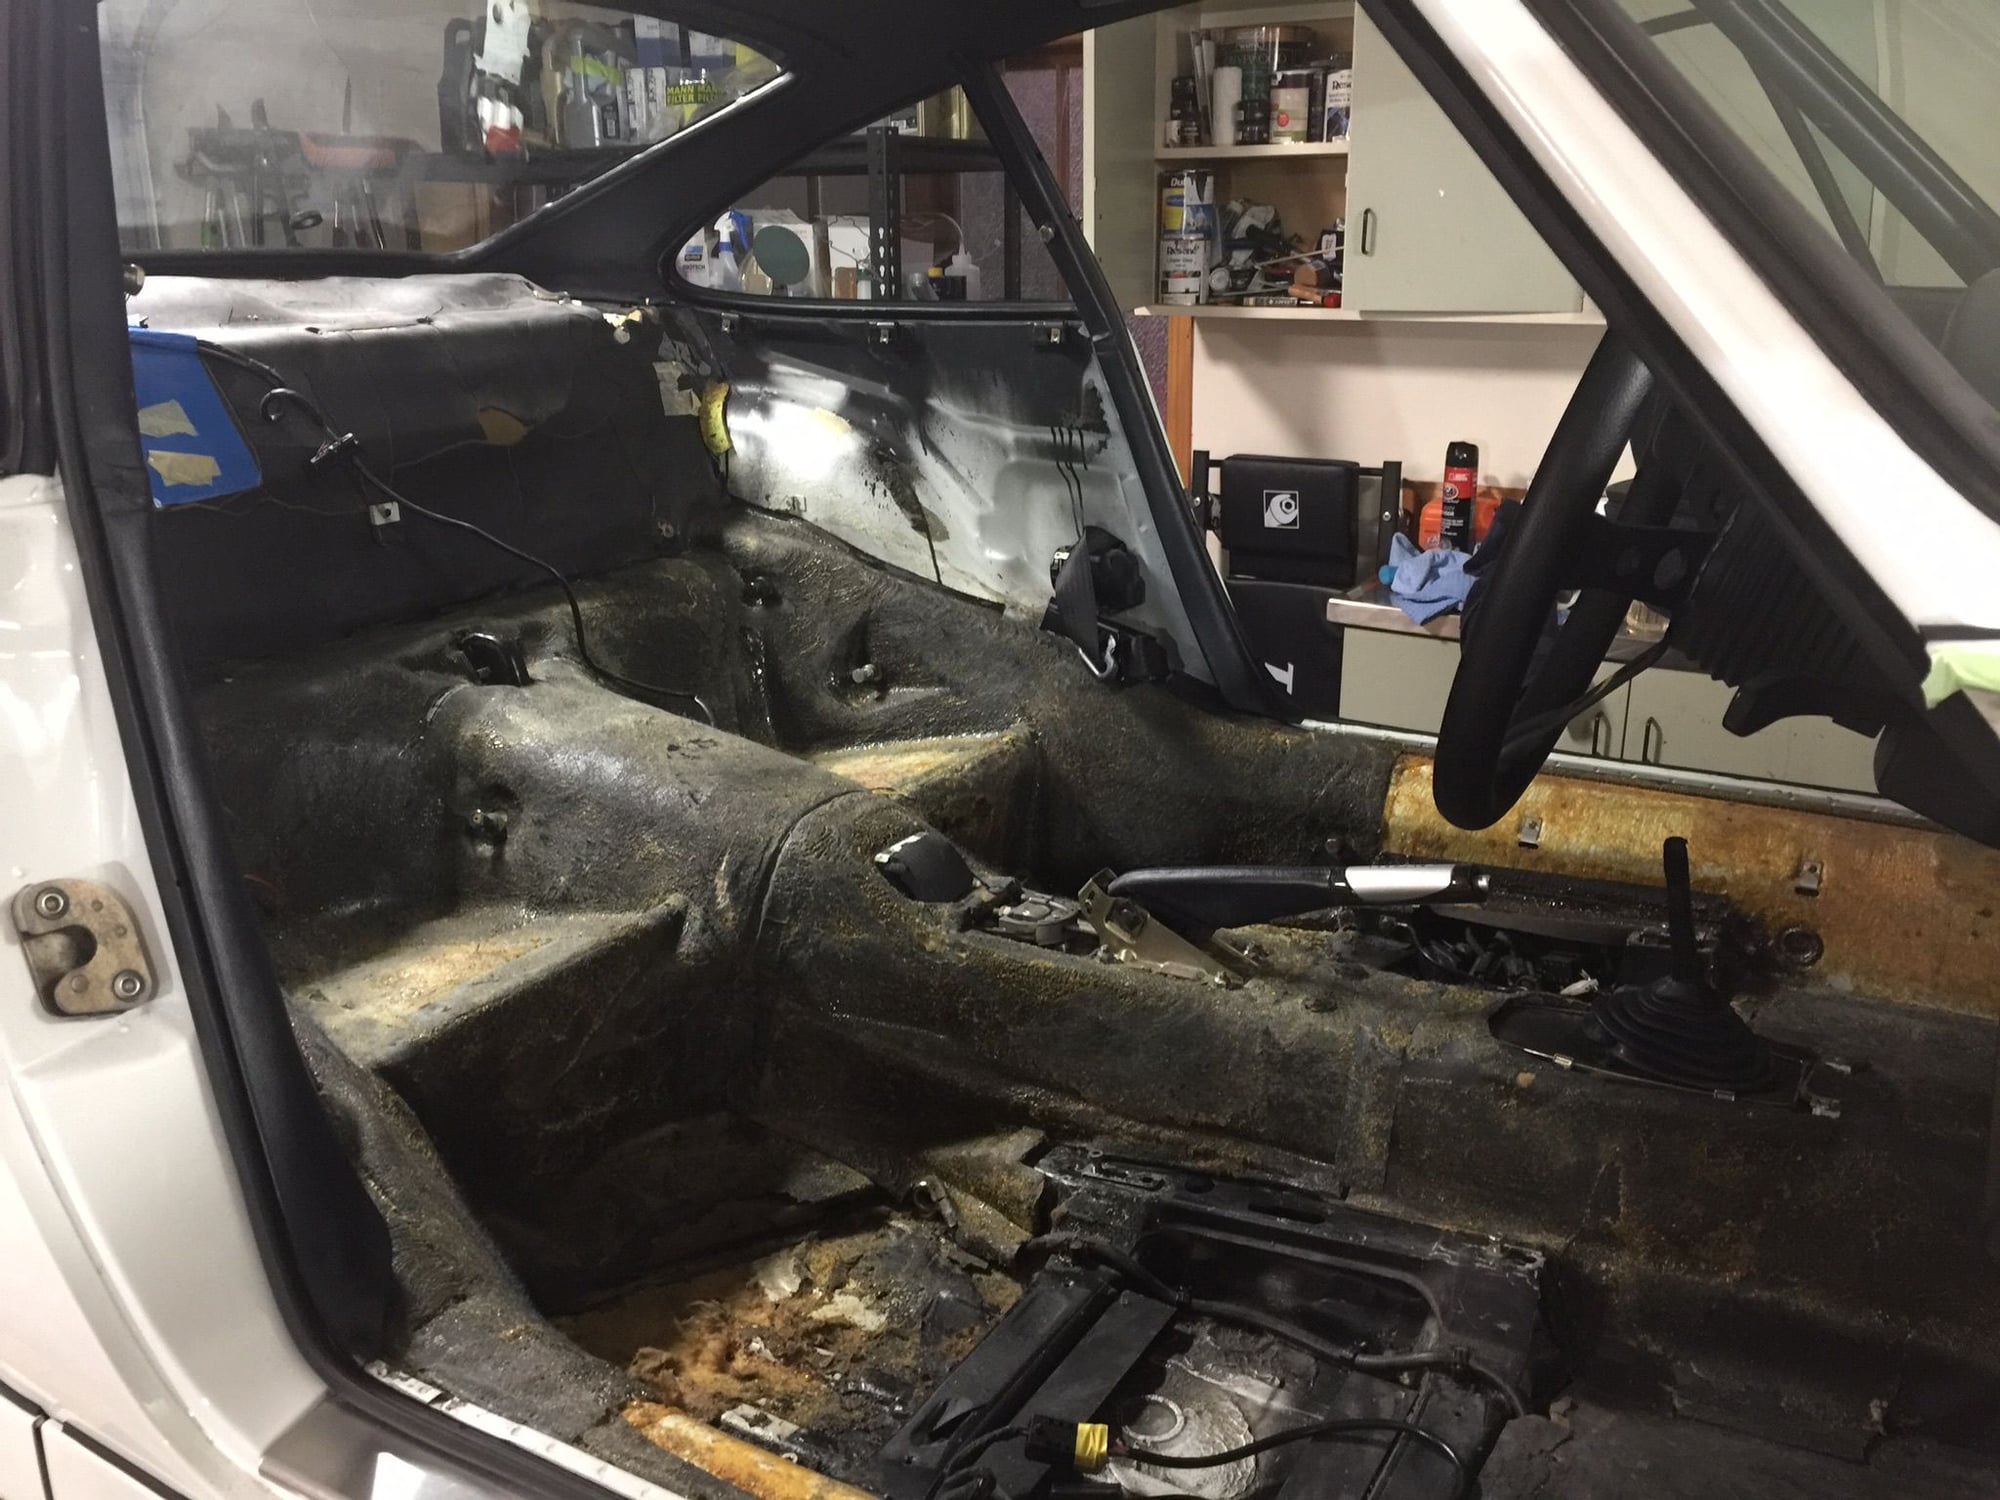
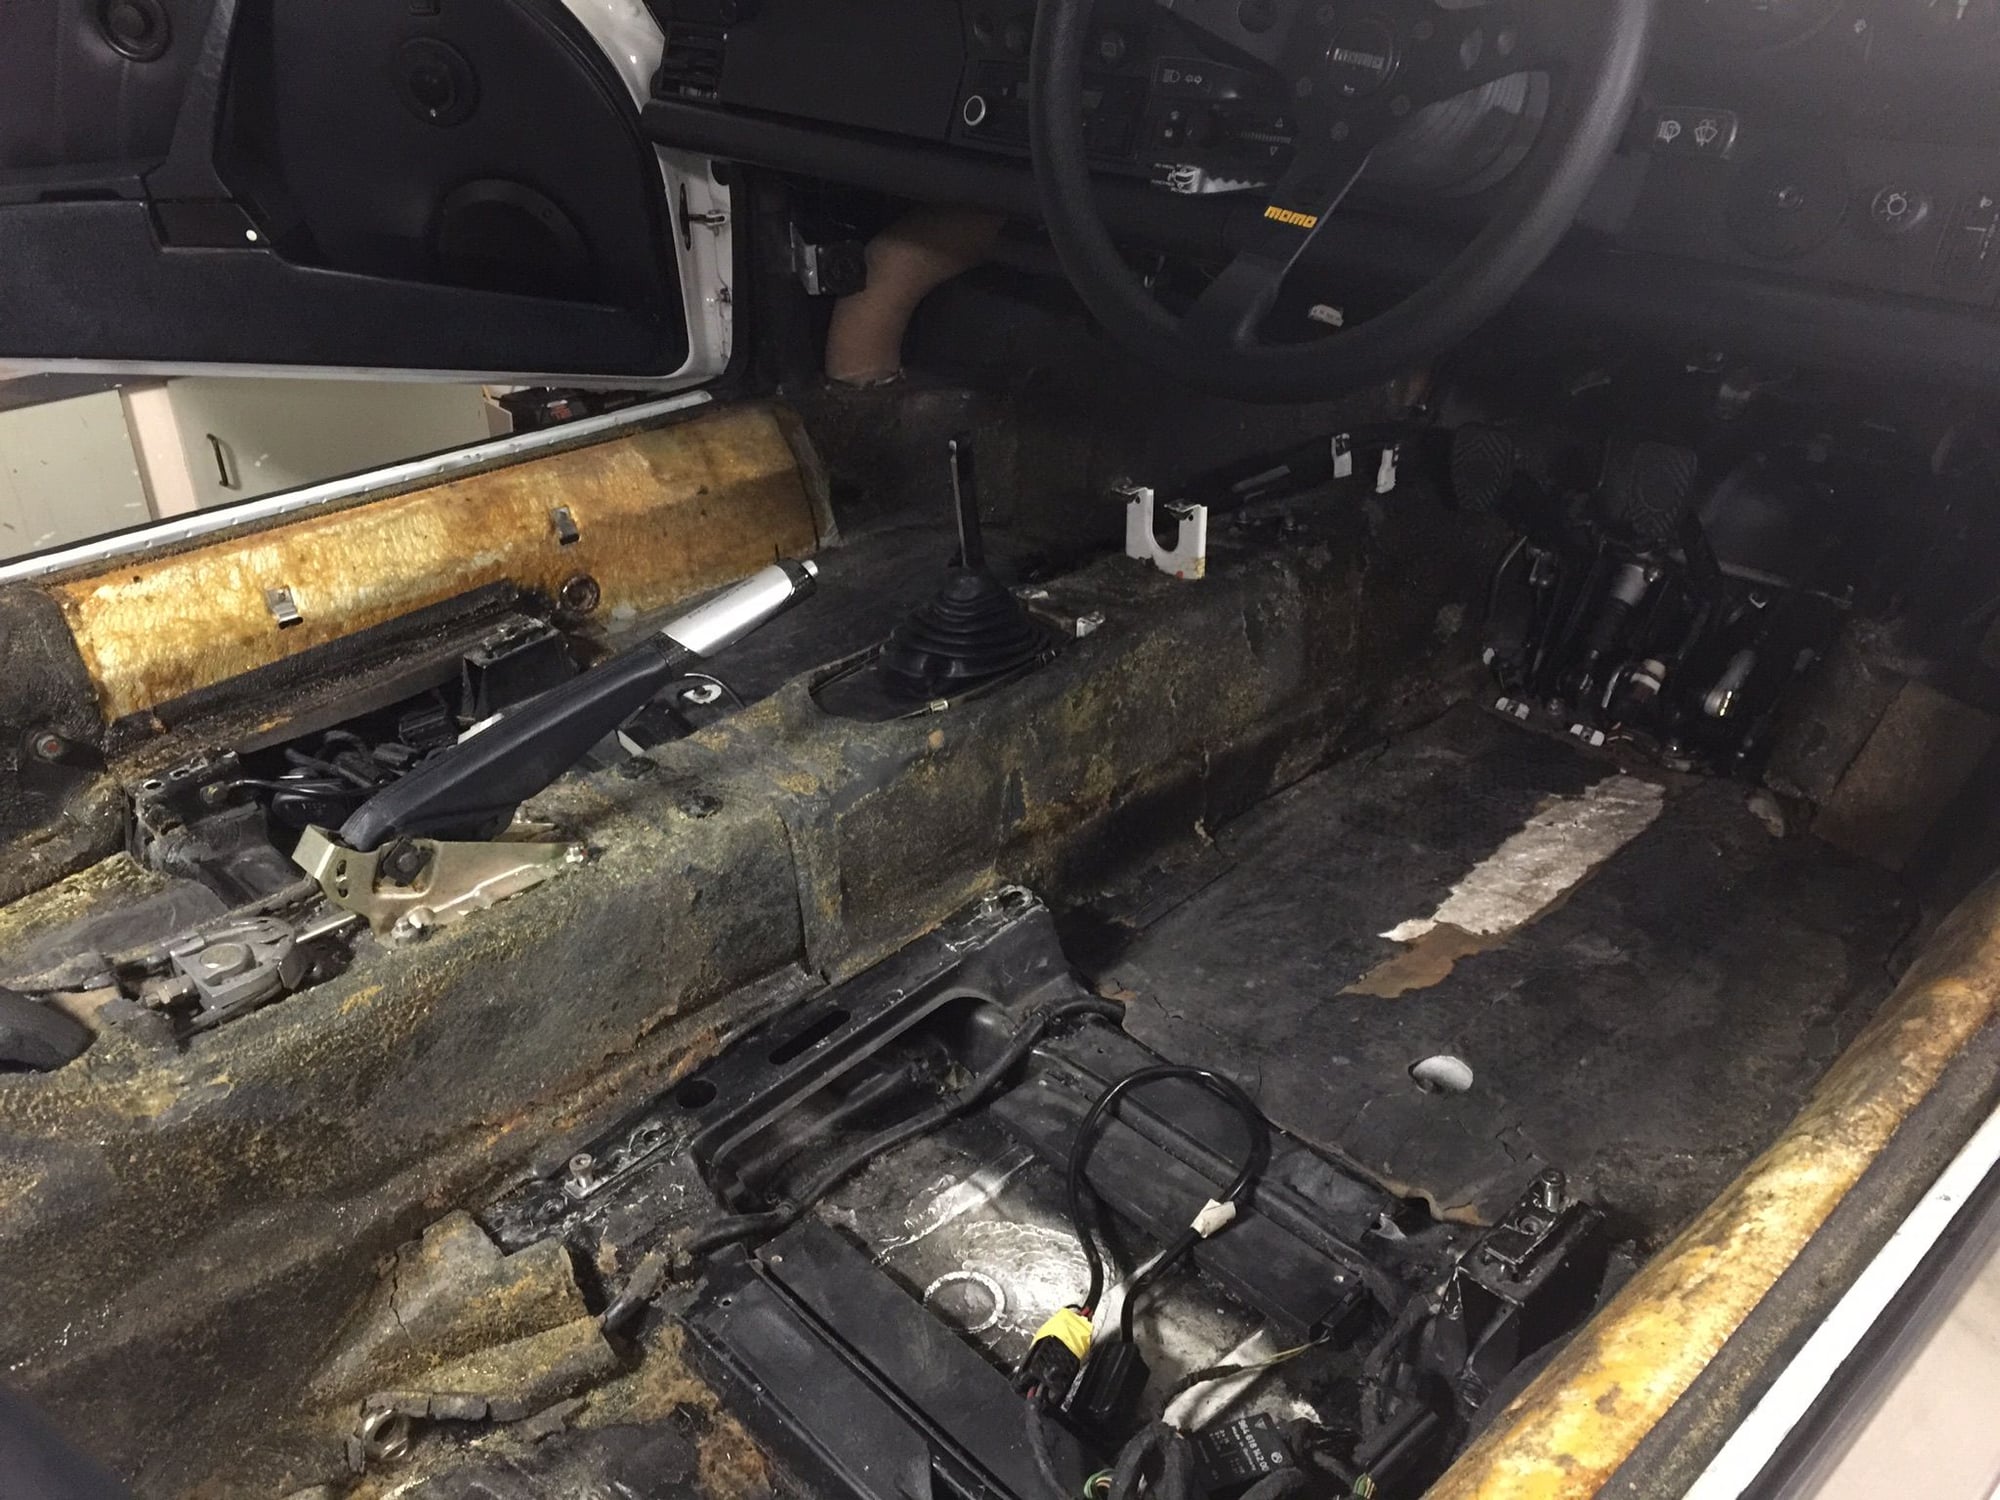
All of the carpet is out, surfaces brushed down and ready for the new carpet when it arrives (delayed due to a back order of 4KV Navy Blue Sliverknit). The soundproofing is dry and in great condition. This should be a quick and quality install. It’s not my first rodeo.
Old 03-11-2018, 04:46 AM
  #1041  
John McM
Rennlist Member
Thread Starter
 
John McM's Avatar
 
Join Date: May 2001
Location: Auckland, New Zealand.
Posts: 13,206
Received 567 Likes on 339 Posts
Default


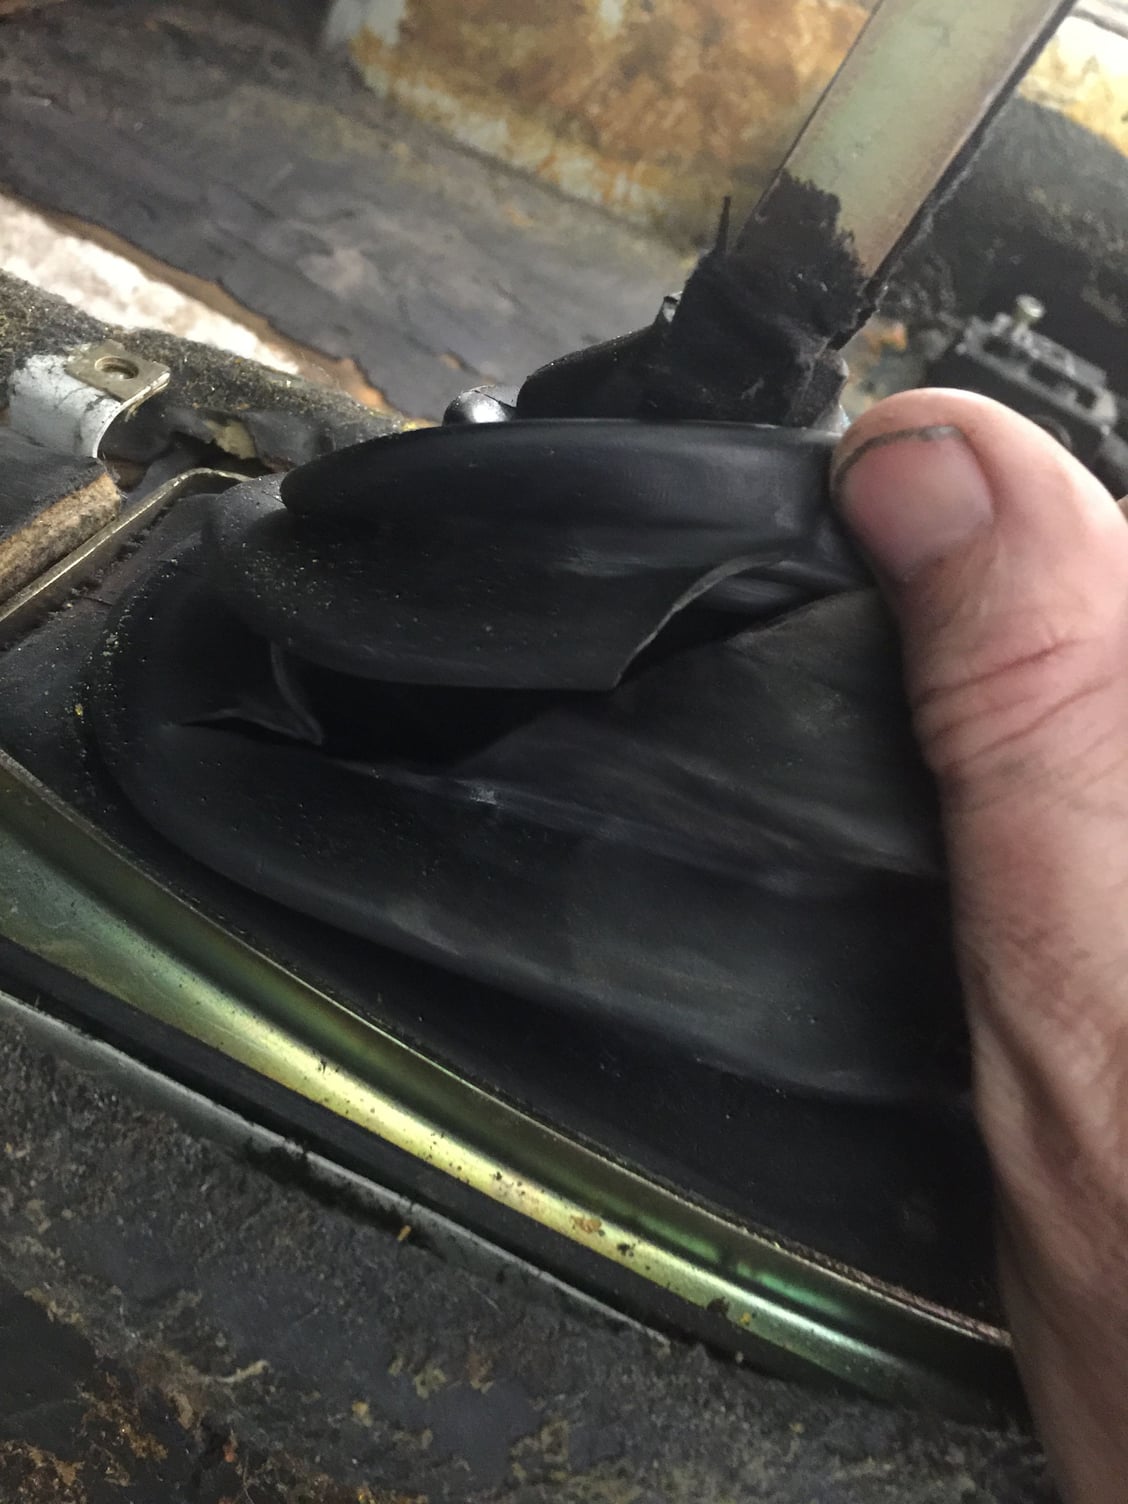
The rubber shift boot unexpectedly needs replacing, as it’'s split. Others may skip these things as it's hidden by the leather boot but I can’t. Part number 993 424 139 00

Last edited by John McM; 03-11-2018 at 06:30 AM.
Old 03-11-2018, 10:58 PM
  #1042  
John McM
Rennlist Member
Thread Starter
 
John McM's Avatar
 
Join Date: May 2001
Location: Auckland, New Zealand.
Posts: 13,206
Received 567 Likes on 339 Posts
Default


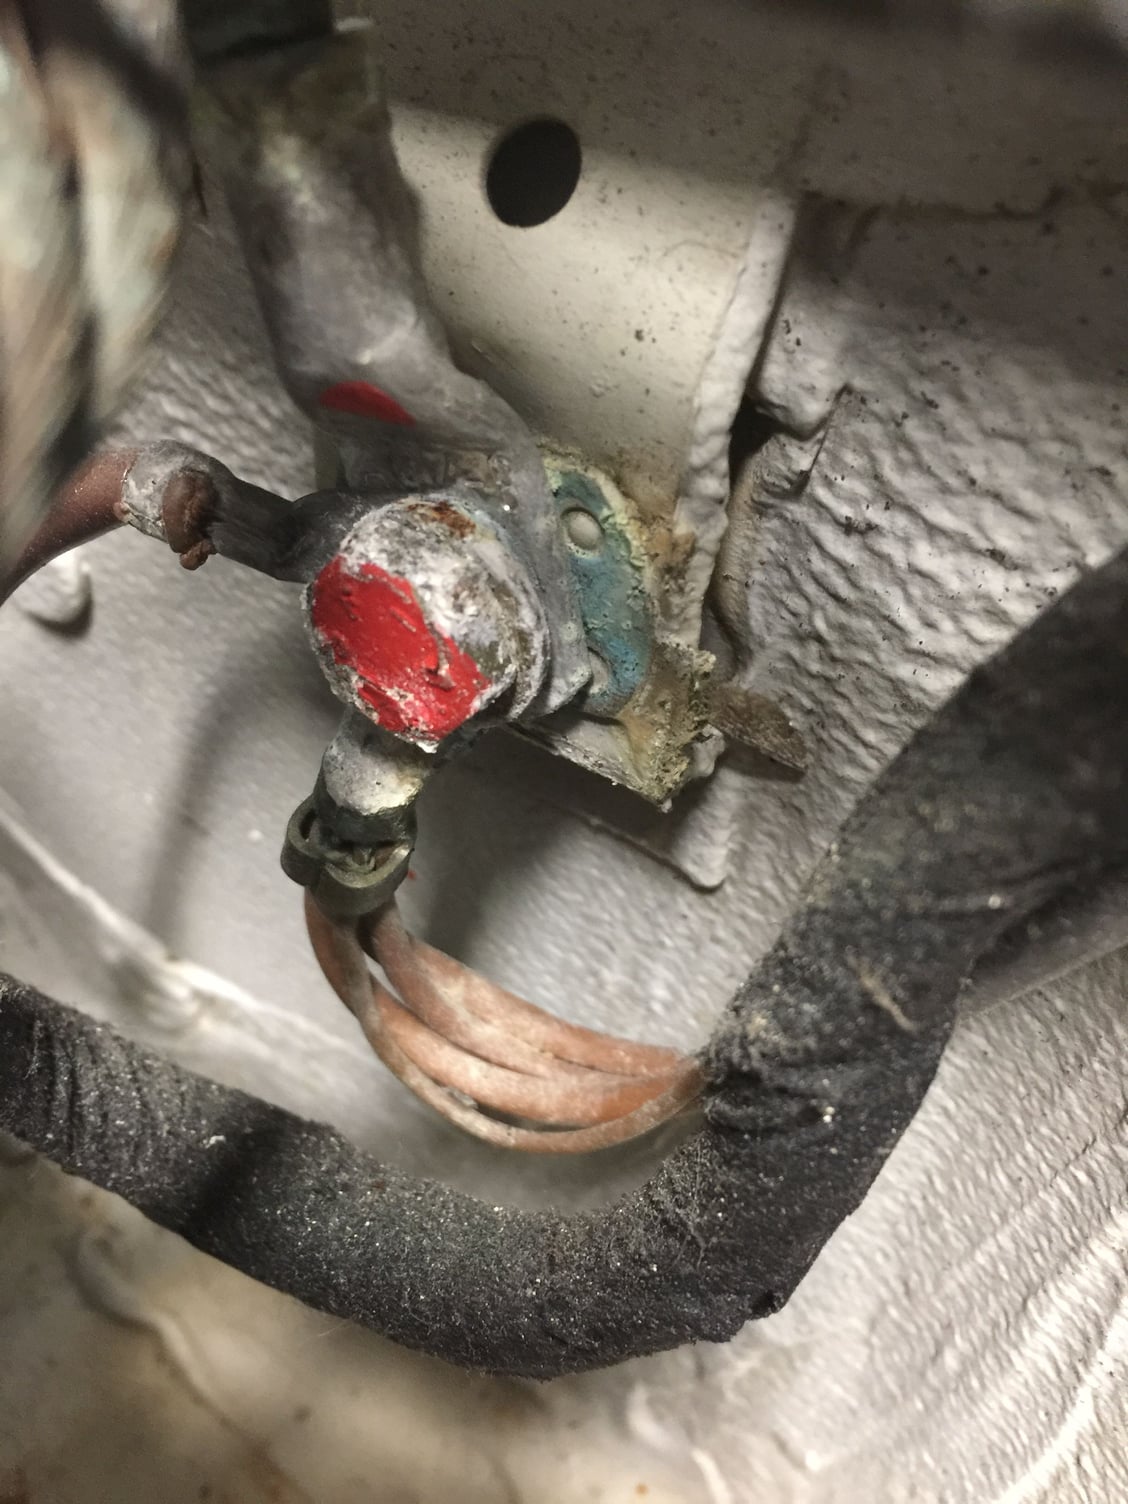
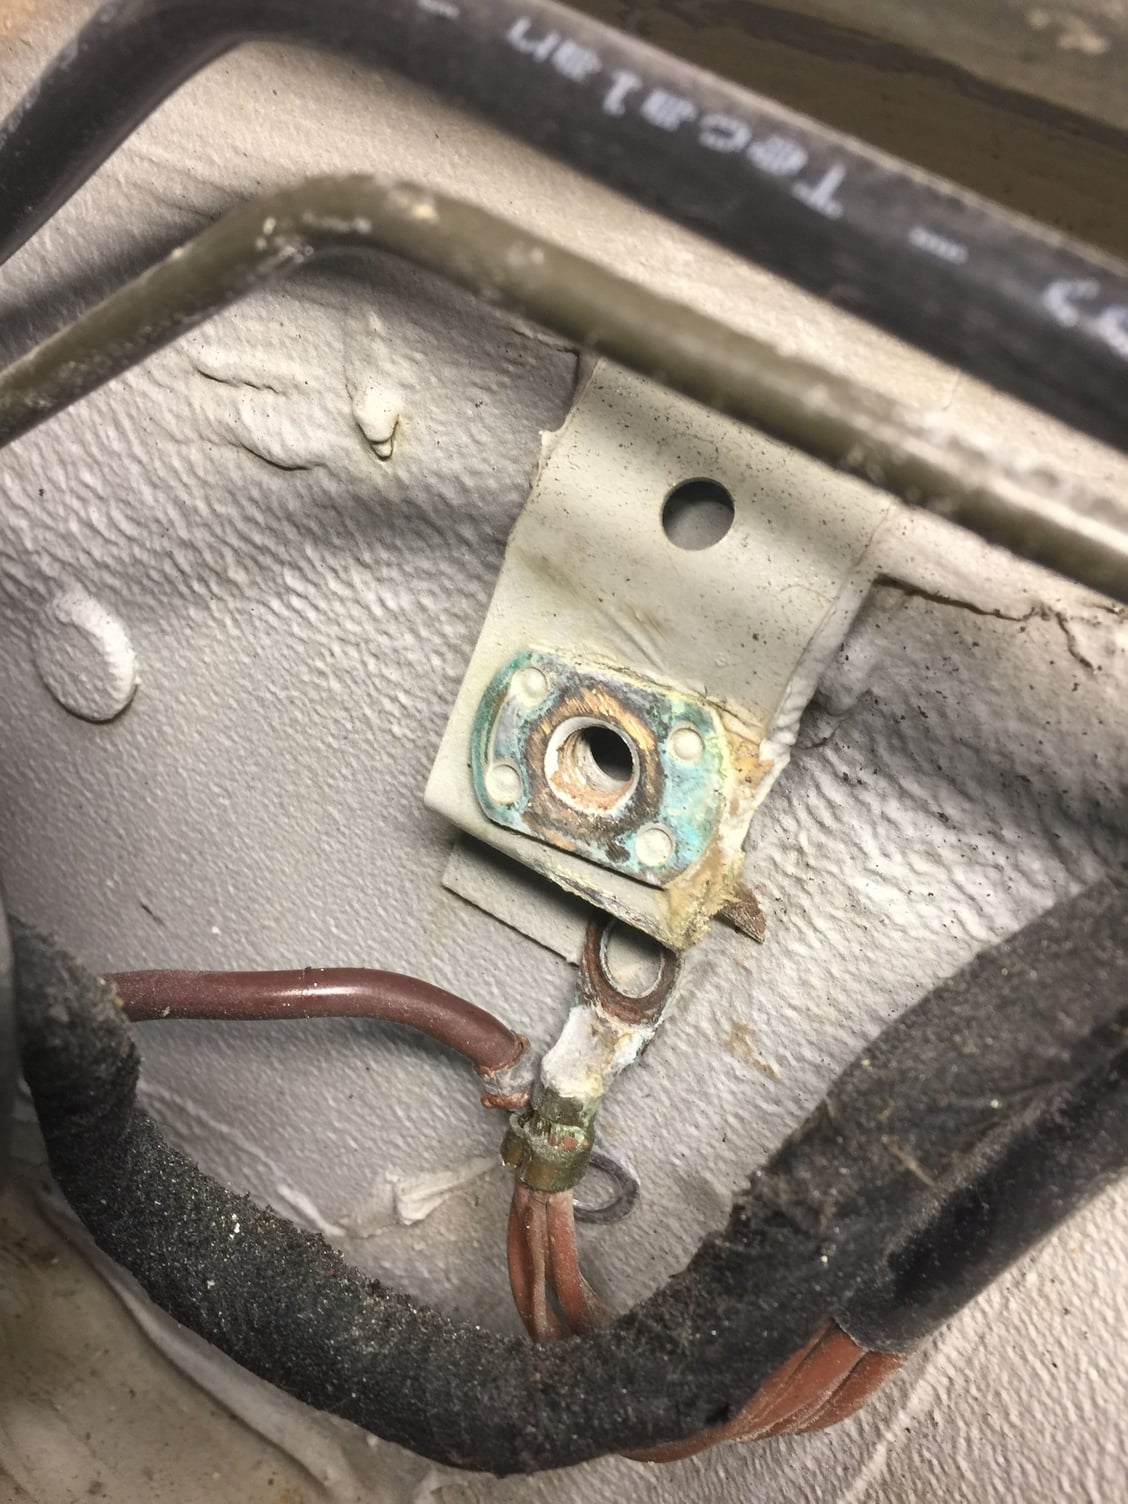
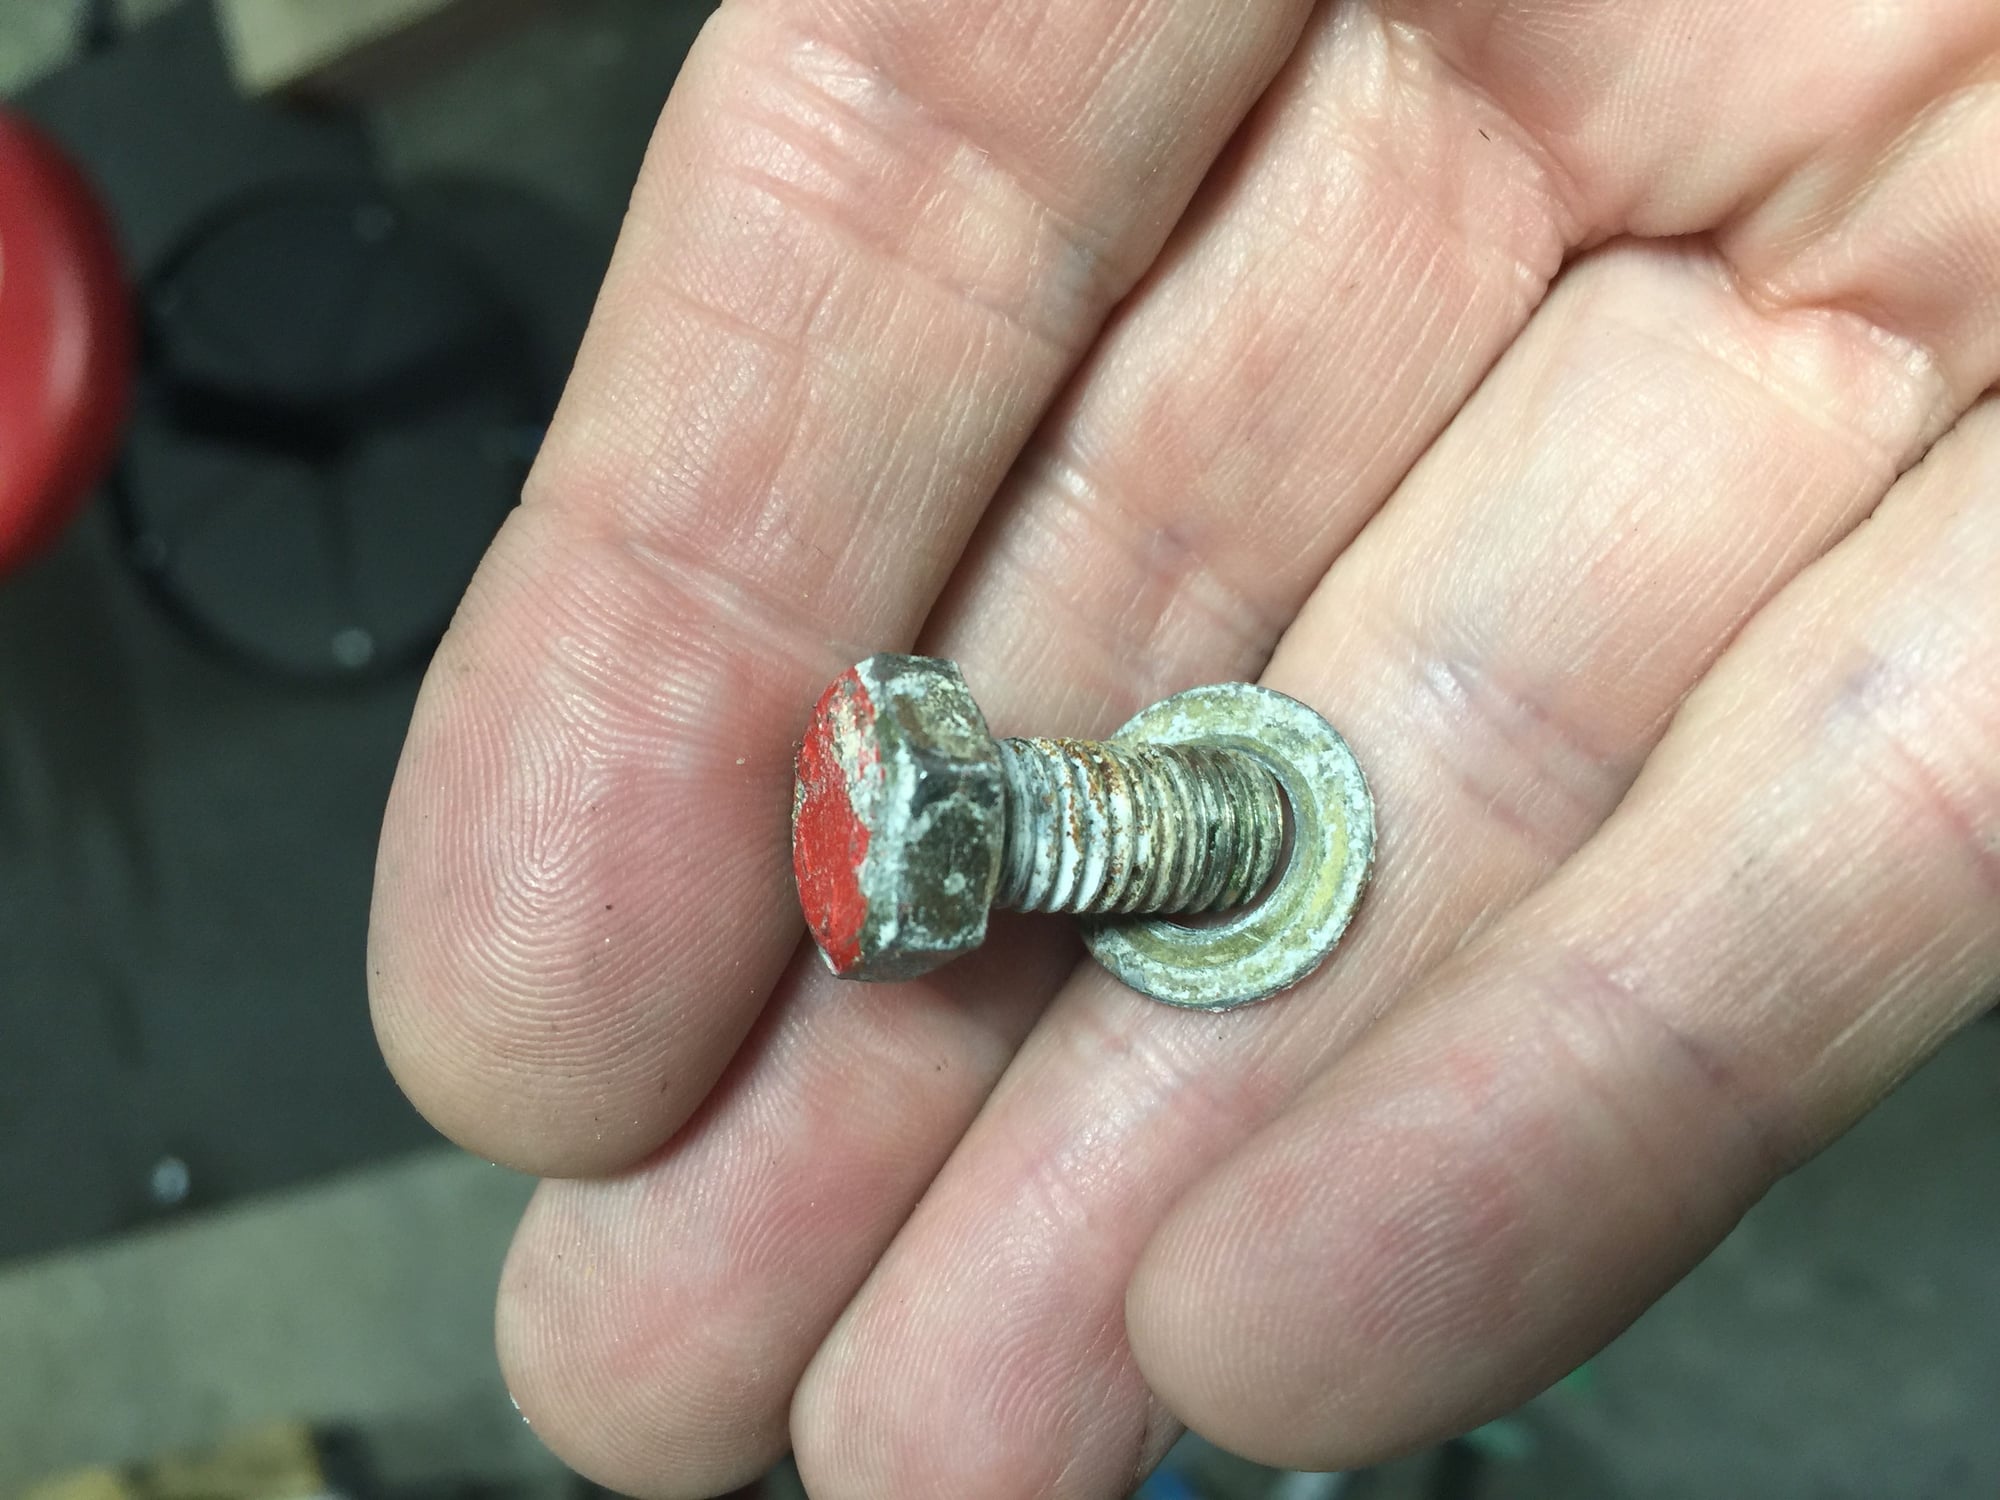
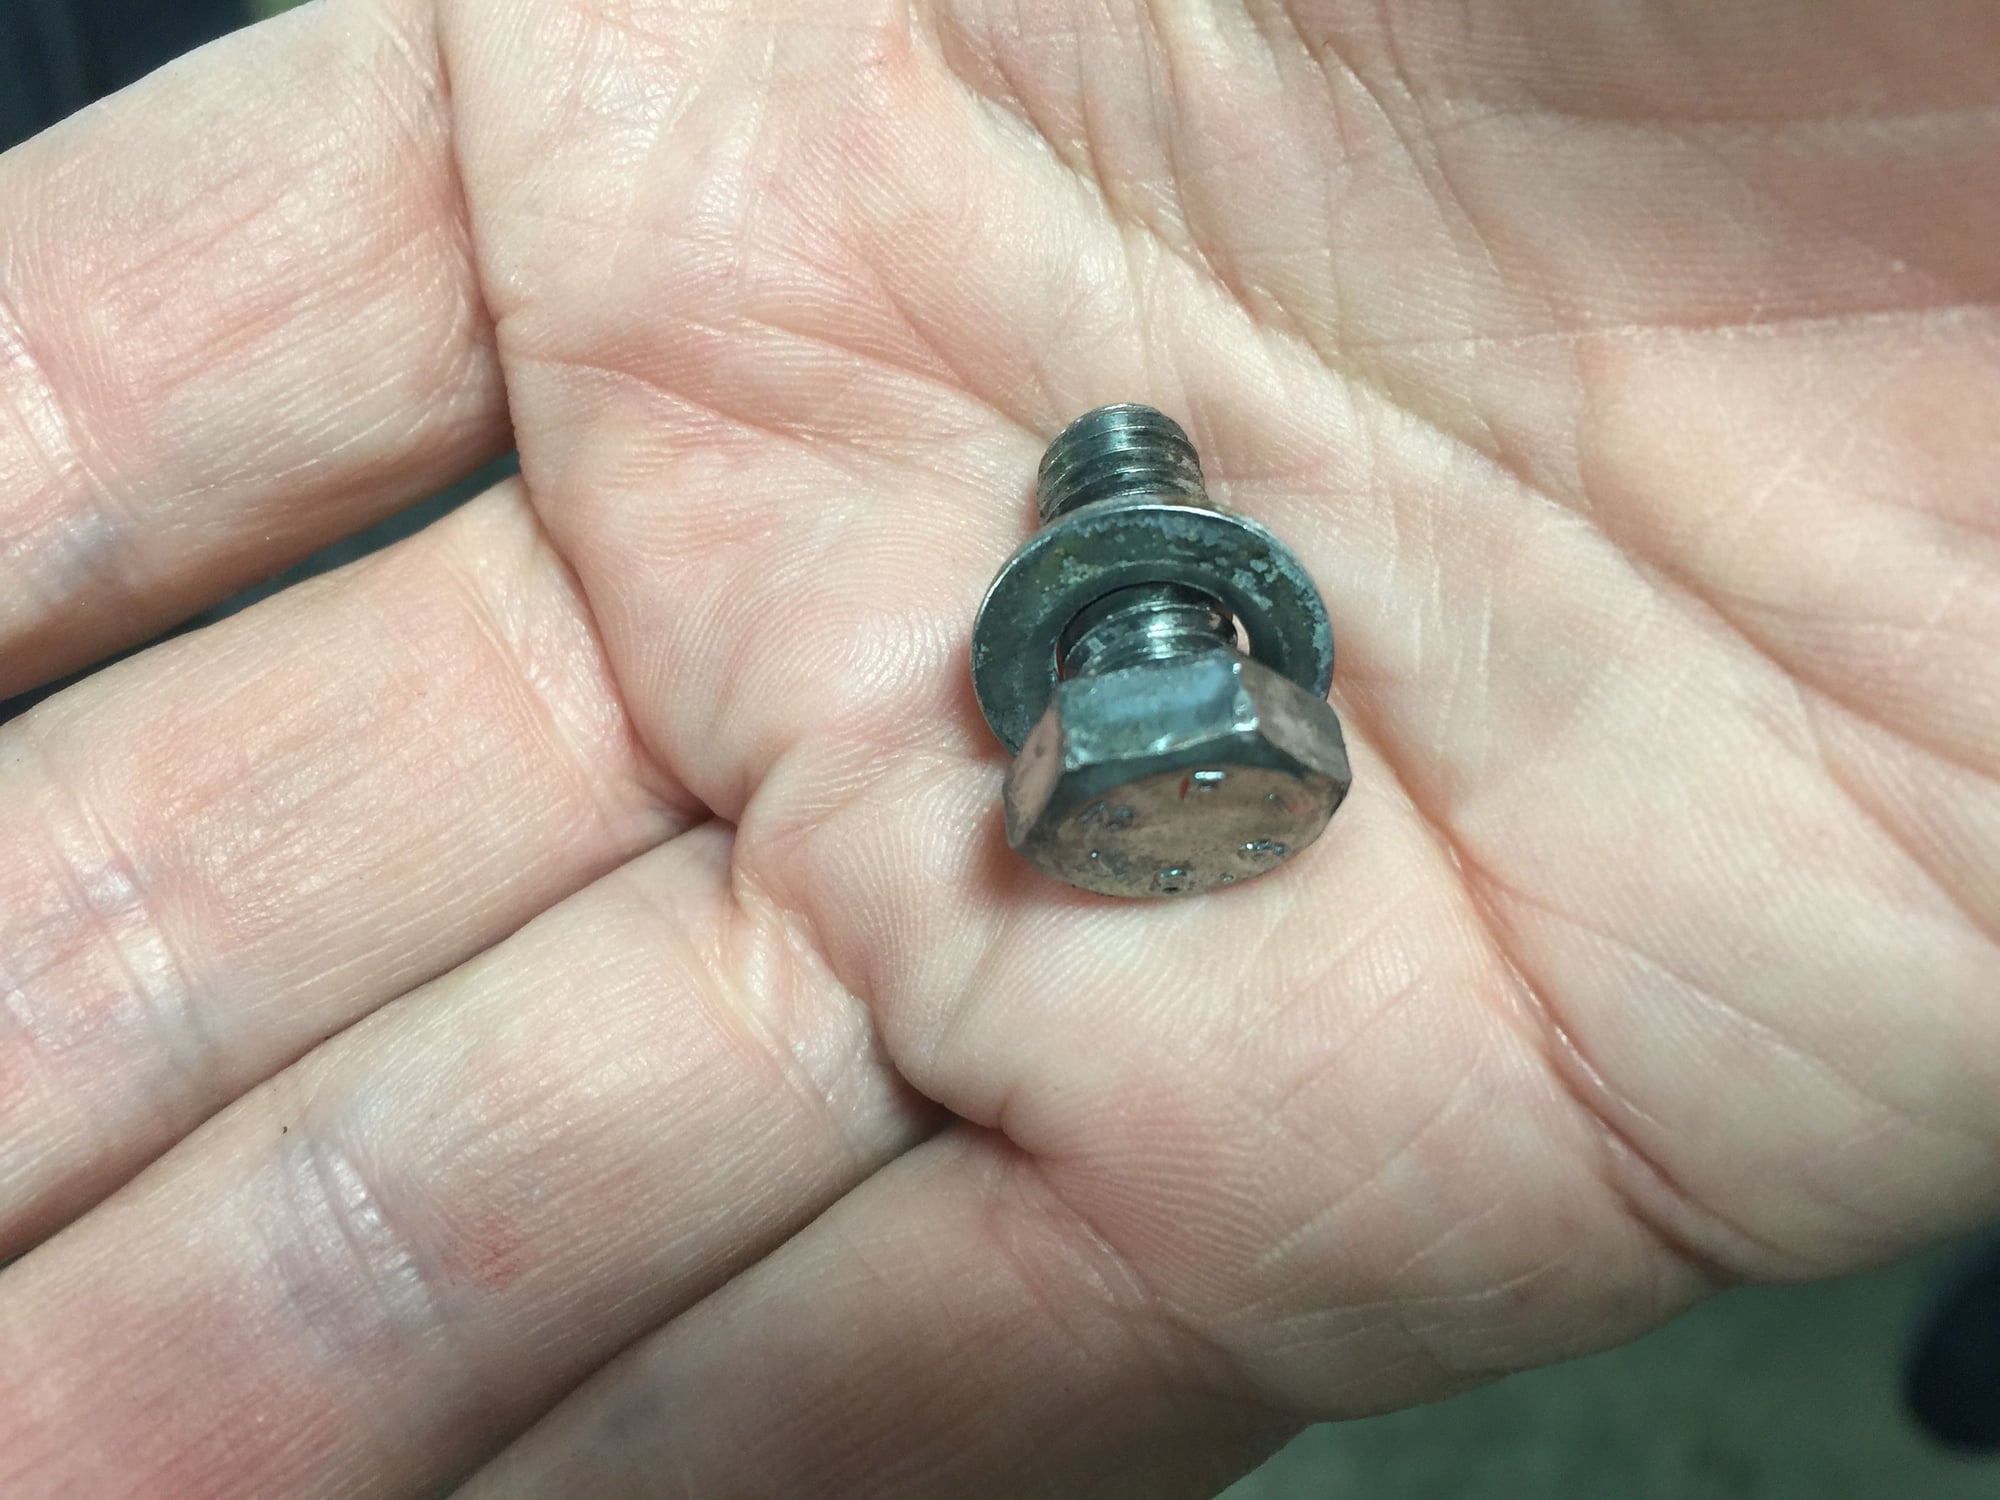
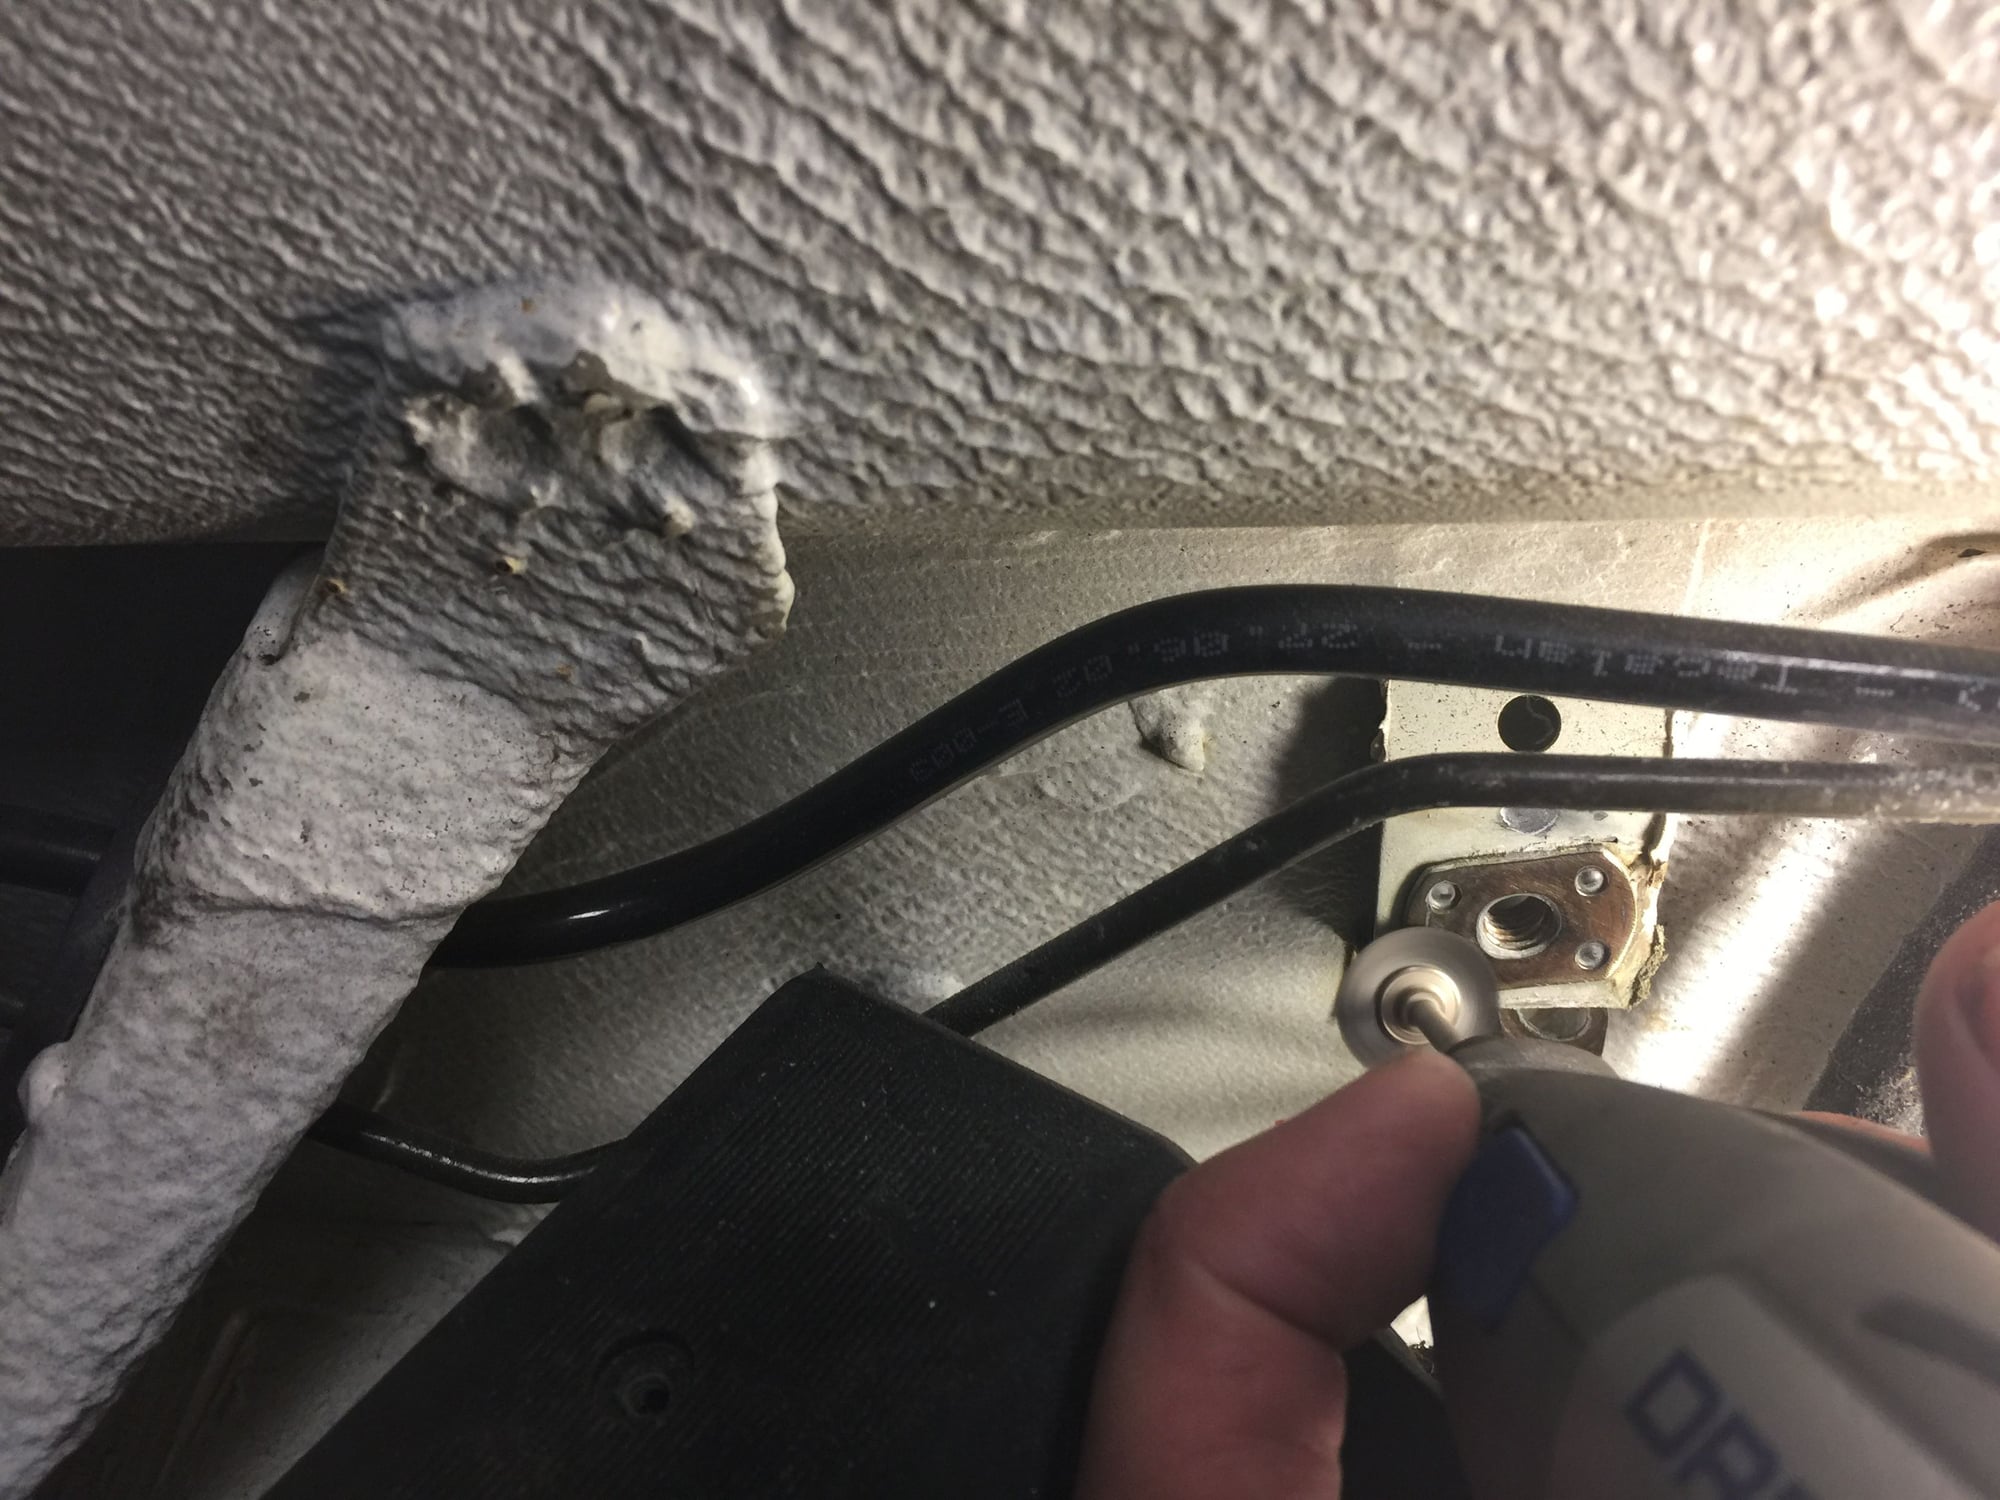
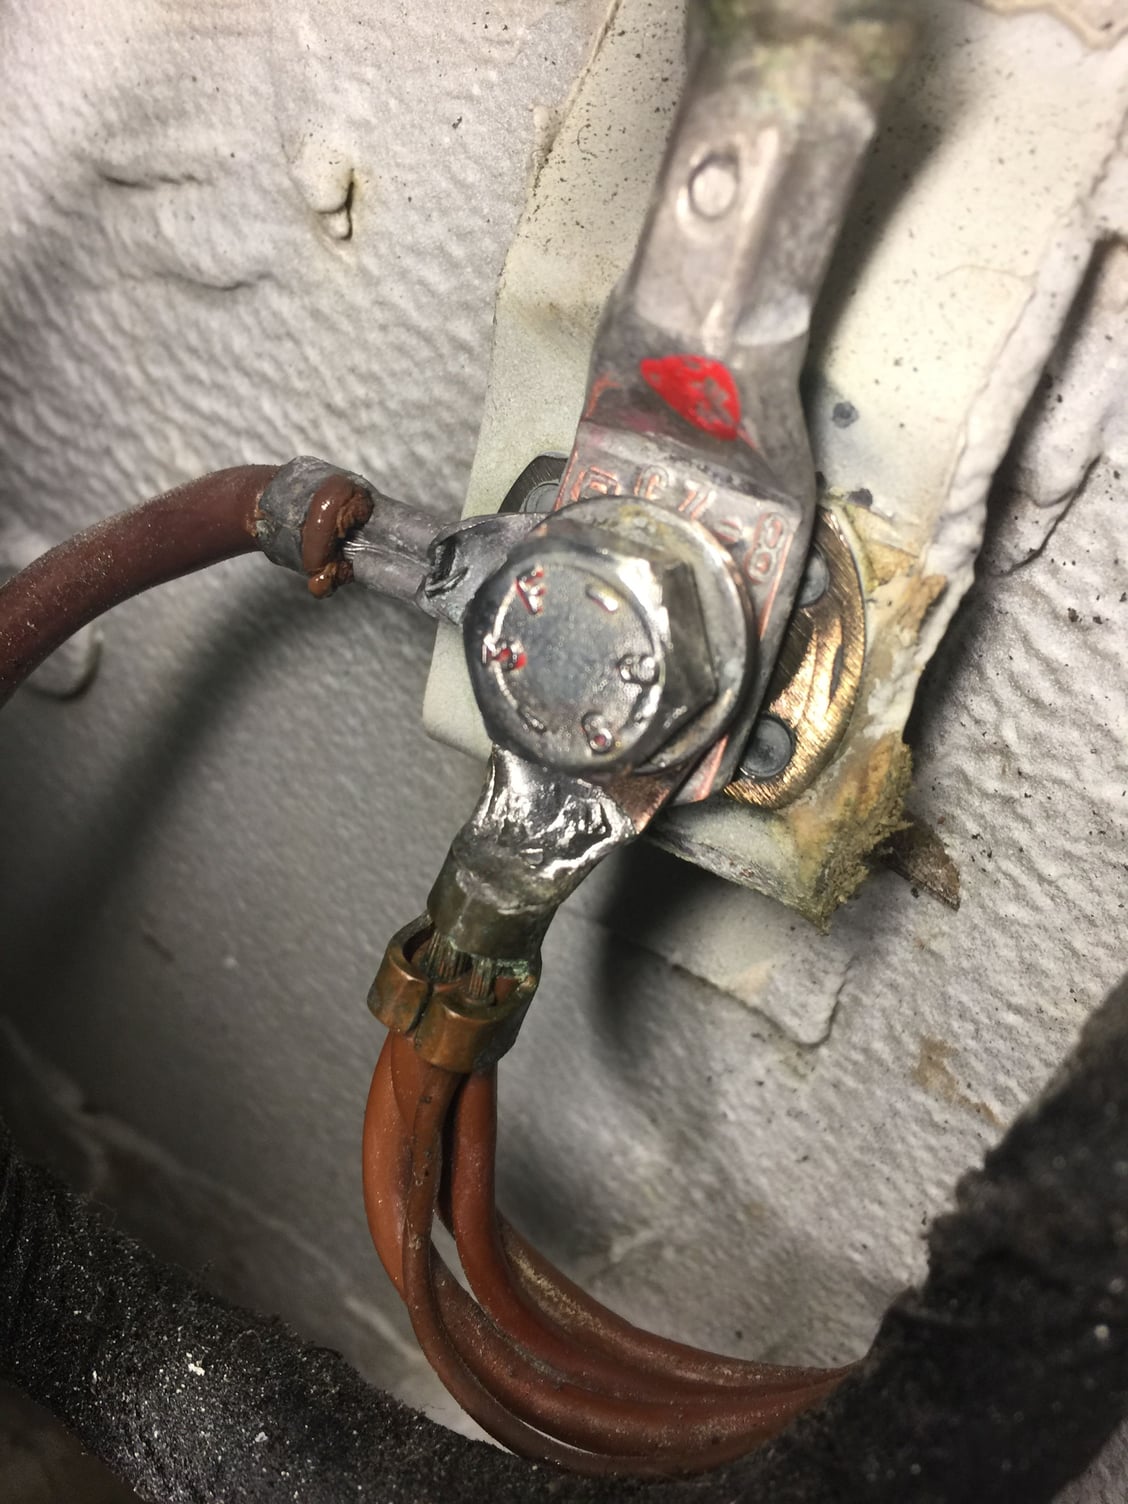
You read a lot about electrical gremlins due to poor ground connections. I wasn’t having issues but thought it was worth cleaning my battery ground while I was in there. A small Dremel with a wire wheel attachment sorted it.
Old 03-11-2018, 11:05 PM
  #1043  
Super90
Burning Brakes
 
Super90's Avatar
 
Join Date: Mar 2004
Location: Texas
Posts: 765
Received 15 Likes on 15 Posts
Default

I did exactly the same on all the car's grounds. Great minds...
Old 03-12-2018, 06:49 PM
  #1044  
John McM
Rennlist Member
Thread Starter
 
John McM's Avatar
 
Join Date: May 2001
Location: Auckland, New Zealand.
Posts: 13,206
Received 567 Likes on 339 Posts
Default

Originally Posted by Super90
I did exactly the same on all the car's grounds. Great minds...
Wait until you get to the air con
Old 03-12-2018, 06:58 PM
  #1045  
John McM
Rennlist Member
Thread Starter
 
John McM's Avatar
 
Join Date: May 2001
Location: Auckland, New Zealand.
Posts: 13,206
Received 567 Likes on 339 Posts
Default


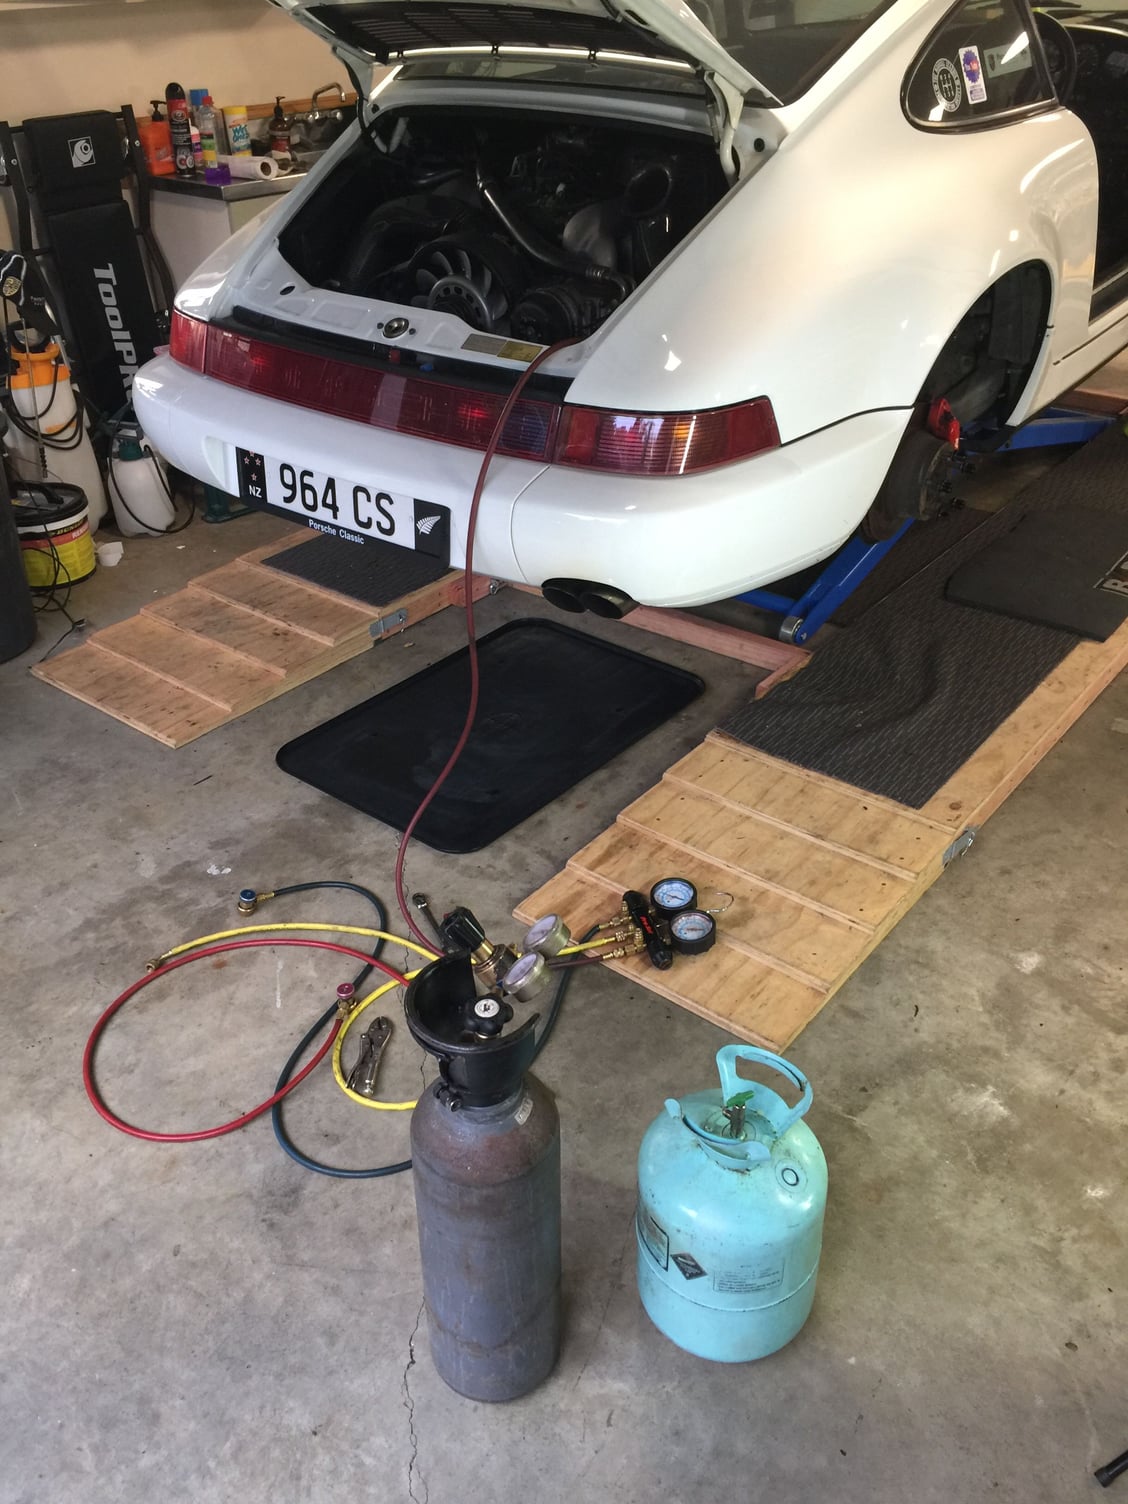
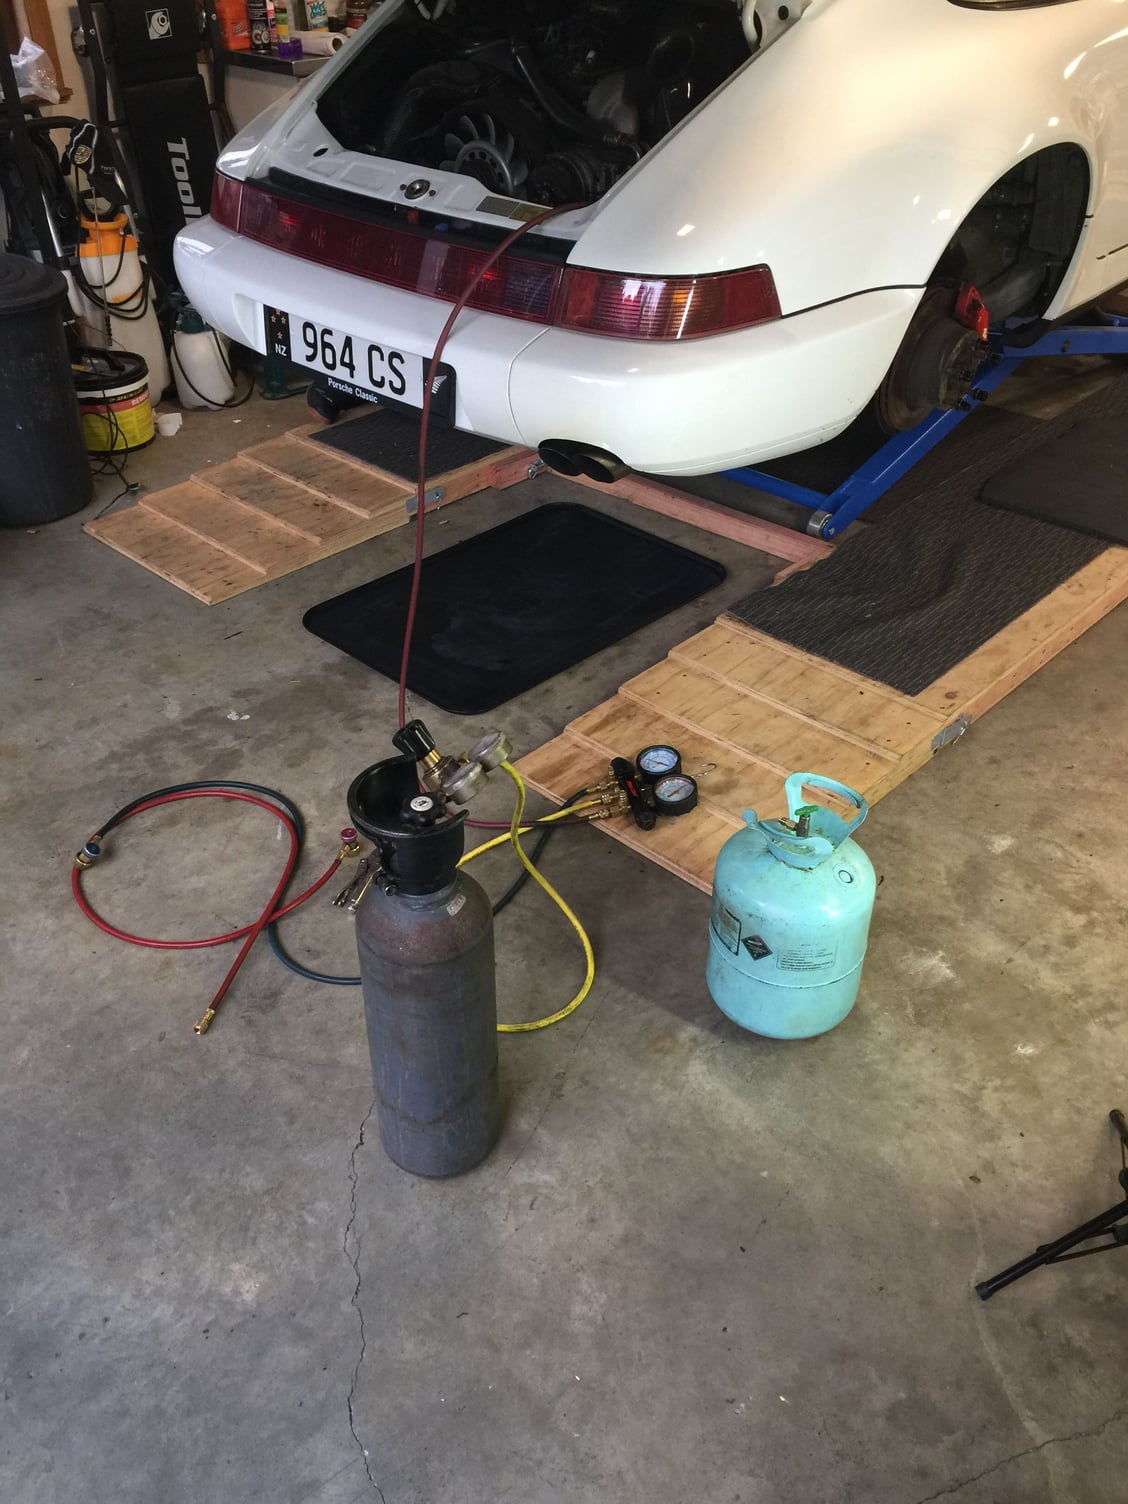
The mobile air con tech visited this morning. He injected R134a into the system, pressurised the high pressure circuit to 200psi and took his leak detectors all over the system looking for tell tale signs of R134a leakage. It sounded like an ICU.

Unfortunately, the pressure dropped to 175psi with no leakage detected. He even said the evaporator looks in good condition based on sight.

Rather than do my usual ‘bull in a china shop’ routine I’ve accepted his advice to replace the TX valve and receiver dryer, recharge the system with dye added, refit the fuel tank then run the system through a few cycles until we can detect where it’s leaking.
Old 03-12-2018, 07:01 PM
  #1046  
John McM
Rennlist Member
Thread Starter
 
John McM's Avatar
 
Join Date: May 2001
Location: Auckland, New Zealand.
Posts: 13,206
Received 567 Likes on 339 Posts
Default

Leak testing. He used two testers as they are very sensitive and doesn’t want false positives.
Old 03-13-2018, 03:35 AM
  #1047  
John McM
Rennlist Member
Thread Starter
 
John McM's Avatar
 
Join Date: May 2001
Location: Auckland, New Zealand.
Posts: 13,206
Received 567 Likes on 339 Posts
Default


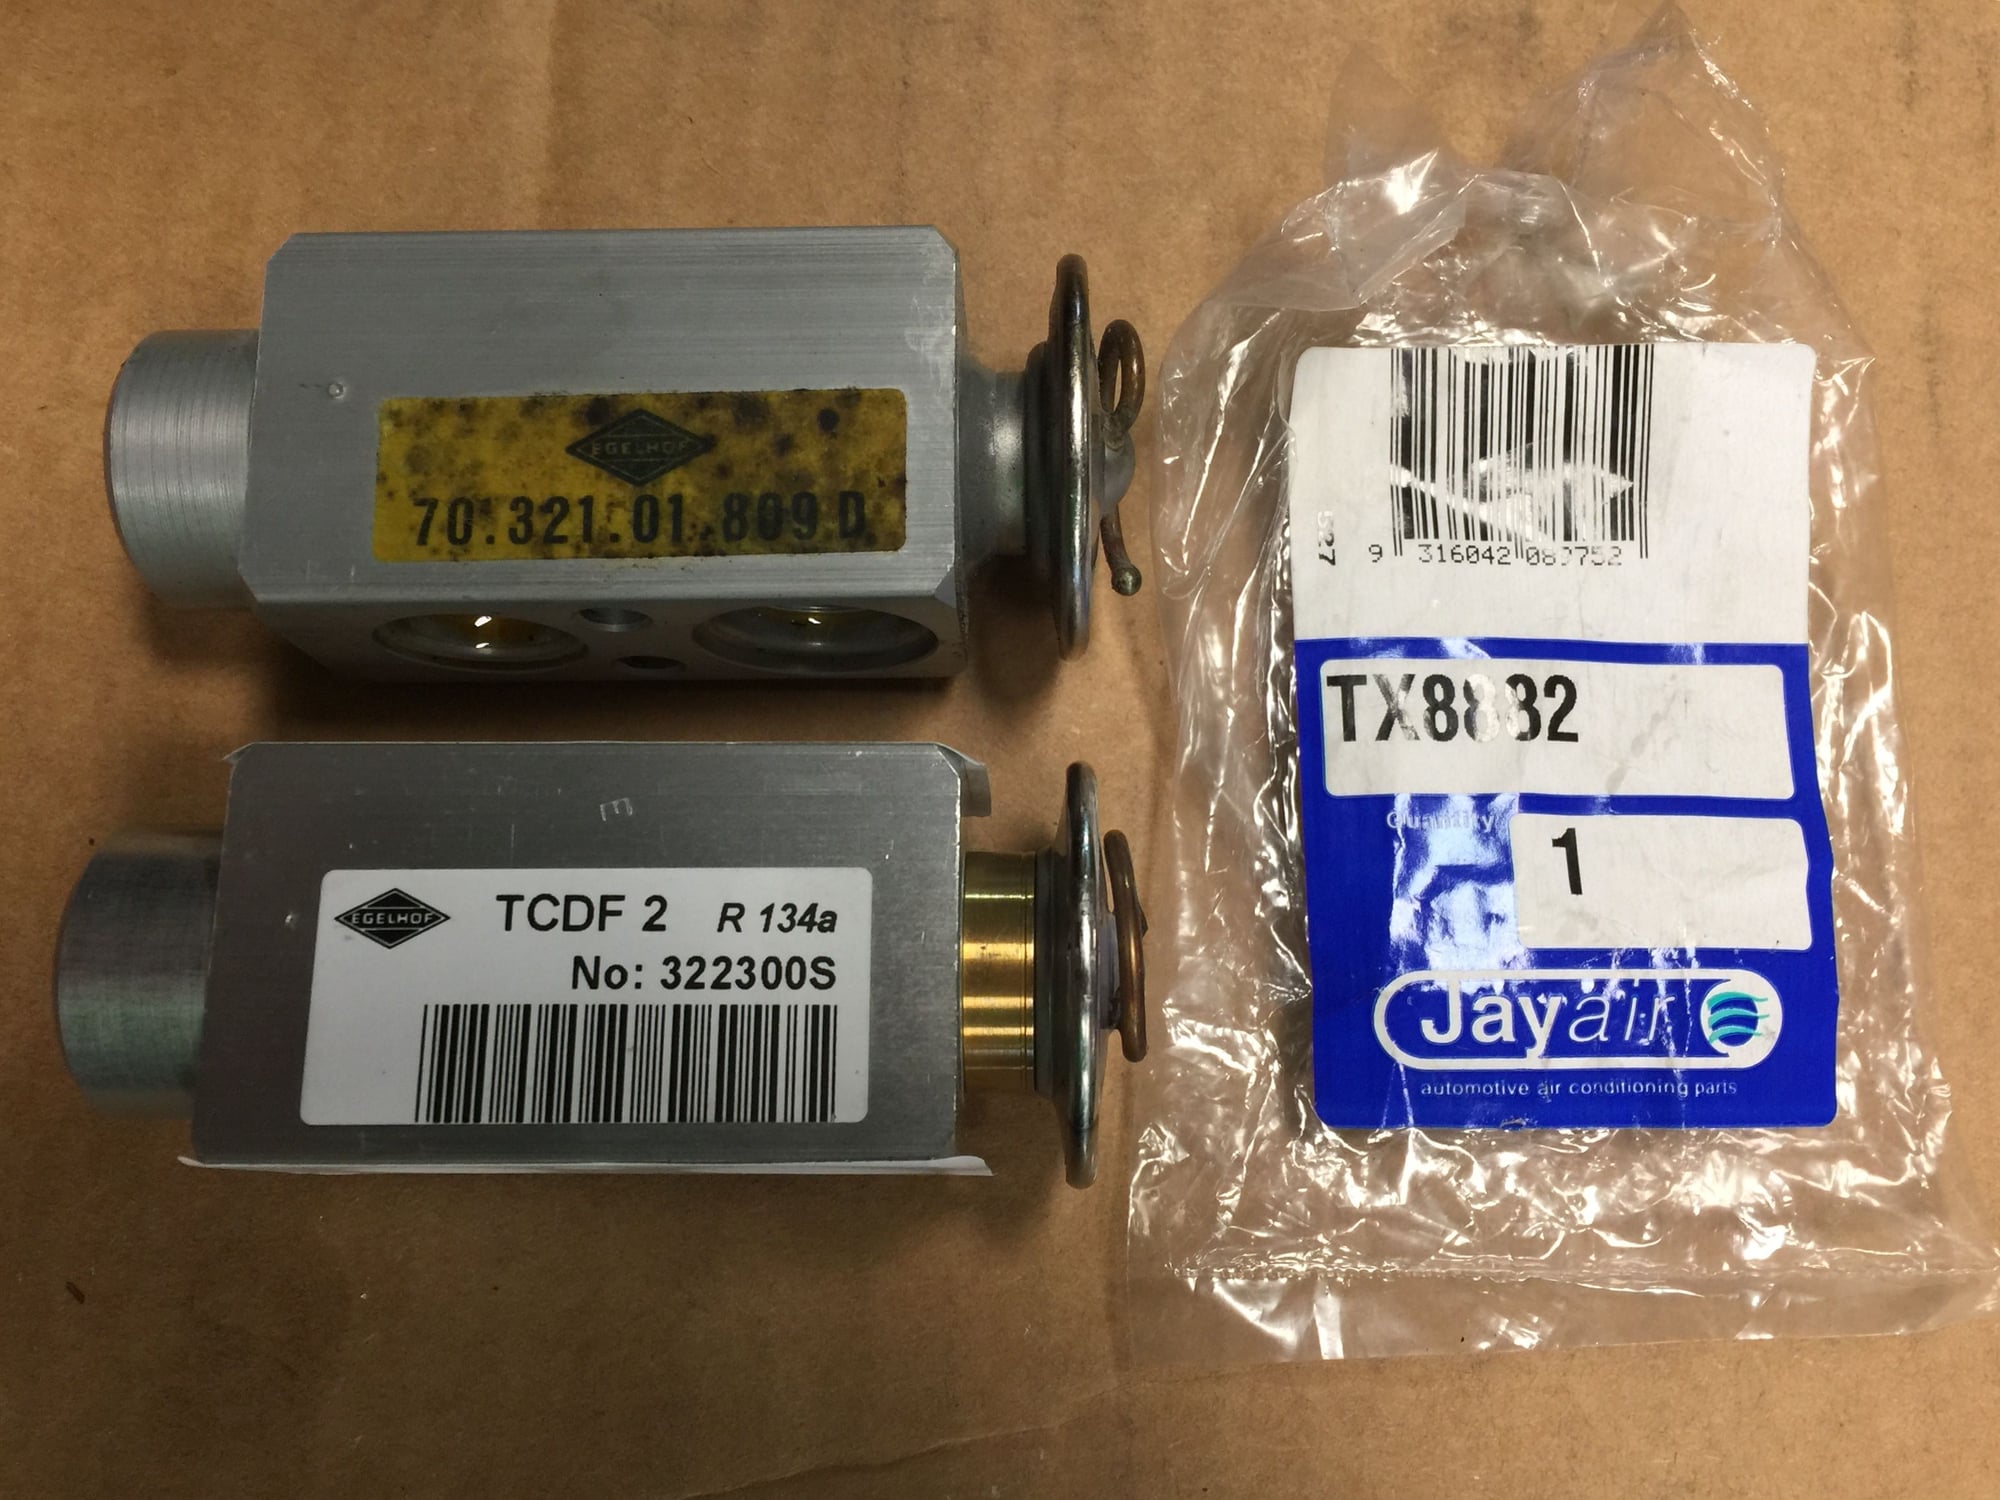
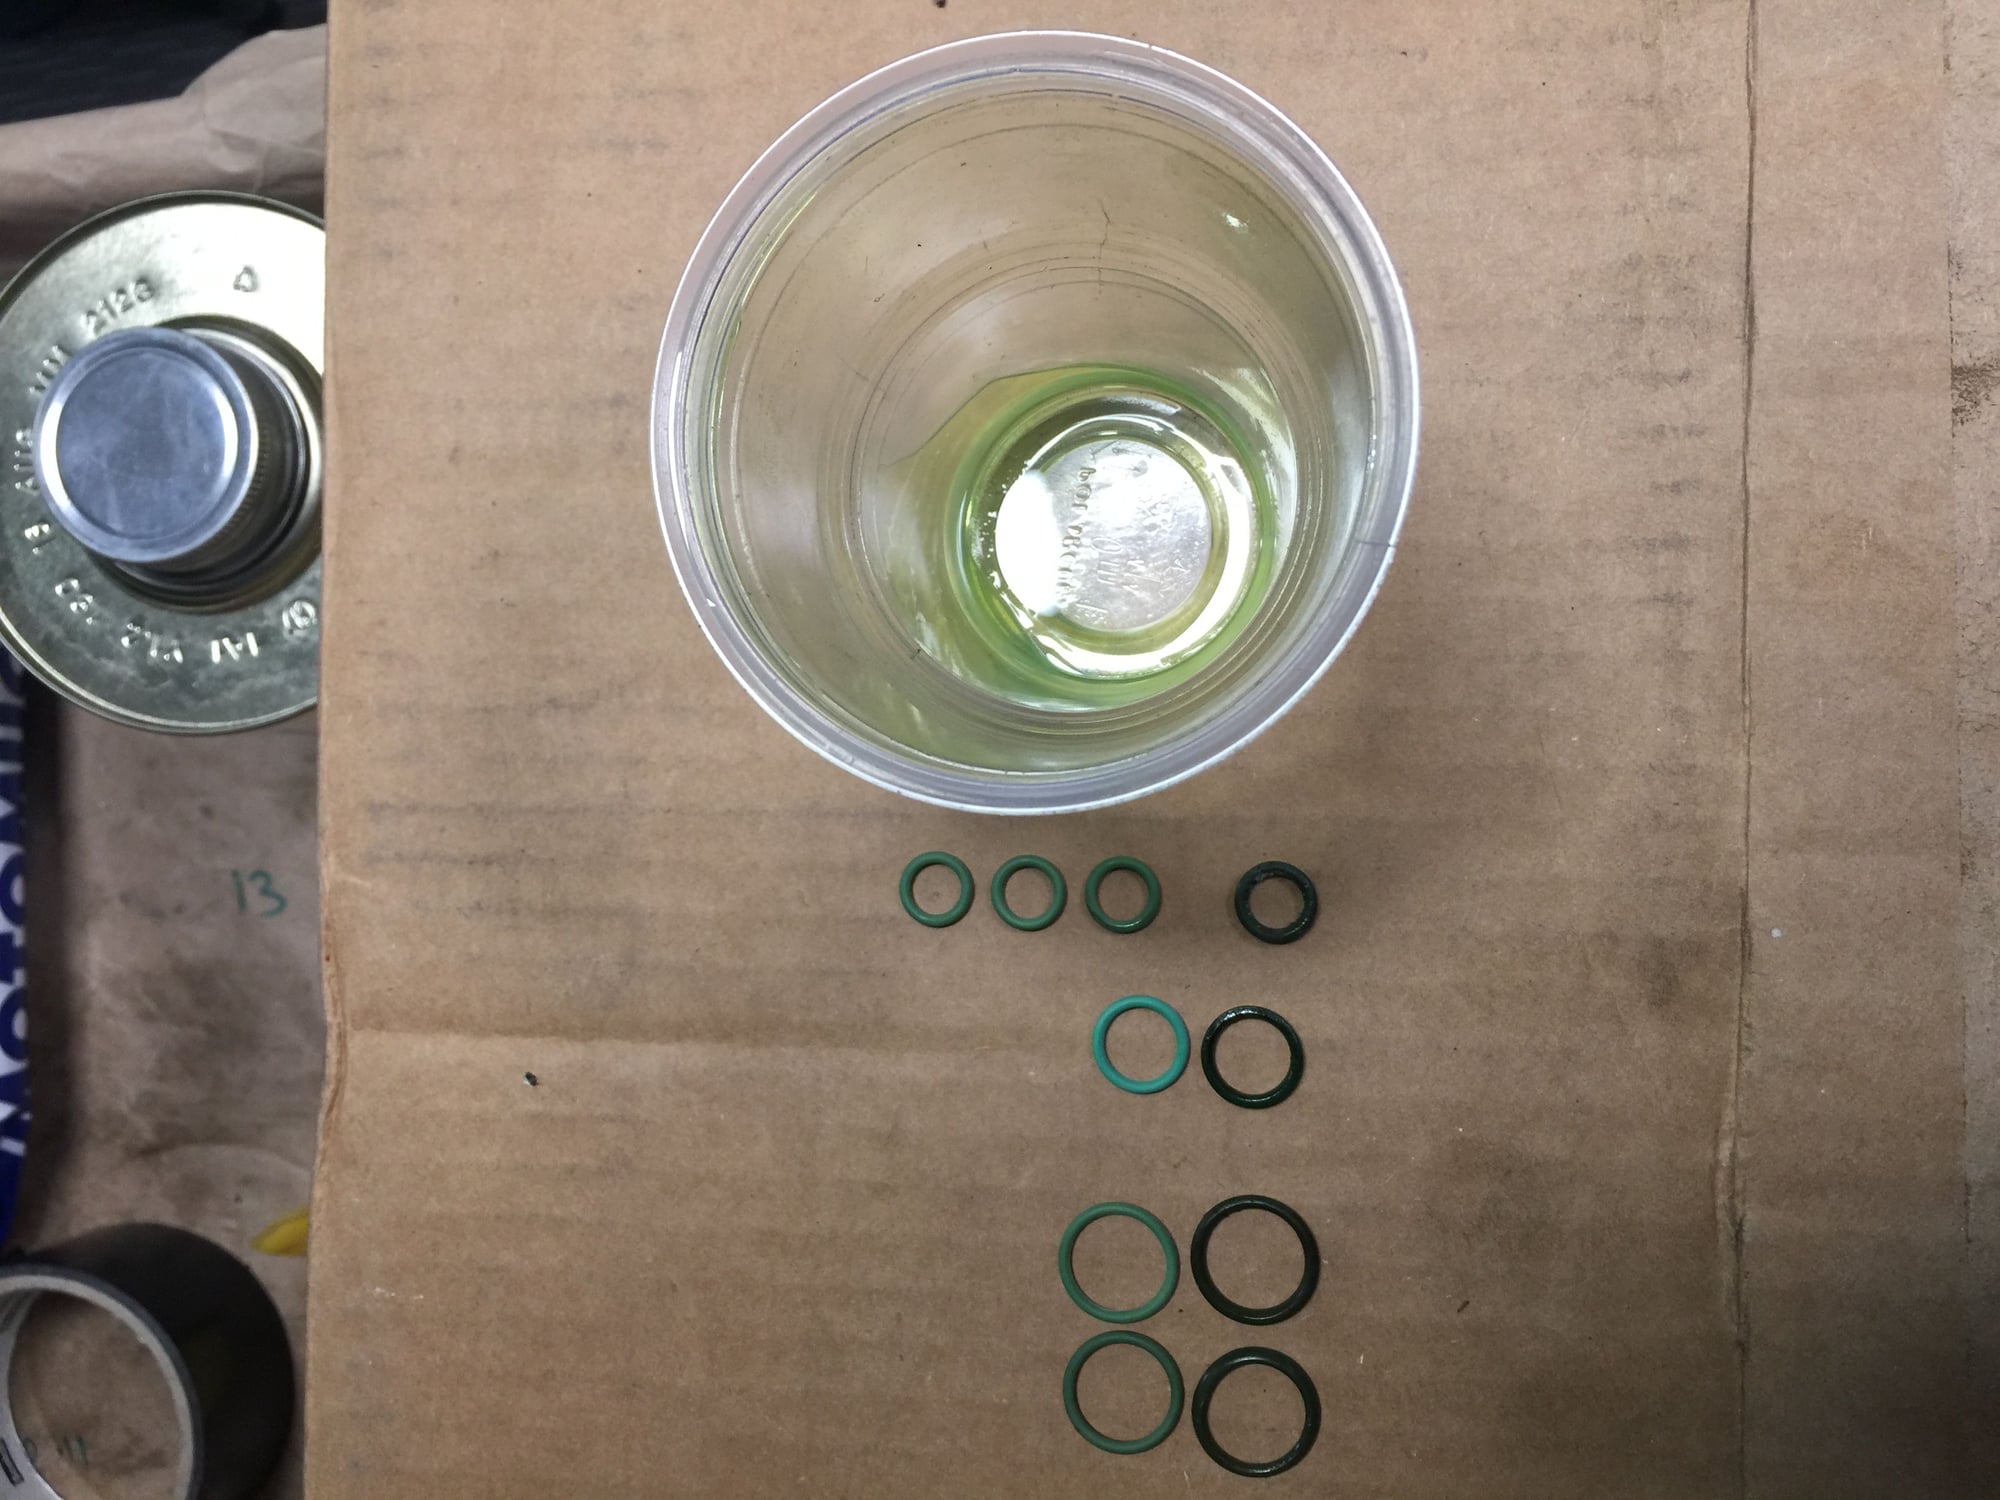
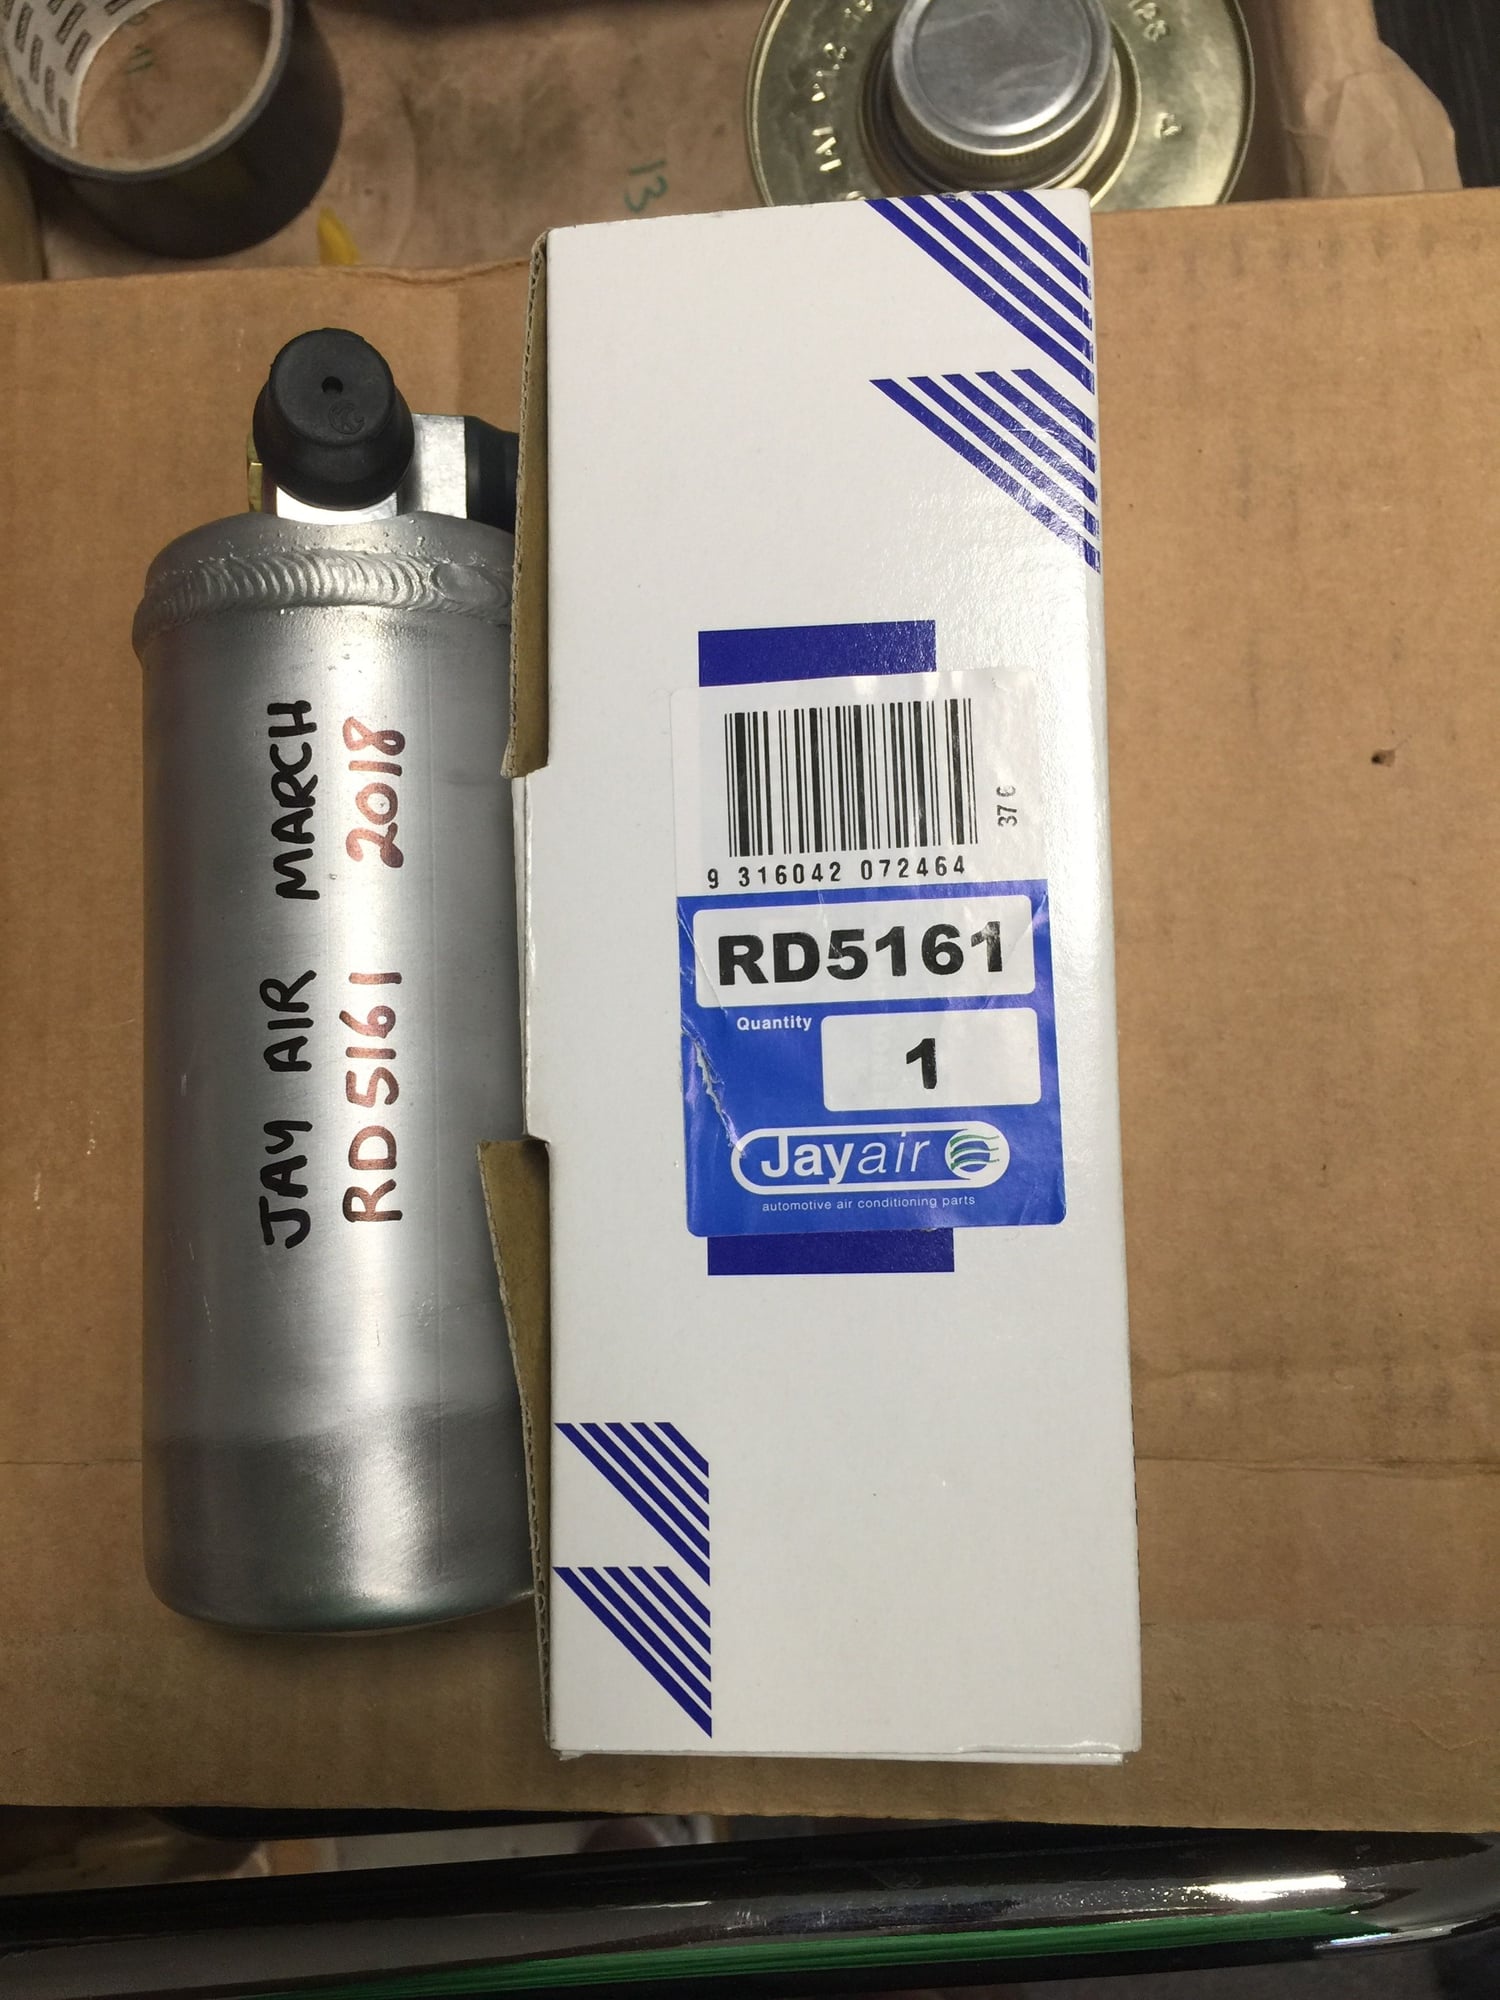
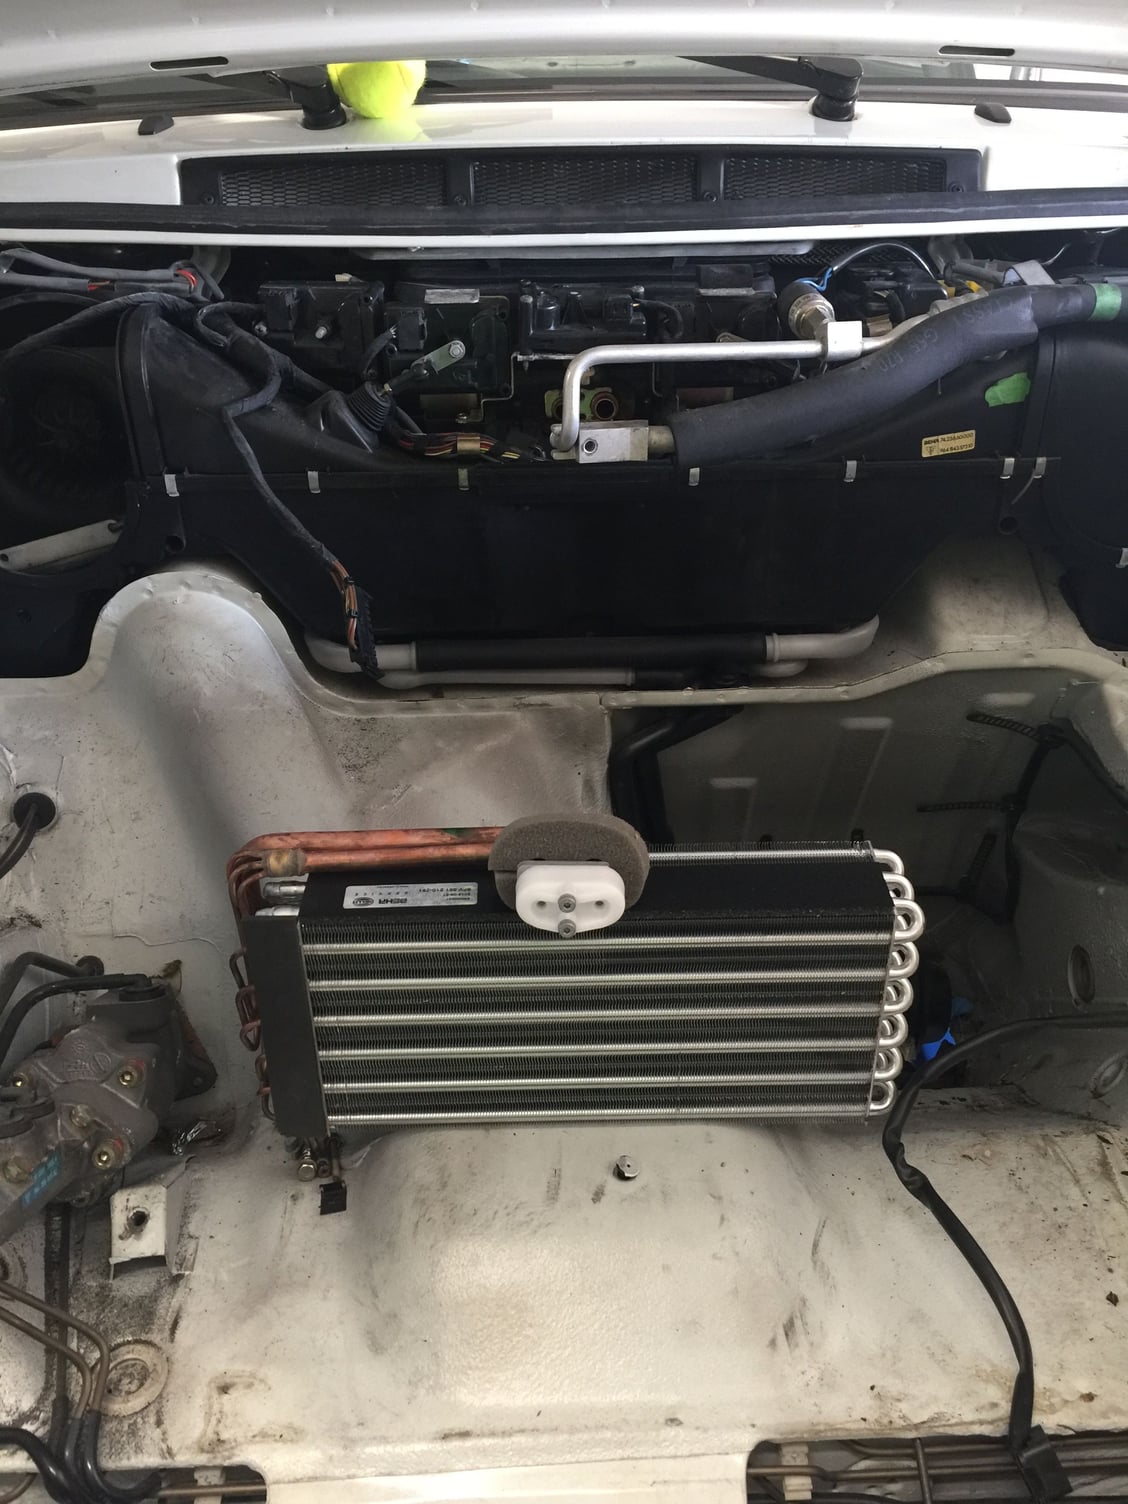
The air con technician dropped off some parts for me to fit. He even gave me o rings and some PAG oil to coat them. The evaporator will go in my spares box. I’ve taken a note of the receiver dryer and TX valve parts for my Australasian friends. Btw the TX valve also fits a John Deere tractor!
Old 03-14-2018, 12:16 AM
  #1048  
John McM
Rennlist Member
Thread Starter
 
John McM's Avatar
 
Join Date: May 2001
Location: Auckland, New Zealand.
Posts: 13,206
Received 567 Likes on 339 Posts
Default


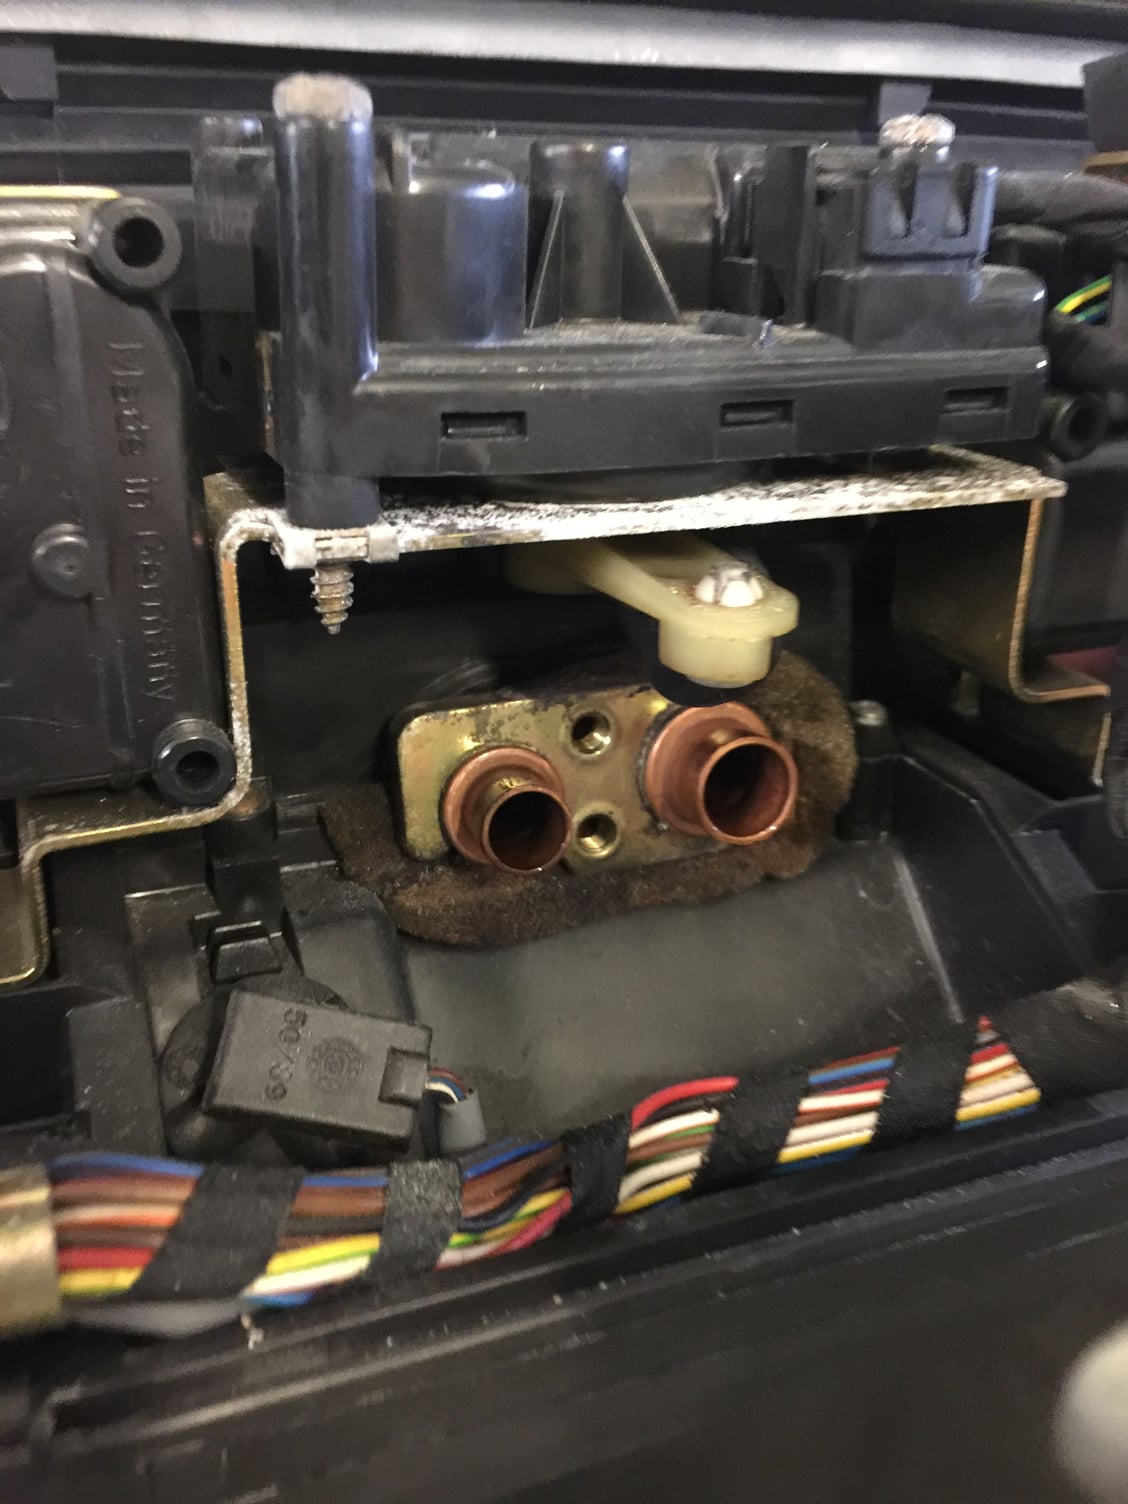
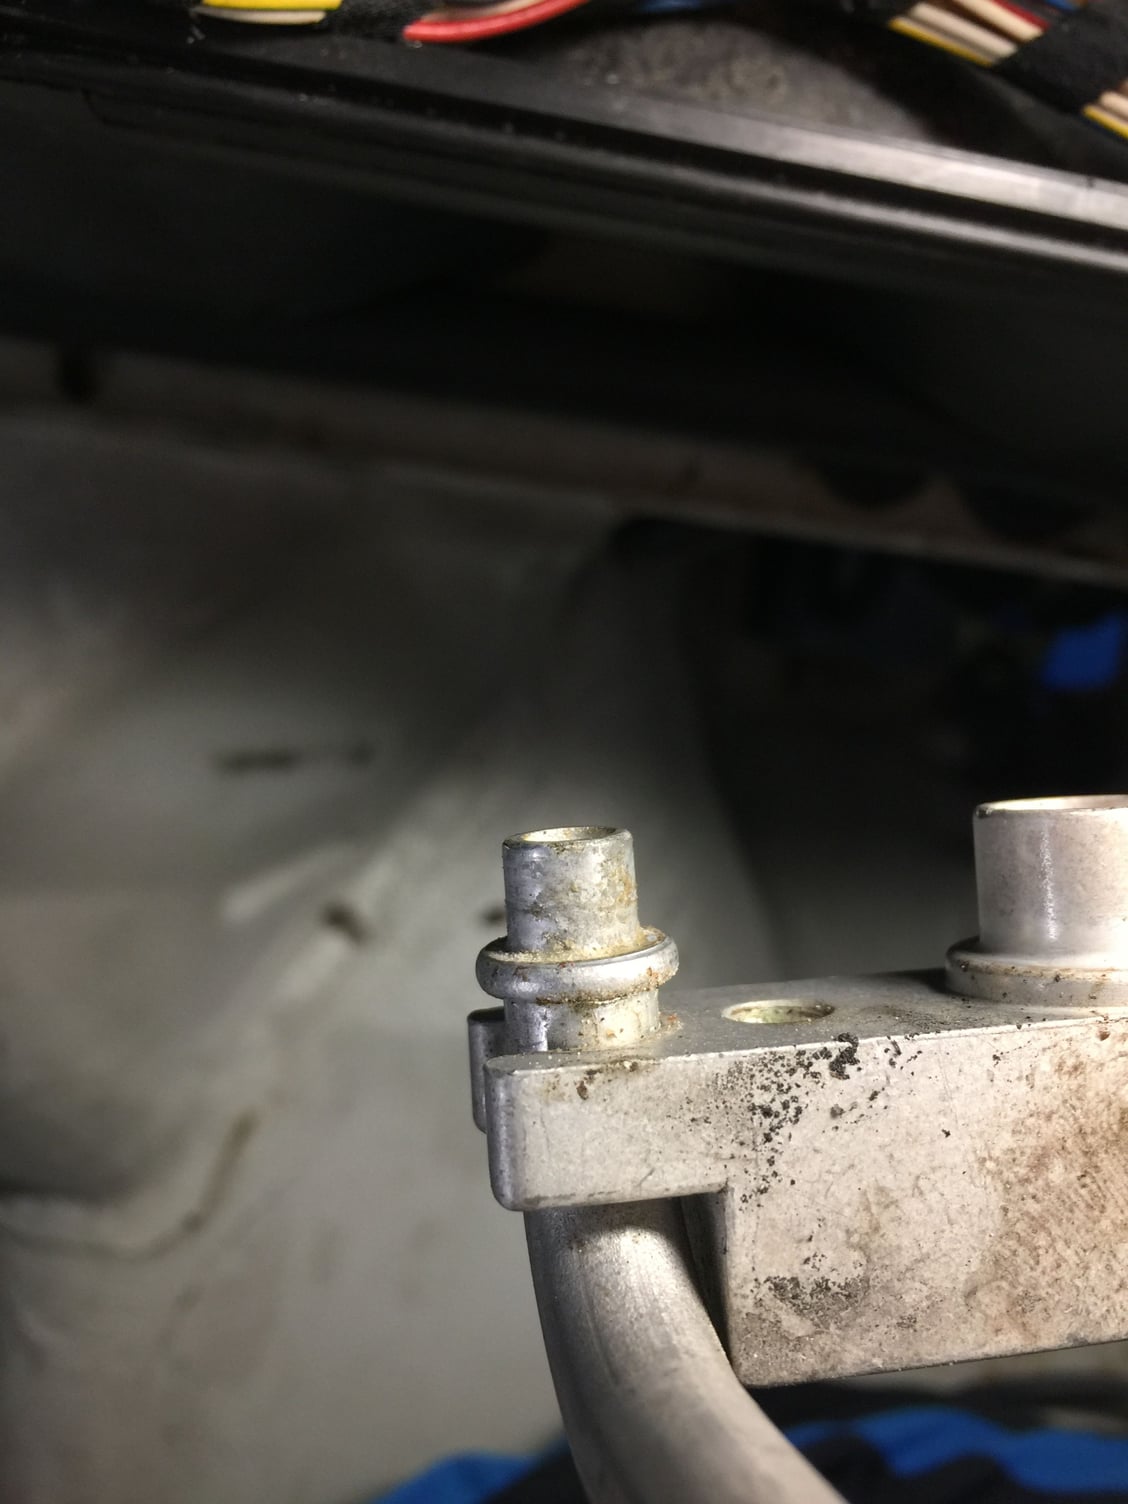
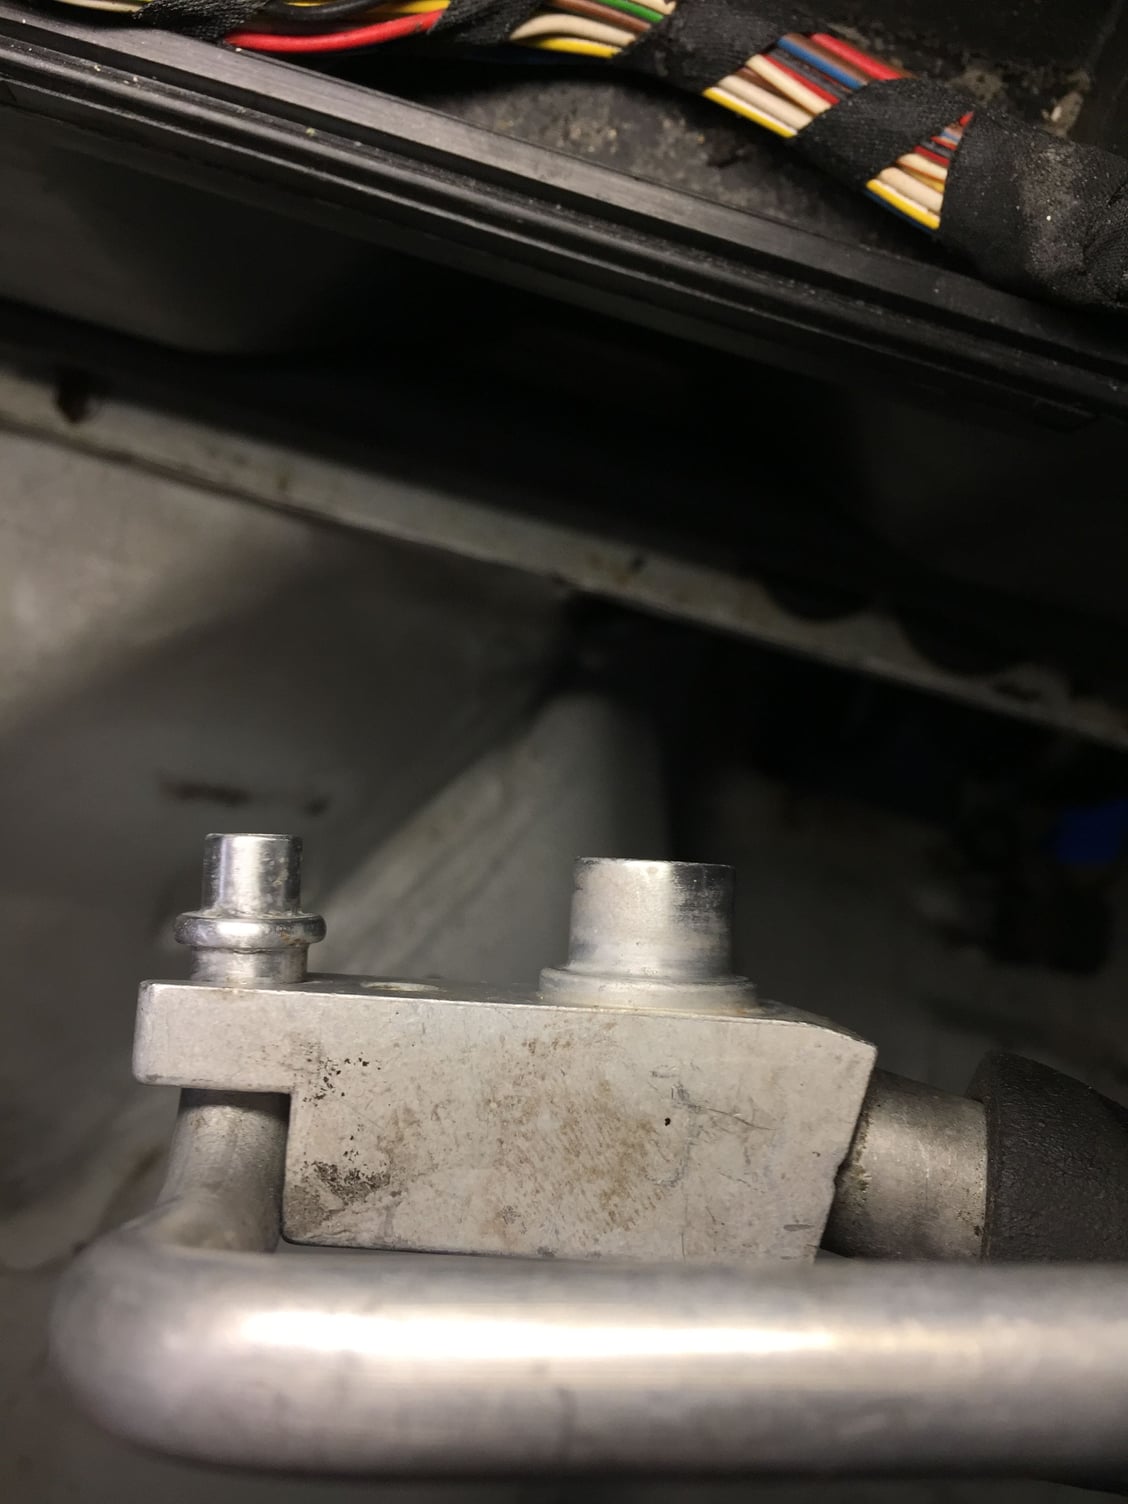
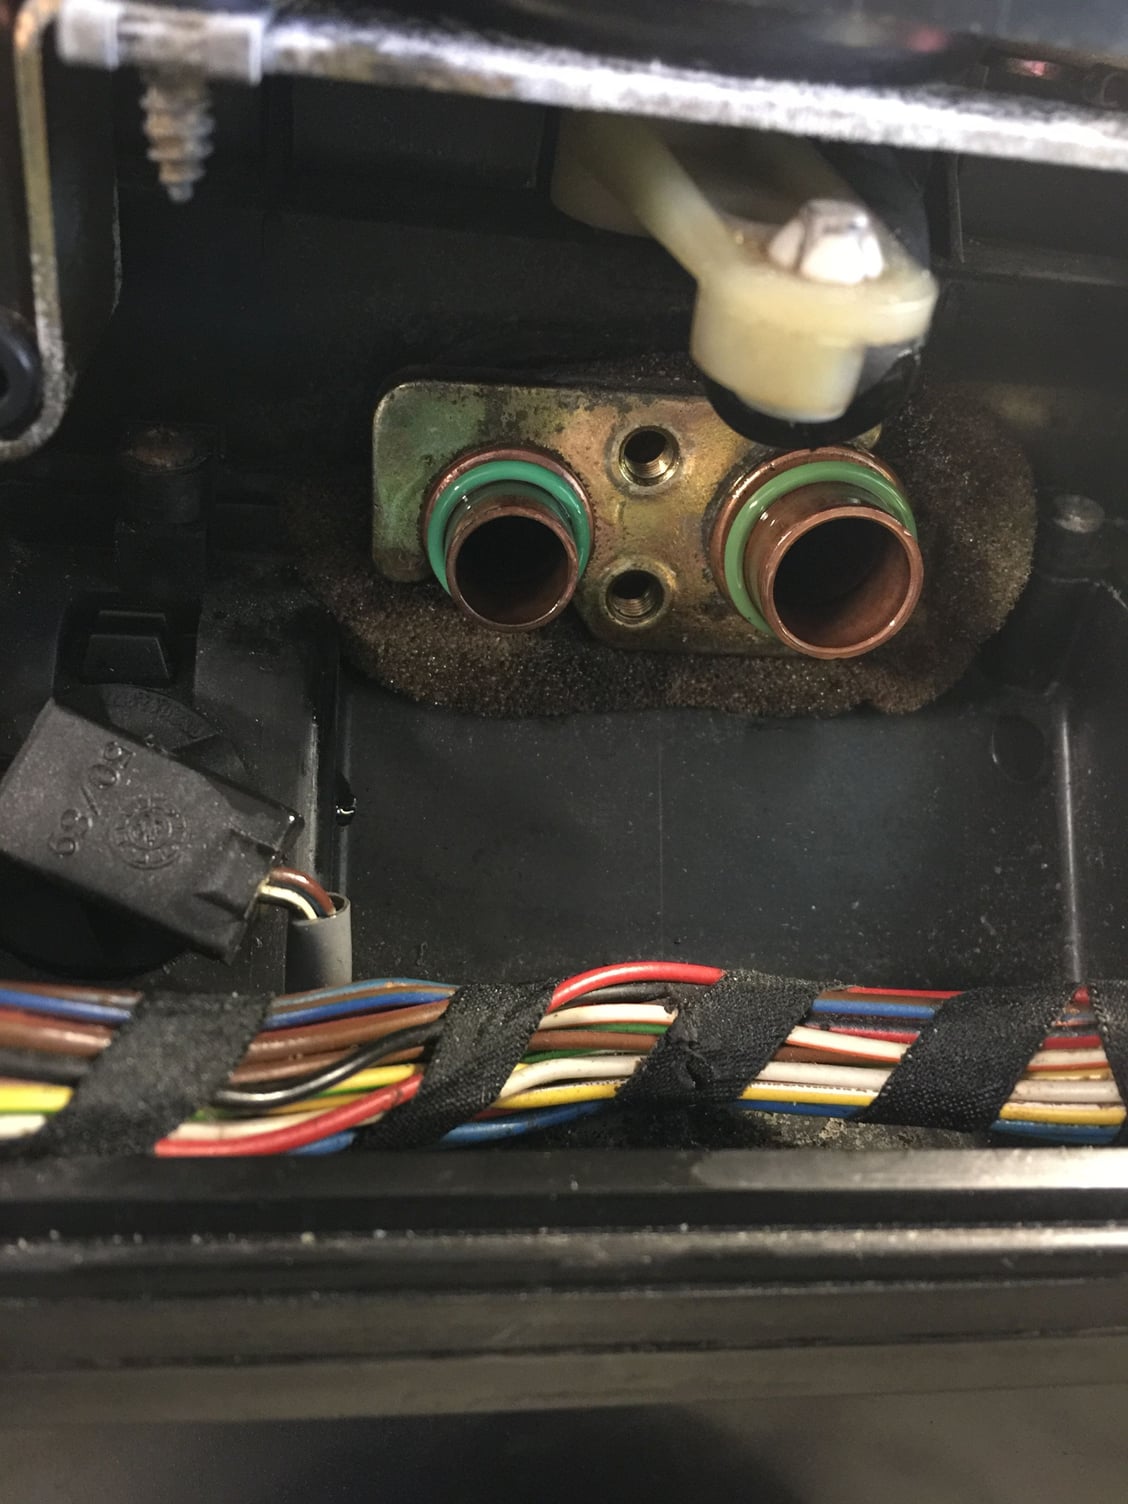
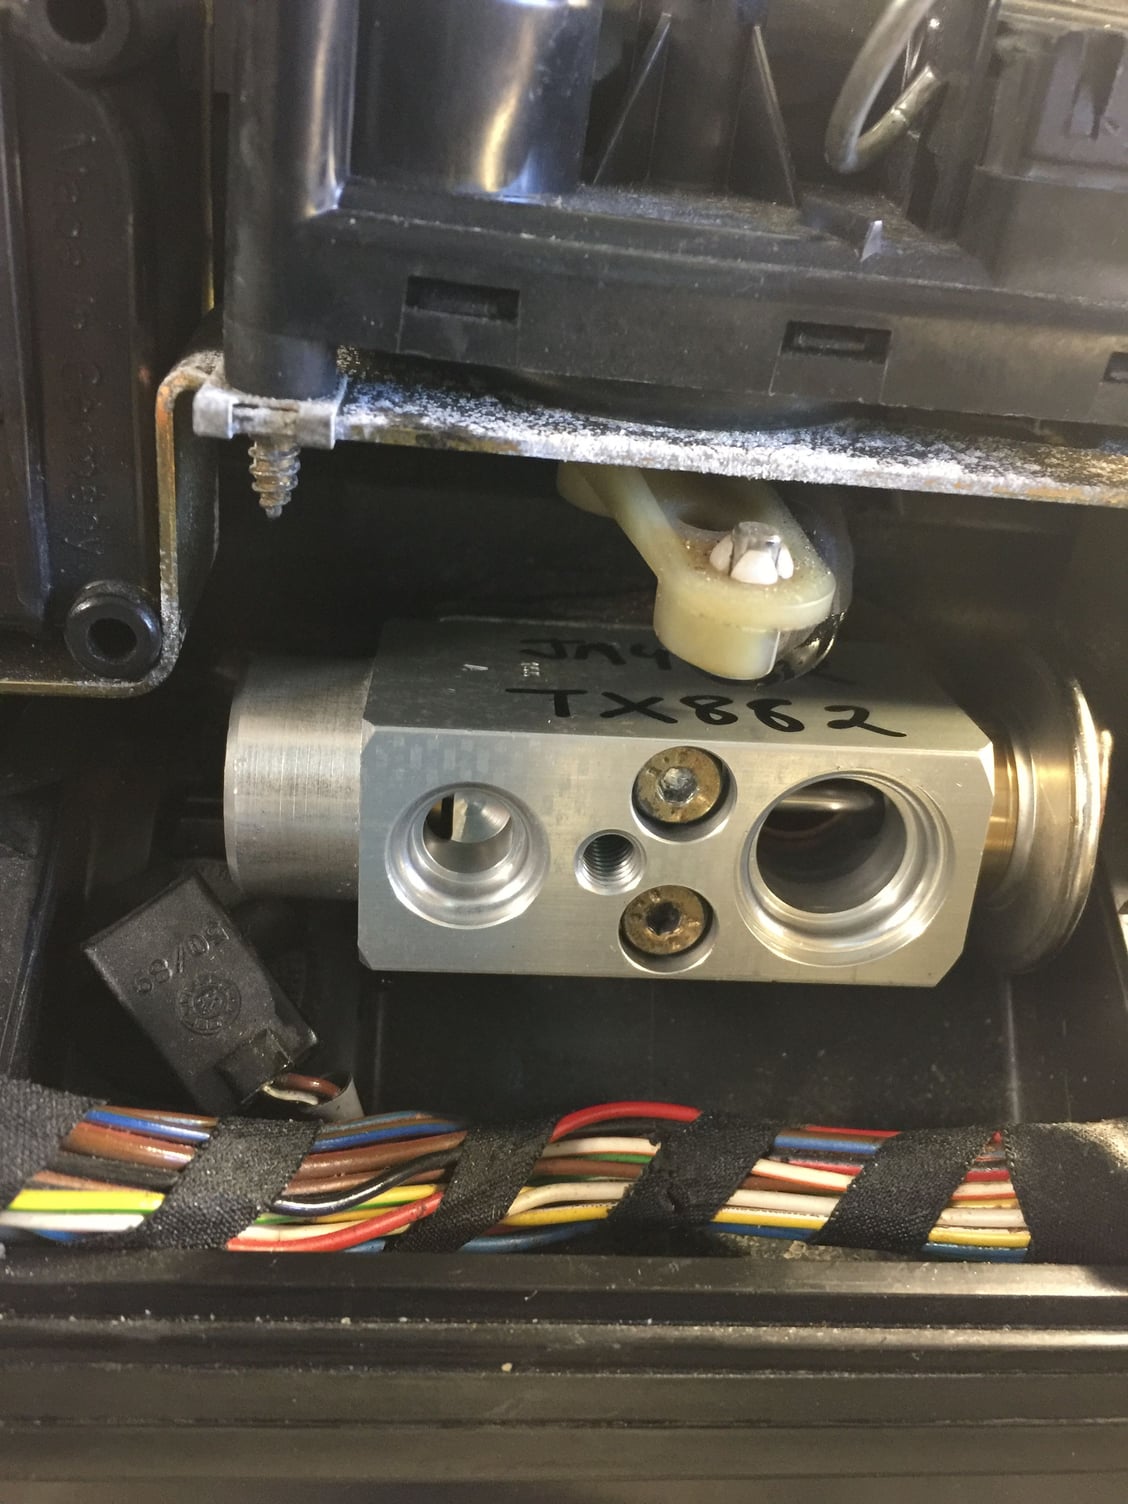
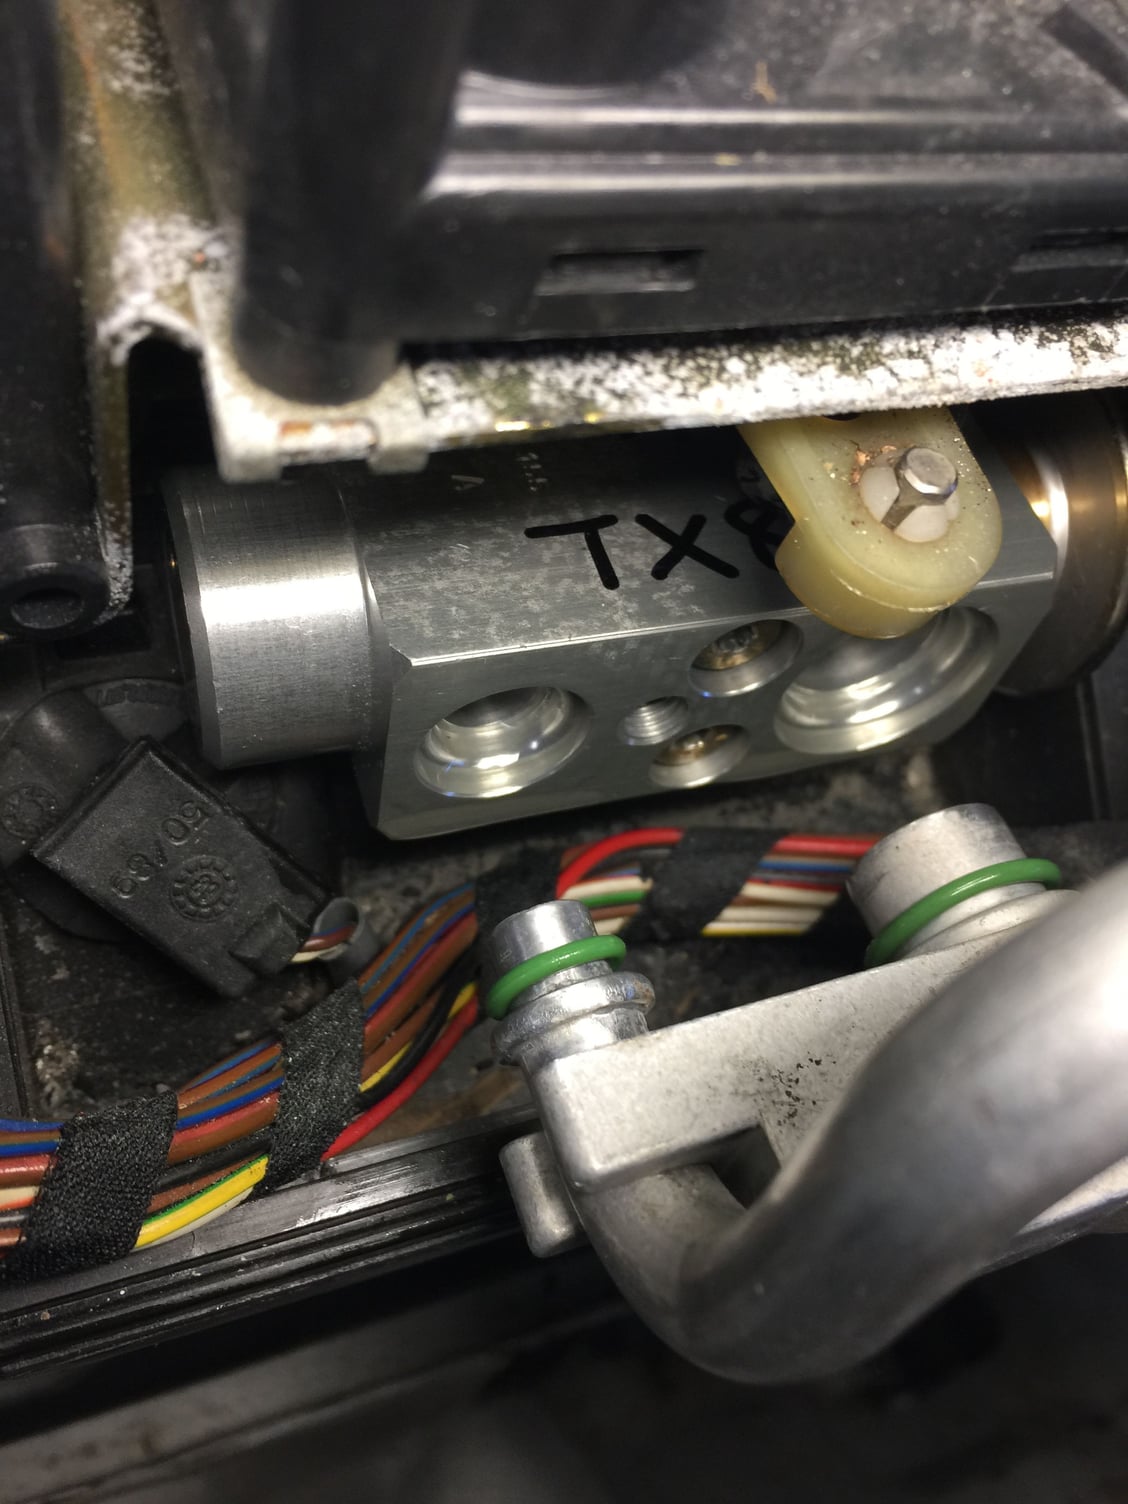
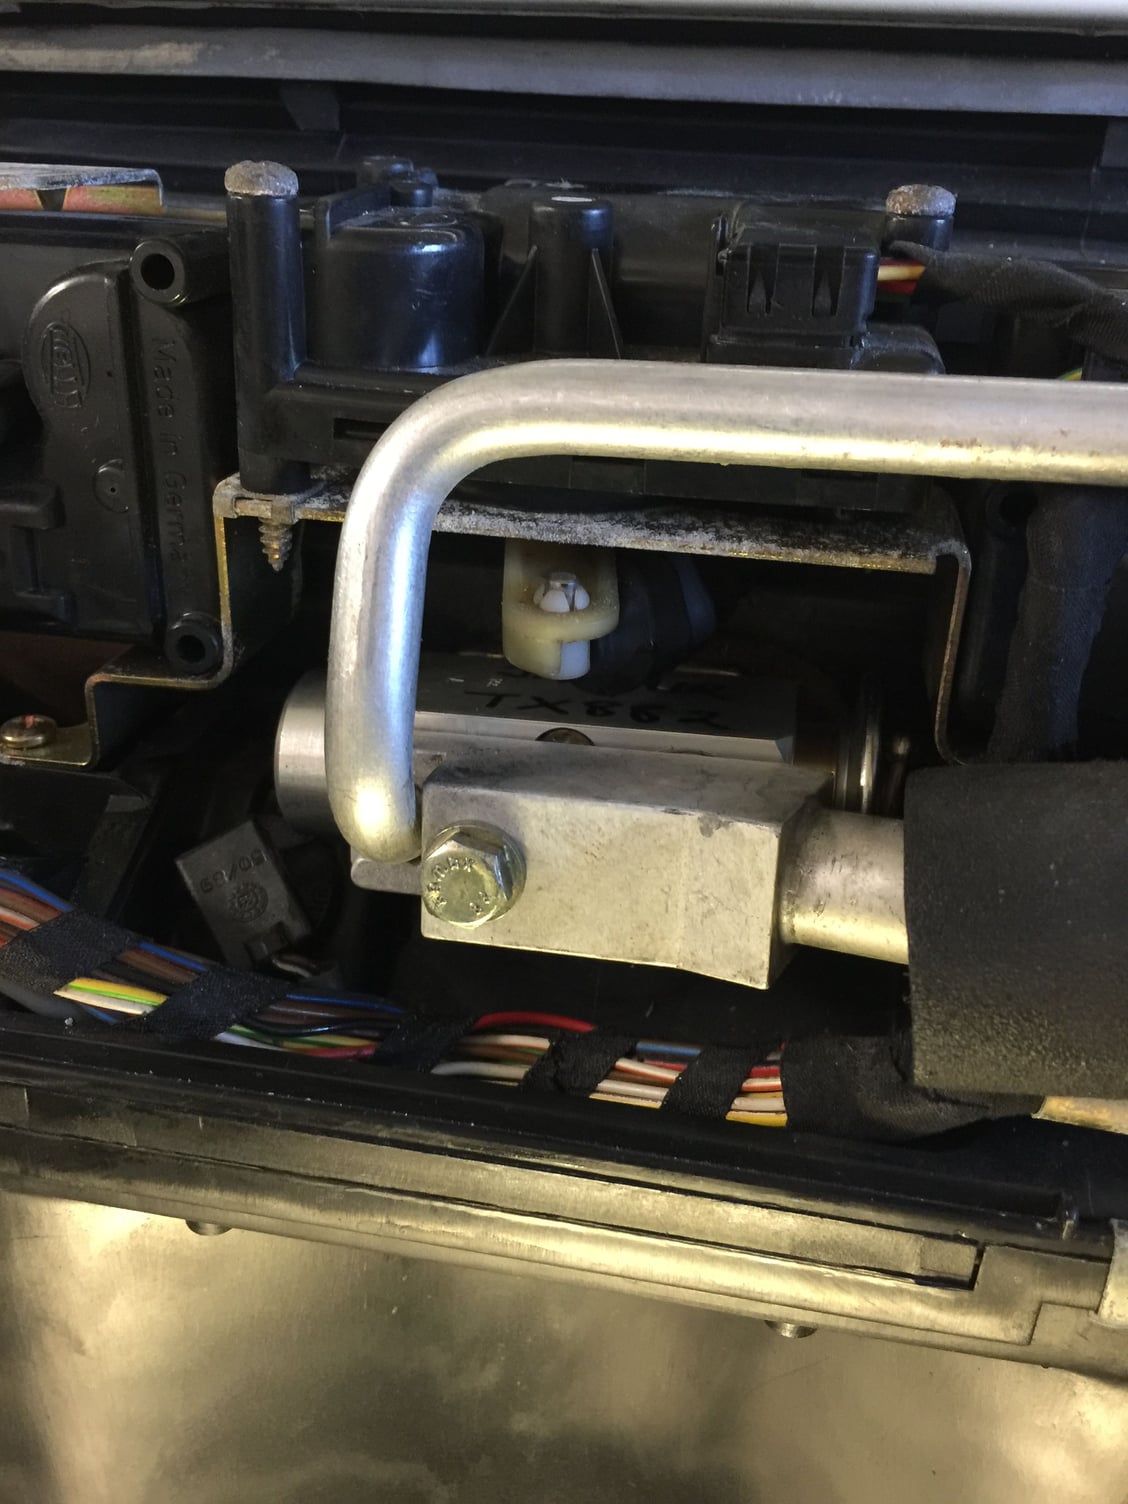
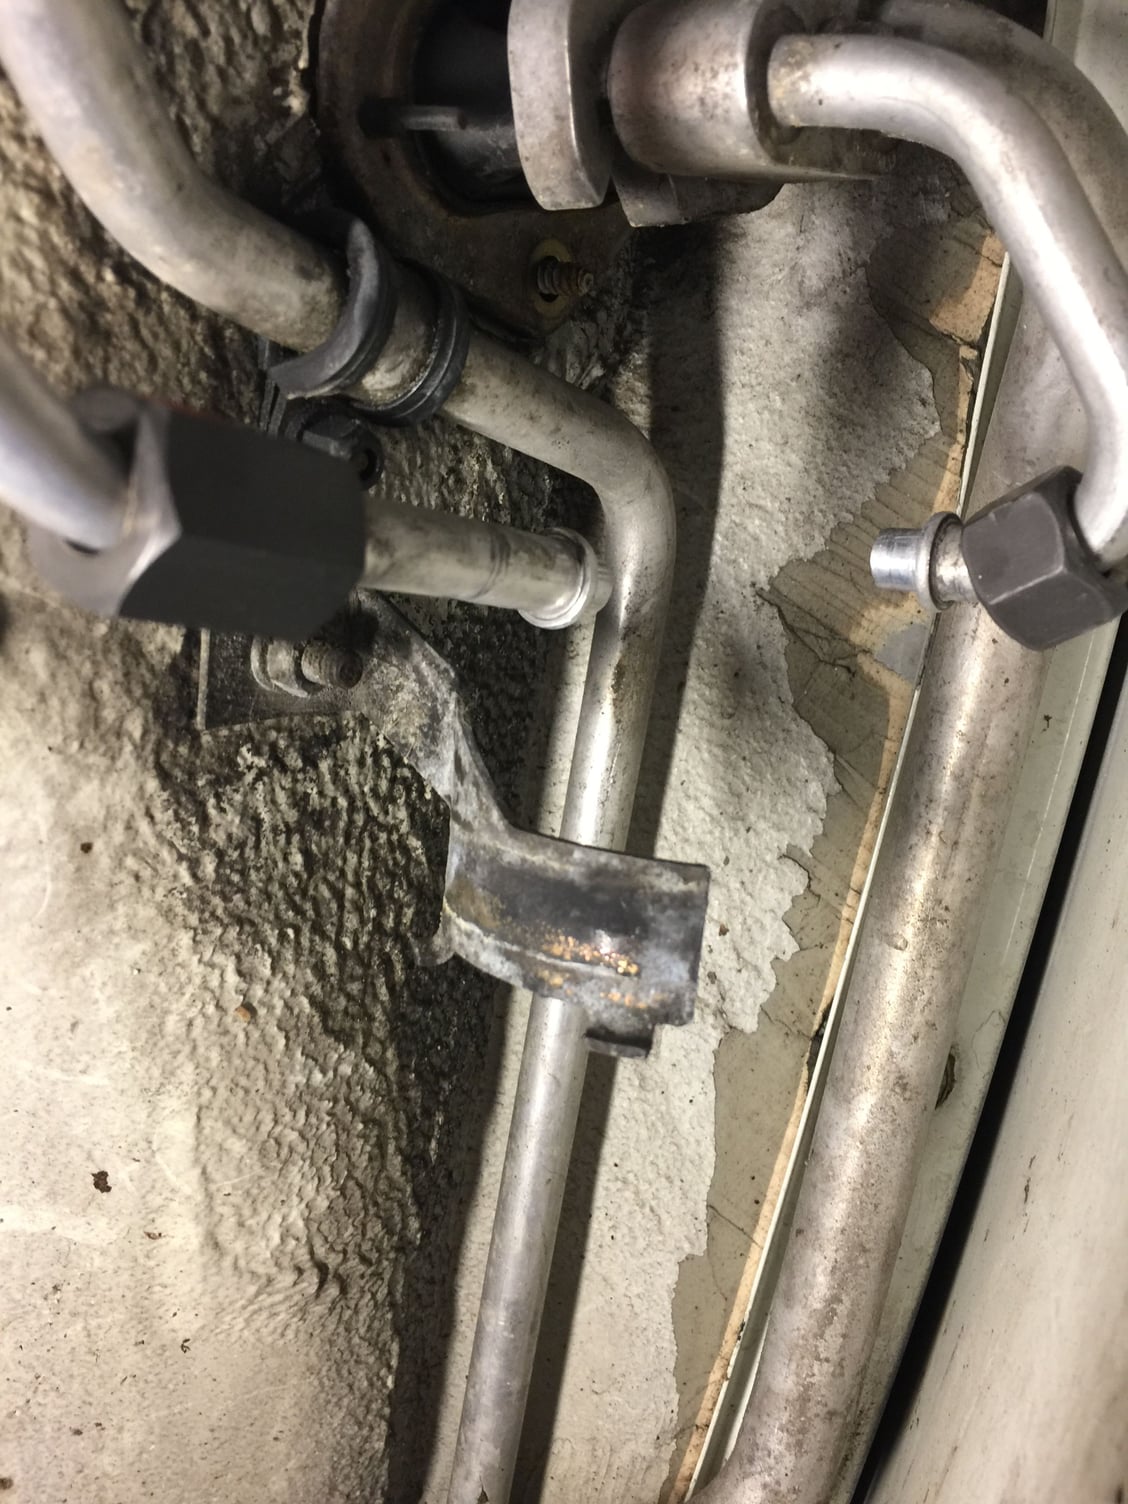
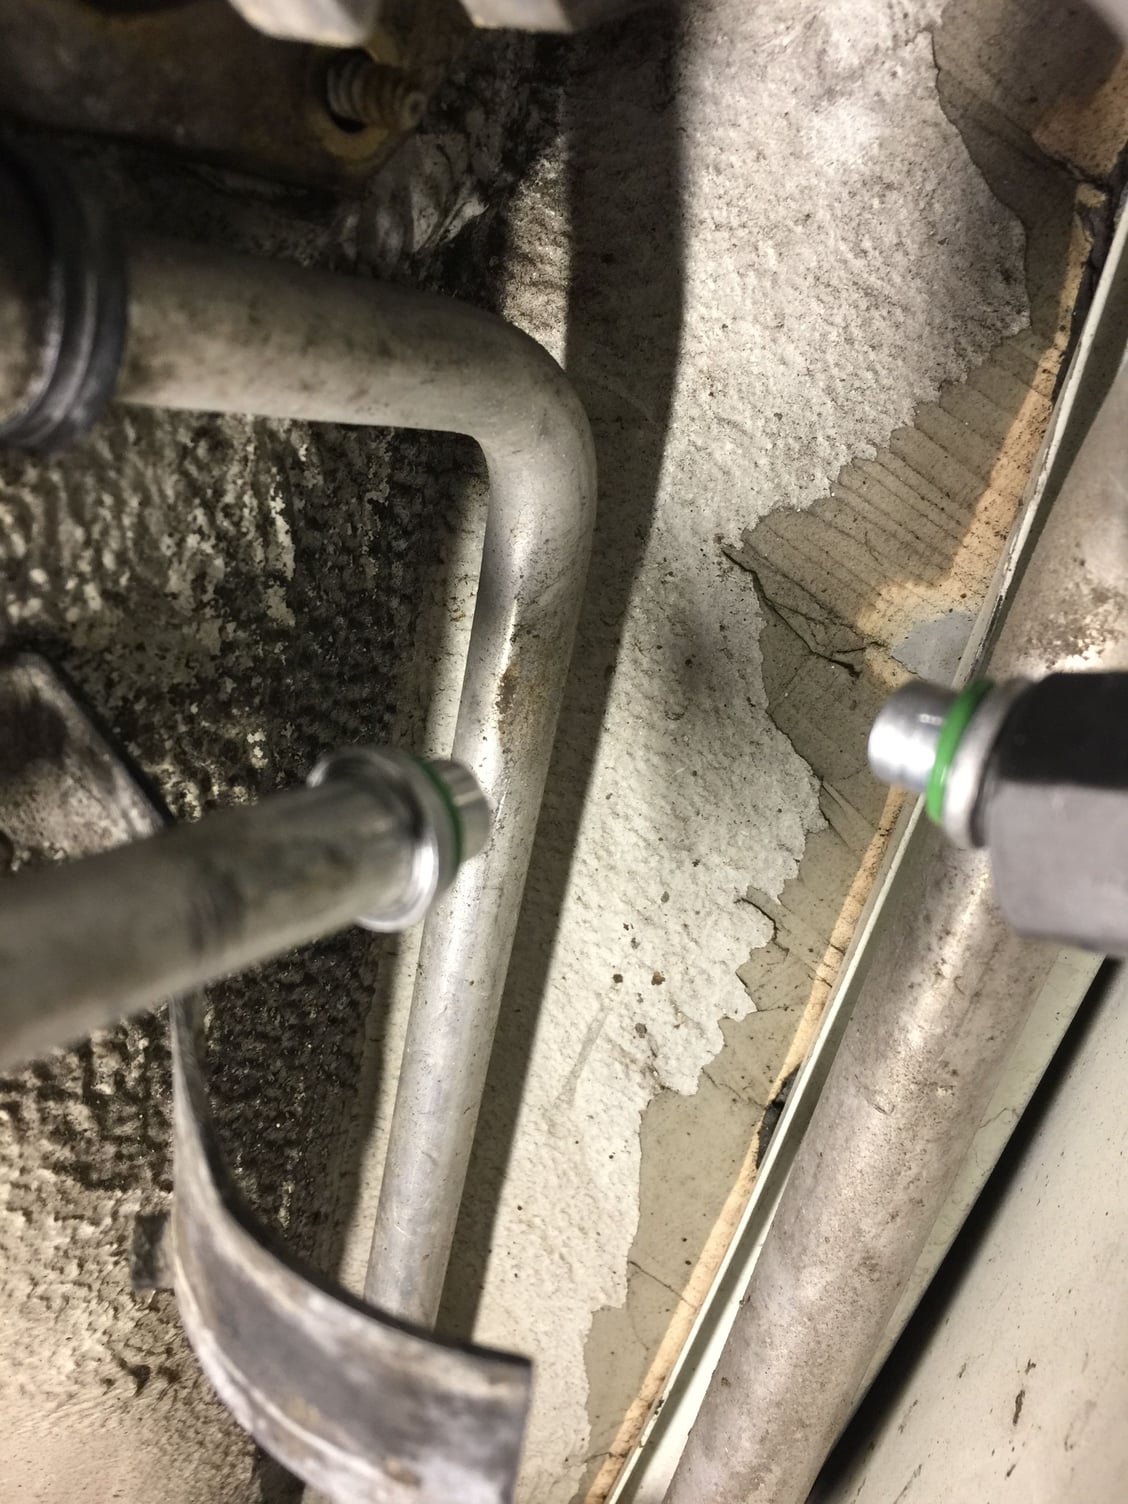
I replaced the thermal expansion valve (TX) valve. One of the pipes had corrosion on the mounting face so a light sanding was needed there. The O rings were soaked in PAG oil inserted on the pipes then firmly inserted and fasteners tightened.
Old 03-14-2018, 12:30 AM
  #1049  
John McM
Rennlist Member
Thread Starter
 
John McM's Avatar
 
Join Date: May 2001
Location: Auckland, New Zealand.
Posts: 13,206
Received 567 Likes on 339 Posts
Default


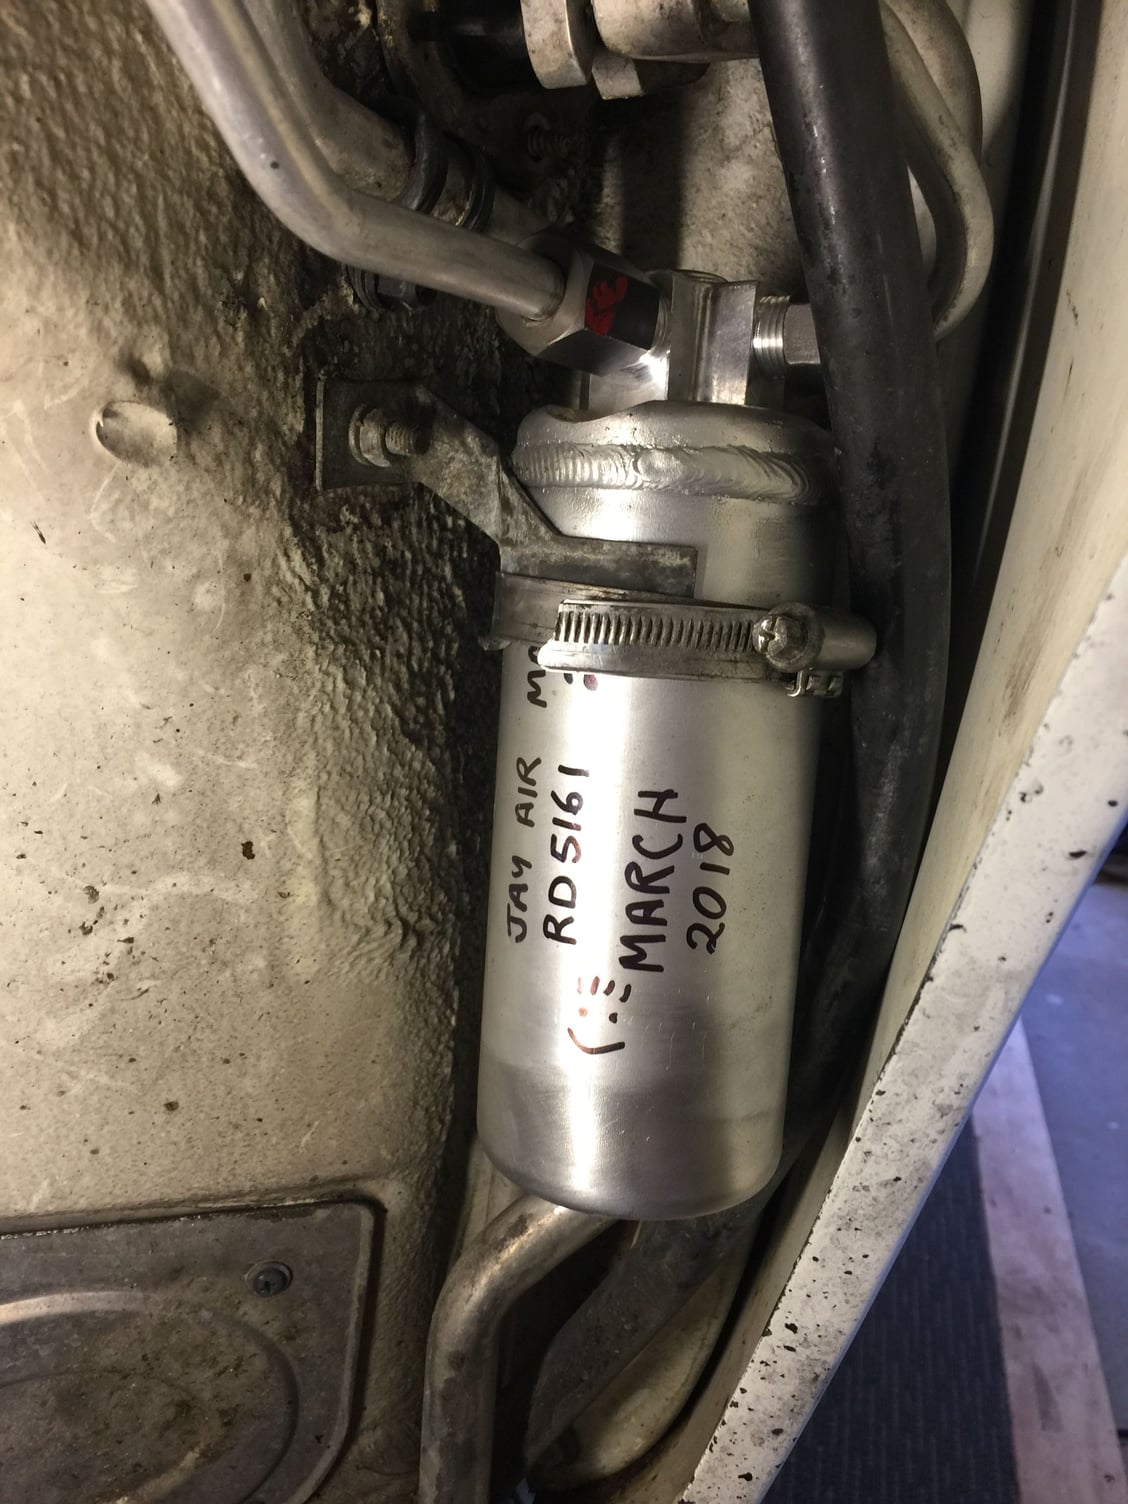
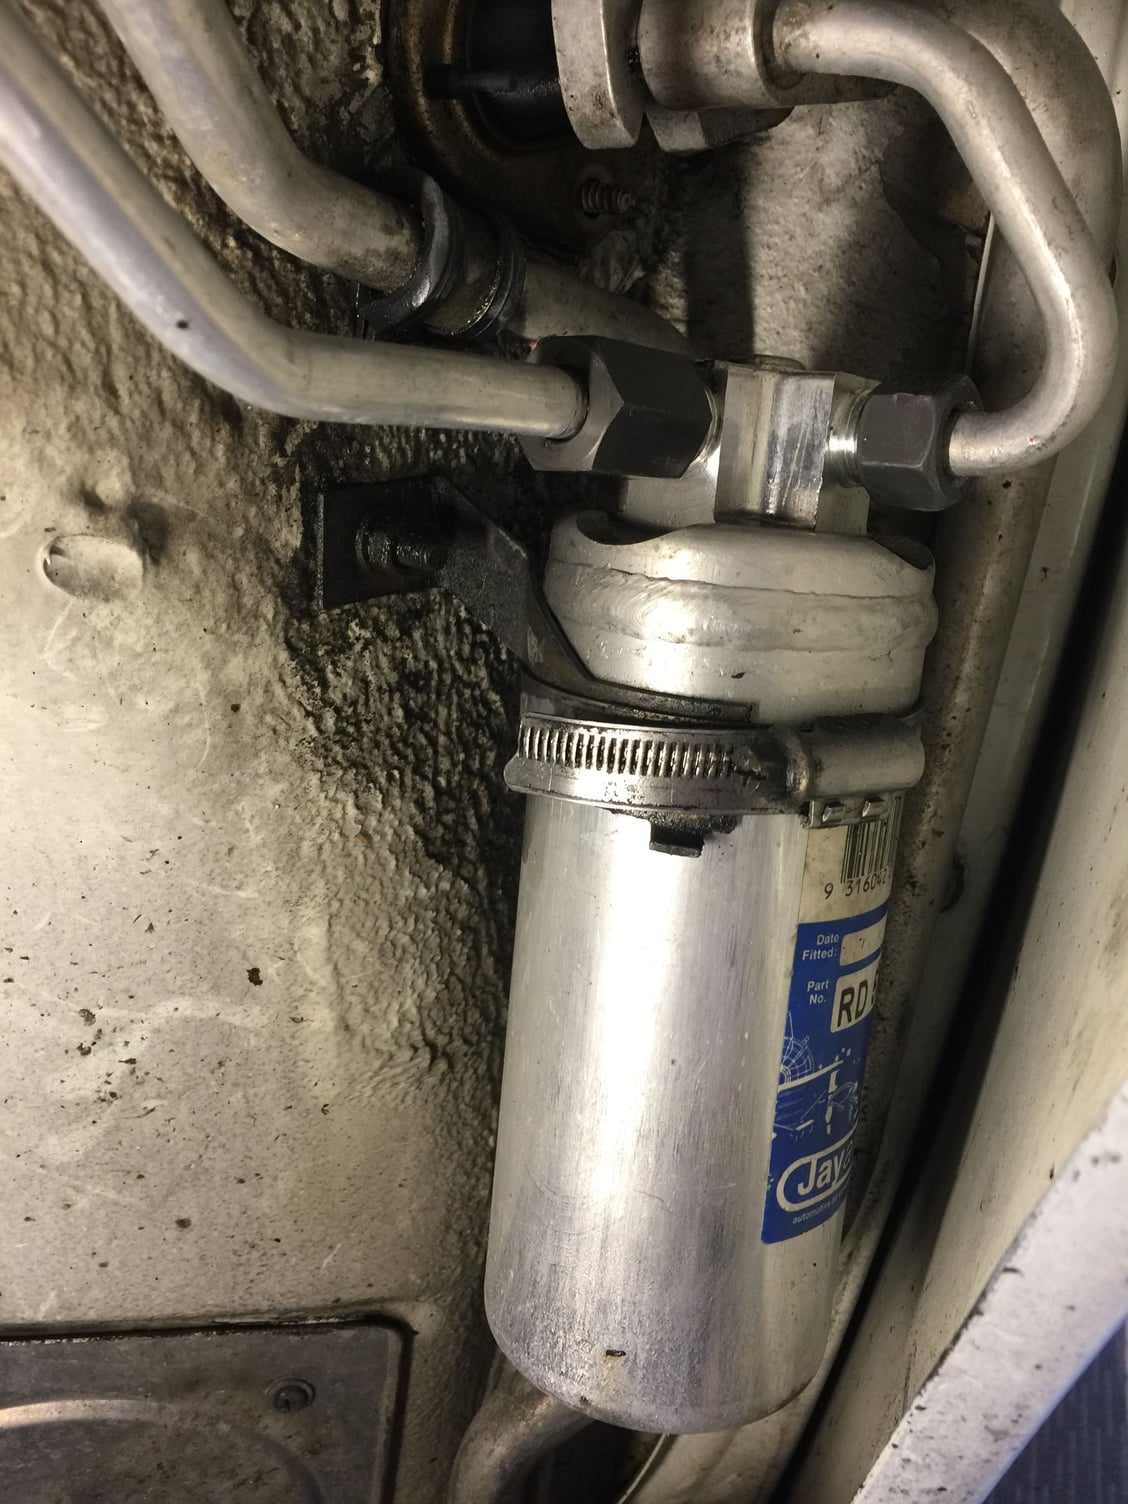
Receiver dryer has been replaced.

Last edited by John McM; 03-14-2018 at 12:54 AM.
Old 03-19-2018, 06:37 AM
  #1050  
John McM
Rennlist Member
Thread Starter
 
John McM's Avatar
 
Join Date: May 2001
Location: Auckland, New Zealand.
Posts: 13,206
Received 567 Likes on 339 Posts
Default

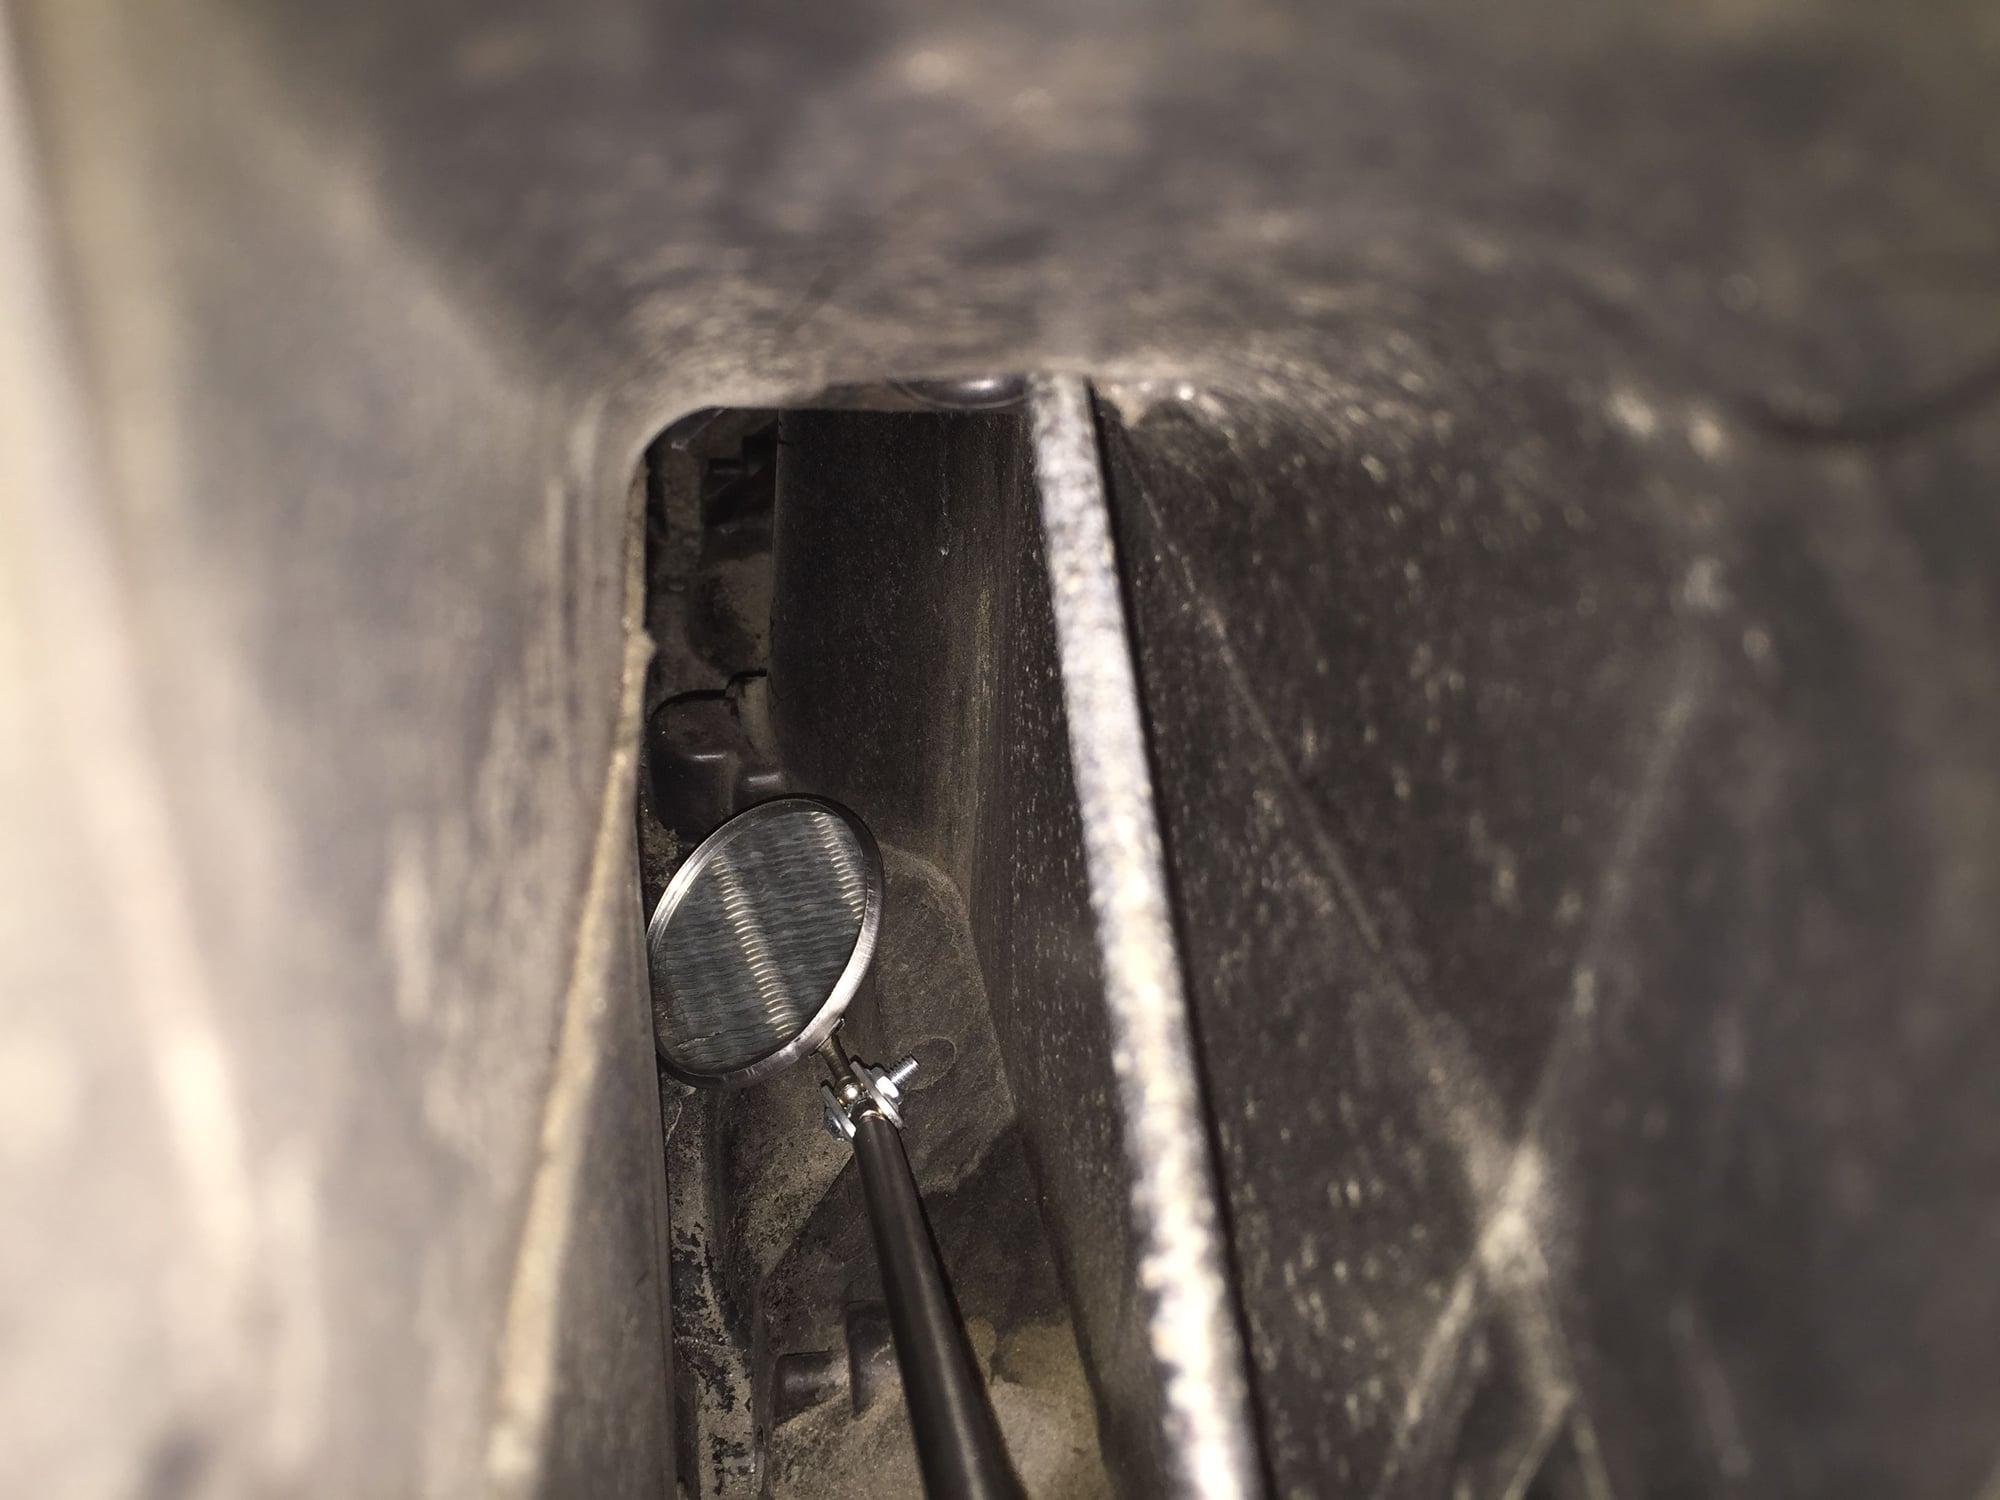
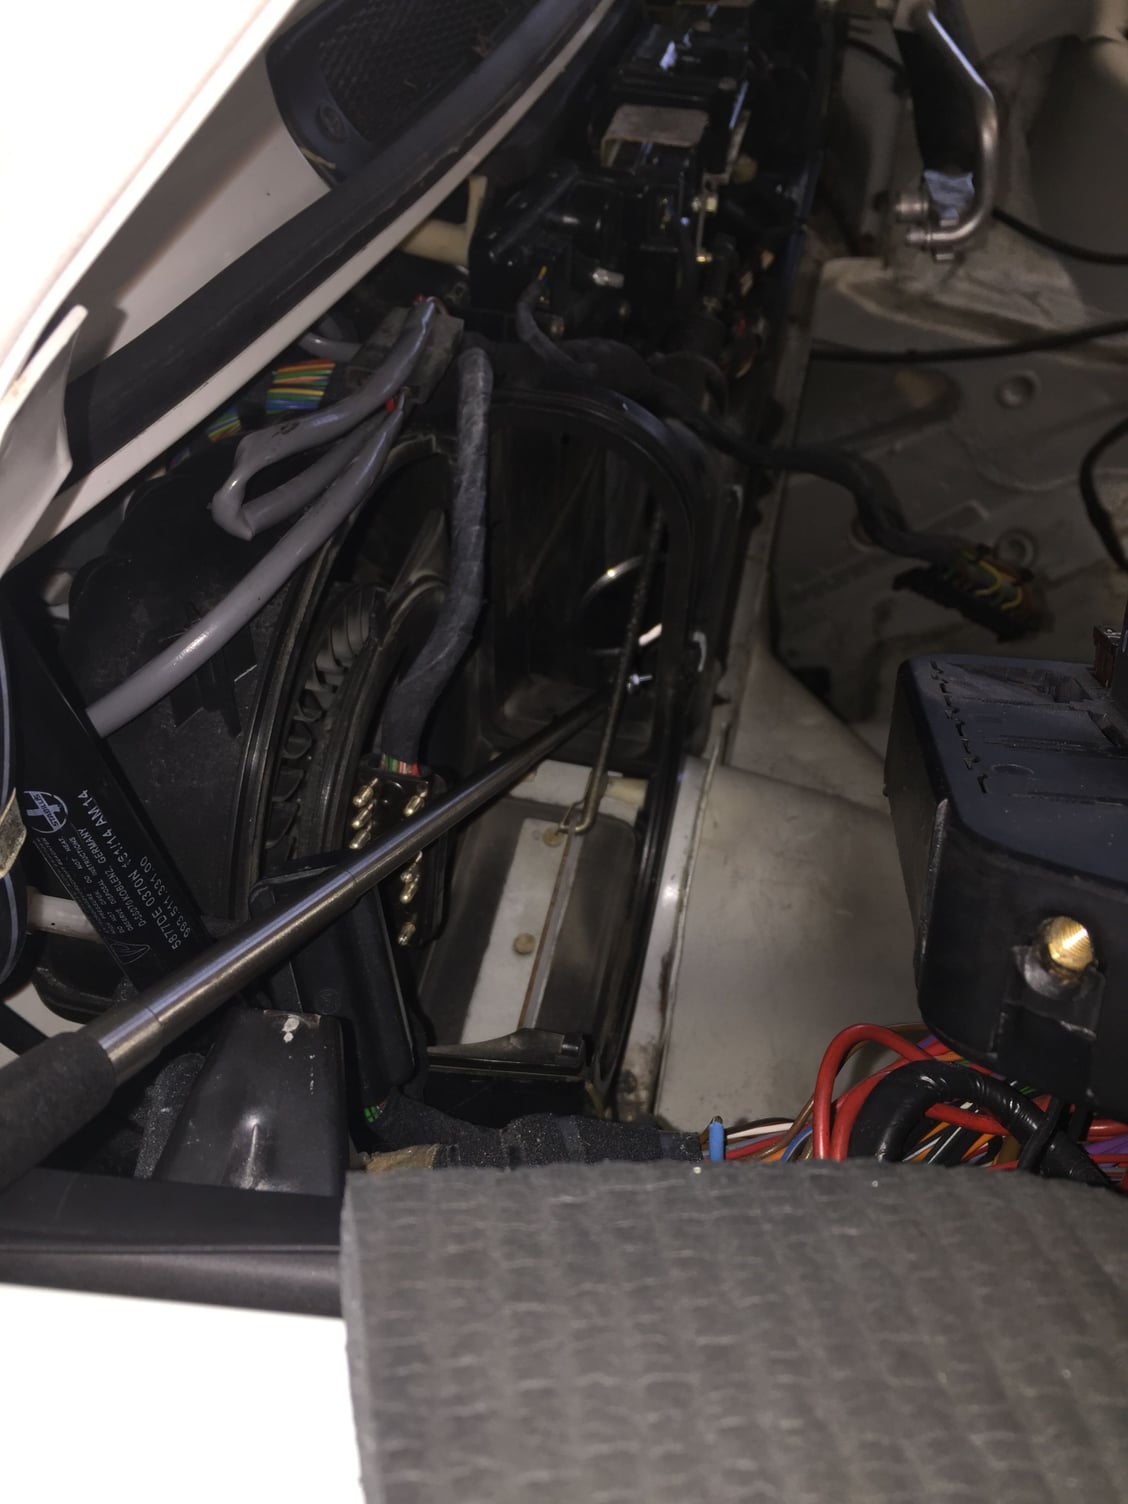
Testing servos. Apply 12v to pins 4&5. Reverse polarity to make the servo go the opposite direction.
All five are working. Now to reinstall the fuel tank.


Quick Reply: 964 C4 light refurb


All times are GMT -3. The time now is 02:34 AM.