
Teardown begins. Suspension madness...
 12-03-2015, 10:37 PM
#241
Race Car
Thread Starter
Originally Posted by kokolyia
Why don't you use diluted molasses? I tested it on a rusty (I live in Florida) 100 year old piston I found (next to a barn find model T ford) and had it sit in this molasses bath for 3 weeks. It came out all clean!
 12-05-2015, 10:39 PM
#244
Race Car
Thread Starter
Painted the hubs and wheel carriers w primer the other day. And today gave them a quick dusting with satin black. Tomorrow maybe another coat. I'll clean out the insides of the tapers before reassembly...and the wheel bearings are I so I don't have to mask there. They will be pressed out soon.
12-05-2015, 10:48 PM
#245
Race Car
Thread Starter
Today the rear struts came out, and as we look around the the back of the car, we see so many things that would be good to take care of. Rusted tins, oil leaks, I can't tell you the entire list...it's too long. And I'm not going there...trying to stay on track. I have three more cars after this one. So I told him...next year.
But, we do have mounds of old oil crud building up on top of the heat exchangers and that's not good. So we took the side tins off and will do a thorough cleaning prior to assembly. And since the tins are off, they will be stripped, de-rusted and primed and shot so maybe they will last a little longer. Would be good to powder coat them, but not this go-round...
But, we do have mounds of old oil crud building up on top of the heat exchangers and that's not good. So we took the side tins off and will do a thorough cleaning prior to assembly. And since the tins are off, they will be stripped, de-rusted and primed and shot so maybe they will last a little longer. Would be good to powder coat them, but not this go-round...
12-05-2015, 11:05 PM
#246
Instructor
Join Date: Aug 2015
Location: Westchester County, NY
Posts: 195
Likes: 0
Received 0 Likes
on
0 Posts
Can't wait to see the tins when they come out of the apple cider vinegar. Should look pretty good after the primer and paint.
Took all my will power to stop soda blasting the aluminum control arms and swing arms. Diminishing returns in time and blasting medium vs. clean parts that'll just get dirty again.
Taking the rear struts out showed more hard, deteriorated rubber. This car's going to be so much more responsive and smooth than it was when this teardown started. Going to be hard to put it back on jack stands to run down the oil leaks.
12-06-2015, 09:49 PM
#247
Rennlist Member
Guys, I enjoyed stopping by there yesterday. Very cool how you are going about doing these cars one at a time. I'll probably stop by again next weekend (have to bring the jack stands back). I can probably get my hands dirty & help if you want.
12-07-2015, 12:52 AM
#248
Race Car
Thread Starter
Sounds good. Was great having another join us, so come whenever.
Today was a partially successful and partial failure removing the trailing arm bushings. I got one side out and then realized the arm doesn't fit on the press the way I need it to. So I'll need to get a four inch diameter steel pipe and prop the arm up the right way to get the press into the bushing.
Any thoughts would be helpful.
Next, was installing the seals-it boots on the tarett rod end links for the rear swaybars. And then pressing the elephant bushings into the front control arms. We are getting better and much quicker with some of these things, which is good. By the time I'm on the fifth car, it'll be a weeks worth of work for the whole job...maybe...
12-07-2015, 12:57 AM
#251
Race Car
Thread Starter
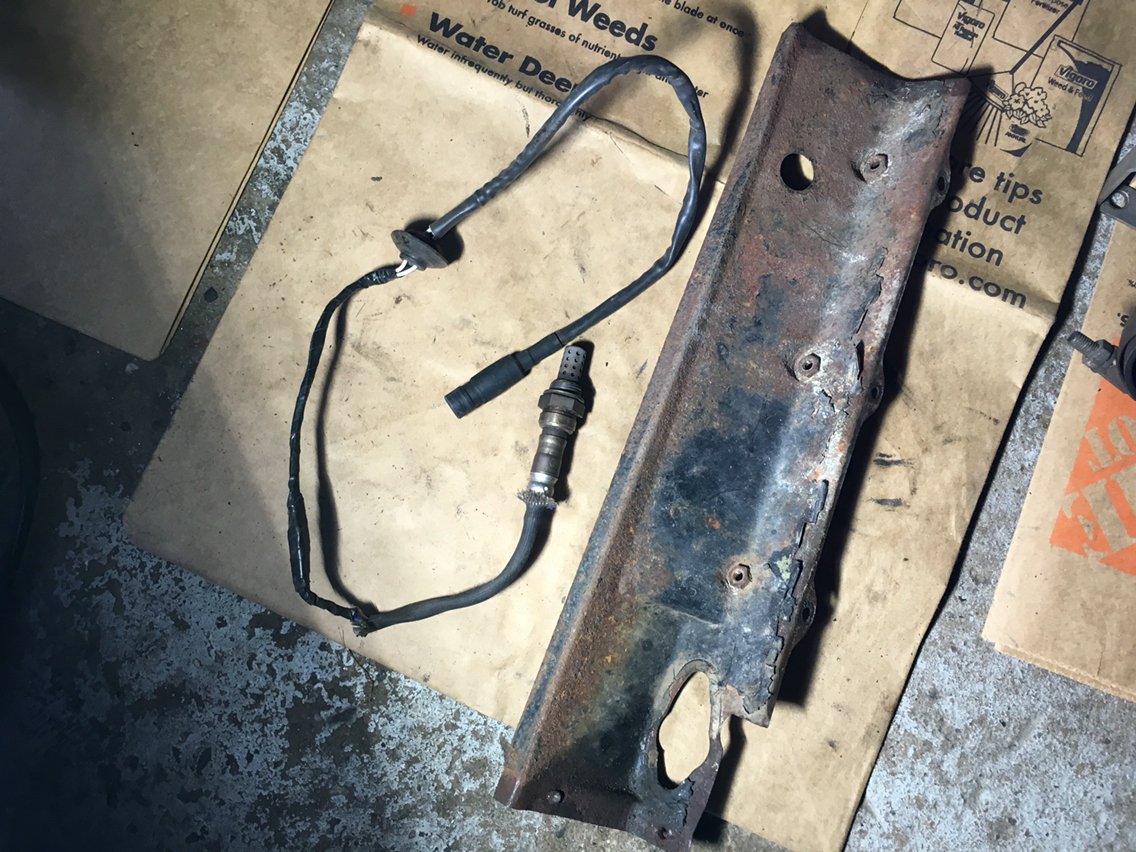
Oh and just for kicks, since it was out, I opened up the afm to see if the contact plate was worn through. And it's not, so I'll change nothing and button it back up with some silicone glue. But good to know.
12-07-2015, 07:33 PM
#252
Race Car
Thread Starter
No big woke today. Another coat of paint on the hubs and carriers, and Dave stopped by to do an oil change to 15/40 brad penn for the winter...
And off I go for a while to take a break...back soon.
And off I go for a while to take a break...back soon.
12-07-2015, 08:46 PM
#254
Race Car
Thread Starter
Glad you guys are staying with this thread. I've been told "you are the guy that everyone stops reading...nobody wants to hear all that"...
But I trudge on...lol...
But I trudge on...lol...
12-07-2015, 08:53 PM
#255
Race Car
Thread Starter
We have a group phone text going, and I texted this out today...ill throw it out here though I know most of you likely already know...
The page in the Bentley manual, technical data without guesswork, has the torque spec for the oil drain plugs wrong. Correct spec is 37 ft/lbs (and if I have that wrong, correct me)
But, make sure you correct the spec in your books.
The page in the Bentley manual, technical data without guesswork, has the torque spec for the oil drain plugs wrong. Correct spec is 37 ft/lbs (and if I have that wrong, correct me)
But, make sure you correct the spec in your books.