When you click on links to various merchants on this site and make a purchase, this can result in this site earning a commission. Affiliate programs and affiliations include, but are not limited to, the eBay Partner Network.
It's still a project in waiting. The current HVAC and controls etc are still fully functioning/perfect condition so I'm loathed to pull it yet. However the moment a servo dies or a blower motor gives up, I'll be on it.
that's good you have it running good. I also have mine running now just need to do a couple things, like move the oxygen sensor to tail pipe so it reads all cylinders because right now with the headers I'm only reading one bank. I also have a little noise on the crank sensor I need to work out. least it's derivable now.
Rob, imitation is the best flattery and all that. If you aren�t going to produce any more could you please give me some tips?
I have:
1. Card to make a template
2. Aluminium for the template
3. Release film to coat the template for easy release
4. Double bias Carbon Fibre cloth
5. Resin, hardener and a mixing pump
6. Finishing cloth.
7. Dremel cutting blades
The only thing I haven�t sourced is that edging you used. Where did you find that?
Hi John, a man of your ability doesn't need to ask me questions
A wet lay composite is relatively simple to do. Make up your card template first, then transfer it onto the aluminum. Form/curve/bend the aluminium to fit the space exactly. As with any lay-up, the more time spent on the mould/buck the better the end part will be.
Once you're happy, give the aluminium 2 coats of release agent on the side you intend to lay from. There are plenty of great videos on youtube etc that show in detail how to wet-lay so I don't think I'd be able to add much here.
One thing I will though is around safety. Cured CF dust is very nasty stuff and you really don't want to be inhaling/ingesting it. For that reason I always wear a proper eyes/nose/mouth mask (not the crappy paper jobs) and only ever cut CF with variable (low) speed tools and ensuring the cut is fed with water.
I typically use a variable speed jigsaw on a low cutting speed and have a hose supplying a small amount of water across the cut The same goes for sanding the final shape of the part. Always wet sand and have a water bath to keep dipping the part in to ensure it stays wet.
My concern with a dremel is that it will kickup a lot of dust.
Thanks Rob. Good point re cutting dust. I will buy a good mask and work out how to keep the dust down.
I had my first go at making a template last night. It’s not easy with all of the curves and it’s now clear why you brought the panel forward and designed it the way you did. This is not the type of thing you knock up in a weekend or even likely want to mass produce given the labour involved. In fact the material costs are substantial. Maybe someone will take up the torch. I’m just going to produce a few examples for myself and maybe a few locals.
Indeed, the real work is getting that aluminium template to fit absolutely perfectly. Once you�ve got that you should be able to knock a few sets out relately cheaply. It�s all time tho, which is why I don�t generally offer to make parts as it extracts the fun out of it if you have to spend a few weeks worth of spare time doing the same task over and over.
Well its been a looooong time since I've updated this thread!
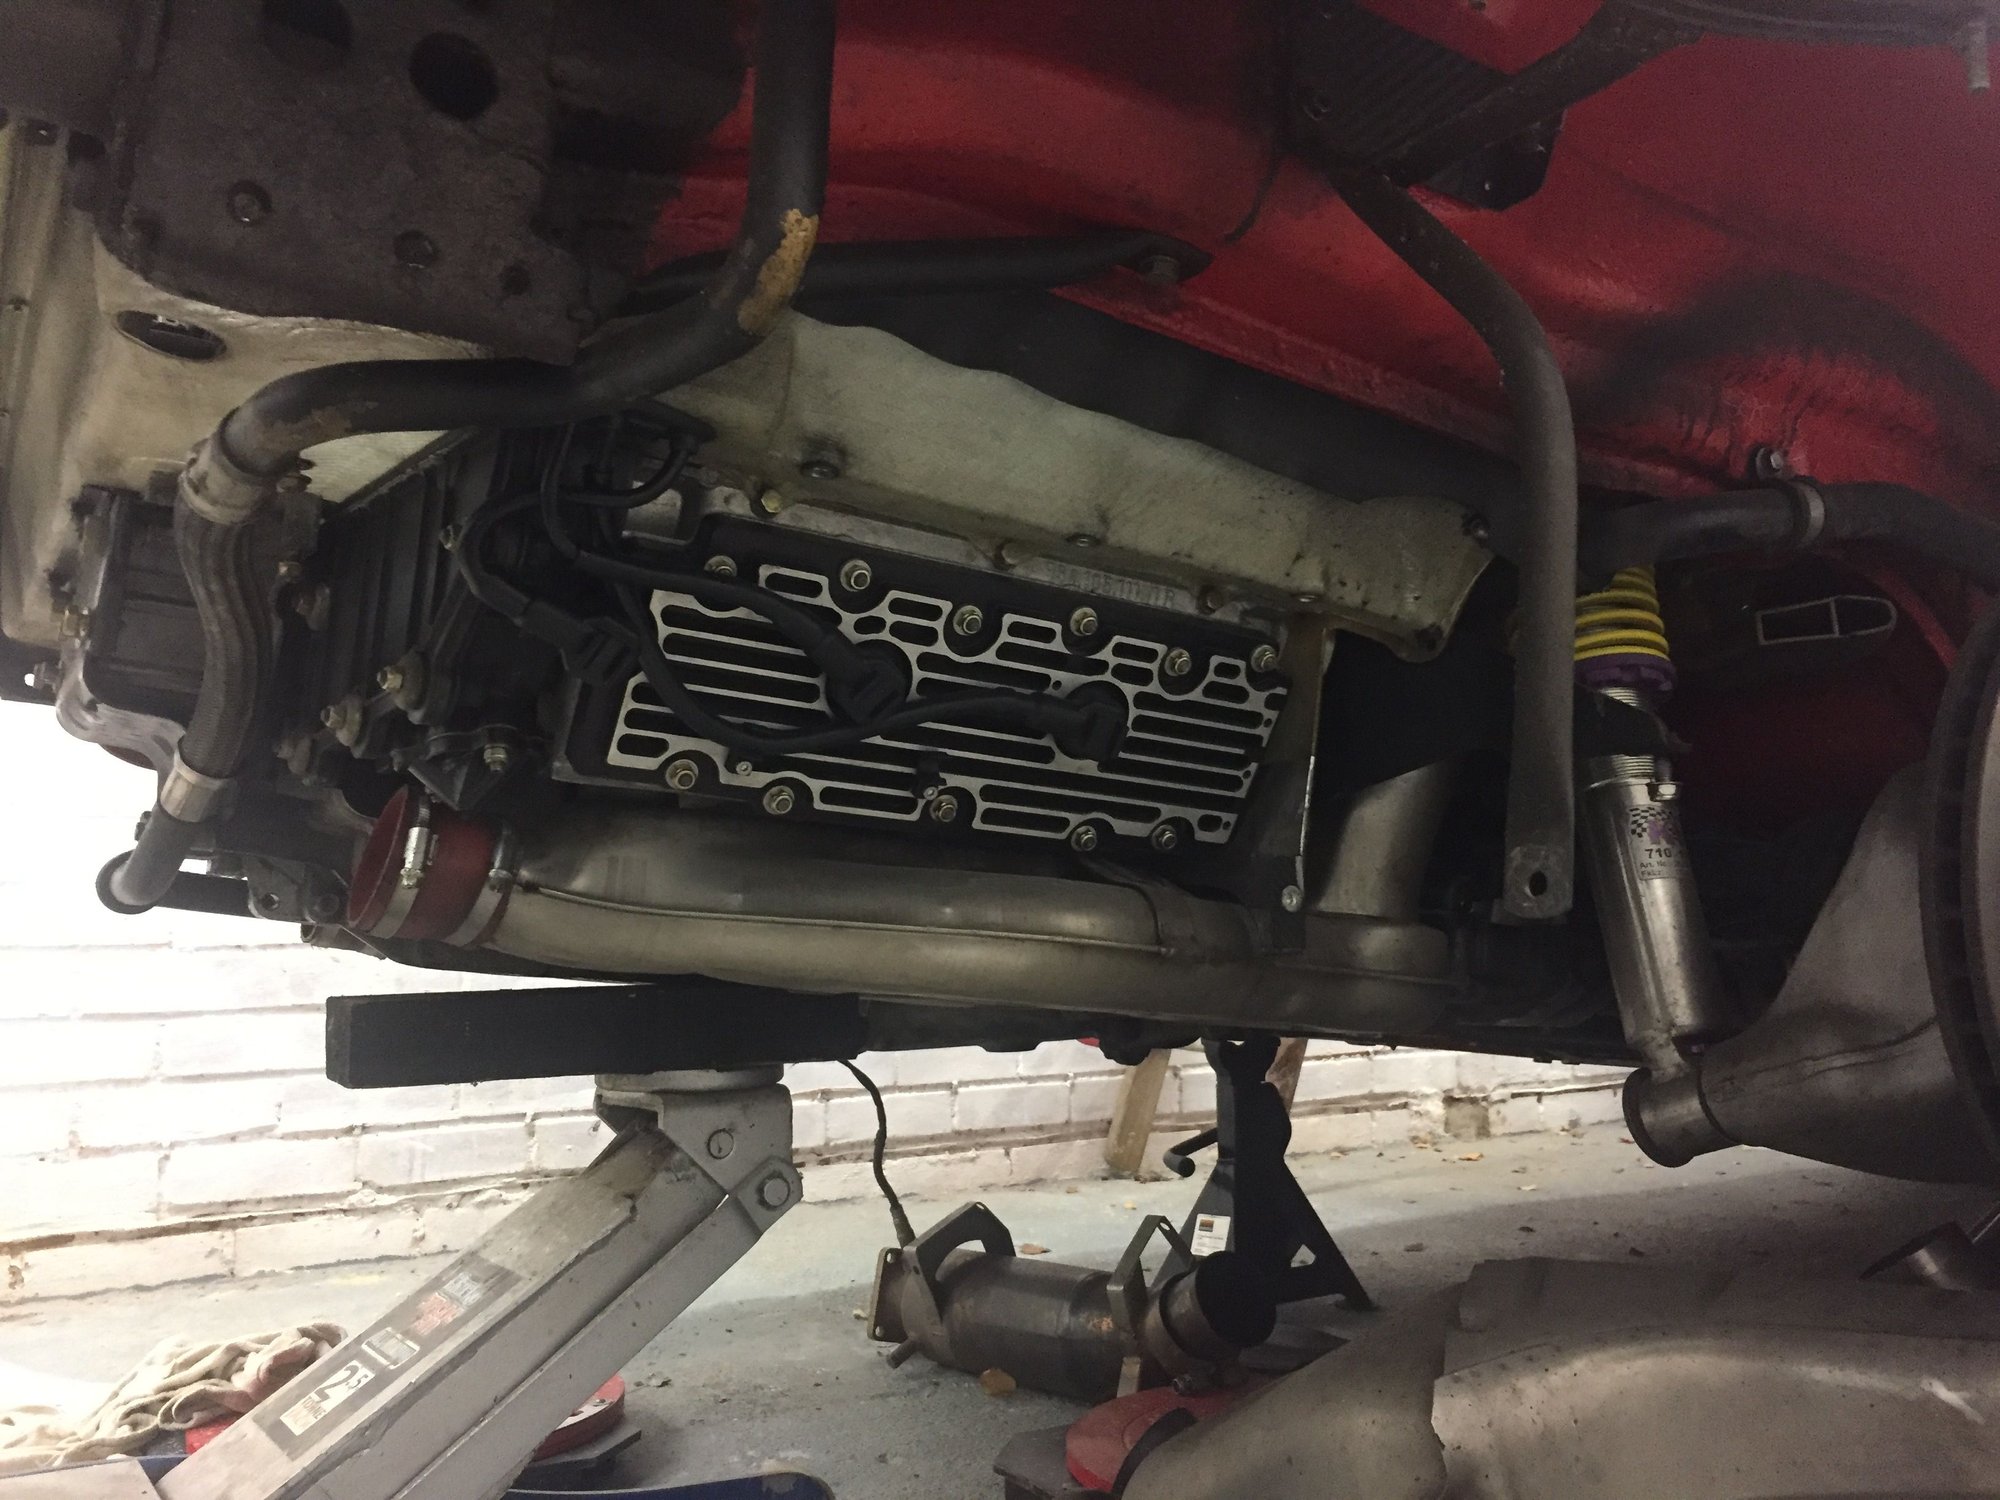
I finally got to the bottom of my previous dyno run and as suspected the cam timing was out. With life getting in the way it took me many months before I got around to performing the partial engine drop to check and adjust them.
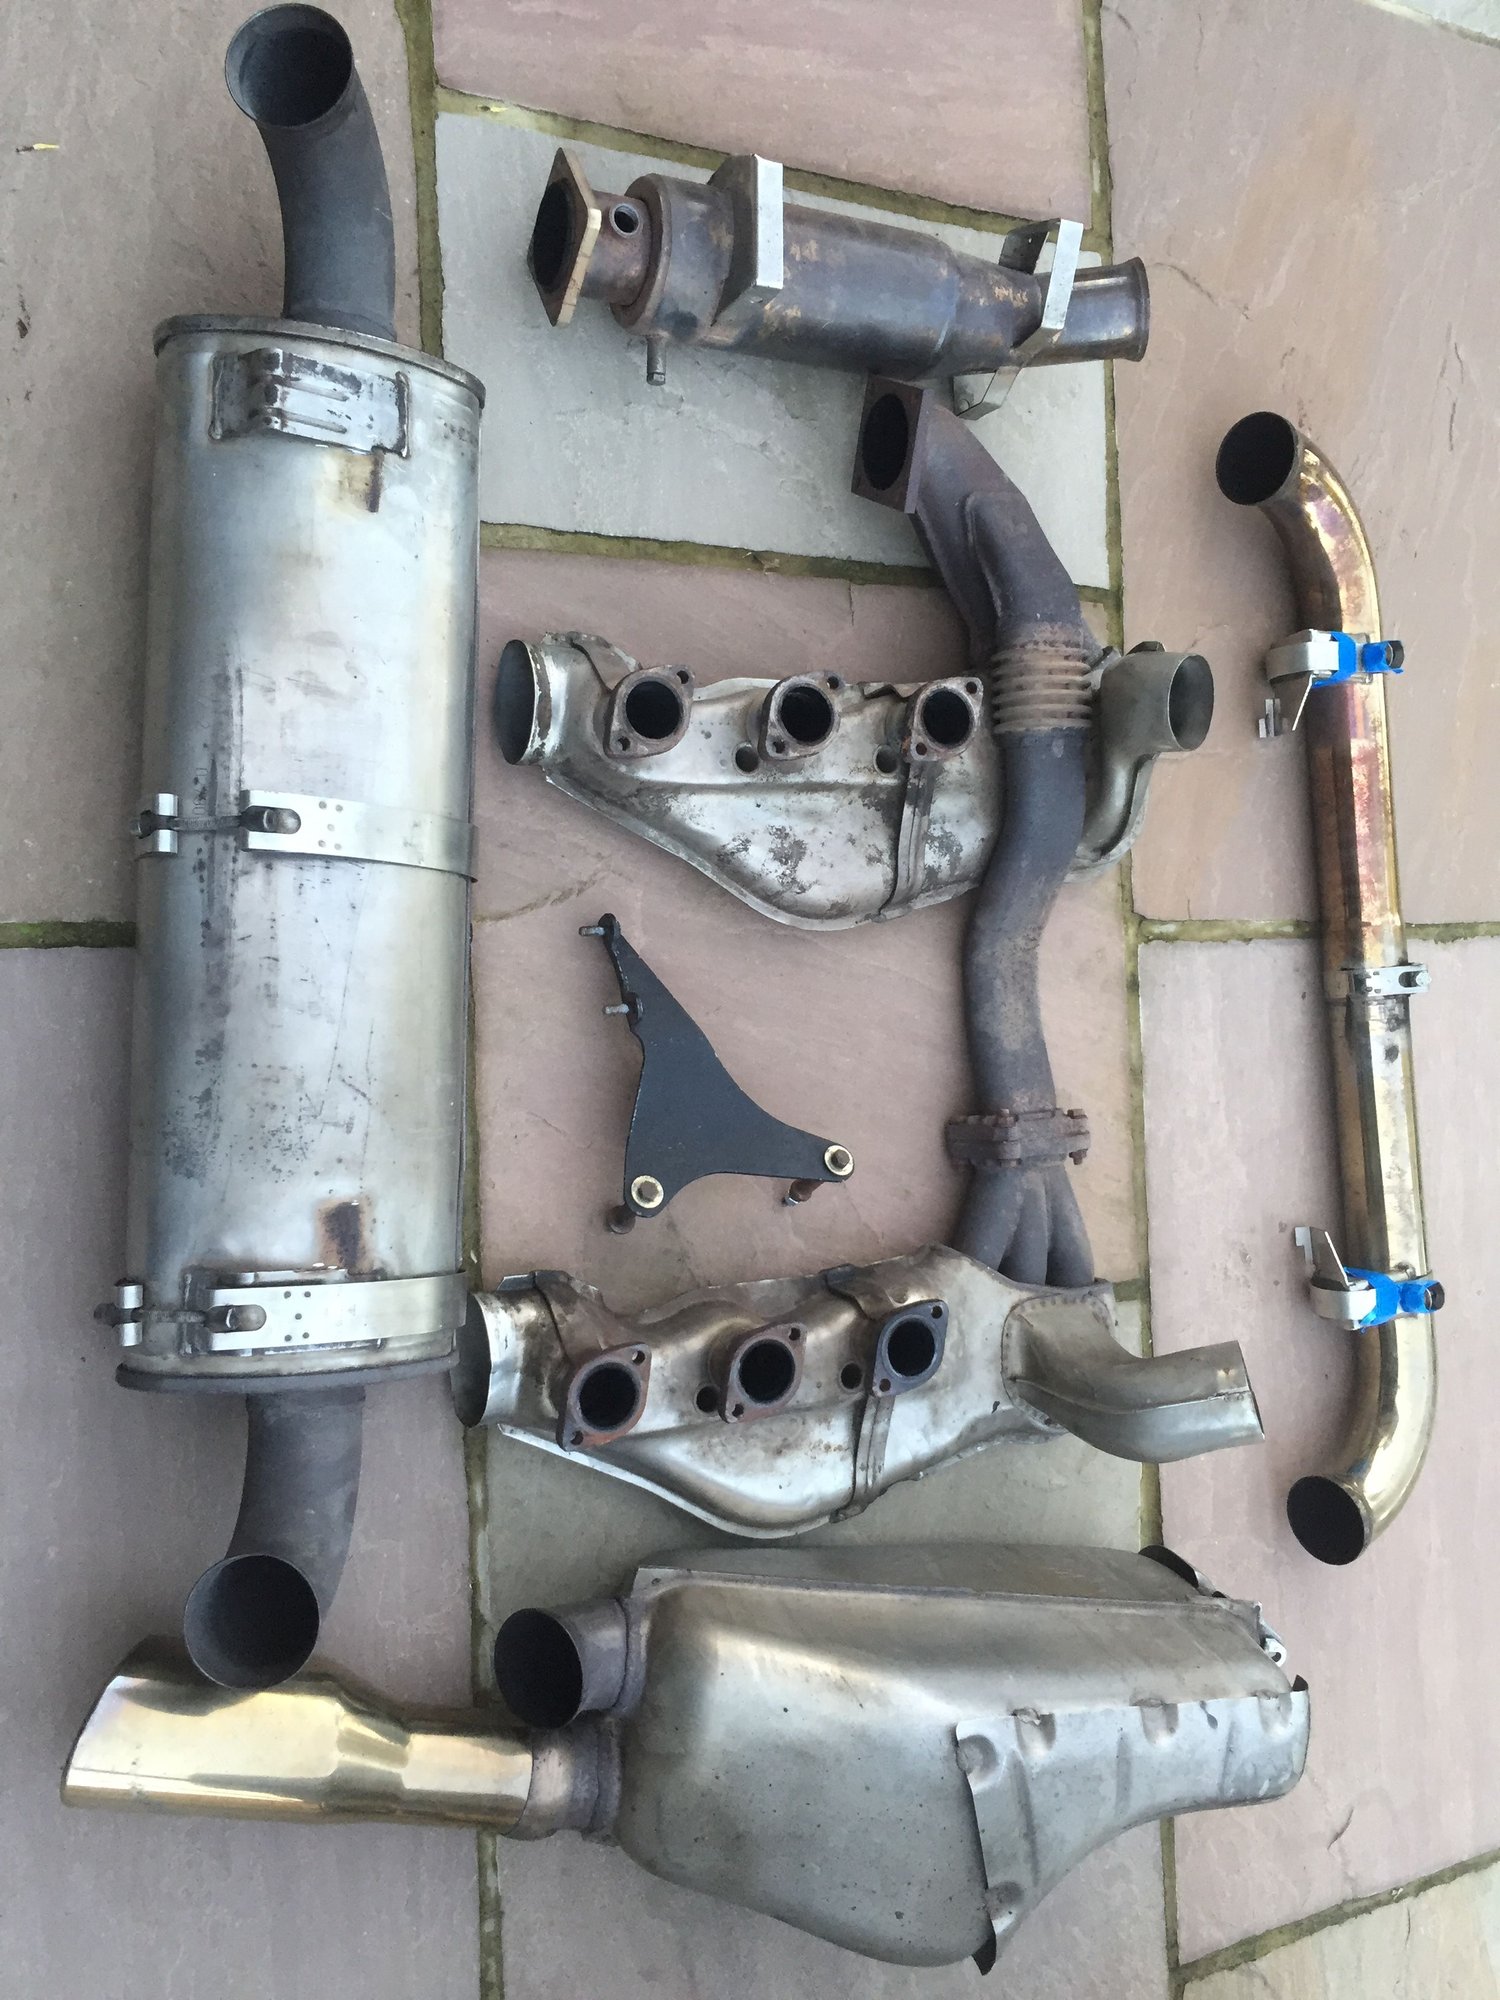
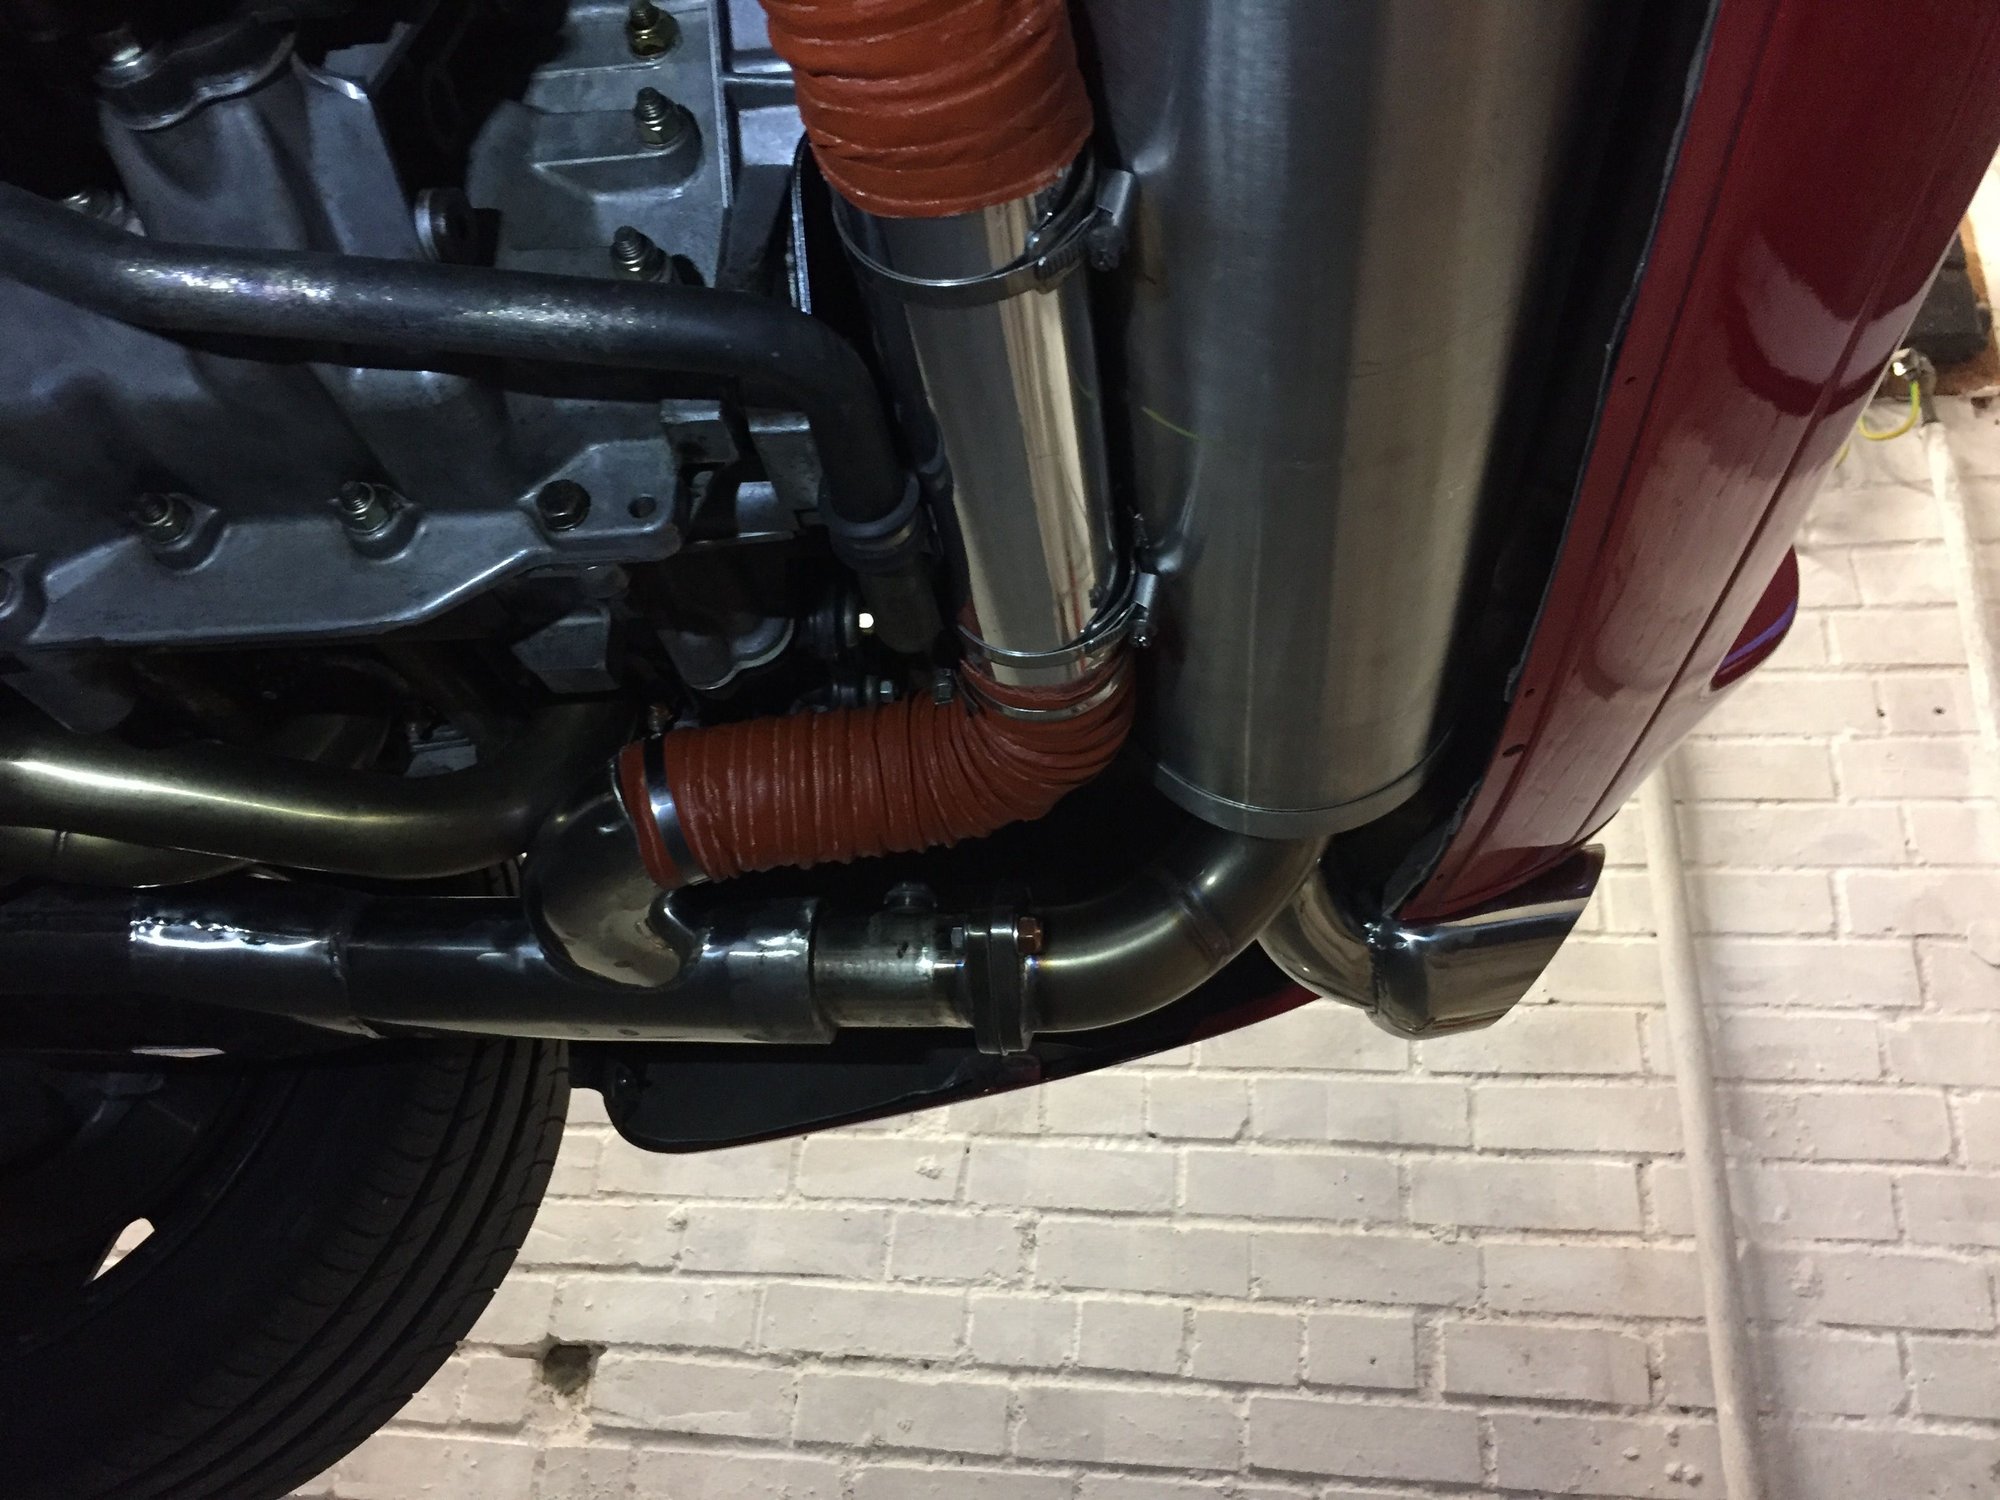
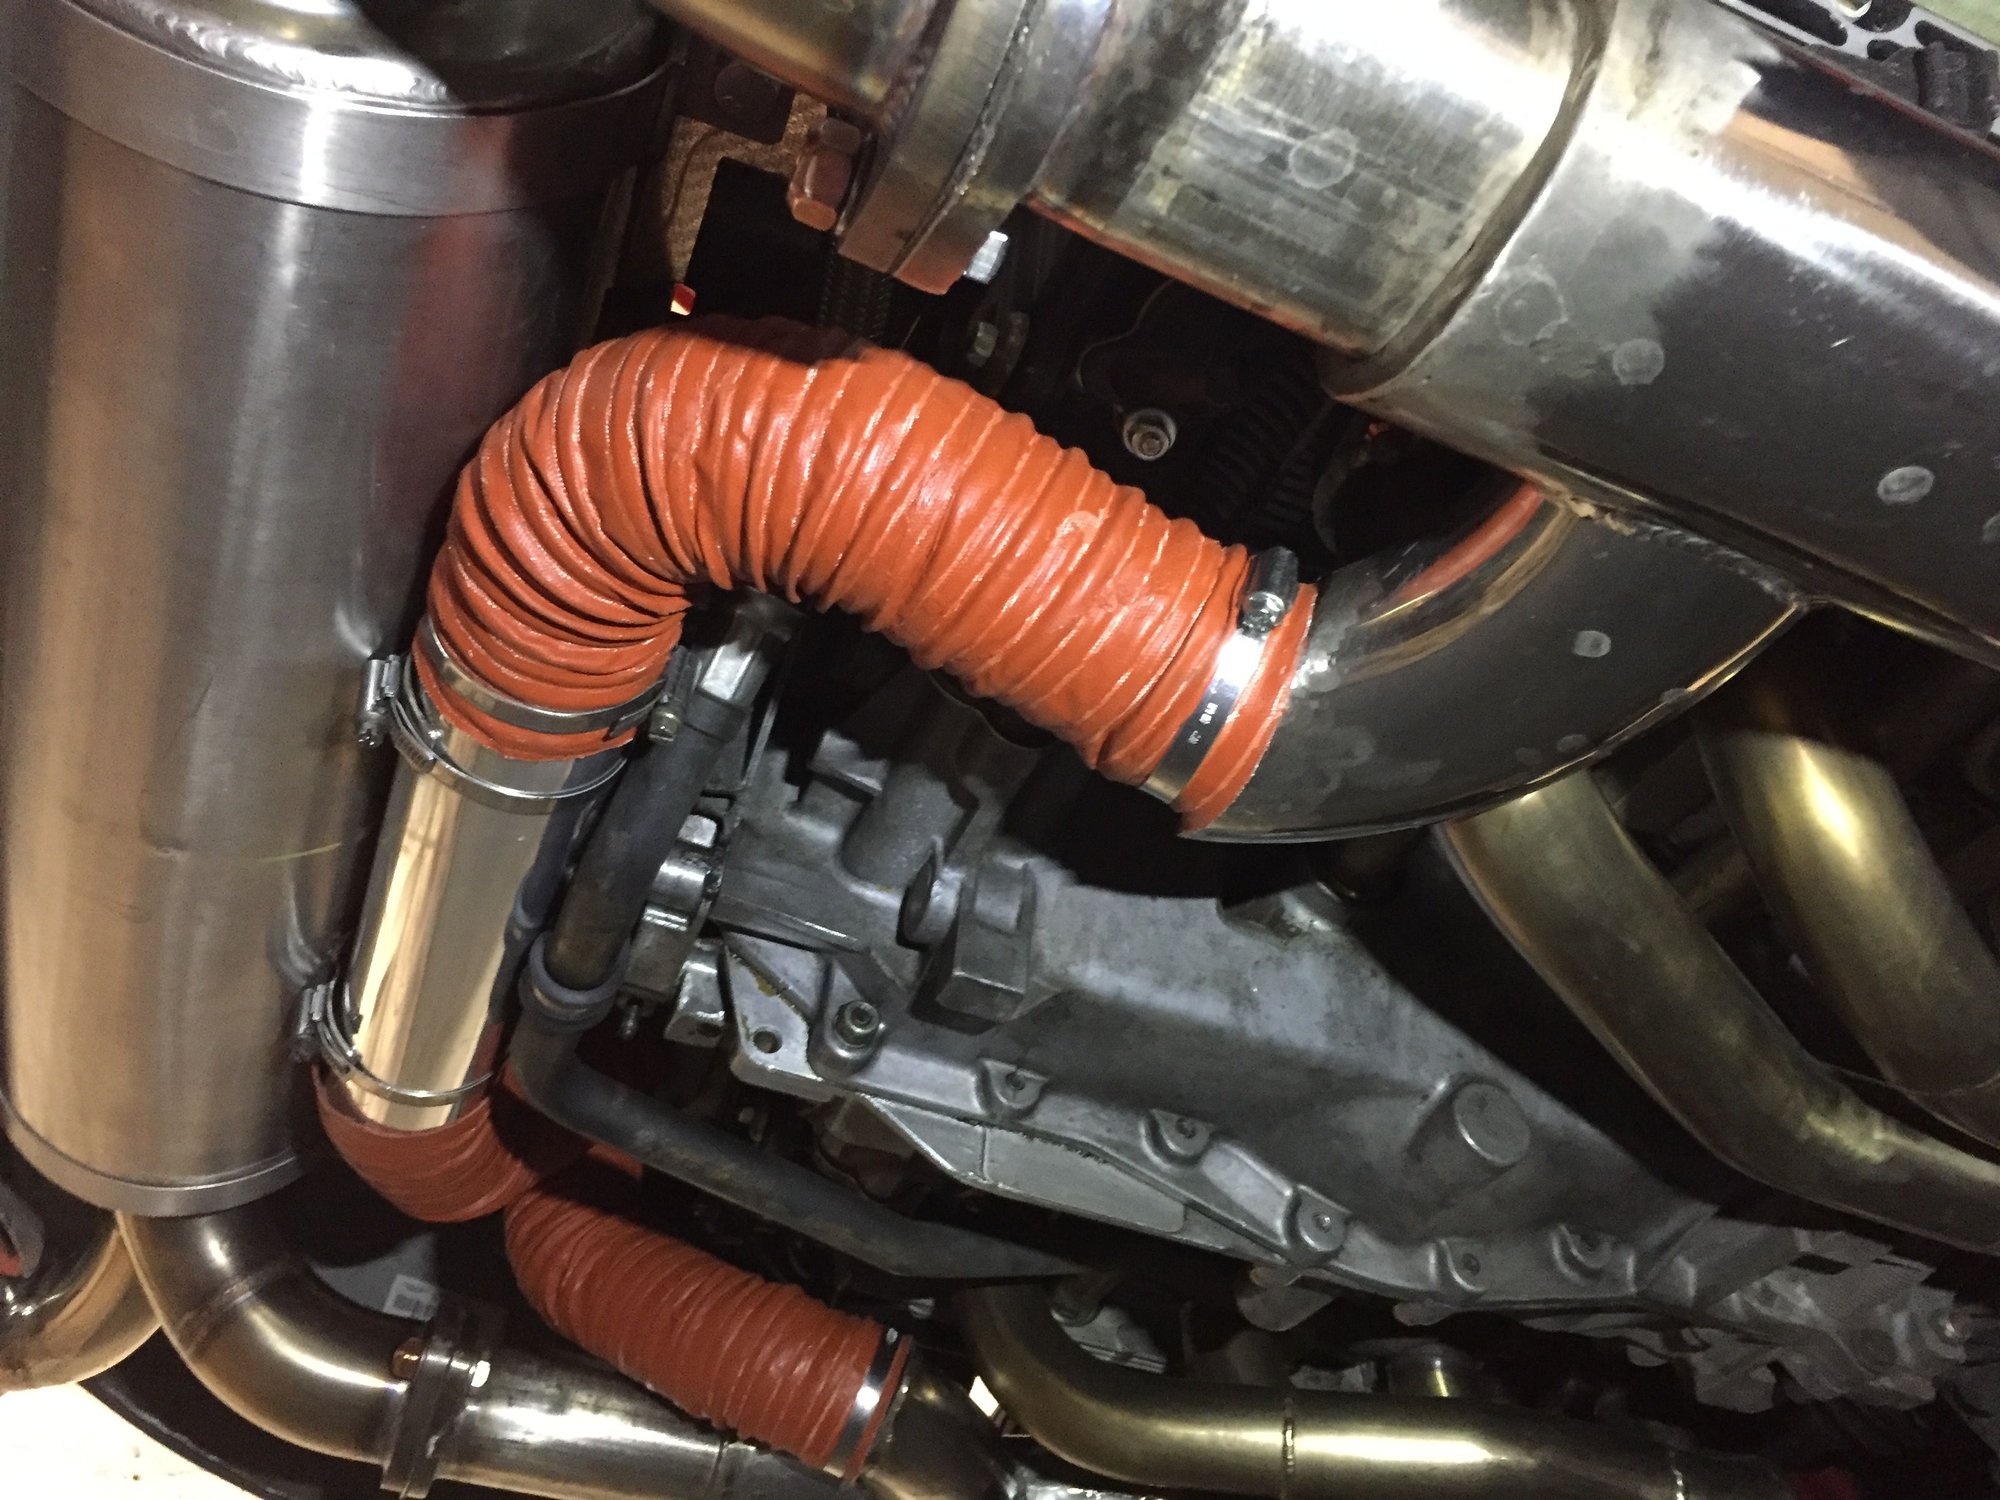
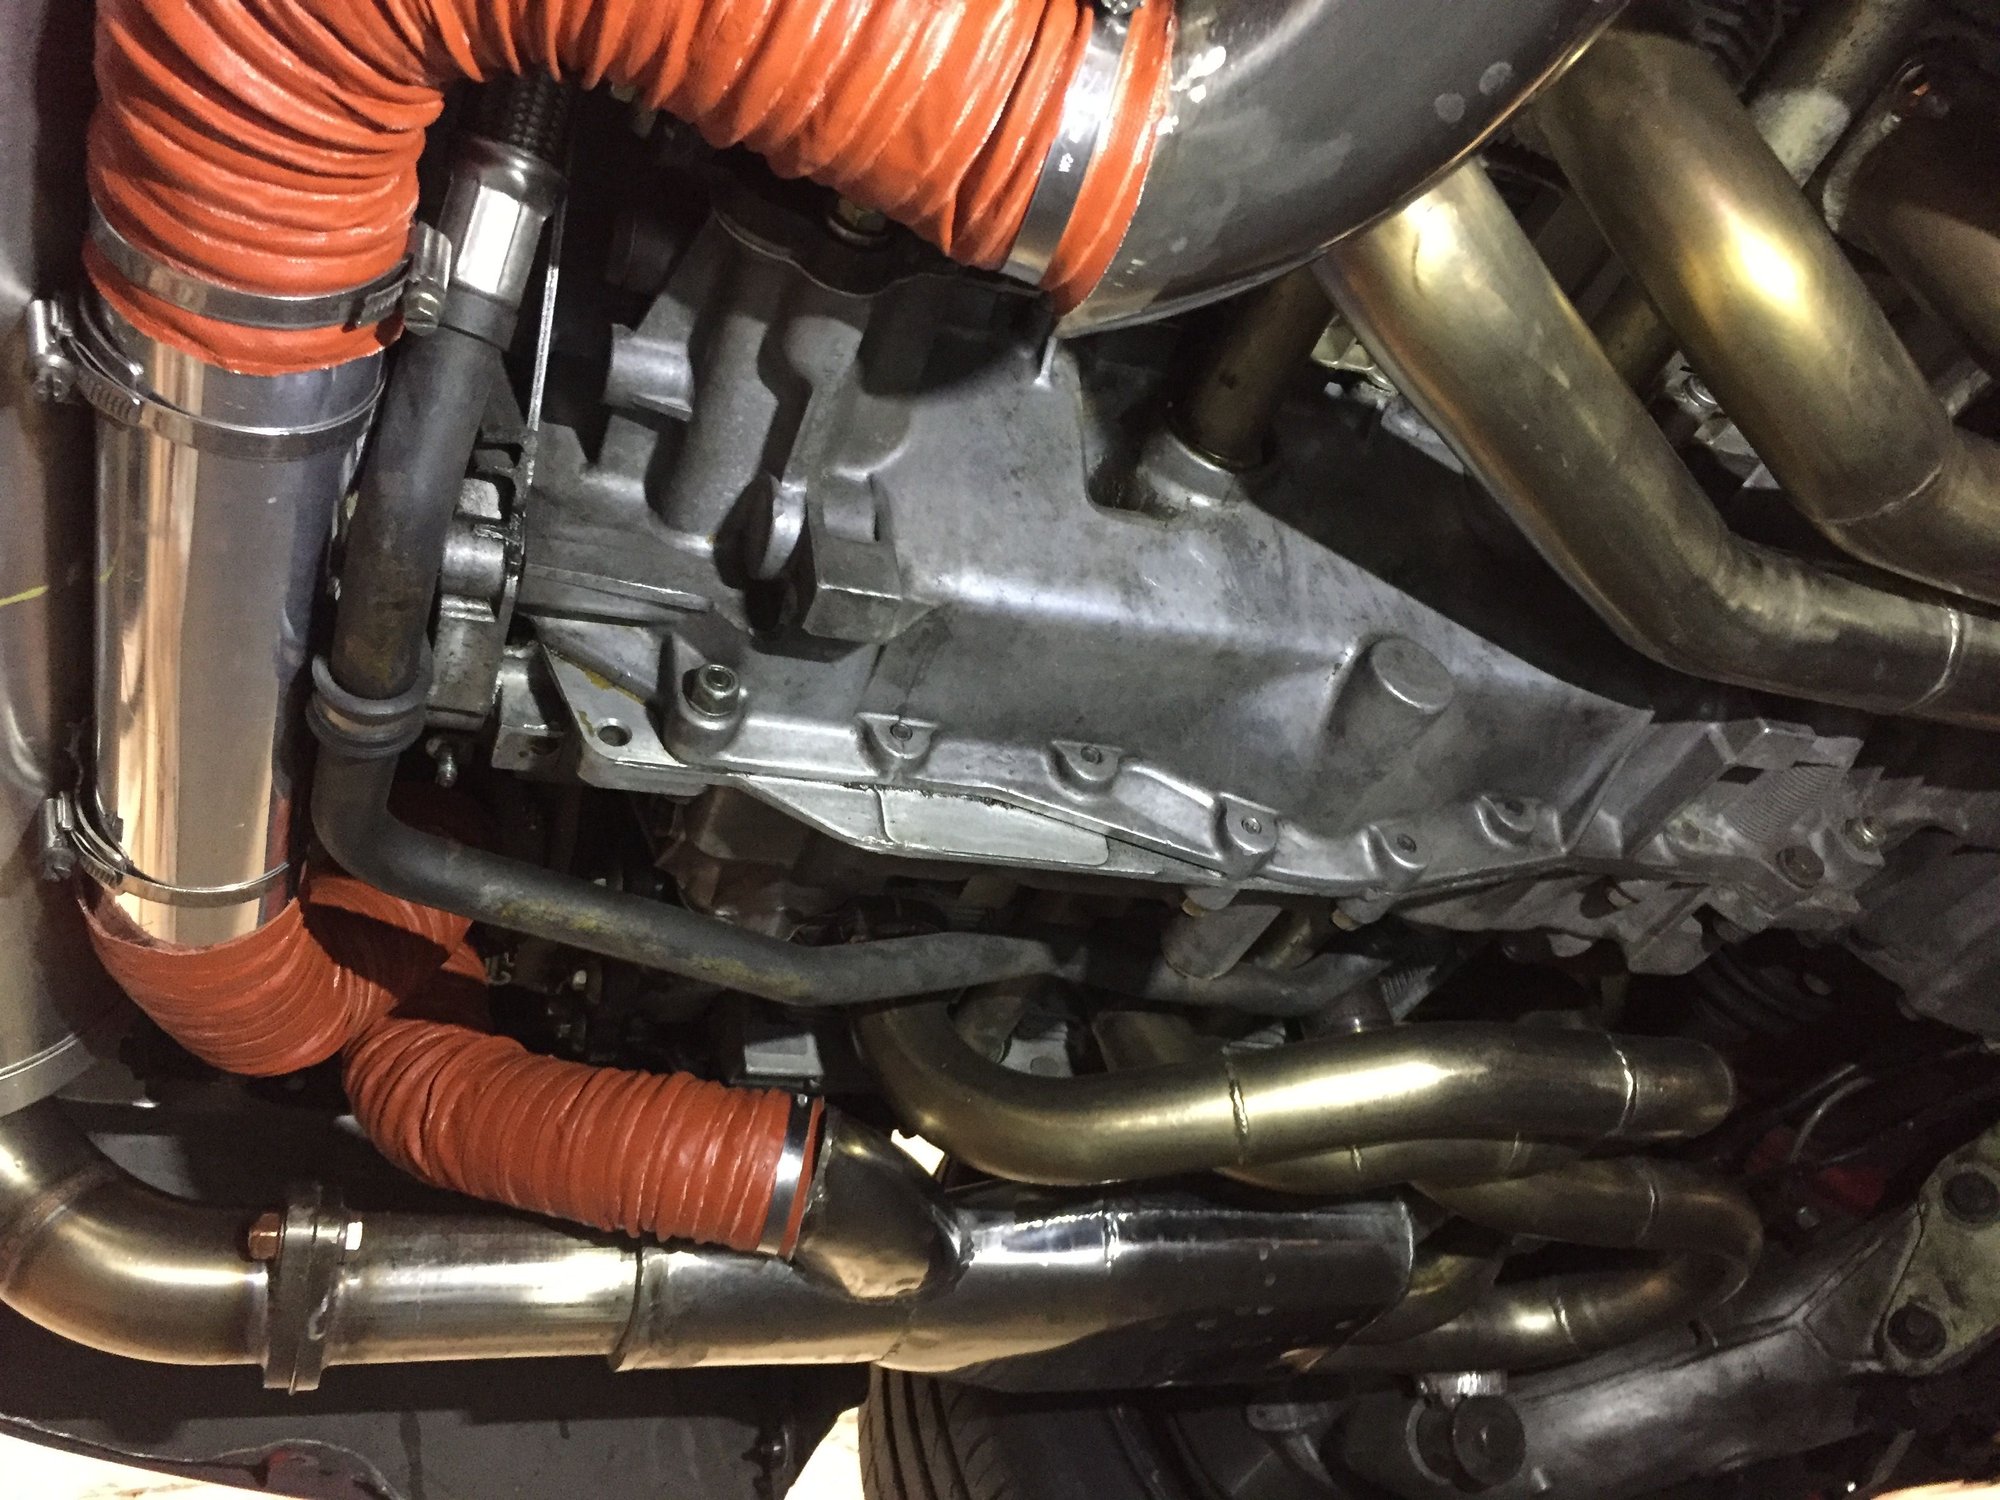
Both cams were advanced further than they should have been. I also took the plunge and had a custom long primary exhaust system made. This would replace the entire stock system but crucially retain heat for the cabin.
About to dive in
Stripping it all back
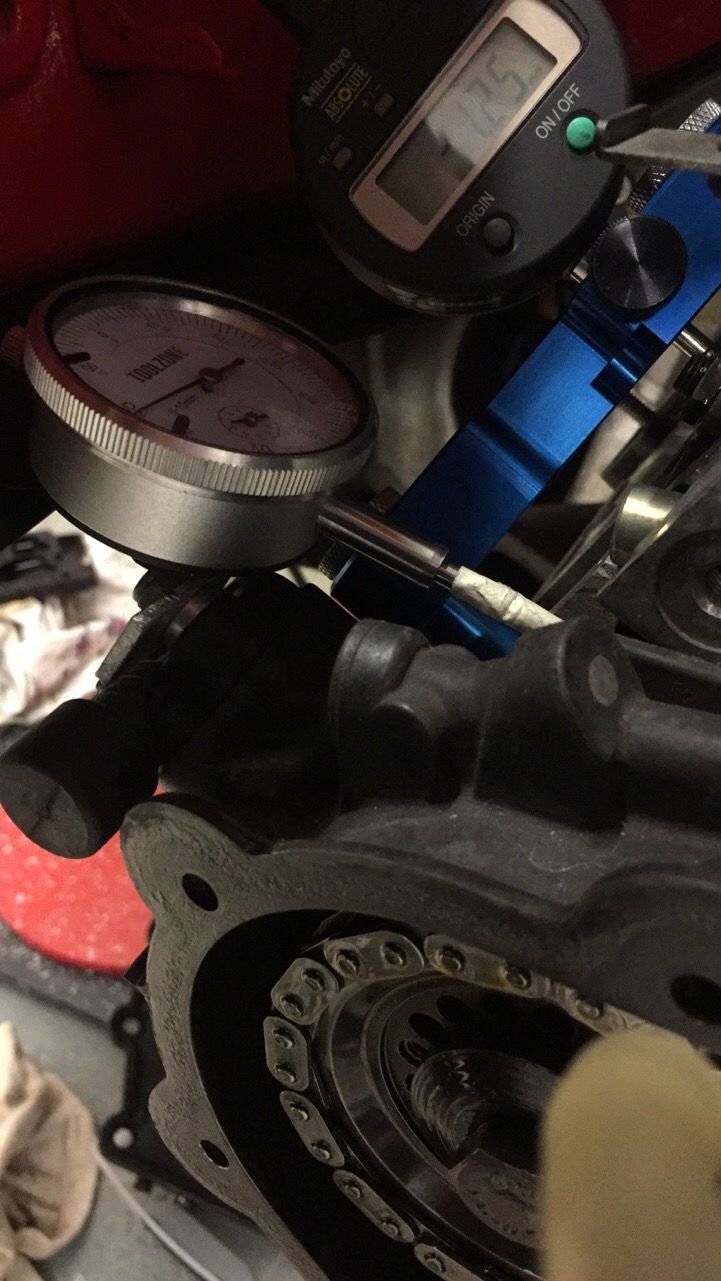
Adjusting the timing
Off with the old...
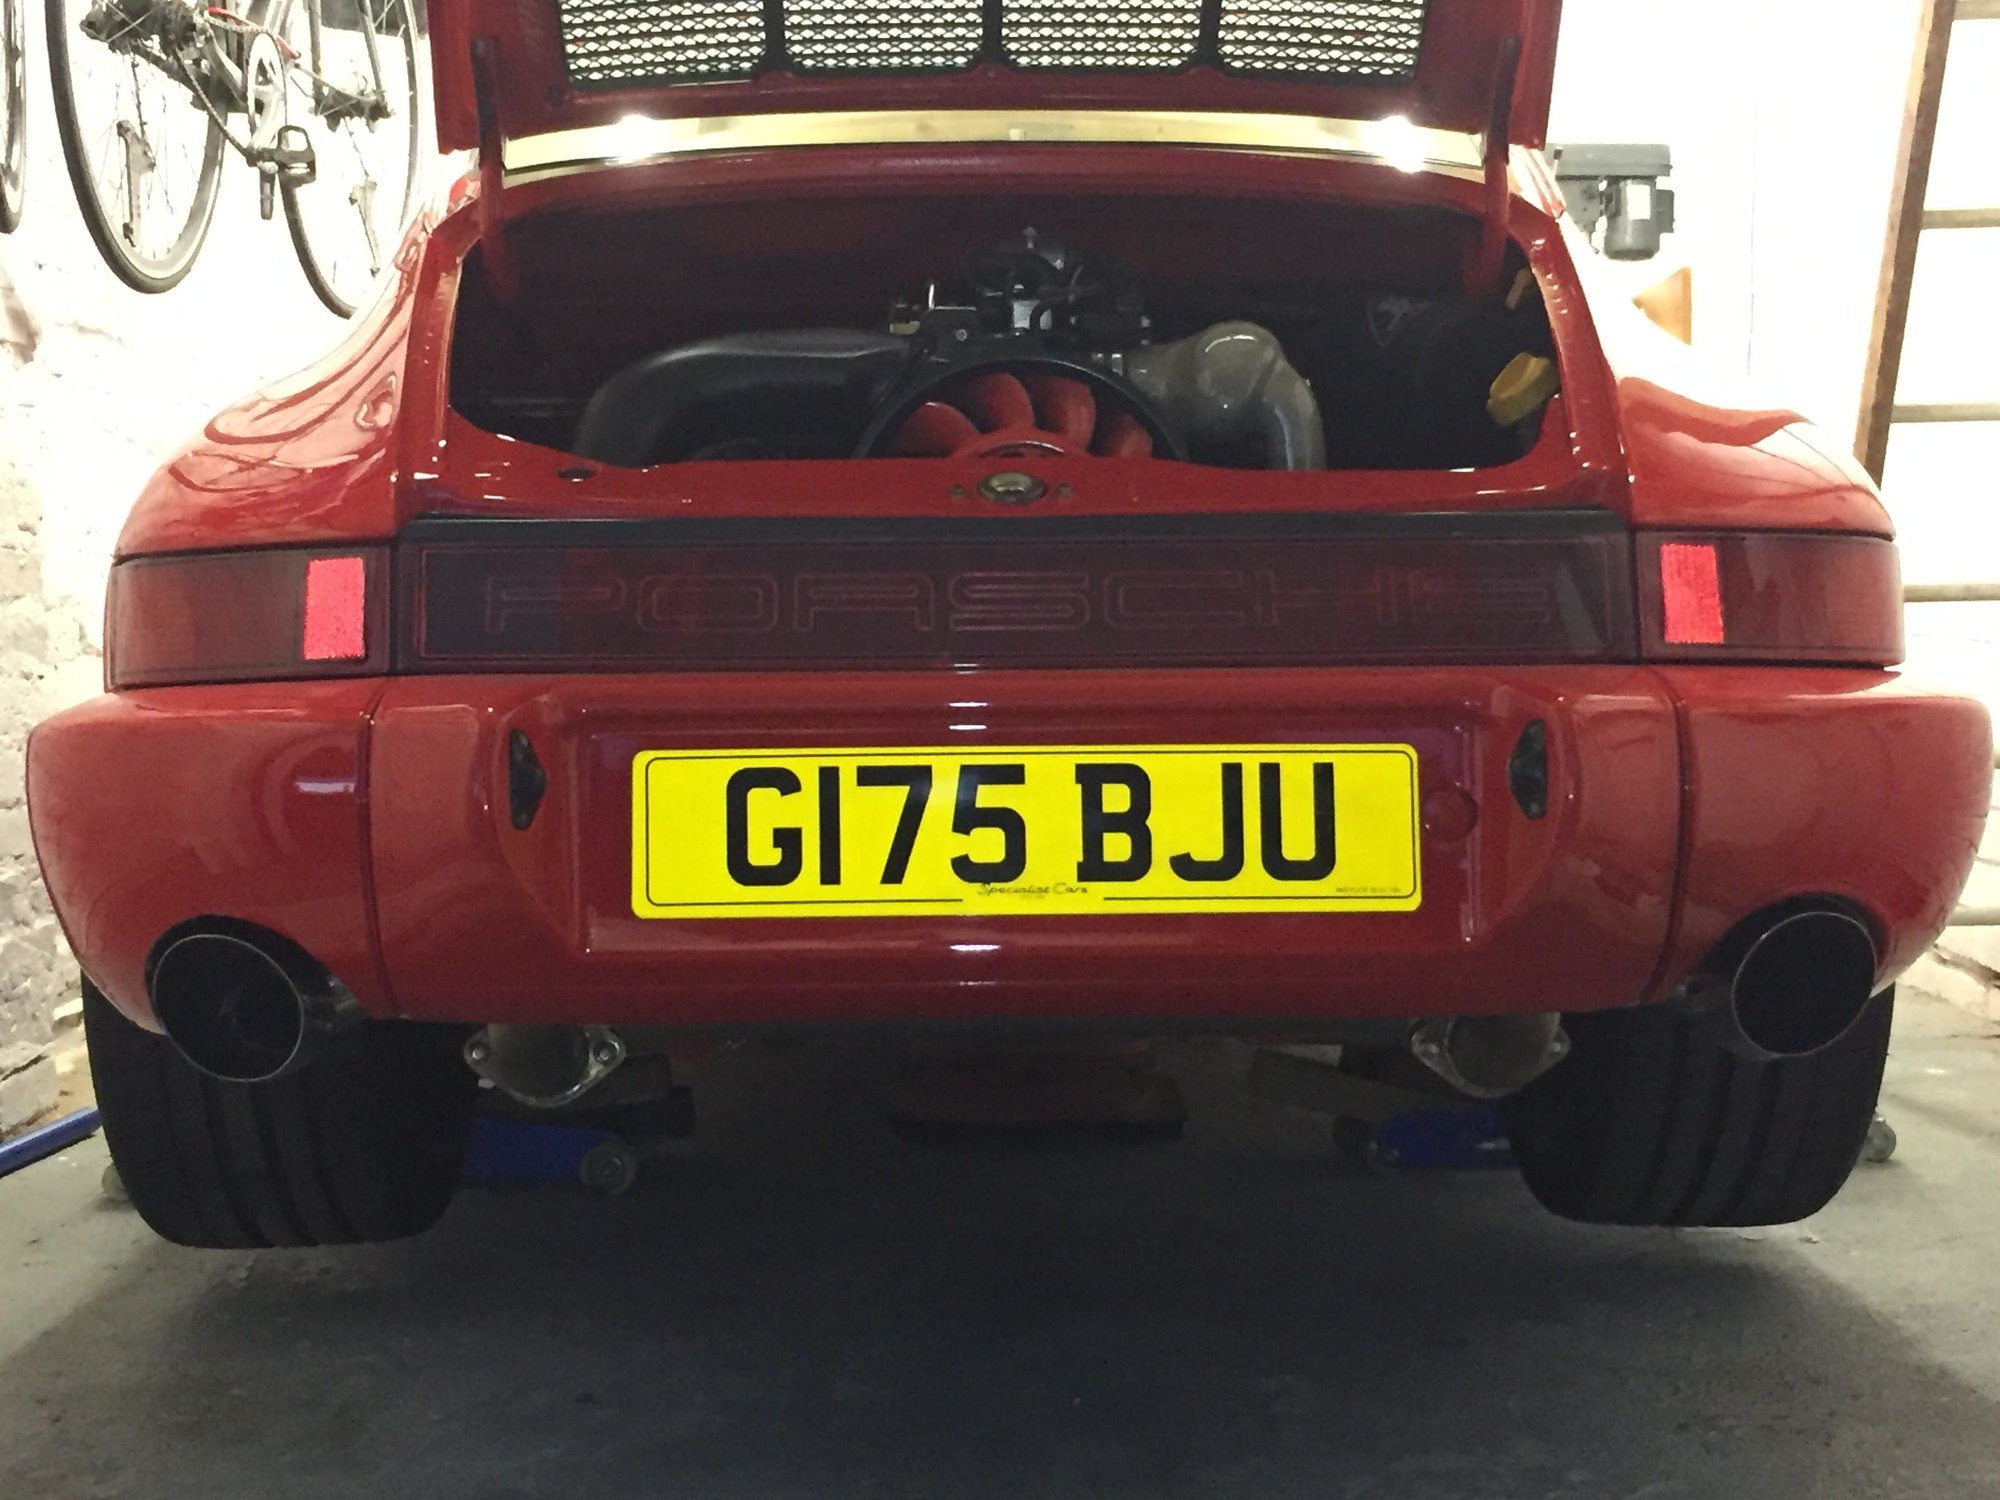
On with the new
Twin exit pipes
Several butt dyno tests were performed between adjusting the cams and fitting the new system. The first blast up the road left me in no doubt it had been a success.
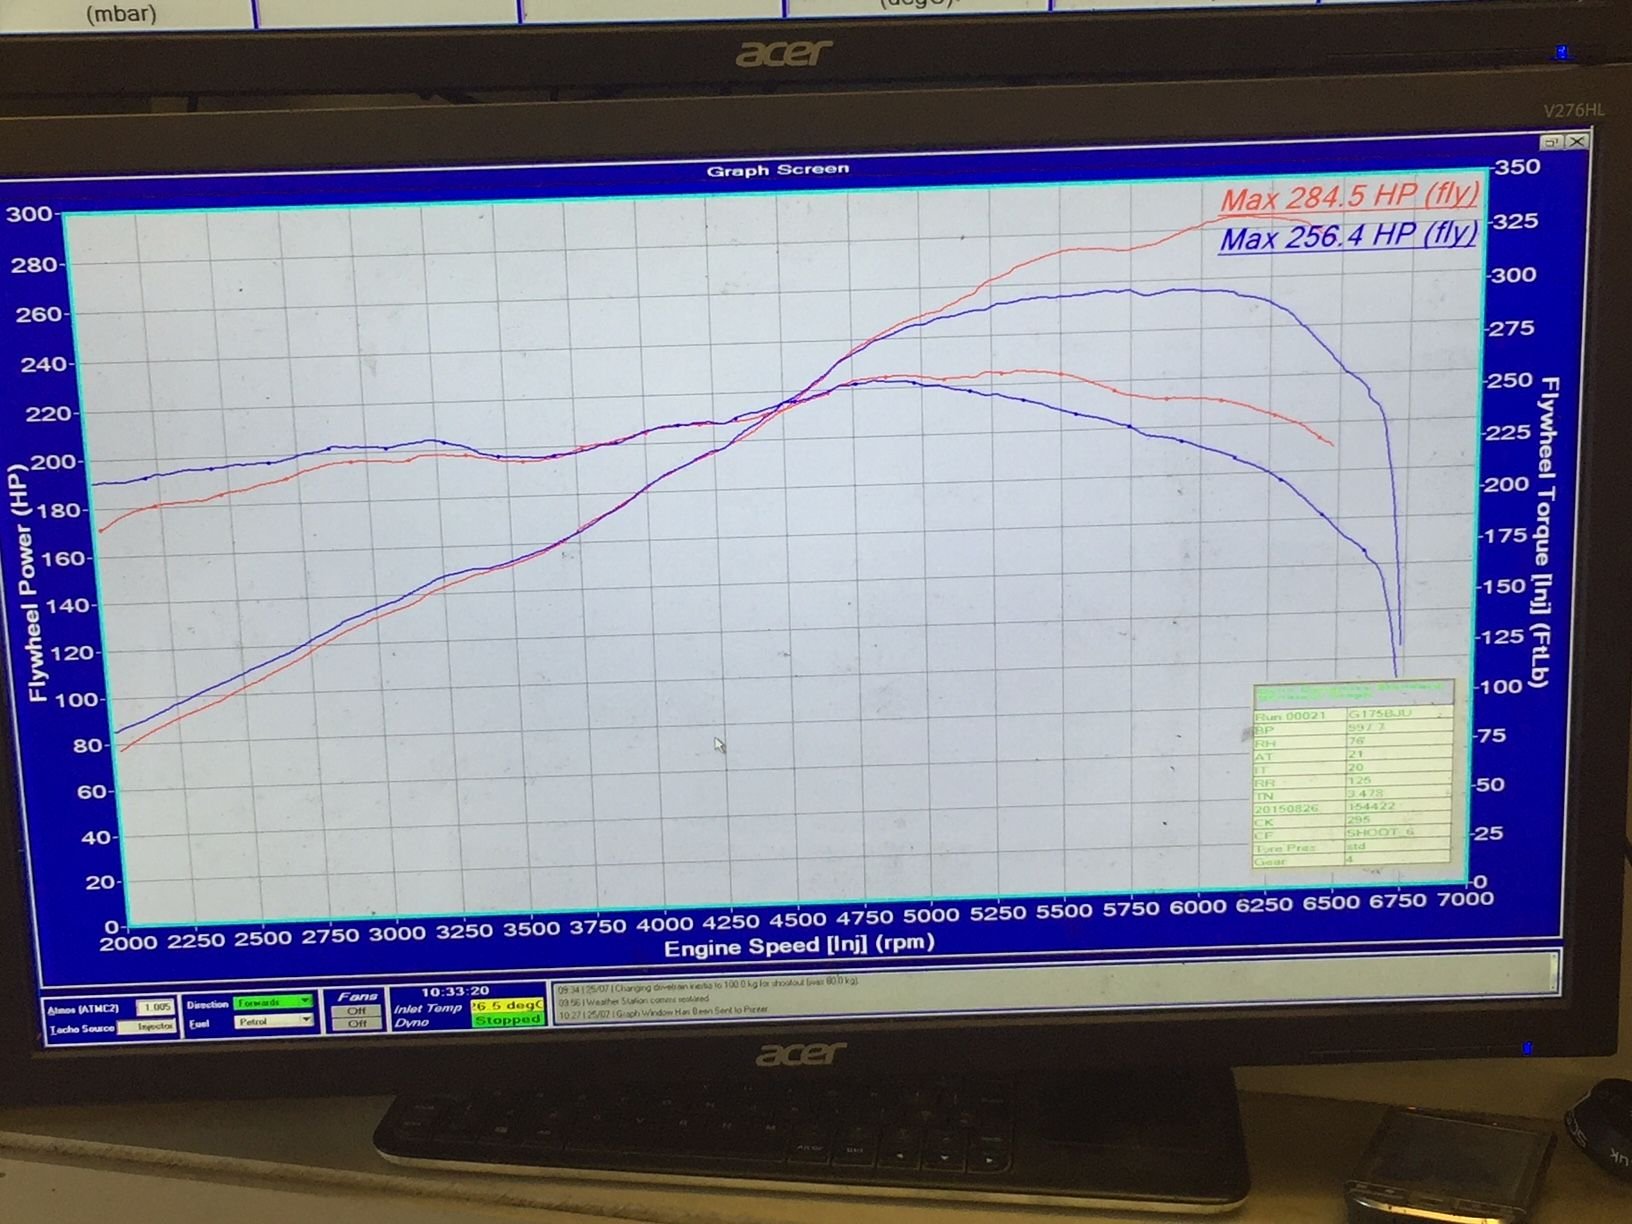
About 2 months after fitting the exhaust system I took the car back to the same dyno to check the figures and change the top end fueling.
Two plots are shown here. The first set prior to the cam adjustment and new exhaust and the other, after. Quite happy with the result
2x New headers/HEs 15.4kg
Center muffler 11.6kg
2x Tail pipes 1.7
Clamps / fixings = 0.7
Total === 29.4kg
Saving = 2.2kg
The centre muffler feels very heavy for its size and could certainly be made lighter. I'm toying with the idea of having a X cross pipe made up incorporating 2X 200 cell cats that could swap out the centre muffler.
It sounds nicely muted at sub 3k rpm and has a great note and tone from 4 upwards. No droning at any rpm I'm happy to say.
I'll have to get underneath and measure the lengths. They're not exactly equal length in that they differ about 3 inches between the longest/shortest.
One of the design requirements for the new headers was that is would permit removal of the lower rocker covers (for valve adjustments etc) without any dismantling and also allow easy fitment of COPs with consideration to keeping distance from them in the pipe routing. You can guess whats coming next
As ingenious as the timing setting and lockdown mechanism is, actually getting the timing chain and all to do it correctly has frustrated many engine builders, myself included.
The new exhaust looks very neat and yes I cam see the space to open valve covers w/o stripping ... i made heat shields to squeeze in there - are you considering? The COP alt will be nice - reckon it'll be visible on the chart or just more bay clearing benefit? You know you're gonna need ITBs to really open the space up right lol
What make of exhaust is it Rob? Looks good and that’s a very reasonable power increase at the top end, also are you still happy with the Specialist Components system and do you have any problems with over fuelling?


 03-06-2018, 10:41 AM