I ordered new plates and rivets when I did mine and found it easiest to rivet the plates onto the cover with the strip in place. I initially put the plates on and couldn't get the strip underneath them. Luckily I ordered extra rivets!
In hindsight, maybe a blow dryer or running it under a hot tap to make it more pliable would help but I had my cover painted and had them off anyway.
I’m watching as I will be doing mine in a few weeks. It’s a crazy expensive part for a rubber strip! But my old one feels more like a rigid plastic and has distorted where as the new one is soft and pliable.
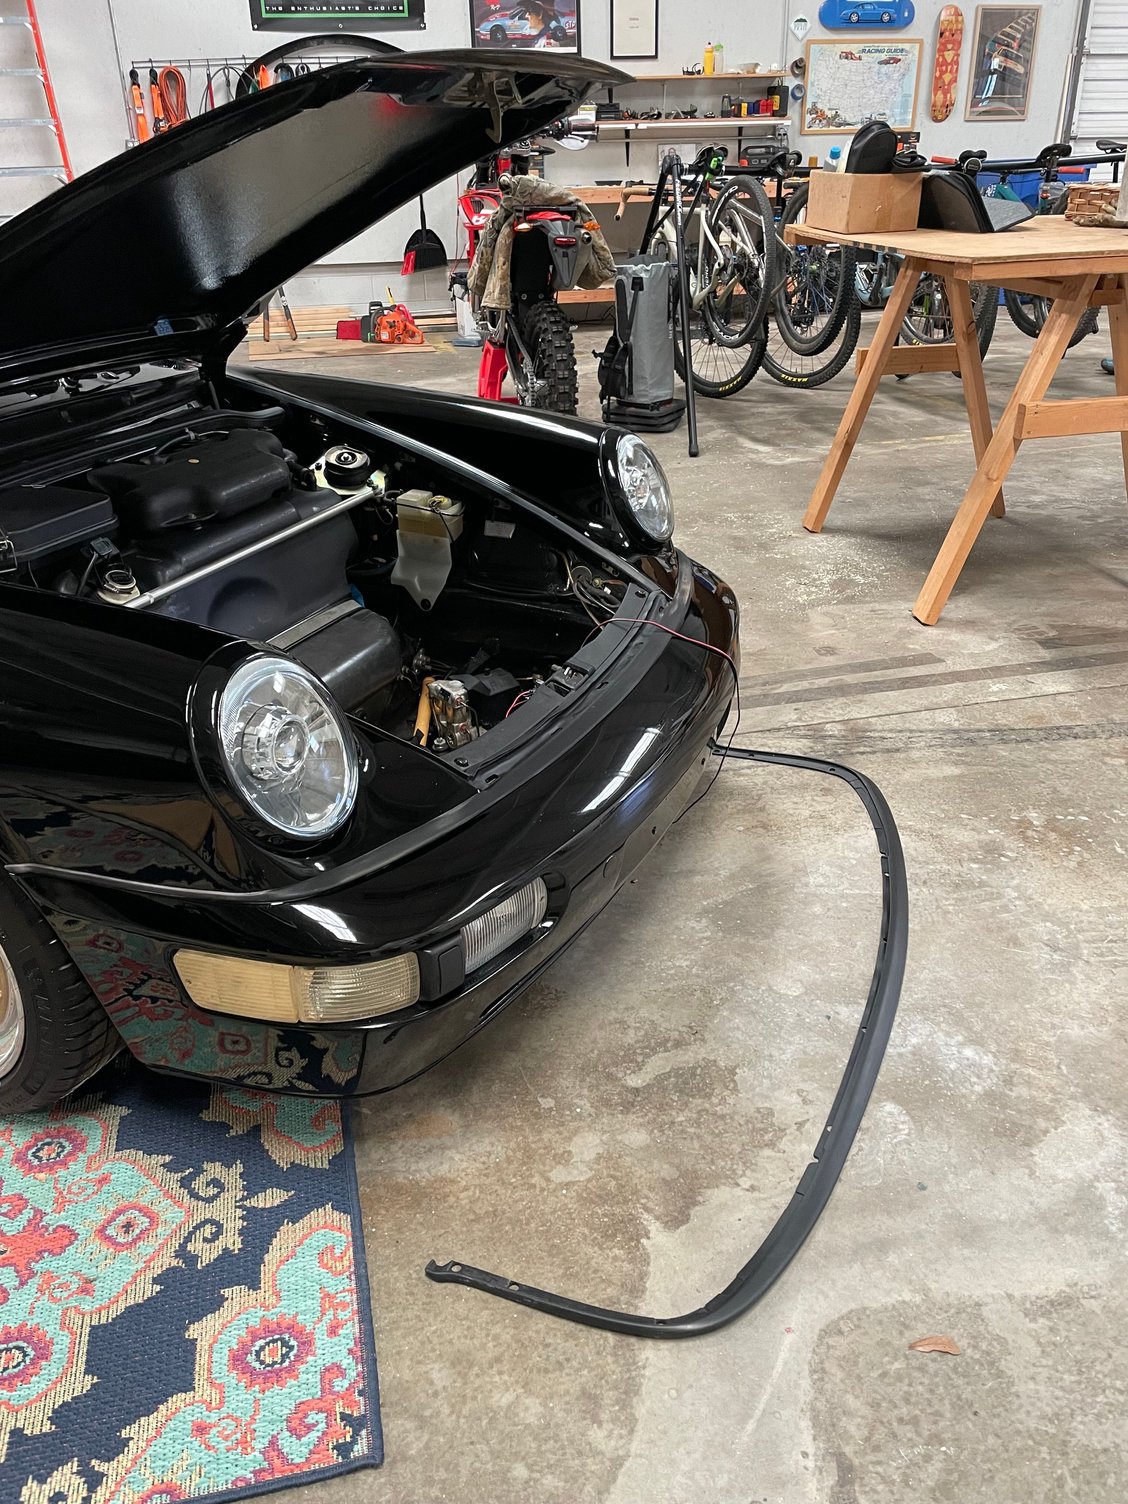
I have my bumper off. Most of the screws and bolts required to remove the bumper are also required to release the rubber strip.
When the strip is off, you need to rivet two strips, one on each side, plus change over the reinforcement strip. Not difficult with the bumper off.
Hmm those brackets were already riveted to my bumper, which didn�t appear to have ever been off. (A 1993) All I had to do was remove the lower plastics/front wheel wells, the four 10mm in the trunk, slide the bumper forward about 3� (so you don�t have to unplug anything) replace the rubber, push the bumper back into place and button it all up.
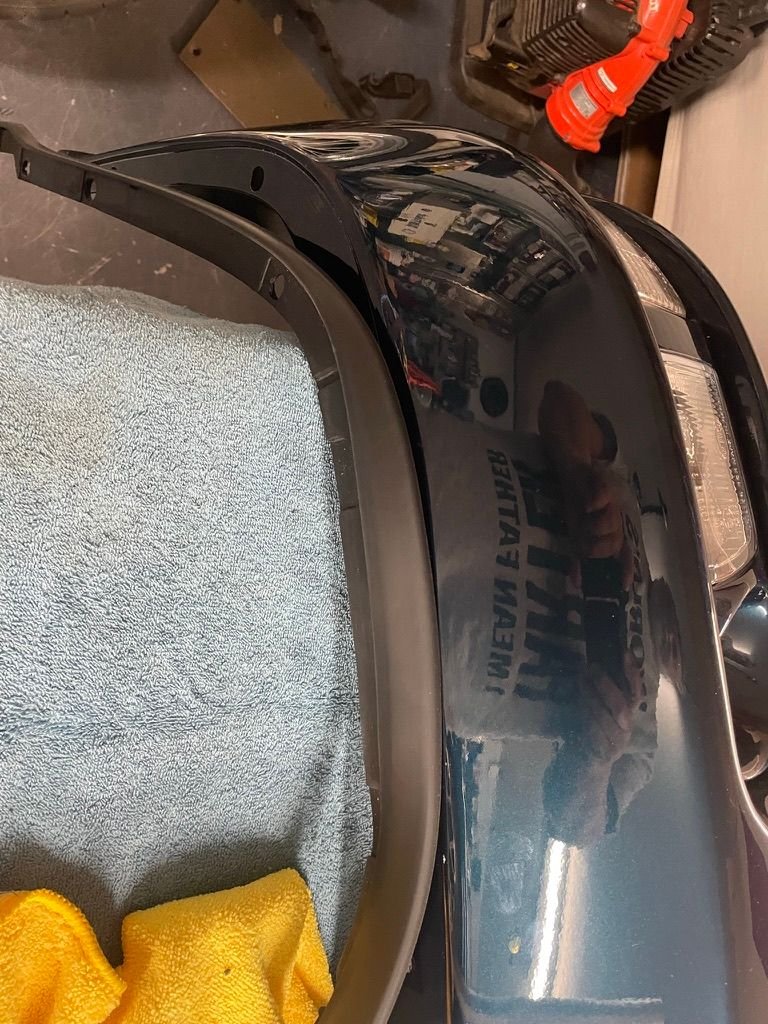
That's correct, the plates are riveted to the bumper cover, the strip is sandwiched between the plate and the bumper cover.
I was able to just pull the strip out once the cover was off but trying to wedge the new one back under the plates wasn't possible for me. Then I found where someone riveted the plates back onto the cover with the strip in place and did that and it was super easy.
@dammdox how did get the strip back under the plates without removing them?
Removing those and re-riveting seems like a major chore! All I did was use a little bit of super lube / non corrosive grease and the lip pushed onto the brackets without an issue. I had to bend/finesse the rubber while pushing, but it was simple in the end to work them into place. https://rennlist.com/forums/964-foru...l#post17772698 is my post.
Interesting, I tried for way too long, lol. I had the bumper cover off for paint already so it wasn't a big deal. I just drilled out the rivets to remove them, the whole thing would have taken 5 minutes if I hadn't wasted my time trying to wedge it back in, strange that it was such a PITA.
Interesting, I tried for way too long, lol. I had the bumper cover off for paint already so it wasn't a big deal. I just drilled out the rivets to remove them, the whole thing would have taken 5 minutes if I hadn't wasted my time trying to wedge it back in, strange that it was such a PITA.
I did mine with the bumper off. Much easier IMO. And while you’re in there……
With the bumper removed, it’s a good opportunity to thoroughly clean the A/C condenser and oil cooler areas, check your ballast resistors, and replace the (now disintegrated) bumper foam sealing wedges. The wedges aid in directing air to the radiators to maintain their efficiency. @Vandit has a good thread on this: Sealing wedges
A good weekend project.
Fitting a new strip is easy when it is new. I have never had much issue with old ones this way. I didn't look at the other threads so hope it isn't a repeat.
Start from center with the corner of the metal strip inserted into the groove.
Gradually pull the seal outwards while keeping pressure holding it onto the plate. Use a soapy solution if it doesn't slide easily but cleaning the old groove out first helps.
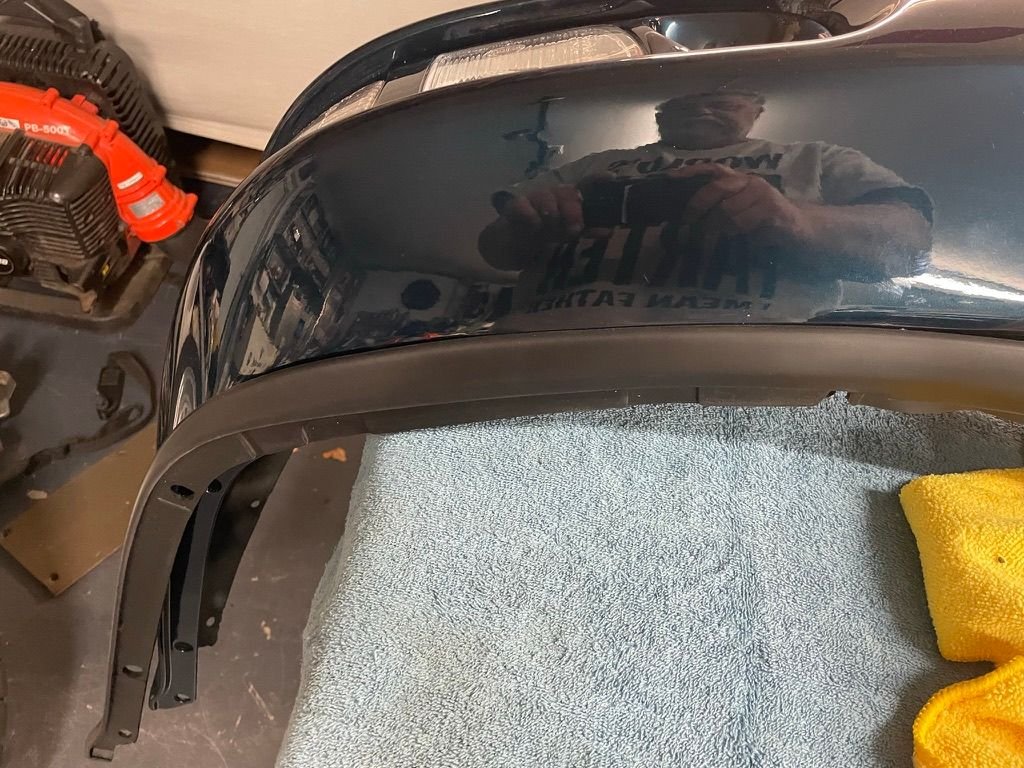
Pull outwards until the piece is centered and button inserts into slot. Repeat for other side.
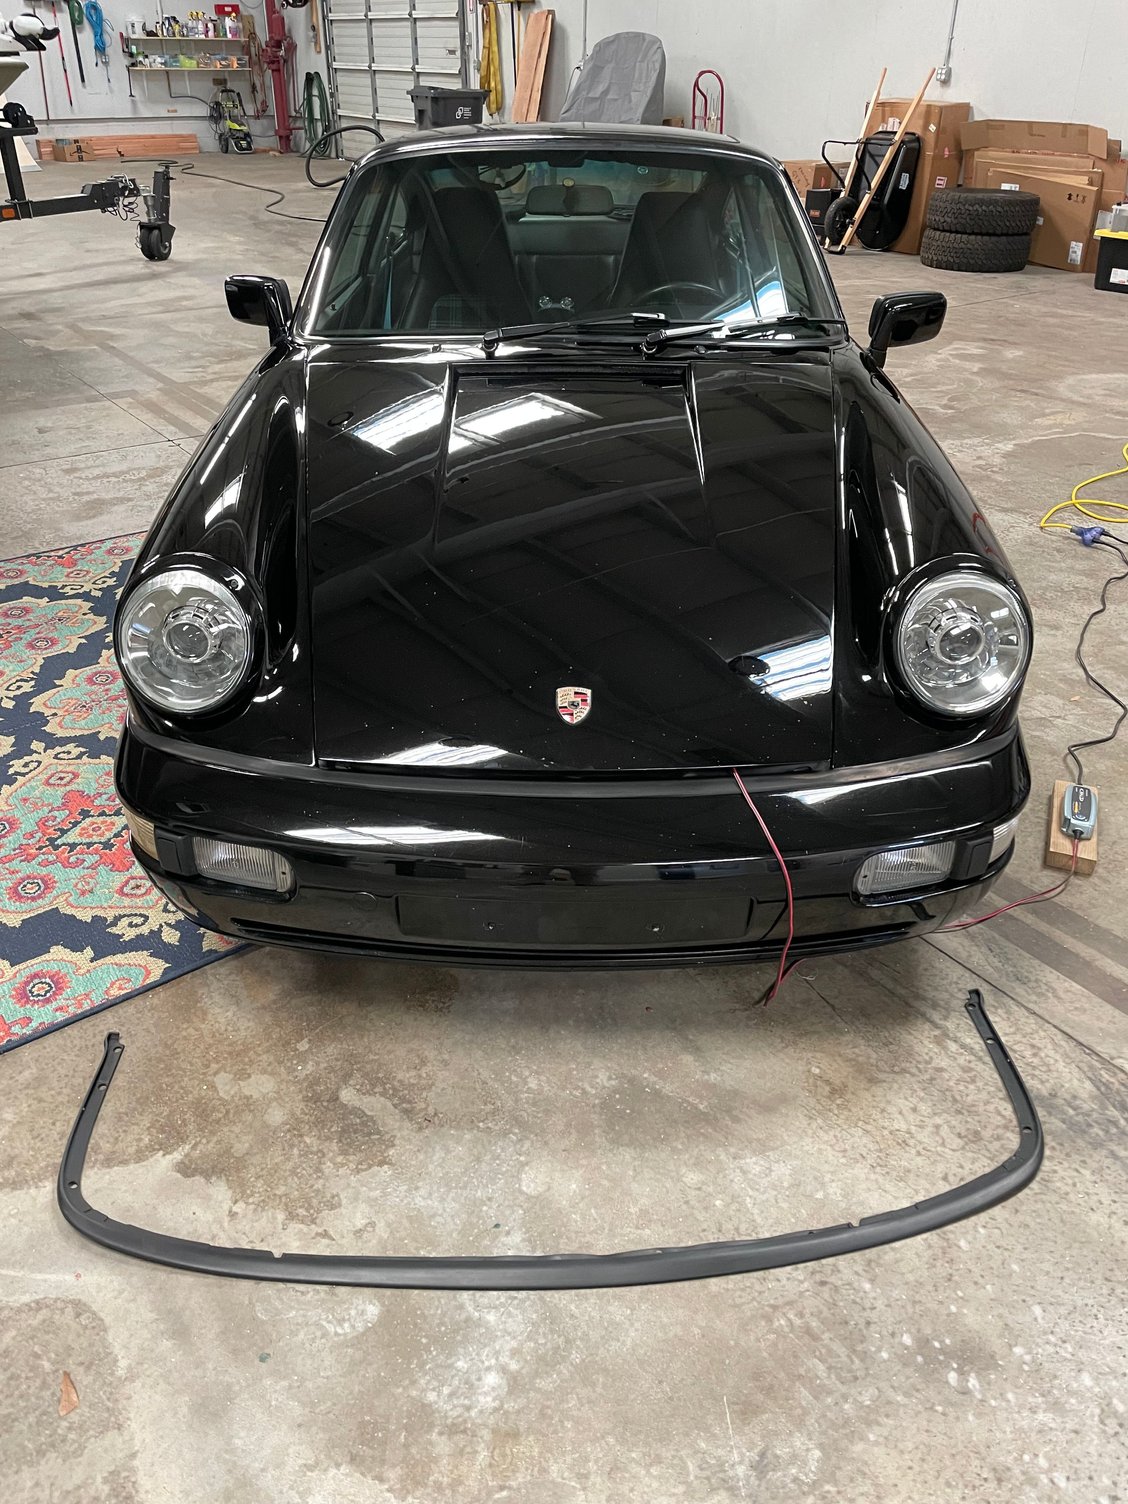
I strongly suggest removal of the bumper. It is always a good excuse to inspect and clean. Keep these clean is not just for looks but will keep your 964 running forever.
18003953]Fitting a new strip is easy when it is new. I have never had much issue with old ones this way. I didn't look at the other threads so hope it isn't a repeat.
Start from center with the corner of the metal strip inserted into the groove.
Gradually pull the seal outwards while keeping pressure holding it onto the plate. Use a soapy solution if it doesn't slide easily but cleaning the old groove out first helps.
Pull outwards until the piece is centered and button inserts into slot. Repeat for other side.
I strongly suggest removal of the bumper. It is always a good excuse to inspect and clean. Keep these clean is not just for looks but will keep your 964 running forever.
Well poo I don�t think I put mine on incorrectly. None of this sounds anything like what I did. I did put it back the way it came apart. It must have been put on incorrectly when the dill hole who painted Talia blue back in the 90s replaced the front bumper cover
Slideshow: Long before engineering consulting became trendy, Porsche was quietly helping other automakers build everything from supercars to economy hatchbacks.
Slideshow: Some brands build cars. Porsche builds traditions, obsessions, and a few habits that stopped making sense decades ago but somehow became part of the charm.
Slideshow: A small Polish tuner has reimagined the Porsche 911 Slantnose for the modern era, blending 1980s nostalgia with widebody tuning culture and serious performance upgrades.
Slideshow: Porsche has created a Japan-only 911 GT3 Artisan Edition that blends track-ready hardware with design cues inspired by traditional Japanese craftsmanship.
Slideshow: Porsche's latest electric Cayenne Coupe blends dramatic styling with supercar acceleration, turning the brand's midsize SUV into a 1,139-horsepower flagship.