When you click on links to various merchants on this site and make a purchase, this can result in this site earning a commission. Affiliate programs and affiliations include, but are not limited to, the eBay Partner Network.
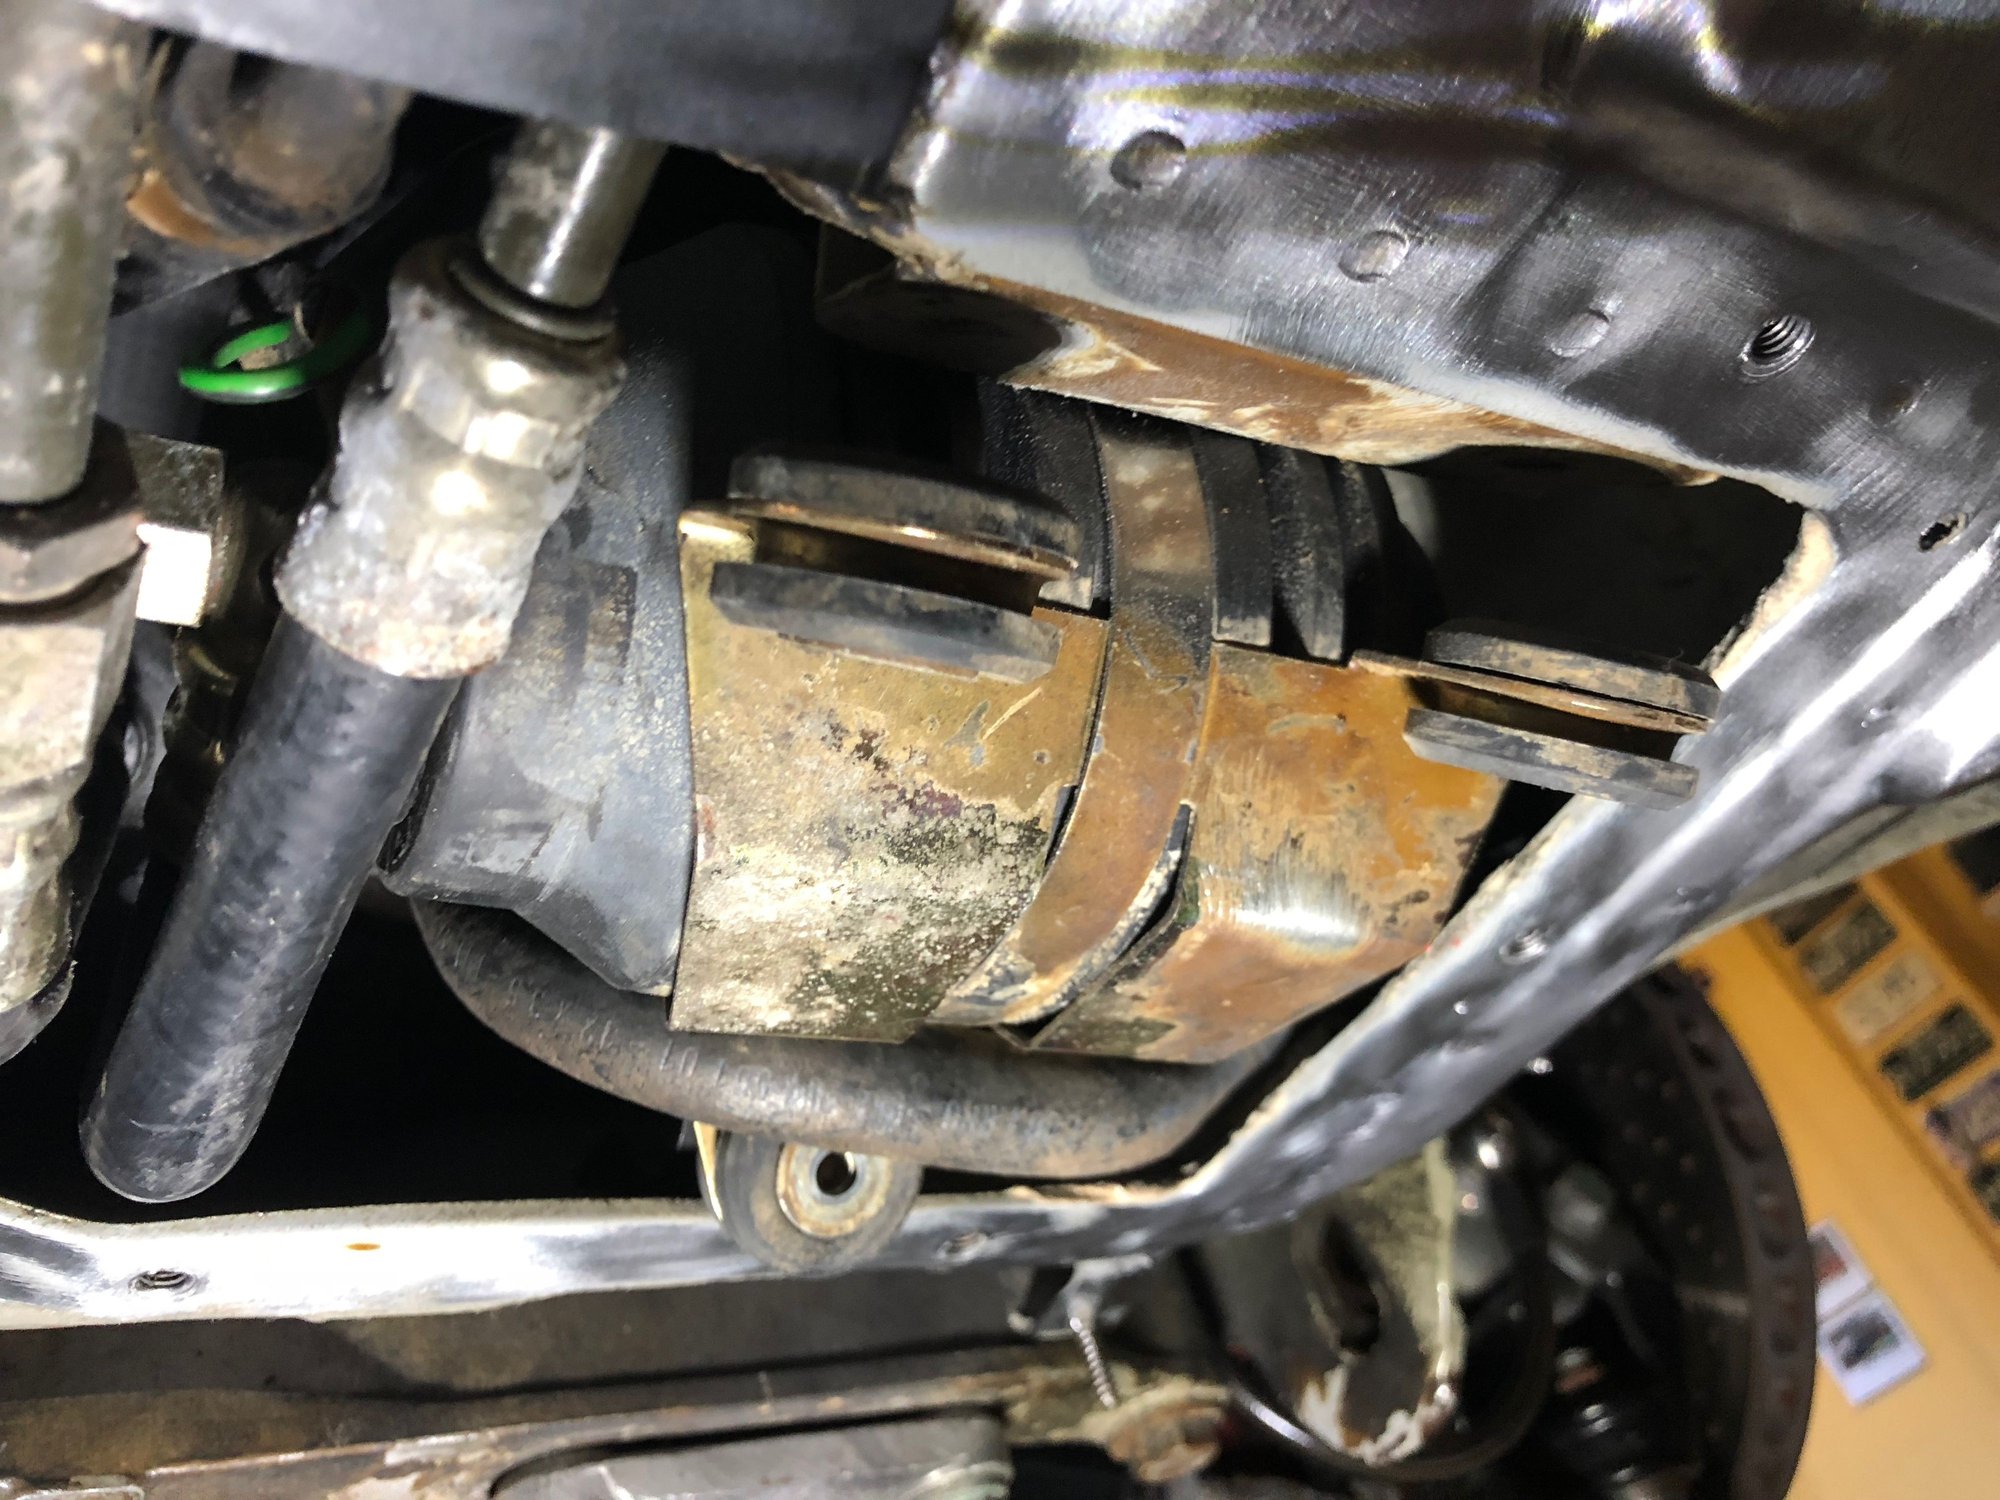
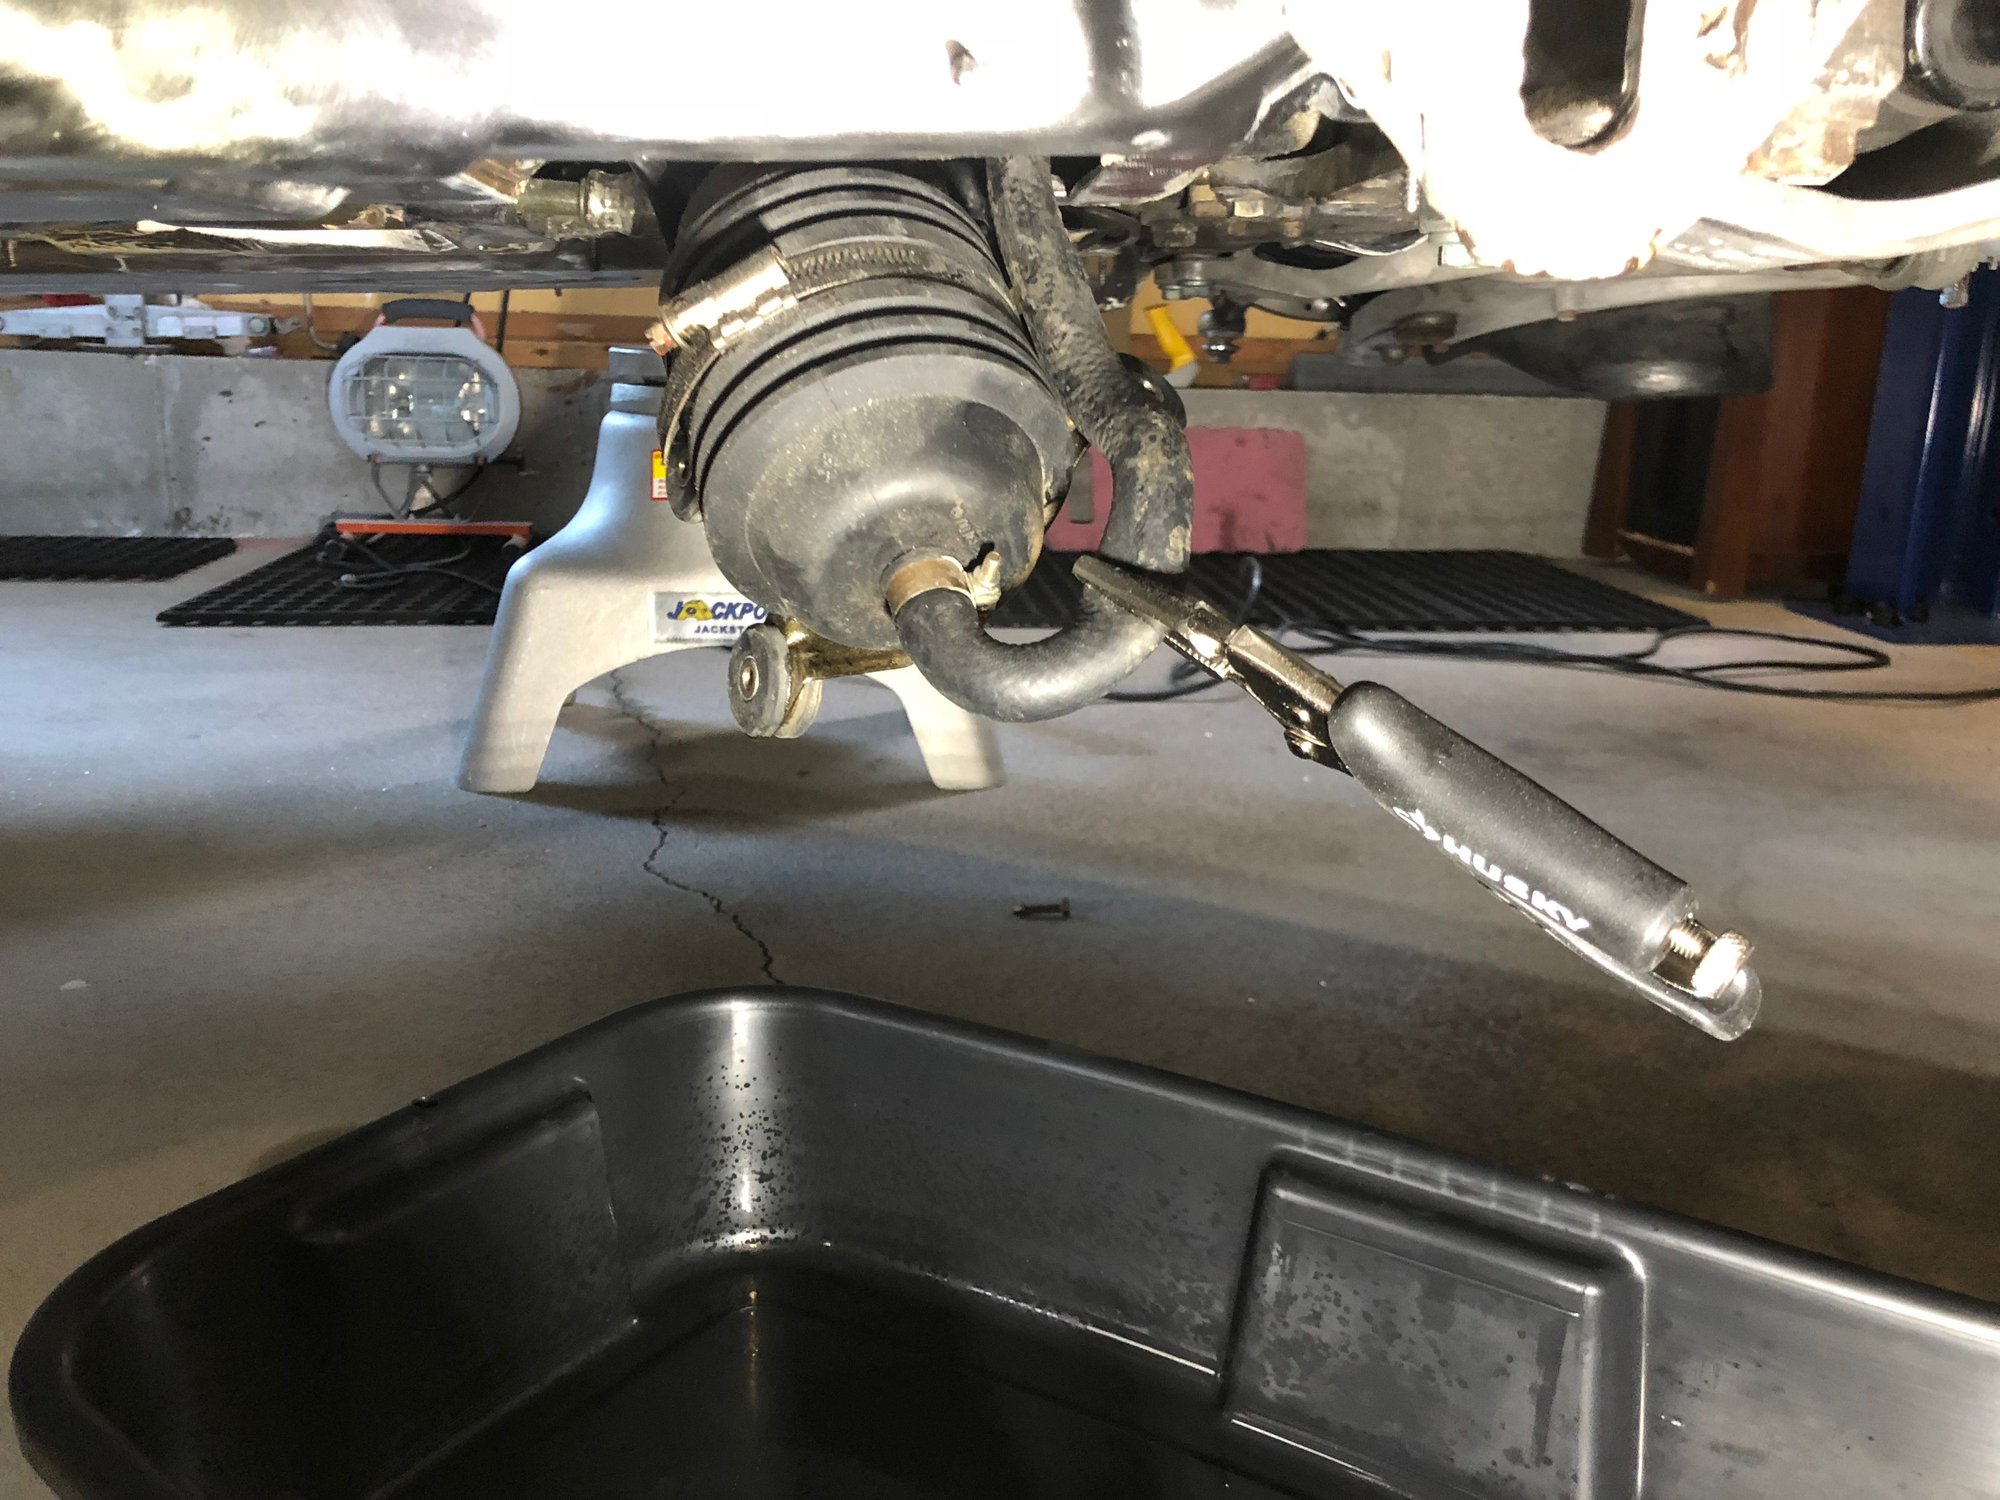
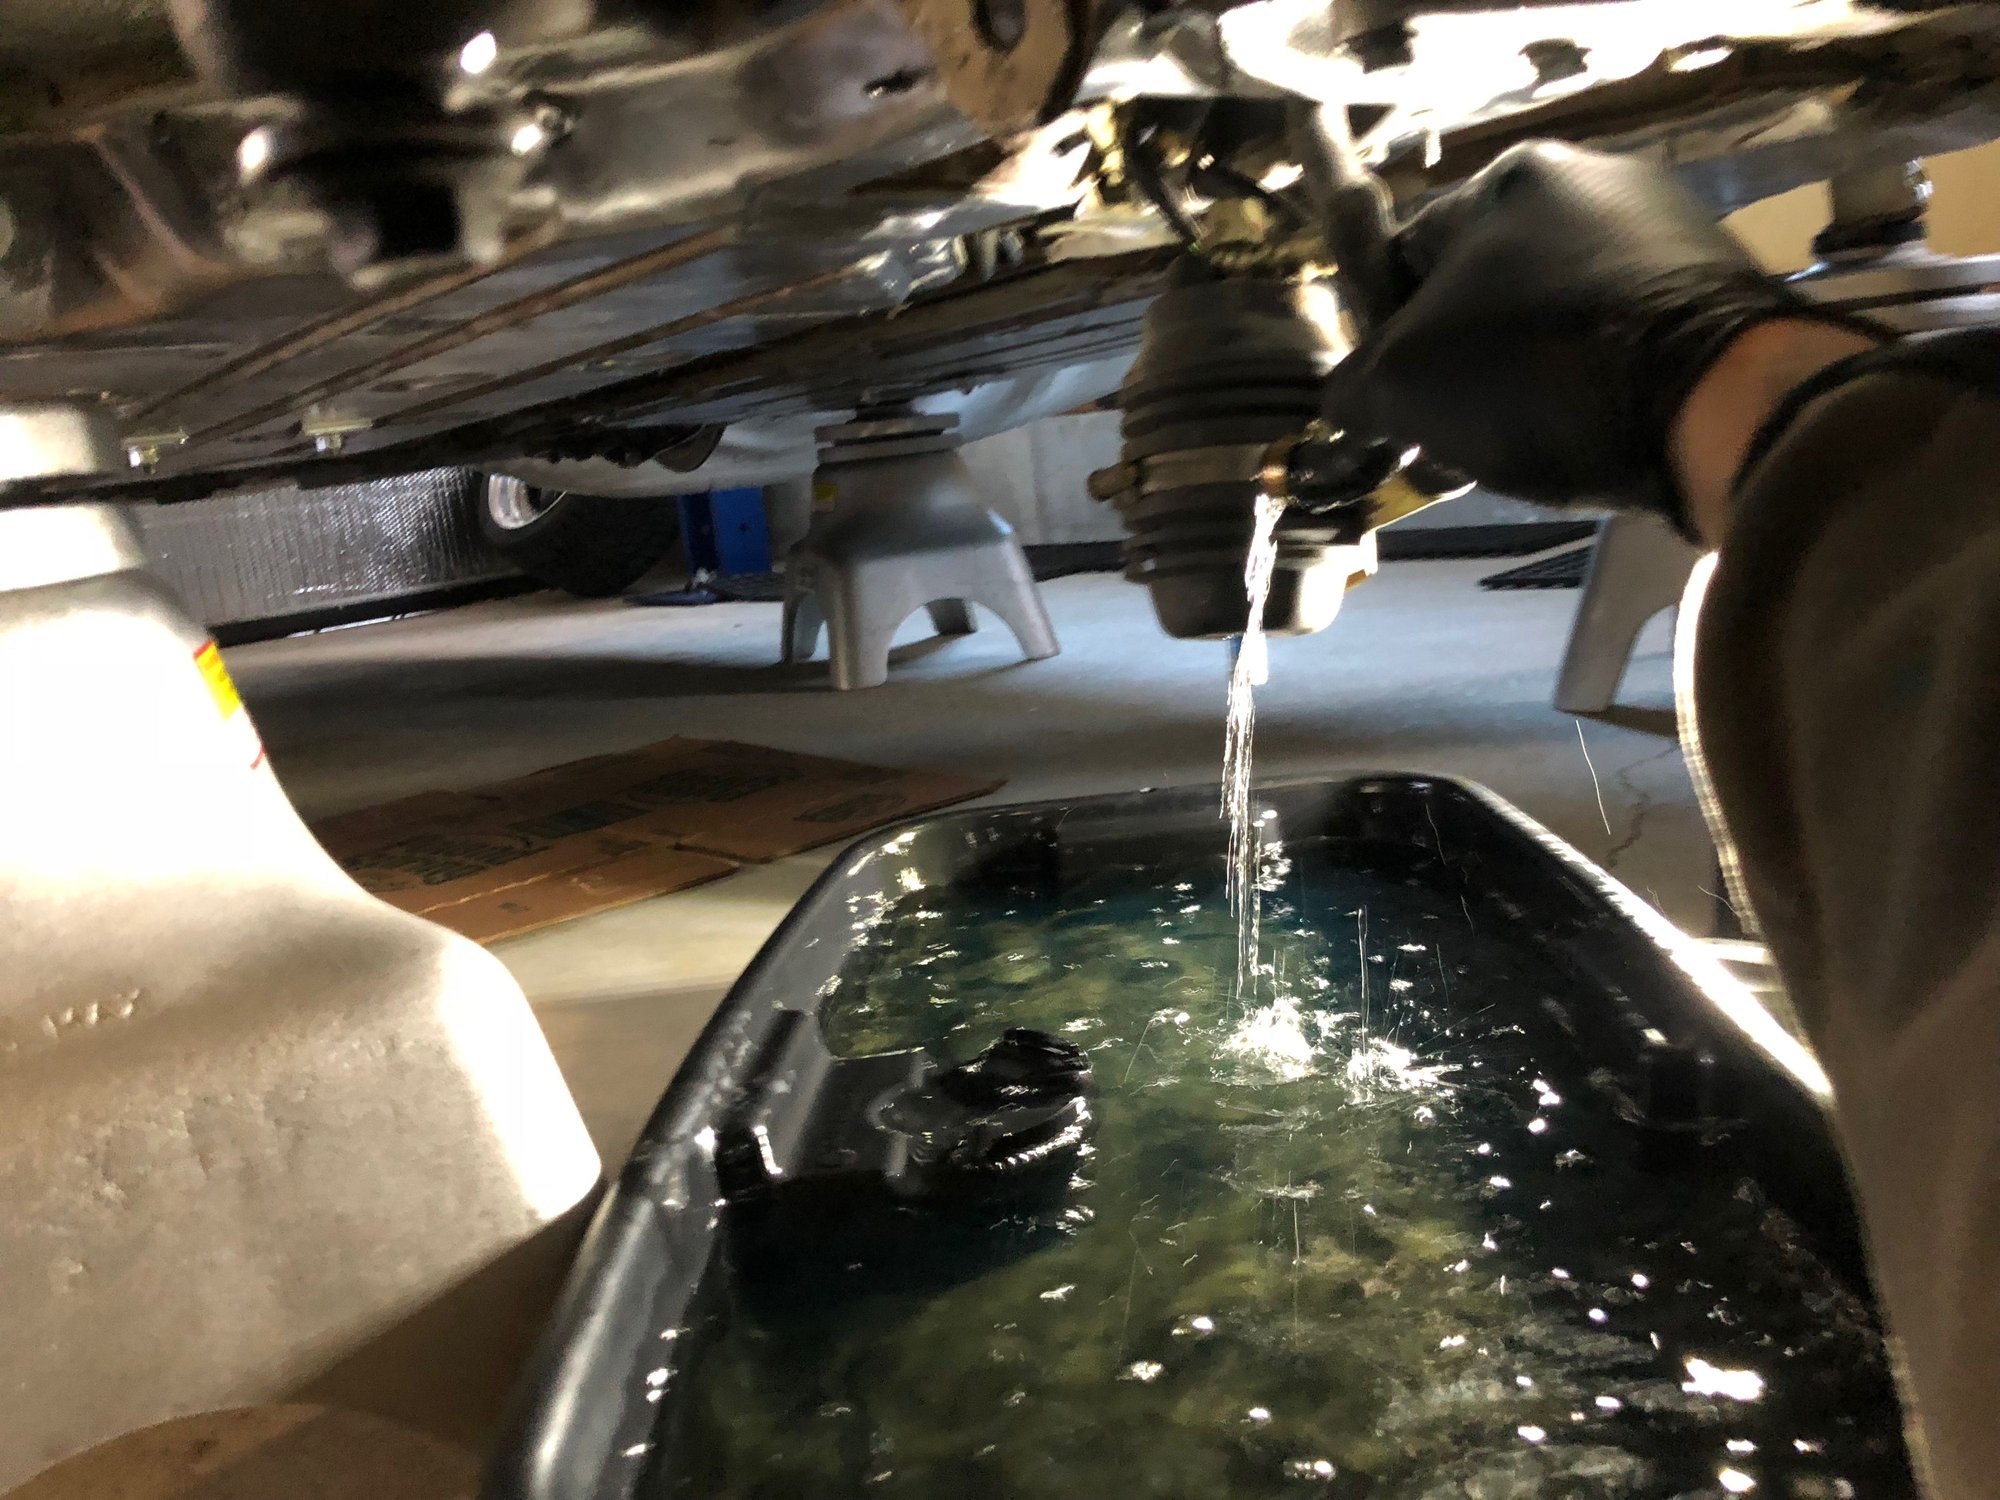
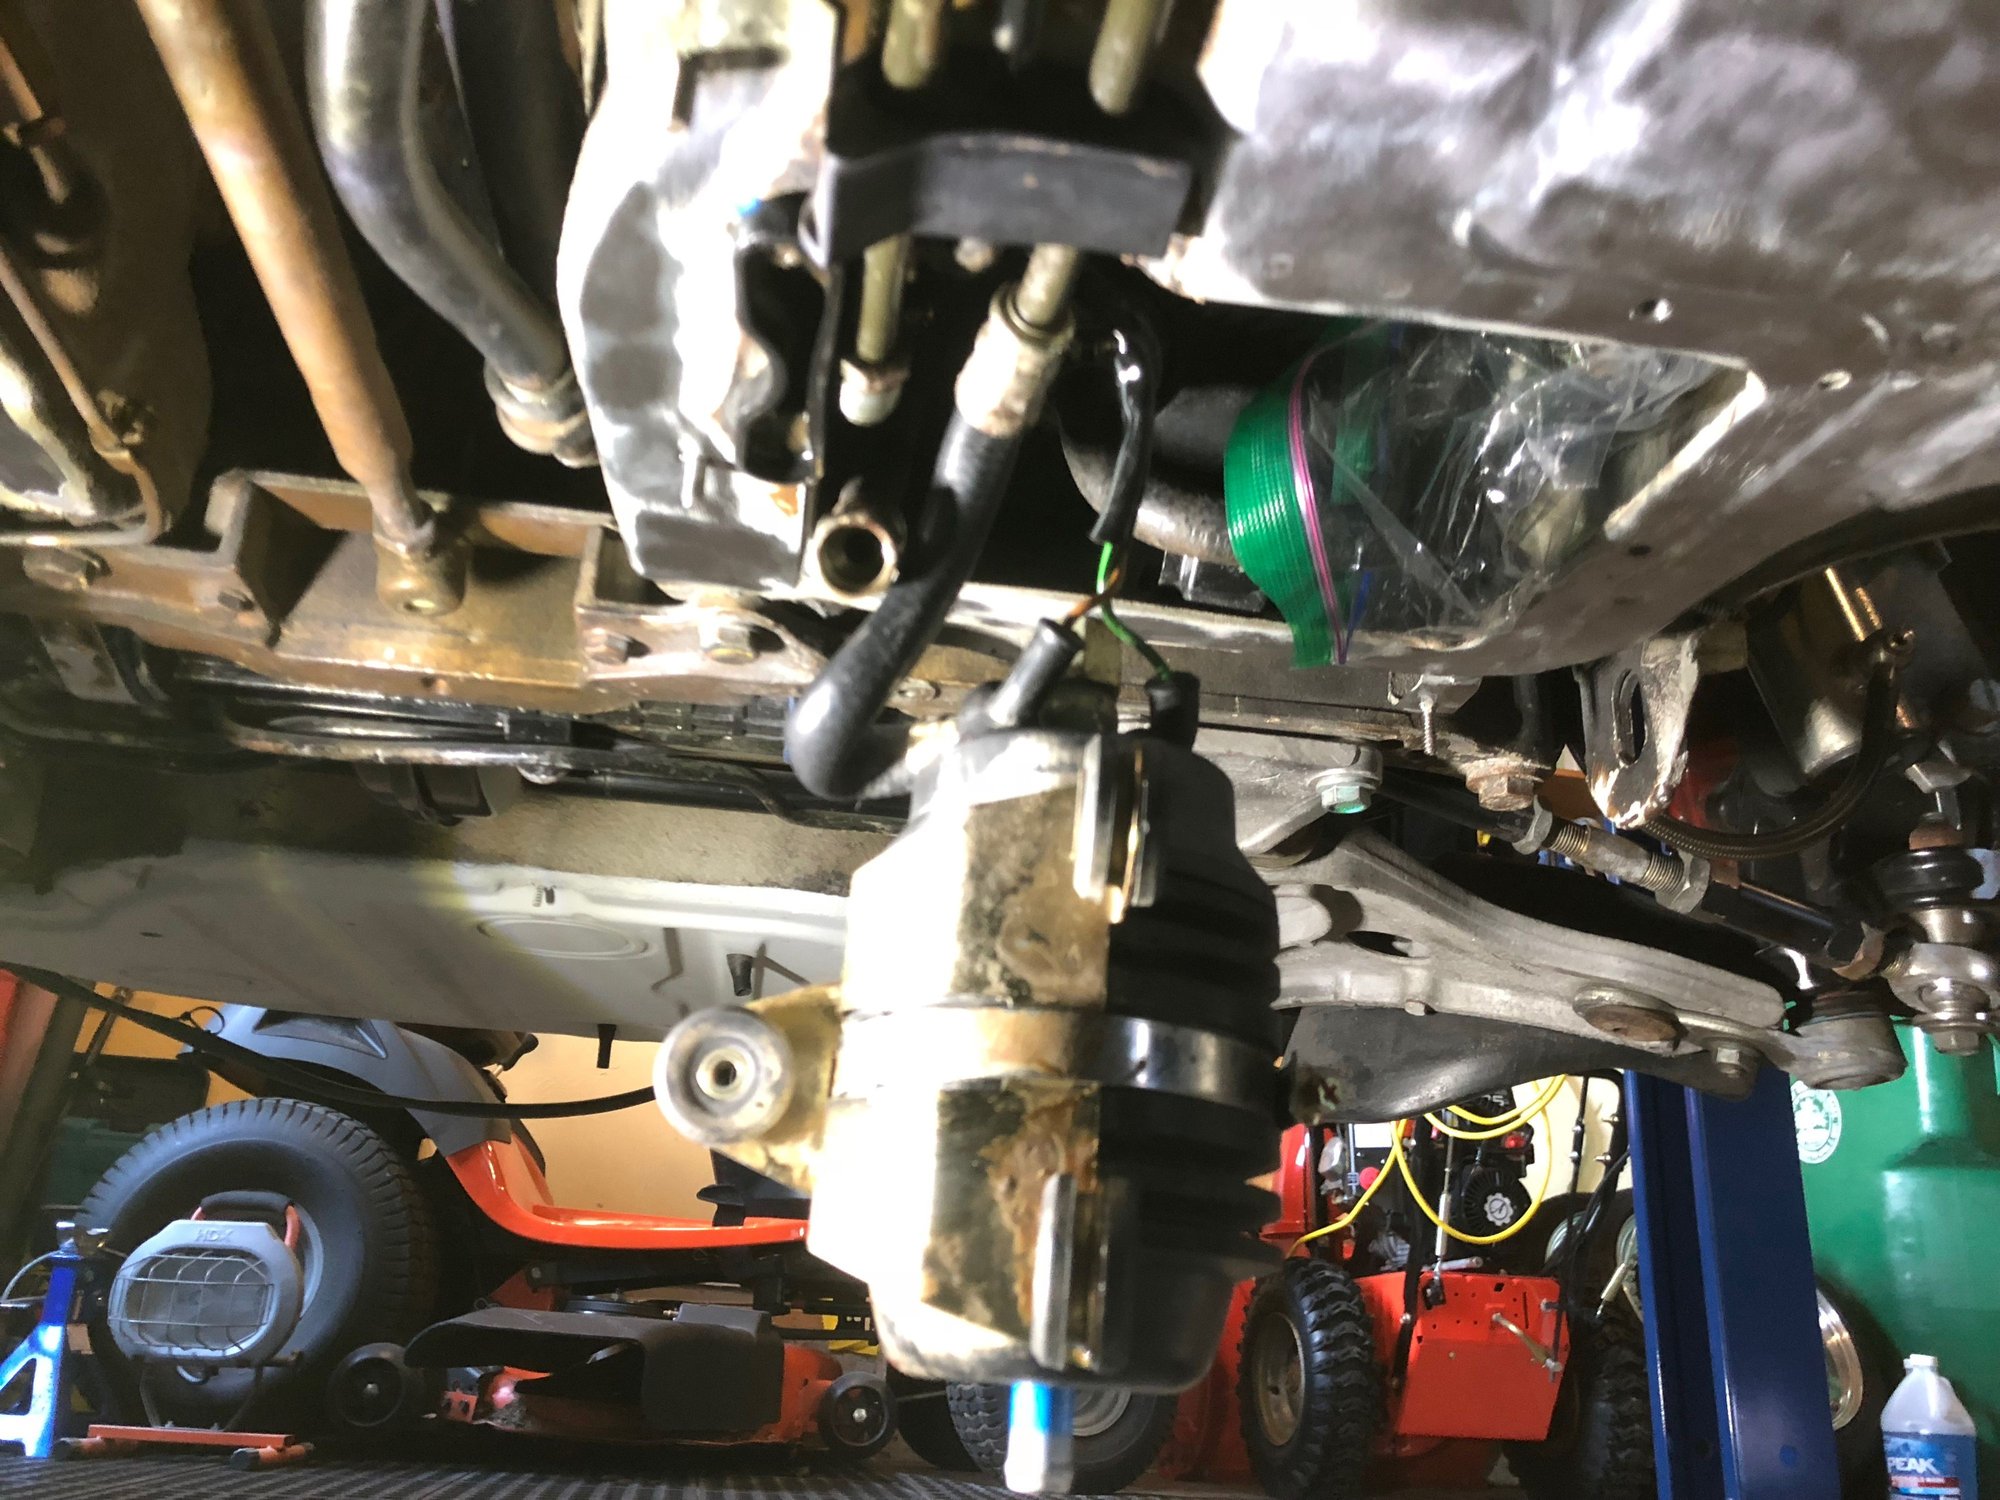
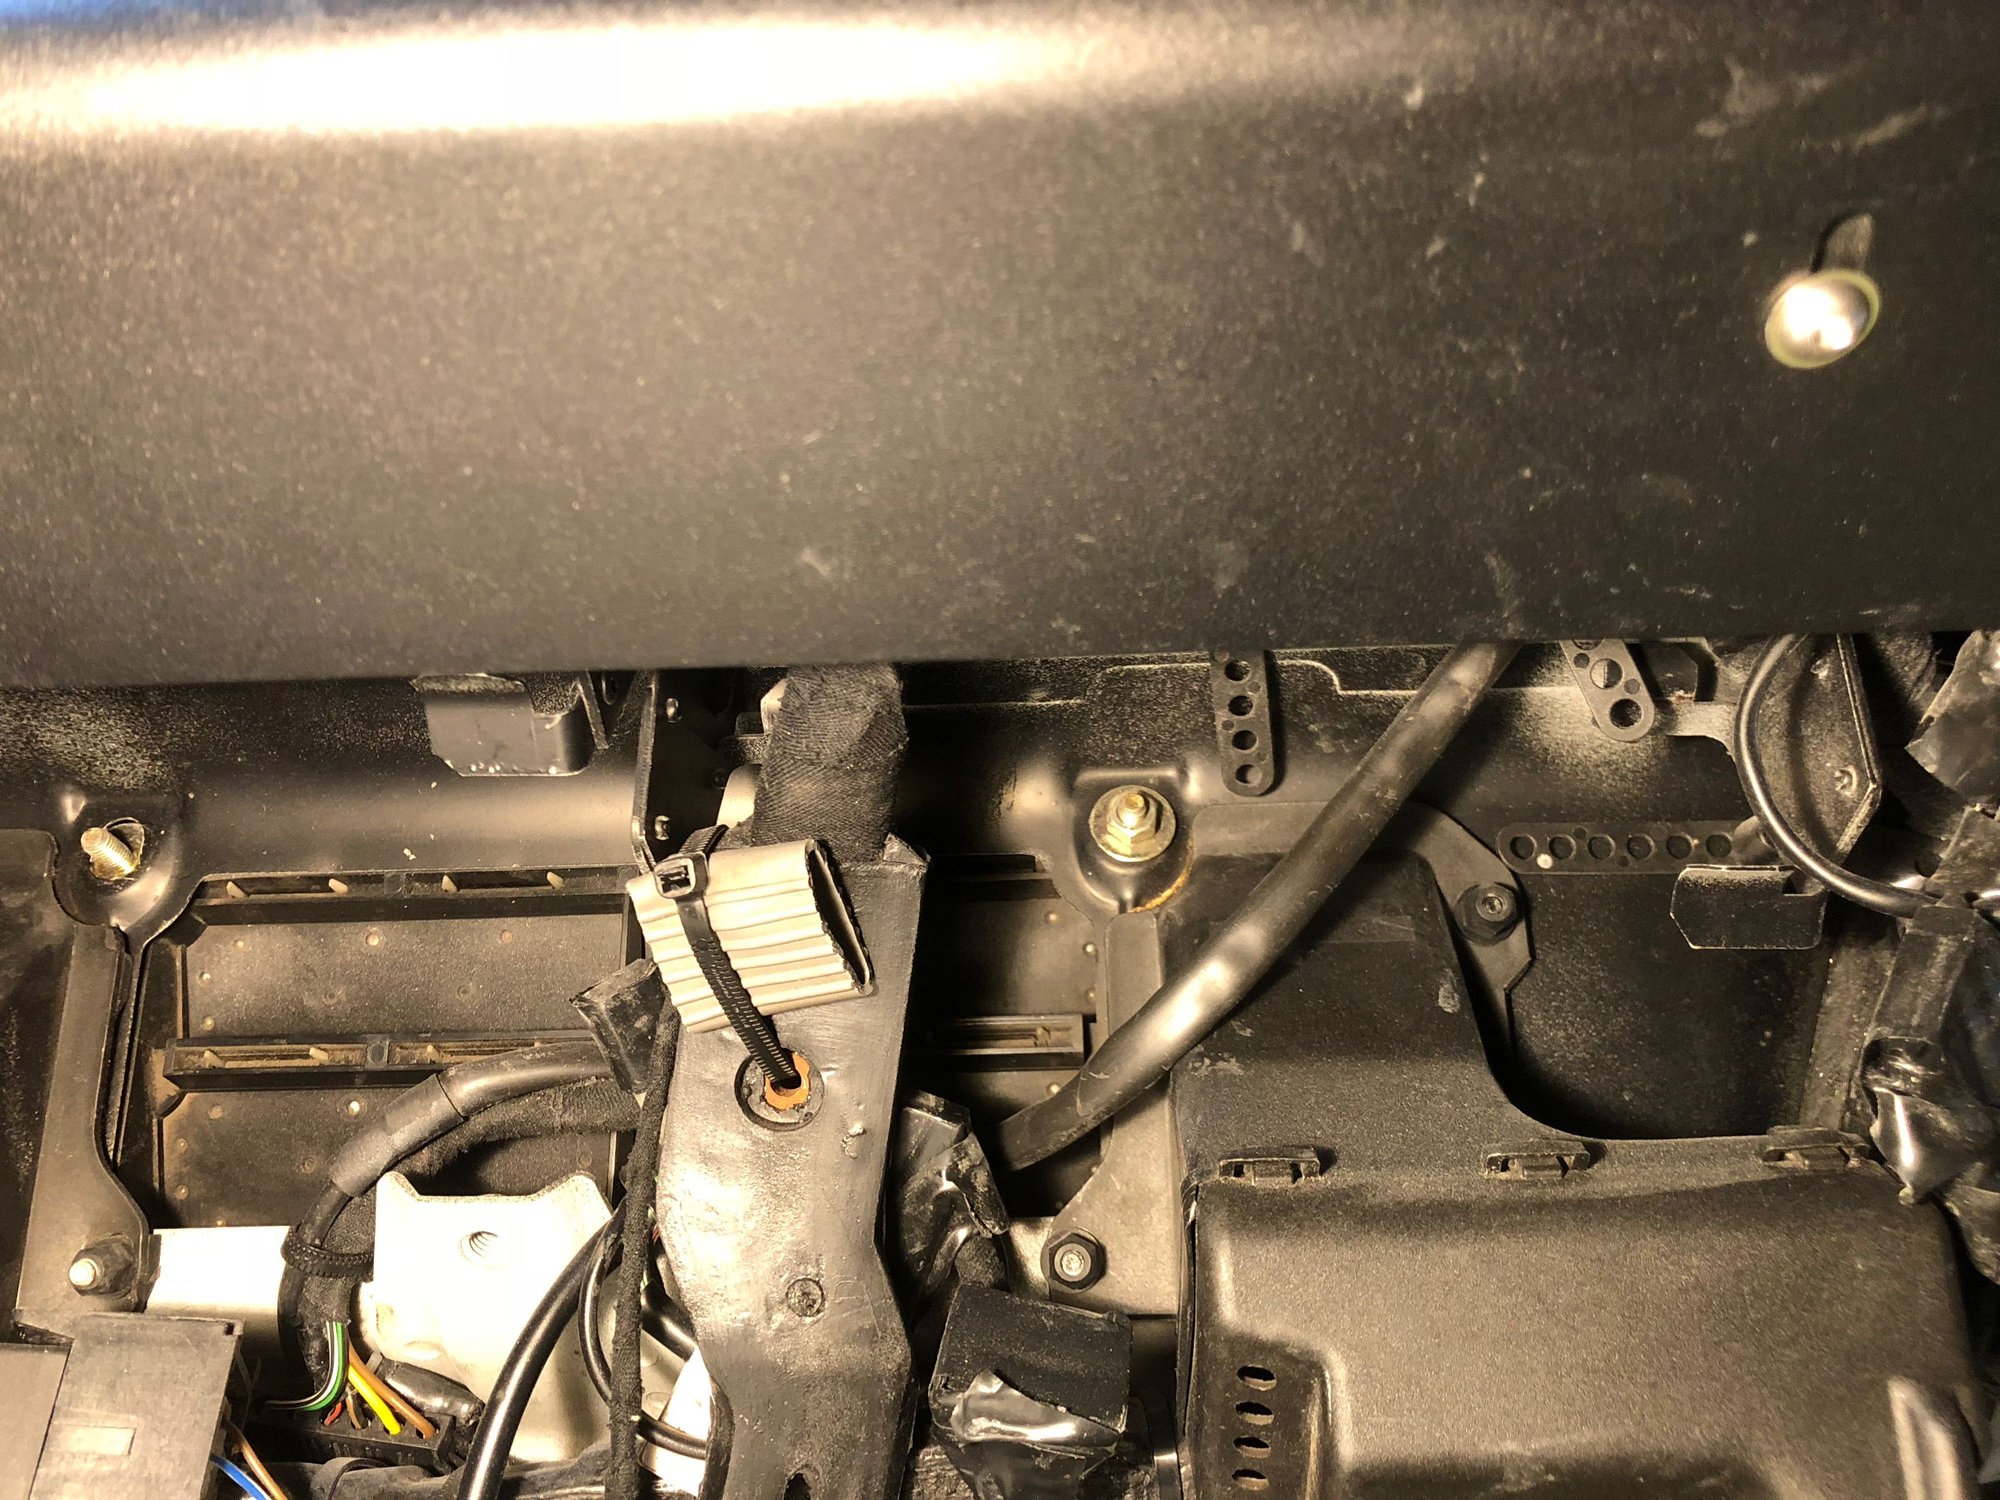
With the gas tank siphoned and disconnected up top, now it's time to go underneath the car and disconnect the fuel pump and the fuel line. No heat lamps for this work. After loosening the three screws, I had to wrestle with the pump. By the time I got it free it was already leaking fuel. Note the placement of the fuel line like an umbilical cord in the way of a delivery. Like delivering a breech, I finally got the pump free. There was just enough room in this fuel tray to hold the remaining few gallons in the tank. Disconnecting the remaining fuel line with a 17mm and 19mm wrench was a bit challenging in this tight space. Now go back up top and tilt tank forward to disconnect the overflow valve Step one complete
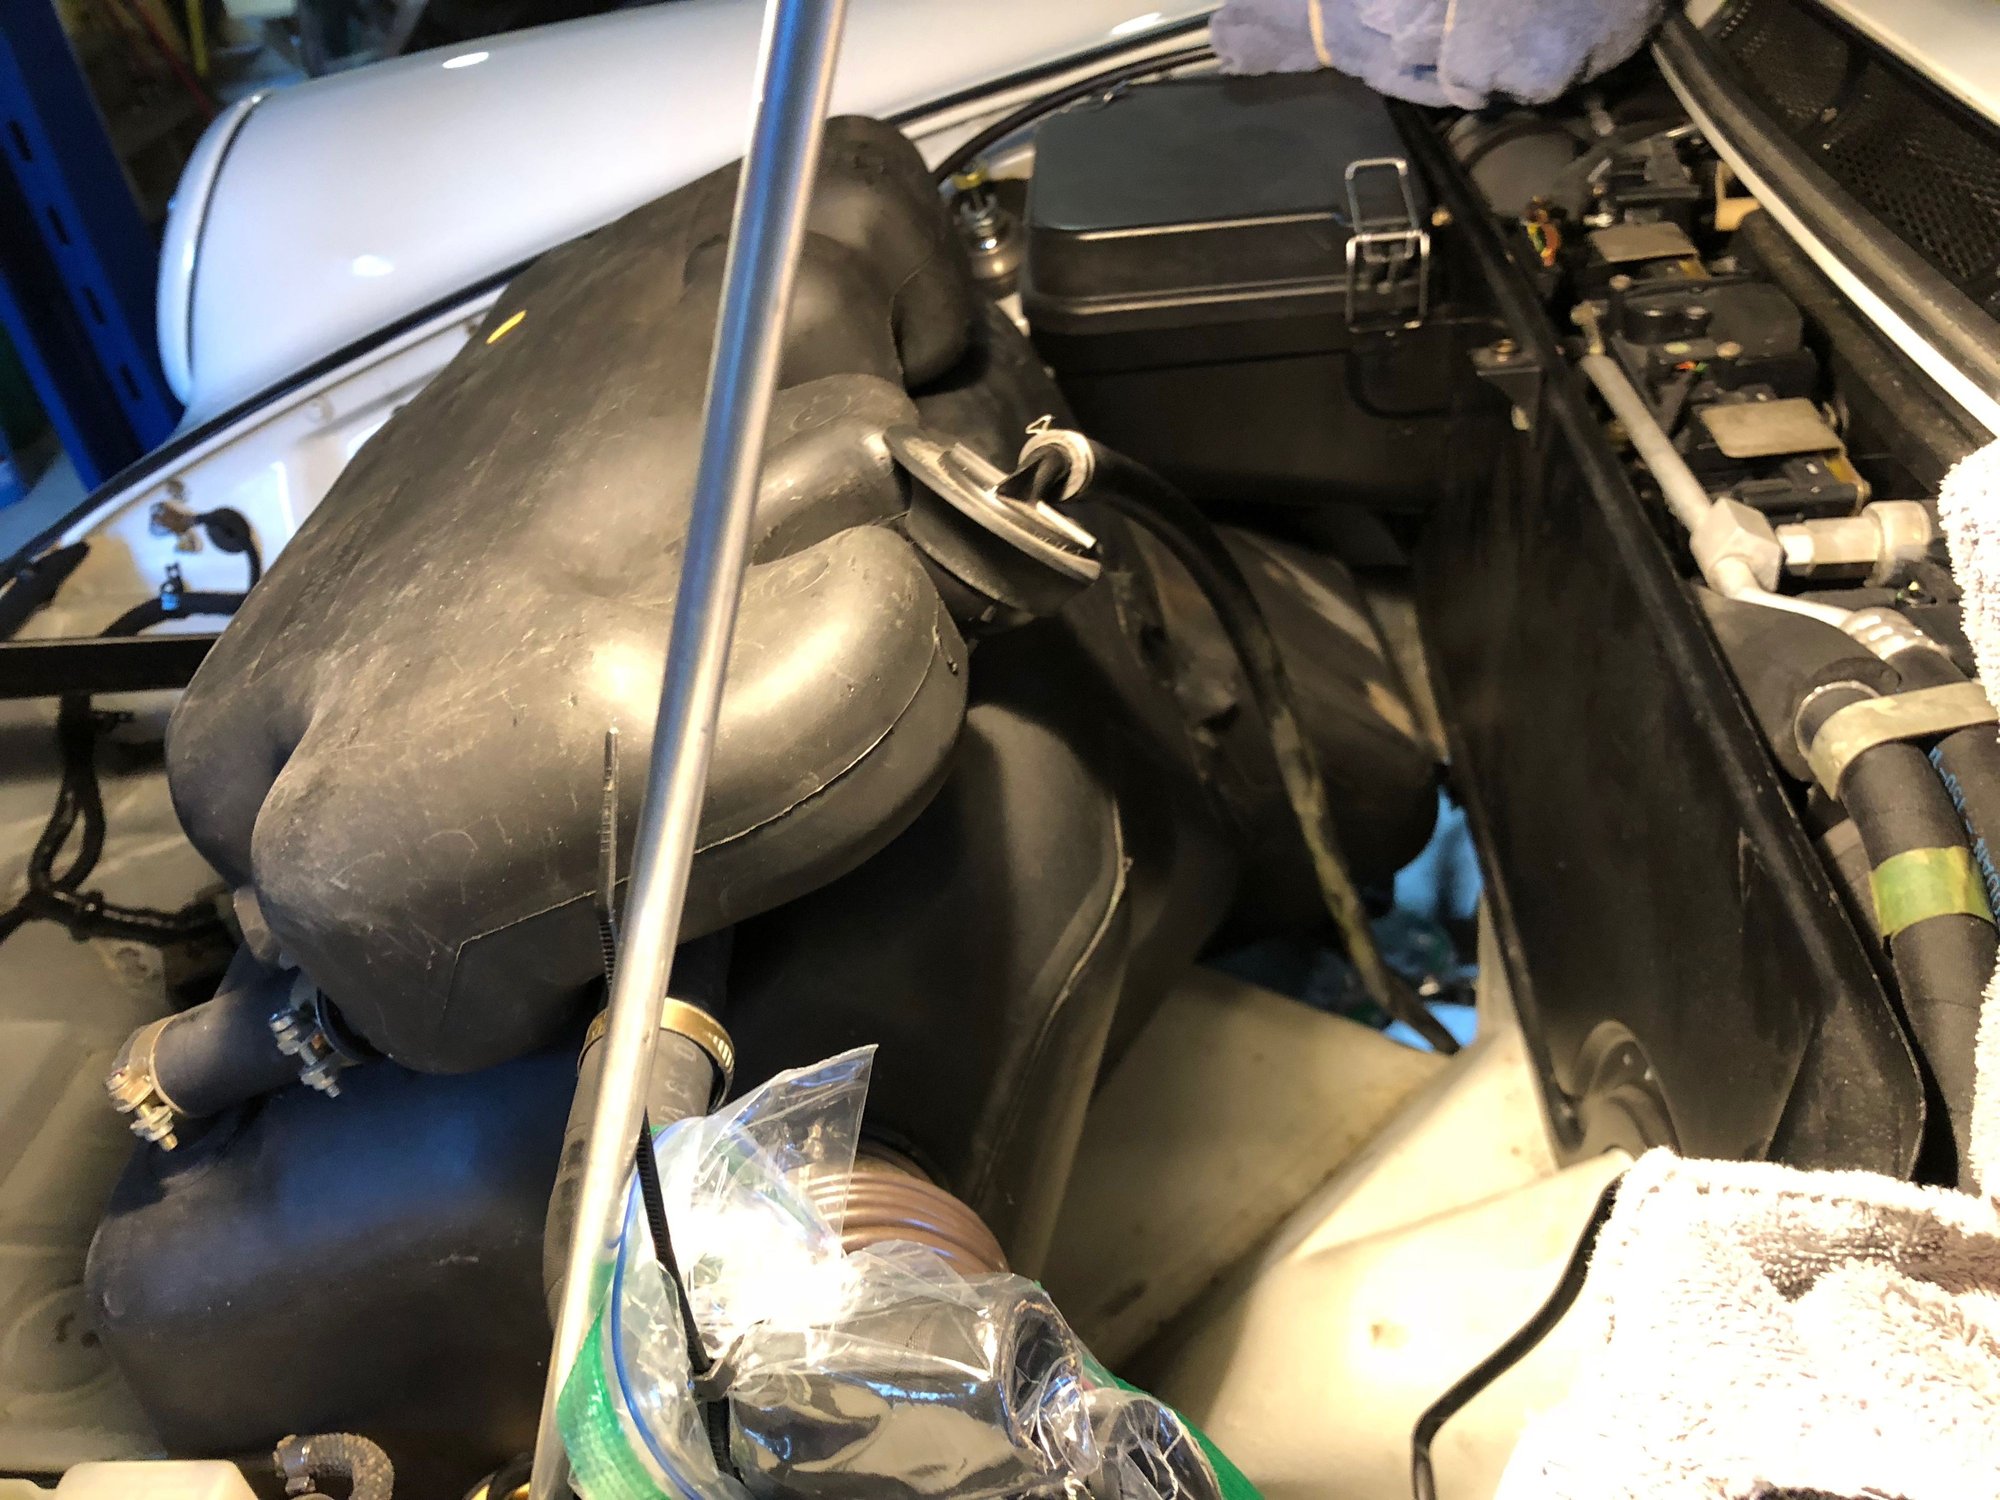
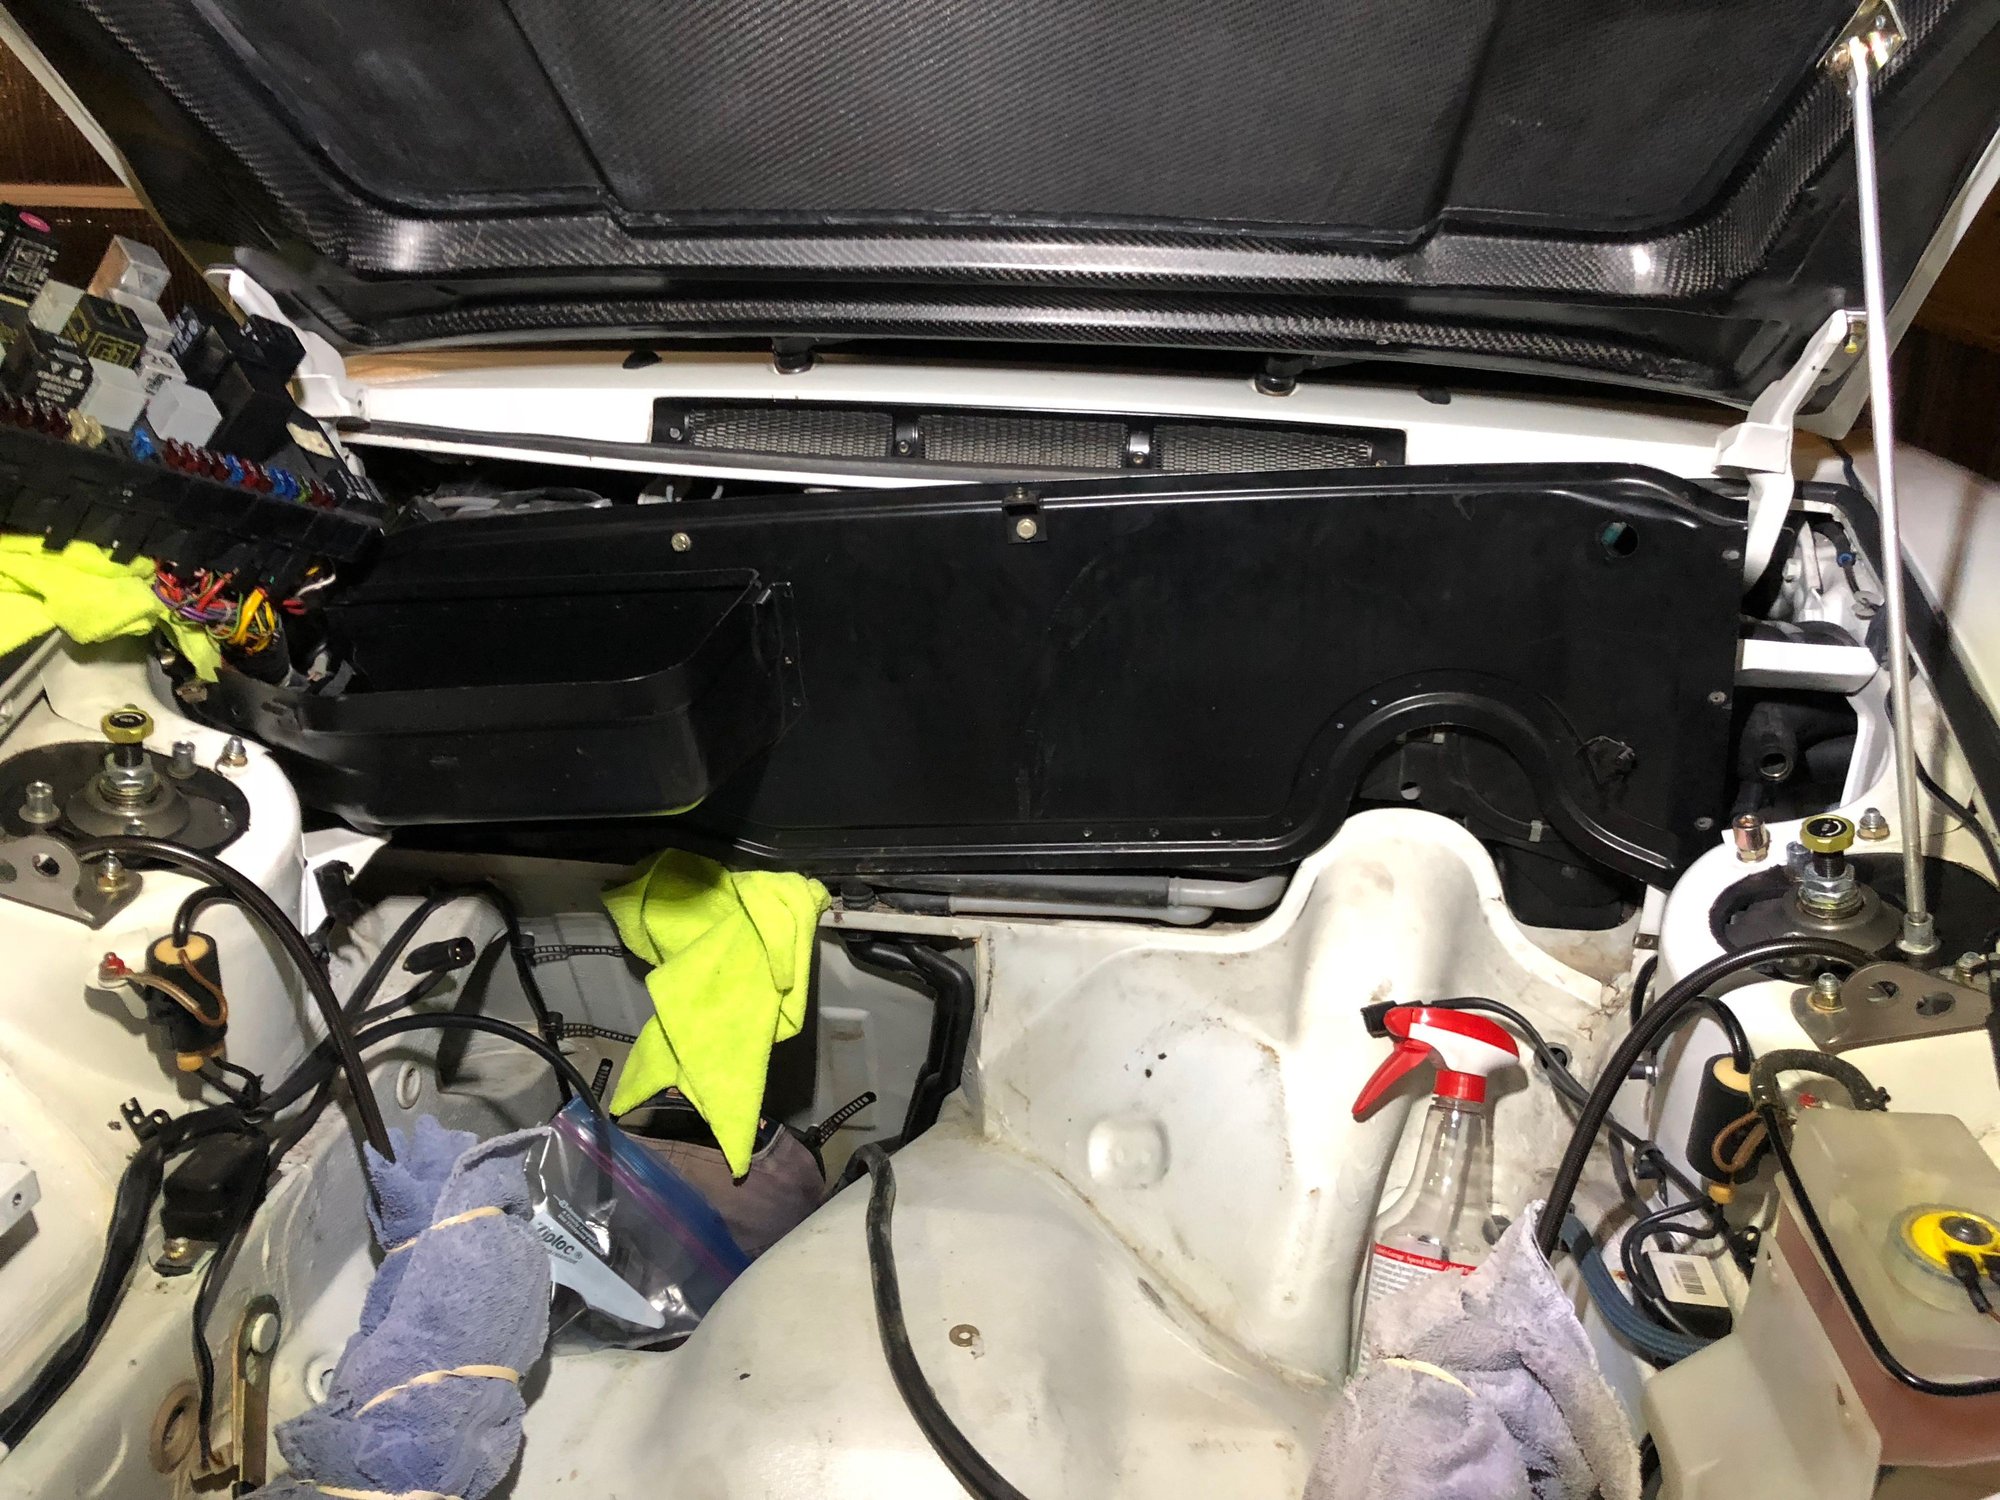
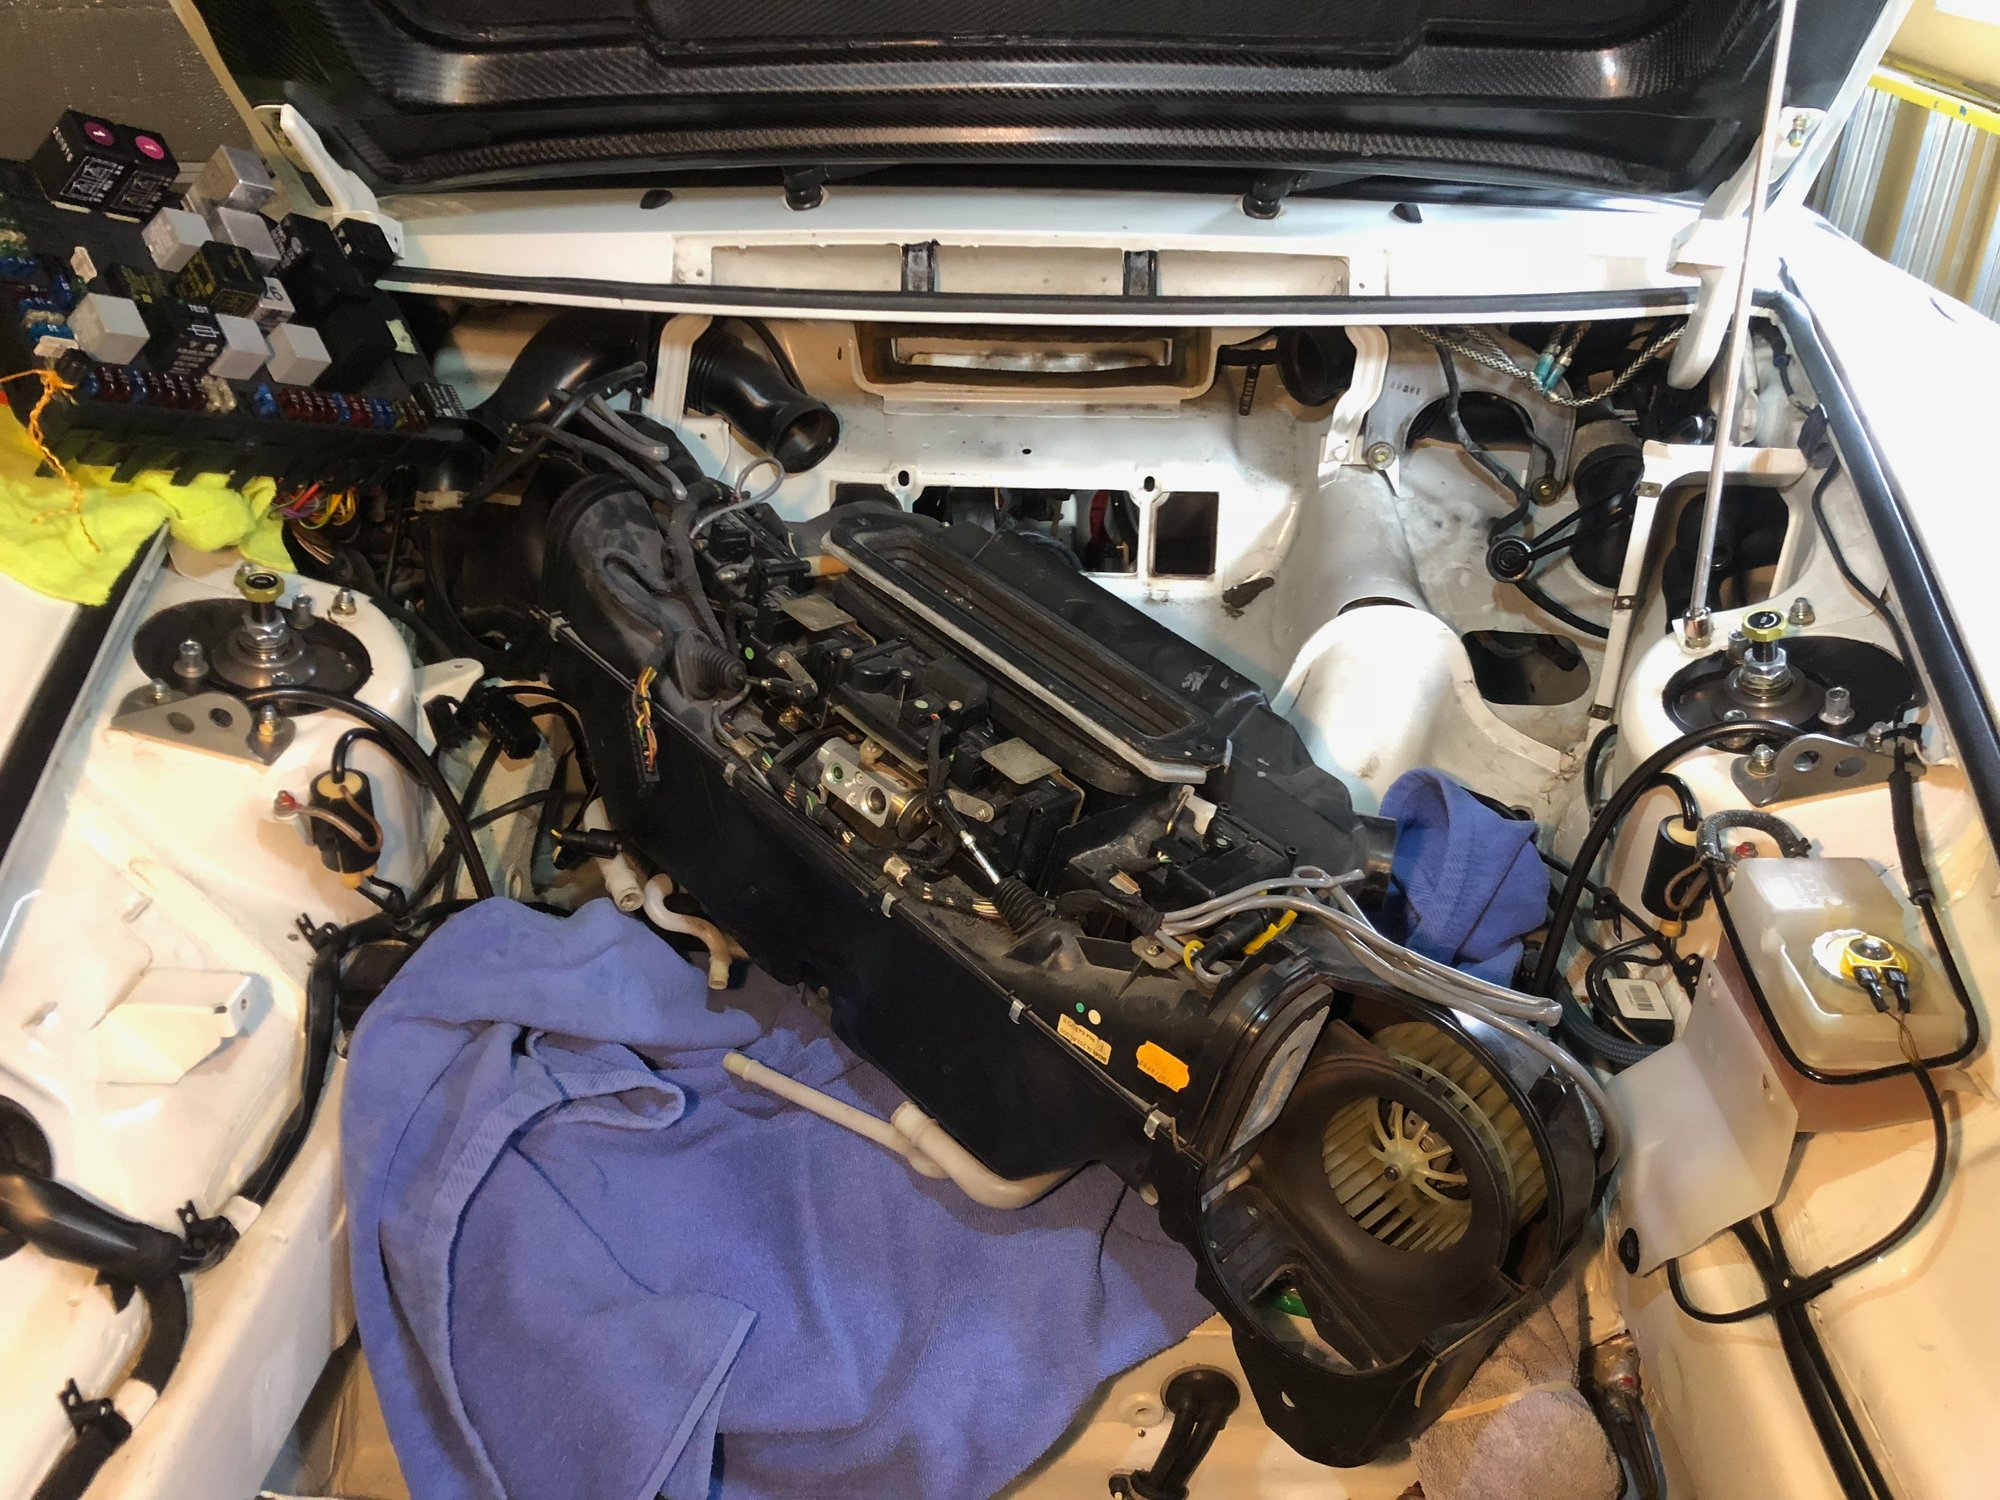
Next step is to remove the fuse box, and the firewall, in order to access the HVAC suitcase. With the help of a few shop towels, I was able to safely do this on my own.
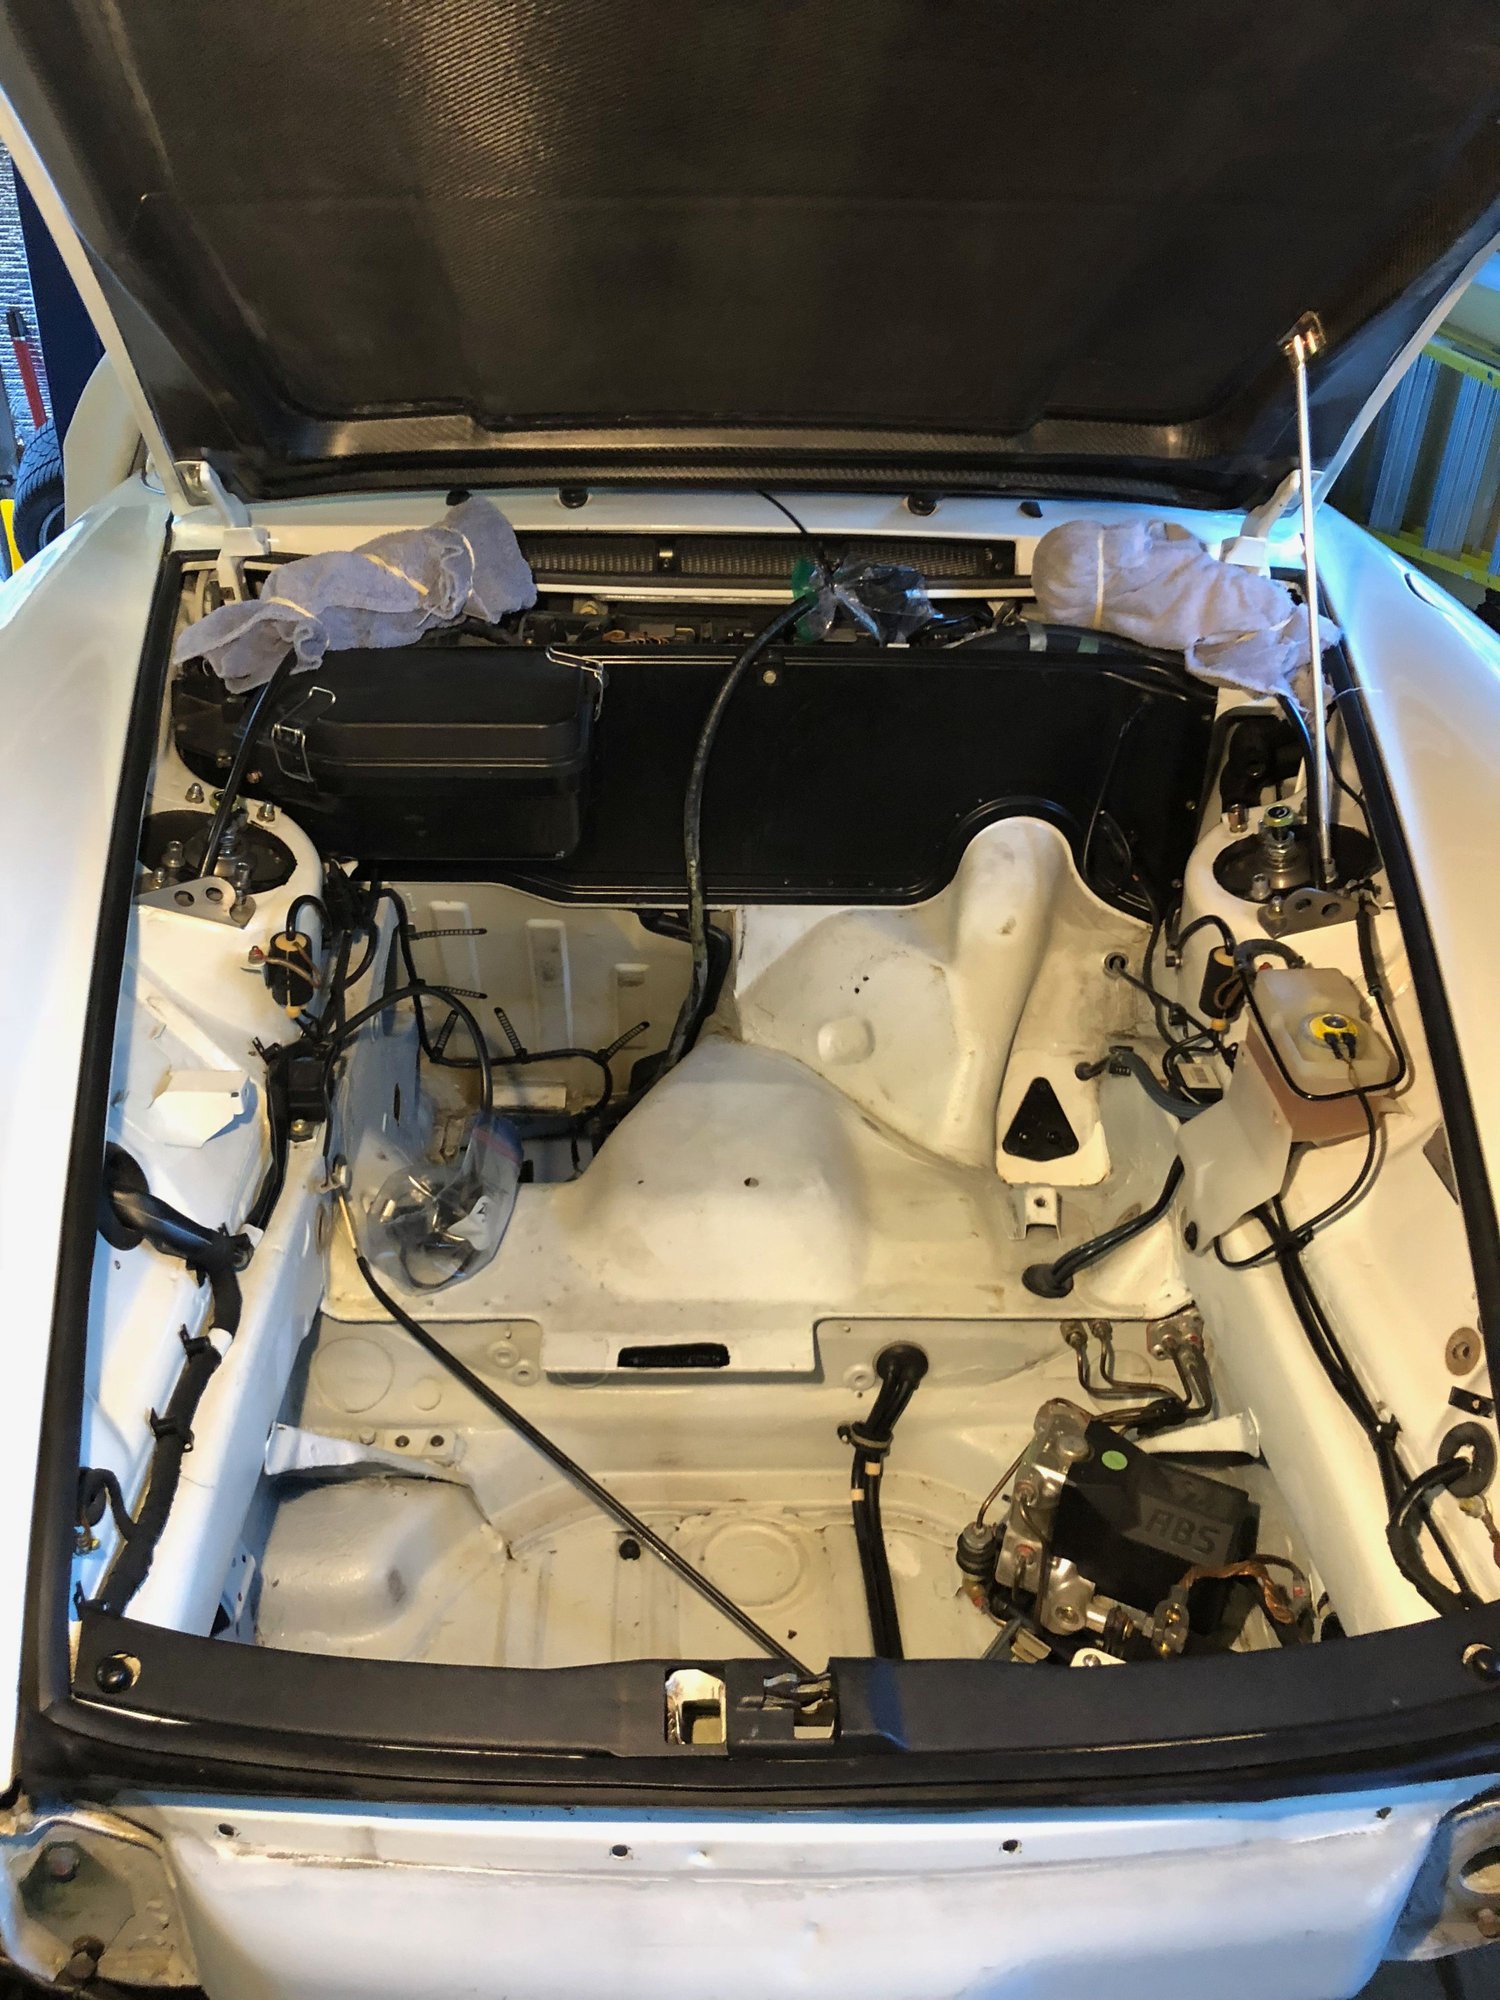
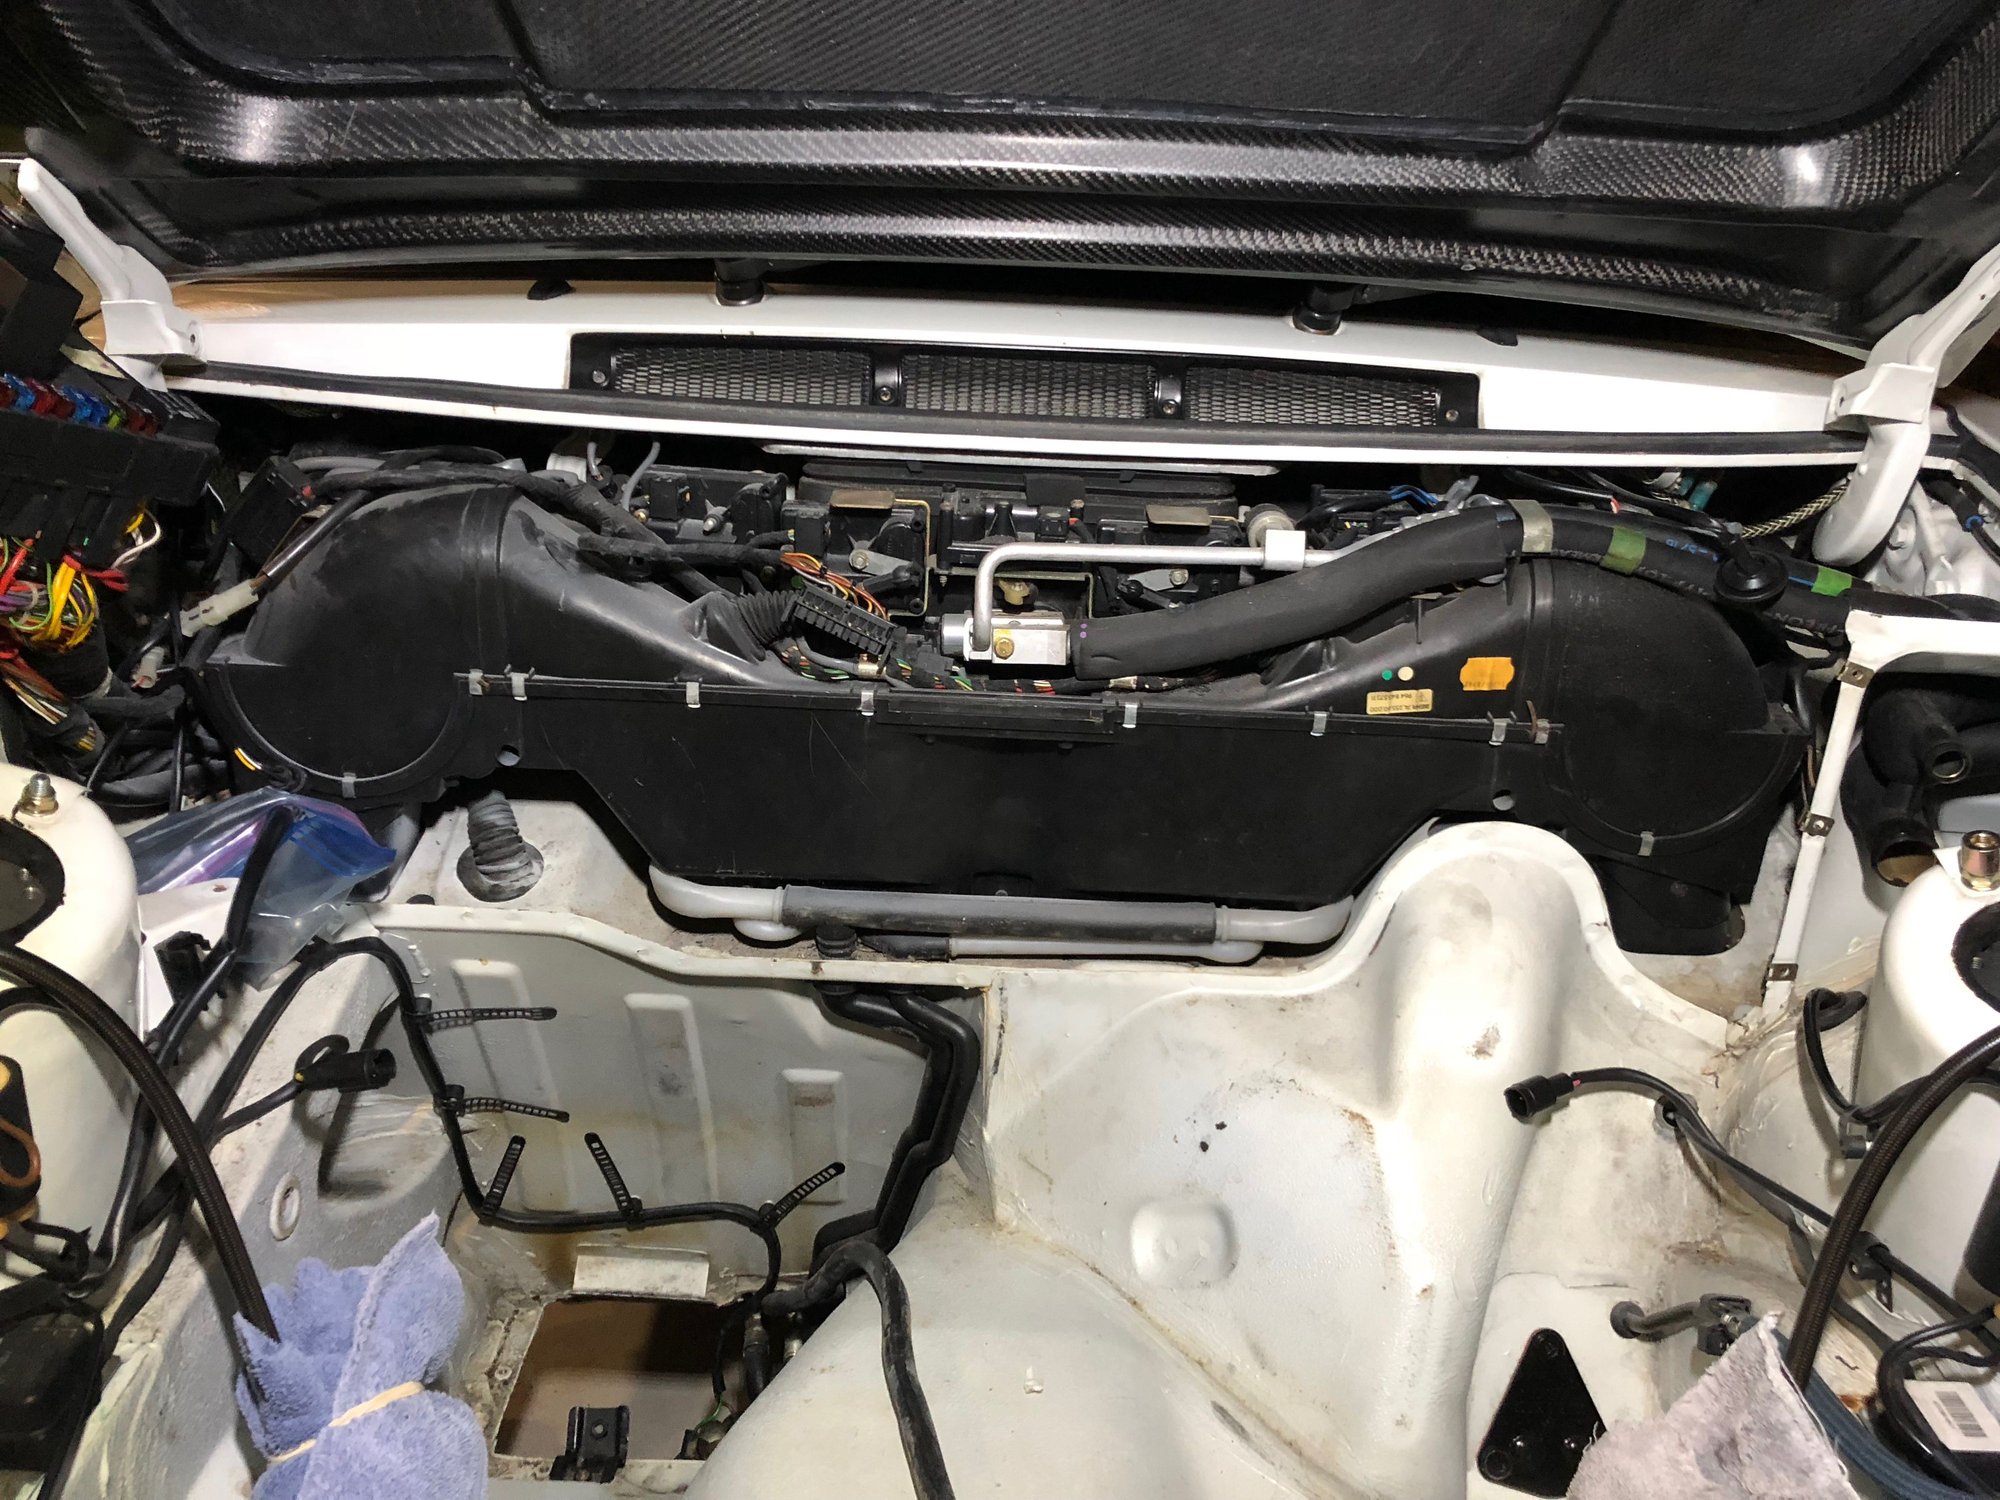
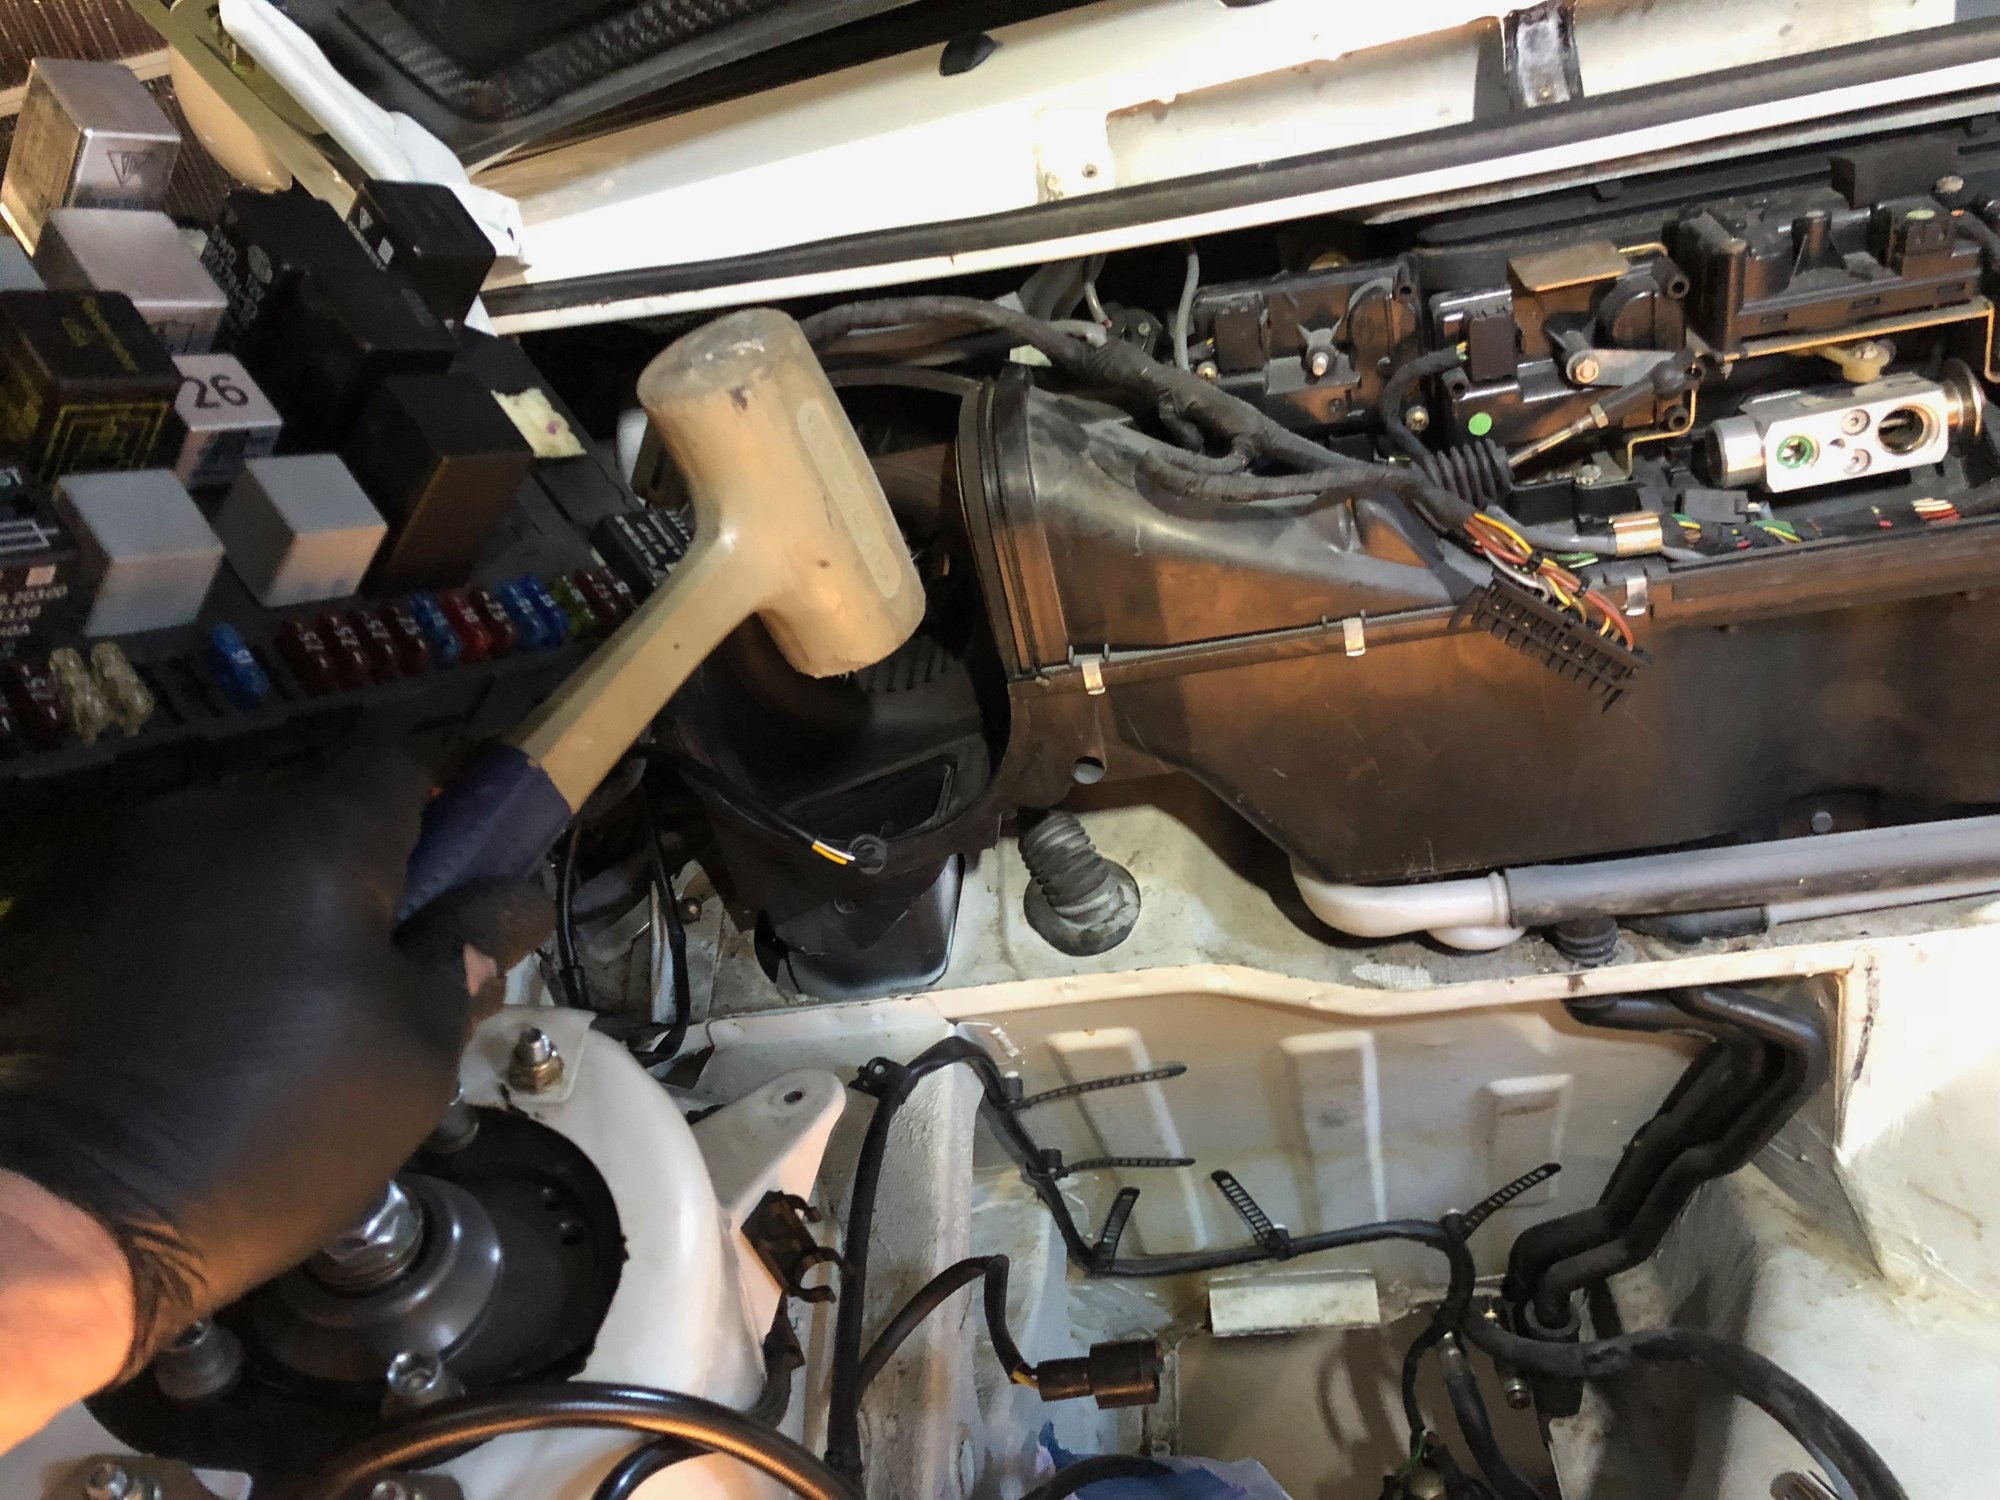
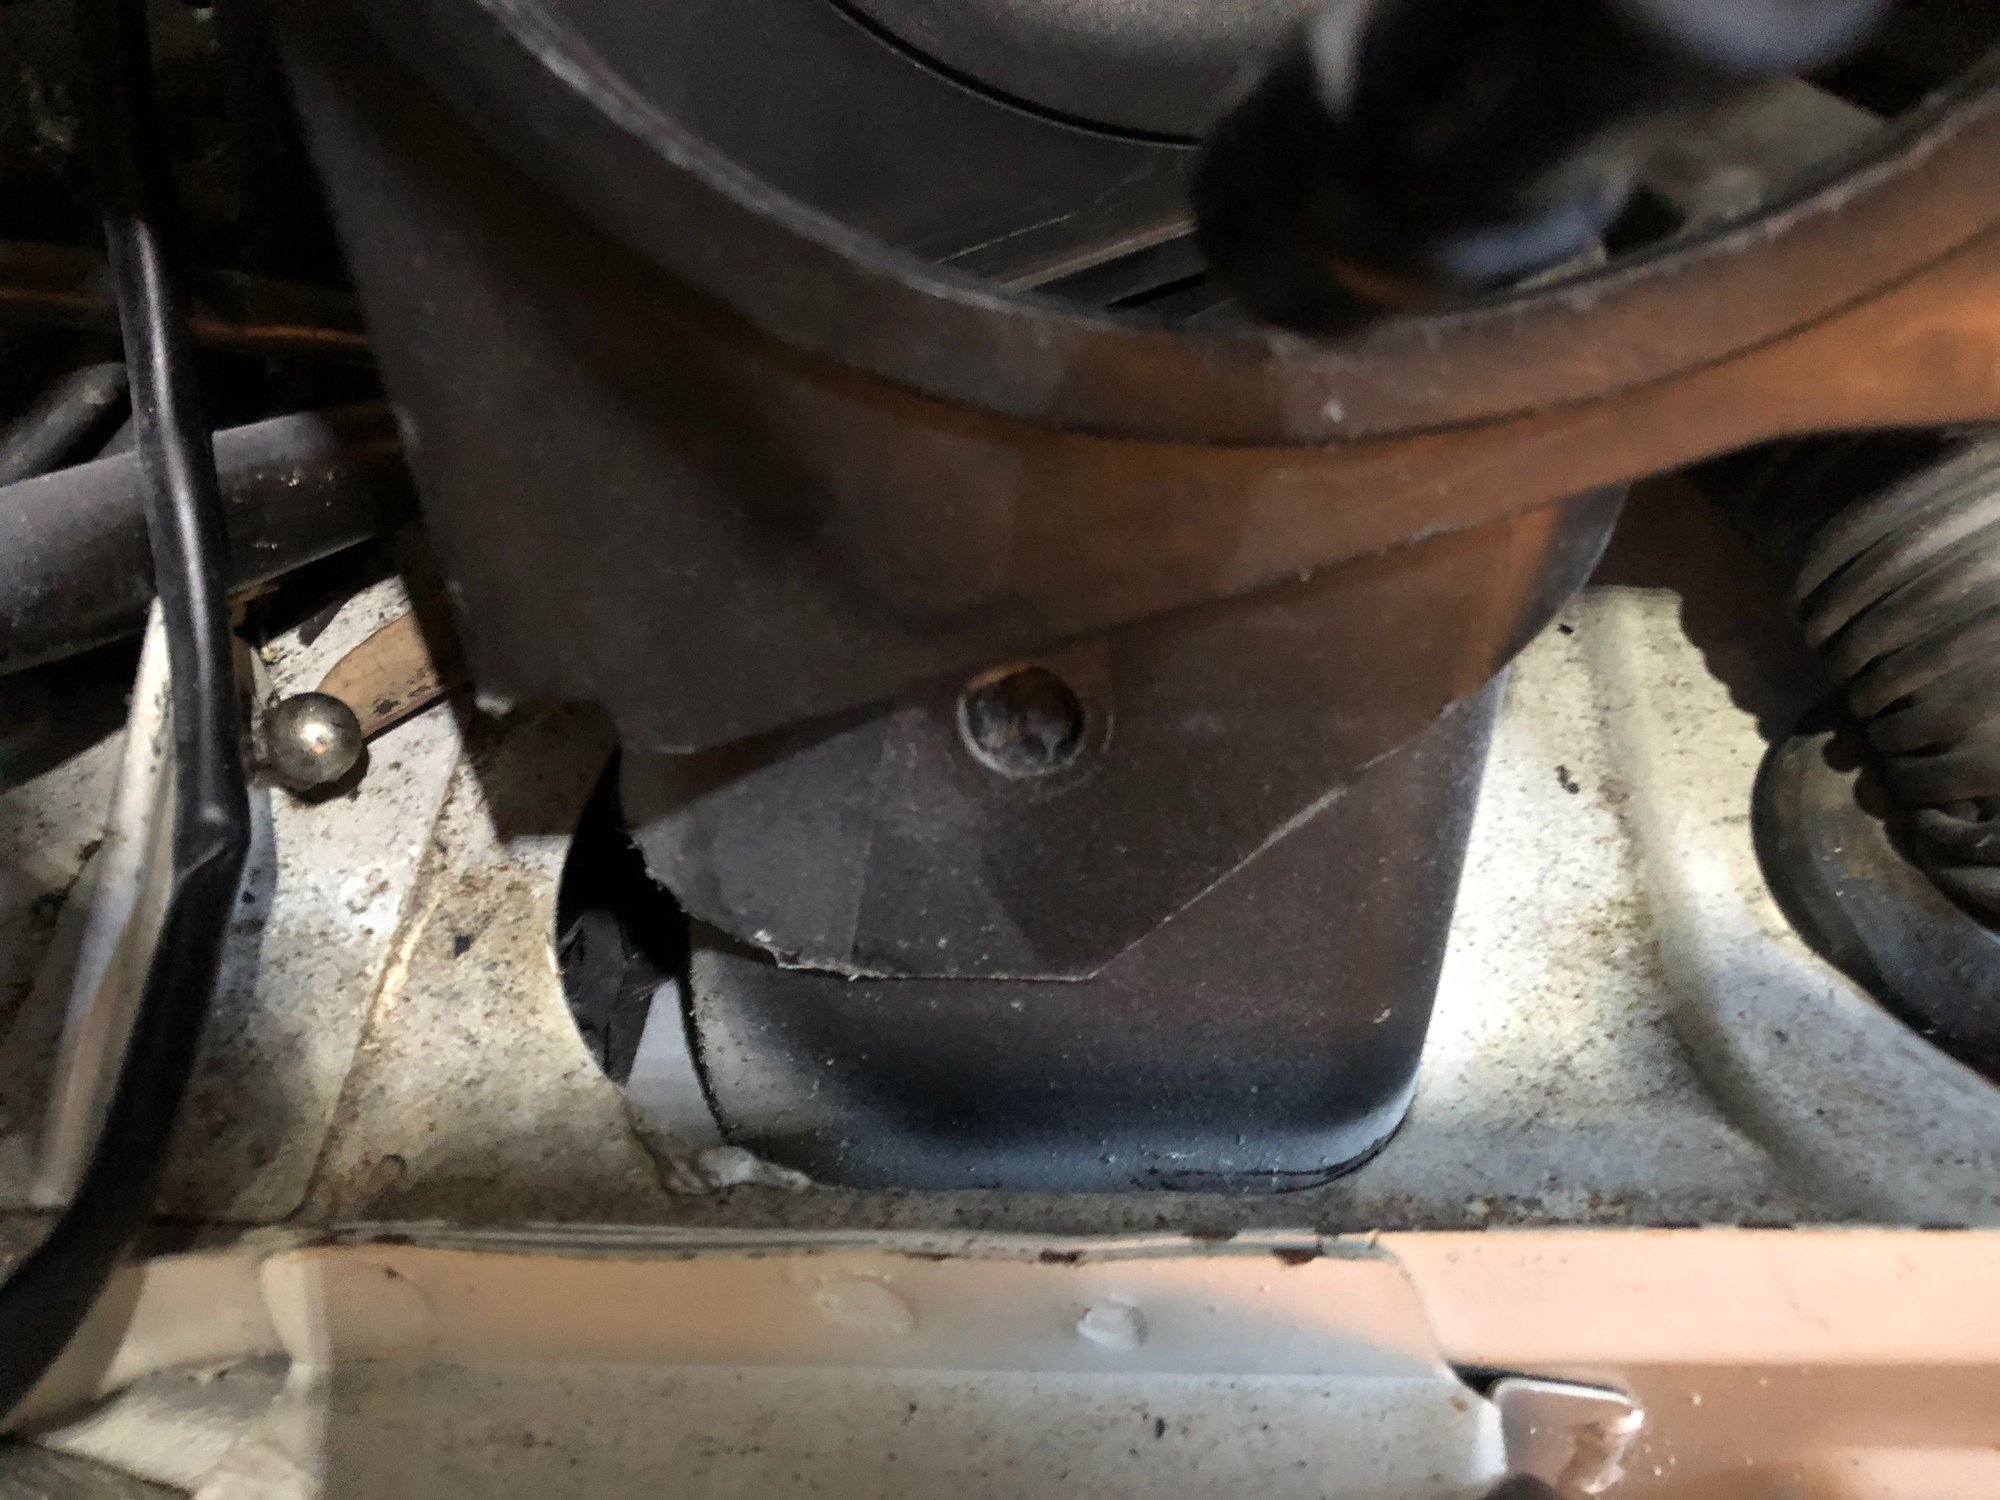
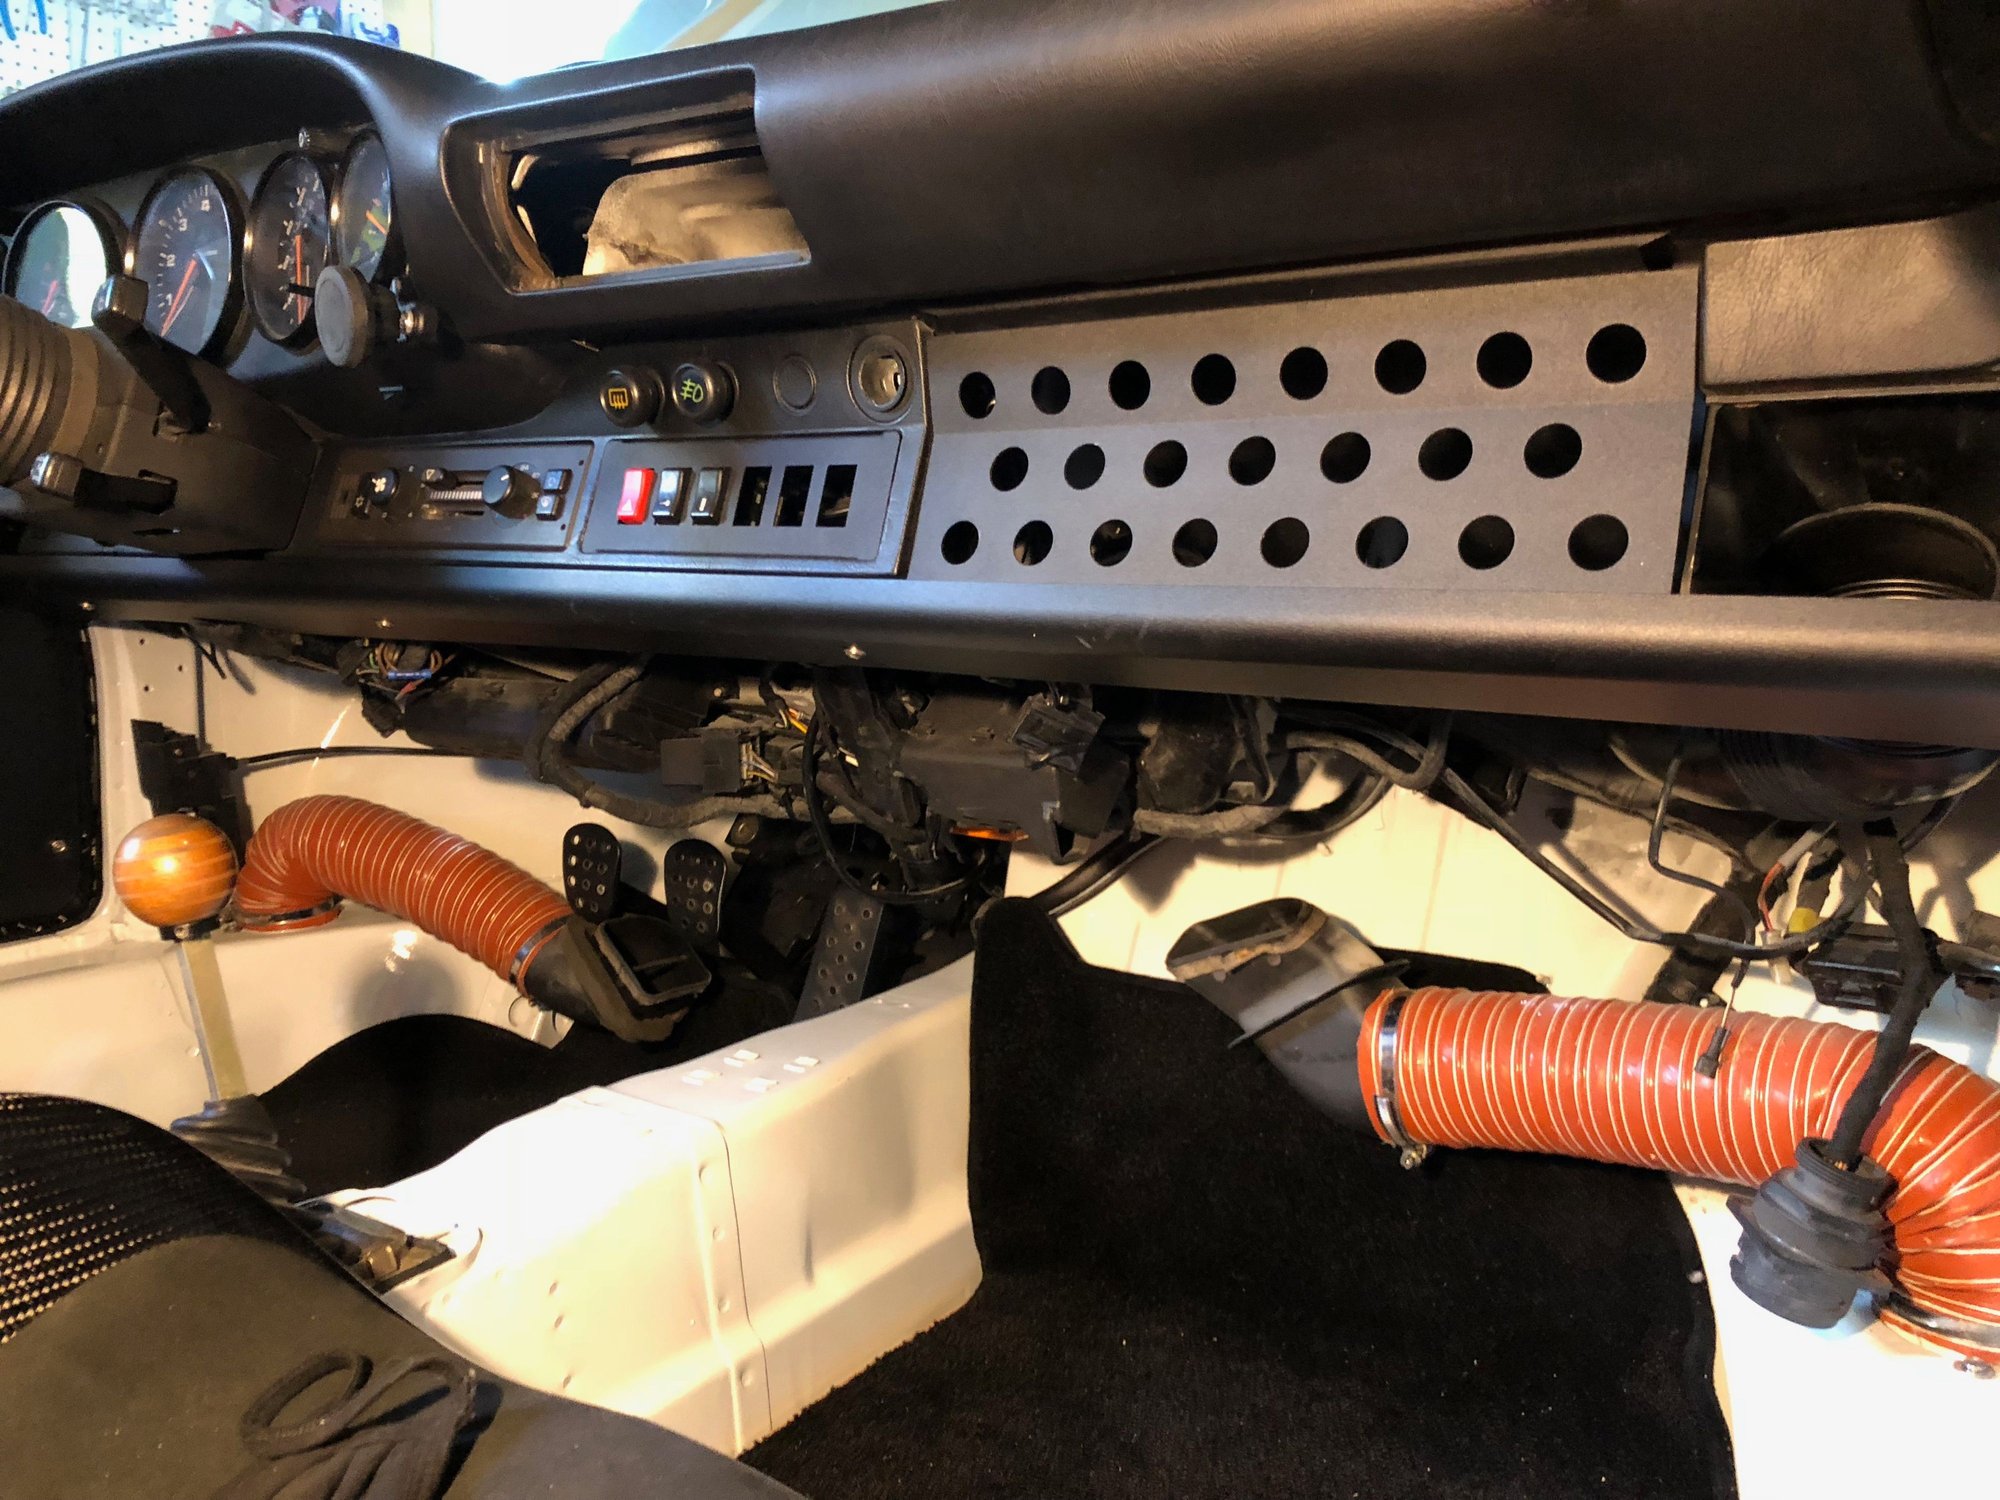
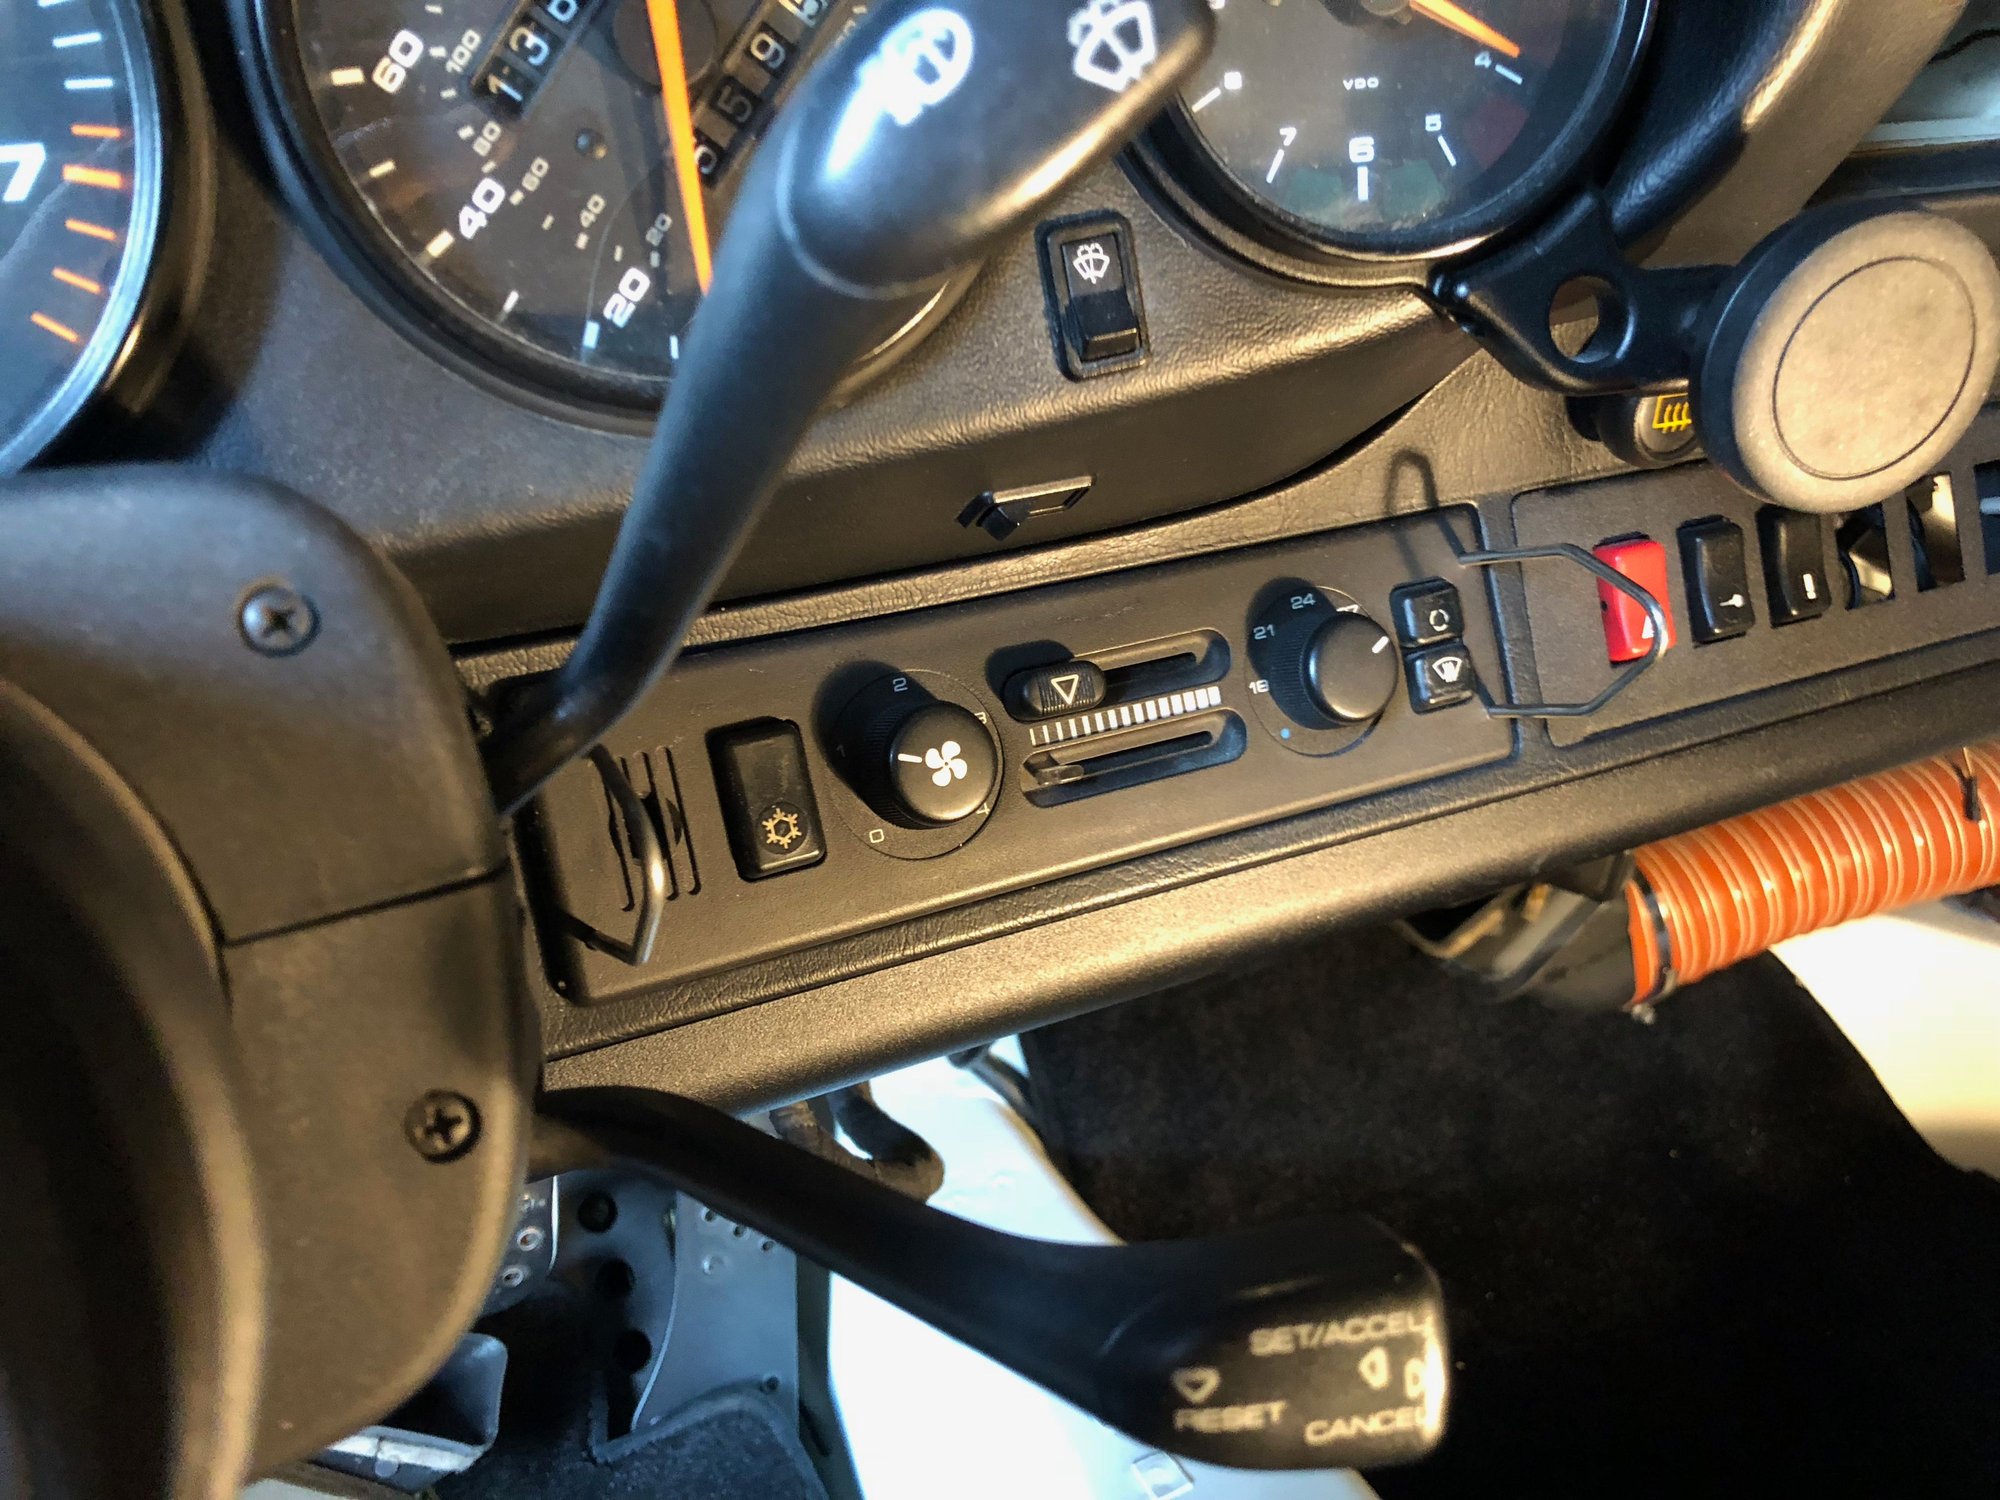
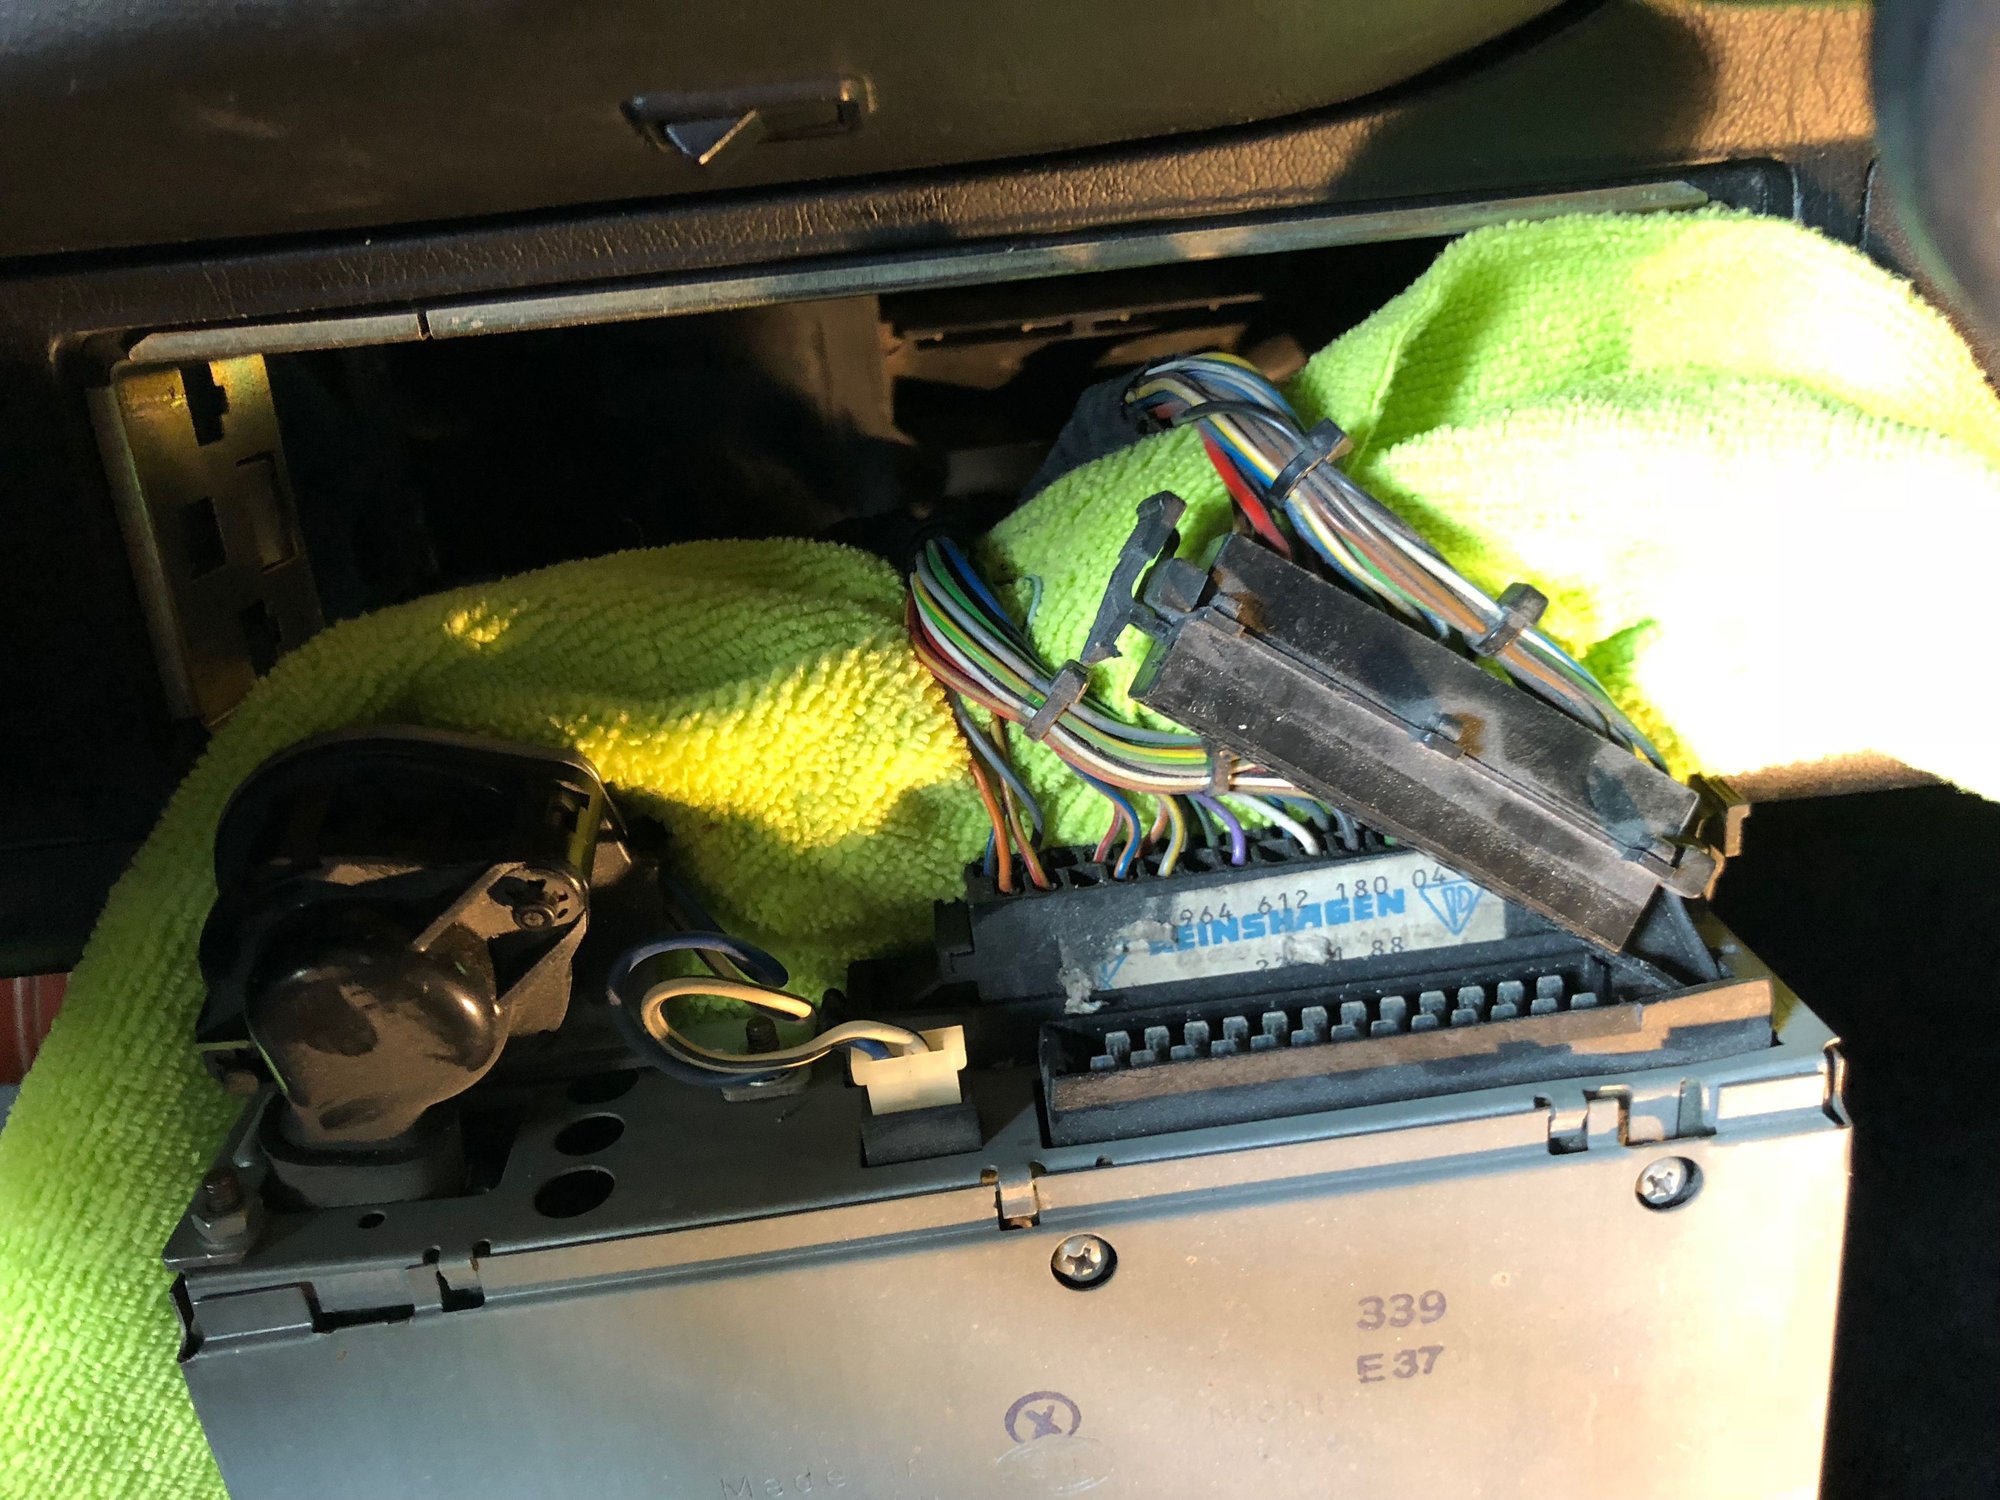
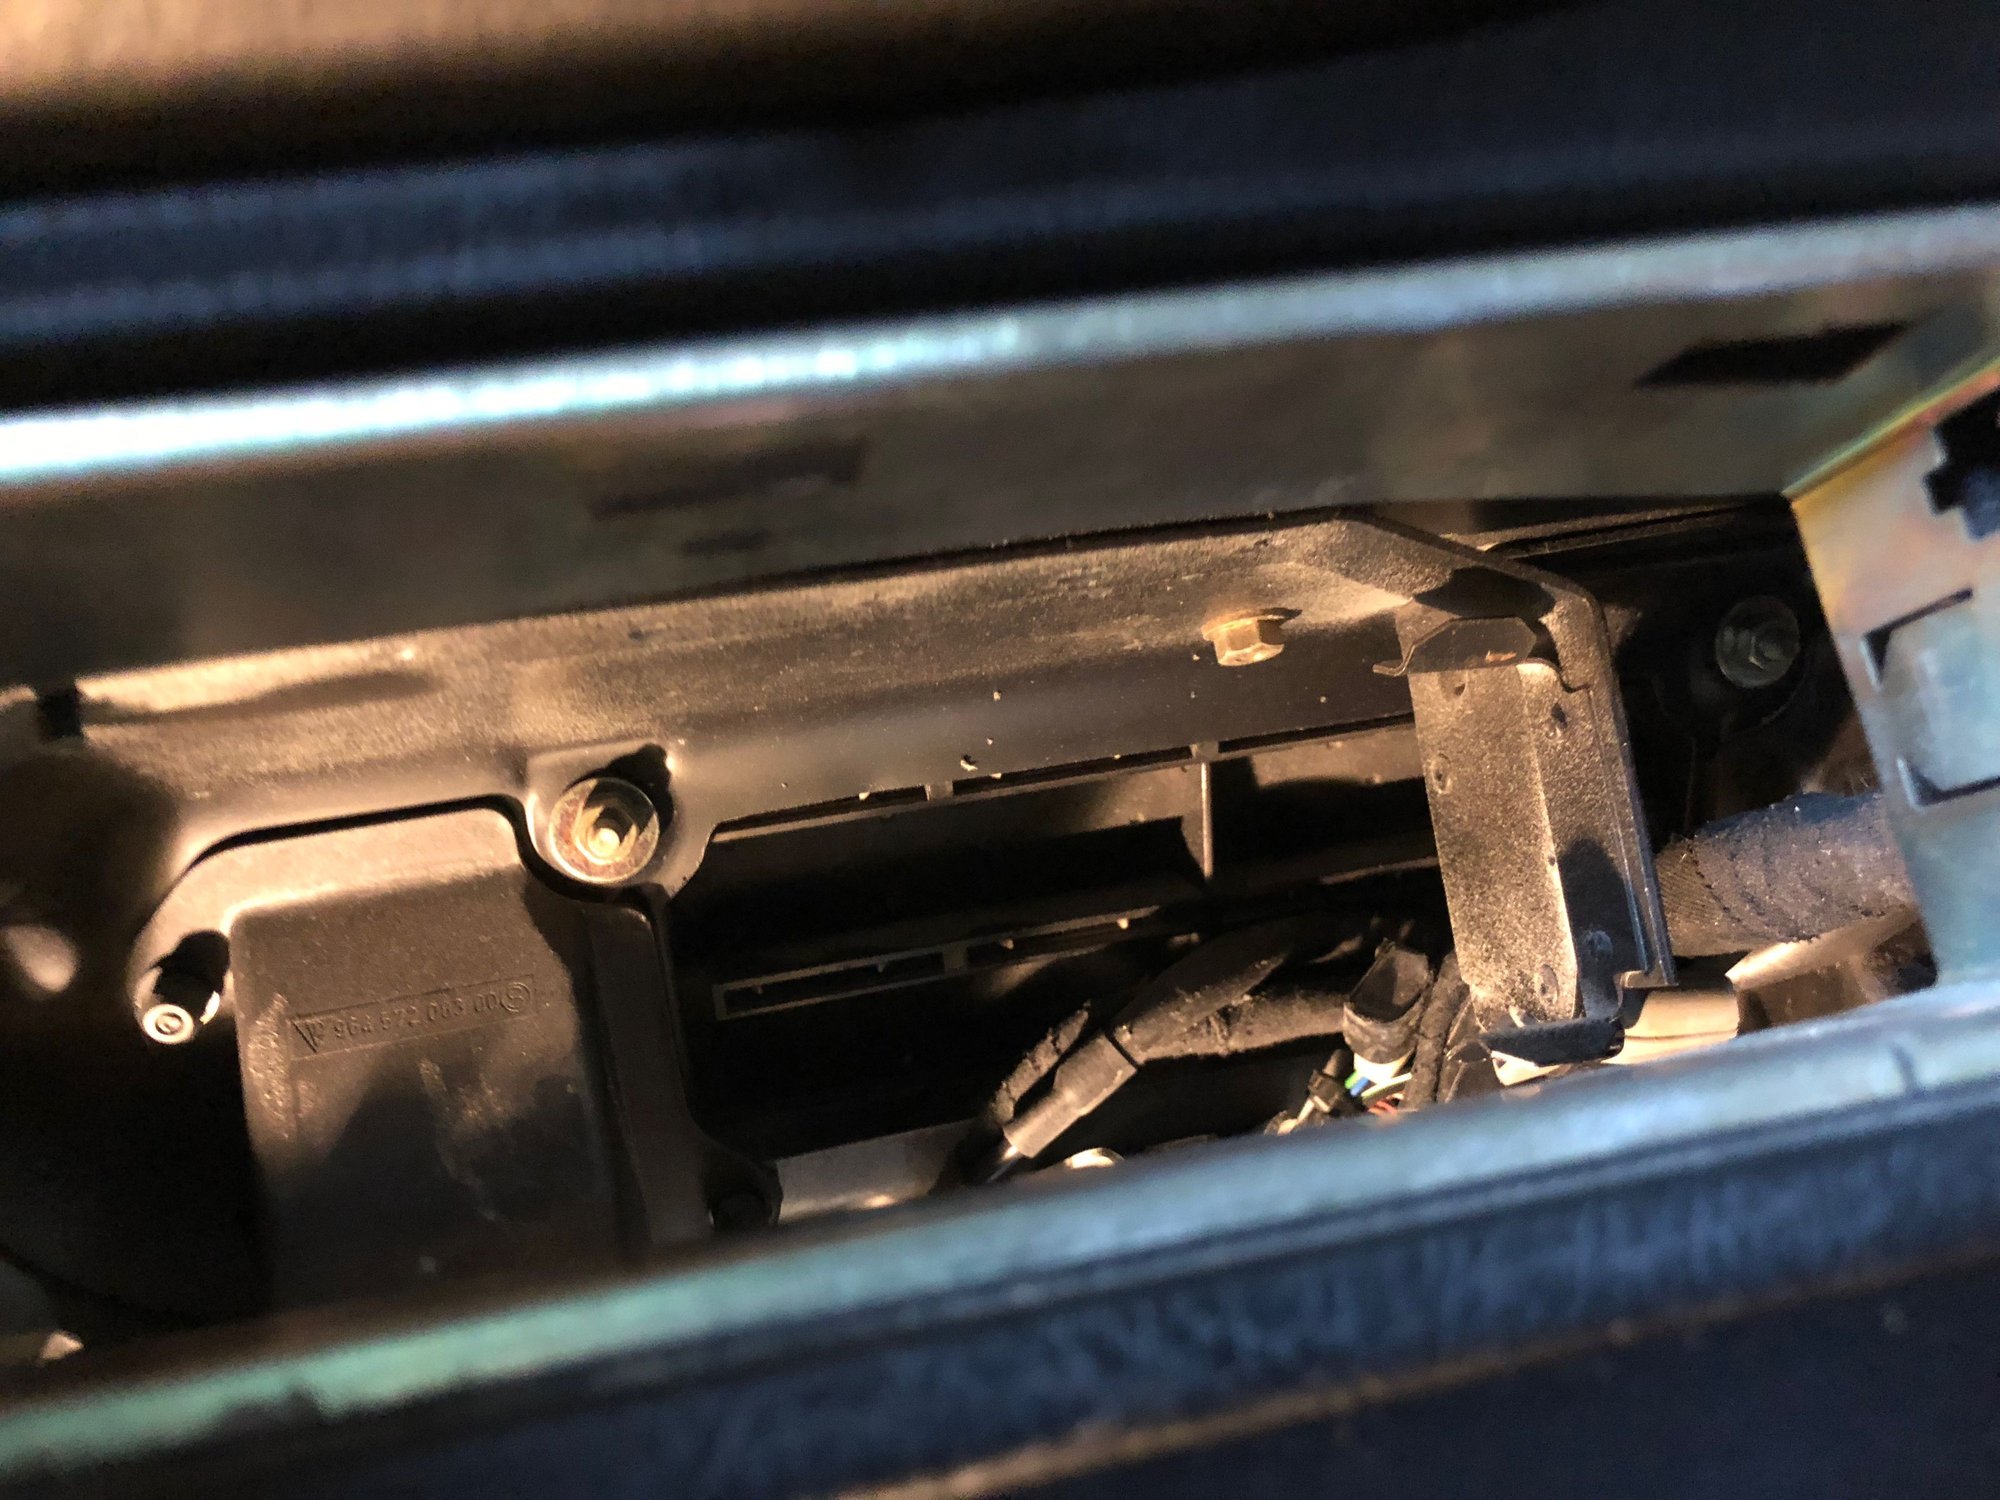
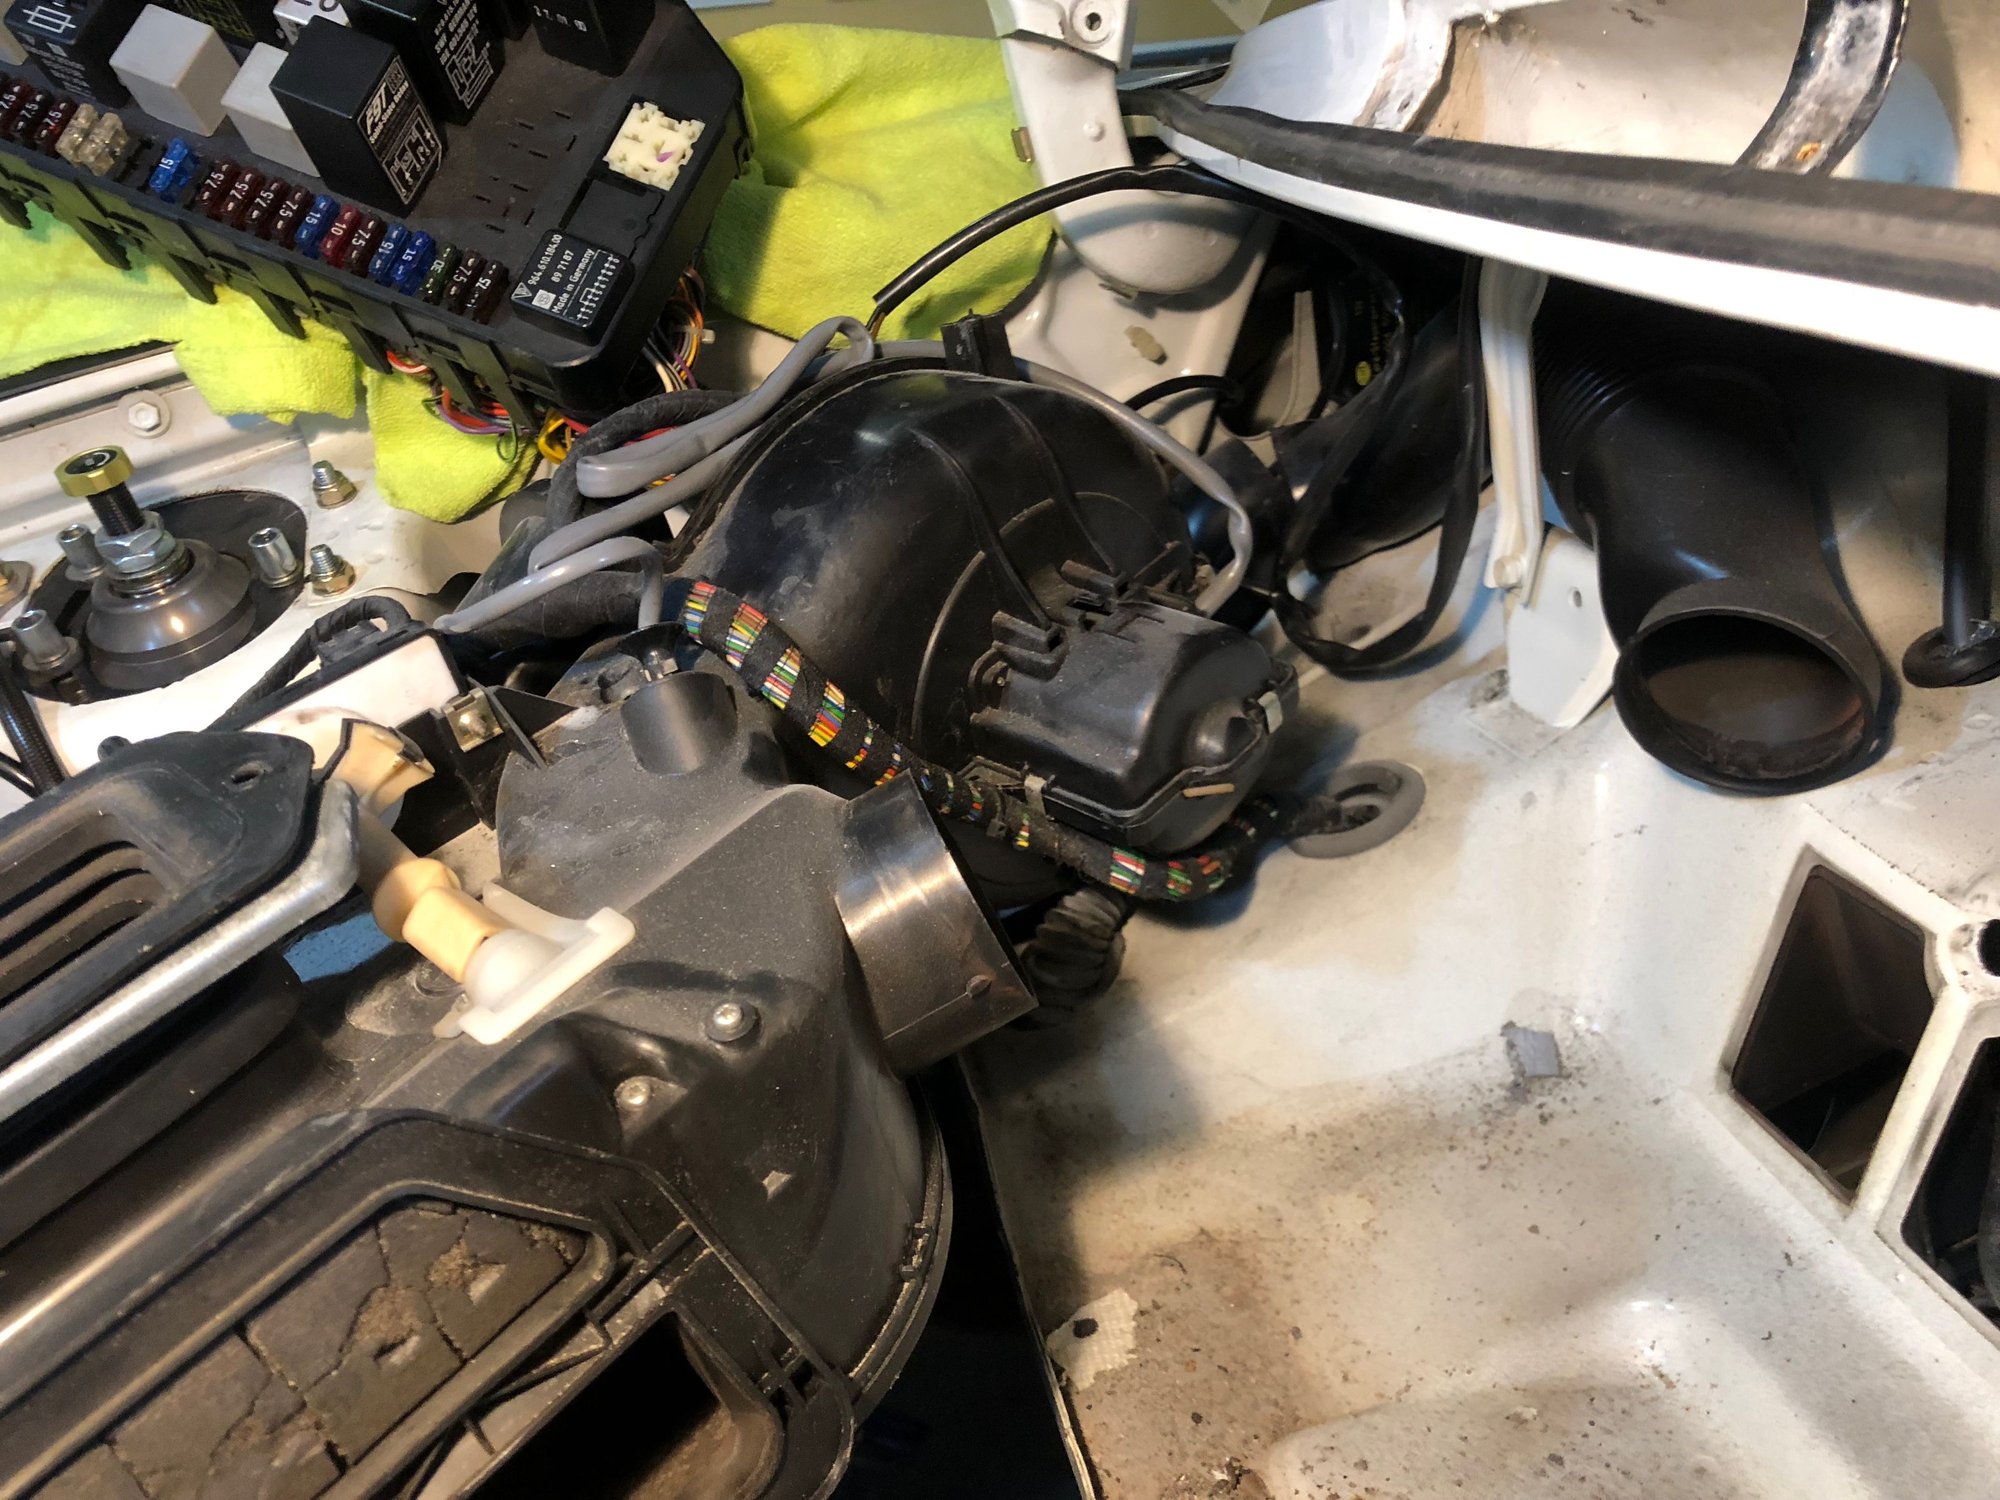
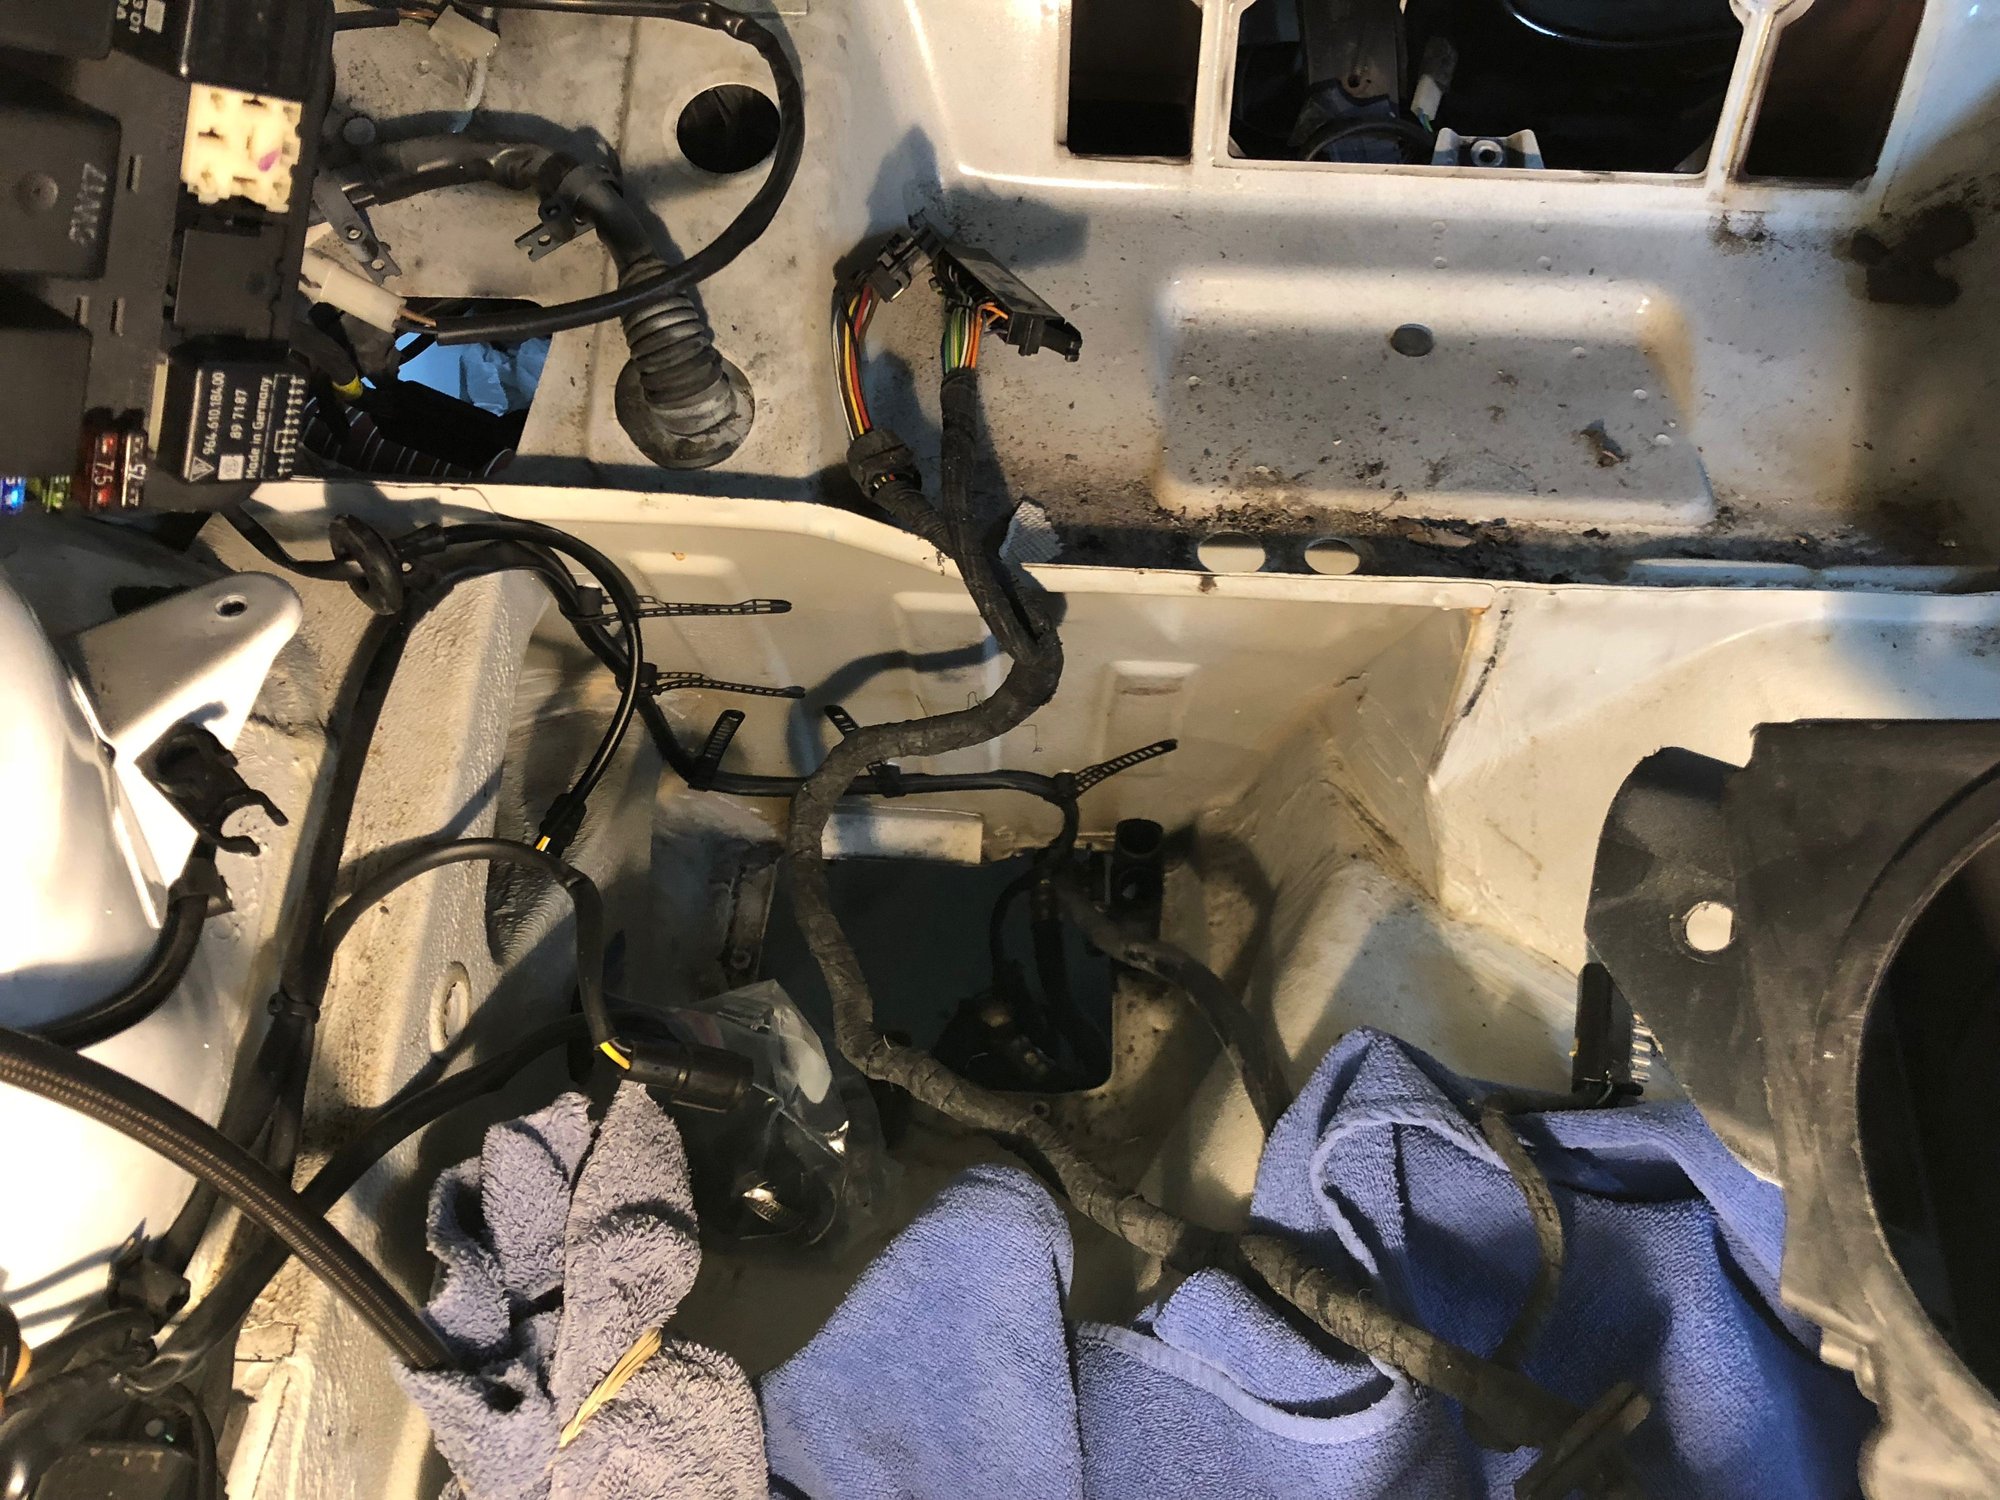
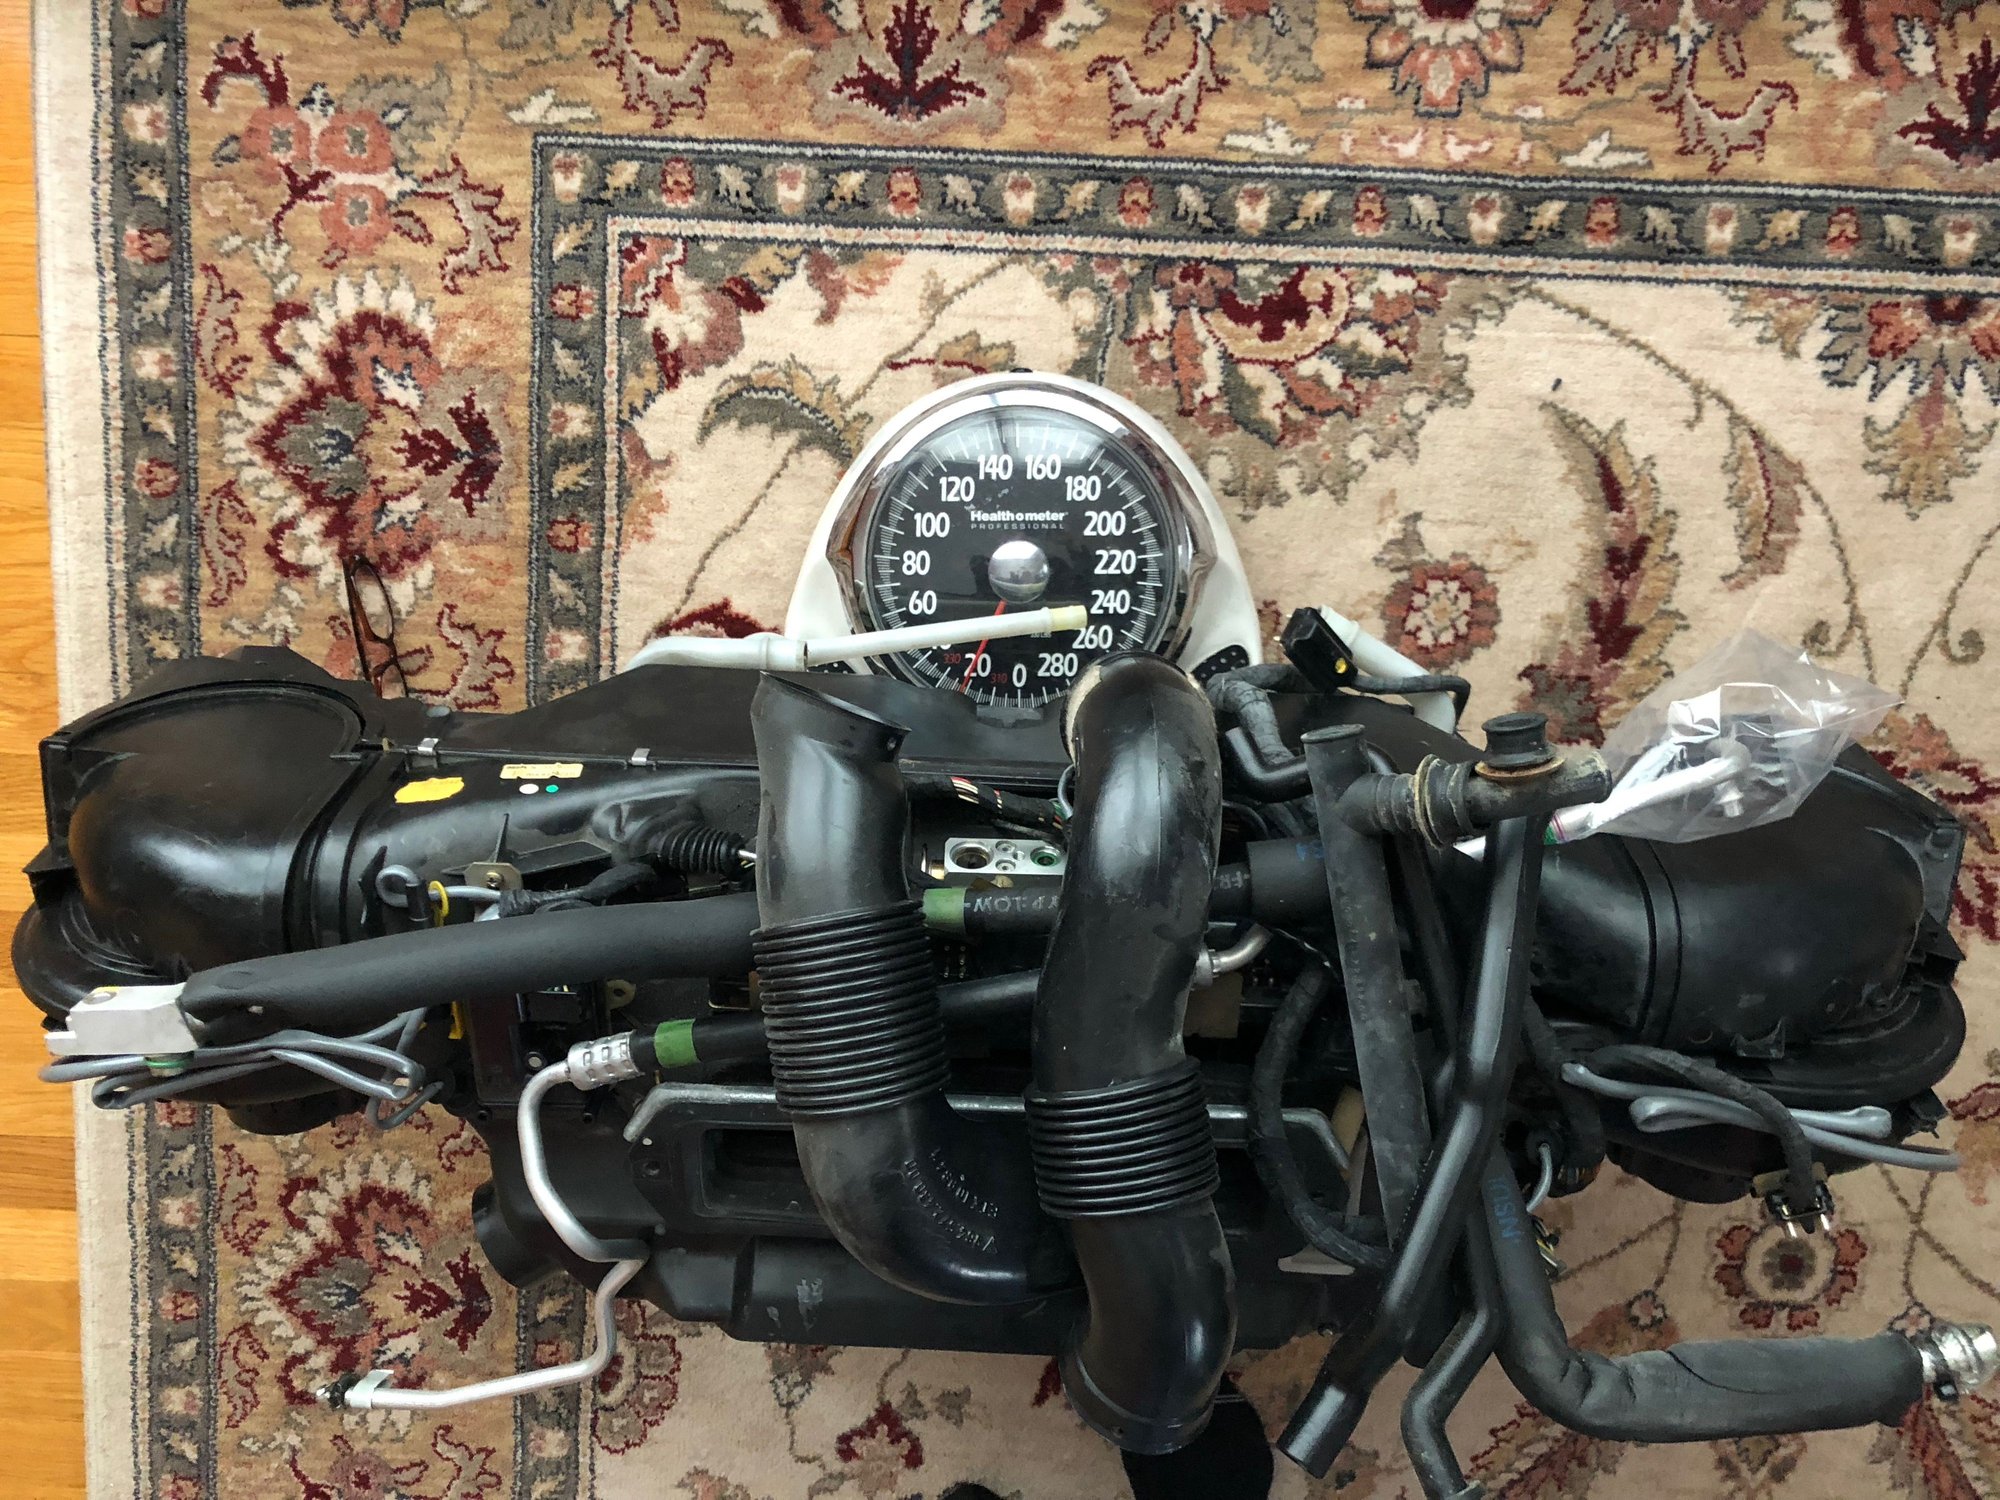
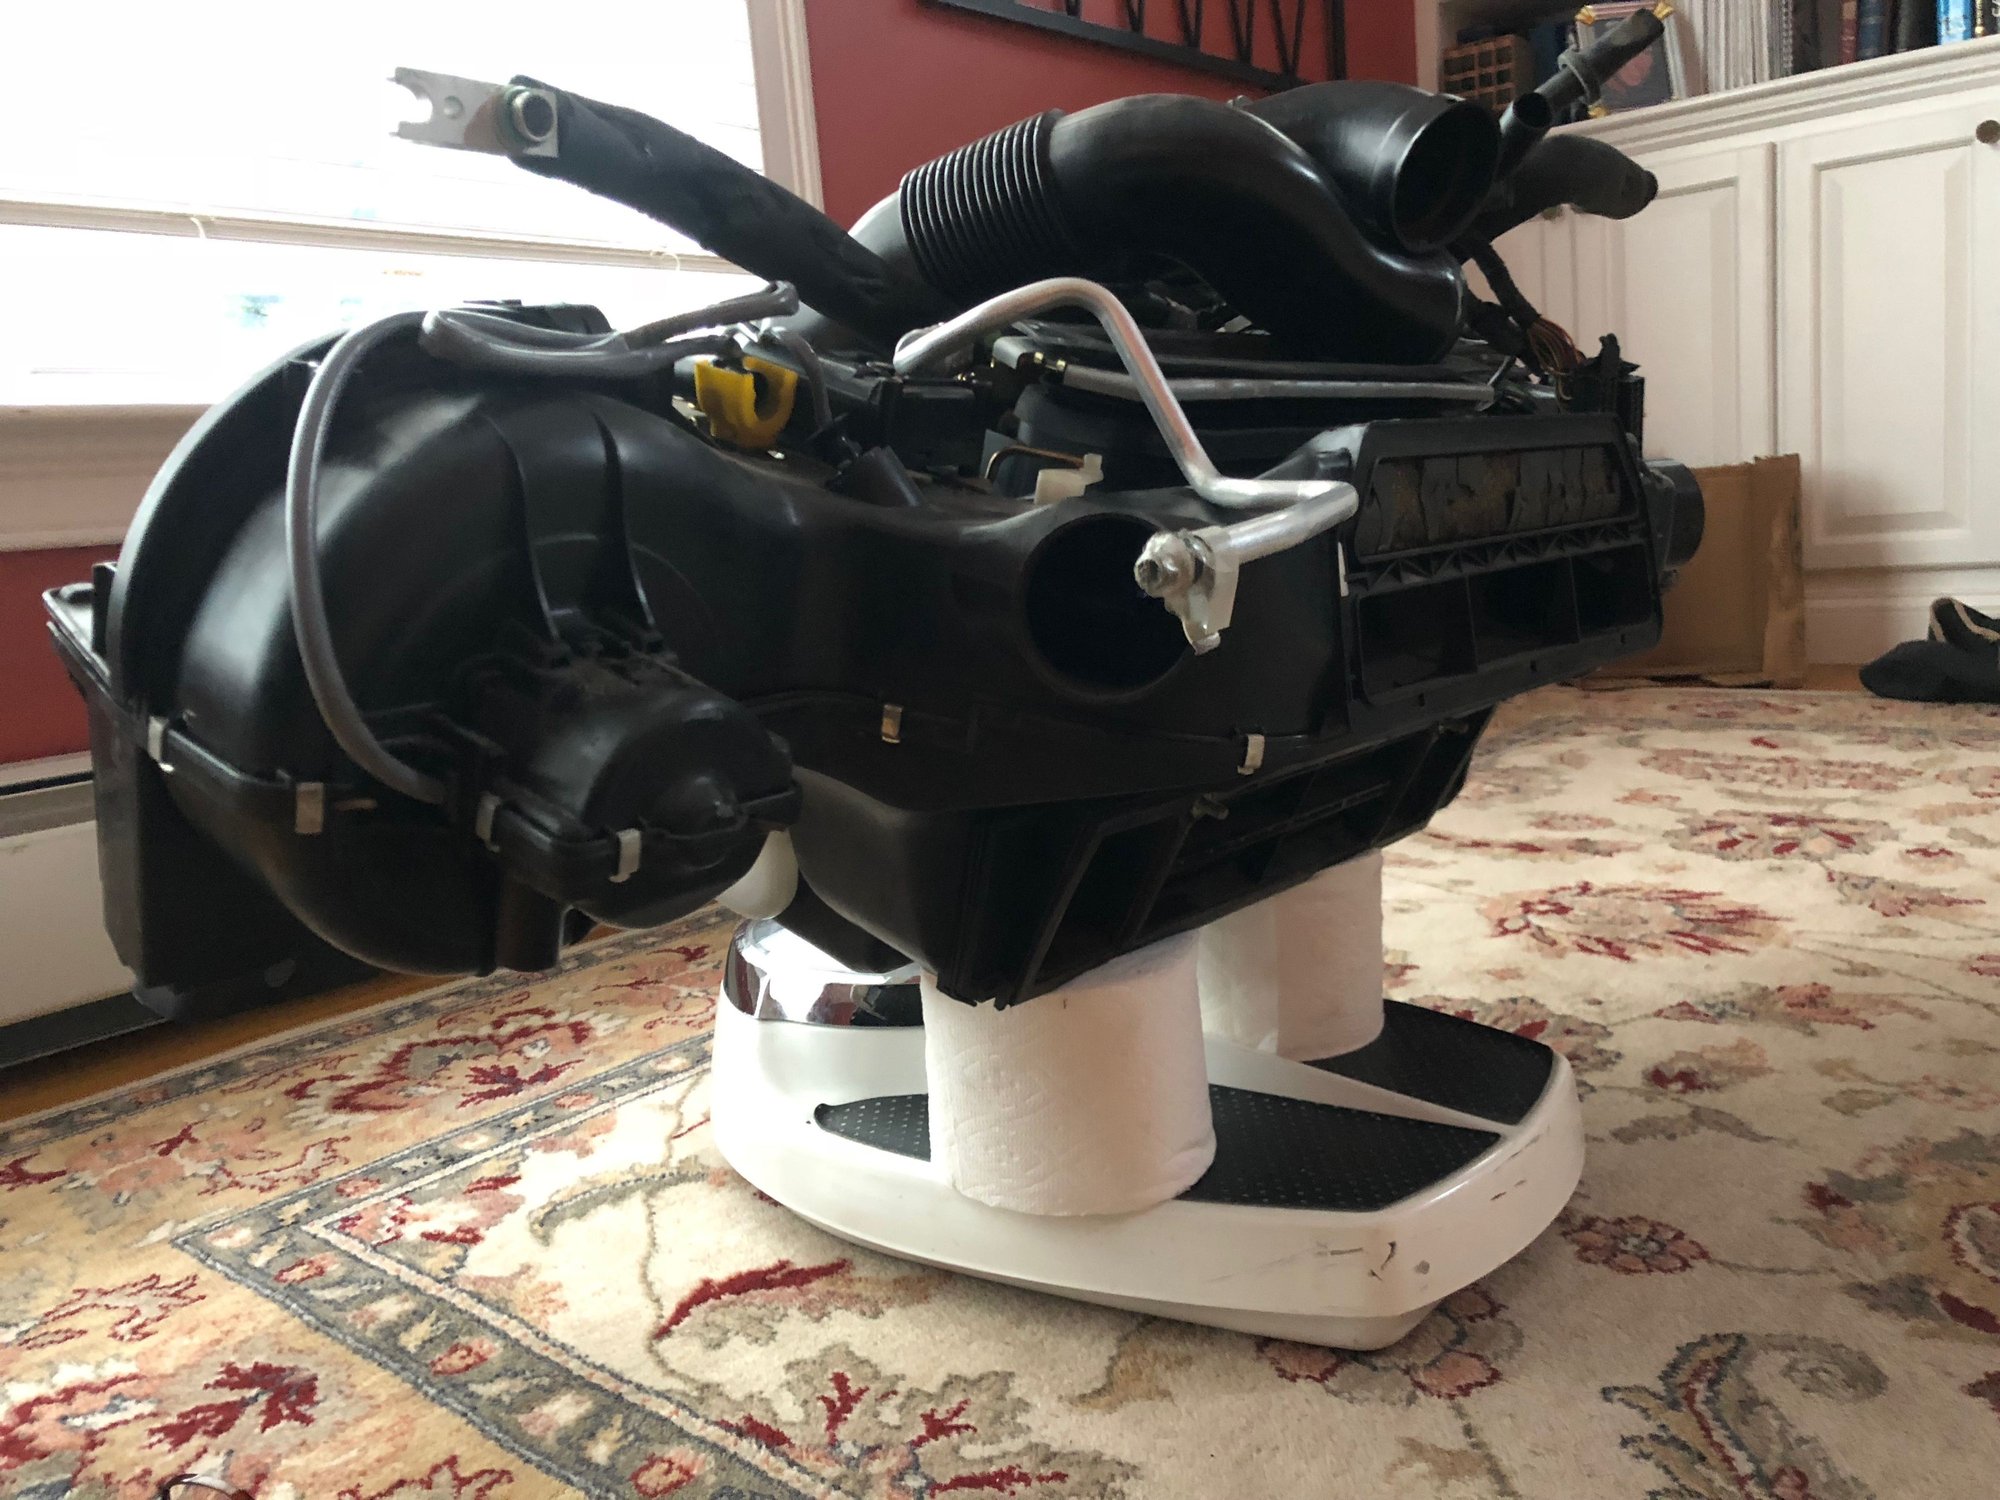
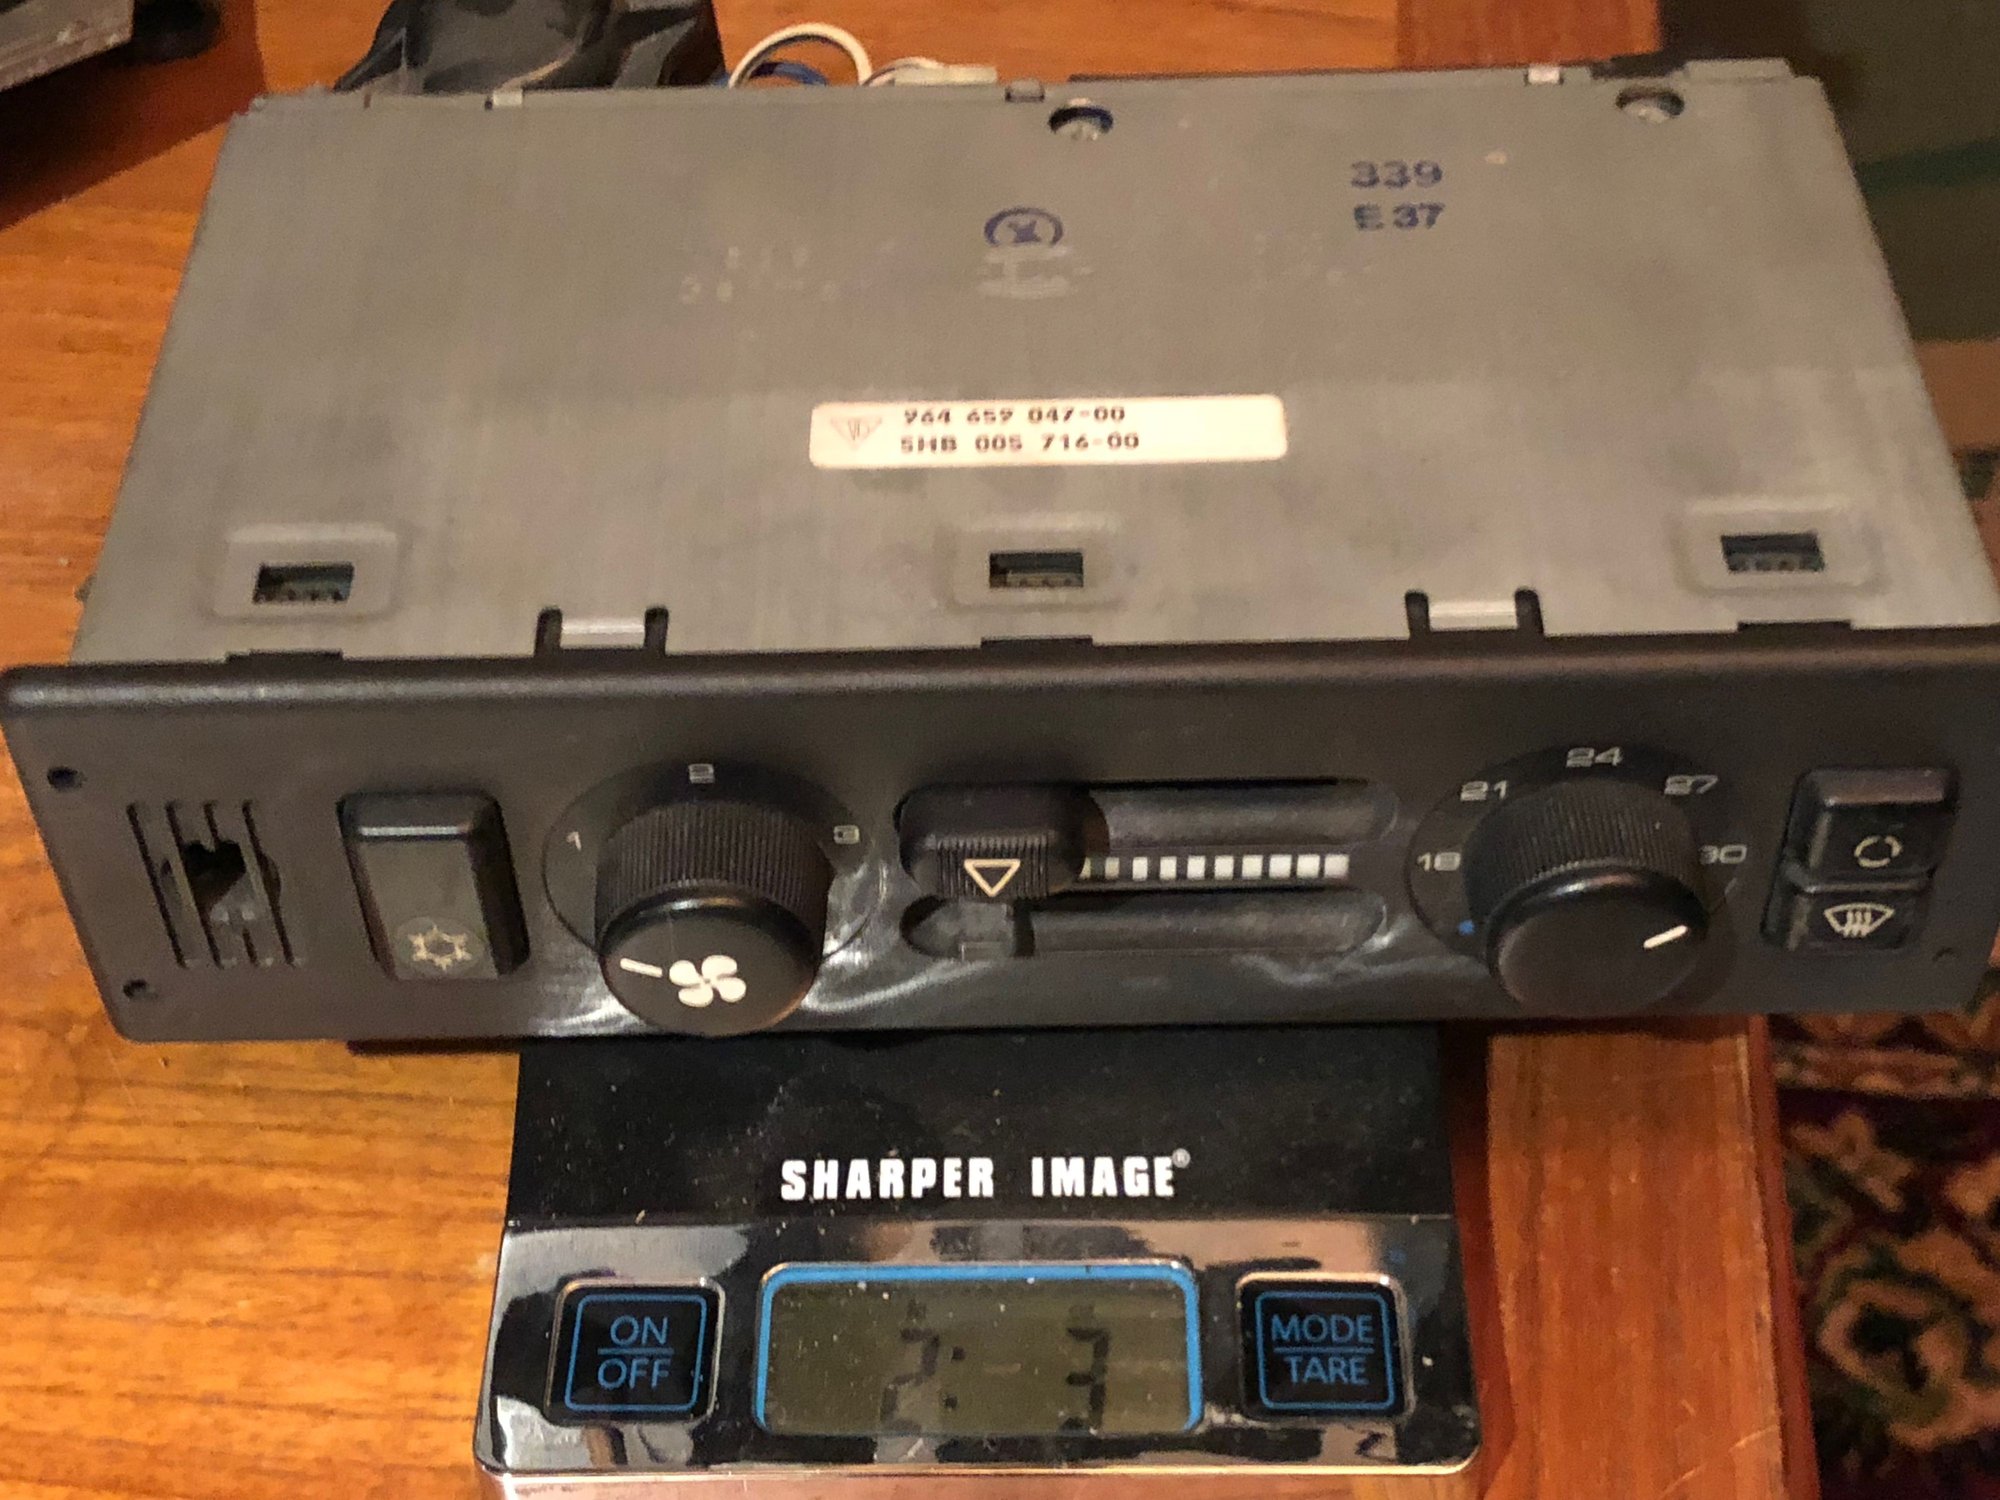
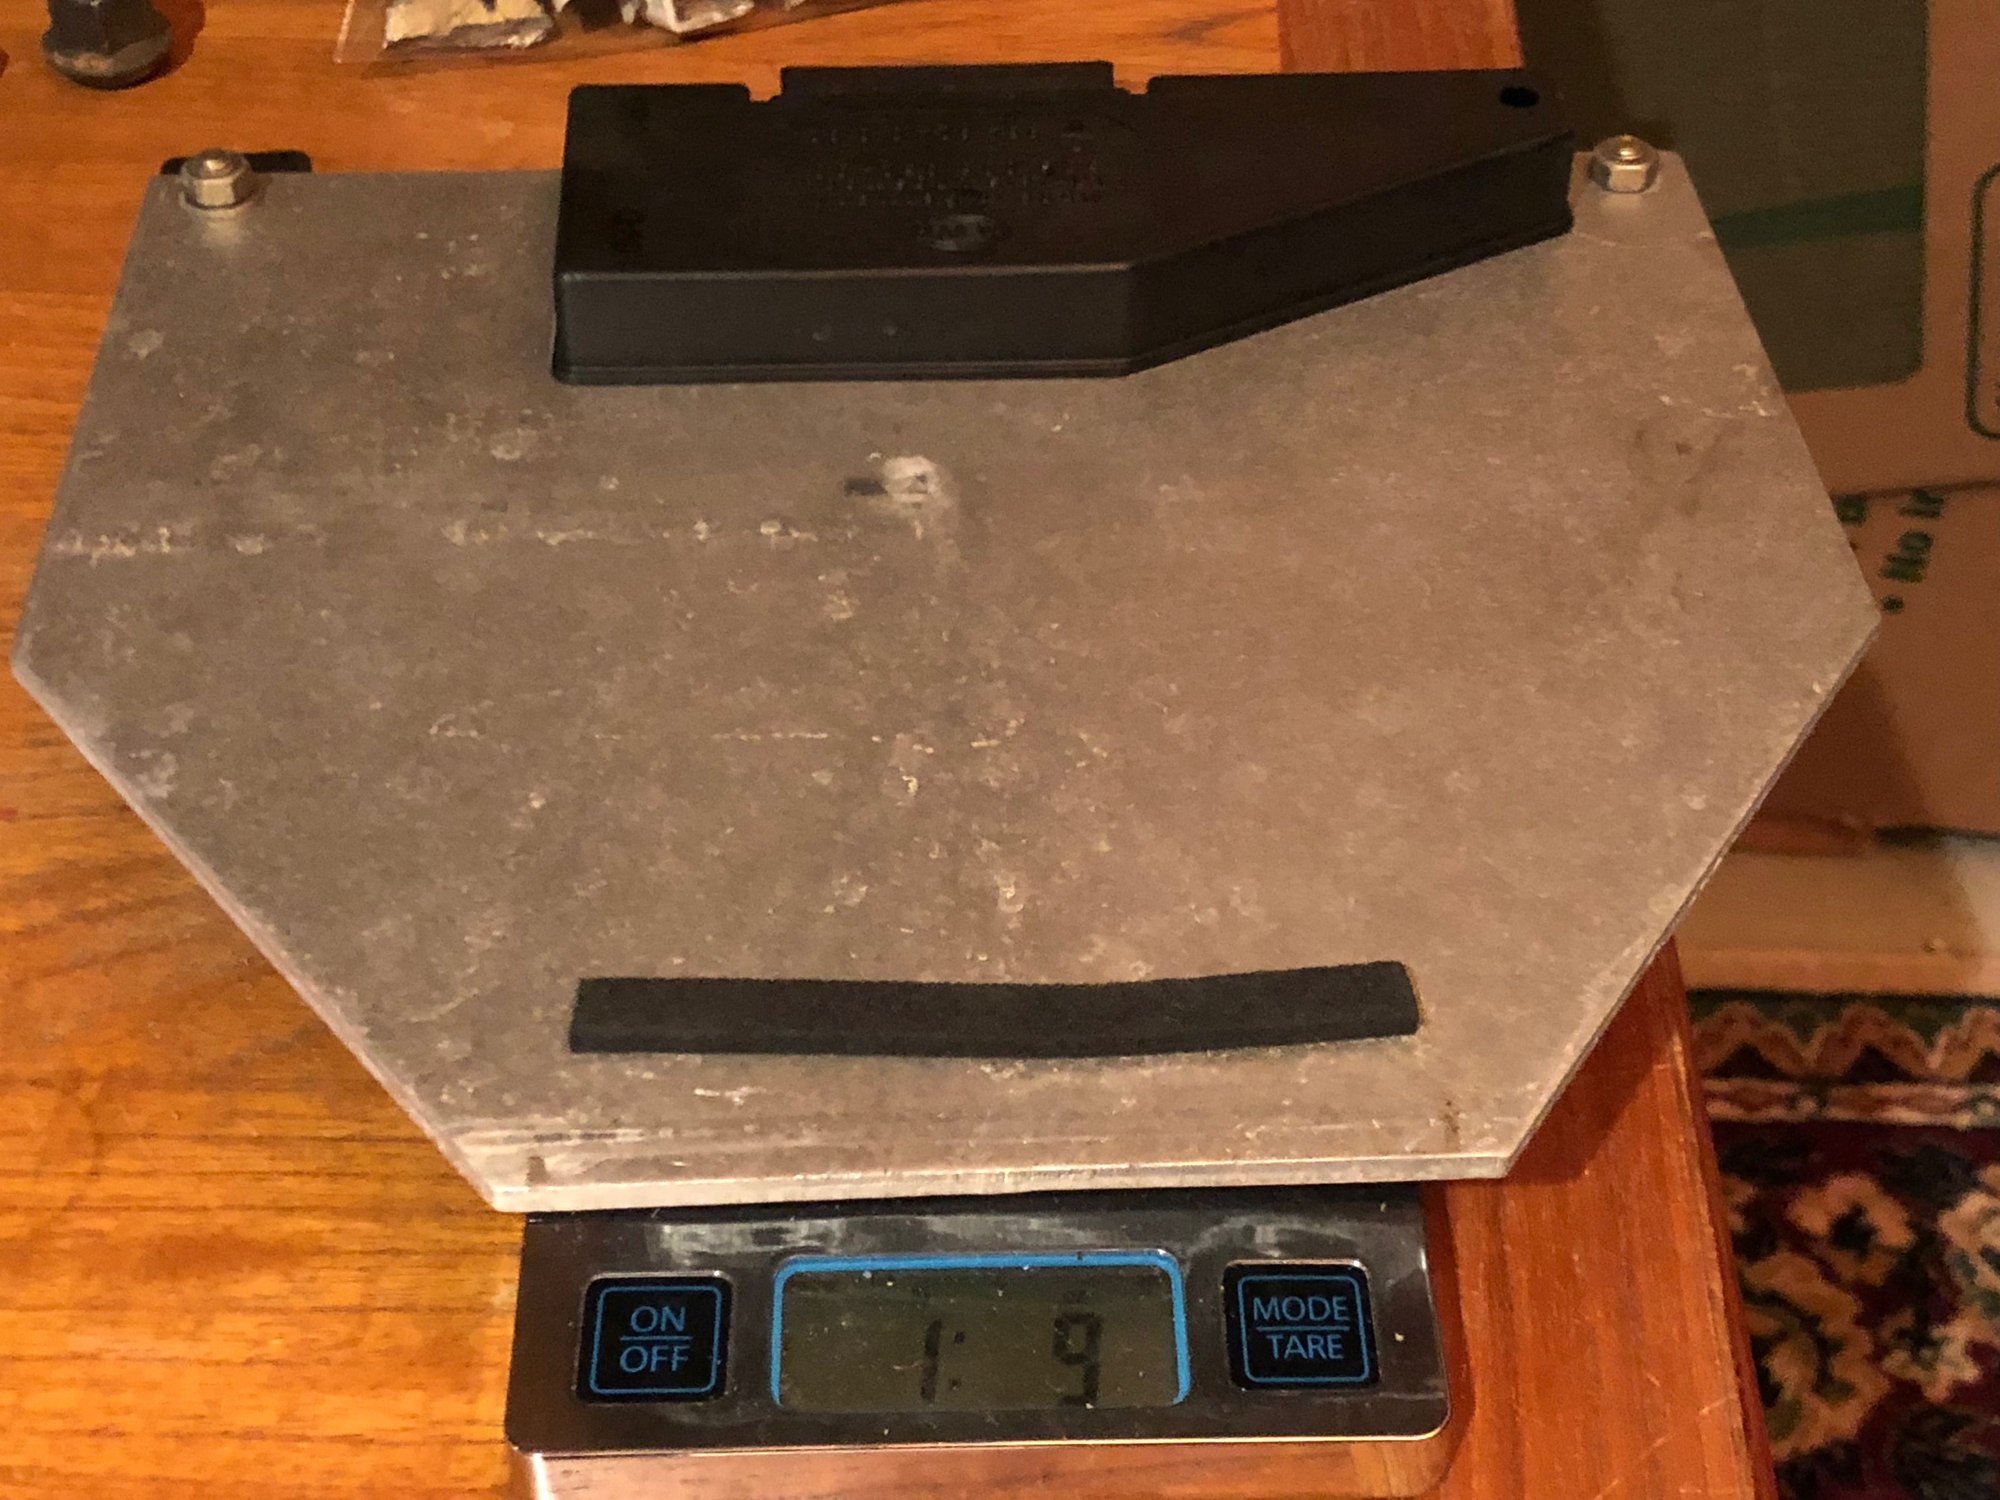
Remove the fuse box, and tie it up and out of the way. Remove the screws to the firewall, and it pulls straight up and out. Remove the center windscreen, and the two bolts inside securing the suitcase Finally, the HVAC suitcase is within reach. You can see where ducts go into the car on the left and right, there are tabs that you need to depress. With the help of a mallet and large screwdriver, I depressed the tabs and the ducts released Mashed tab The ducts can now simply be pulled down from within the car. CCU removal is next Tabs pull up from opposite ends Remove nut on left and bot on right securing suitcase Remove this nut under the radio, and the suitcase is ready to pull Suitcase is almost out! But still hanging on by this cable If you carefully follow the lines back to the CCU... You can remove the whole cable with both CCU connectors and a 14 pin connector 22 lbs. lost! Shed another 2 lbs. with the CCU out And a pound and a half from this unit I pulled off the firewall. Some kind of heat sink for the blower I gather. And another half pound of fishing line
So here's the current estimated total weight reduction this winter. Still some installation work and paint ahead, but it looks like I exceeded my goal of 100 lbs!
Winter Weight Savings:
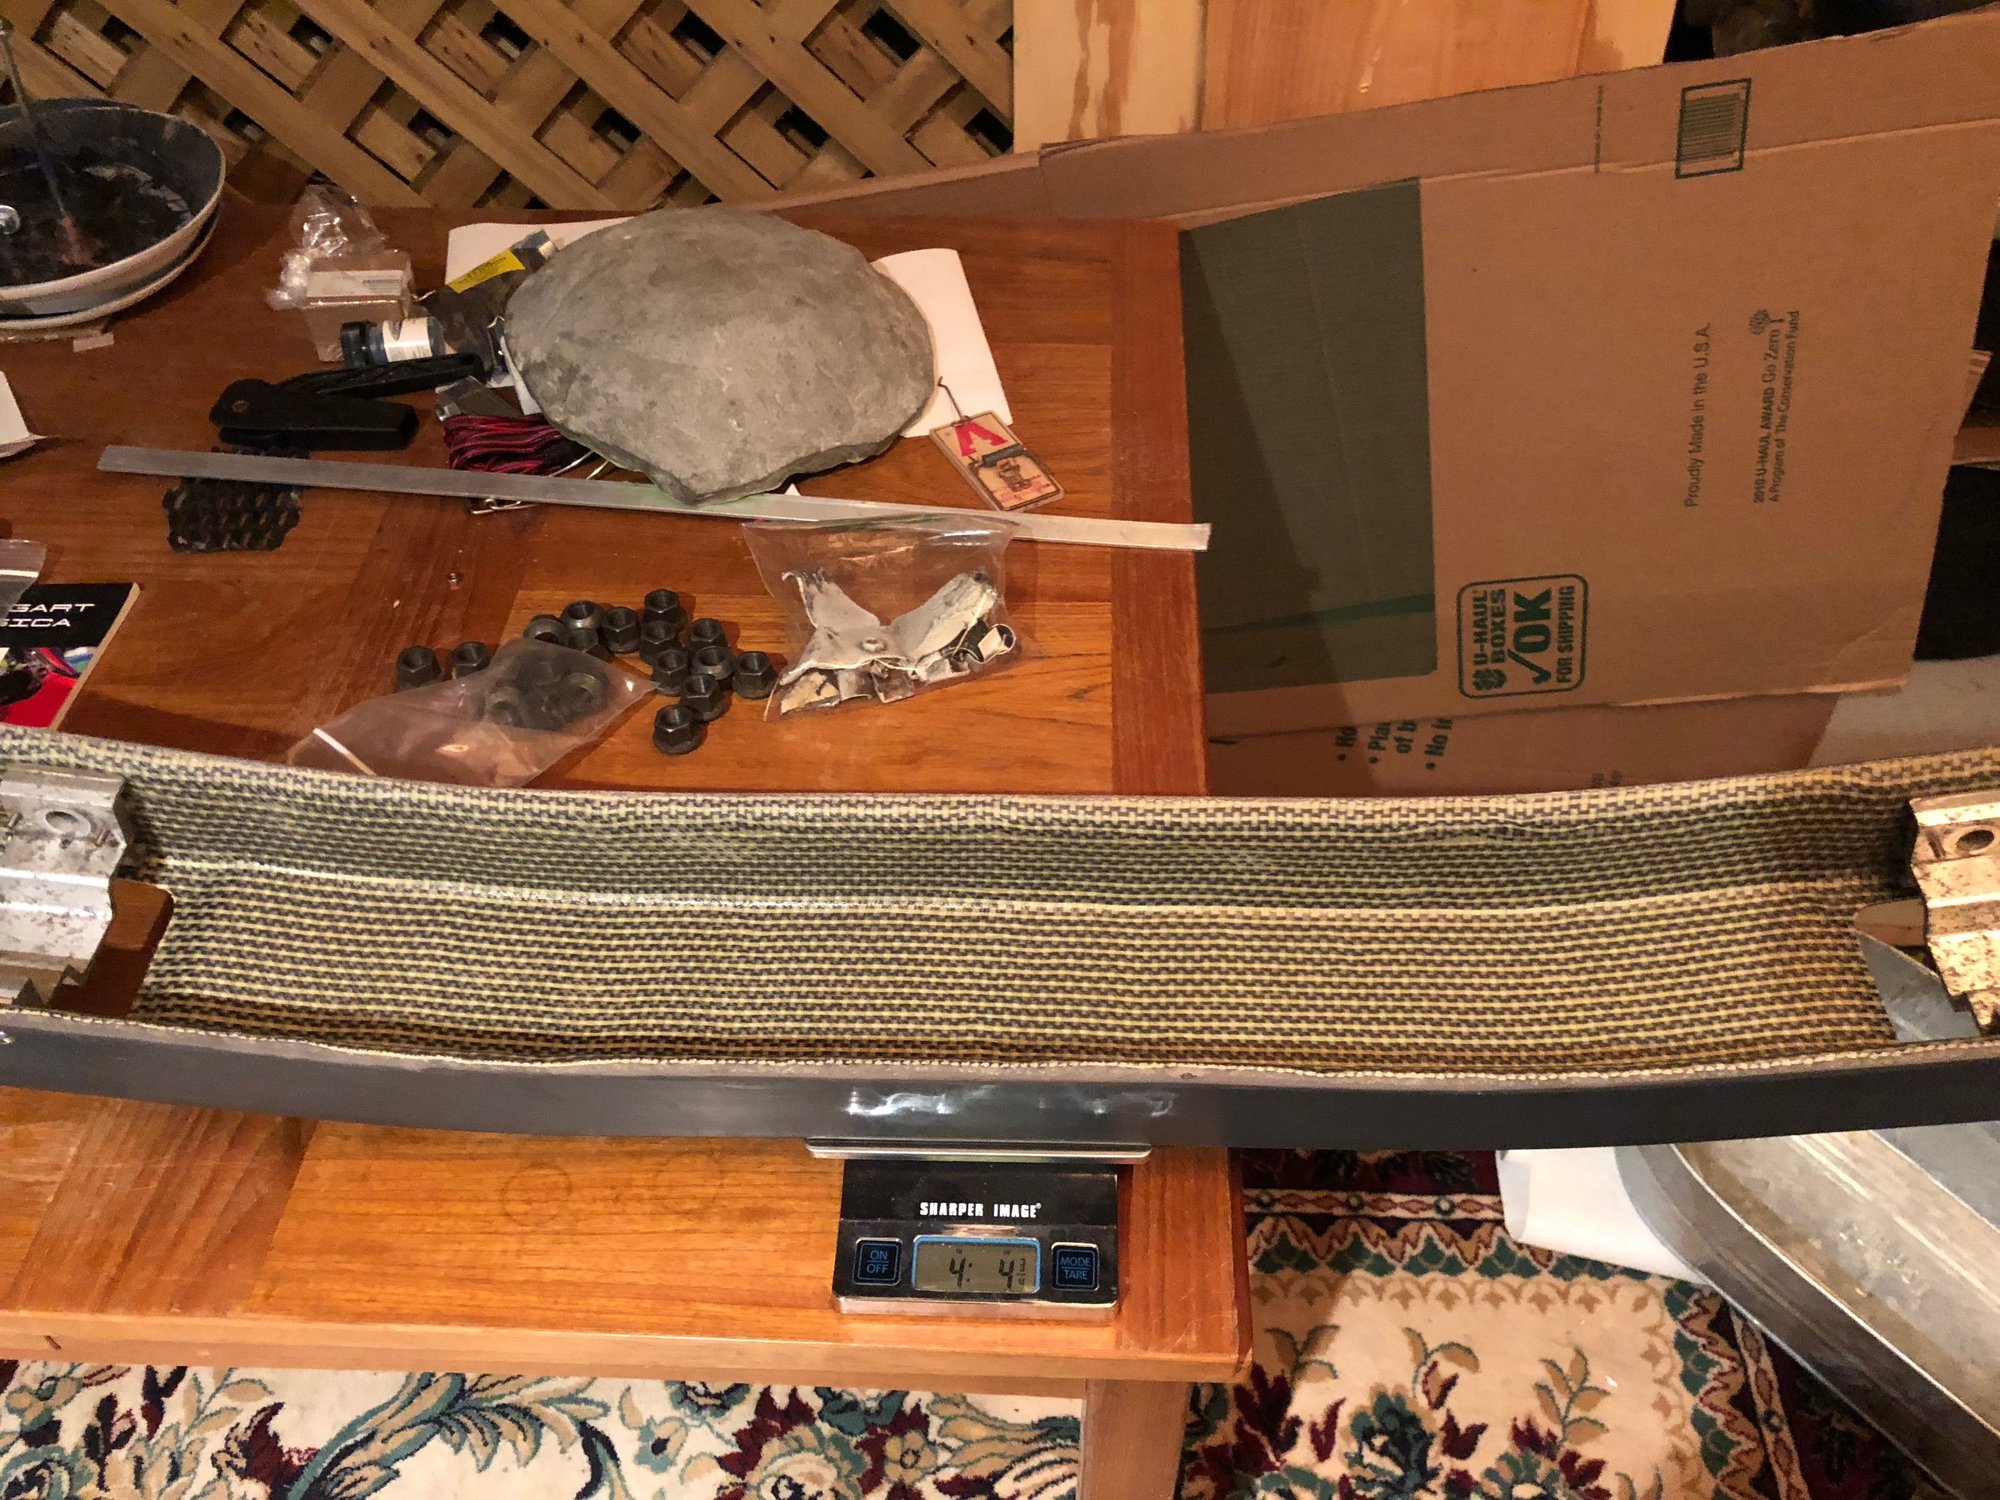
1. Carbon Fiber front Bumper = 16 lbs. 2. Carbon Fiber center tunnel and trays = 6 lbs. 10 oz. 3. Removed rubber/paint form front and underside = 4 lbs. 8 oz. 4. Giro Disc Rotors = 6 lbs. 5. Manual window conversion = 6 lbs. 6. Stuttgard Classica Titanium Wheel Studs = 2 lbs. 3 oz. 7. Washer Tanks and Hoses (including RS tank) = 11 lbs. 8 oz. 8. Fiberglass headlight covers = 6 lbs. 2 oz. 9, FVD front aluminum bumper brackets (2) = 4 lbs. 10 oz. 10, Aluminum lug nuts = 8 oz. 11. Delete horn bracket and two of three horns = 2 lbs. 10 oz. 12. Replace US crash bar with FVD kevlar crash bar = 6 lbs. 13. Frunk snaps = 4 oz.
14. Removed rubber/paint from undercarriage = 12 lbs. 8 oz.
15. Removed CCU = 2 lbs. 3 oz.
16. Removed heat sink, blower connector = 1 lb. 9 oz.
17. More windshield washer fluid hoses/wires = 8 oz.
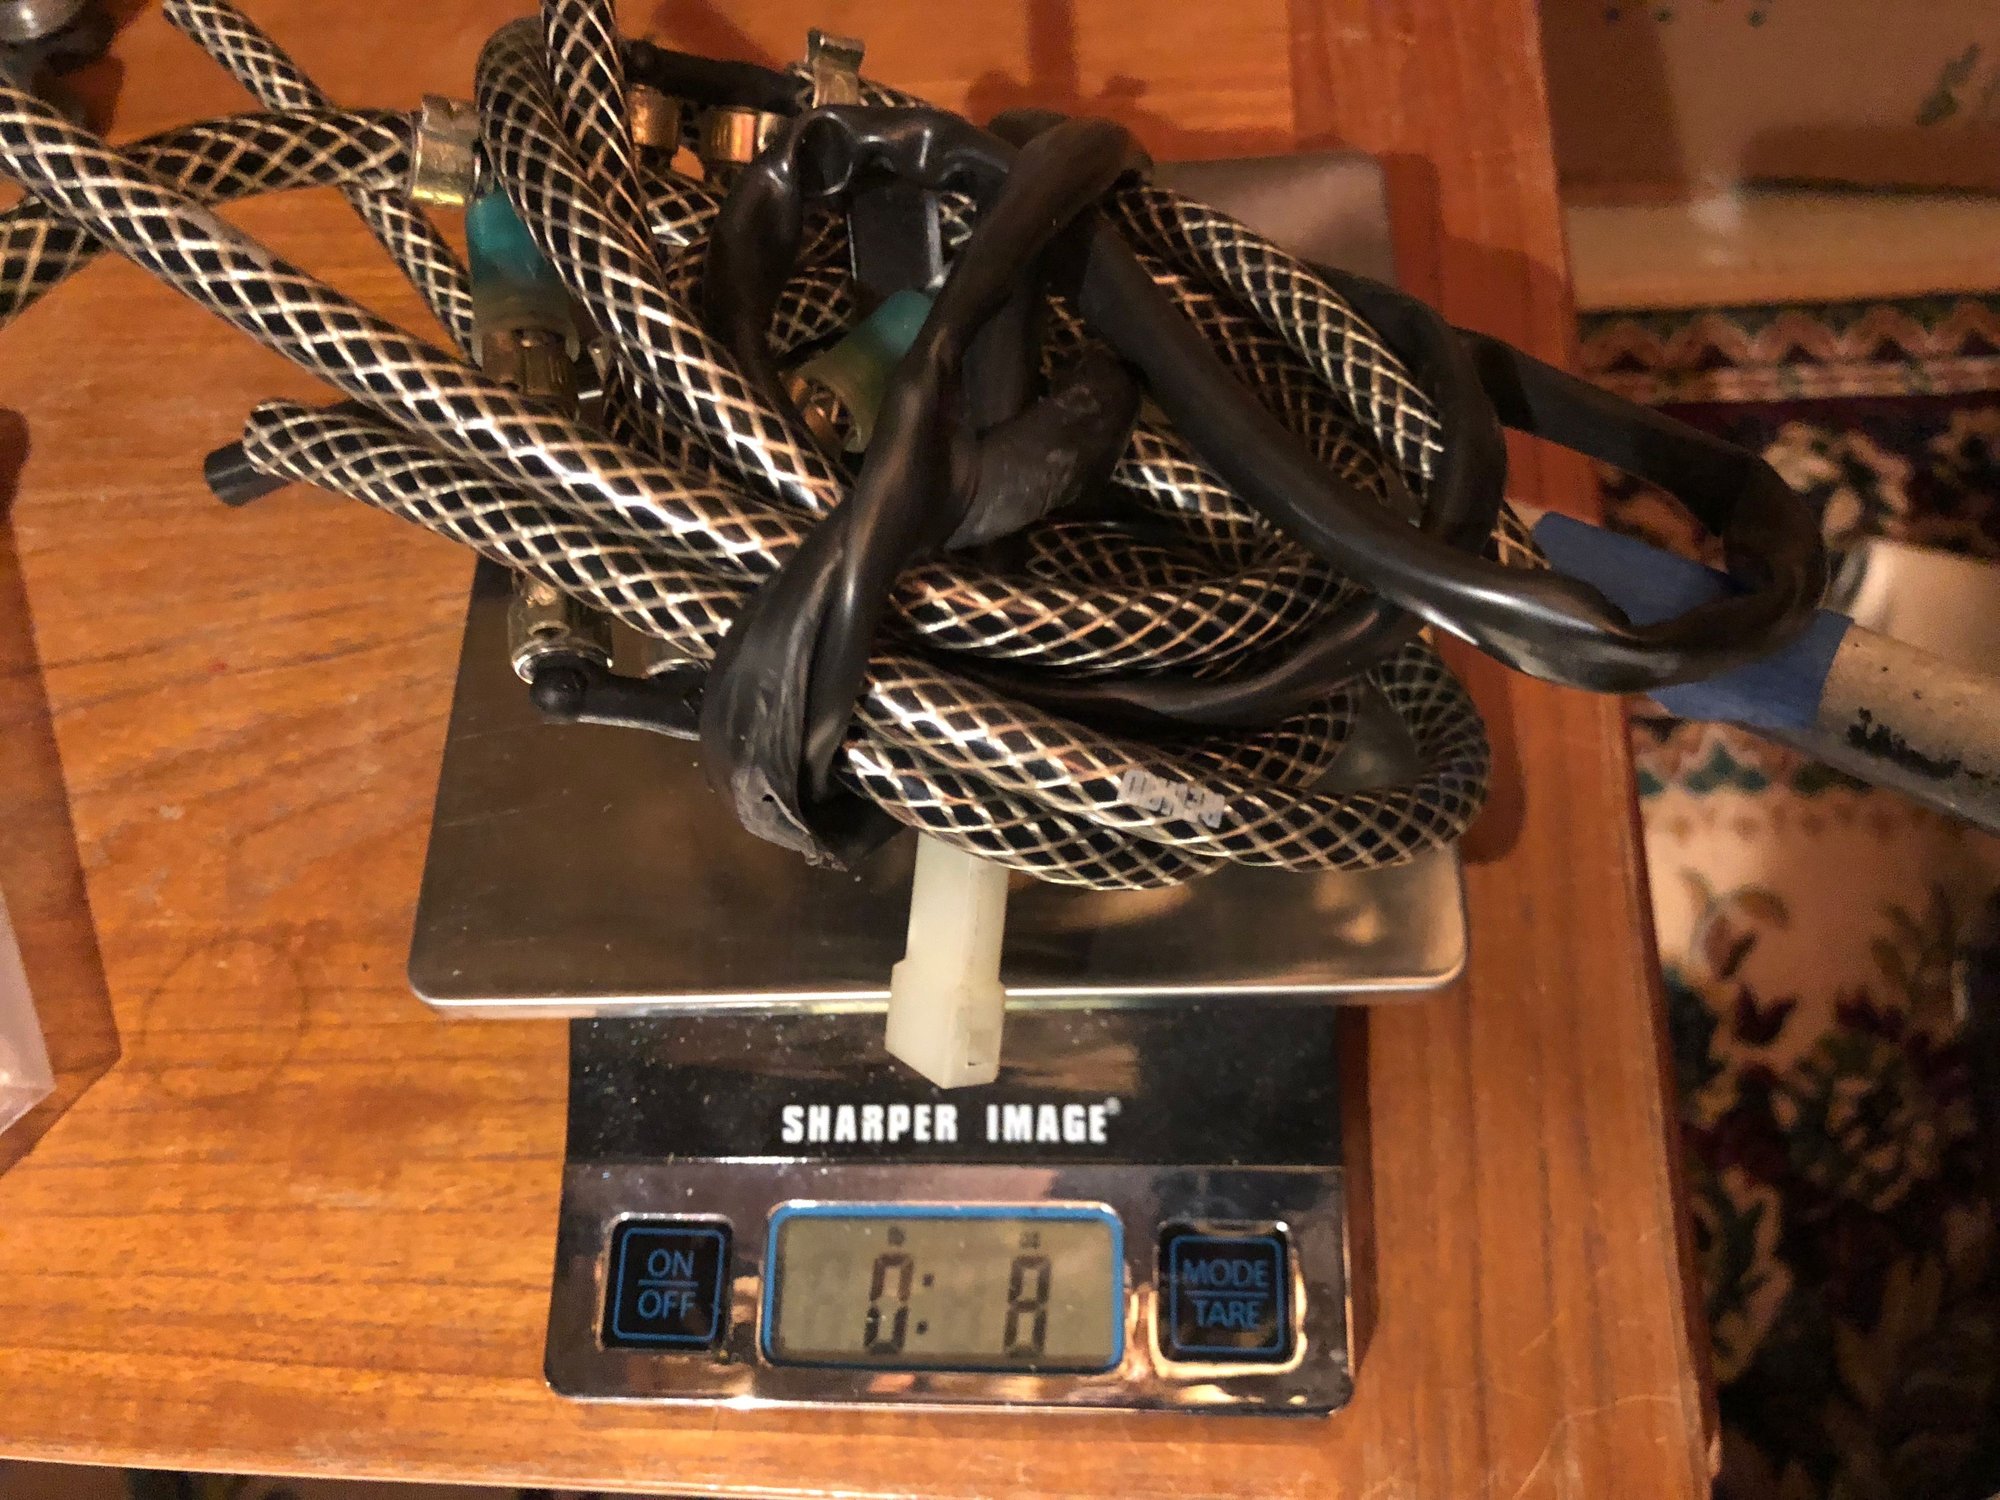
18. HVAC Suitcase and Assorted ducts = 22 lbs.
Wow that's a massive weight loss for the year! Now you're going to need to move the engine forward to get some weight back on the front tires.
Come up with a plan for defrost? Or will the weight list include +16oz for a bottle of FogX If I haven't mentioned, those aftermarket seat heater kits are fantastic - if you have any fabric available on those seats to slide them under.
I really gotta hand it to you, Foxman, you are slaying it.
Thanks c didy. Just don't call me a Pig Slayer, ha!
Originally Posted by -nick
Wow that's a massive weight loss for the year! Now you're going to need to move the engine forward to get some weight back on the front tires.
Come up with a plan for defrost? Or will the weight list include +16oz for a bottle of FogX If I haven't mentioned, those aftermarket seat heater kits are fantastic - if you have any fabric available on those seats to slide them under.
Thanks Nick, Weight distribution is definitely on my mind, but I hadn't considered moving the engine LOL. I have been trying to remove weight front and rear equally, but there's far more dead weight up front. The car did wander a bit at speeds over 100 MPH last season. I'm hoping the new front bumper will improve the aerodynamics.
Yes to FogX. There's still plenty of heat available to be harnessed through the ducts. I'll block them off for the summer, and re-direct the vents this Fall.
Originally Posted by Achtung964
I'm still stuck on removing the sound deadening on mine. Great job Foxman! This is inspiring.
Thanks Achtung964, I needed some inspiration to remove the rubber from the underside. Beer, and listening to the Grateful Dead helped.
Take your time removing the sound deadening - it's worth it! Goo Gone works really well, and use xylene sparingly for the real stubborn areas (with a mask, in a well ventilated area). Soak a rag with the xyene, and let it soak for a minute or so. The glue will simply wipe away.
Originally Posted by 2swoosh
Loved it 4 oz trunk snaps! over 100 lbs is significant!
Yes, the OCD is hard to miss, eh? But it really does all add up. Every 100 lbs. is like another 10 HP, and the car handles better and stops quicker to boot. This 964 will go toe to toe with my 993 - but with a bit more drama.
Originally Posted by kos11-12
Well done !
� lot of weight removed !
Did I miss something , what are you planing for heat and fan ?
Cheers
Thanks kos11-12, I'm looking forward to a corner balance to see what the new weight is. Hoping to be under 2,400 lbs.
There's plenty of heat coming through the B&B Headers - I just need to work a few vents in, come the Fall. The windows will be the heat regulator, LOL.
Originally Posted by Cemoto
.
You sir, are a madman! (But you already knew that . . . )
GREAT WORK!
.
Without a doubt, Al. Thanks, can't wait to get her out to Palmer and chase youor Cup Car!
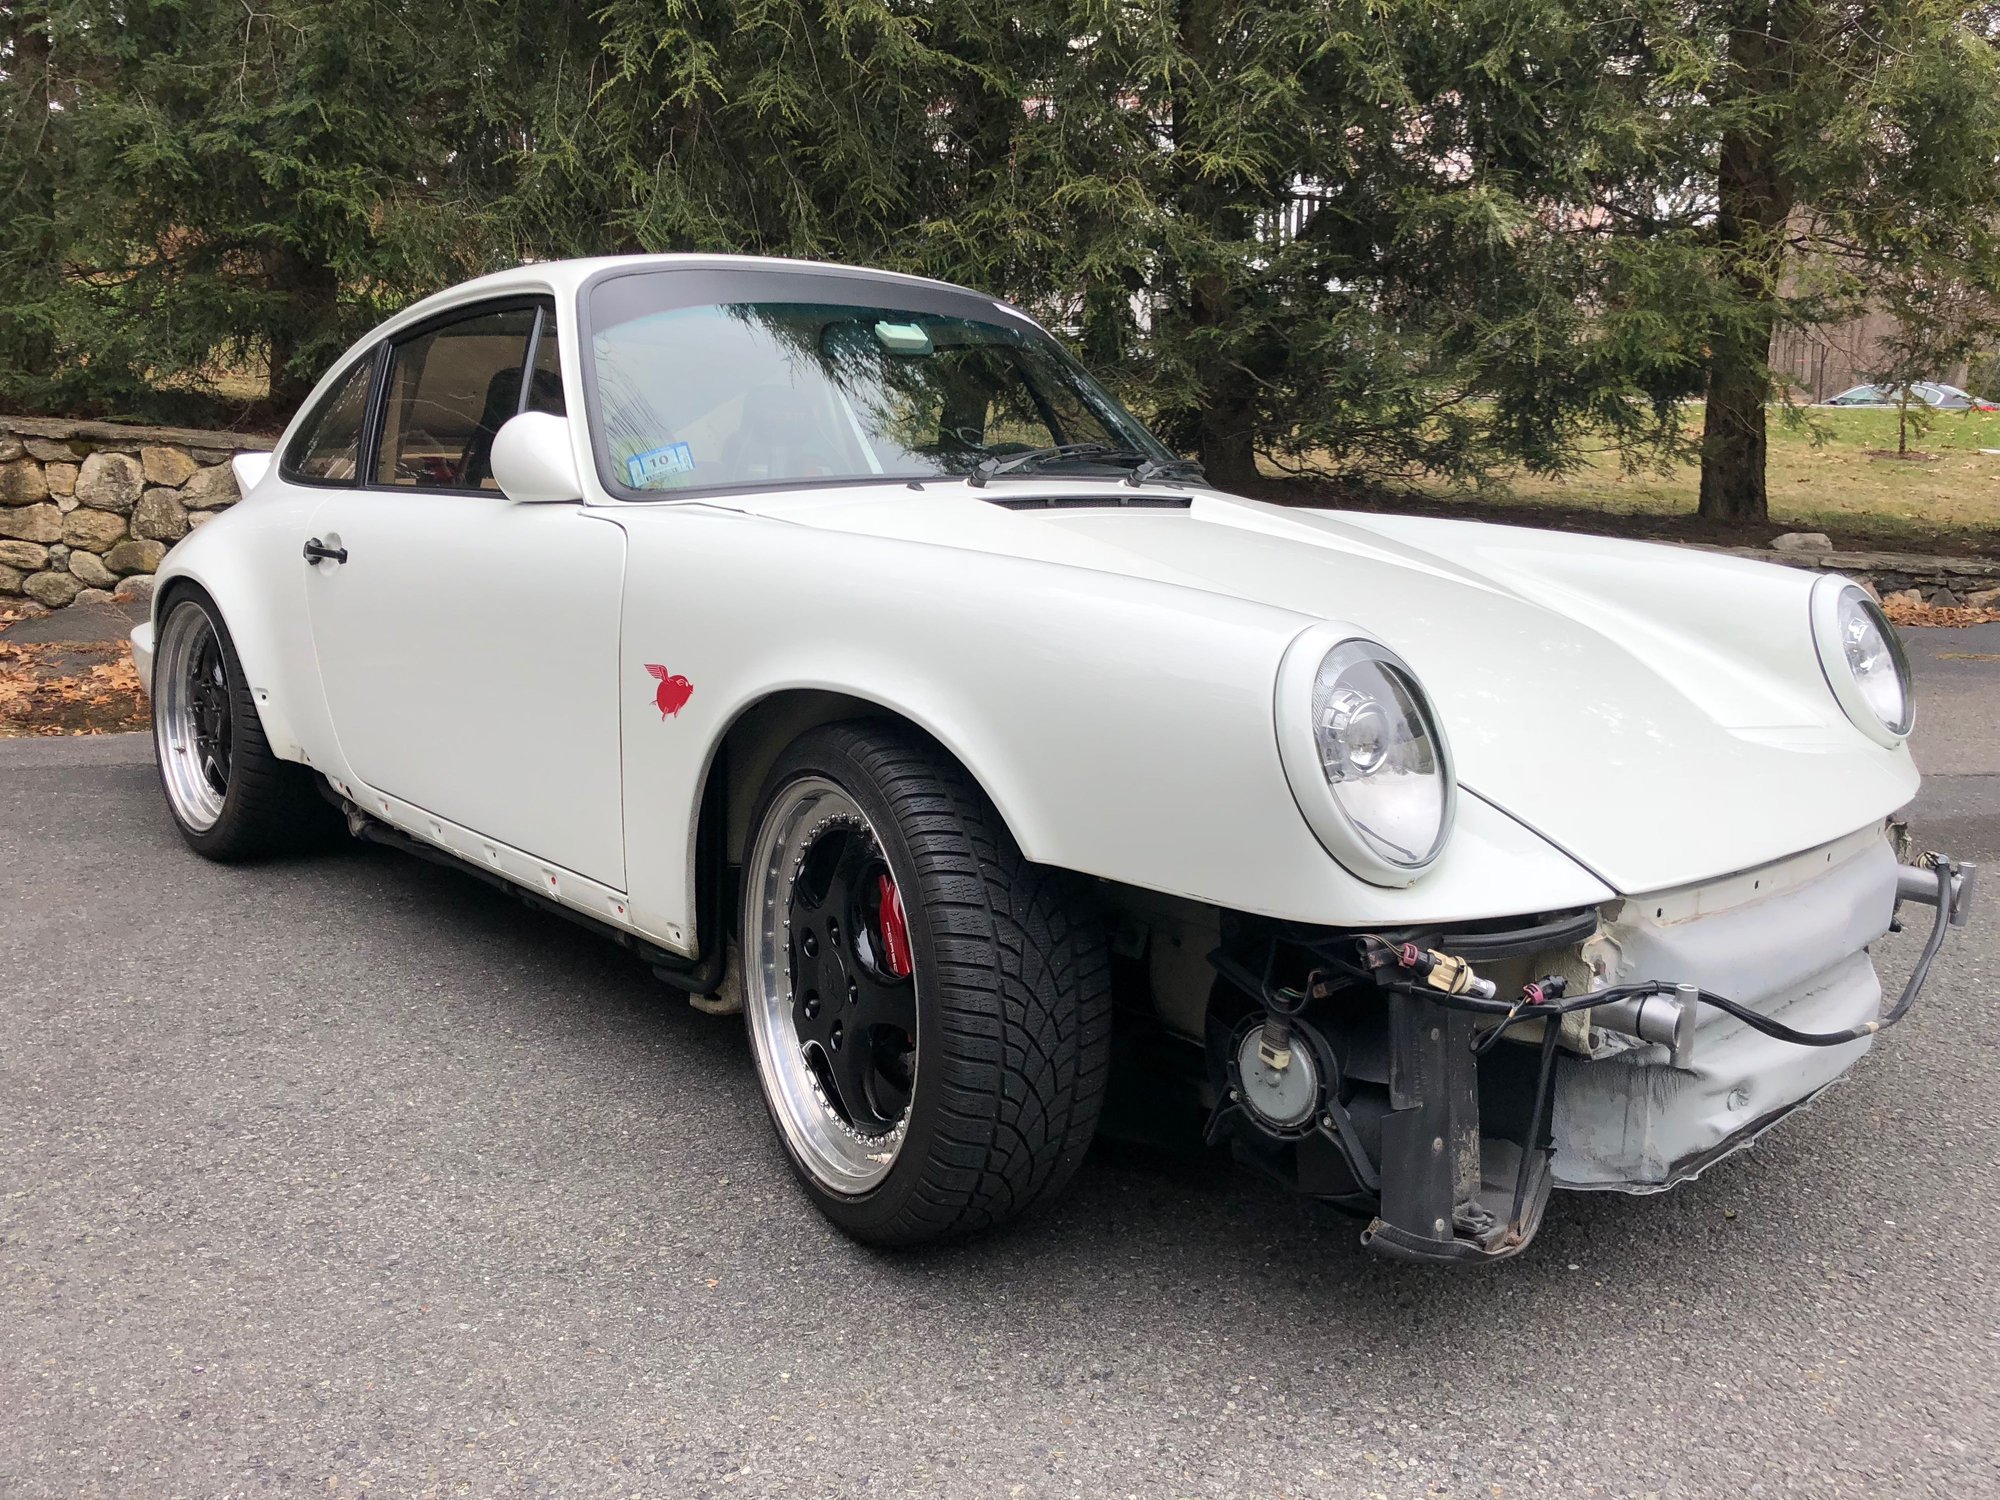
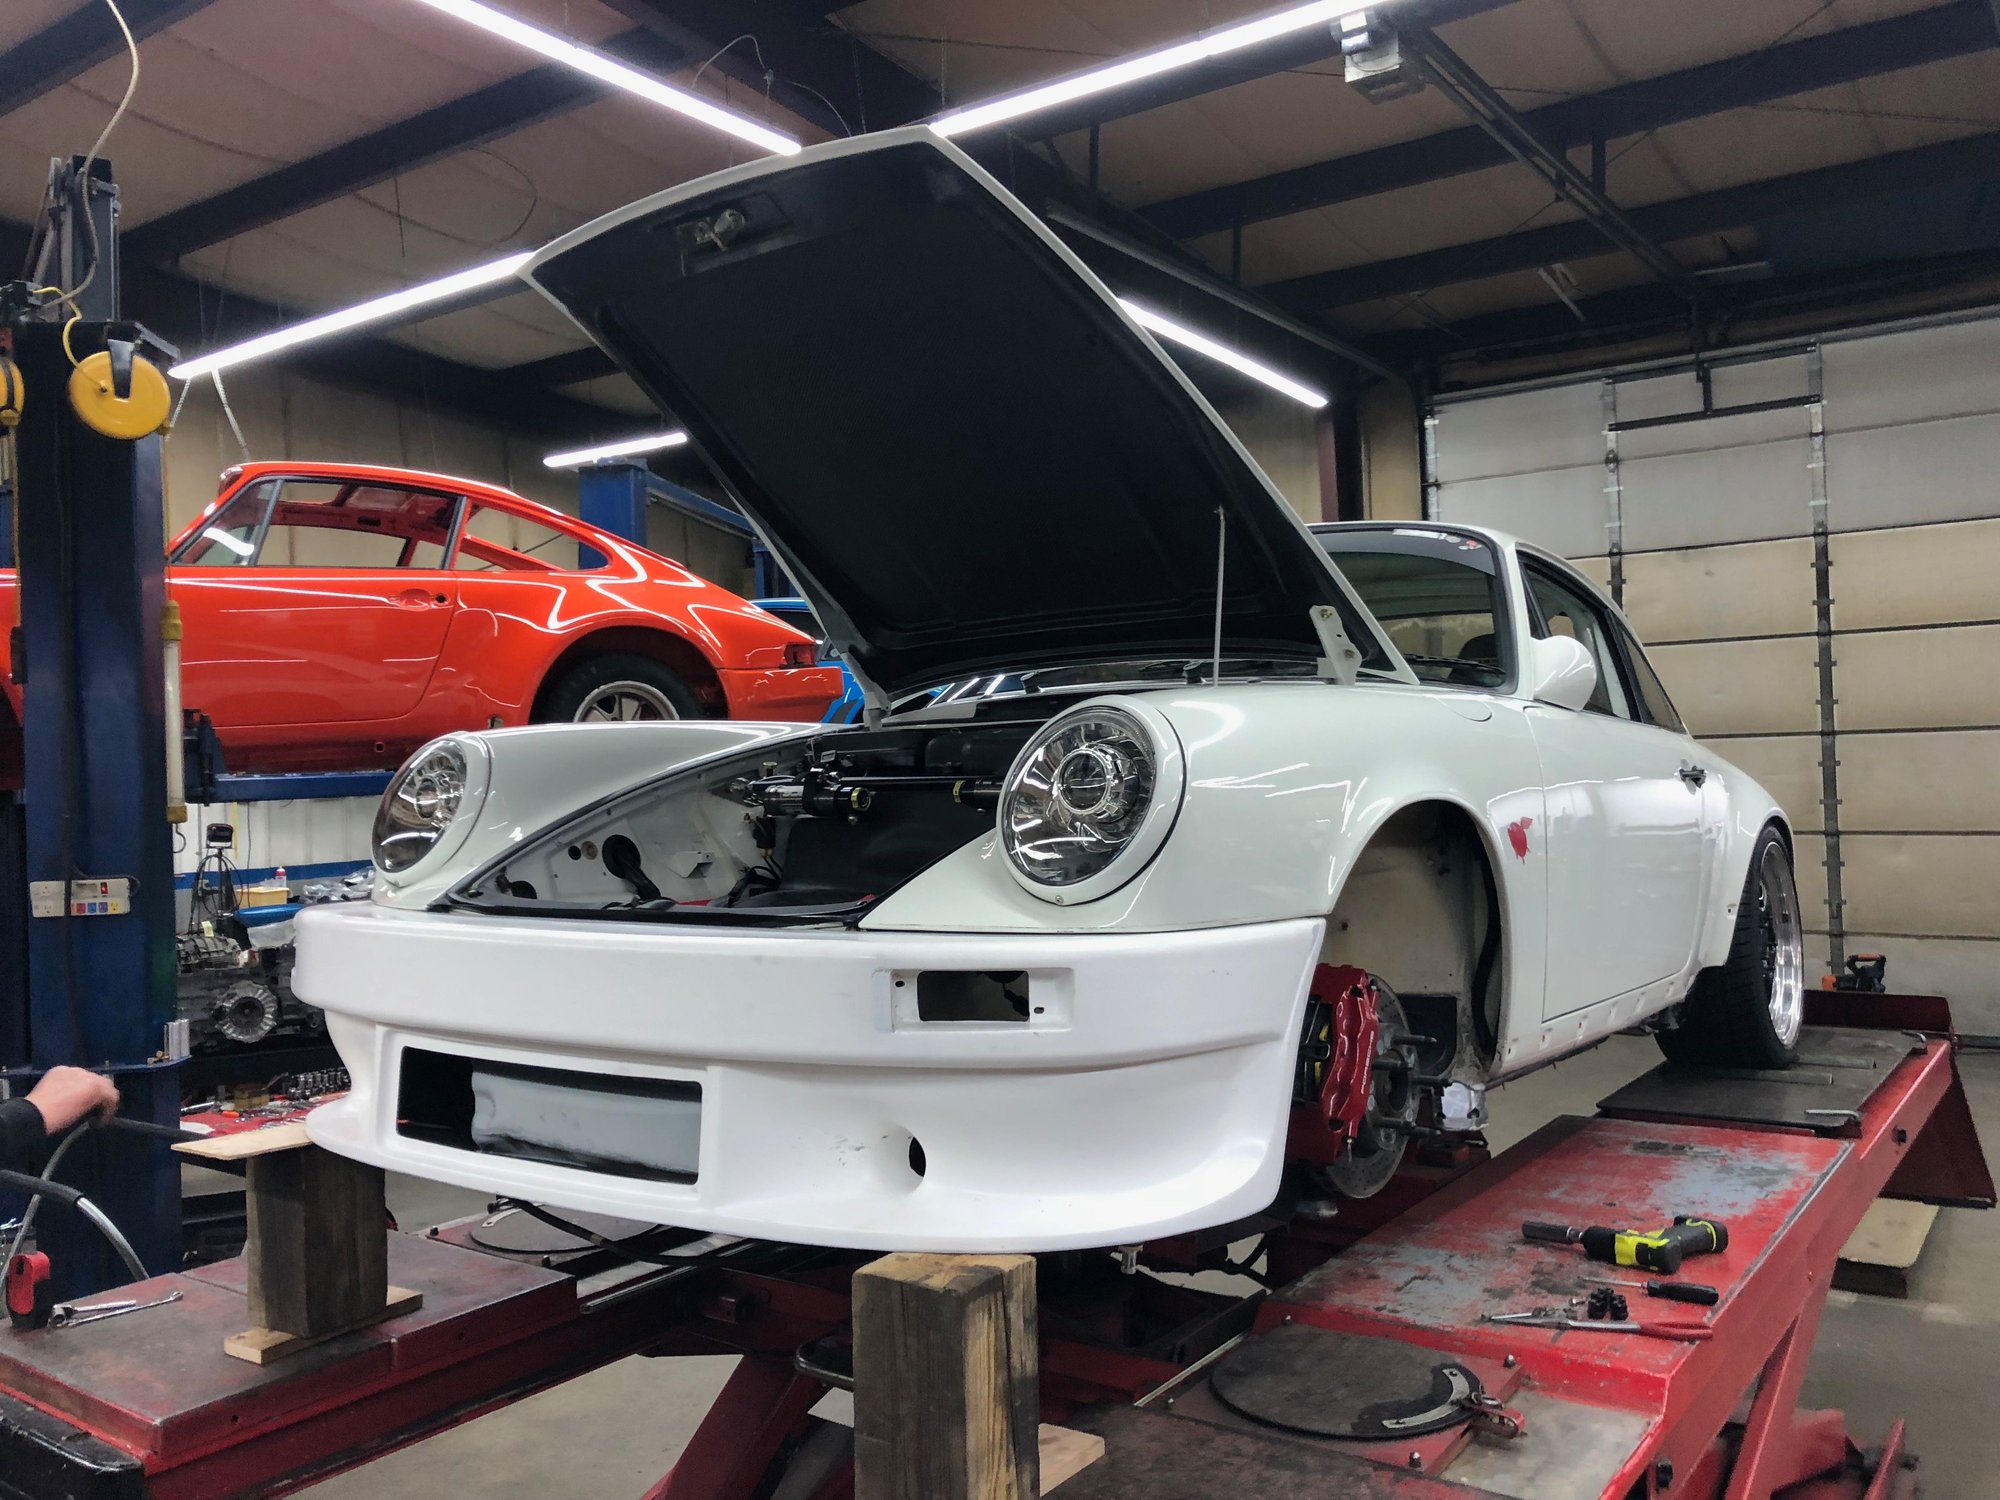
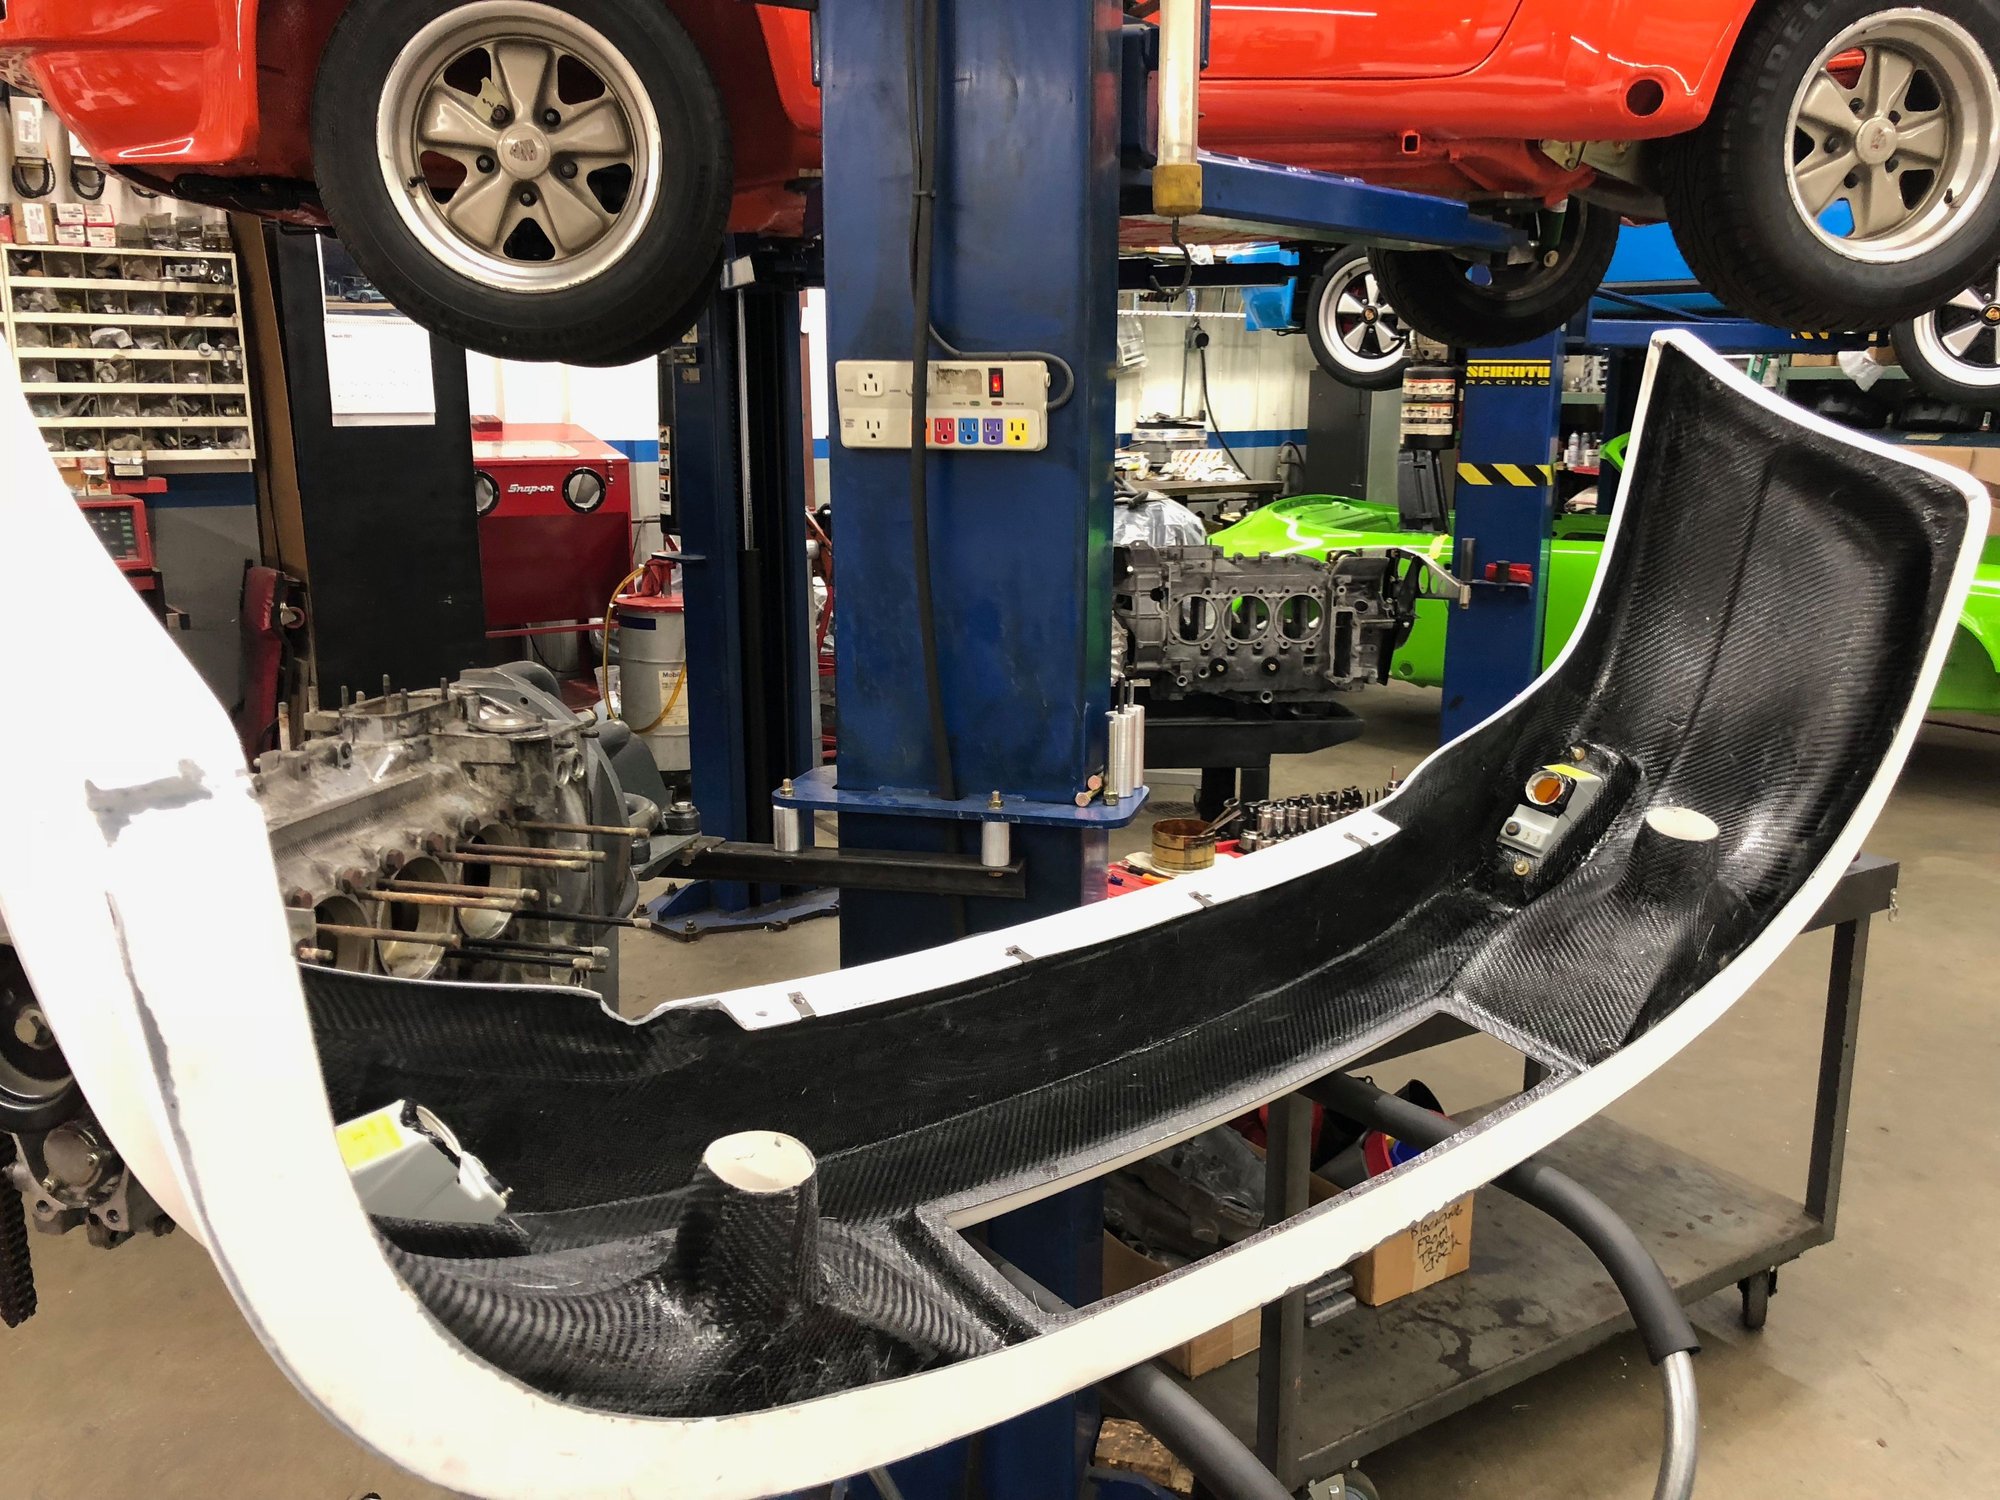
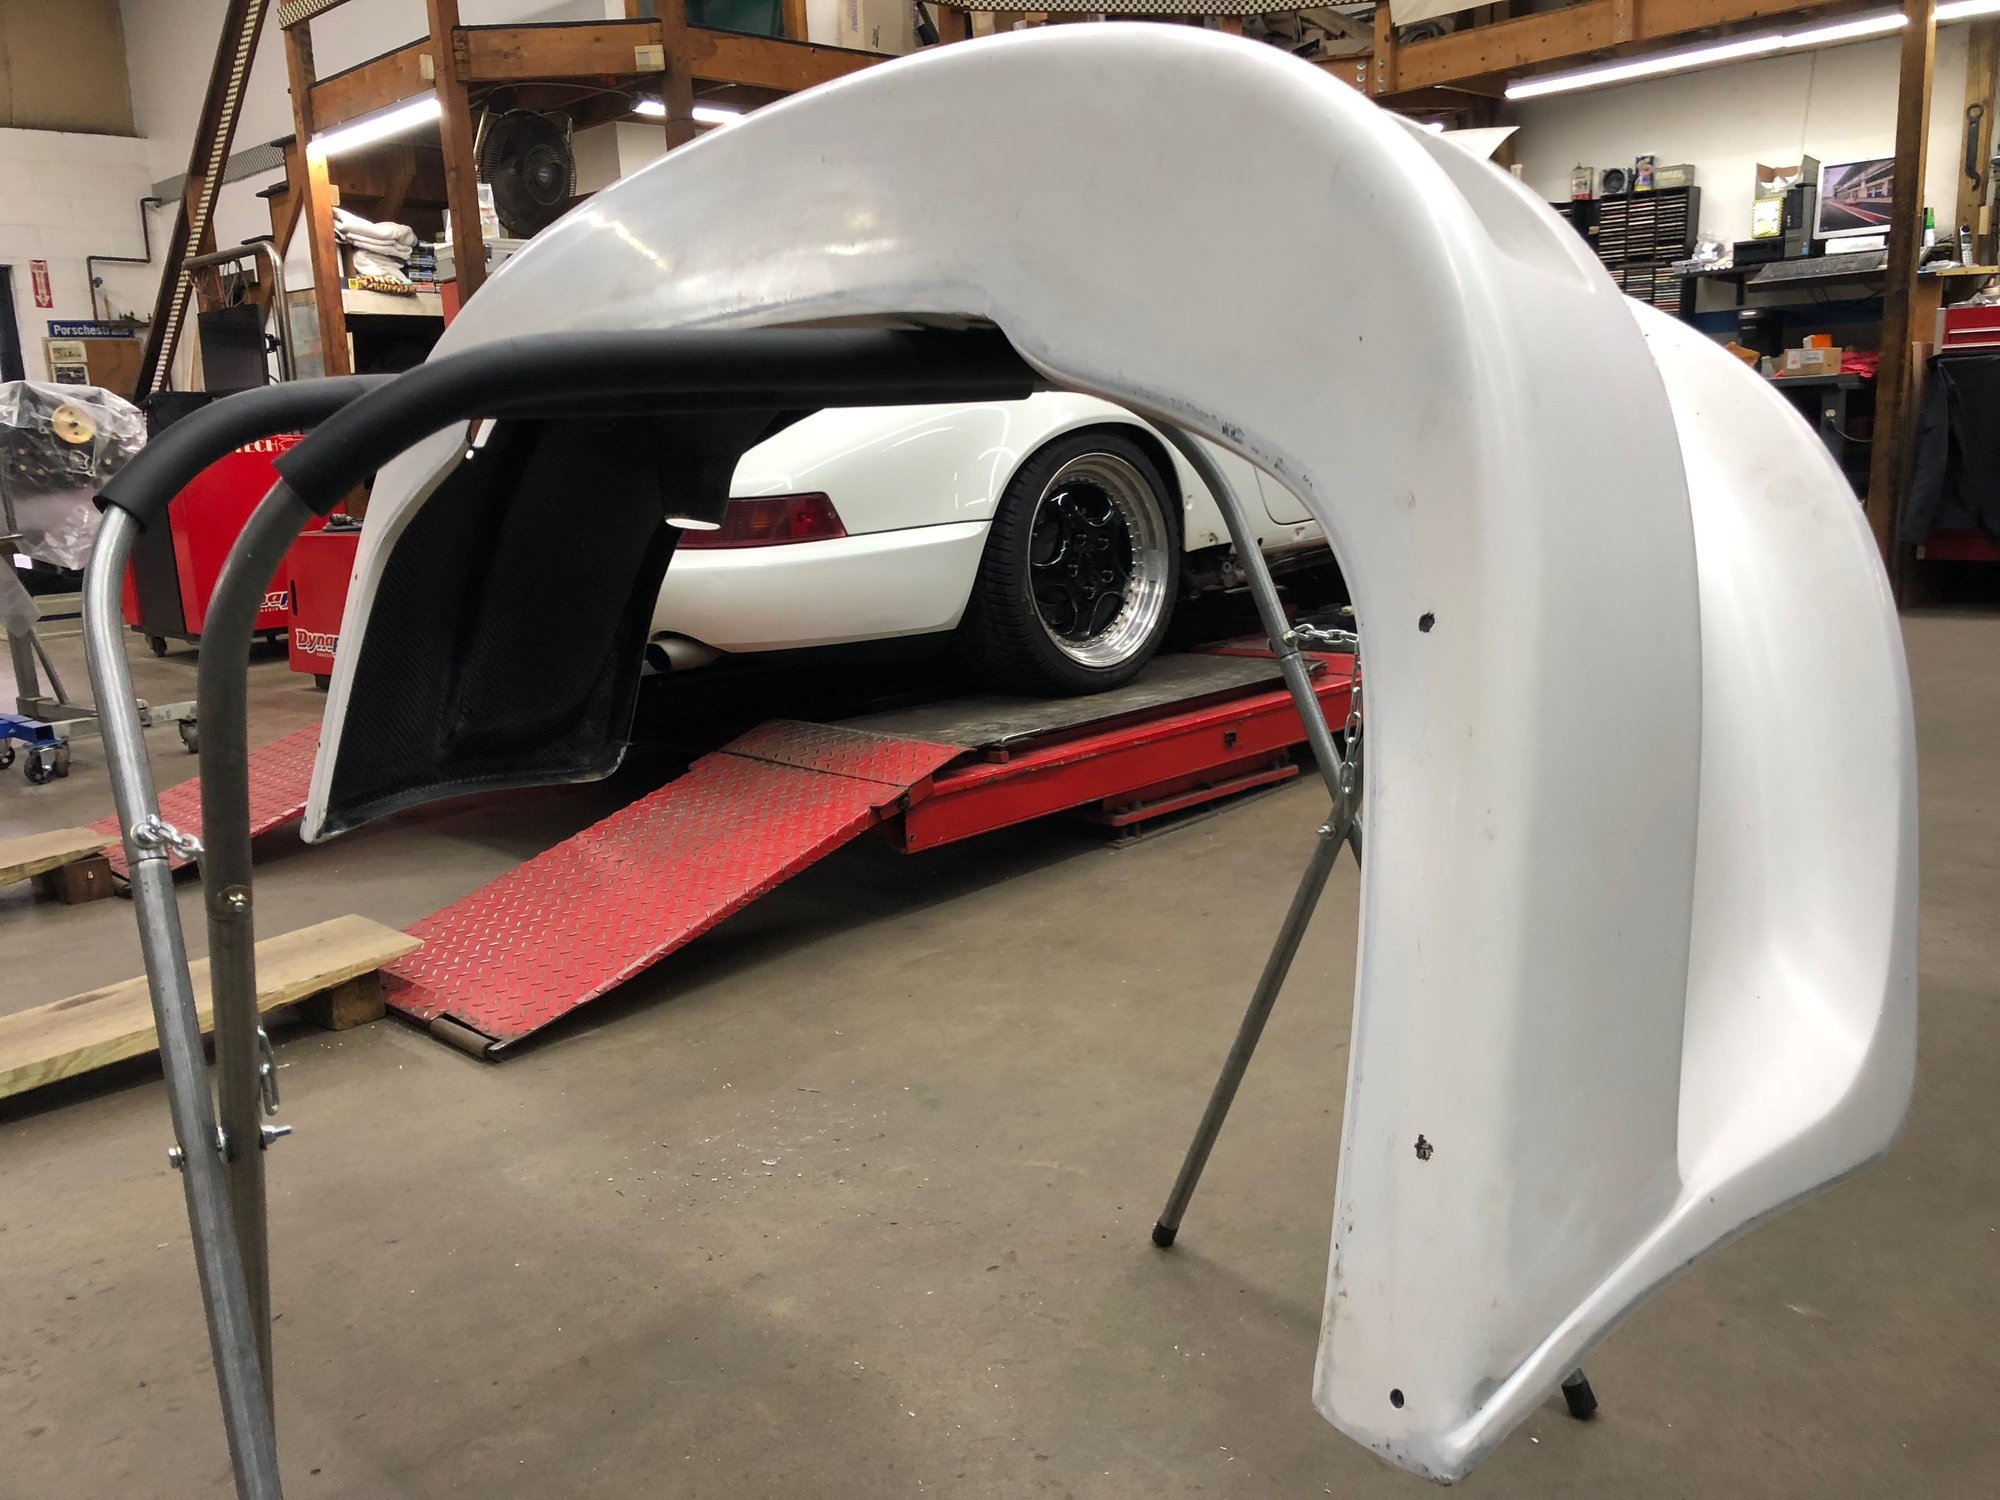
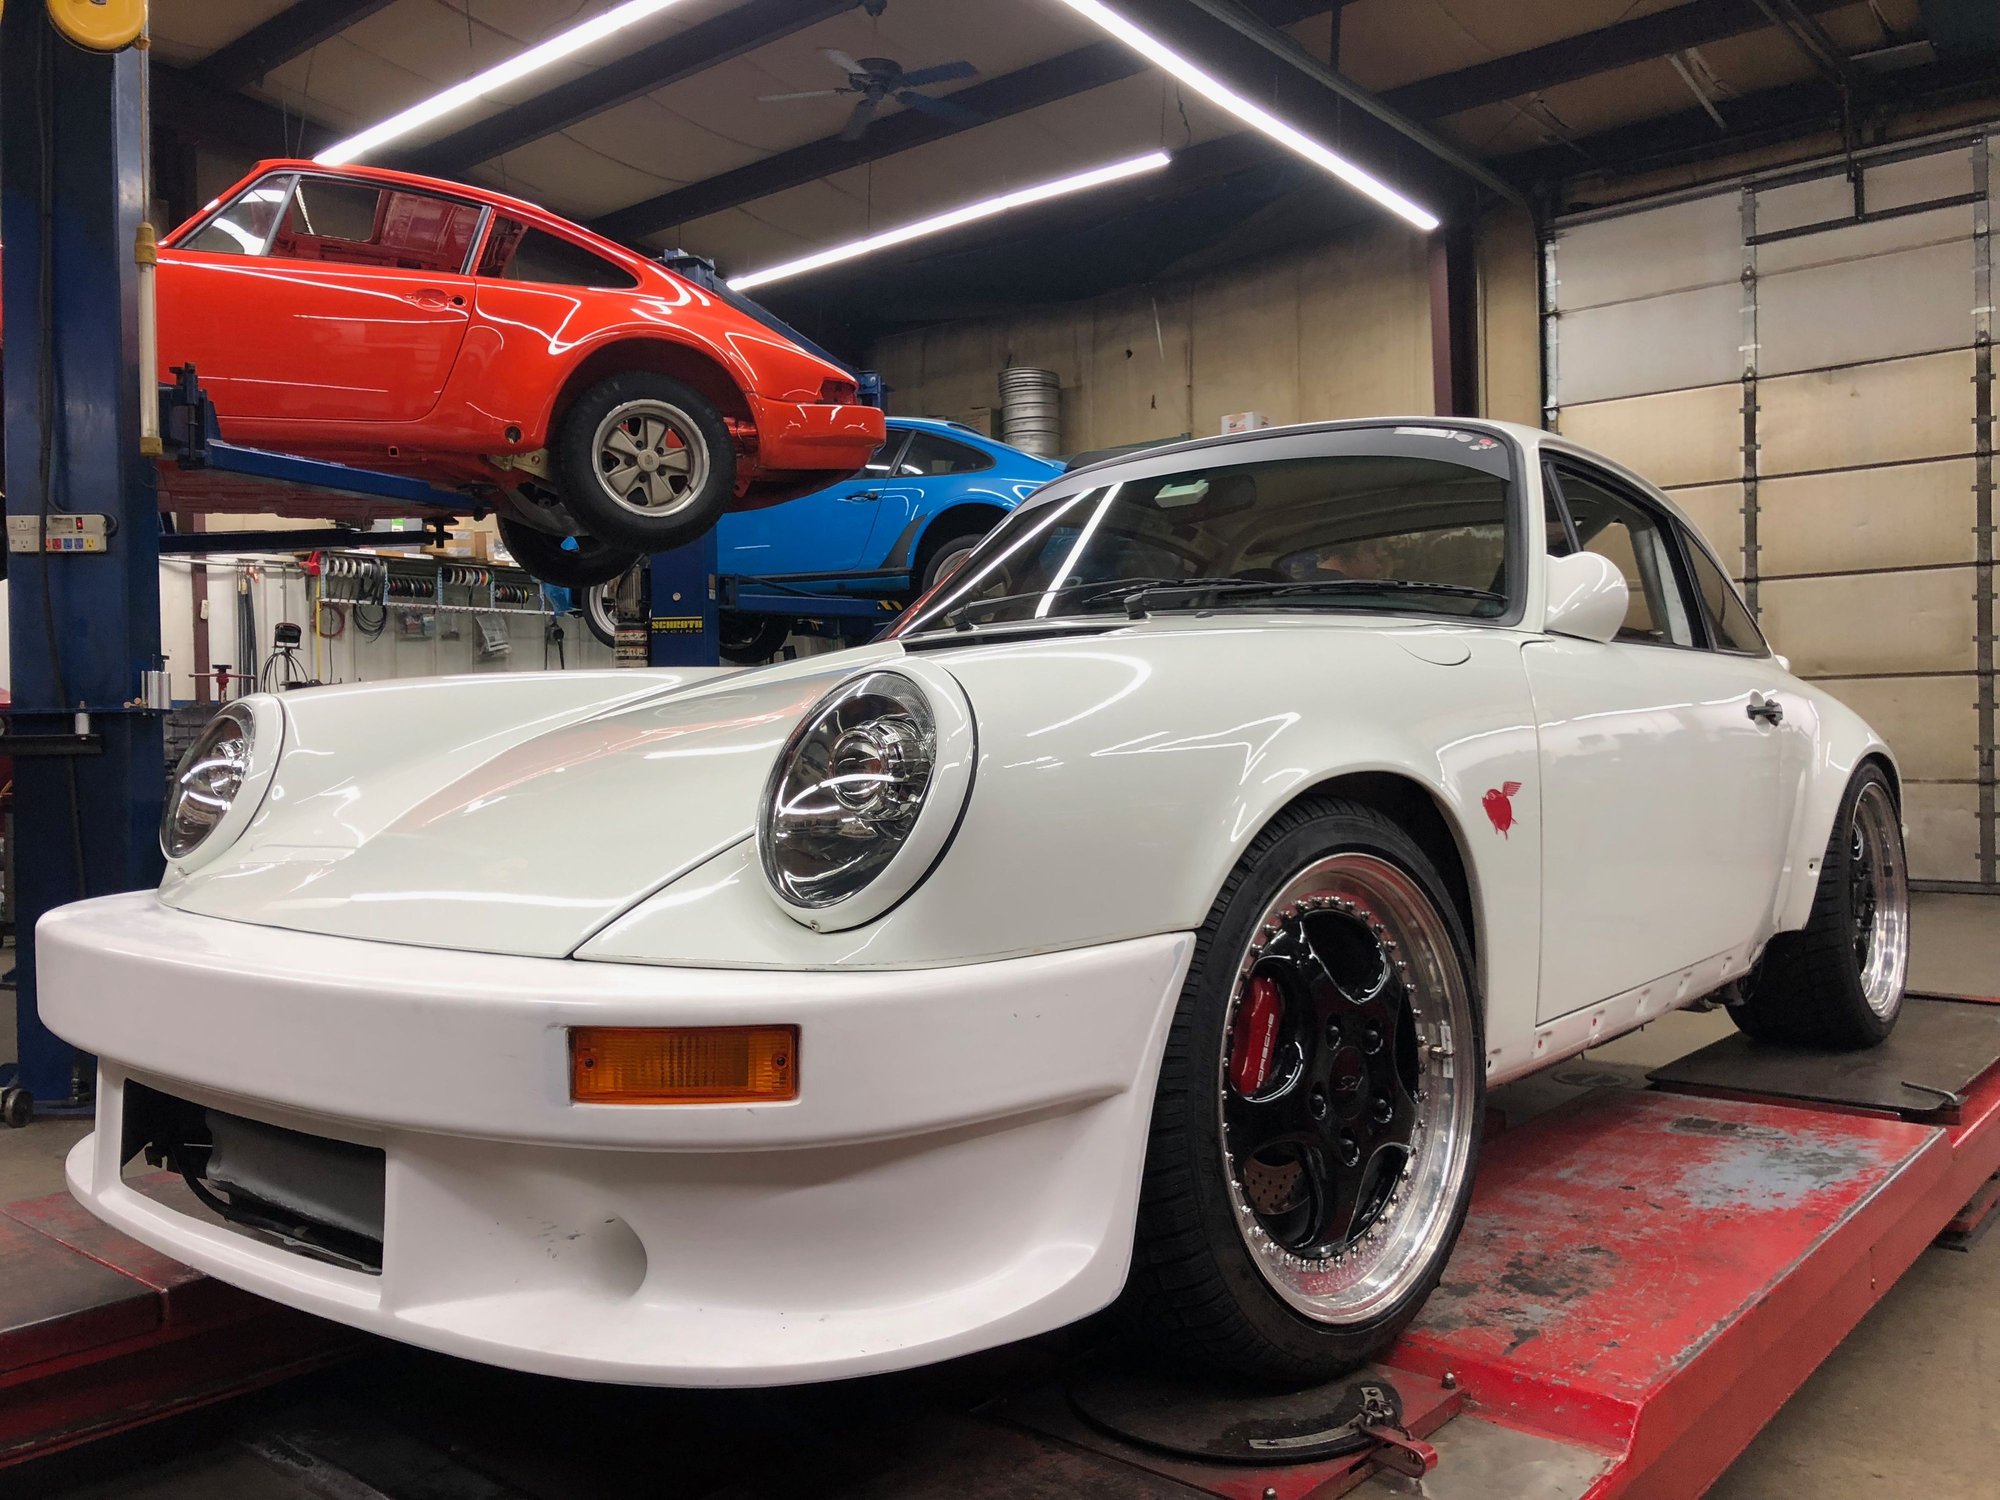
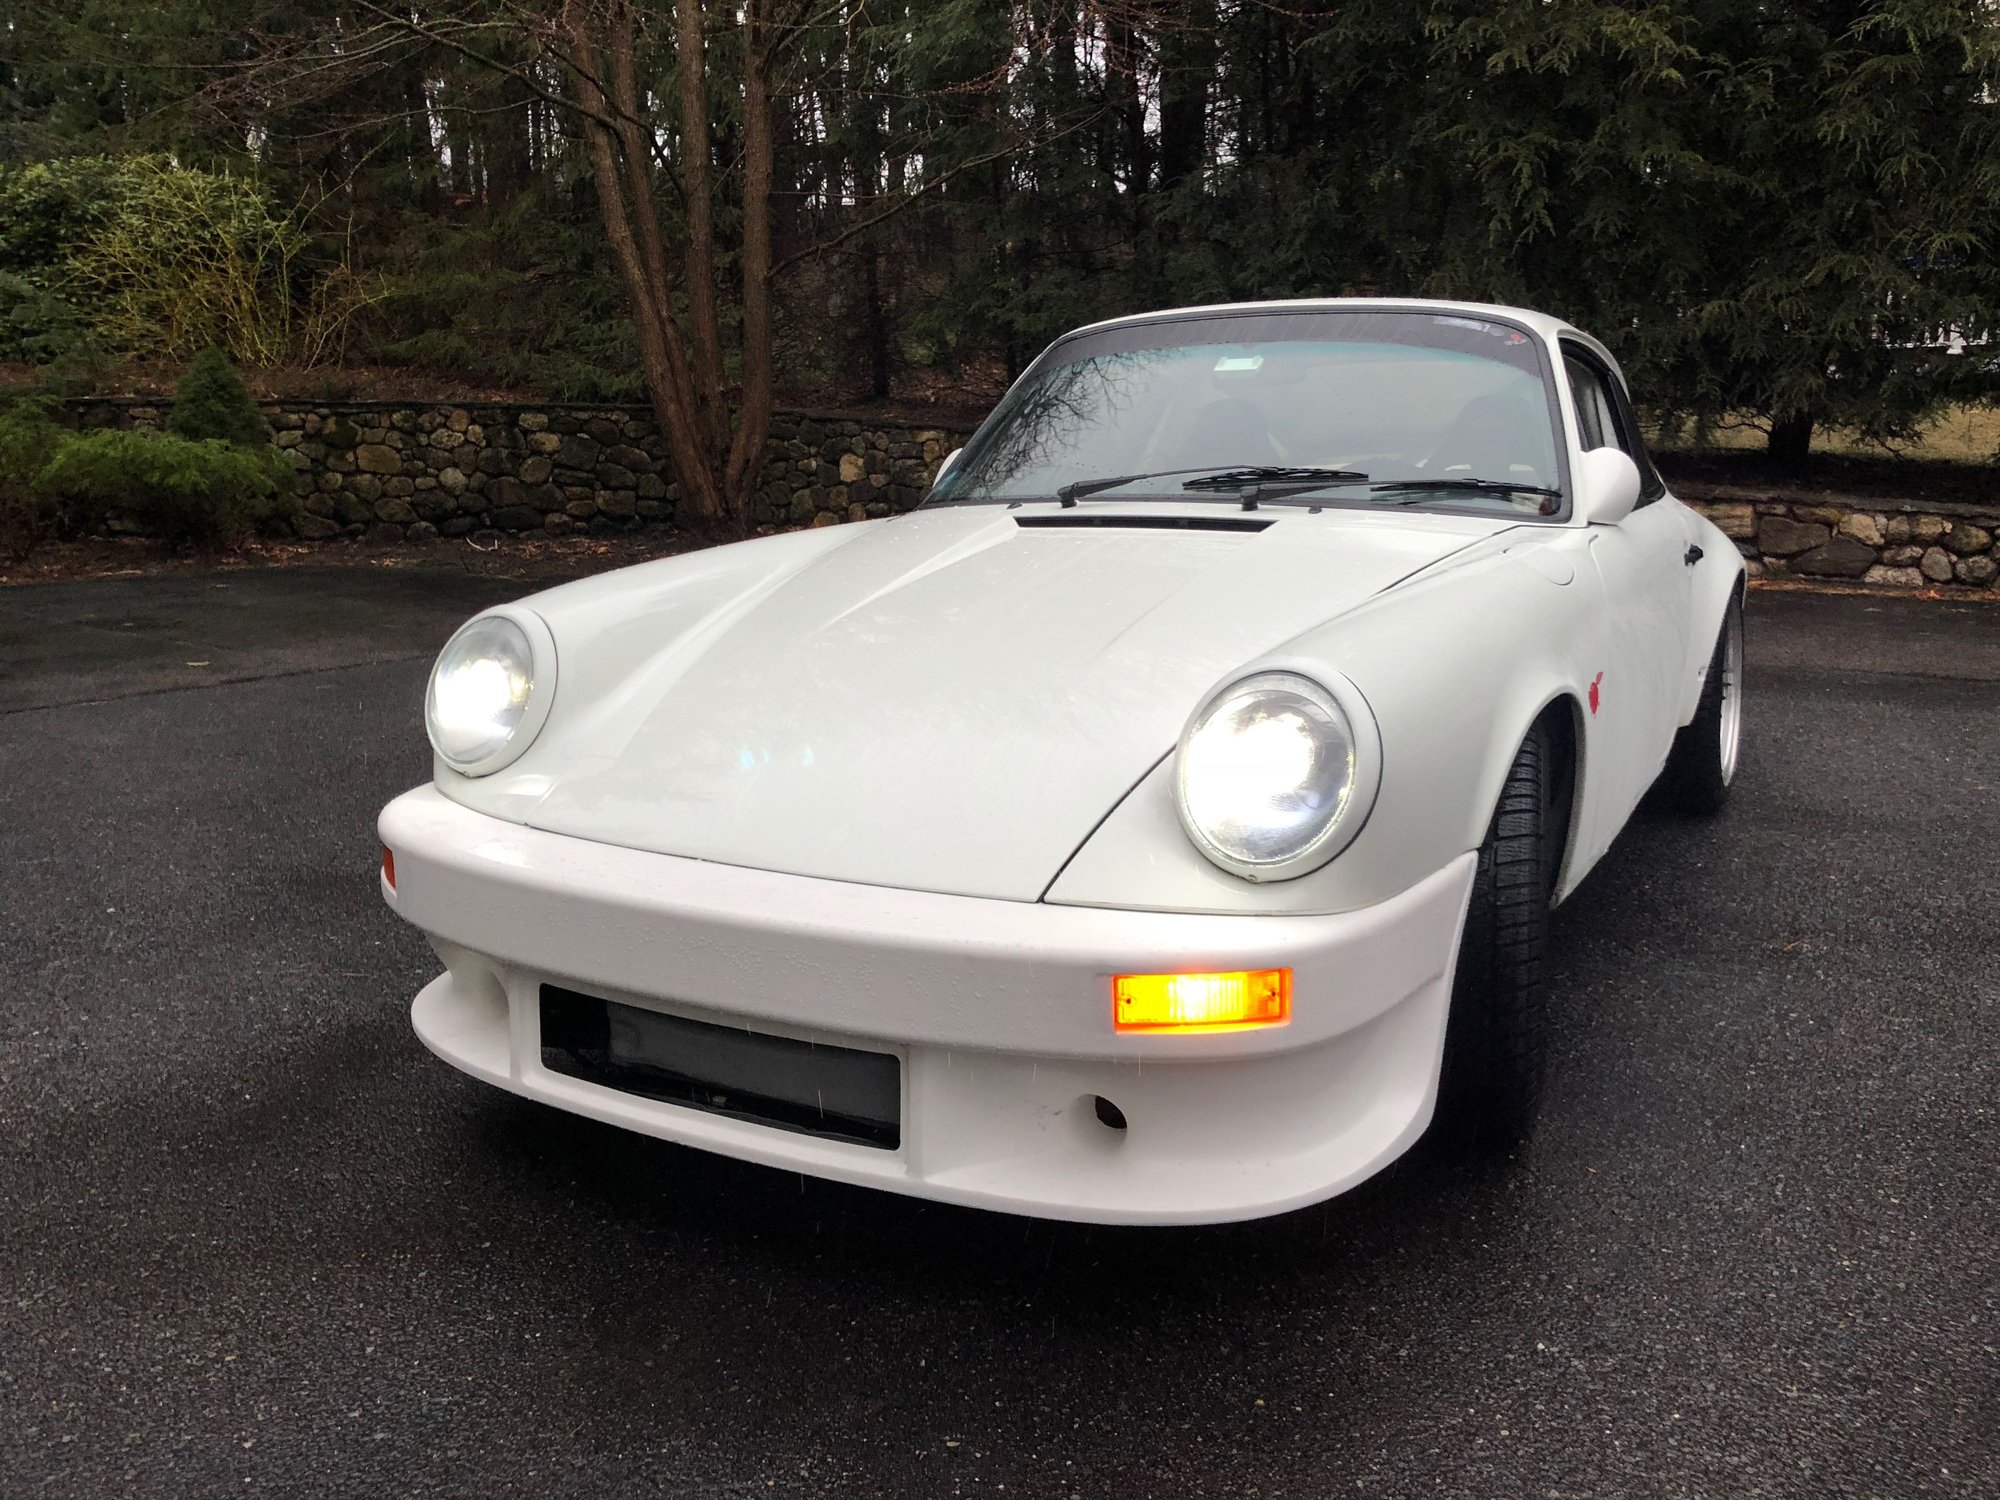
With the salt now off the road, it was finally time to take Wilbur to Eurotech Advanced Automotive tp fit the 1974 RS Style front bumper from Getty. The carbon fiber bumper weighs just 9 lbs., and will hopefully improve the aerodynamics.
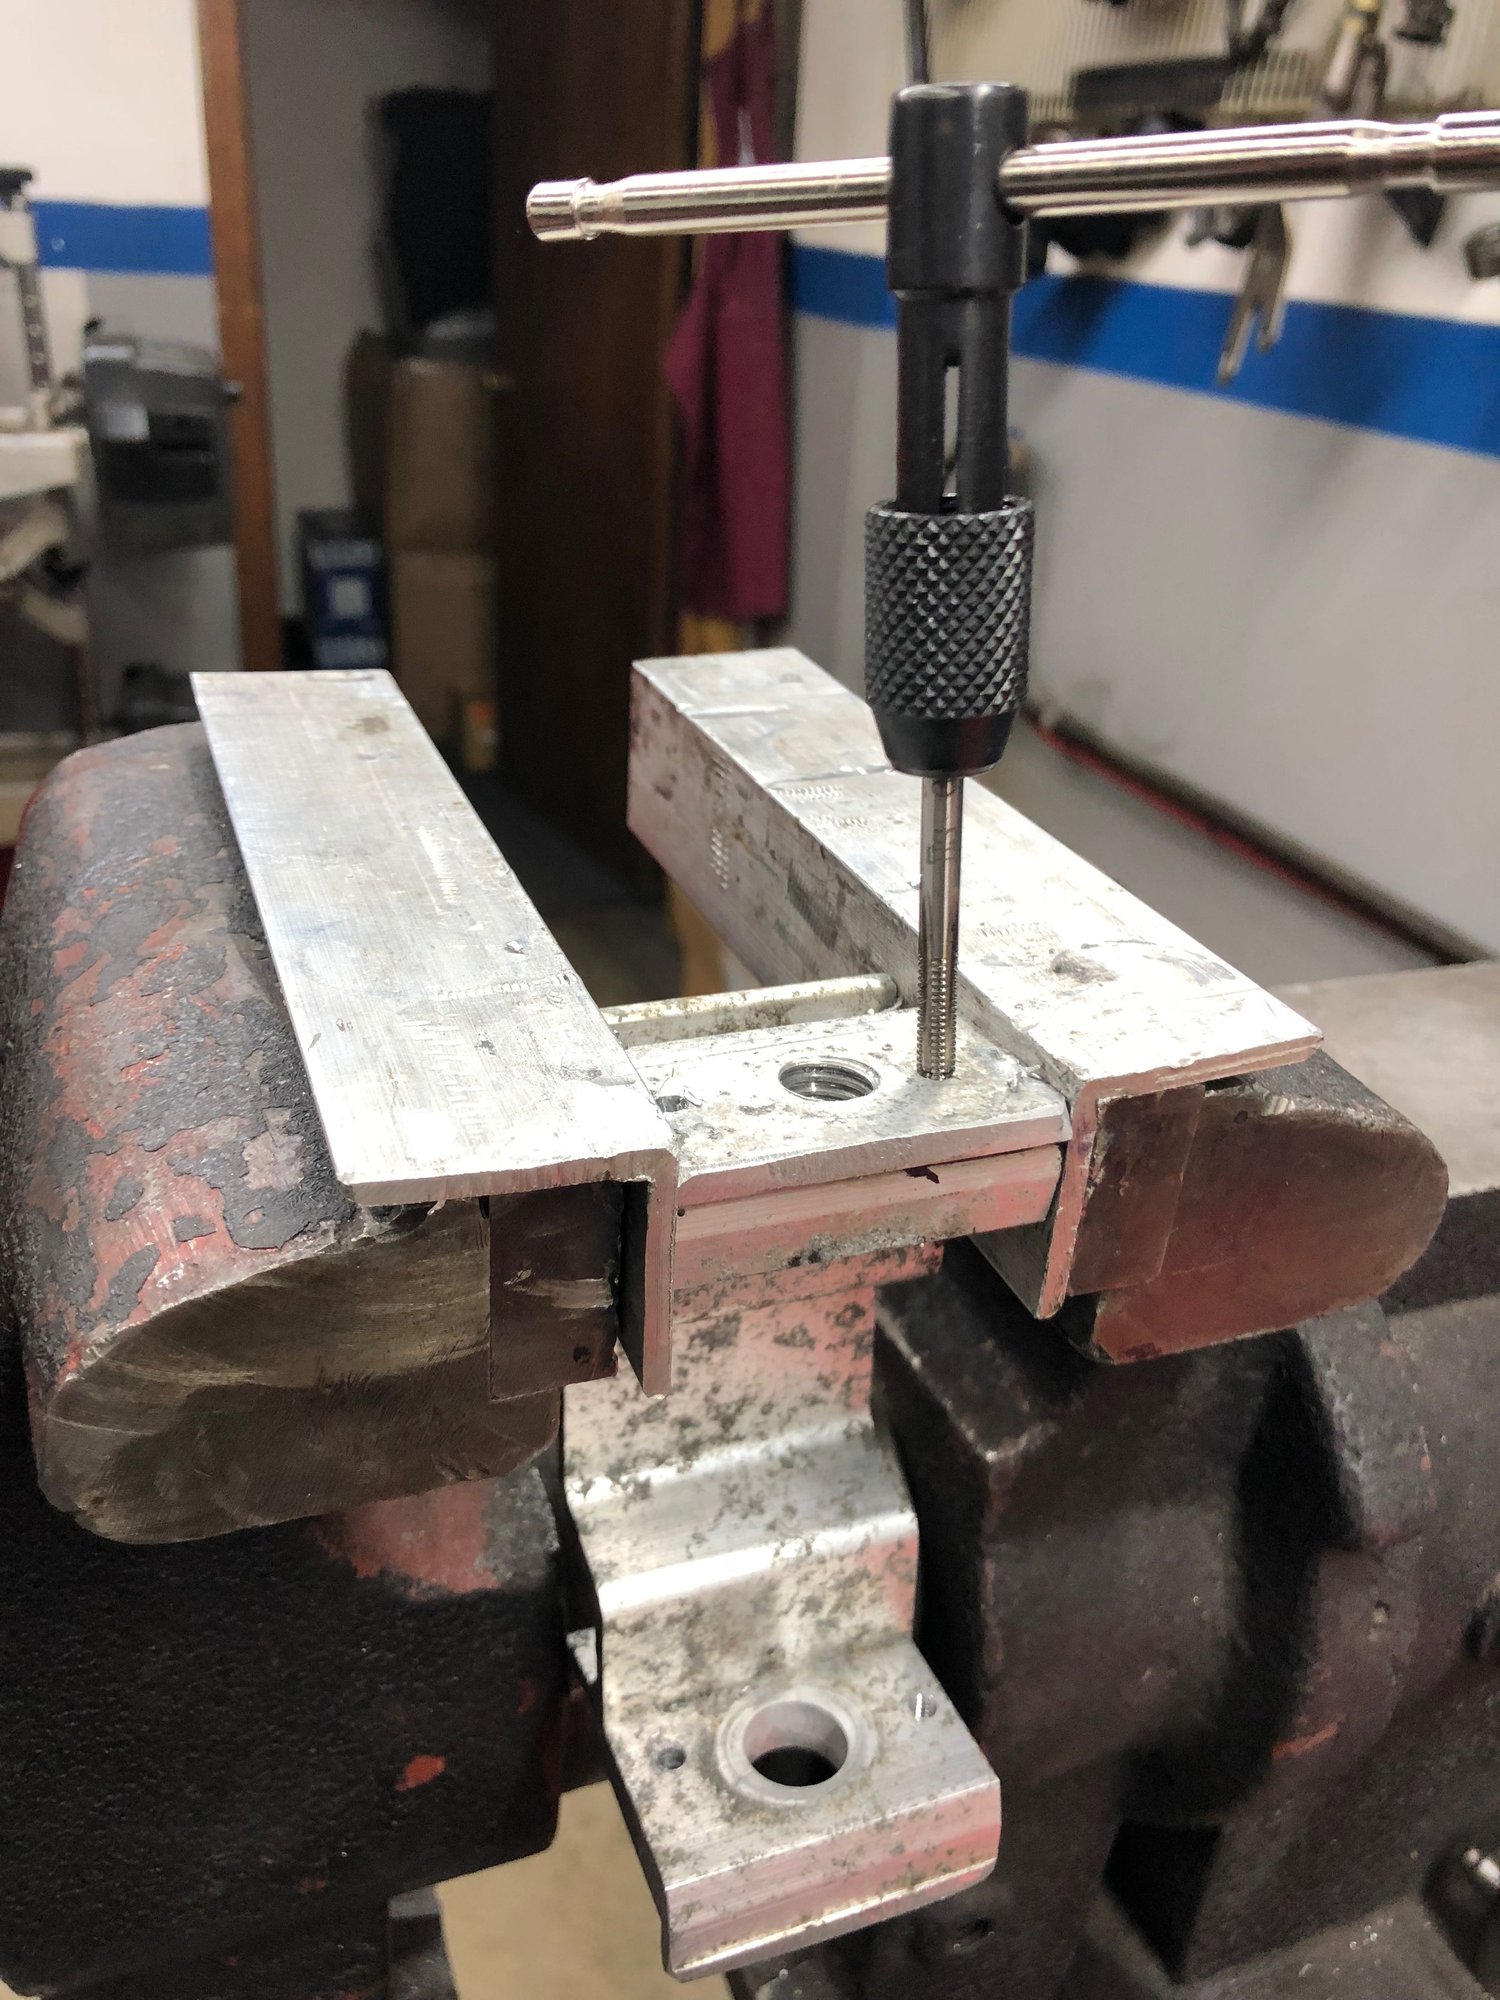
I spent the night before desperately trying to affix the front bumper brackets to the new FVD crash bar. It took me several hours to align the holes properly, and break my tap, doh! Thankfully Bill had an extra tap on hand at the shop. With the proper sized drill bit in hand, I made steady progress and had the crash bar mounted in about an hour.
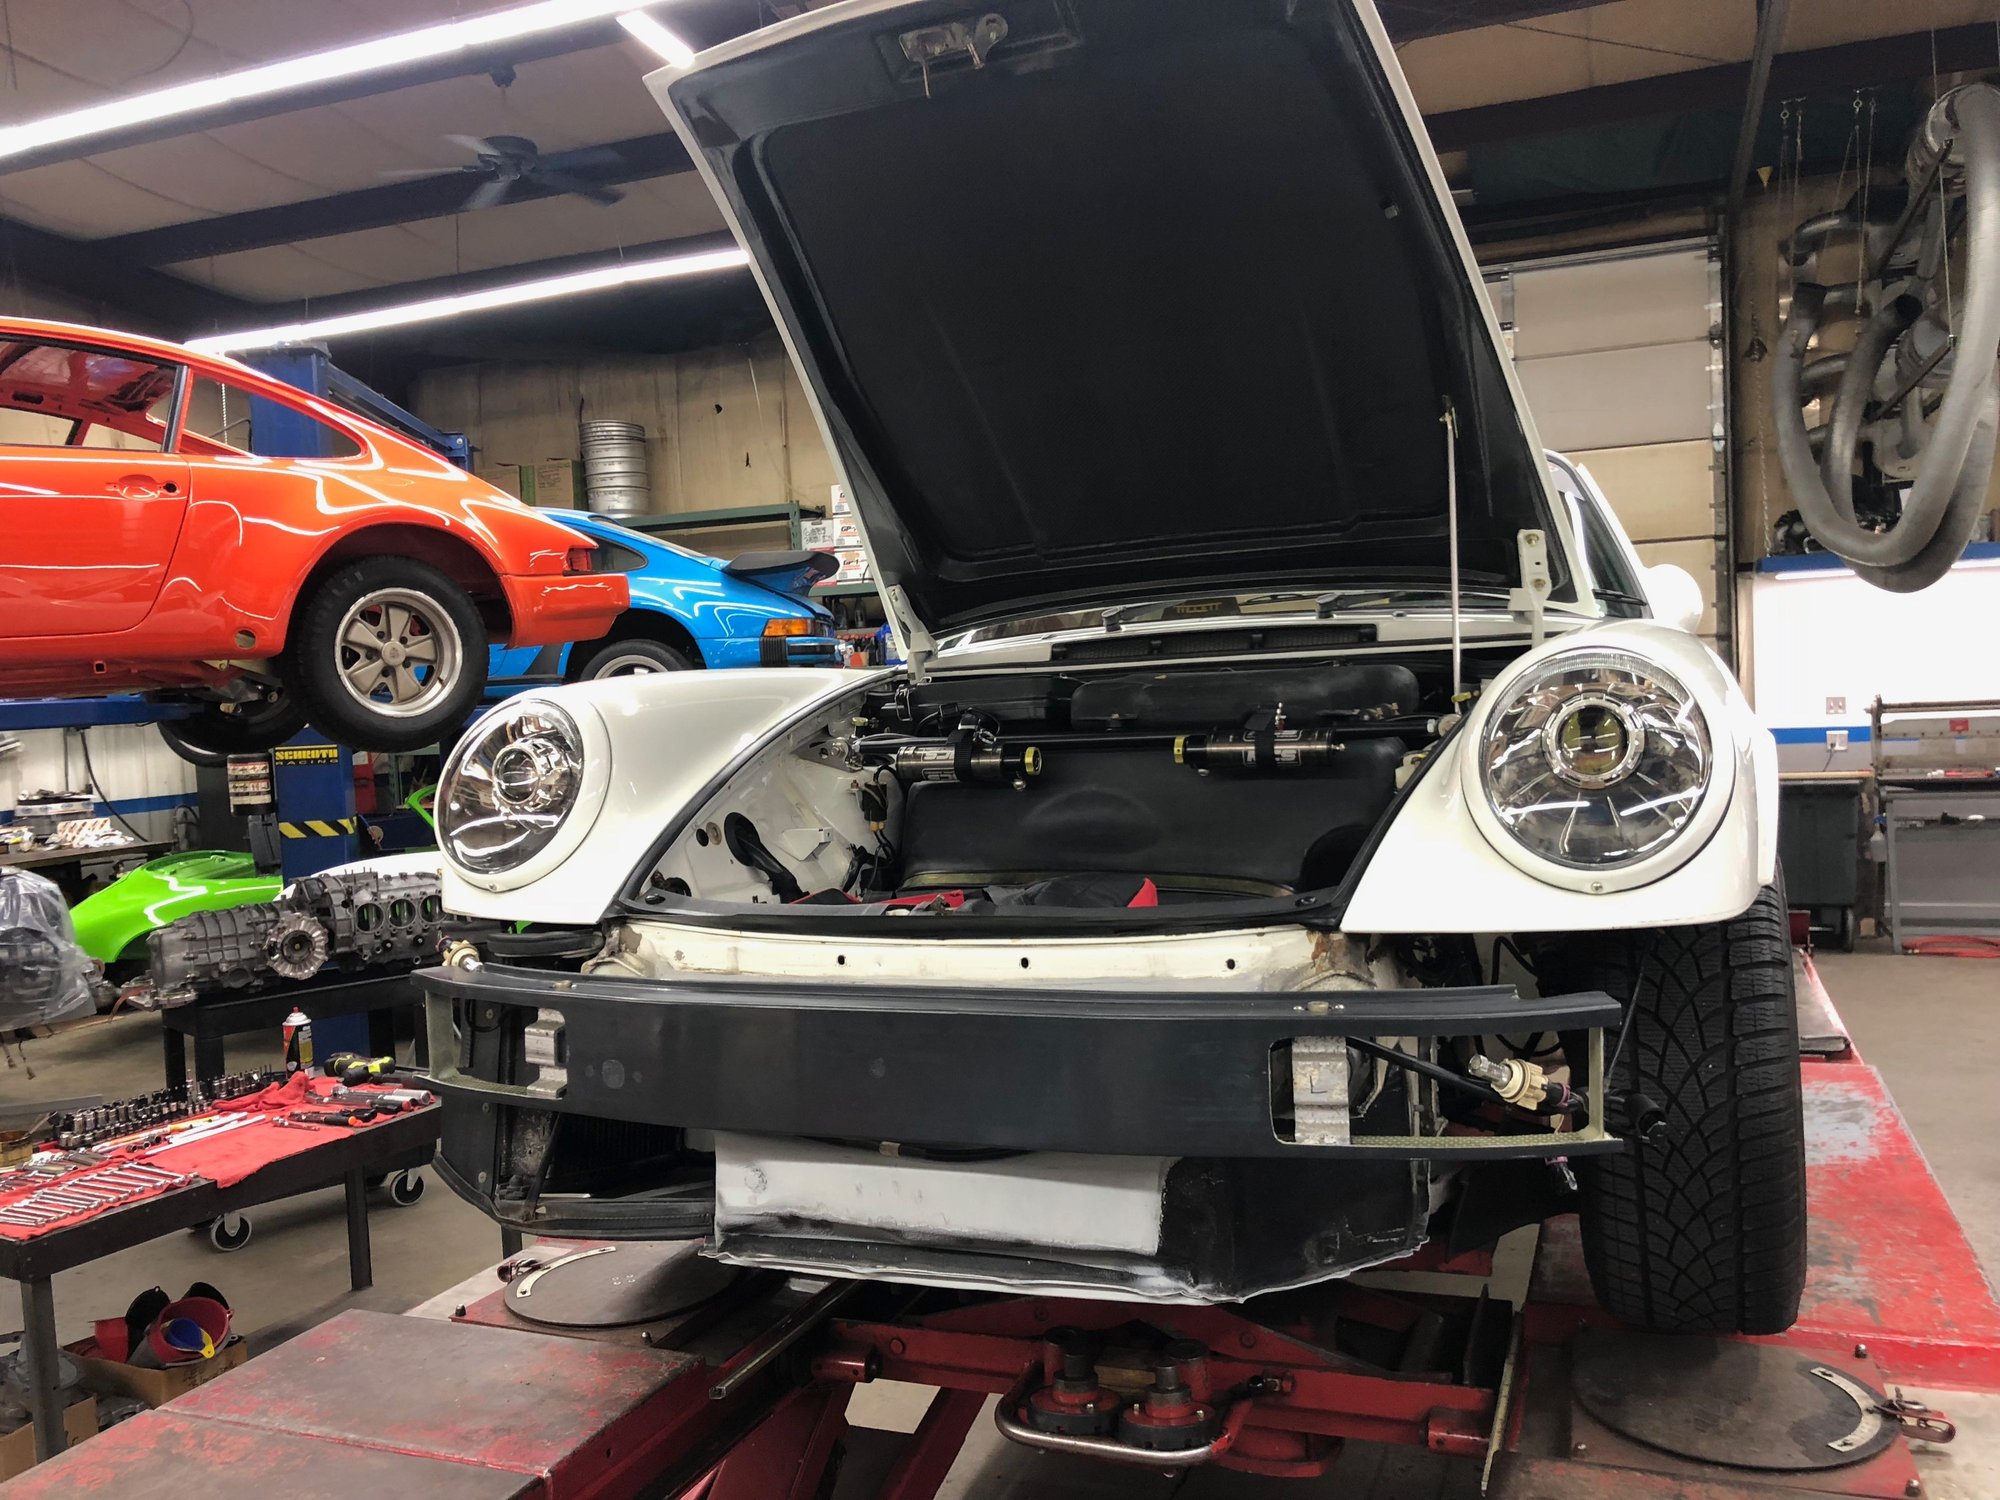
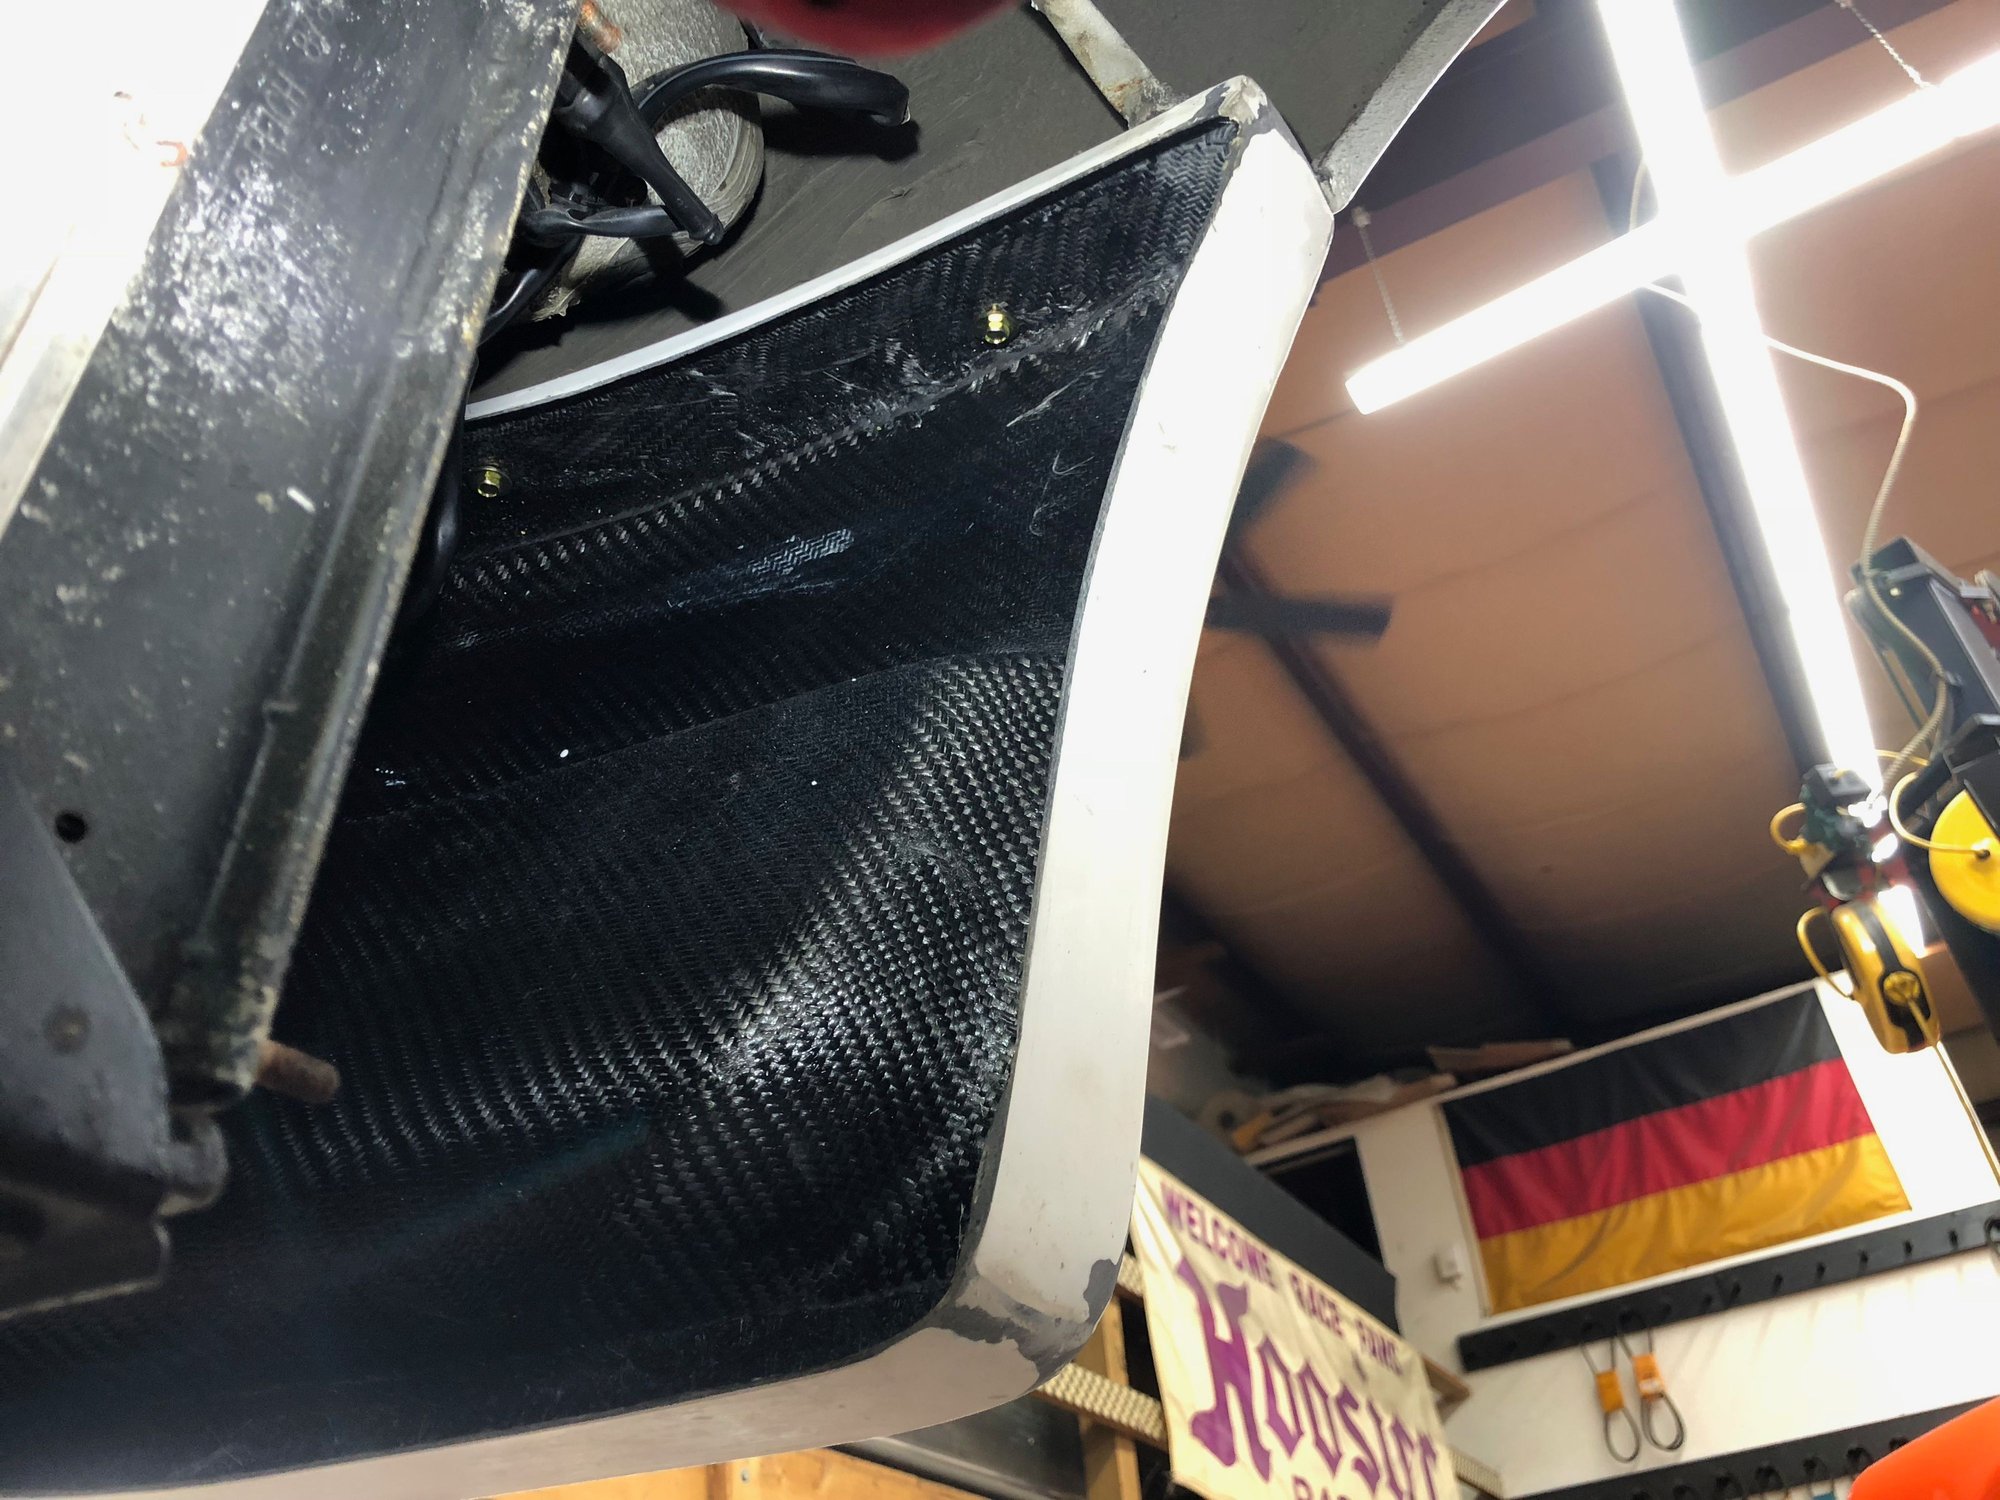
Now we could finally set about mounting the new carbon fiber. This fettling process is a matter of taking the bumper on and off about a dozen times to get things sorted. On the first fitting, the rubber gasket over the top of the oil cooler was getting in the way. Next fitting we made better progress, but the bumper was still 2" away from it's final destination at the fenders. The problem, the crash bar. I wish someone had posted about this issue before, but now we all know. You must delete the crash bar to run with a 74 RS bumper on a 964! The bright side, we shaved off another 4 1/4 lbs. from the 964, and my 993 just got a sweet hand-me down.
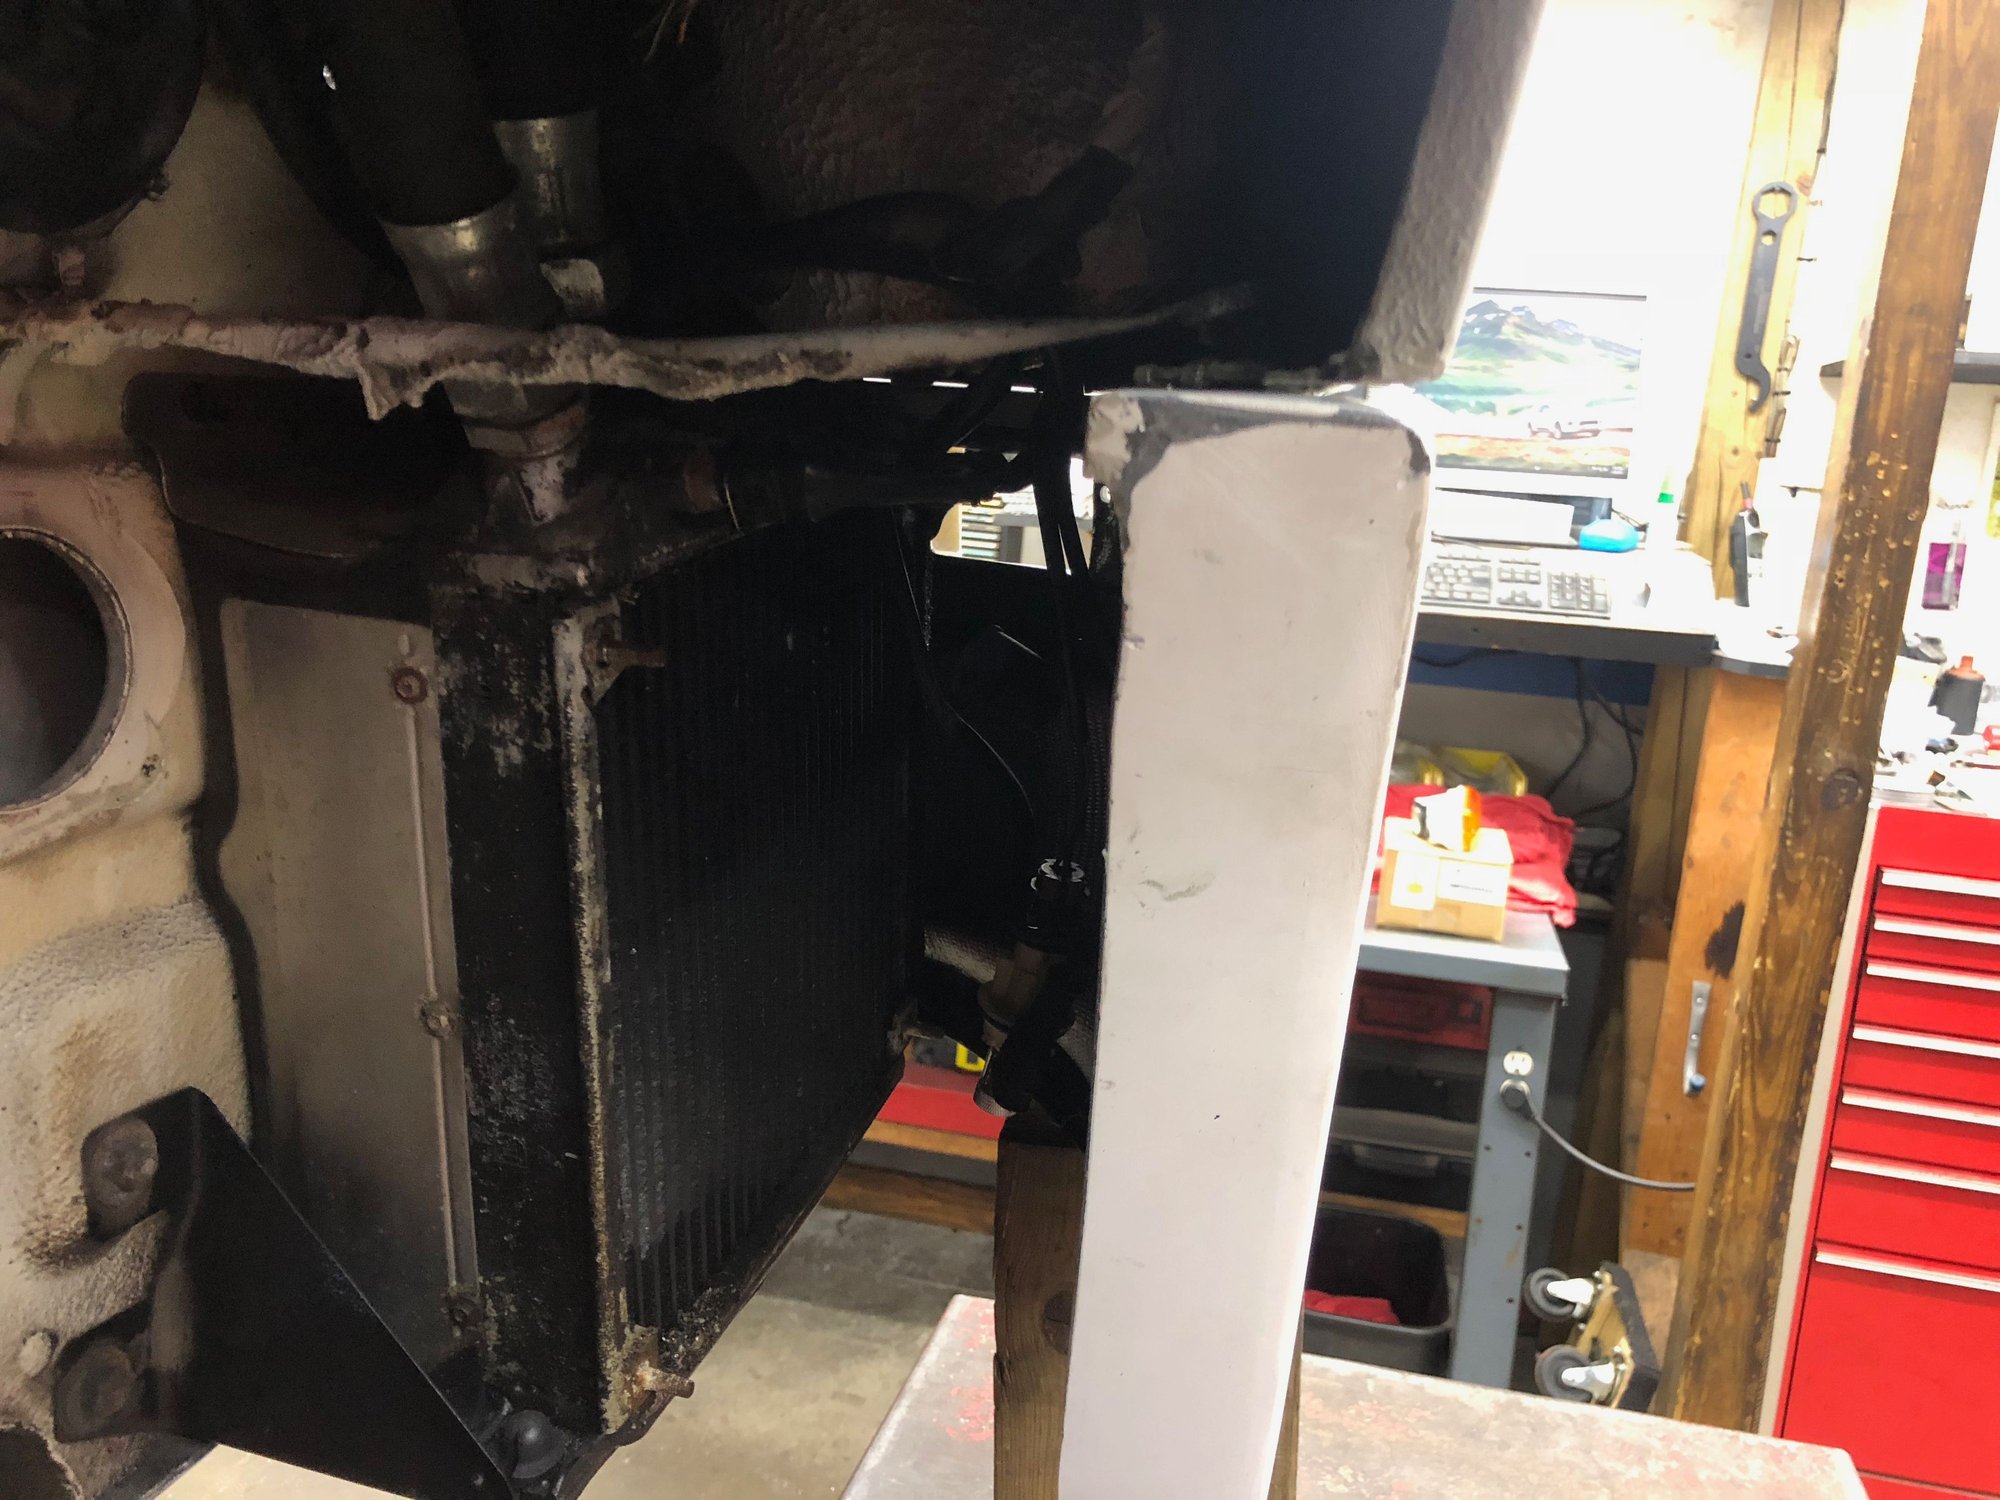
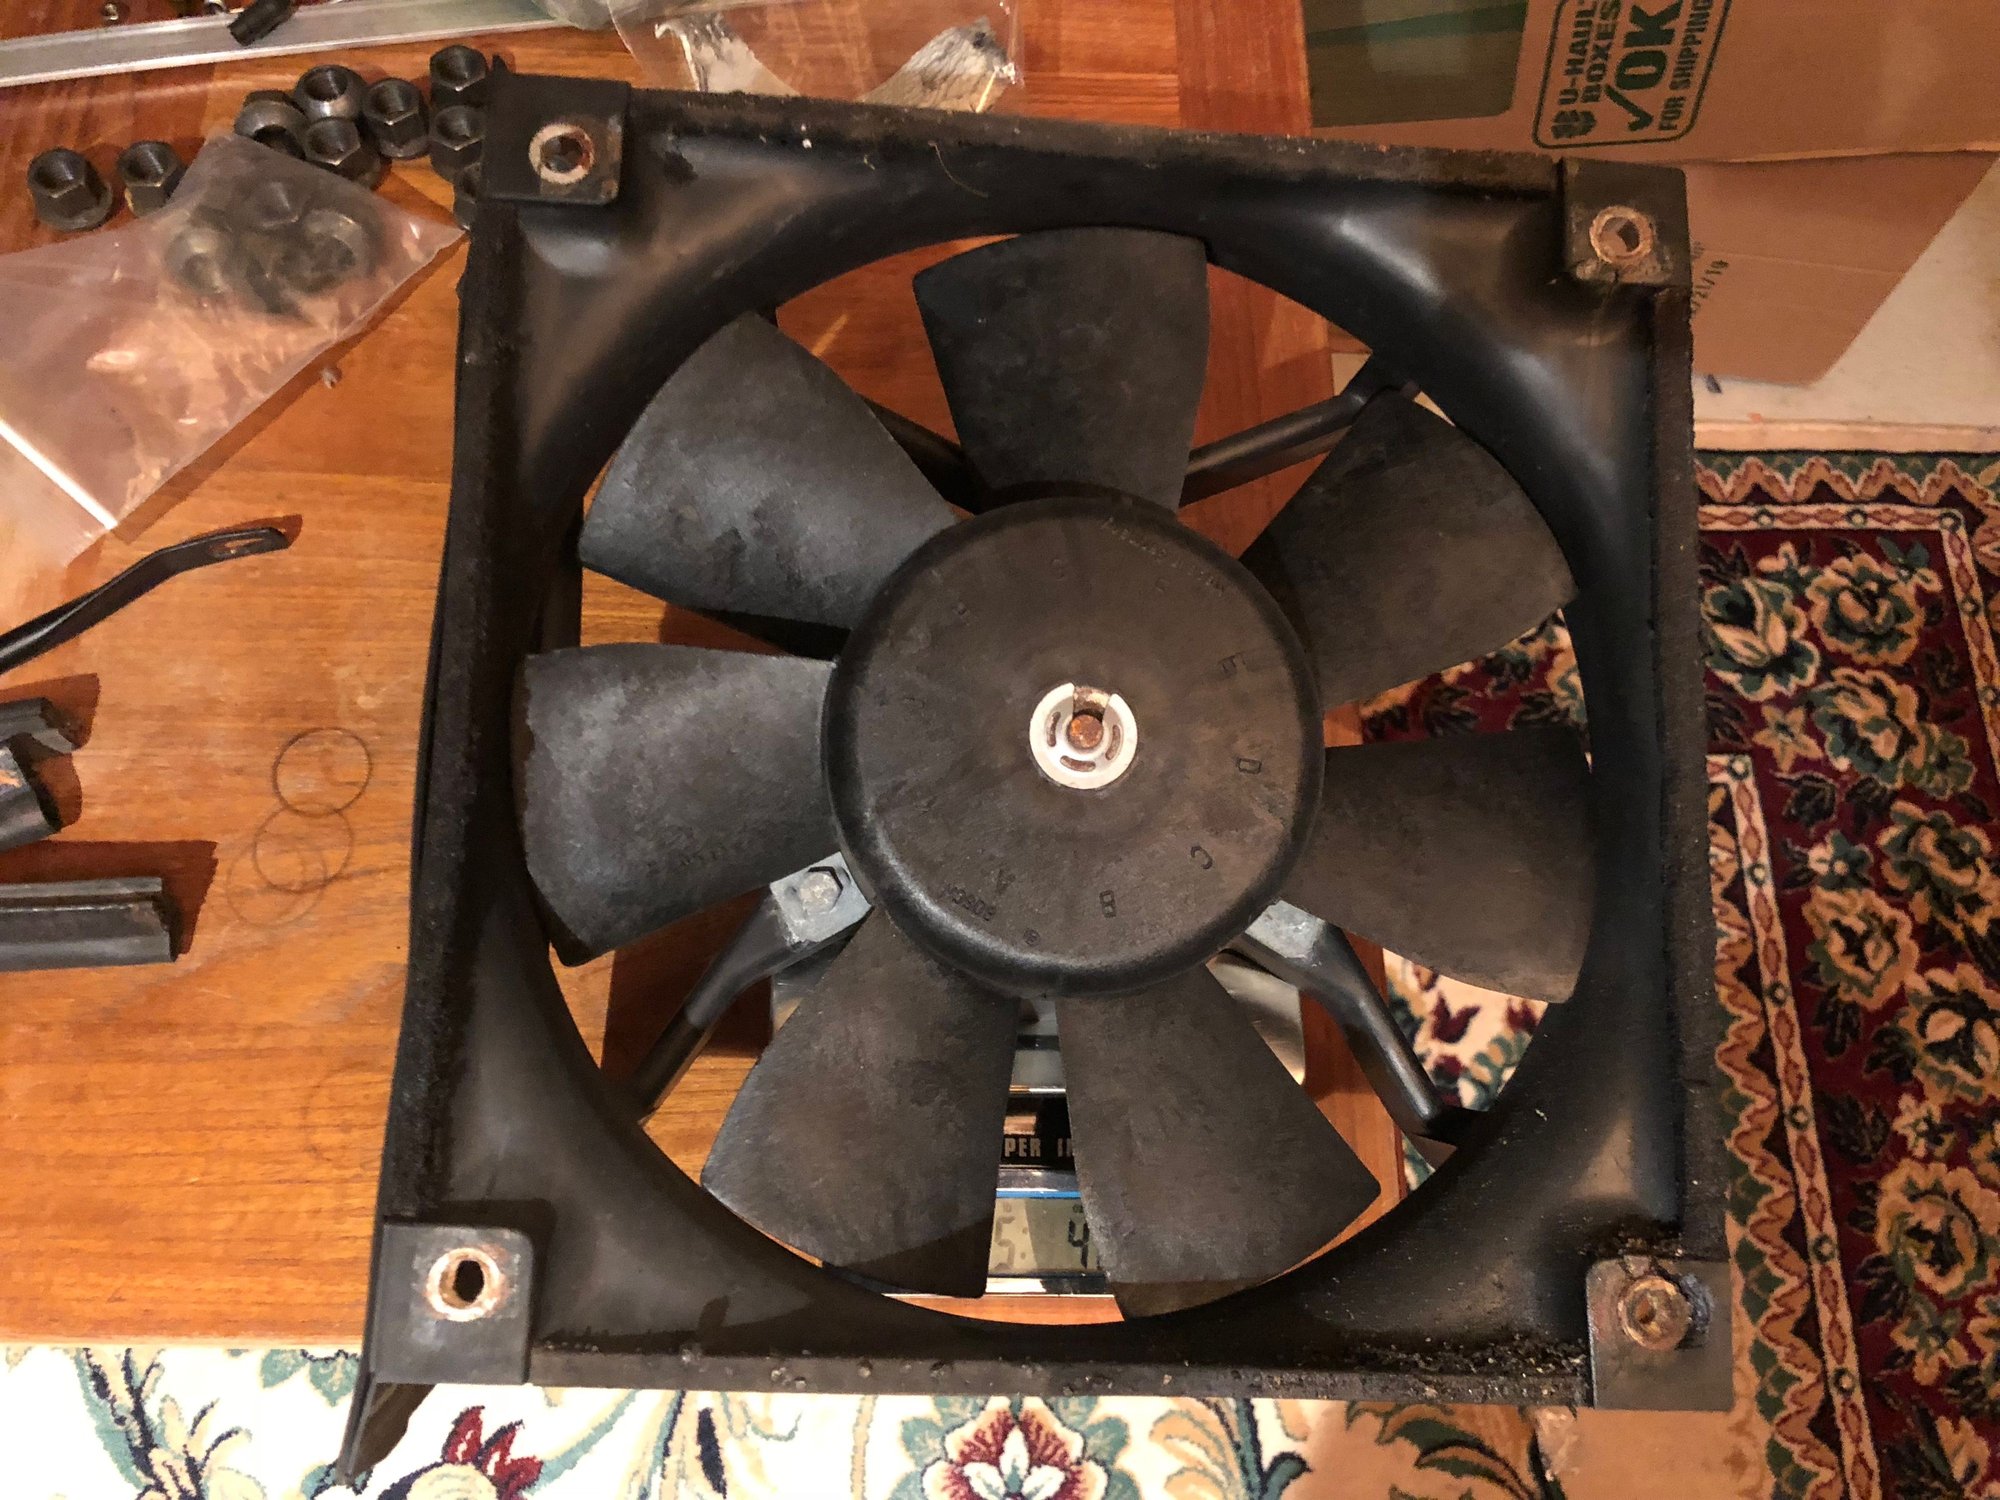
So we removed the crash bar, and the fender was still a half inch off. A closer visual inspection inside revealed that the bumper support brackets were in the way. So we shaved off a few mils of the brand new FVD bumper support brackets. Joy. Another test fitment. Almost perfect, but the rubber hosing around the oil fan was in the way. We jettisoned the whole fan. This is principally a track car, and city traffic is highly unlikely. Five more pounds saved, and now the bumper fit perfectly!
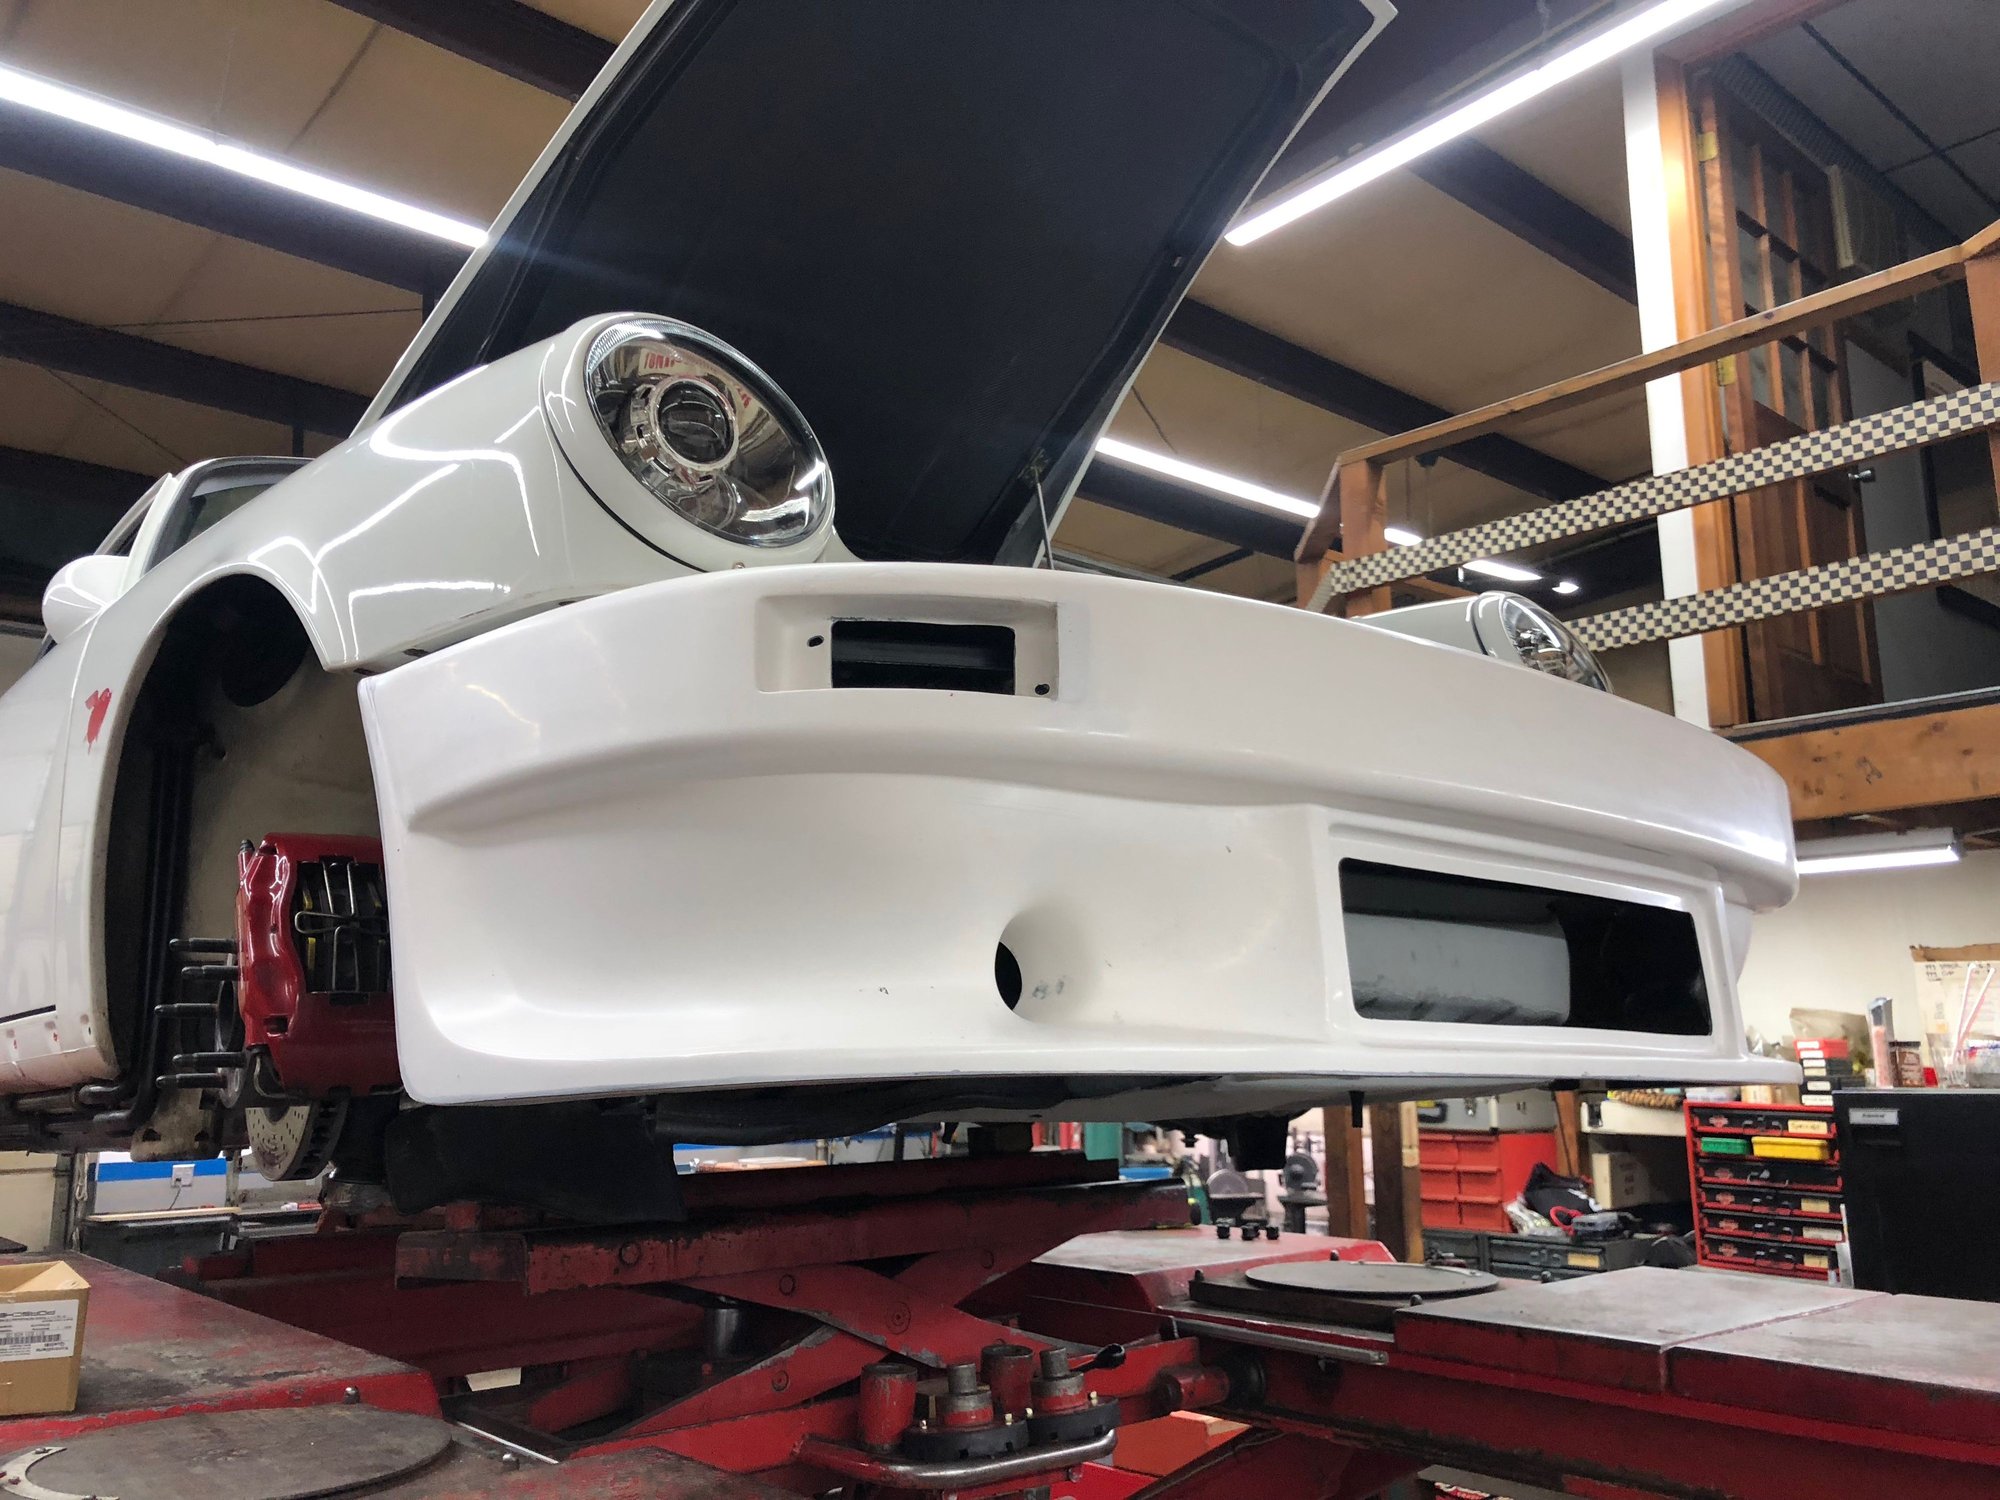
The bumper came predrilled with four holes for up front. Naturally the bumper's holes did not align with the 964's four holes. So we set about drilling four new holes in the center of the bumper aligned with the holes at the lip of the frunk. We're almost finished! Next we scribed and drilled three holes on either side of the bumper to connect to the upper front fenders. All of this went pretty smoothly, but you need lots of patience and small hands. I'm impatient and ham fisted. Thankfully Bill Pfister was there to guide me through the process, and keep me on track. Especially when we realized there's actually a fourth hole that you need to drill on either side to accommodate the fender support. A quick scribe, and another on and off with the bumper and the bumper was finally on!
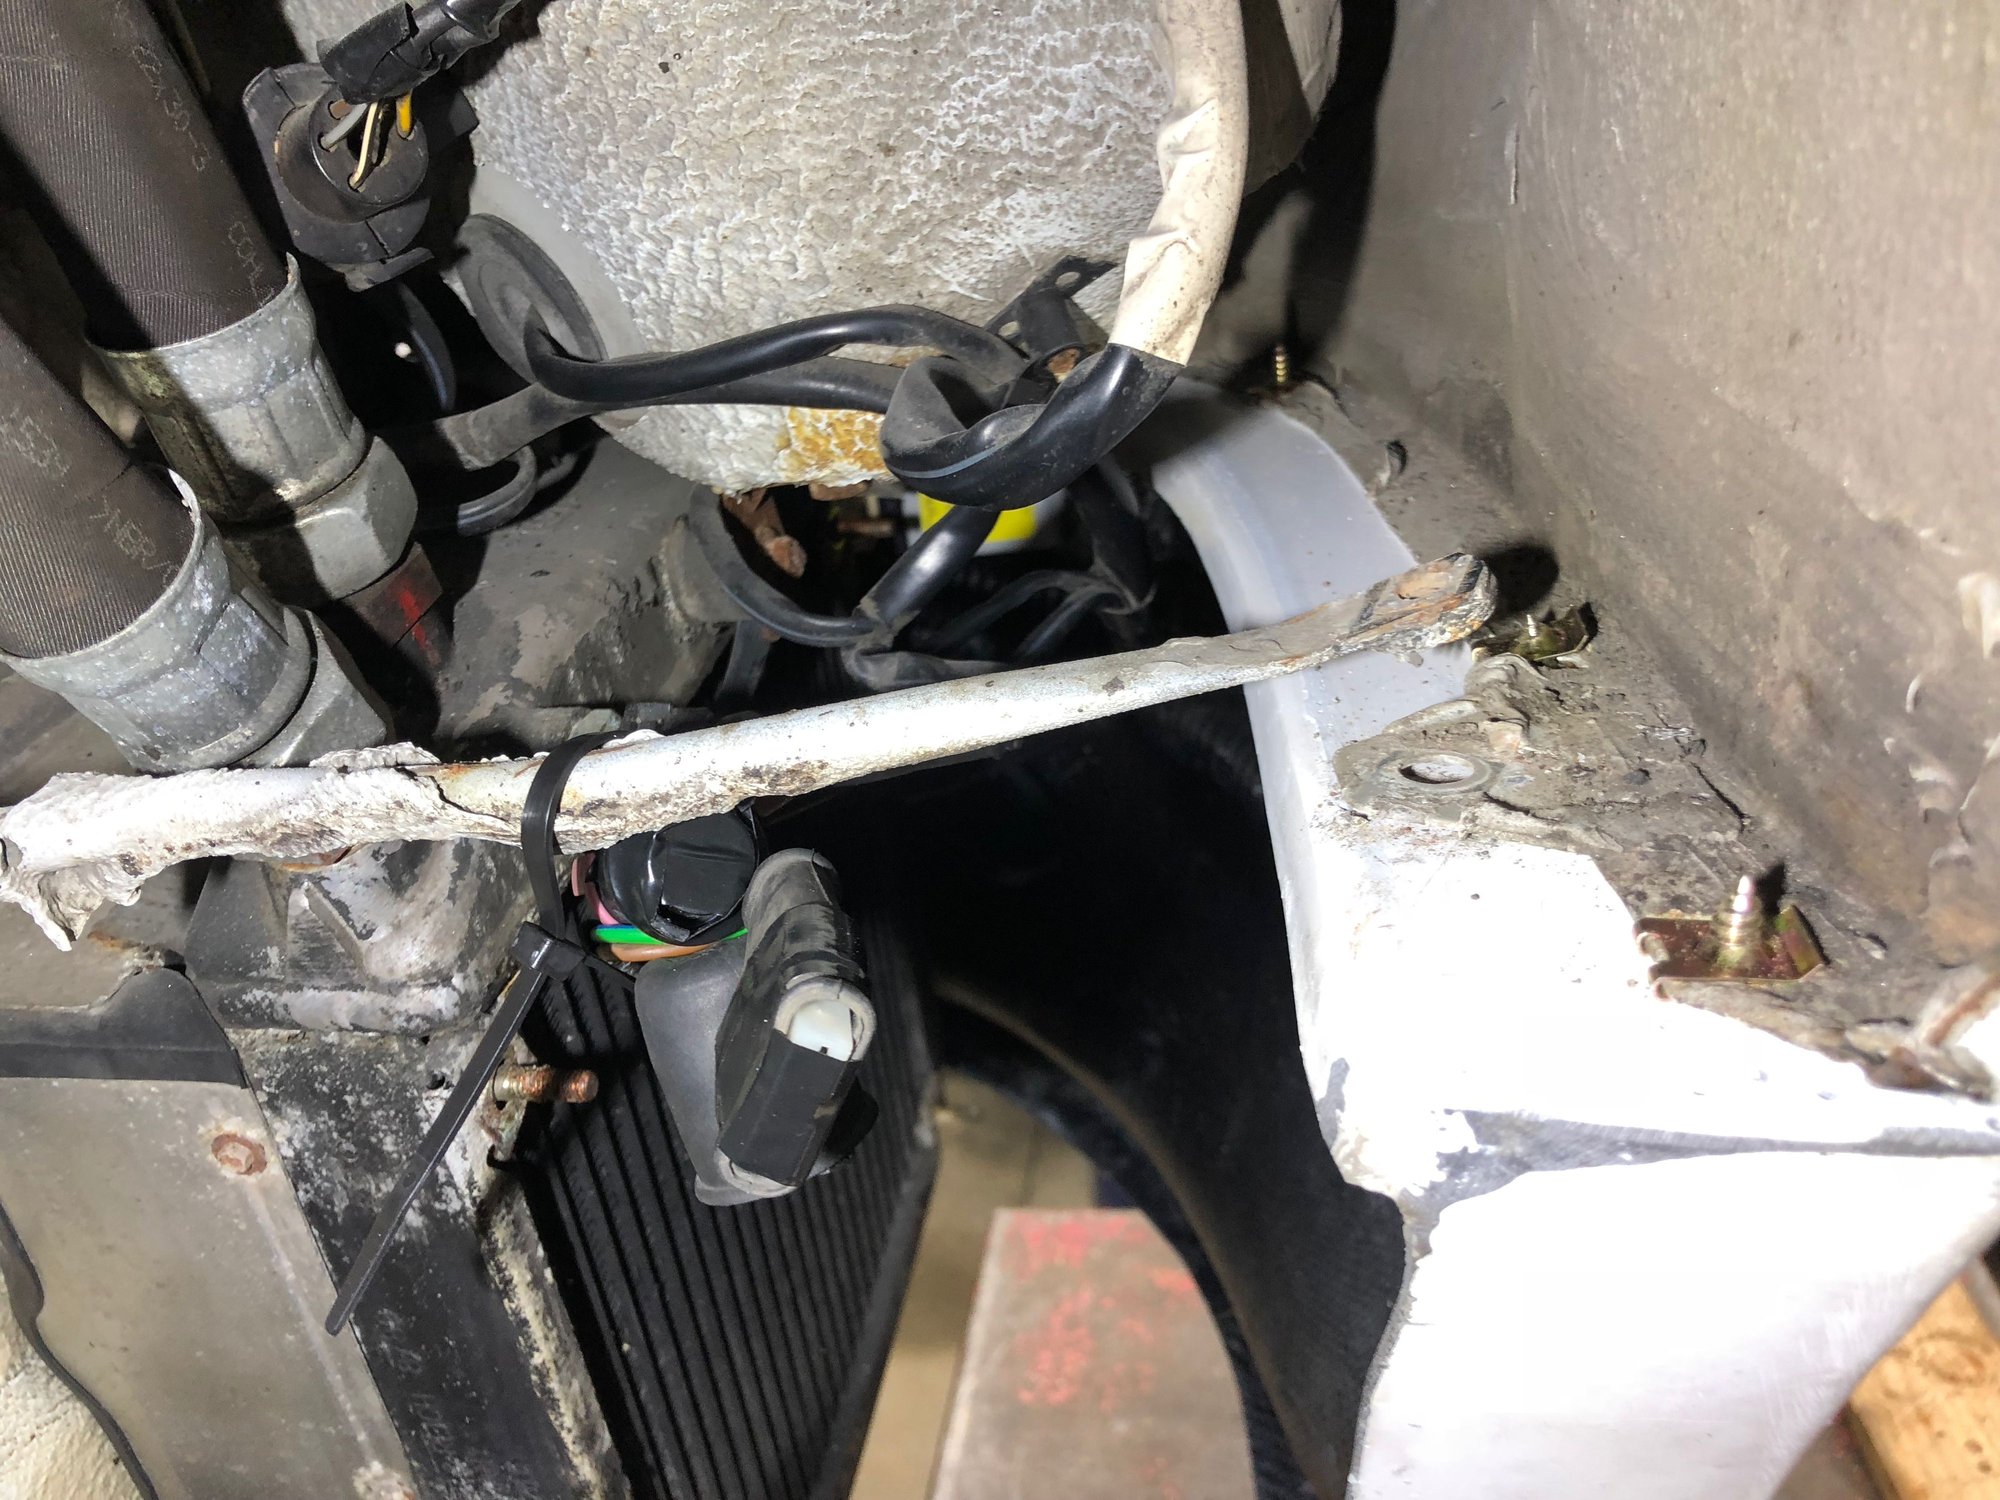
I had previously retrofitted a pair of 74 front turn signals, so the 964 LED lights can just twist right in. But the right harness was too short, so I had to limp home with just the left lamp plugged in.
The 4 1/4 lbs. lost from the crash bar will eventually be offset by the new crash bar we're going to have to fabricate. The plan is to fix a tow hook receptacle to this crash bar, and then drill a hole in the new CF bumper. Bill will aso be extending the harness for the right turn signal. I just dropped the car off at the shop this morning, and these will hopefully be the topic of the next segment. Stay safe, and happy motoring!
With the front bumper already removed, and the turn signals secured, I made my way to Eurotech Advanced Automotive Tapping the bumper brackets to secure to the new FVD kevlar crash bar FVD Kevlar Crash Bar secured Bumper is two inches off on first fitment Removed the FVD Crash Bar And shaved off the bottom of the new FVD bumper brackets (retaining these for a crash bar) Fitment is almost there, but rubber at base of oil cooler fan is in the way. Removed the whole oil cooler fan Fitment is now perfect!
5 1/4 lbs. saved here Drilled four holes in center three holes on each side Test fitting the new hardware A ratchet extension with duct tape holding the socket proved helpful here This is the fourth hole I missed - on and off again with bumper Fitment is perfect
I'll bet you are planning to fit a screen up front?
.
Thanks Al, slow but steady progress.
I�m actually thinking about placing a larger oil cooler up front. I have a screen for that. Otherwise I will be putting an oil cooler block off plate up front for better aerodynamics.

 03-18-2021, 11:55 PM


 If I haven't mentioned, those aftermarket seat heater kits are fantastic - if you have any fabric available on those seats to slide them under.