When you click on links to various merchants on this site and make a purchase, this can result in this site earning a commission. Affiliate programs and affiliations include, but are not limited to, the eBay Partner Network.
This will make a bottom/ side facing intercooler outlet face right at the drivers headlight opening.
Craig, it all made sense to me until this sentence. Do you mean top/side outlet? Or do you mean bottom/side would point at a space below the headlight?
i assume when you move the cooling package rearward, that you will need to cut out the stock sheet metal that connects the �frame rails�? ...Like the photo I posted above, where they welded in a tubular brace.
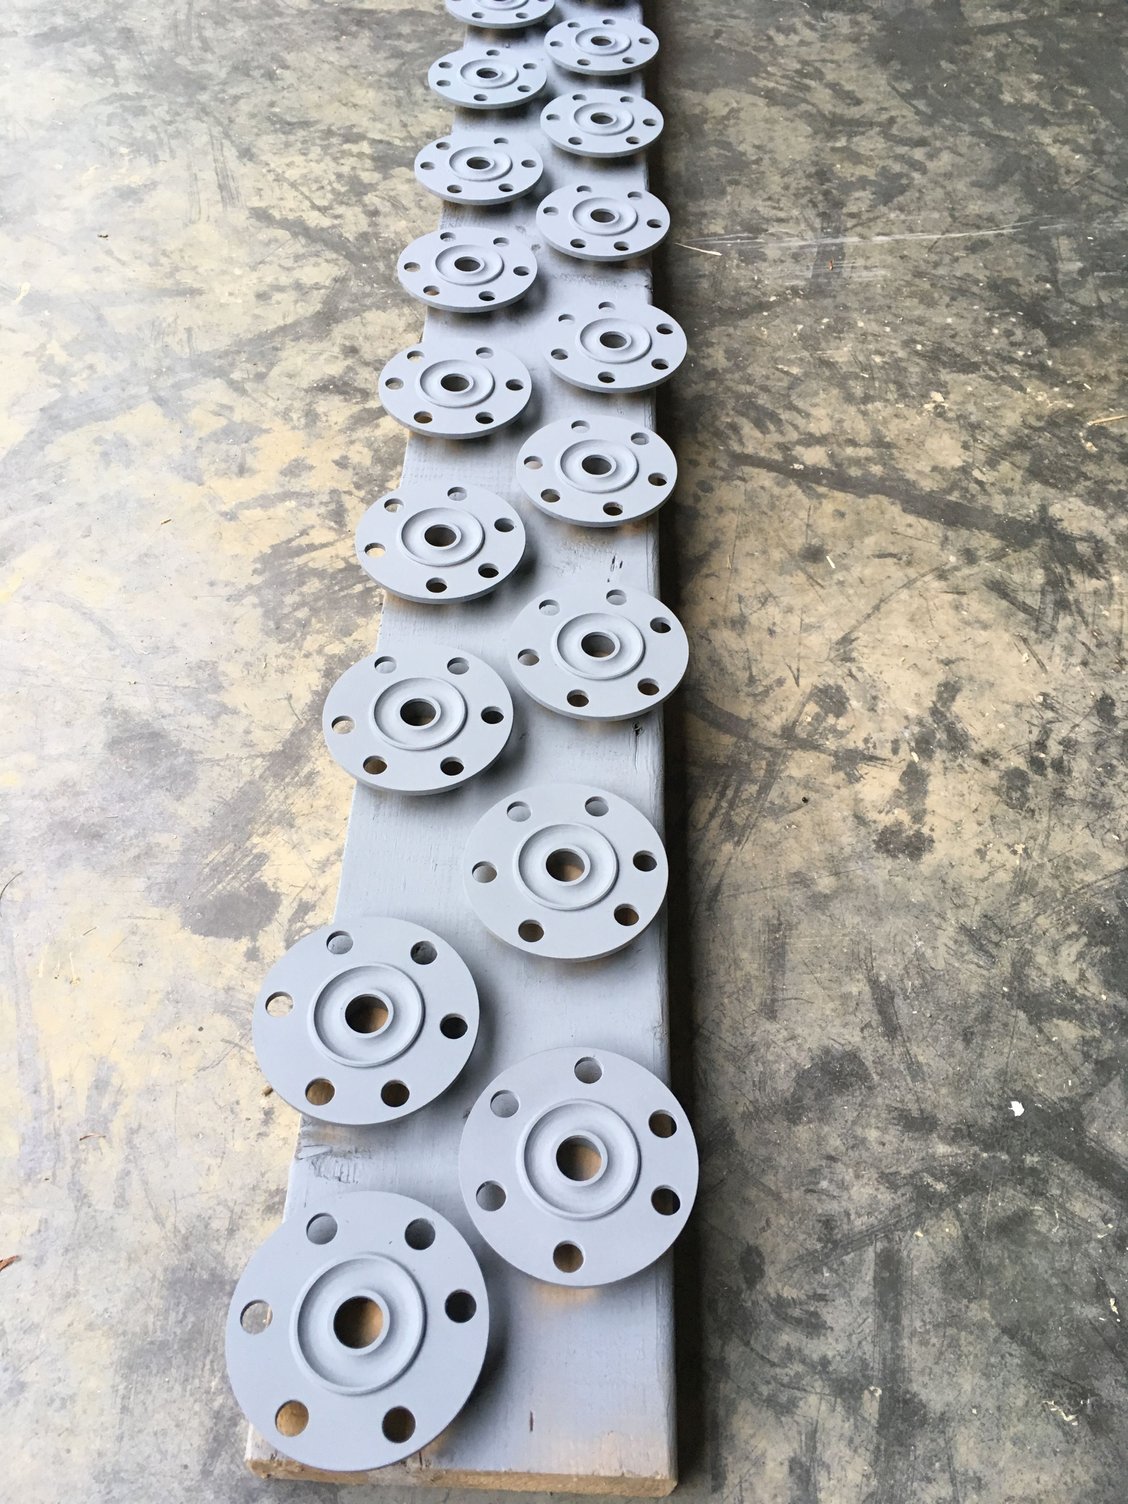
I would like some opinions about something... I now have everything needed to ship the bellhousings (hardware, pilot bearing adapters, pilot bearings). I got the pilot bearing adapters from the machine shop recently, and I�ve been looking for a zinc plater locally to give them some protection from surface rust, and also to help protect the aluminum flywheel from galvanic corrosion. In the meantime, I went ahead and sprayed them with �cold galvanize� which is basically a high zinc spray paint.
What I�m wondering is, do you guys think the zinc paint is adequate, so I should go ahead and ship your bellhousings now? Or, should I take a little more time and find a zinc plater? In my opinion, the zinc paint should work fine, especially since it�s in a fairly dry and hot environment (inside the clutch, inside the bellhousing, attached to the crankshaft). But I don�t mind getting them plated if that�s the consensus.
Craig, it all made sense to me until this sentence. Do you mean top/side outlet? Or do you mean bottom/side would point at a space below the headlight?
Bottom/side, so that it faces at the gap below the headlight below the frame rail, putting the intercooler more or less under the headlight shaft.
Originally Posted by vt951
i assume when you move the cooling package rearward, that you will need to cut out the stock sheet metal that connects the �frame rails�? ...Like the photo I posted above, where they welded in a tubular brace.
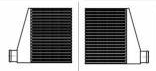
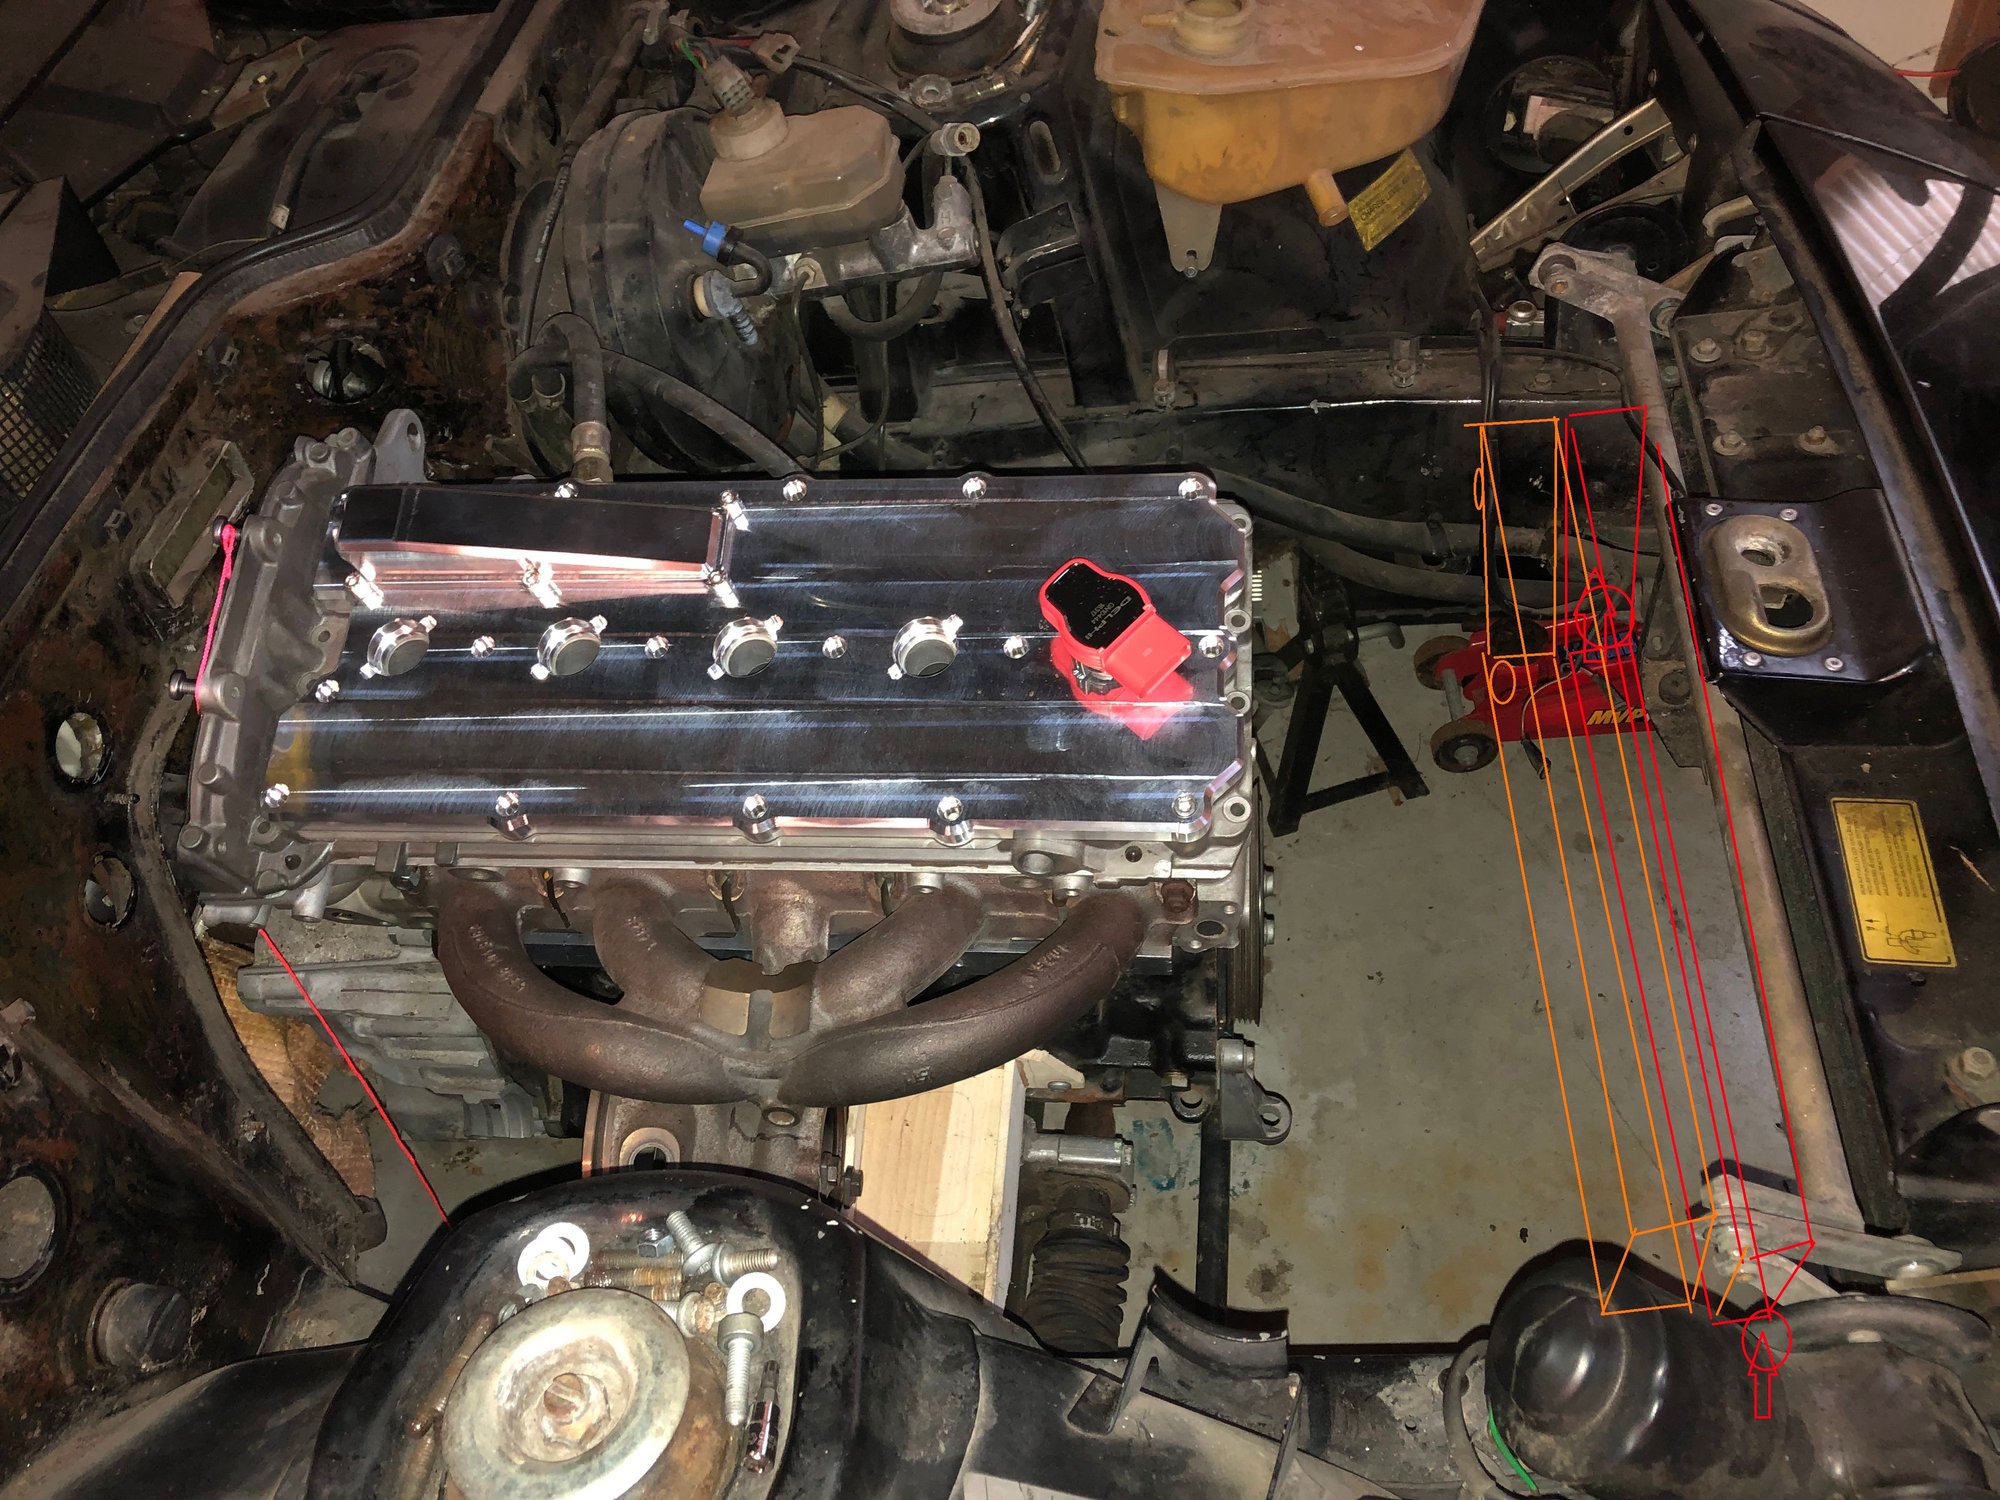
No, no cutting required. The air hits the intercooler first, then goes through the radiator. So the radiator moves back about 2-3" from the stock location, with the intercooler the same size and located right at the front of the radiator. If you can bear with my quick sketch, radiator in orange and intercooler in red.
Bottom/side, so that it faces at the gap below the headlight below the frame rail, putting the intercooler more or less under the headlight shaft.
No, no cutting required. The air hits the intercooler first, then goes through the radiator. So the radiator moves back about 2-3" from the stock location, with the intercooler the same size and located right at the front of the radiator. If you can bear with my quick sketch, radiator in orange and intercooler in red.
Craig
Ok, I get it now. Thanks. Looks like a decent option!
...do you guys think the zinc paint is adequate ... In my opinion, the zinc paint should work fine, especially since it�s in a fairly dry and hot environment (inside the clutch, inside the bellhousing, attached to the crankshaft).
I think it will be adequate, but in the event it's not, I don't mind being the guinea pig; Since Maine will most likely be one of the harshest environments this kit will see, it will show on the long run. I.e. I'm okay with the spray paint 👍
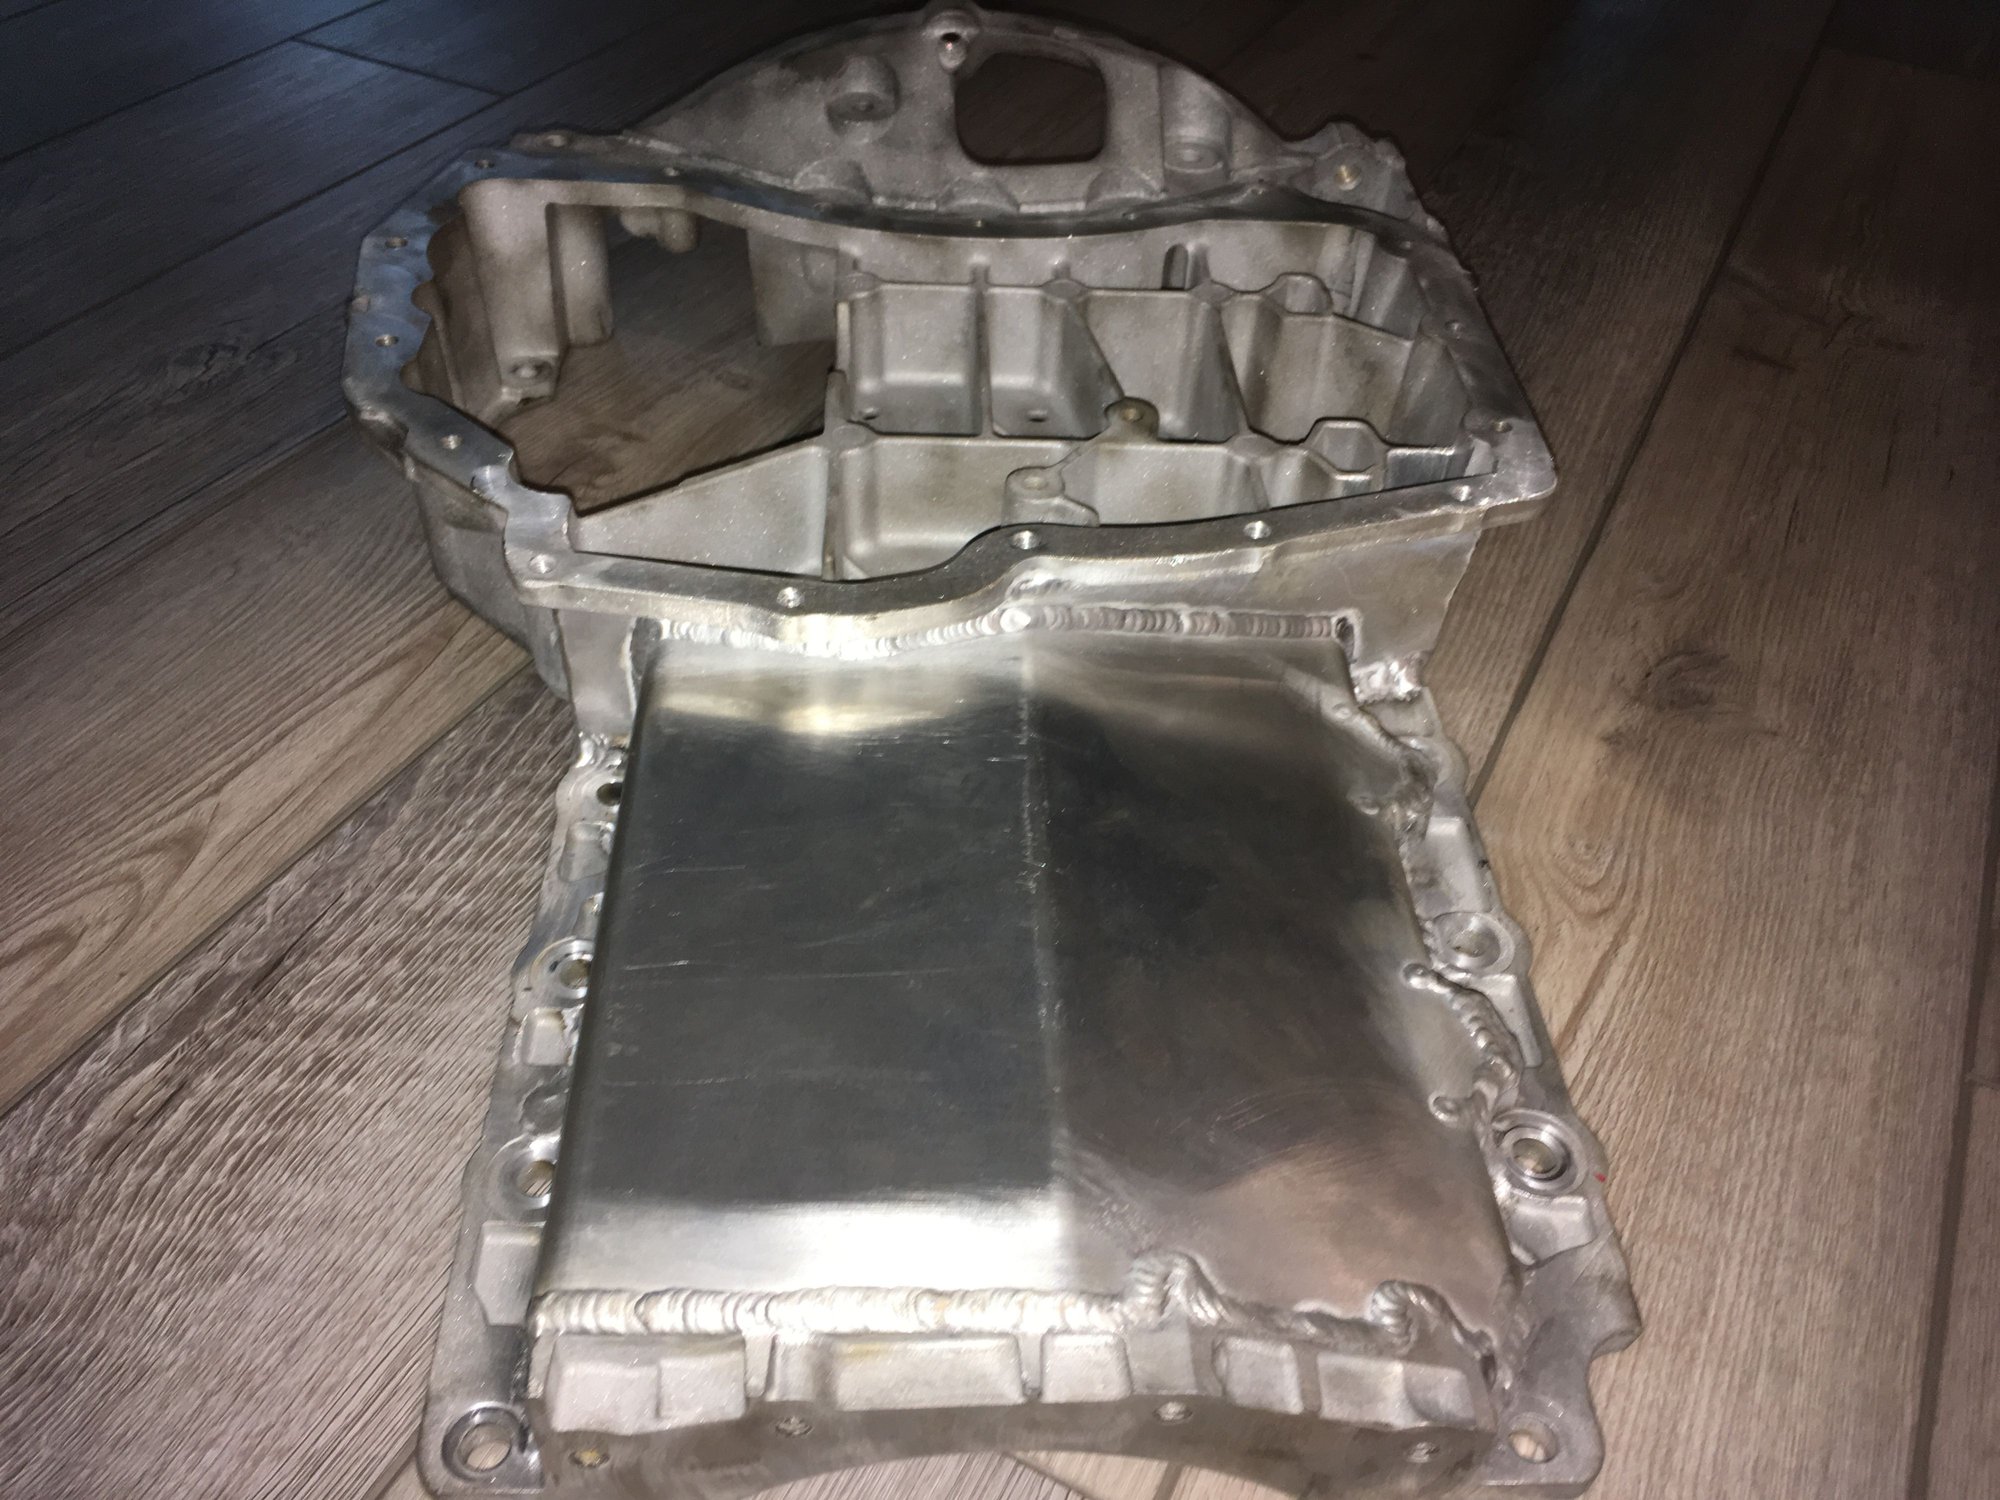
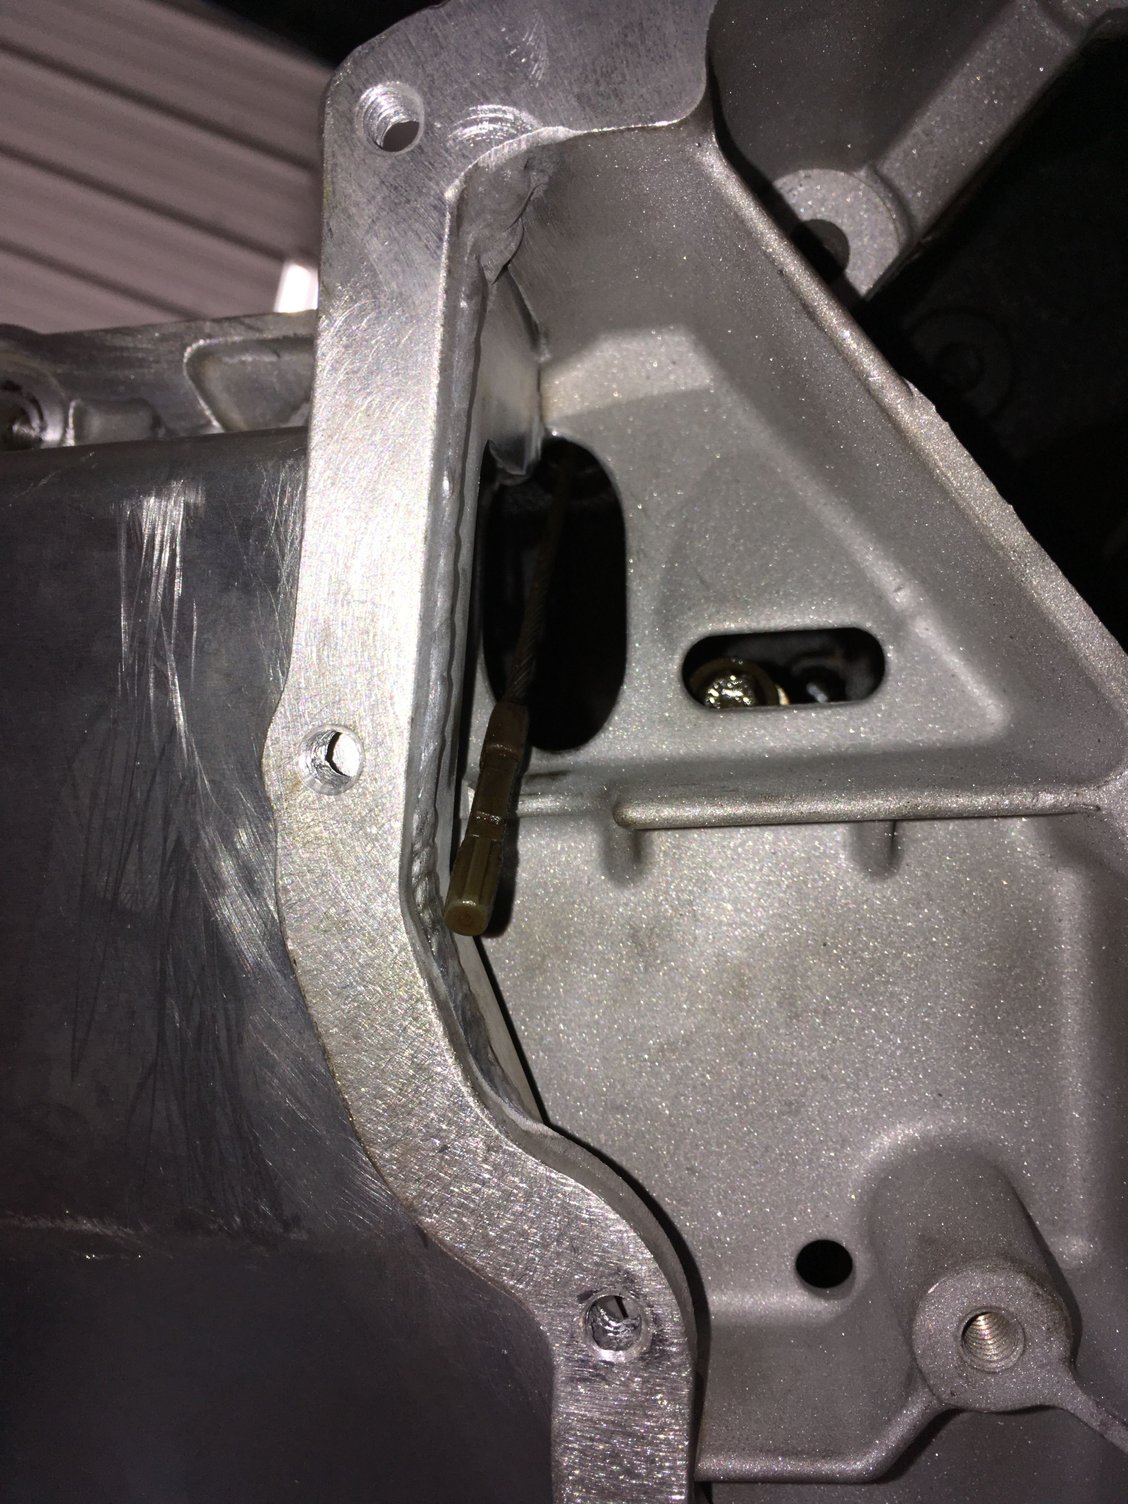
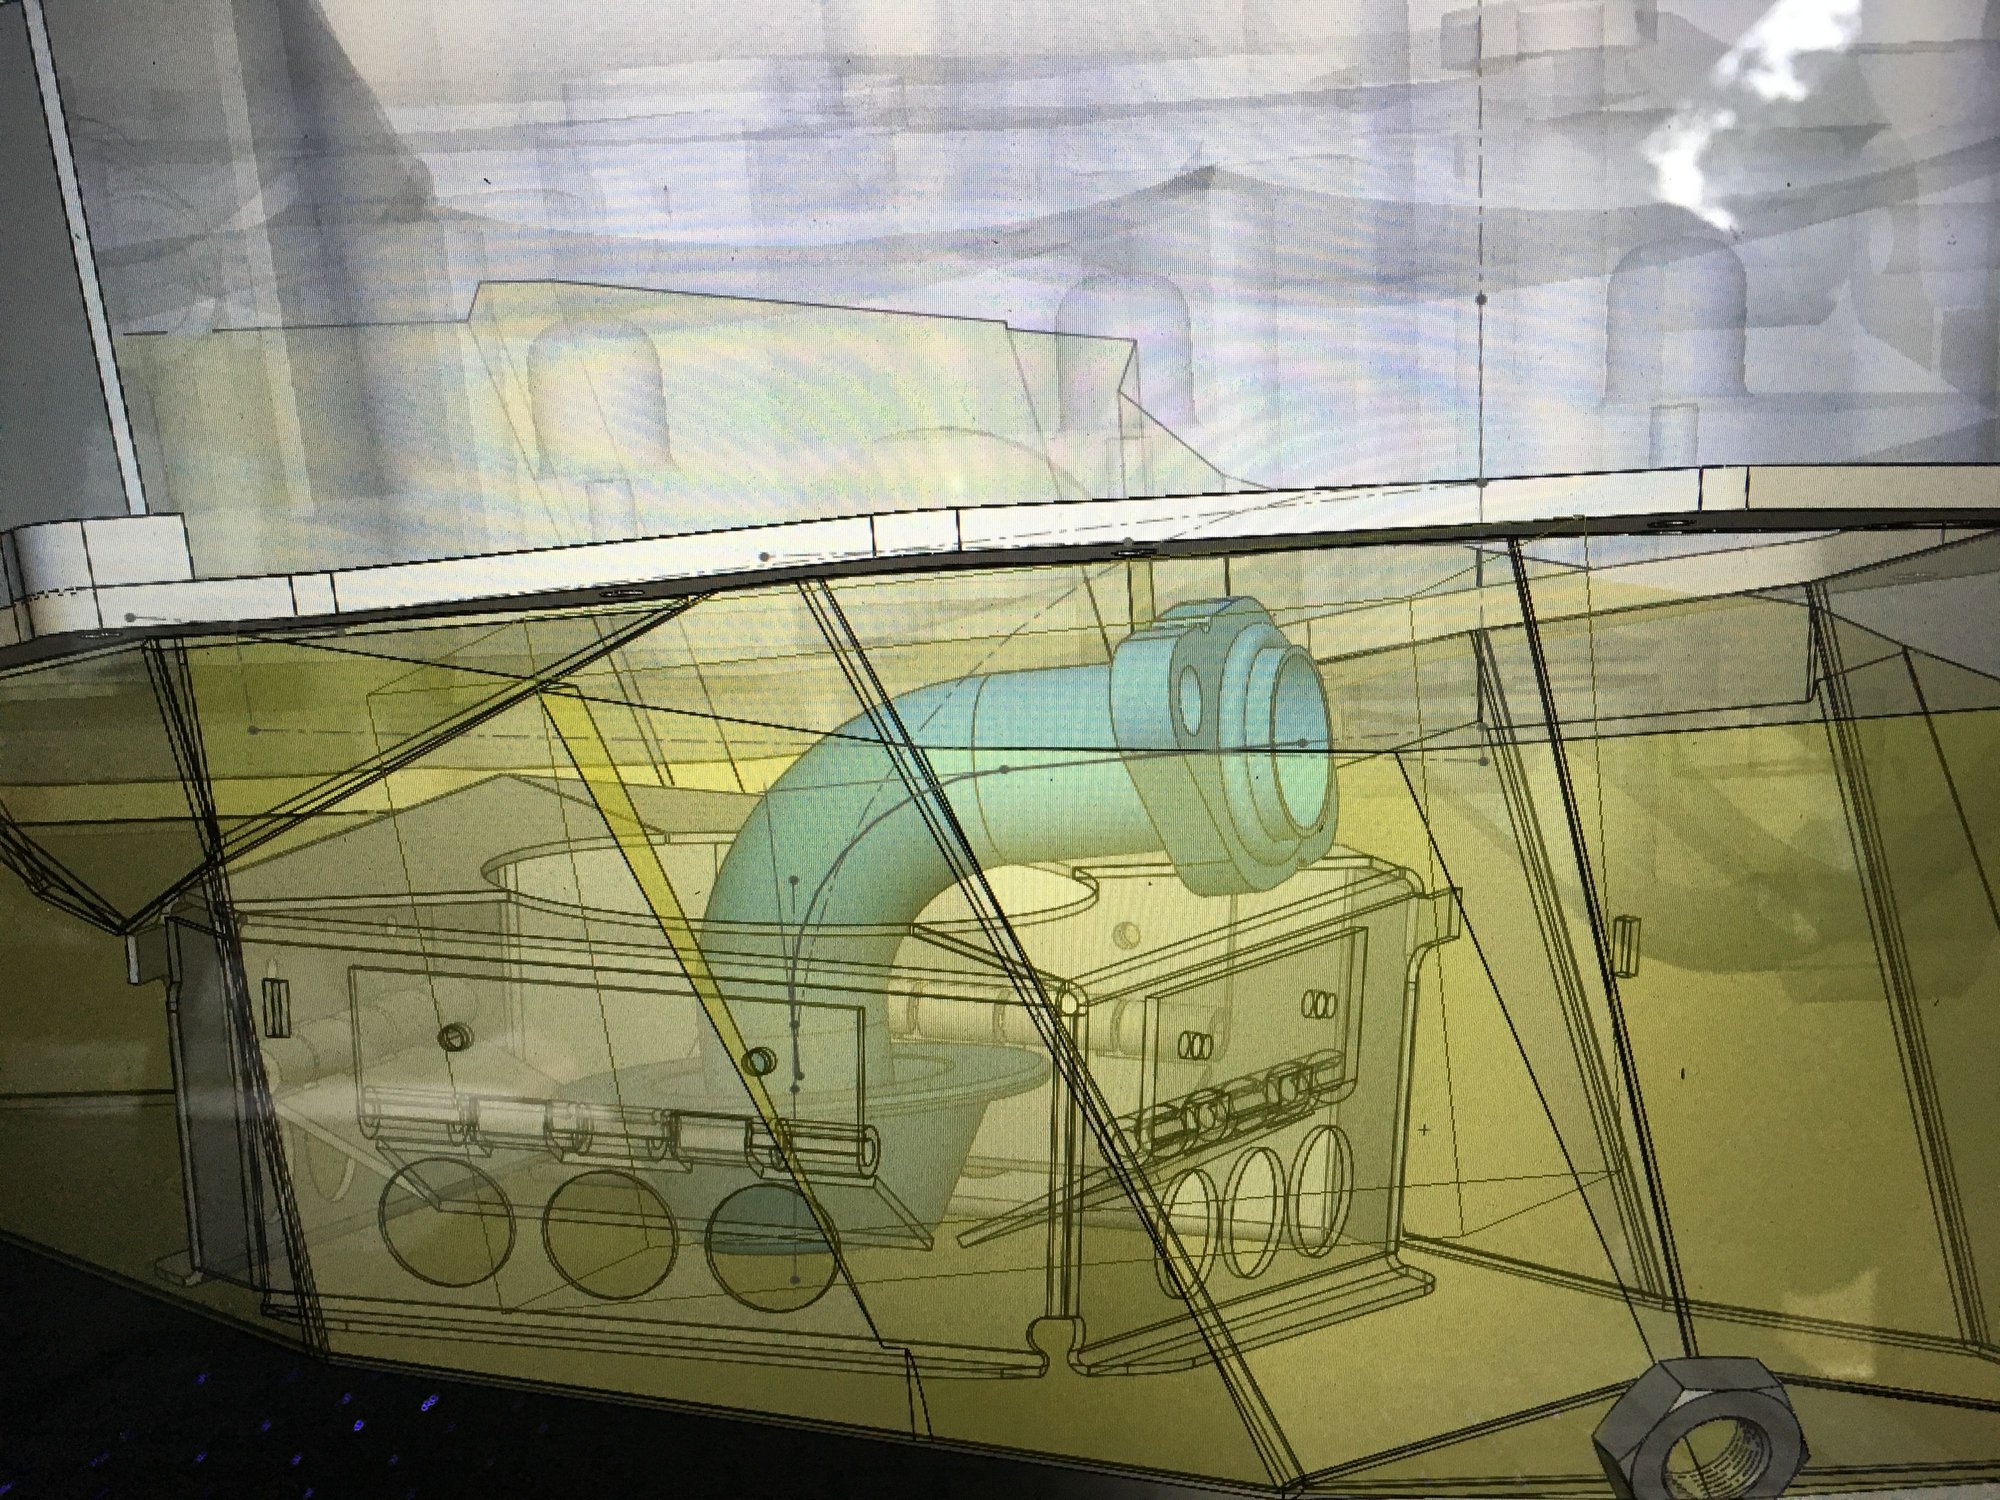
Here�s our second attempt at modifying the upper pan. It�s not too far off, but definitely needs a few tweaks to help make it easier to weld. Also, when installed in the car, it�s closer than I�d like it to be to the crossmember. This oil pan is a challenge. But rest assured, we�re going to win.
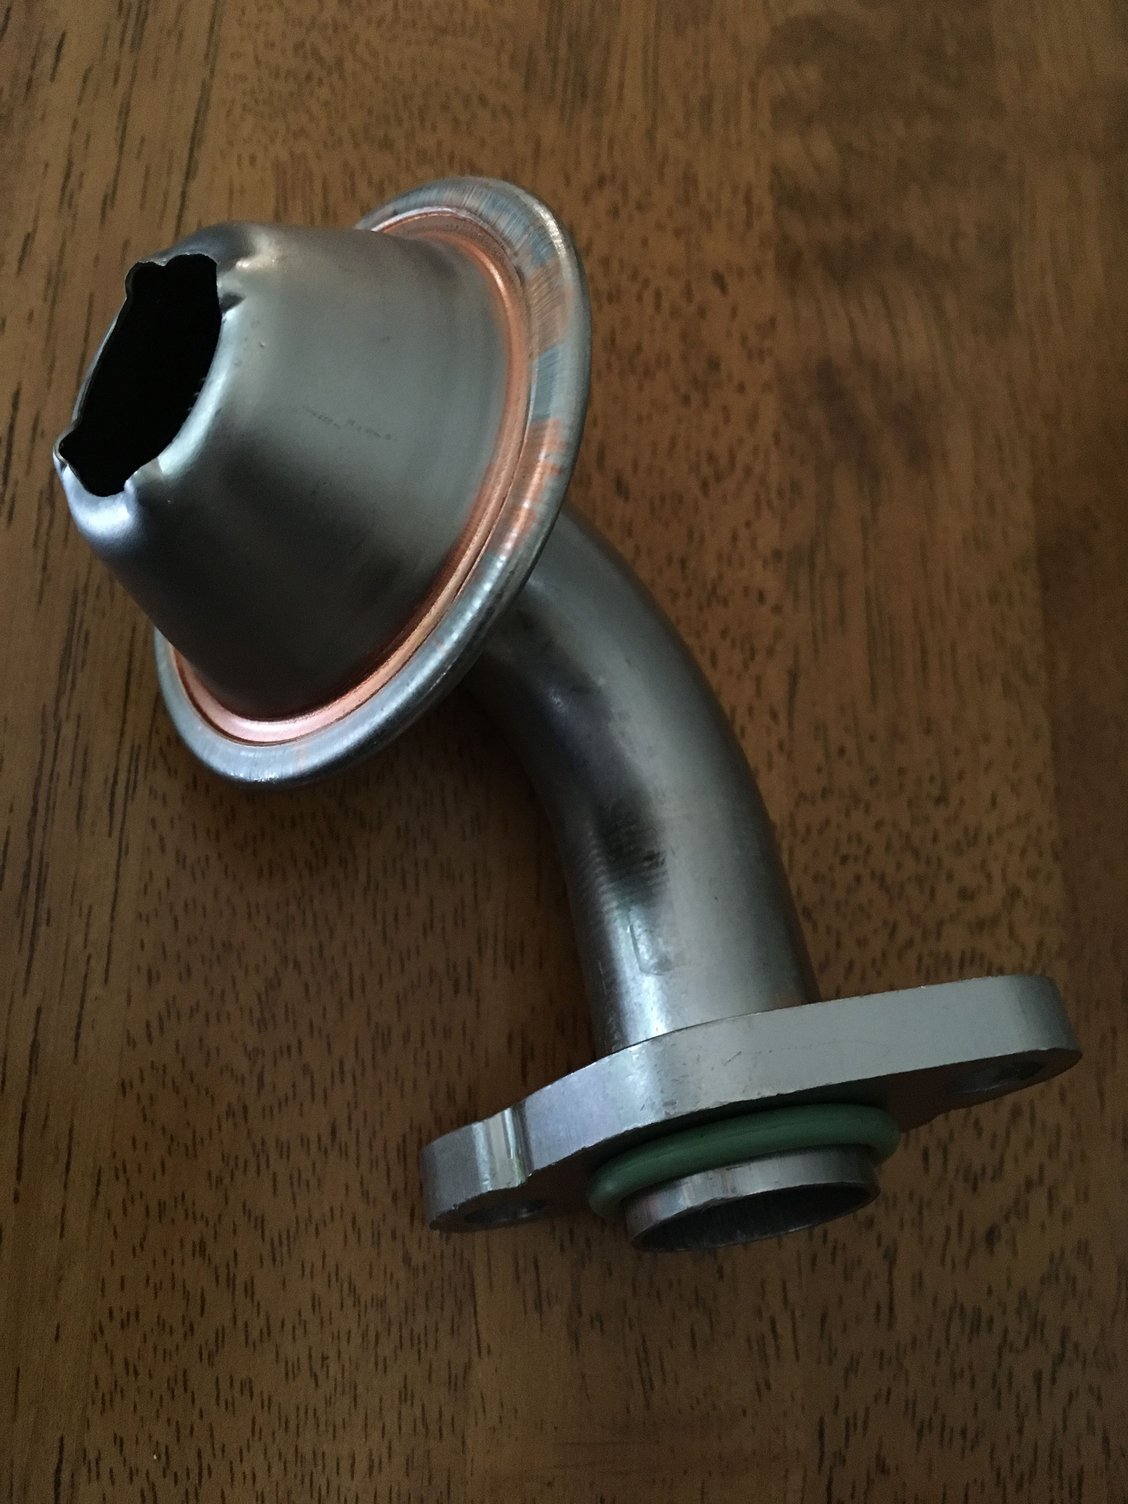
I think I�m also getting close to a pickup tube solution. I found an Audi A4 pickup tube that I think will work well. It will need a machined adapter to fit into the 07k oil pump, and a sheet metal brace to bolt onto the two threaded holes in the oil pan.
I think it will be adequate, but in the event it's not, I don't mind being the guinea pig; Since Maine will most likely be one of the harshest environments this kit will see, it will show on the long run. I.e. I'm okay with the spray paint 👍
My car spends its time in dry climates (Cali/Colorado) but will be frequently caked in mud and dirt. I kind of assumed I would have to find a way to plug any holes in the bellhousing that I can to keep things out anyway so I'm not worried about it being painted.
The motor is a bit smaller than the 07k but they already ran into a bottleneck running the 0.72 A/N exhaust housing. They are going to be testing the 0.92 housing in the next video so it will be interesting to see how much power that picks up.
The zinc paint should be fine I think. Unless this part is constantly contacting another part where the paint would rub off from friction or something... We use a zinc primer only in some cases in aviation where the part is hidden from the elements (and view) and it seems holds up well.
Here�s our second attempt at modifying the upper pan. It�s not too far off, but definitely needs a few tweaks to help make it easier to weld. Also, when installed in the car, it�s closer than I�d like it to be to the crossmember.
Looking good so far!
Keep in mind under torque the engine is trying to go up through the hood, not down or twisting like a muscle car. The main clearance needed down there will be due to chassis twist from bumps and stiff sway bars in cornering.
The motor is a bit smaller than the 07k but they already ran into a bottleneck running the 0.72 A/N exhaust housing. They are going to be testing the 0.92 housing in the next video so it will be interesting to see how much power that picks up.
So glad I went with the .92 A/R exhaust housing on my g25-660. Although it is a totally different motor, so who knows...
Really cool information in that video from the Cobb guy. I didn�t realize the exhaust manifold pressures could be so much higher than intake manifold pressures, to the point where it can actually push the valves open.
Keep in mind under torque the engine is trying to go up through the hood, not down or twisting like a muscle car. The main clearance needed down there will be due to chassis twist from bumps and stiff sway bars in cornering.
Good point, Craig... during hard acceleration, the engine will be pulled up due to the torque tube reaction to rear wheel torque. Engine braking is another thing to consider, though. The mounts are pretty stiff, so I don�t think it�s going to be moving a whole lot.
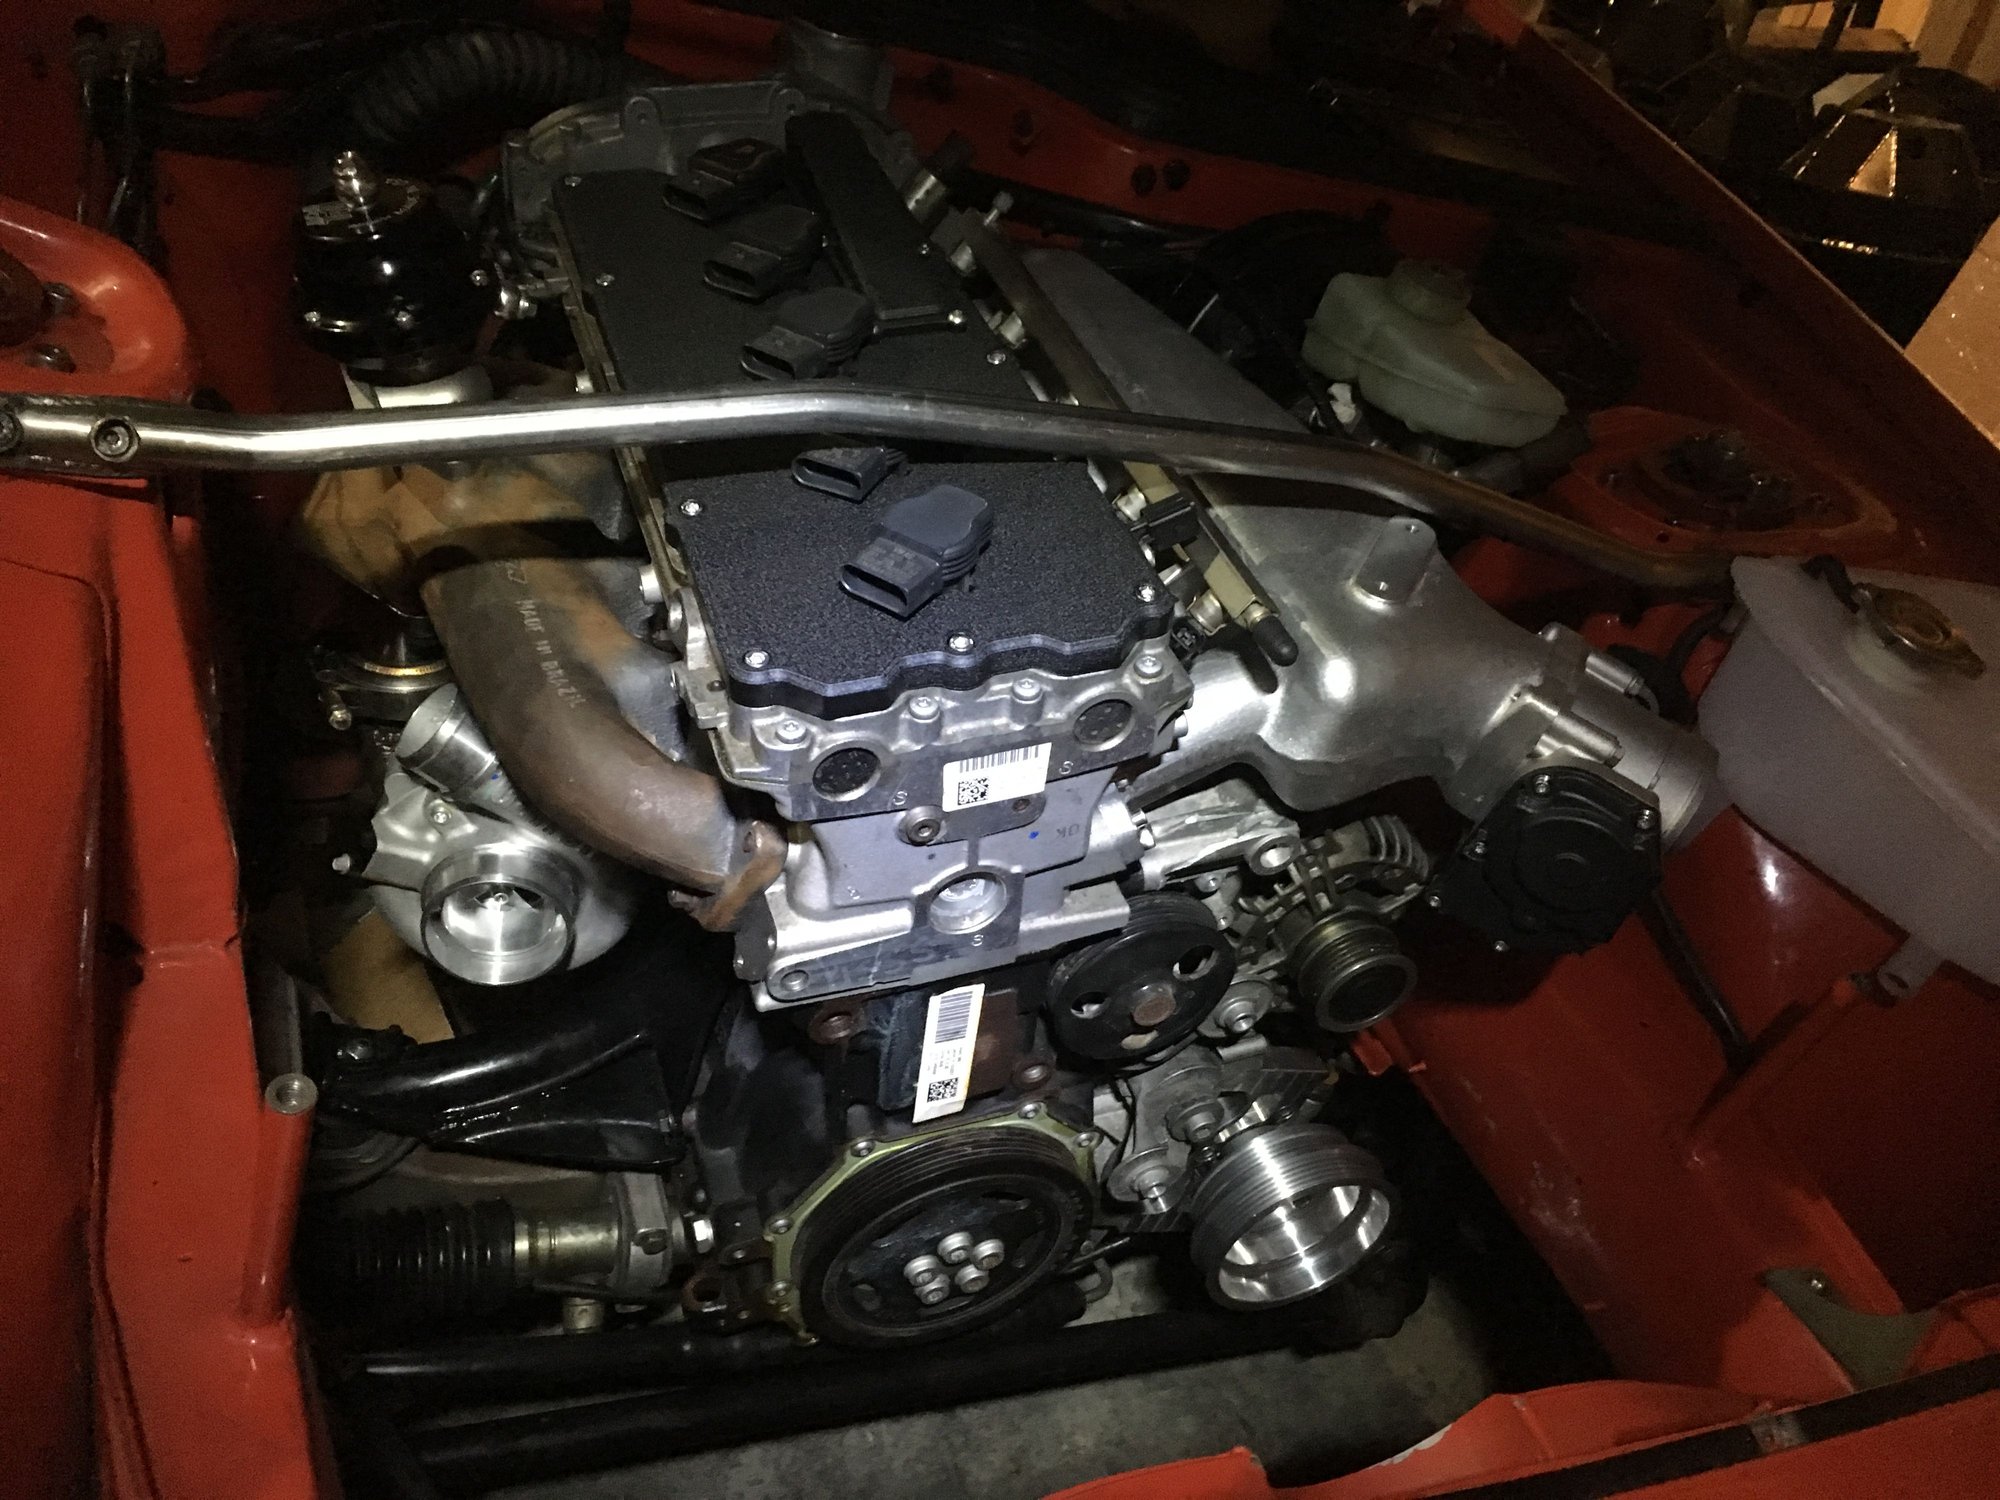
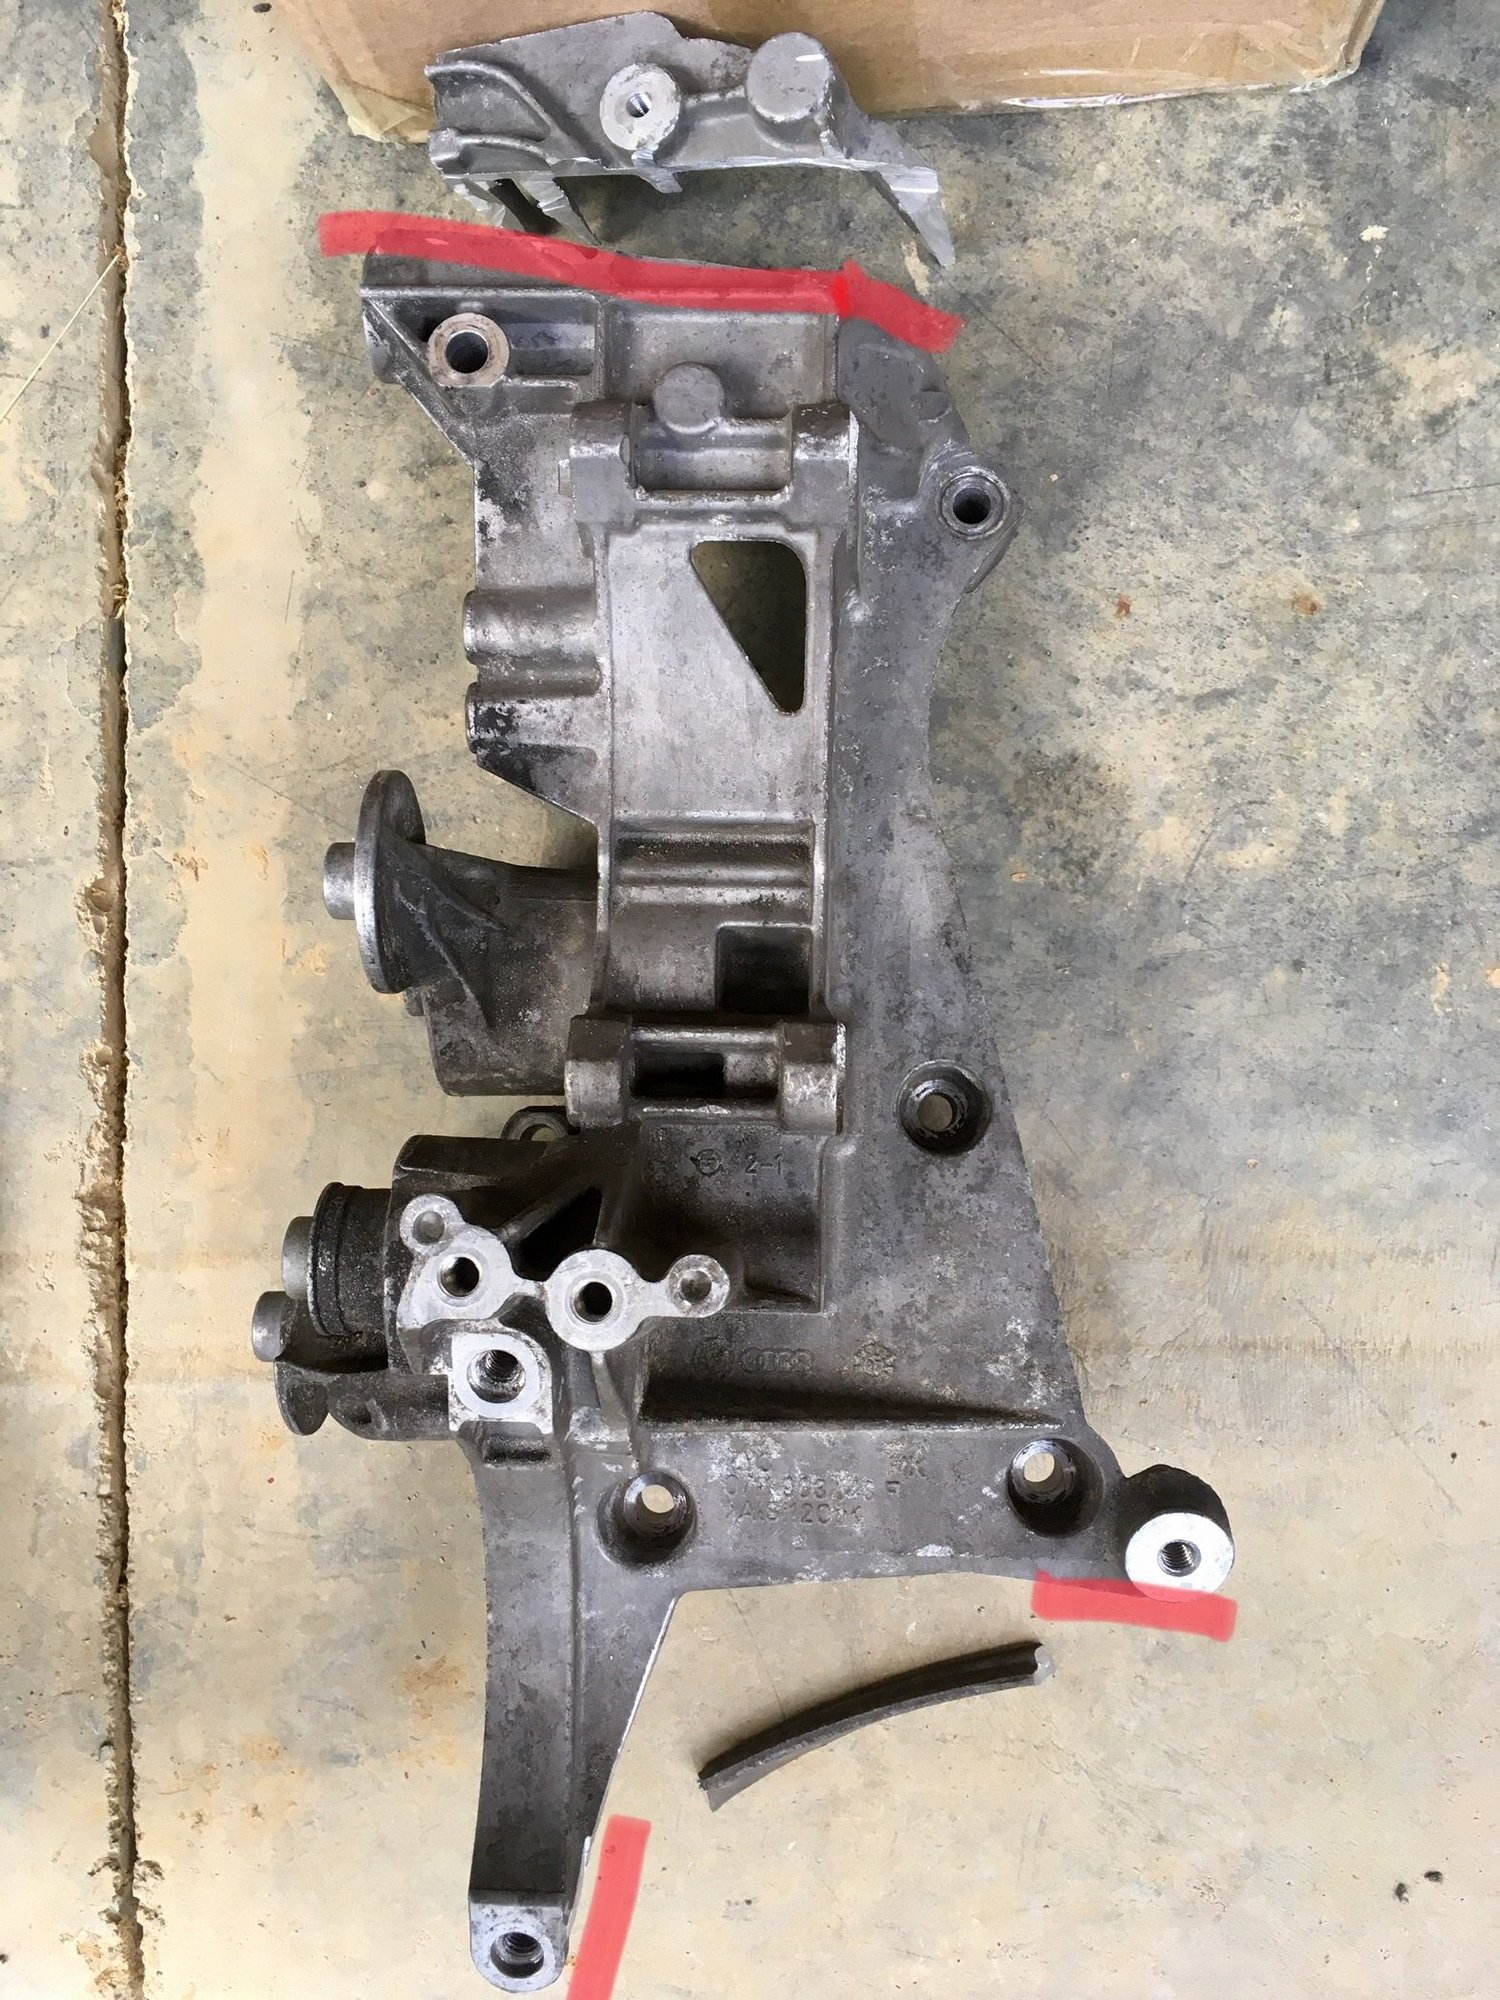
Getting my car ready to show at 944 Fest. Below is how I trimmed my accessory bracket to clear the intake manifold and PS rack.
This strut tower brace is something I made a while back to clear my hood vents. In case anybody is wondering, it�s not necessary to use a special strut tower brace with the 07K.
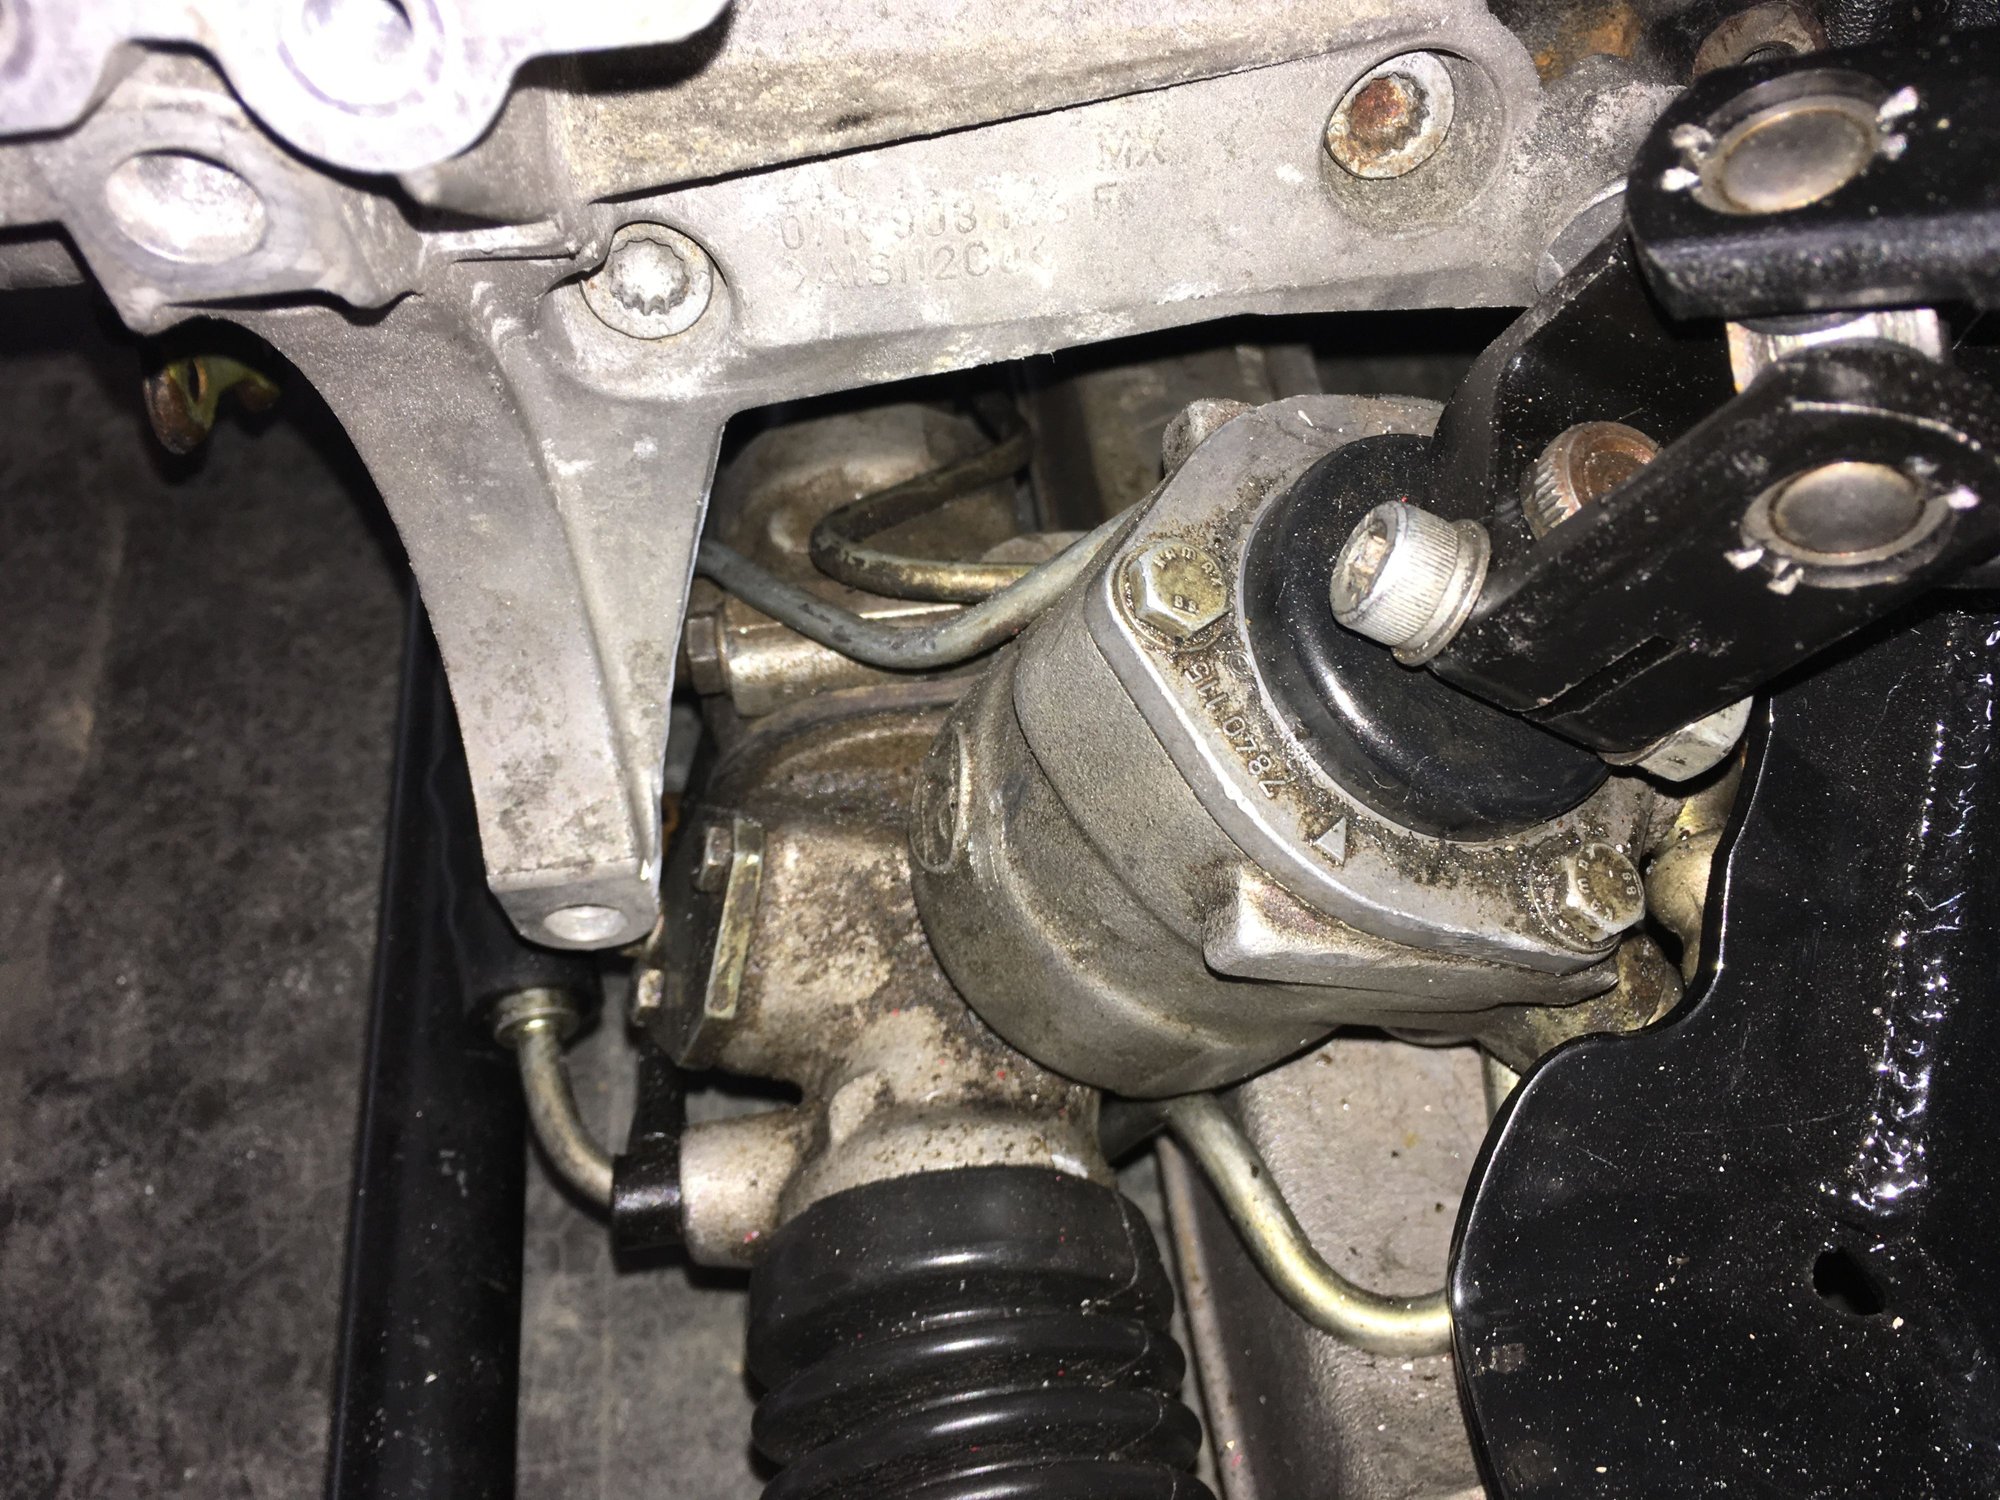
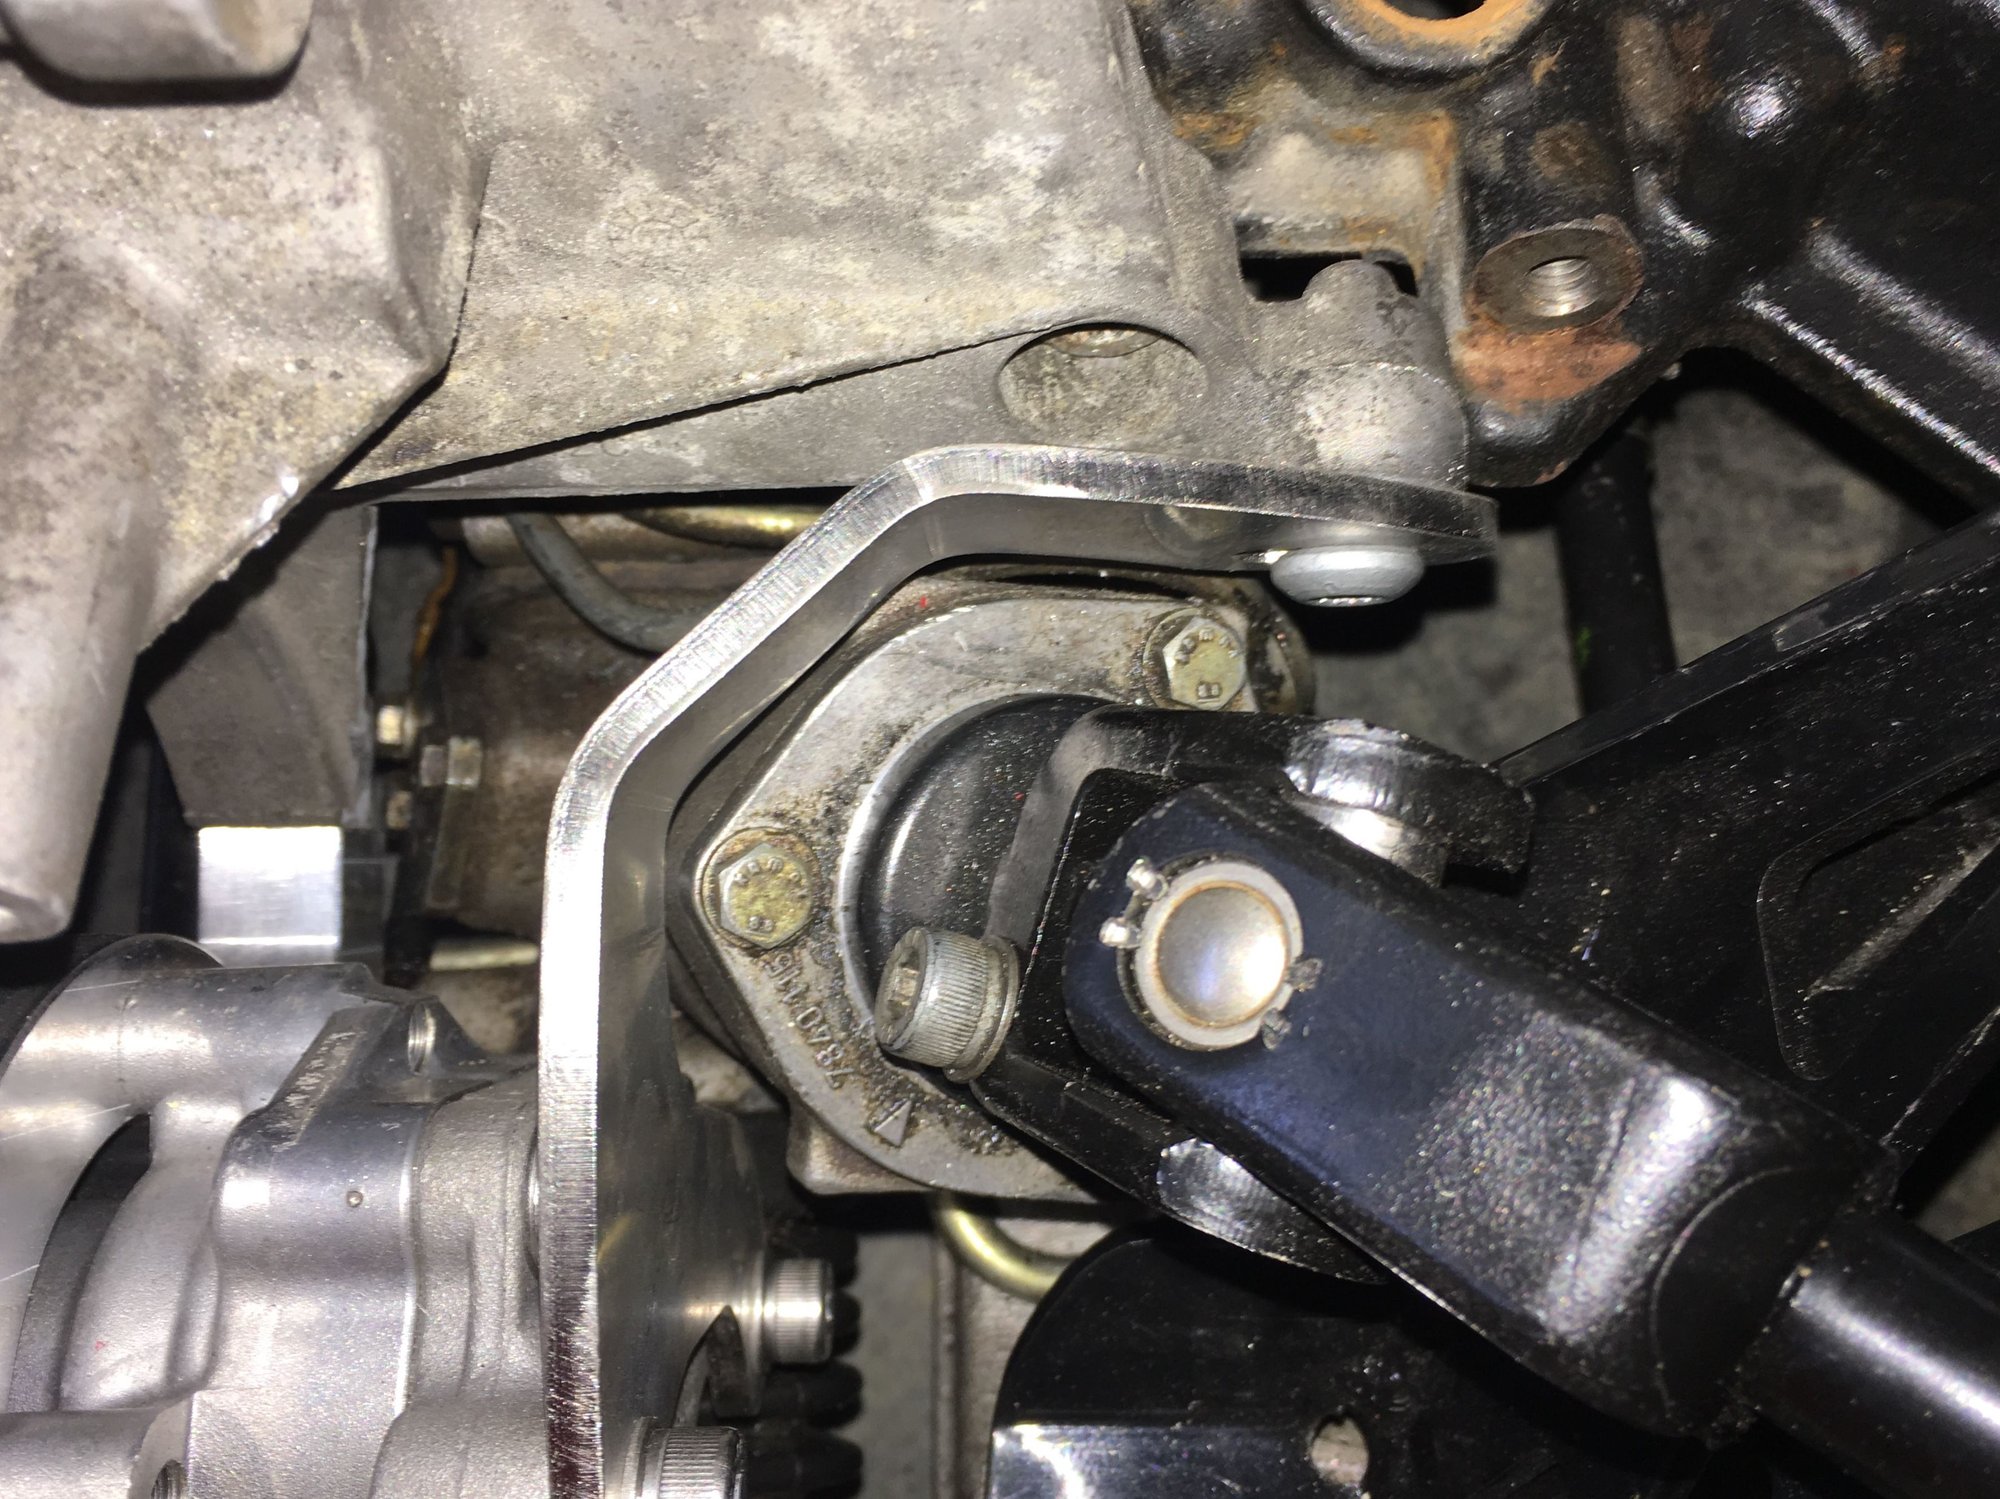
Here�s the accessory bracket installed, showing clearance around the steering rack and hard lines.
And here�s a similar view, after the PS pump is installed.


 07-30-2019, 08:43 AM