
Crackership's build thread - TURBO install starts on page 12

 08-19-2011, 08:46 PM
#65
Rennlist Member
Thread Starter
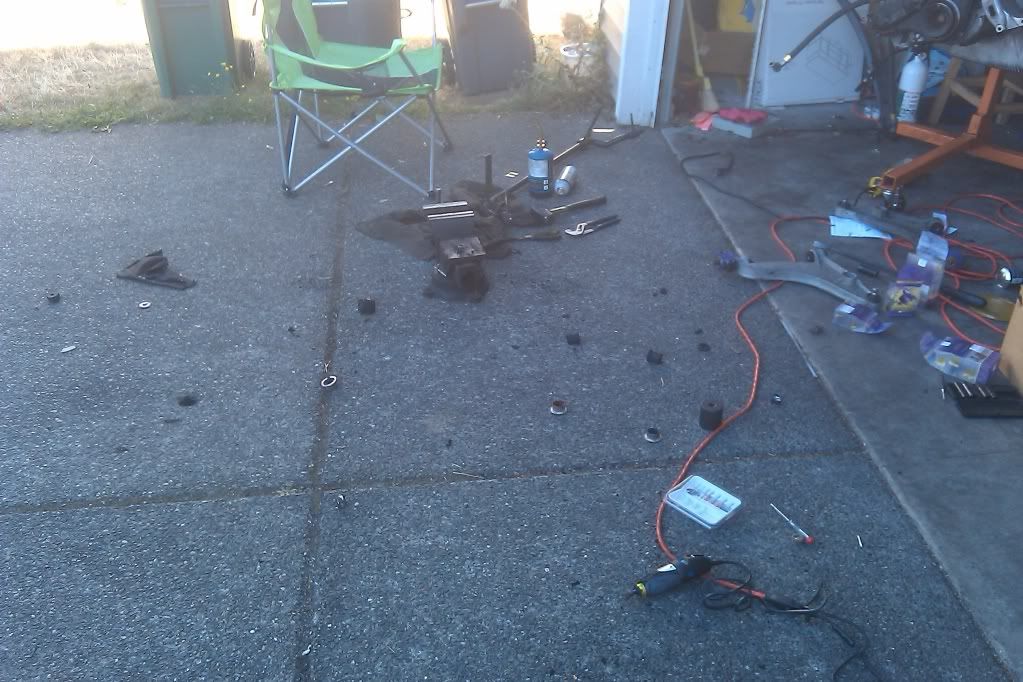
I just spent all day today, from about 10am till about 10 minutes ago replacing the bushings on my front control arms and sway bar with Powerflex poly. No part of it was really all that hard, just EXTREMELY time consuming... getting the old rubber out of the caster blocks was insane... burned them, picked at them, burned them some more, picked at them some more, burned them some more... then sprayed them with aircraft remover a few times, and finally used a dremel with a grinding wheel to get the last of them off... Several parts of that made terrible smells! I also made an enormous mess. the front bushings were time consuming, but really not that hard after Rennlist swooped in and taught me how to cut the outer metal sleeve with a hacksaw blade. Anyway, pics!
First off, astounding mess:
Here are the new caster block bushings:
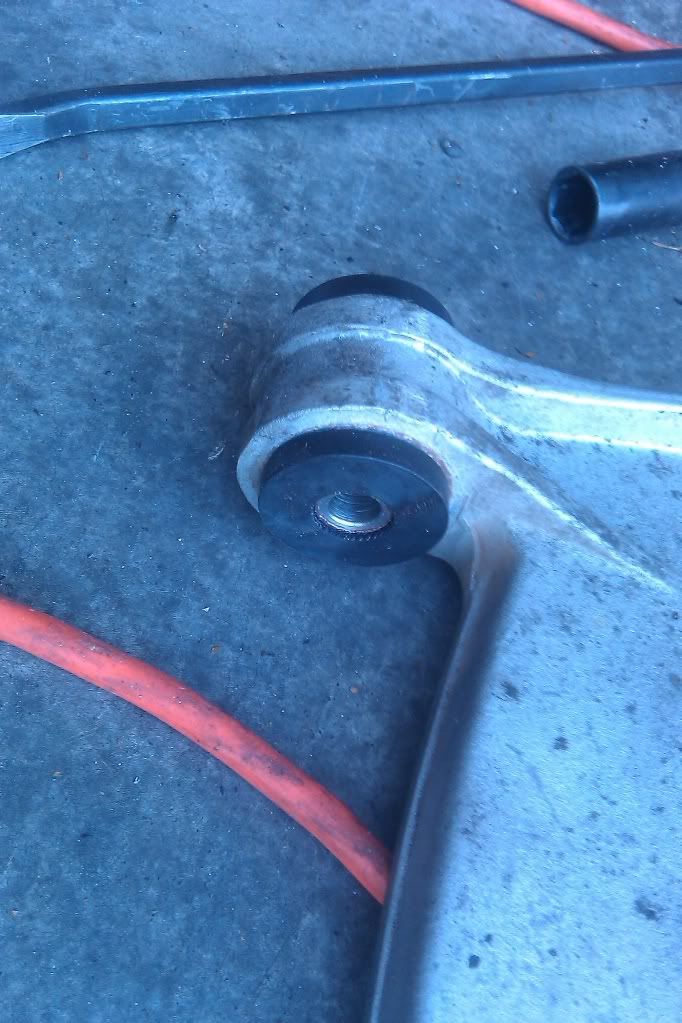
New front bushings:
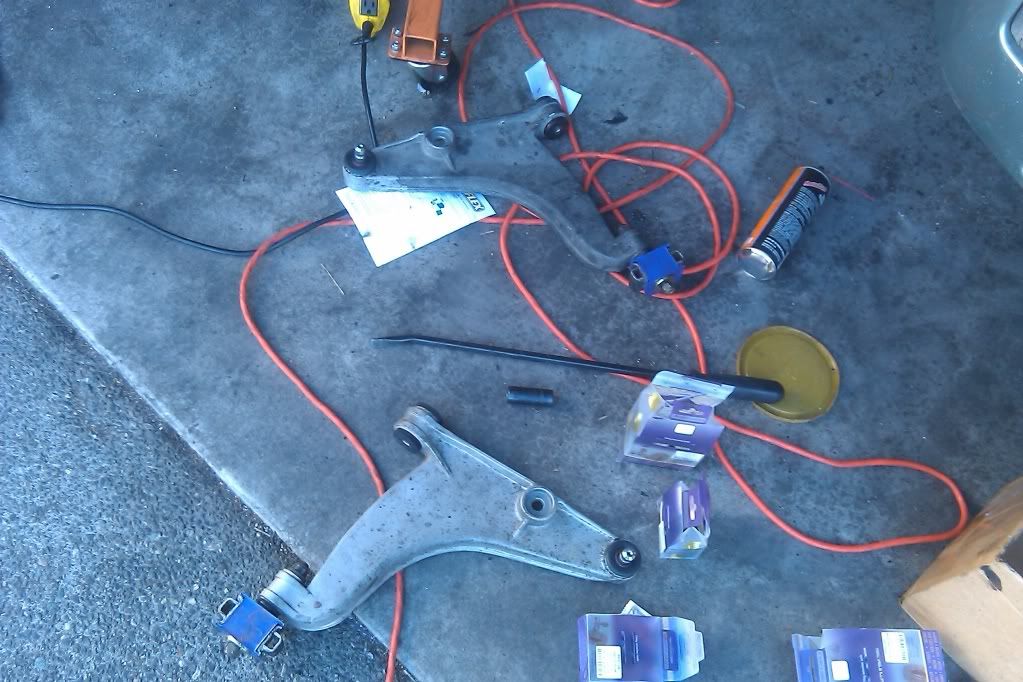
Completed control arms:
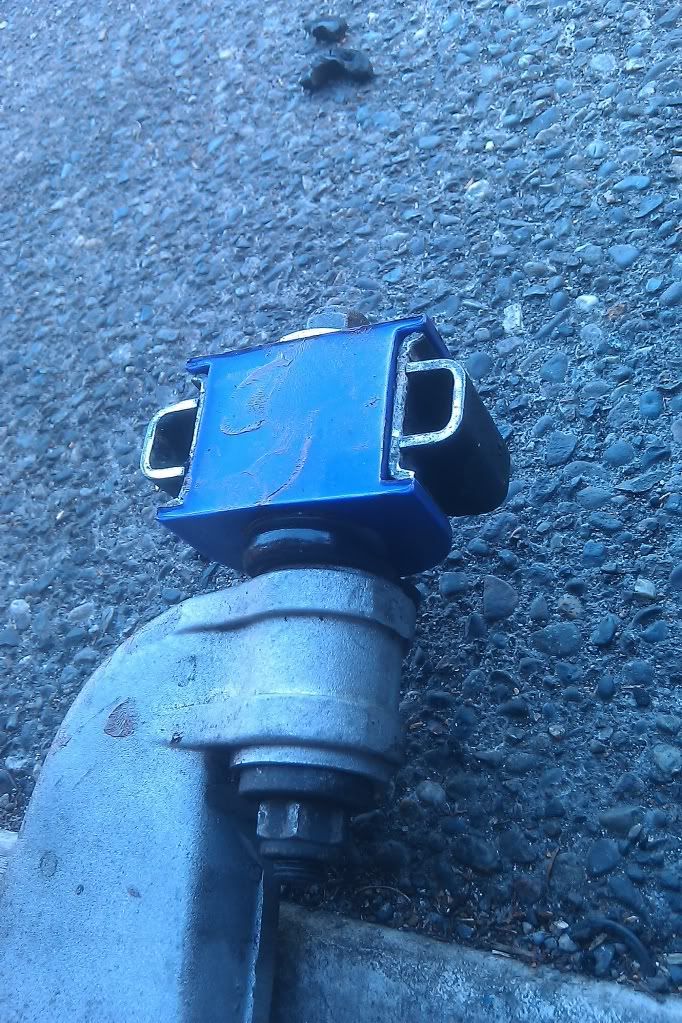
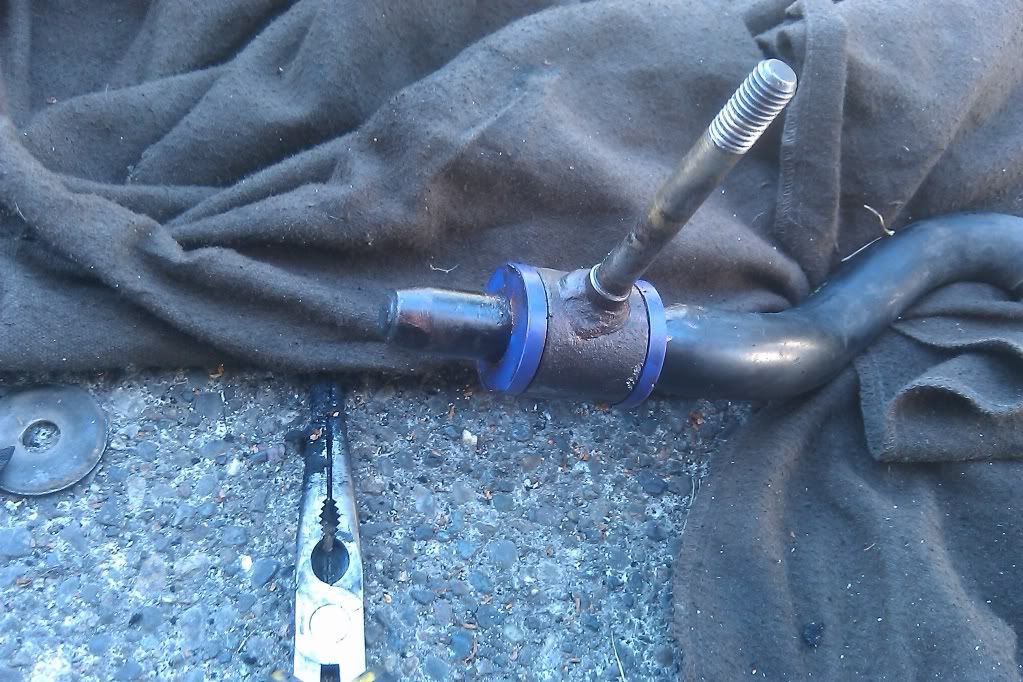
New drop link bushings:
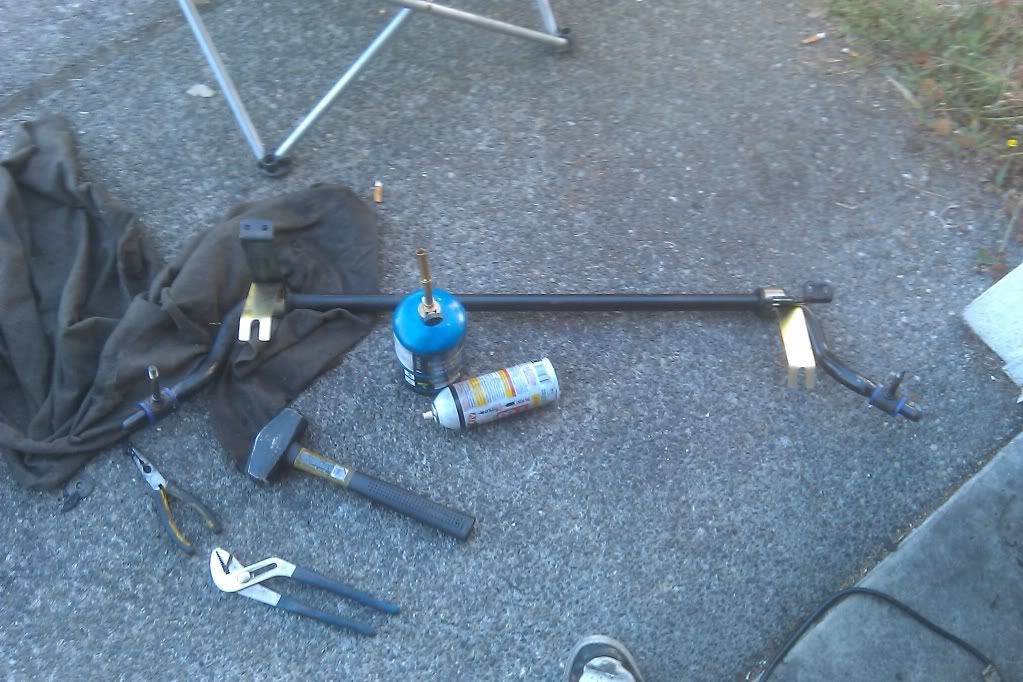
Completed sway bar:
Hopefully, tonight I can do the RMS and the clutch with a buddy that's coming over, and tomorrow.... PUT THE ENGINE IN!!!! Hope that goes as well as I want it to. Wish me luck!
First off, astounding mess:
Here are the new caster block bushings:
New front bushings:
Completed control arms:
New drop link bushings:
Completed sway bar:
Hopefully, tonight I can do the RMS and the clutch with a buddy that's coming over, and tomorrow.... PUT THE ENGINE IN!!!! Hope that goes as well as I want it to. Wish me luck!
 08-21-2011, 07:46 PM
#69
Three Wheelin'

Okay that blue silicone looks pretty bad ***, I'm usually an OEM/Black silicon guy, but that looks really nice. Gonna finish it off with blue spark plug wires?
08-21-2011, 07:57 PM
#70
Rennlist Member
Thread Starter
You know, I'm usually fairly partial to a really OEM look myself... It was totally a last-second, completely impulsive decision to go with blue, and I think I'm very happy with it. And, yes, I have blue plug wires. Also, thanks to Aaron (Raimus665), I've got a nice new injector harness in blue as well. I can't wait to see it all back together!
08-21-2011, 11:40 PM
#71
Addict
Lifetime Rennlist
Member
Lifetime Rennlist
Member
Looking good!! Wish I was moving that fast... Only got about 2 hours in this weekend. I was hoping I'd get some quality cam tower time in yesterday but that didn't happen.
08-22-2011, 03:07 AM
#73
Rennlist Member
Thread Starter
 You'll get there. Wish I could just "come over" and lend a hand...
 Hope so!
08-26-2011, 02:49 AM
#74
Rennlist Member
Thread Starter
I had to take a few days off of working on it to finish a bunch of work for this semester and take a final... and replace a window regulator in the M5. But, I got back at it today and installed the control arms, bled the clutch slave, installed the AC pump, cussed at some exhaust bolts, installed the cables from the starter to the alternator and the starter to the battery, installed the starter, cussed at the exhaust bolts some more and then called it a night... Not the super-productive day I was hoping it would be, but progress. Hopefully I can still get it ready to fire this weekend... we'll see.
Also ordered my M-Tune early this week . It'll have an E85 map for the secondary... I don't know if I'll ever get the chance to use it, but it would be neat... go figure, in the great granola bar, tree-hugging state of Washington, I have NEVER seen an E85 pump.
Also ordered my M-Tune early this week
. It'll have an E85 map for the secondary... I don't know if I'll ever get the chance to use it, but it would be neat... go figure, in the great granola bar, tree-hugging state of Washington, I have NEVER seen an E85 pump.
08-27-2011, 06:46 PM
#75
Rennlist Member
Thread Starter
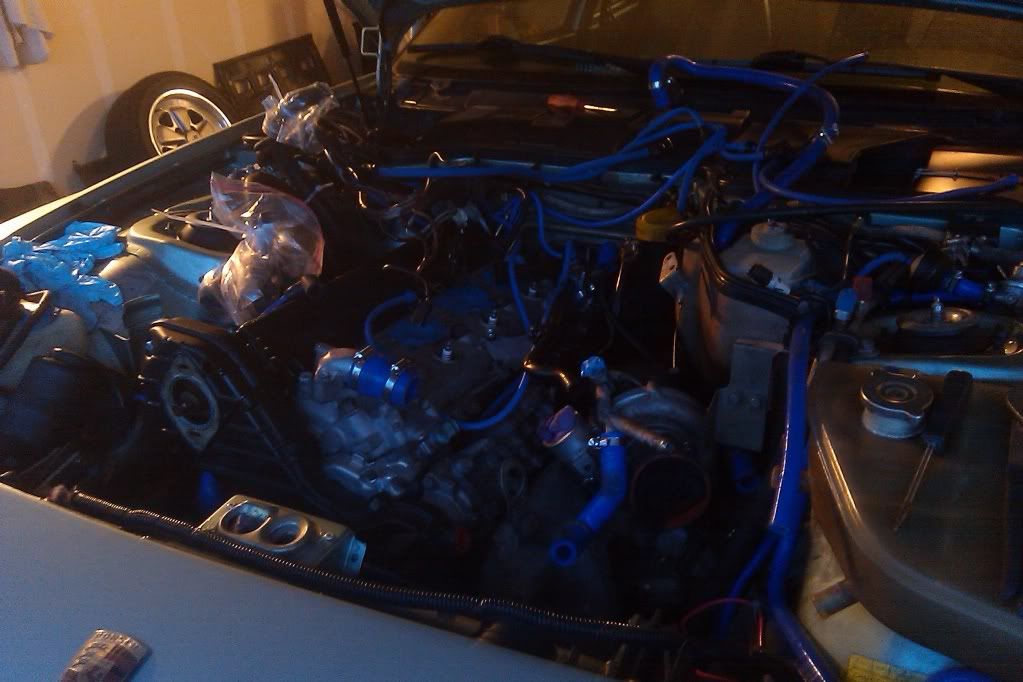
I was getting pretty sure that there would be another few weeks to my reassembly... lots of parts still laying around and a lot of things to do in "real life"... But then I got after it yesterday, and bolted up the exhaust and wastegate, hung the alternator, wired up the alternator and starter, installed the radiator and fan shroud, installed all the new silicone coolant lines, routed and plugged in the vast majority of the wiring harness, and buttoned up a few other small things.
The parts pile is getting much smaller... all that's left is the PS pump and lines to it, the intake manifold and IC plumbing, the front sway bar, and installing the M-Tune that is on it's way to me...
So now, I think it's time to slow down, carefully inspect everything I've done, and move forward with the goal of starting her up next weekend. Pretty sure I can meet that deadline. Just hope there's some summer left when I get it back on the road.