
Crackership's build thread - TURBO install starts on page 12

 07-14-2011, 07:07 PM
#18
Rennlist Member
Thread Starter
07-14-2011, 11:37 PM
#20
Rennlist Member
Looks way nicer than my 'after fire' photos!! :/
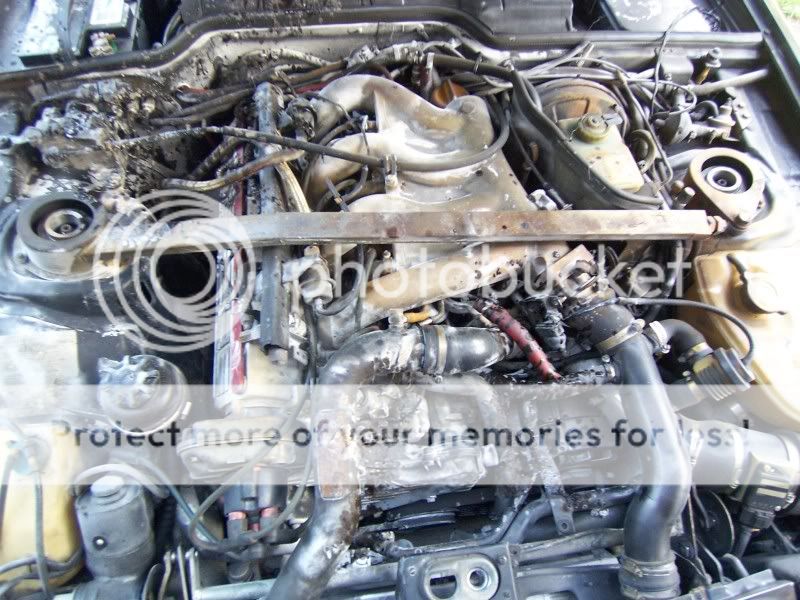
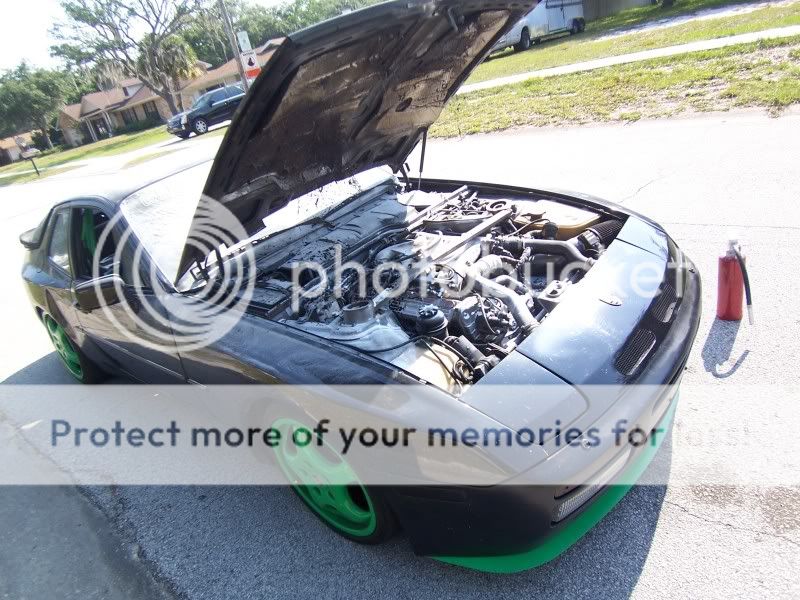
Good to see you are doing a comprehensive cleaning though. As for mine, I just pulled off the intake manifold and cleaned everything up and replaced all my lines and hoses.
Good to see you are doing a comprehensive cleaning though. As for mine, I just pulled off the intake manifold and cleaned everything up and replaced all my lines and hoses.
07-15-2011, 12:08 AM
#21
Rennlist Member
Thread Starter
I'm pulling the engine mostly because the oil pan gasket needs replacing and I want to really examine everything and make sure it's golden. I'd really like to drive with a clear conscience.
07-15-2011, 01:44 AM
#22
Rennlist Member
The new fuel lines are going to get heat sleeves so they don't get baked so easily.
Doing it the way you're doing it is the right way! I wish I had the time to pull mine out and take it all apart but this car needs to be back on the track asap!!
07-15-2011, 02:00 AM
#23
Rennlist Member
Thread Starter

Driving a stock and rotting '85 Toyota Celica Supra is murder when you're used to a super clean, modded 951!
07-15-2011, 05:57 PM
#26
Burning Brakes
Join Date: Mar 2006
Location: Orlando,FL (formerly UK)
Posts: 1,215
Likes: 0
Received 0 Likes
on
0 Posts
Gimme some time to dig out my last service receipt and I'll be able to tell you, date and hour, but it was approx. 2 months ago IIRC.
I happened to see Elliott that afternoon, driving his VW rail off into a blackening sky, and about to get thoroughly pissed on and drenched!
(Some days, it feels like getting out of bed was just the first in a long chain of bad things!)
I happened to see Elliott that afternoon, driving his VW rail off into a blackening sky, and about to get thoroughly pissed on and drenched!
(Some days, it feels like getting out of bed was just the first in a long chain of bad things!)
07-17-2011, 06:13 PM
#27
Rennlist Member
Thread Starter
Made a little more progress yesterday. Not a ton, but I'm not hurrying. Got a little help from one of the local 951 guys.
Got the car up on stands, and pulled the control arms sway bar, and spent hours cleaning them up pretty well:
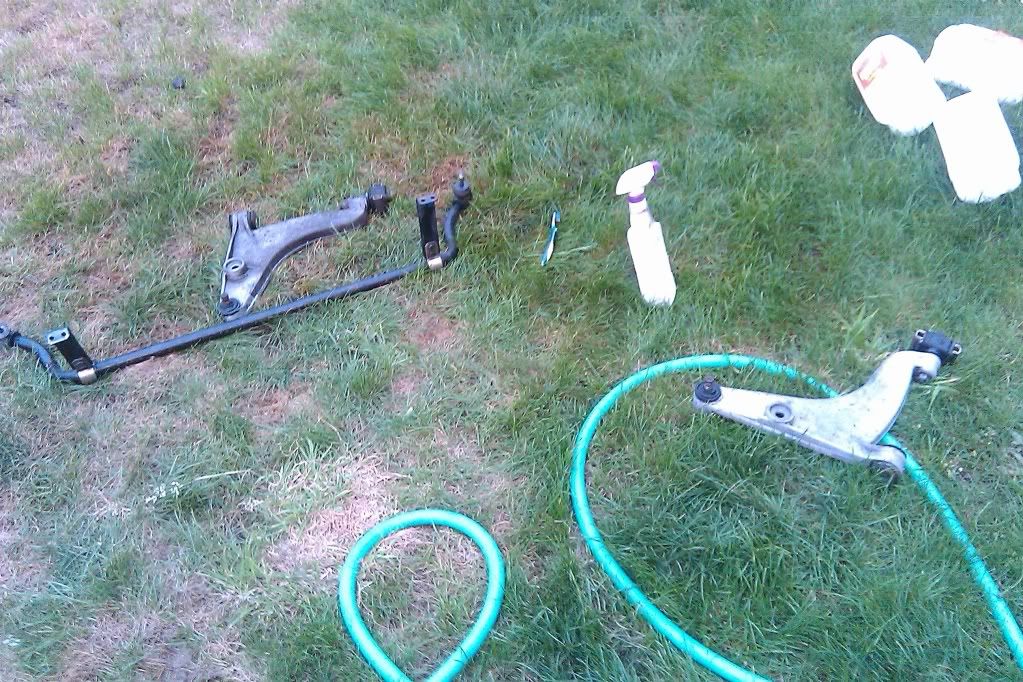
drained all the fluids:

That's pretty much where I left off for the day, I'll go back under there when it's done raining coolant
Though you guys would get a kick out of my wheel chuck though:
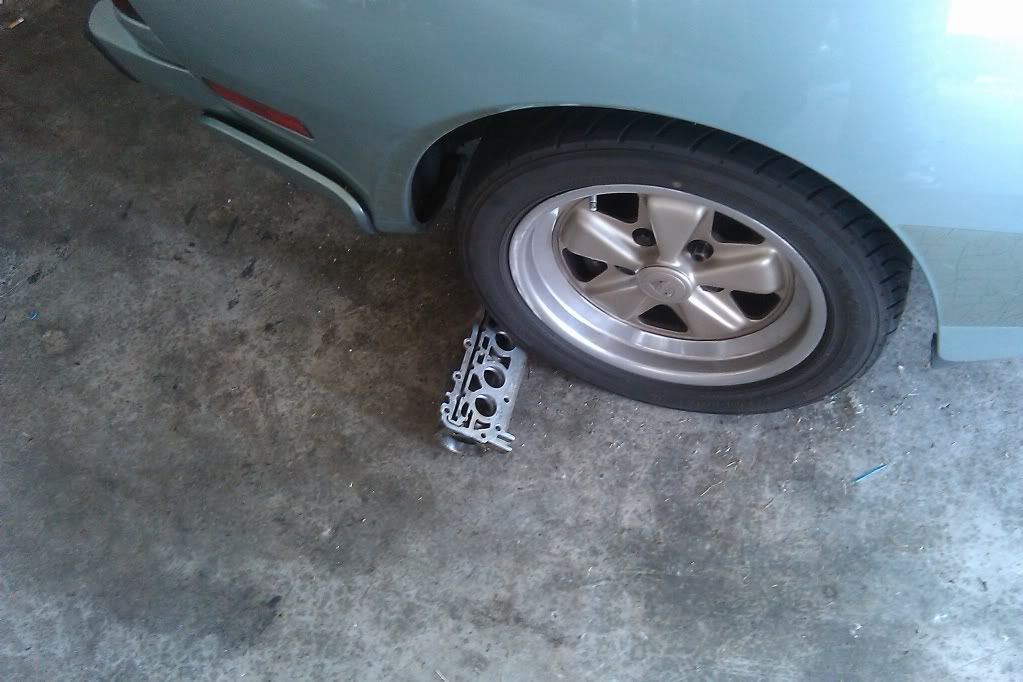
more to come.
-Dave
Got the car up on stands, and pulled the control arms sway bar, and spent hours cleaning them up pretty well:
drained all the fluids:
That's pretty much where I left off for the day, I'll go back under there when it's done raining coolant
Though you guys would get a kick out of my wheel chuck though:
more to come.
-Dave
07-17-2011, 07:17 PM
#28
Rennlist Member
Thread Starter
Question... there are a couple places in the clarks-garage engine removal procedure that are not completely clear. First, it says "disconnect the exhaust"... where? there are more than a few options. Also, is it safe to drop the engine with the x-over and header attached? I can only imagine it's a lot easier to remove them once the engine is out, but am I running the risk of damaging them?
The second part I'm confused about is the procedure says to remove the AC pump from the bracket and hang it from the strut spring using a clothes hanger or wire without opening the lines... sounds great, but I see no way that the lines will allow the pump to move that far... or really at all. The line that goes up to the firewall doesn't seem to have any slack on it at all... am I missing something? Or is this a problem incurred by the Griffiths Kuehl compressor the PO installed?
The second part I'm confused about is the procedure says to remove the AC pump from the bracket and hang it from the strut spring using a clothes hanger or wire without opening the lines... sounds great, but I see no way that the lines will allow the pump to move that far... or really at all. The line that goes up to the firewall doesn't seem to have any slack on it at all... am I missing something? Or is this a problem incurred by the Griffiths Kuehl compressor the PO installed?
07-17-2011, 07:47 PM
#29
Professional Hoon
Rennlist Member
Rennlist Member
Join Date: Jan 2010
Location: Melbourne, Australia
Posts: 7,090
Likes: 0
Received 4 Likes
on
4 Posts
Question... there are a couple places in the clarks-garage engine removal procedure that are not completely clear. First, it says "disconnect the exhaust"... where? there are more than a few options. Also, is it safe to drop the engine with the x-over and header attached? I can only imagine it's a lot easier to remove them once the engine is out, but am I running the risk of damaging them?
The second part I'm confused about is the procedure says to remove the AC pump from the bracket and hang it from the strut spring using a clothes hanger or wire without opening the lines... sounds great, but I see no way that the lines will allow the pump to move that far... or really at all. The line that goes up to the firewall doesn't seem to have any slack on it at all... am I missing something? Or is this a problem incurred by the Griffiths Kuehl compressor the PO installed?
The second part I'm confused about is the procedure says to remove the AC pump from the bracket and hang it from the strut spring using a clothes hanger or wire without opening the lines... sounds great, but I see no way that the lines will allow the pump to move that far... or really at all. The line that goes up to the firewall doesn't seem to have any slack on it at all... am I missing something? Or is this a problem incurred by the Griffiths Kuehl compressor the PO installed?
Xover: leave it on, you wont damage it, the x member is in the way.
part 2: i have no idea but would also love to know
07-17-2011, 08:04 PM
#30
Rennlist Member
Thread Starter