

Pauly's go quicker project. (Data Logs!)
 09-04-2011 | 09:59 PM
#92
Race Car
Joined: Jul 2007
Posts: 4,826
Likes: 4
From: Firestone, Colorado
Nice father son project. I can't get my son in the garage to save his life. Funny bc he used to live out there when he was a toddler. Now he's all about racing his bike. Good and bad I suppose.
I look forward to your impression of the turbo.
I look forward to your impression of the turbo.
 09-05-2011 | 05:02 AM
#94
Thread Starter
Professional Hoon
Rennlist Member
Rennlist Member
Joined: Jan 2010
Posts: 7,090
Likes: 4
From: Melbourne, Australia
 09-06-2011 | 03:32 AM
#95
Thread Starter
Professional Hoon
Rennlist Member
Rennlist Member
Joined: Jan 2010
Posts: 7,090
Likes: 4
From: Melbourne, Australia
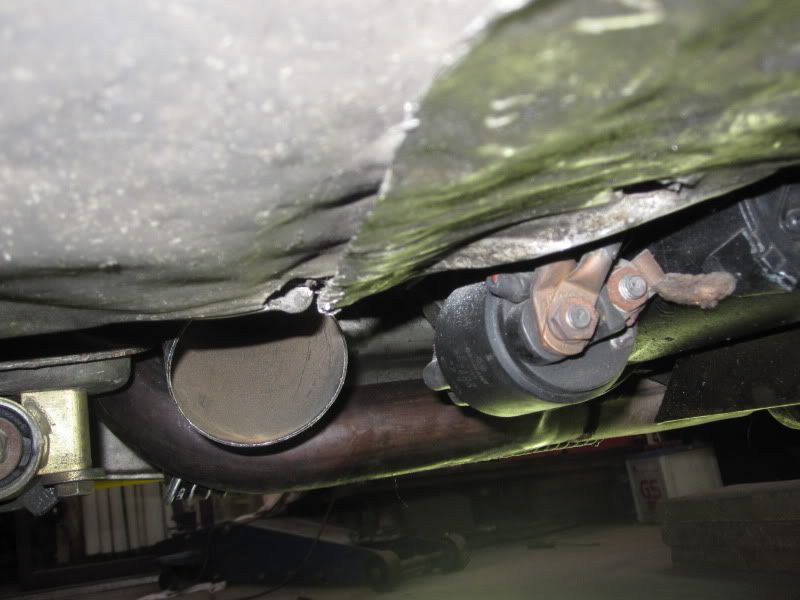
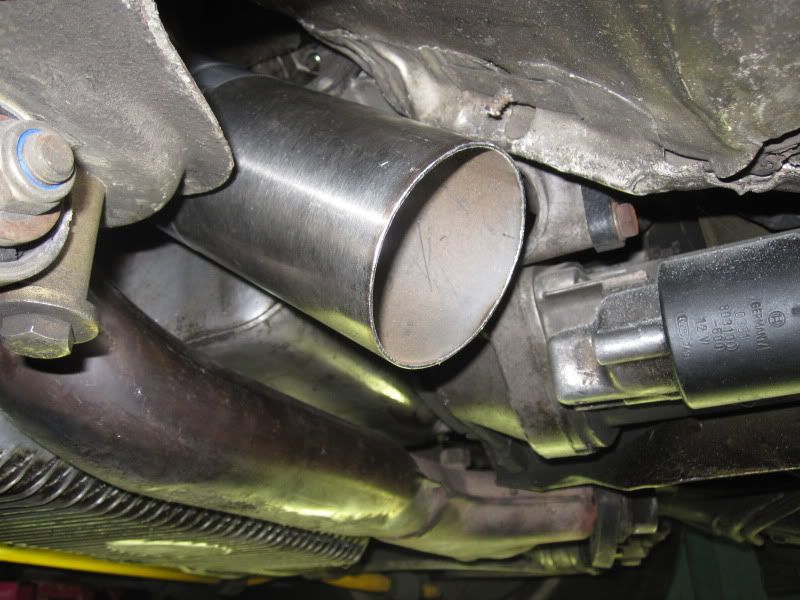
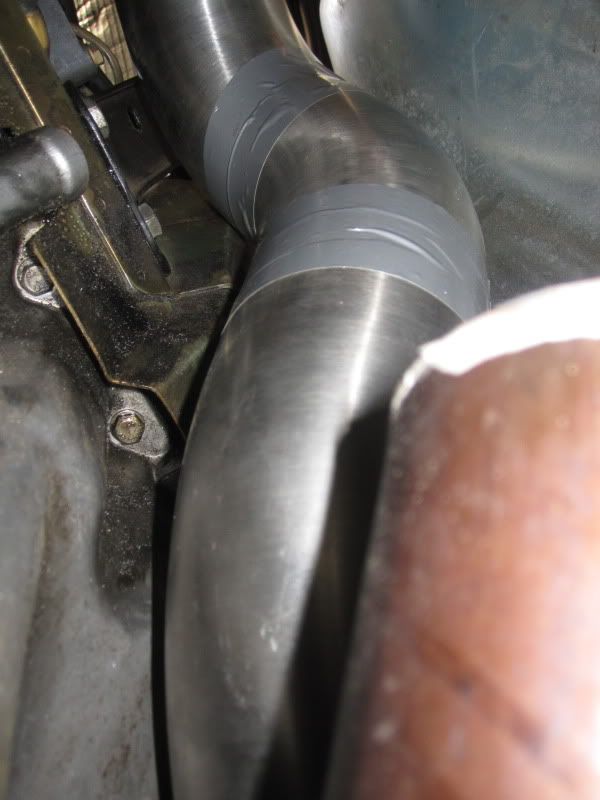
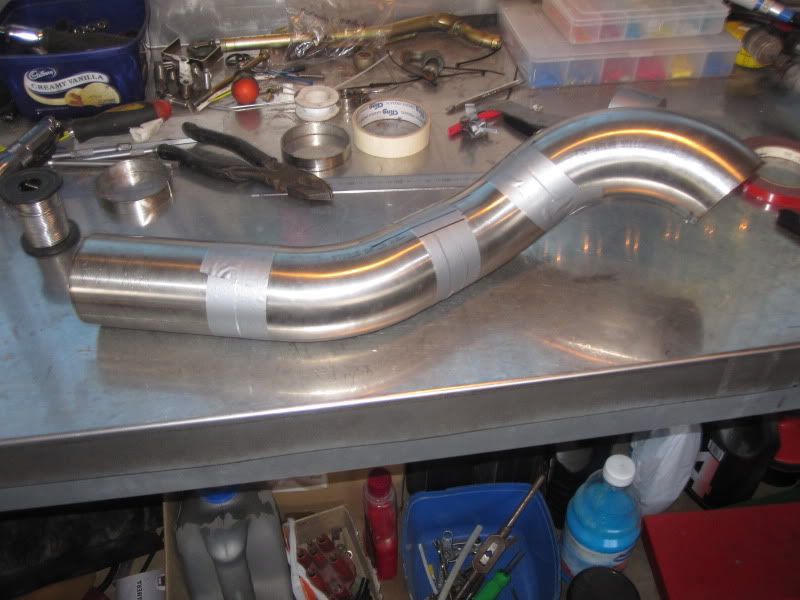
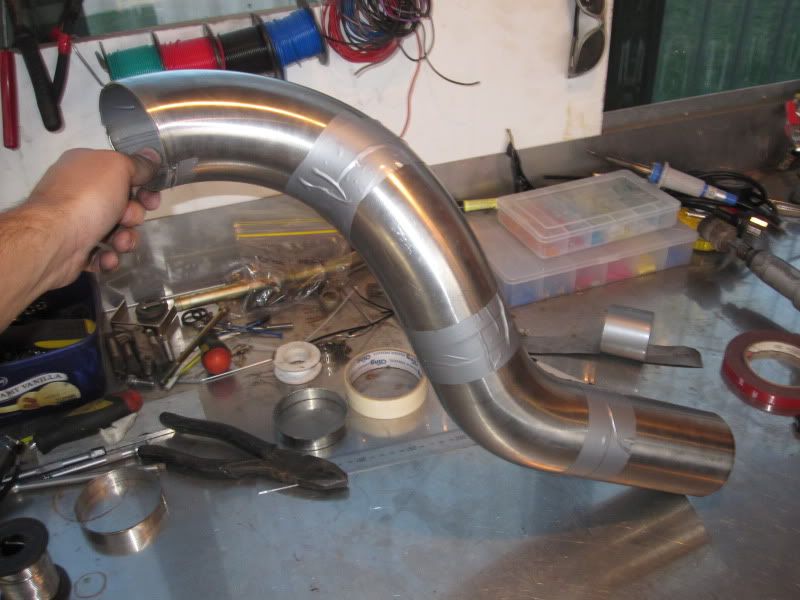
Today i got started on the down pipe to join on the rest of the exhaust. Pretty much all i was doing was piece by piece cutting and fitting (going with the stock curves) to get it to fit. no welding yet, just test fitting and stickytape together to get a rough idea how it will sit. i just hope it wont move much when it gets welded together.

09-06-2011 | 04:30 AM
#97
Thread Starter
Professional Hoon
Rennlist Member
Rennlist Member
Joined: Jan 2010
Posts: 7,090
Likes: 4
From: Melbourne, Australia
There will be 2 V-Band flanges in the whole exhaust, not exactly sure where i'll put them yet but 1 will be at the down pipe probably just before it goes under the car and other one mid way between the 2 i suppose.
09-08-2011 | 01:54 AM
#98
Thread Starter
Professional Hoon
Rennlist Member
Rennlist Member
Joined: Jan 2010
Posts: 7,090
Likes: 4
From: Melbourne, Australia
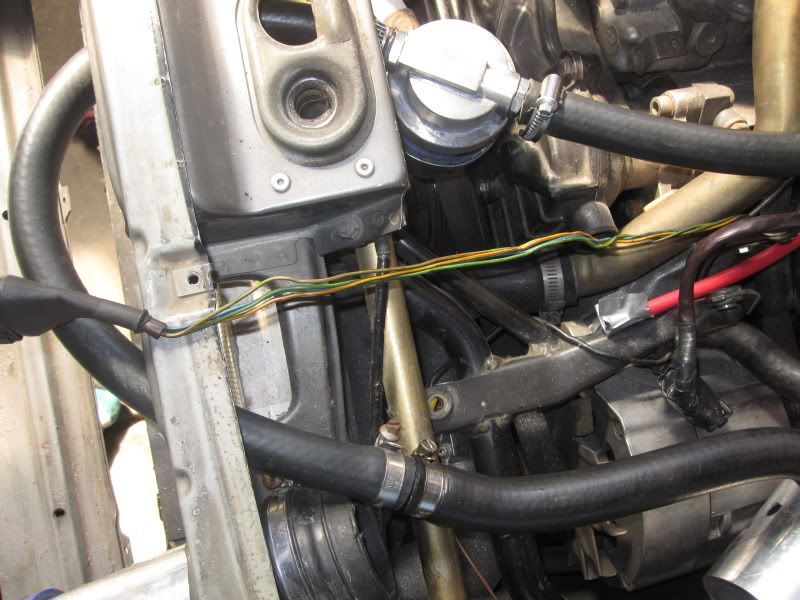
So today i decided to fix up the AFM wire in the engine bay, it use to be zip tied in a bundle out of the way since i used a afm replacement piggyback (afmlink) and now i'll be going M-Tune so i thought id clean it up so it wont break and look crap like how it did.
What i did was cut away all the original plastic covers, cut the wires in half, covered the wires in 3 layers of tape then put head shrink on it. Did it to both sides then soldered the wires in the middle, then heatshrinked it together. looks alot better then what it did..
The left overs of what was the covers...
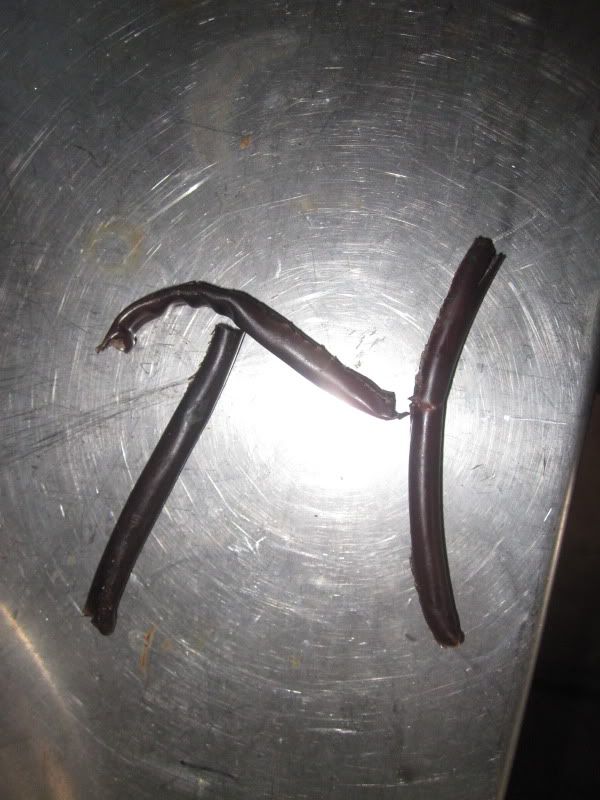
Chopped and stripped..
3 layers of tape then heat shrink

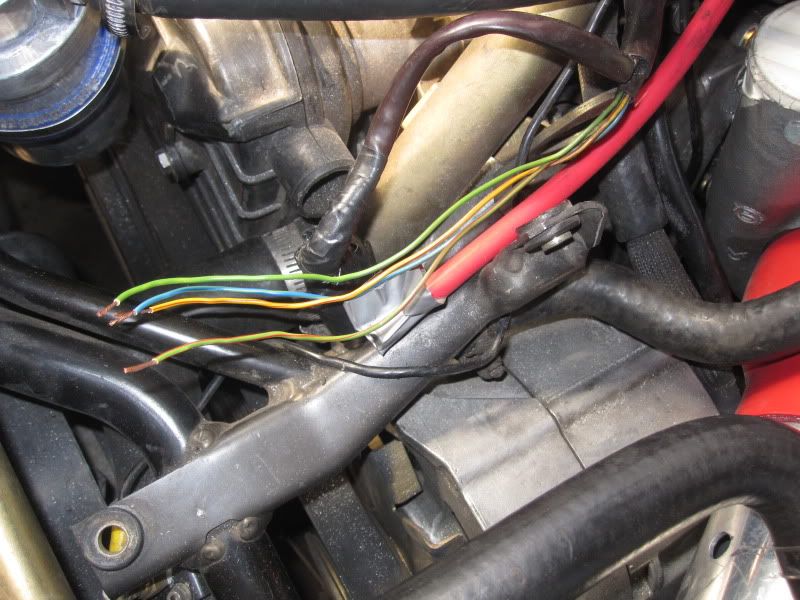
Did both sides, the soldered the 2 back together. Before i did that i slipped heatsrink over the piece i cut off so when they're joined i taped it together with a few layers then slipped the heatsrink over it and shrunk it together.
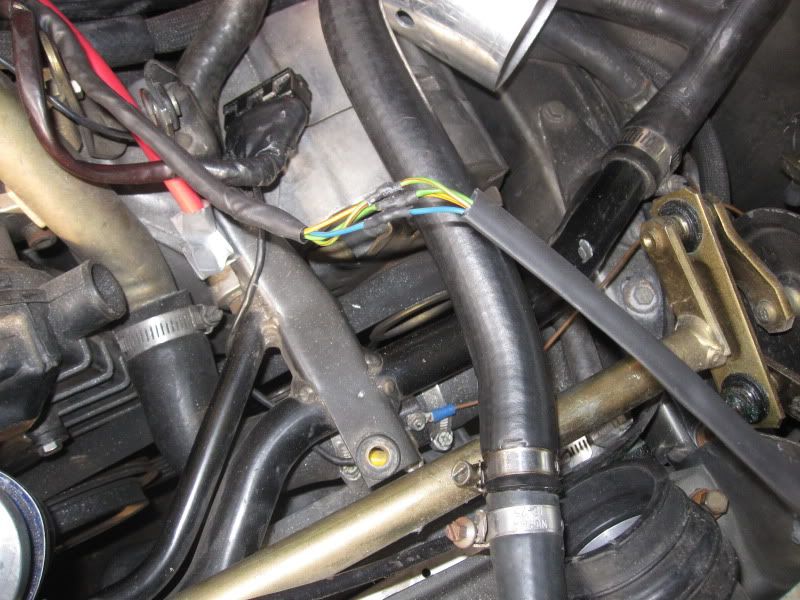
Finished

What i did was cut away all the original plastic covers, cut the wires in half, covered the wires in 3 layers of tape then put head shrink on it. Did it to both sides then soldered the wires in the middle, then heatshrinked it together. looks alot better then what it did..
The left overs of what was the covers...
Chopped and stripped..
3 layers of tape then heat shrink
Did both sides, the soldered the 2 back together. Before i did that i slipped heatsrink over the piece i cut off so when they're joined i taped it together with a few layers then slipped the heatsrink over it and shrunk it together.
Finished
09-08-2011 | 02:28 AM
#100
Thread Starter
Professional Hoon
Rennlist Member
Rennlist Member
Joined: Jan 2010
Posts: 7,090
Likes: 4
From: Melbourne, Australia
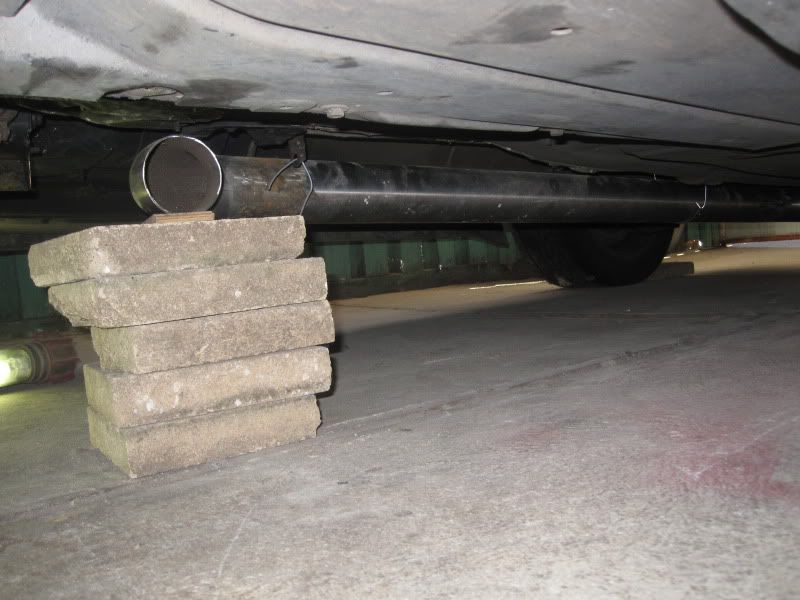
i'll try put is as close as possible, pretty much a spot where i can easly get my hands in
09-08-2011 | 10:51 AM
#102
Addict
Rennlist Member
Rennlist
Site Sponsor
Rennlist Member
Rennlist
Site Sponsor
Joined: Mar 2002
Posts: 6,885
Likes: 37
From: Atlanta
Paulyy, did you inspect the AFM connector underneath the rubber boot? I have seen many AFM connectors with bad (corroded, deteriorated,..) wires at the back of the connector causing all sort of problems. One of the reasons I no longer like the pigtail adapters to connect the MAF to the AFM plug.
09-08-2011 | 11:32 AM
#103
Thread Starter
Professional Hoon
Rennlist Member
Rennlist Member
Joined: Jan 2010
Posts: 7,090
Likes: 4
From: Melbourne, Australia
Paulyy, did you inspect the AFM connector underneath the rubber boot? I have seen many AFM connectors with bad (corroded, deteriorated,..) wires at the back of the connector causing all sort of problems. One of the reasons I no longer like the pigtail adapters to connect the MAF to the AFM plug.
09-14-2011 | 06:56 AM
#104
Thread Starter
Professional Hoon
Rennlist Member
Rennlist Member
Joined: Jan 2010
Posts: 7,090
Likes: 4
From: Melbourne, Australia
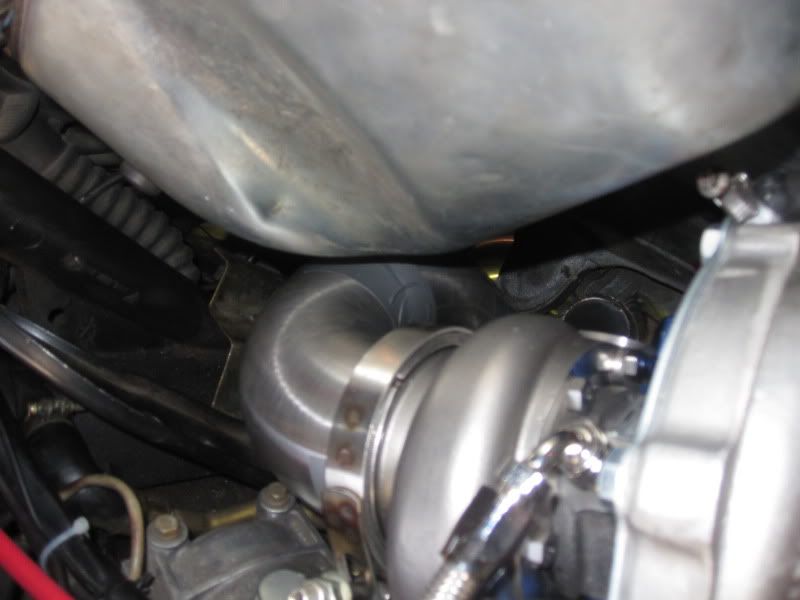
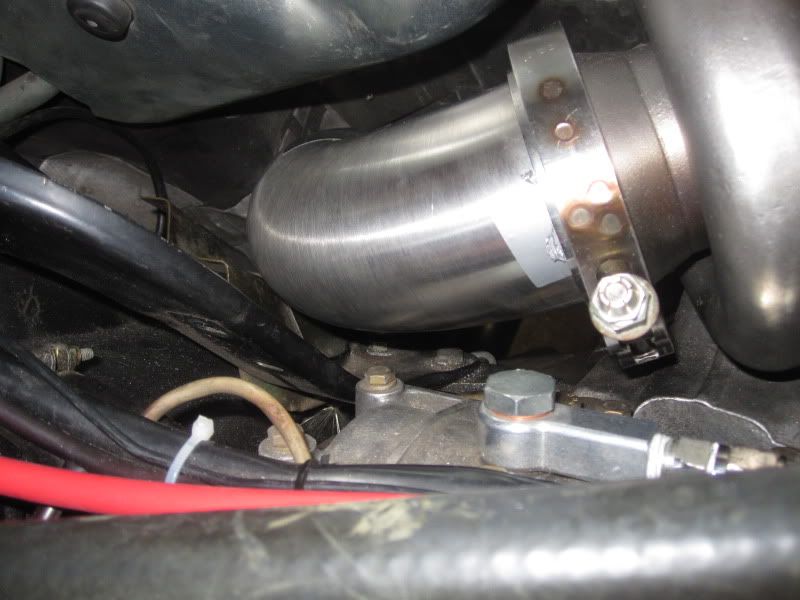
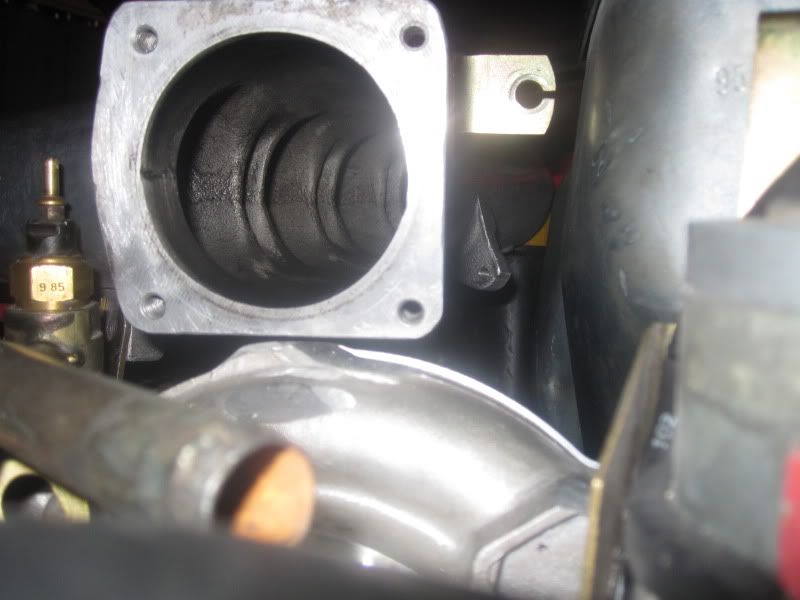
Finally got to work on the car again and got a few small things done.
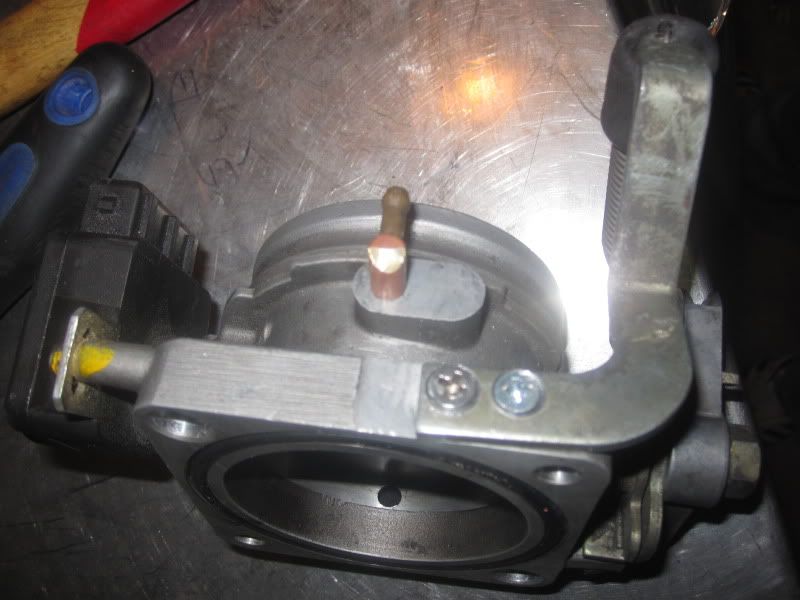
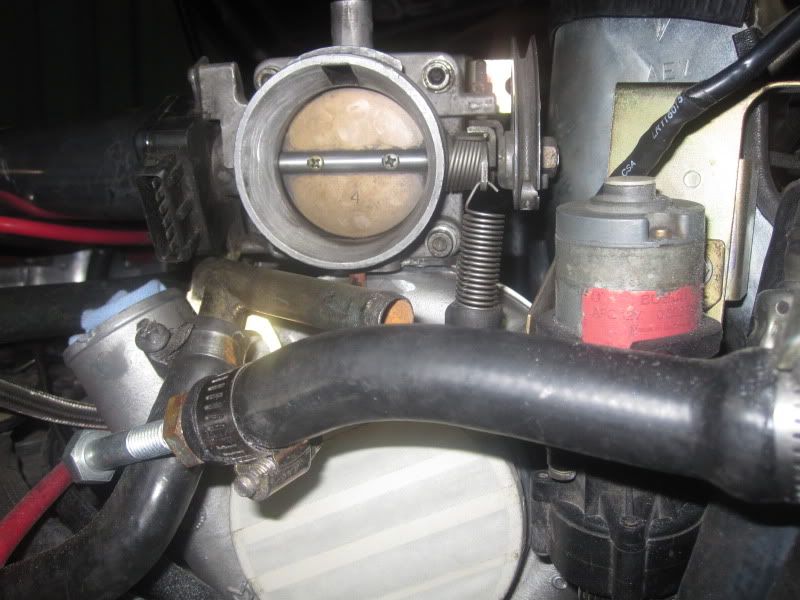
grinded the turbo lug down, and fitted the intake. Looks easy but it took a few hours.
The other thing i was doing was painting the fuel rail which i'll get pictures when it's finished.
I'll be changing the fuel lines when i do the clutch, but i'll be getting a larger fuel pump, braided lines from the fuel pump the the rail and back.
here's some pictures
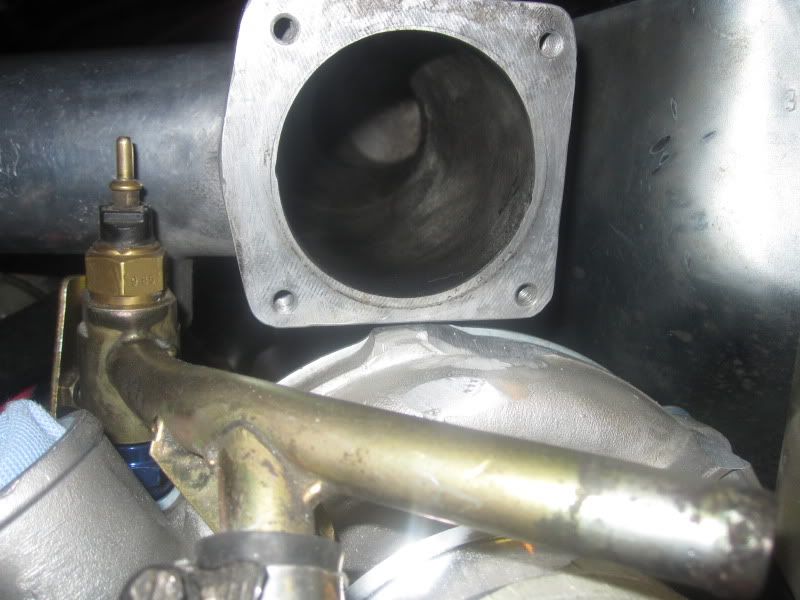
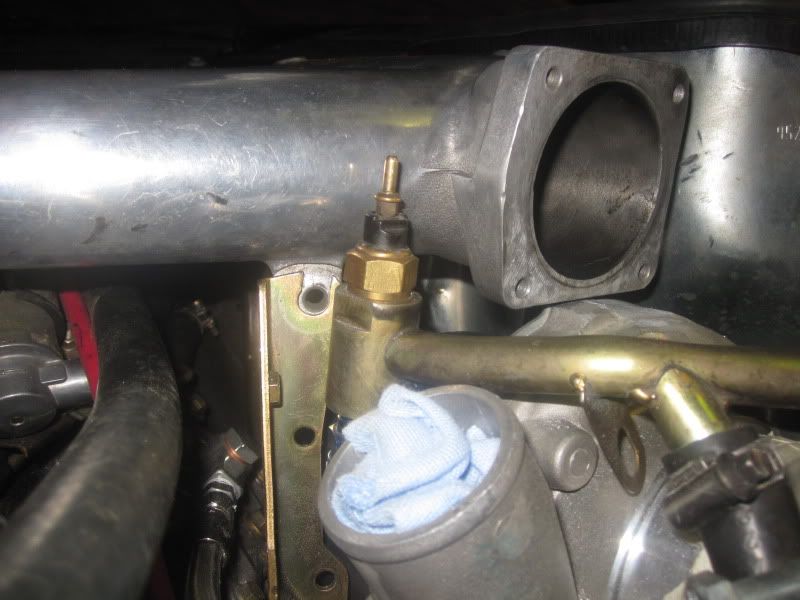
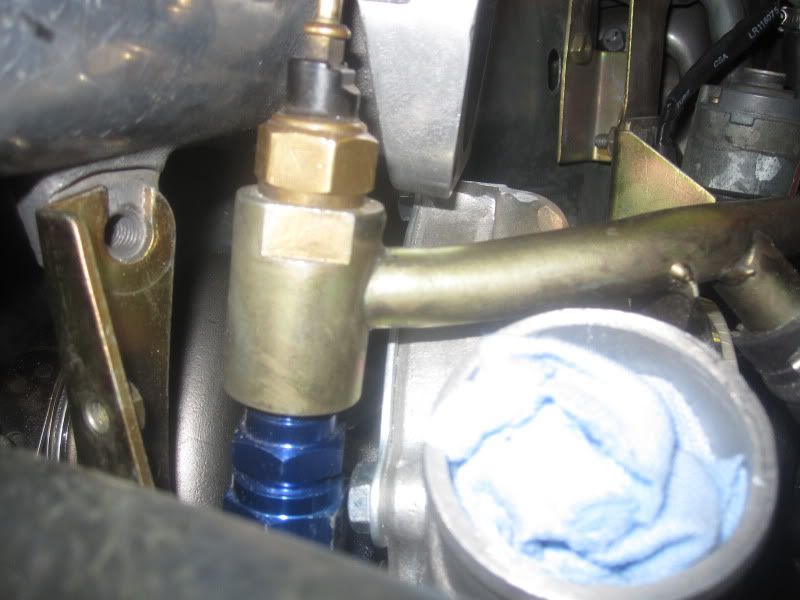
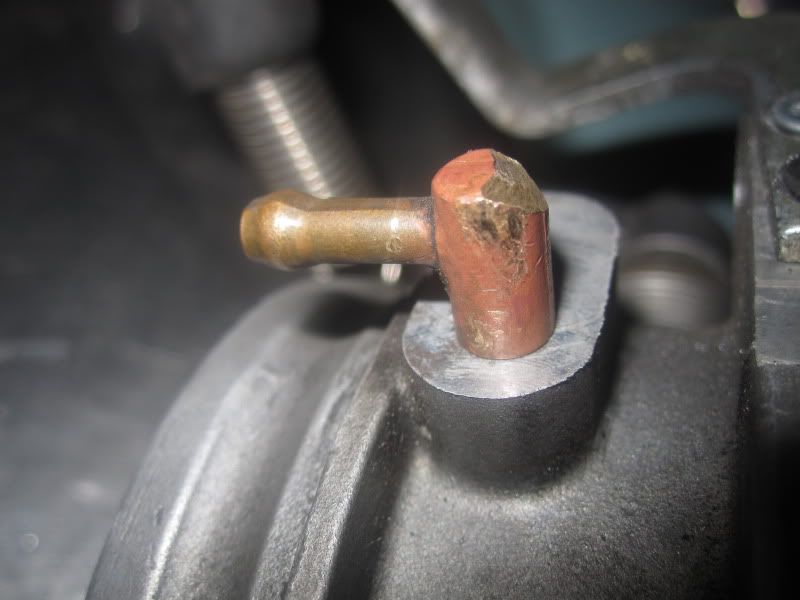
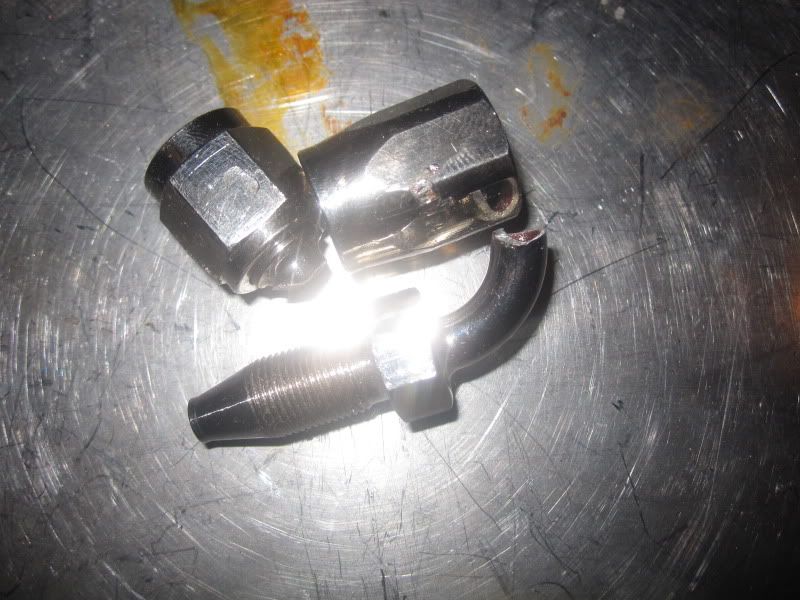
I kinda broke the swivel that goes to the turbo (Oil feed)

grinded the turbo lug down, and fitted the intake. Looks easy but it took a few hours.
The other thing i was doing was painting the fuel rail which i'll get pictures when it's finished.
I'll be changing the fuel lines when i do the clutch, but i'll be getting a larger fuel pump, braided lines from the fuel pump the the rail and back.
here's some pictures
I kinda broke the swivel that goes to the turbo (Oil feed)
09-14-2011 | 09:00 AM
#105

Three Wheelin'
Joined: Jan 2006
Posts: 1,620
Likes: 6
From: Orlando, FL
Nice idea with the water pipe adapter. Can you describe how you did that/show any pics you might have taken when putting it together?
Also if you remove the evap system you can then get rid of that nipple under the TB. Just a thought if you have any issues in the future, it's what I did.
Also if you remove the evap system you can then get rid of that nipple under the TB. Just a thought if you have any issues in the future, it's what I did.