When you click on links to various merchants on this site and make a purchase, this can result in this site earning a commission. Affiliate programs and affiliations include, but are not limited to, the eBay Partner Network.
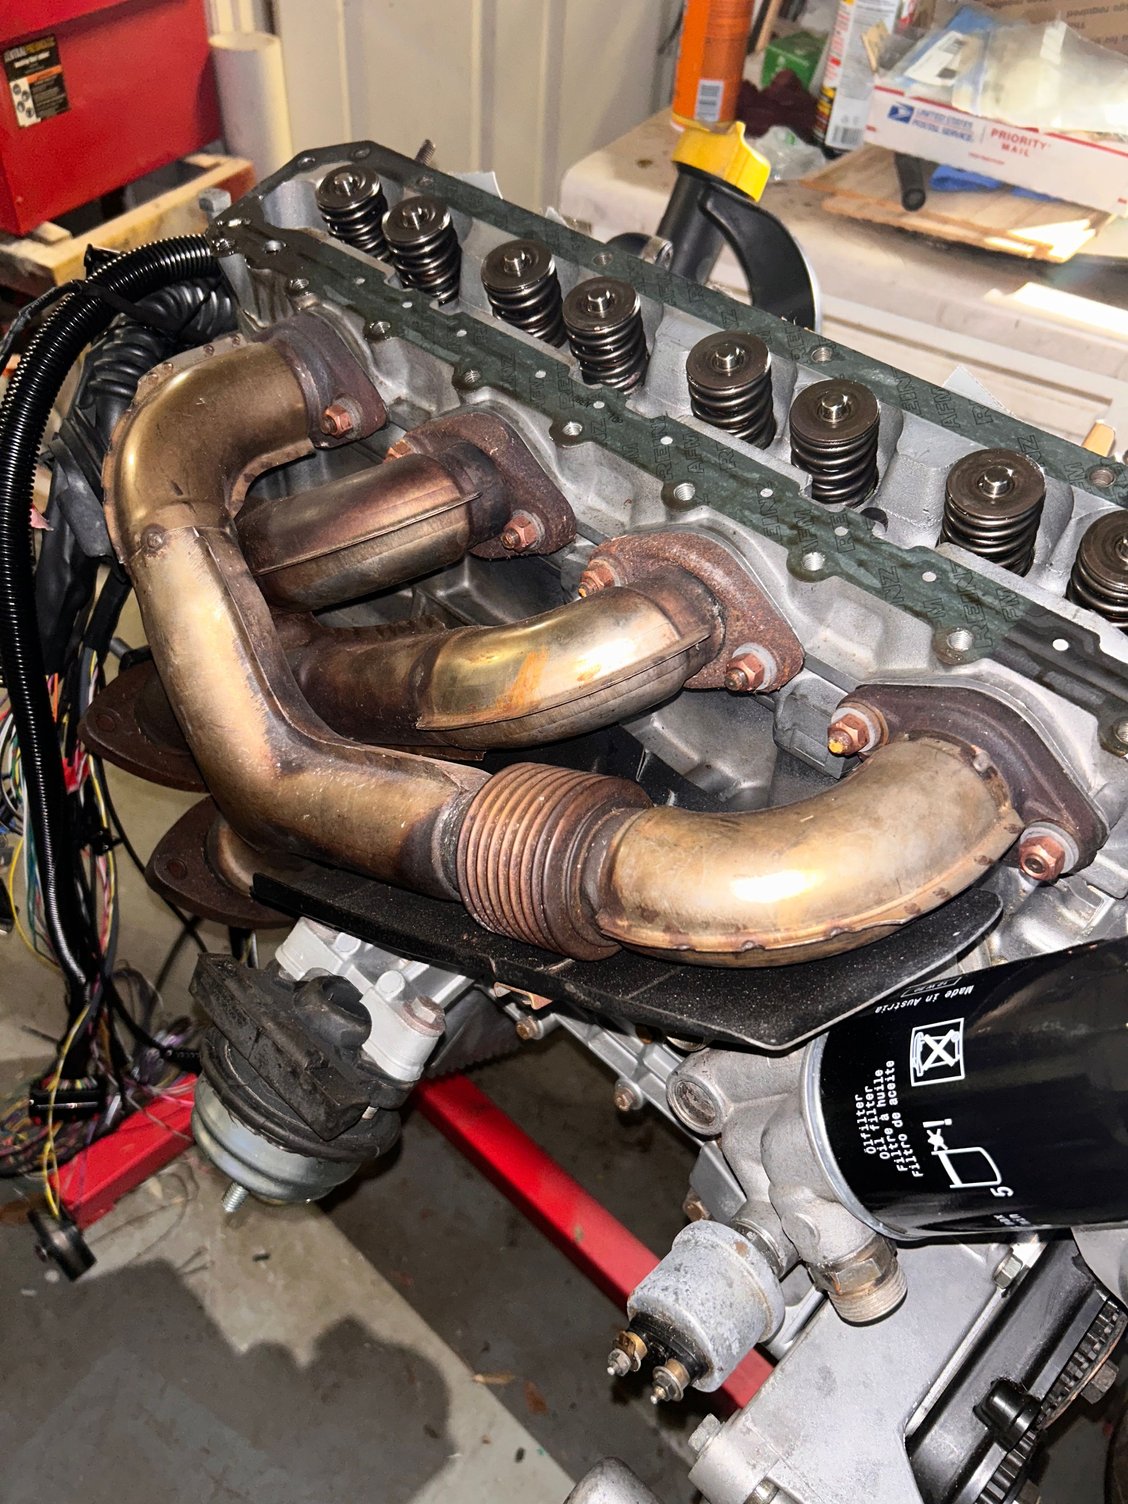
The greatest concern is that whatever the number of threads protruding above the nut, is also the number of threads not engaged in the aluminum block. This will greatly increase the risk of pull out. The correct installed height of factory studs is 72mm to 73mm.
Are these factory studs? Are they all the same length? Are they for the 2 valve engine (4 valve engines require a longer stud)? Are they installed inverted? Factory studs have a top and bottom, the longer thread length is the bottom and installed in the block. BTW, the washers also have a top and bottom, the machined flat surface goes against the head, it appears some are installed upside down.
Maybe inverted? I did not install them - as far as I know they are factory (I.e. I have not changed them). I did get new washers and nuts and did place them the correct way so they would not turn.
Understand completely gage. Appreciate you taking a look!
got a few more interior items taken care of today. Interior air sensor is back in place as well as the remainder of the HVAC connections.
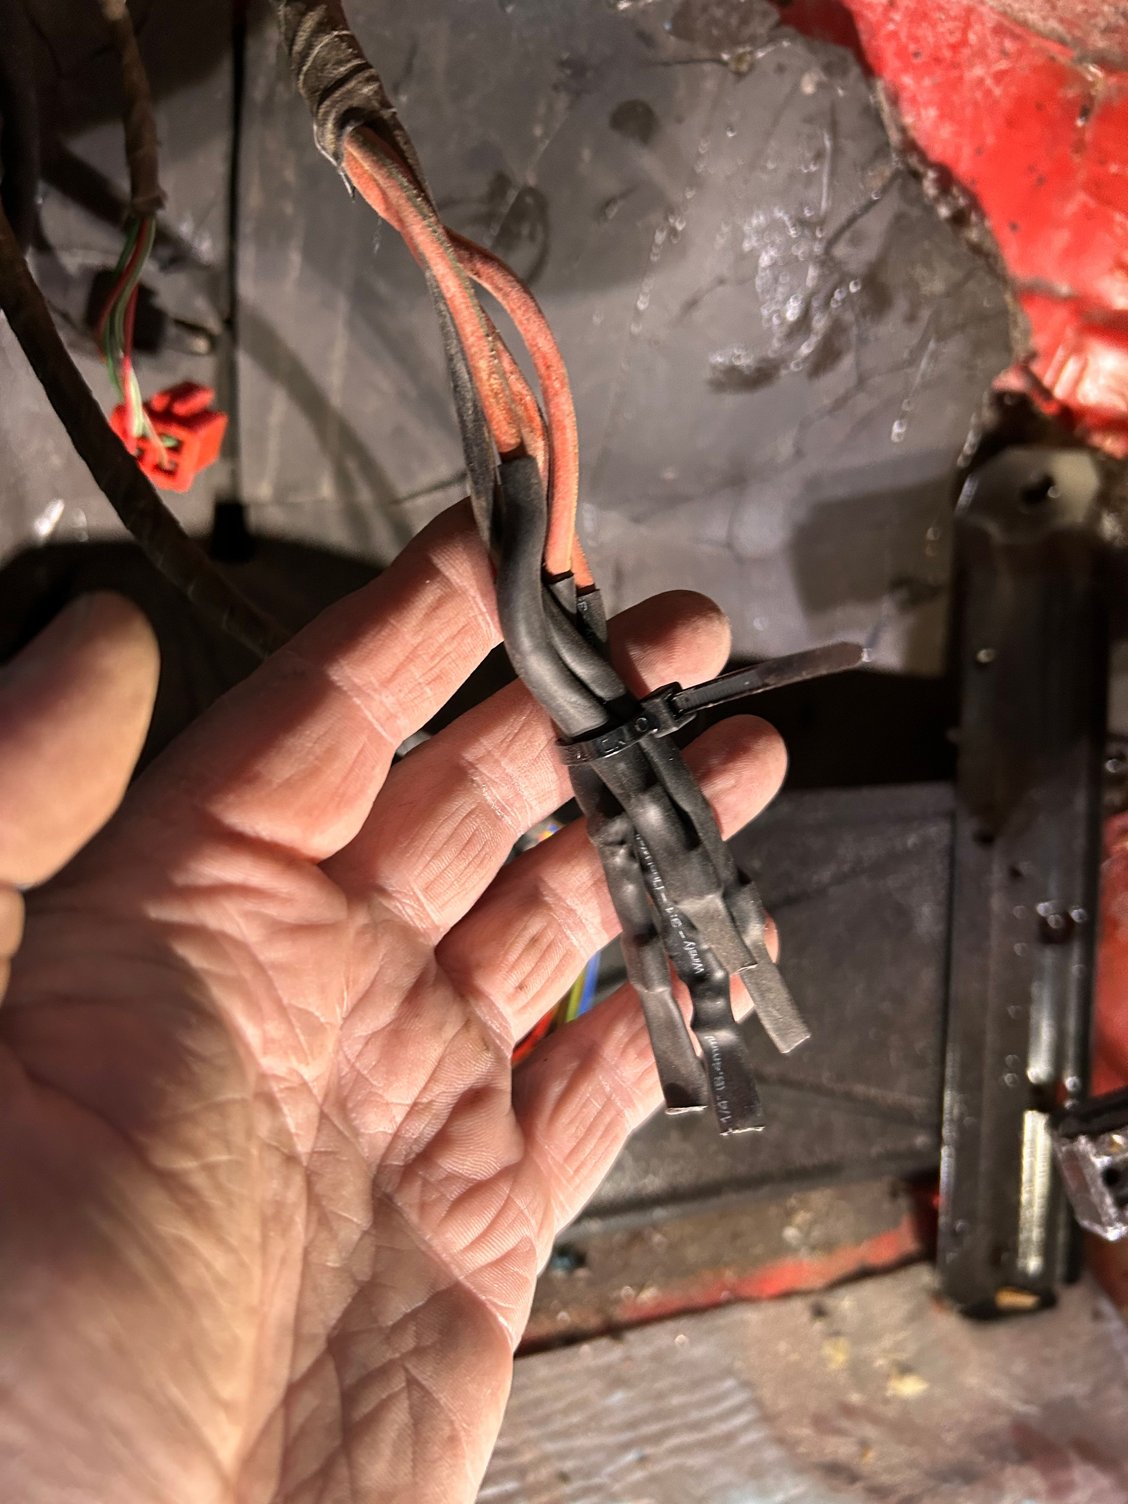
also sealed off the old connectors to the engine cooling fans. I left the original wiring in place just in case a future owner wanted to go back to stock.
I agree on the head studs. Check those. The spec is supposed to be 72mm +/- 1mm from the deck. I don't think torquing is a good test for them as the stresses will be higher with the engine hot and running and more so when on boost. There is often crap at the bottom of the holes that needs to be cleaned out to get the stud in to the required depth.
Enough concern from here to win me over. Will remove the head (again) to investigate/reset all the studs to the 72mm+/-1 from the top of the deck. Will report to this thread with the results. Will have to pause the other work for a little bit...
Thanks everyone for convincing me to check it again.
I agree on the head studs. Check those. The spec is supposed to be 72mm +/- 1mm from the deck. I don't think torquing is a good test for them as the stresses will be higher with the engine hot and running and more so when on boost. There is often crap at the bottom of the holes that needs to be cleaned out to get the stud in to the required depth.
Comments for a 944 8v block
I had Nickasil grit in the threads at the bottom of several head stud threaded holes in the block. I purchased an extra long tap from Grainger. Then I was able to chase and clean the threads so the head stud was set at the spec height.
Last edited by T&T Racing; 01-20-2023 at 01:59 PM.
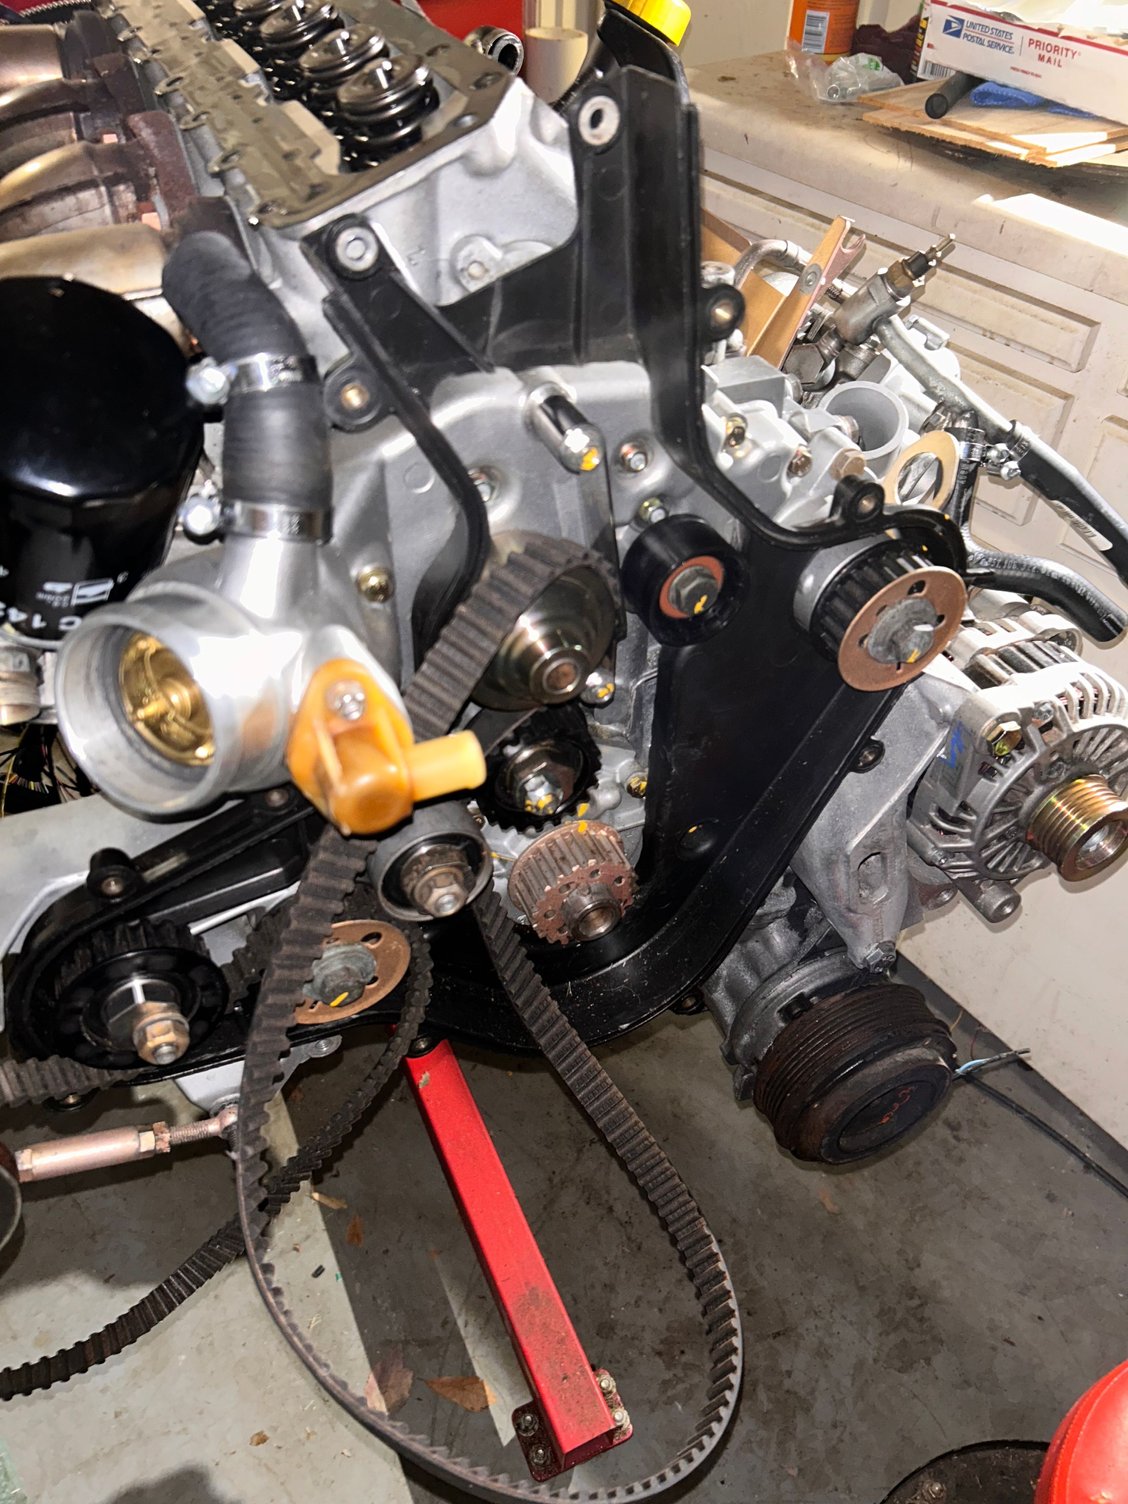
So I understand the cam tower and anything in the way will have to come off again.
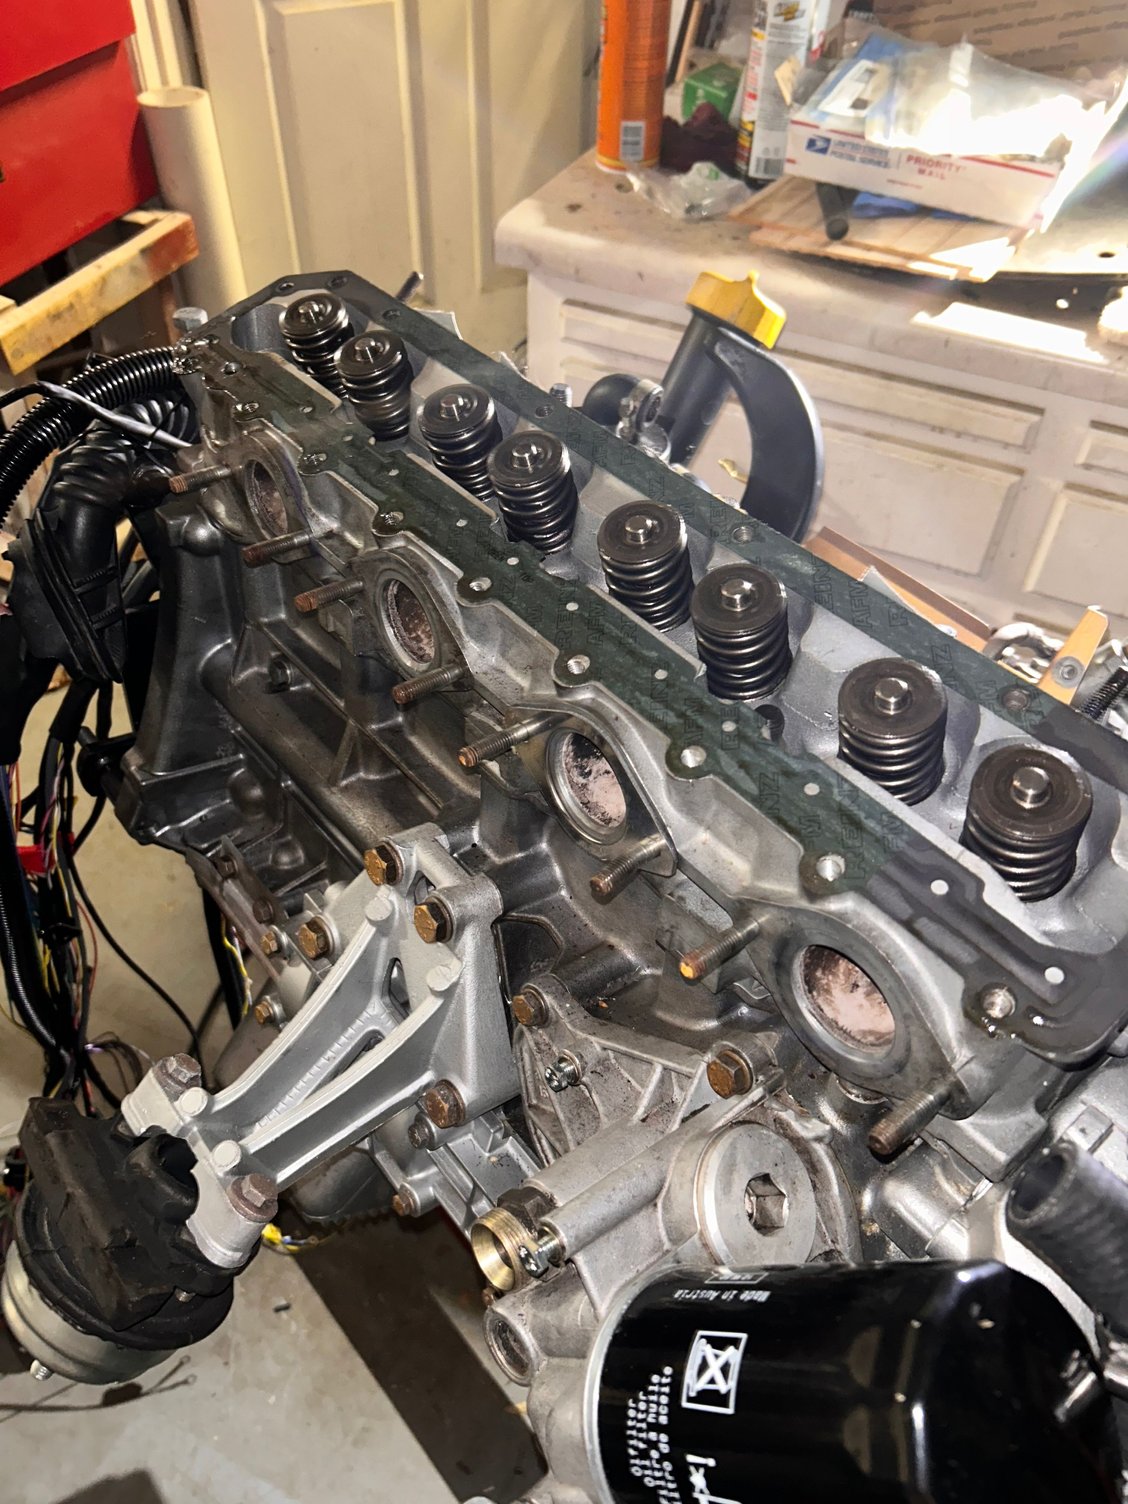
as far as the head itself, I understand I will need to loosen all of the head bolts. At that point, can I leave the head in place and only remove and clean out the studs that are not seated all the way (it�s only a couple) or should I remove everything and start completely over?
You could certainly try with the head still in place. I would expect the challenges of holding the stud to be able to remove and re-install them would be greater than removing the head.
Still working on my head stud even out project, so no progress to report there yet. The studs that moved easily have all been adjusted to 72mm. I have 4 that are being stubborn and all are sitting pretty at 74-75mm. So will put some heat on them tomorrow in the hopes of getting them unstuck. Plan is to try heating with a torch as well as possibly using the welder to light up the stud.
Another question as I am getting ready to have my new replacement intake tube made that will replace the AFM and J-boot. I have read conflicting write-ups on this and thus am coming to the experts. Since I am eliminating the AFM and going to an MAP setup with the Microsquirt, do I need a blow off valve? Some seem to say no, as the MAP will adjust off-throttle fast enough to combat the pressure difference. Some seem to have included a blow off valve either the factory recirculating type or a vent to atmosphere.

 01-15-2023, 01:07 PM