Notices
928 Forum 1978-1995
Sponsored by:
Sponsored by: 928 Specialists

Built a Blink'r

Thread Tools
 
Search this Thread
 
Old 12-14-2023, 02:47 AM
  #16  
skpyle
Rennlist Member
Thread Starter
 
skpyle's Avatar
 
Join Date: Jul 2014
Location: Blacksburg, SC
Posts: 2,904
Received 486 Likes on 218 Posts
Default

Well done!
Old 01-21-2024, 04:33 PM
  #17  
RTK
Rennlist Member
 
RTK's Avatar
 
Join Date: Jan 2020
Location: Orange County, CA
Posts: 74
Received 37 Likes on 25 Posts
Default

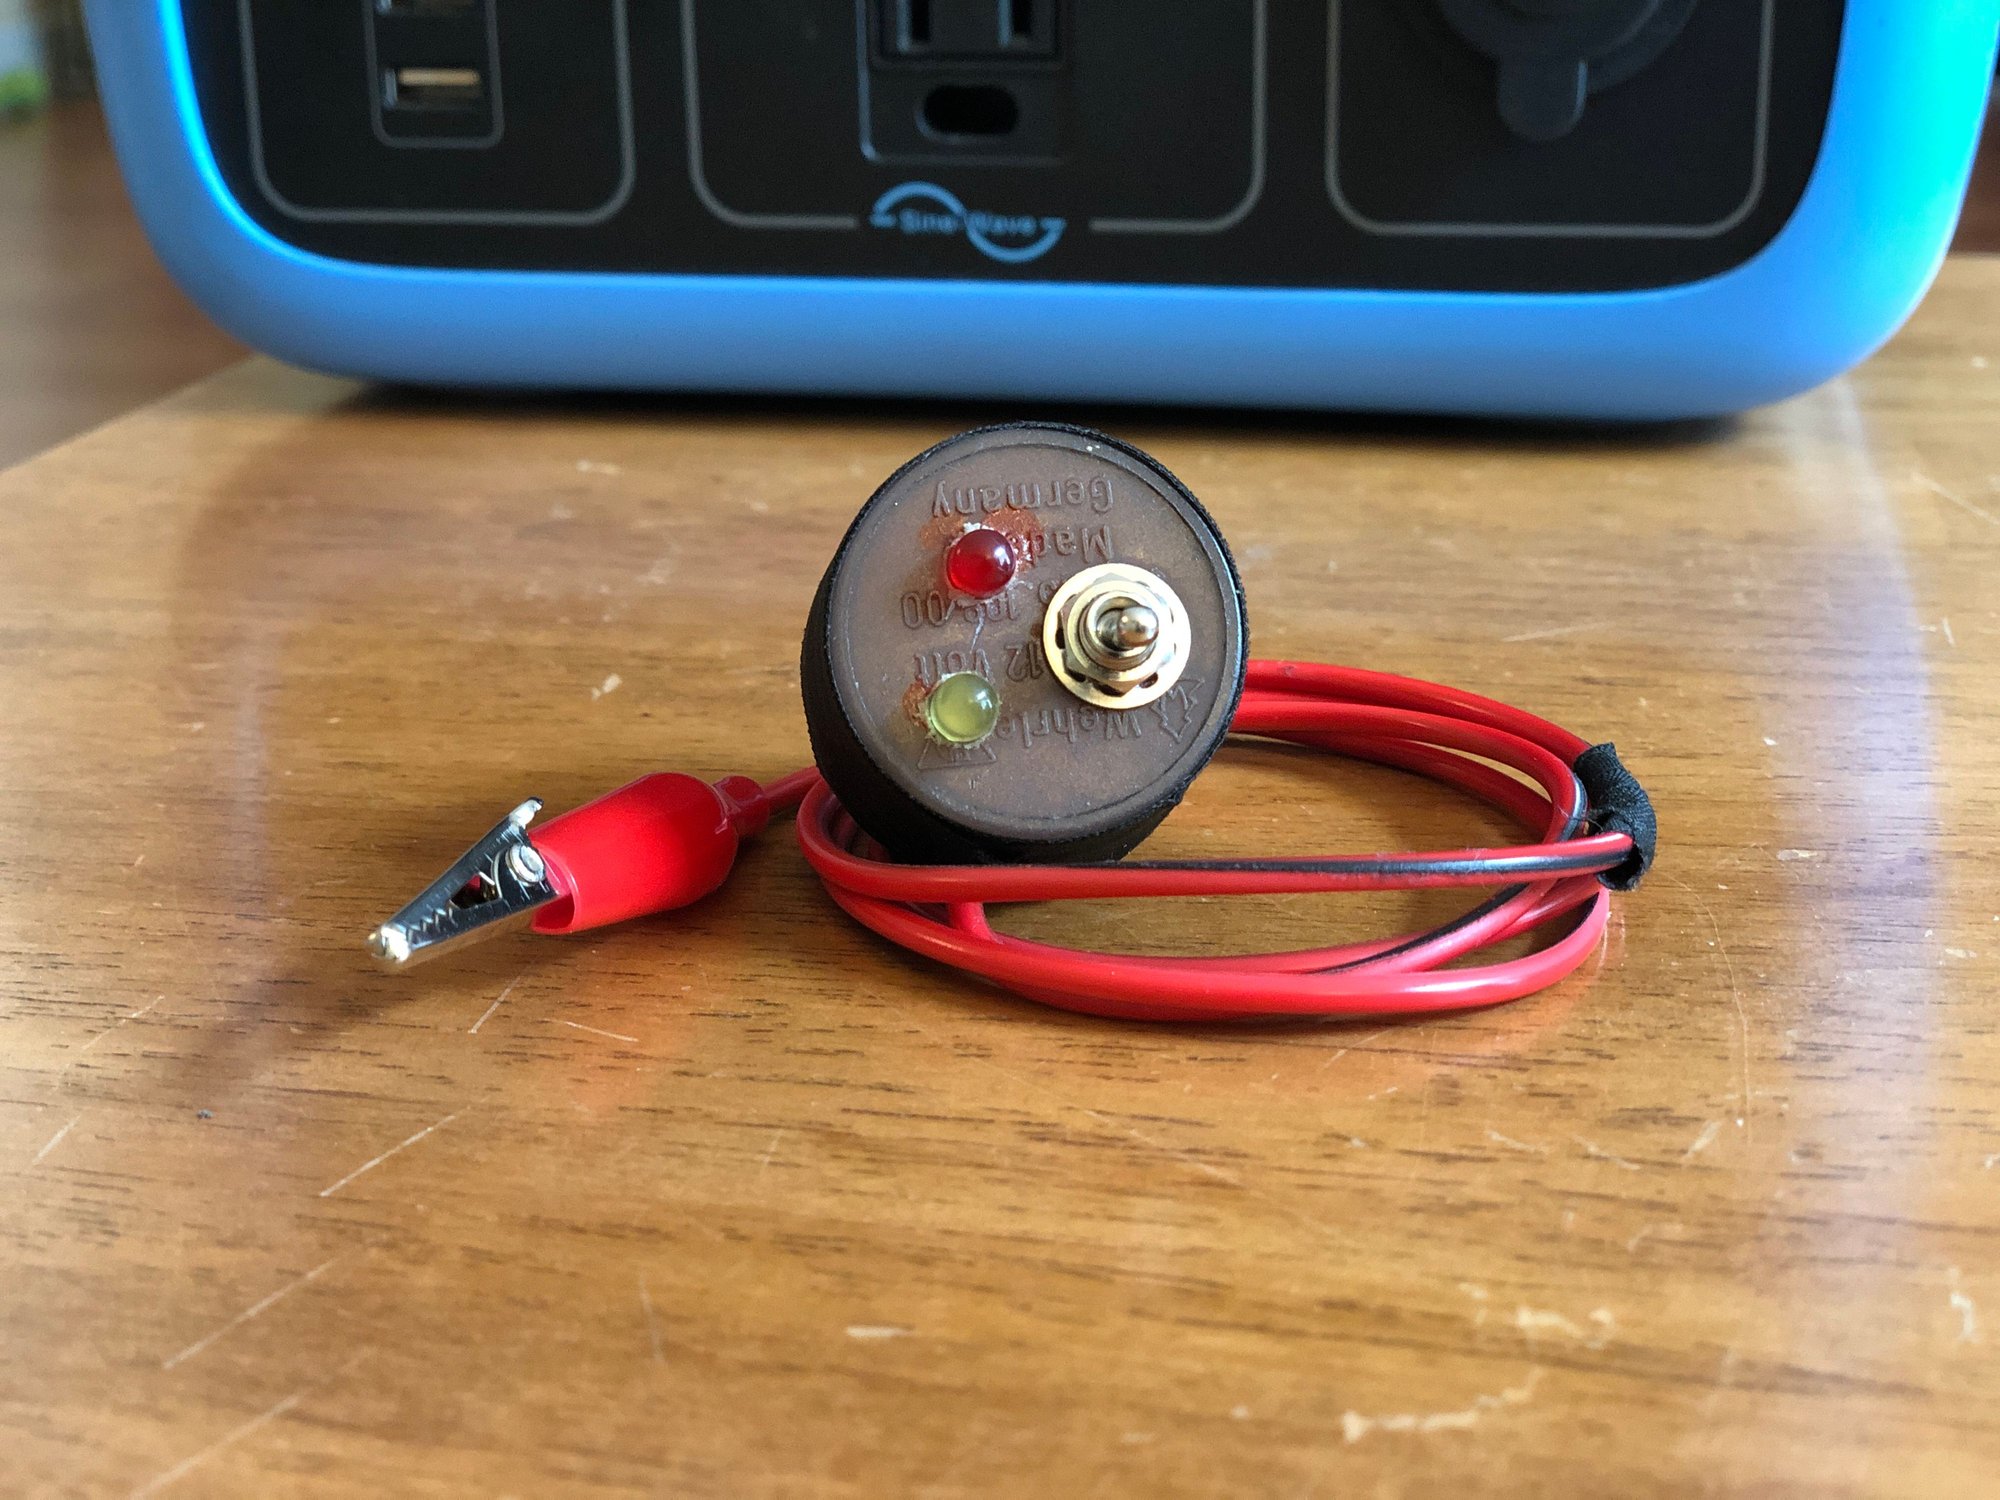
Thanks to this thread and Porken's innovation, I made one myself. Getting everything into a little relay case is a challenge, and the linked threads and details from Meatful brought this all together for me. Took 3 attempts as it is really tight and having wires that are too long are as impactful as having wires that are too short. Had to trim and re-solder a few times. Putting the LED in so that the anode leg and its associated resistor runs along the case (to protect it from being bent and broken free of the LED as wires are shoved into the case) turned out to be the trick for me.


Old 01-21-2024, 08:00 PM
  #18  
Mrmerlin
Team Owner
 
Mrmerlin's Avatar
 
Join Date: May 2004
Location: Philly PA
Posts: 28,459
Received 2,570 Likes on 1,444 Posts
Default

Bob, Could you make me one please?
Old 01-21-2024, 10:52 PM
  #19  
RTK
Rennlist Member
 
RTK's Avatar
 
Join Date: Jan 2020
Location: Orange County, CA
Posts: 74
Received 37 Likes on 25 Posts
Default

Originally Posted by Mrmerlin
Bob, Could you make me one please?
Let me check mine out to ensure it's working as intended (I believe it should and will hopefully know by the end of next weekend.) This are kind of a pain to make, but I think I have enough resistors for one more...
The following users liked this post:
Mrmerlin (01-22-2024)
Old 01-21-2024, 11:06 PM
  #20  
sabres32
Instructor
 
sabres32's Avatar
 
Join Date: Sep 2021
Location: Central PA
Posts: 120
Received 52 Likes on 23 Posts
Default

RTK,

What size and type resistors did you use?
Old 01-21-2024, 11:11 PM
  #21  
RTK
Rennlist Member
 
RTK's Avatar
 
Join Date: Jan 2020
Location: Orange County, CA
Posts: 74
Received 37 Likes on 25 Posts
Default

Originally Posted by sabres32
What size and type resistors did you use?
I took SKPyle's instructions (OP on this thread) and used a 680 ohm resistor for the red LED, and 110 ohm (100+10 ohm in series) for the yellow LED.
Old 01-21-2024, 11:24 PM
  #22  
sabres32
Instructor
 
sabres32's Avatar
 
Join Date: Sep 2021
Location: Central PA
Posts: 120
Received 52 Likes on 23 Posts
Default

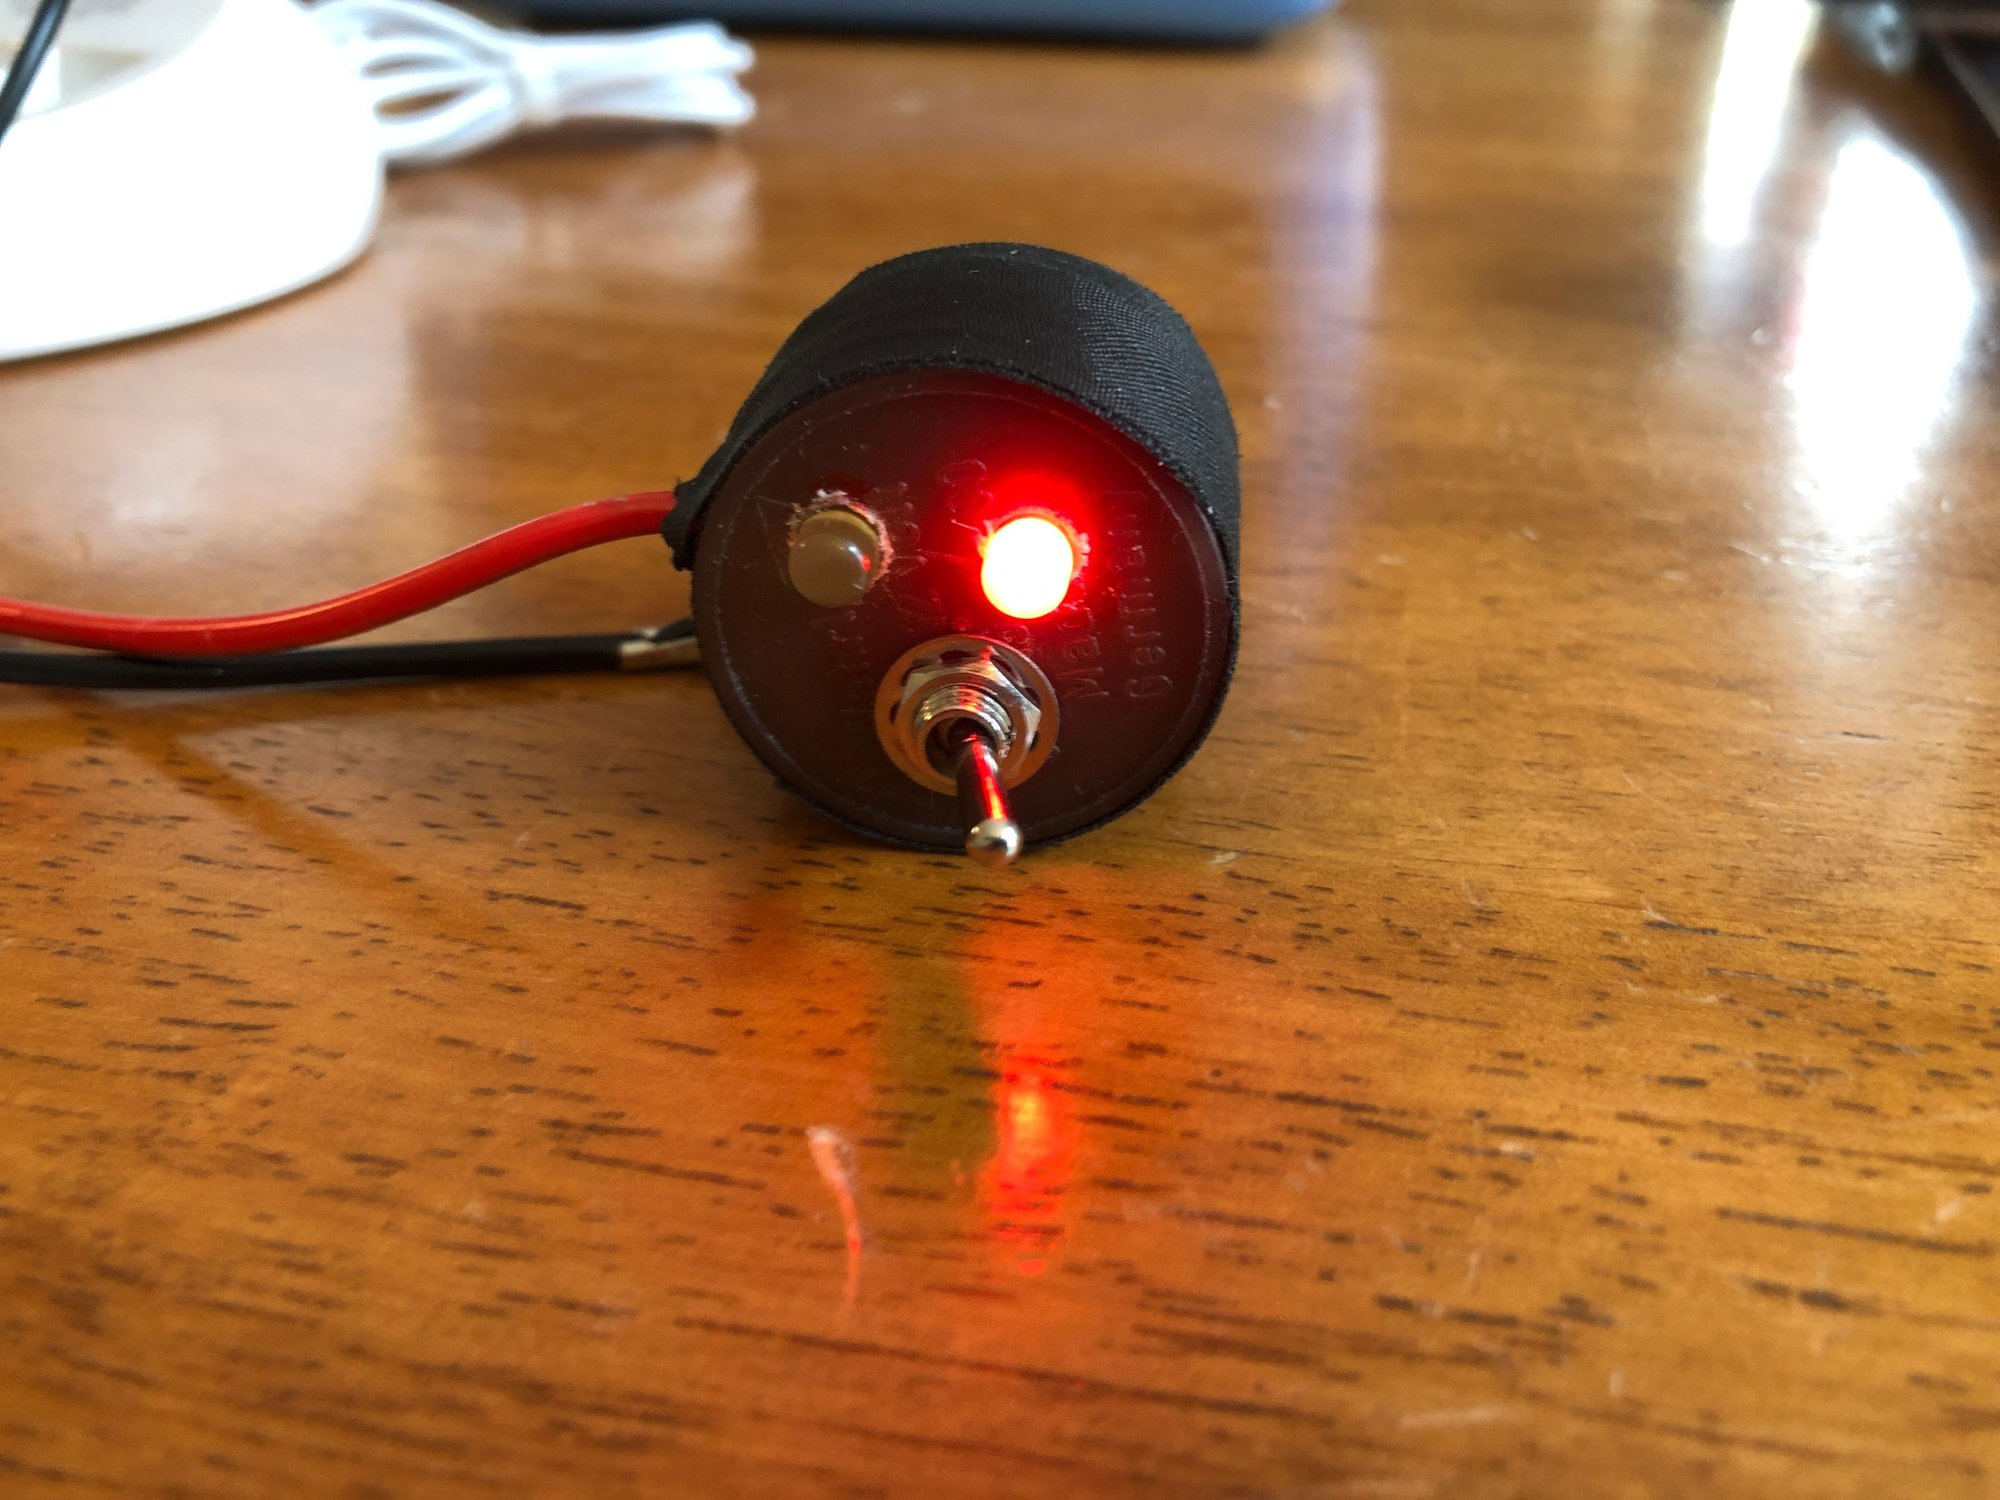
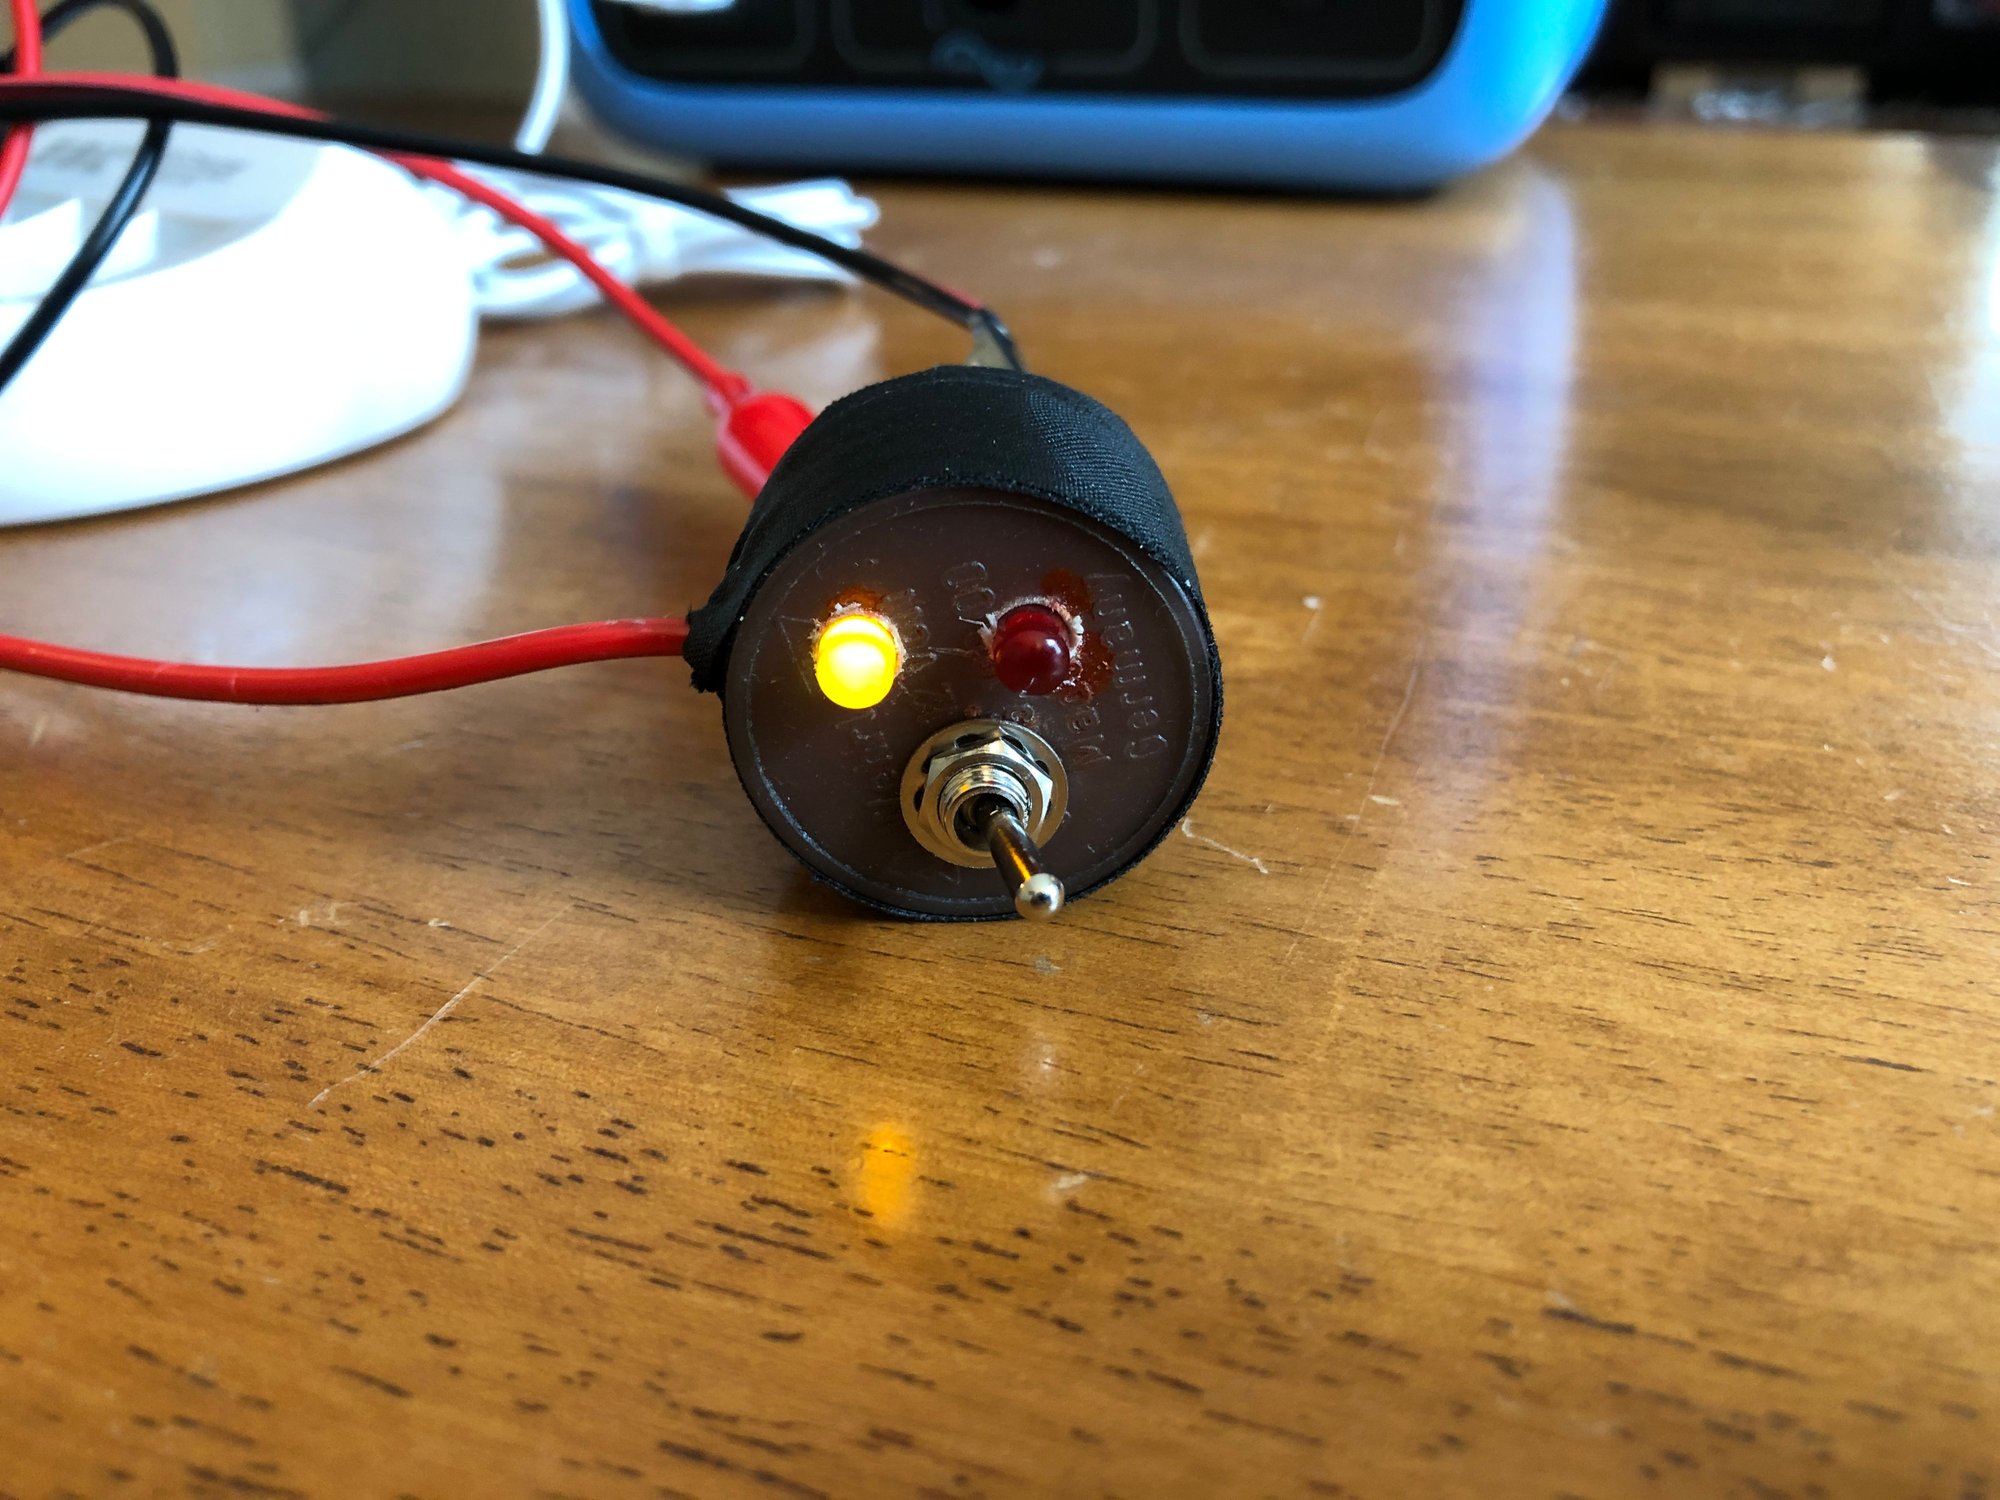
Thanks, I was just making sure, I also followed SKPyle directions and also had some confusion that Meatful cleared up in his posts.. I recall a post when I was reaching making my own Blink'R that Ken needed to increase the resistance on the RED led. My RED side works it just gets hot during prolong use. The LED's I'm using are from my Raspberry Pii kit.
Also one thing I'm struggling with is my wideband O2 tester is off the chart LEAN but the Blink'R RED led it is illuminated. I initially set my MAF at 382, it's now at 400 and still off the chart LEAN and the RED led is on...I just received a new BOSCH wideband O2 sensor so I hopefully one day this week if our weather improved here in central PA I'll do some testing with my new Wideband setup installed into the second X-Pipe port.
The following users liked this post:
RTK (01-21-2024)
Old 01-21-2024, 11:56 PM
  #23  
RTK
Rennlist Member
 
RTK's Avatar
 
Join Date: Jan 2020
Location: Orange County, CA
Posts: 74
Received 37 Likes on 25 Posts
Default

@sabres32 Thanks for the heads-up! I'll make sure to use my wideband O2 also to check next weekend whether if I'm running lean or not and will post back.
Old 01-22-2024, 06:35 PM
  #24  
RTK
Rennlist Member
 
RTK's Avatar
 
Join Date: Jan 2020
Location: Orange County, CA
Posts: 74
Received 37 Likes on 25 Posts
Default

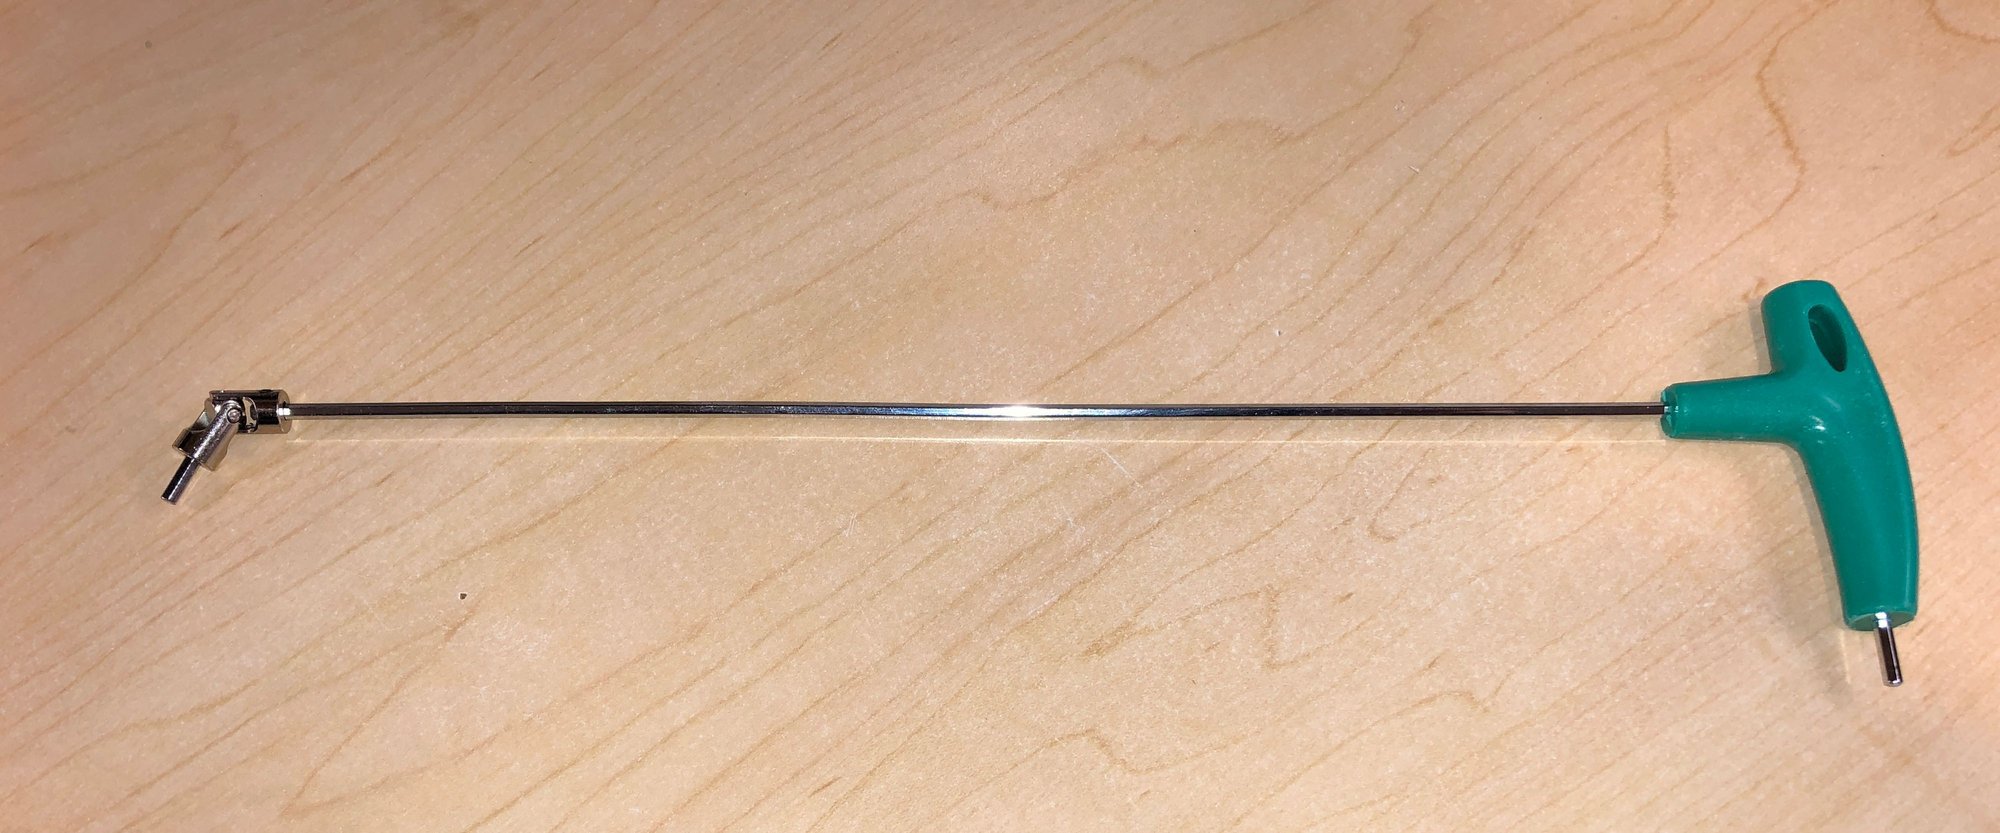
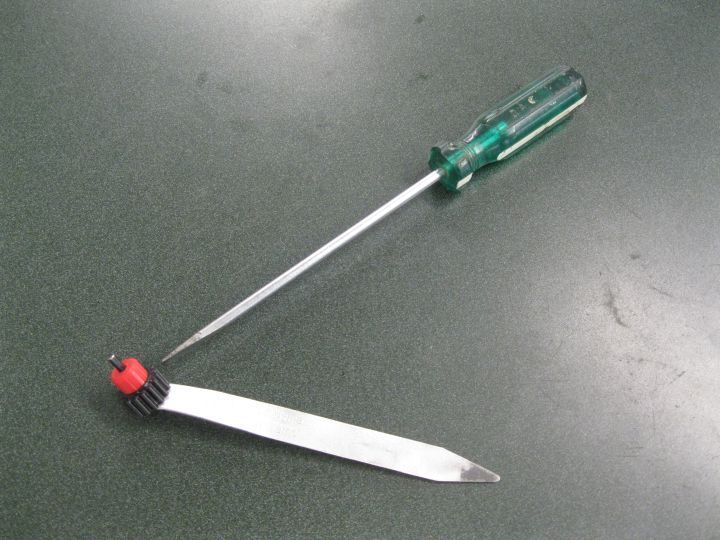
AND... since the flexible 3mm hex tool is no longer available, I made my own. I wanted as narrow as possible, so I got 3mm inside diameter U-joints with set screws and drilled out so the 3mm hex bit (I cut about 25mm off a 360mm long 3mm hex tool) fit and was held by the set-screw. Both items available from the Amazon. We'll see if this works next weekend.

The following users liked this post:
M. Requin (01-23-2024)
Old 01-22-2024, 09:18 PM
  #25  
sabres32
Instructor
 
sabres32's Avatar
 
Join Date: Sep 2021
Location: Central PA
Posts: 120
Received 52 Likes on 23 Posts
Default

RTK,
I bought this set from Harbor Freight per a recommendation from another MAF tuning Rennlist post. It works but you need to be at a perfect angle otherwise too much tension causes it to slip and not move the 3mm hex. I may need to build something like you have. What location do you find is the best to access the adjustment port?

John

Old 01-22-2024, 09:35 PM
  #26  
RTK
Rennlist Member
 
RTK's Avatar
 
Join Date: Jan 2020
Location: Orange County, CA
Posts: 74
Received 37 Likes on 25 Posts
Default

Originally Posted by sabres32
I bought this set from Harbor Freight per a recommendation from another MAF tuning Rennlist post. It works but you need to be at a perfect angle otherwise too much tension causes it to slip and not move the 3mm hex. I may need to build something like you have. What location do you find is the best to access the adjustment port?
Hi John, I have to admit that I've not done it yet, and I'll have to check that my MAF lines-up to the alignment mark. But I'll take pics this weekend. Your kit looks good - I just have a fear of loosing tools under the intake manifold. (Heck, there are likely 10mm sockets lying around the engine compartments of all my cars!) I am hoping the set screw (which I used loctite on also) will keep the 3mm Allen Key in place! More after this weekend. -Bob
Old 01-22-2024, 09:45 PM
  #27  
sabres32
Instructor
 
sabres32's Avatar
 
Join Date: Sep 2021
Location: Central PA
Posts: 120
Received 52 Likes on 23 Posts
Default

Bob,
Since the kit was only $10, I just superglued the 3mm tip into the flex shaft to avoid fishing more items from my 928 valley. I hope to give my new O2 WB setup another go on Friday since we're projected to have a 60 degree day in January. Good luck with your tuning this week, I also post my results.

John
Old 01-22-2024, 09:49 PM
  #28  
depami
Rennlist Member
 
depami's Avatar
 
Join Date: Jul 2009
Location: Cleveland, MN
Posts: 2,857
Received 267 Likes on 140 Posts
Default

I took a >>> different approach <<< with a 3D printed part. I can supply the stl file if anyone wants it.


P.S. That thread shows a different version of a Blink'r as well.

.

Last edited by depami; 01-22-2024 at 09:59 PM.
The following 2 users liked this post by depami:
M. Requin (01-23-2024), RTK (01-22-2024)
Old 01-22-2024, 11:45 PM
  #29  
sabres32
Instructor
 
sabres32's Avatar
 
Join Date: Sep 2021
Location: Central PA
Posts: 120
Received 52 Likes on 23 Posts
Default

Depami,

I like your designed, if my Harbor Freight tool doesn't work well I'll reach out for the 3D printer .STL.

John
The following users liked this post:
depami (01-23-2024)
Old 01-23-2024, 05:41 PM
  #30  
M. Requin
Rennlist Member
 
M. Requin's Avatar
 
Join Date: Mar 2007
Location: Central Virginia
Posts: 3,625
Received 60 Likes on 39 Posts
Default

Here's my version. The angle drive was from Amazon
https://www.amazon.com/dp/B010DIHJGG?psc=1&ref=ppx_yo2ov_dt_b_product_details https://www.amazon.com/dp/B010DIHJGG?psc=1&ref=ppx_yo2ov_dt_b_product_details
and the other parts are standard 1/4 drive tools. The angle of the drive is 1-5 degrees which works well.


The following users liked this post:
RTK (01-23-2024)


Quick Reply: Built a Blink'r


All times are GMT -3. The time now is 10:02 PM.