When you click on links to various merchants on this site and make a purchase, this can result in this site earning a commission. Affiliate programs and affiliations include, but are not limited to, the eBay Partner Network.
So I mostly finished getting back in shape the Porsche that I gave my 16yo daughter for her first car. Been running for a few months now after removing the motor and doing a partial rebuild as well as addressing all the odds and ends that needed attention.
I finally shifted gears towards doing a paint correction on the highly oxidized paint. I won't recap all the work with pics, but it is a 7 step process.
Wash
Clay Bar
De Oxidize Paint - Meguires 7 (3 applications)
Cut with orange pad and Mequires M105 with DA
Polish with white pad and Meguires M205 with DA
Seal Paint
Wax
If the paint hasn't been addressed then you really need to spend a lot of time with the clay bar as the paint will have a tremendous amount of dirt stuck in the surface. If its not removed then you will swirl dirt when it comes time to cut and polish, which only gives you more scratches.
I also recommend that you go through at least 3 applications of the Mequires 7 to remove the oxidation from the paint. When it comes time to cut, the paint seems to be pretty stout, but I don't have a thickness sensor so I only took 4 0/90 passes with the orange pad and M105 with the DA. I did the same 4 0/90 passes with the white pad and M205 with DA.
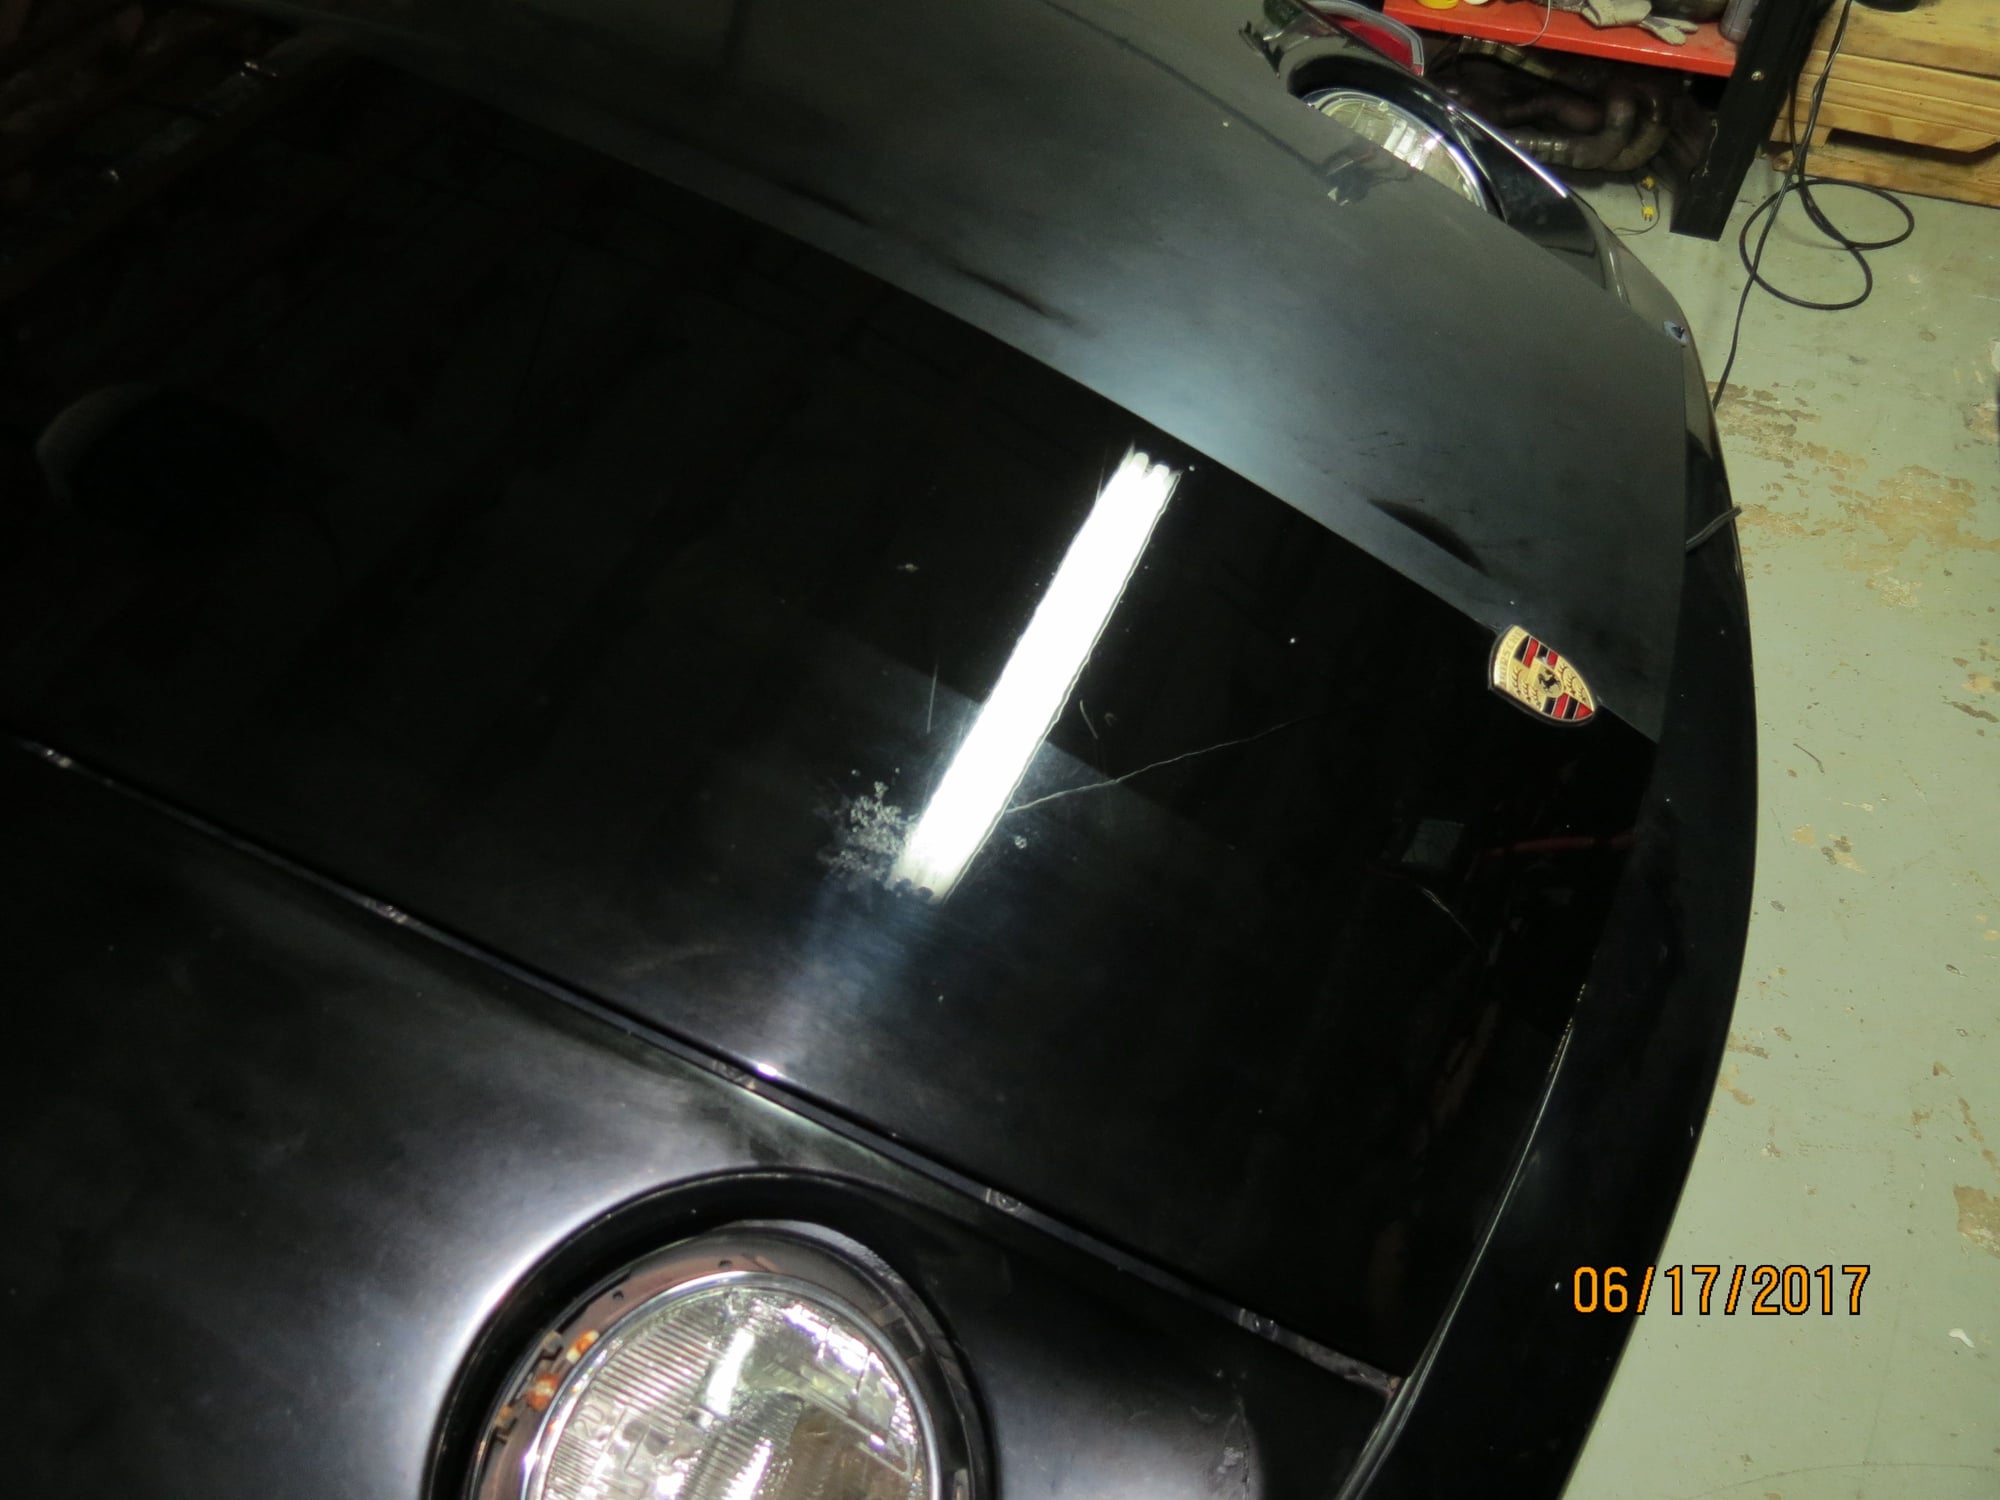
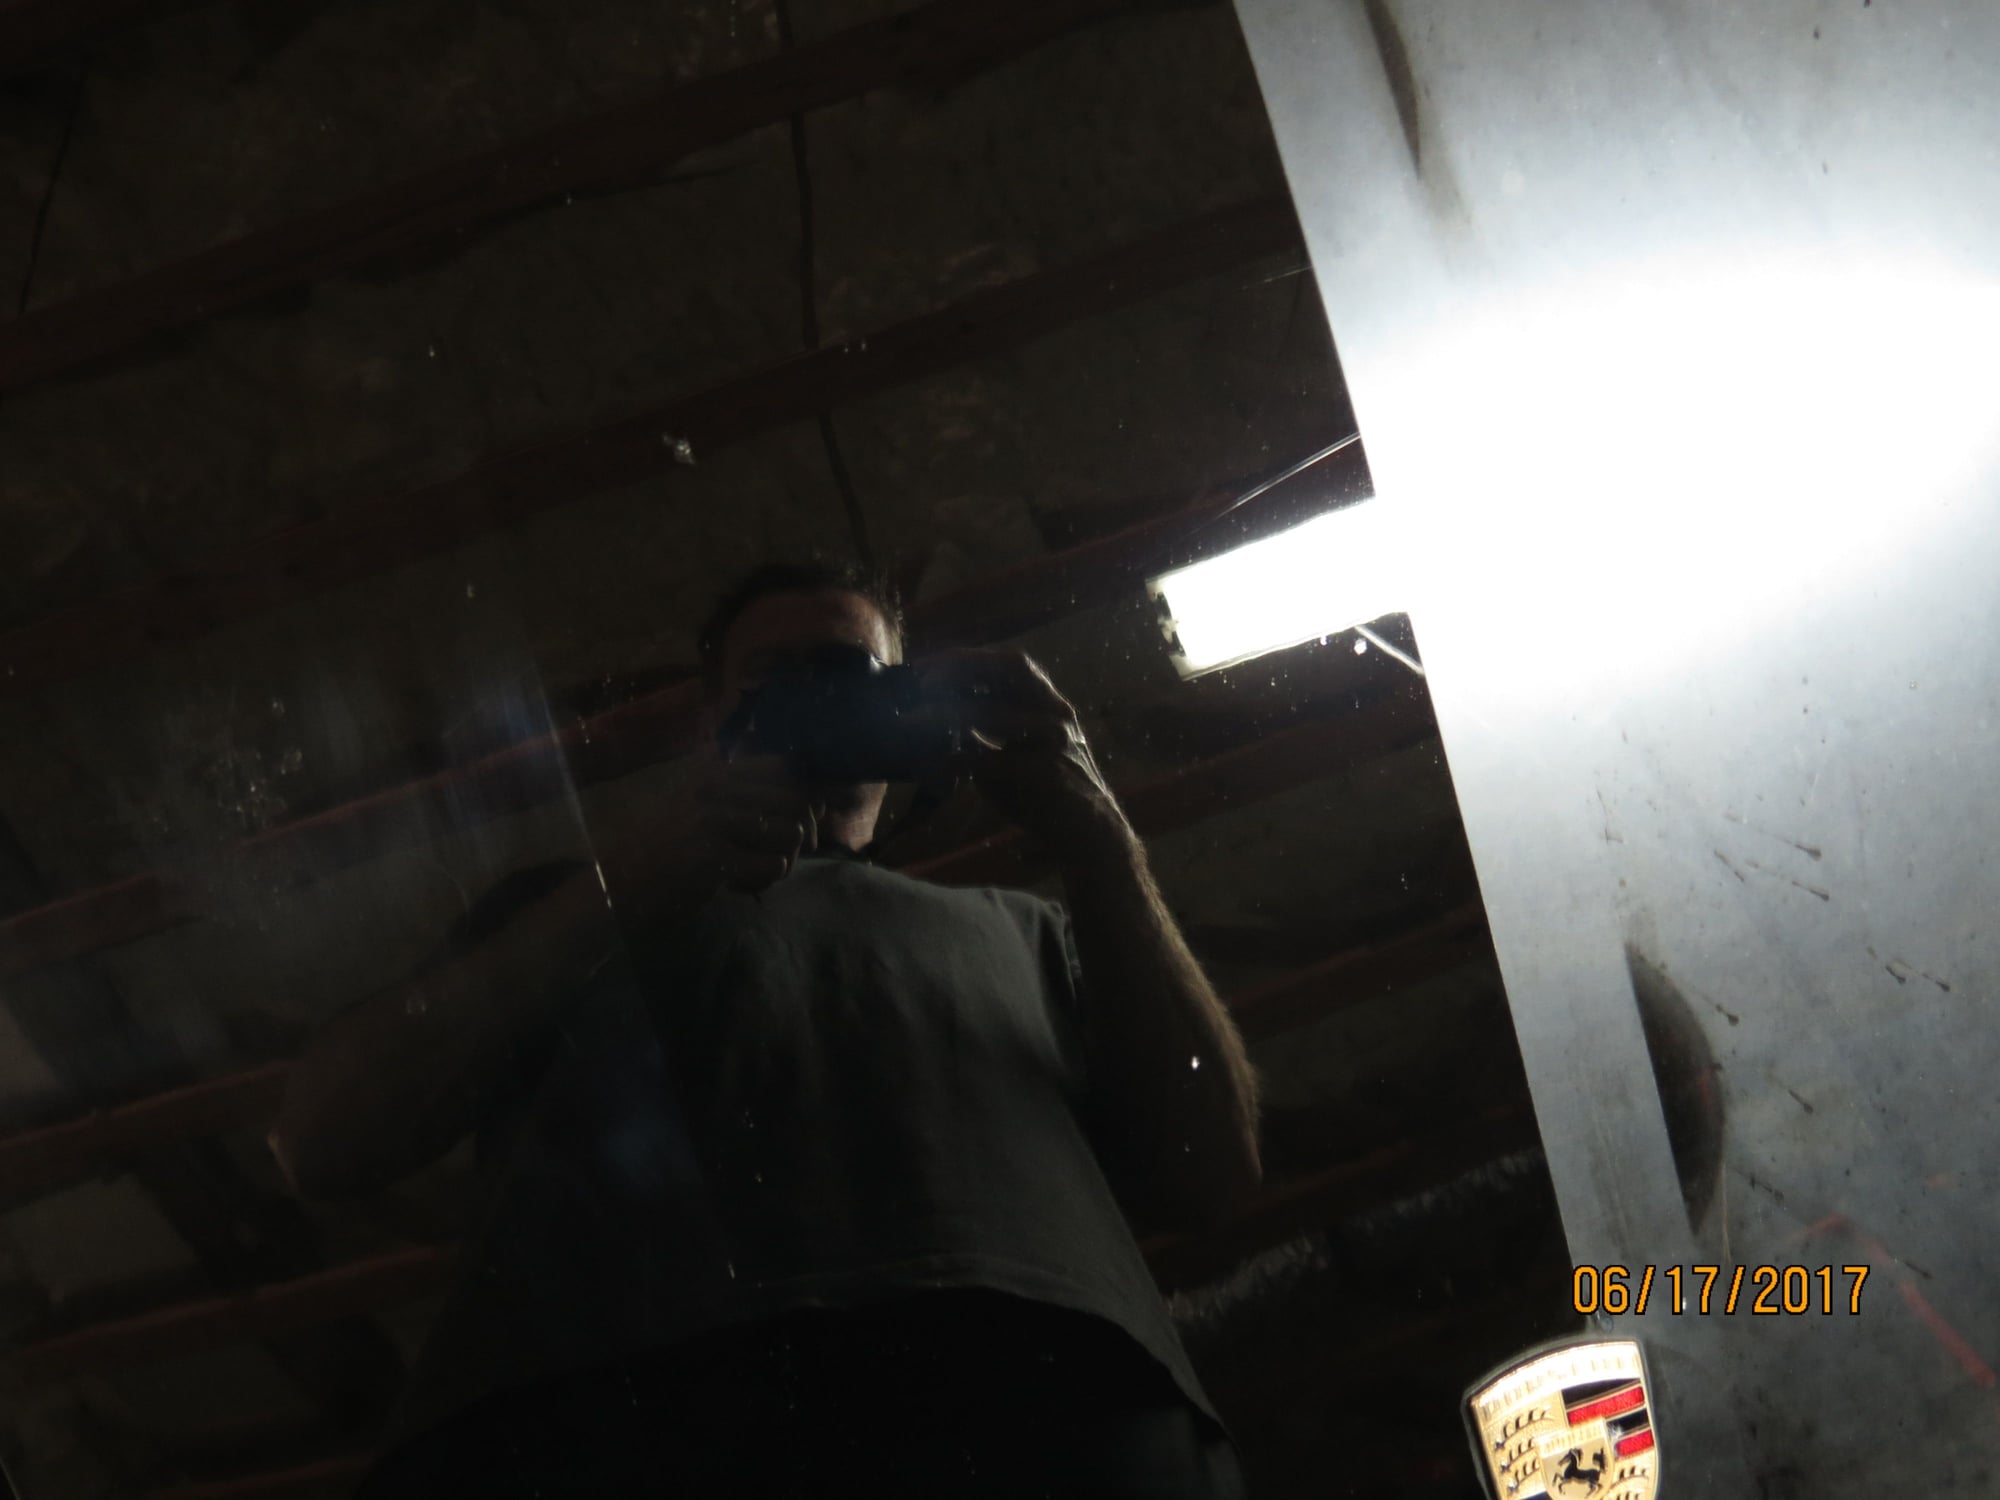
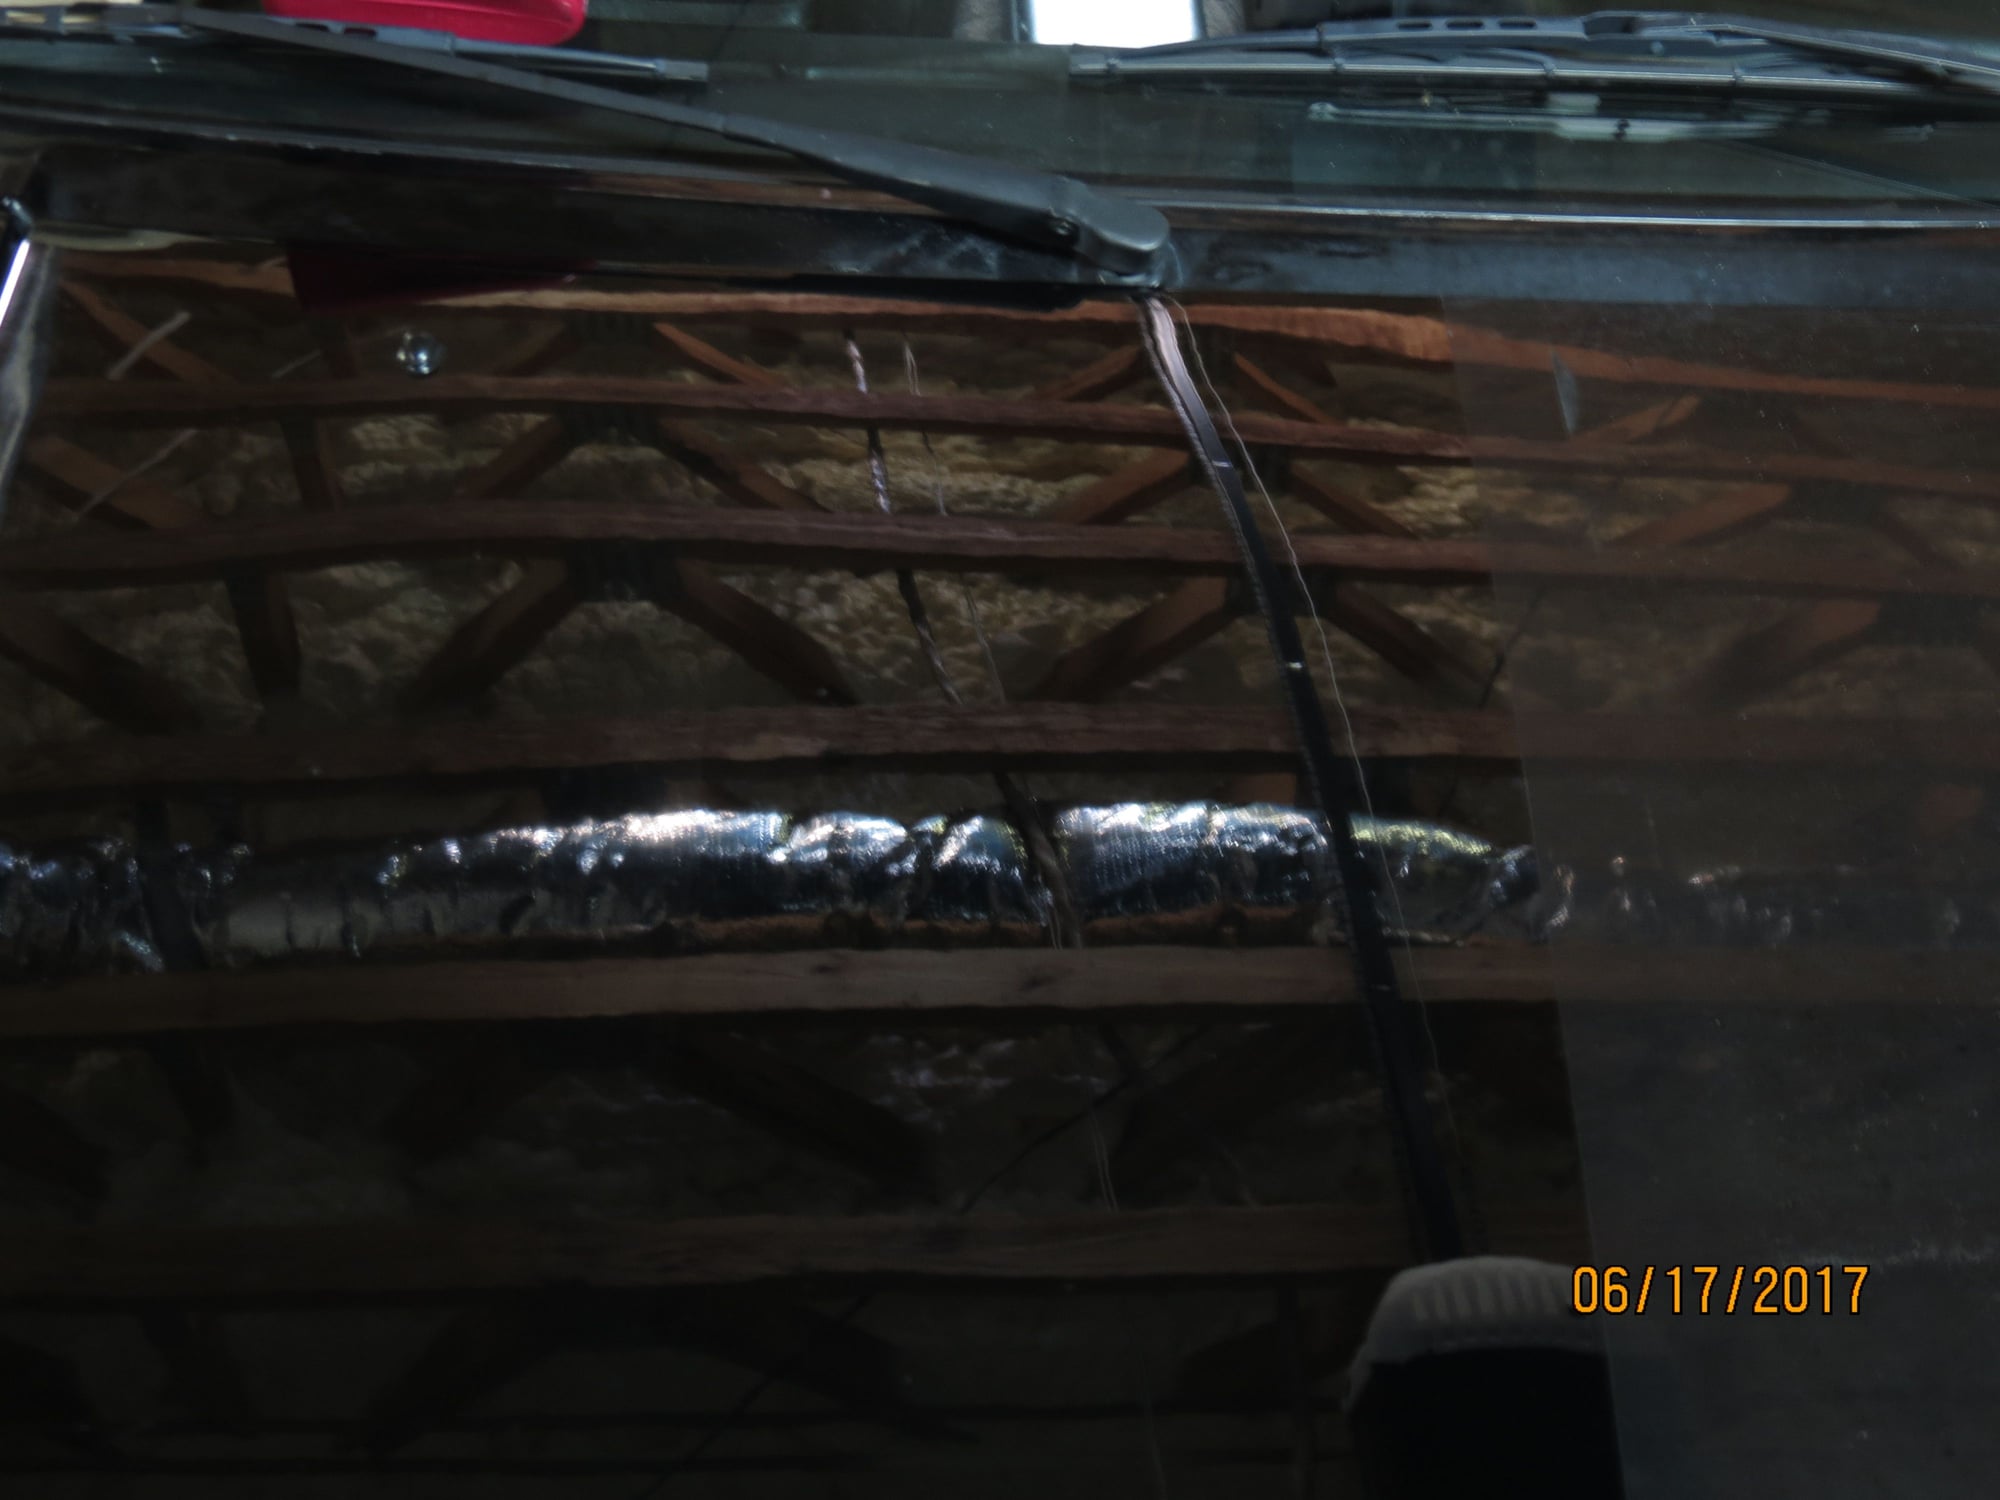
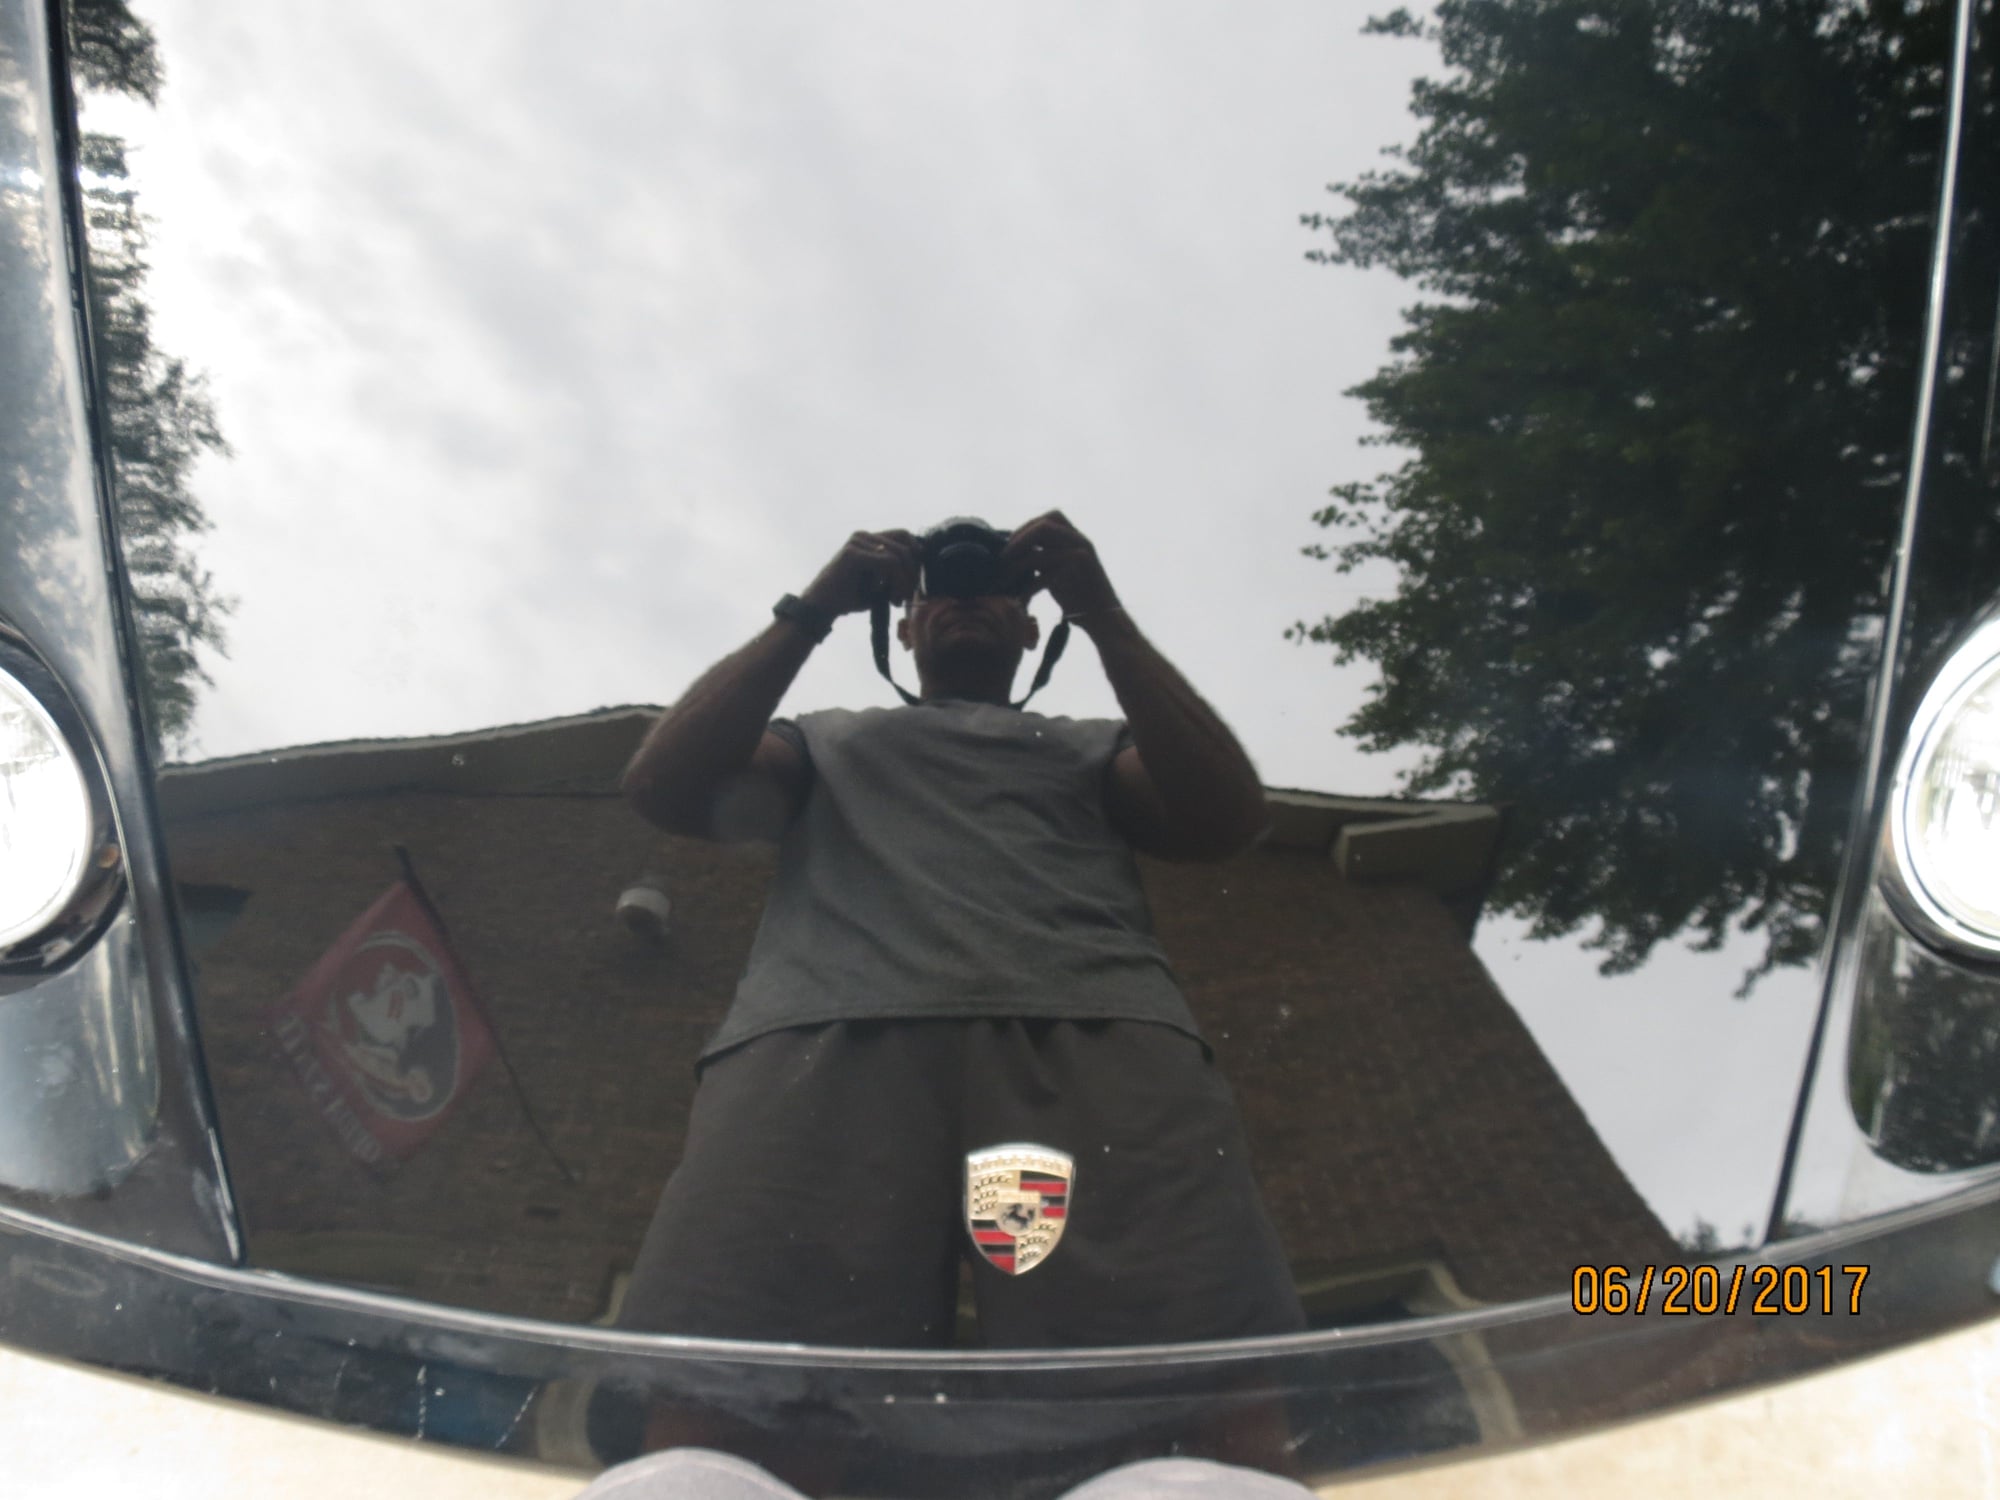
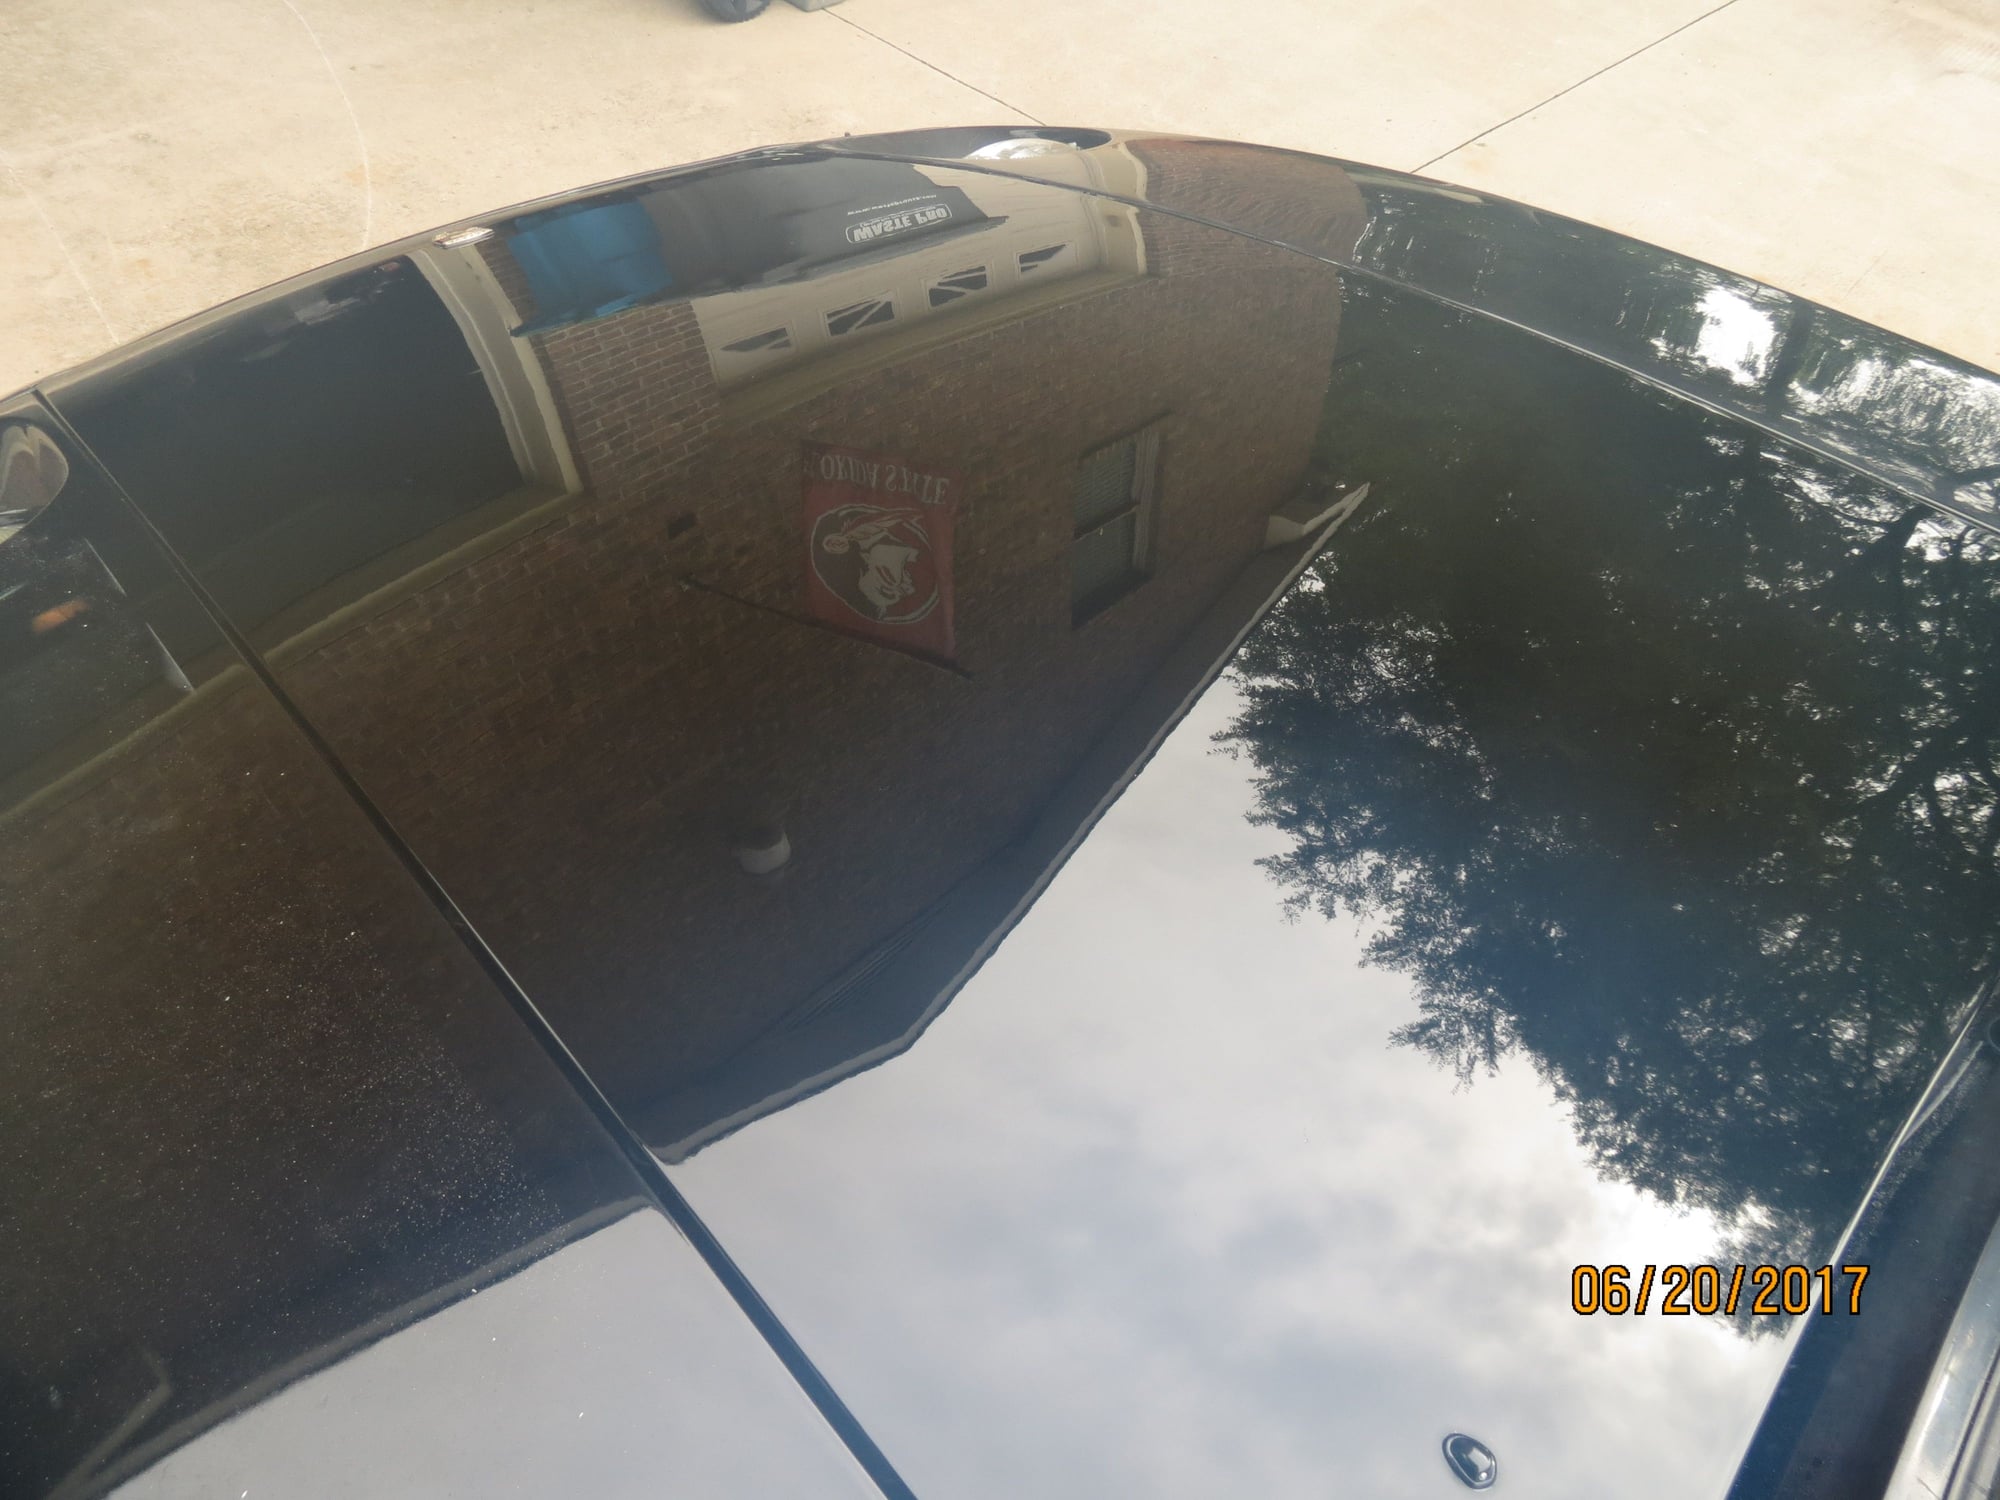
I wanted to get a feel for how the paint would react so I started by doing some sections of the hood that are shown below. The entire hood was washed (believe it or not), then the passenger side was clay bar'd and de oxidized with Meguires 7. I next taped off just the passenger side center portion of the hood and cut/polished to show the difference.
I will say this, just clay bar'ing the hood and applying 3 rounds of Meguires 7 made a HUGE difference, but cutting and polishing really makes the hood shine like a mirror. I didn't want to go too crazy because the paint does have scratches and blemishes. However, the 4 0/90 passes with an orange pad will remove 95% of the spider web in the paint and make a huge difference.
This project will take at least 30hrs, but the car will look damn good for being 34yo. I will update pics as I make progress.
Q: Are you sure that you used Meguiars #7 as the -first- step? That's "Show Car Glaze", and is usually the -last- step. Unless there's a different "#7"....
Q: Are you sure that you used Meguiars #7 as the -first- step? That's "Show Car Glaze", and is usually the -last- step. Unless there's a different "#7"....
Well, I read my post and clearly stated the Meguiars #7 was the third step. Last step would always be the application of a wax so your question is somewhat confusing. BTW, Meguiars #7 is "Show Car Glaze" and is used to removed oxidation from the paint and can also be used as a "Show Car Glaze."
If you don't want to use mechanical abrasives like I have done (cut/polish) then you would wash, clay bar, Meguiars #7, wax. However, the difference between adding the cut/polish after removing the oxidation from the paint is night and day. Below is a great article from the Pros consistent with my approach.
Not a pro, just someone too cheap to pay someone else to do something within my capabilities. I did a lot of research and watched videos prior to doing my first car, which was my 2006 EVO IX. I then did a full correction on my wife's 2012 Honda Odyssey before completing my 2009 GTR. Each took between 25-30hrs of total work. None of it is rocket science and more just an issue of getting over the initial fear of putting a DA to the paint. Clay bar can be a pain in the ***, especially on the 928 because I had to work the area at least 10 times (folding clay each time) before getting all the dirt out.
I looked through the link and the car looks great, but didn't understand how he can decontaminate the paint with just chemical as it typically takes some type of mechanical sheering to remove embedded debris. Anyway, before/after in the link is impressive and I hope to achieve similar results.
Sorry - I meant the first "chem" chem step. Regardless, the step with the #7, for me anyway, comes after the M105 (if needed) and M205, and before the M21 or #26 (depending on what I'm prep'ing for).
I looked through the link and the car looks great, but didn't understand how he can decontaminate the paint with just chemical as it typically takes some type of mechanical sheering to remove embedded debris. Anyway, before/after in the link is impressive and I hope to achieve similar results.
Feel free to ask Nic any questions in that linked thread.
Usually the Meguires #7 would come after the polish(es) and before the wax. The gloss comes from the glaze, and it fills in any remaining scratches that are still in the paint after polishing. So, clay bar to remove surface contaminants, more aggressive cut polish to remove most imperfections, fine polish to clean up what the other polish left behibd, #7 to fill in whatever is left and enhance glass, and finally the wax to protect the shine and finish. Sealer is optional after that.
Usually the Meguires #7 would come after the polish(es) and before the wax. The gloss comes from the glaze, and it fills in any remaining scratches that are still in the paint after polishing. So, clay bar to remove surface contaminants, more aggressive cut polish to remove most imperfections, fine polish to clean up what the other polish left behibd, #7 to fill in whatever is left and enhance glass, and finally the wax to protect the shine and finish. Sealer is optional after that.
I don't disagree in general with what you have stated. However, when you have severe paint oxidation you need remove the oxidation from the paint as well as condition the paint with the Meguiars 7 prior to putting a pad to it. I know its a SHOW CAR GLAZE, but in this case it is being used to remove the oxidation from the paint as well as condition the paint prior to buffing so not being used as a SHOW CAR GLAZE as you reference for its use. This is consistent with the article I linked earlier. All cutting will do immediately following clay bar is to pull up a bunch of crap in your pad and you will be swirling a bunch of crap in your paint.
Cheers for the pics mate, great job, huge difference, looks to have great depth.
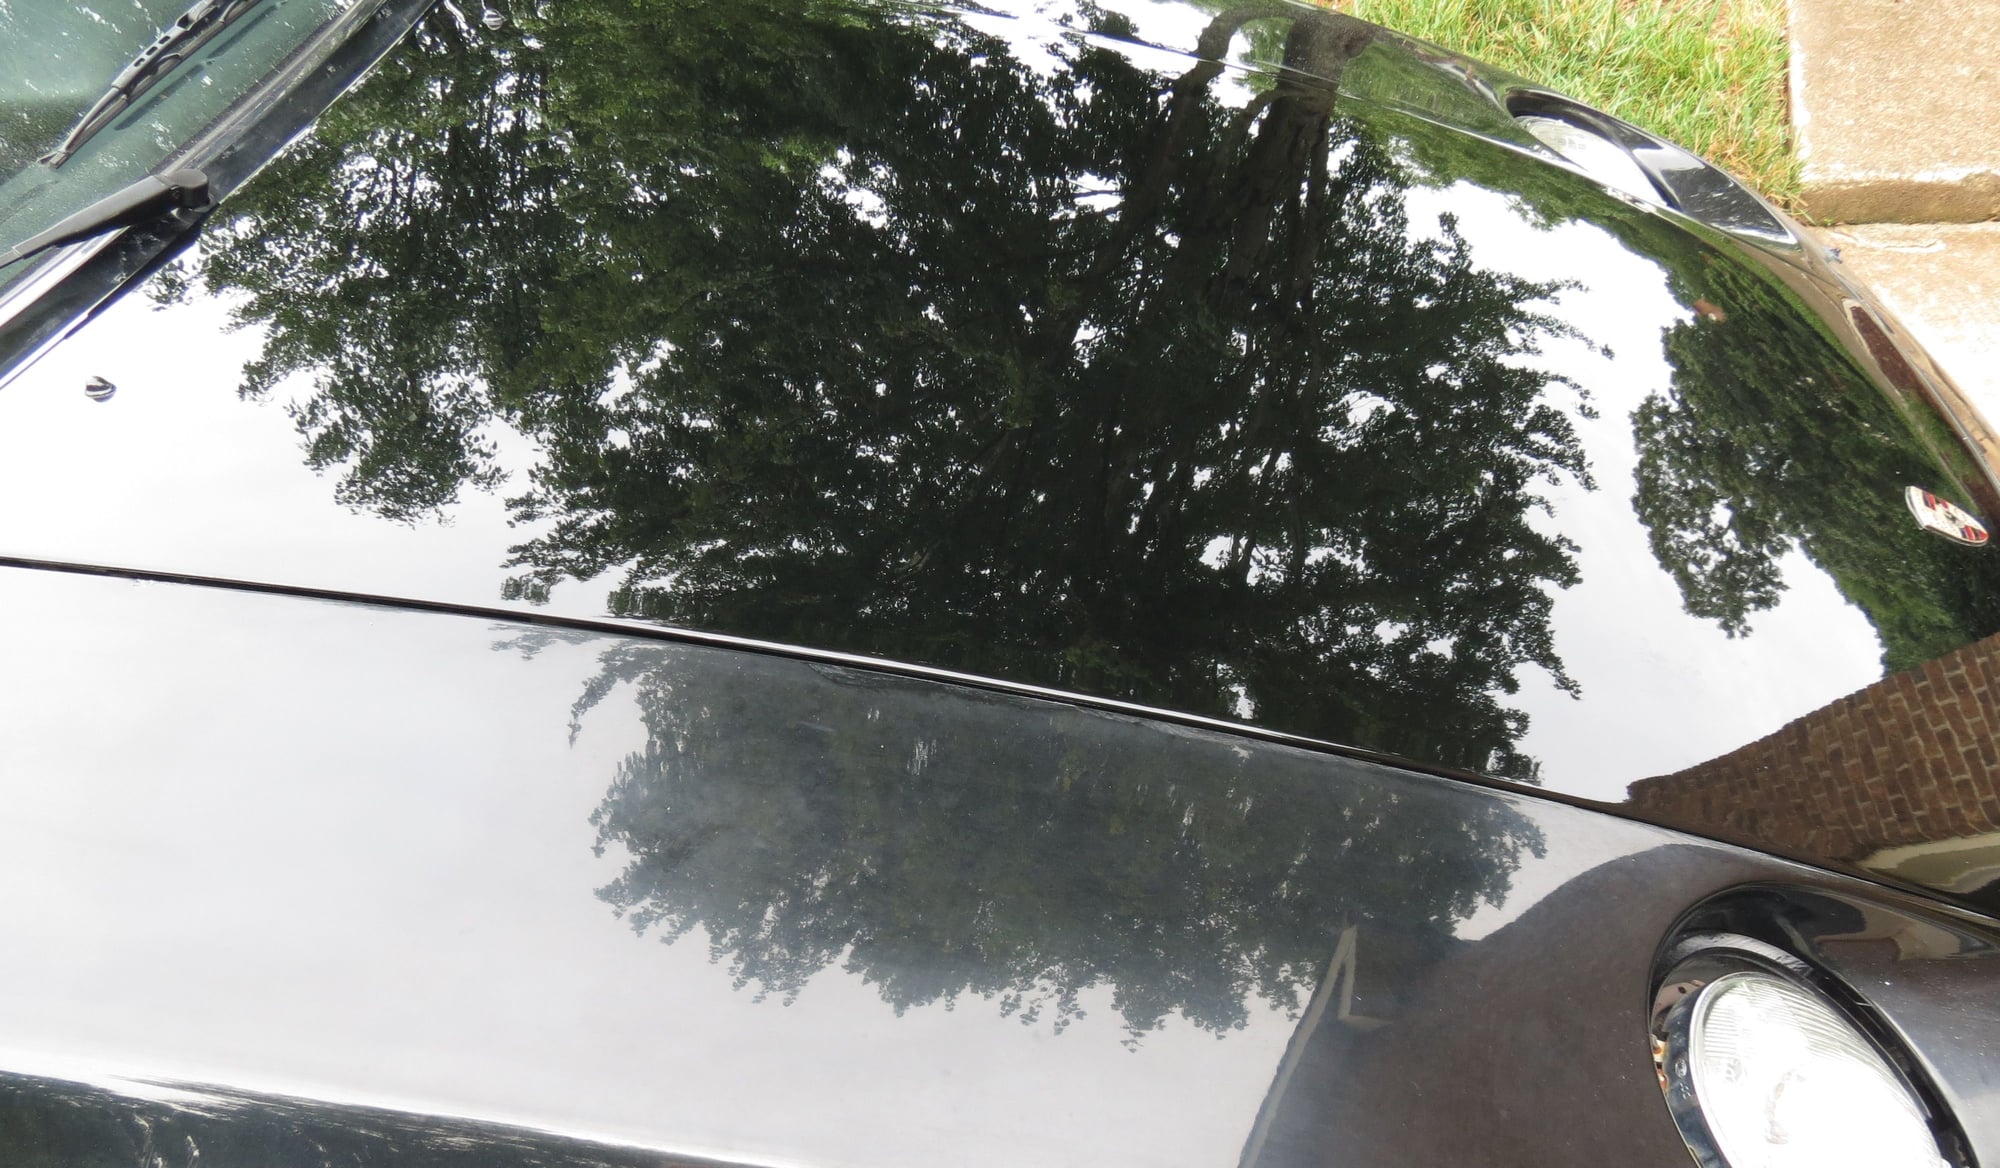
Thanks, I completed the hood today and all that remains is to wax in the morning. I ended up re cutting the hood with a yellow pad and made 7 0/90 passes because the 4 0/90 passes with the orange pad wasn't enough to remove all the spider web. I was surprised it took so much pad and passes to remove the spider web as I didn't think the paint would be that tough.
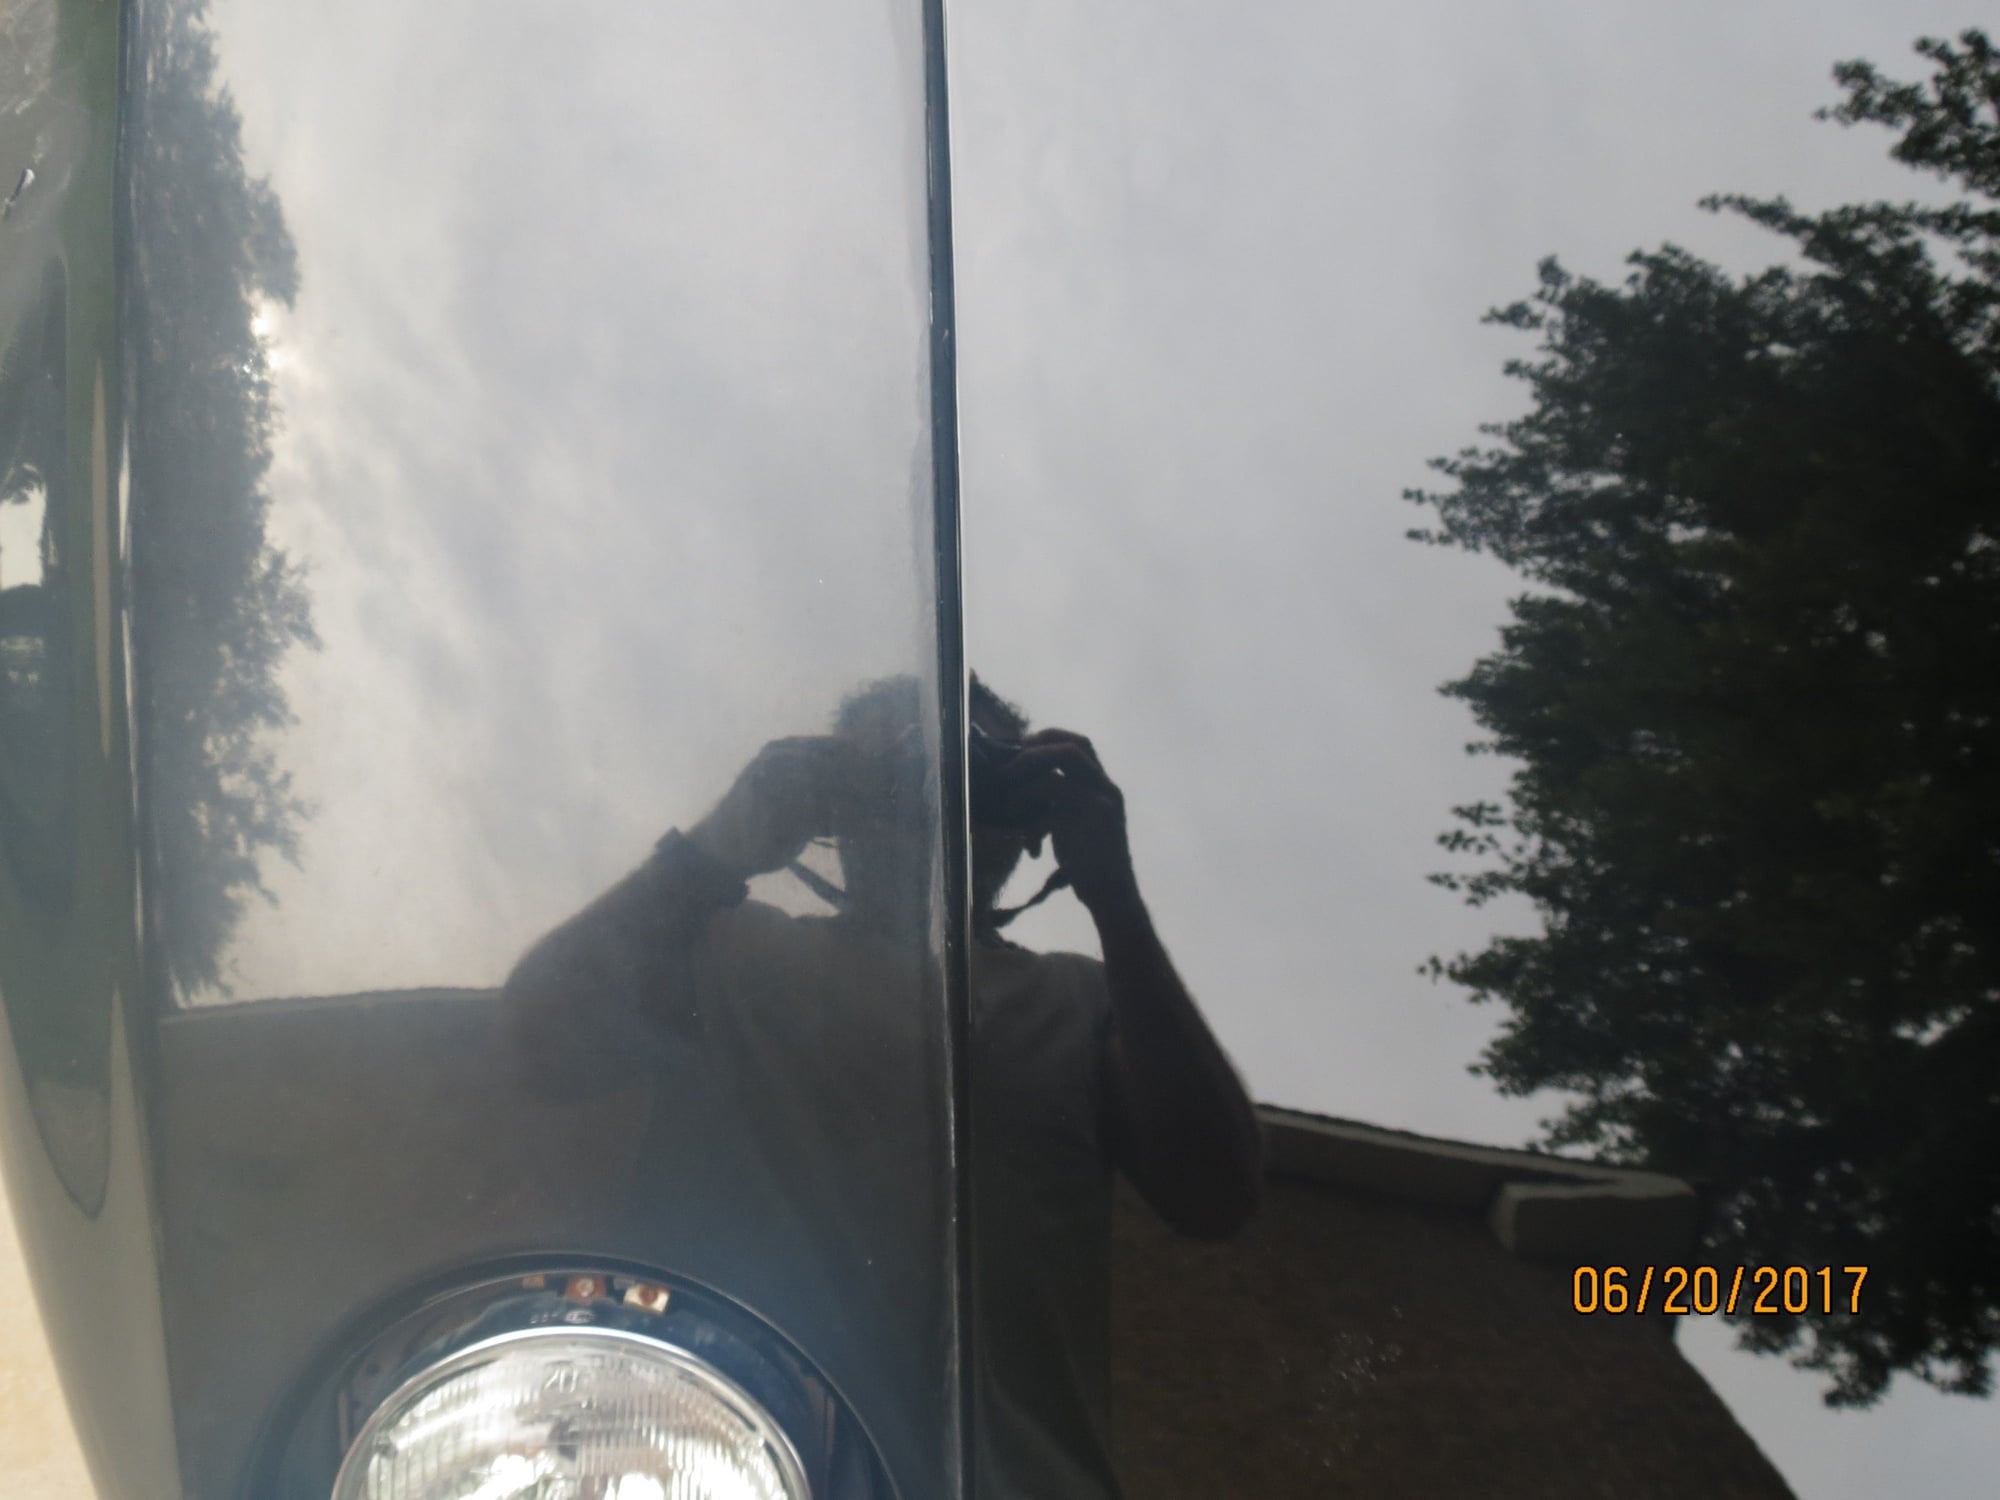
After polishing with a white pad and 4 0/90 passes I gave it a good wipe down and sealed the paint with Chemical Guys Jet Seal. That needs to dry for 12hrs so I can wax in the morning and move on to the next panel. I'll take a finished pic of the hood so you can see the before after next to the fender.
So the hood is officially done and I have the general recipe for finishing the car.
Wash
Clay Bar
De Oxidize & condition Paint - Meguiars 7 (3 applications)
Cut with yellow pad and Mequires M105 with DA (7x 0/90 passes)
Polish with white pad and Meguires M205 with DA (4x 0/90 passes
Seal Paint (Jet Seal)
Meguiars Wax
I wish the sun were out to show off the shine, but you get the idea. Now just repeat the steps with each panel until it is done. I will note that on the plastic bumpers you will want to use an orange pad and be gentle as it will build heat quickly as opposed to a metal panel.

 06-17-2017, 05:49 PM