When you click on links to various merchants on this site and make a purchase, this can result in this site earning a commission. Affiliate programs and affiliations include, but are not limited to, the eBay Partner Network.
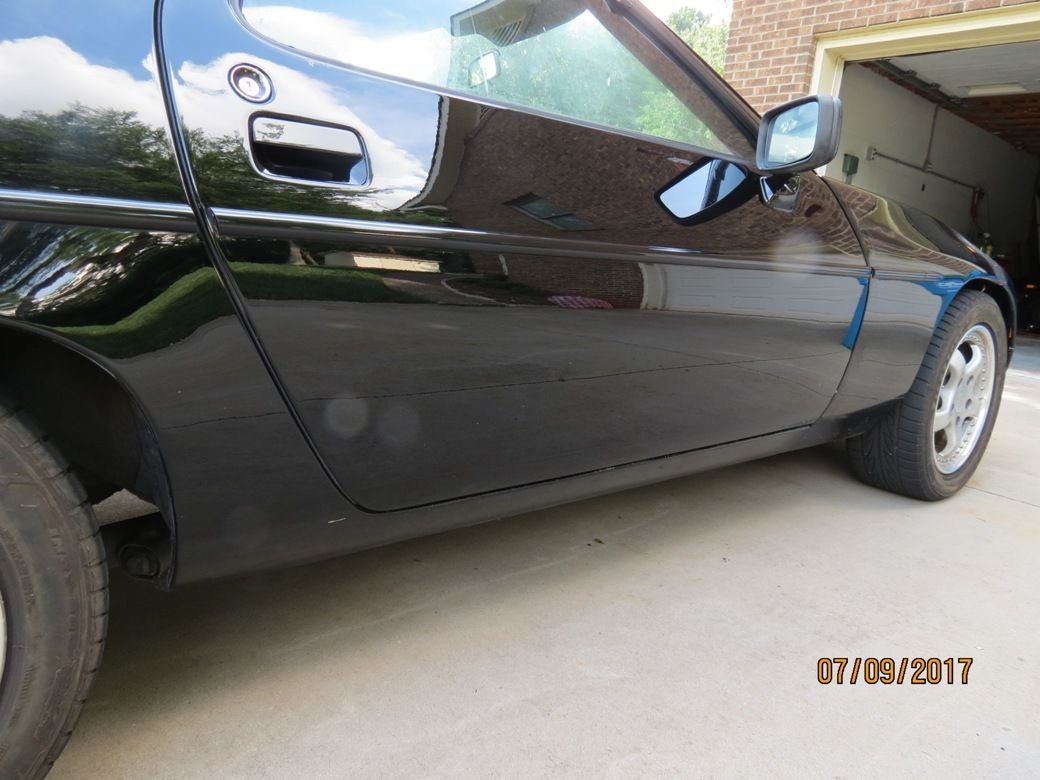
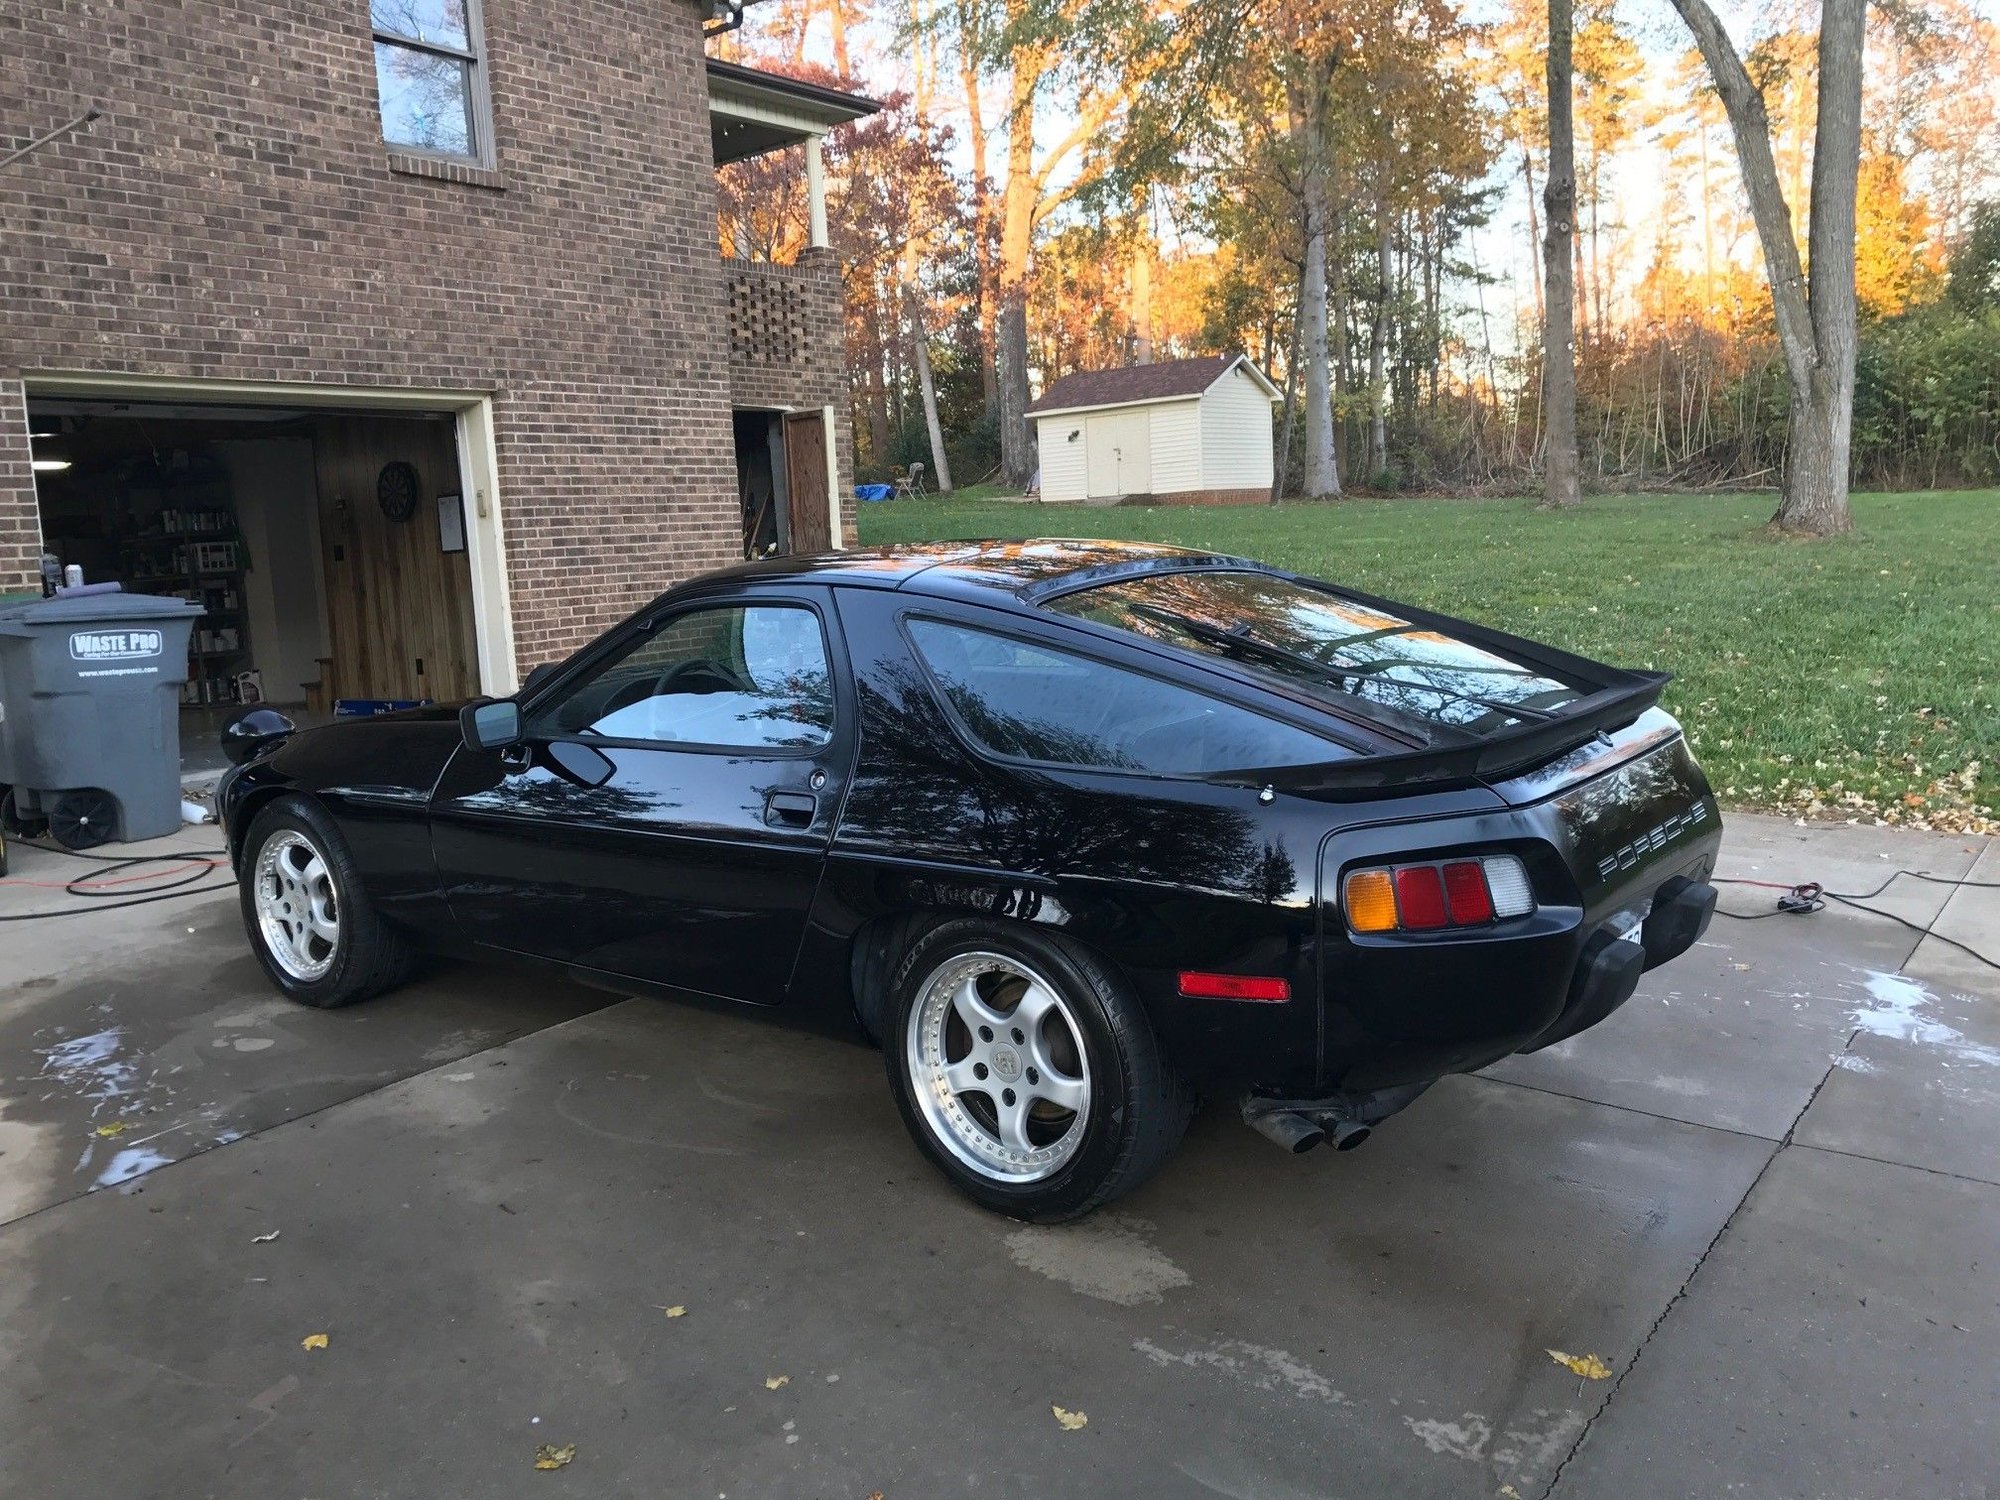
I made some additional progress on the paint correction. I was able to finish the driver's side fender and also completed the passenger side door, which came out very nice. Now that I finished the hood and driver's side door I am taking the car to the body shop to redo the passenger's side front fender. Unfortunately, I purchased the car with a dent and tried to have it removed using a paintless dent remover, but it popped the paint. Anyway, minor setback and below are pics of the door.
Stupid question: By "0/90" pass are you referring to doing two passes at right angles to each other? Would love to hear a little more detail on that.
Also I assume you're using an orbital machine? What do you use?
BTW I also have a black '83 -- the Porsche paint (Glasurit as I recall) has super deep gloss, love it!! I rarely need to deox (garaged weekend driver) but I give it a clay bar treatment followed by Meguiar's carnauba wax, two or three coats if I have the patience. Always pick up compliments after a fresh wax!!
Never heard of using Showcar glaze to remove oxidation on a multistage paint and I'm an active Autogeek member, ironically enough I have that thread you linked subscribed so I get emailed whenever someone posts to it. Had it like that for years. Mike is a legend.
The results speak for themselves though, nice job. Forgot to ask. Is that a multistage paint or is it single?
Stupid question: By "0/90" pass are you referring to doing two passes at right angles to each other? Would love to hear a little more detail on that.
Also I assume you're using an orbital machine? What do you use?
Thanks for the kind words. You can search videos on how to use the DA, but 0/90 passes are as you state. You work on a small section at a time, lets say 2ft x 2ft, and make the first passes back and forth in the 0 direction and you then make the next set of passes covering the area in the 90 direction, which as you stated are at right angles to each other.
As far as equipment, I use the following:
Harbor Freight DA
Chemical Guys 5" poly backing plate
Chemical Guys 5.25" Hex pads (orange, yellow & white)
The Harbor Freight DA was $60 out the door with a 20% off coupon and it is a pretty good DA. The backing plate sucks along with their pads so order that stuff from someone like Chemical Guys.
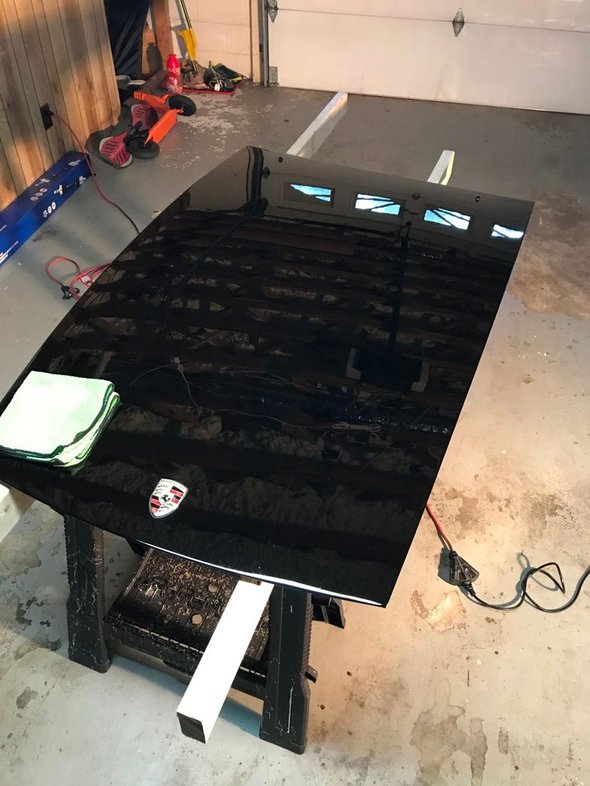
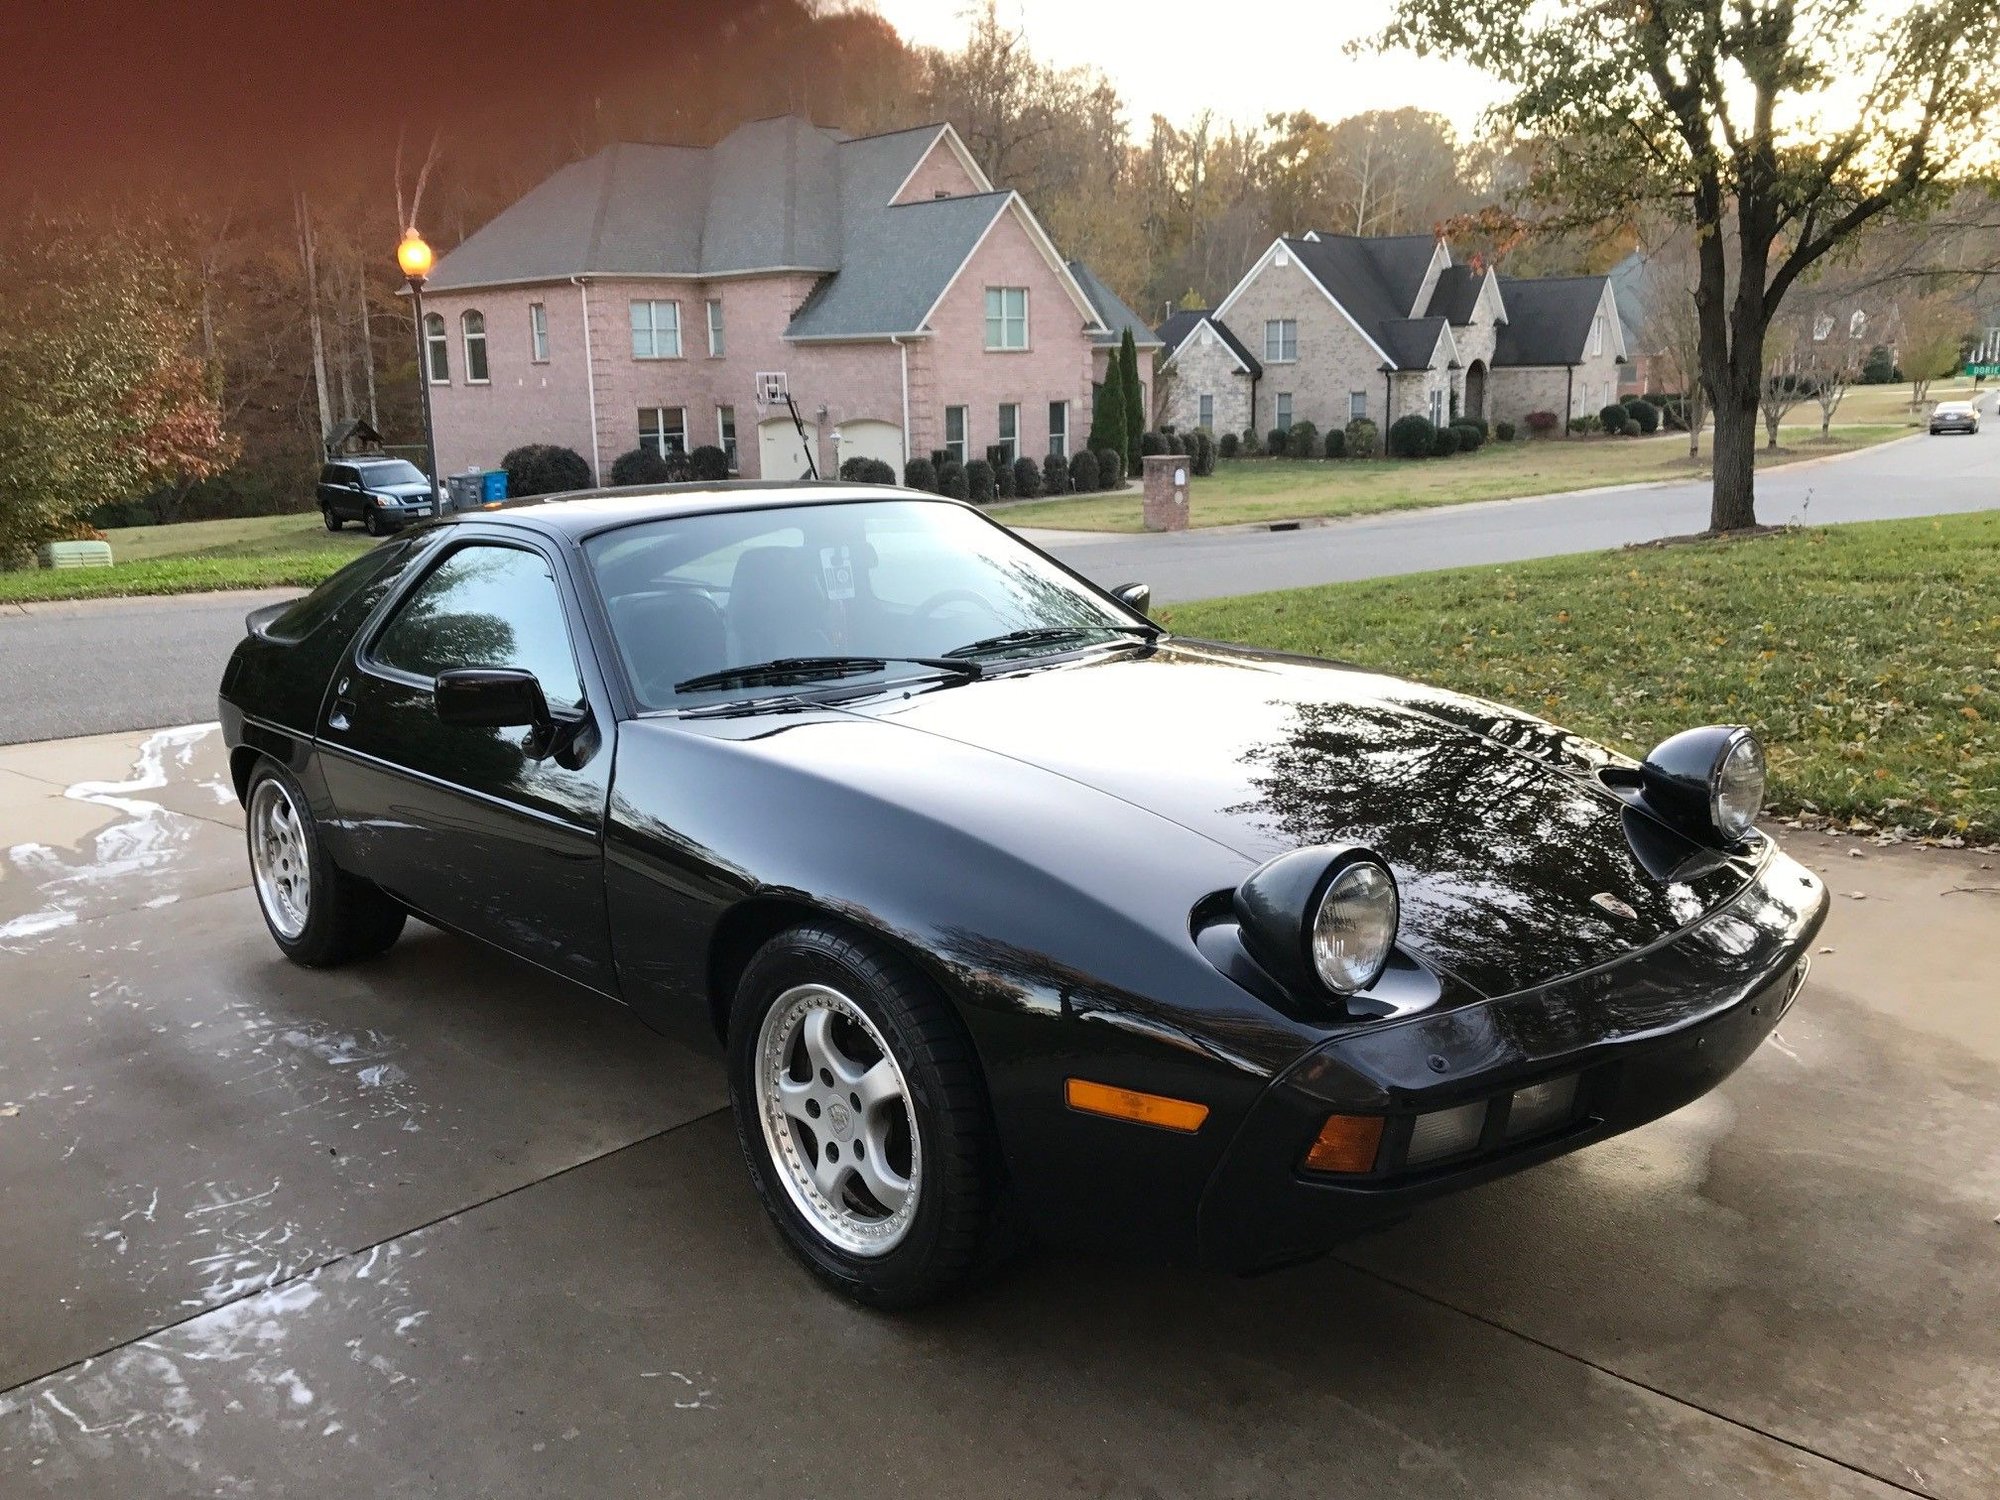
Did you remove the crest and windshield washer nozzles from the hood for the polishing work, or did you work around them?
The hood on my 84 has a slightly cloudy look to it and I've been applying Meguiars #7 as well. After two applications it's looking almost perfect in terms of gloss.
On the other hand, the paint on the bumpers looks slightly cloudy, but the Meguiars hasn't made much of a difference, perhaps due to different paint formulation? I'm curious if you've run into the same issue and if yes, what you've done.
Hugo
I worked around the crest and the nozzles and wouldn't worry too much about hitting them with the pad. You can wrap the edges with painters tape or removed the nozzles if you are concerned.
I have to redo a part of the hood today so I will do a test spot on the plastic bumper to see how it does. I would think the M7 would address a lot of the cloudyness in the bumpers, but perhaps not. Be careful doing correction on the plastic bumpers and I would not use anything stronger than an orange pad with the DA and apply very light pressure.
I'll try to report some pics by the end of the day for you.
On the other hand, the paint on the bumpers looks slightly cloudy, but the Meguiars hasn't made much of a difference, perhaps due to different paint formulation? I'm curious if you've run into the same issue and if yes, what you've done.
Hugo
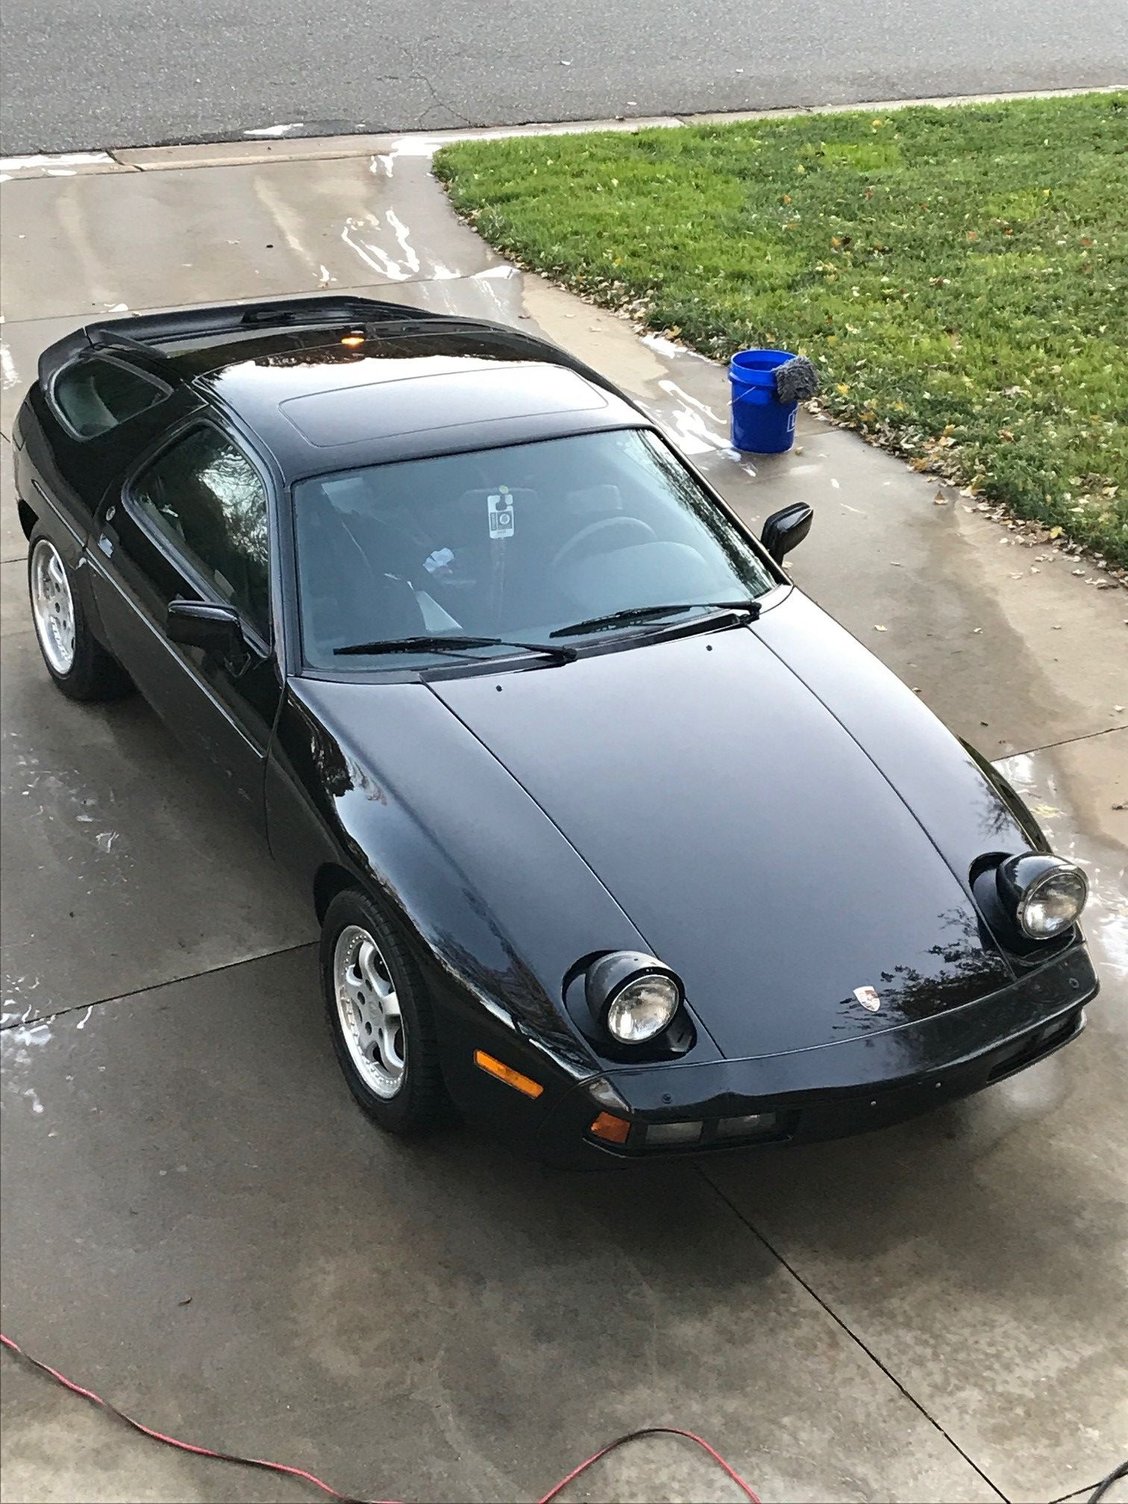
My bumpers are very cloudy as well so I cleaned off a small section and hit it with some cutting compound with an orange pad for 20sec or so. Not the greatest picture because of where the car is sitting, but it appears the bumpers will clean up nicely and I was able to pull most of the cloudy out of the bumper with just a few passes.
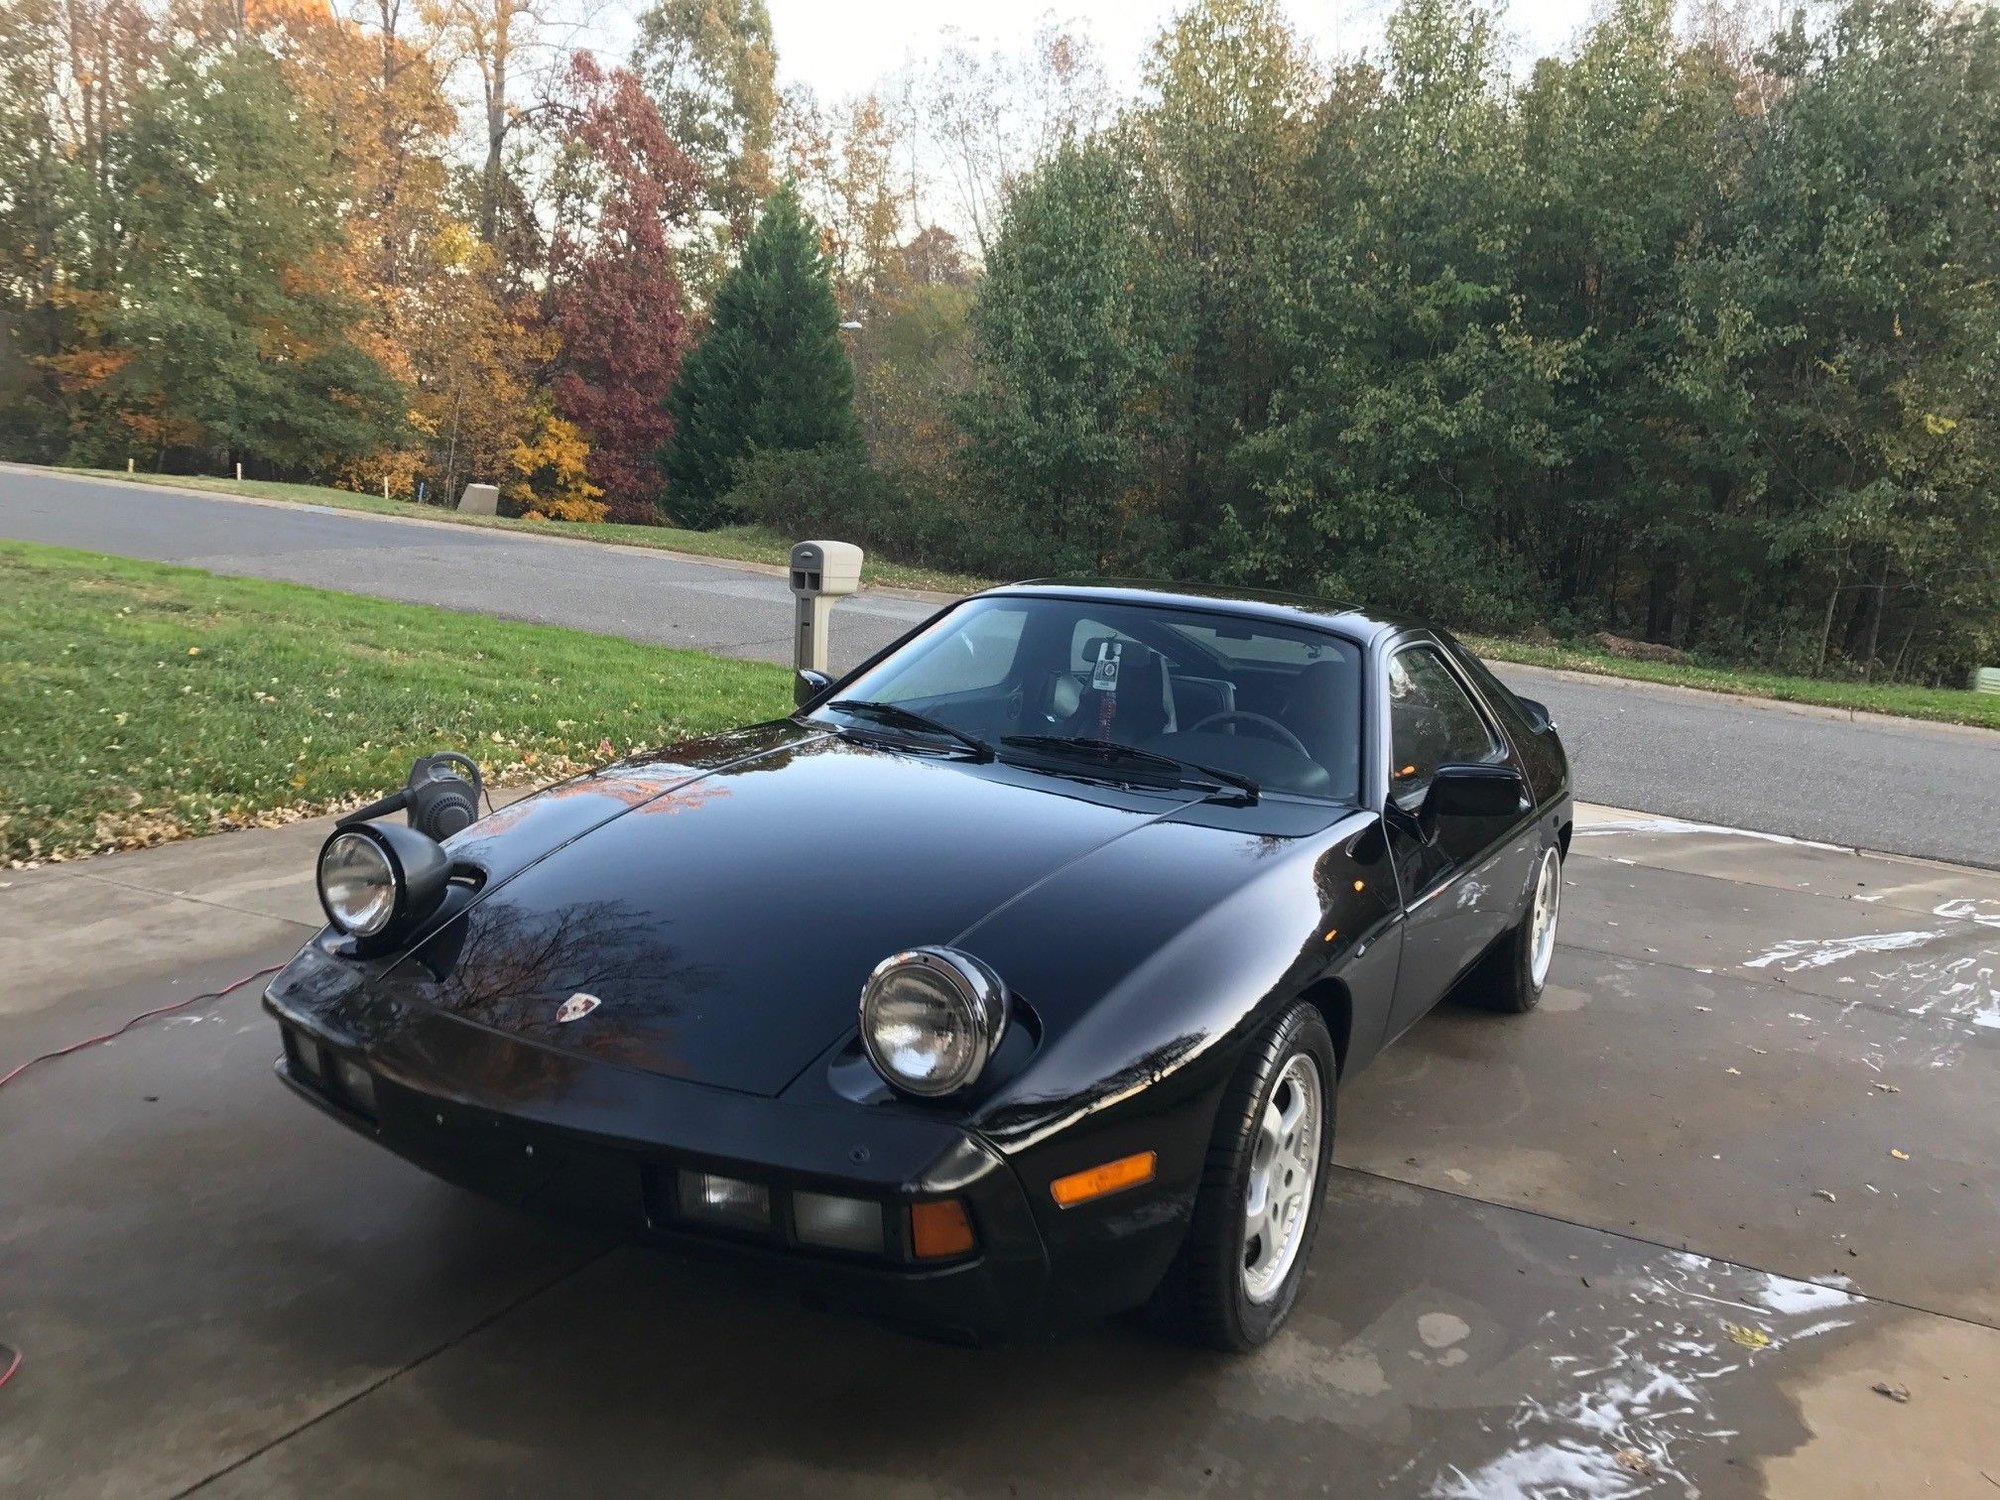
I had to redo the hood because where I taped it off initially was still showing when the car was in full sunlight. I would say it shines for some old paint.
It has been somewhat slow going, but definitely making progress. I only have remaining to paint correct the passenger side rear quarter panel, front headlight covers, and the front plastic bumper. Additionally, I need to redo the rear plastic bumper as it is still showing some areas of paint oxidation along with the driver's side door right around the door handle. It takes a lot of work to pull the oxidation from some off the panels so be prepared to spend 35-40hrs on this type of job.
Thanks and I'll admit, it is starting to look really good for being such an old car. I watch my 17yo daughter drive off to high school almost every morning with a smile on my face. Downside is that it generates too much interest from men when she is driving.


 07-09-2017, 06:42 PM