When you click on links to various merchants on this site and make a purchase, this can result in this site earning a commission. Affiliate programs and affiliations include, but are not limited to, the eBay Partner Network.
So here's one approach to a refurbishment of the non-driveline components found in the passenger front wheel well.
I've posted up separate threads with the details for installing a louder aftermarket horn, and also a simple refresh of the windshield washer motor.
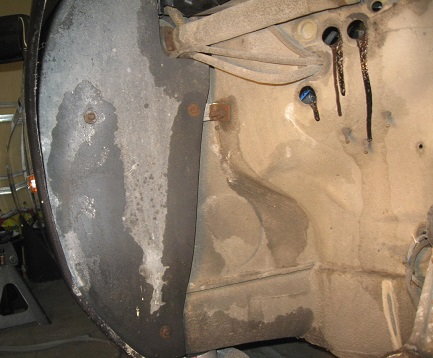
As usual, I started with a pretty messy workspace...
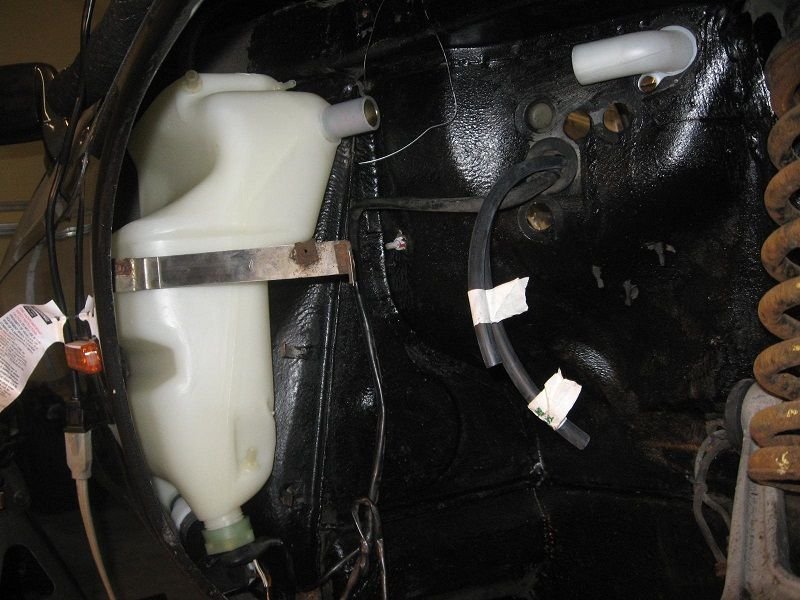
There's a shield above the filler neck held with 3 screws and speed nuts...
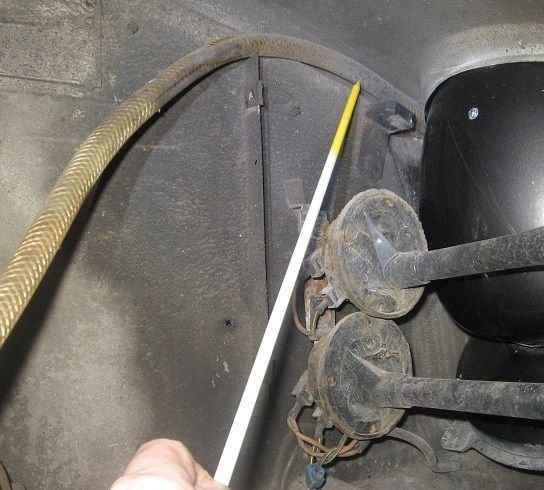
Removing the plate reveals the location of the reinforced hose which carries washer fluid forward to the headlight washer system
Goof-up number one:
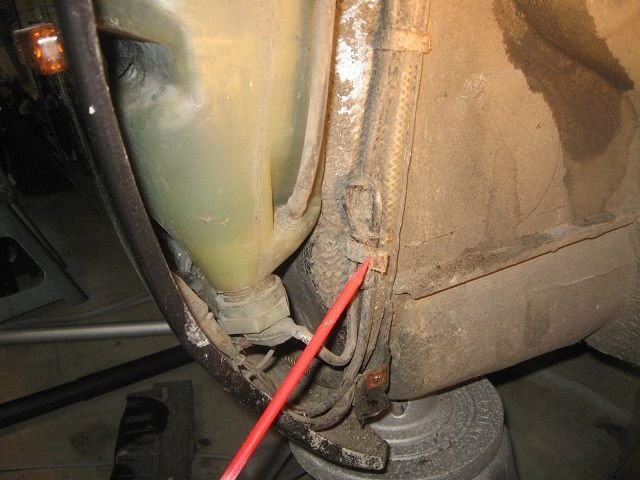
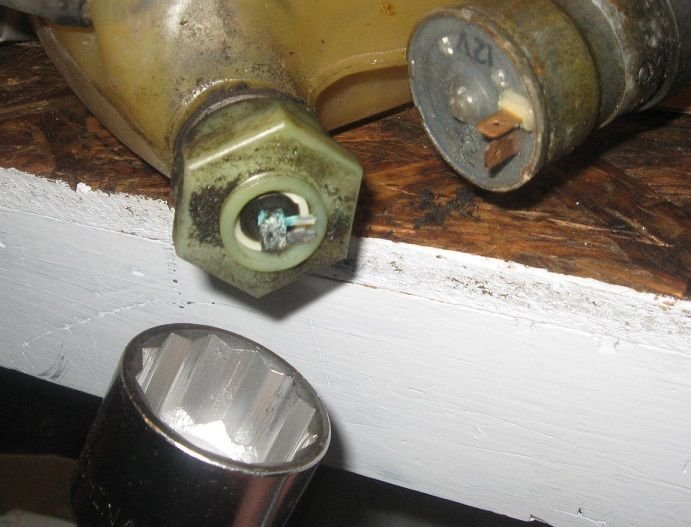
The old rusty bolt holding the tank restraining strap in place was obviously a Schiessco part...
Gently open up the retainer for the bottom hose and wiring
After the retaining strap is loose, carefully slide the tank forward.
You'll need to first mark and then remove the wires to the passenger front side marker lamps where applicable..
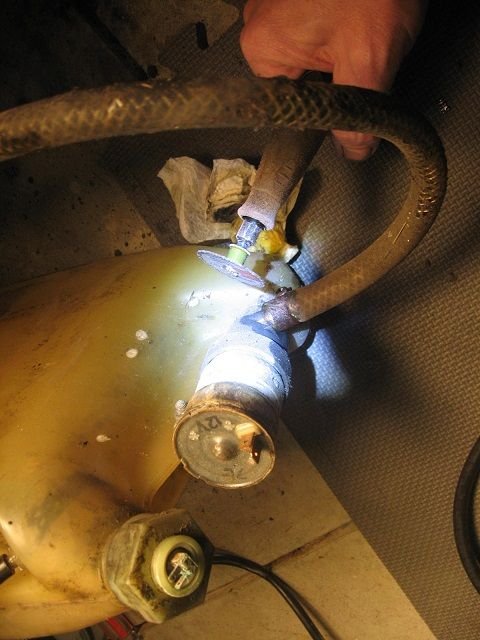
Here's a close-up of the wiring details at the bottom of the fluid tank.
The clamp for the headlight washer hose was rusted solid. Dremel.
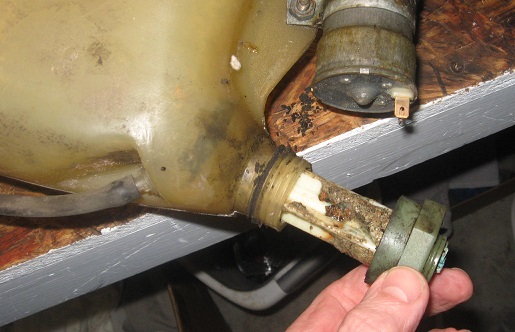
Nobody likes what they see in the filler neck, which comes out separately through the engine bay side..
Side-by-side...
Time to fix the broken stud back at the tank strap mounting location.
I used a grinder, then a file to get the old bit off. Then I sanded, primed, and hit the whole wheel well with some thick undercoating.
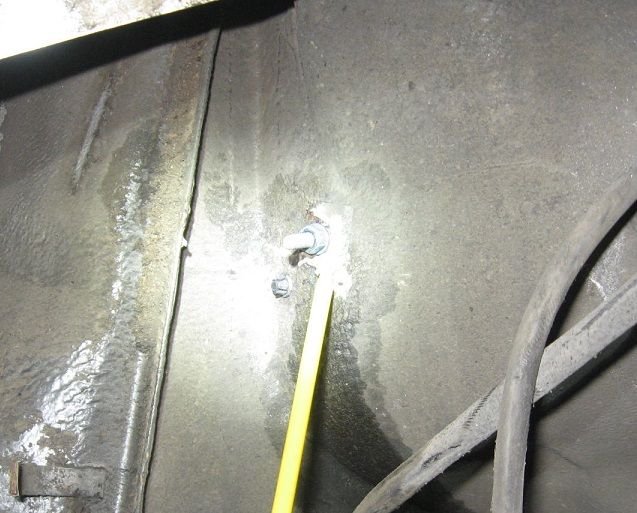
From inside the engine bay, the least-destructive route seemed to be simply drilling and relocating a fresh bolt adjacent to the old one. This caused some minor adjustment when it came time to re-install the wheel well shields, but not much...
Wheel well, with a fresh tank strap bolt ready to go now...
When I bought a GIANT set of metric sockets at Harbor Crate, I always envisioned that I would use them for some giant horrible manly task, like removing the 900 pound bolt that holds the whole car together...
Actually they were perfect for the wimpy little sender unit at the bottom of the tank.
As is clearly evident, when the little sender unit saw the GIANT METAL TOOL coming at him, he soiled himself profusely. I have been known to do the same.
A bolted strap holds the pump to the bottom of the tank, be mindful and make note of the direction of the strap, it is canted to allow alignment of the pump.
Old tank, new tank. The new tank does not have the cut-out for the pump which we just removed, so you'll need to carefully open that up to the right size. A flexible rubber seal fits in the tank hole to seal the pump inlet, so make sure the edges of your cut are smooth and cleaned up when you finish..
Ready to go. I went with a Lockheed-Martin Racing Tank.
Now's a great time to replace all the hoses, obviously. The reinforced hose to the headlight washers can actually be sourced from LOWES of all places.
I was in there looking for some small items to quickly steal and ran across the exact reinforced hose in the plumbing section. LOL
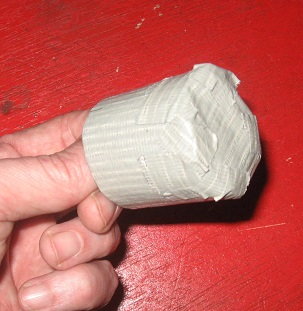
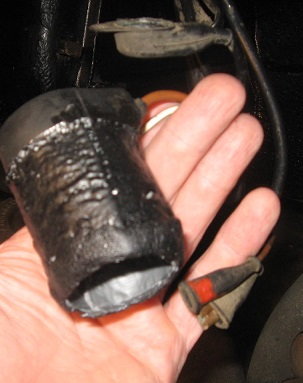
OK, next hurdle. The rubber cap which protects the washer pump wiring was utterly trashed. I decided to fabricate one. I started with some ubiquitous duct tape, to form a "mold".
I then took the can of FLEX-SEAL (LOL ! ! ! ! ) which I stole from LOWES and began building up a rubber sleeve of sorts...
The stuff is fairly easy to work with, and it takes about 45 minutes between coats until you can spray again...
I cut away the disintegrating rubber until I found some sturdy material on the original rubber seal,
then glued the old and new together, then hit the whole contraption with a few more coats of the FLEX SEAL...
Installation begins, no drama
All-new hoses and a refurbished pump for the engine bay side of things..
I am temporarily using that derpy white flex/bilge hose until I can get a proper filler neck hose ordered...
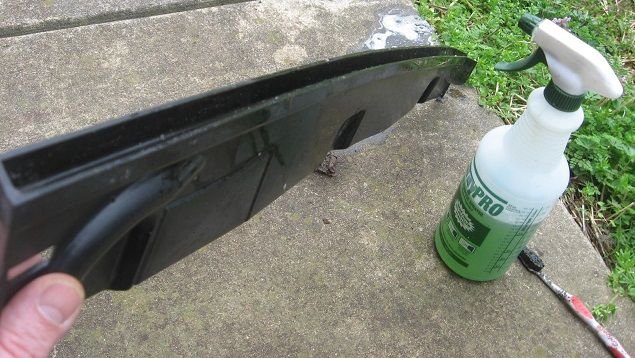
There is a foam sealing strip at the top of the wheel well shield which disintegrated over the past 35 years...
I cleaned out the channel for the foam with some Simple Green.
This closed cell pipe foam is a perfect replacement. Just trim it to the correct size and install with adhesive
Ready to go, once the adhesive dries...
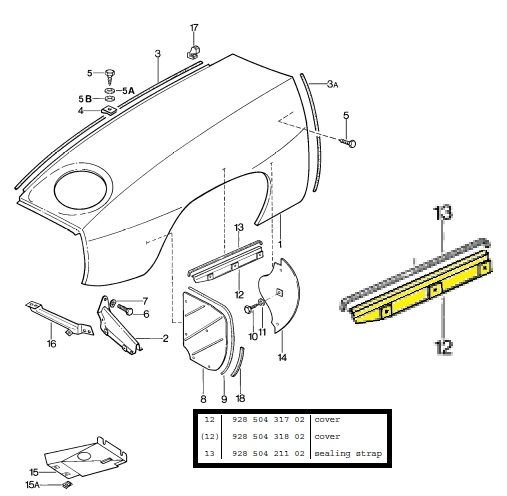
Here's the PET showing the foam strip I replaced...
A fun project, no real injuries to report. I did eat a lot of lemon drops on this job for some reason. And I played a ton of Thievery Corporation songs while working. That had to be the key to success. Lemon drops and Thievery Corporation.
The only deviation I would suggest (before Stan does) would be to remove the metal collars in the 'fill' port at the top of the tank and the filler neck. That'll avoid them slowly turning to rust and soiling the inside of that virginal carbon fibre tank. The derpy hose requires less torque to seal on the CF so the reinforcement collar is not necessary. Use a Schiessco torque screwdriver so as not to overtighten the normaclamps.
The only deviation I would suggest (before Stan does) would be to remove the metal collars in the 'fill' port at the top of the tank and the filler neck. That'll avoid them slowly turning to rust and soiling the inside of that virginal carbon fibre tank. The derpy hose requires less torque to seal on the CF so the reinforcement collar is not necessary. Use a Schiessco torque screwdriver so as not to overtighten the normaclamps.
Thanks, Rob ! Great time to do this, and definitely worth the upgrade.
And BTW, it's not the carbon fibre tank.
It's thecarbon fibre - taafeite racing tank
Taaffeite (BeMgAl4O8)
Originally Posted by Crumpler
Where's your wedding ring Dan?
Sheesh you have good eyes! I always take the ring off in the garage and what-not. I remember getting it snagged on something years ago and it hurt like the devil. The ring, that is...
25 years coming up in May... (Still noodling where to take my bride to celebrate)
Last edited by Daniel5691; 04-01-2017 at 02:33 PM.
Nice work Daniel.Great ideas with the flex seal.
just for grins drop one of those metal collars into a cup of the new washer fluid,
see how long before the outer coating is removed.
They were supplying us with metal hand pumps for our 55 gallon bulk washer fluid dispensers,
the new pump was stripped of its outer coating in 4 days and was soon leaking on the piston
Good Stuff Daniel. This resonates with me as the hallmark of 928 restoration, and for most of us... 928 ownership in general.
Very rarely are we doing hot laps on the track, or hanging out with celebrities (well, maybe Hacker).
Most of my projects don't involve instant gratification and more horsepower.
Most of my hours are like this: methodically cleaning, reverse engineering, fabrication, and scornful disdain from my wife for coming back inside smelling like chemicals.
And that does even account for the hours we spend researching beforehand.
But, I ask, what's better then seeing the before and after pics!
Very satisfying, bravo to you Mr. 5691!
I'm about to tackle this one...going to drive from KC to Colorado springs and the headlamp washers are the only thing that work...of course...
I was wondering if anyone has experience using the stainless steel co2 check valves for aquariums? I'm having no luck finding nice stainless ones specifically for windshield washers...
They are pretty cheap but thought to just ask around if anyone has used them / how was it...


 04-01-2017 | 11:54 AM


 )
)
