When you click on links to various merchants on this site and make a purchase, this can result in this site earning a commission. Affiliate programs and affiliations include, but are not limited to, the eBay Partner Network.
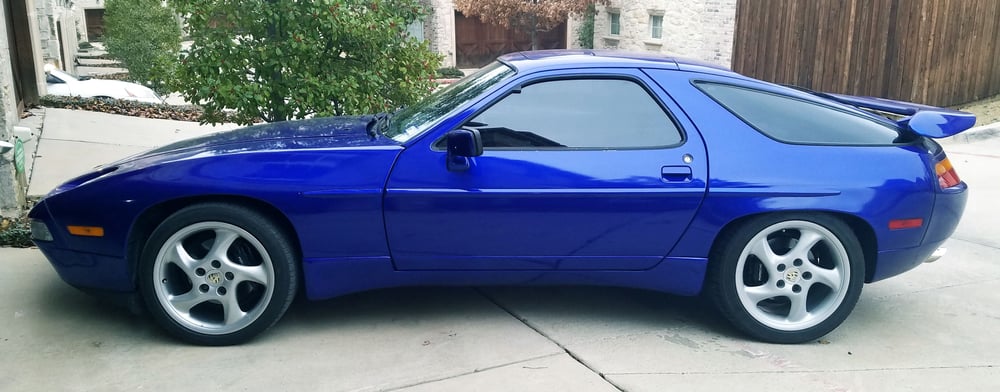
As the title says, going with a wrap on the 928. I've got 60ft of 3M Medium Metallic Blue (G227) coming, and have played with a sample of the color already - we are really liking the stronger blue color compared to the Tahoe Blue that went into the underside and engine bay. This G227 is about 2 shades darker than the Tahoe Blue, and more metallic flakes.
The car has a second, poor respray on top of the original paint. Bad enough that sanding scratches in the original paint are showing through the second spray, and very uneven wetout. They didn't disassemble anything, just masked to edges! As I said - a poor job. So, some of my sample testing was sanding the current paint to minimize surface flaws, then apply the vinyl and see what is showing and what is gone. Found that basically if you can feel the flaw - a scratch or bump, then it will show through the wrap. I've read that a matte or textured wrap will hide more, but mine is a gloss, so needed to run these tests to understand what I'm getting into.
So, I've been working on stripping the parts off the car in preparation for a full wrap - all jambs, undersides of hood and hatch, all green areas that are not covered with upholstery or other parts. Now the rear quarter windows are out, hatch is off, rear bumper cover off, front fenders and nose off. Also have the driver door stripped (except the window). I'll be keeping the rub strips, but they will be wrapped separately. As all the nose parts had been off before, cleaned/painted/plated, it was easy to get off again. The rear cover was the last body part I had not removed during my first teardown, so this gets the full treatment. Cover off, bumper and mounts off and blasted clean, then repainted the mounts and clearcoat the aluminum bumper.
The driver door is stripped, but it was a challenge! The latch system was a bear - specifically the anti-theft guard plate! That took a while to get out, always seemed caught on something, so just kept removing hardware and undoing connections until it happened. During this process (several hours) I decided I would leave the other door intact until this one is all back together - just as a reference. I doubt I could reassemble it without another to look at!
With the window up, I could get at most of the latch system inside the door, but the window has to be down to get the outside handle and pivot off. It also has to be down to get the upper rubber channel out, after removing the small guide triangle on the upper door frame. There is a small phillips flat head screw inside the rubber channel. And, my outer rubber wiper seals were trashed, so ripped that out too. I now see what others mean about fitting the new rubber into the small groove on the trim.
And now some details I didn't find before. The door window trims are friction fit onto a flange on the door structure, and the flange is parallel to the glass surface, all the way around. So, when removing the trim, it needs to be pushed toward the center of the window opening. I used a piece of lexan to hammer along the bottom trim, pushing it toward the car centerline. This seems to be how most people do it. I found a thread later that mentions the flange axis, and how much easier it would be to use a small slide hammer with a hook to pull the trim up off the flange - that would work much better than what I did. Thankfully no damage to the trims.
Except, the little corner trim piece at the lower front corner. I could not understand how that is attached to the door, so kept prying at either end, and eventually broke off a stud that was soldered to the back of the trim. Turns out there are 2 studs on this piece, these are pushed into holes in a rubber part that is rivetted to the door. Once I got the concept, not hard to do, but will have to fix that piece - bent it way out of shape! I'll probably use Sika to reattach it later. Pretty successful so far, no damage I can't fix, and the toughest trims are still in great shape. I think the last challenge will be the roof drip rails, so have a heatgun to soften the glue - next time.
I would lower the window, pull out the front section of the upper rubber channel, then find the tips of the 2 studs that poke through the rubber flange, and push them out from the inside. Lube with some liquid soap or similar first. I'll try this on the passenger door piece later on. It is already tweeked, so be a good experiment.
You can buy that little corner trim piece new...several years ago we did some exterior restoration work on mine and we replaced them. The drivers' side doesn't fit absolutely perfect on mine with the new part...they are tricky I think.
The corner trim is a sacrificial part. It's very cheap to replace.
You are correct that vinyl does not hide surface imperfections. Let me put it this way... I washed and did a quick detail on the car before applying my wrap. I can still see some dirt specs I missed, that show through the wrap under the door guards and on the rear bumper. C'est la vie. For the same reason you should detail the car properly before applying the wrap, you should NOT apply wrap to a sanded surface. It will have poor adhesion, even with a primer. Any surface that's not perfectly smooth will cause the vinyl to lift prematurely. You are going to want to apply polishing compound to those rough surfaces and smooth them out as best as you can, or expect to redo a few panels within 1-2 years.
Second, if your respray paint job was not properly applied, or you apply the wrap to fresh paint (less than 2-3 months old), it WILL lift up when you remove the wrap. Expect paint to pull away from the car if you plan to leave the wrap on for more than 3-4 years. The longer you leave on a wrap, the more it adheres to the substrate and the more difficult it is to remove. I know this sounds like the opposite of what I said above... a rough surface will cause the wrap to lift prematurely, and poor substrate (paint) will lift off with the wrap. For example, my installer mentioned seeing brand new range rovers have large sections of paint lift off when the wrap is removed after being on for years. I myself saw a 1.5" round section of paint pull away from my 928 (luckily it was at the bottom of the fender, under the side skirt) when he pulled some vinyl off the fender to reposition it.
Lastly, I'm not sure how much material you bought, but if you don't have a lot of experience wrapping a car, specifically one with some unique curves like the 928 (it seems like an easy car to wrap, but it's not), then a full 75ft roll is not enough. After scrapping some rather large sections due to unpredictable behavior over the complex curves of the bumpers, I had to purchase an additional 15ft roll to finish out my spoiler, side skirts, and have some for touch-ups. Vinylgiant.com has excellent prices.
Also, anyone reading this... please remember that a wrap is really not an ideal solution if you want to preserve your original paint, or have a poor paint job underneath. It has a chance of pulling off the original paint, will not stick to rough/chalky surfaces, and will bond permanently to an improper respray. My car had very thin paint, but was in good condition. It needs to be resprayed entirely, but I wasn't in a position to spend $8K on a proper repaint with all the trim/glass removed... so this was a $2.5k temporary solution that should last 4-5 years with regular care/washing, parking in the shade, etc. If my paint is damaged upon removal, it will be a non-issue because the car was needing to be repainted anyway.
Hope that helps!
Thin paint on hood
Thin paint on roof
Last edited by traxtar928; 02-27-2017 at 12:44 PM.
The part about not adhering to "rough/chalky" areas caught my eye. I've been considering a wrap to cover my crappy paint...large areas of the roof and hood appear to have the clearcoat oxidizing....but that's exactly what it does to the texture...rough and chalky is a great description. Sounds like maybe my plan is flawed...
Yes, if you have failing clear coat then a wrap is NOT the solution. You'll have sections over the chalky parts that un-adhere and lift... looking like bubbles. What you CAN try is to polish the raw paint as best as you can where the clear has failed, and use a test piece. If the vinyl sticks, you might be okay. It'll definitely take some hard work to get the paint smooth enough for the vinyl to adhere properly. Regardless, expect large sections of clear/paint to lift when you are done with the wrap.
You can see some of my pictures of the original paint above, where the previous owner actually polished through the paint straight to the grey primer. This happens with the lacquer paint on some cars... you can polish until the paint disappears. Later cars (or certain colors... I can't remember) use a 2-stage paint/clear. I used meguiars compound on the primer and got it as smooth as possible before applying the wrap. Since it's a lacquer paint, there is no edge as it turns to primer. The wrap sticks without issue.
Rule of thumb is that any defect you can feel with a fingernail will translate through the vinyl, such as an edge of missing clearcoat. Wet sanding and polish might be a solution... like I said, try a test piece. 1ft sections of 3M material are really cheap on eBay.
Last edited by traxtar928; 02-27-2017 at 02:43 PM.
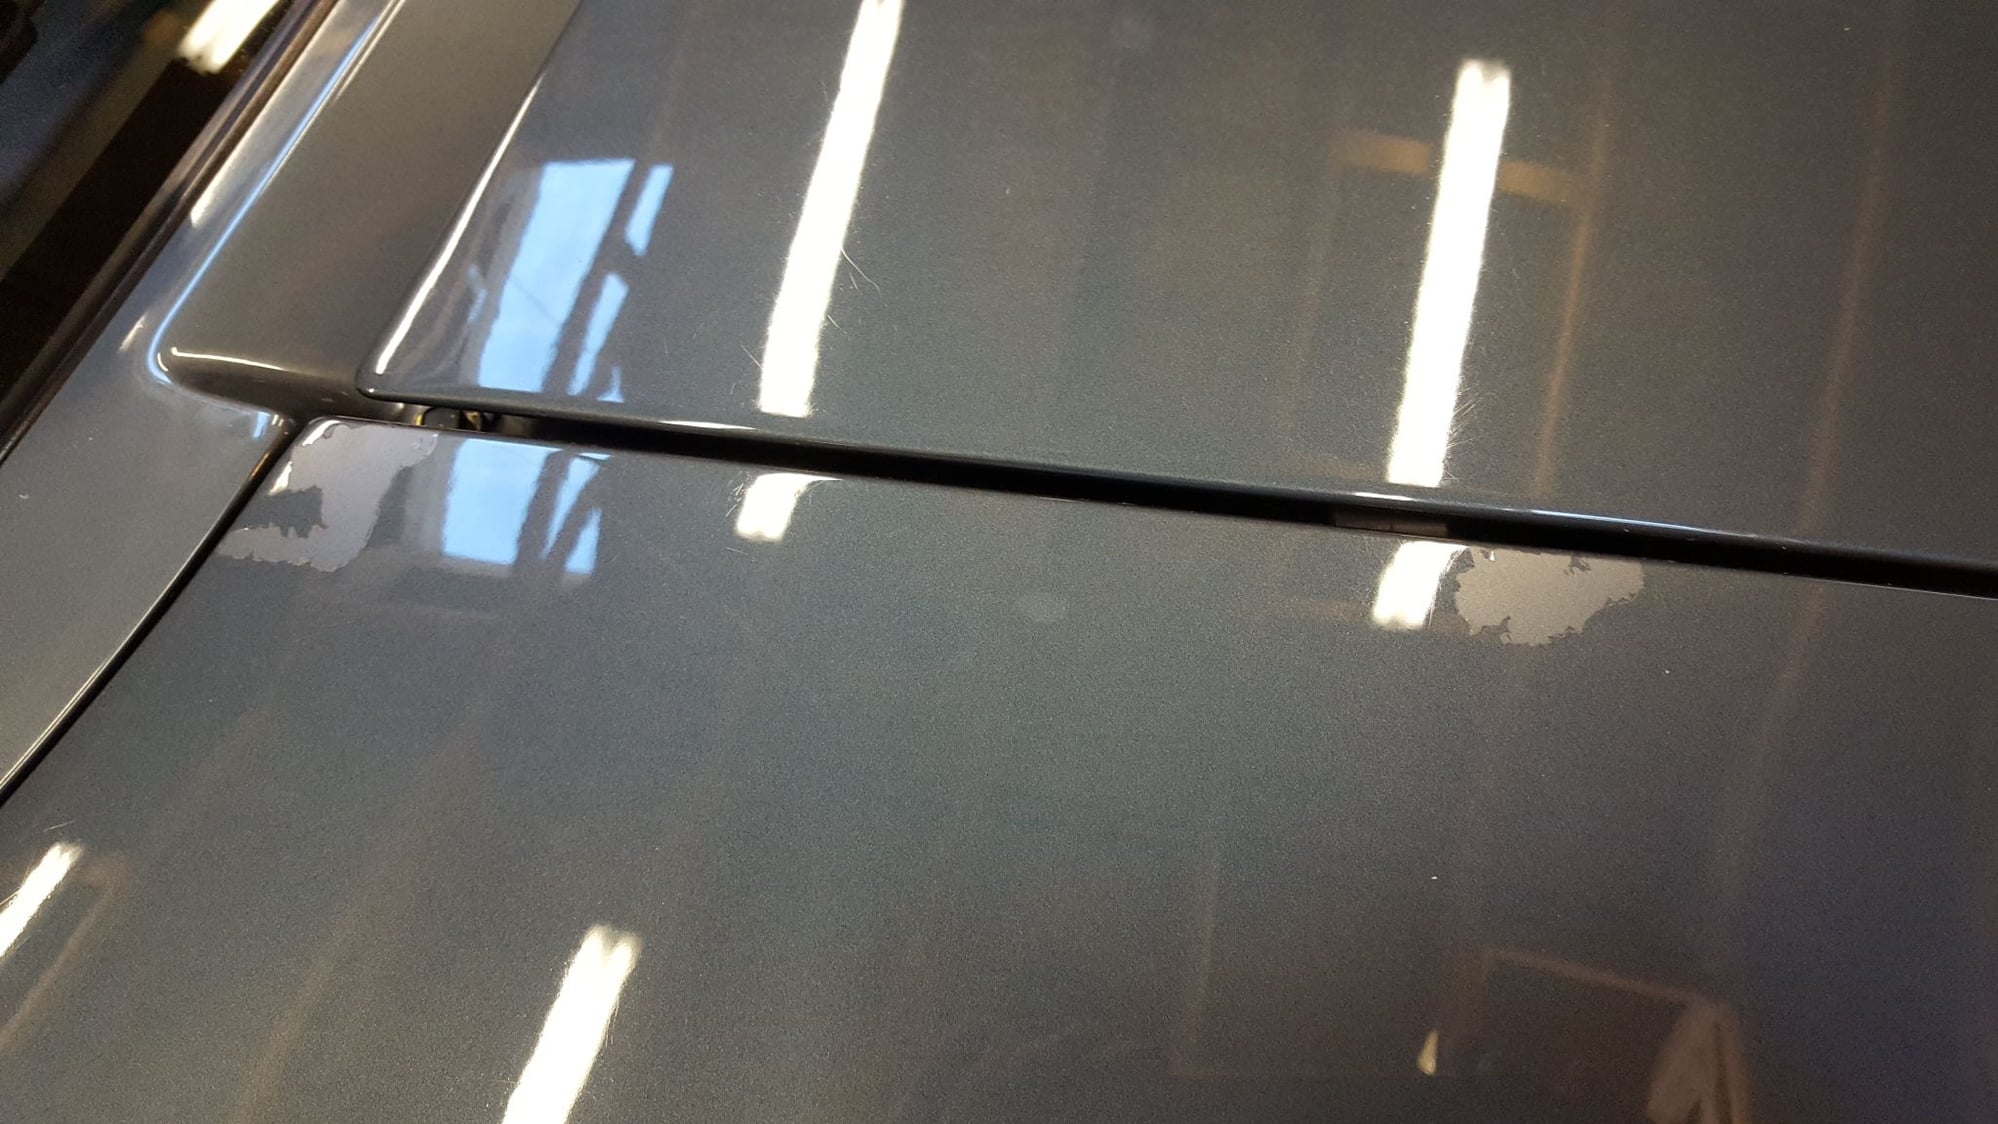
Even 3M auto masking tape, green, can pull the clear up. I masked the edges of my fenders while putting the hood back on and ended up with this mess. Must have been an imperfection but nothing that I saw prior.
Oh my goodness... yes, that's improperly applied clear coat failure. Looks like the painter waited too long and let the base coat cure before applying the clear. How long ago did you get it painted? That's such a bummer.
Green 3M tape should never do that... it's very gentle.
I believe it was repainted many years ago, just the front of the car. I don't have records of it but there is a very subtle color shade difference in sunlight. The rest of it looks great... I can't figure out why it pulled.


 02-26-2017, 04:47 PM