When you click on links to various merchants on this site and make a purchase, this can result in this site earning a commission. Affiliate programs and affiliations include, but are not limited to, the eBay Partner Network.
Just had a wrap done on my 928- and paint prep is a must. It is very easily pulled out and any defects show. However, mine was prepped well and turned out amazing.
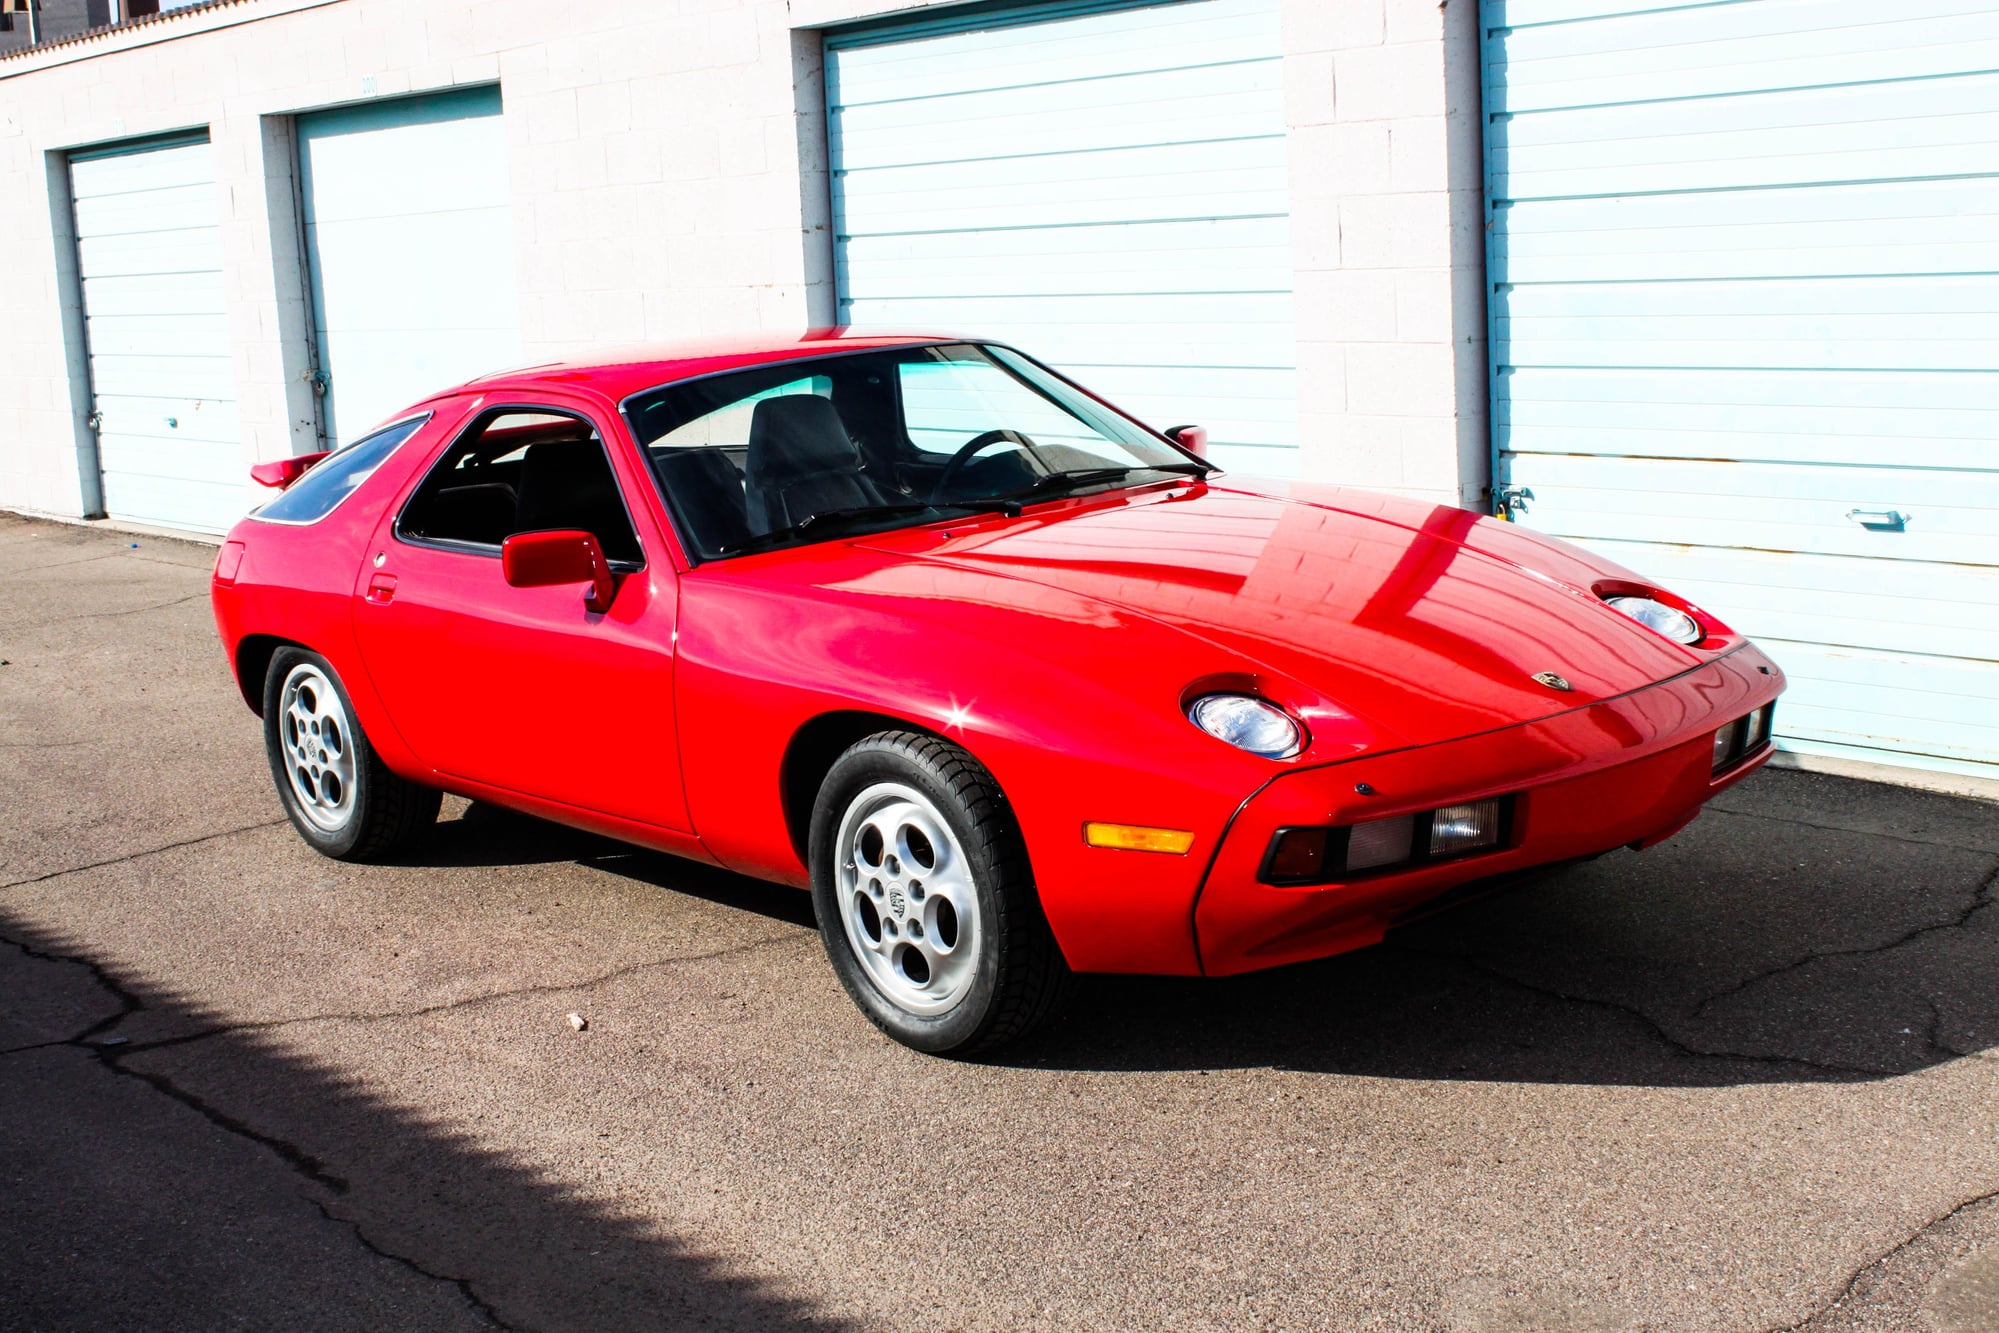
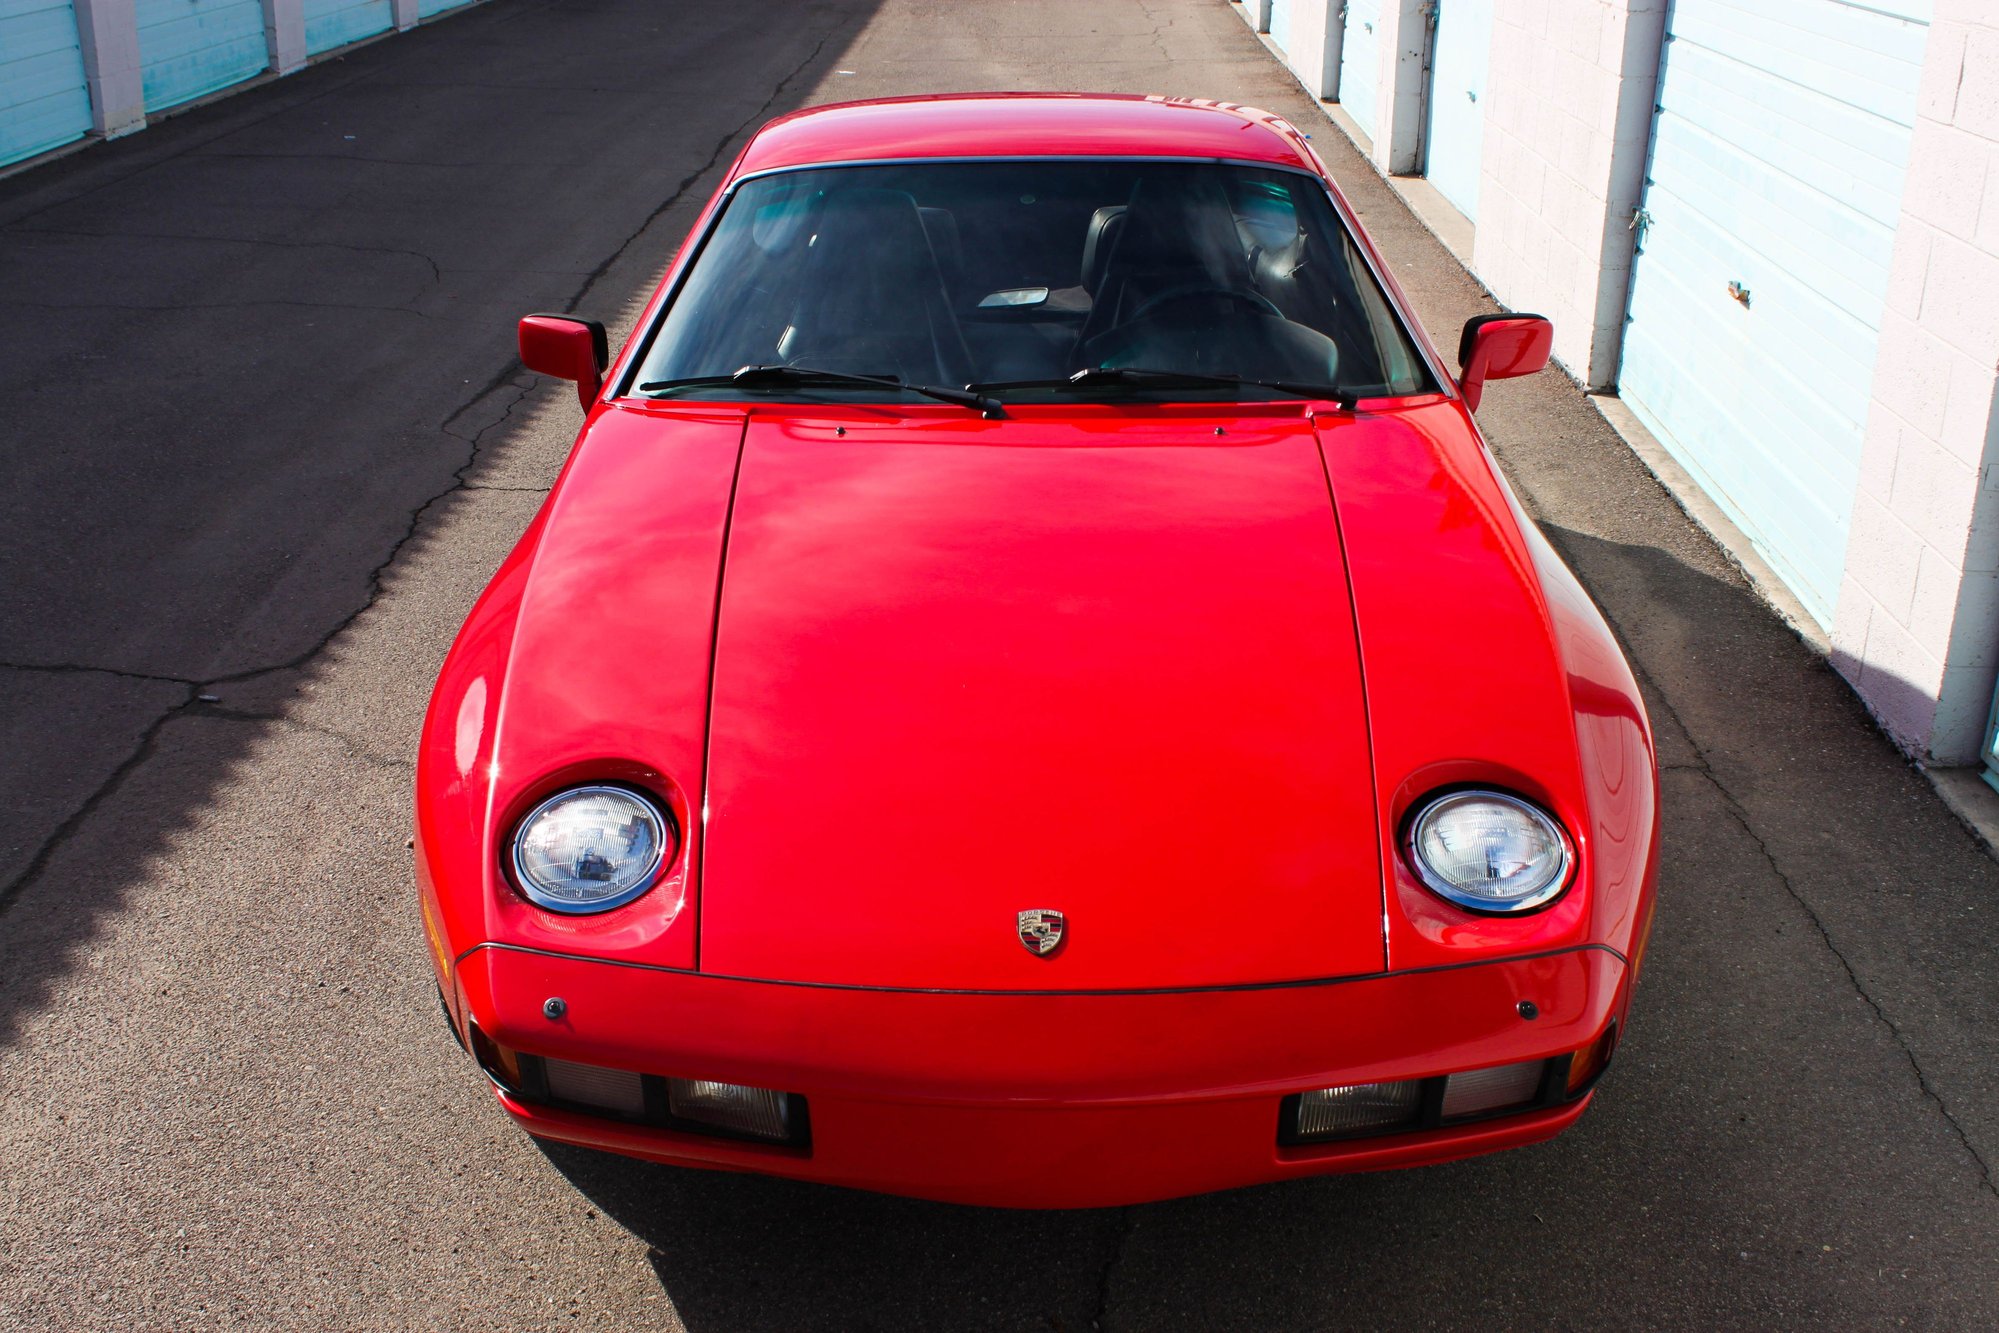
One thing to note- Like paint, glossy dark colors show defects in the layer below much more then a matte white. My red is somewhere in the middle.
Thanks for the tips Traxstar - really good info there. Unfortunately, my paint is crap now, and with the test samples I applied, the clearcoat peeled off when I removed the wrap film. I'm not concerned with saving the paint at all, so will go over the whole car carefully to prep as well as I can. Lots of small paint chips to fill, some large clearcoat failed areas to feather out and recoat, and plenty of surface and sub-surface scratches to buff out. Also some minor body fixes to do first (filling in the imported corner marker light holes, and the power antenna hole) - these will be sanded, primered, painted, then let cure before wrap is applied. At this point, I'm only shooting for the wrap to last a couple years, when I can afford to pay for a nice paintjob.
So, my first step will be clean all the surfaces. This will be a good wash with RM wax/silicone remover. Next is to find any high spots in the paint and sand them flush, finishing with 800grit wet. That alone will take a lot of time, followed by paint chip filling and smoothing. Hopefully all this will take me to the warmer weather, when the wrap will be easier to apply. Will still do it in the garage to minimize dust, and get the space nicely warmed with the heaters. Hopefully tomorrow will get the car masked off to keep dust from the interior and engine bay areas.
Traxstar - that blue is beautiful! And the red wrap above looks great too!
I'm planning on wrapping my 'sunburned' '83 with 3-M Gloss Blue Raspberry. If you've seen pictures of 20th Frenzy, mine is the ugly blue one. A friend of mine told me of something you can apply to the clear coat to 're-melt' it so it will polish without flaking, but I can't remember what he called it. I want to polish it down to a smooth base and then wrap it.
Traxstar, What was it like to apply? I've used Mono-Kote vinyl covering on my R/C aircraft since the '90s, so if it handles like the R/C covering, I think I can handle covering my 928. I always said if I could get Mono-Kote on 6' width, I'd cover a car with it. Mono-Kote is stretchable and heat shrinks like 3-M but has a heat activated adhesive so it has to be ironed on at about 300*f. It can also be heat gunned and lifted ( sometimes). Does the 3-M film handle like that(except for having pressure activated adhesive)?
Well, that is a nice big freaking FAIL! Did some searches on here to try understanding how the "Roof Edge Strip" is held onto the car, but didn't use the right search term until tonight - AFTER I had seriously tweeked the passenger side while working at it for over an hour tonight, and still only 1/2 done! Turns out this is held on with a glue SuperMan couldn't tear off! I have completely opened the channel on the top side of the shape, and still not coming off. The glue is mostly on the bottom side the the steel roof flange, and even with heatgun applied (hot enough to burn skin), that glue is not budging. I hope Mark has a good part I can buy.
I think I'll use the rest of this side as an experiment to see if a Fein vibrating tool with a right-angled blade can get under between the aluminum bottom flange and the steel roof flange to cut the glue. Have to look around to borrow one of those.
I found 60ft x 5ft roll of 3M 1080 wrap for $306US plus shipping. Add in ~$150 in Primer 94, cleaners, and a few tools. Will find out if 60ft is enough, and keep the thread updated. Doing it myself, so labor is free.
OK, turn that FAIL into a success! I made a tool to tuck under the bottom flange of the Roof Edge Strip, then hammer it along the length, cutting the glue along the way. This is a 14GA strip, 3/4" wide with a 3/4-7/8" 90deg bend, and a 3/8" thick block welded on to be a hammer strike surface. The bent flange has been ground on top and bottom, both edges to a fairly sharp edge to help it cut the glue. Worked pretty slick! I finished the right side in just a couple minutes, mainly along the front glass. So with that proven, moved to the left side which I had not touched yet. At the upper rear corner of the door opening I wedged the Roof Edge Strip out enough to get the 90deg flange of the cutting tool under the bottom lip, then started working it forward. Initially it was just pulling, then once enough room to swing a hammer, it went pretty quick. Took about 15 minutes to remove this Roof Edge Strip, no heat applied. The only damage is a tiny dimple showing on the outer face, along the front window, and this was because I was pulling at the bottom too much, instead of working a 2" wide piece of 14GA plate upwards, levering the strip away from the window flange. The bottom flange has a couple wavy parts, mainly in the curved area, but easily fixable, and should go back on nicely! Now to remove that glue....
I think Carl said it - "Hans and Franz should not be allowed near a glue gun". Hopefully this idea can help others get these glued on strips off easier, and without damage.
I found 60ft x 5ft roll of 3M 1080 wrap for $306US plus shipping. Add in ~$150 in Primer 94, cleaners, and a few tools. Will find out if 60ft is enough, and keep the thread updated. Doing it myself, so labor is free.
Hey Al,
I have an account at a 3m distributor in Oakville, Courage Distributing. Be careful buying on-line as you don't want old stock. And film fest is on the 26th, they have good deals at the show apparently.
If you need any more materials feel free to send me a PM.
Thanks Adam. Waiting for my backorder to arrive in Michigan, then come here. I'll check out Courage also. This is the deal I found, supposed to be ~7 day backorder. http://www.advantagesgs.com/3M-1080-..._itemwidth=155
For that kind of money I expect the quality to be similar to a commercial truck with advertising on it. Meaning the application is good, but around the edges it's rough because for that market it doesn't matter.
To get a paint job quality wrap job, it requires full disassembly like we are seeing in this thread. No way you are going to have this amount of tear down / reassembly + materials for $2k. Even if they wholesale you the material.
I suspect Polecat would be expecting a quality job which rivals a top tier paint job.
Small details like do you want to hide the wrap around the door jams? If the answer is no, that's a lot easier than removing all the trim to work the wrap underneath.
Last couple weeks have been working on paint repairs like rock chips and scratches, some small rust fixes, and filling the old import marker light and antenna holes. This has been a huge amount of time, and still not done. It feels like those guys who paint cars for a living definitely earn their pay in all the prep work! I started with a complete rub down with wax/silicone remover, then masked off the glass and door openings to keep dust from getting into the interior and engine bay. Any rust spots have been sanded to clean metal, then painted with a rust killer primer to ensure it won't come back easily. Next, I used a high build auto primer to fill a bunch of chips in the paint that I caused during strip down. Also primered where the rub strips were, then sanded these areas to remove the paint ridge above and below the strips - result of a second paint job that just went up to items, not removed. I may be wrapping, but think that prepping the surface correctly will help make the best appearance in the end. Basically, if I can feel the surface flaw, it will show in the vinyl wrap.
I setup a work area in our finished basement, where there is no dust, good lighting, and indoor warm temperature. This is where anything off the car will be wrapped. With some time over the last 2 evenings, I tried wrapping the flag style mirrors and bases to start learning how it works. Last week I had done some youtube studying, especially the Hexis tutorials as they nicely showed the stretching techniques, and why. Well, actually doing the wrapping sure reinforces the things they showed! No substitute for trying it firsthand. I think they came out pretty good for first attempts on heavily contoured shapes, and the few wrinkles I have will be hidden by the rubber mirror surround and base gasket. The surface was sanded with 400 grit to smooth any paint roughness, and blend any rock chips, then wiped with rubbing alcohol just before the vinyl install. A heatgun is required! It only takes getting the vinyl to ~40C to see it soften, and become much more stretchable, but you only have 5-10 seconds before it cools enough to be less workable, so have to work in small sections. It takes some planning so you are using the stretchability (without over pulling), the material tendancy to shrink slightly when heated, and not get into a spot where you are trying to compress material (opposite of stretching). Once the edges were covered and tight, I used the heatgun to post-heat all the edges to get the vinyl to "take a set" in the new shape, and not want to pull off with variable temps it will see. Another benefit is these edges are all captured or held tight with something else, so no chance these will fail. Fender openings will get primer 94 to prevent edge lifting.
Caught a break today with the weather and my to-do time, so got the car pulled out of the garage and worked on removing the doors. Following others hints to heat the bolt heads, I used the heatgun on max (+1000F) and held it on the bolt heads for about 5 minutes per hinge. As soon as I put the gun down, put the wrench to the bolts and they would break loose. Except for 1!!! I think I had tried that one before without heat and partly damaged the hex socket, so my fault. Had to drill the head off, but got the door off after that. So doors off gives me full access to the door jambs, clean and lube the hinges, and the doors can be wrapped inside at my clean work station. Got the car pulled back in just before the rain started, so a good progress weekend.
More wrap progress! Got the hood done a couple nights ago, came out really good. Only a couple wrinkles where I over-stretched with my fingers out in the middle area. At the moment not enough to make me redo the hood, but if I have enough left, I might. I figured this was an easy, large part due to flatness - was mainly true. But learned that much better to hold the film with 2 people and lay it on as smooth as possible, not stick down one end and peel the film to the other end. I must say surface prep is key! All paint chips were filled with paint and cured, then block sanded smooth, ending with 400 grit, then 400 for the entire surface to smooth paint ripples, scratches, and orange peel. Note - this is only for my poor paint condition to get the surface very smooth! Lots of cleaning and dust removal - ended up using my leaf blower to make sure no dust hiding inside the hood and door shells - does a good job!
The doors needed new stone guard texture along the bottom, so sanded the remaining original, wiped with solvent, then masked and sprayed these lines - looks a little heavier then the original texture.
Also did a coverage test of the 3M wrap. In bright sunlight, applied a square of the film to the RH door that was in process of sanding to remove the ridges around the rub strip. This showed a primer grey striped under the rub strip area, but the G227 color vinyl sompletely covered the light grey strip - no hint of it showing through, so very pleased I didn't have to keep repainting the sanded areas to a near-match green to ensure the vinyl would hide things properly. The door pic shows the final sanded surface, cleaned, ready for final wipe down and vinyl apply. I used scraps from the main door cut to wrap the back and bottom edge of the door, just to be complete. A few wrinkles in the area, but class 2 in my opinion, and most of the flaws will be hidden anyway when reassembled.
My Porsche shop told me the new roof side strips from Porsche doesn t fit right. They don t remove the old ones anymore before a paint job because of the risk to bend them .


 02-27-2017, 03:32 PM


 Well, that is a nice big freaking FAIL! Did some searches on here to try understanding how the "Roof Edge Strip" is held onto the car, but didn't use the right search term until tonight - AFTER I had seriously tweeked the passenger side while working at it for over an hour tonight, and still only 1/2 done! Turns out this is held on with a glue SuperMan couldn't tear off! I have completely opened the channel on the top side of the shape, and still not coming off. The glue is mostly on the bottom side the the steel roof flange, and even with heatgun applied (hot enough to burn skin), that glue is not budging. I hope Mark has a good part I can buy.
