
1983 928S
 08-06-2017, 07:10 PM
#181
Burning Brakes
Thread Starter
Made some more fixes this weekend.
My AC air valve problem is solved
Rather than the power feed from the wiring harness feeding the AC compressor and air valve it is now triggering a relay for a power feed direct from the jump post. Now I have 13.89v instead of 8.xx. I set my idle speed to spec and when I turn on the AC the idle is bumped up to compensate for the extra load on the engine, as designed.
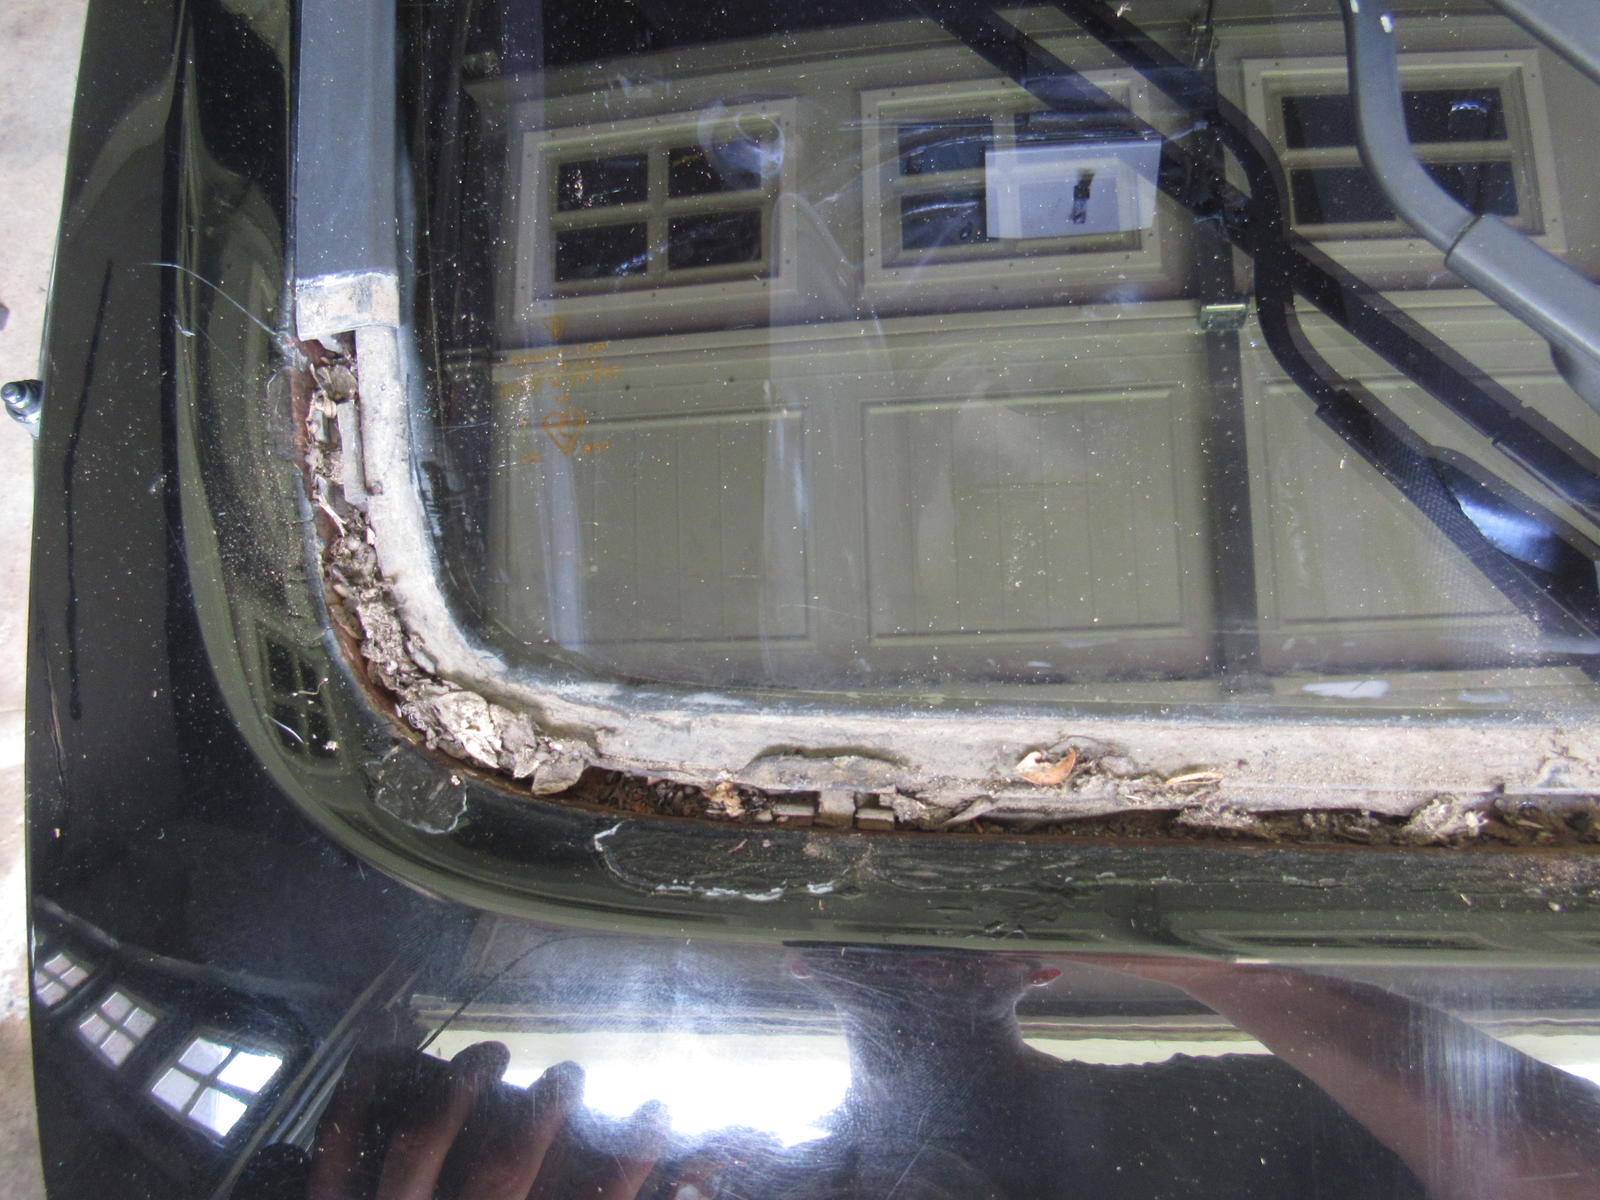
Next up was fixing my leaking rear hatch. There was no way I could subject my new Rob Budd hatch trims to water damage. The outer trims are fastened by screws from the inside. Once removed I found no sealant whatsoever and detritus in its place. I filled the channel with 3M strip caulk, reinstalled the outer trim and tested it, no more leaks!

I finally fitted a battery hold down bracket I've had for about a year. The problem is that no bolt would thread into the hole. I tapped it with an M8 x 1.25 which seemed to be the closest match and the spoils were all undercoating, no metal. The undercoating looks original and matches the rest of the car but I'm sure it left the factory with a bracket? Anyways it is solved, though there is about a 10mm gap between the bracket and the mounting surface. It does a great job of keeping the battery secure so I think this is designed as a kind of spring.

My AC air valve problem is solved
Rather than the power feed from the wiring harness feeding the AC compressor and air valve it is now triggering a relay for a power feed direct from the jump post. Now I have 13.89v instead of 8.xx. I set my idle speed to spec and when I turn on the AC the idle is bumped up to compensate for the extra load on the engine, as designed.
Next up was fixing my leaking rear hatch. There was no way I could subject my new Rob Budd hatch trims to water damage. The outer trims are fastened by screws from the inside. Once removed I found no sealant whatsoever and detritus in its place. I filled the channel with 3M strip caulk, reinstalled the outer trim and tested it, no more leaks!
I finally fitted a battery hold down bracket I've had for about a year. The problem is that no bolt would thread into the hole. I tapped it with an M8 x 1.25 which seemed to be the closest match and the spoils were all undercoating, no metal. The undercoating looks original and matches the rest of the car but I'm sure it left the factory with a bracket? Anyways it is solved, though there is about a 10mm gap between the bracket and the mounting surface. It does a great job of keeping the battery secure so I think this is designed as a kind of spring.
 09-24-2017, 10:18 PM
#182
Burning Brakes
Thread Starter
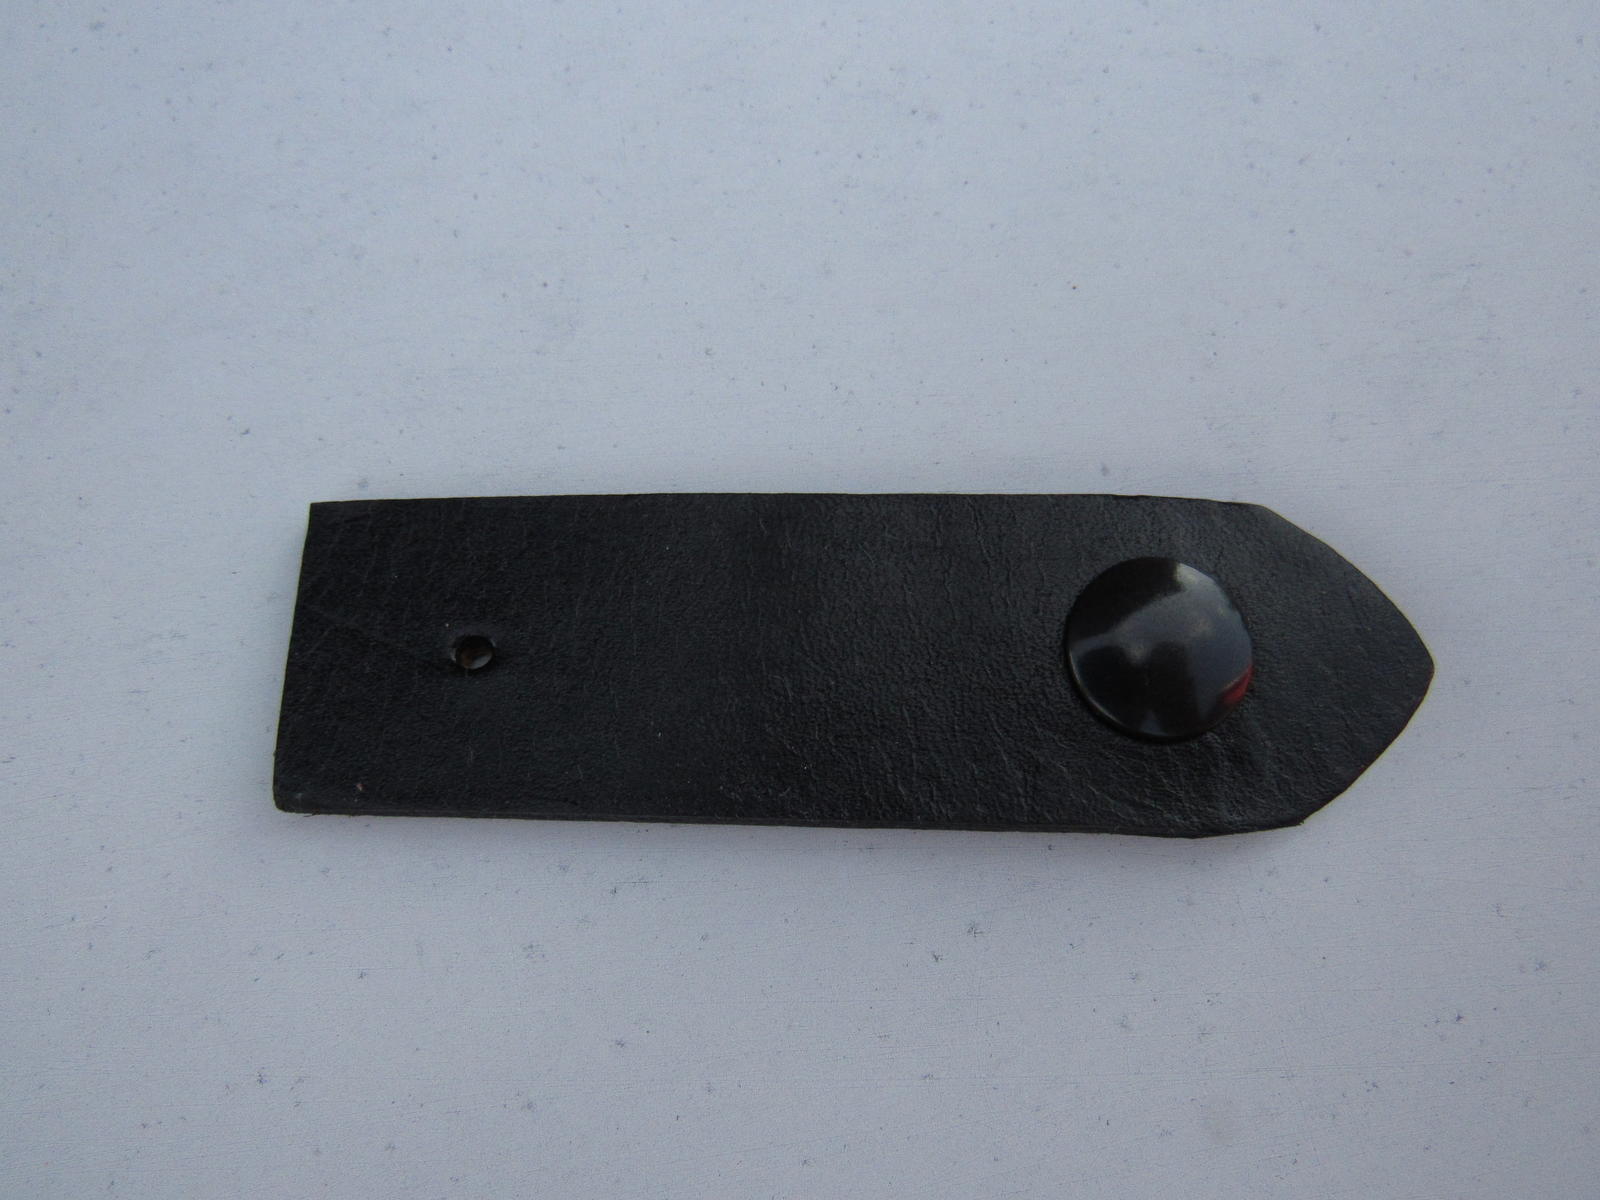
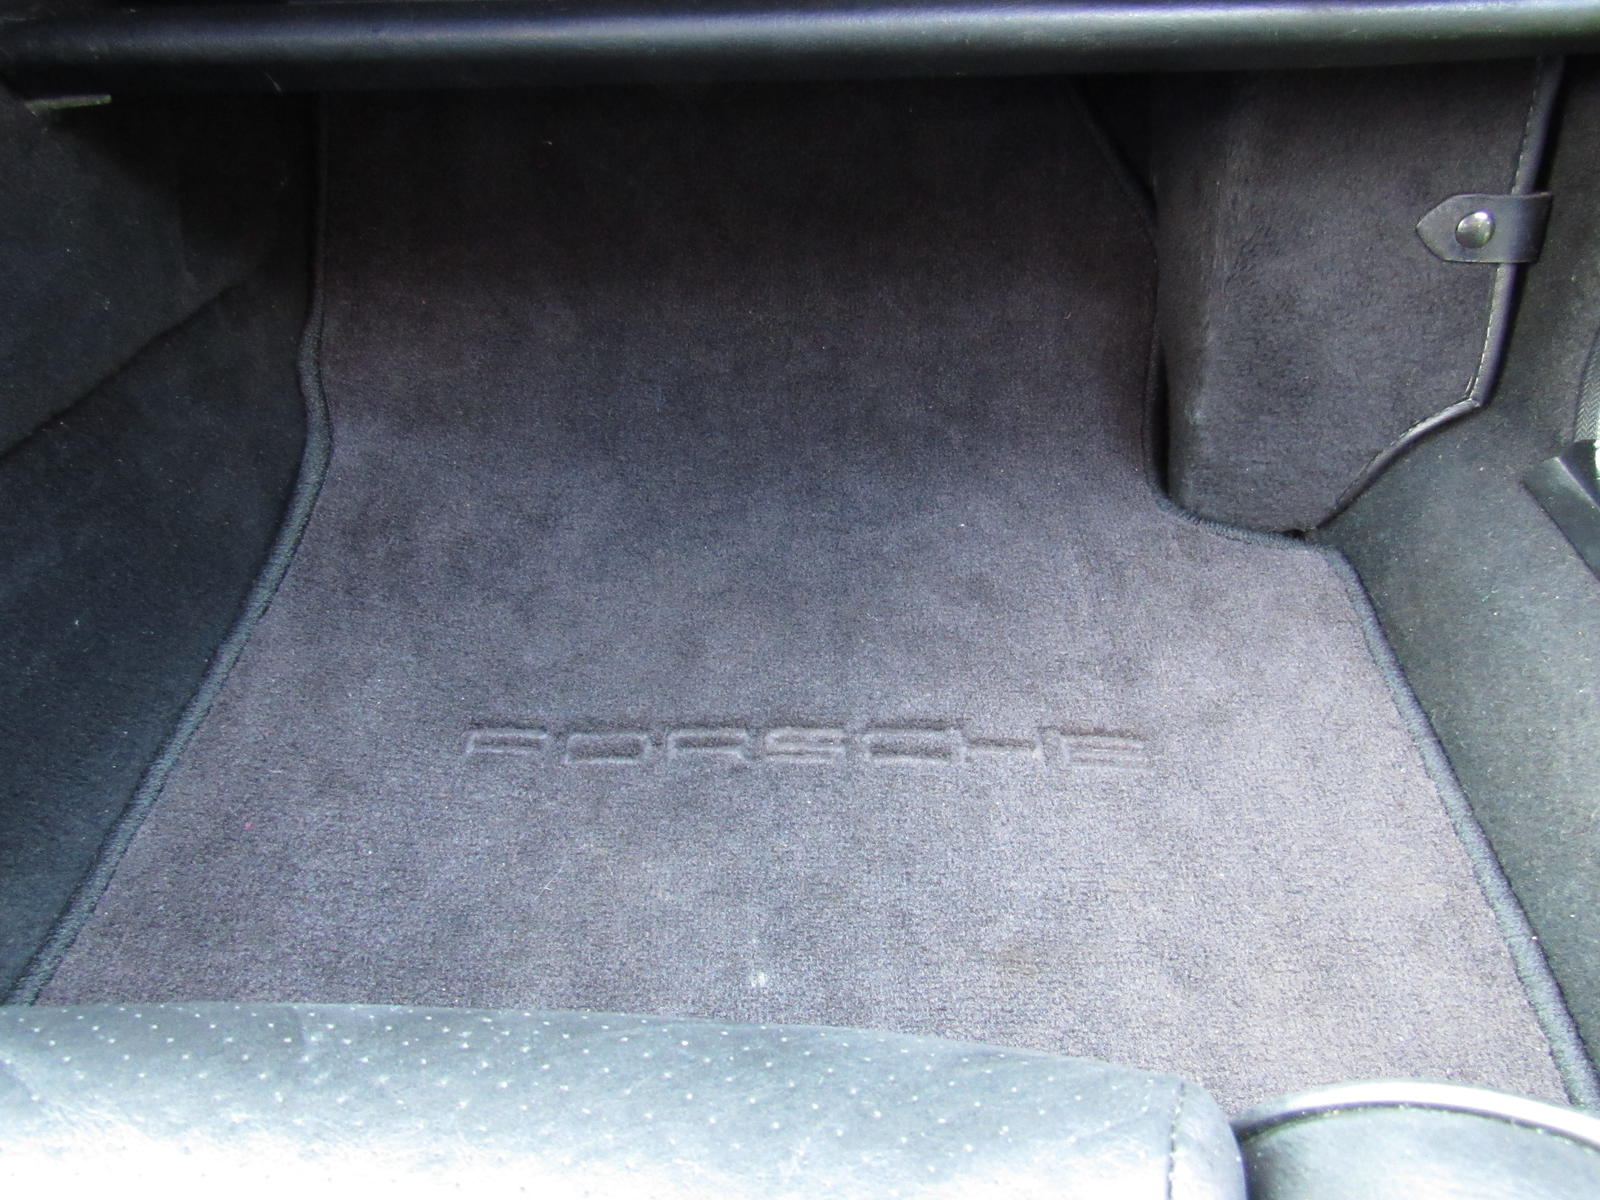
My car didn't come with a right side carpet with the L-jet cover so over the winter I had bought a good used one but was missing the strap. When I got my parts recovered I had Mr. Budd make me one so that area is now tidy.
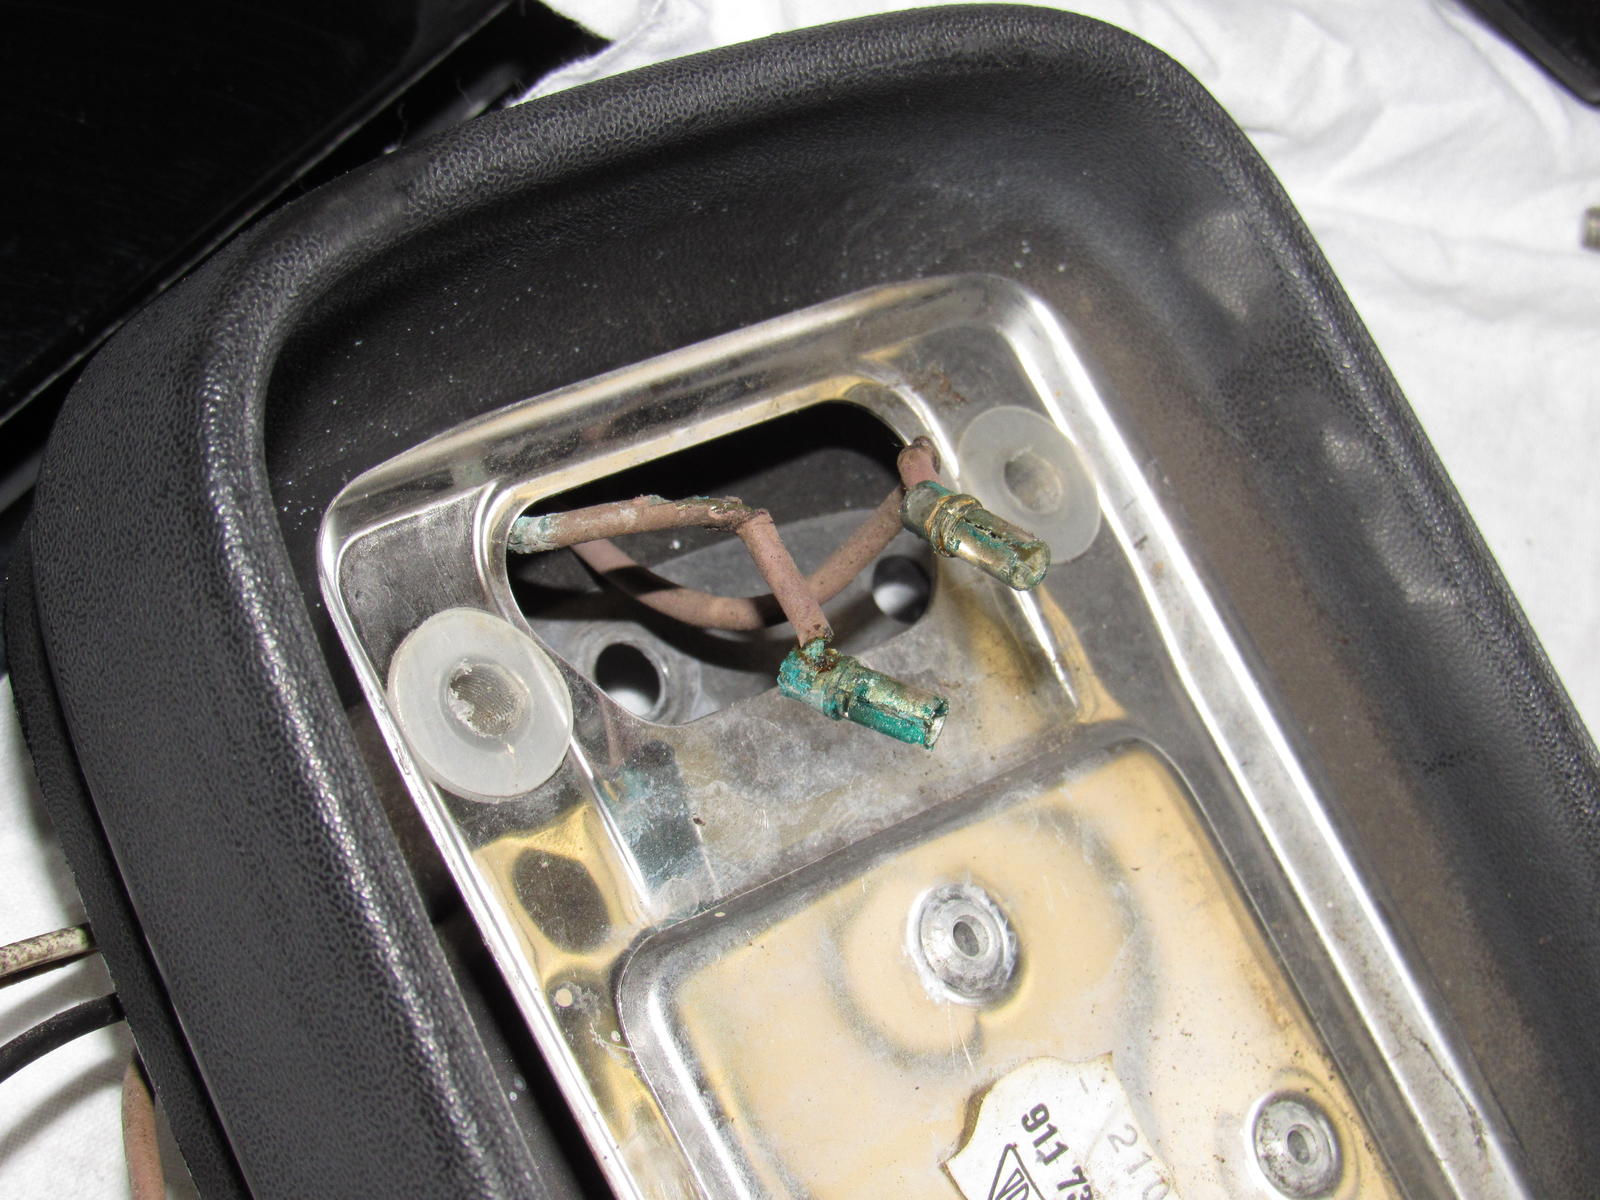
The left mirror does not work so I took it apart and found the wiring in really bad shape. The rubber insulators on the pins for the heating function crumbled away. I cleaned the connections and put heatshrink on those pins but it still does not work. The motor makes a noise but acts like it is jammed though the glass moves freely by hand. I've put it back together for another time, it is easy enough to adjust from the drivers seat.
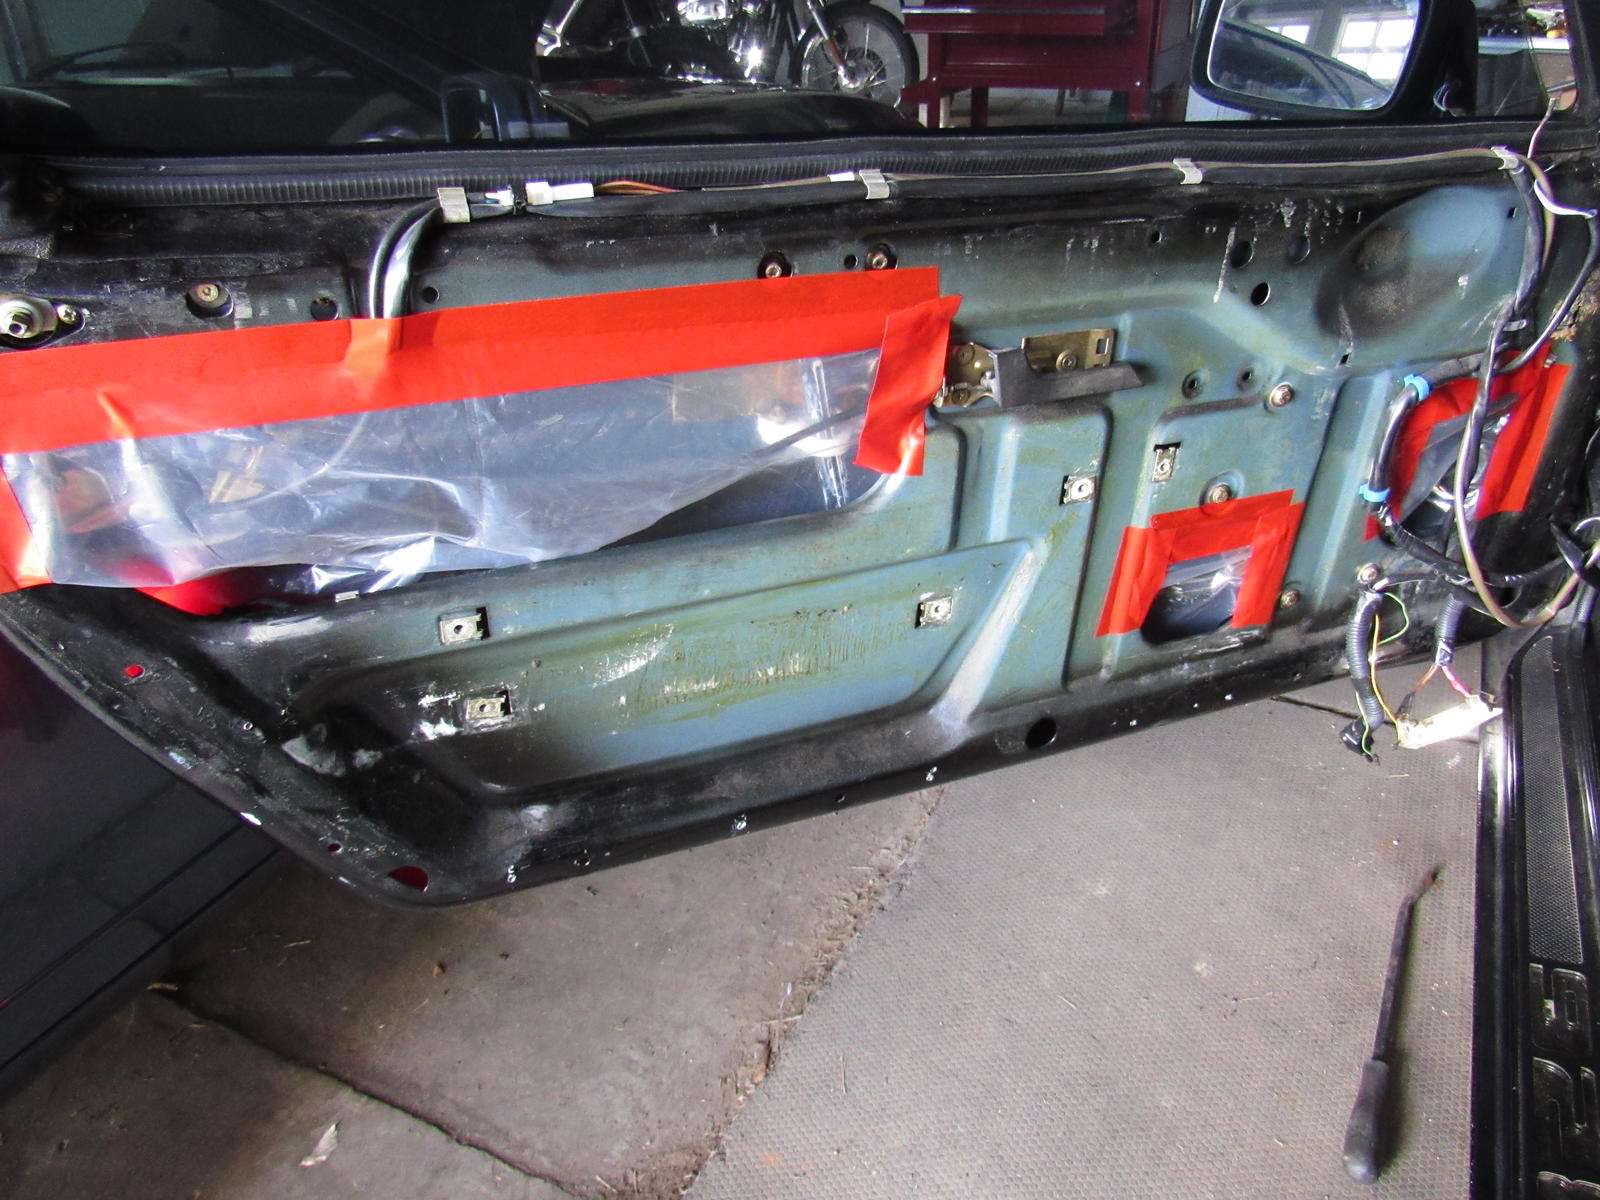
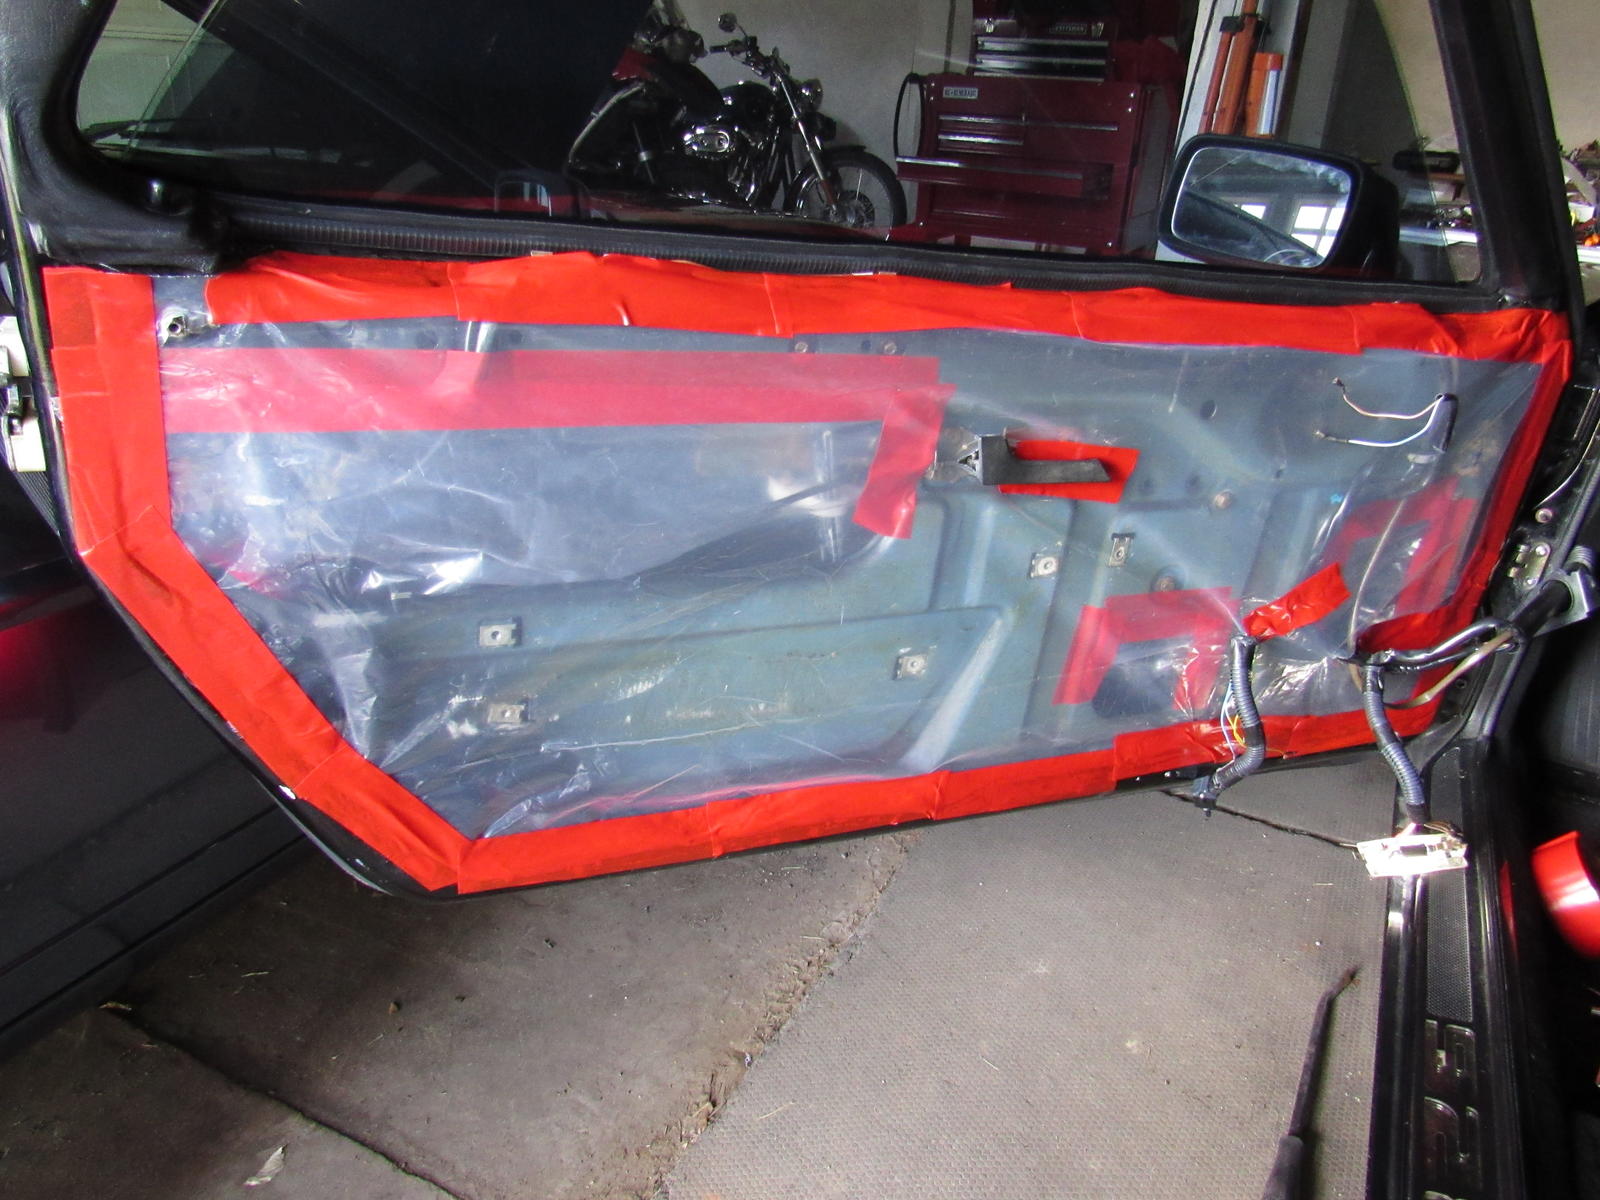
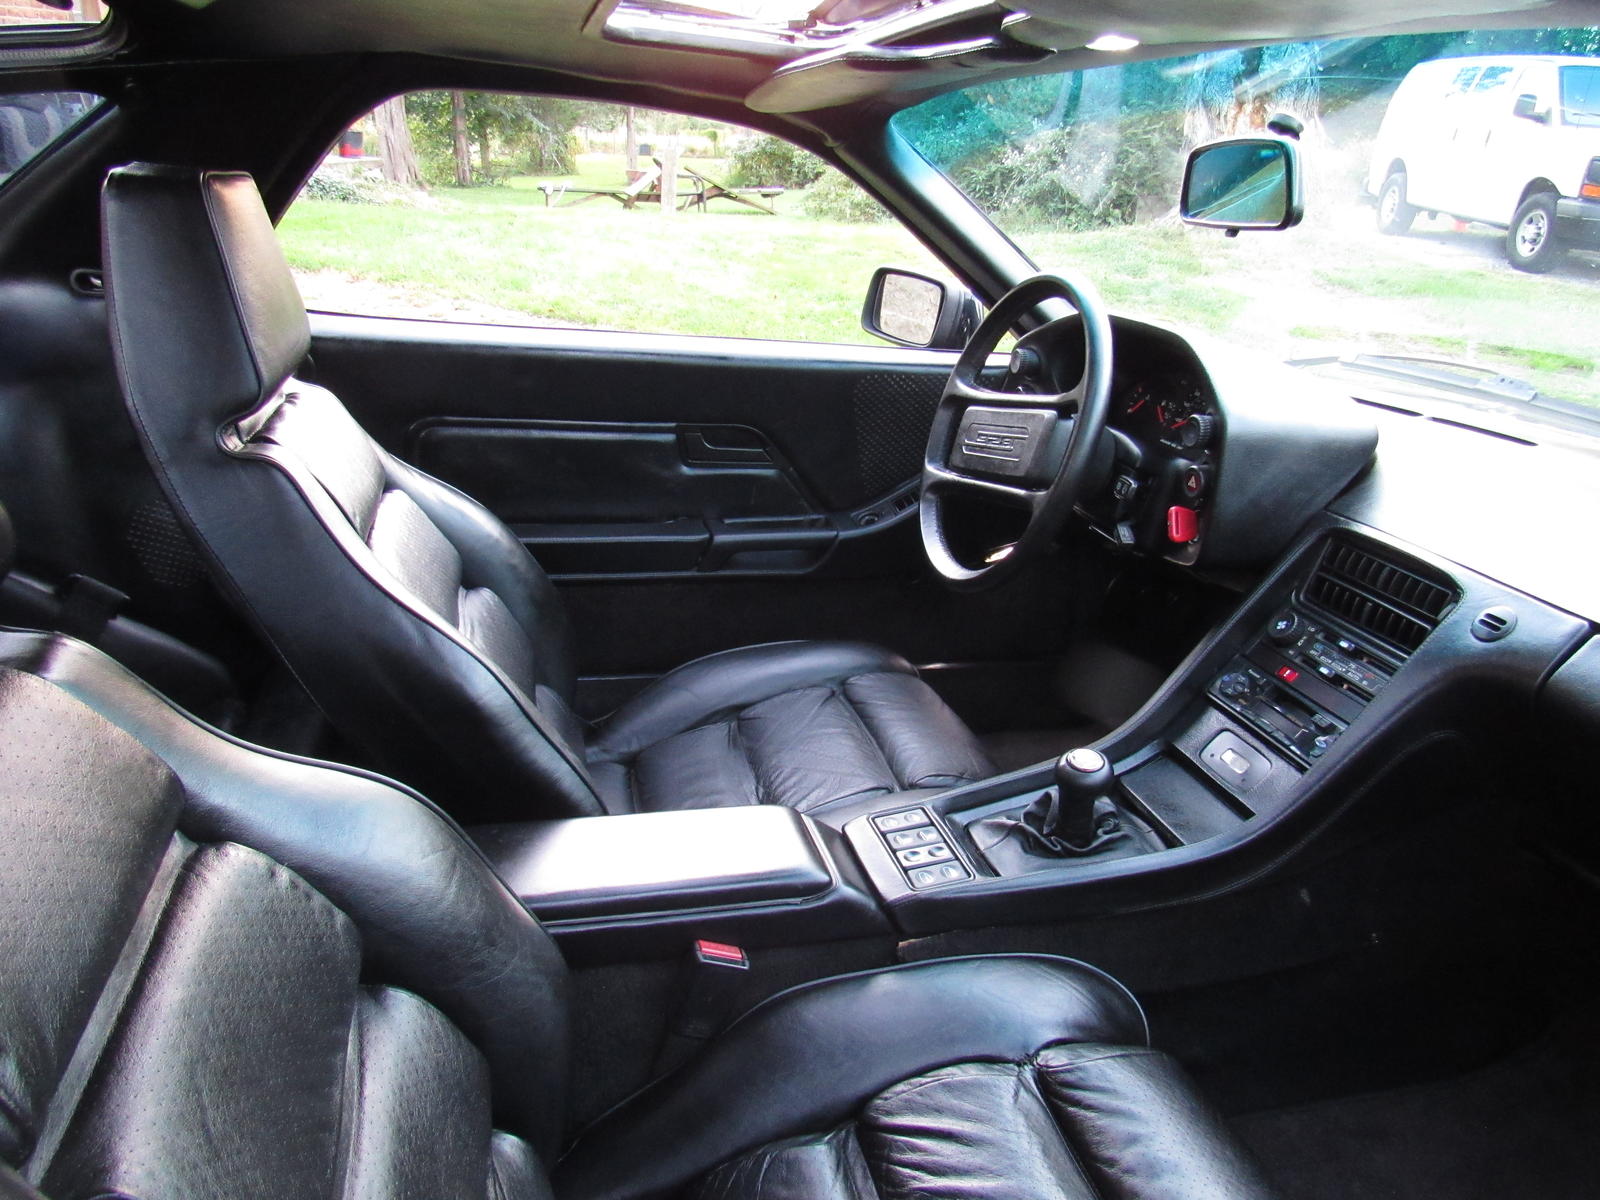
I have finally installed the left side door card I will admit I did not make any repairs to it but I don't know when I would have ever gotten around to it. It is only a fifteen minute job to remove it later on anyway.
I used a clear heavy duty trash bag, first to cover the openings with a flap to divert any water to the inside of the door and then covered the door entirely.
This is the first time the car has the left door card installed under my ownership.
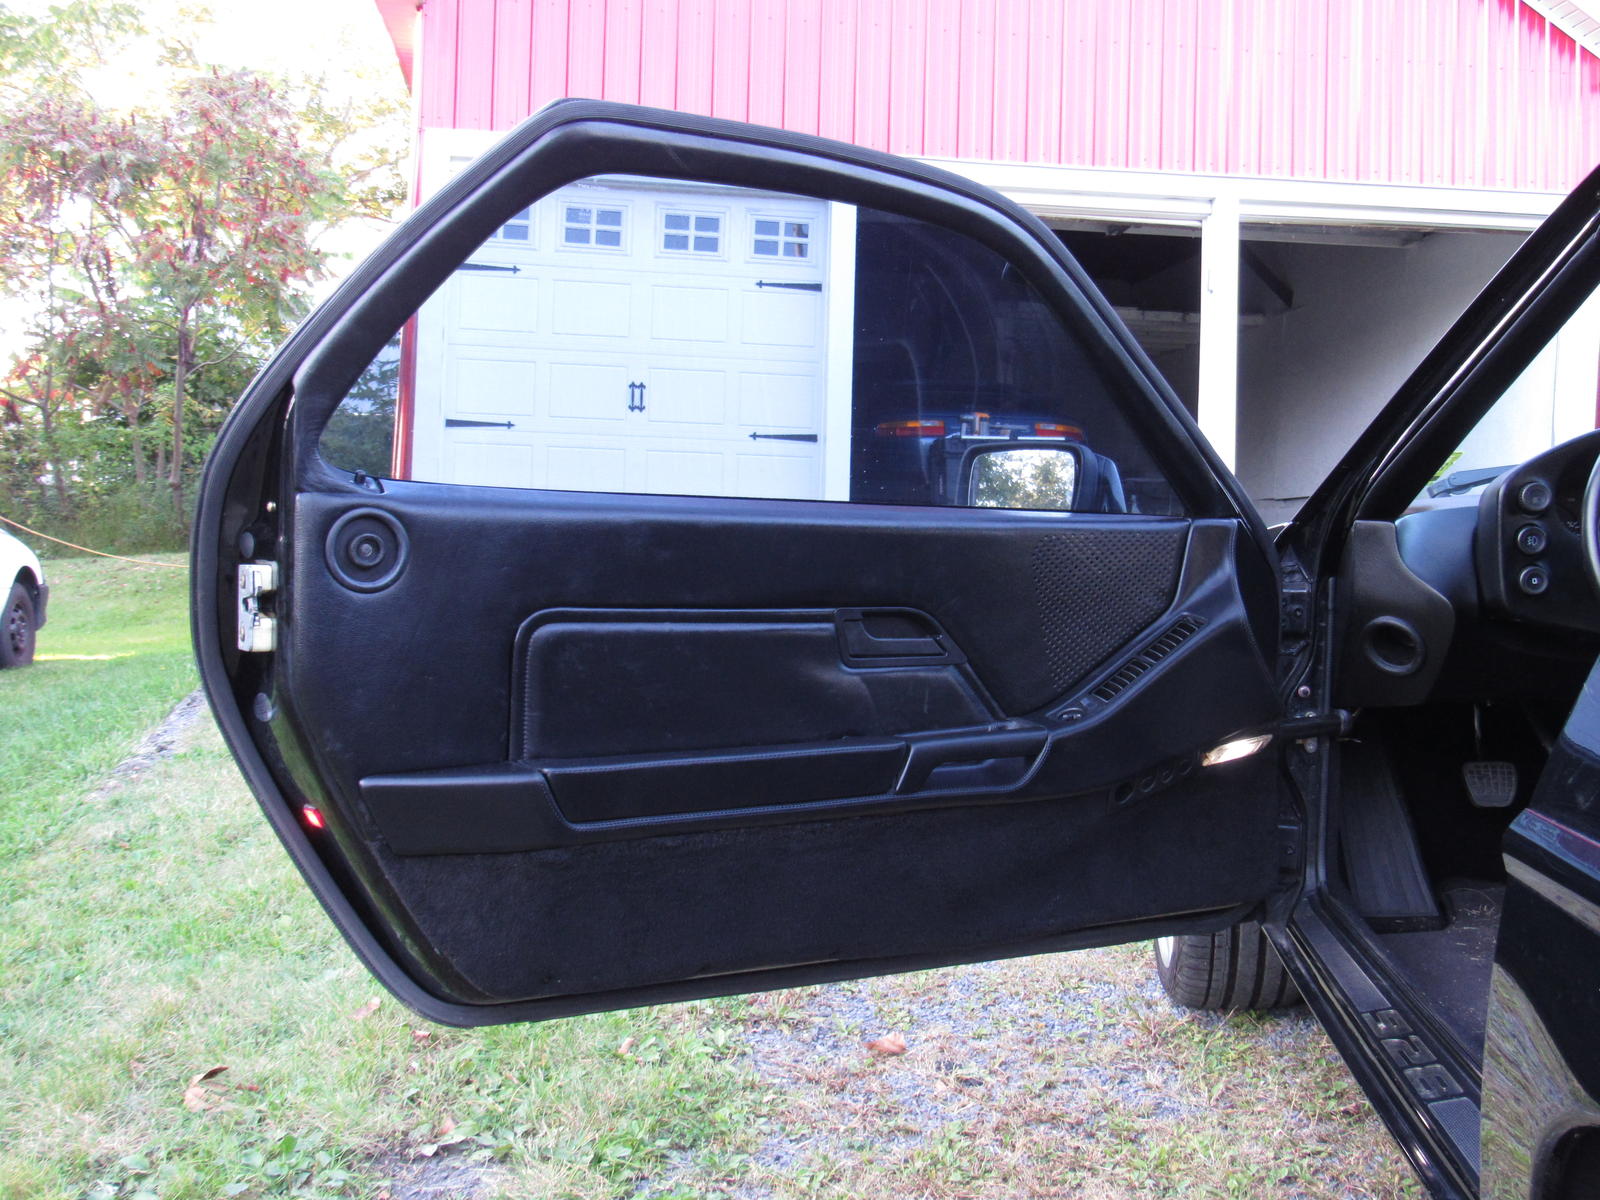
What a difference this makes, I drove about twenty miles and it is much quieter and put simply, very nice
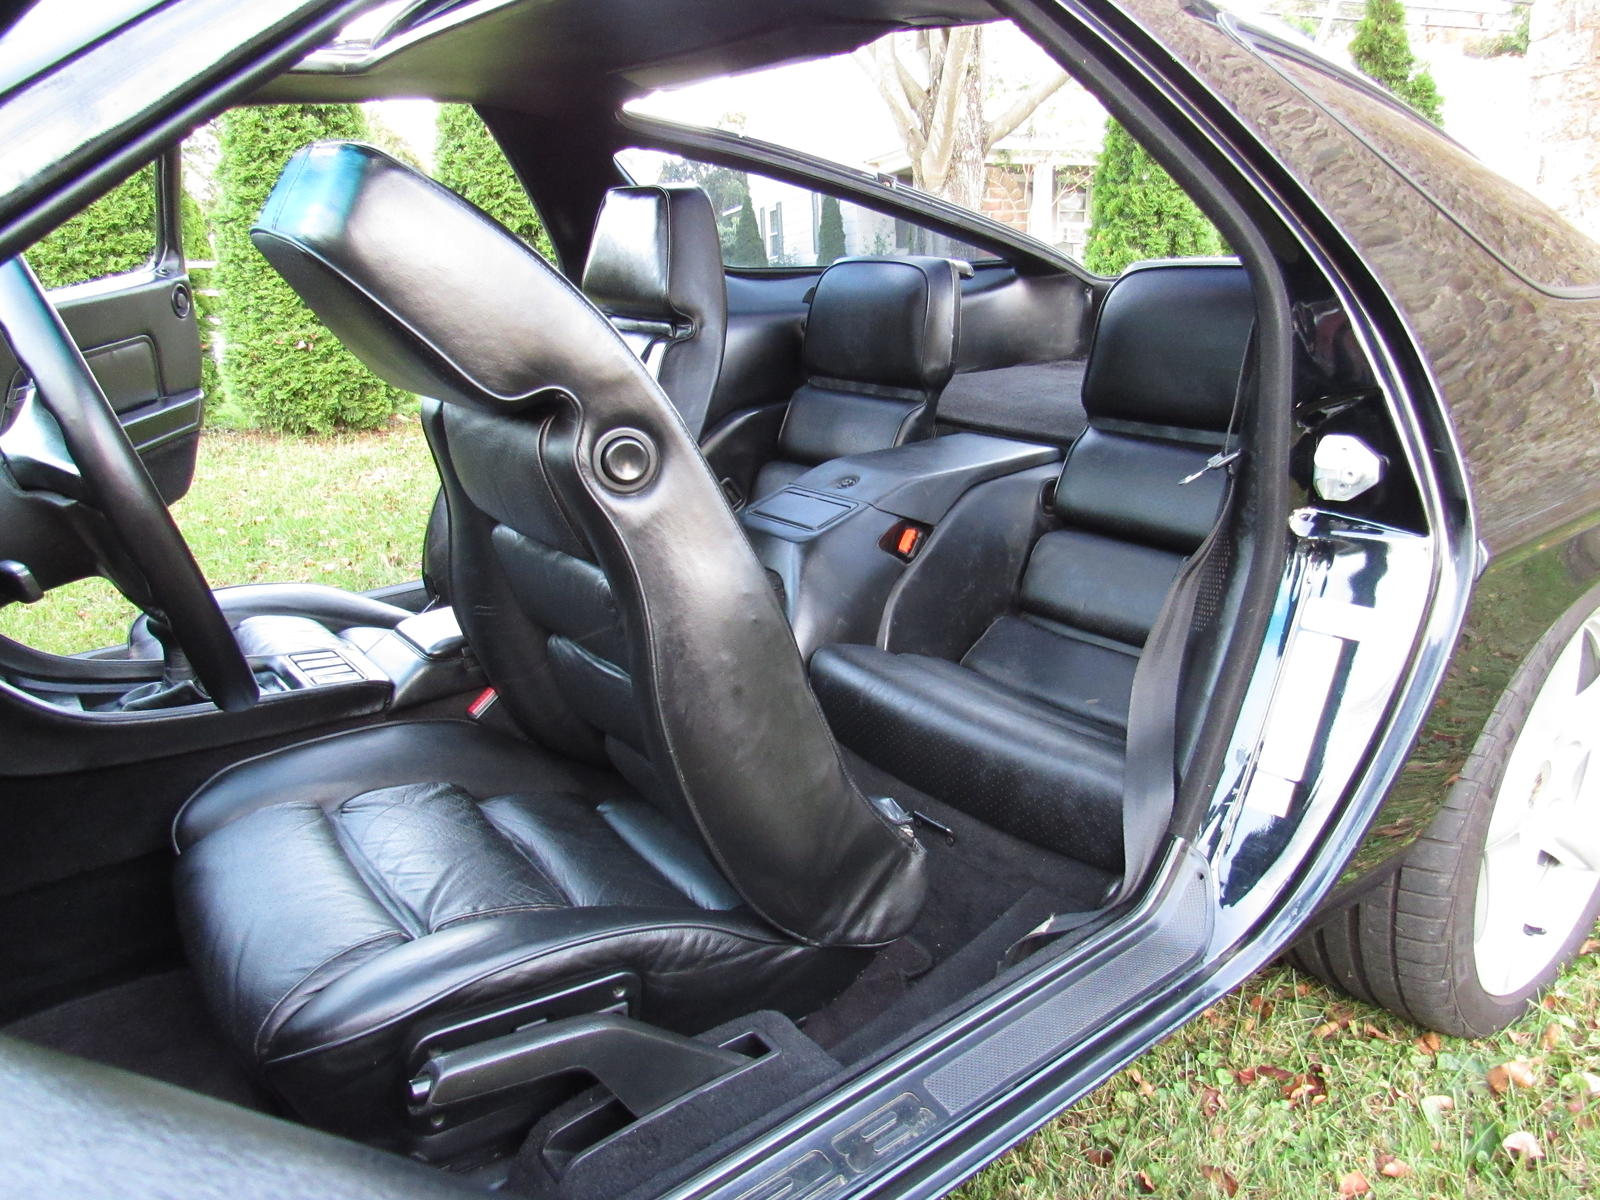
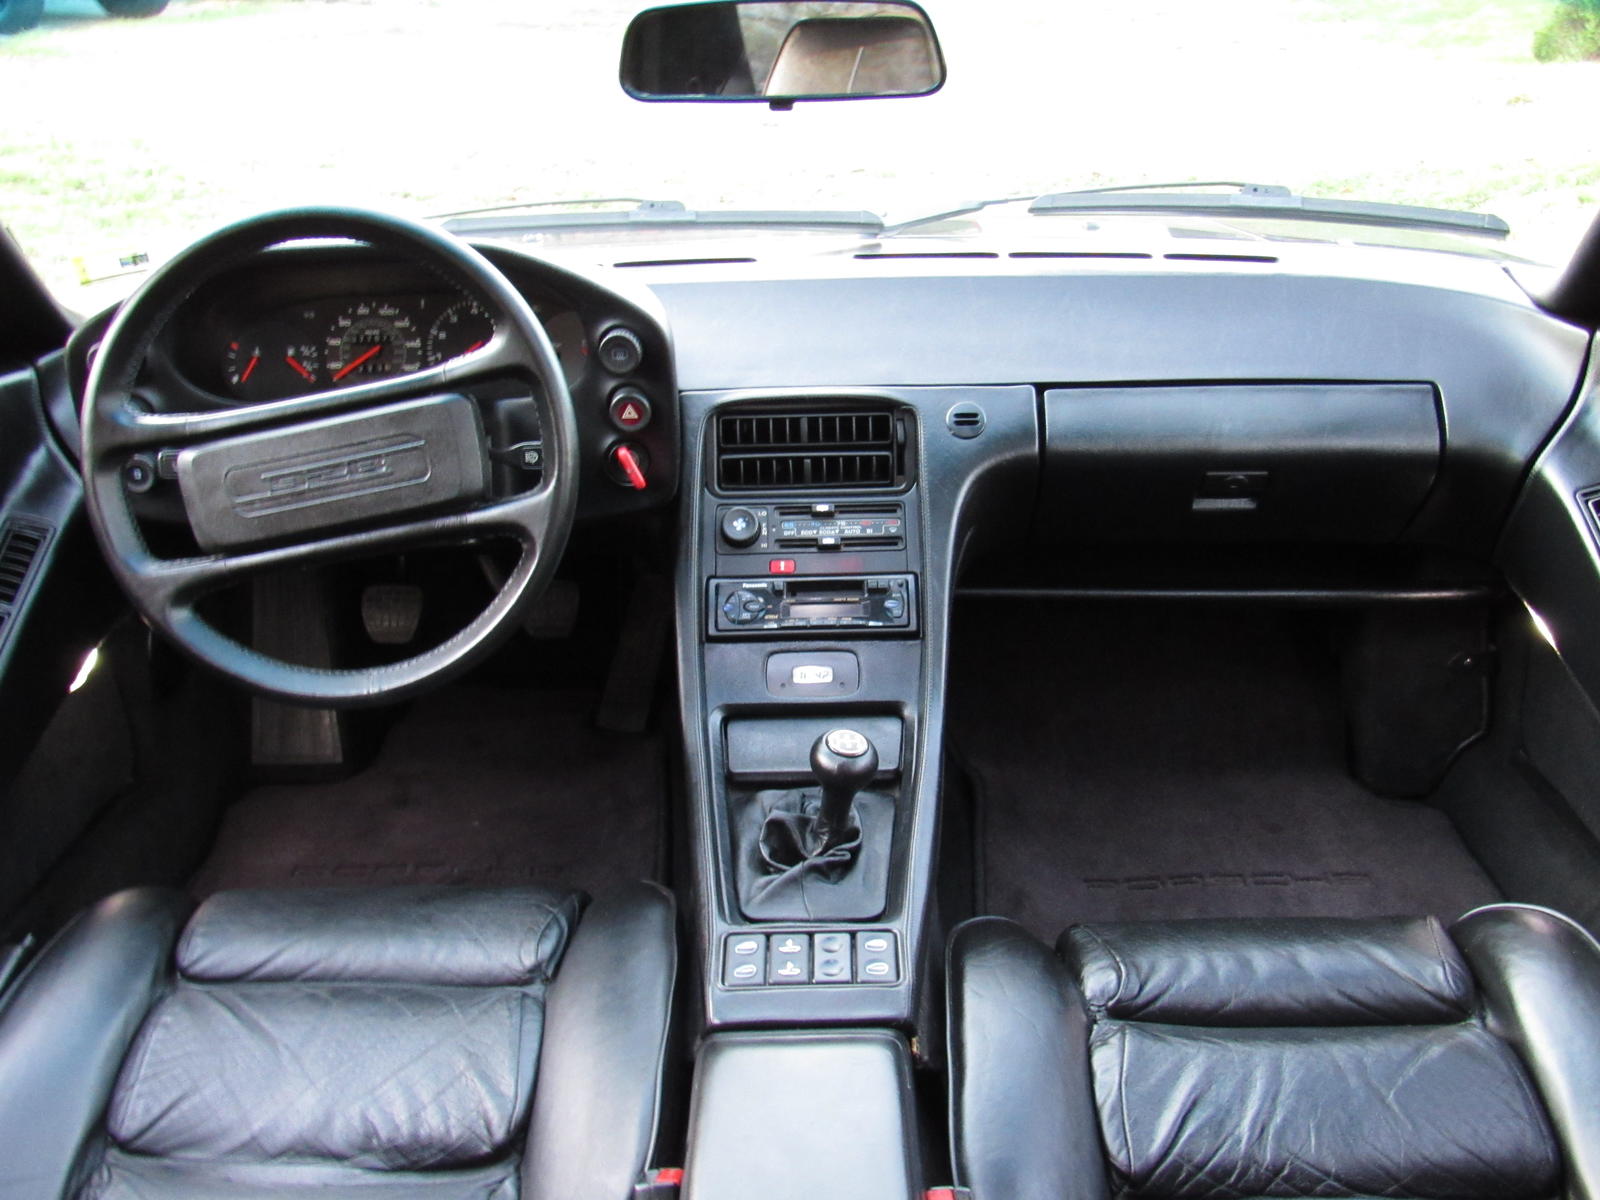
I cleaned the interior and juiced up the leather, and there is a lot of it! I found that DC111 works really well to restore the door handles, lock trim, and horn pad back to black.
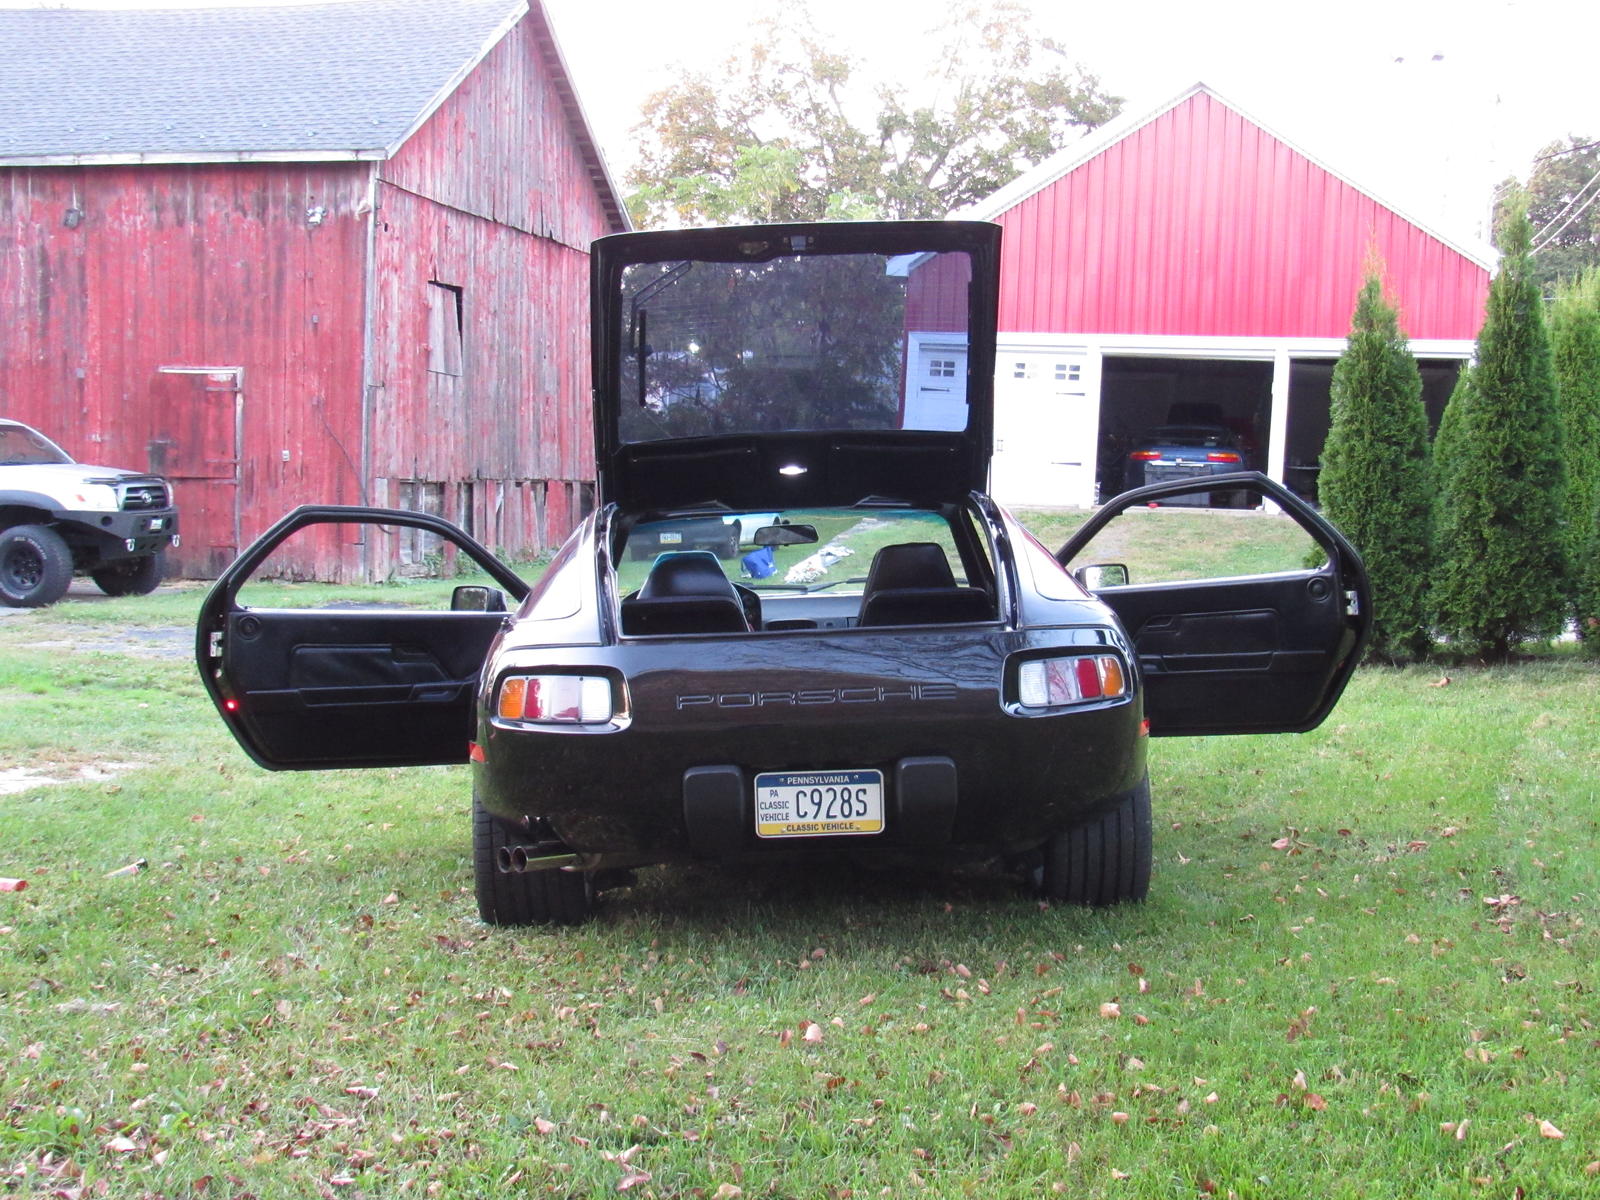
Ready for Frenzy
As far as mechanicals go, it is running well, instrument cluster has been flawless, and the oil level hasn't lost a drop.
The left mirror does not work so I took it apart and found the wiring in really bad shape. The rubber insulators on the pins for the heating function crumbled away. I cleaned the connections and put heatshrink on those pins but it still does not work. The motor makes a noise but acts like it is jammed though the glass moves freely by hand. I've put it back together for another time, it is easy enough to adjust from the drivers seat.
I have finally installed the left side door card
I will admit I did not make any repairs to it but I don't know when I would have ever gotten around to it. It is only a fifteen minute job to remove it later on anyway.I used a clear heavy duty trash bag, first to cover the openings with a flap to divert any water to the inside of the door and then covered the door entirely.
This is the first time the car has the left door card installed under my ownership.
What a difference this makes, I drove about twenty miles and it is much quieter and put simply, very nice
I cleaned the interior and juiced up the leather, and there is a lot of it! I found that DC111 works really well to restore the door handles, lock trim, and horn pad back to black.
Ready for Frenzy
As far as mechanicals go, it is running well, instrument cluster has been flawless, and the oil level hasn't lost a drop.
09-25-2017, 08:50 AM
#184
Rennlist Member
Join Date: Oct 2005
Location: Gatineau, Qu�bec, Canada
Posts: 5,136
Received 1,207 Likes
on
467 Posts
Congrats for the all the work you did on this car.
It takes patience, determination and a passion for the car to get it where it is now.
Keep up the good work Alex.
See you next weekend.
It takes patience, determination and a passion for the car to get it where it is now.
Keep up the good work Alex.
See you next weekend.
10-21-2017, 07:33 PM
#185
Burning Brakes
Thread Starter
Since I got this car, I have had a problem with fuse 29 blowing (right parking lamps). It was an intermittent problem about every thousand miles or so but I was able to re-fuse and be OK for some time though I was constantly worried they had gone out while driving. All connections and sockets had been checked multiple times but I got to a point where there was a constant short.
Today I dug in to try my damnedest to find the fault. I removed the four bulbs affected to isolate the bulb fixtures as a problem from the wiring. I took out the front 'marker lamp' next to the fog lamp, both side parking lamps, and taillight and still blew the fuse so the issue was in the wiring. It did not matter whether ignition was on/off or pop up headlamps where up/down or on/off. I checked the current draw and read 9.75A versus the functioning left side at 0.7A.
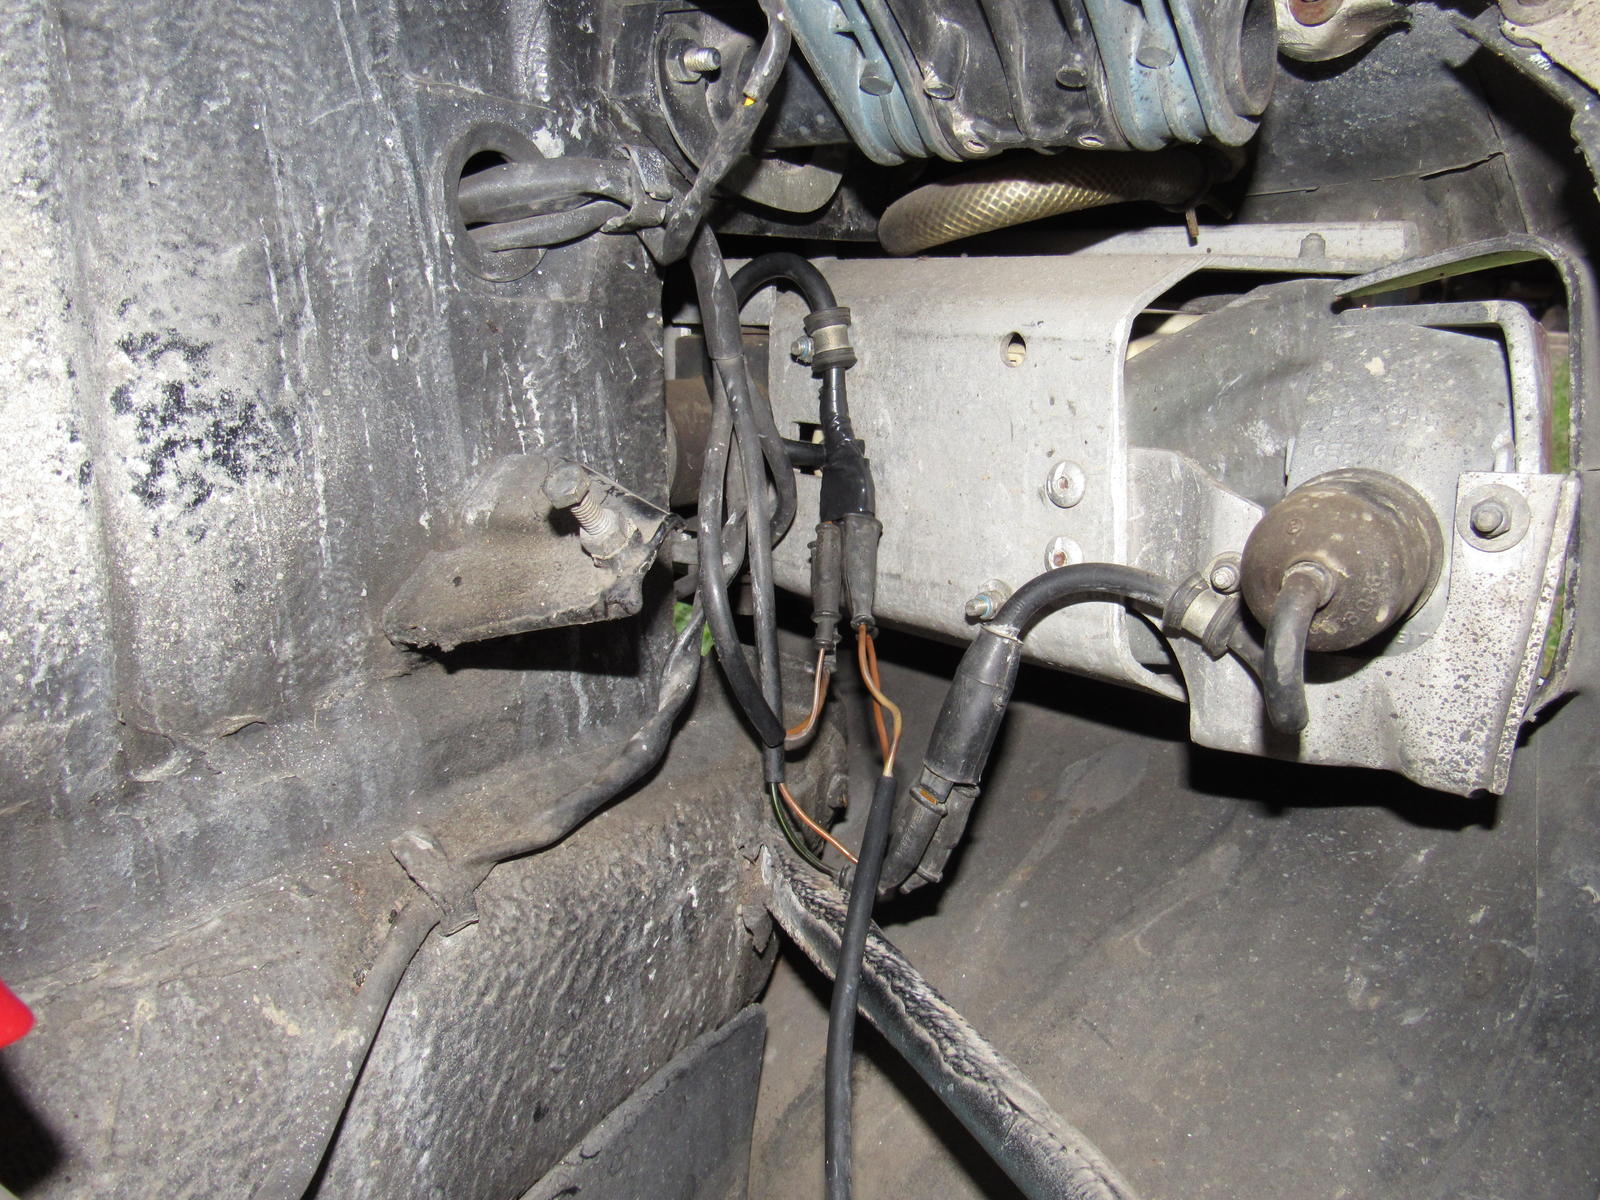
At one point in all my tinkering the fault went away and back again without doing anything which was puzzling. Then I checked if there was continuity between the positive and ground wires at the various lamp sockets and found it at the front marker lamp. There is a two to four way wire harness to feed the front side marker and parking lamp and I have found a short within when stress is applied as the wire exits the connector.
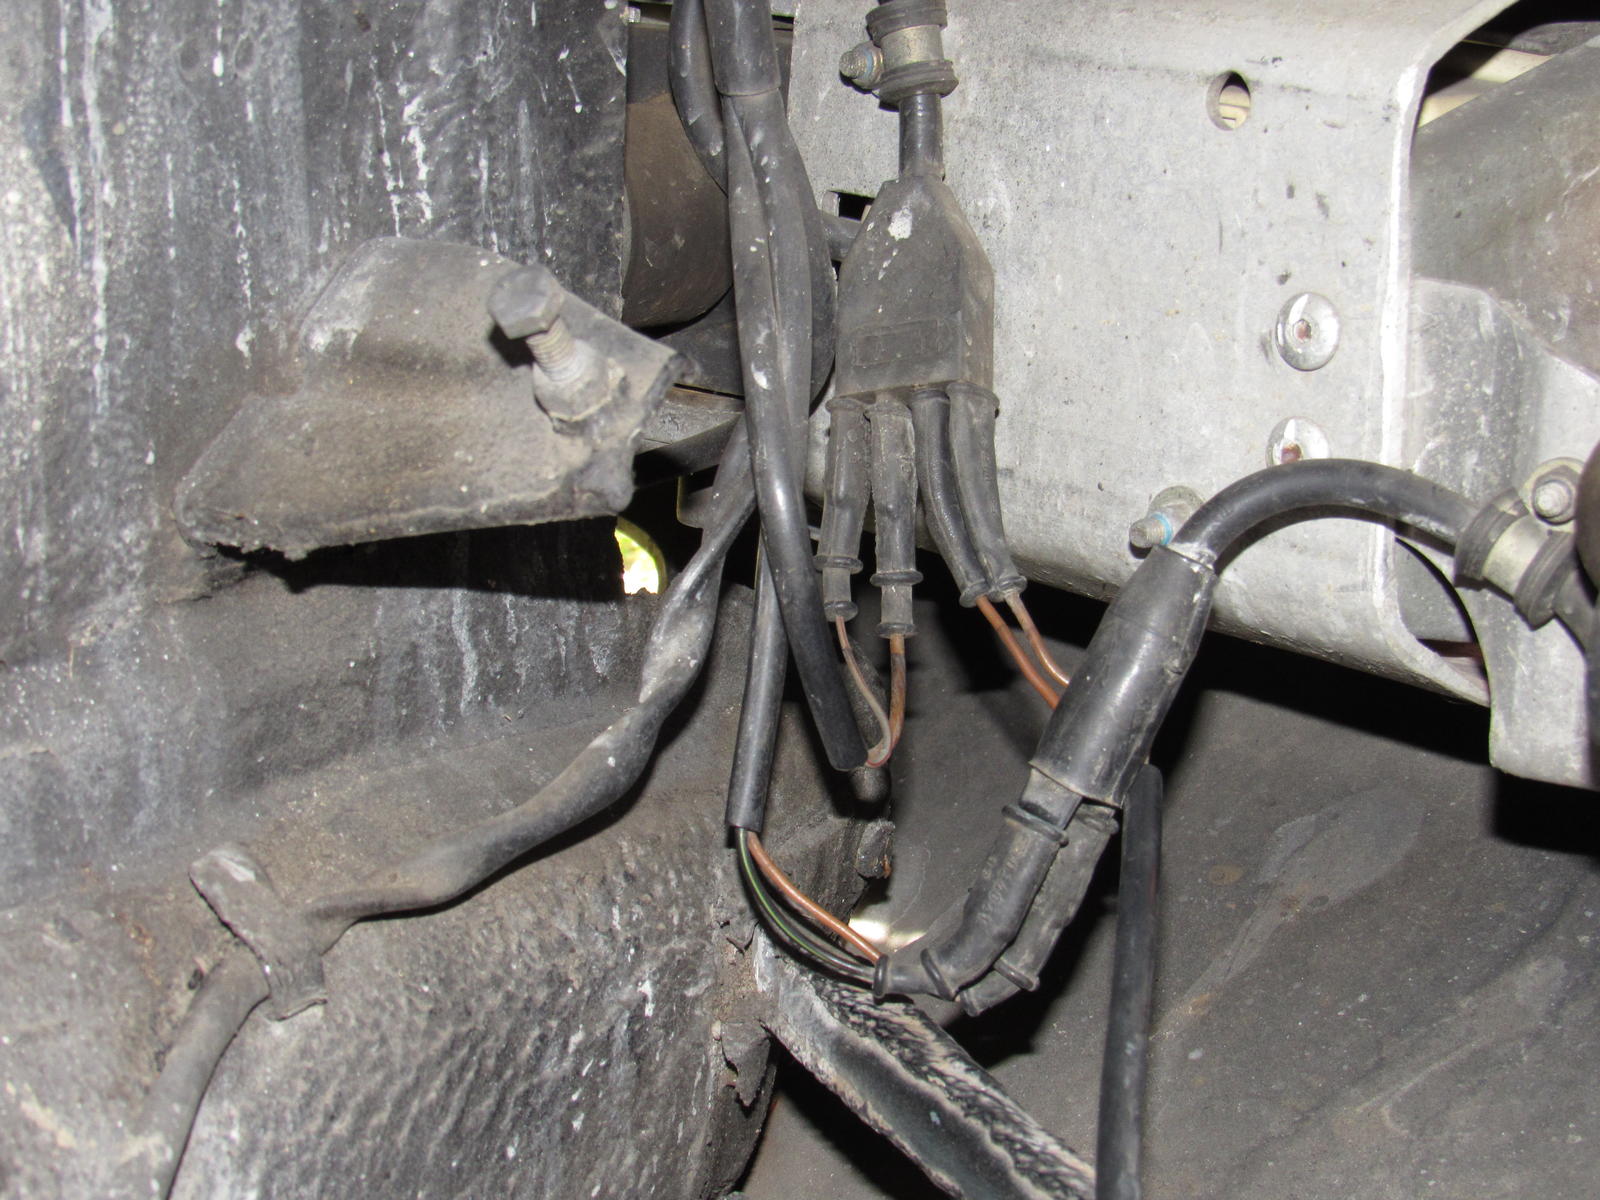
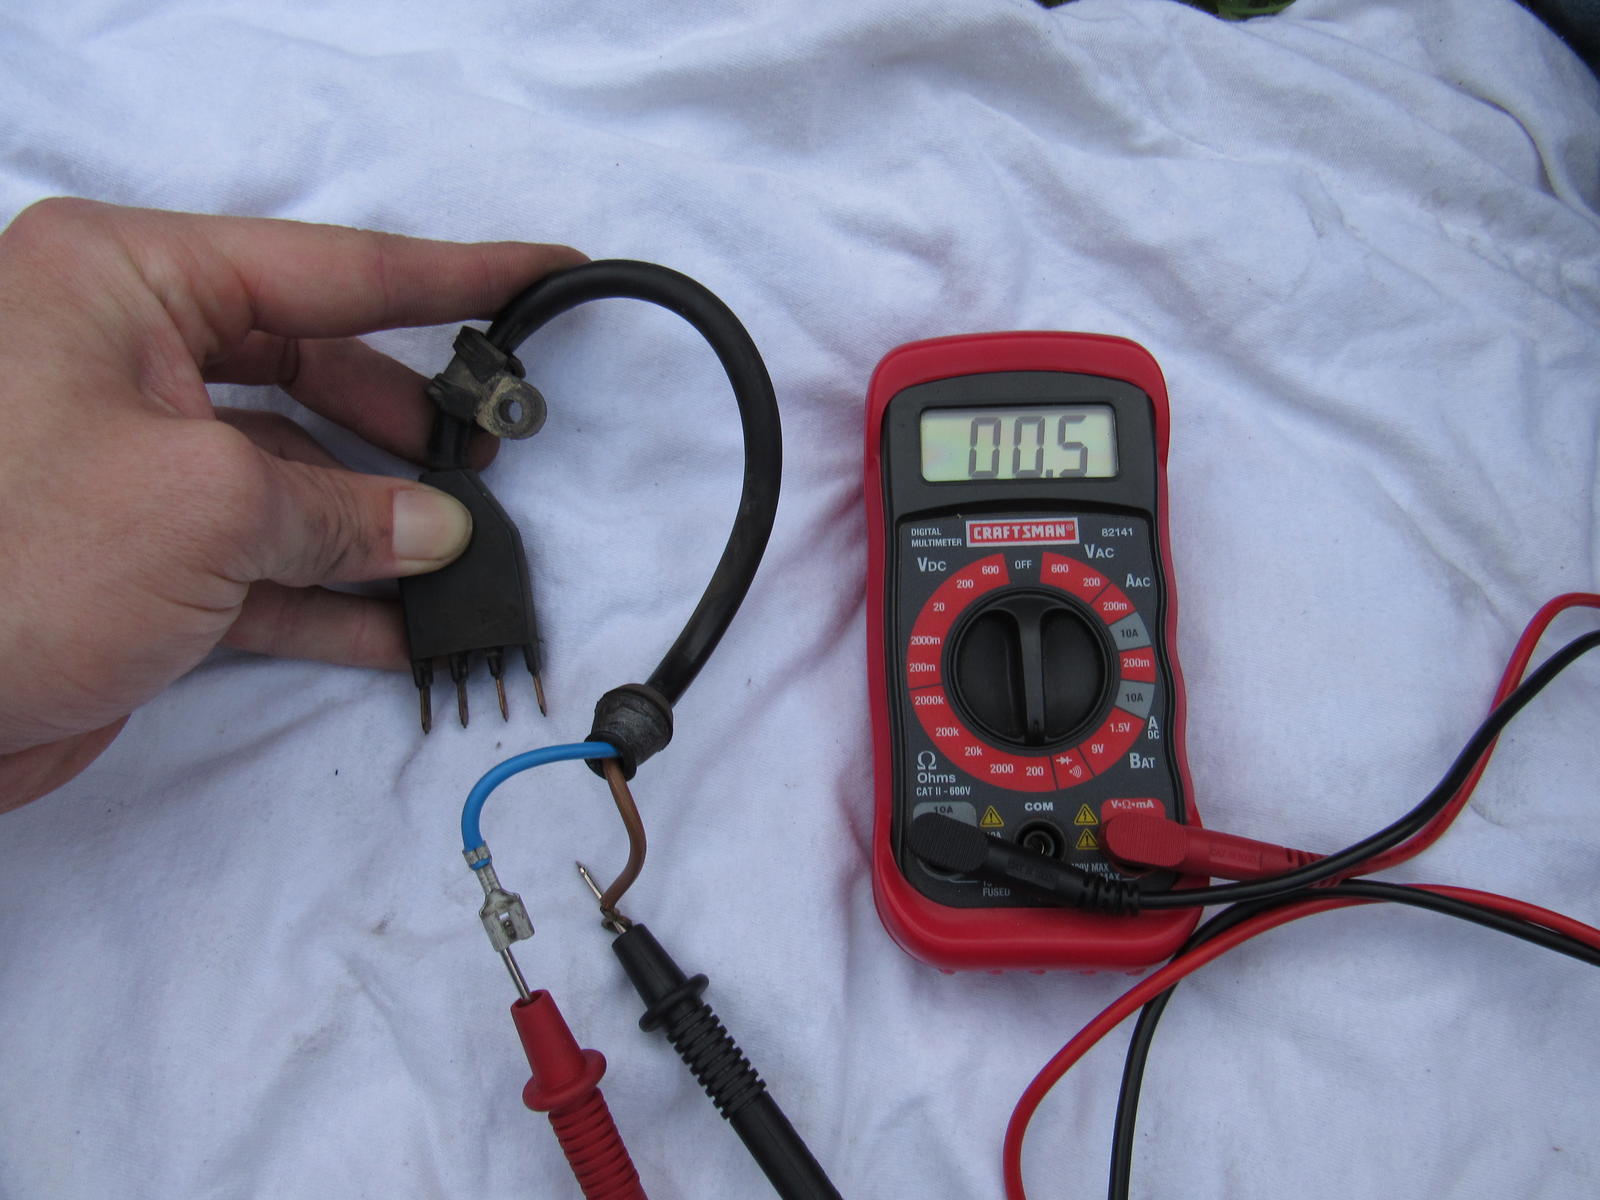
I performed an autopsy out of curiosity and I believe that the short was caused by two of the terminal crimps within the body of the connector making contact. They were not separated adequately when it was molded.
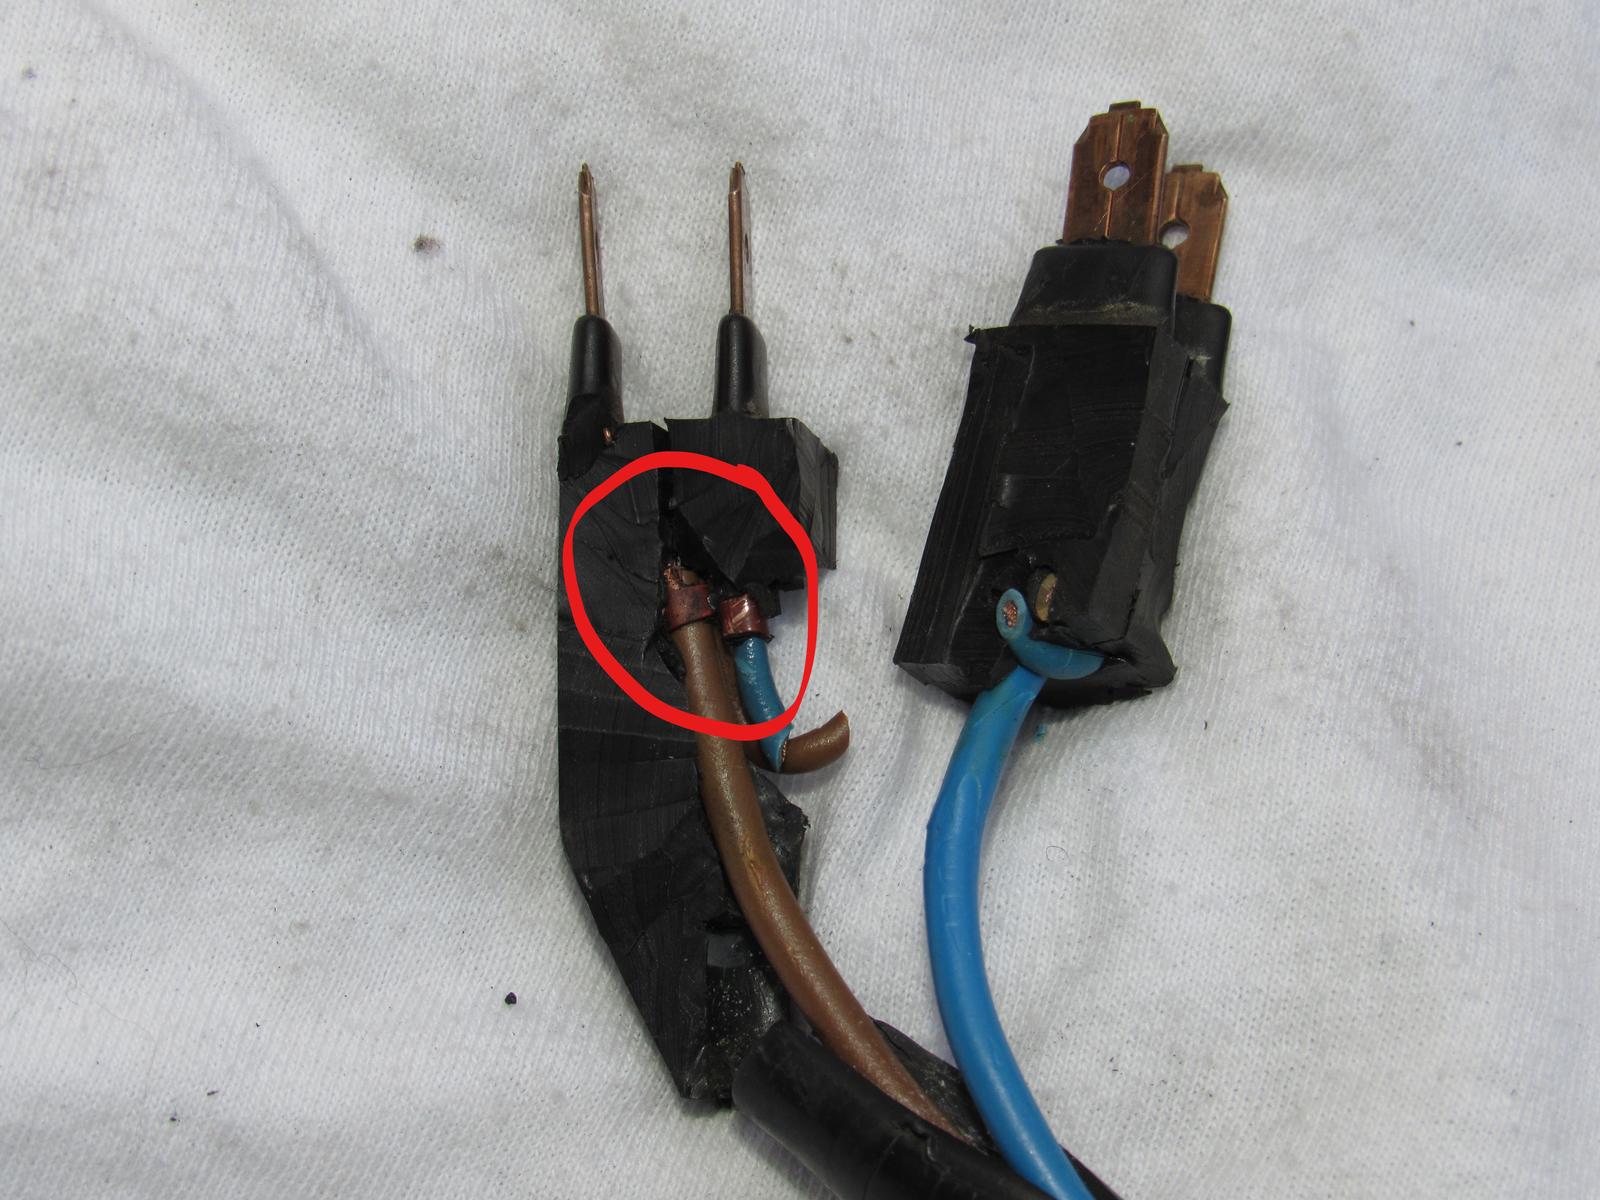
This was a tough one for me but I am really excited to finally figure it out! I could get a replacement but I think I will make my own harness.
Today I dug in to try my damnedest to find the fault. I removed the four bulbs affected to isolate the bulb fixtures as a problem from the wiring. I took out the front 'marker lamp' next to the fog lamp, both side parking lamps, and taillight and still blew the fuse so the issue was in the wiring. It did not matter whether ignition was on/off or pop up headlamps where up/down or on/off. I checked the current draw and read 9.75A versus the functioning left side at 0.7A.
At one point in all my tinkering the fault went away and back again without doing anything which was puzzling. Then I checked if there was continuity between the positive and ground wires at the various lamp sockets and found it at the front marker lamp. There is a two to four way wire harness to feed the front side marker and parking lamp and I have found a short within when stress is applied as the wire exits the connector.
I performed an autopsy out of curiosity and I believe that the short was caused by two of the terminal crimps within the body of the connector making contact. They were not separated adequately when it was molded.
This was a tough one for me but I am really excited to finally figure it out!
I could get a replacement but I think I will make my own harness.
10-22-2017, 01:15 AM
#187
Team Owner
crafty, your persistence has paid off,
well done!
well done!
10-22-2017, 05:46 PM
#189
Team Owner
Alex I just saw the door vapor barriers, your very creative!
I would suggest these installation procedures as they mirror the factory installation.
Use Weldwood brush on glue ,
a clear shower curtain from the dollar store or BB+Beyond.
Poke holes with a punch into each bolt and door clip hole prior to fitting the door panel.
Note the duct tape adhesive will dry out and thus the liner will not maintain its seal,
and will increase the thickness that the door clips have to overcome before they catch.
10-22-2017, 08:36 PM
#190
Burning Brakes
Thread Starter
Thank you Gentlemen.
Stan, I used a heavy duty industrial garbage bag for the vapor barrier and the red tape I use is good stuff plus I get it for free. See the info https://www.shurtape.com/cloth-duct-.../stucco/pe-444
Of course time will tell and I will see how it holds up next time I remove the door card.
I cut off the bad connector and made my own.
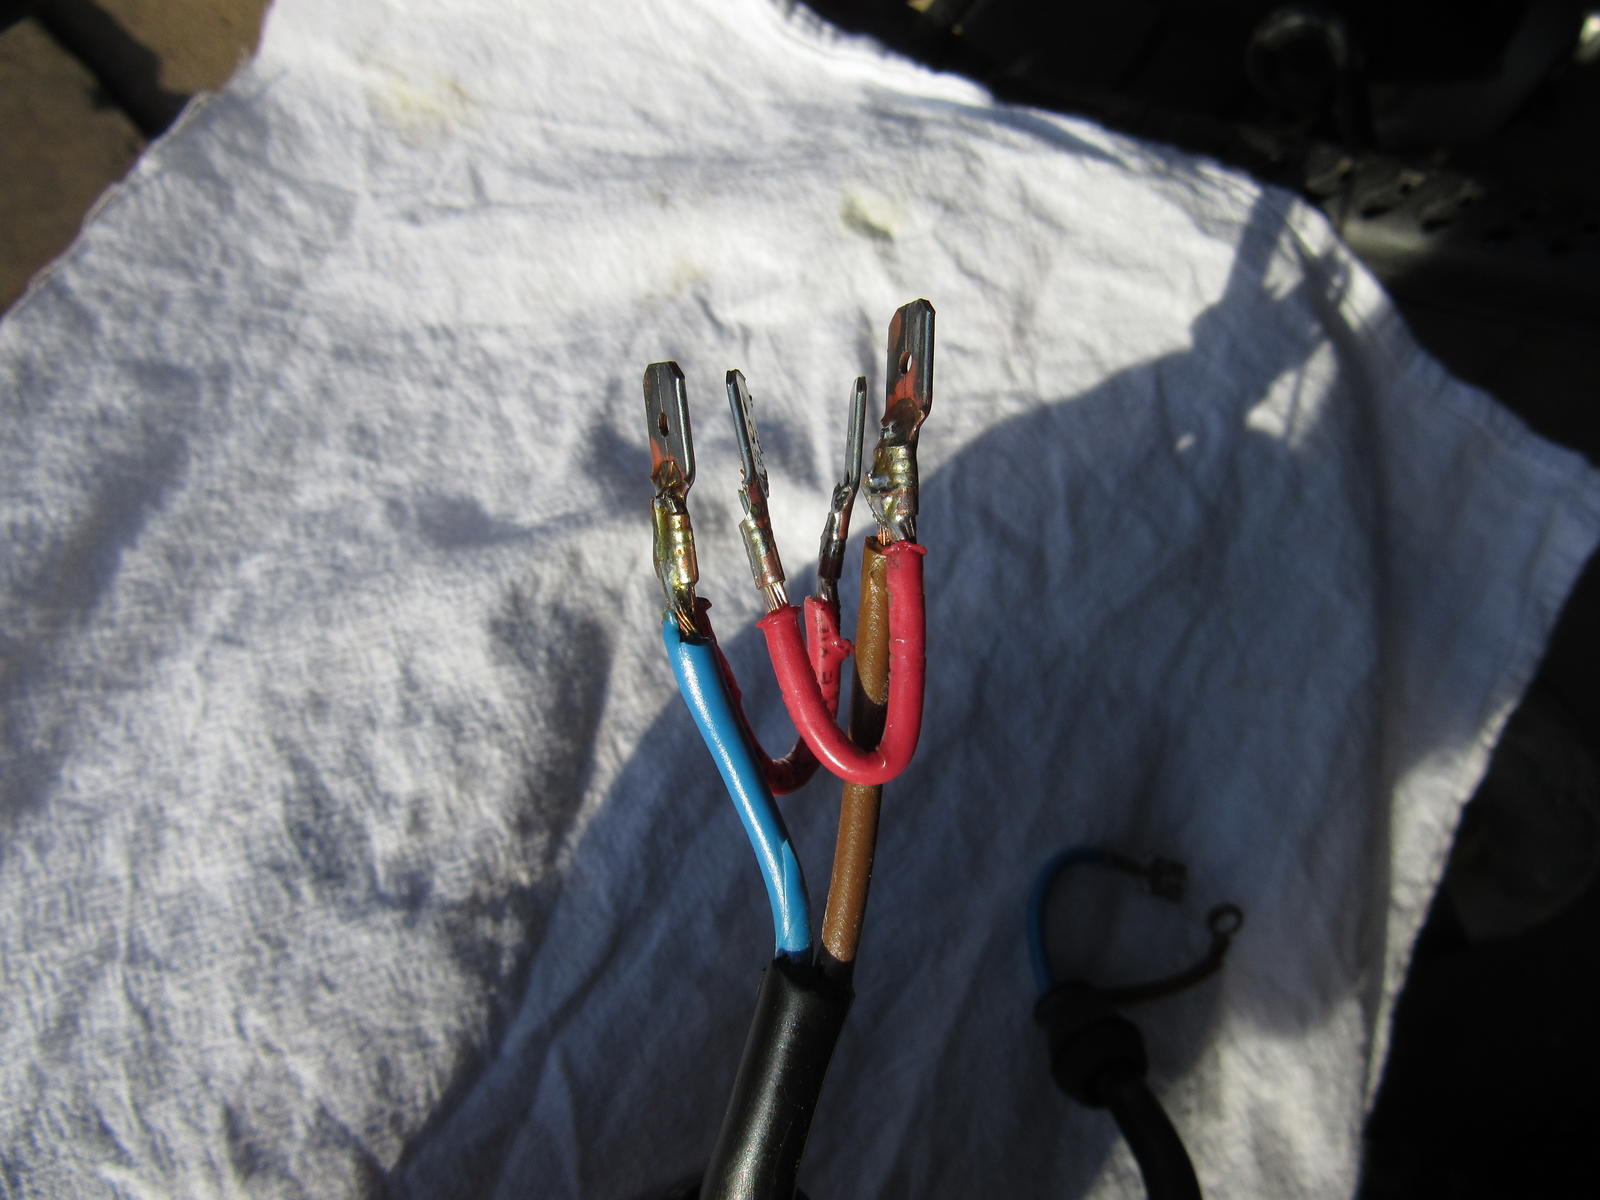
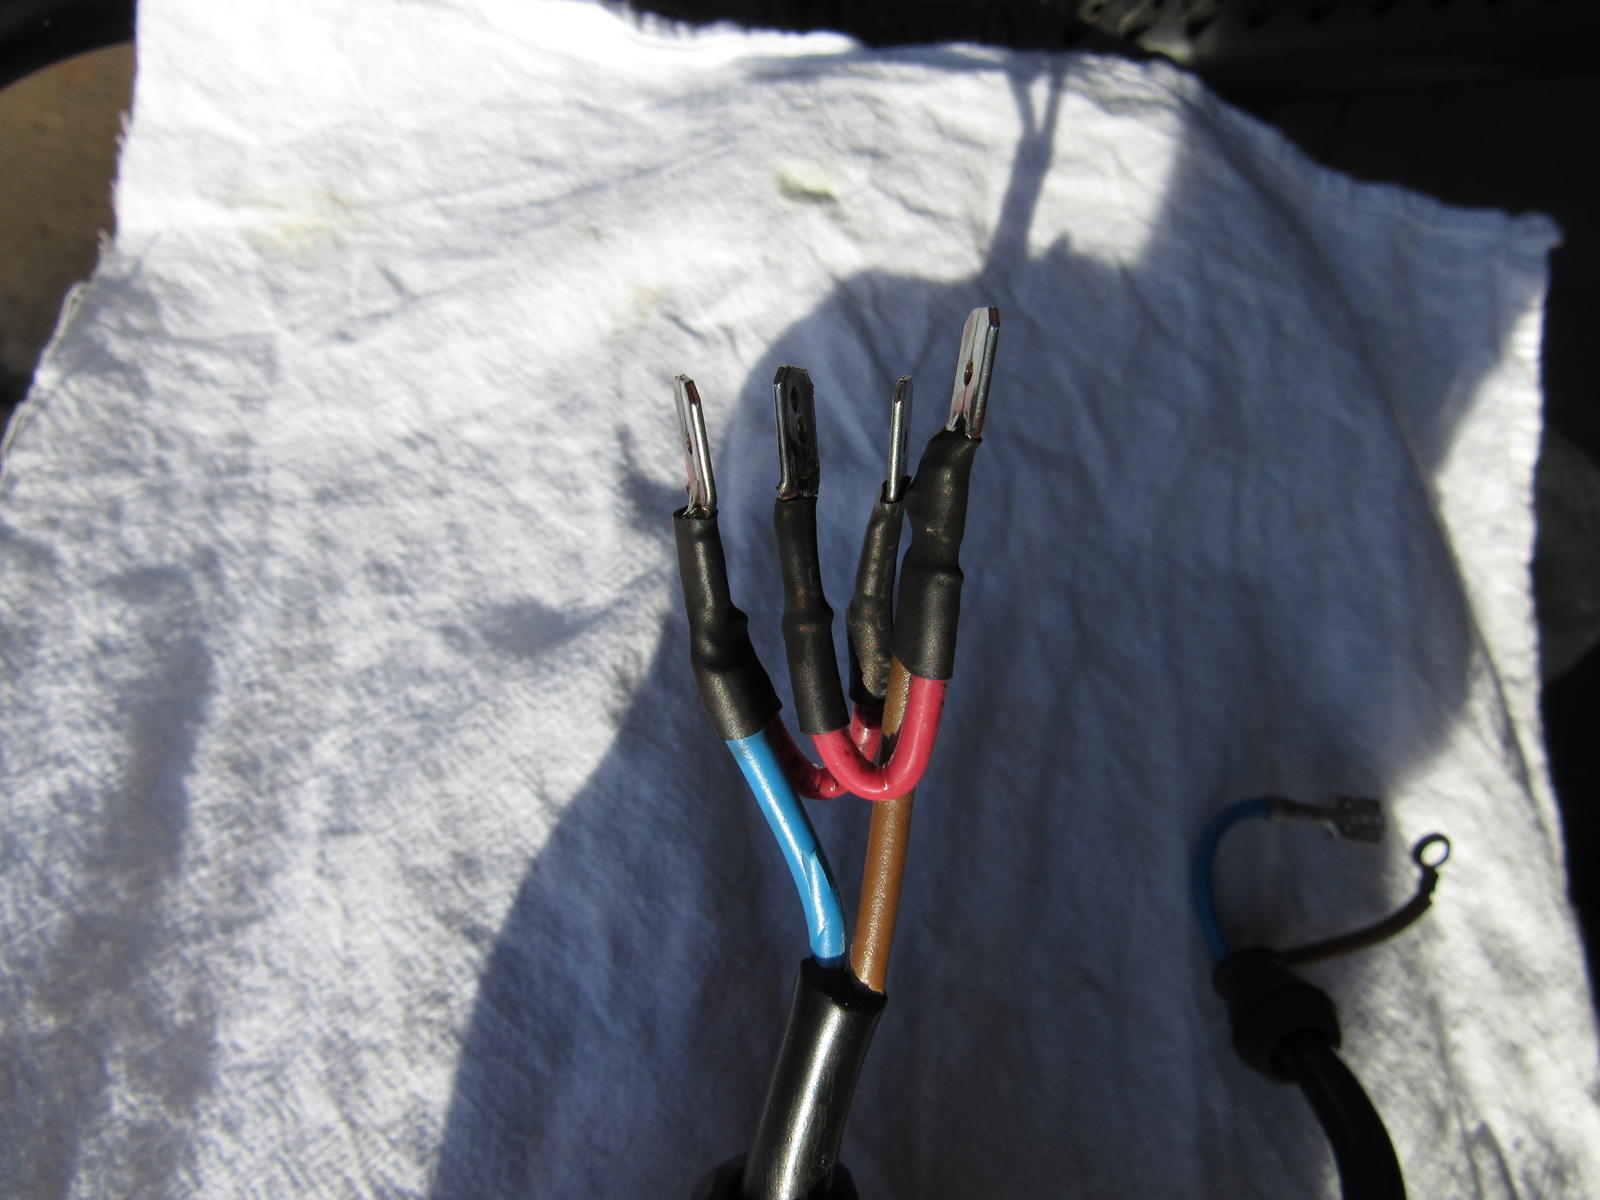
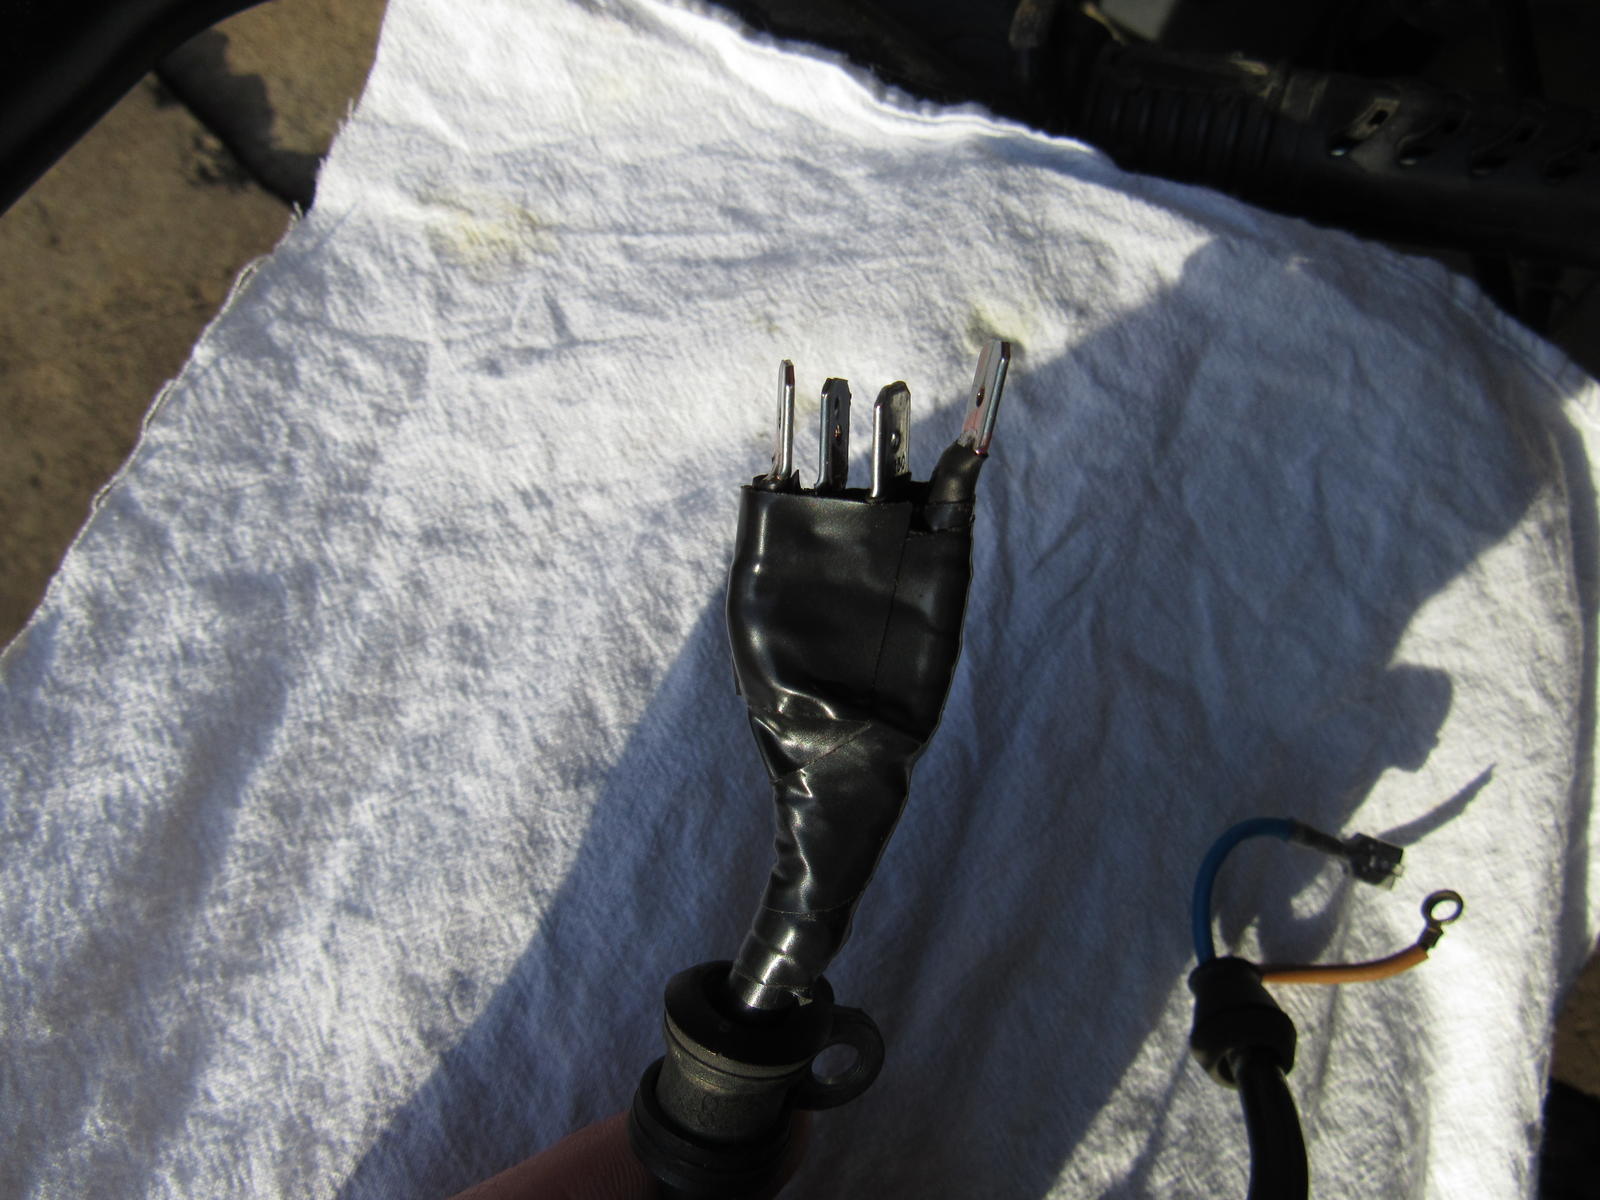
Crude I will admit but it works!
Stan, I used a heavy duty industrial garbage bag for the vapor barrier and the red tape I use is good stuff plus I get it for free. See the info https://www.shurtape.com/cloth-duct-.../stucco/pe-444
Of course time will tell and I will see how it holds up next time I remove the door card.
I cut off the bad connector and made my own.
Crude I will admit but it works!
10-23-2017, 09:31 AM
#191
Three Wheelin'
Nice work Moose!
I am getting ready to take Ol Copper in for major surgery this winter (interior refresh and paint) and your car is a great inspiration!
-scott
I am getting ready to take Ol Copper in for major surgery this winter (interior refresh and paint) and your car is a great inspiration!
-scott

 05-06-2018, 09:49 AM
#194
Burning Brakes
Thread Starter
It has been a long time since I have added anything here. I've been working a ton of hours and ran power into my barn turned into a garage over the winter. I have tinkered with the car here and there to figure out the last electrical problems. The right power mirror works in all directions plus heat but the left does not at all. I believe I've narrowed it down to a problem with the wiring inside the door. That can wait until next time I take the door card off since it's easy to adjust that mirror from the drivers seat.
What is left is that the windshield wipers worked but did not 'park' and the windshield washer did not work at all. I found relay XIII (delay wiper) and XV (intensive washer) switched. This is after a full CE panel out refresh and I had reinstalled the relays where they were. NOTE TO SELF: do not assume anything is correct! That fixed the wipers 'parking' and also the intermittent speeds. It did nothing for the washers though.
When I had the engine out in 2016 I took the washer pump apart, cleaned, and tested it so I knew it should work. I pulled the relay and jumped it. It ran about five seconds and quit and when I looked under the hood there was a wisp of smoke and the pump was hot, so much for that. I have installed a new pump and got it squirting out the hood with jumpers. There must be adjustment there because it shoots clear over the car!.
I have tried the same relay from my '89 that works but it made no difference on this car. Now I am suspecting that the stalk switch is the problem. With the switch activated I only measure about .25v at O3 (outgoing wire to pump) at the CE panel. Then I measured at the connector pin at the switch itself with the same result. Thus I don't think it is making a good contact internally but all the wiring should be good. I don't know if this is a common failure or not but I'm open to suggestions.
I did have a little problem with the starter the last time I drove it last year and the few times I have started it this year. On the first crank there was nothing, not even a click, but the second or third try started normally. Battery voltage was good. I switched the starter relay (stamped 24) with a new horn relay I had replaced and will see if that corrects it.
05-06-2018, 10:36 AM
#195
Race Car
It’s nice to see someone actually taking the time to correct issues and not work around them. I have spent hours tracking down little annoying issues it’s frustrating but the end result is nothing short of pure satisfaction.