When you click on links to various merchants on this site and make a purchase, this can result in this site earning a commission. Affiliate programs and affiliations include, but are not limited to, the eBay Partner Network.
My speedometer control board was replaced with a newer style and sent back, I had my hopes up but still nothing. I wasted all Saturday afternoon troubleshooting and I cannot figure this one out. I only get a steady 8.08v out for speedo signal, engine on or off, which is weird because the alternator turning boosts the system voltage a couple volts. I have tested everything possible but obviously I am missing something.
Near perfect continuity from gauge to CE panel, tested the speedo pickup sensor and it opens and closes while spinning the wheels. I'm not sure where to go from here.
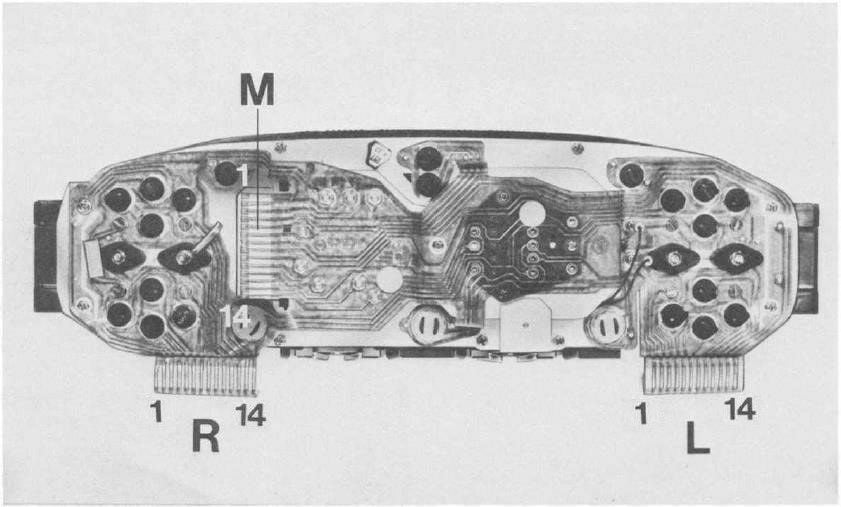
The only thing I have to show is another error in the manual. The numbering of the R and L connectors is reversed. I have corrected it, see below.
Last edited by Majestic Moose; 06-25-2019 at 10:55 PM.
Special thanks to 9zwei8 for loaning me a good speedometer, I swapped it in and it did not work either. I think I can rule the instrument side out now. The problem must be on the car side. I re-soldered the rivets on the circuit foil one last time, put it back together and still nothing. Really baffling. I am going to call the repairman and confirm that the signal voltage should be higher than the 8.06v I am measuring.
I edited my post above, the photo in the manual is wrong after all and both R and L connector numbering are reversed.
While speaking with Cory from Specialty Gauge about my problem and how the speedometer slowly registered less speed he mentioned that some 911s have had problems with the magnets falling off the carrier in the differential. By the way 8v is plenty for the gauge, it would still work down around 6v. I had tested for pulses by rotating the wheels but it wasn't consistent, repeatable, and definitely not 8 pulses per rotation. I decided it was easy enough to drain the gearbox and remove the rear differential cover and see if anything is wrong.
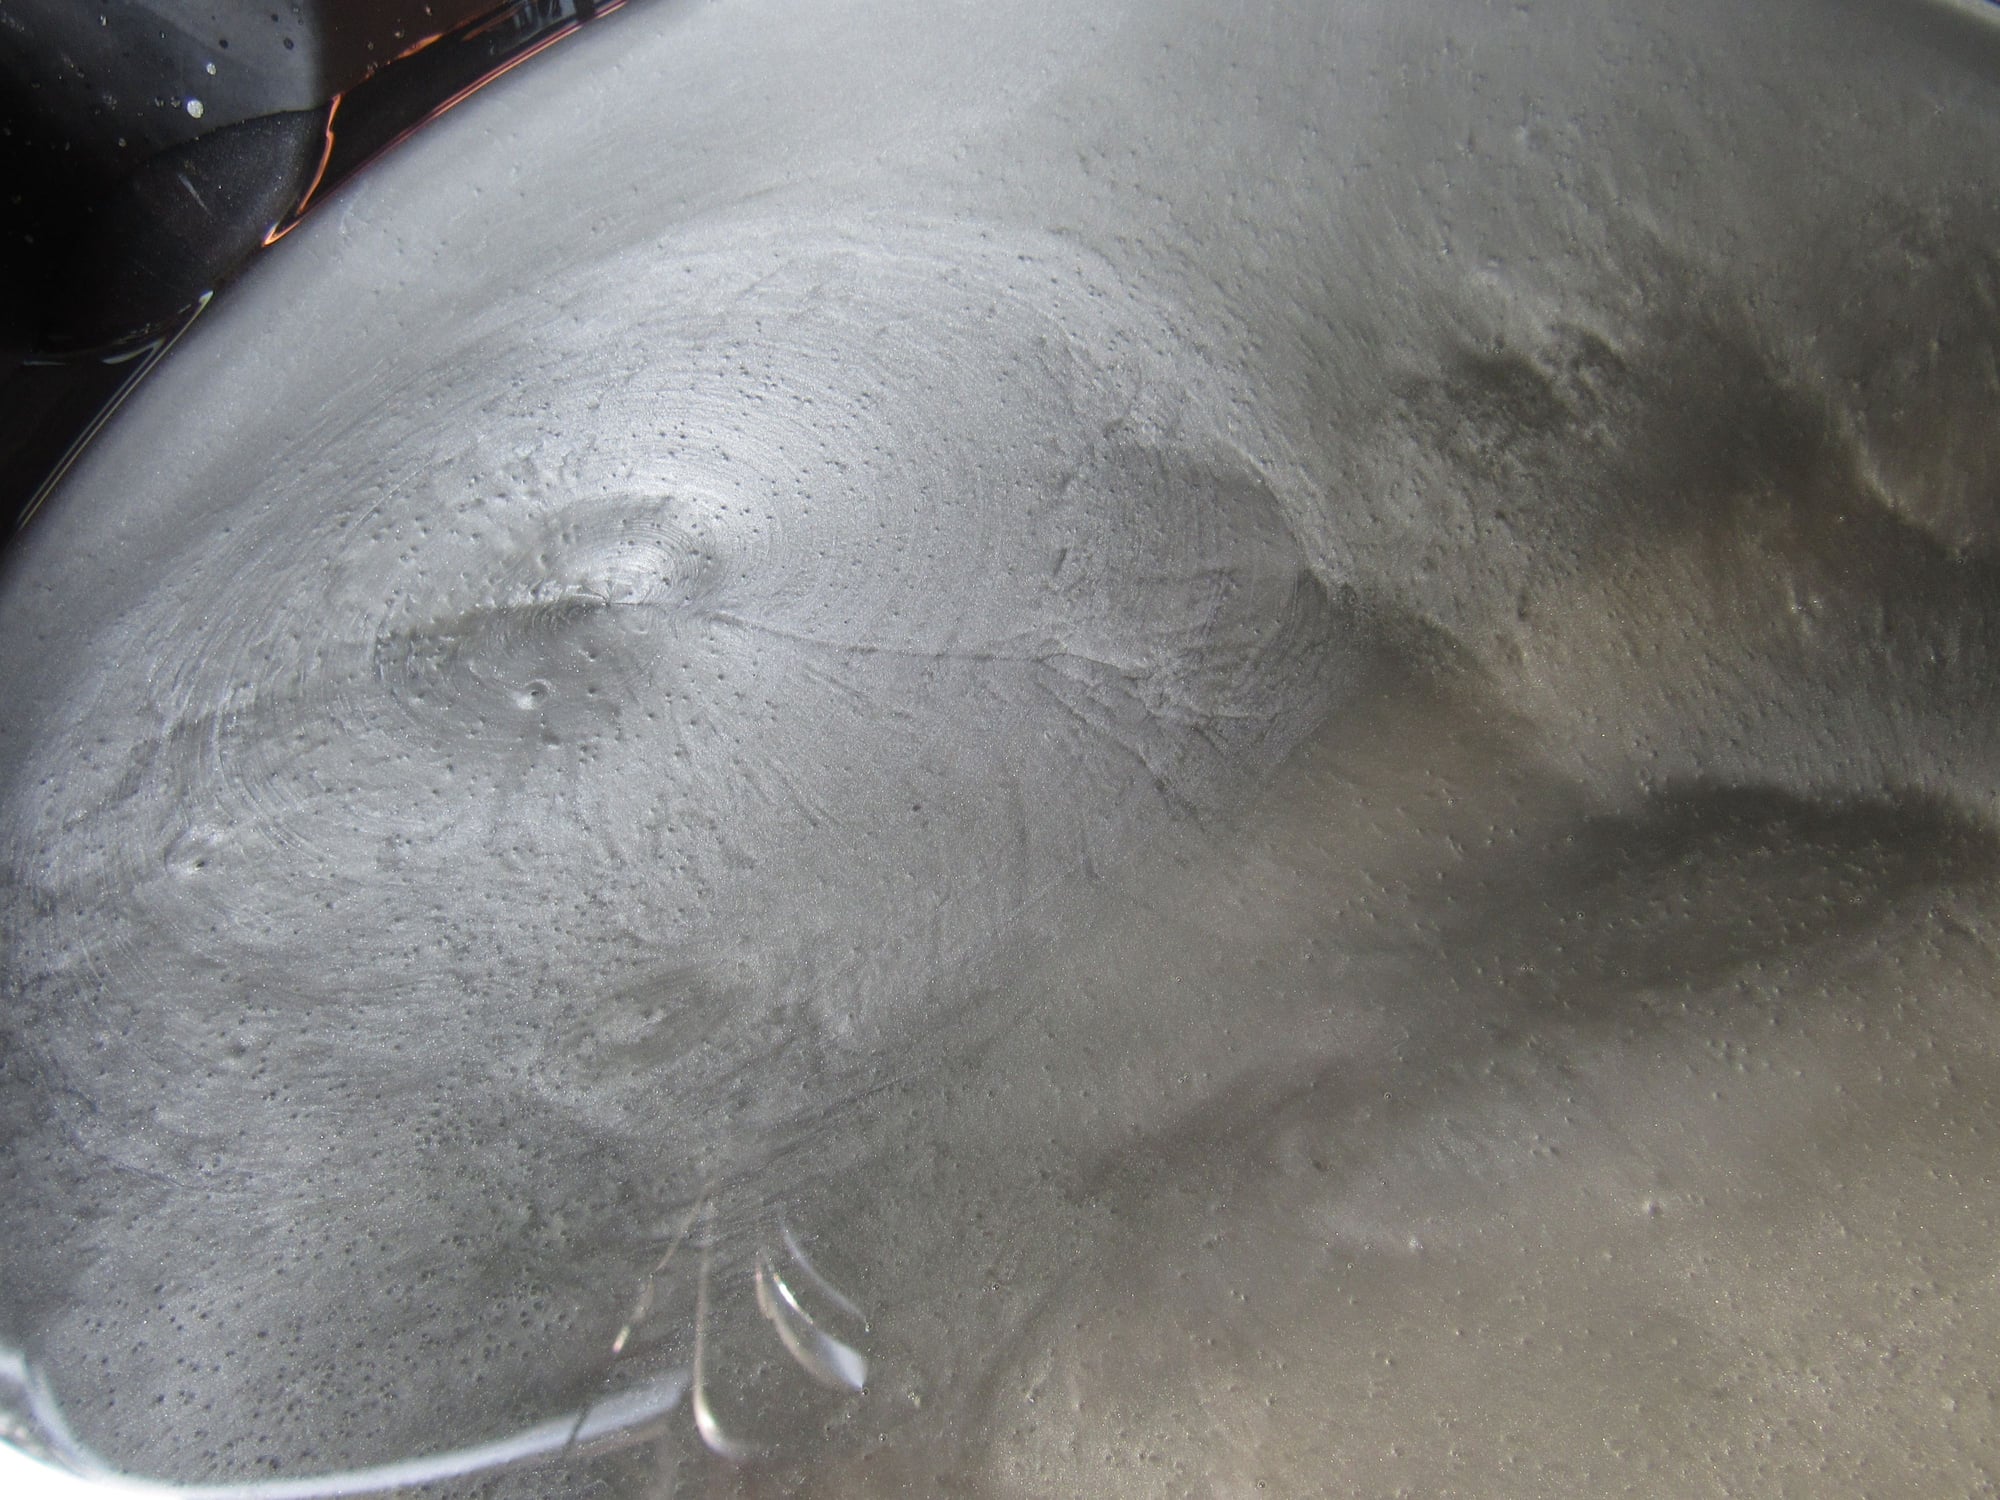
As soon as I started draining the oil and it looked like antiseize I knew something was wrong.
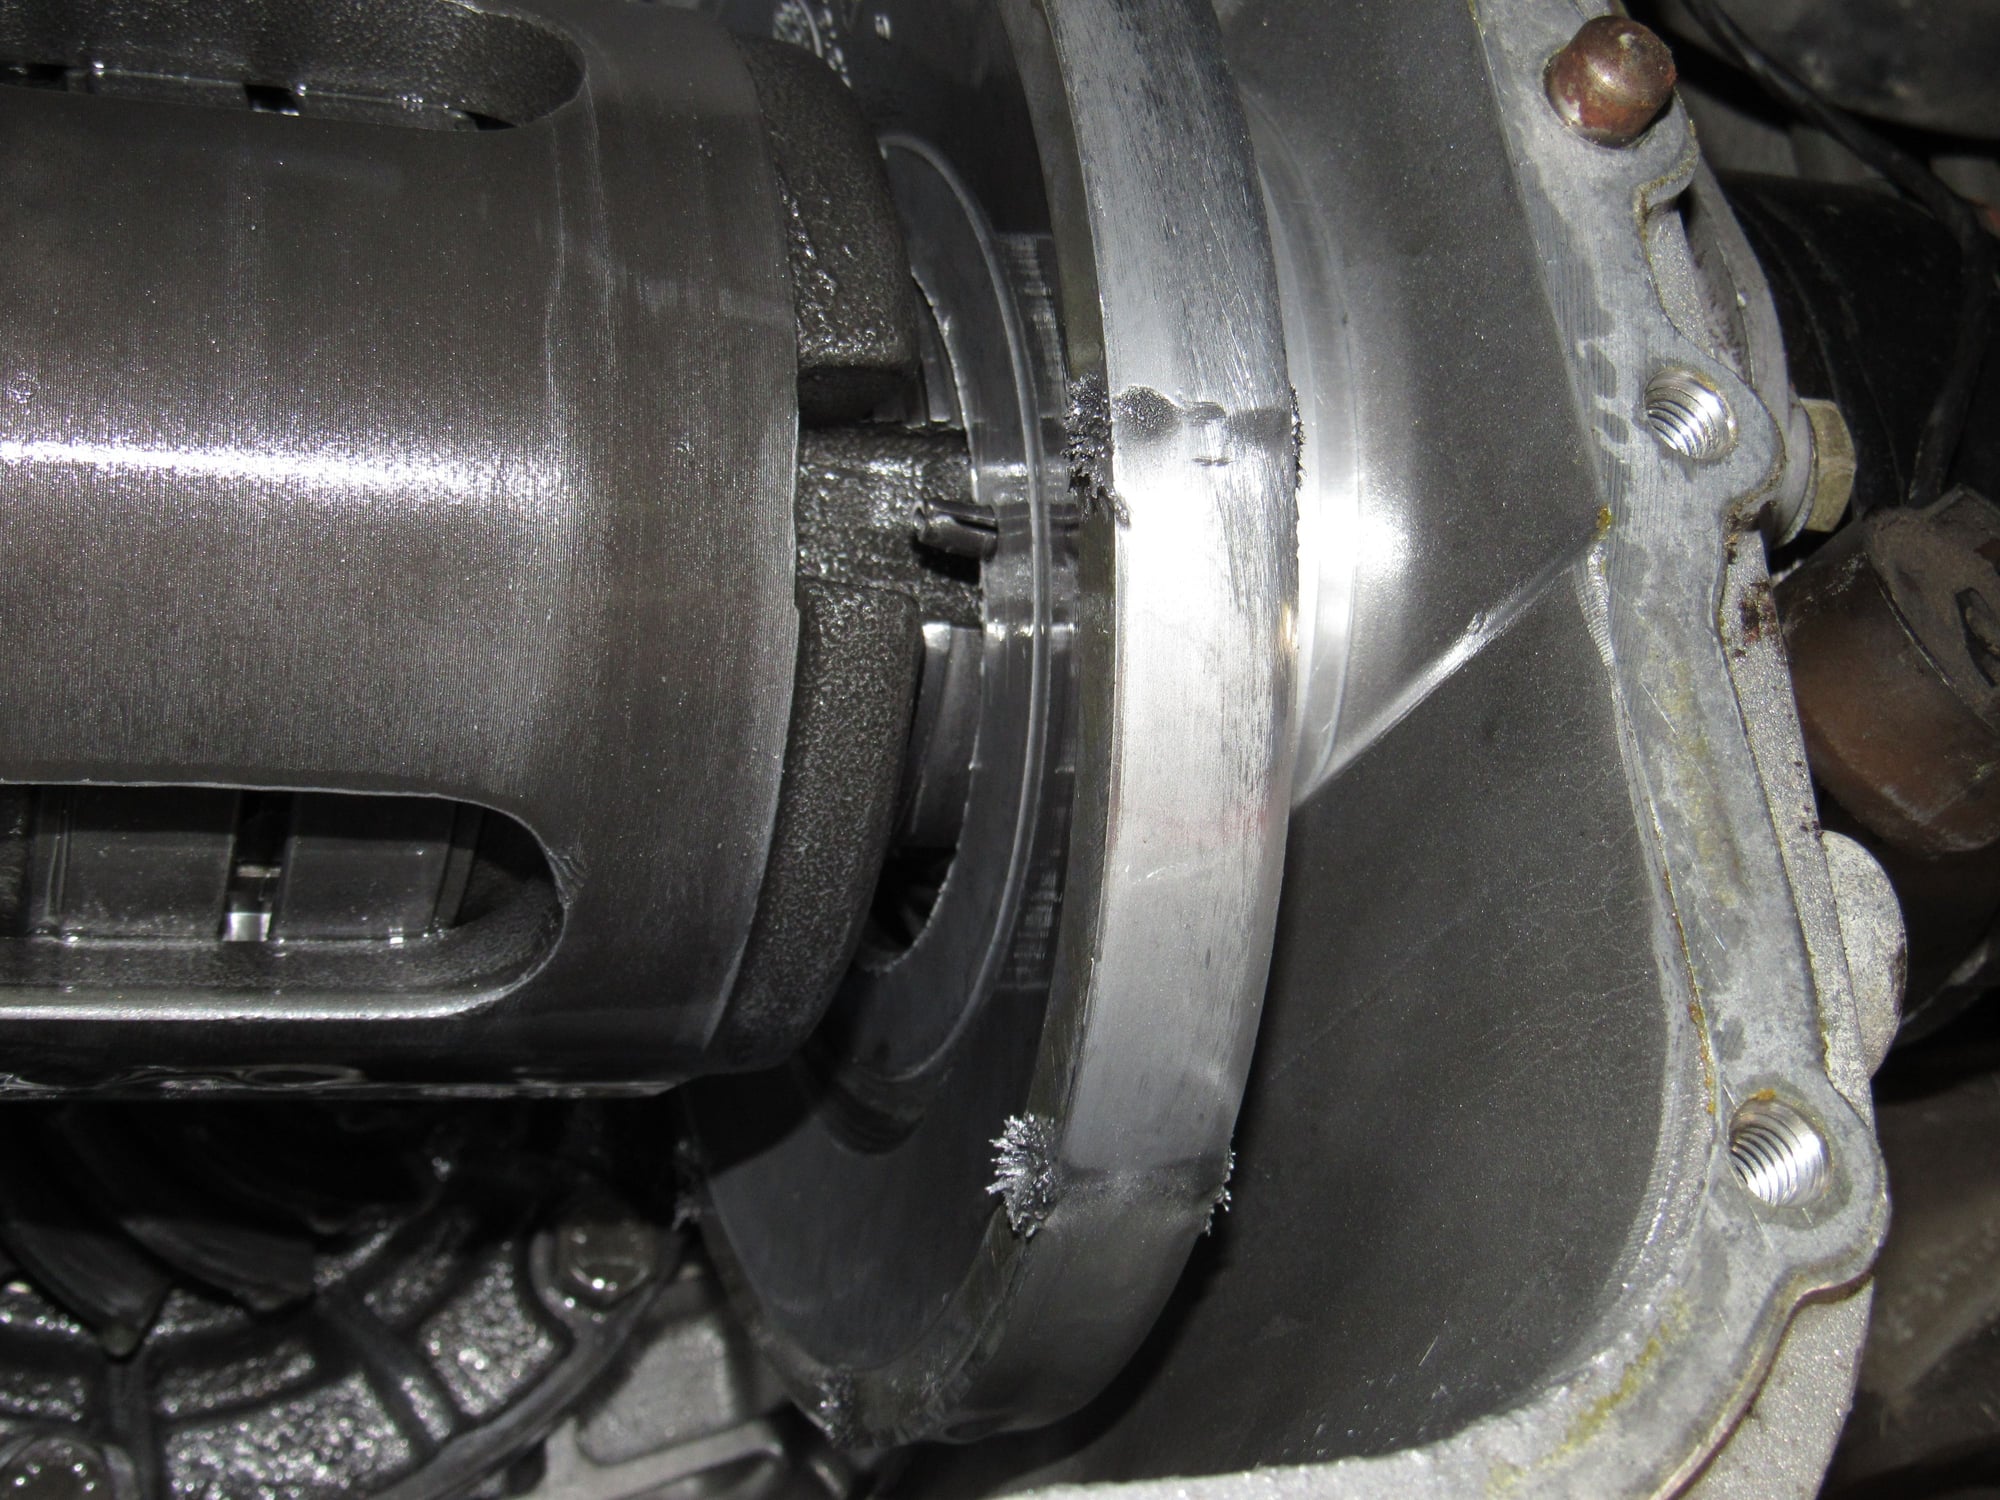
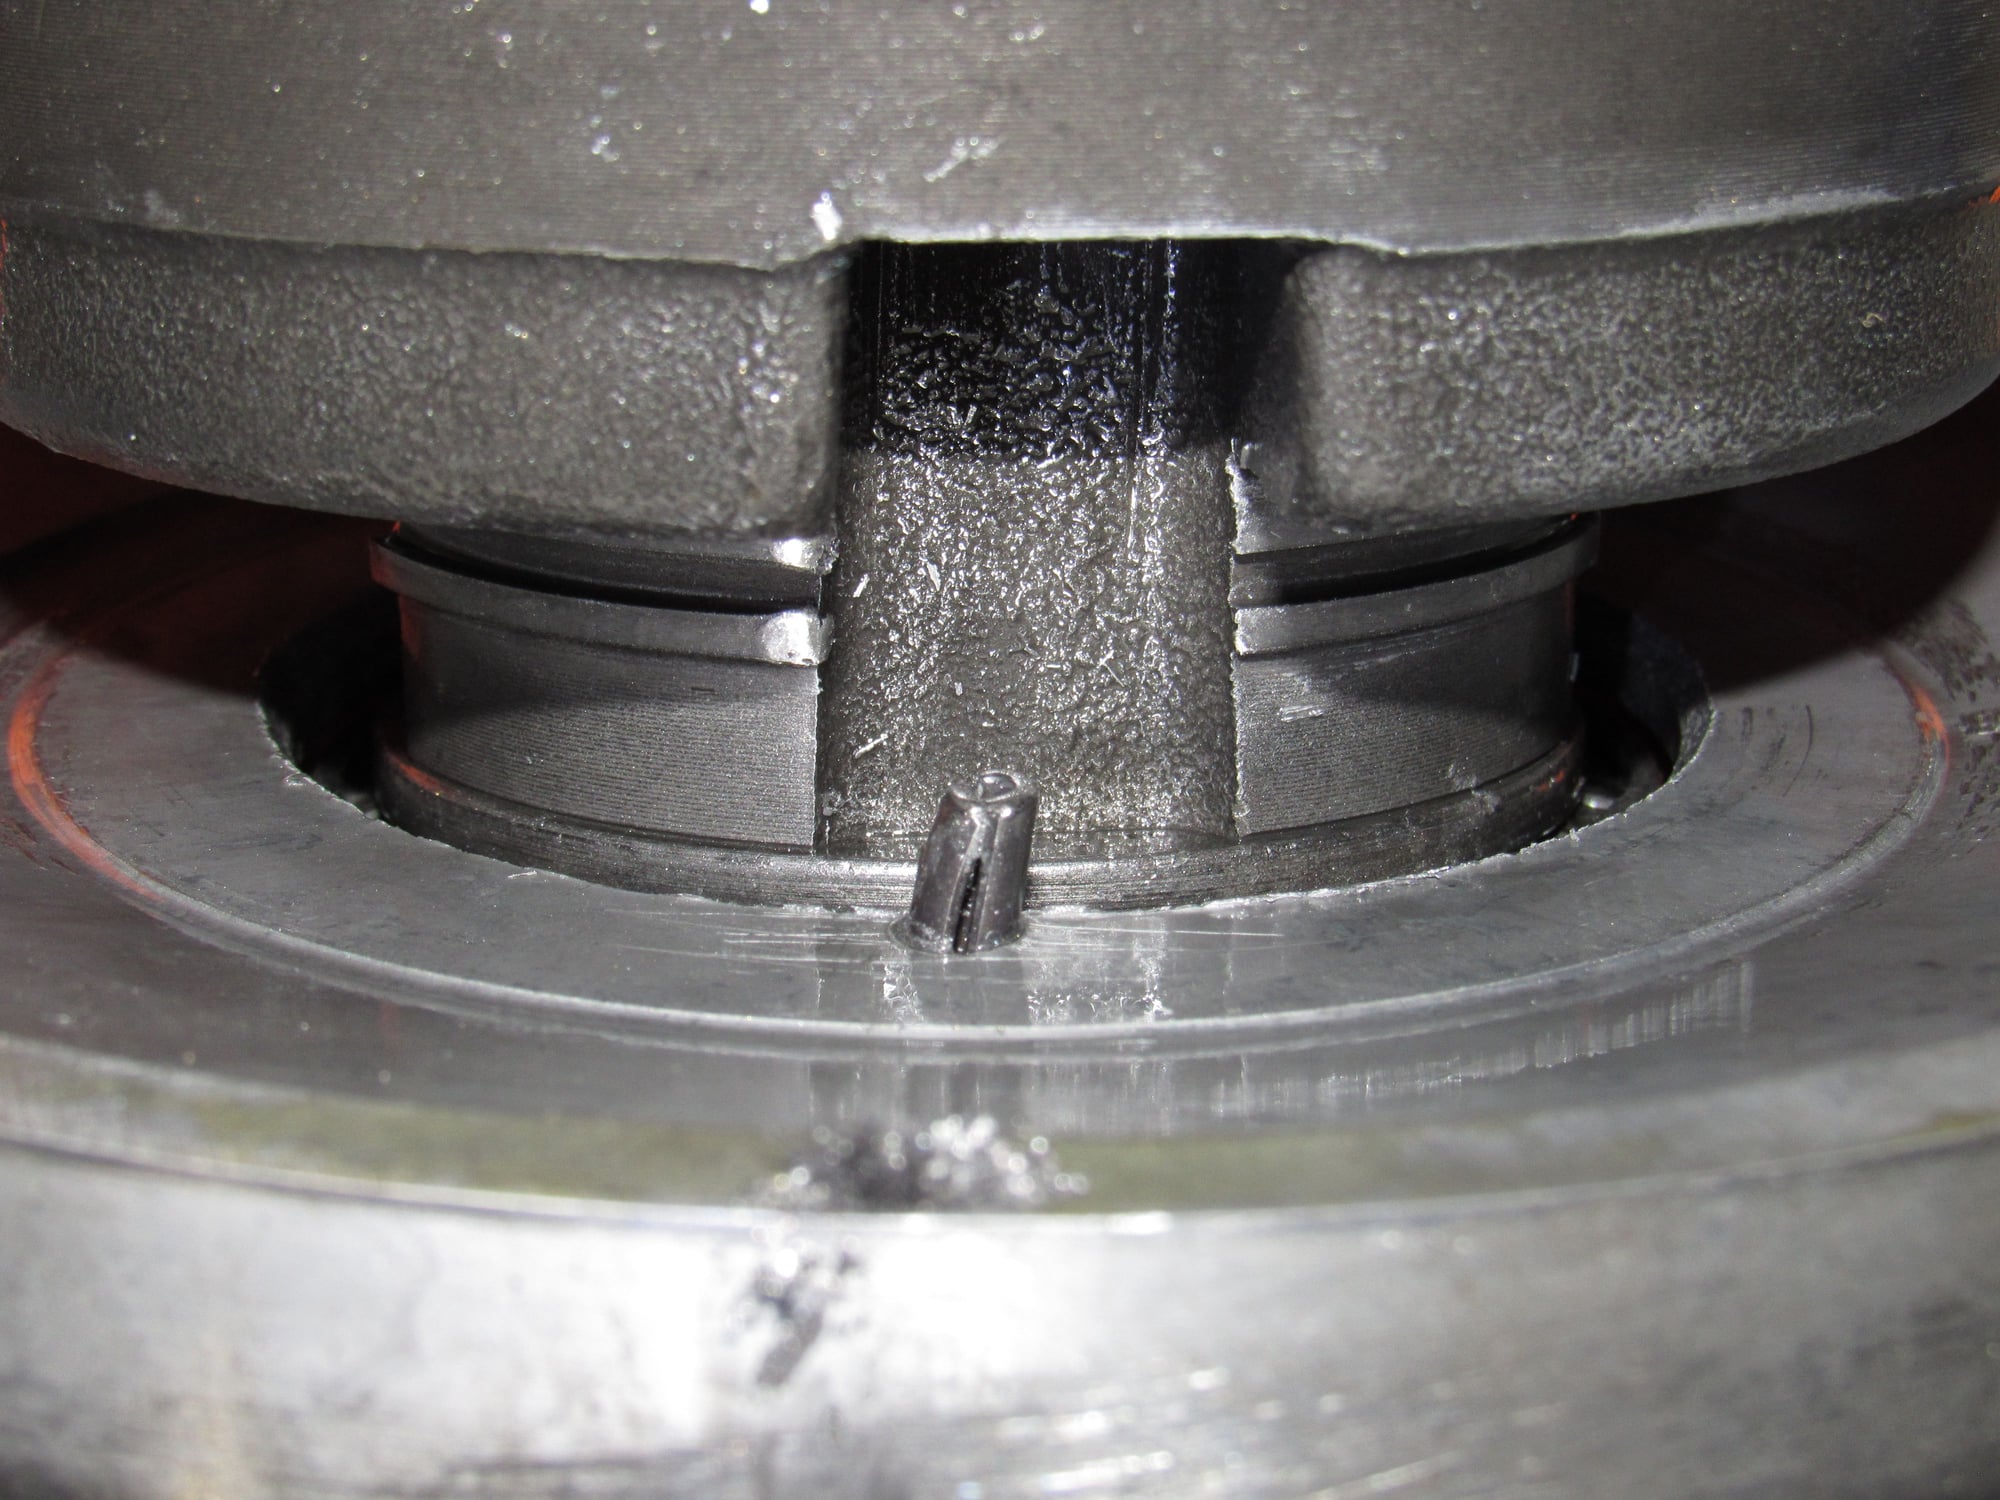
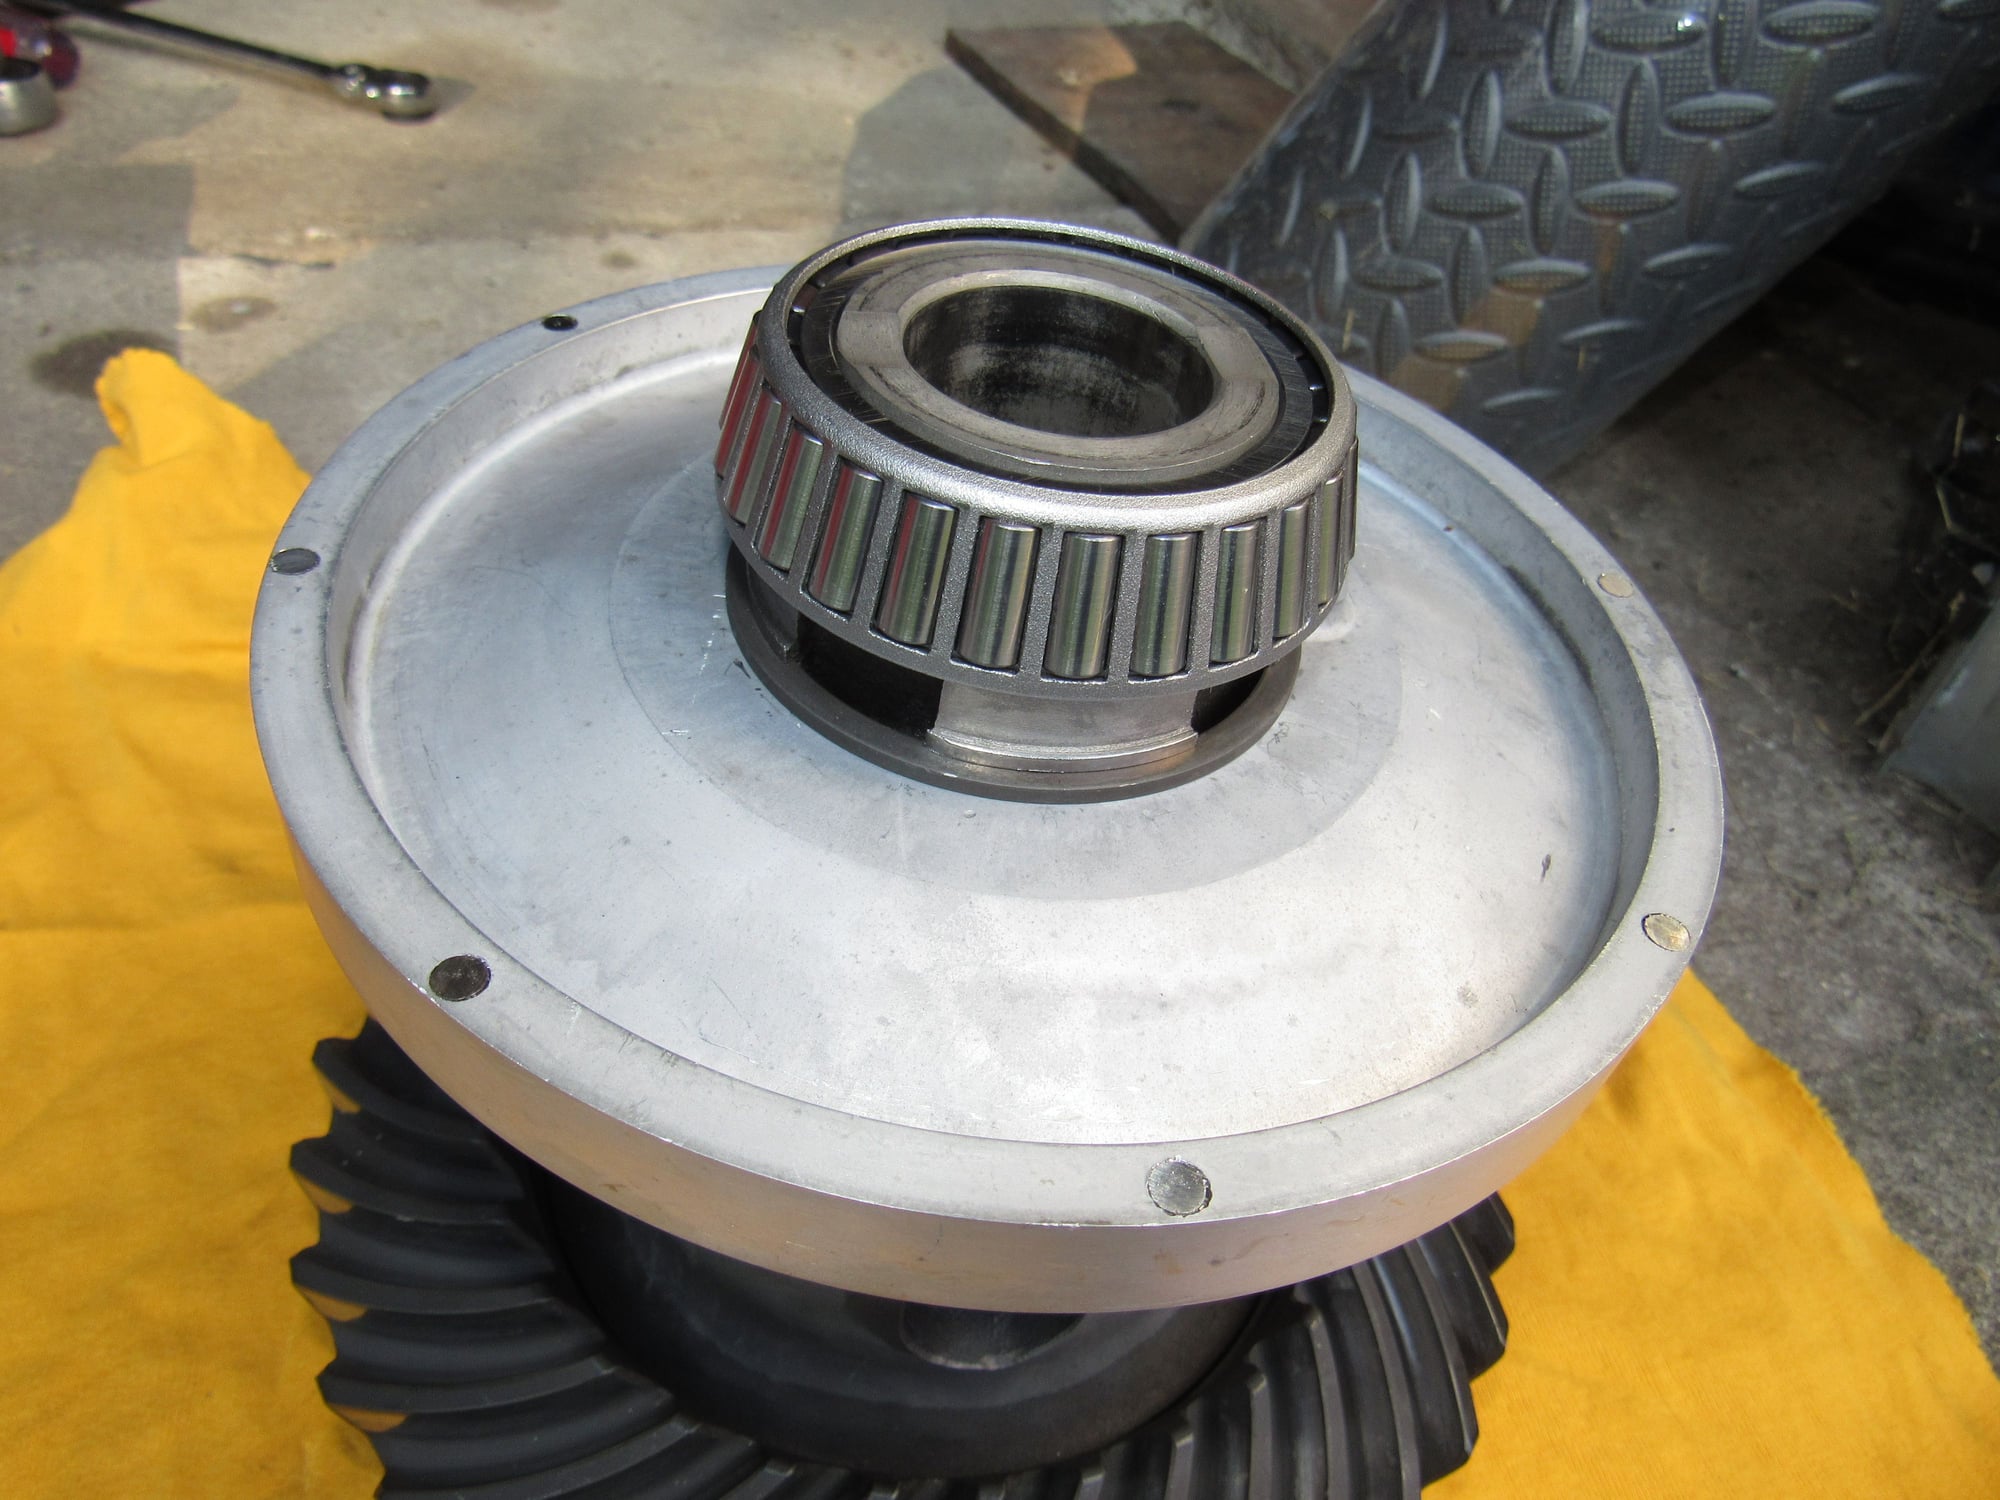
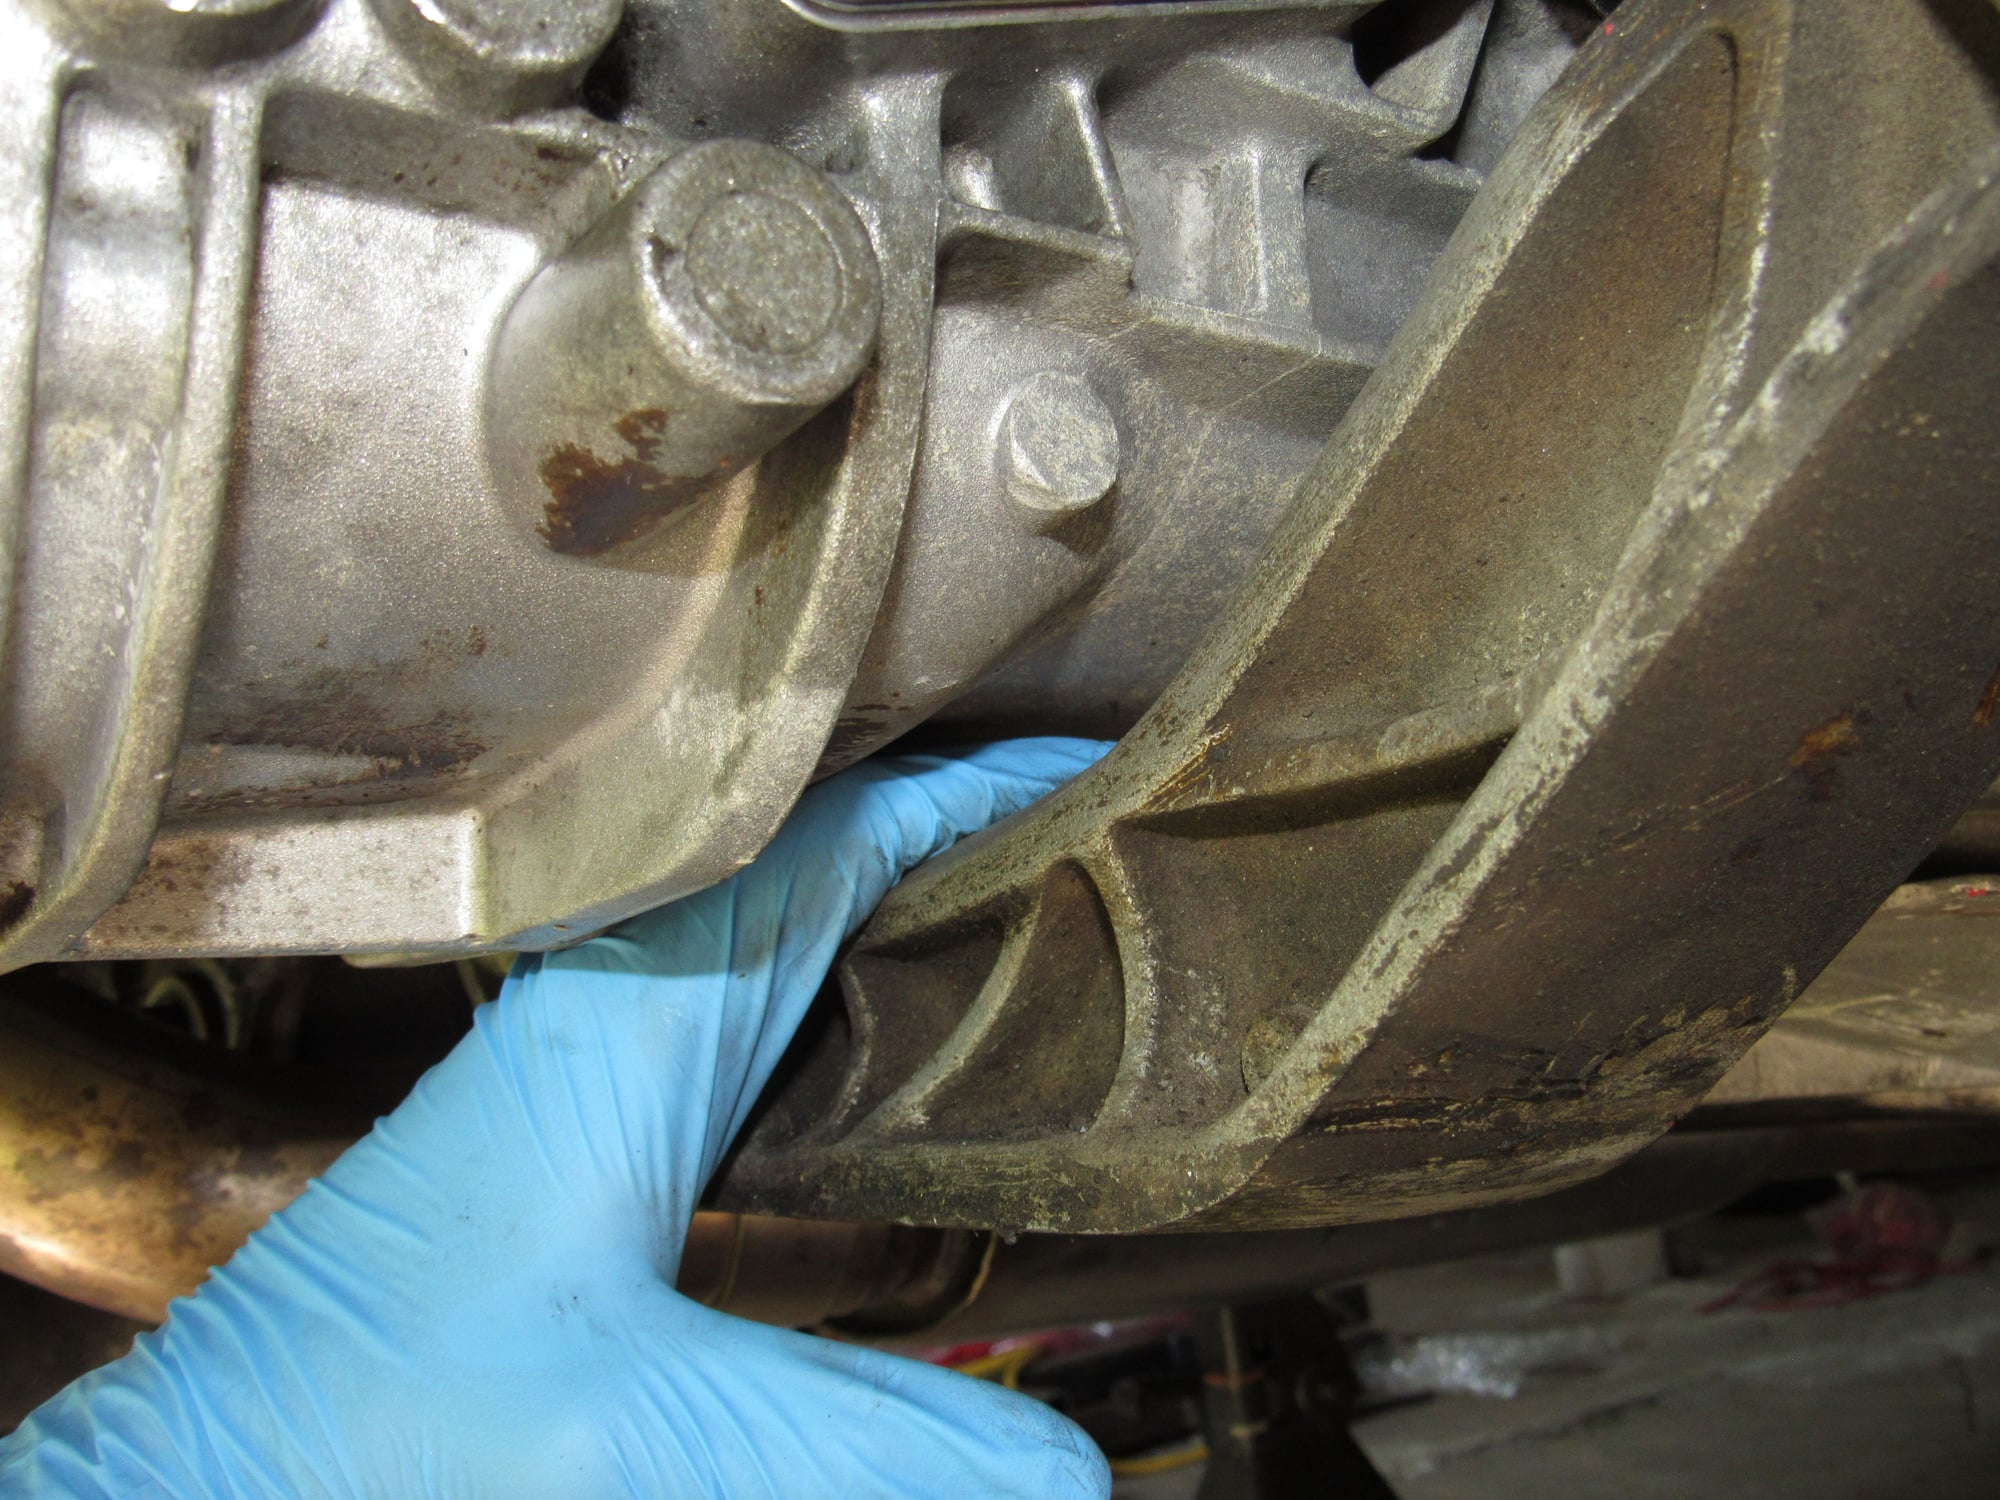
So I removed the rear cover and sure enough, the magnet carrier is loose on the differential. It should be up tight to the differential and you can see the single split pin that is supposed to hold it.
Here is the differential removed and the back of the boss for the split pin. The magnet carrier is aluminium and over about 1200 miles of grinding against the spinning differential it has lost at least 30mm of material which is what was in the gear oil.
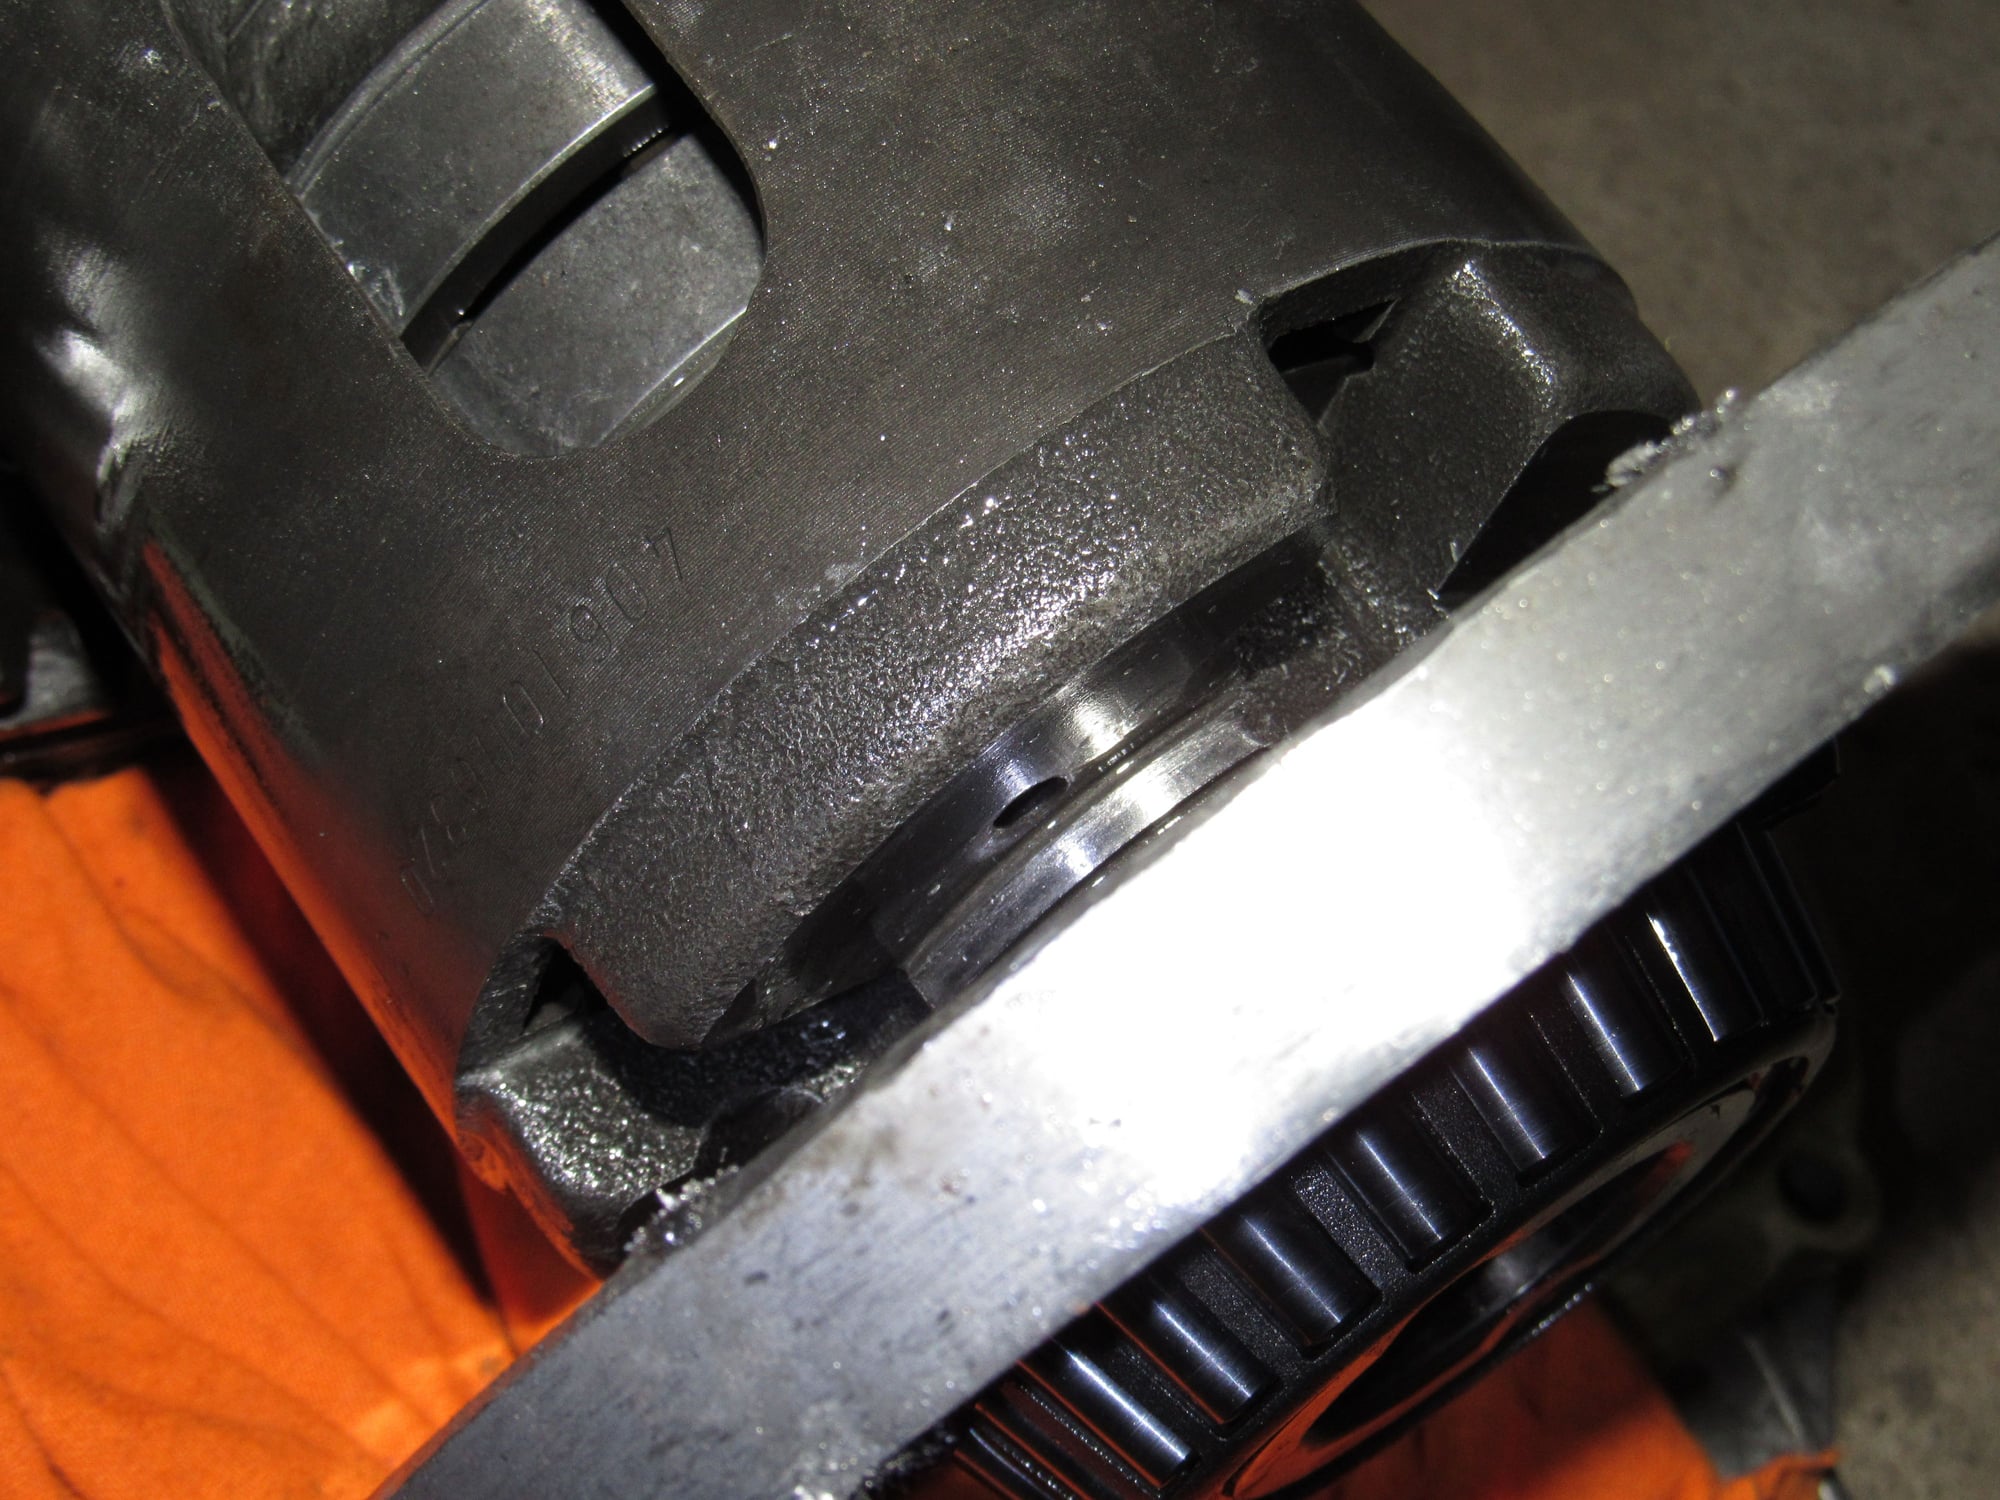
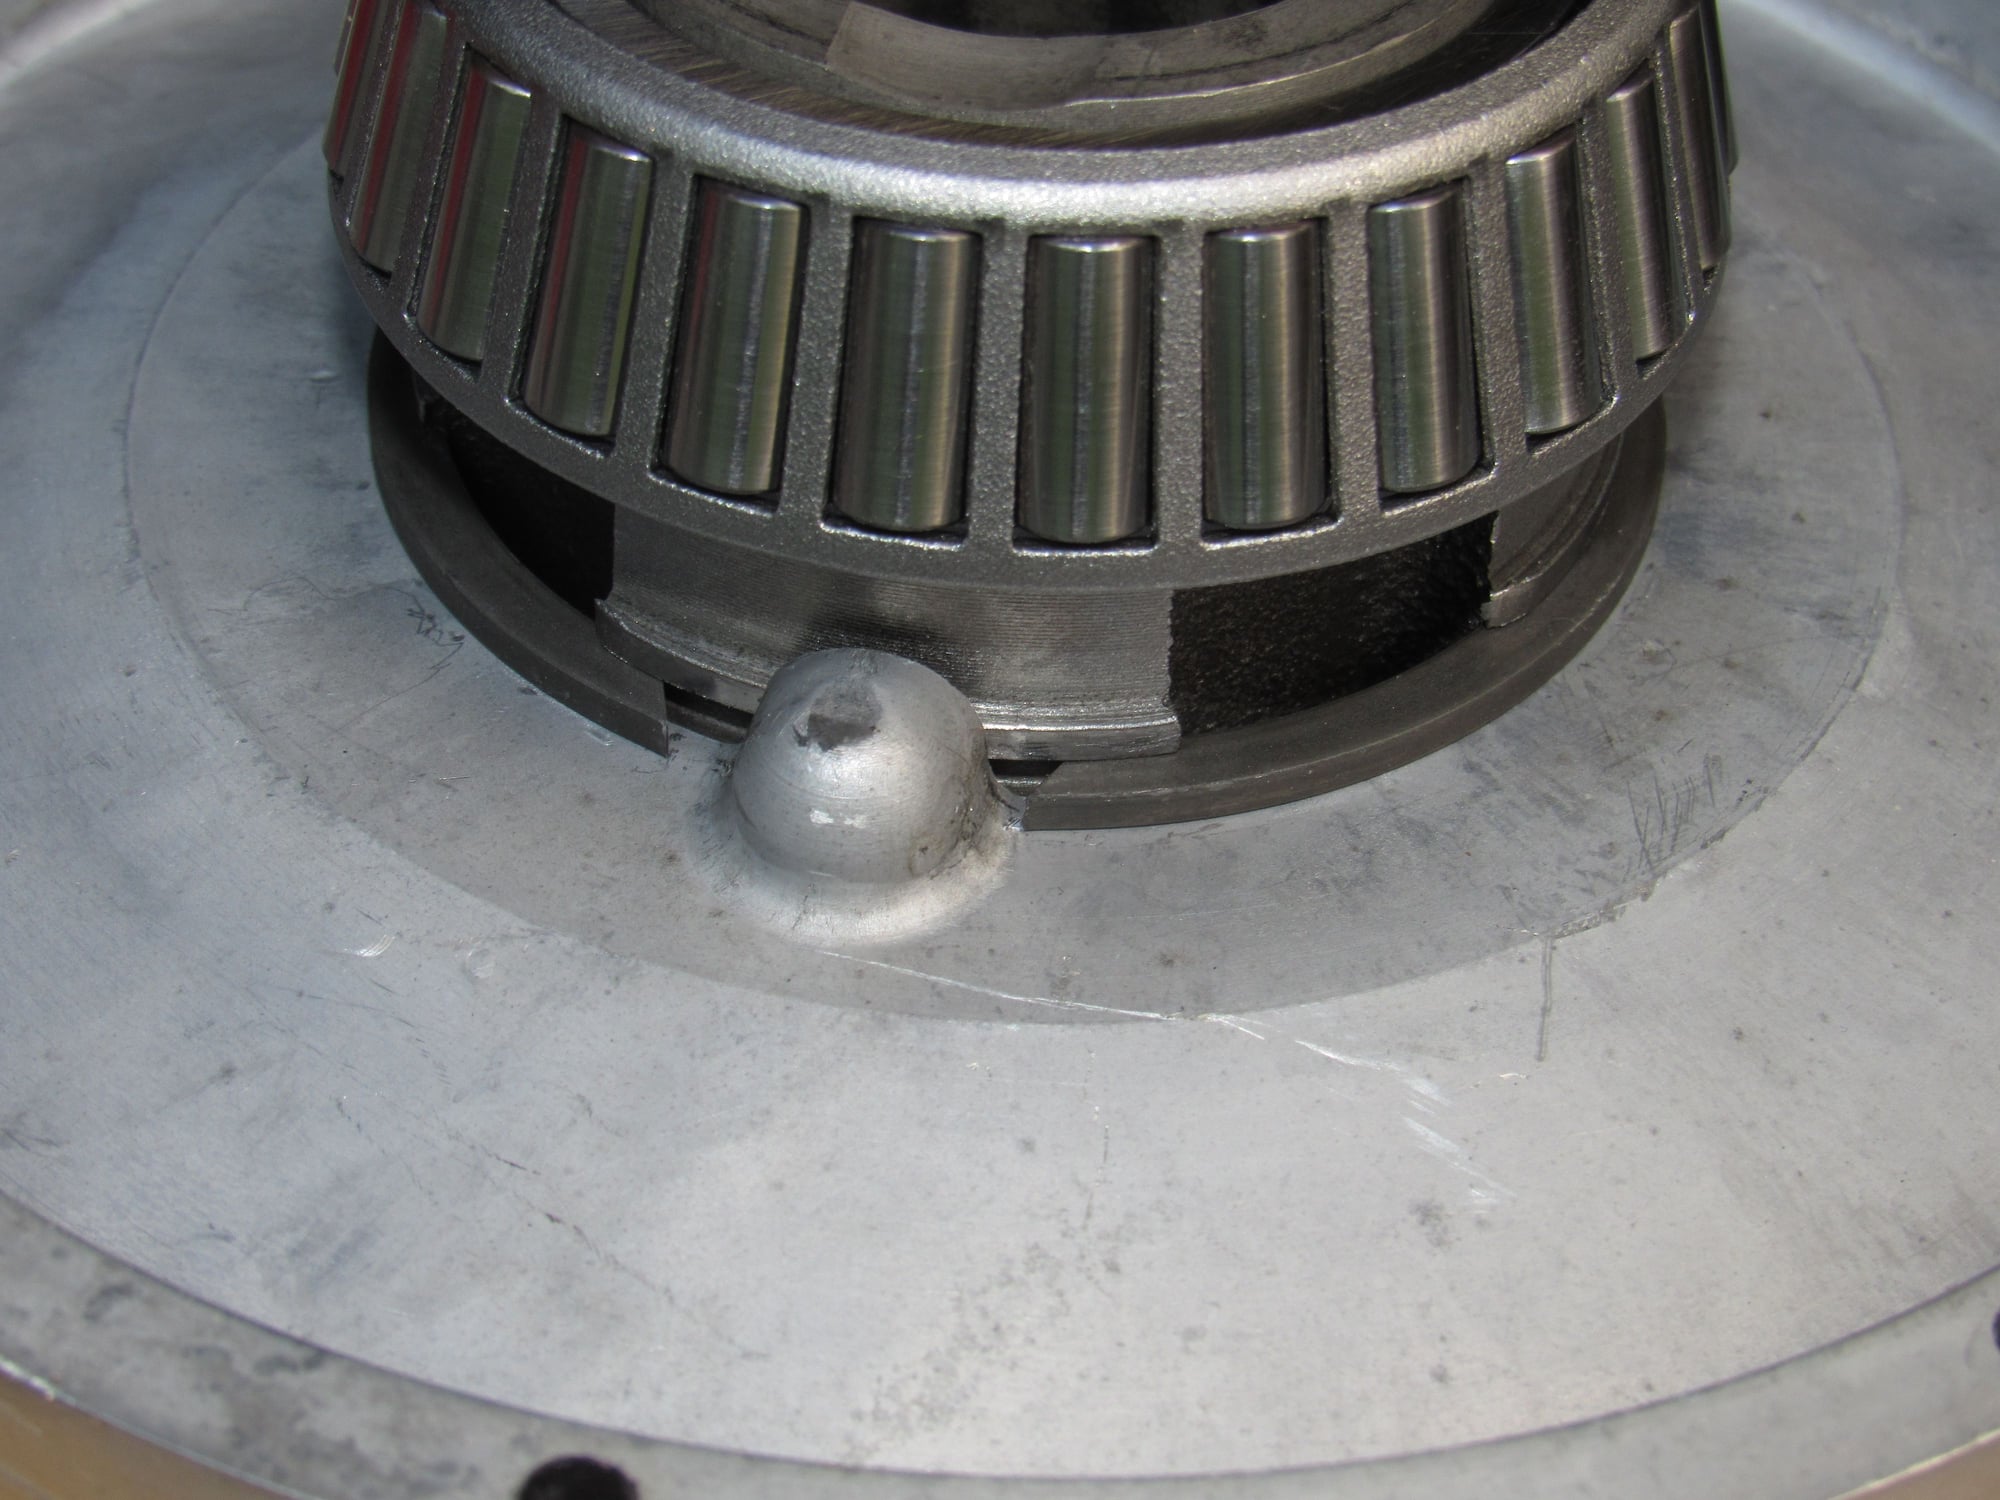
Here is the hole where the split pin should fit into the differential
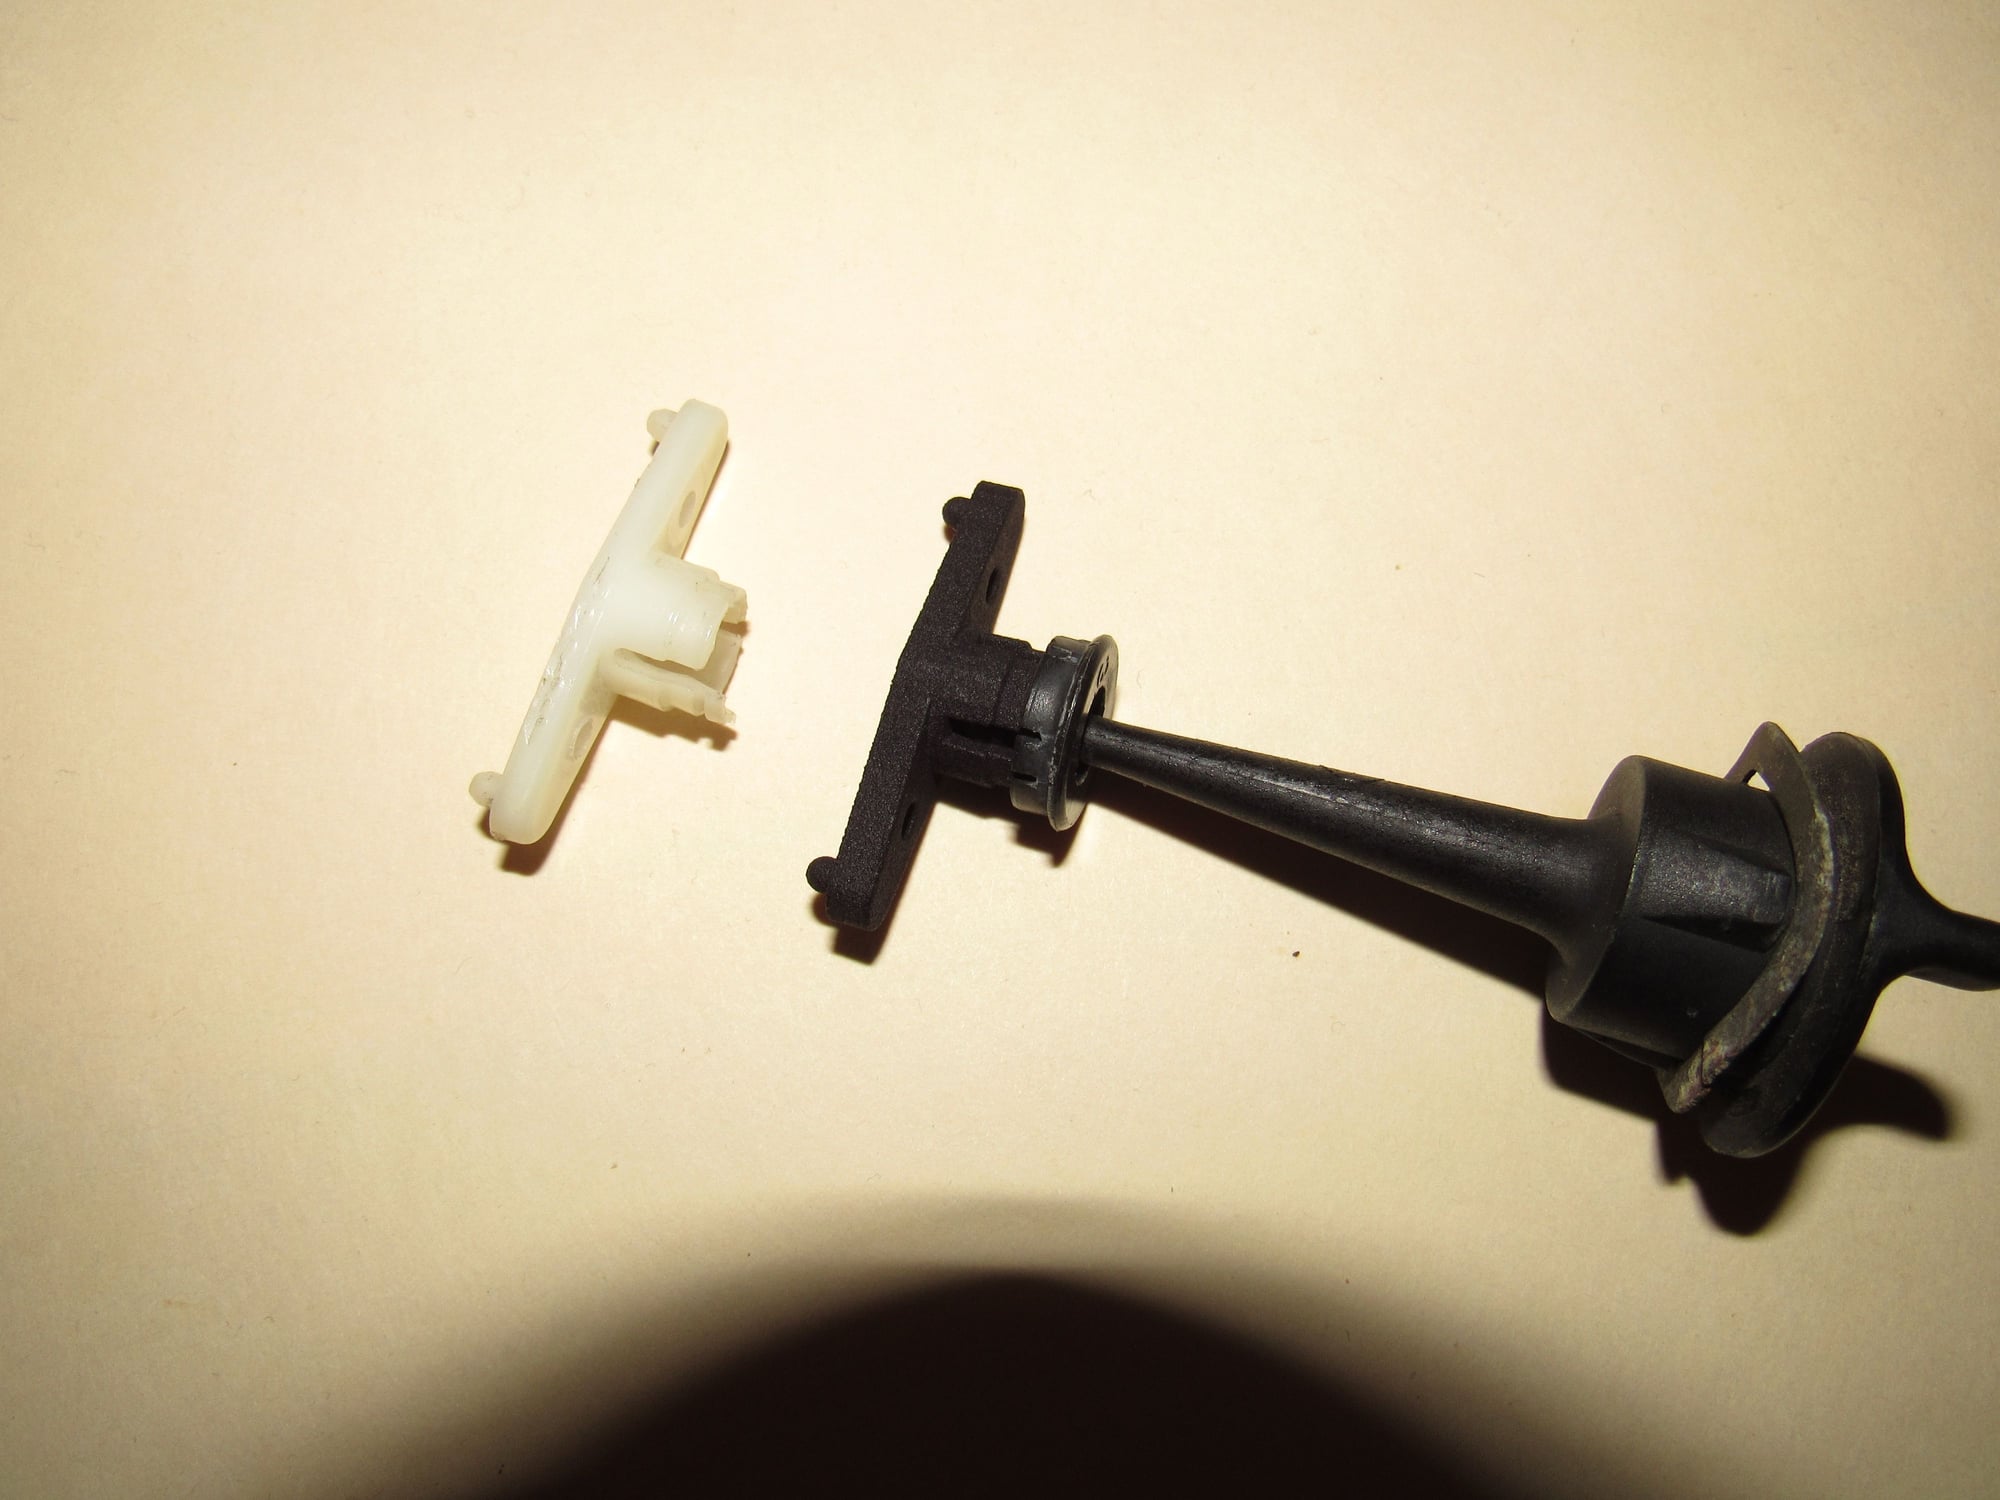
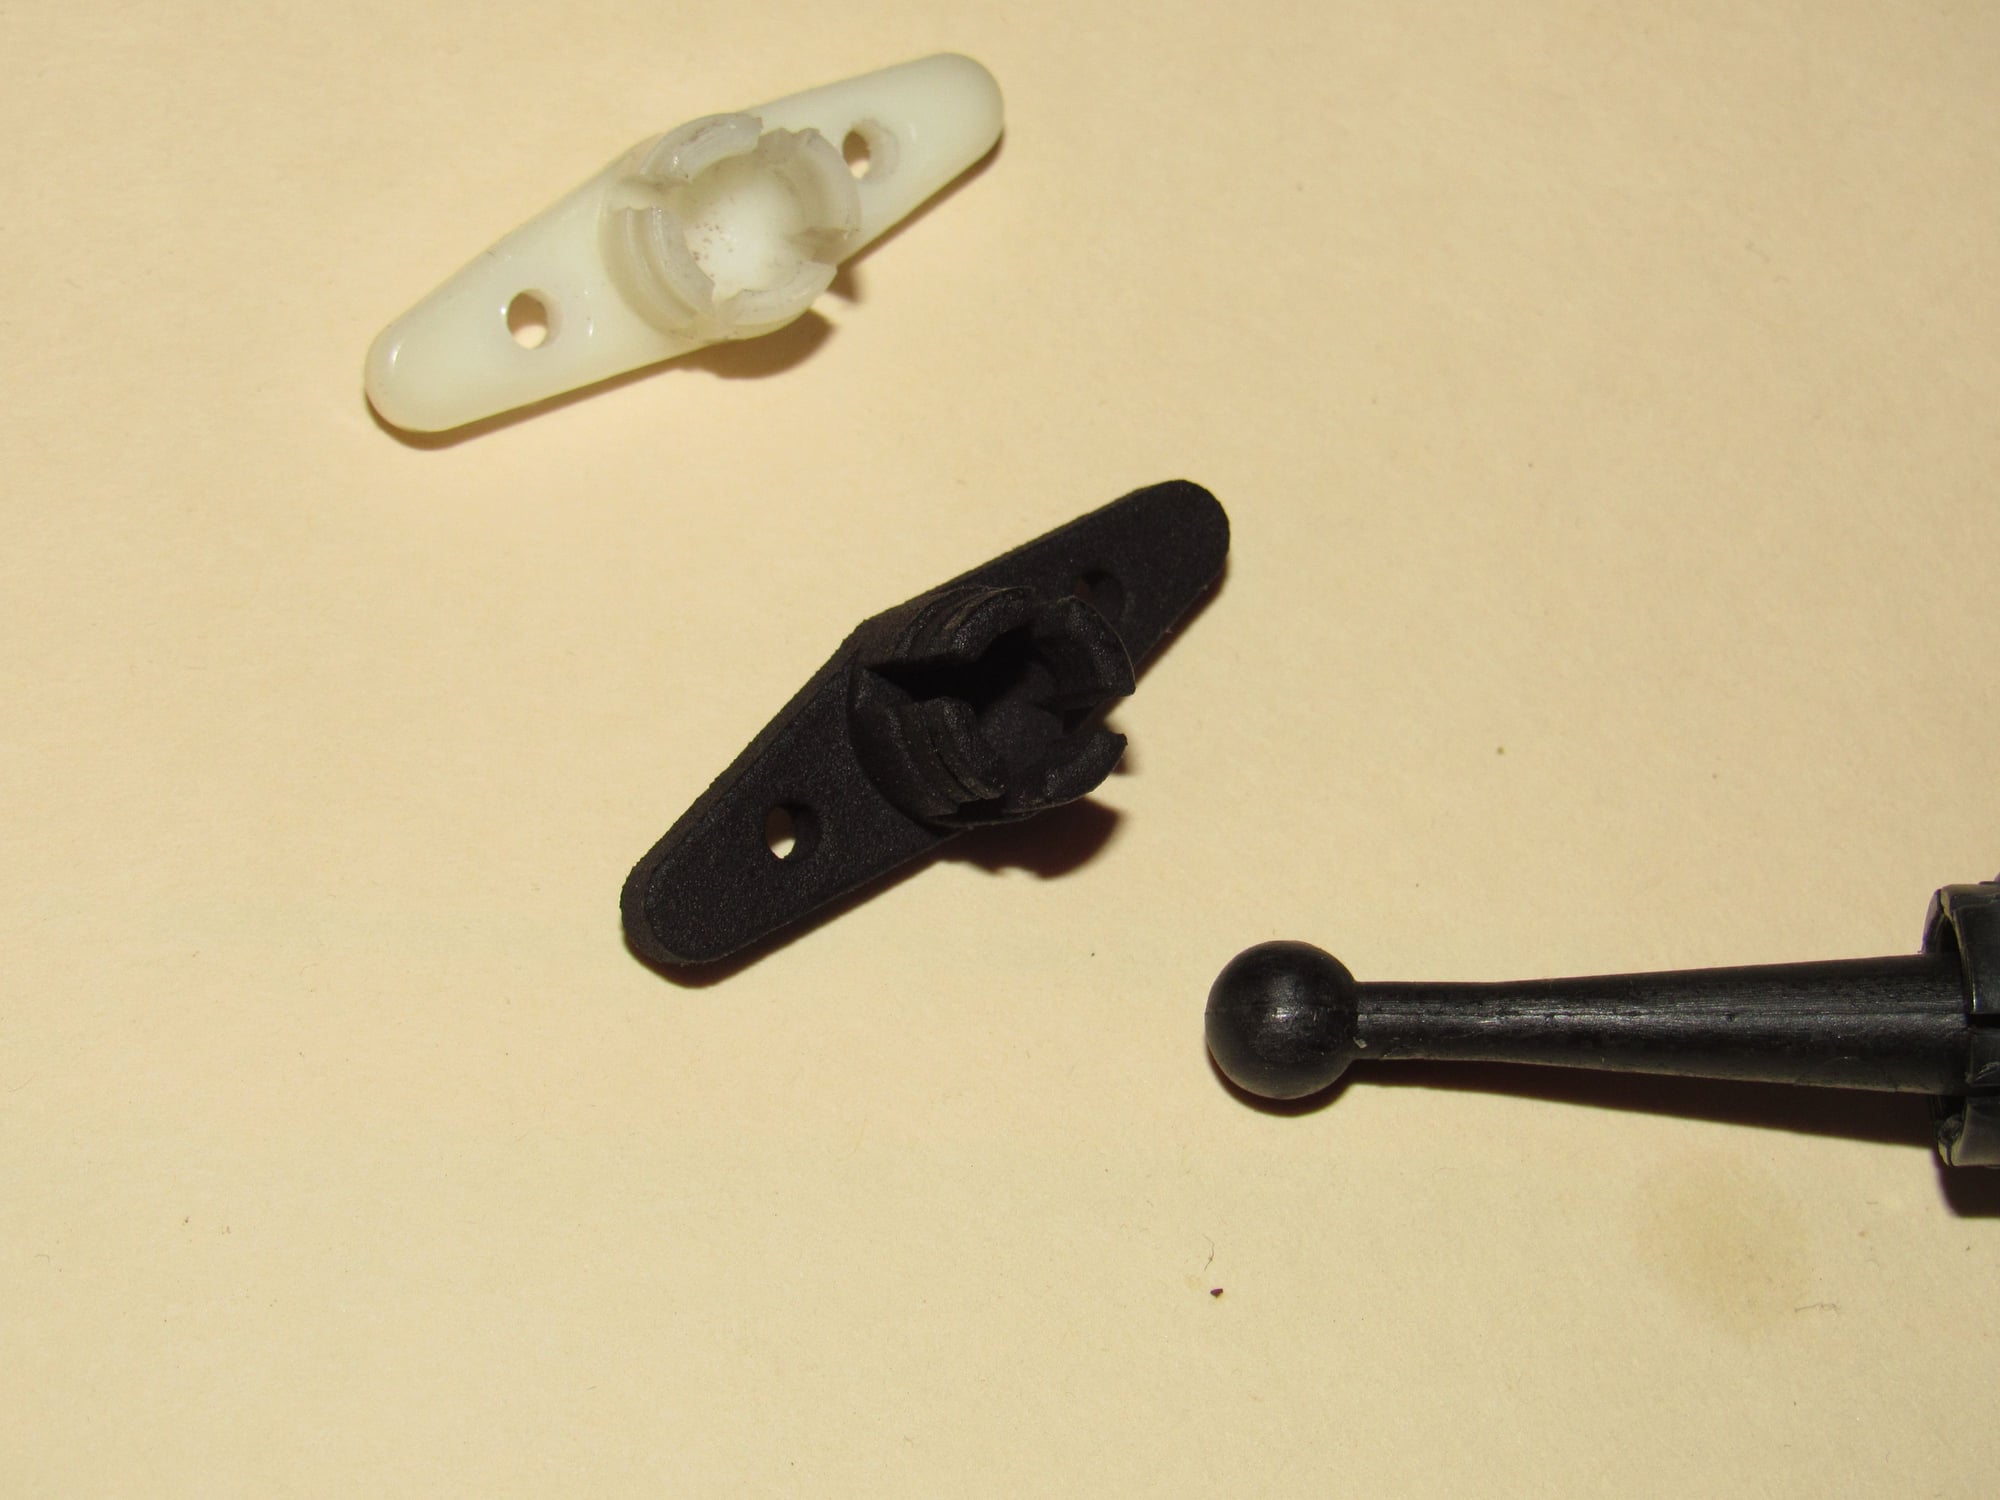
The split pin
So all this time since my trip to Frenzy in September I thought this was a electrical problem. I never would have corelated the speedometer dying to the transaxle swap but in hindsight it happened after less than 200 miles. I believe I burnt up the control board on my speedometer with all my testing and it was never the problem.
The differential is already out and shipped to Greg who will make things right. Stuff happens but I am just ecstatic to finally find the culprit. I am 99% sure I can reassemble the instrument pod but I will wait to confirm full functionality just in case.
It seems that between this and the roll pin falling out of my distributor at Frenzy 2016, they just don't like me
Thanks to Cory for pointing me in a different direction:
Cory Shepherd
Specialty Gauge
8110 Weatherwood Ct
Unit 202
Manassas, Va 20109
703 402 4008
The repaired differential is on its way back, but with renewed vigor I have been busy.
A long time project in the works was completed. My headlamp socket mount was partially broken allowing the headlamp to pop out of alignment. I had a coworker create a model and some 3d printed prototypes and used the Shapeways service to print it in PA12 material which has suitable properties.
The rivets on the old mount are ground off, punched out, and new mount installed with rivets.
The new mount feels very secure. Now at this point I would have offered these but another member has concurrently created their own version, so I am at a standstill. If you are in a desperate need, send me a PM. These are for H4 and H5 headlamps.
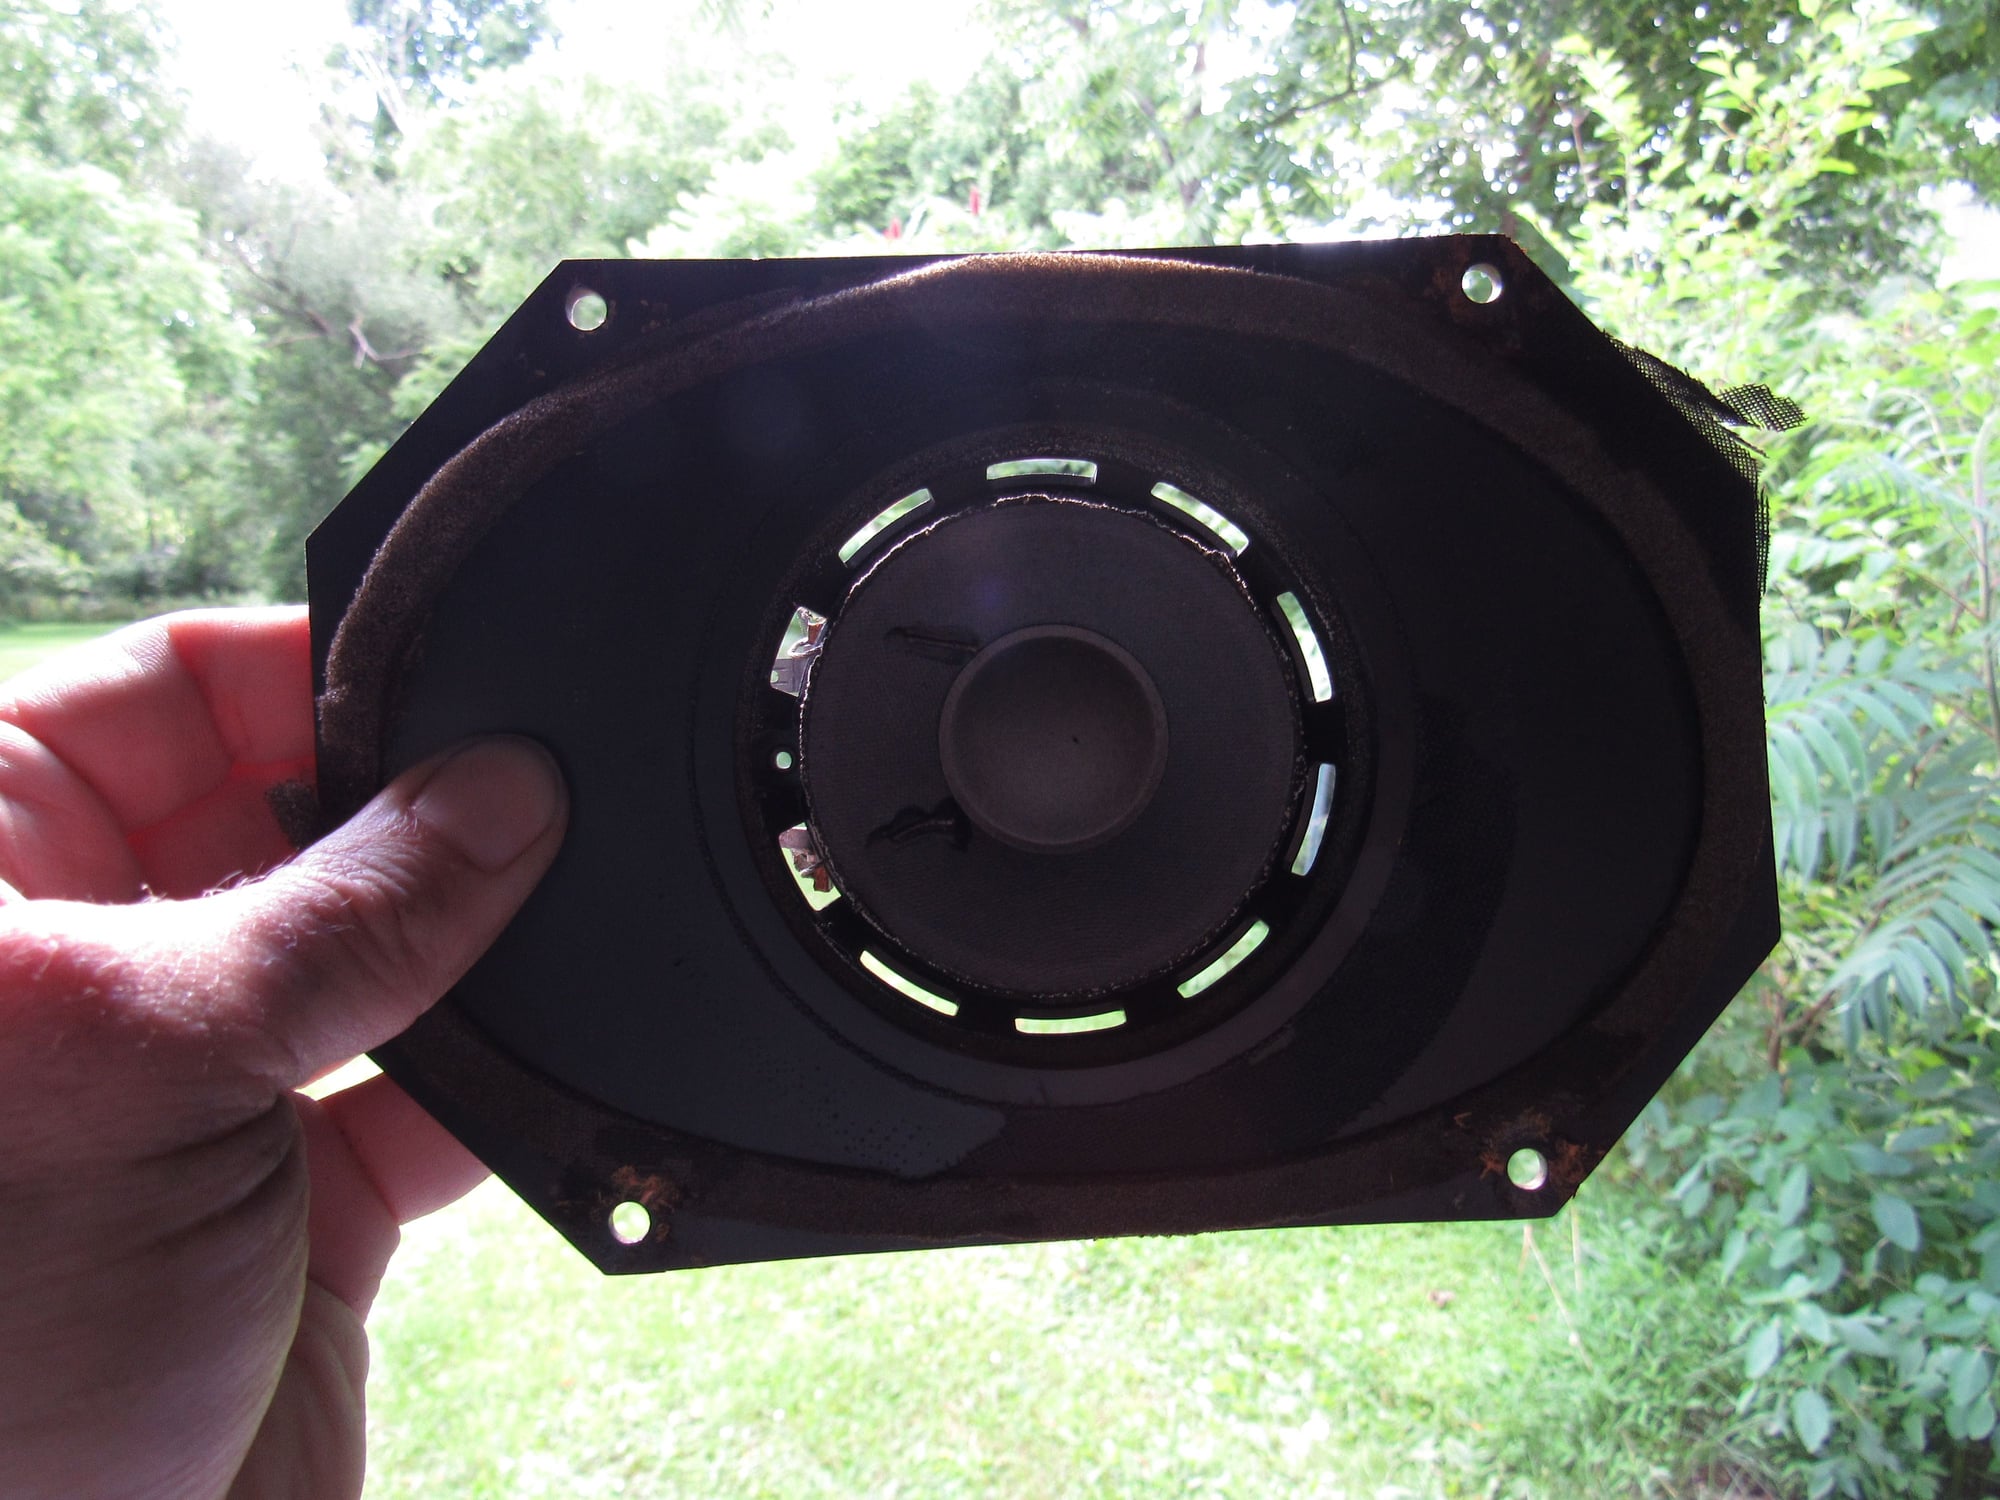
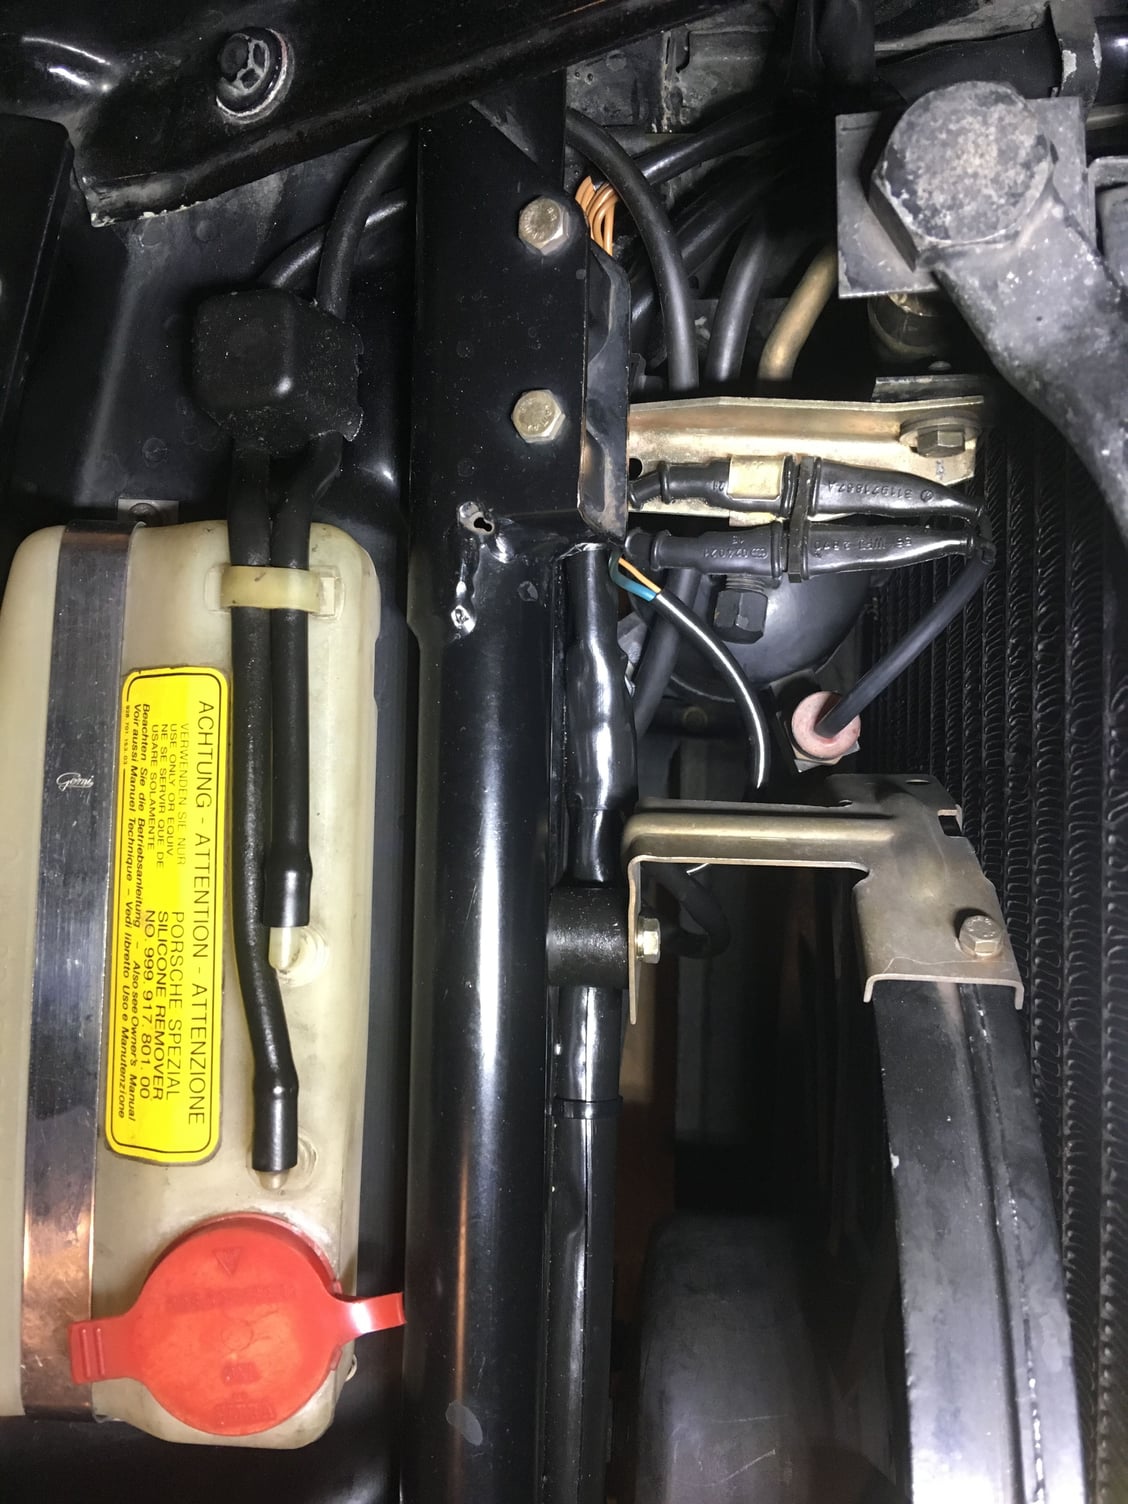
During my extensive speedometer related testing I developed a problem with the old radio where it would power up the speakers and raise the antenna without being turned on, as soon as the ground strap was connected to the battery. No real loss, it was a 90's tape deck. While I have the driver side door card out for repairs I took a look at the speaker. I am not a big audio guy but obviously these are rotted, they are see-through!
I have a Continental radio on order and got these door speakers and a big sheet of plastic to make adapter plates, for which a pattern was generously provided by hans14914 at the end of this thread.
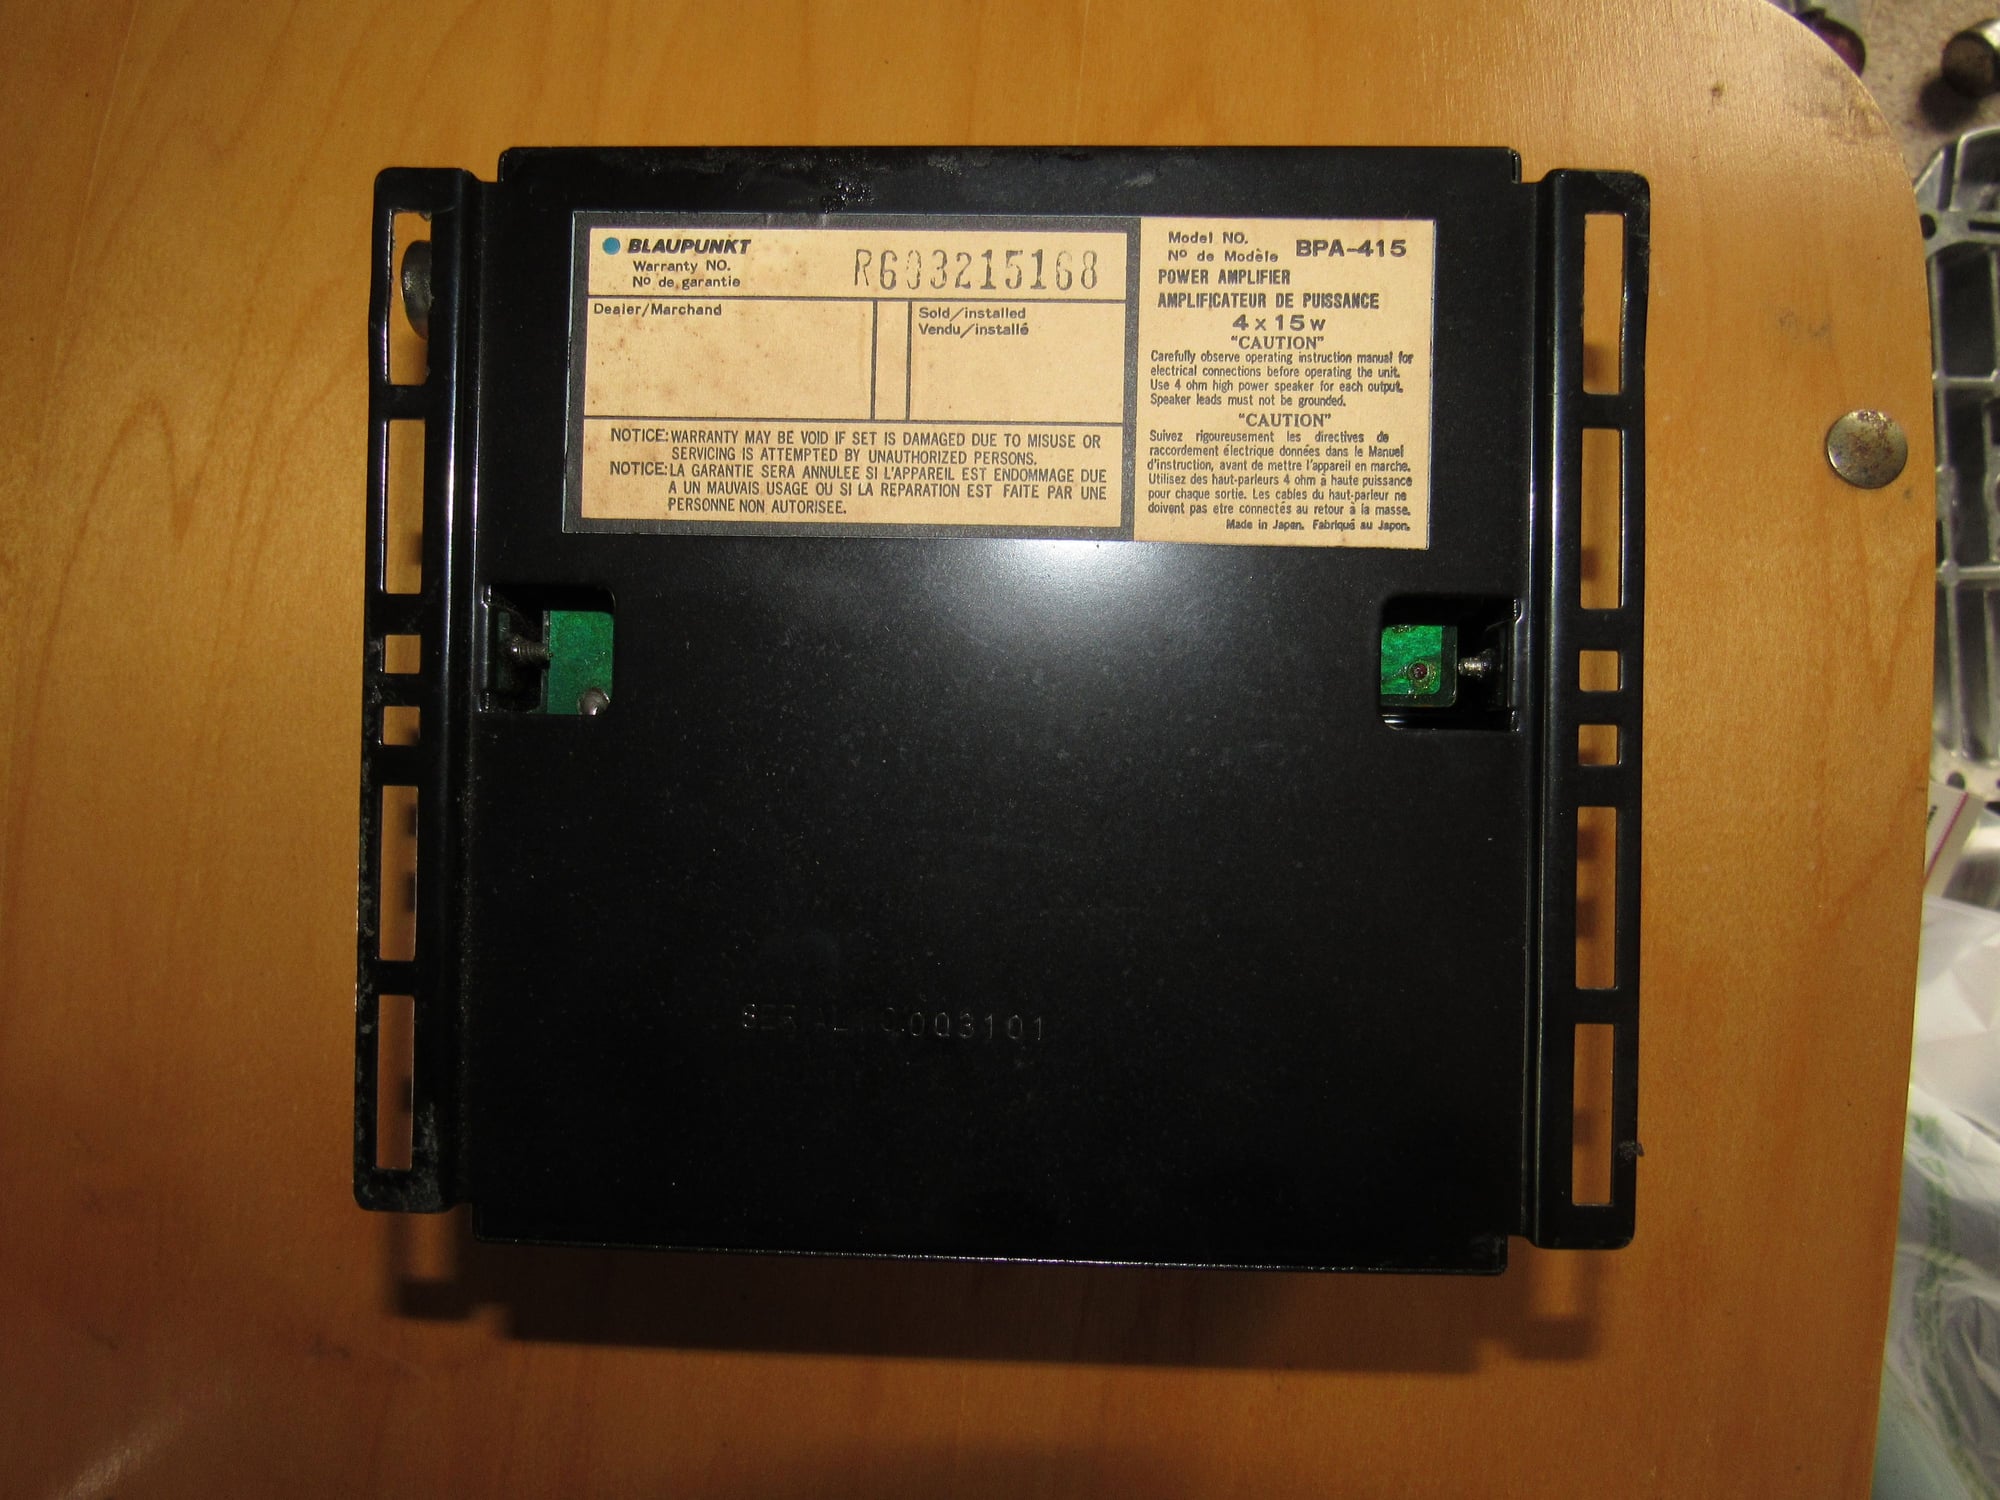
My car was originally fitted with a long gone Blaupunkt CR-3001 and amplifier at the dealer. The fader and amplifier were bypassed with a mess of wiring.
This amplifier was mounted in the left footwell above the dead pedal
I also took the opportunity to replace the cruise control mounting plate under the center console. Some knucklehead had cut off the right side bracket for the parcel shelf so it had no support. I had grabbed one from a free parts pile last year at Frenzy that must have come out of an S4 with a noise suppressor as a bonus. Thanks to whoever you are!
While looking through PET I found that there is supposed to be a radio bracket which I was missing. After finding it is available new for only $14 I stole the one from my '89 (I will give that car the new one with my next order).
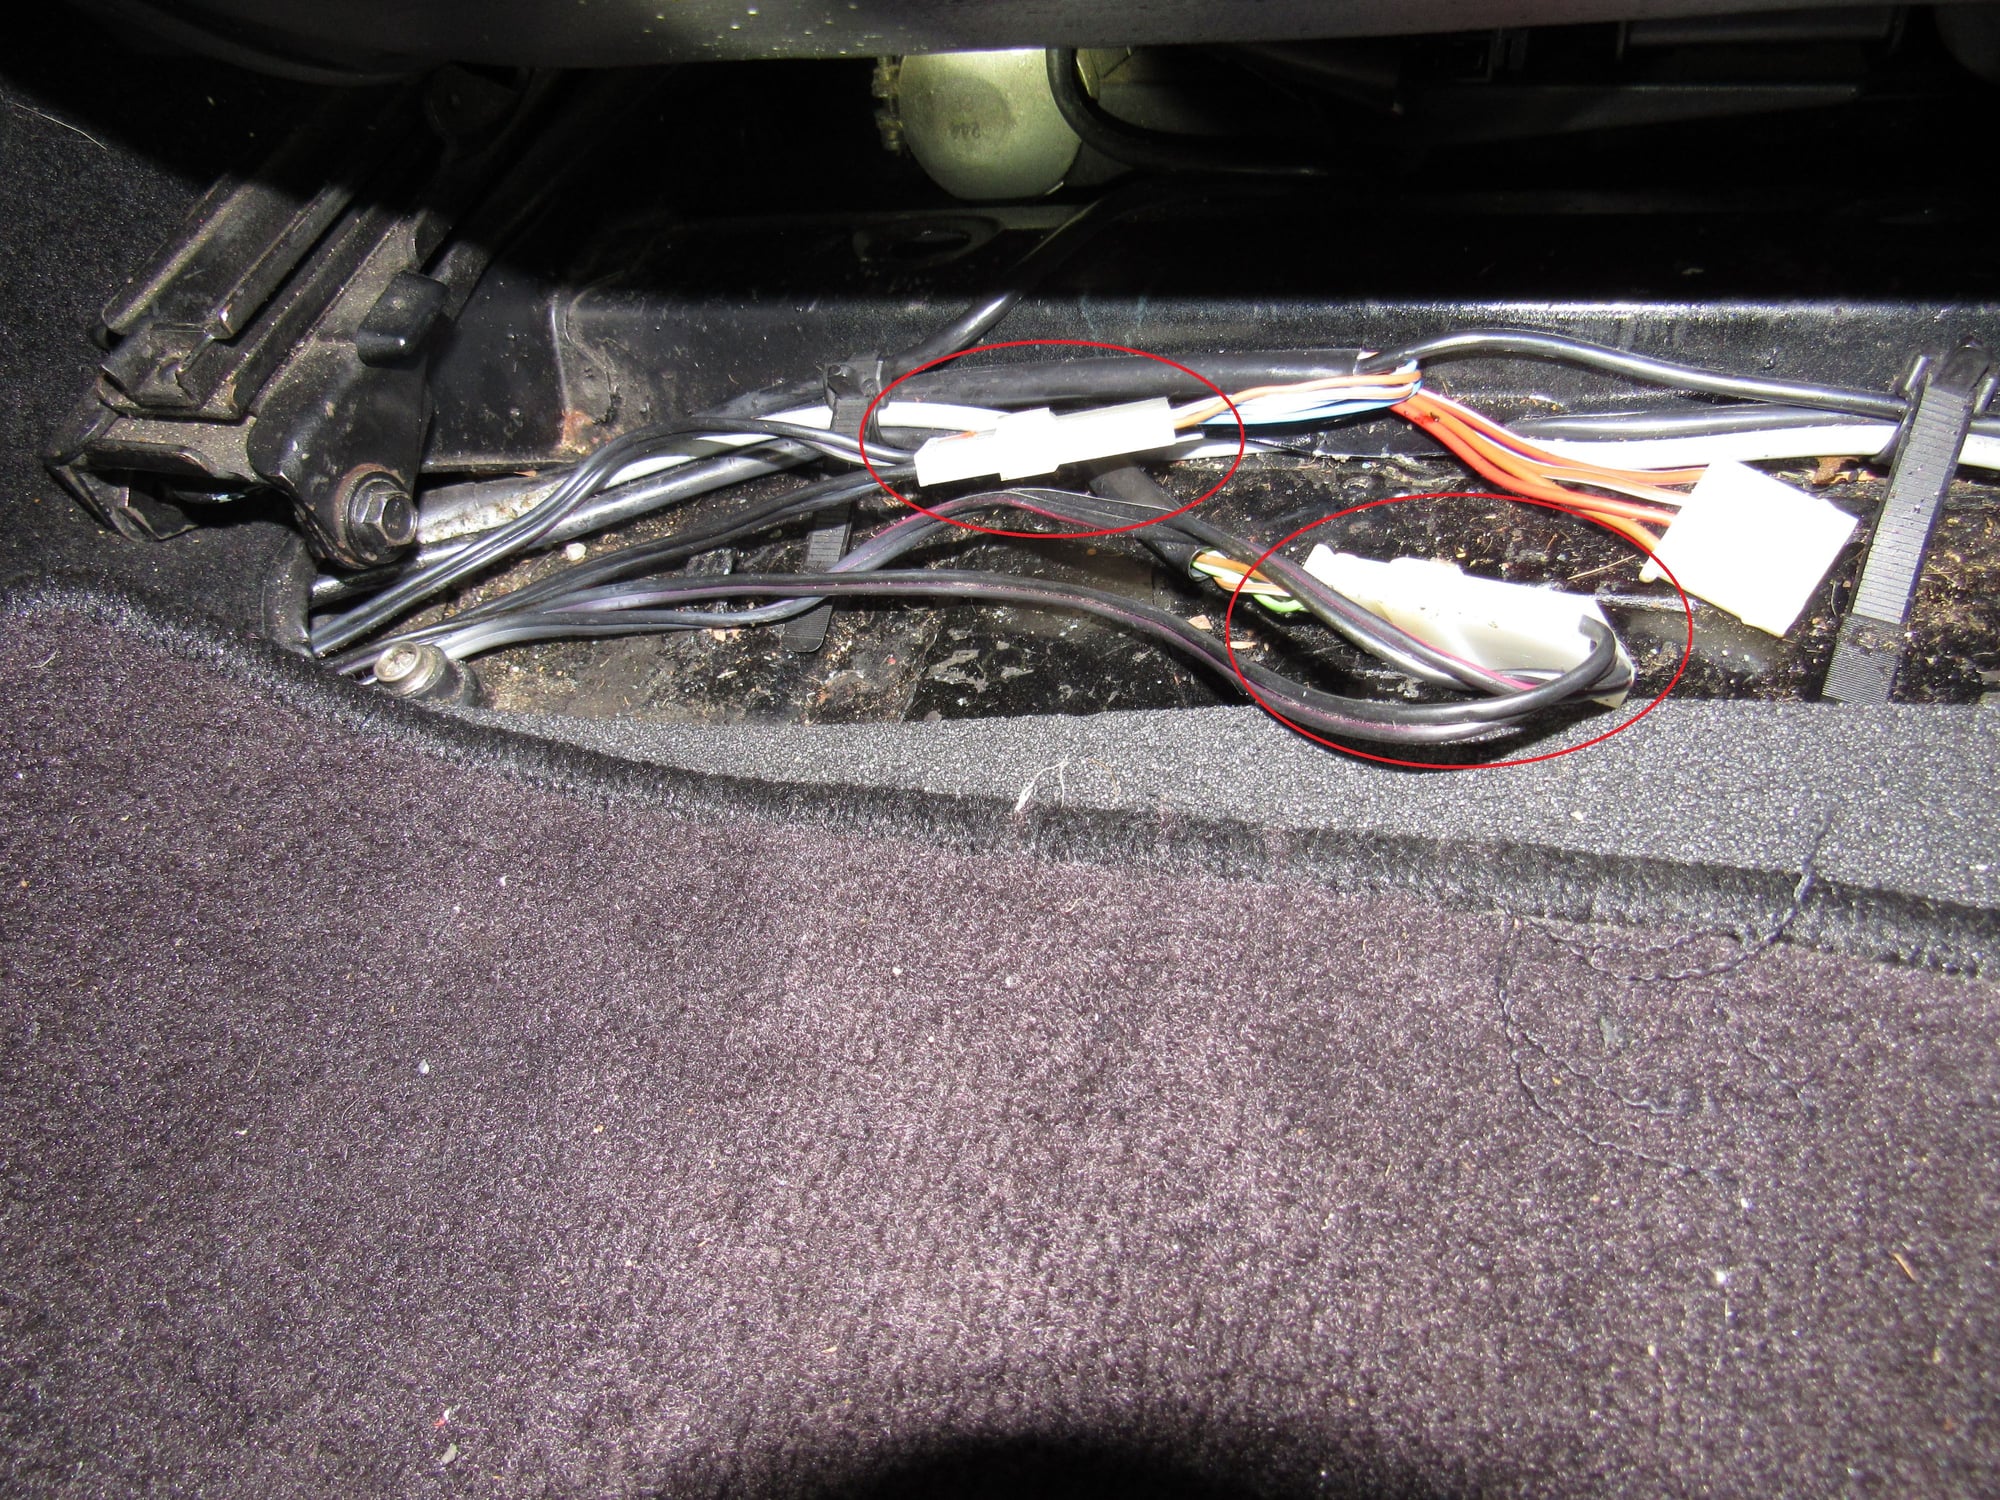
I got the correct connectors for the new radio and figured out a neat way to wire it up. I rerouted the black/red and black wires that used to go from the fader to the speakers to the center console and spliced in the connectors.
These are the wires that went from fader to connectors under the seat (that go on to the speakers). So the path is now radio to these connectors through the black/red and black wires and out to the speakers if that makes sense. It is about as elegant of a solution as I can think of.
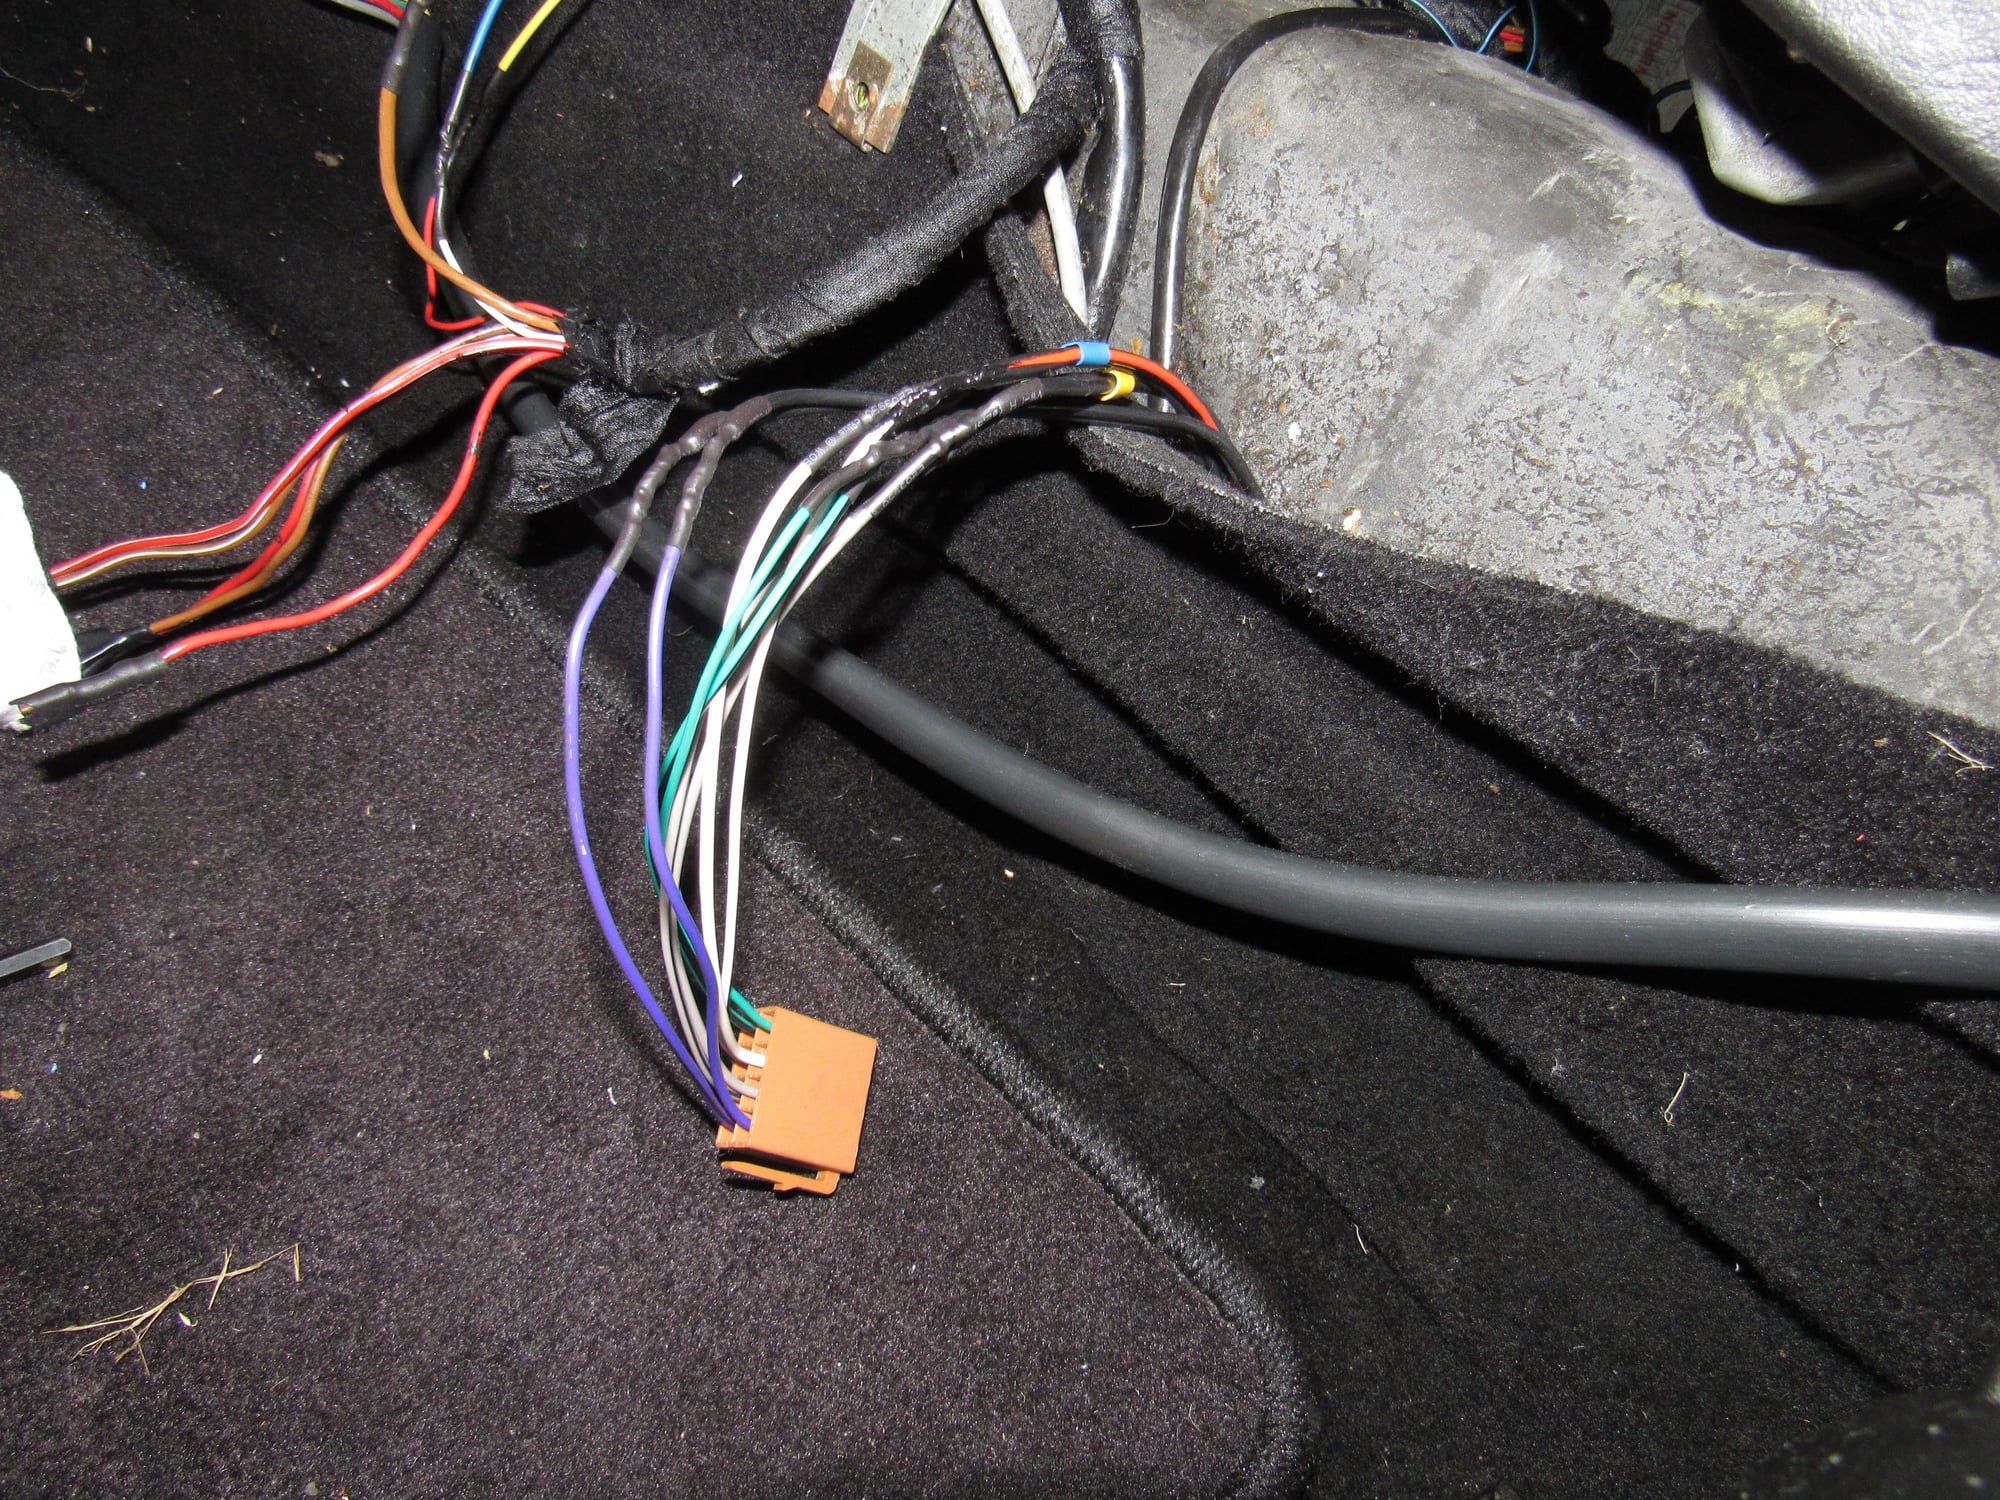
Connections soldered.
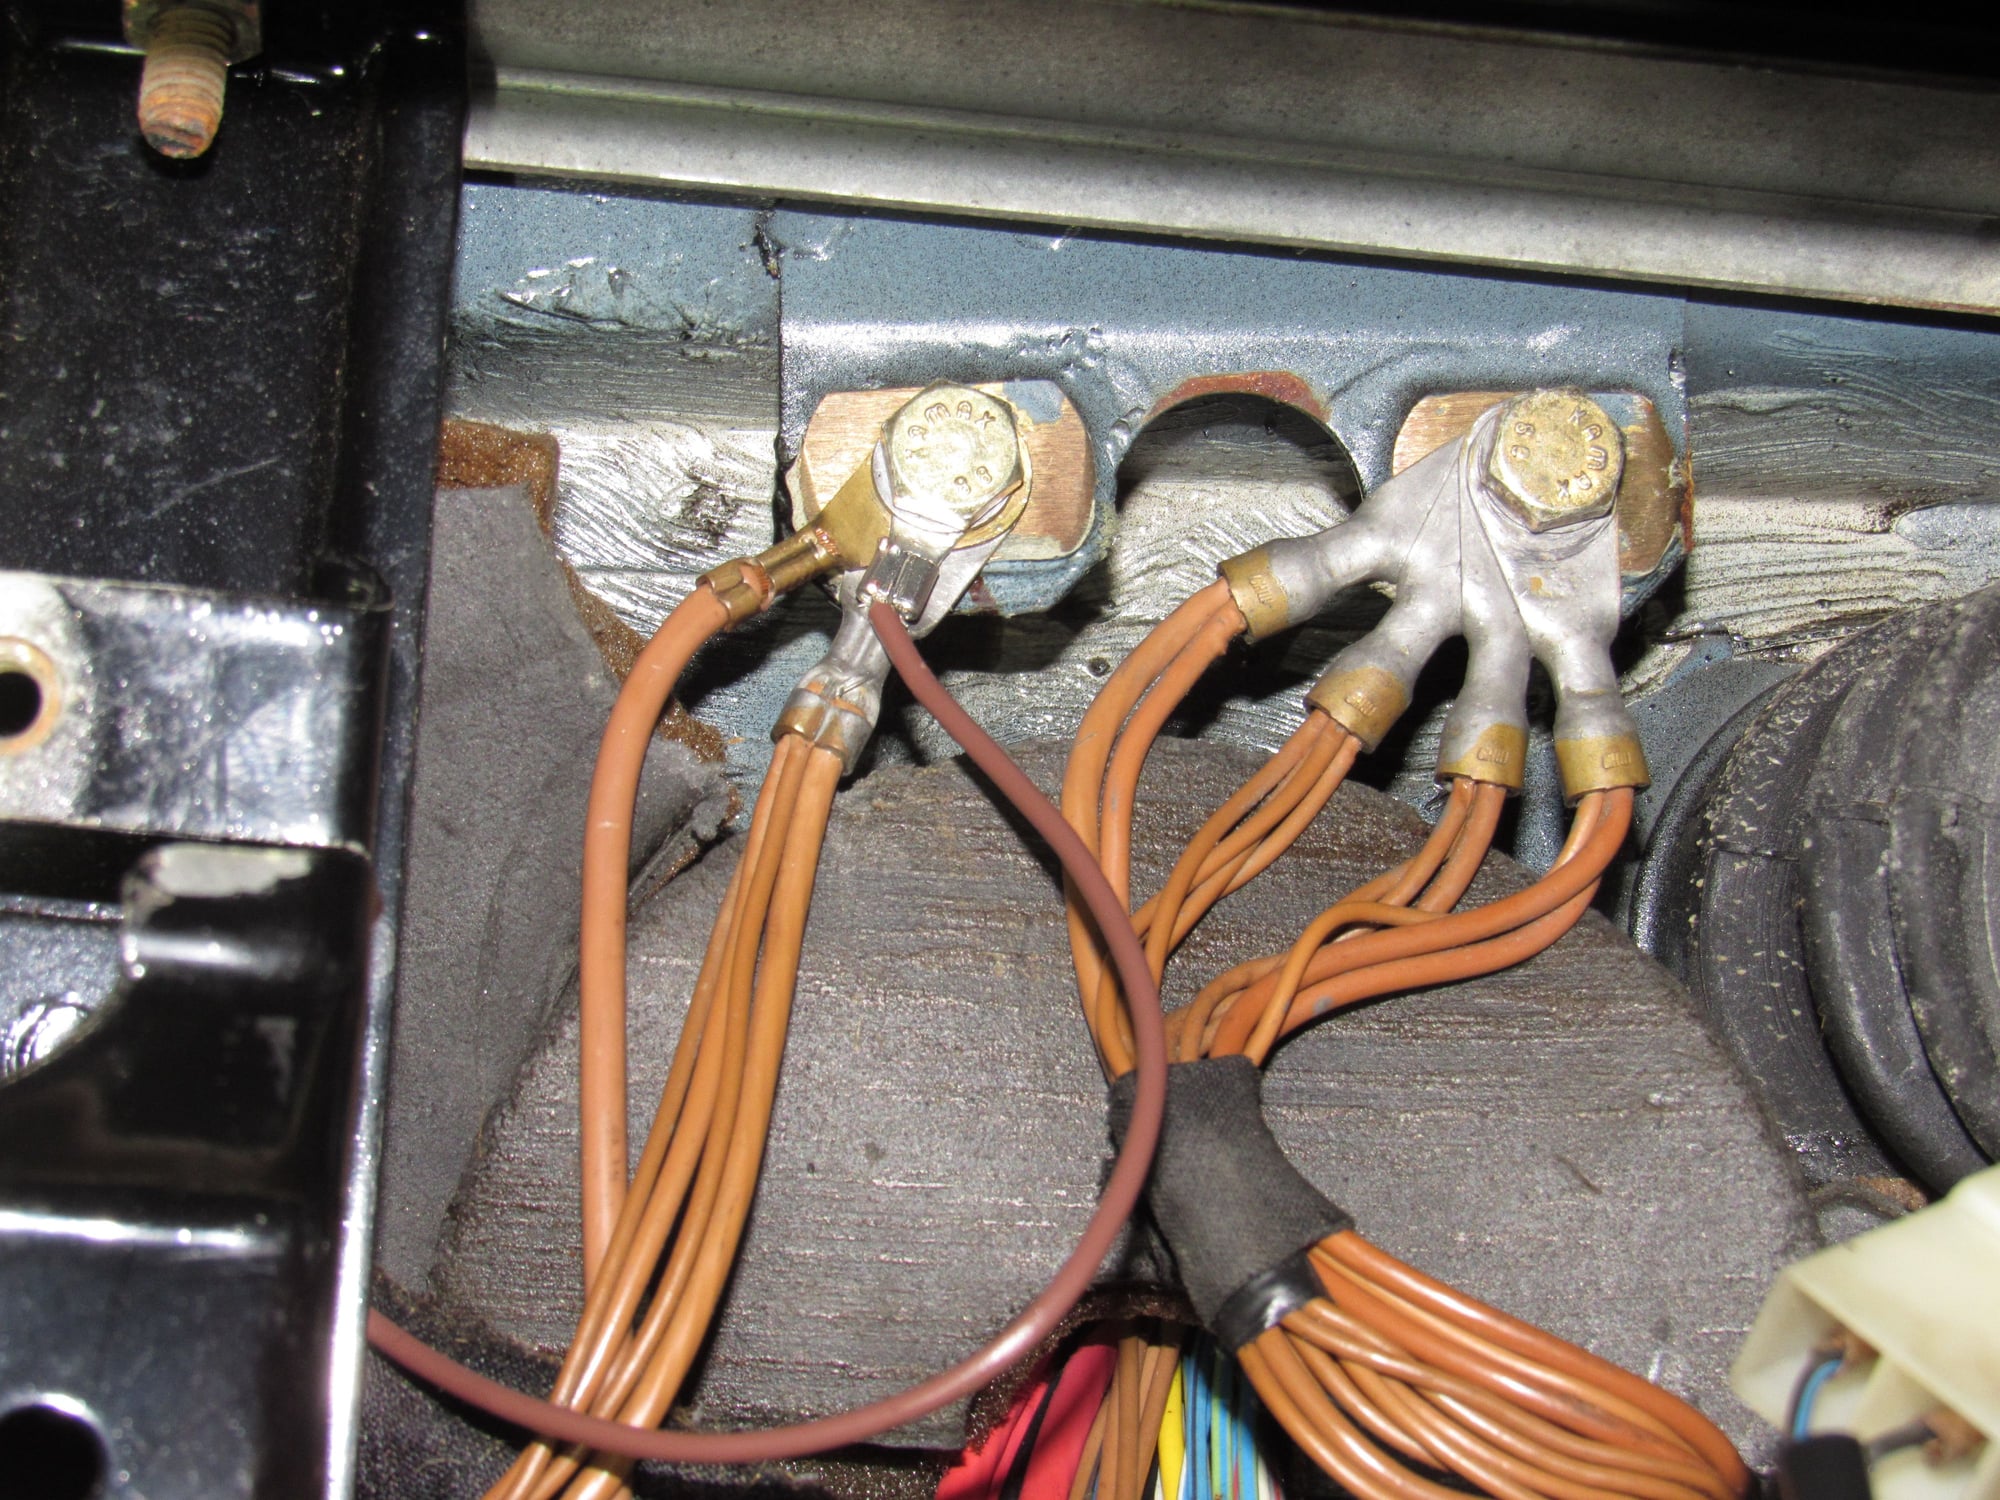
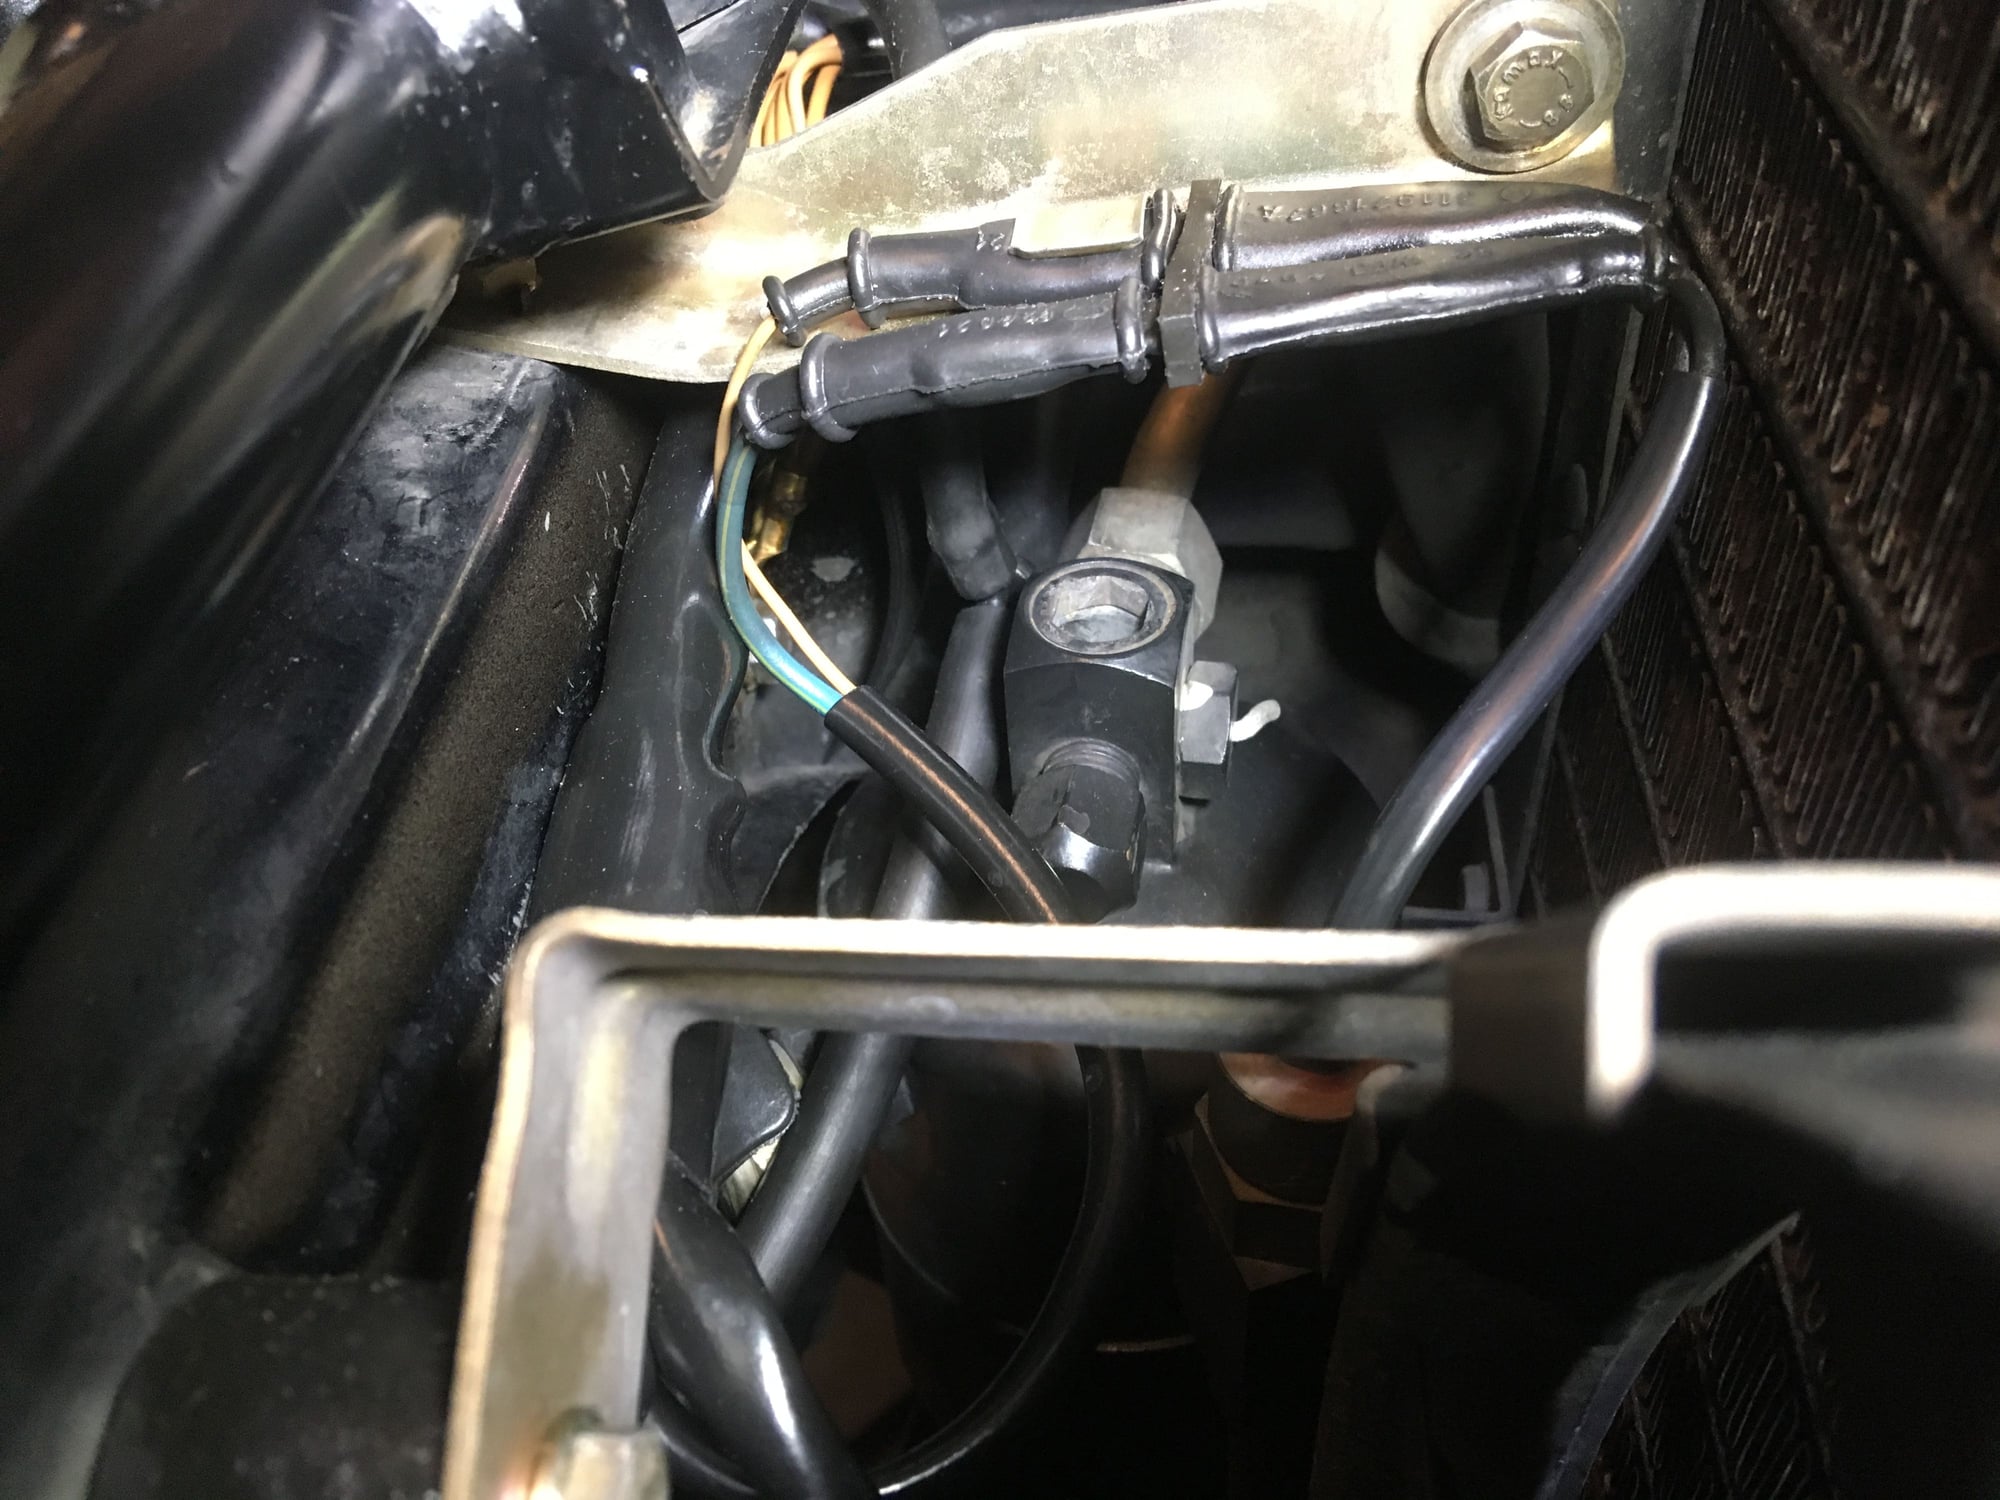
The old radio had a makeshift noise suppressor that was mounted in the footwell airduct of all places. I don't even know if these are necessary with modern electronics anymore but I used the one on the new mounting plate. This one is grounded and I ran an appropriate brown ground wire to the grounding point above the CE panel, just as the S4 wiring diagram shows.
It should be plug and play from here.
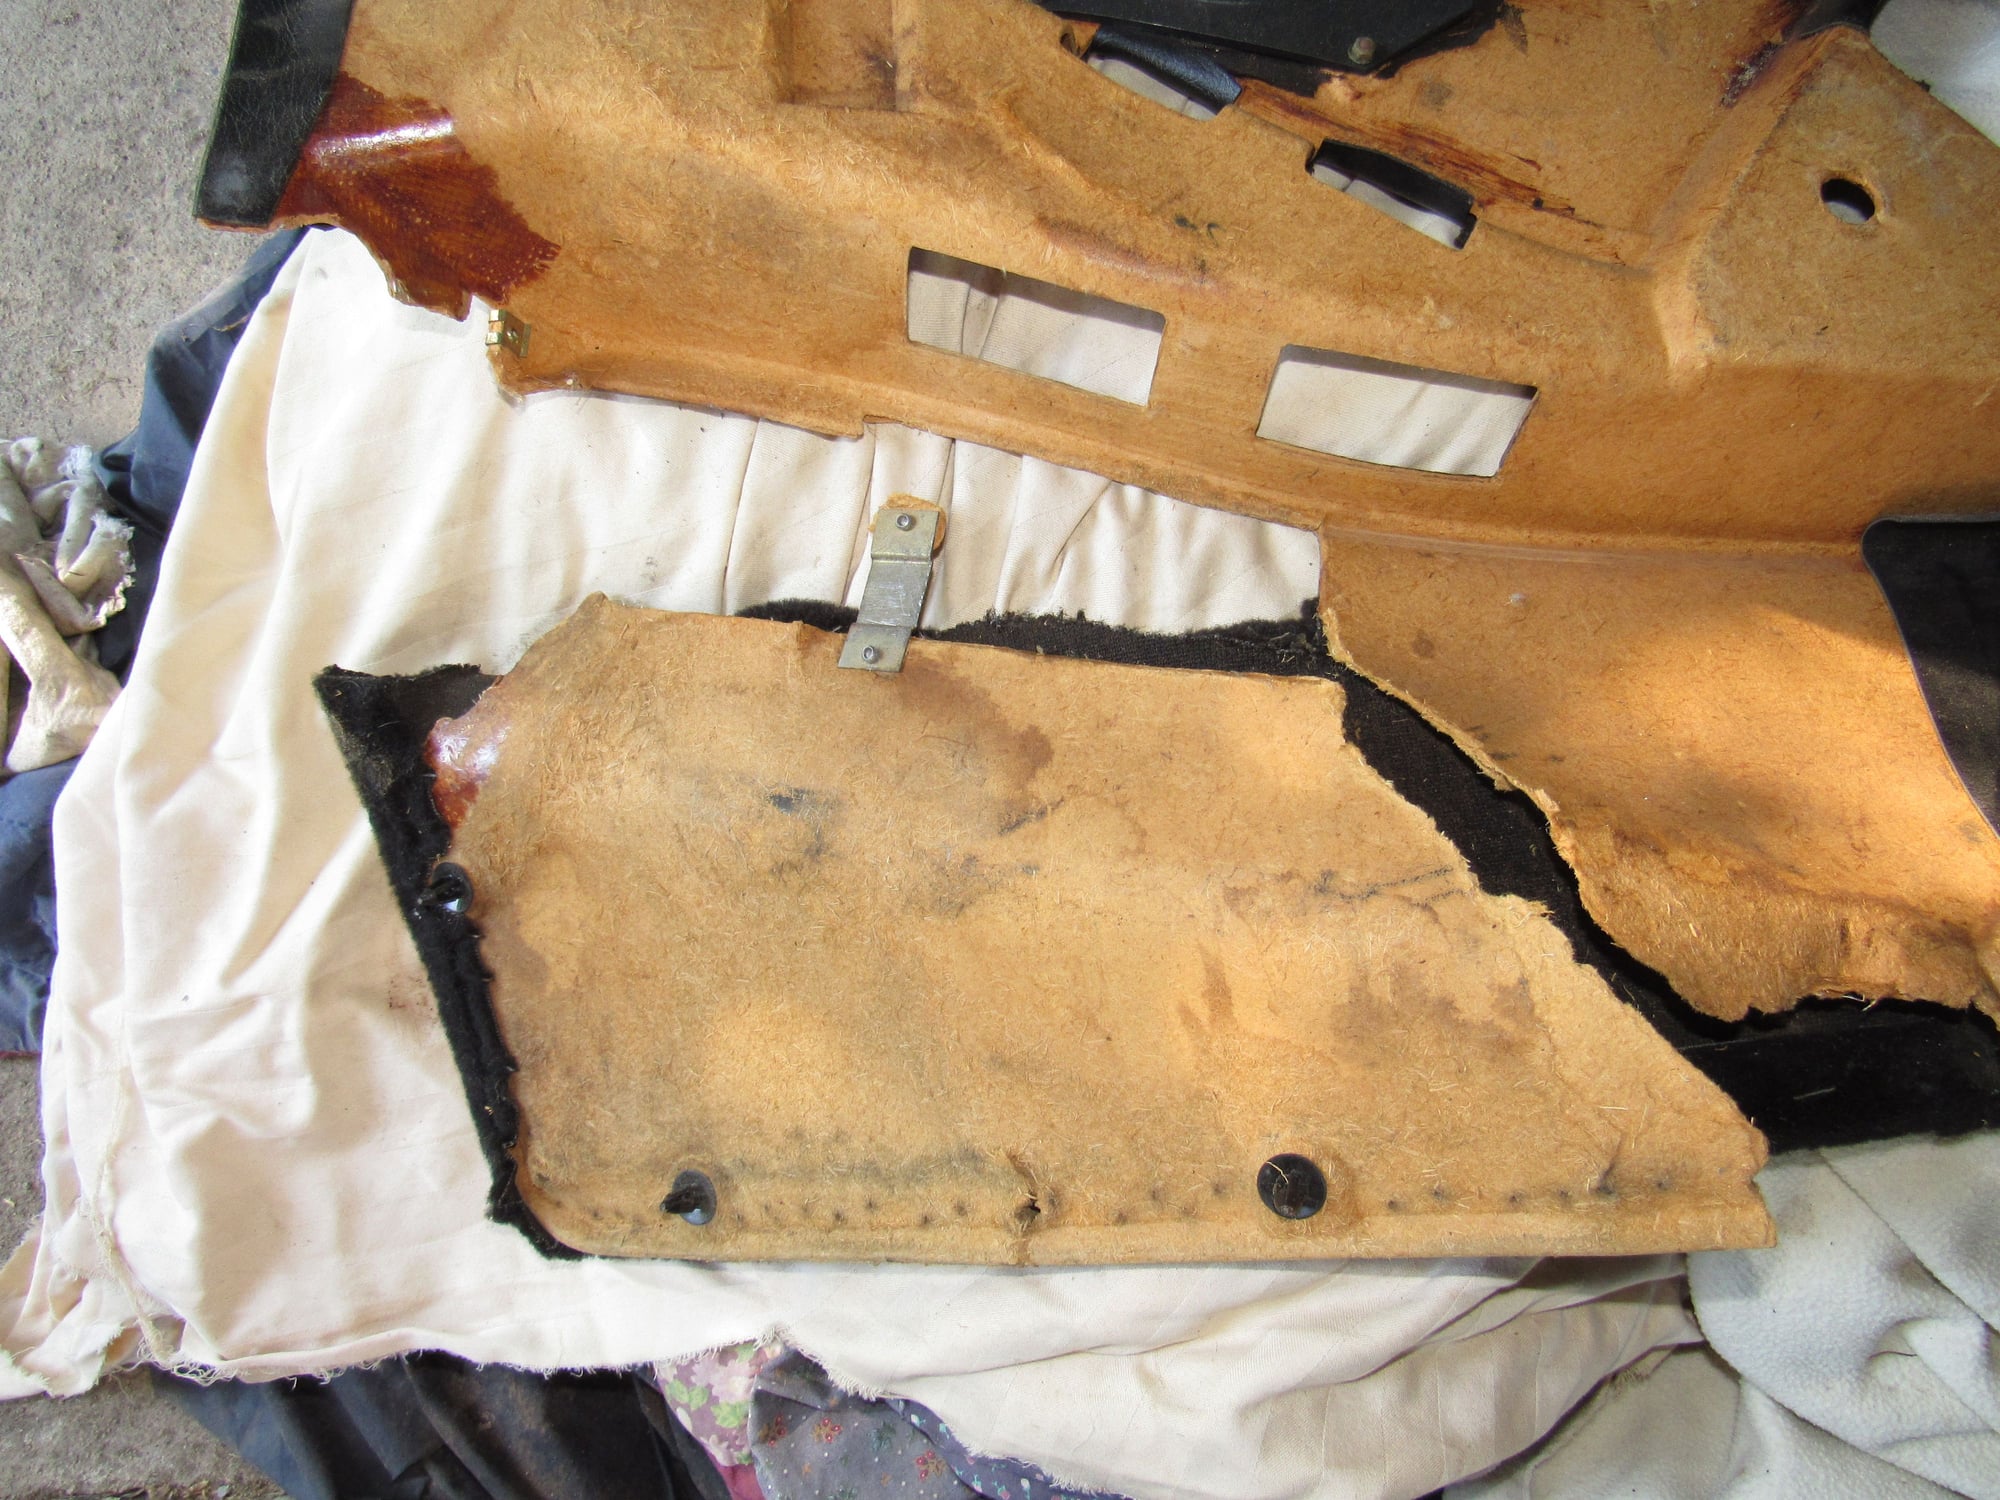
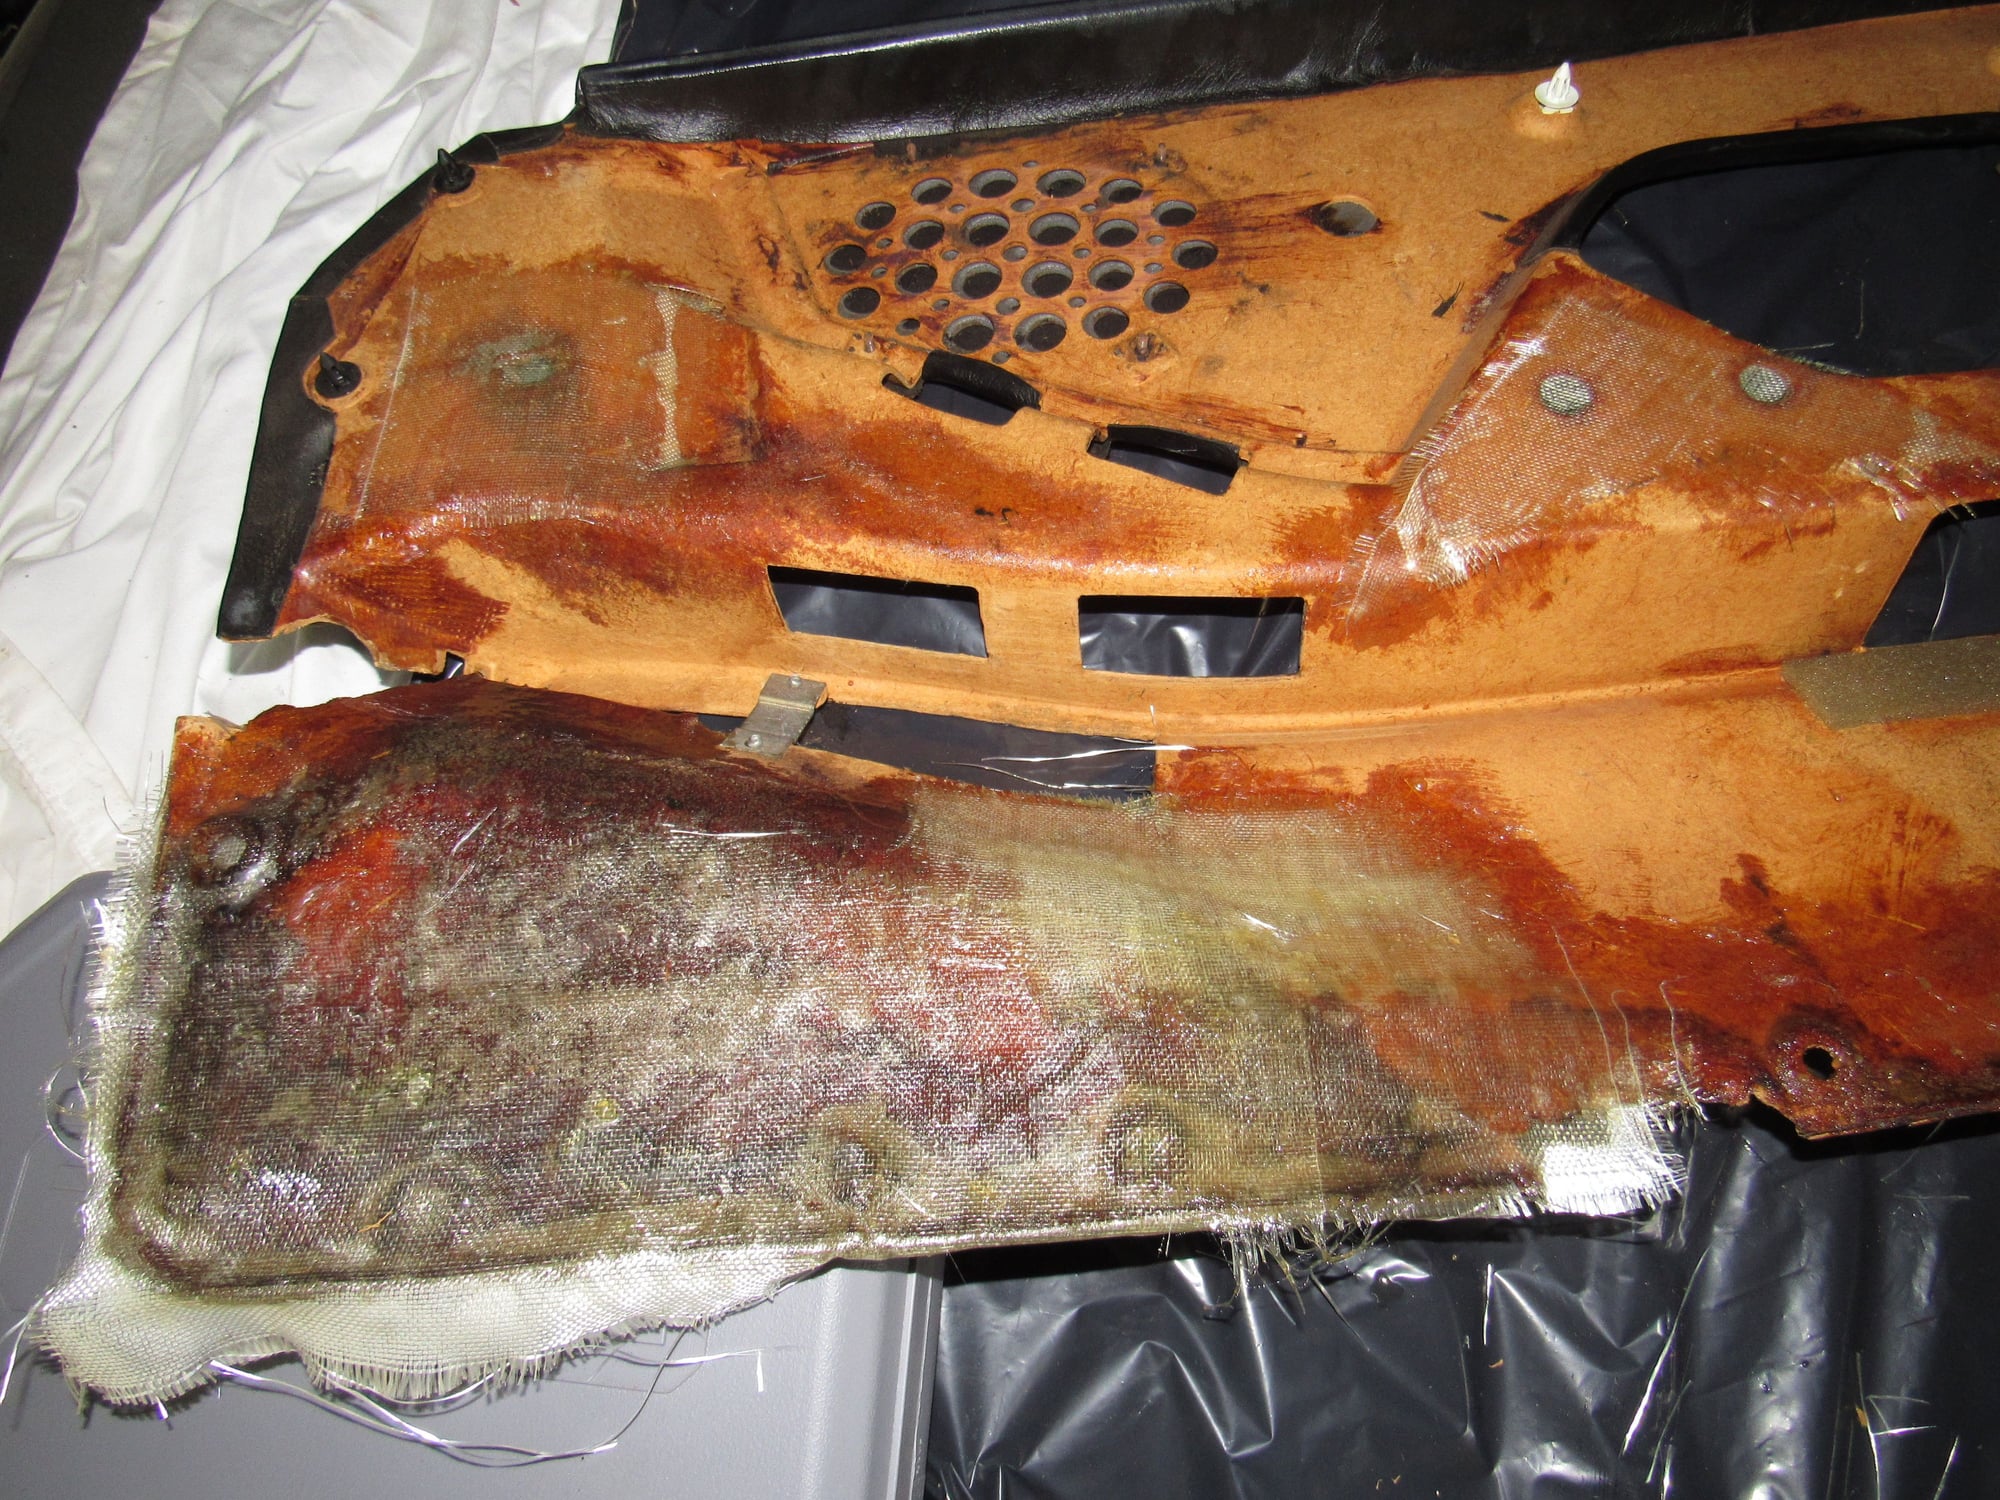
As I said I have been repairing the left door panel. It is my first time working with fiberglass and it is not pretty or complete but it should work out.
Before:
Currently:
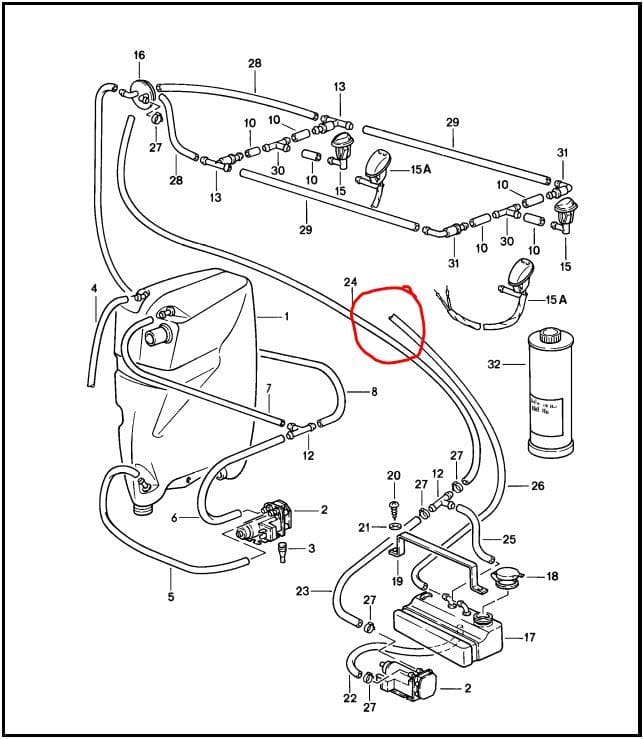
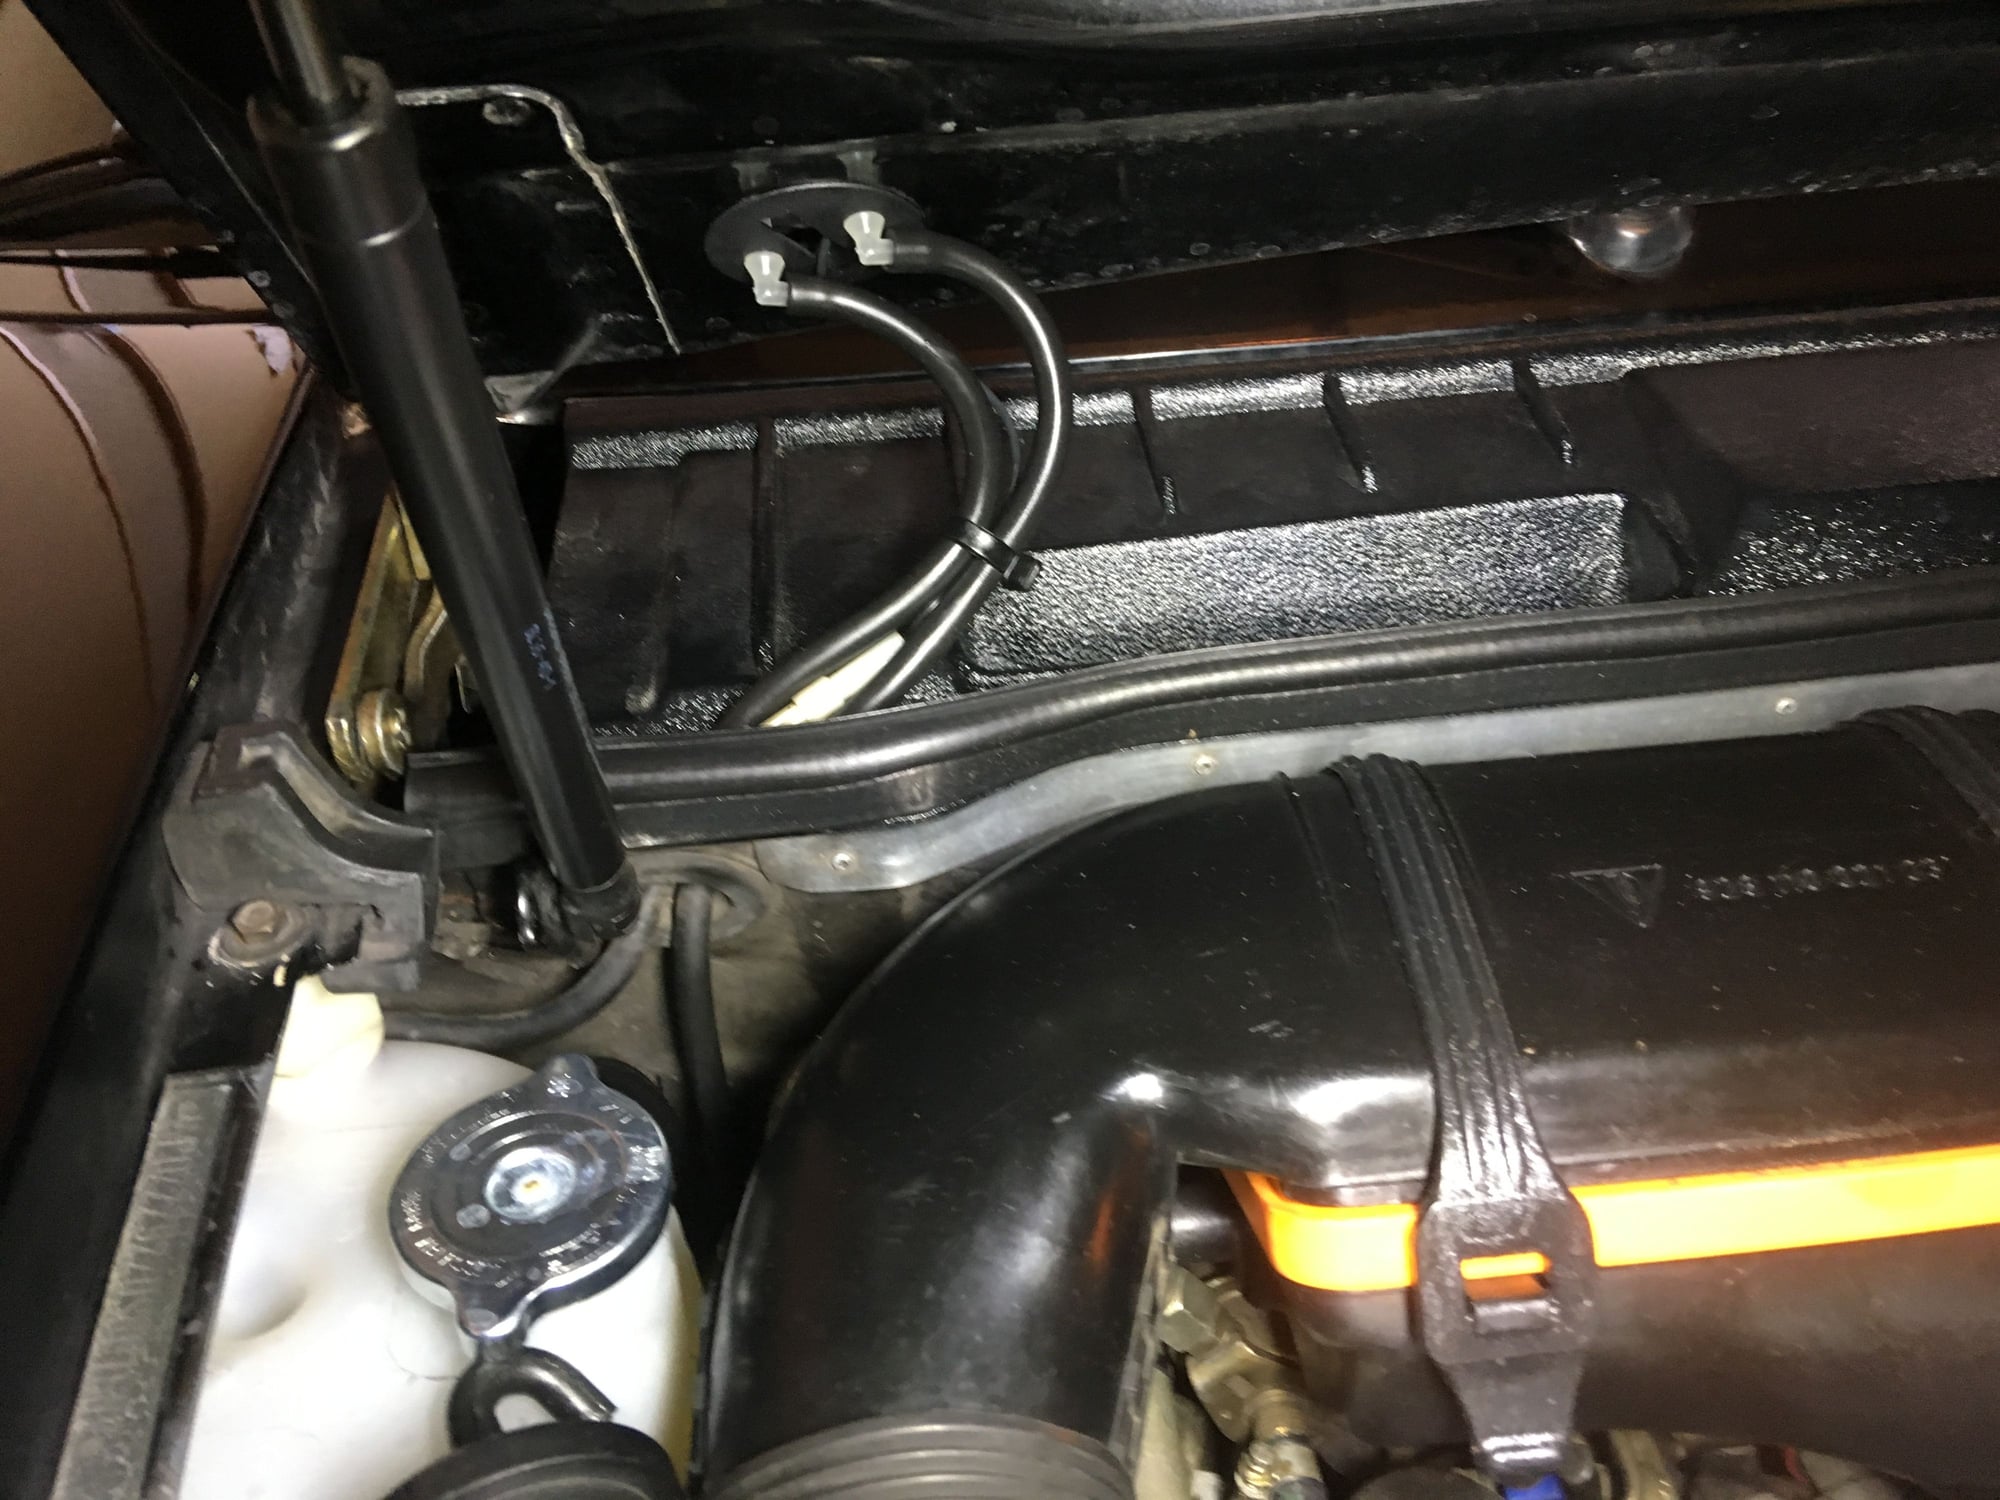
I am also repairing the intensive washer system. I replaced the dead pump, and can only get it to run with jumpers at the CE panel, more work to do on that, but the plumbing is messed up. The hoses are set to literally pump fluid back into the reservoir. Any tips on the hose routing would be appreciated. And where does the circled return hose go?
Hi Moose,
Good job on your '83! It must be great to get all these items fixed up and in great shape again!
The plumbing is correct and will work. I *just* got finished going through the same thing on my '83. The output from the intensive pump goes to a T, one leg of which goes to the windshield squirters, and one leg of which goes straight back to the tank. I can only hypothesize on the engineering decisions there (is the output of the pump so great that they needed to bleed some off?) but I left it stock, replaced the pump with the exact same new one, also replaced all my one-way valves, and it works great. Let me know if you need photos of exact plumbing anywhere.
By the way, the regular window washer pump is plumbed the same way. For what it's worth, on the S4 version of the big windshield washer tank, there's a different/smaller pump -- and no more T leading back to the tank, it's a straight shot to the window squirters.
Also, the hose you circled is a vent. It's placed back along the passenger fender and follows engine wiring harness #1, and I think its only function there is to be higher than the tank.
I love that headlight mount! One of mine is missing one of the "teeth" and doesn't hold the headlight as securely as it should, that would totally fix it!
A vent hose, that is interesting. Does it go up to the jump post area? My setup is totally messed up, the output from the pump really only loops back up into the reservoir. There is a hose at the bulkhead on the hood but it goes into a grommet to the wheel well and I can blow through it so it is not connected to anything. I will have to trace it out.
As for the headlamp sockets, the unit cost rapidly decreases with a larger order but I don't want to order a ton of these for nothing when the other gentlemen start selling theirs. I can have one made for $17 or two for $29 but if you wait there will probably be an alternative for much cheaper I would imagine.
Yes, the vent (and the fluid hose) go past the jump post. Here are some pics. The vent tube ends right past the crossbar.
Top view Here�s the T Lines up by jump post/crossbar Intensive tube comes from left of tank, while feed from washer tank and pump comes from below, through the grommet and to hood Here�s another view of vent line and output line. They�re hard plastic starting as soon as they hit the fender, just a few inches from tank
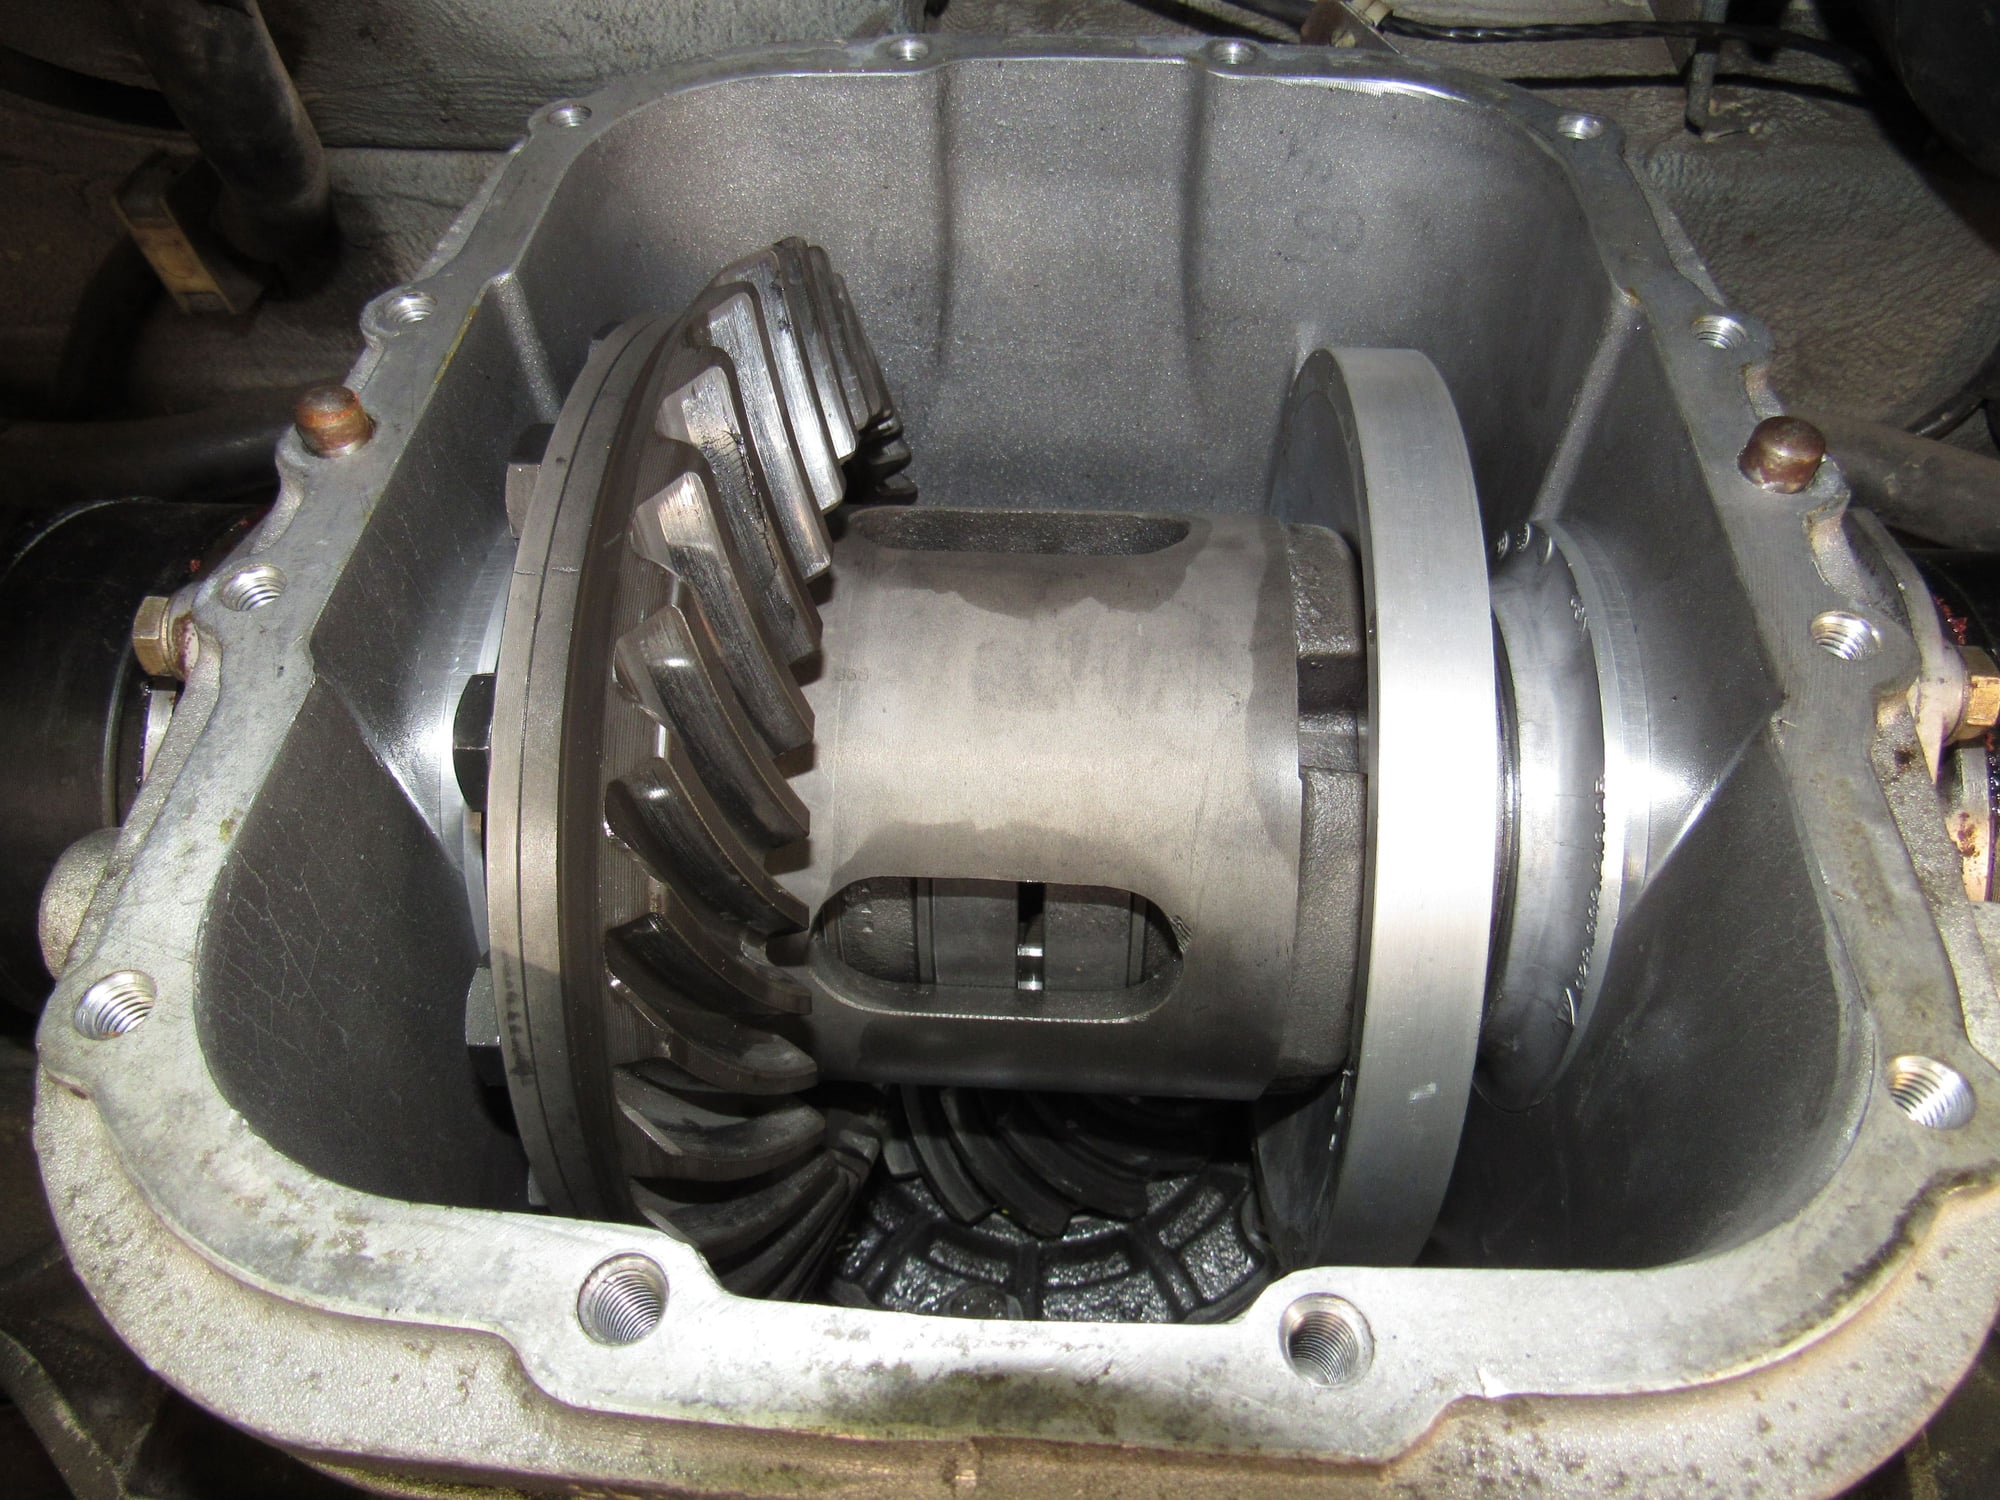
So the root of the problem was a missing circlip that holds the magnet carrier up against the differential. Here it is repaired.
Differential reinstalled:
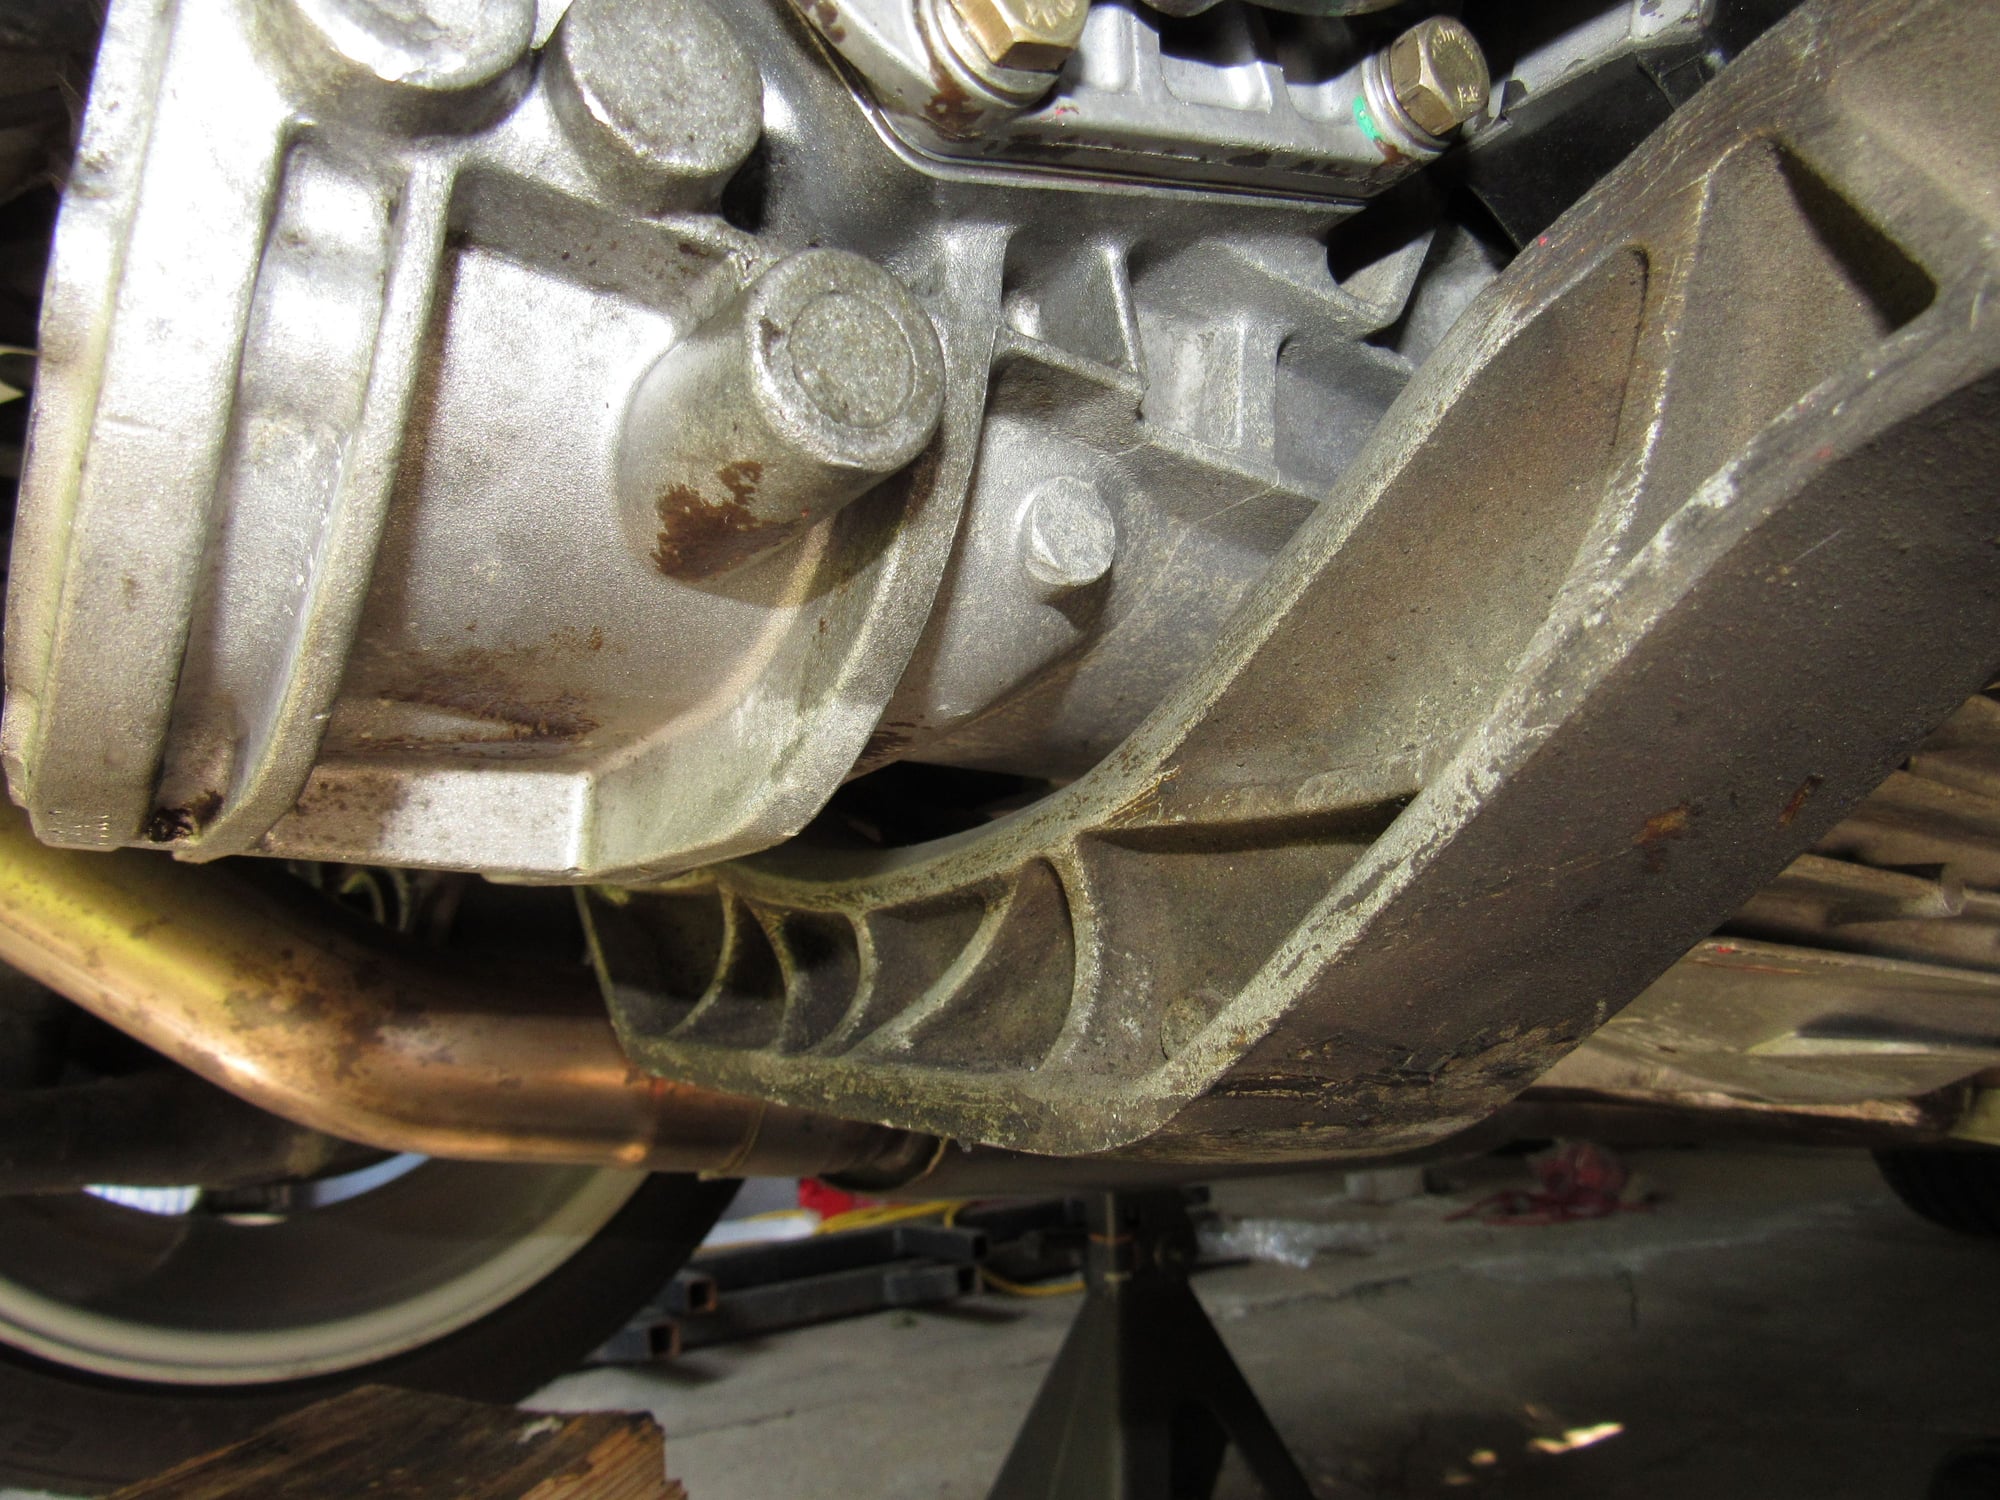
For extra credit I replaced the transaxle mounts while the axles were out of the way with the rebuilt units by Waldo928. I now have more clearance between the transaxle and crossmember. Enough to fit my fingers in between.
I pumped in the gear oil, which I will dump in about 100 miles to flush out any aluminium particles left, and before lowering the car I tested the speedometer pulses. I now have eight beautiful and consistent pulses per revolution
I took it for a test drive and it is all working perfectly.
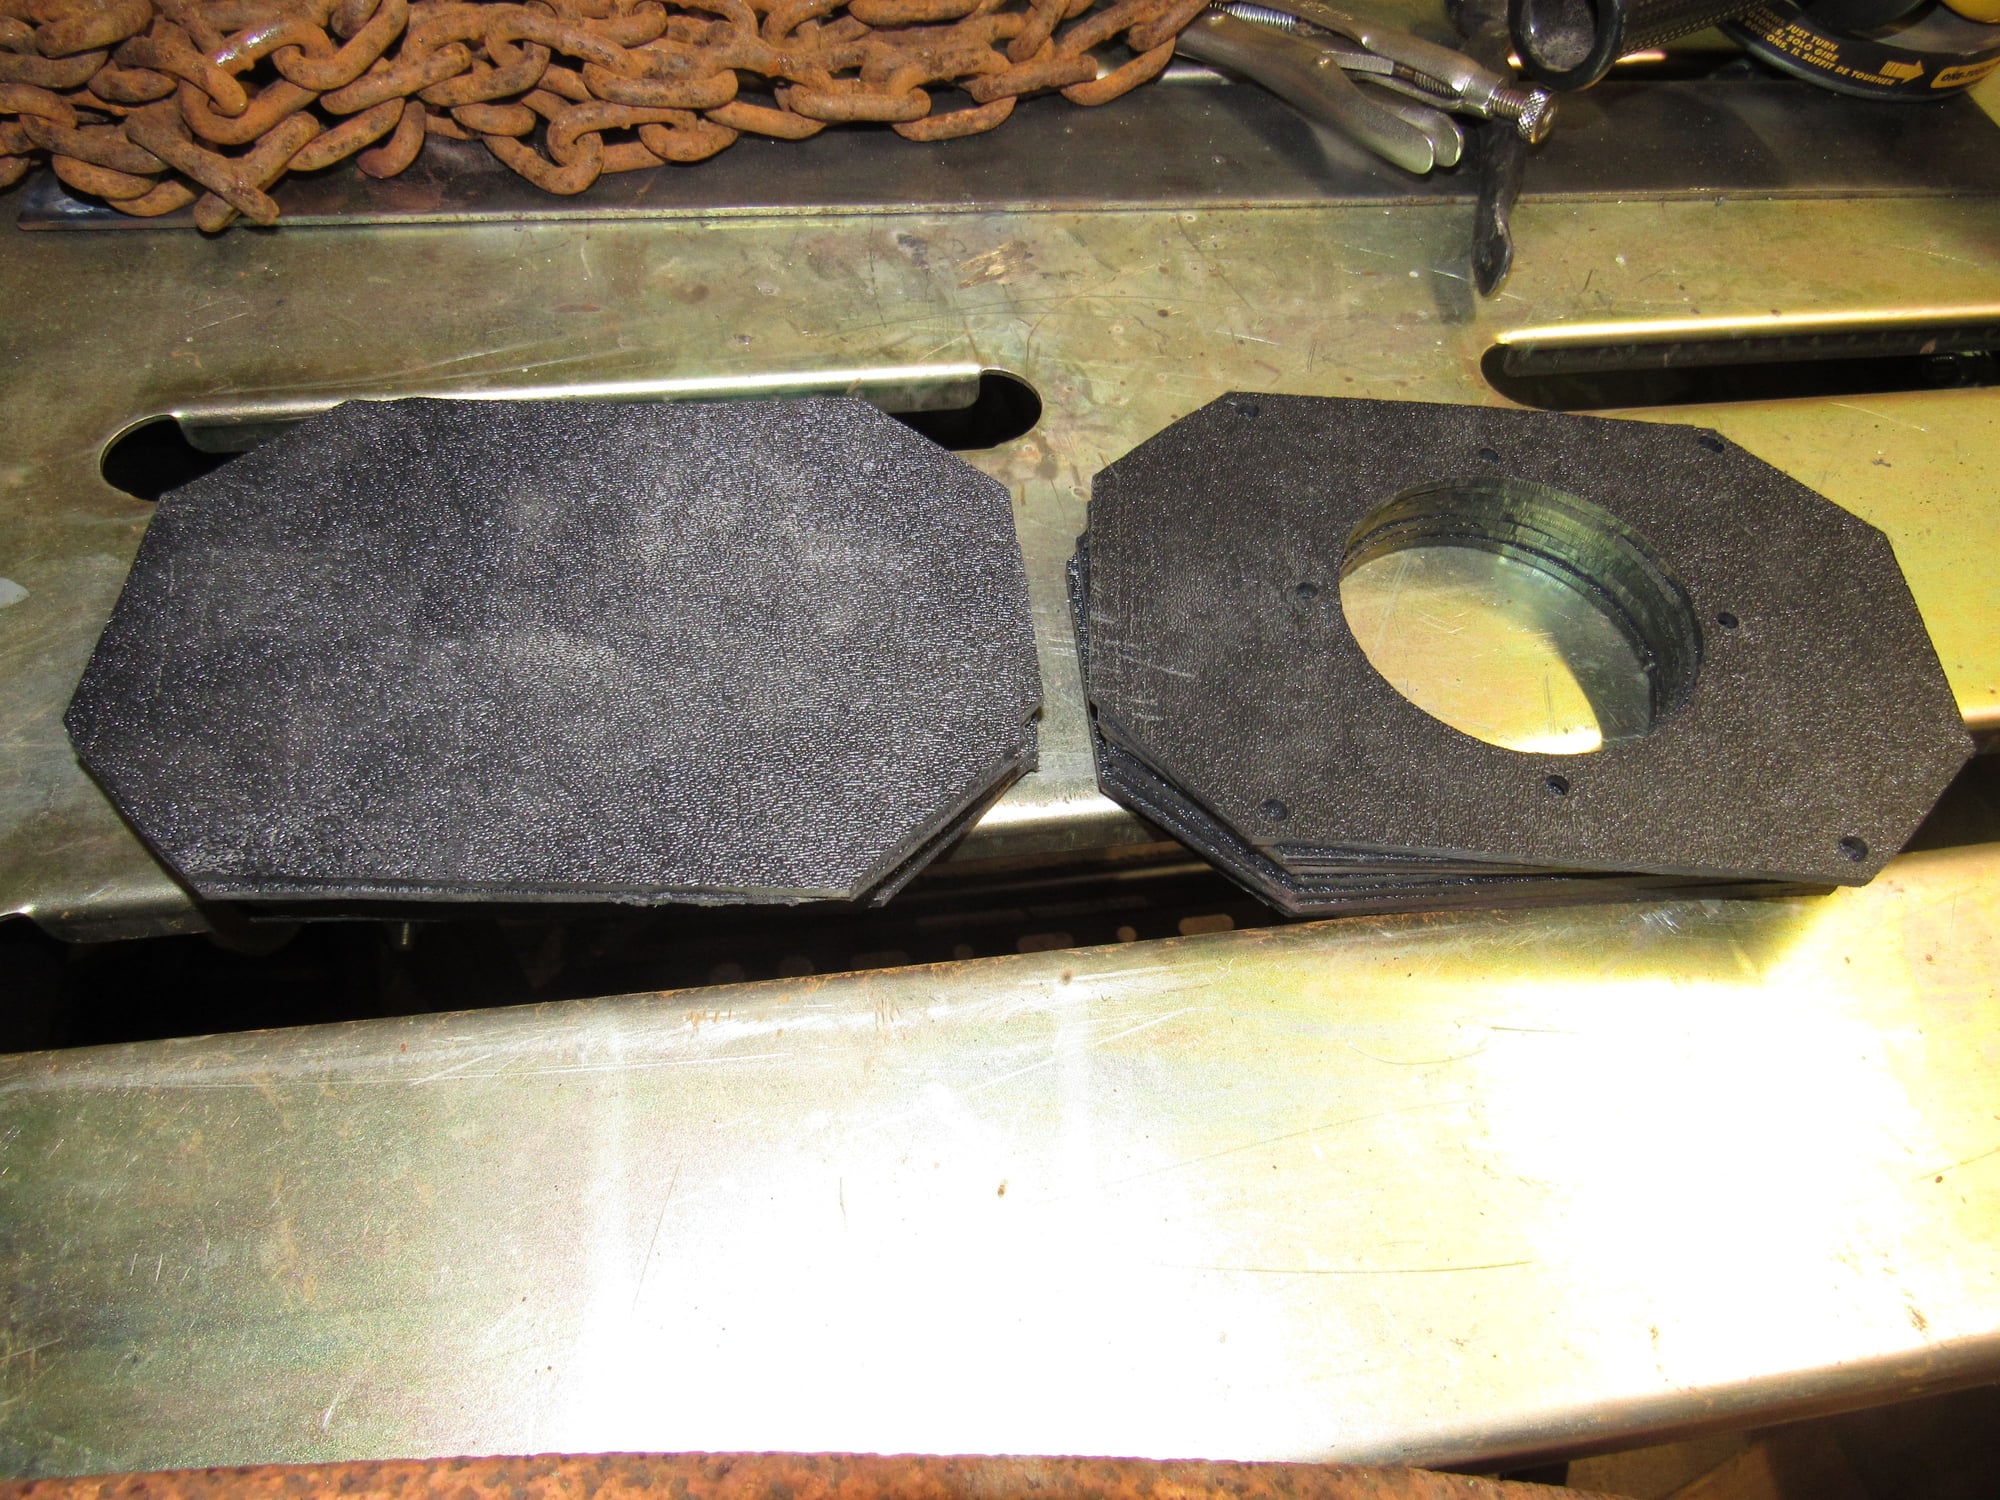
In other news, I got a sheet of ABS plastic from Grainger (12" x 48") to make front speaker adapter plates. Since I had all this extra material I used it all up and made eight sets. If you are interested send me a pm, first come first served. Just pay shipping, probably $5 will cover it. These are hand made and not precise CNC machined but I am test fitting them to my door card to make sure they fit. All I ask is that if you want one, please have realistic plans to use them as they were rather painstaking to make with my limited tools and knowledge.
This is how I laid out the patterns for cutting. it made a nice even eight pairs with nearly no scrap.
Alex,
Great job on tracking that down � sheesh! That involved a lot of effort! Glad it�s all back together!!
I wanted to ask about your transmission mounts. I�m thinking about changing mine too. How did you install them, is it reasonable to do without removing the transmission? What did you think of the remanufactured mounts? How to order? Oh and notice any difference after?
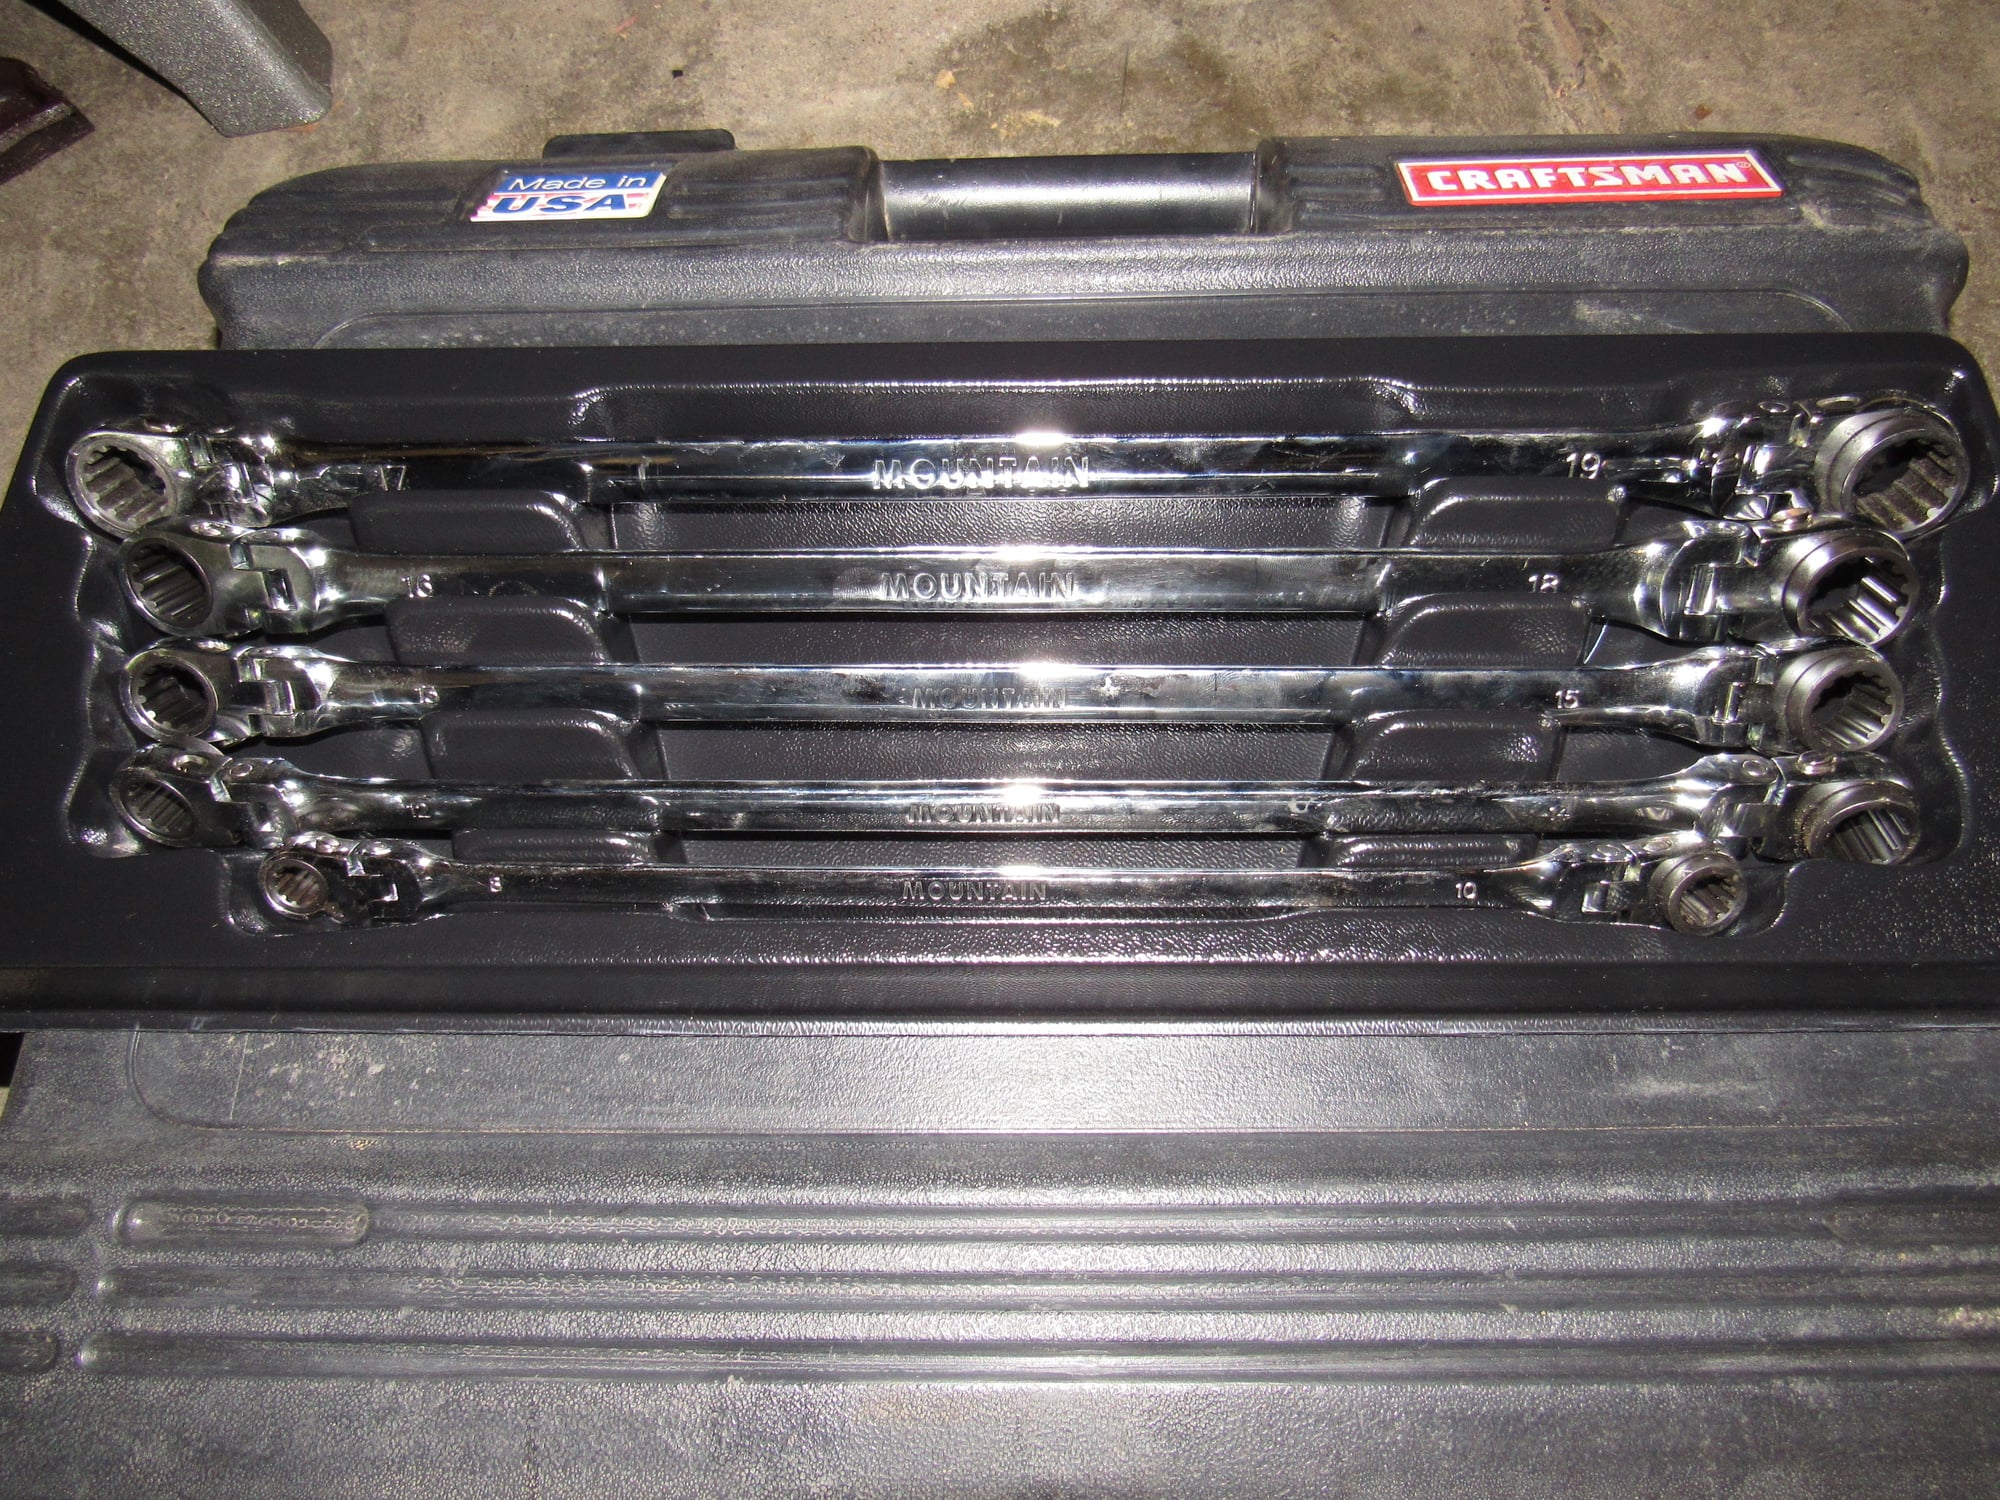
Yes you can replace the mounts without dropping the transaxle, but the only way to access the mounts is with the axles unbolted from the transaxle. You can leave the wheel side bolted and suspend the axles from the antisway bar. The bottom bolts that go up from the crossmember are easy to get but there is no room for a socket and wrench for the upper bolts, especially the left side. I used these Mountain ratcheting wrenches. You can send a PM to Waldo928 but he is out of the country for a few months. He is charging $100 if you send cleaned cores stripped of the rubber, or $200 as is. Still much better than $400 for new. I cannot tell a difference yet I only drove about six miles.
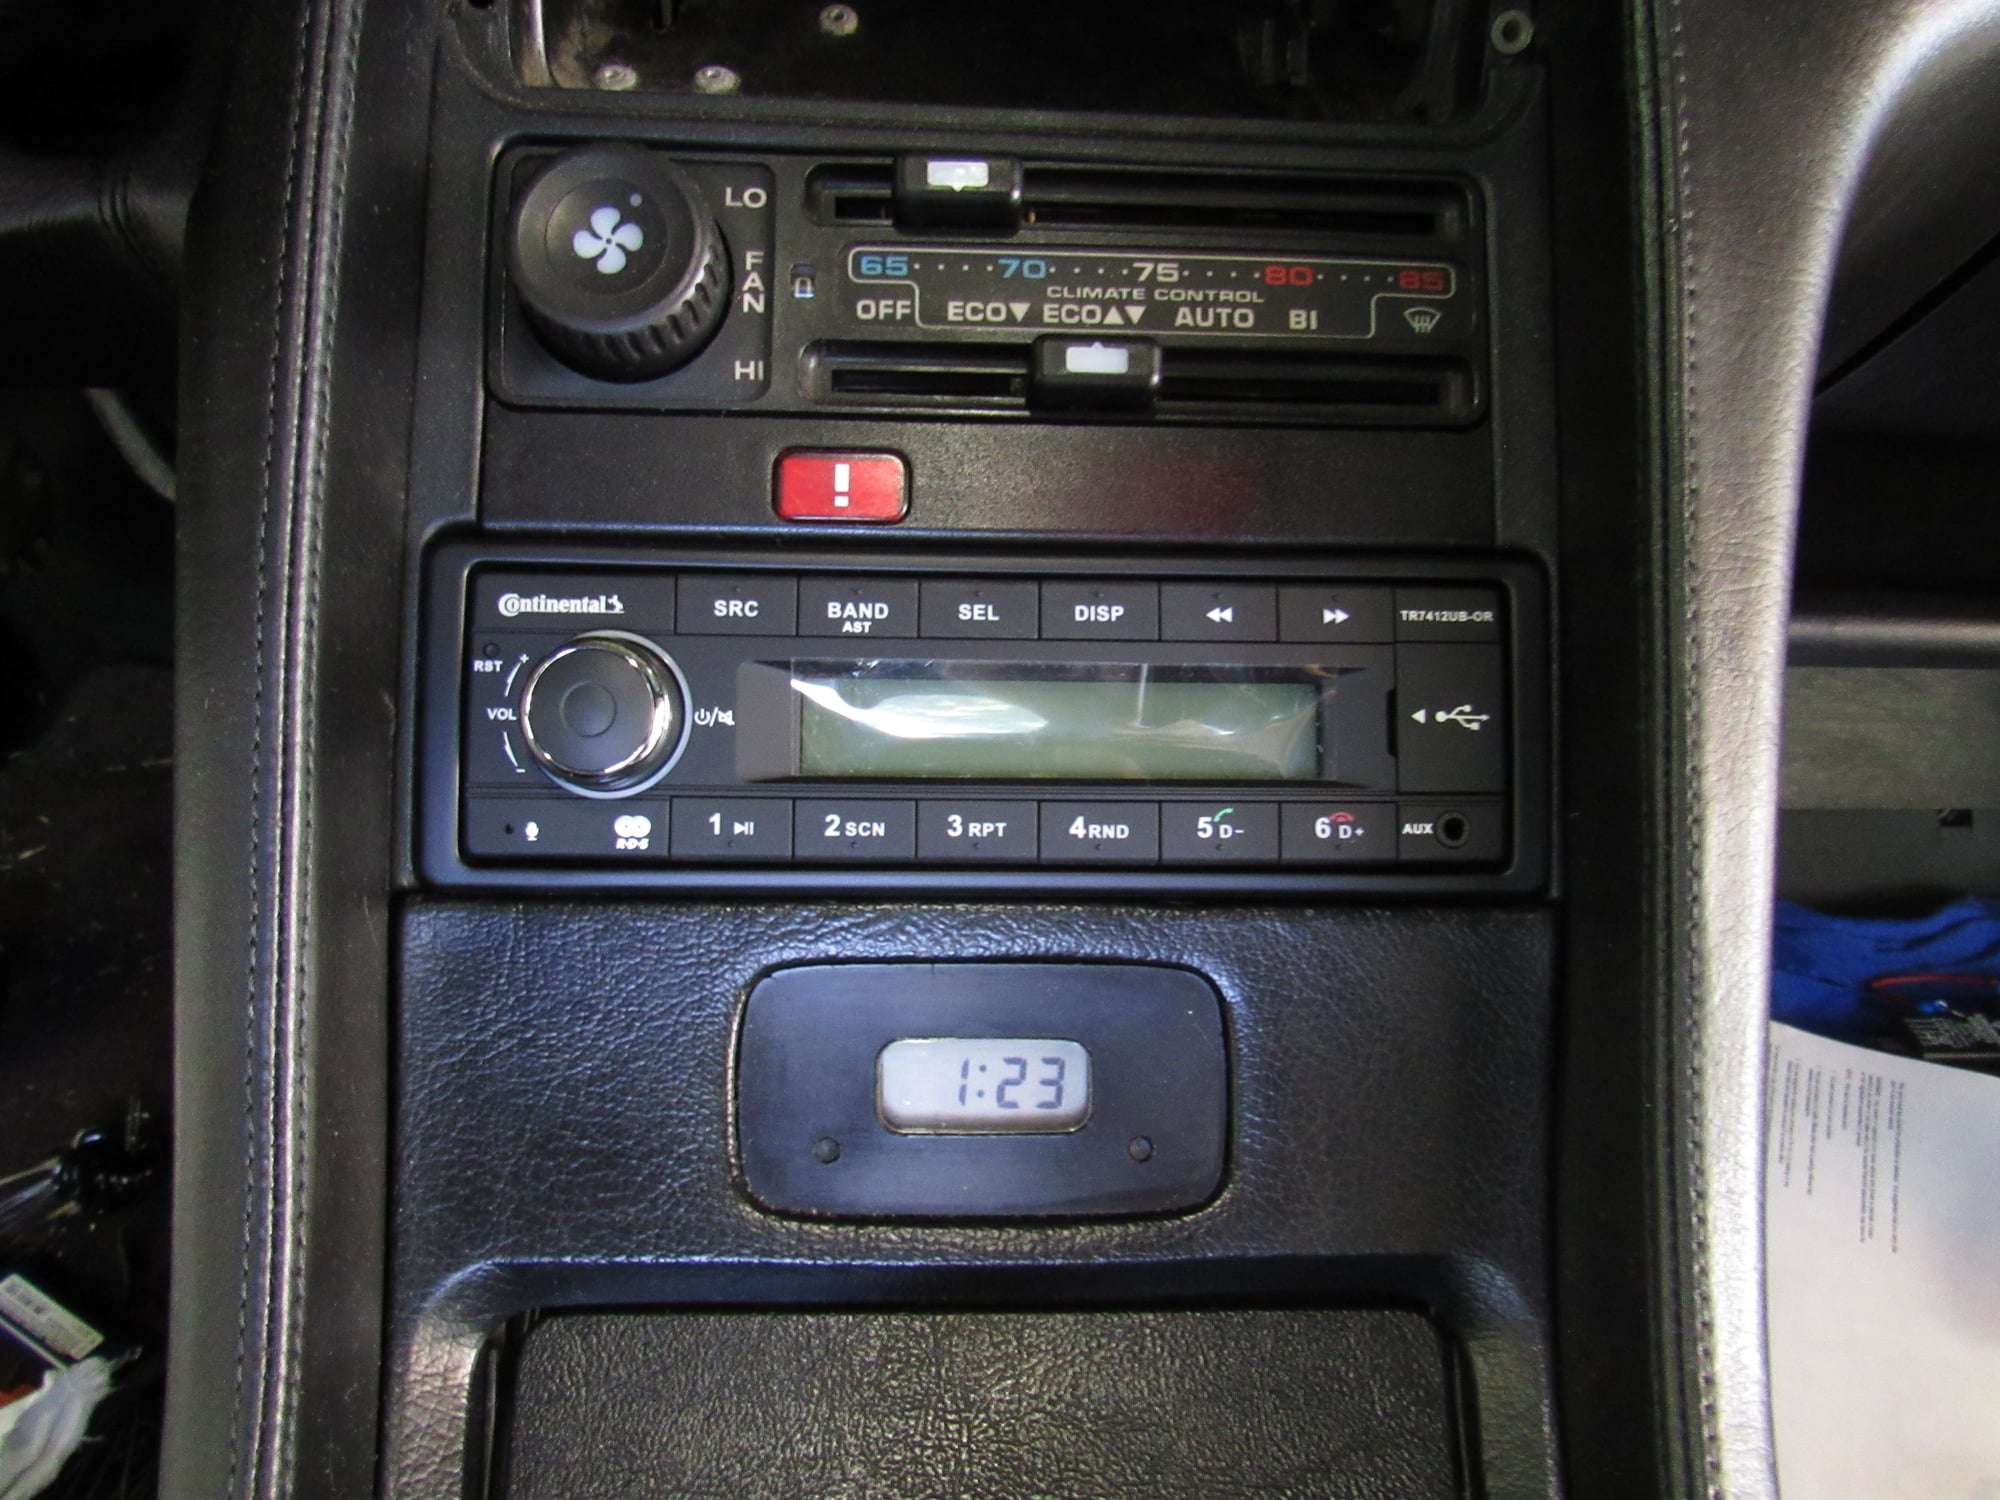
I have neglected to post any updates. With a working speedometer I finished the radio install. One thing I did not expect is that the new radio is much less deep and lighter, so the bracket is unnecessary. The power wire from the suppressor was too short to reach so I had to splice in an extension. I'm very pleased with it and it dims properly when off. I even made up a wiring diagram here.
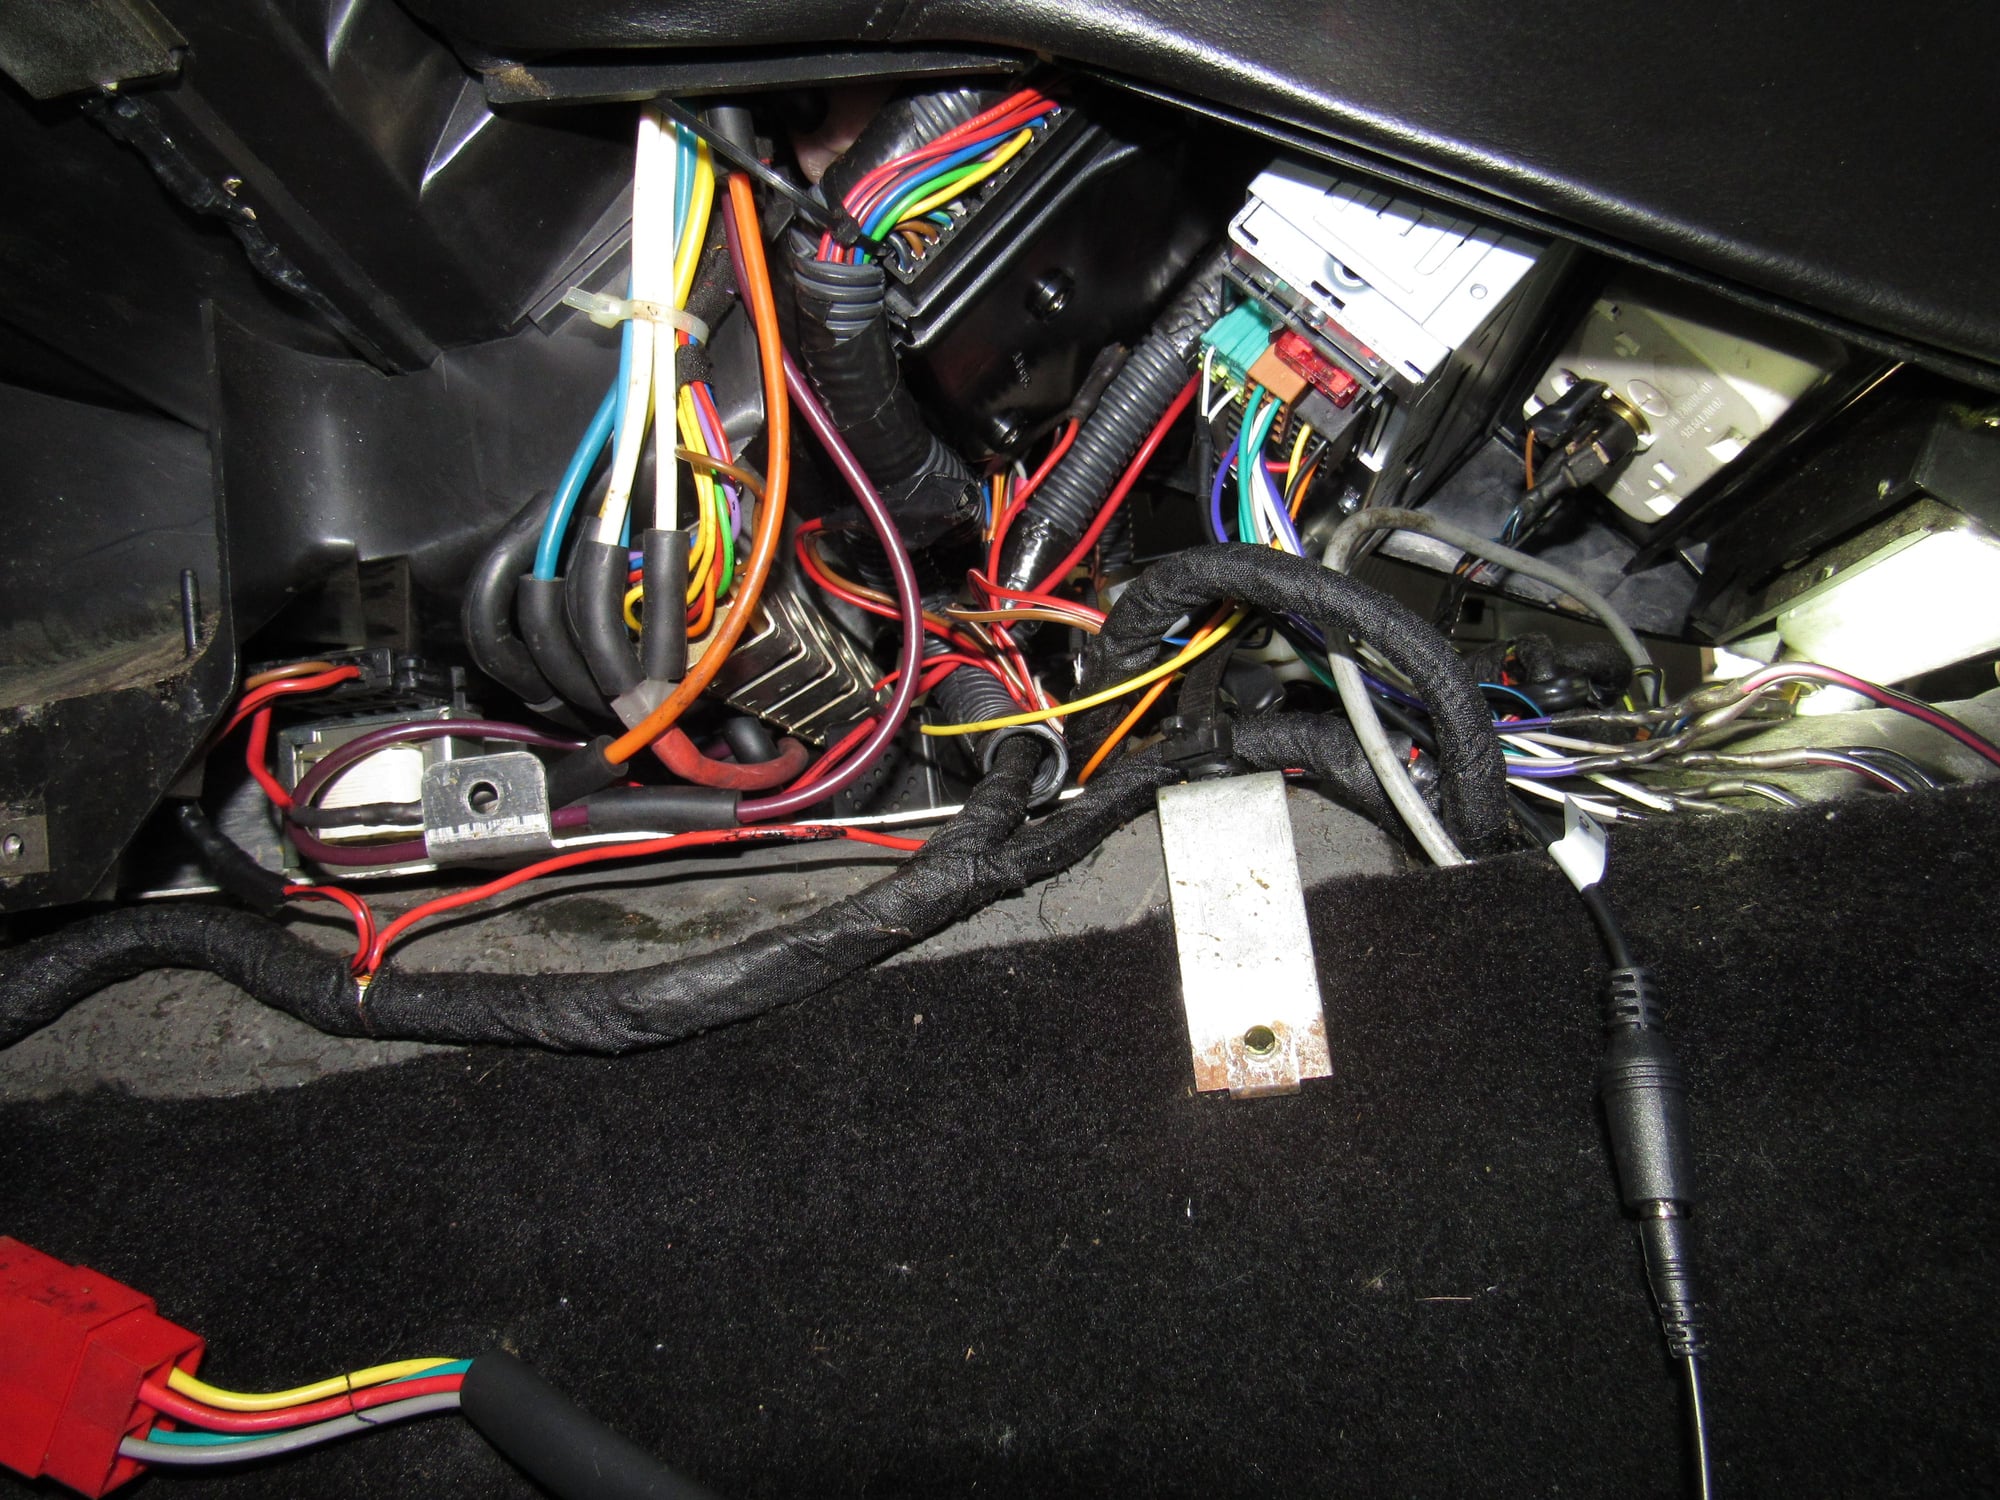
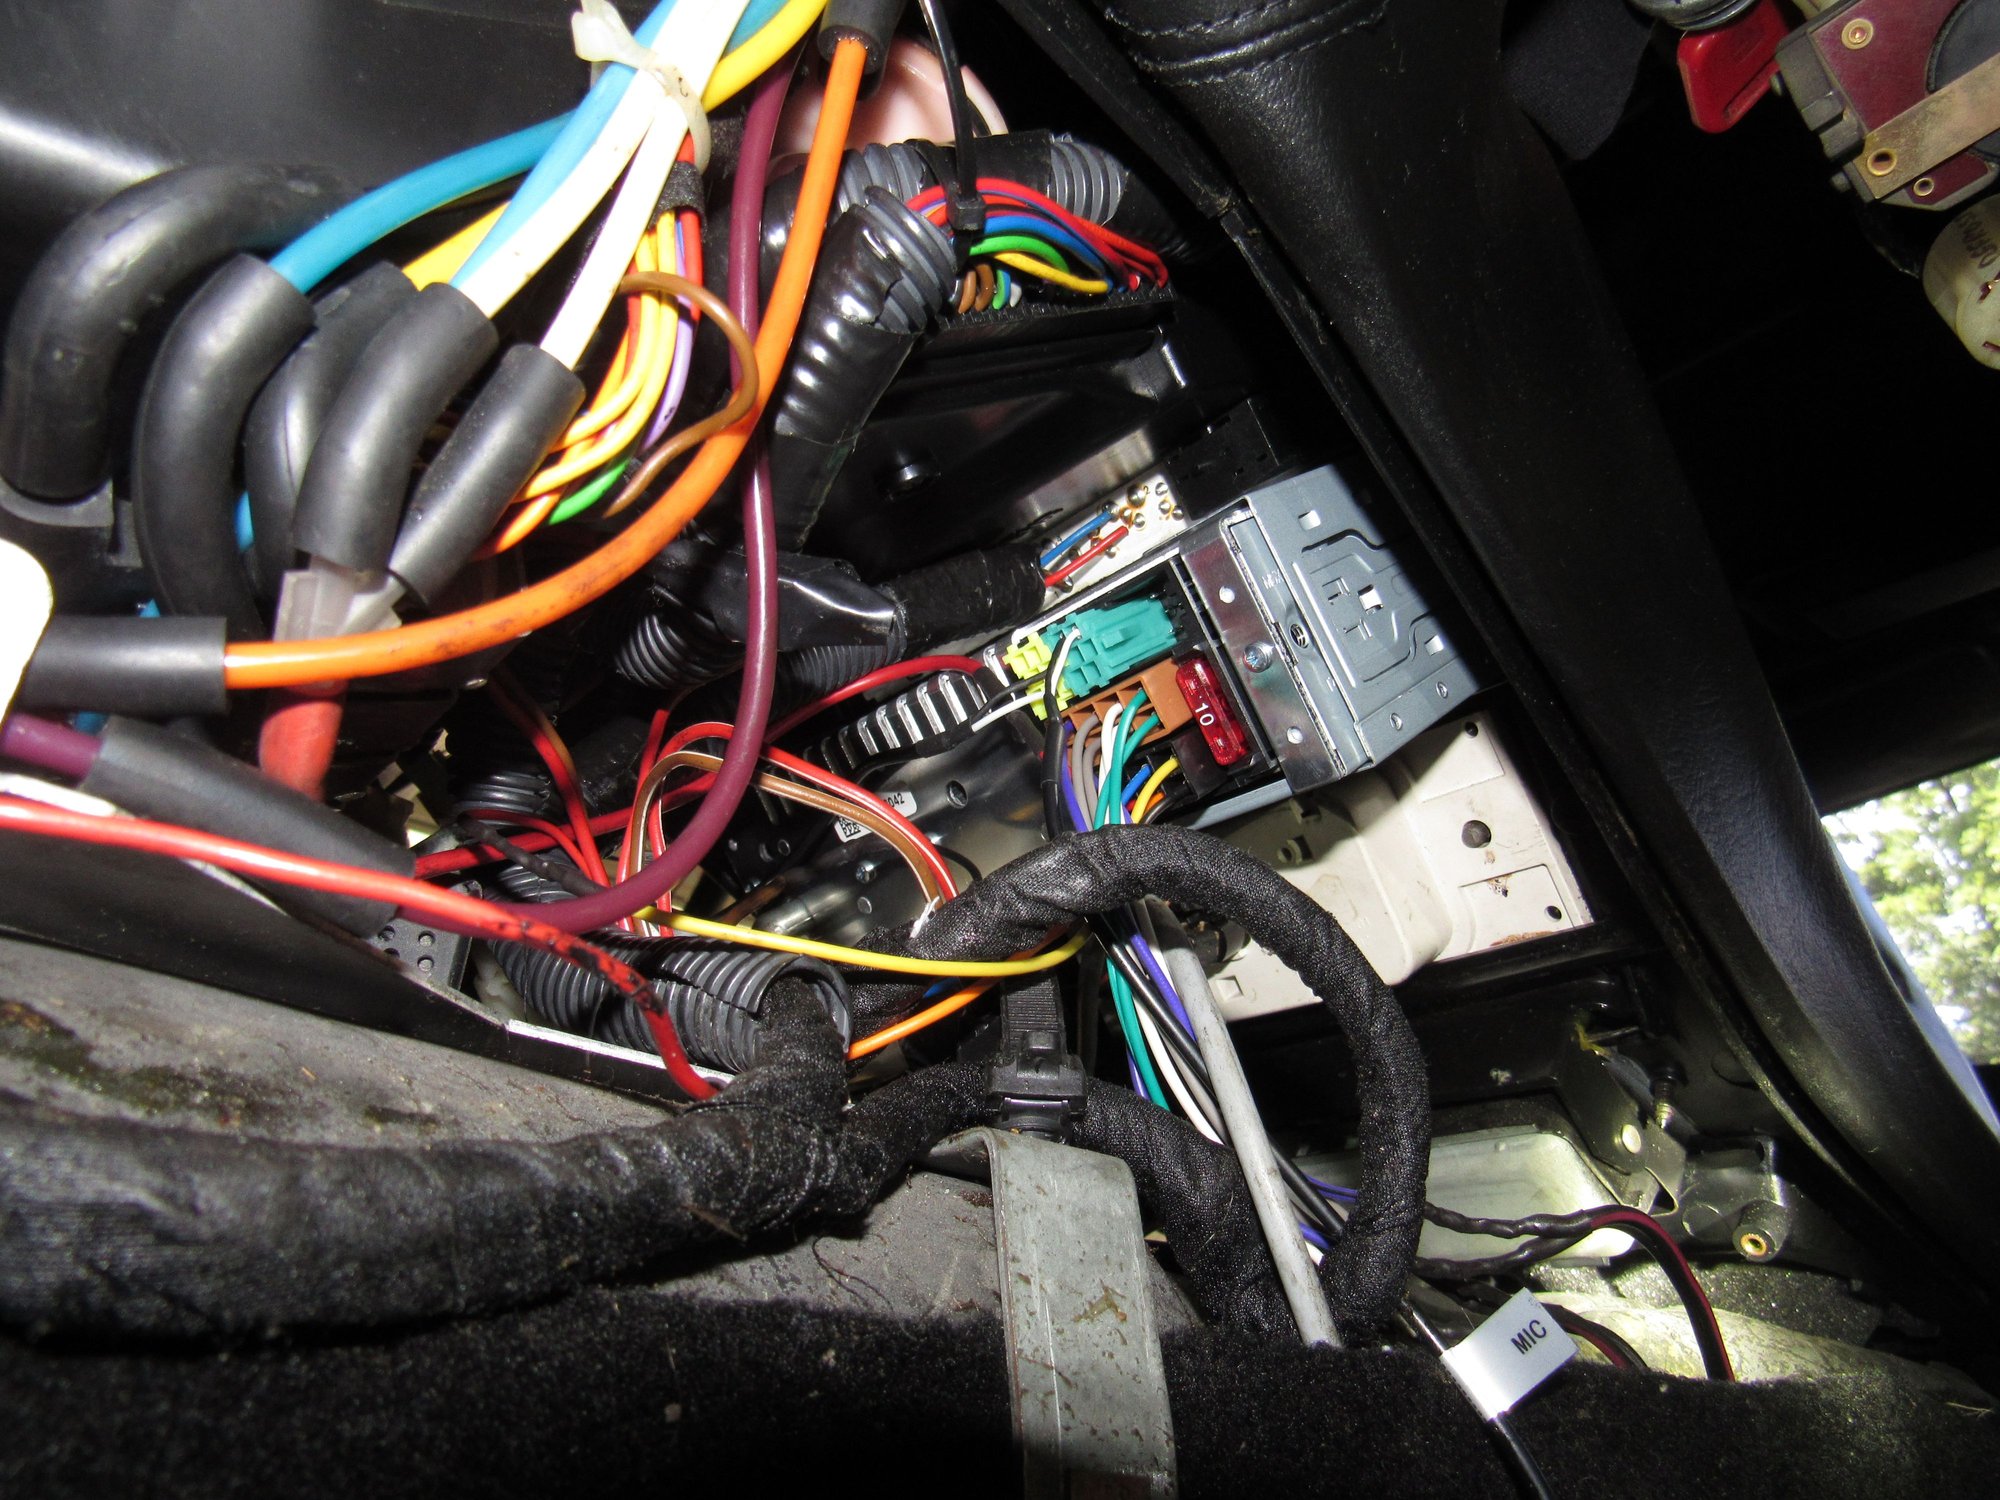
Then I started reassembling the instrument pod and things went a little wild. The battery was still connected and the hot terminal in the hazard plug grounded against the exposed metal in the hole of the pod. In an instant there was a cloud of smoke pouring out. That wire is always hot and unfused. I was hating myself at this point but I tore out the CE panel to see what I could find. There is a single thick red wire behind the panel from the 15 bus (always hot) to three or four terminals including the feed to the hazard switch. The insulation on it was burnt off.
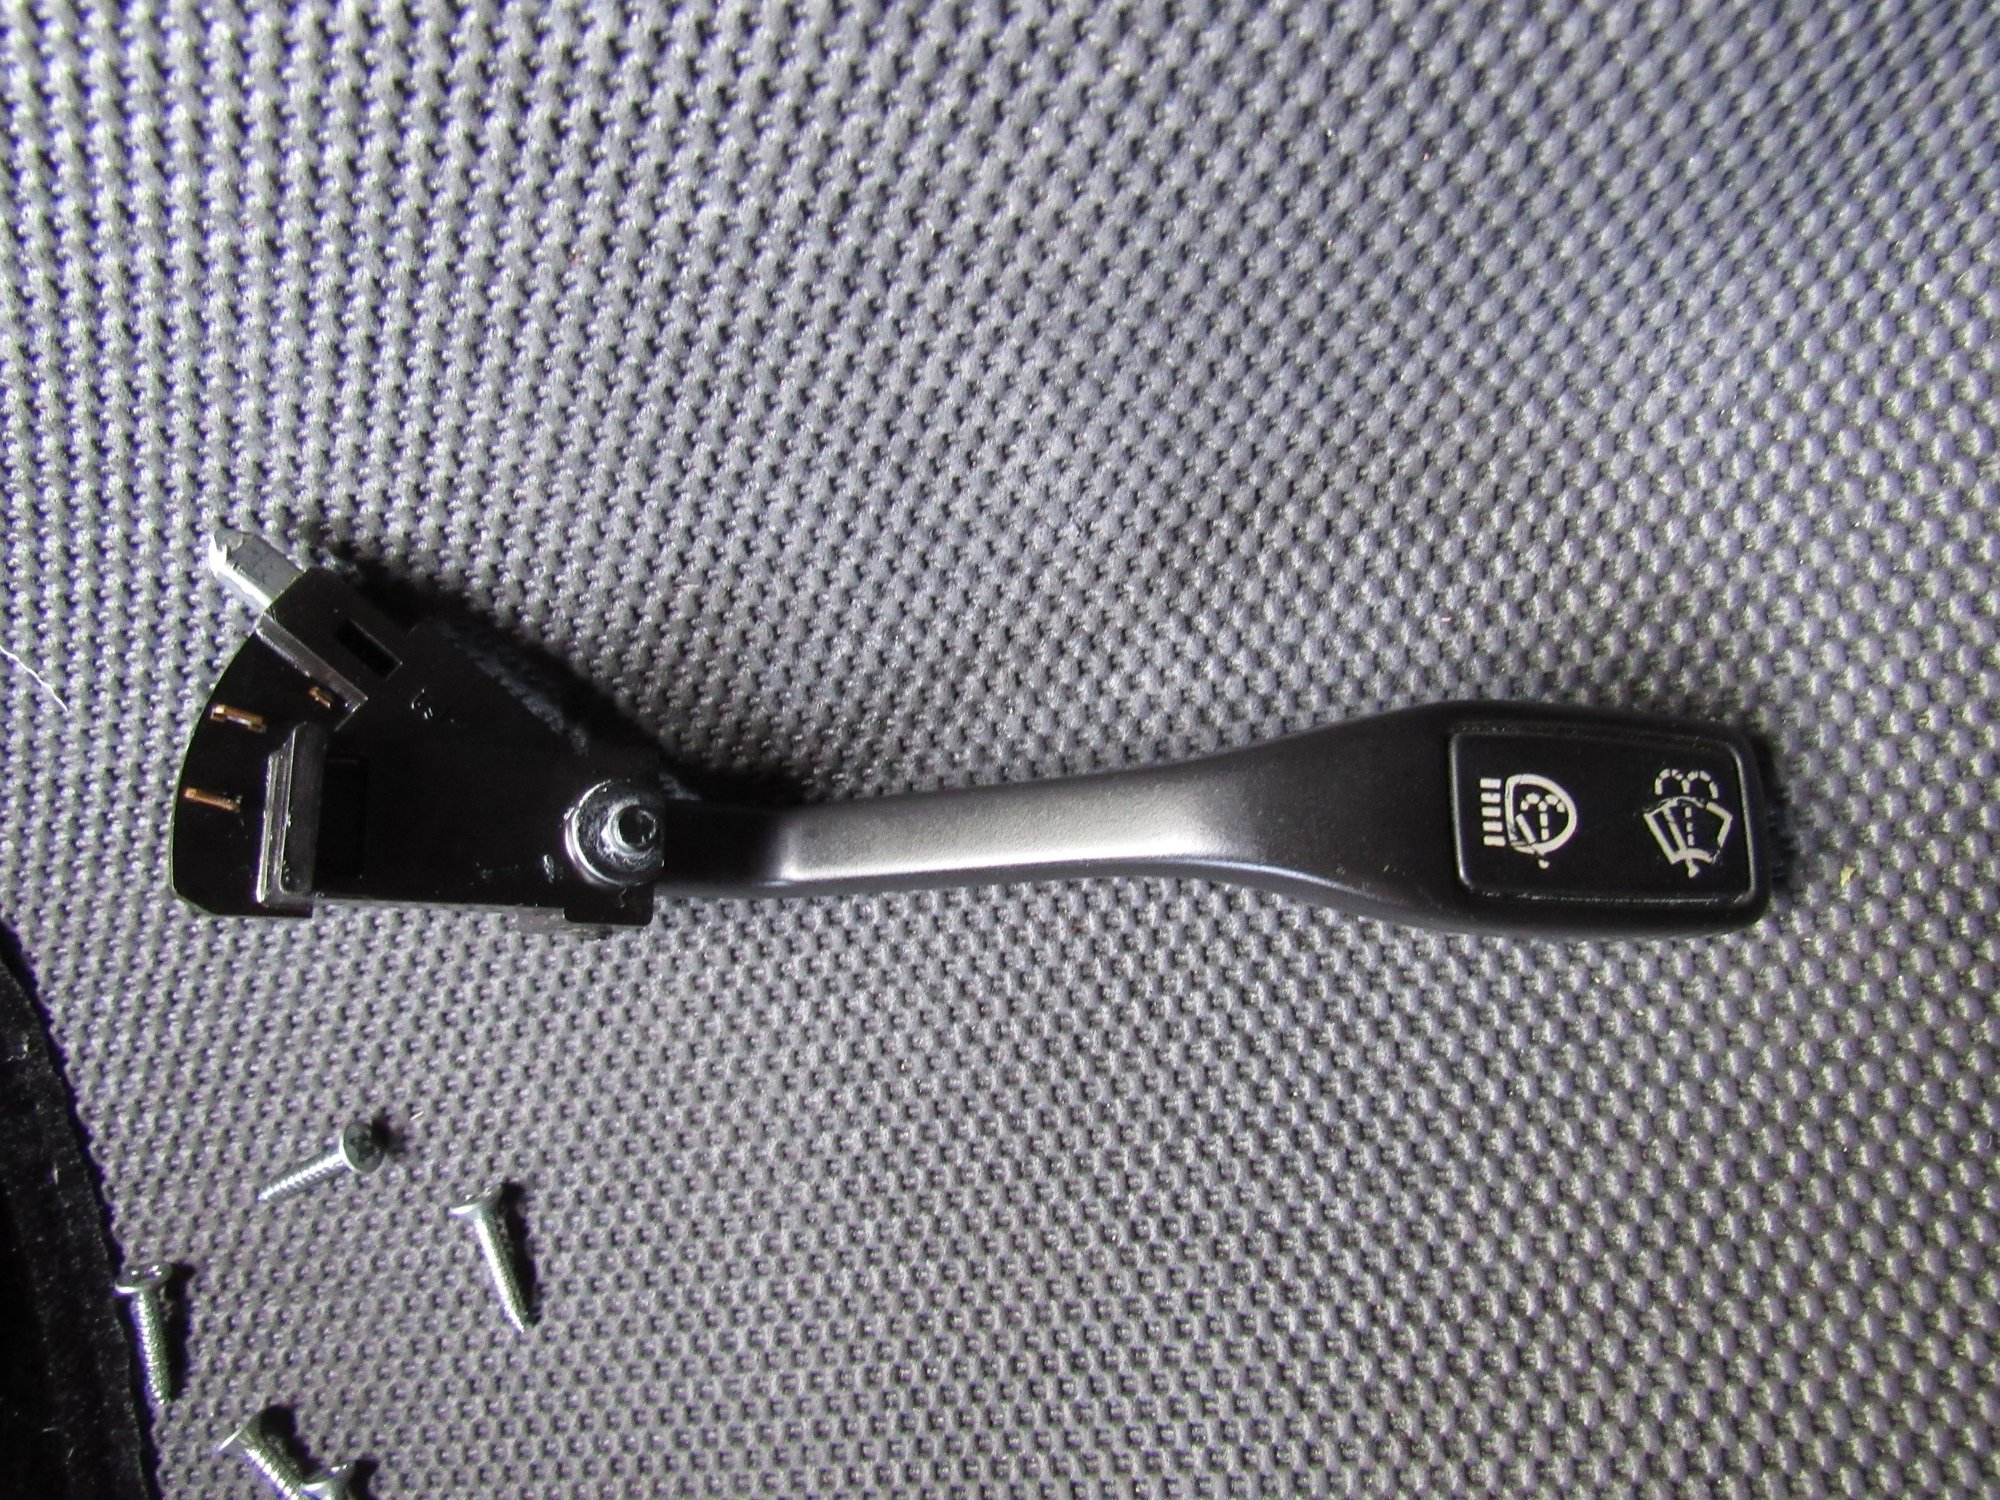
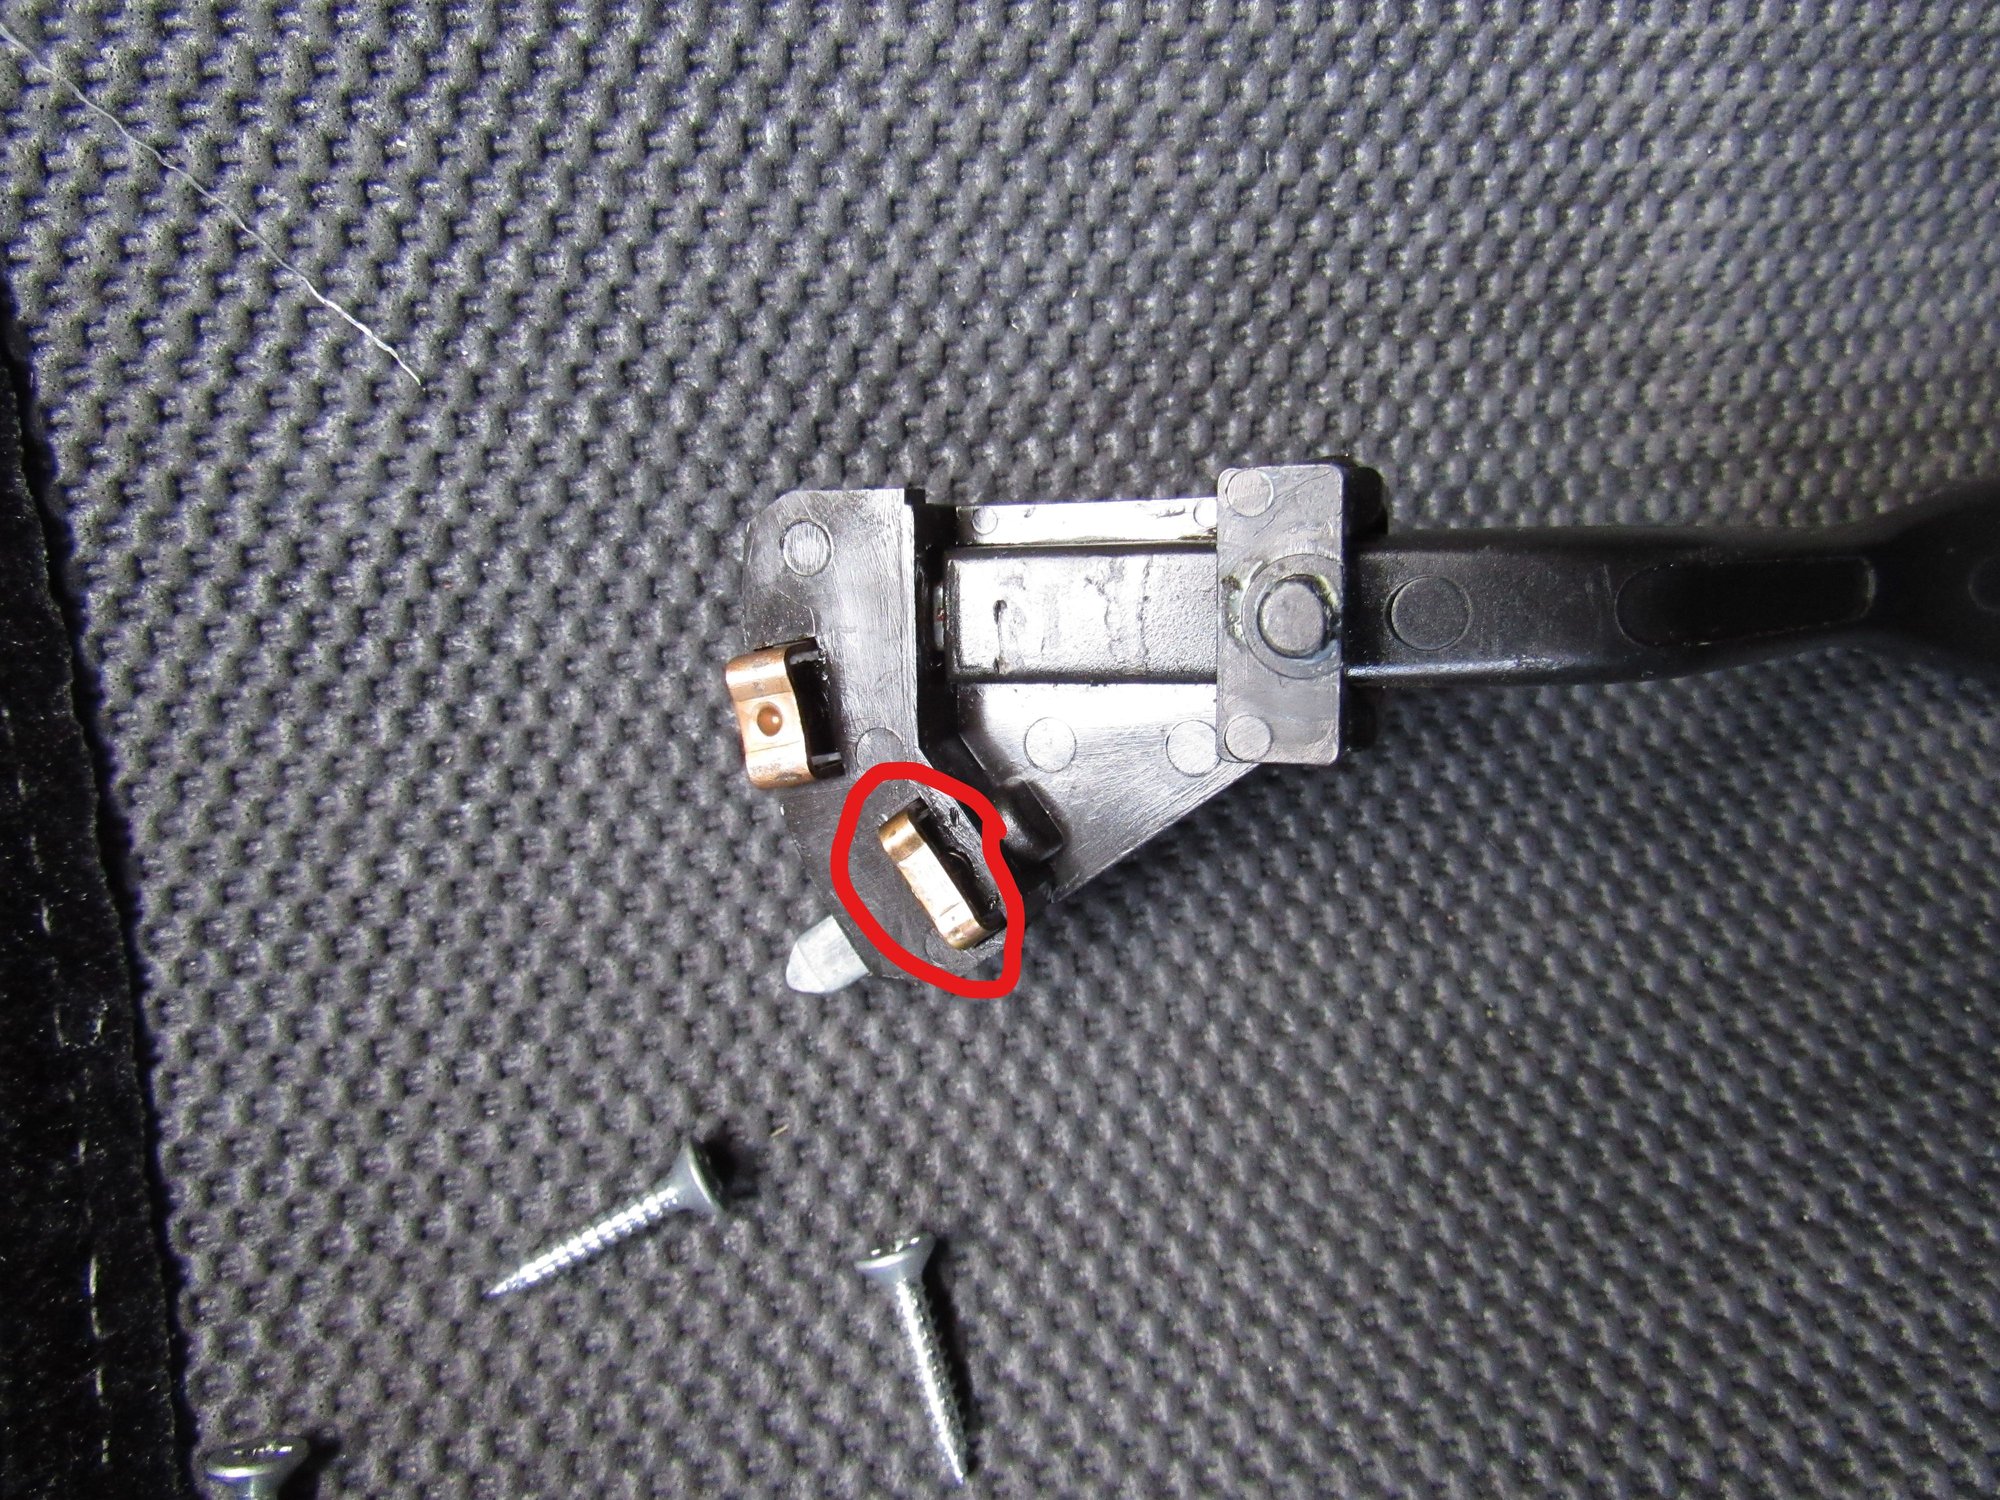
I repaired it and put things back together to see where I stood. The wire from CE panel to hazard switch tested good but I ran a new wire just in case. Everything was working except the windshield wiper was operating oddly and when switched on I saw some smoke and felt the housing get warm. I thought I was really in for some frustrating troubleshooting but as I let the combo switch hang from the wires I heard something rattle. I took it apart to see what more I might have damaged and found one of the spring loaded contacts had dropped out of the wiper stalk. I reinserted it and after reassembly of the combo switch, the rattle came back after moving the stalk through its positions. Long story short, I spread the contact a bit so it could not fall out so easily. I plugged in the combo switch and tested - wow I gained the high speed and time delay functions! These never worked before. I think that contact was likely dislodged decades ago.
My interior is back together now except the inner door panel that I have to finish. I changed the gearbox oil again and have driven about 500 miles. I guess all's well that end's well


 06-23-2019 | 10:47 PM