When you click on links to various merchants on this site and make a purchase, this can result in this site earning a commission. Affiliate programs and affiliations include, but are not limited to, the eBay Partner Network.
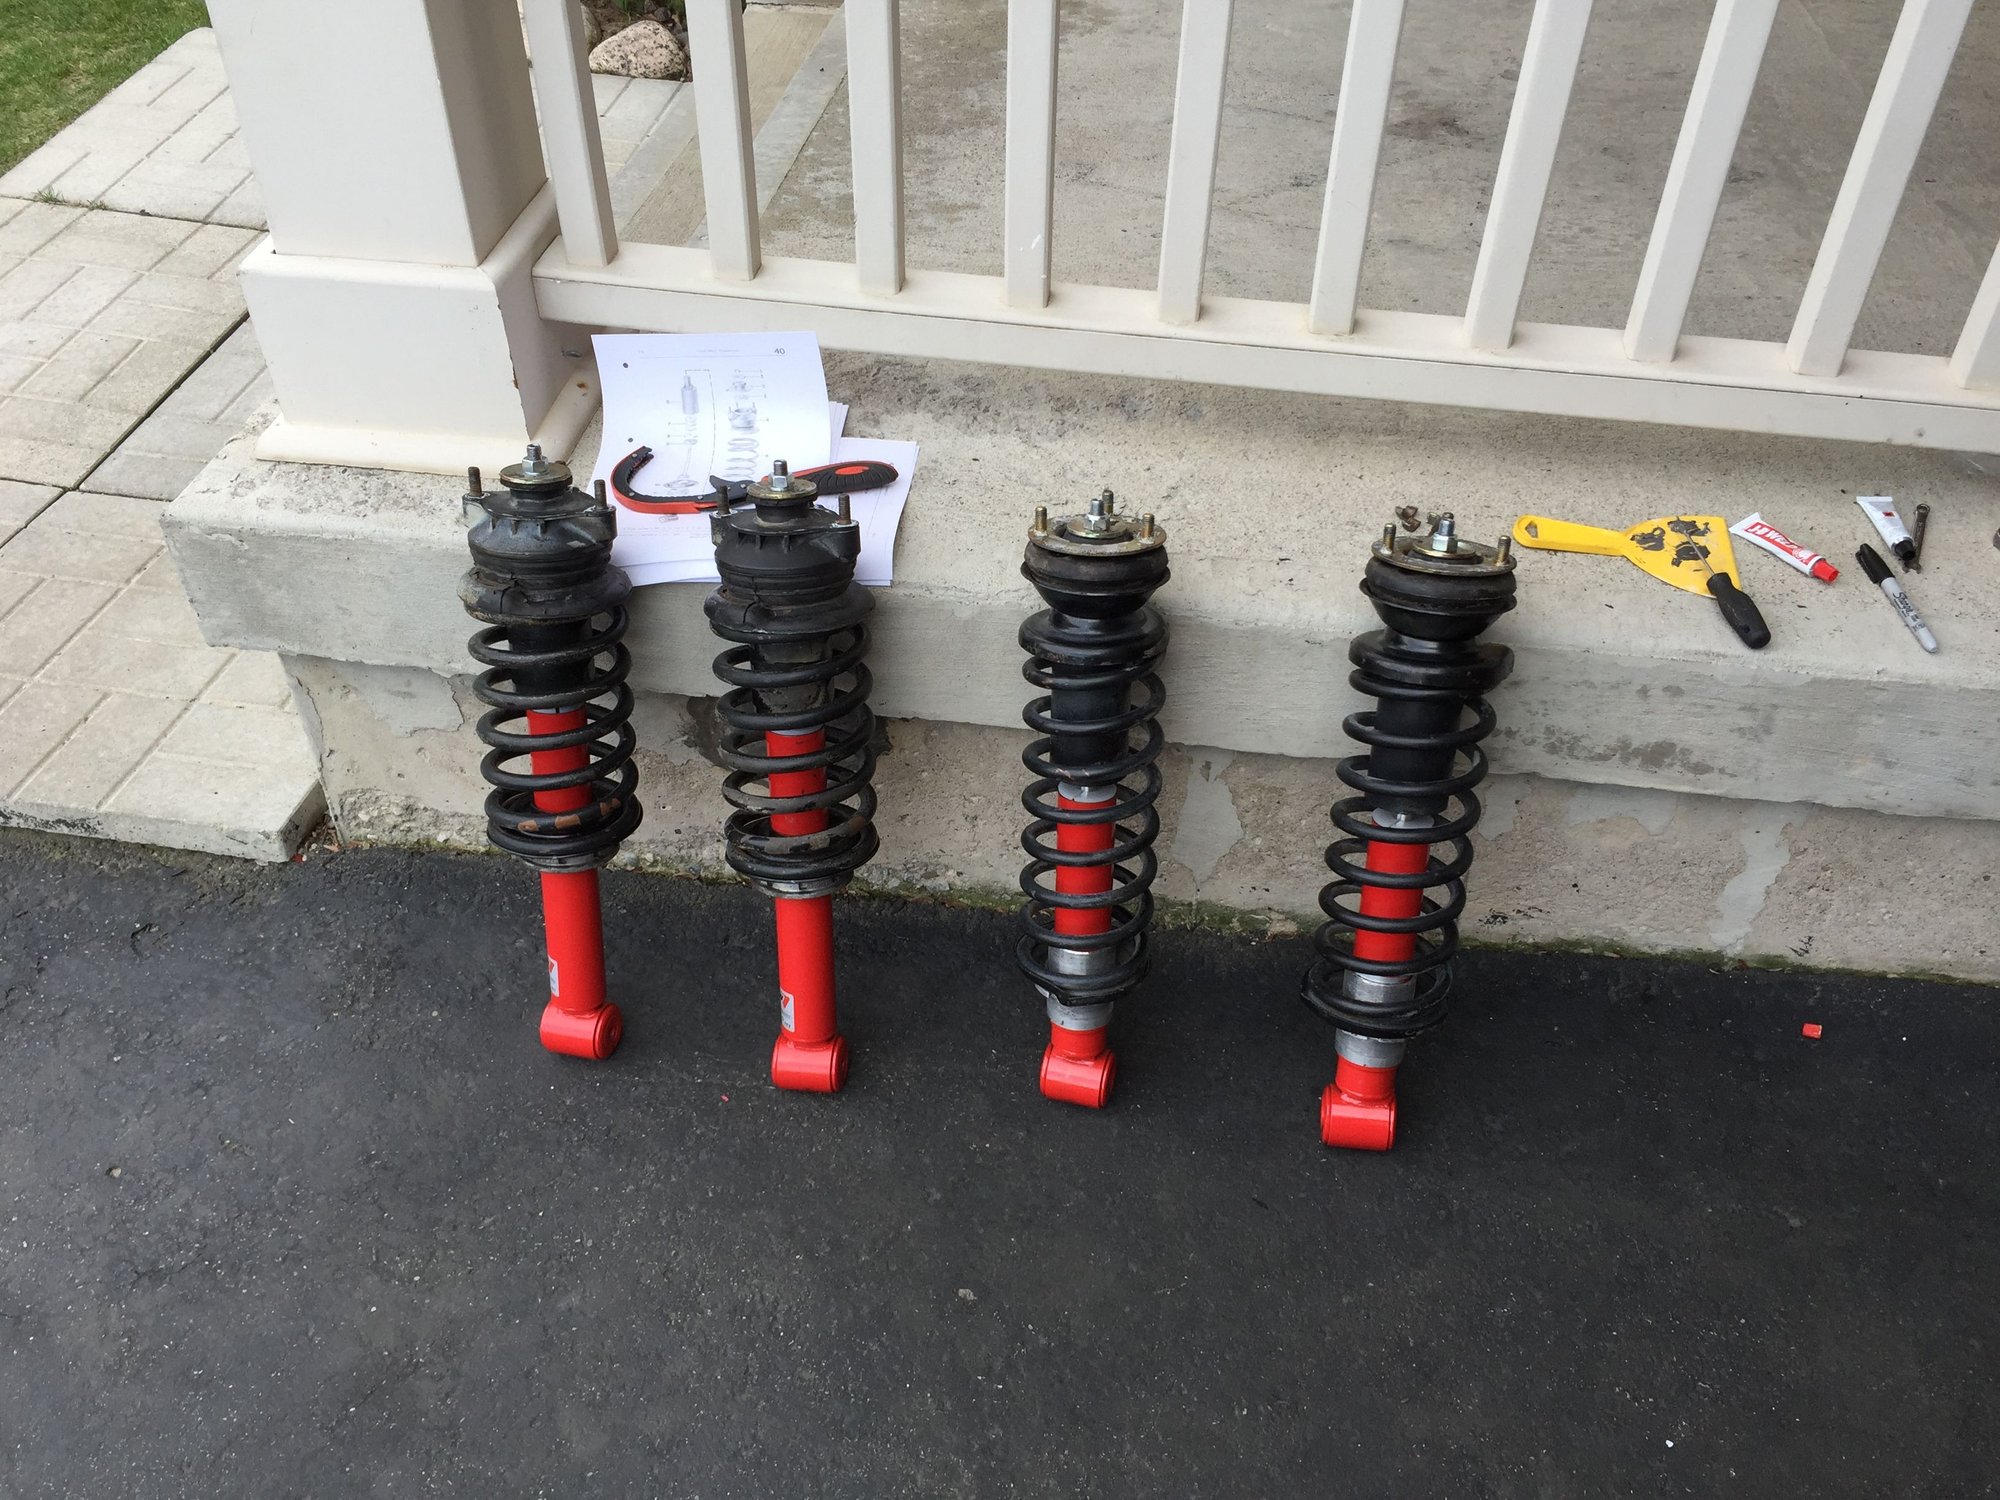
Adam, are the shocks oriented the correct way around? There is a slight angle to the bottom mount, if reversed then the pin is exceedingly reluctant to go back in.
Adam, are the shocks oriented the correct way around? There is a slight angle to the bottom mount, if reversed then the pin is exceedingly reluctant to go back in.
Yes, they are oriented correctly. I had the pin through the shock, so that part is good. The car is on jack stands below the 88 that I'm restoring for a client, so work space is more than tight, that and a long day wrenching probably played a roll in my pin frustrations.
The conical washers kept dropping out as I was trying to wiggle everything into alignment. I will try some thick grease on those to hold them in place. But I think I may just pull the brakes and insert the pin from the front, at least then one of conical washers is not going anywhere, once the pin is partially in.
Yes it is a bit tricky - I found it helps by feeding a dowel of some kind from the other side of the bolt to retain those washers and then as you feed the bolt back in it pushes the dowel out. On one side I used both pins and when I fitted the other side I then used a long extension bar from my socket set.
As Jeff says just a question of patience.
The second one went in much easier that the first one I reassembled.
Rgds
Fred
Last edited by FredR; 04-25-2016 at 06:23 PM.
Reason: typo
This made things simple and easy. I cut a piece from a scrap pivot pin, tapered one end and bored a hole in the other end to clear the threads of the pin to be installed.
This made things simple and easy. I cut a piece from a scrap pivot pin, tapered one end and bored a hole in the other end to clear the threads of the pin to be installed.
i sometimes use a large screwdriver to "move things around " as i push the pin through all the holes and washers.
this bored out and threaded pin is a nice idea .
i sometimes use a large screwdriver to "move things around " as i push the pin through all the holes and washers.
this bored out and threaded pin is a nice idea .
Mark,
I rather thought you would have used your baseball bat -
This made things simple and easy. I cut a piece from a scrap pivot pin, tapered one end and bored a hole in the other end to clear the threads of the pin to be installed.
Sorry for the picture quality.
Very elegant work.
That horizontal support bolt for crossmember is also much easier with a taper. I wish I had your metalworking skills and tools to do either!
For the suspension pins I used long extension to help align things from other side, and pushed pin through one hole/washer at a time. It could be really frustrating at times, other times it's been quick and easy. One of those jobs when taking a break works magic!
My toolbox includes several sizes of roll-head bars and other alignment bars and pins. . Tapered on one end so it works well for piloting pins like this, a slipper -foot on other end for odd-angle prying tasks. Medium one for the suspension pins, small one is perfect for getting those braces by the motor mounts lined up in advance of the bolts.


 04-24-2016, 09:59 PM