When you click on links to various merchants on this site and make a purchase, this can result in this site earning a commission. Affiliate programs and affiliations include, but are not limited to, the eBay Partner Network.
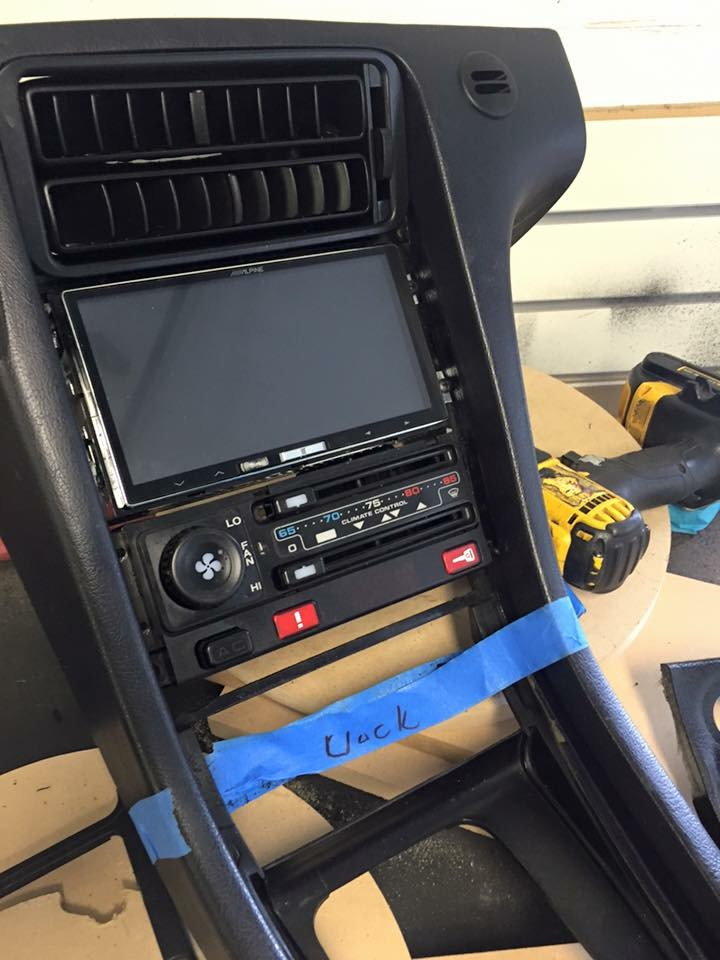
Here is a sneak peak of my double DIN install in the mock up stage. Unlike other conversions you've all seen, this one will retain the OEM recessed appearance. This was made possible by the choice of the Alpine head unit which is only 3" deep. This has plenty of room to clear the heater box. More pics to follow
Looks great Michael. Wish those Apple Car play's were around a few years ago. Are you planning to trim with leather wrapped cord as previously suggested ? T
Looks great Michael. Wish those Apple Car play's were around a few years ago. Are you planning to trim with leather wrapped cord as previously suggested ? T
I'm not sure, I gave the installer several trim pieces to modify and match but we also discussed a black vinyl wrap with similar texture to the shift surrounding to keep the theme consistent. I guess there will be my surprise.
Last edited by Michael Benno; 02-25-2016 at 01:31 AM.
I like the look, but I am going to wait a bit. While I use Apple as my main product for phones and music I am finding them too containing, and would rather not get a unit with Apple car play. But really like the fact that 3" deep units are coming out. Wonder if others exist.
Michael, I've been eyeballing that head unit since it got introduced a year ago last November and was anticipating a similar recessed installation because of the 3" depth. I also considered running the unit BELOW the existing HVAC controls and eliminating the clock module. Its not ideal, but not having to d**k with the heater controls is HUGE if you can do it. How are you planning that? The new "mech-less" units without a cd/dvd should all be in a shorter chassis but it seems most manufacturers are still using the deep boxes. The Alpine unit is very cool but no Bluetooth, Sirius/XM and being tethered to Apple's NAV makes it less than desirable to me at this time too. (I want it ALL!) Alpine did minimal updates to this unit when re-introduced at the 2016 CES Show in January. I am hoping that updates from most aftermarket companies will bring out new competitive stuff pretty soon because my pod, dash and console, etc. is coming out shortly to go all LED. Don't want to have to pull it again. I am looking forward to your excellent effort and continued documentation.
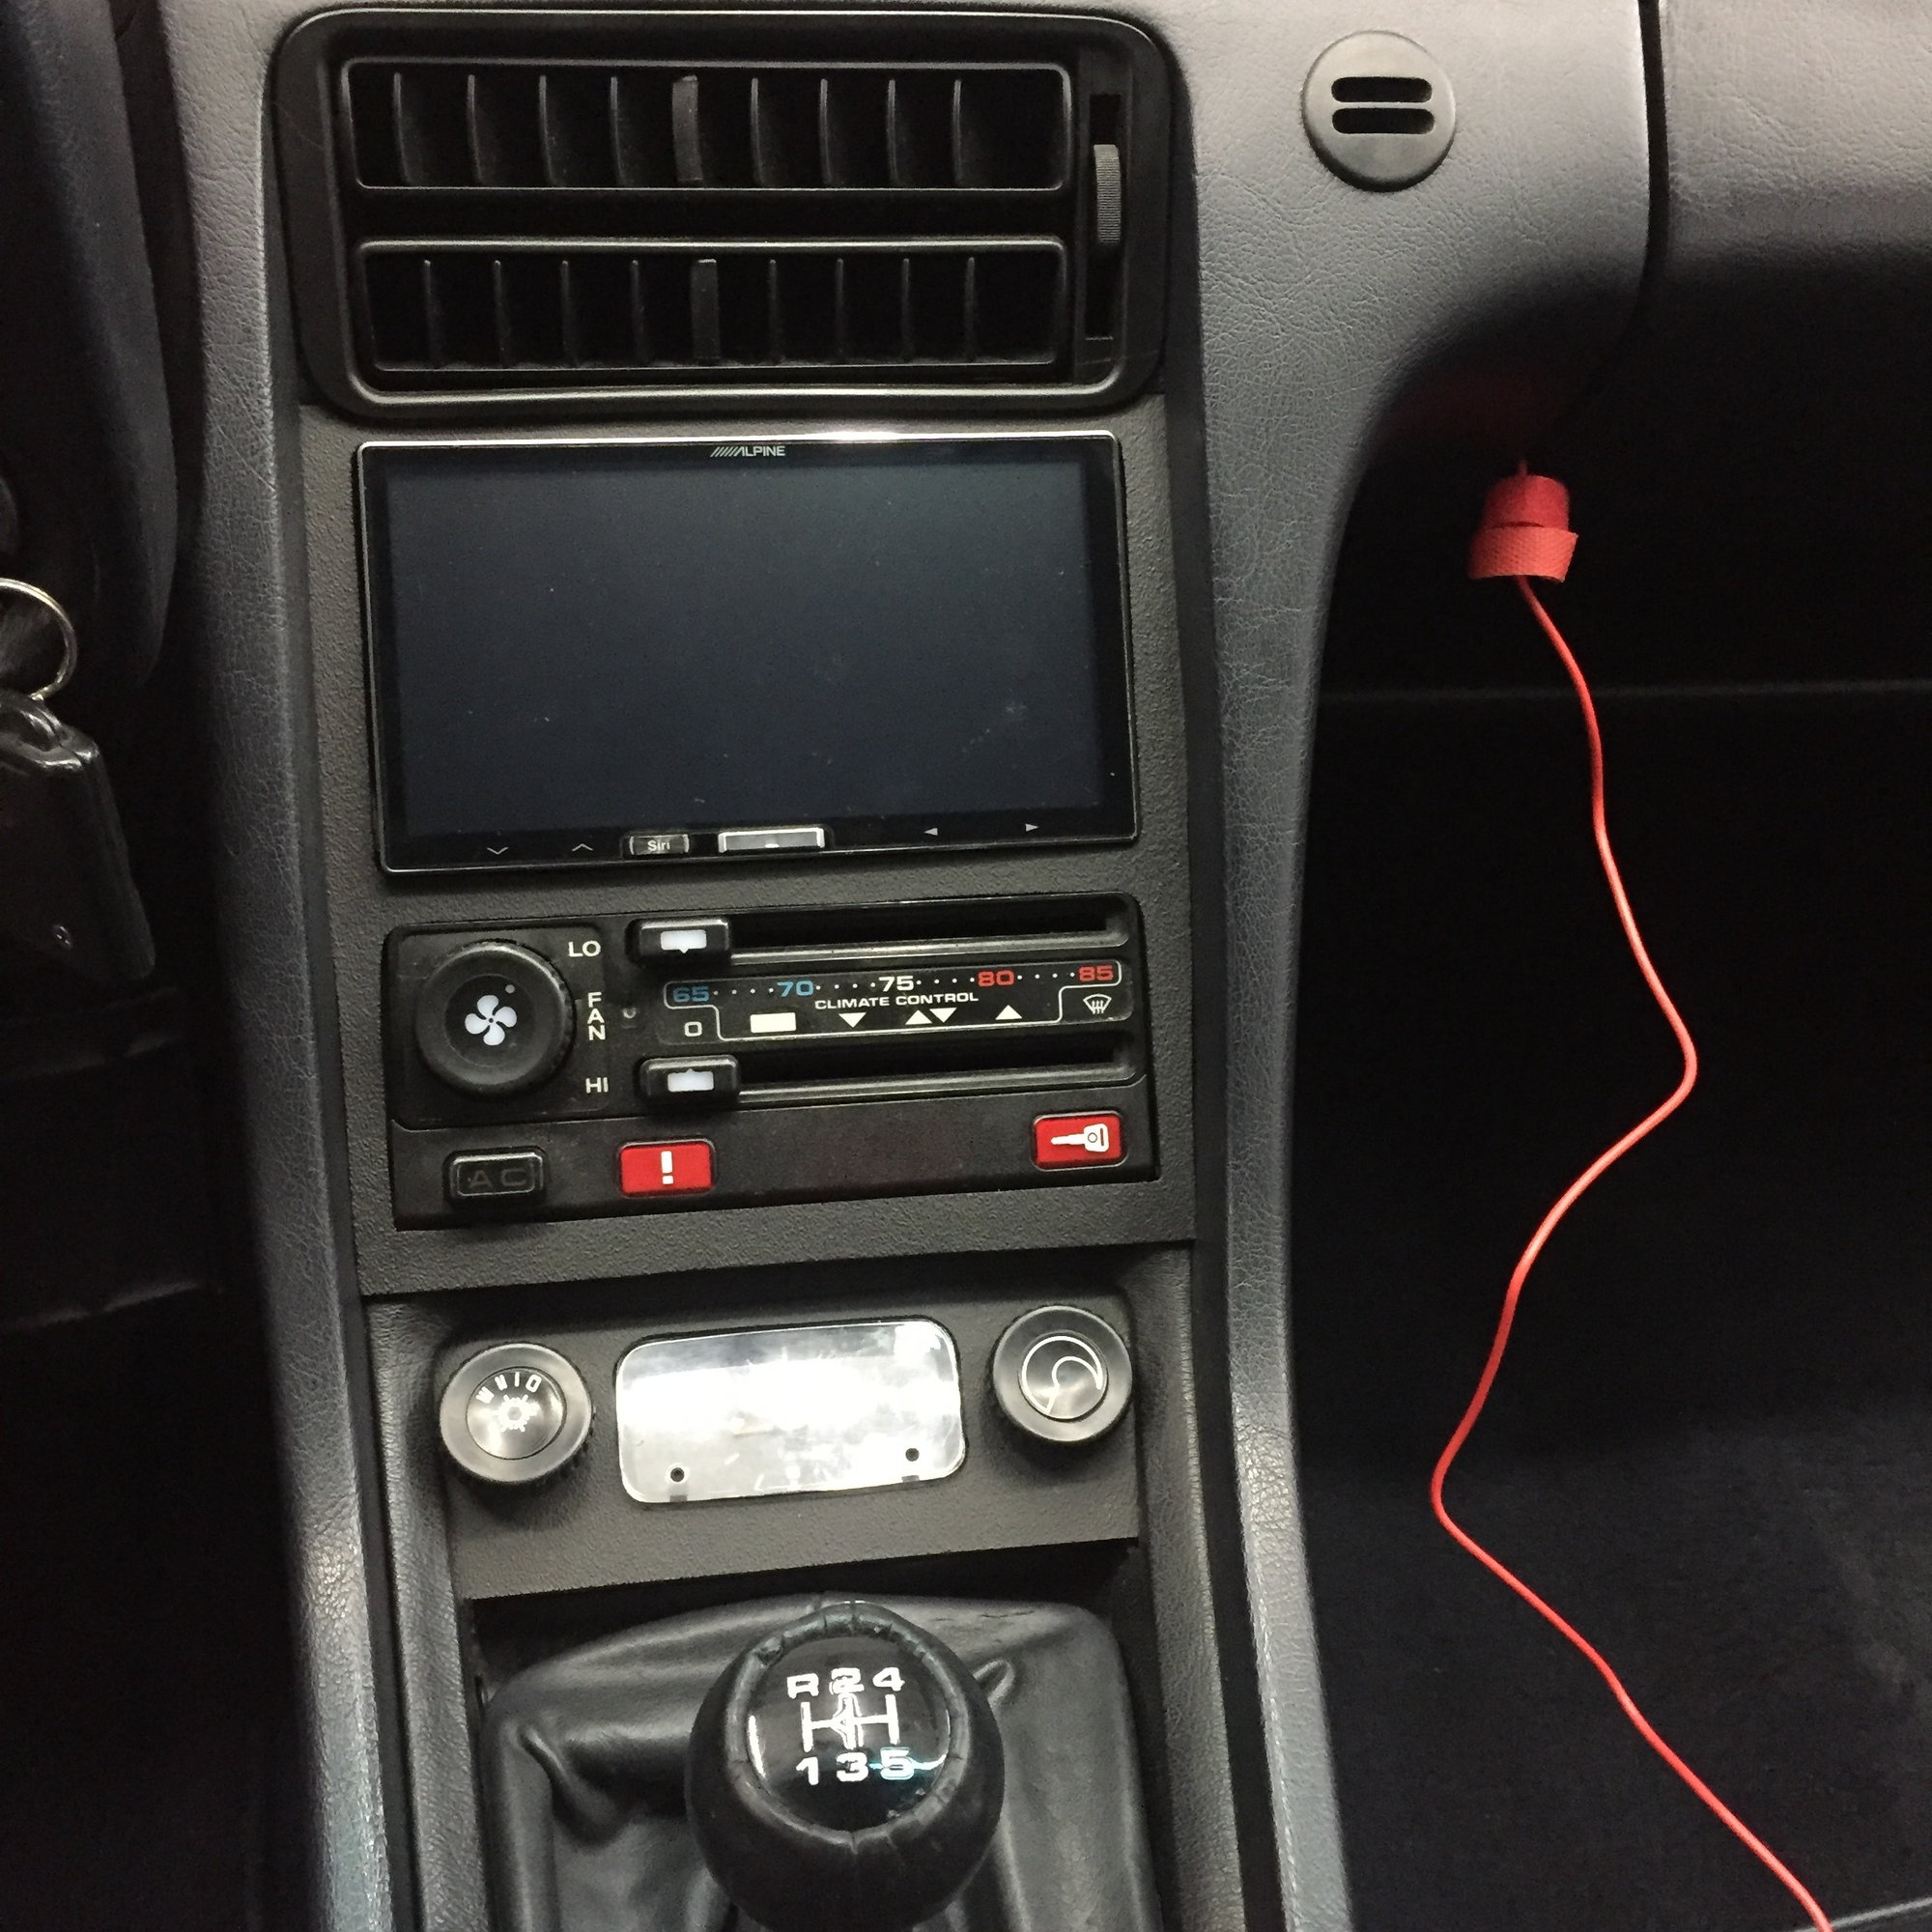
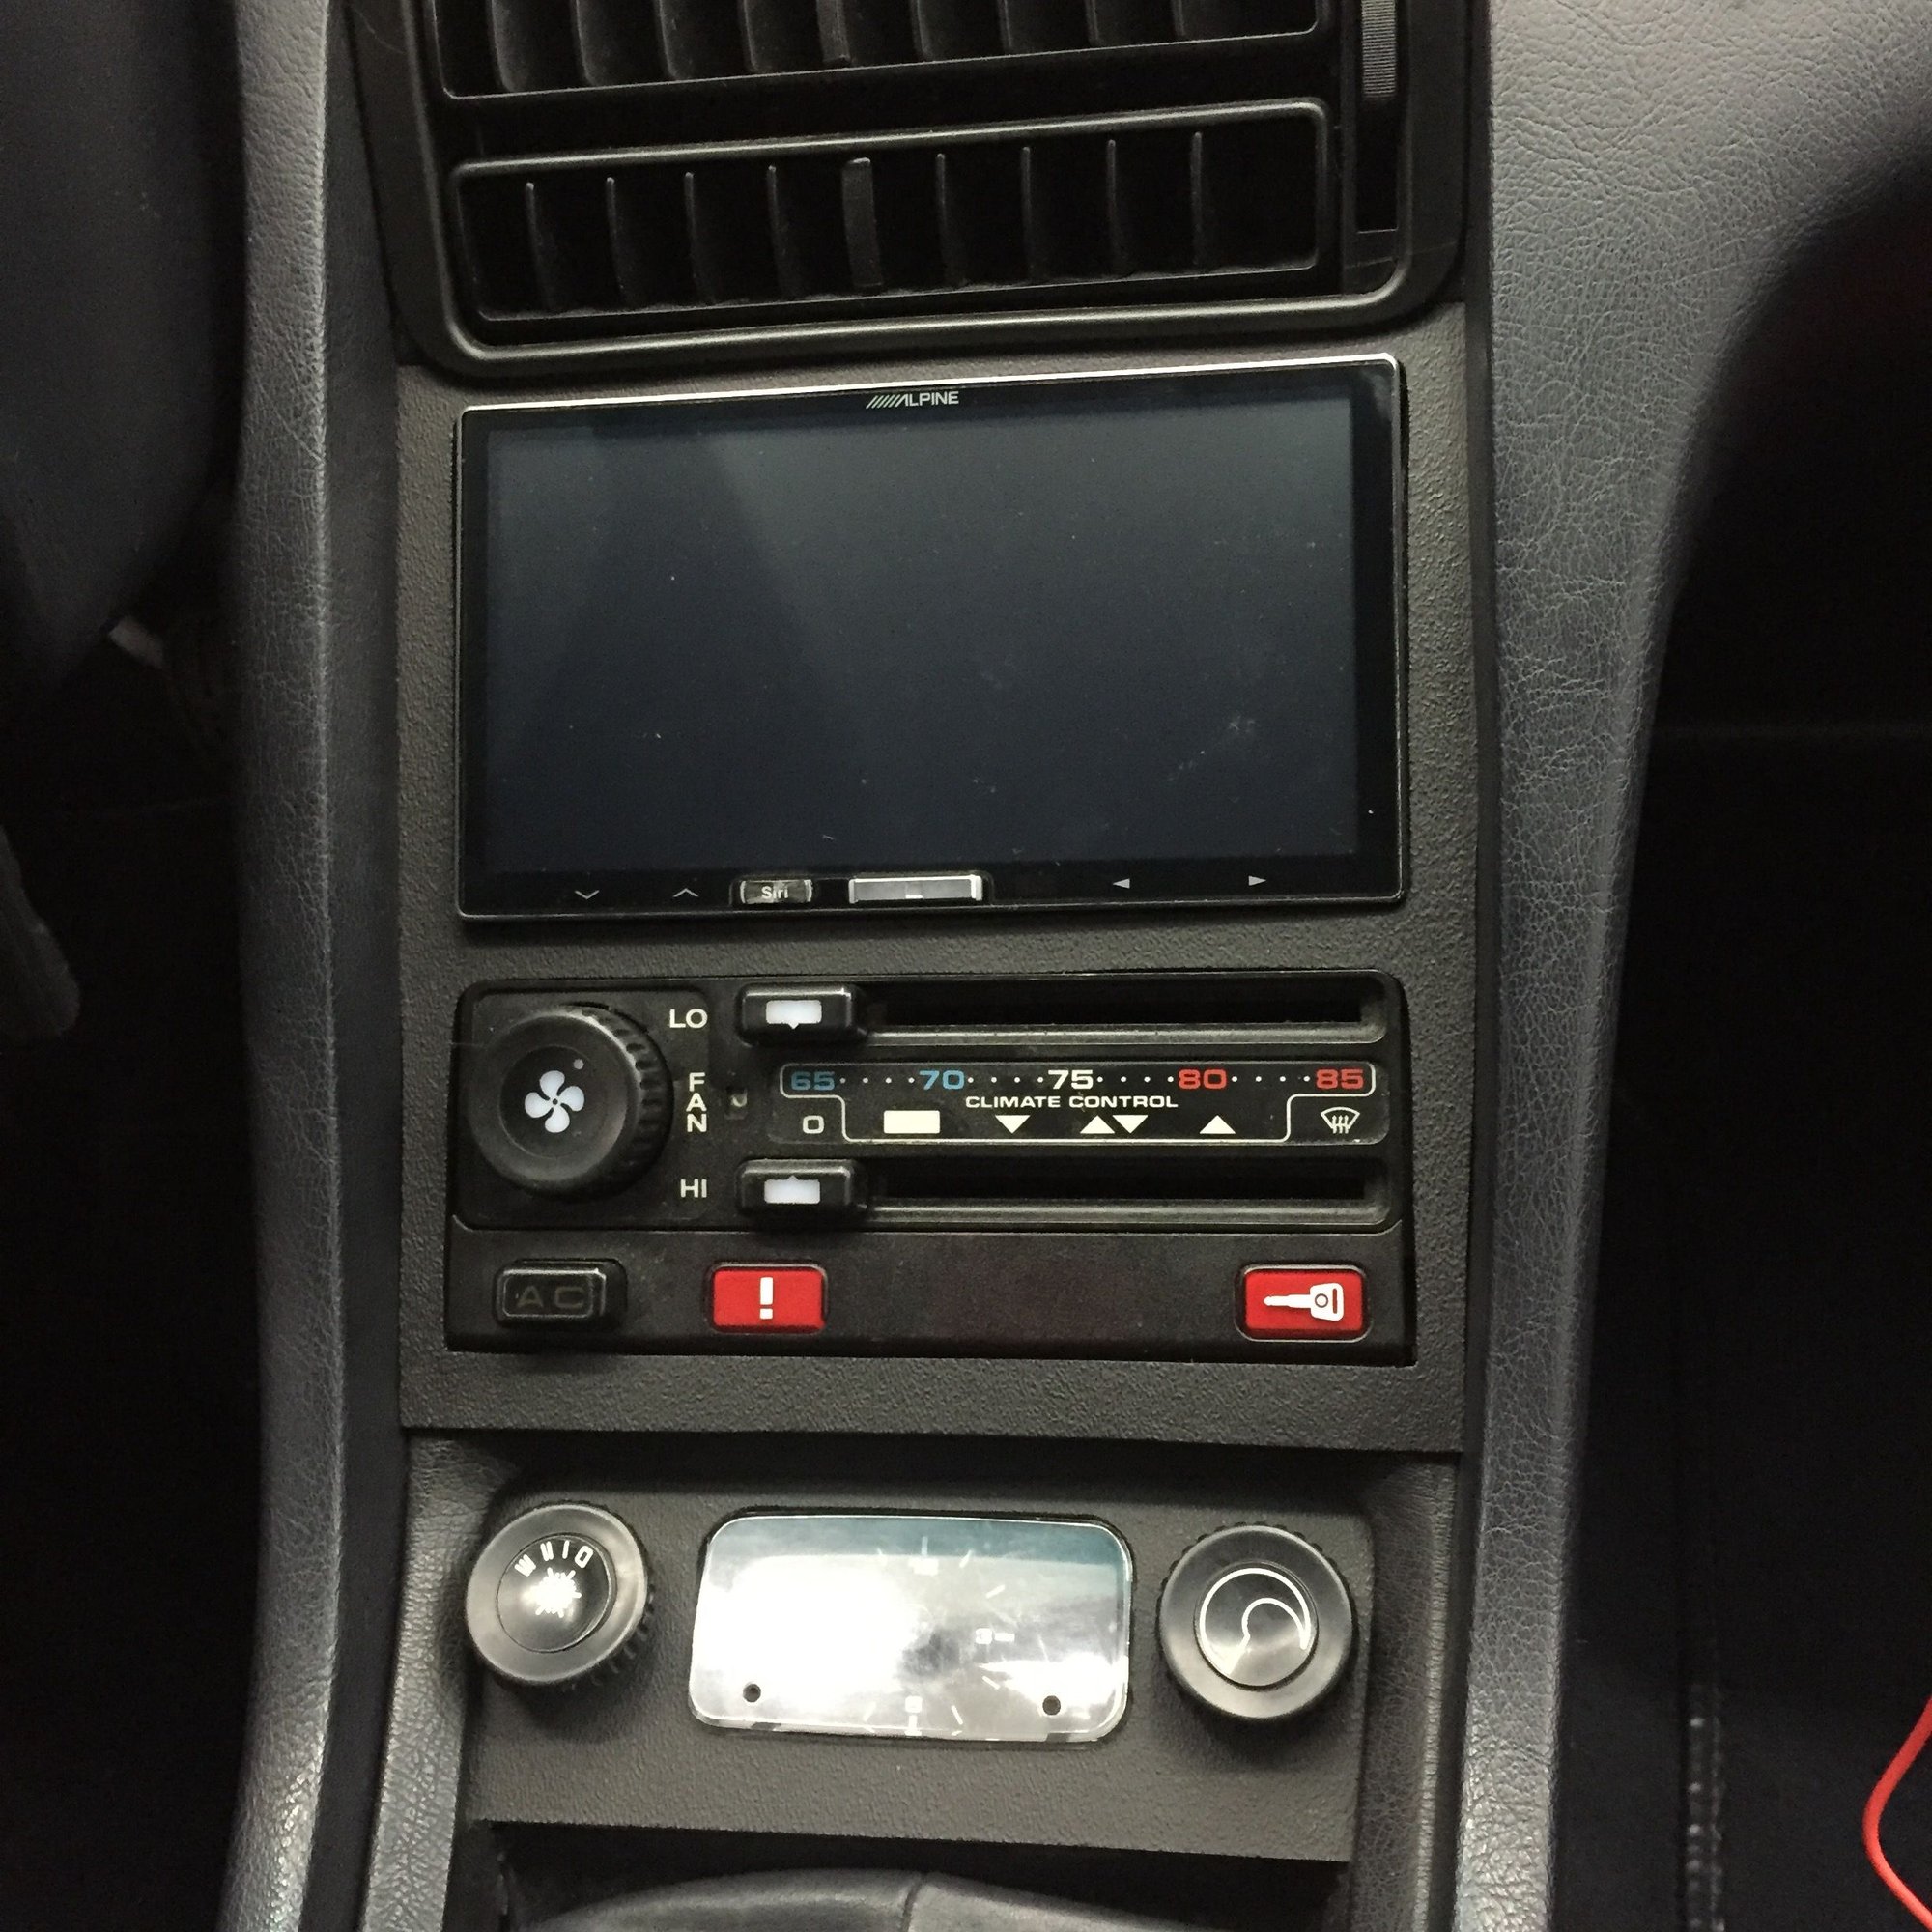
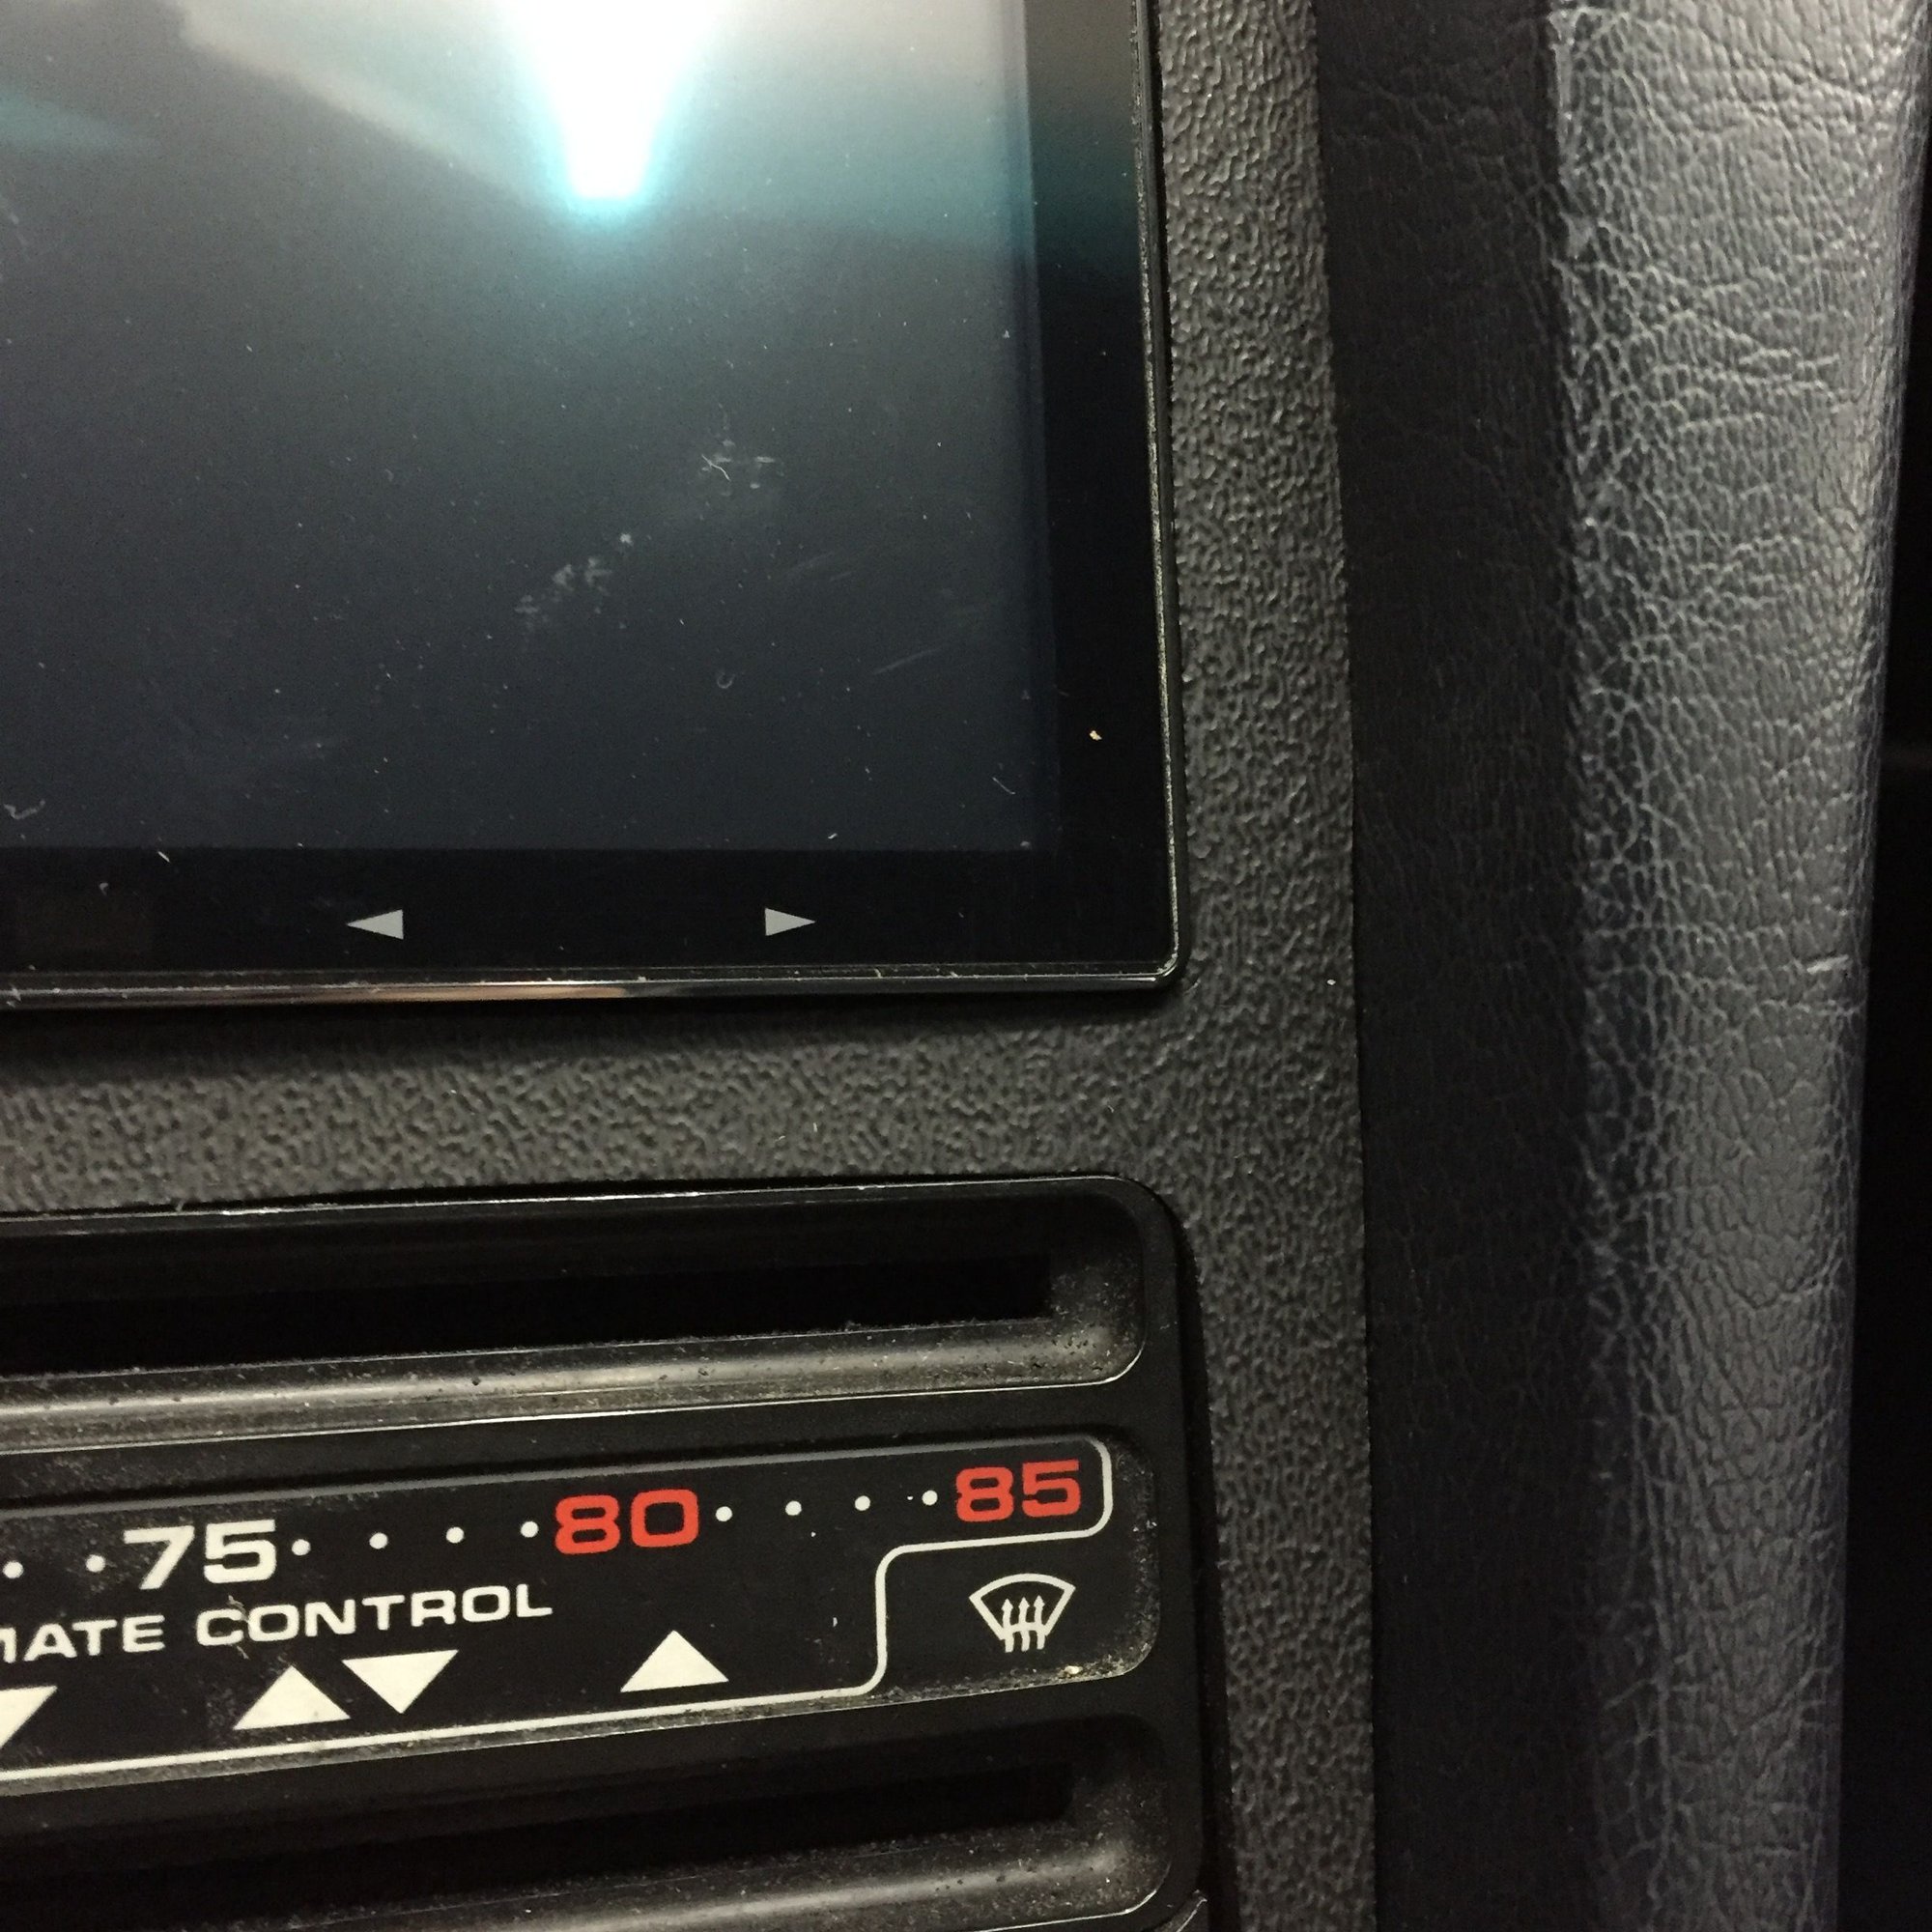
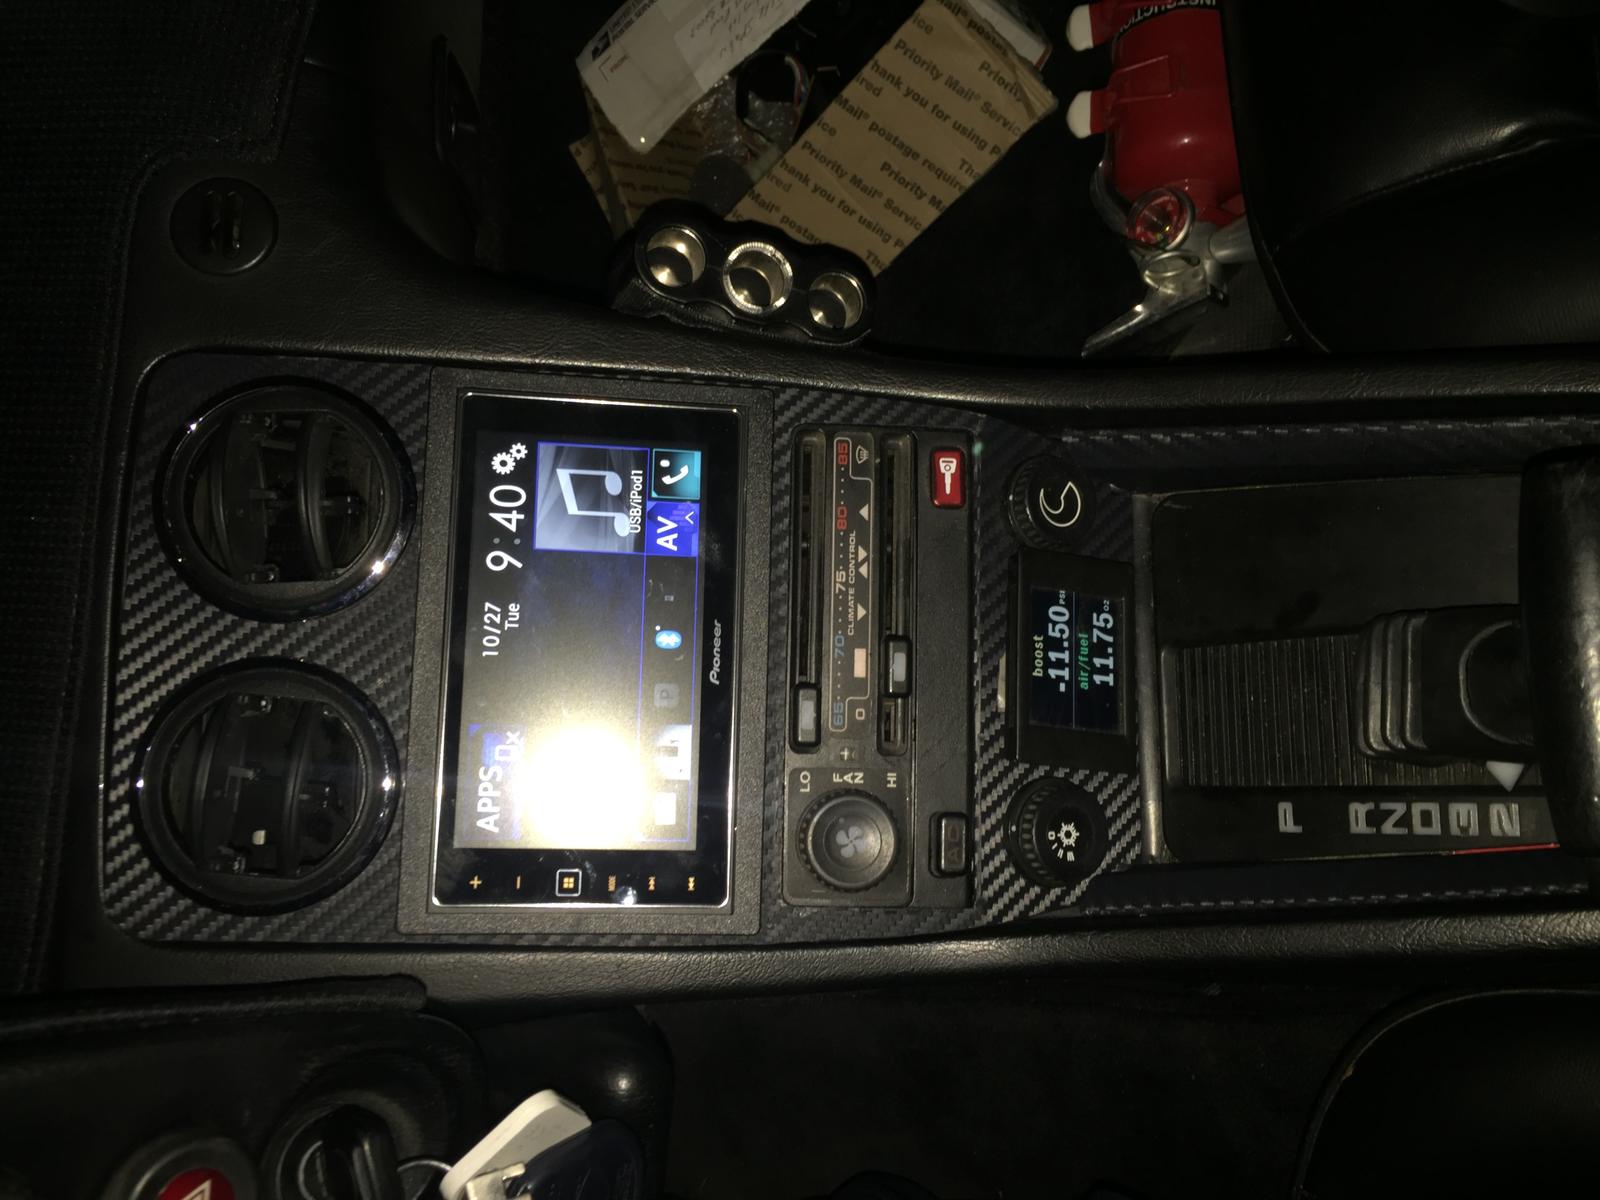
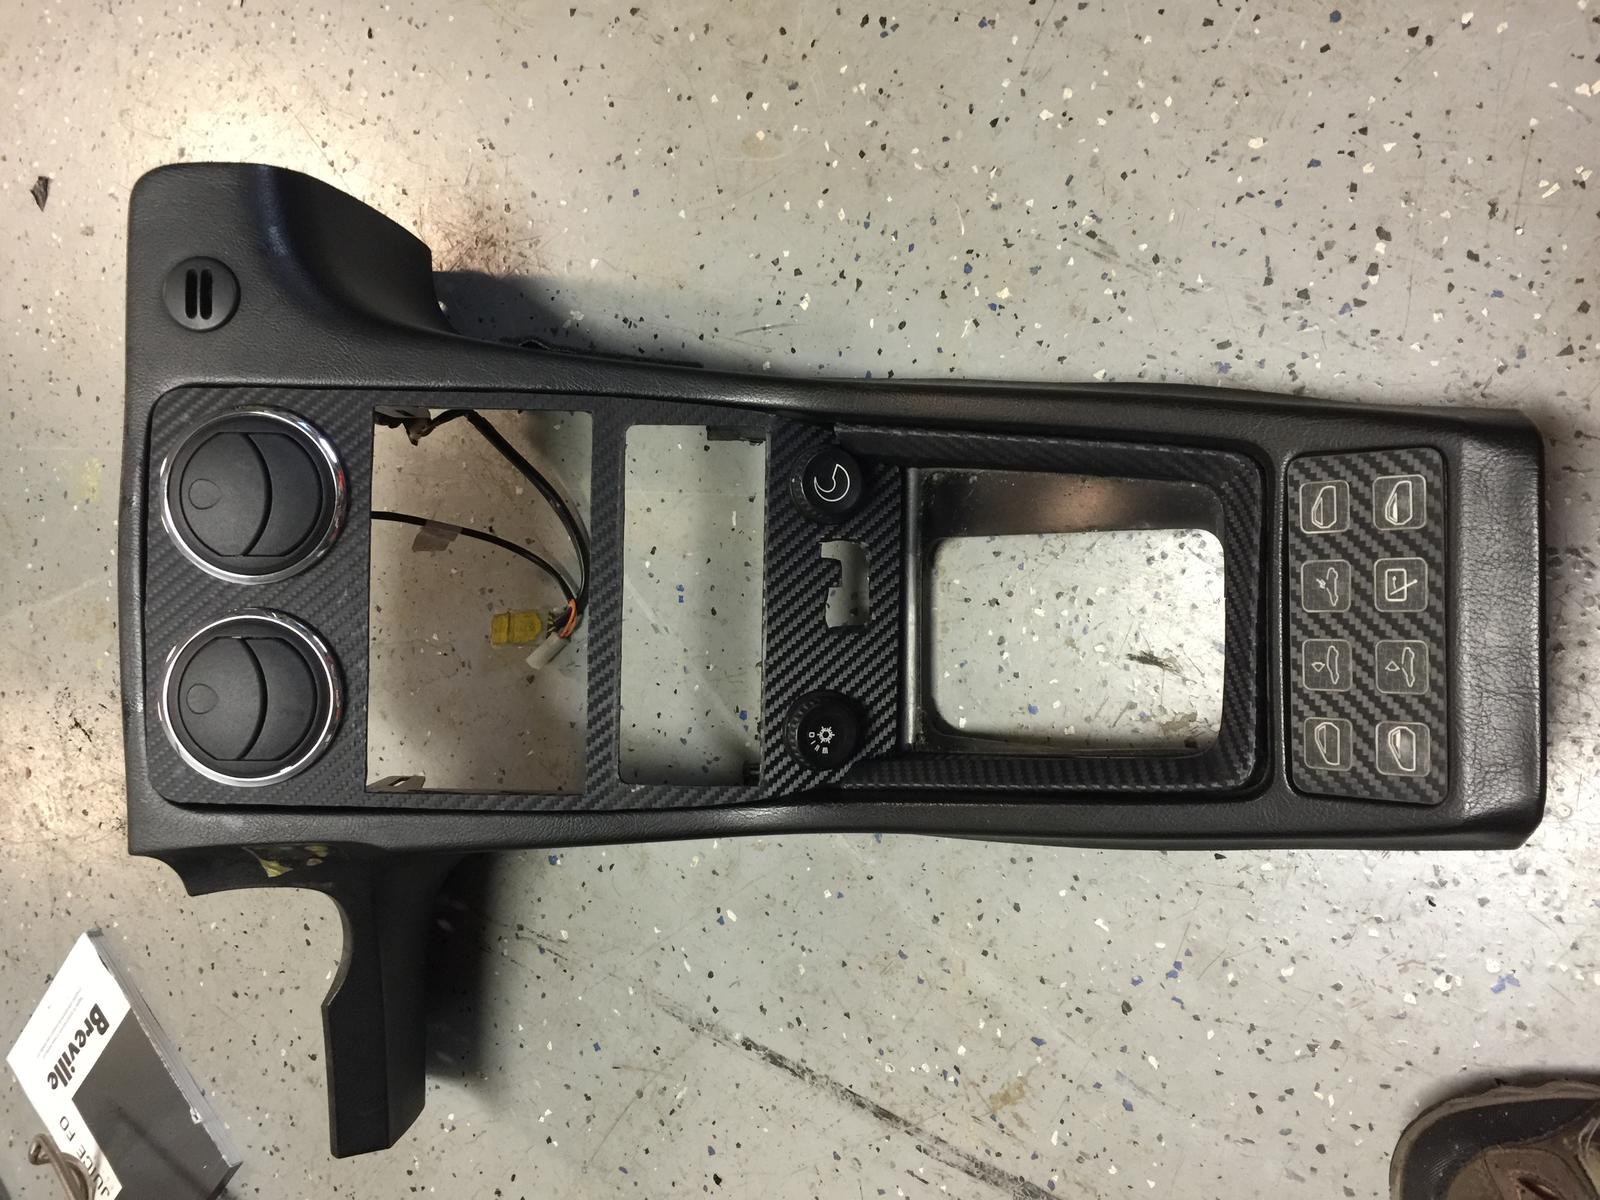
Here are some updated photos of the initial install from the shop. It looks okay but there is a bunch of room for improvement, including re-routing of the iPhone cord.
The existing faceplate solution is using flat ABS plastic that has been cut to fit the console and accessories and then painted to get the texture correct. The OEM trim pieces were not used because there was not enough material to modify (this is where a 3D printer would be useful).
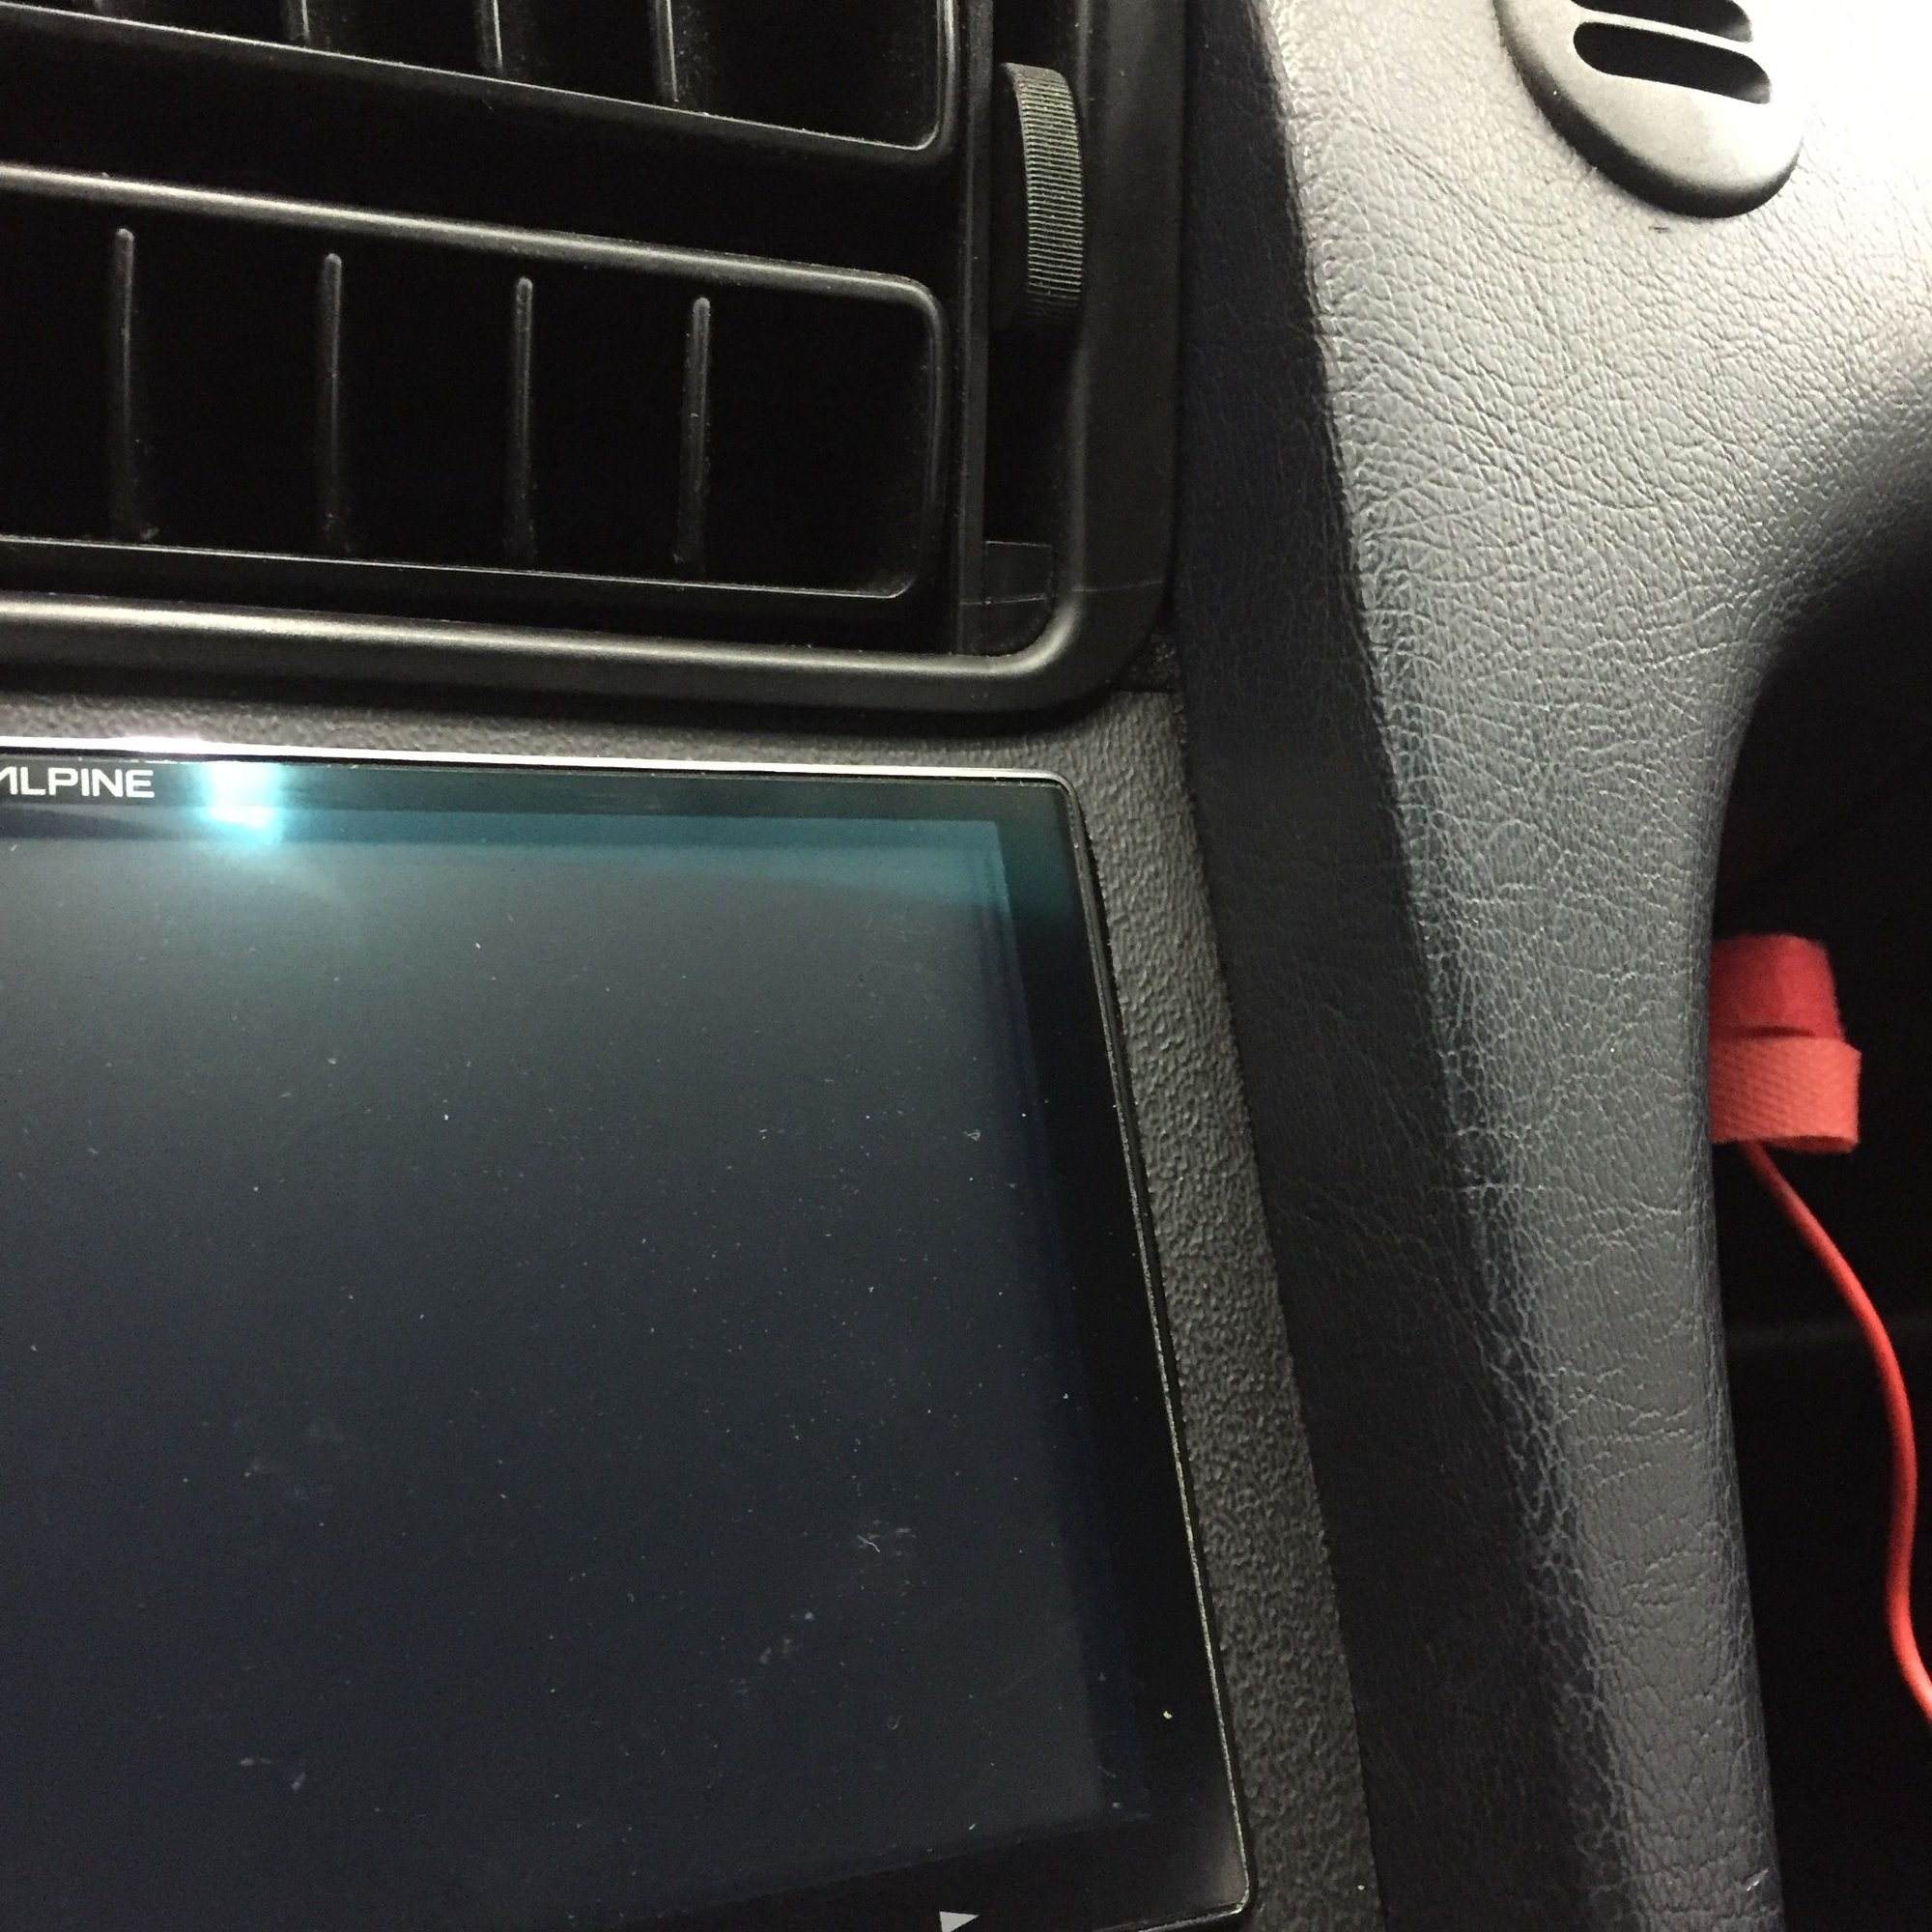
Things I think need fixing. The head unit is not flat. The left side sits higher than the right. The cutout edges are not finished correctly and don't look very pro. I am giving some thoughts on how to make it look more OEM. Maybe give it more depth by doubling up the material around the openings.
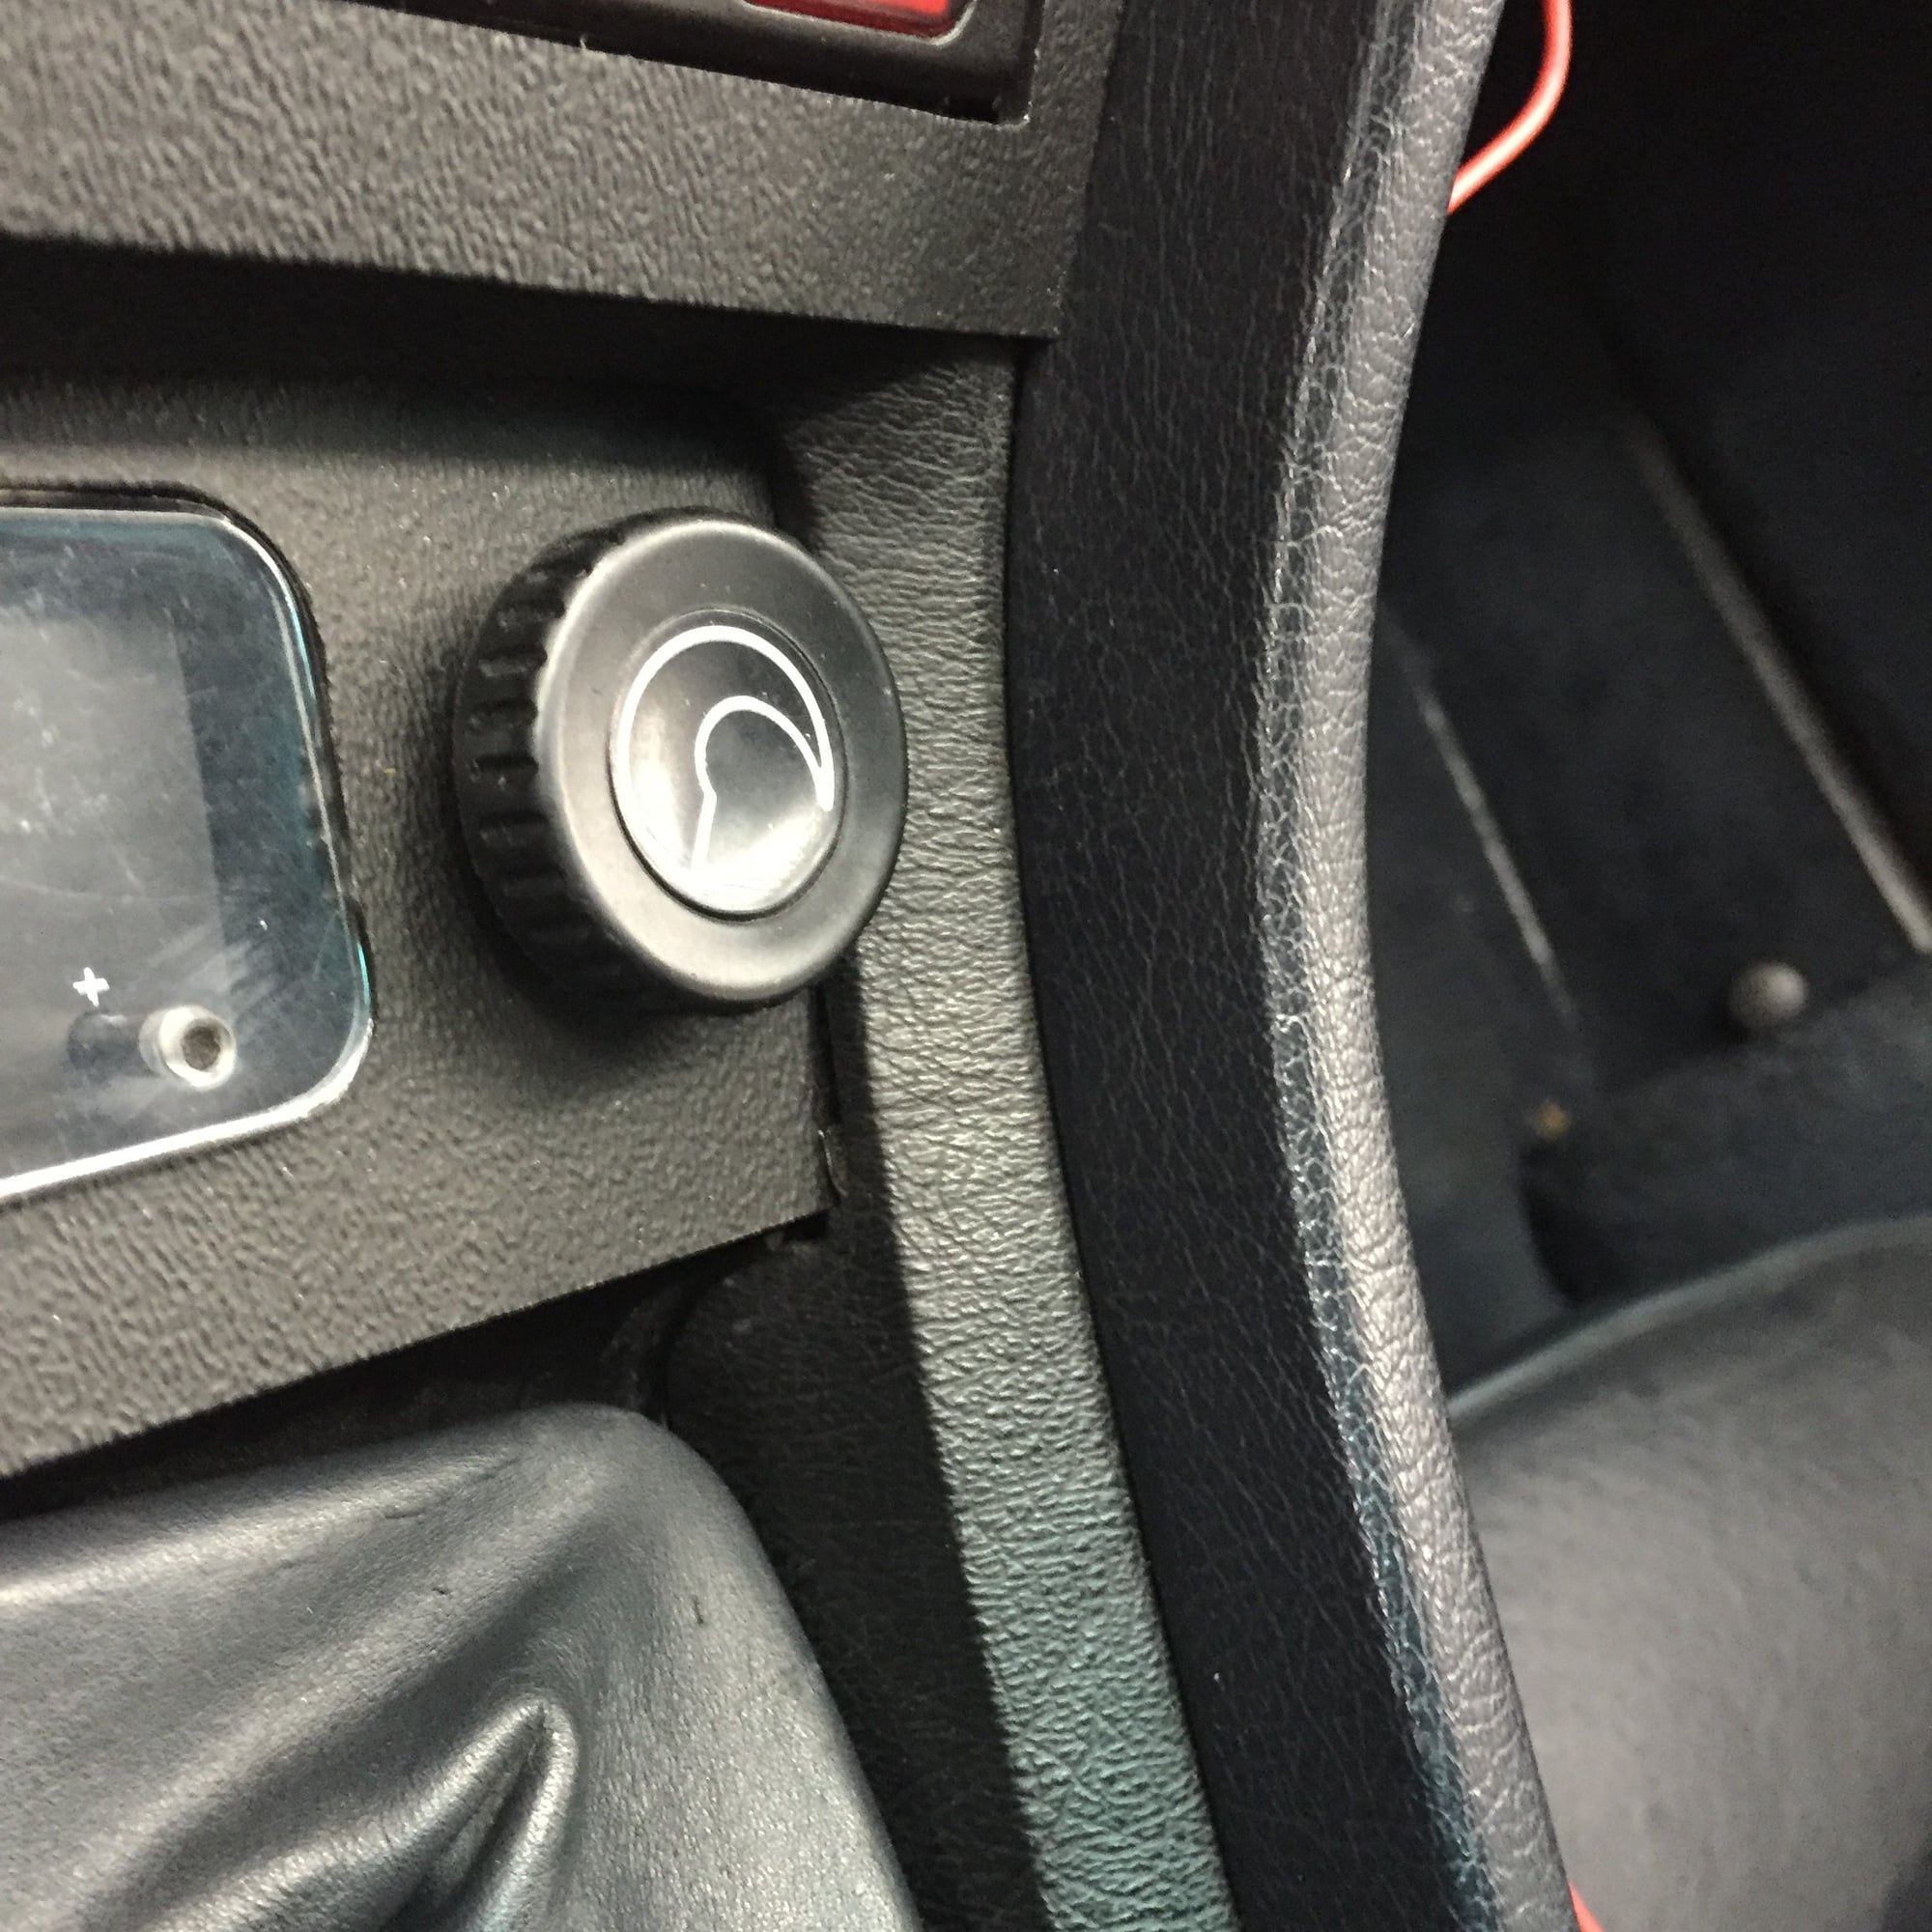
The real issue is the installation of the clock and aux a/c controls. They are too low and bottom out on the tranny tunnel. The mounting looks a little cheap. I need to figure a way to bring the mounting up flush with the rest of the trim and then create a nice transition to the shifter surround.
I am working with a installer and they have agreed to re-work the installation. So I am looking for suggestions on how to make this look better. Constructive opinions appreciated
What about something like I did with my rear AC. Yes I know the boost gauge isn't good looking but I am working on a solution for that right now.
My Rear AC is flush and has room for the plugs in back.
What about something like I did with my rear AC. Yes I know the boost gauge isn't good looking but I am working on a solution for that right now.
My Rear AC is flush and has room for the plugs in back.[/QUOTE]
Do you have a side angle shot showing the transition from the HVAC to the AC controls. Also, how did you make that? Did you use a mould, is that all carbon or just an overlay?
Michael, Since we were talking about meeting up at some point, this might be another thing that could potentially be discussed about designing for 3d printing w/ an overlay glued onto, possibly as a single peice w/ bracket for your clock/controls to not face completely down. Let me know if interested.
Jeff, That peice is awesome, You wouldn't have some sort of cad file for that would you?
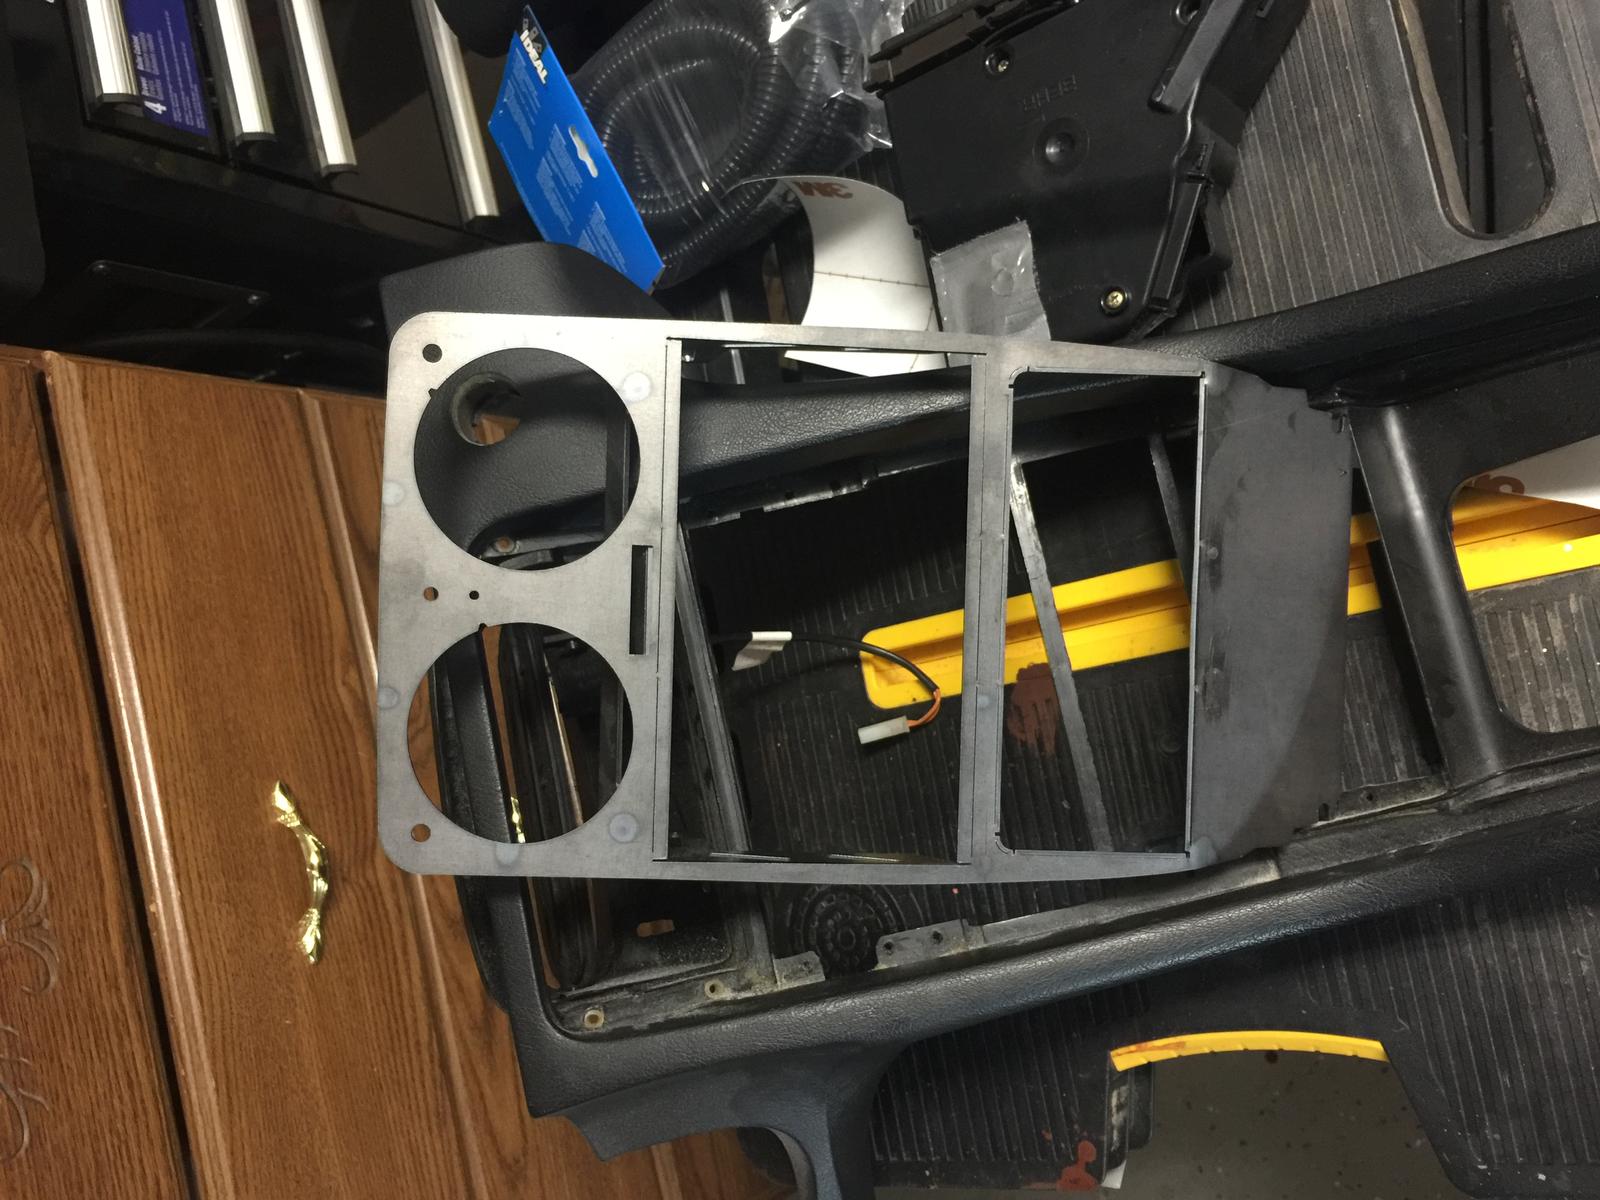
Big Al made this for me out of steel.
Here's a pic of the steel overlay that goes on your dash.
I don't have any other pics right now. Put car back in storage trailer for the weekend. Headed to a ski race and won't be back til Sunday night.
I do have to dig car out next week and replace shifter gate with leather boot as my gate shattered. Got a Jaeger leather boot and overlay to replace it.

 02-24-2016, 10:51 PM