Cam Gear Alignment?
#16
Rennlist Member
Thanks guys for all input. This is my first attempt on doing this job on a 928 S4. So far it's been fun. I should be getting to the camgear attachment like in the next few days, since X-mas is here. But I should be able to spin the gear and not damage anything? It's very difficult to rotate and a bit afraid of damaging anything on it.
all you need to do is put the bolt back in the cam and tighten
i usually move the cam pulley by the 30mil hex with a very large vice grip there is not much force involved to move it forward the 3 teeth you are off now.
i usually dont move the pulleys much , so i dont need to do the job at 45 degrees TDC. but it does buy you the saftety if you do.
what is the "bumpstick" anyway?
#17
Racer
Thread Starter
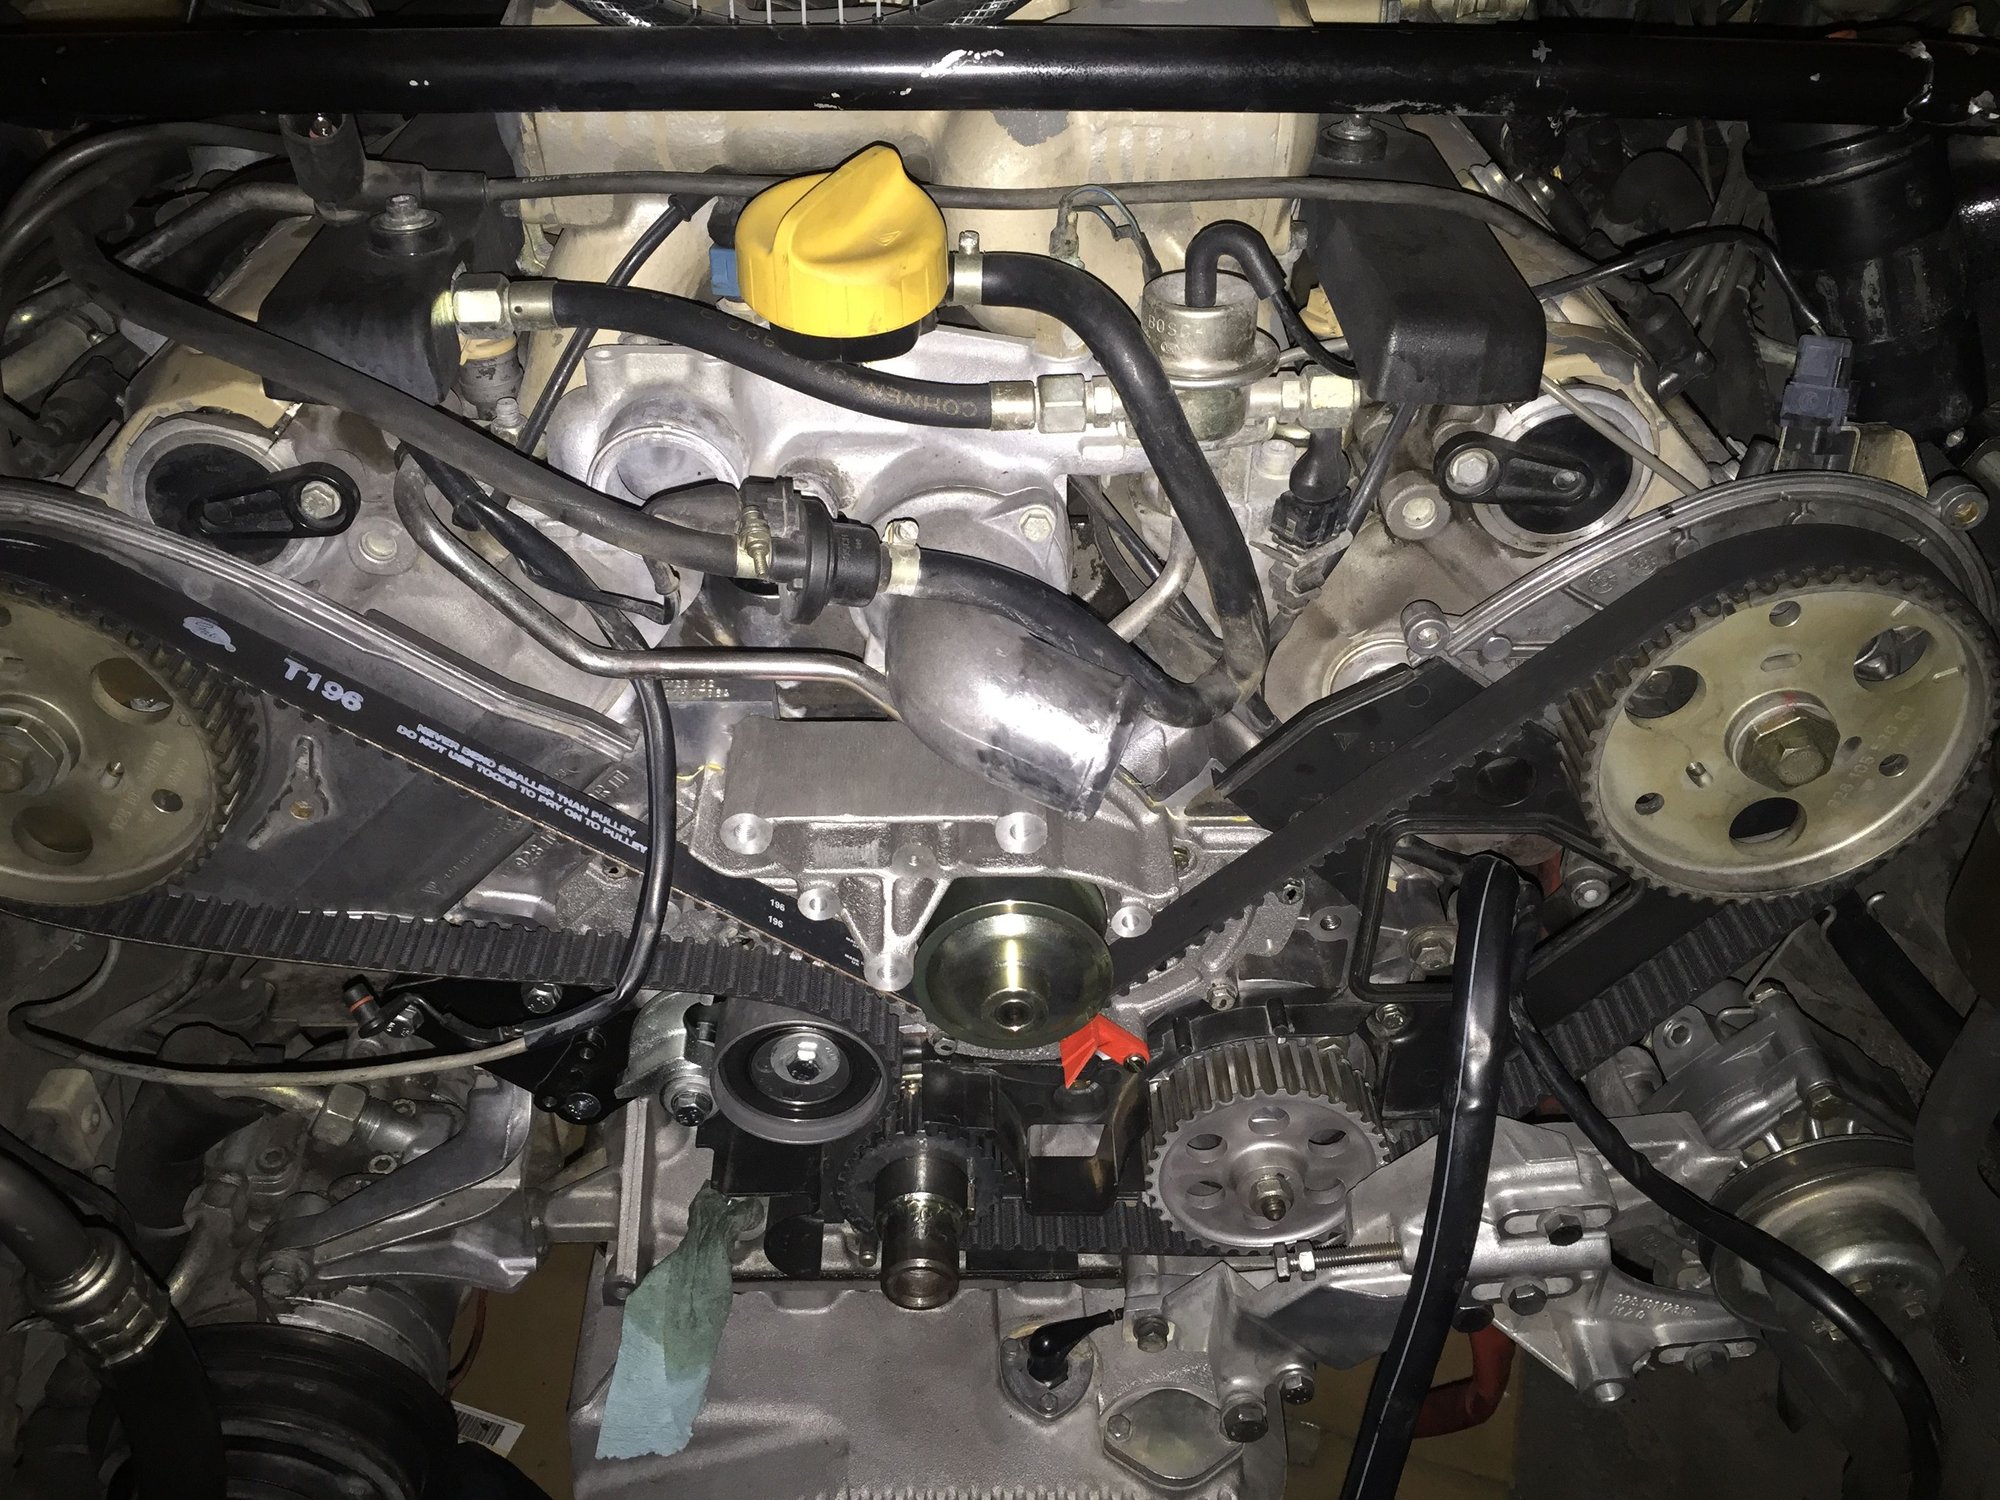
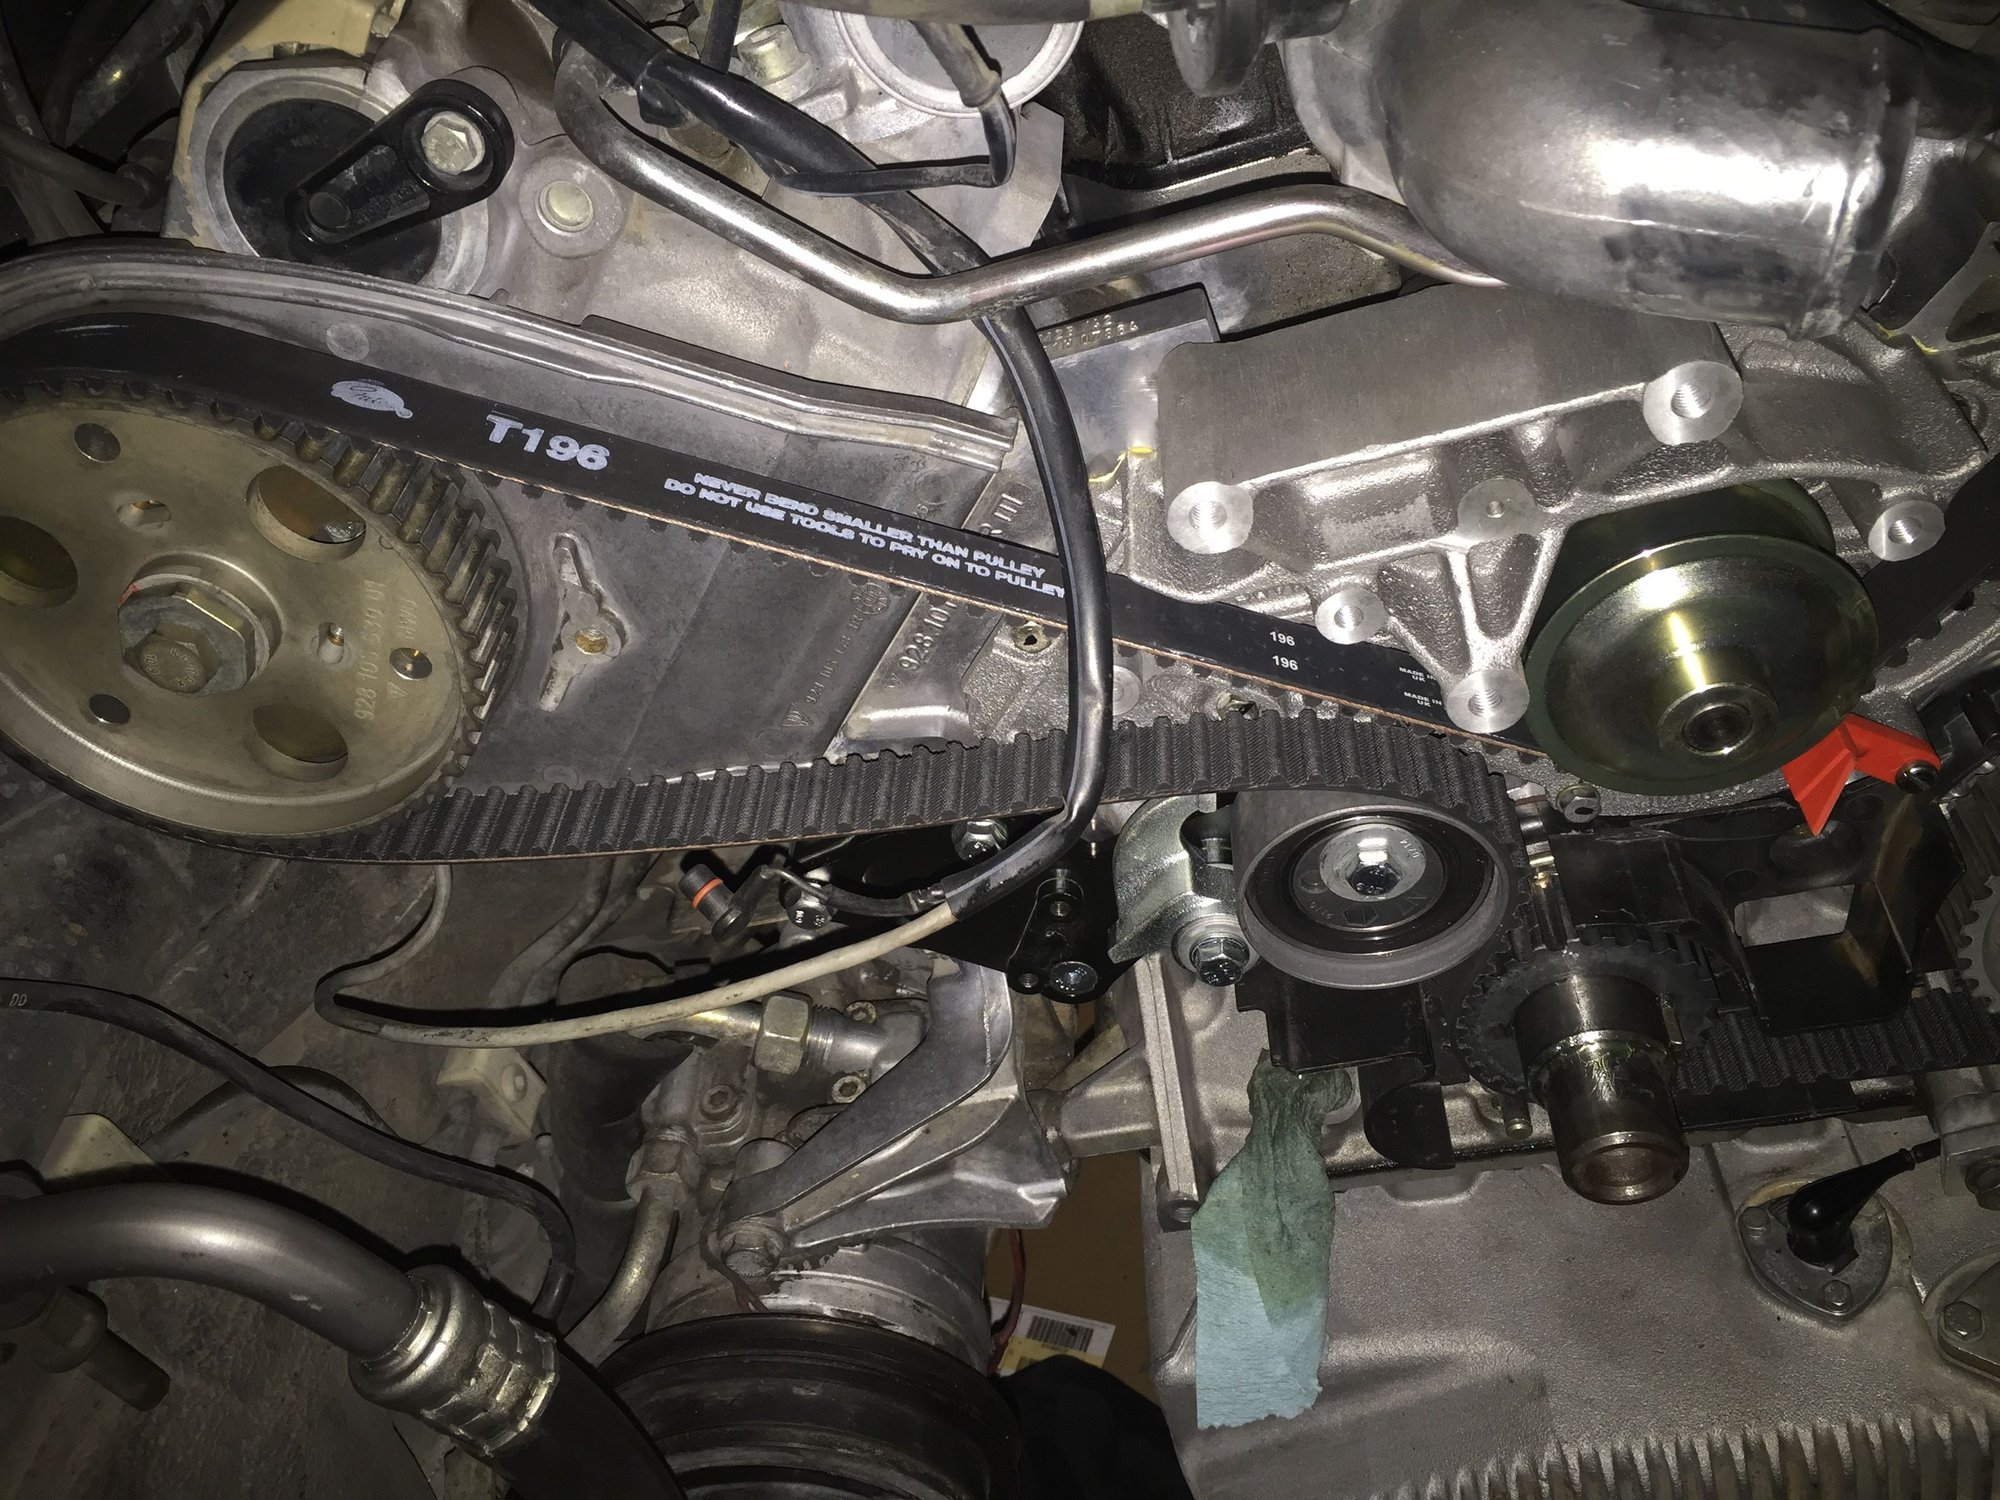
I'm not wanting to rotate 360 at all, I'm asking how to safely rotate back to its original position. Because when I do it bounces back to the position in that pic. It's at the 2 o'clock position and started at about the 11:30 position. I rotate back but bounced back to me with spring like resistance. I'm not sure what the bump stick is yet.
RVII
RVII
#18
Rennlist Member
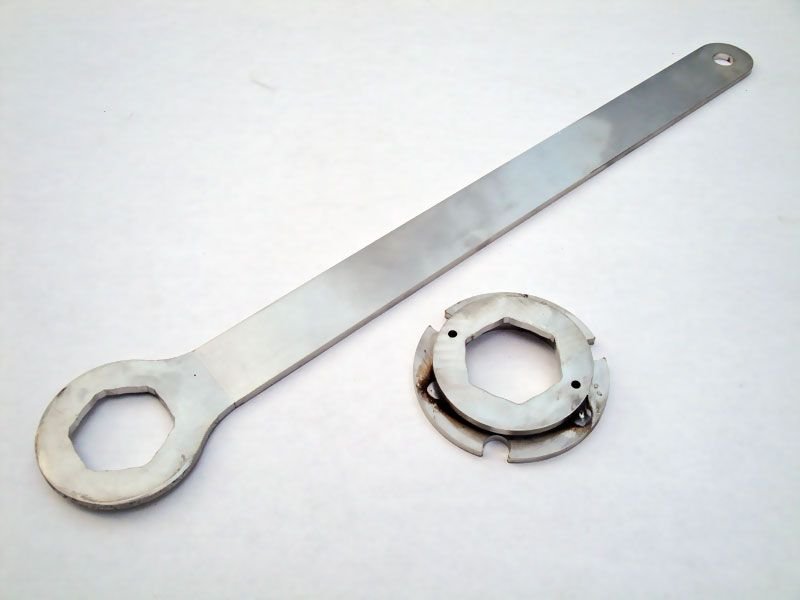
The bump stick is a tool Ken developed to compliment the 32VR kit. Basically it is a wrench that fits over the big hex washer nice and snug with a good lever arm so that you can easily manipulate the cams without the wrench slipping off. Turning the cams 360 [crank at 45 BTDC] with this thing is a walk in the park
The kit also has a very neat adapter that holds everything together and basically helps tame the cam jump issue.
I also found it very useful to help press the brake dampers into the caliper pistons but that is a completely different matter.
Rgds
Fred
The kit also has a very neat adapter that holds everything together and basically helps tame the cam jump issue.
I also found it very useful to help press the brake dampers into the caliper pistons but that is a completely different matter.
Rgds
Fred
#19
Rennlist Member
#21
Rennlist Member
you dont need a bump stick to do this effectively. just hold that big hex washer , not the nut , and move the cam pully into position . one person can do it, but with two, its much easier. do the driver side first . put the belt on so that the tension of the belt allows for the pullly to match up to the timing mark. then wrap the belt under the water pump and over the other side pulley. (moving the cam pulley around a bit to fit the belt teeth on.... check marks, done!
#23
Rennlist Member
vice grip works better , especially if you are alone... you can strap it down in position and work on the other side.  the bump stick is nice for leverage , but it can still fall off.
 the bump stick is nice for leverage , but it can still fall off.
#24
Rennlist Member
It can fall off but generally it just stays there because it is a nice fit over the hex washer and has plenty of leverage.
Trust me- if you tried this you would not want to use anything else afterwards. With this kit and the 32VR you can adjust the cams start to finish is less than an hour and 55 minutes of that is taking things off and putting them back again.
Rgds
Fred
#25
Rennlist Member
Mark,
It can fall off but generally it just stays there because it is a nice fit over the hex washer and has plenty of leverage.
Trust me- if you tried this you would not want to use anything else afterwards. With this kit and the 32VR you can adjust the cams start to finish is less than an hour and 55 minutes of that is taking things off and putting them back again.
Rgds
Fred
#26
Rennlist Member
yeah, for adjustment, definitely seems like the easy ticket. i was talking for belt installation. but, in thinkng about it. how does it work with the belt on the cams? when the belt is strung, you loosen things and then rotate the engine to move the pulley while the cams stay in place. its been a while , so i forgot how we adjust them with the porken tool.. we did the 6 liter a while ago. the adjustment only took about an hour. no lever tool
With the 32VR kit and bumpstick combo you set the crank to either 45 BTDC or TDC on No1. The indicator holder has four positions for the two positions of the crank and the two different strokes [cylinders 1 or 6] You simply adjust the cam position until the needle holder indicates the degree of advance or retard you want to set and then nip the cam wheel back up.
When I did my timing belt/WP job, as I remember I used the bumpstick on the hex nut to keep tension on the 5/8 exhaust cam while I manipulated the belt over the 1/4 cam - went on first time- no drama. Would have been easier if I had had someone to hold the bumpstick.
Rgds
Fred
#28
Racer
Thread Starter
Hey guys, so I've made a bit of progress. Keep in mind I'm taking my time doing this project, but I've managed to put the pump, and belt back on with the markings I made on cam gears all aligning! It's almost perfect but I won't know till I get the cam gear tool tomorrow.
But that's what I was going to ask before I move forward. I've got the PKT bracket on block with the lever and pulley on but don't have have piston on yet. So my question is at this point can I install piston and pull the pin? Or just install piston and not pull pin? Since I don't have the cam gear tool yet does it matter?
The only reason I'm asking is so that I can go on ahead and work on it for the next few hours I have now and finish putting on plastic cover that covers WP and progress to putting on alternator, harmonic balancer, pulleys and other little things.
#30
Rennlist Member
If your cam marks are all aligned with the position of the crank then install the remaining Porken components, release the pin, turn the engine CW over twice to TDC #1 and check the alignment, all good?
spin the engine twice again then recheck the marks
spin the engine twice again then recheck the marks

Last edited by the flyin' scotsman; 01-03-2016 at 11:31 PM.


