When you click on links to various merchants on this site and make a purchase, this can result in this site earning a commission. Affiliate programs and affiliations include, but are not limited to, the eBay Partner Network.
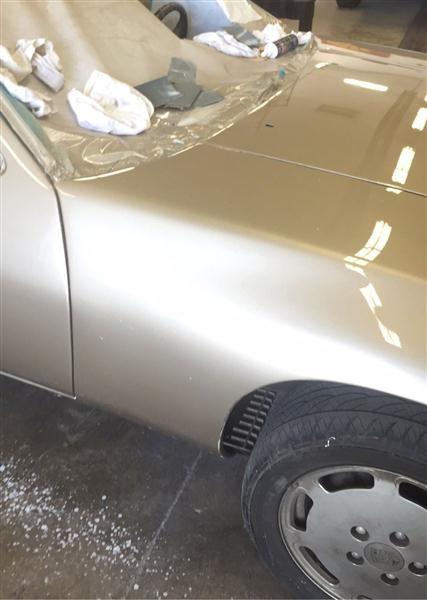
Great stuff Joel. Beautiful paint. I suspect we have the same dilemma: love the look of the S4-type wing on an OB, but don't want to mess up an already good thing with a poorly executed add-on.
There was a conversation I had about 2 years back with a guy named Trius in N Hollywood. Goes by (Drachen/Dracen?) on here. At the time he was developing an aftermarket FG wing and a trick bracket to fit OB hatches. Don't know where he is with it, but it might be worth a search/PM.
Whatever you decide, I'm sure it'll be good based on your work thus far. Josh
i did the GTS (hard version S4 wing) wing on my stock 84 chassis and it turned out great. i think it made the car look really nice . it was a little bit of a chore to drilll the holes and mount it, as on the underside of the 84 hatch you dont have the cut out for the holes in the structure, so you need do some odd drilling and cutting... once done, it looks great.
since you don thave any of the left over rubber seals from the "S" wing, its an easy and clean install.
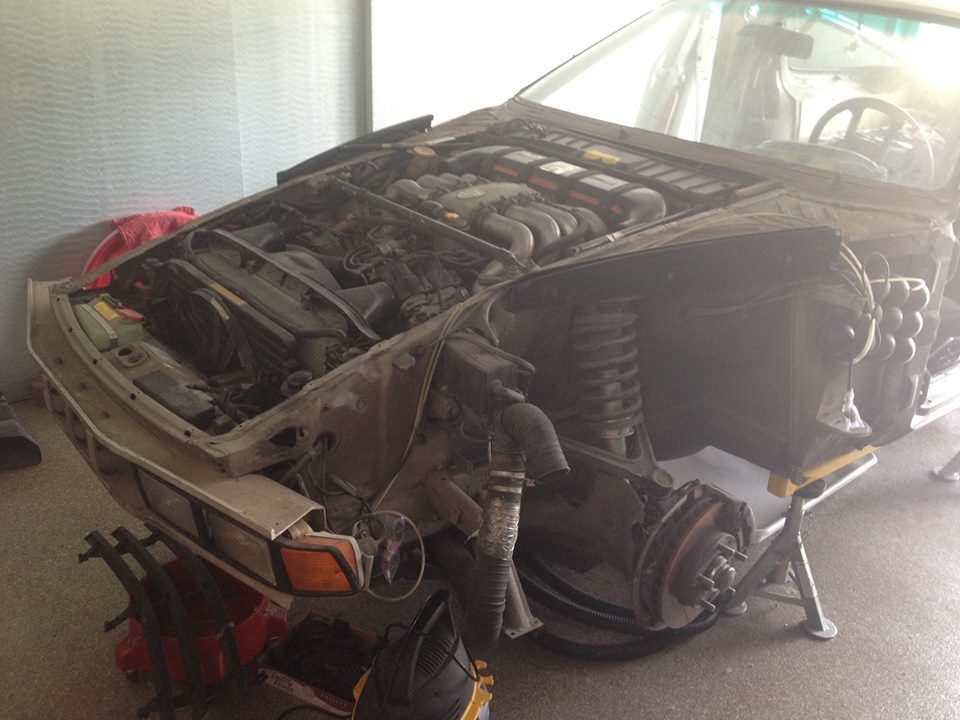
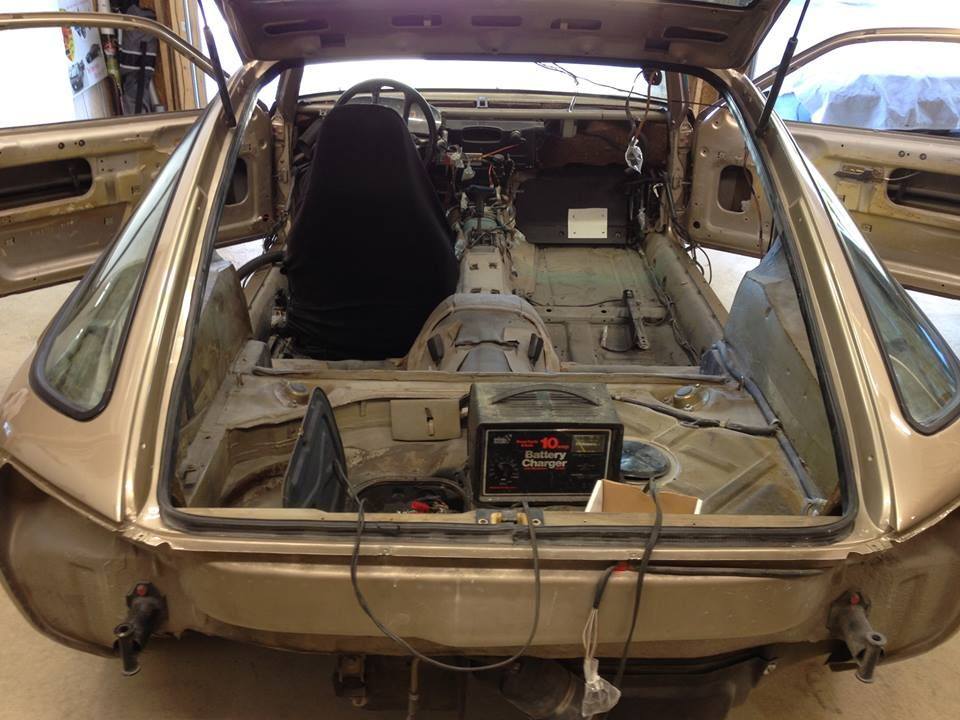
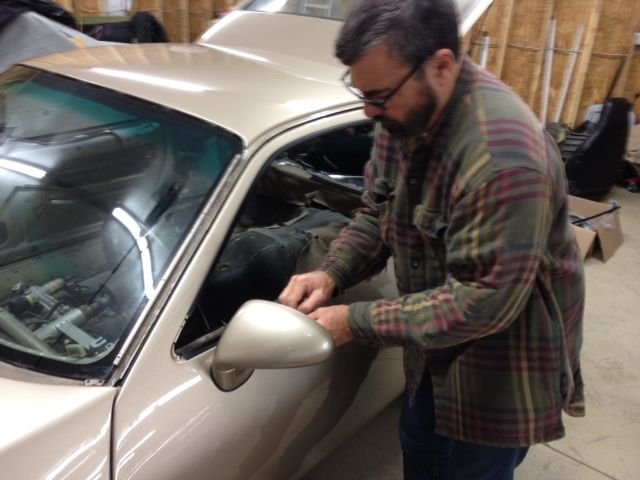
Thanks Mark. We've been working hard on the car and since we didn't take it apart were constantly taking 3 steps forward and 2 steps back... Makes it a bit tough, but we'll get there. If you, or anyone, has any pics of the underside of the hatch so we can see how the install was done it would be VERY helpful
Great stuff Joel. Beautiful paint. I suspect we have the same dilemma: love the look of the S4-type wing on an OB, but don't want to mess up an already good thing with a poorly executed add-on.
There was a conversation I had about 2 years back with a guy named Trius in N Hollywood. Goes by (Drachen/Dracen?) on here. At the time he was developing an aftermarket FG wing and a trick bracket to fit OB hatches. Don't know where he is with it, but it might be worth a search/PM.
Whatever you decide, I'm sure it'll be good based on your work thus far. Josh
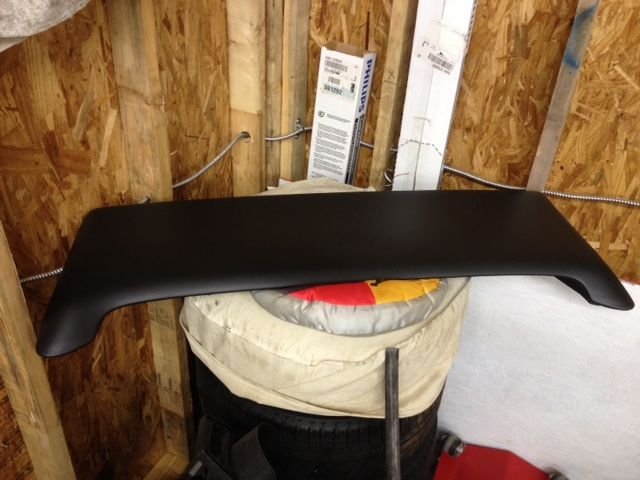
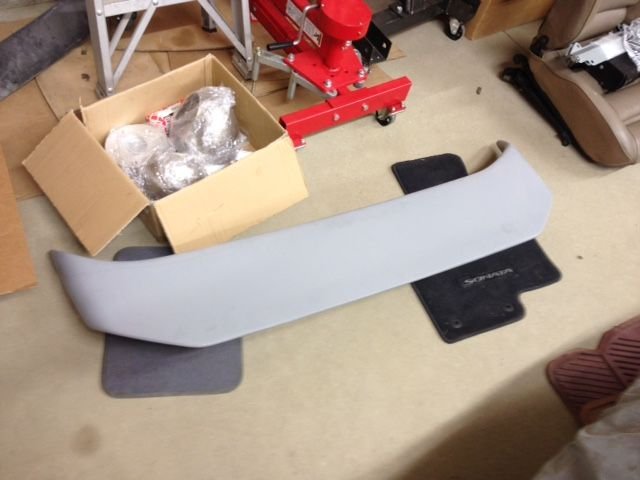
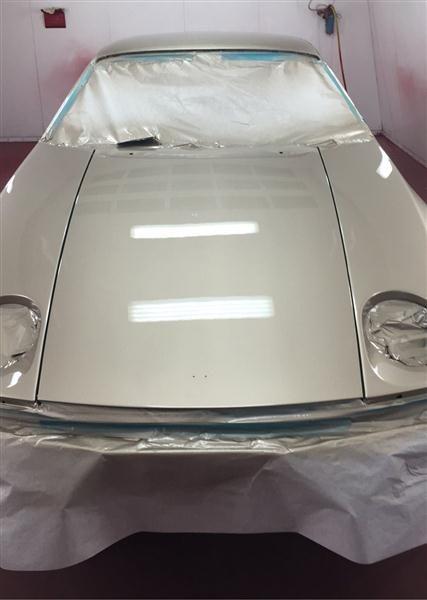
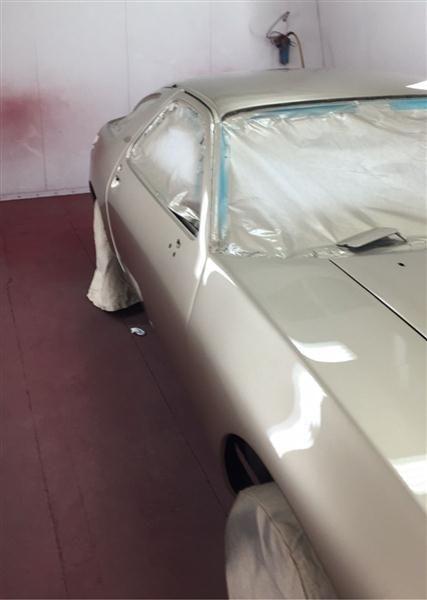
Thanks Josh! Were trying... Probably going with the fiberglass wing since it's very wide, follows the shape of the OB bumper, and it's freakin' AWESOME! Going to finish it in a rough textured black semigloss (same finish & texture as the front chin spoiler) for contrast with the smooth / glossy gold paint. That is of course if we can figure out how to mount it without messing up the underside too badly I'll see if I can find Drachen...
Thanks Mark. We've been working hard on the car and since we didn't take it apart were constantly taking 3 steps forward and 2 steps back... Makes it a bit tough, but we'll get there. If you, or anyone, has any pics of the underside of the hatch so we can see how the install was done it would be VERY helpful
Joel
That hatch is underneath my parents house ! however, if you look at the S4 hatch, there is a slight indentation the length of the bolt pattern that allows for the holes to be accessed by the bolt and a wrench to tighten them. I jacked it up a bit, but only cosmetic on the inside. some of that red autobody tape and we never noticed again when the hatch was up.
when you drill the holes (just match the dim of the S4 hatch) you will see what you need to do.
let me know if you need a pic of the S4 hole pattern and dim's
Mk
Well that's gonna be a PITA to get to... LOL! We have an S4 sitting in the garage so we have an example of what it SHOULD look like. I've heard that once we drill the holes (so we know where to make the indentation) we can indent the hatch wall using the side of a medium sized socket and quite a few VERY carefully placed hits with a small hammer. Not sure if that's a good idea or not... How did you make the indentations so the bolts & backing plate were square / flat on the underside of the hatch?
Well that's gonna be a PITA to get to... LOL! We have an S4 sitting in the garage so we have an example of what it SHOULD look like. I've heard that once we drill the holes (so we know where to make the indentation) we can indent the hatch wall using the side of a medium sized socket and quite a few VERY carefully placed hits with a small hammer. Not sure if that's a good idea or not... How did you make the indentations so the bolts & backing plate were square / flat on the underside of the hatch?
Thanks again!
well, as Greg Brown will tell you , my hack work looks like i use an Axe. but, it was effective... i wouldnt worry about that mod. if you are careful, you can make it nice, or if its ugly, you can use that body shop tape and cover it up. you should be fine
Look at the spoiler itself and see what options you have for fasteners. The S4 wing has studs poking through the hatch with nuts and washers on the underside IIRC. I'm not near the car to confirm. If you can extend the studs, plan on a small hole in the outer skin of the lid, for the 6mm stud. Then back drill the inside to suit the OD of some 1/4" ID SS tubing, a stub just long enough to fill the space between. Then a small amount of epoxy to hold the little stubs of tubing in place. Paint to match the hatch after the glue dries. If the spoiler has internally-threaded inserts, even better because you can use bolts or screws through the tubing, low profile heads and all, like a button-head Allen screw, or countersink the end of each tubing stub for flat head fasteners.
-----
Opinion: Were it mine, it would be a smooth butt with no adornments at all. Like the original car. FWIW.
Dr Bob... Thanks for the tips. The through hatch tubes are a good idea for better fitment and weather-tightness. The spoiler has internal threaded inserts so were planning on using low profile bolts with a backing plate to spread the force of the bolts. Thinking of fitting a thin rubber footer made from a template of the spoiler's mount faces for paint protection and weather-proofing.
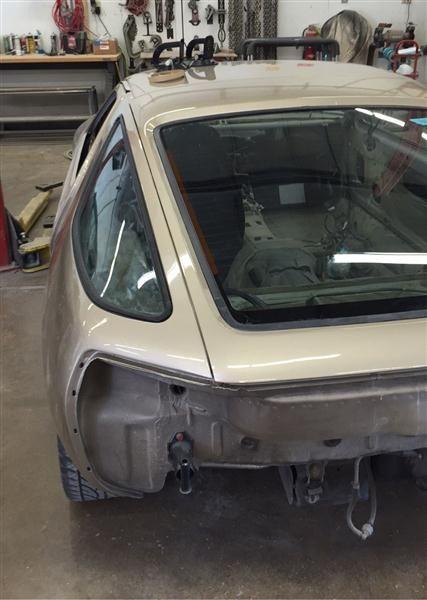
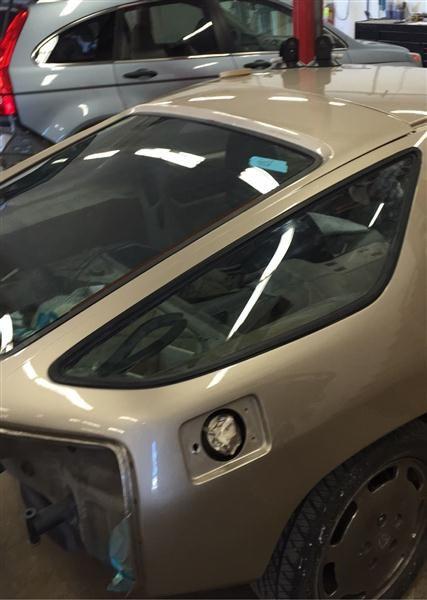
It looks as if the bolt holes will come through right next to the hatch wall instead of center line. We'll need to make an indent in the hatch wall so the bolt heads & backing plate will clear and sit square / flat. Any ideas on how to do that without completely screwing up the hatch or, heaven forbid, busting the window? Just trying to think this through...
Thanks! Joel
Originally Posted by dr bob
Look at the spoiler itself and see what options you have for fasteners. The S4 wing has studs poking through the hatch with nuts and washers on the underside IIRC. I'm not near the car to confirm. If you can extend the studs, plan on a small hole in the outer skin of the lid, for the 6mm stud. Then back drill the inside to suit the OD of some 1/4" ID SS tubing, a stub just long enough to fill the space between. Then a small amount of epoxy to hold the little stubs of tubing in place. Paint to match the hatch after the glue dries. If the spoiler has internally-threaded inserts, even better because you can use bolts or screws through the tubing, low profile heads and all, like a button-head Allen screw, or countersink the end of each tubing stub for flat head fasteners.
-----
Opinion: Were it mine, it would be a smooth butt with no adornments at all. Like the original car. FWIW.
Yes, it is somewhat of a "hack", but if you take your time it can turn out pretty good.
I had an S4 hatch to use as a template for exact hole placement. Once you have the locations you can use a brass/bronze (or whatever) rod about the size of a 1/2 socket extension with some sort of cushioning on the end. Heat up the area with heat gun to reduce paint cracking chipping and slowly hammer the indention similar to the S4 hatch. It doesn't have to be as deep or wide as the S4 hatch to work. It actually takes less than you think.
Sure there is a chance(more likely than not) you will crack the paint so have touch paint available.
As I said it is a "hack" but the couple I did turned out really nice.
IMHO, an early 928 with S front Spoiler and rear S4 wing can look very nice., if not down right bad a$$.
Cheers,
Dave
__________________
David Roberts
2010 Jaguar XKR Coupe - 510HP Stock - Liquid Silver Metallic
928 Owners Club Co-Founder
Rennlist 928 Forum Main Sponsor www.928gt.com
Dave, Down-right bad *** is what were shooting for since this car will never be STOCK again. Hell, that notion ended when it was "federalized" and then again when it got a custom ordered paint job. In a nutshell, were going for fast & RELIABLE, cool wheels, gorgeous paint and one of two bad-*** spoilers in semi-gloss black (same color & texture as the chin spoiler). I like the S4 spoiler but the aftermarket FRP spoiler is looking better and better every time I look at it... kinda like the way the 928 grows on you over time Thanks for the pointers. I'll post pics once we start on the mod.
The tubes let you put in bolts that sit square to the tube, so the biggest challenge is merely getting the larger holes inside to line up with the outside in spite of that inside contour. So dril through from the outside for the 6mm bolts, and go on through the inside metal from the outside. then enlarge the hole only on the inside so the tube fits through and is still centered on the outside hole. Epoxy the tube in place, with a bolt through to keep things lined up while the epoxy sets. The tube is cut to just pass through the inner rib, giving the bolt a place to seat squarely. I use process instrument tubing for stuff like this, heavy-walled 3/8 OD, thndo a final drill-through if needed after the epoxy sets. You should have just the smallest amount of touch-up to do inside to hide the epoxy and the tiny bit of tubing that protrudes through at the outer edges.
Otherwise you could use the same hole to draw asmall socket or sleeve as a 'die' with a bolt or clamp to try and form the depressions in the reinforcing similar to what the S4+ cars come with. But too much risk of distorting the outside face while doing this IME; that inside rib is pretty stout, and the depressions/recesses really needed to be done before the outer skin was installed, while there was a way to manage how the extra metal was left after the squeezing. Hence the suggestion for the tubing, since there's no distortion of the inside rib. Just drill the holes.
The original 'gasket' between the S4+ wing and the hatch is a piece of translucent plastic slightly larger than the contact area. You can cut them from a bit of a plastic storage bin, for instance. But they are available and cheap from our suppliers. Get the two plastic rub pads for the hatch at the same time, the ones that shield the sides of the hatch from the rubber 'wedges' that center the hatch in the body opening when it's closed.

 10-30-2015, 12:48 AM


 Makes it a bit tough, but we'll get there. If you, or anyone, has any pics of the underside of the hatch so we can see how the install was done it would be VERY helpful
 I'll see if I can find Drachen...
 however, if you look at the S4 hatch, there is a slight indentation the length of the bolt pattern that allows for the holes to be accessed by the bolt and a wrench to tighten them. I jacked it up a bit, but only cosmetic on the inside. some of that red autobody tape and we never noticed again when the hatch was up.


