

86.5 Intake / Engine Harness / Timing Belt
 06-18-2023, 09:00 PM
#151
Rennlist Member
Thread Starter
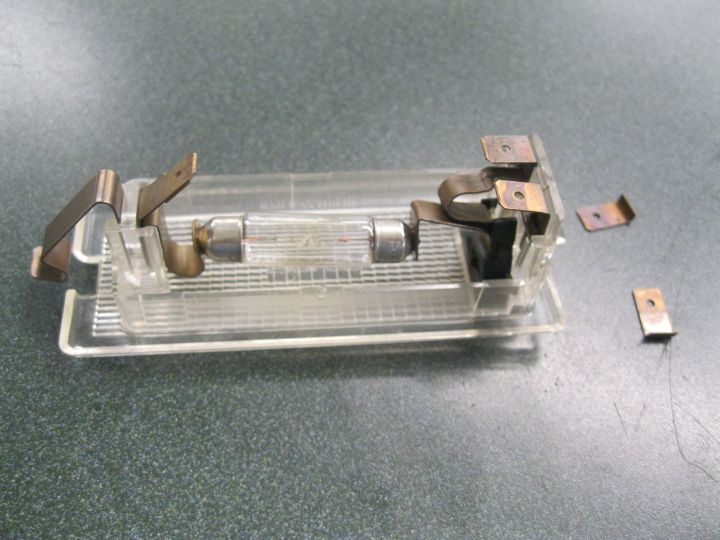
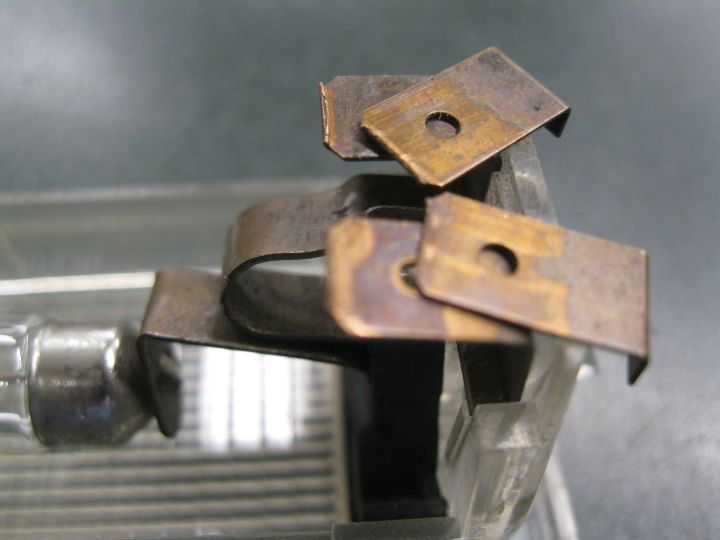
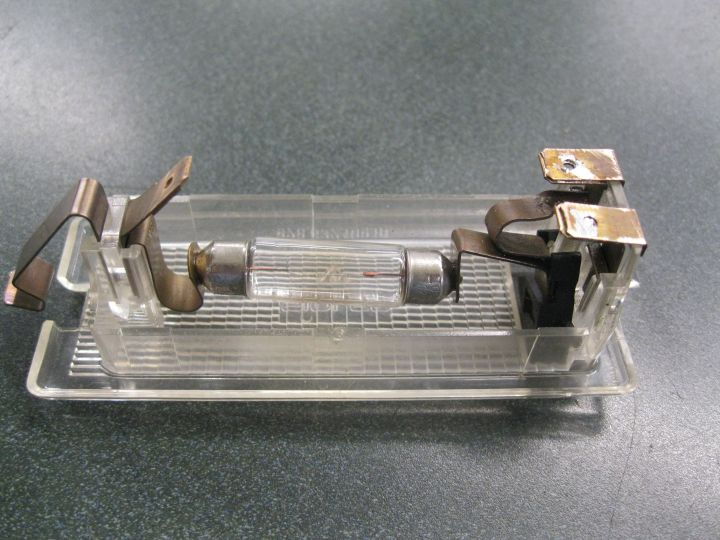
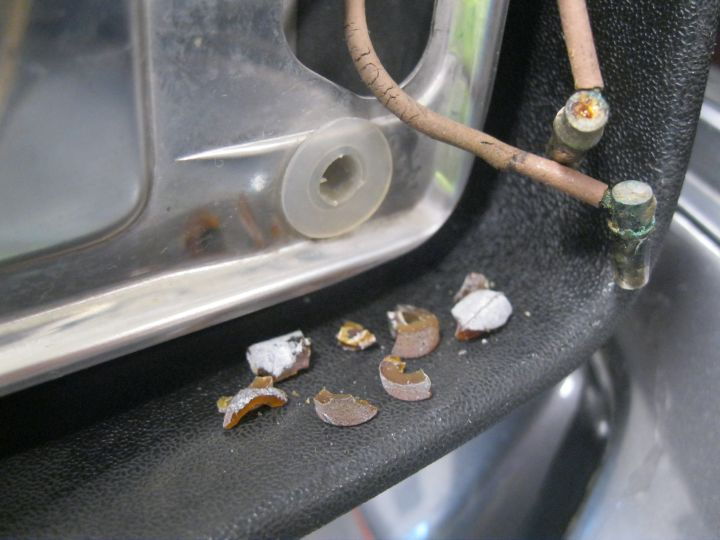
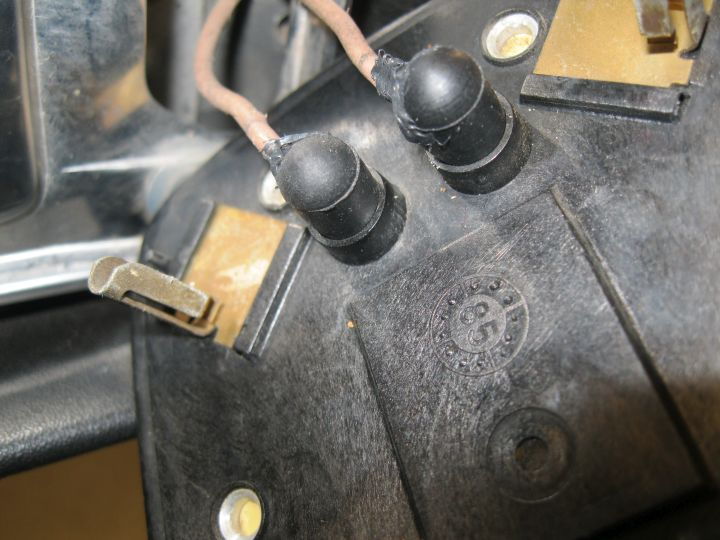
Swept up off floor after door panel removal.
I always inspect dustpan before dumping.
Found a couple odd looking .250 QD tabs so I saved them.
Good thing too, because I found a home for them so I put them back on.
Probably not needed but they add a little thickness for better terminal retention and they actually provide mechanical support when unplugging terminals.
Man these cars are weird! Wonder what caused them to break like that?
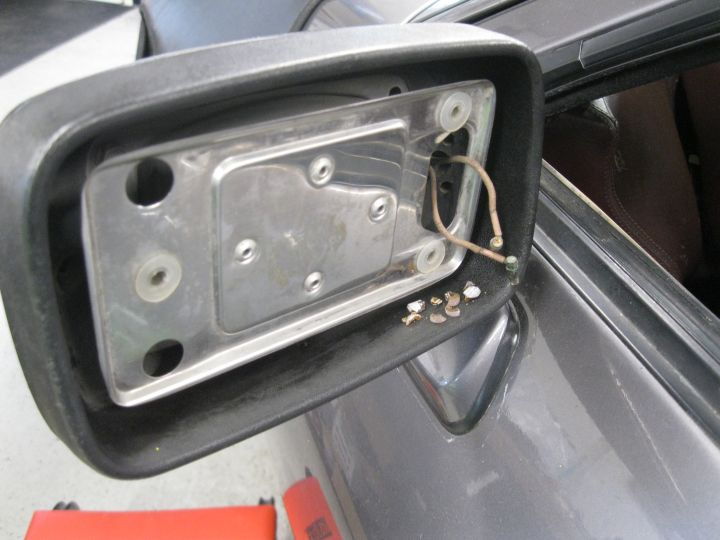
On a side note, passenger mirror works perfectly but driver mirror only goes left/right after end of up/down stroke.
Passenger solenoid has very audible click but driver side very faint if at all. Left/right is default and up/down requires solenoid so solenoid must be stuck.
I've never had one of those apart but guessing it's probably gummed up or corroded or just plain dirty. Hopefully a good cleaning will fix it.
Anyone had those apart and have good pointers?
Cheers,
I always inspect dustpan before dumping.
Found a couple odd looking .250 QD tabs so I saved them.
Good thing too, because I found a home for them so I put them back on.
Probably not needed but they add a little thickness for better terminal retention and they actually provide mechanical support when unplugging terminals.
Man these cars are weird! Wonder what caused them to break like that?


On a side note, passenger mirror works perfectly but driver mirror only goes left/right after end of up/down stroke.
Passenger solenoid has very audible click but driver side very faint if at all. Left/right is default and up/down requires solenoid so solenoid must be stuck.
I've never had one of those apart but guessing it's probably gummed up or corroded or just plain dirty. Hopefully a good cleaning will fix it.
Anyone had those apart and have good pointers?
Cheers,
Last edited by depami; 06-19-2023 at 12:33 AM.
 06-21-2023, 11:23 PM
#152
Rennlist Member
Thread Starter
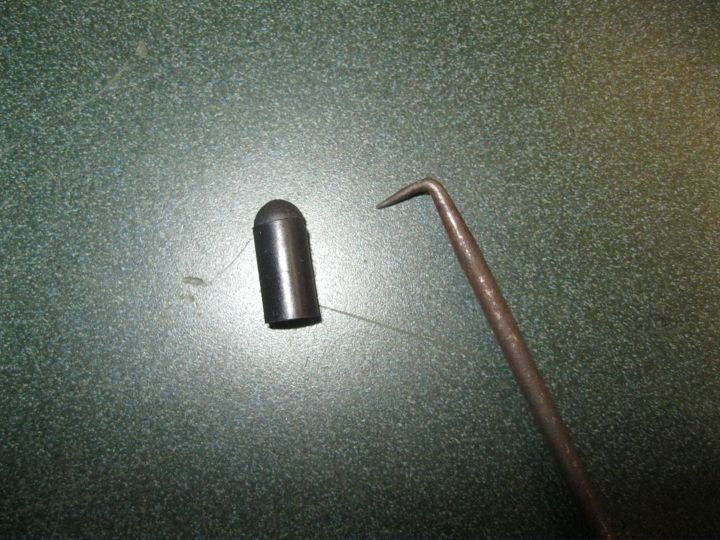
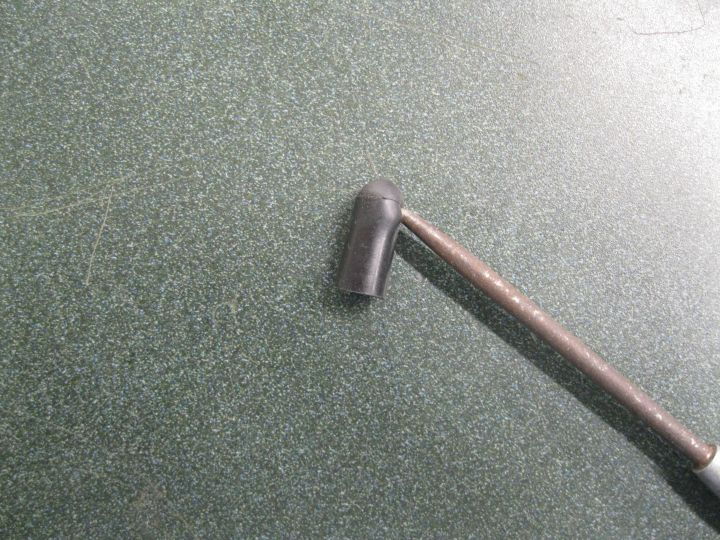
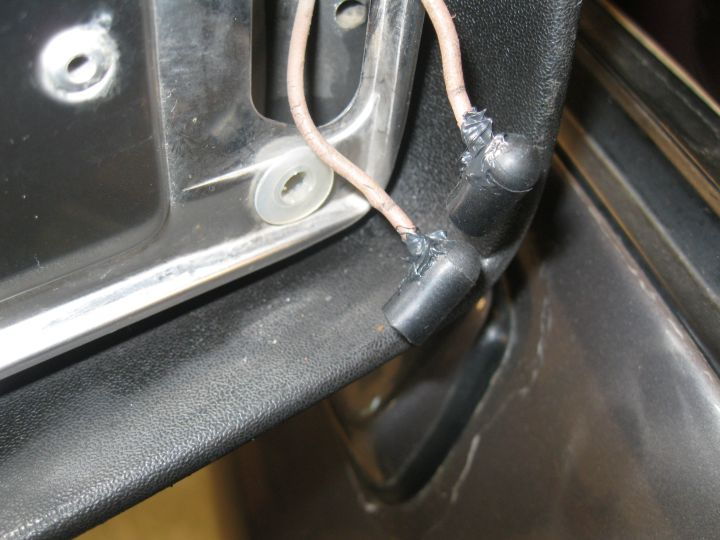
The mirror motor and solenoid isn't accessible without drilling rivets and possibly compromising the rubber boot so I didn't even try to take it apart. I did put the assembly on the bench hooked to a pulsing power supply and let it run for a while and low and behold, a little exercise brought it back to life. The heater connector boots didn't age so well though and exercise put them over the edge. I found a solution though. Did I mention I can be a bit **** about some things?


 06-22-2023, 01:17 AM
#154
Rennlist Member
Thread Starter
Well, I guess I do now:
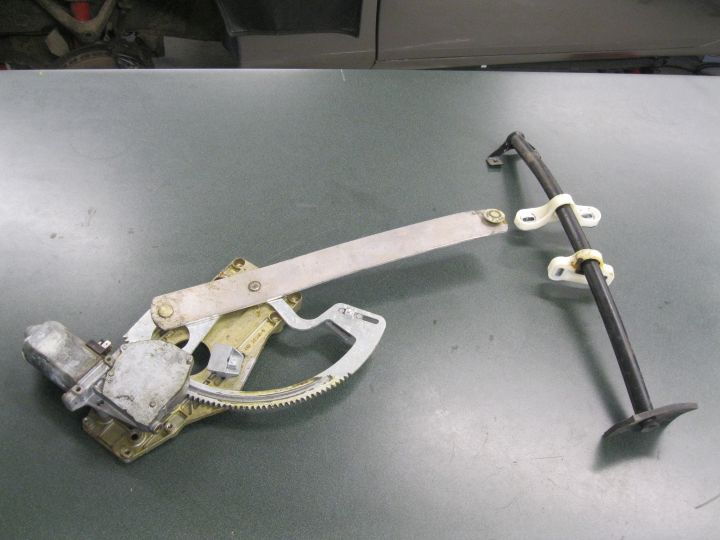
Of course the grease is all dry and hard.
The motor runs great and the brushes and commutator look pretty good so I'm not going any deeper into that.
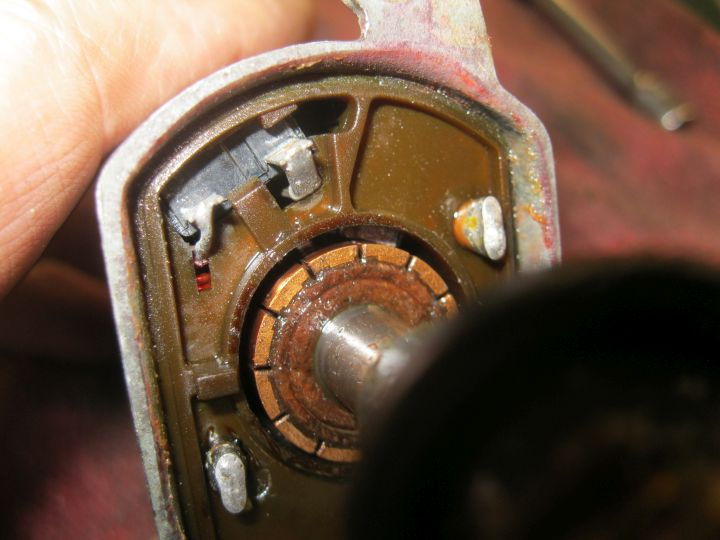
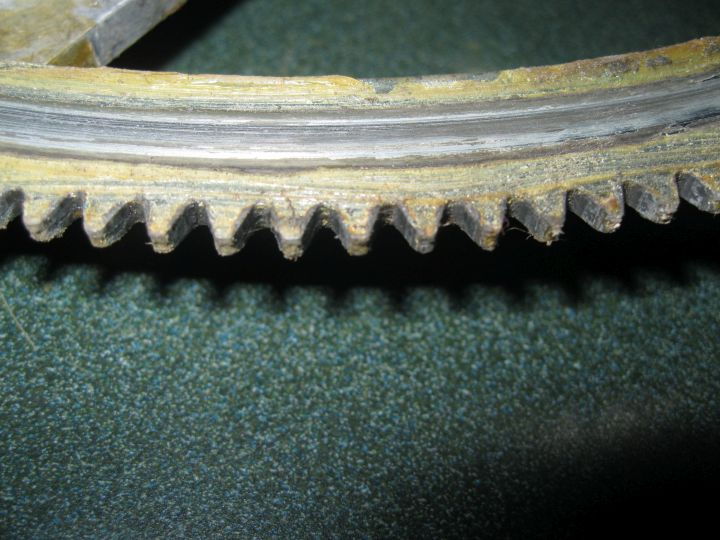
All clean! Does that coil spring really need to be packed with grease?
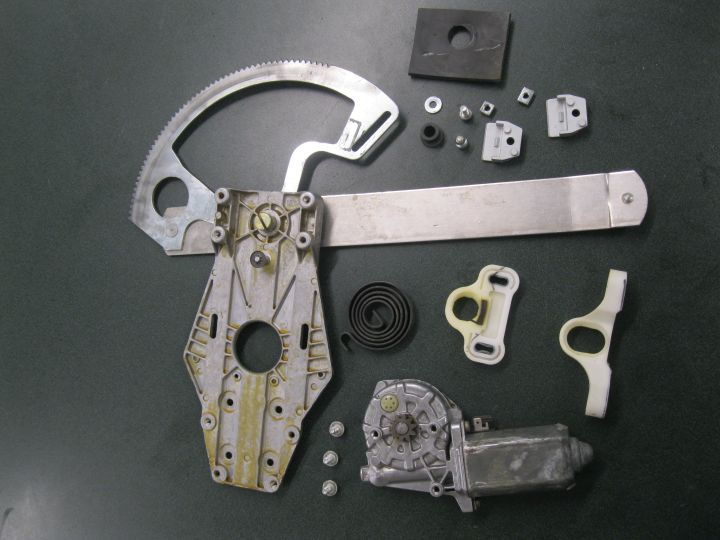
How does one know when these need to be replaced?
Cheers


Of course the grease is all dry and hard.


The motor runs great and the brushes and commutator look pretty good so I'm not going any deeper into that.

All clean! Does that coil spring really need to be packed with grease?

How does one know when these need to be replaced?


Cheers
06-22-2023, 08:36 PM
#155
Rennlist Member
Thread Starter
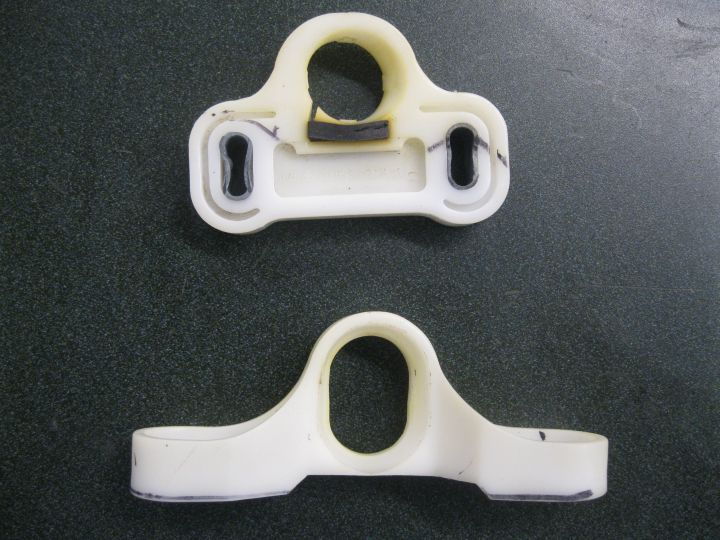
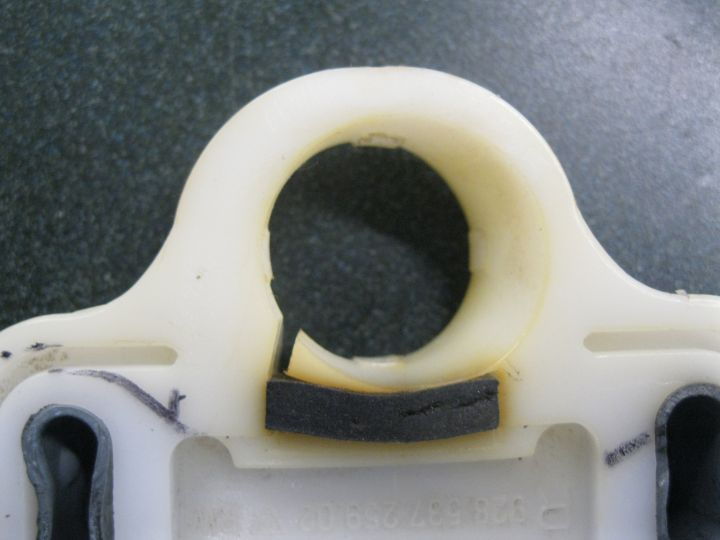
When it comes to 3D printing .......... I must, I must.
Don't think they'll work though, they appear to be for a different car!
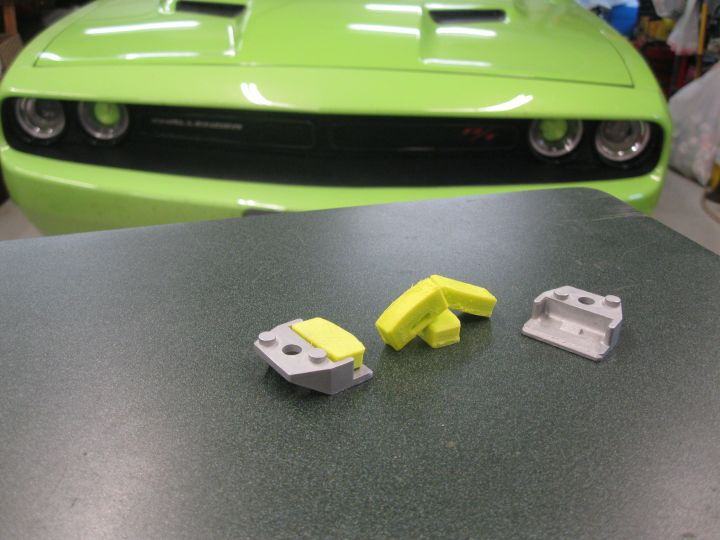
Cheers,
Don't think they'll work though, they appear to be for a different car!


Cheers,
06-24-2023, 12:57 PM
#156
Rennlist Member
Thread Starter
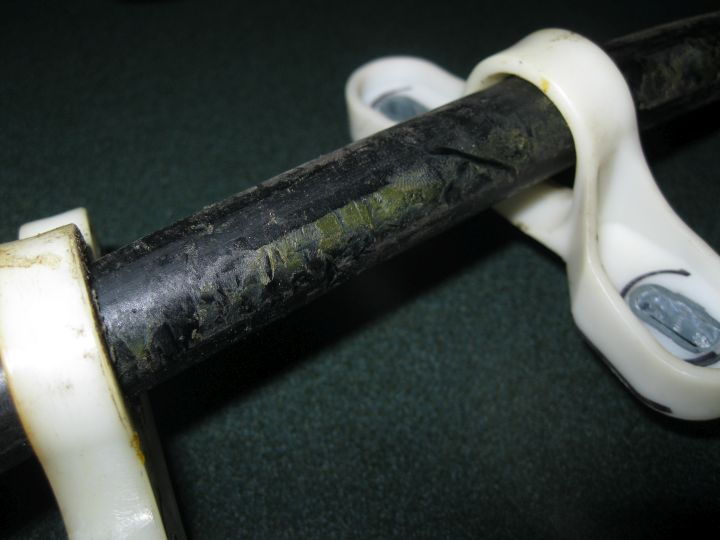
Well I'm back
Yes I'm back in black
That was close, I almost put Dodge parts in a Porsche!
Not sure what would have happened, probably wouldn't have run.
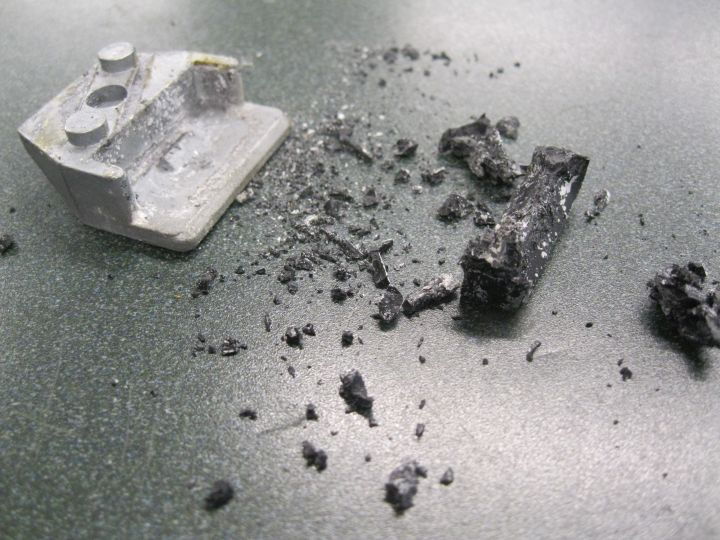
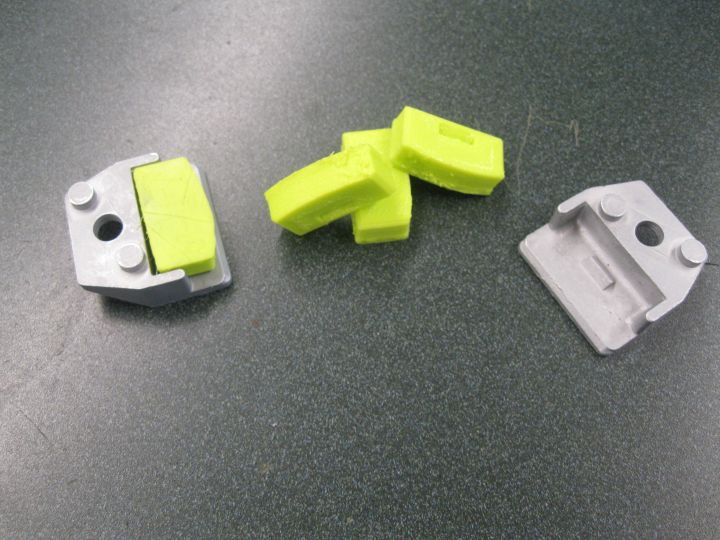
These are much better.
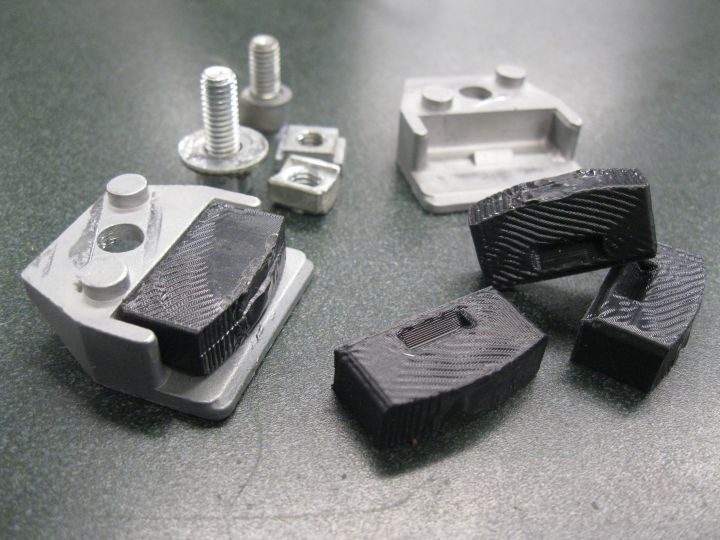
The green ones were too soft. While they did cushion the blow, they still allowed metal contact.
The black ones don't allow metal contact at all. I also changed orientation so print layers are parallel, rather than perpendicular, to stop surface.
The green ones are NijuFlex at 50% infill. The black ones are Bumat Flex at 100% infill.
I can send stl file if anyone is interested.
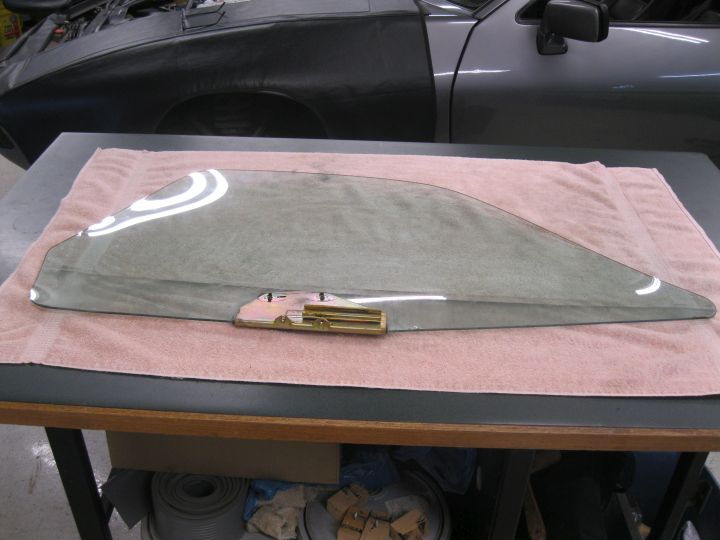
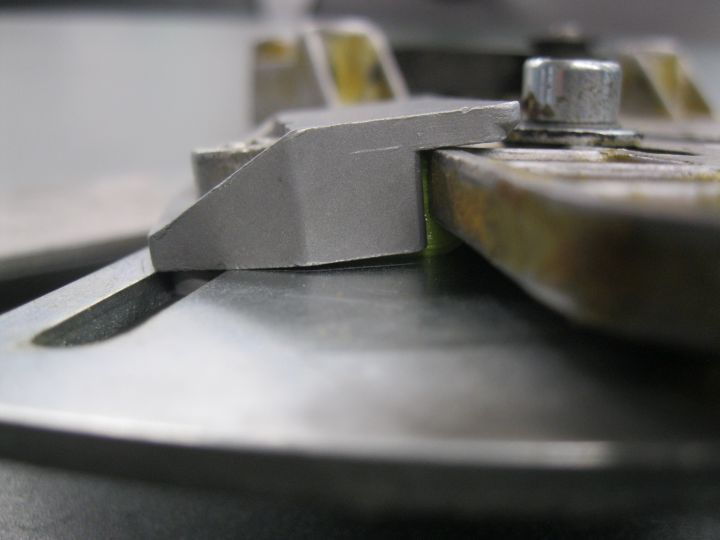
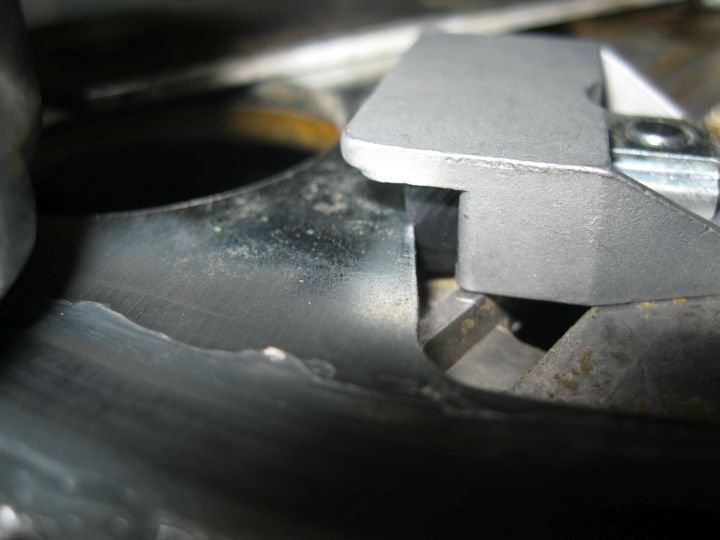
The down stop is adjusted all the way up and the glass still clears the opening so that should be fine.
The up stop is adjusted just below where the inner door panel starts to flex on final close.
Cheers,
Yes I'm back in black
That was close, I almost put Dodge parts in a Porsche!
Not sure what would have happened, probably wouldn't have run.
These are much better.

The green ones were too soft. While they did cushion the blow, they still allowed metal contact.

The black ones don't allow metal contact at all. I also changed orientation so print layers are parallel, rather than perpendicular, to stop surface.

The green ones are NijuFlex at 50% infill. The black ones are Bumat Flex at 100% infill.
I can send stl file if anyone is interested.
The down stop is adjusted all the way up and the glass still clears the opening so that should be fine.
The up stop is adjusted just below where the inner door panel starts to flex on final close.
Cheers,
06-24-2023, 03:48 PM
#157
Rennlist Member
Thread Starter
Getting Better All the time.
At least I think it is. Still has a bit of a stutter going down. Anyone have ideas of what might be causing this?
Seems faster though:
We'll know more after this one receives the treatment:
Cheers,
At least I think it is. Still has a bit of a stutter going down. Anyone have ideas of what might be causing this?
Seems faster though:
We'll know more after this one receives the treatment:
Cheers,
Last edited by depami; 06-24-2023 at 04:00 PM.
06-24-2023, 03:56 PM
#158
Rennlist Member
Thread Starter
Appears it picked up a stutter in the down direction after clean & lube. Is there some adjustment to correct this?
Seems faster going up though.
Seems faster going up though.
Last edited by depami; 06-25-2023 at 09:07 AM.
06-25-2023, 01:32 PM
#159
Rennlist Member
Thread Starter
Adjusting the top of the tube (pole) got rid of the down chatter.
Had to go rearward on DS and forward on PS.
I guess sliding down a pole isn't as easy as one would think.
But now at least I can say I've done a pole dance.
Had to go rearward on DS and forward on PS.
I guess sliding down a pole isn't as easy as one would think.
But now at least I can say I've done a pole dance.
The following users liked this post:
68427vette (03-04-2024)
06-25-2023, 09:08 PM
#160
Rennlist Member
Thread Starter
After tuning up the switch and tightening the clutch, the sun roof runs good so I'm not going to take it out.
But it didn't close up properly:
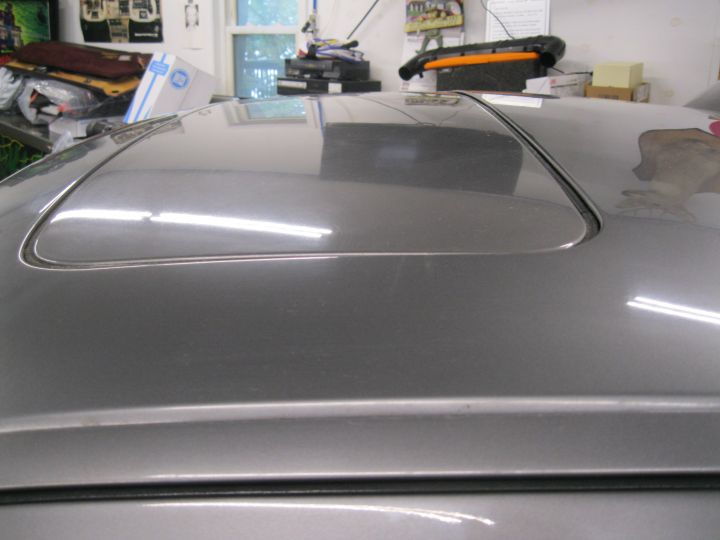
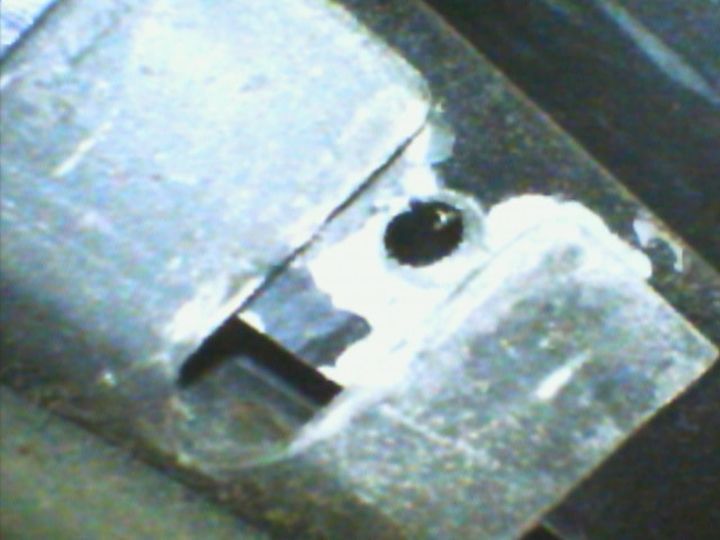
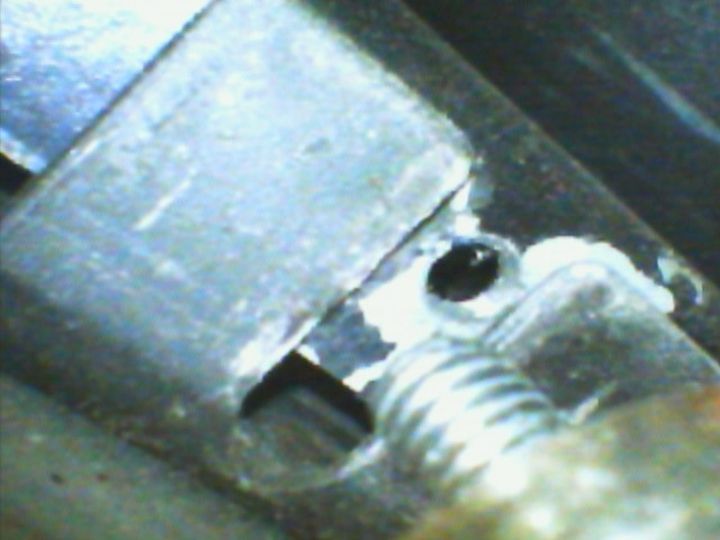
These were loose on both sides:
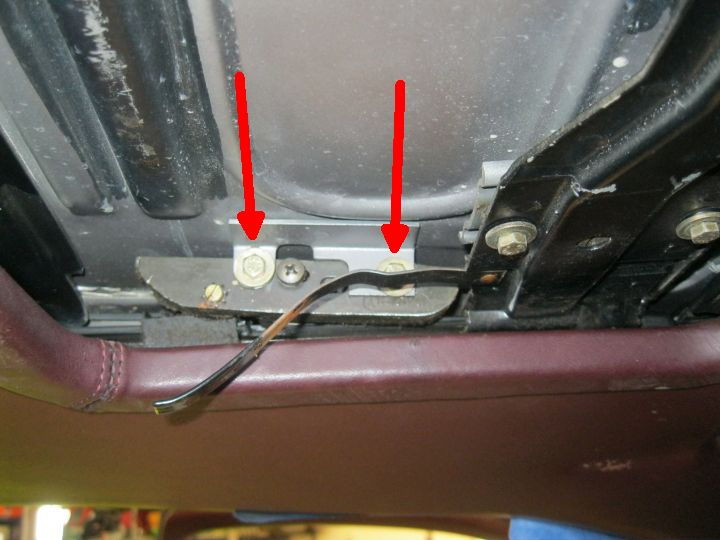
Here is closure after adjusting and tightening:
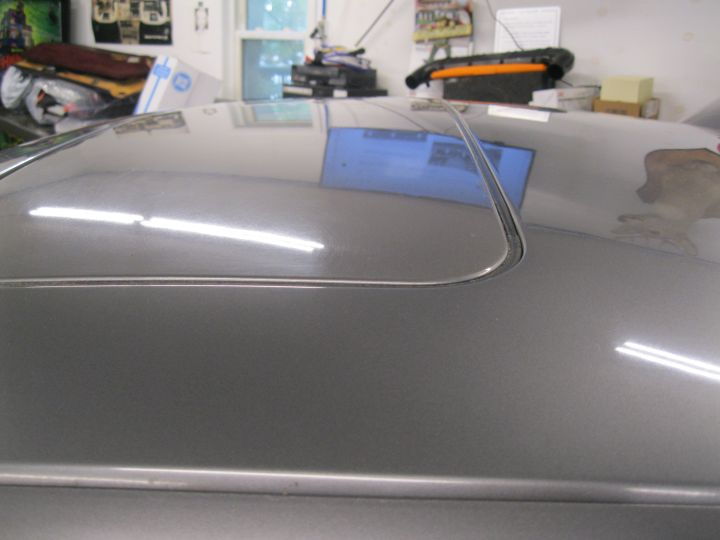
Cheers,
.
But it didn't close up properly:

These were loose on both sides:

Here is closure after adjusting and tightening:

Cheers,
.
06-25-2023, 09:25 PM
#161
Rennlist Member
Thread Starter
These are fun to put in:
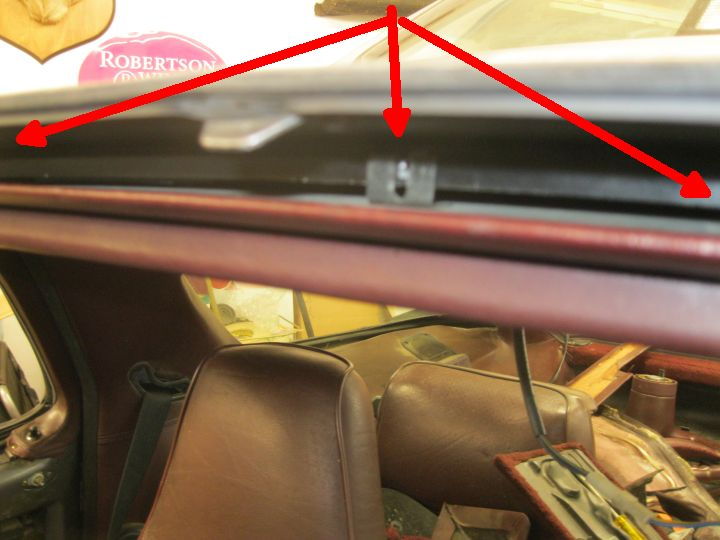
But with the right stuff it's a breeze!
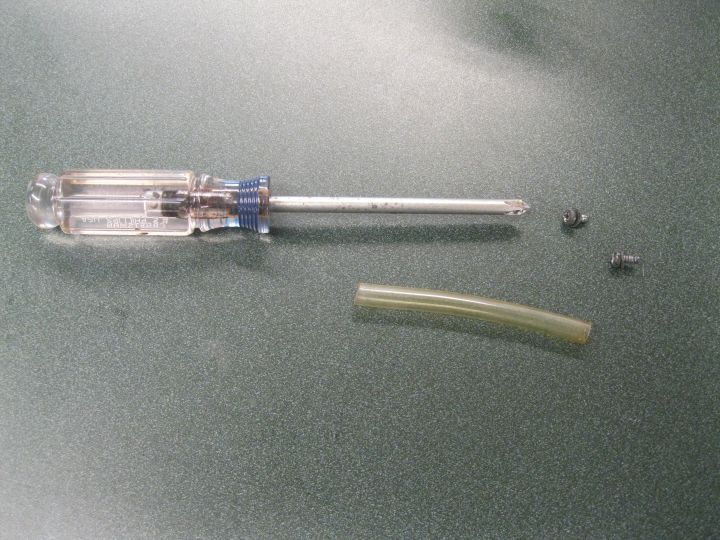
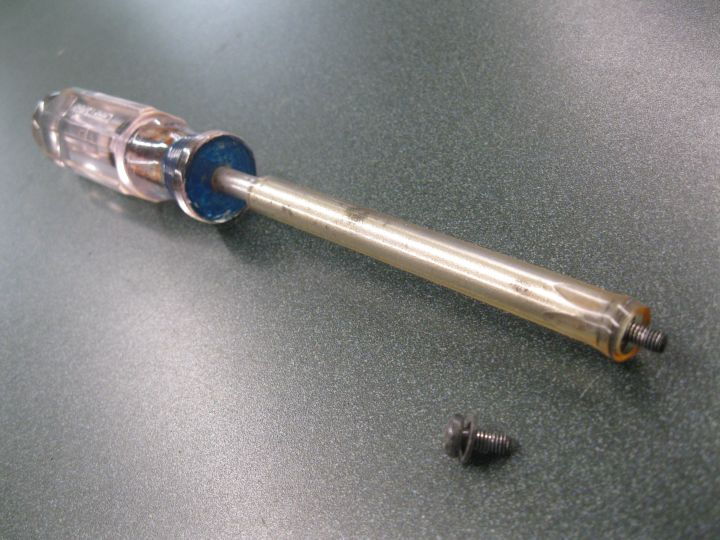
Especially this:

Ready to be screwed:
Hosed, about to be screwed:
Hosed and screwed:
Home Run!
Cheers,

But with the right stuff it's a breeze!


Especially this:

Ready to be screwed:

Hosed, about to be screwed:

Hosed and screwed:

Home Run!

Cheers,
Last edited by depami; 06-25-2023 at 09:52 PM.
06-25-2023, 09:37 PM
#162
Rennlist Member
Thread Starter
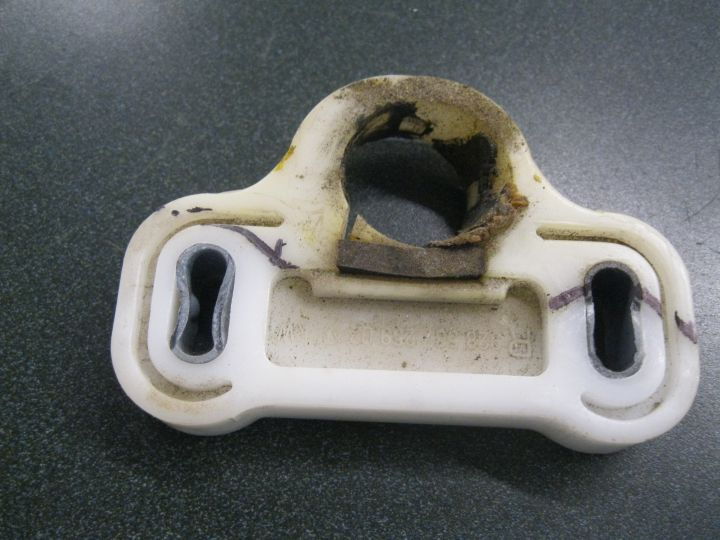
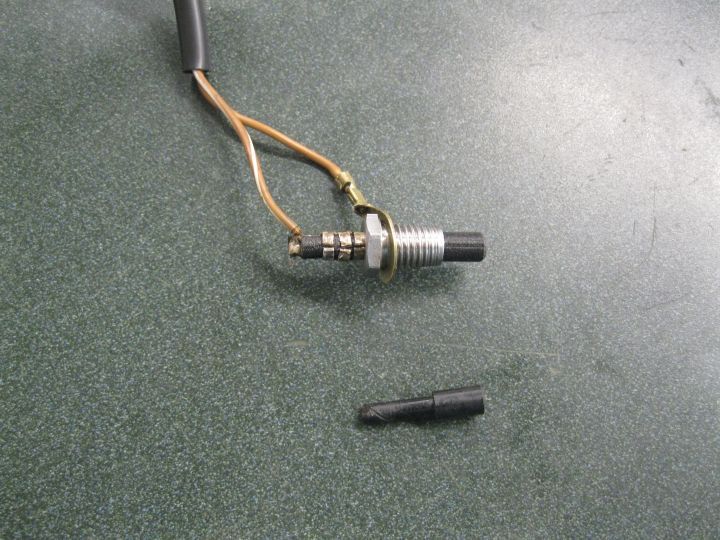
This hasn't worked since I got the car. Never bothered to look at it, just used the key.
Looks like the PO was trying to compensate for a bad insert. He was a cop and had a lifted pickup too.
.
Cheers,
Looks like the PO was trying to compensate for a bad insert. He was a cop and had a lifted pickup too.
.


Cheers,
06-25-2023, 10:48 PM
#163
Team Owner
FWIW on the sunroof liner screws,
just unscrew them about 3 turns,
then pull the liner down to disengage them .
install the same way.
just unscrew them about 3 turns,
then pull the liner down to disengage them .
install the same way.
The following users liked this post:
depami (06-25-2023)
06-26-2023, 11:40 PM
#164
Rennlist Member
Thread Starter
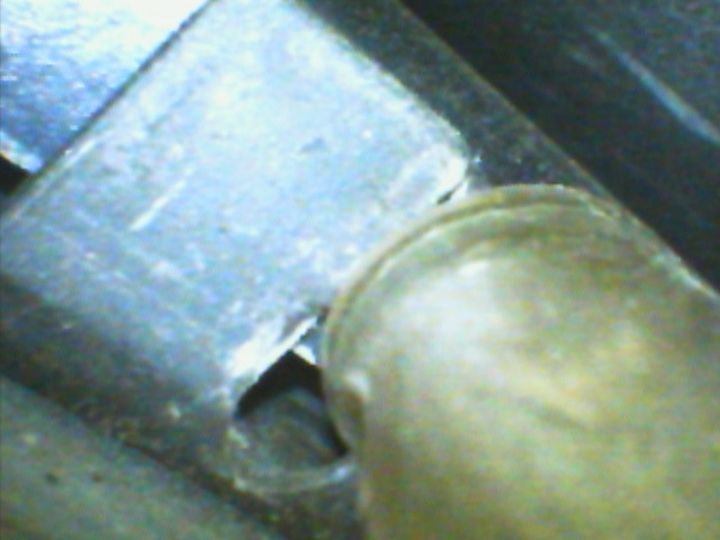
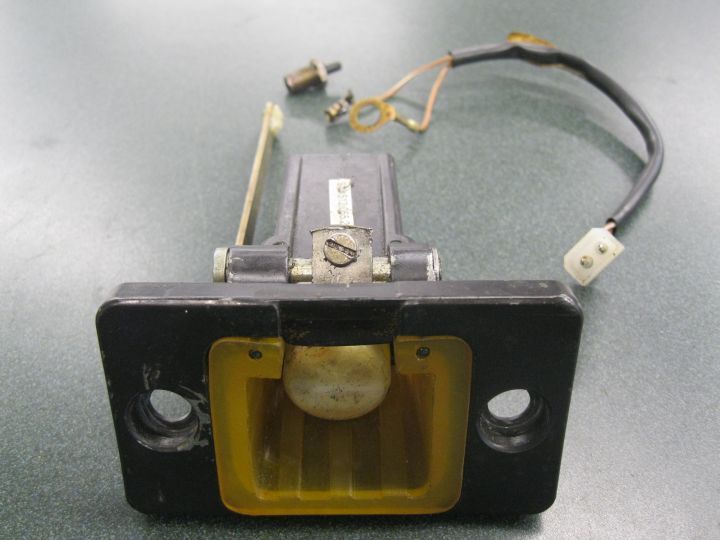
The hatch was always really hard to close and the electric release never did work.
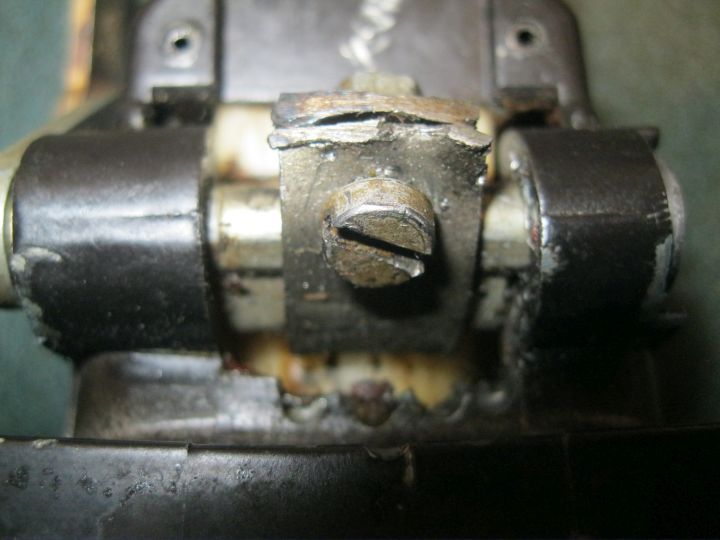
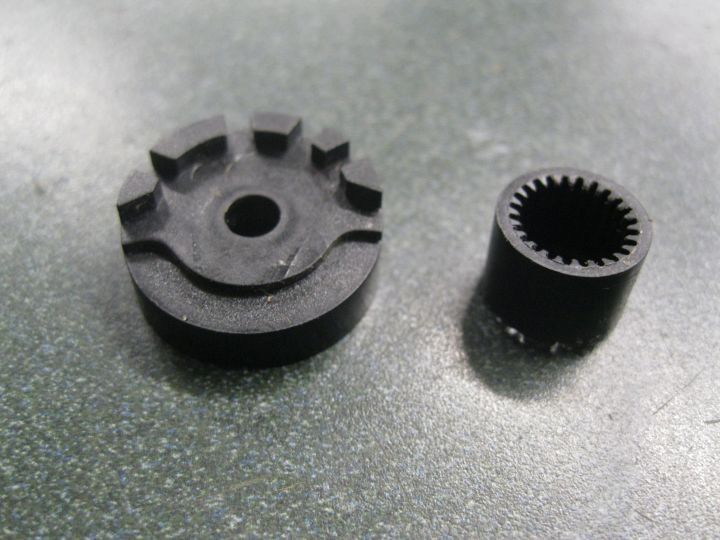
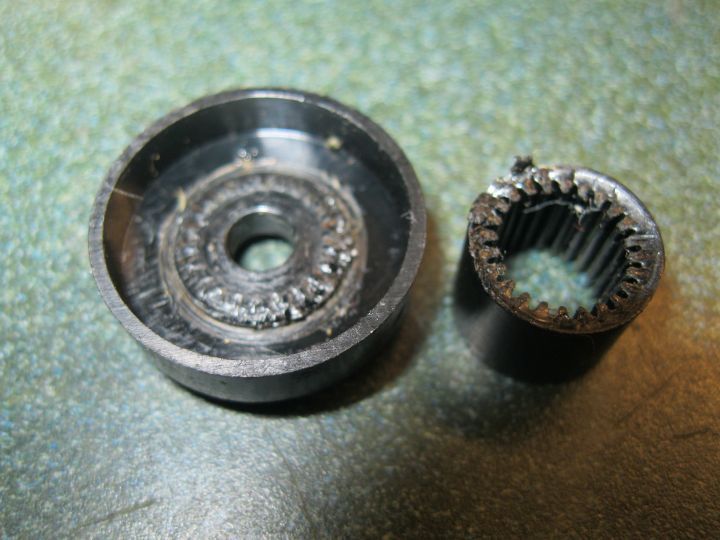
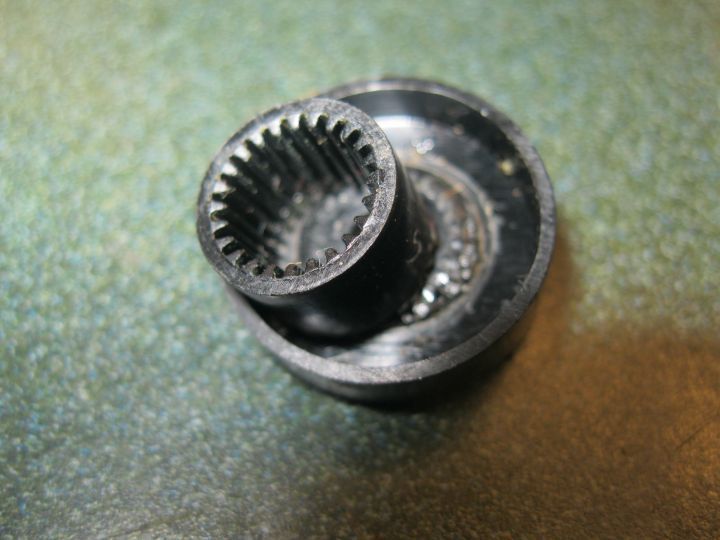
After a bit of cleaning, lubing, and fiddling, I got it all to work very well, except the electric release. The splined output hub is broken. Is that part available?
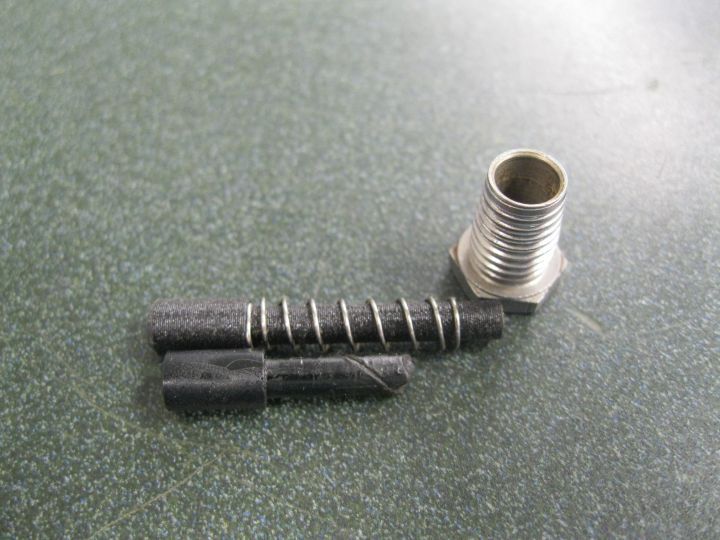
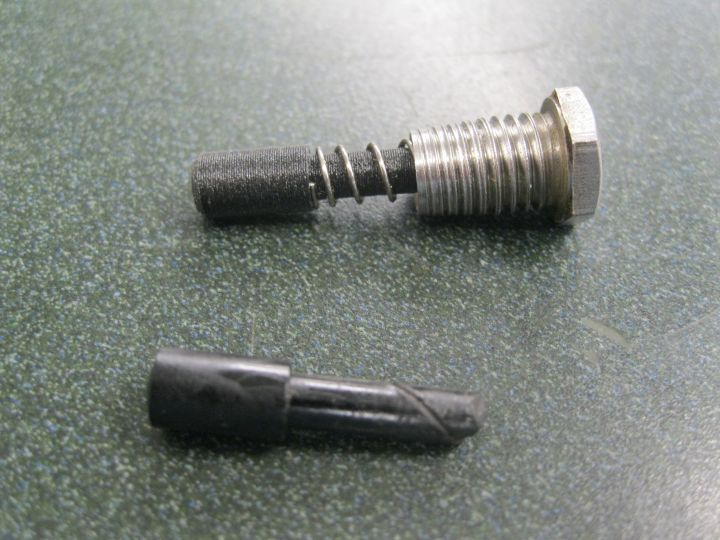
Yes, the pin switch plunger is broken too, but that is a very easy fix. The splined hub, not so much. But I will make it work, one way or another.
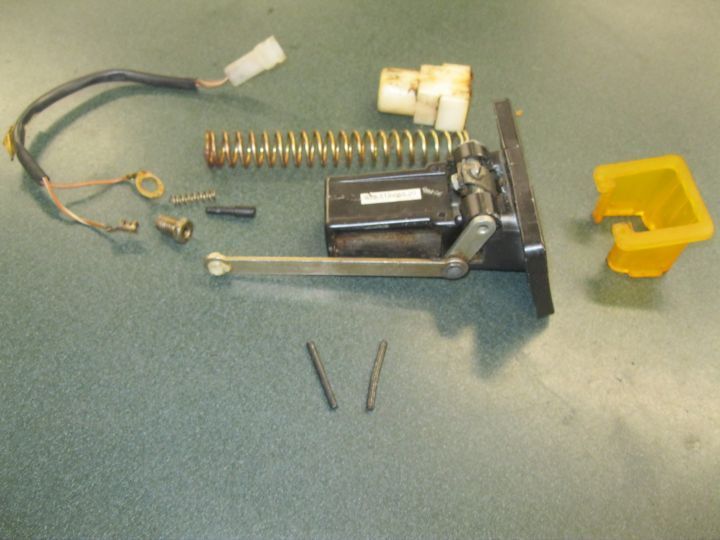
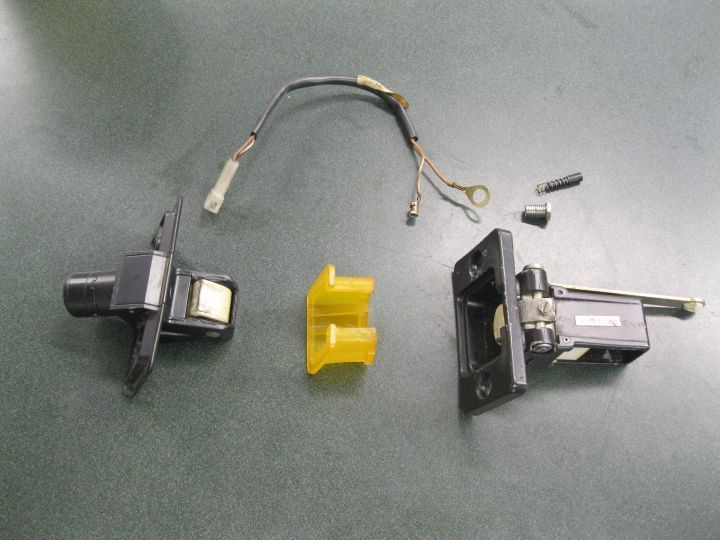
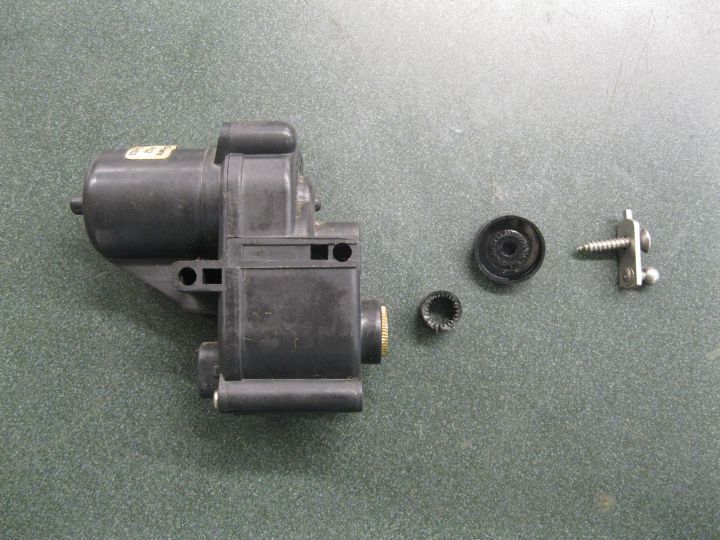
Is this part available?
Cheers,
After a bit of cleaning, lubing, and fiddling, I got it all to work very well, except the electric release. The splined output hub is broken. Is that part available?
Yes, the pin switch plunger is broken too, but that is a very easy fix. The splined hub, not so much. But I will make it work, one way or another.


Is this part available?


Cheers,
06-27-2023, 09:50 PM
#165
Rennlist Member
Thread Starter
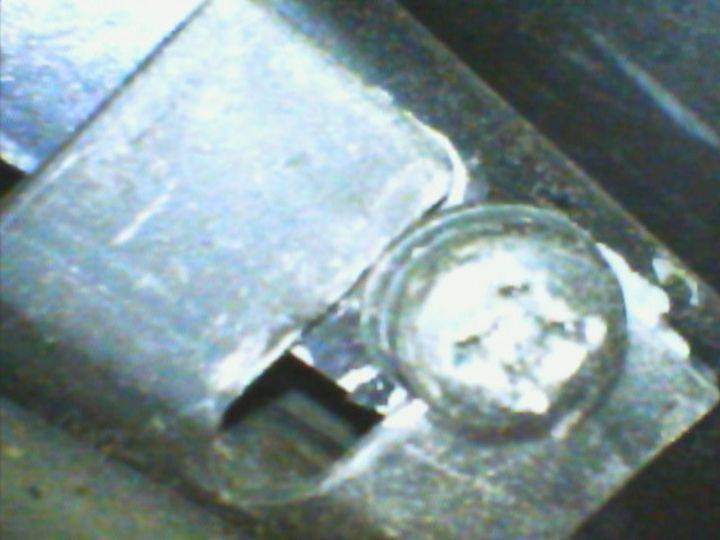
The miracle of 3D printing. Maybe even more so than TIG welding.
I think it will hold. If not, I'll turn one on the lathe.
Cheers,
I think it will hold. If not, I'll turn one on the lathe.


Cheers,