When you click on links to various merchants on this site and make a purchase, this can result in this site earning a commission. Affiliate programs and affiliations include, but are not limited to, the eBay Partner Network.
The Trials and Adventures of the Ladybug Im about a year and a half into this project and Im just now getting around to creating a dedicated thread. Never thought I would take the time to write one up, because I like working on the car, not writing about working on the car, but its been suggested to me a couple of times and Im out of town on business, sitting in a hotel, with nothing to do, in a one horse town, not working on my car. So what the heck, here goes. Hope you enjoy reading it, hope it inspires some other noobs like myself, at the very least, you can use it as a sleeping aid on those restless nights. The ending of this adventure has yet to be written. A short intro and history: My name is Josh Handler. Born in Delaware to Richard Handler who was a good man, father, engineer and the person indirectly responsible for all this. I live in California now. Moved out here in '01. Over the years, my dad had a few Porches, a 356SC that he bought new out of college, a 912, a 911S that he built frame up and a 964 C2 that he sold off about 5 years ago. A little more than three years ago, he passed. This project is dedicated to him and gives me lots of time to think about him, sort of a grieving process I guess. One that so far has given me a lot of smiles, knowledge, funny stories and laughs that I can hopefully share with kids of my own one of these days. I think my dad would've given me a bunch of (not so serious) crap for buying a water-pumper, but in the end, I think he would've liked the work Im doing. I wont go into too much detail about the processes and procedures I used, because most of you have BTDT and it can all be found on the pages of this forum and the WSM. Keep in mind though, that everything was done either to spec or to the recommendations of the members here, or recommendations of 928-people Ive met along the way. Bearing in mind also that none of this project could have been accomplished by me, without the help and advise of the people here and the people Ive met since starting this. My goal is to have a gentleman's Porsche. This car has a serious lack of maintenance, but it looked salvageable to me. I wasn't going to do a frame-off restoration, but I would do more than what the guys do on Wheeler Dealers. It wasnt gonna be an all original car, nor would it be a super modded outlaw racer. Something in between, a little of each. But in the end a clean, reliable respectable weekend driver. So the story begins in September of '13. Me and my girlfriend Mari, had moved to Costa Mesa, and the fishing was slow. Literally. We had a 19' aluminum skiff (SeaBear) that we loved to fish when we lived a little bit further north. But when we moved to Costa Mesa and started to fish the local coastline, we couldn't catch jack! Several skunky fishing trips had me searching Craigslist for a new hobby.
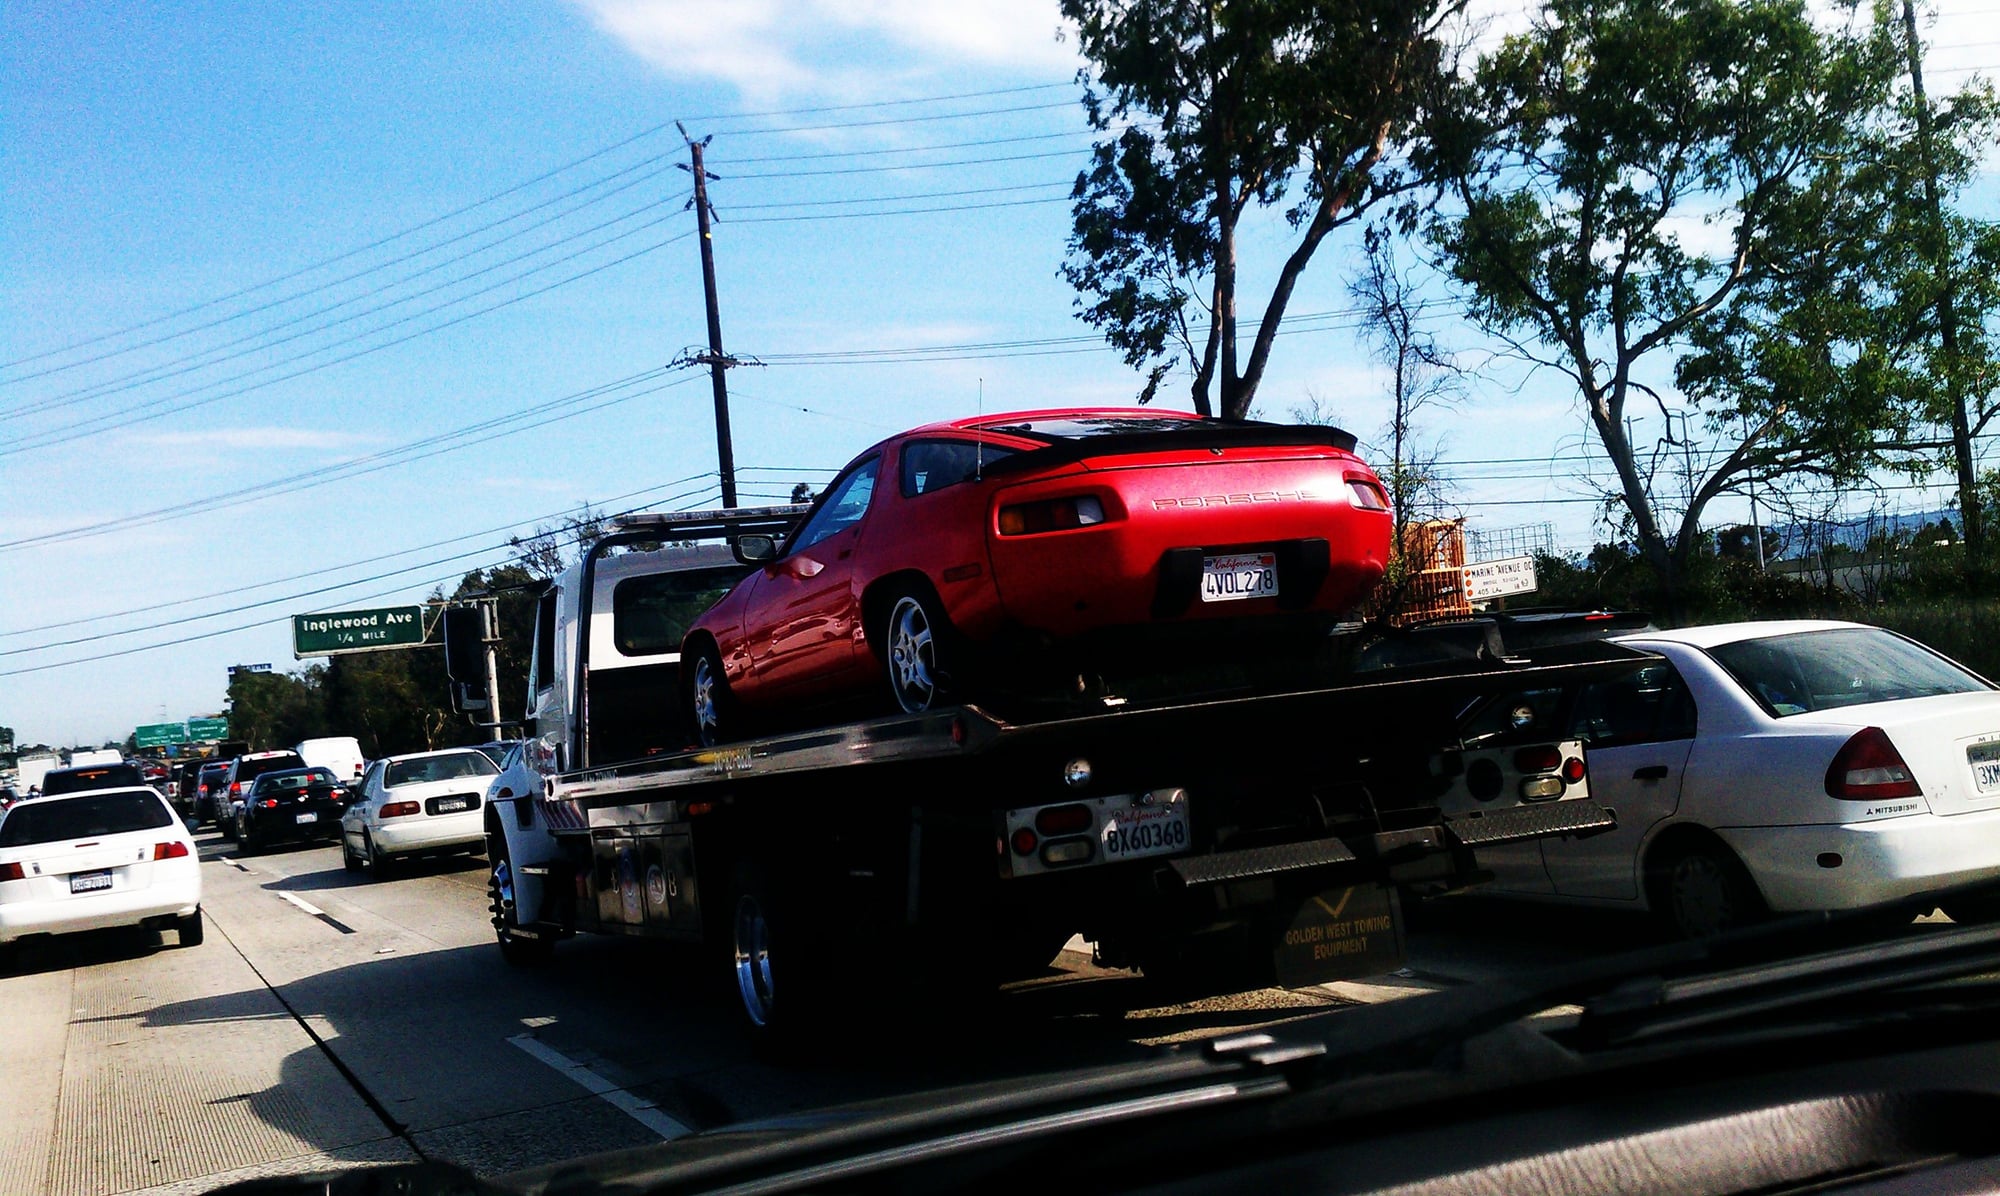
I had always wanted to do a Porsche project, but I didn't have the skills to build one, and I didn't have the money to buy one. I was searching mostly for 914s because they were affordable and 911s and 912s were not. When I would search for Porsches for 5K or less, the results were limited to 914s, 944s and 928s. I didnt know much about anything but I though, why would I spend 5K on four cylinders, when I can get eight? I read up a little on 928s and I looked at a few that were for sale locally. One 928 I looked at was talked about here on the forum. It was a gold 5 speed 85-86. It had been vandalized and taken a concrete block to the roof, and while it ran good and was in fair shape despite the roof dent, it wouldnt go into gear. Without being able to test drive it, I couldnt take the risk, I knew how much a tranny or even a clutch would cost me. Not soon thereafter, I found a red 5 speed '83. The guy said its rough, but its a driver. Ok then. I took a drive up to Marina Del Rey, looked it over, drove the car for about 30 minutes. No overheating, no major issues really at all other than the paint was bad, the interior was thrashed but complete, it smelled like cigarettes and dogs, and oh yeah, the guy said the brakes need attention and while he didnt know what was specifically wrong with them, I might want to trailer it home. Huh? Seems ok on the test drive, hmmmm. The car came with a clean carfax and title, a little maintenance history, original manuals, the original window sticker and a complete tool kit. So we drive to the B of A and I give him $2,250. I mean really, it has a complete tool kit people. I drive the guy back to his condo, he gives me some extra tools (kempf tool and flywheel tool) and parts that he has for the car, and Im off in my new V8 German supercar! F'in-a right boys, Im a gansta! I pull out of his parking structure and I step on the brakes a bit hard to yield to opposing traffic, POP, no brake pedal, oh sheet. Not so gansta hanging out in a parking lot with a "new" Porsche waiting for a flatbed tow truck. Dang
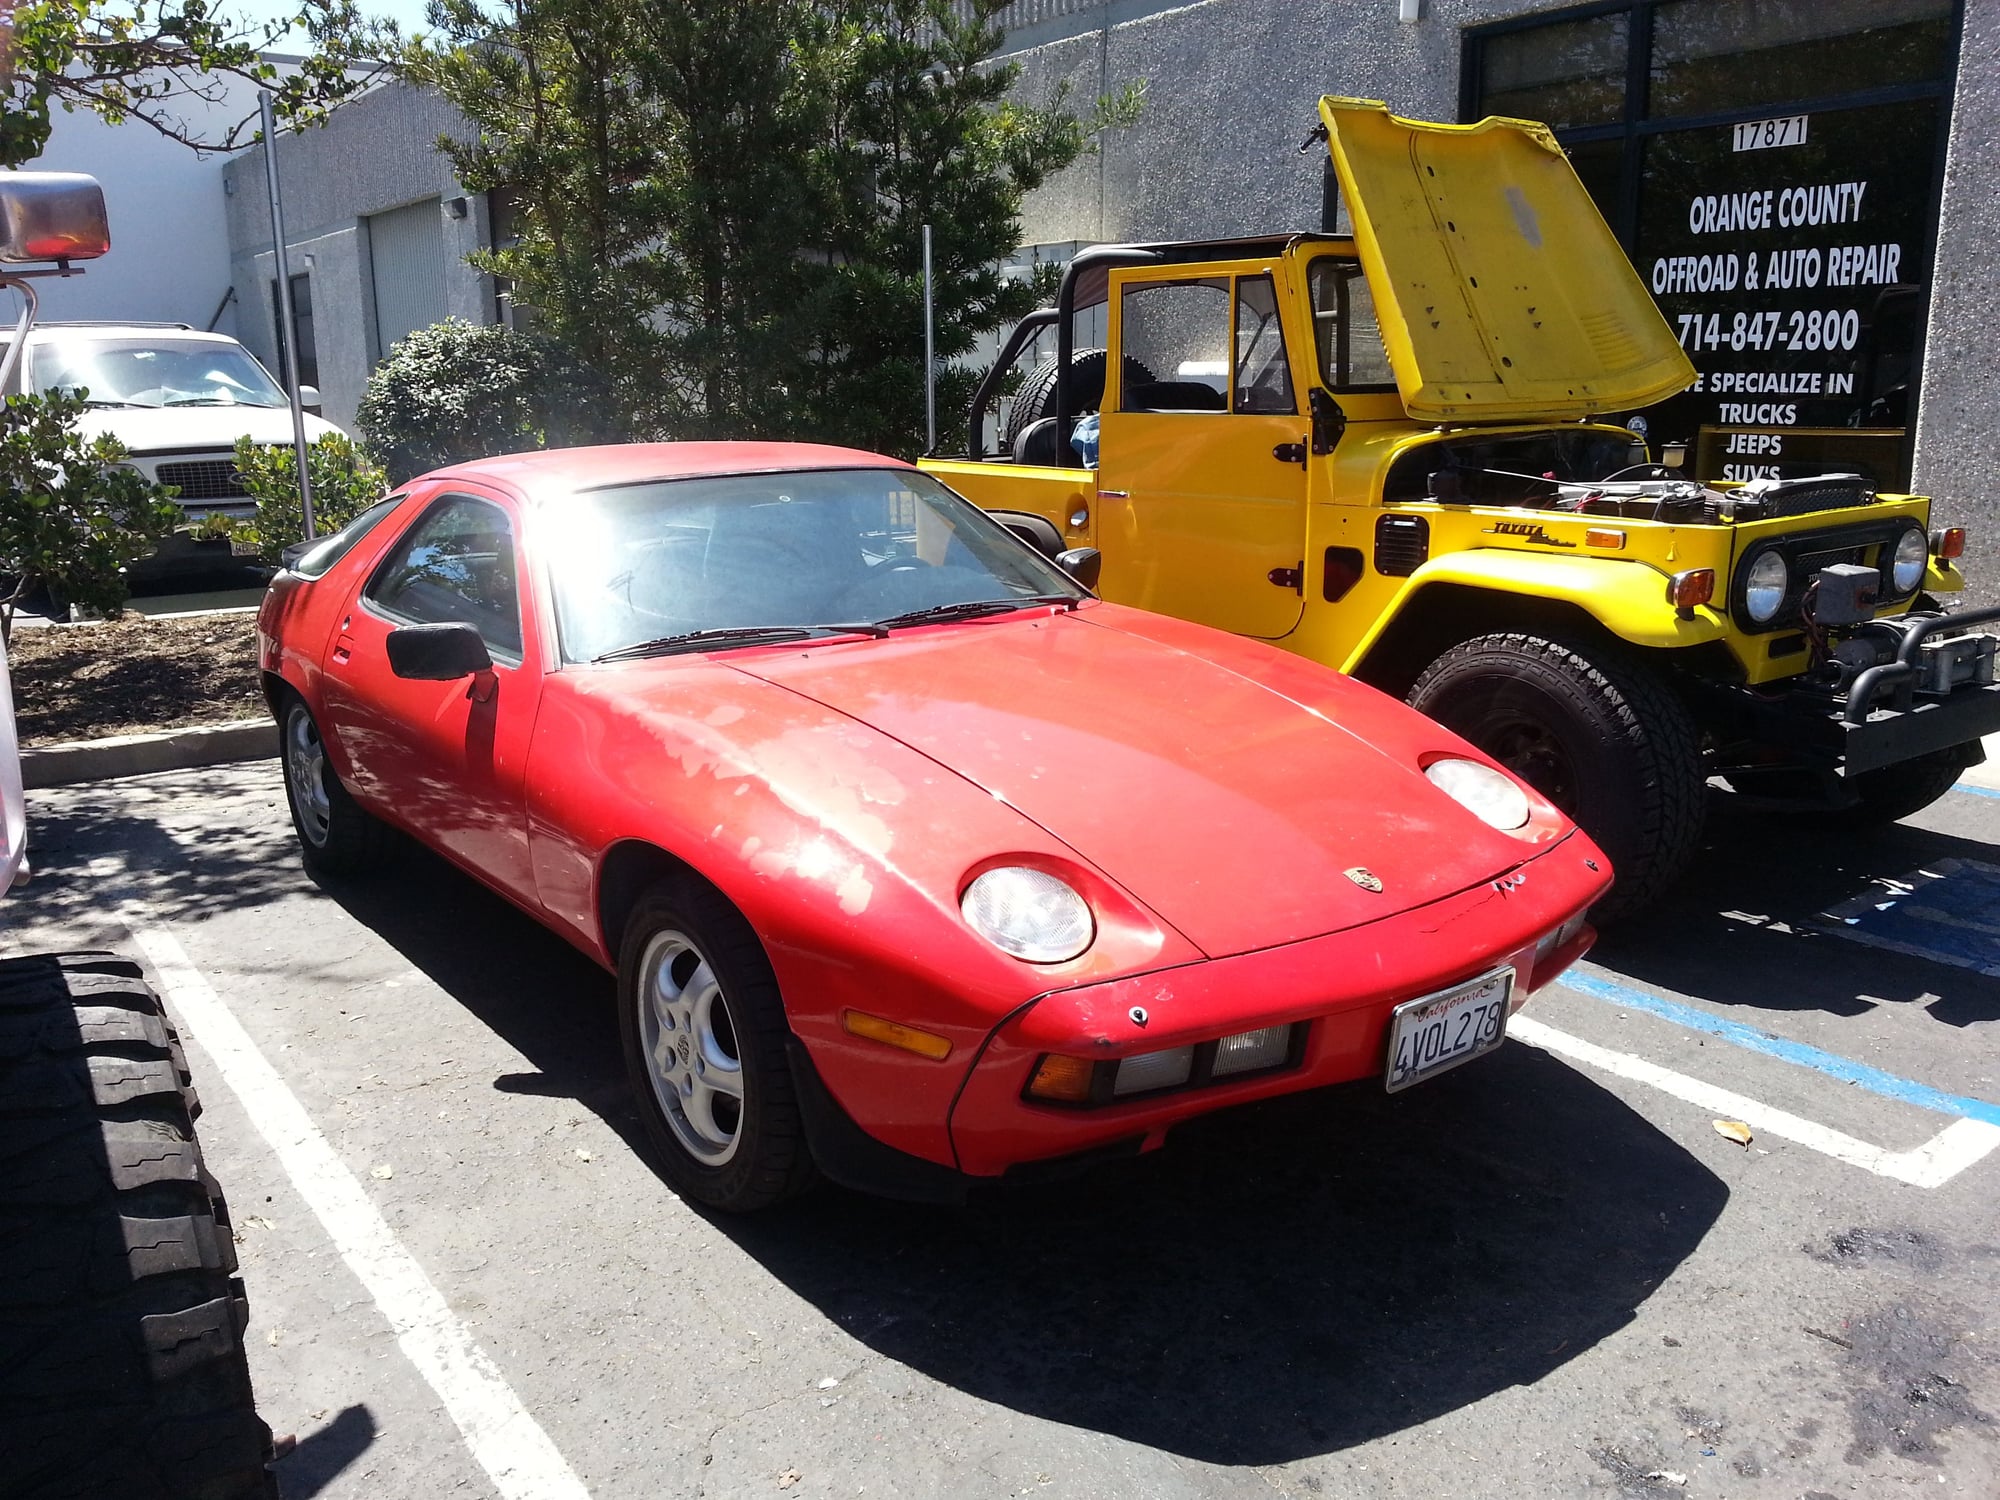
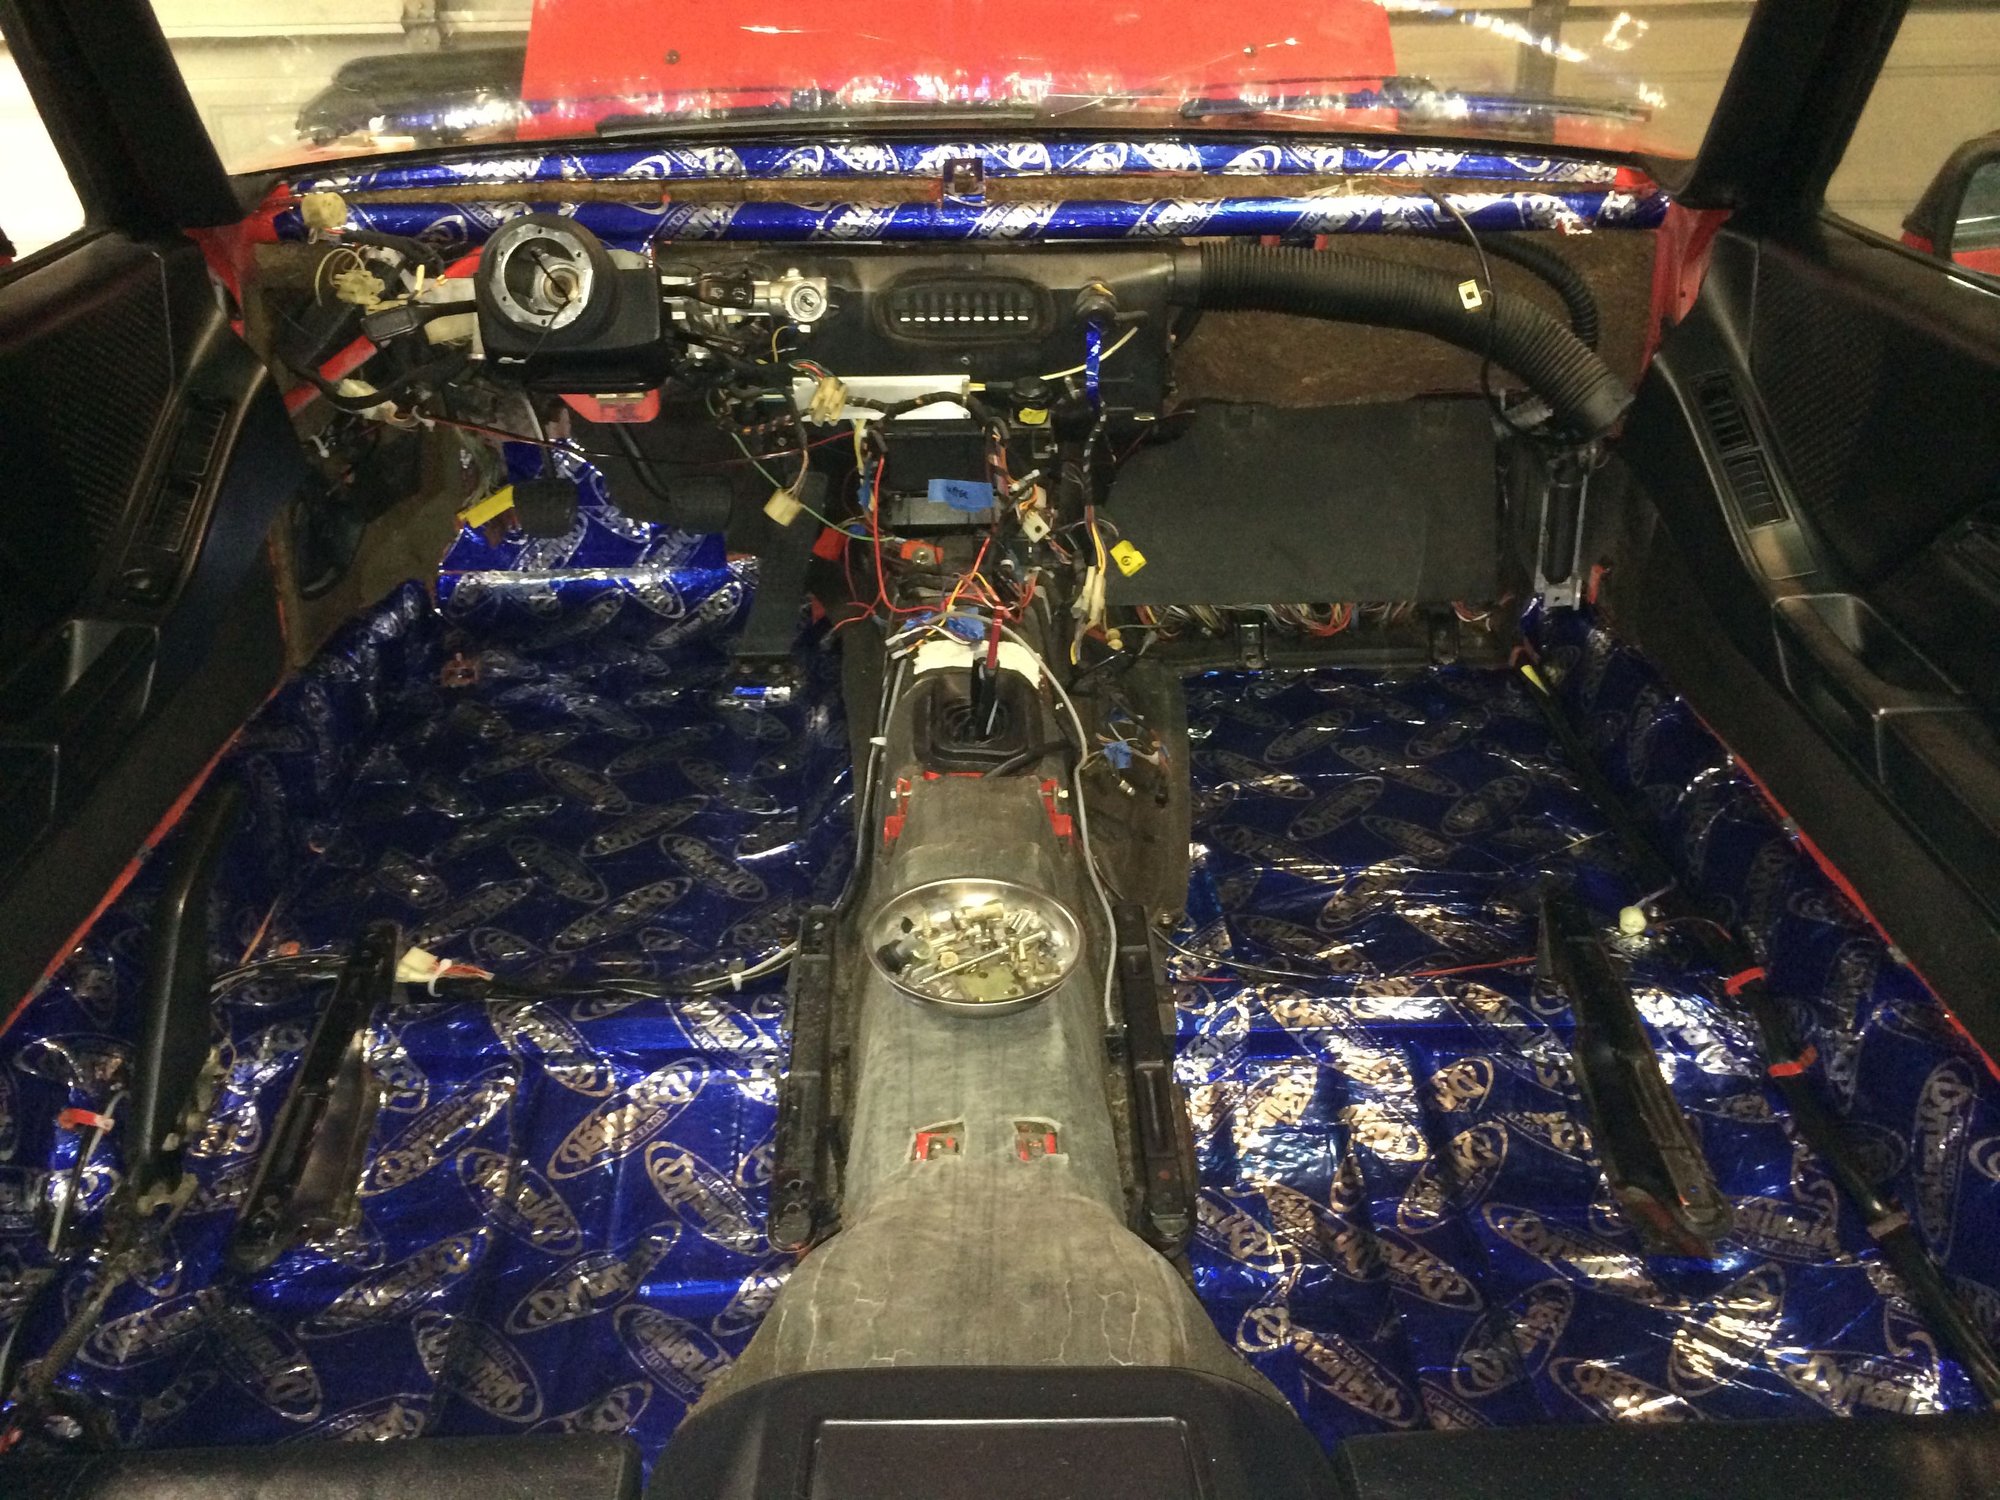
Had it towed to my friends shop, master cylinder was shot. Had a new one installed along with a new blue hose and clutch master. Also had the oil changed, timing belt check, tune up with new plugs. Regular maintenance stuff. The vacuum lines were rotted and all over the place, we cleaned them up to fool the smog guy. My mechanic checked it out, drove it around for a few days and gave it favorable reviews. Despite the brake issue, everything else seemed to be good and it ran fine while in his possession. From his shop I drove it straight to the smog check station. Fail. Close but slight fail on emissions. Hmm, I drove it home Oh yeah, at this point, Mari didnt know I had bought a car so she was quite surprised what was in the garage when she came home that evening. I smoothed it over with some fruity champagne that she loves. Although she did strongly suggest that I sell the SeaBear. I said, Oh no! But I can use the SeaBear money for the car right? Yes she replied. Whooo hooo, back in business! I asked if we should name it, she said, it looks like a ladybug. And she shall be known henceforth as The Ladybug. I learned when I bought the SeaBear (also Mari's naming), that if you let her name the project, she will feel more attached to it, so its easier for them to overlook the time and $$ investment. Now I was at a crossroads. I knew it would pass smog, but it needed more attention to get there. The interior is nasty, the paint is nasty, the engine bay is nasty, but I know its a solid car underneath. Thats it, Im doing it. Hole hog baby!....but on a budget. So I decided the mantra would be: disassemble, clean, inspect, repair or replace if needed, re-assemble. I started with the interior and here's why. While Im usually a mechanics first, then cosmetics guy, I also know my limitations. Ive worked on several cars in the past and built the SeaBear from the hull up, but nothing close to the magnitude of this project. Ive done brake jobs, alternators, radiators, etc. I was and am still very aware that I dont know how to restore a car, nor do I know anything about Porsches. The work needed on the interior was extensive, and I didnt know what I was doing, but I also wasnt going to cause any catastrophic failure or hurt anyone by fooling around with carpet and ***** and whatnot. So I pulled everything out, cleaned, inspected, repaired or replaced, and re-assembled. I also bought a Rennlist subscription, the Bosch fuel injection book and a WSM set to read while working on the interior. I left the original insulation in place, and added Dynamat Superlite everywhere that didnt have insulation.
I bought a roll of black vinyl fabric and several gallons of Weldwood glue (the red can) and started re-covering the center storage boxes.
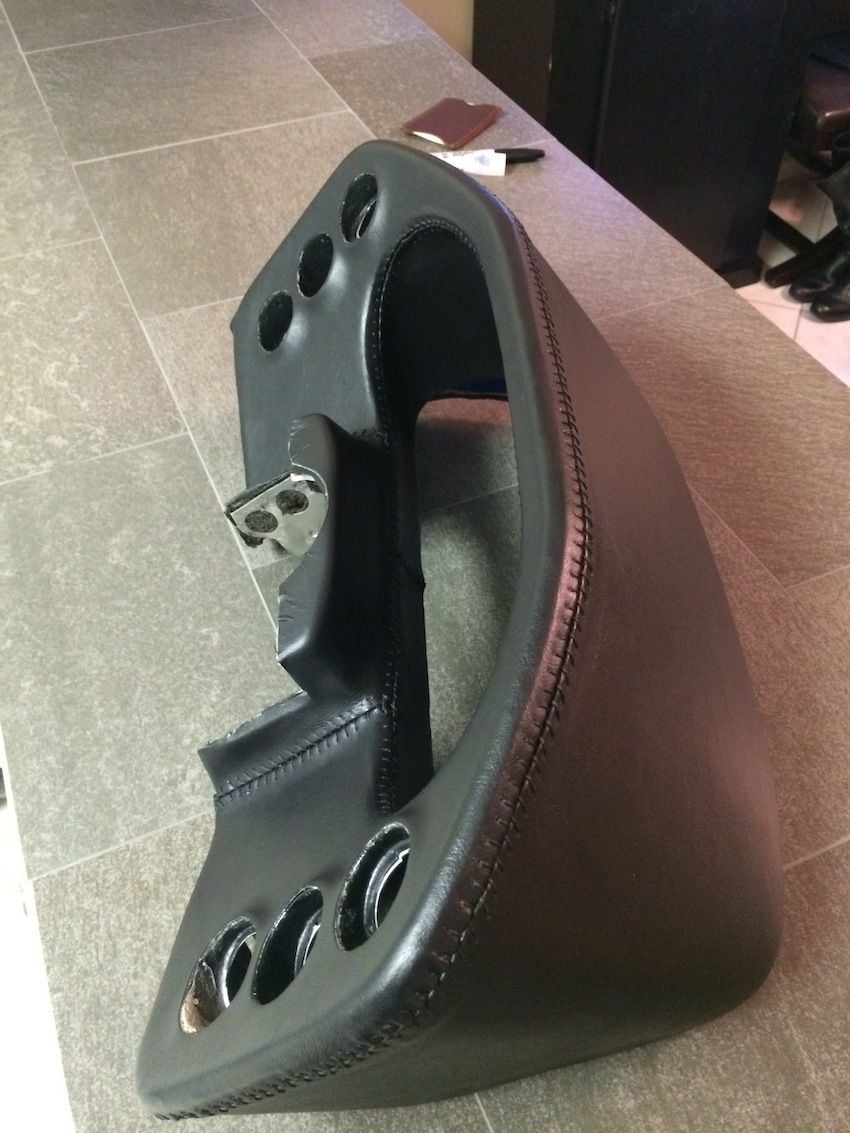
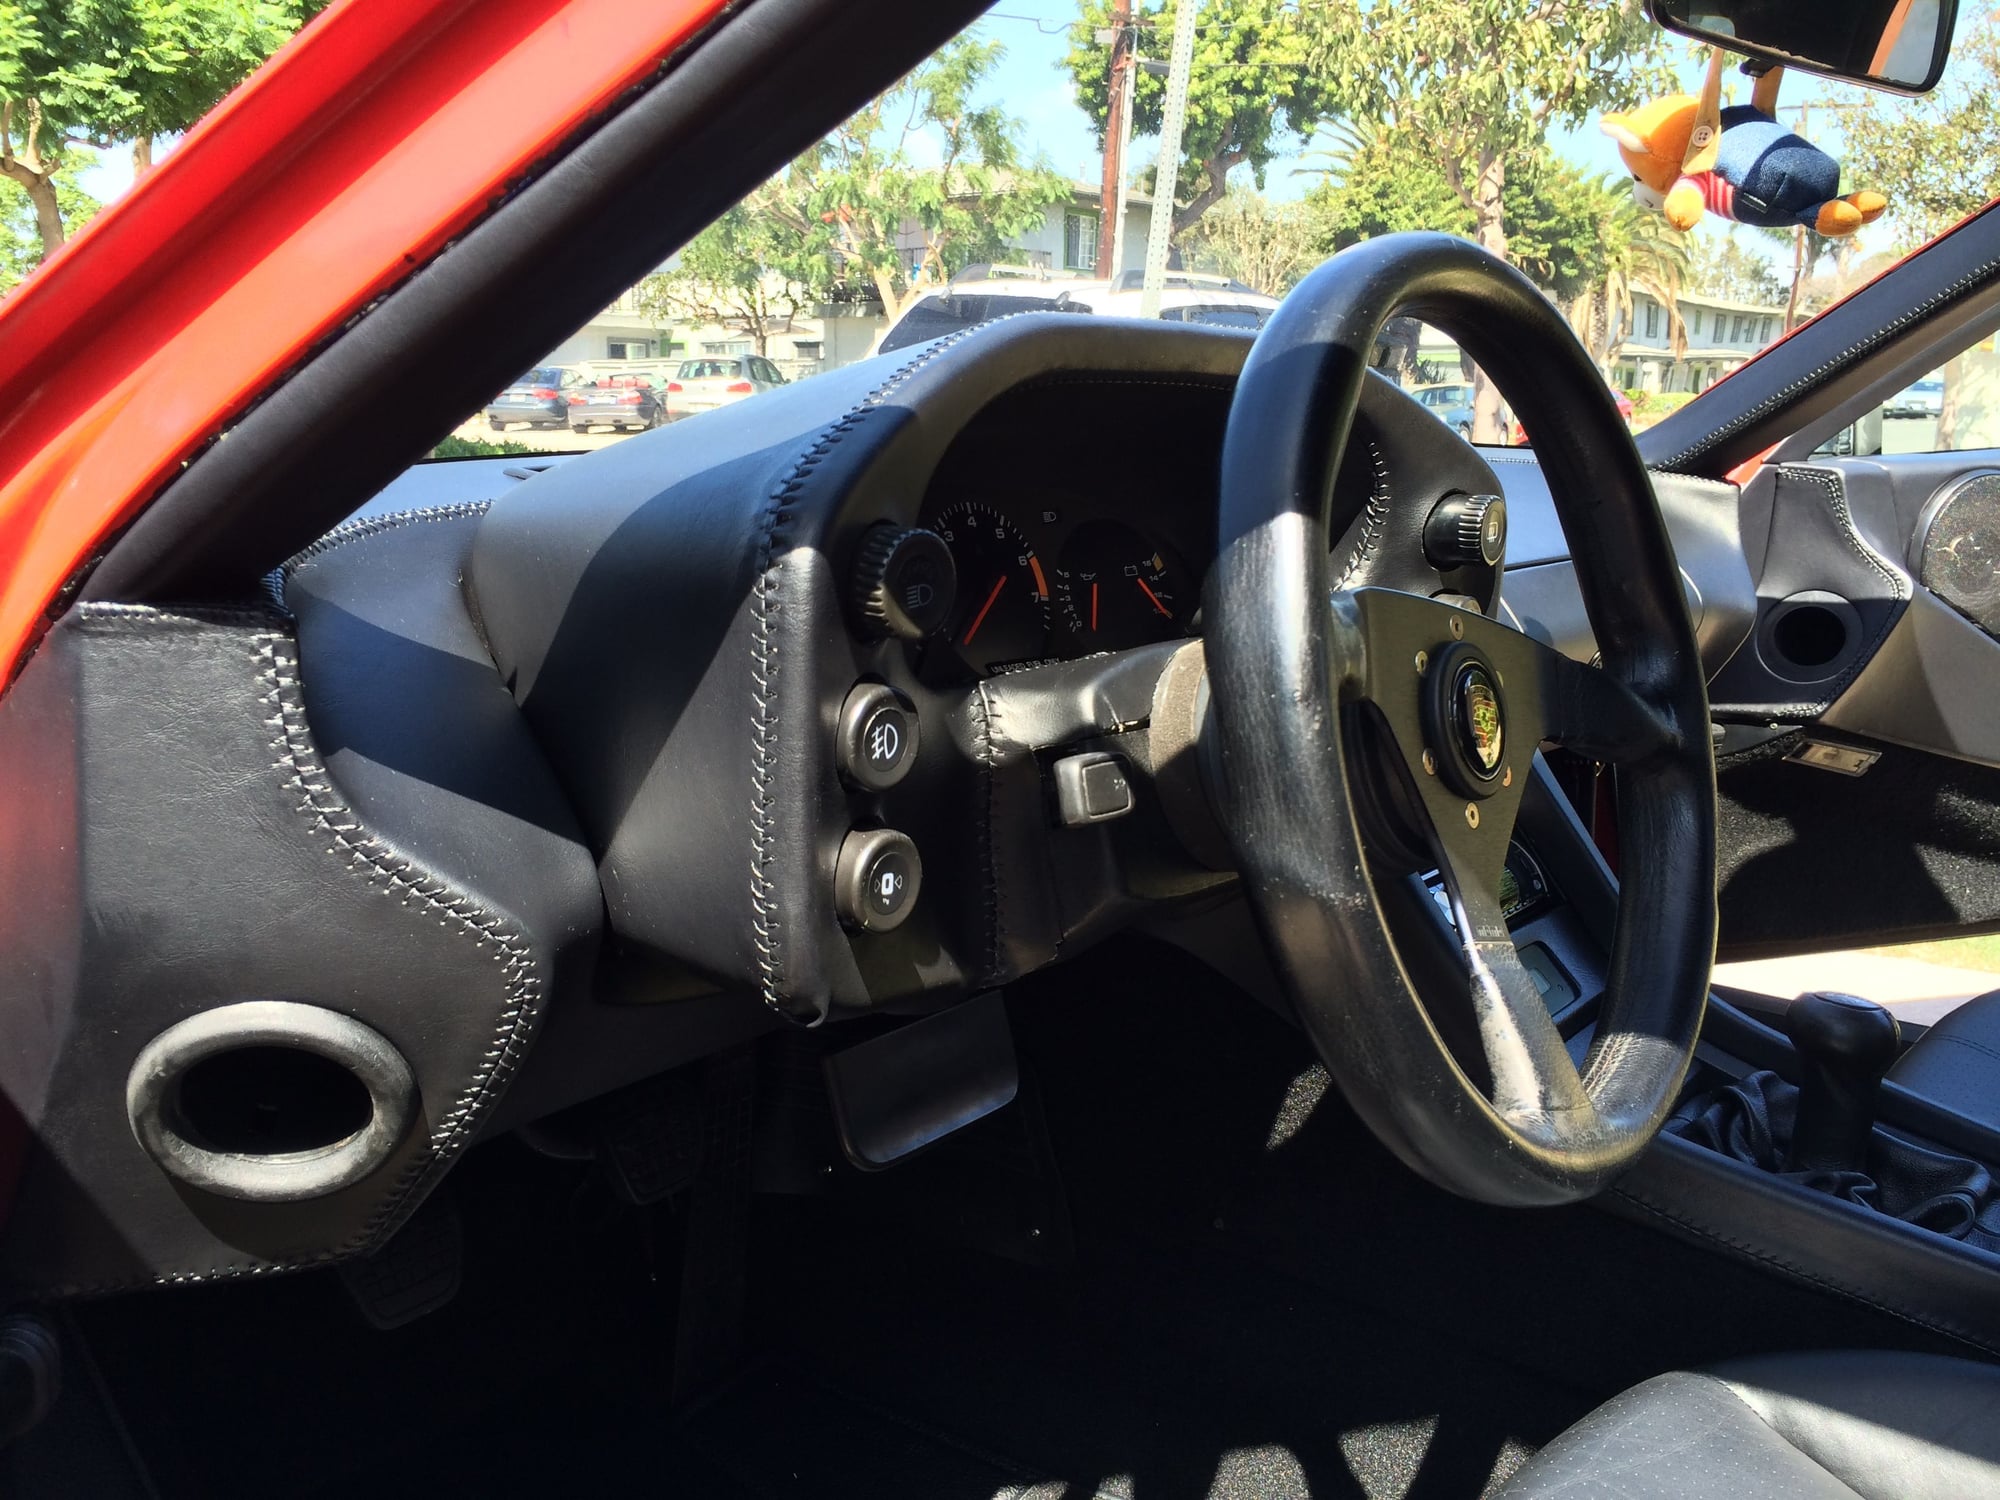
Those turned out ok so I started on the infamous DIY dash (write up is in the DIY section). After the 5th attempt, I was satisfied with the results so I did the same procedure on the pod and A-pillars. After the 2nd attempt on these pieces, I was satisfied.
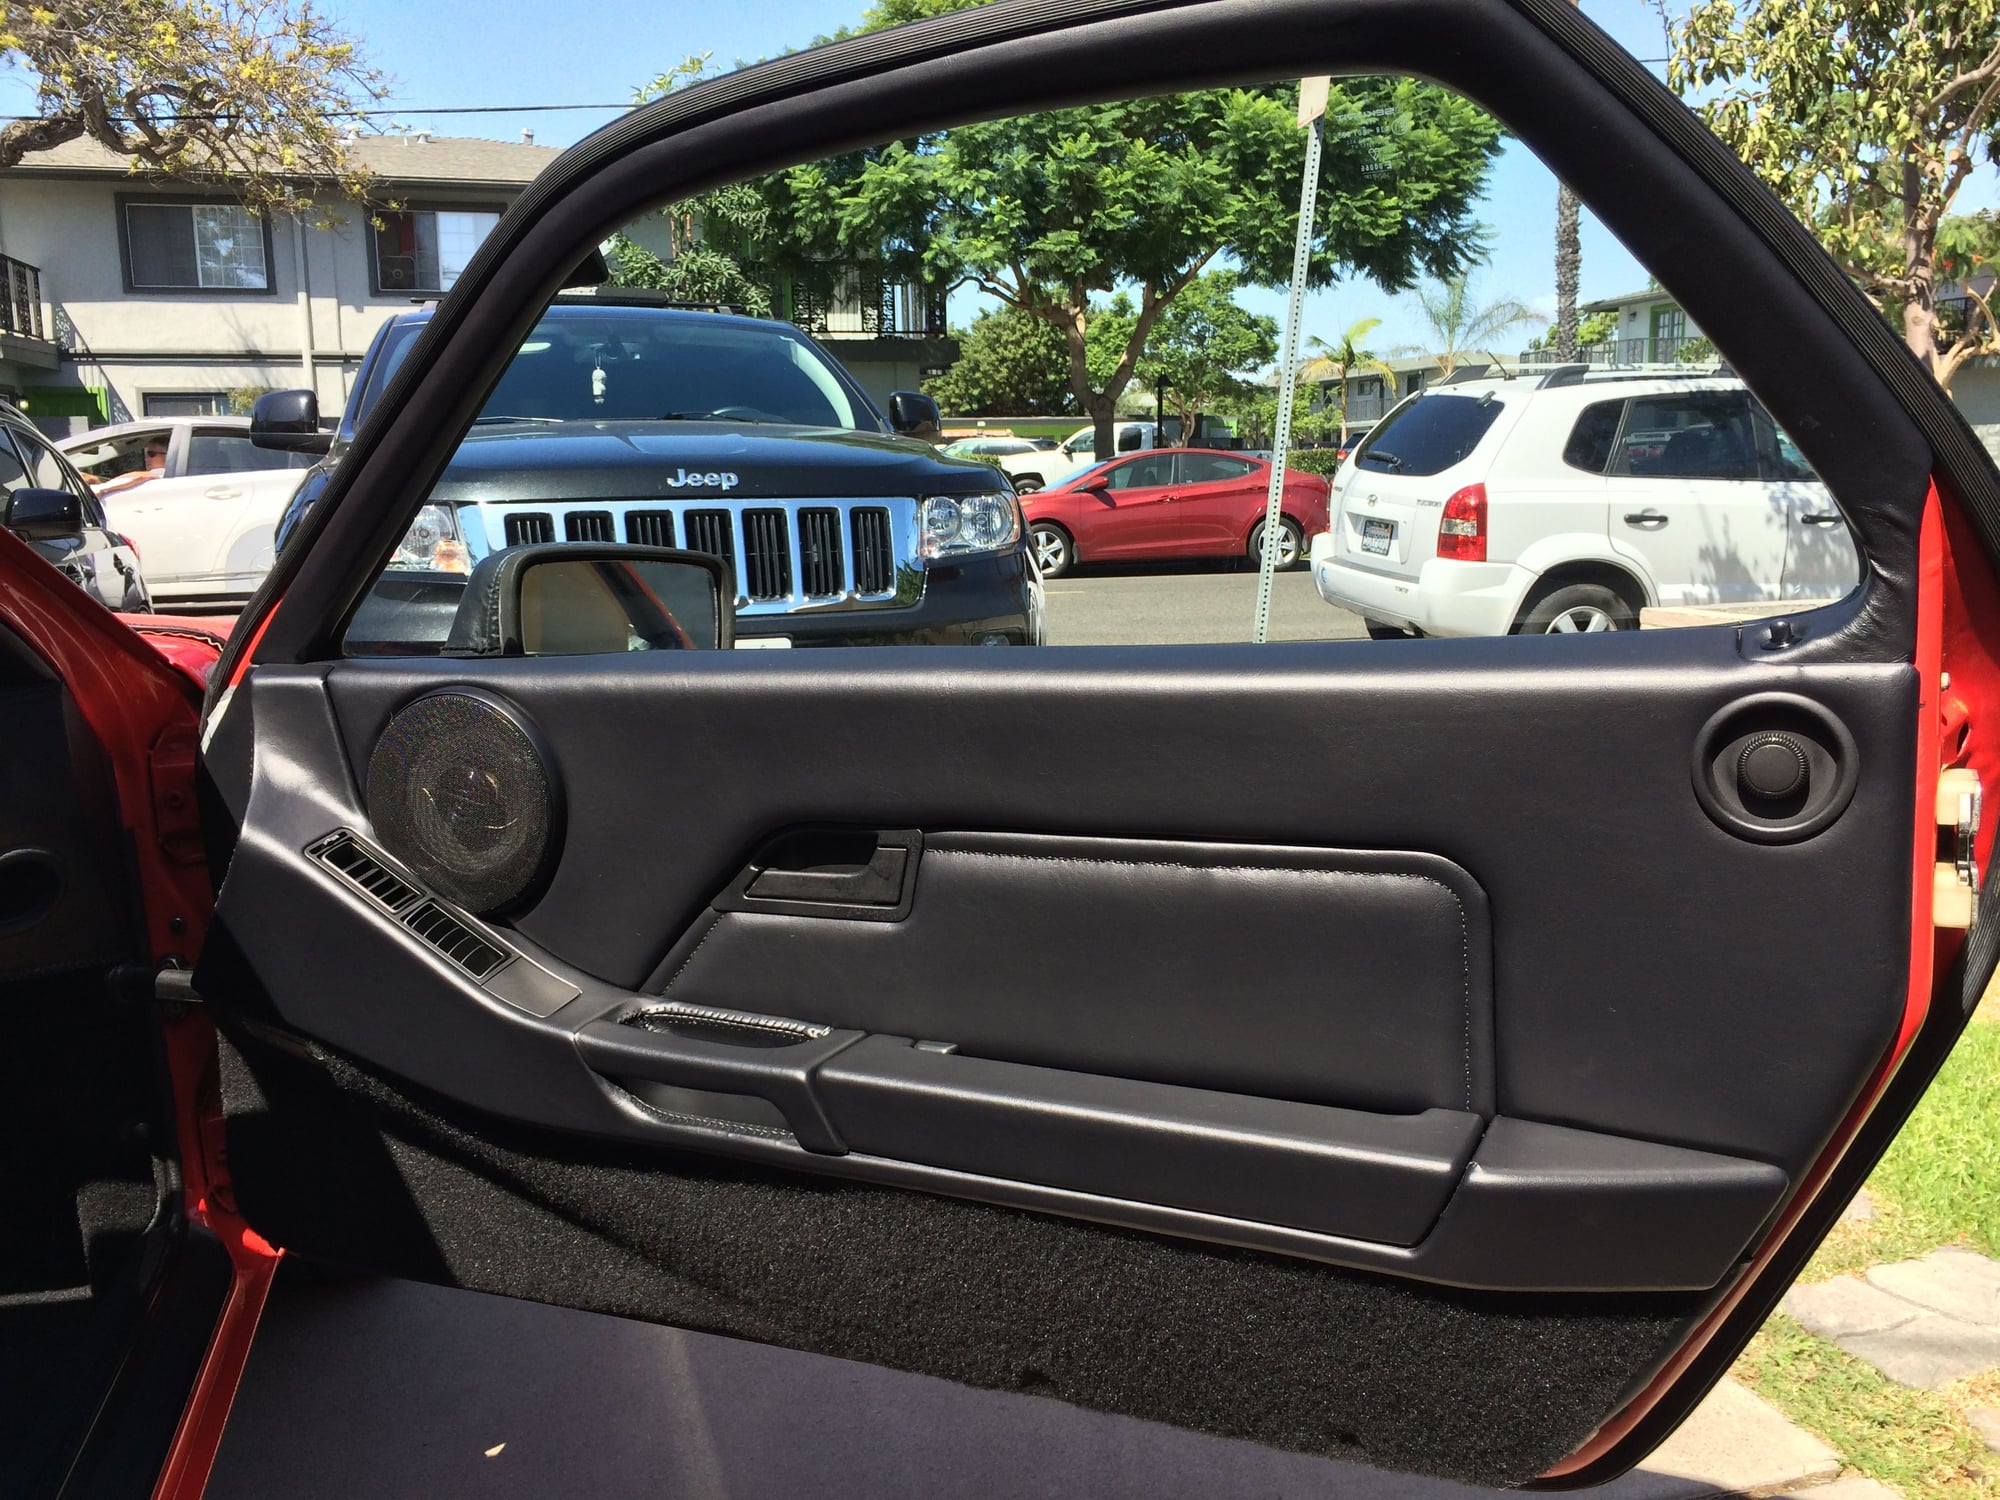
Then I did the DIY doors. Fiberglassed the bottom of the door card, installed, new drip panels and vapor barrier, cleaned up electrical, new speakers, new card inserts, new material, carpet, etc.
Then I did the DIY center console.
The projects kept coming, but I had lots of glue and plenty of De-Oxit. New carpet kit installed. Also sourced a heavy jute padding (23oz?) from a local carpet shop
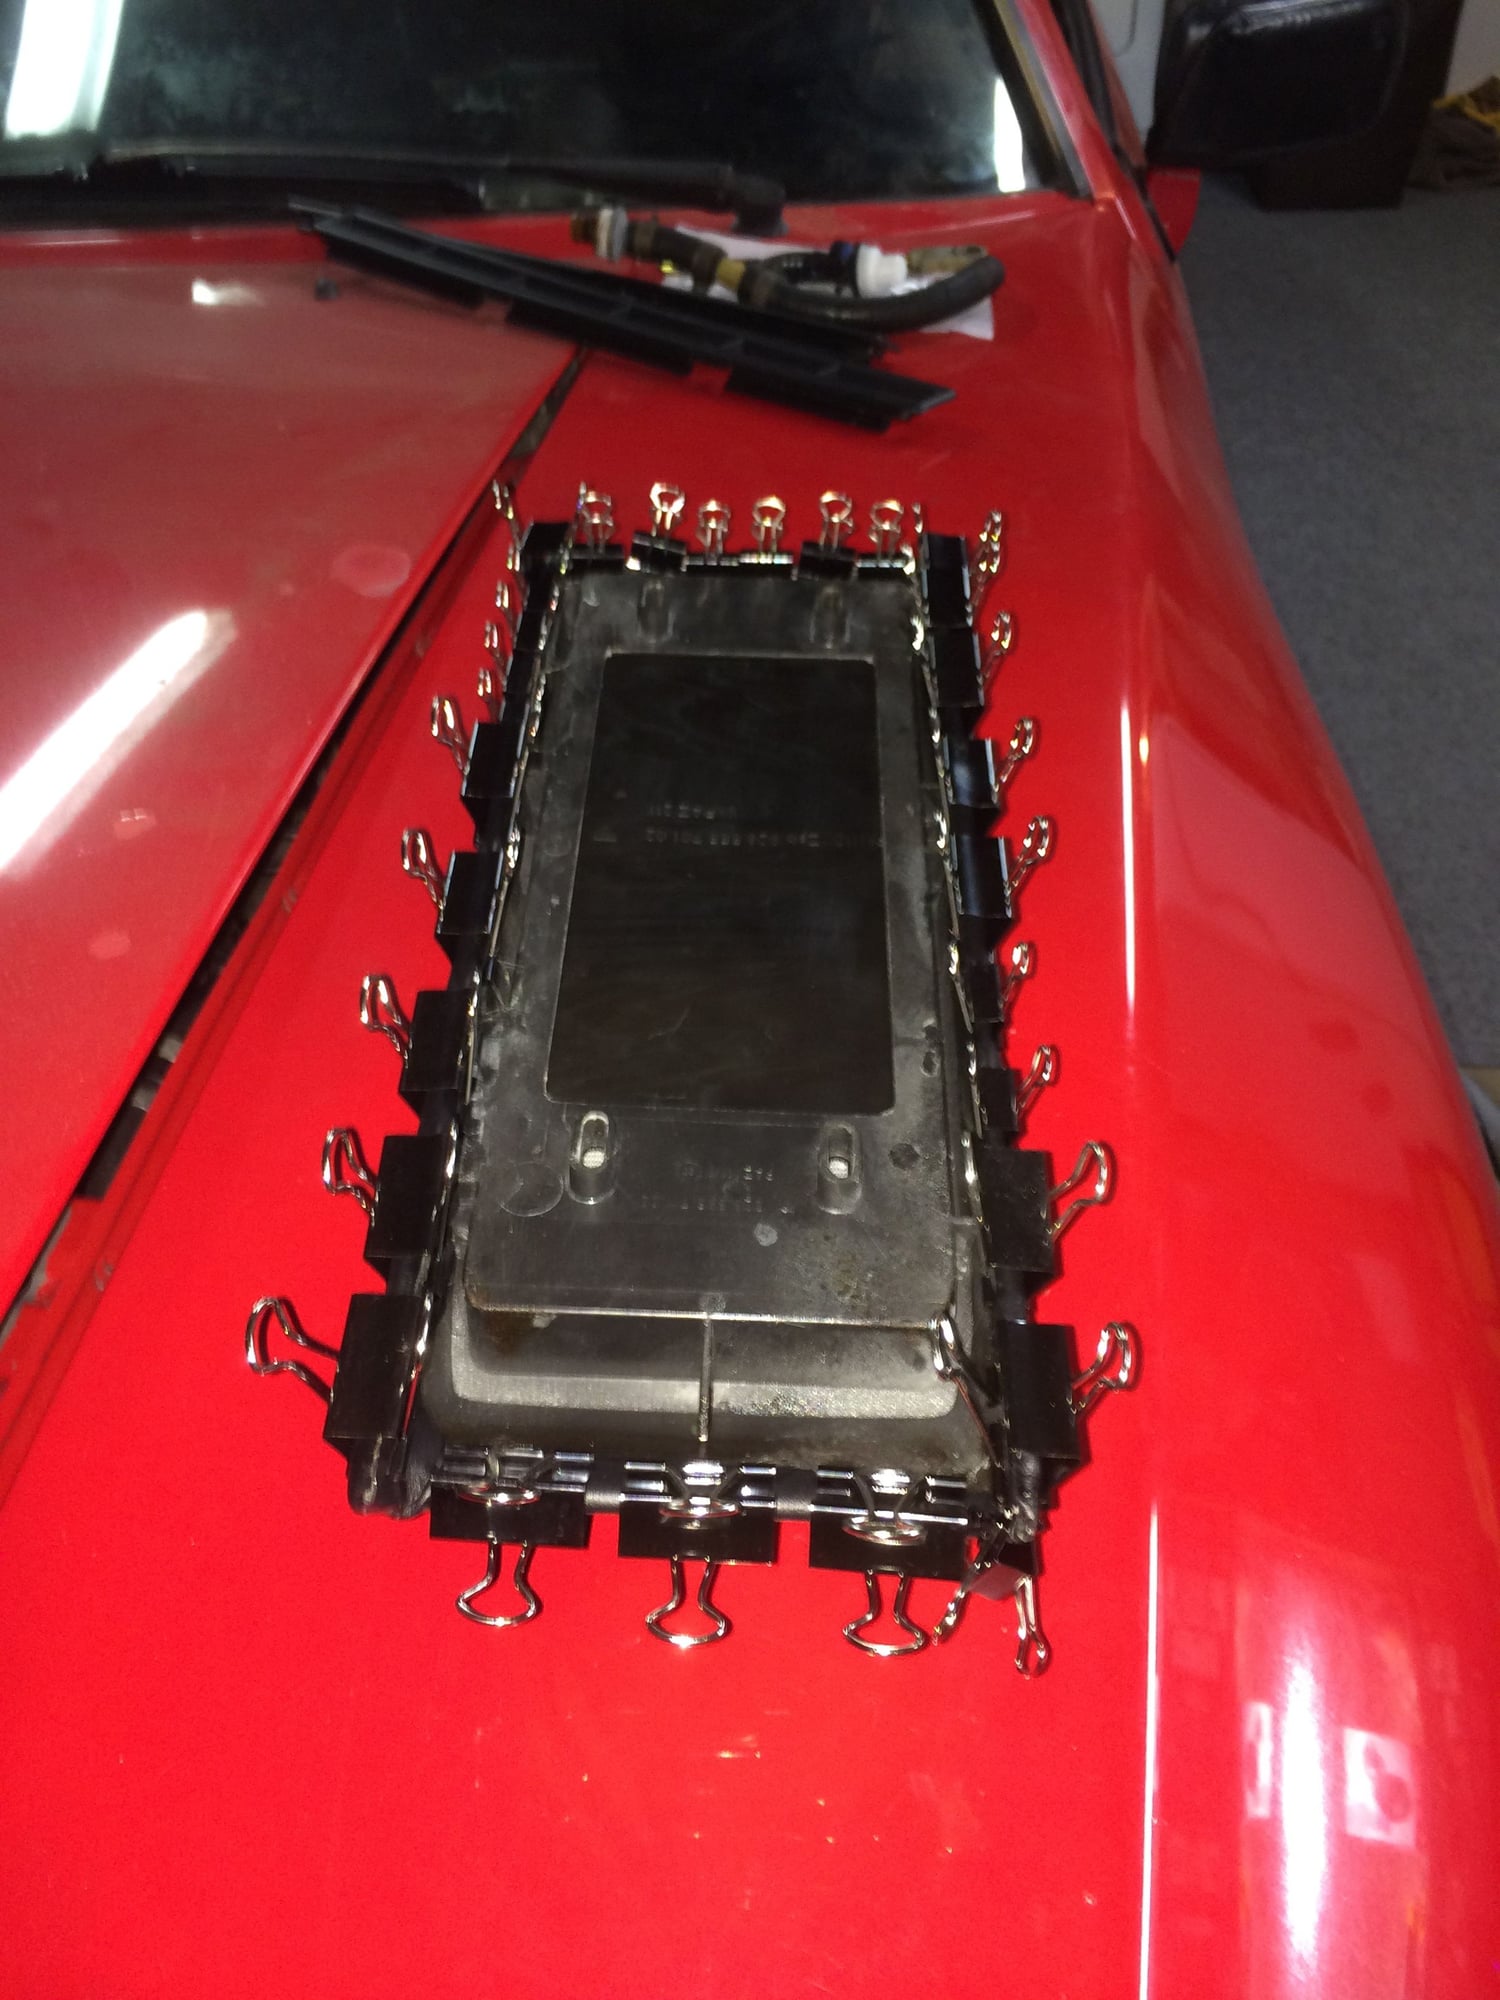
HVAC refresh with bulbs, solenoid switches and vacuum pods replaced.
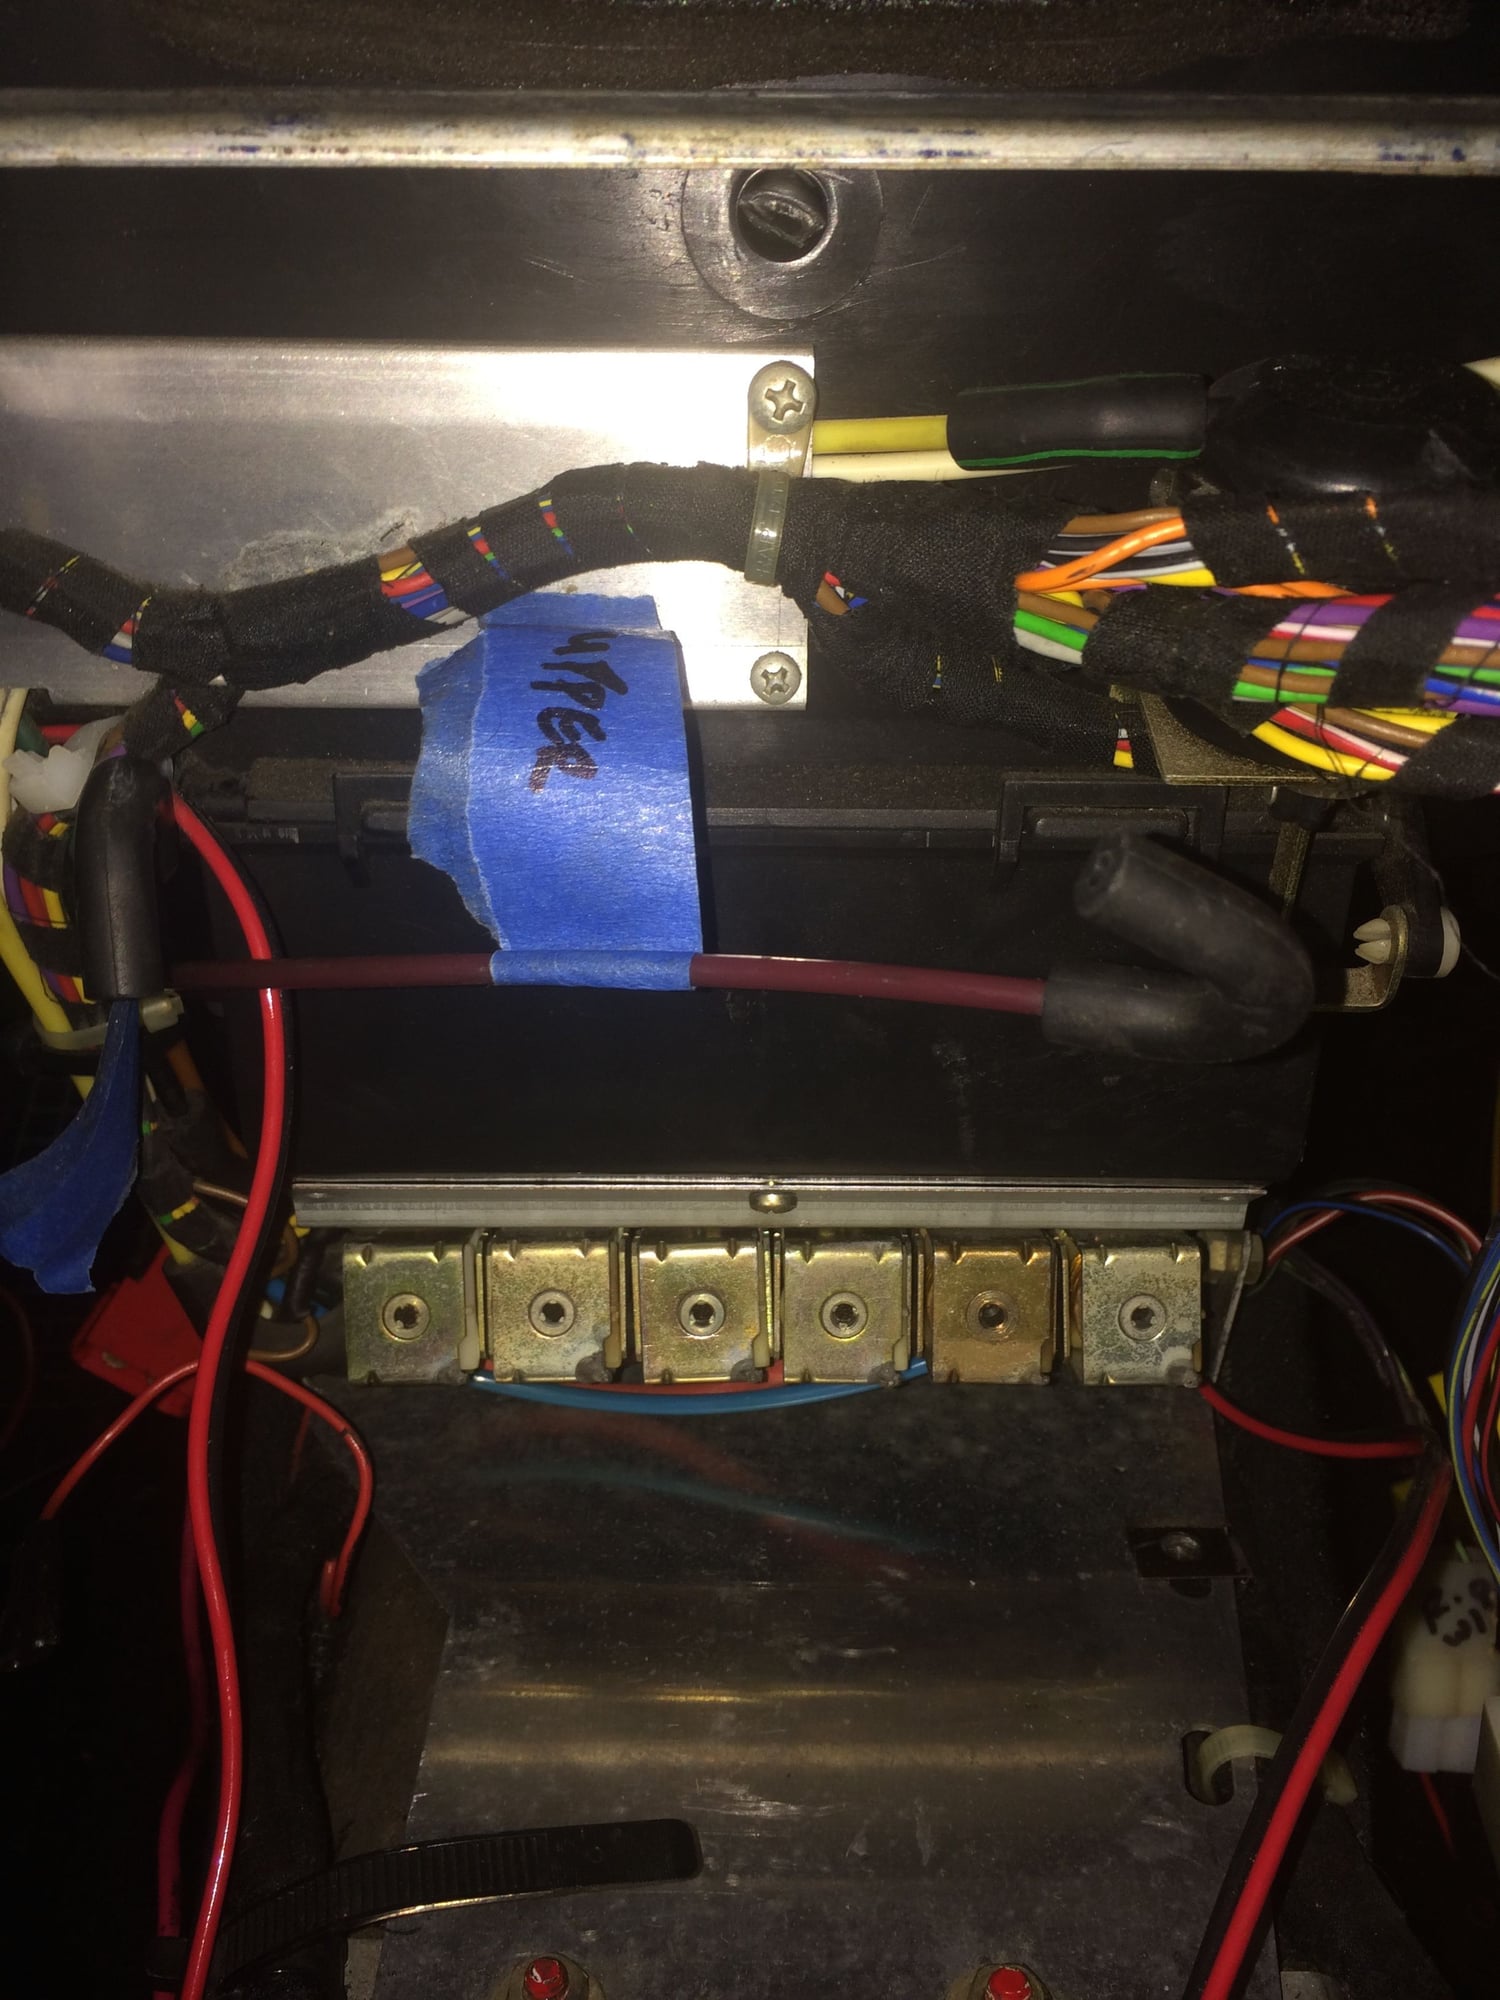
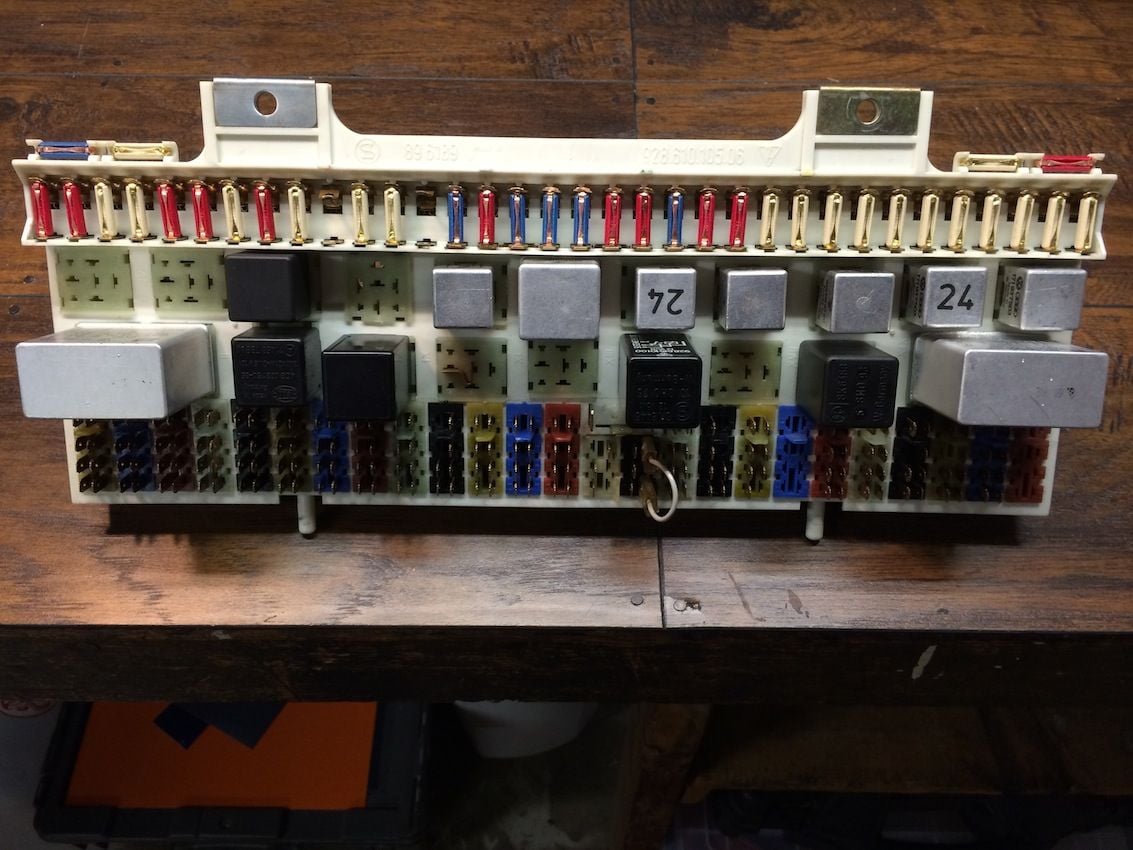
Gauge cluster refresh with new bulbs. New radio and 4 speakers (installed properly after removing miles of garbage speaker wire and ridiculousness) CE panel refresh with all new fuses.
Sunroof refresh. New (used) headliner installed. LED festoons all around for courtesy lighting.
Rear latch refresh (thanks Jerry!)
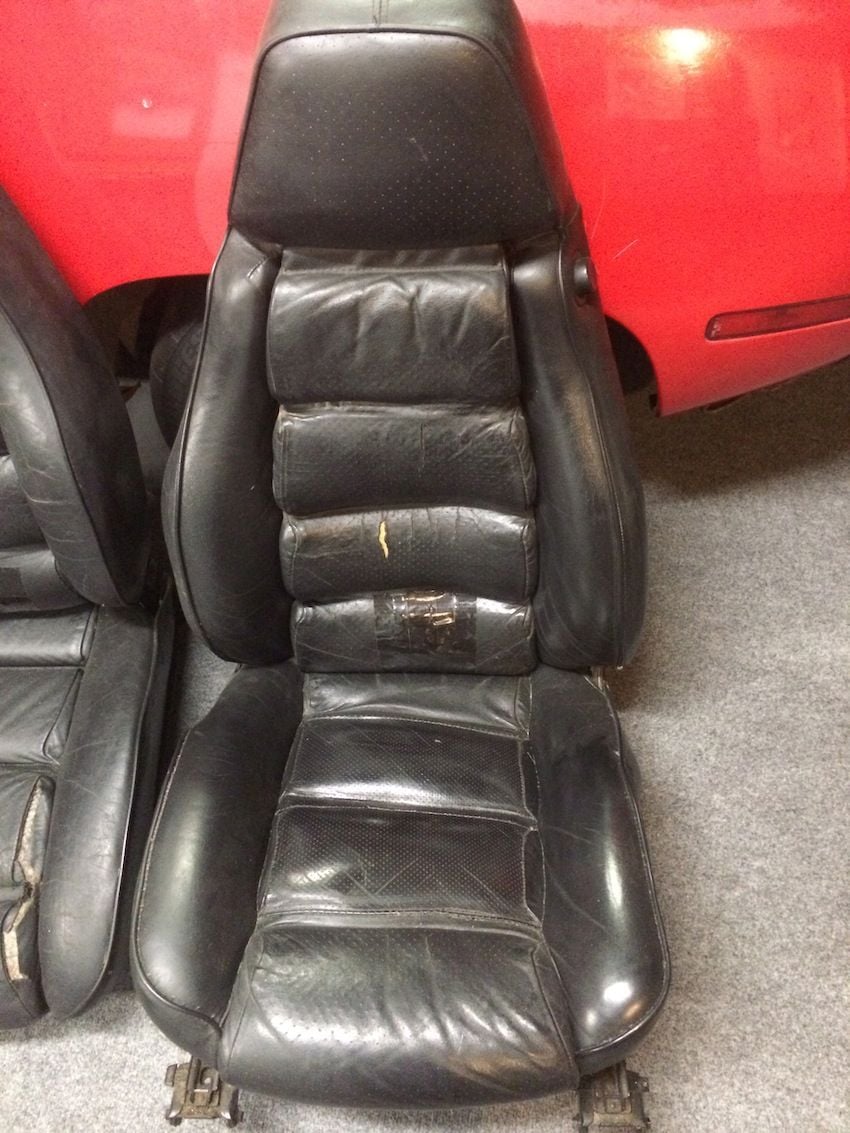
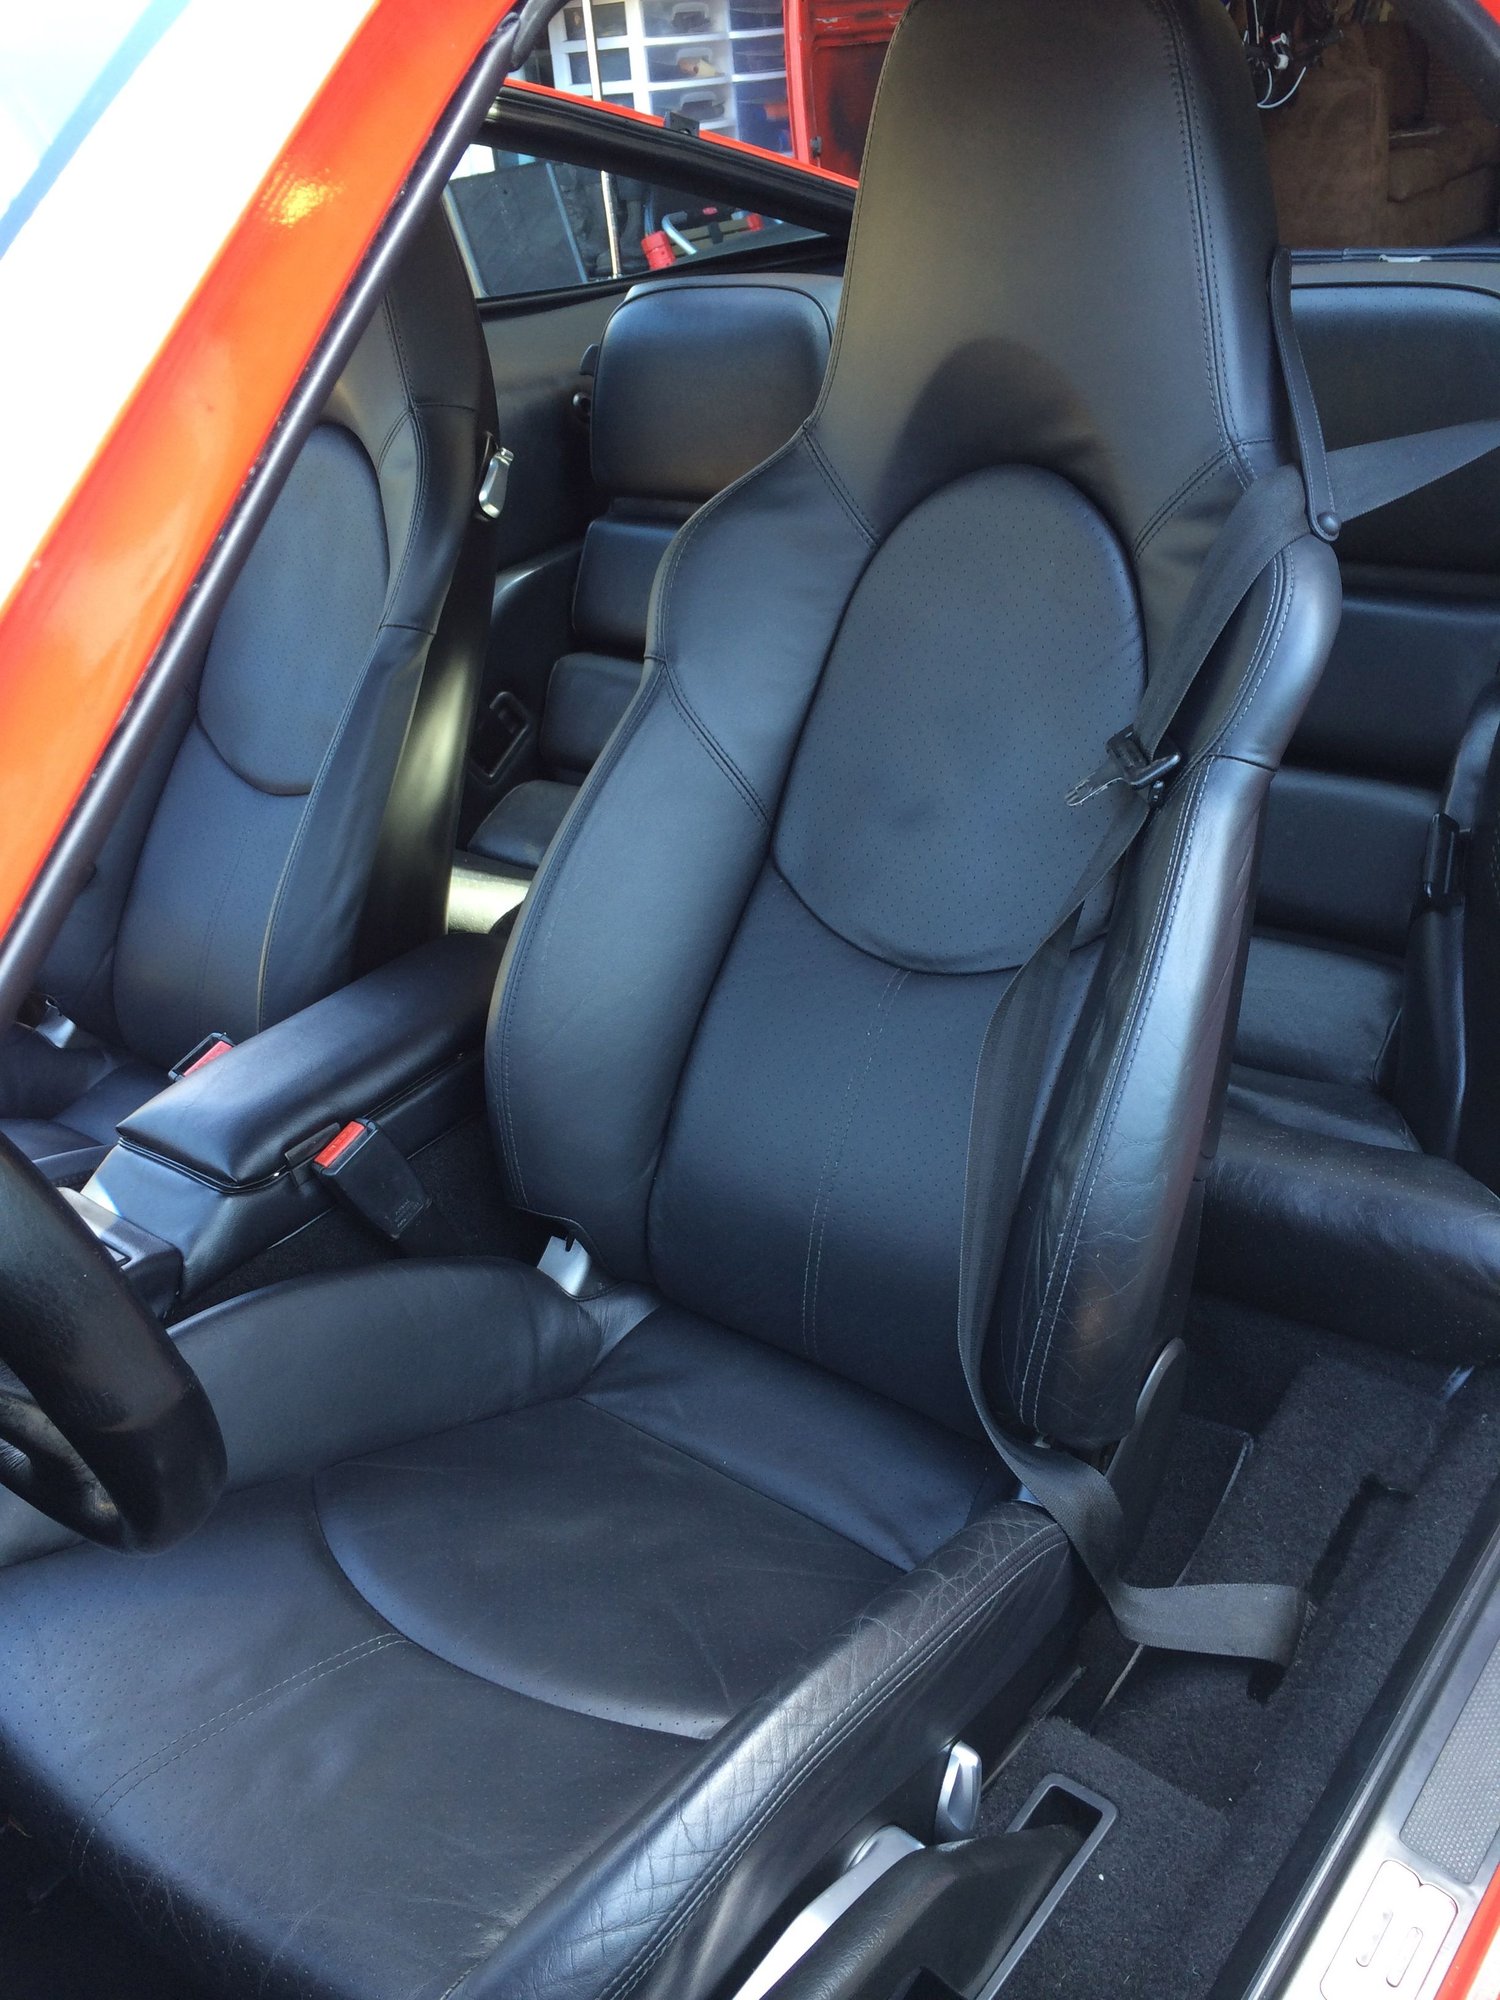
Rear seats were in fair shape, but the fronts needed help. Wish I could've hired Paul, but not at this early stage in the project with still so many unknowns. OB seats go up on the garage rafters for now to collect dust and patina. Went through a couple different ideas before settling on this pair of 997 sport seats. While not original, I love the look and feel and there is a nice noob-doable DIY write up in the 964 section of the forum.
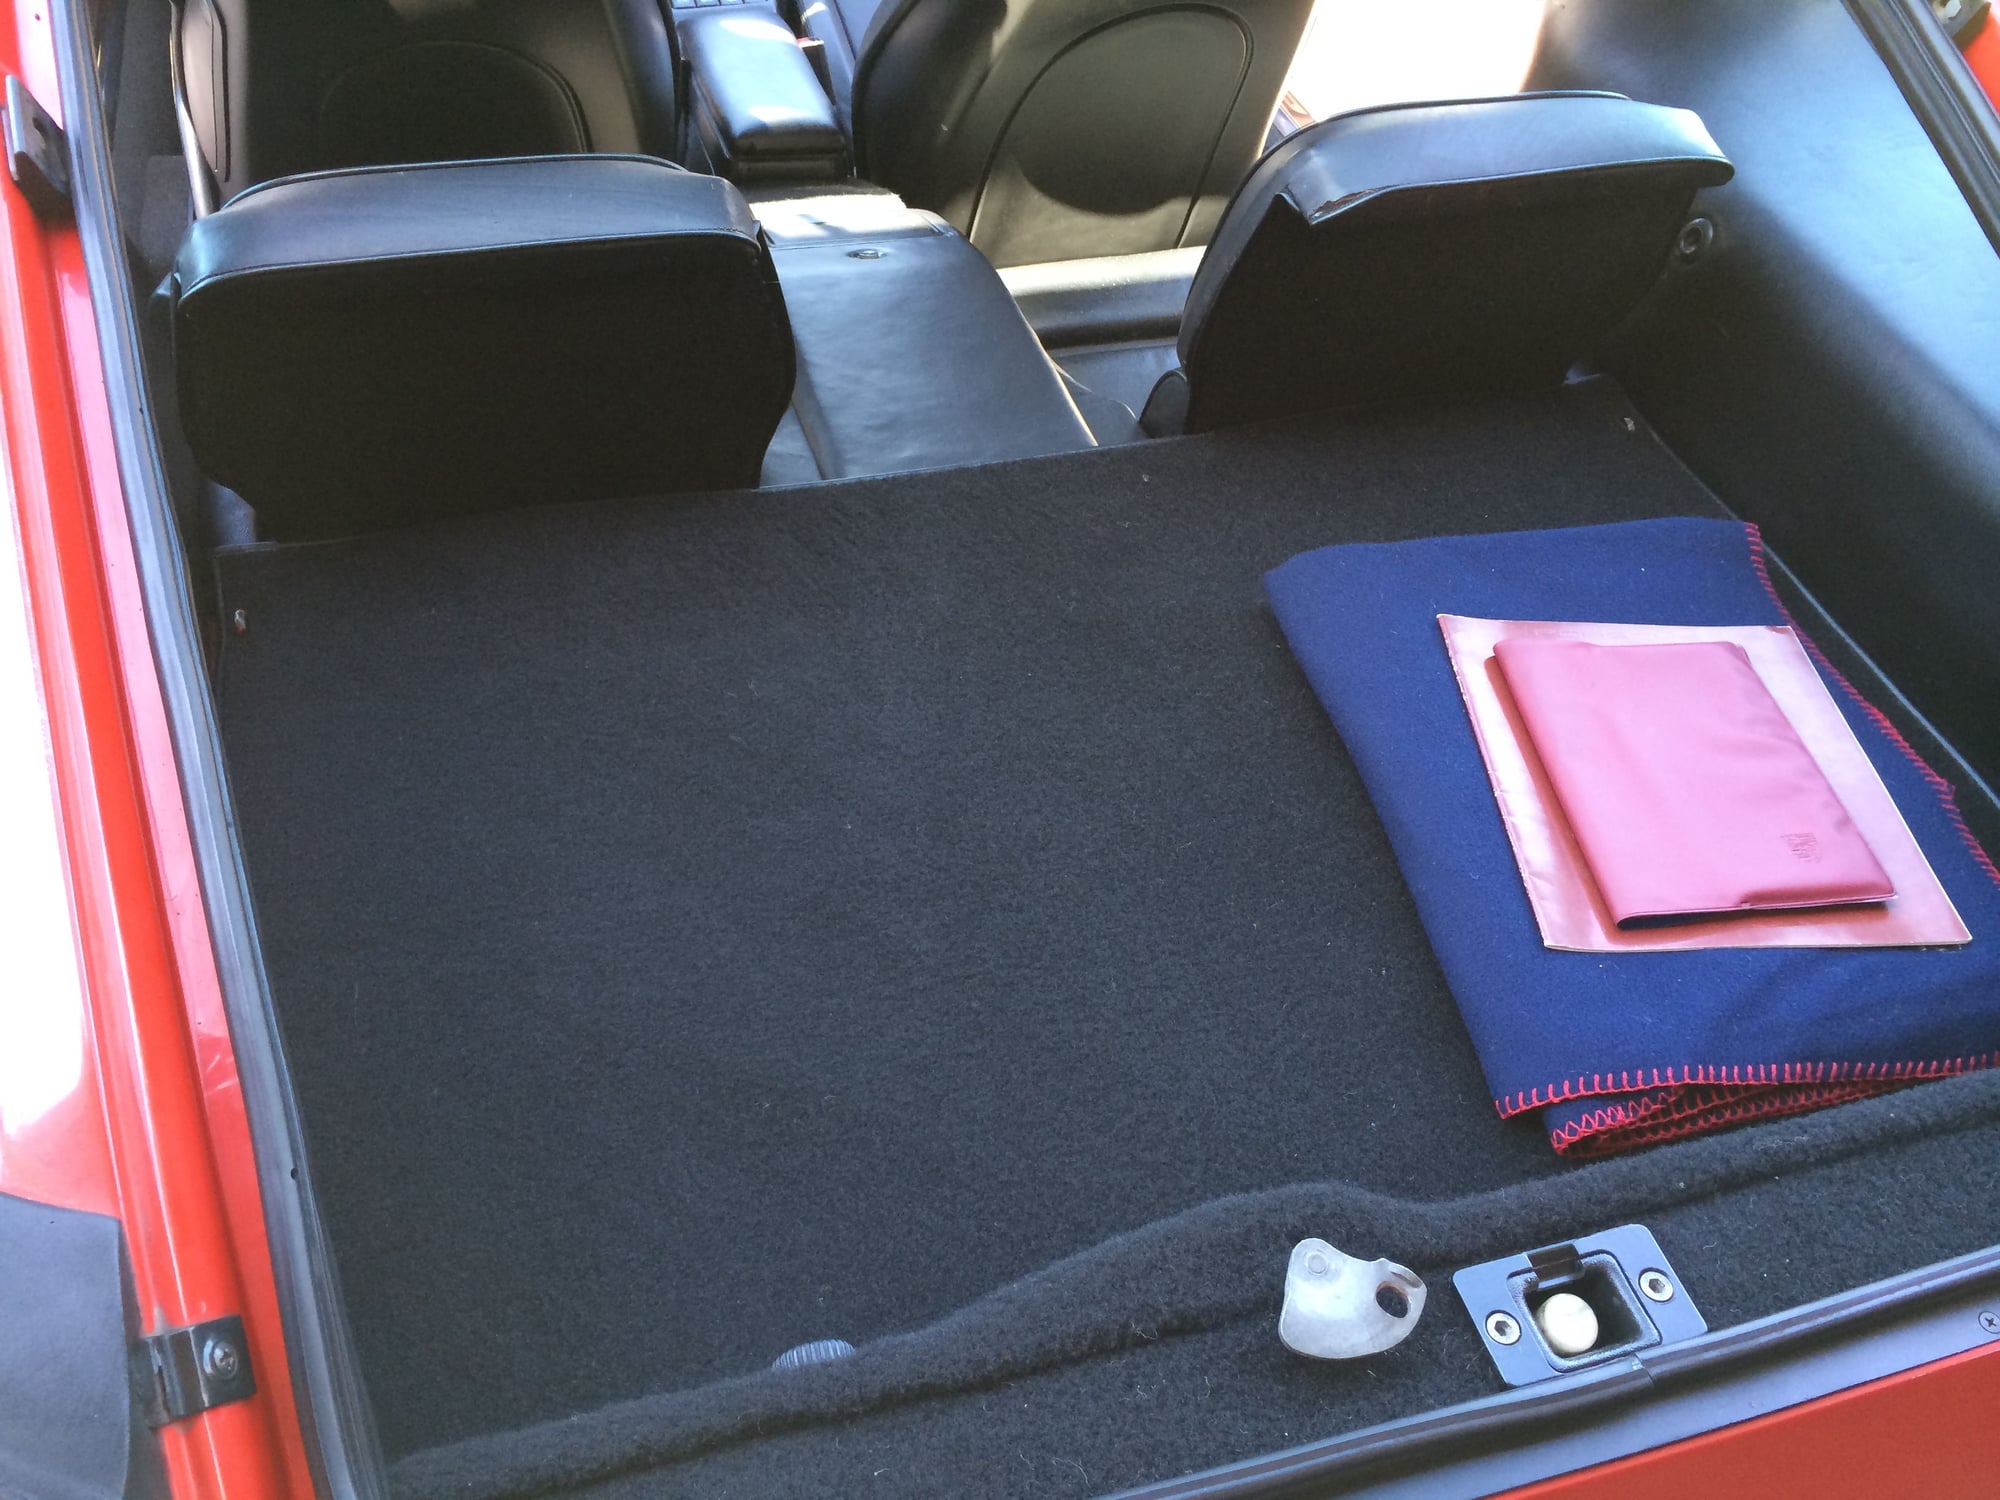
I finished the interior in October '14, and to reward myself, I got a cargo cover from Rich. Its super awesome black on black, despite the horrible phone picture. Sorry Rich, Ill post another when I roll this pig back out into the sunlight.
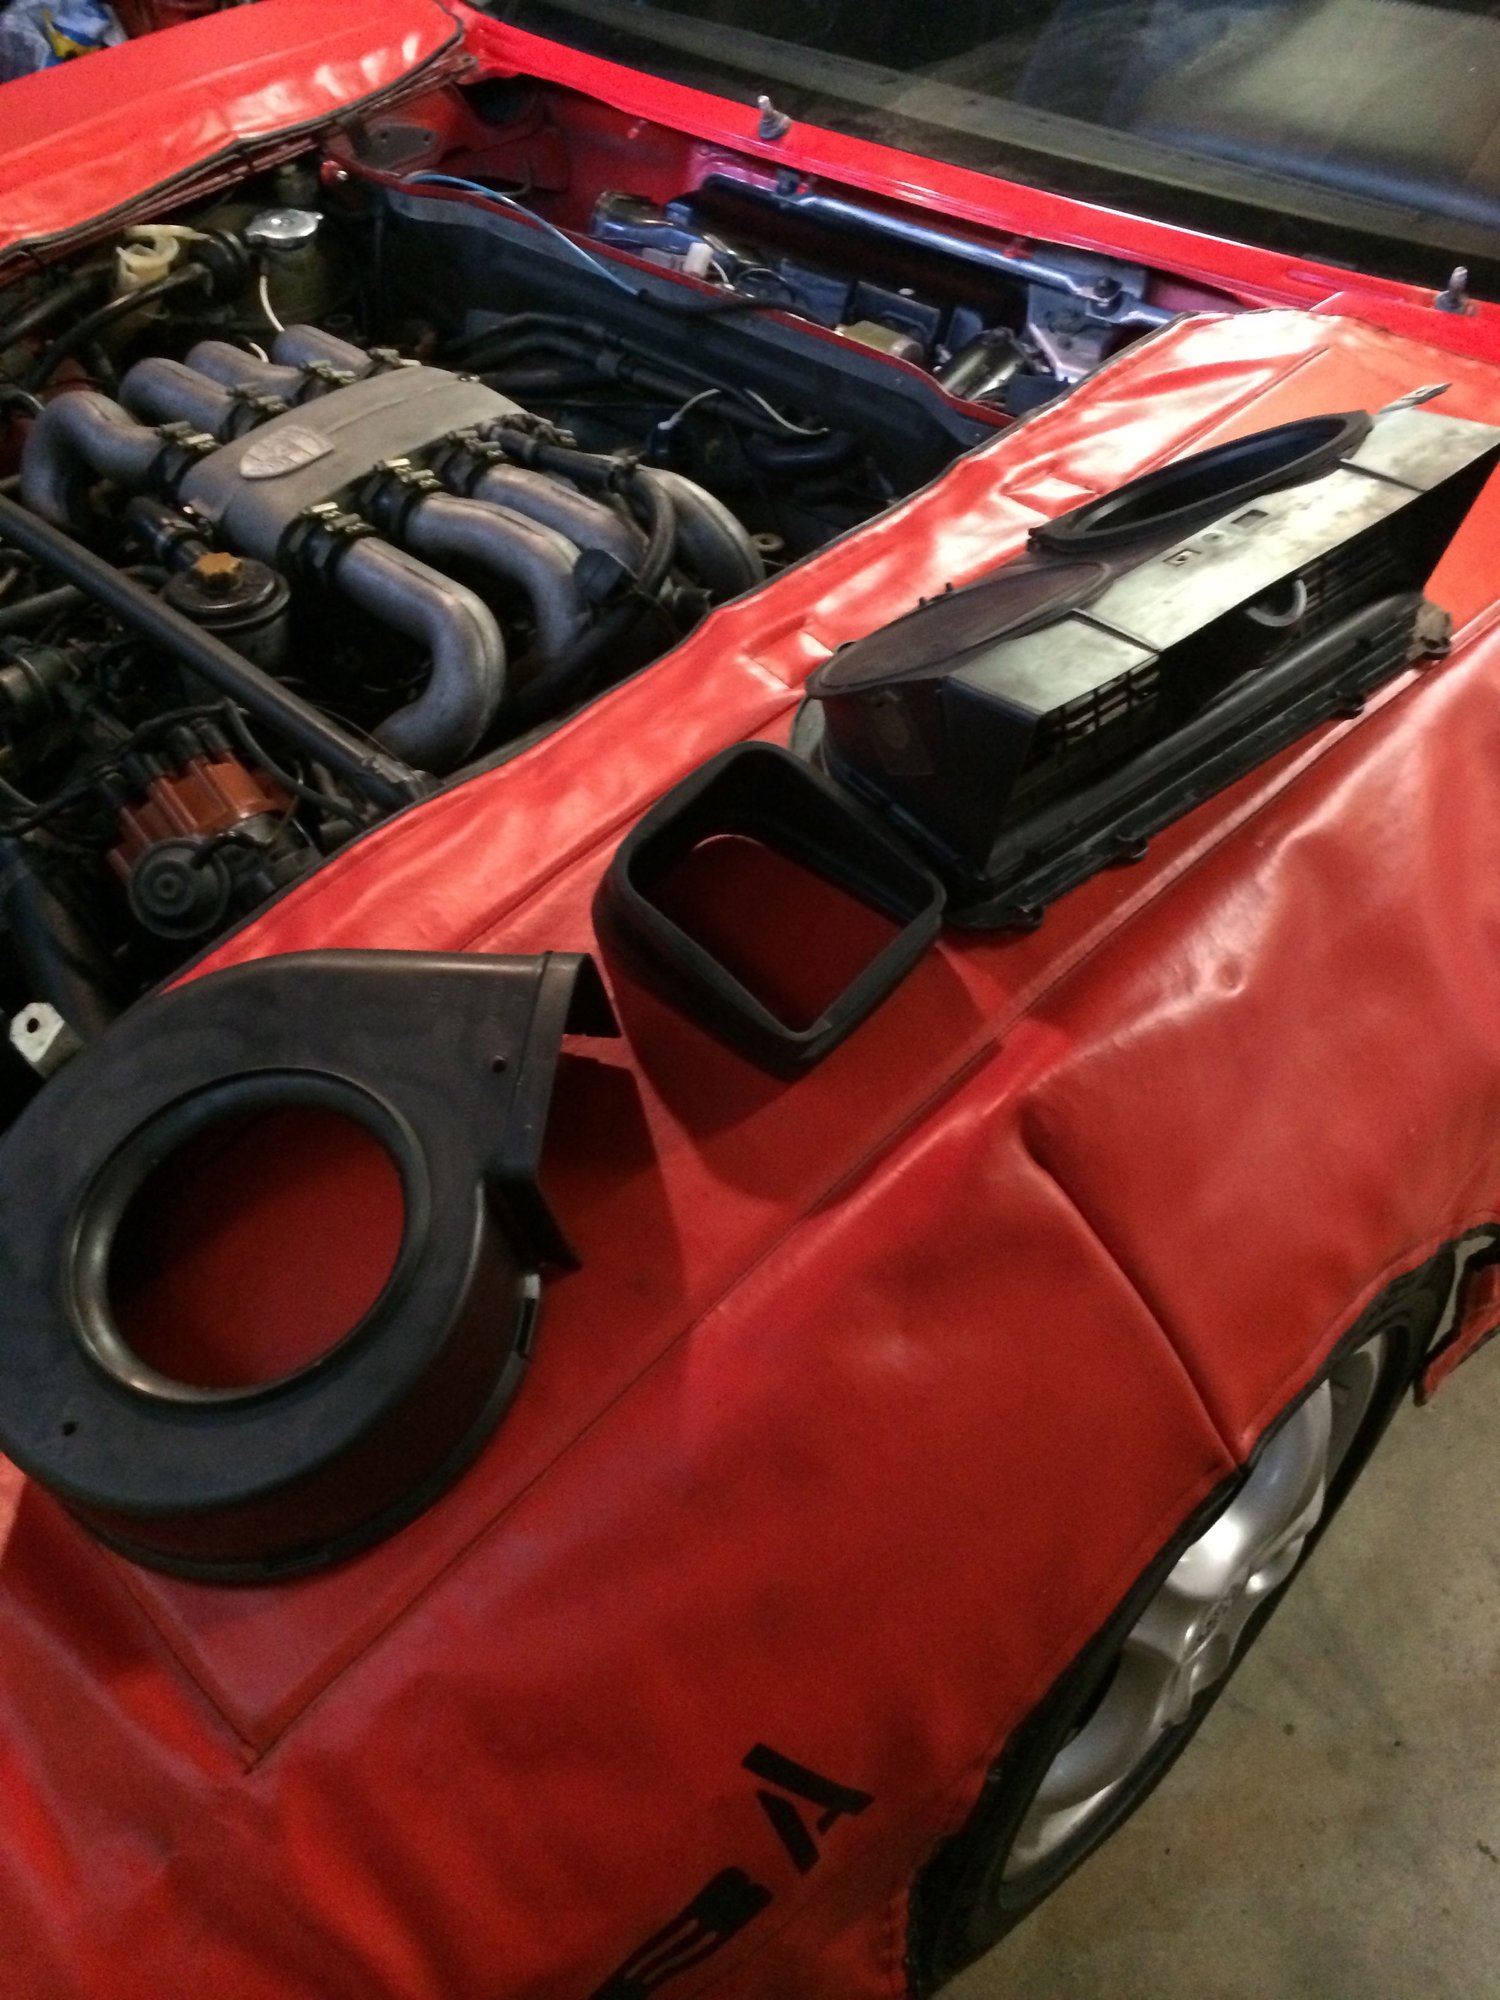
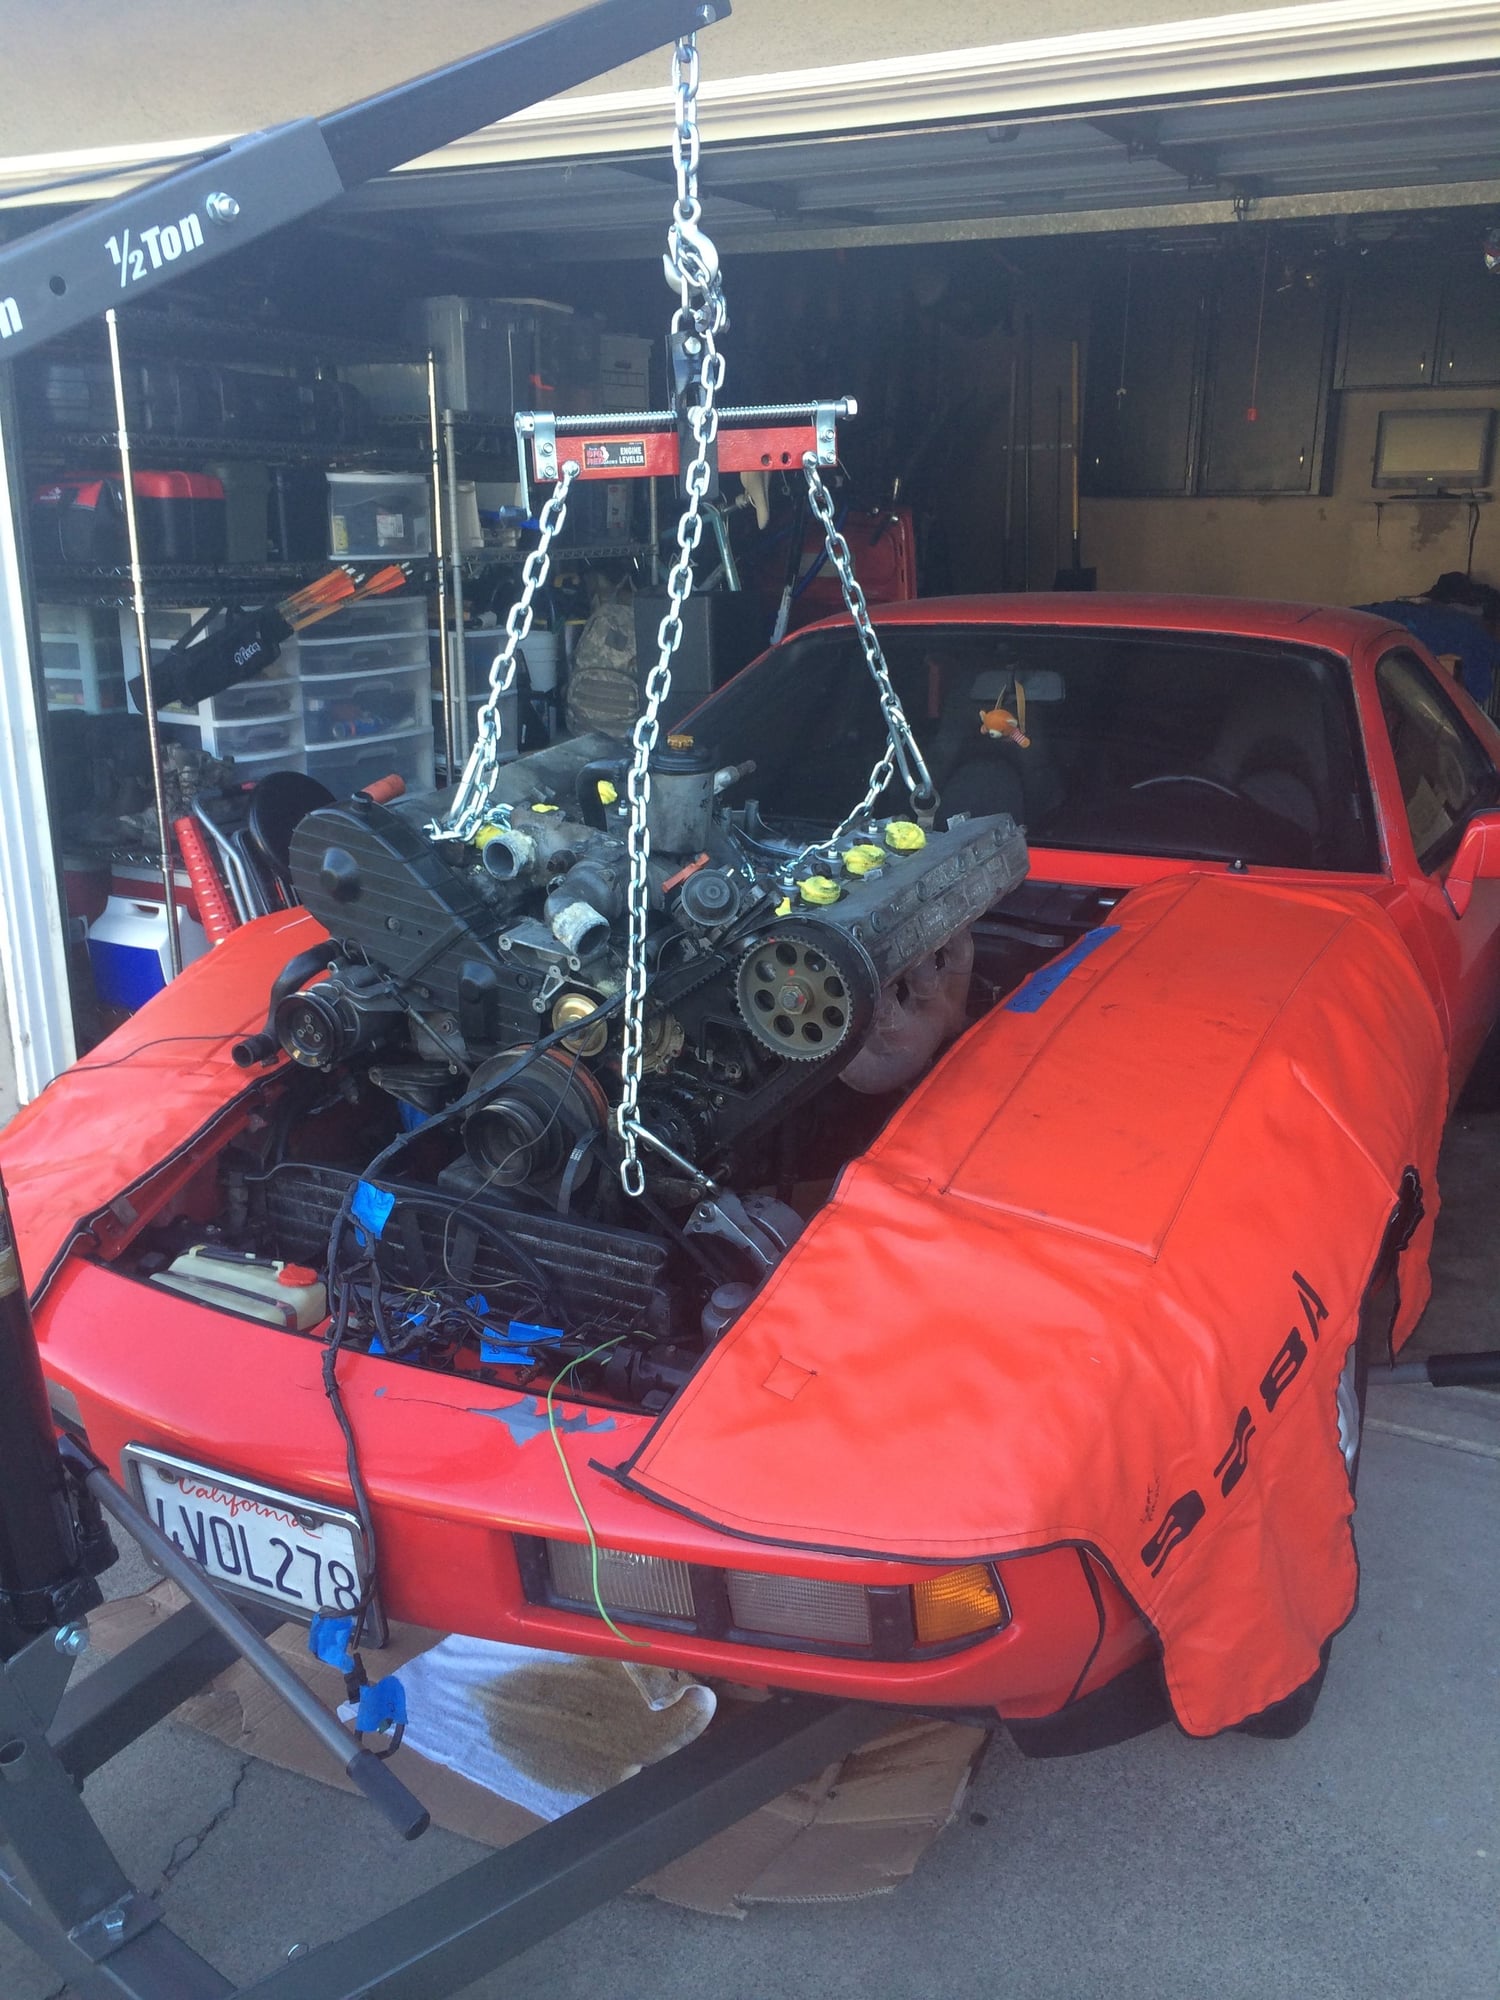
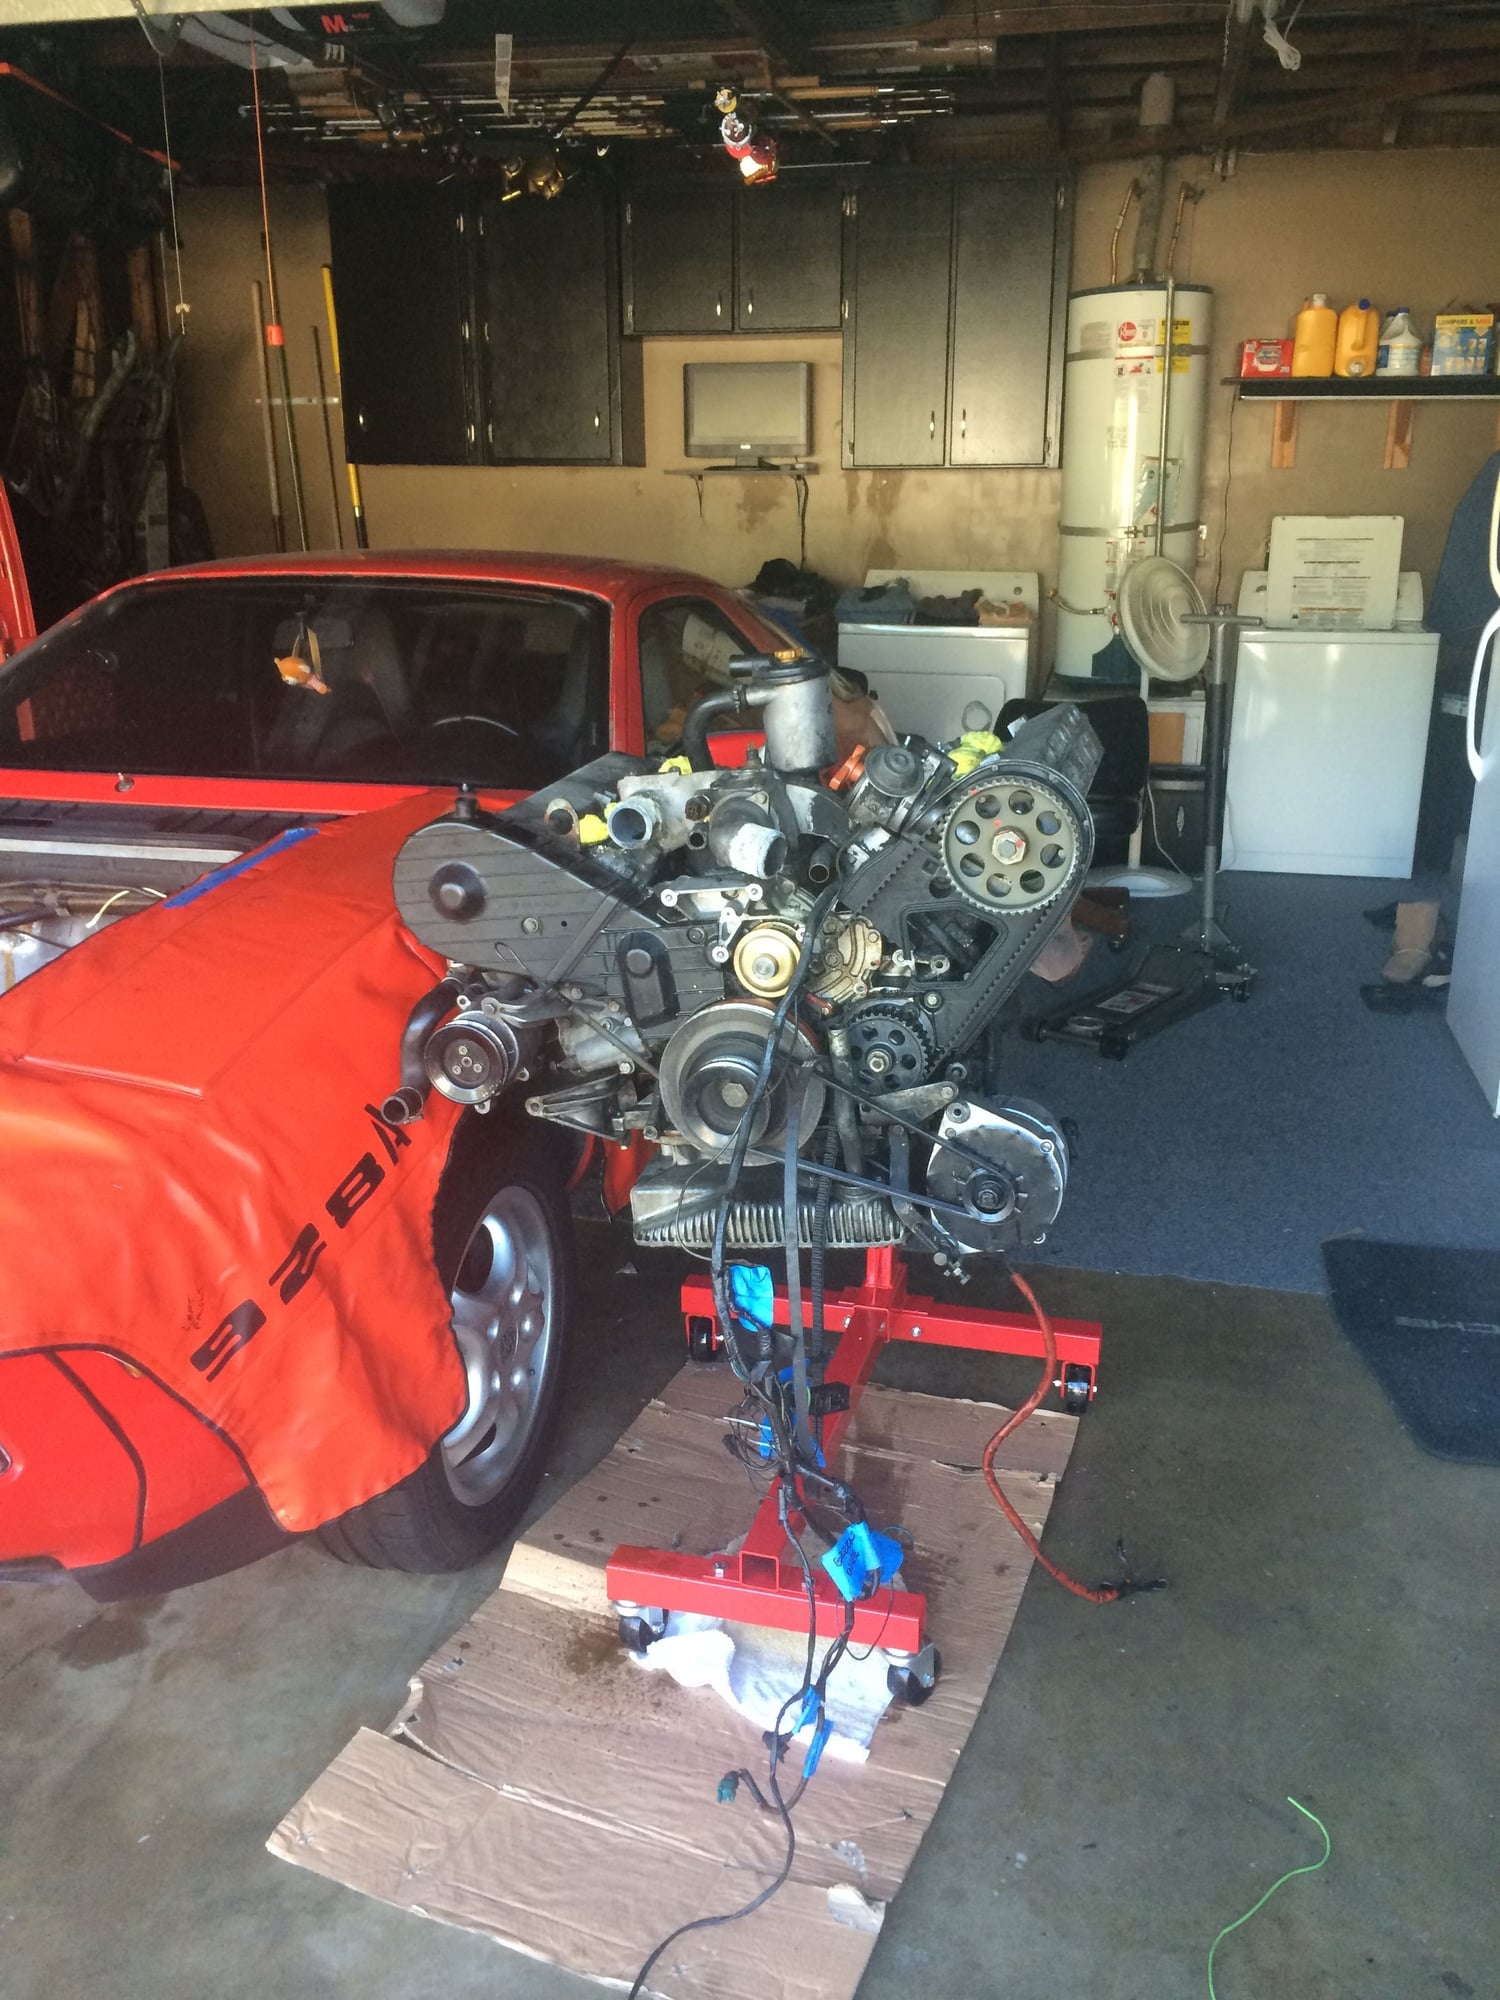
OK so now Im ready to start the mechanics. Everything works, but everything needs attention. Ive now gained some confidence by successfully completing the HVAC, sunroof, CE panel projects, etc. Ive been reading the forum religiously and I understand at least a few pages of the Bosch book. Im armed with a decent tool set, common sense and patience. I got a new factory cat and O2 sensor from 928intl and I already have new spark plugs. Not because its time for this, but because I know Ill need these items to get through smog later. Mainfolds are stock, aft of cat is Borla SS. Engine disassembly begins. Per WSM. Everything (and this goes for the interior too, the entire project really), everything gets marked, bagged, labeled and photographed, everything, or else Im screwed when it comes time to re-assemble. This is a long-*** process, especially when youre only working a couple hours at a time. Virtually every bolt was marked with a paint pen and photographed for orientation purposes when re-assembling. Lots of nasty funk everywhere. The pictures don't accurately depict how much funk there was
Everything is yucky
Everything leaks
Not for long.
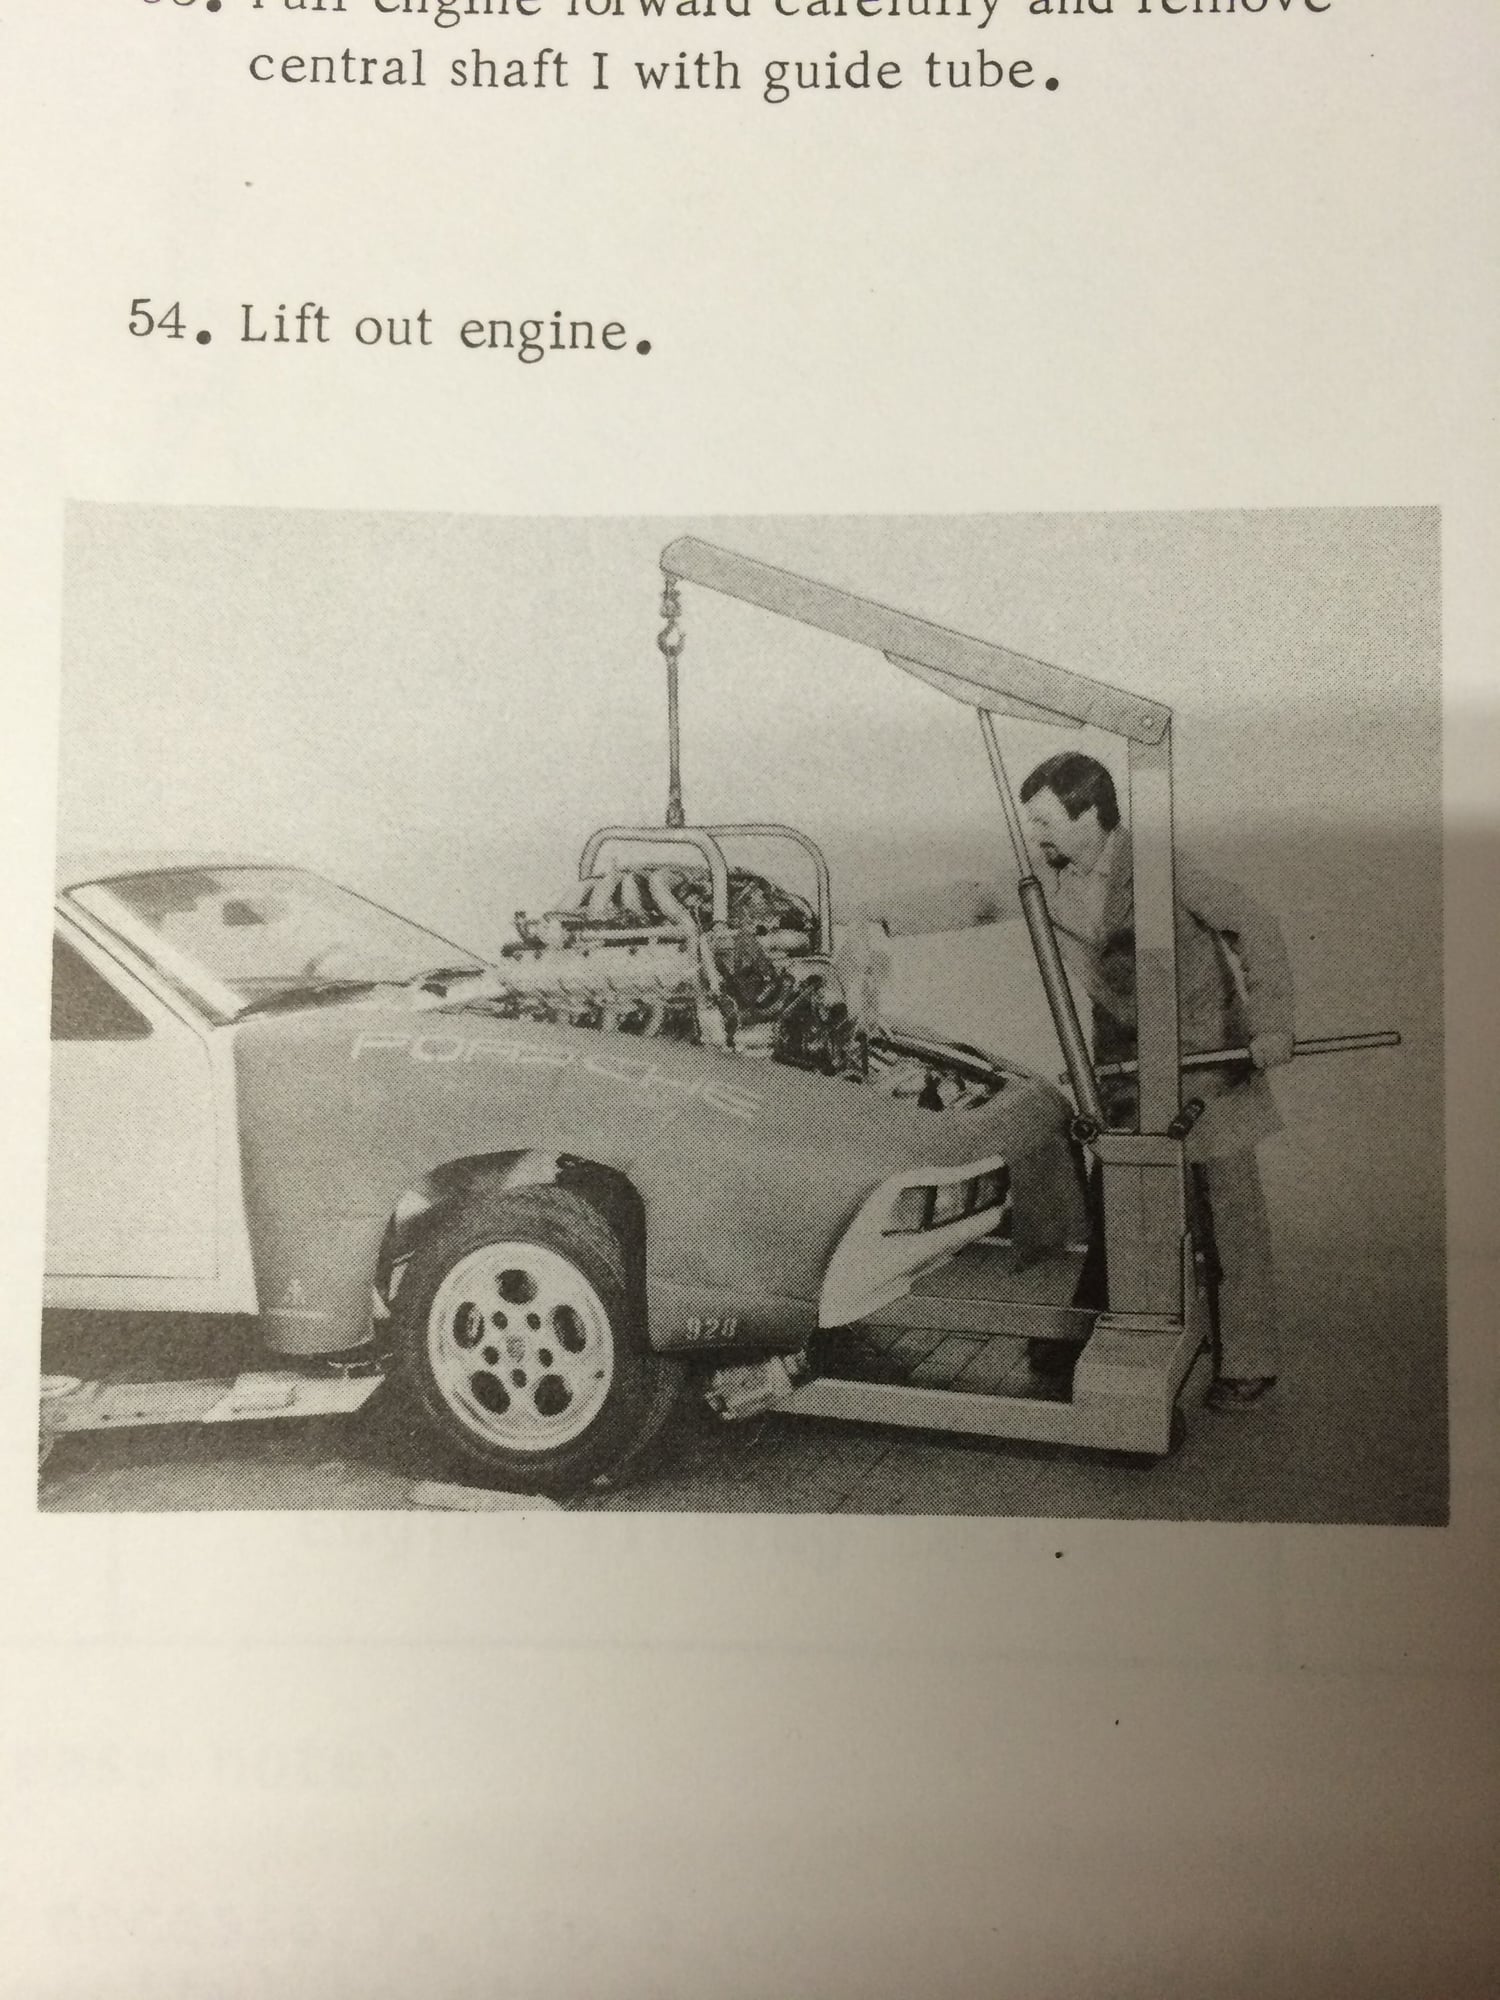
I wanna look like that guy!
I sourced an engine hoist, an engine stand and a Snap-On digital torque wrench.
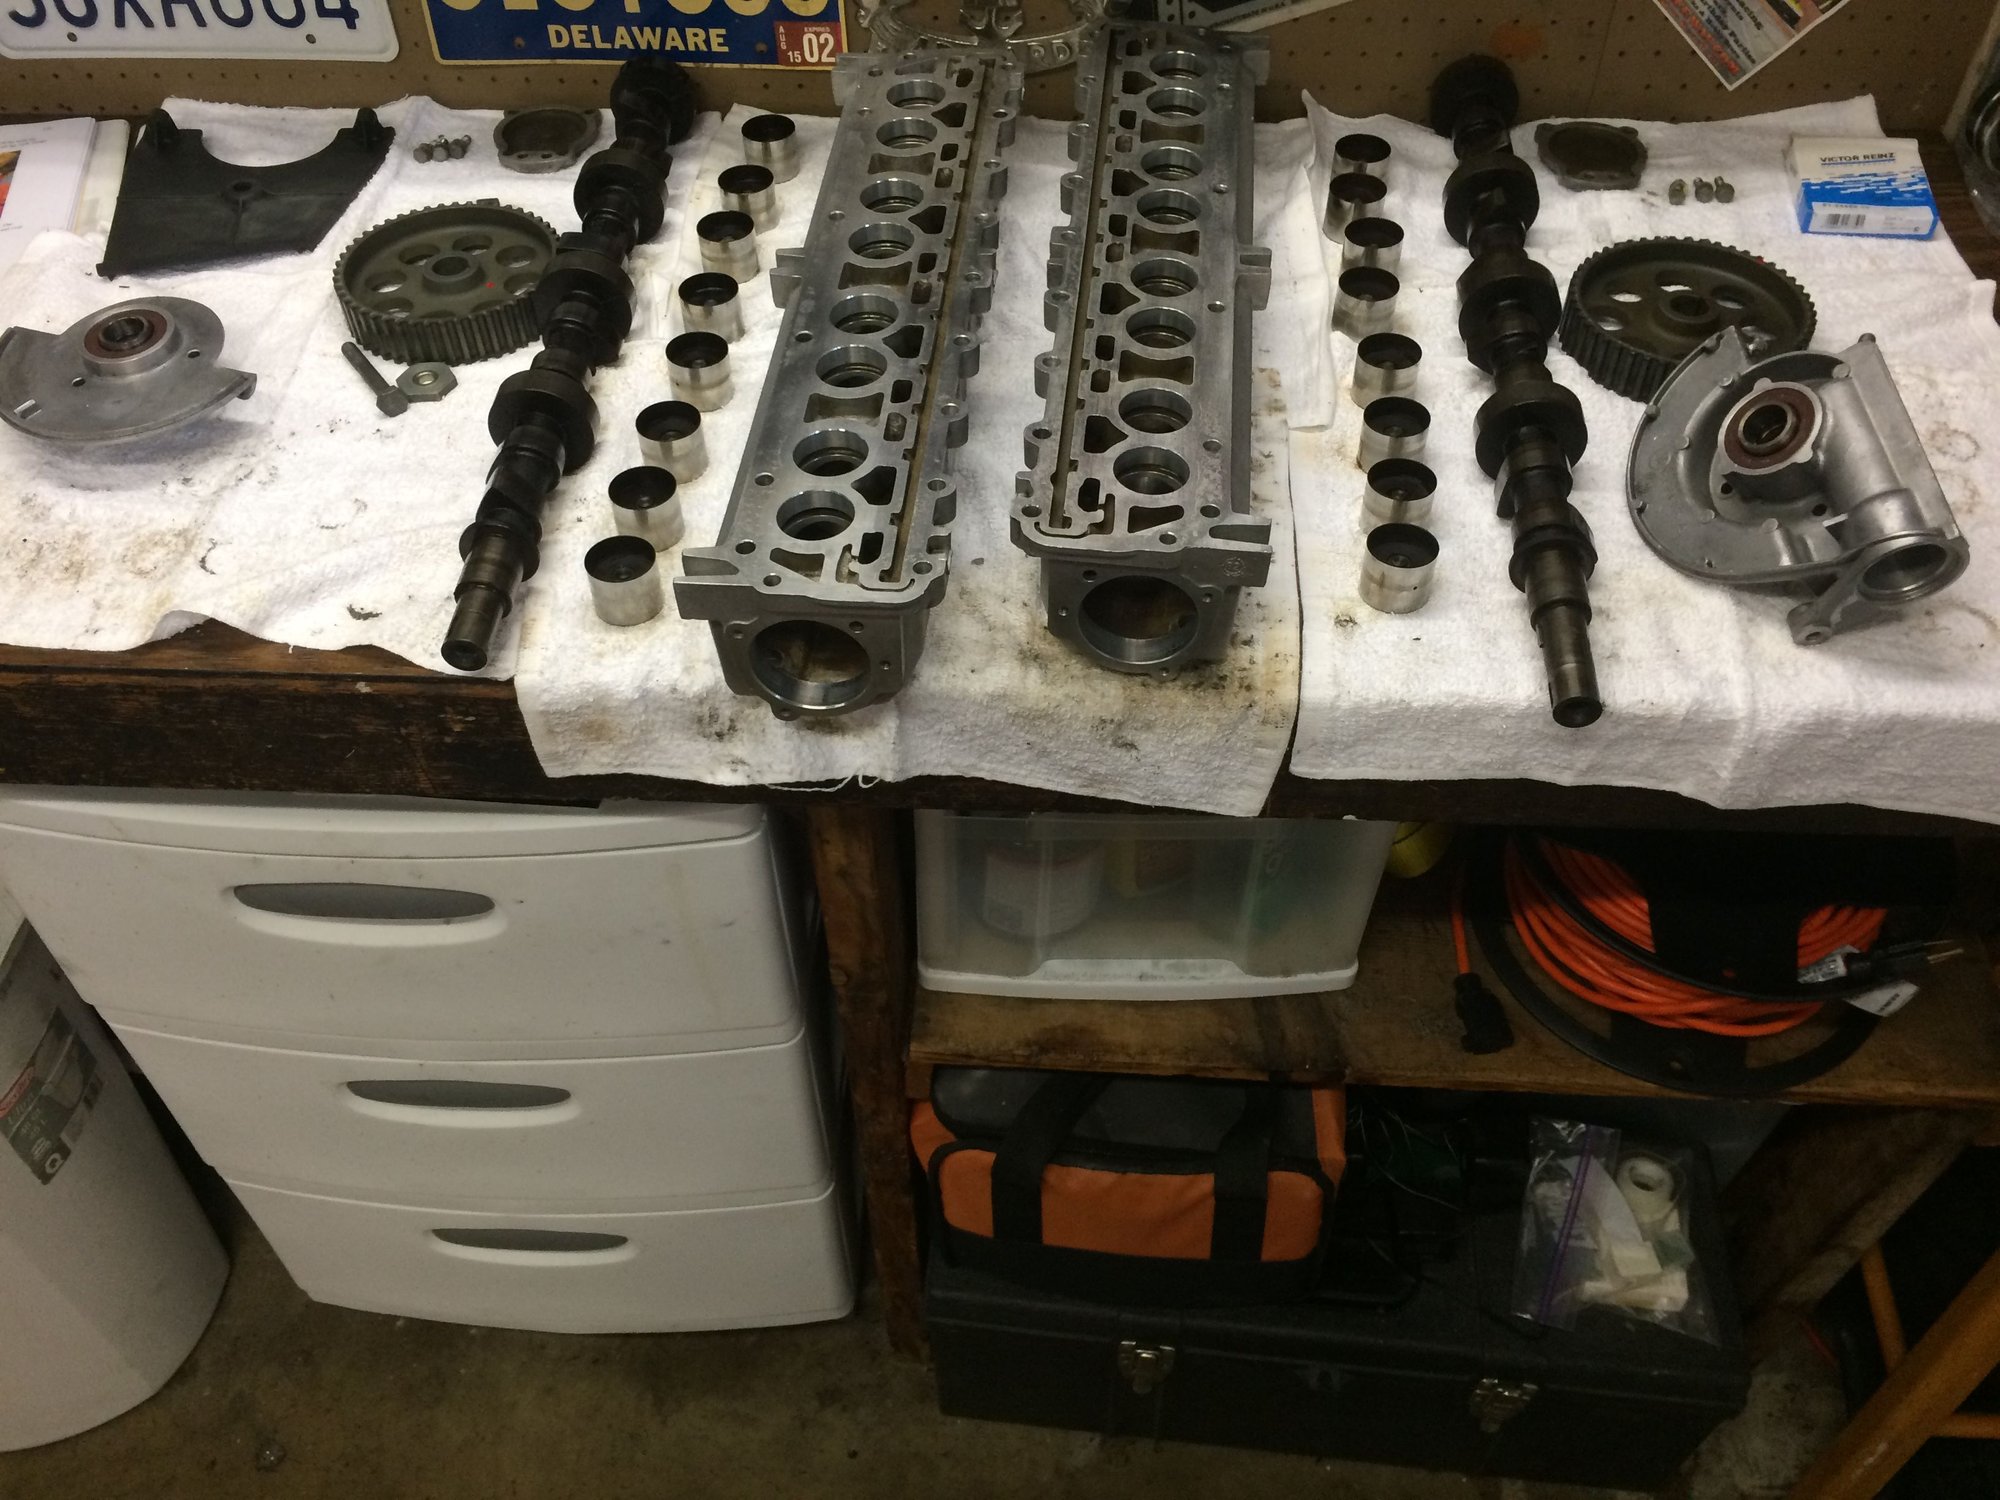
Heads were a little messy so they were sent to a local guy for cleaning, guides, seals and some welding.
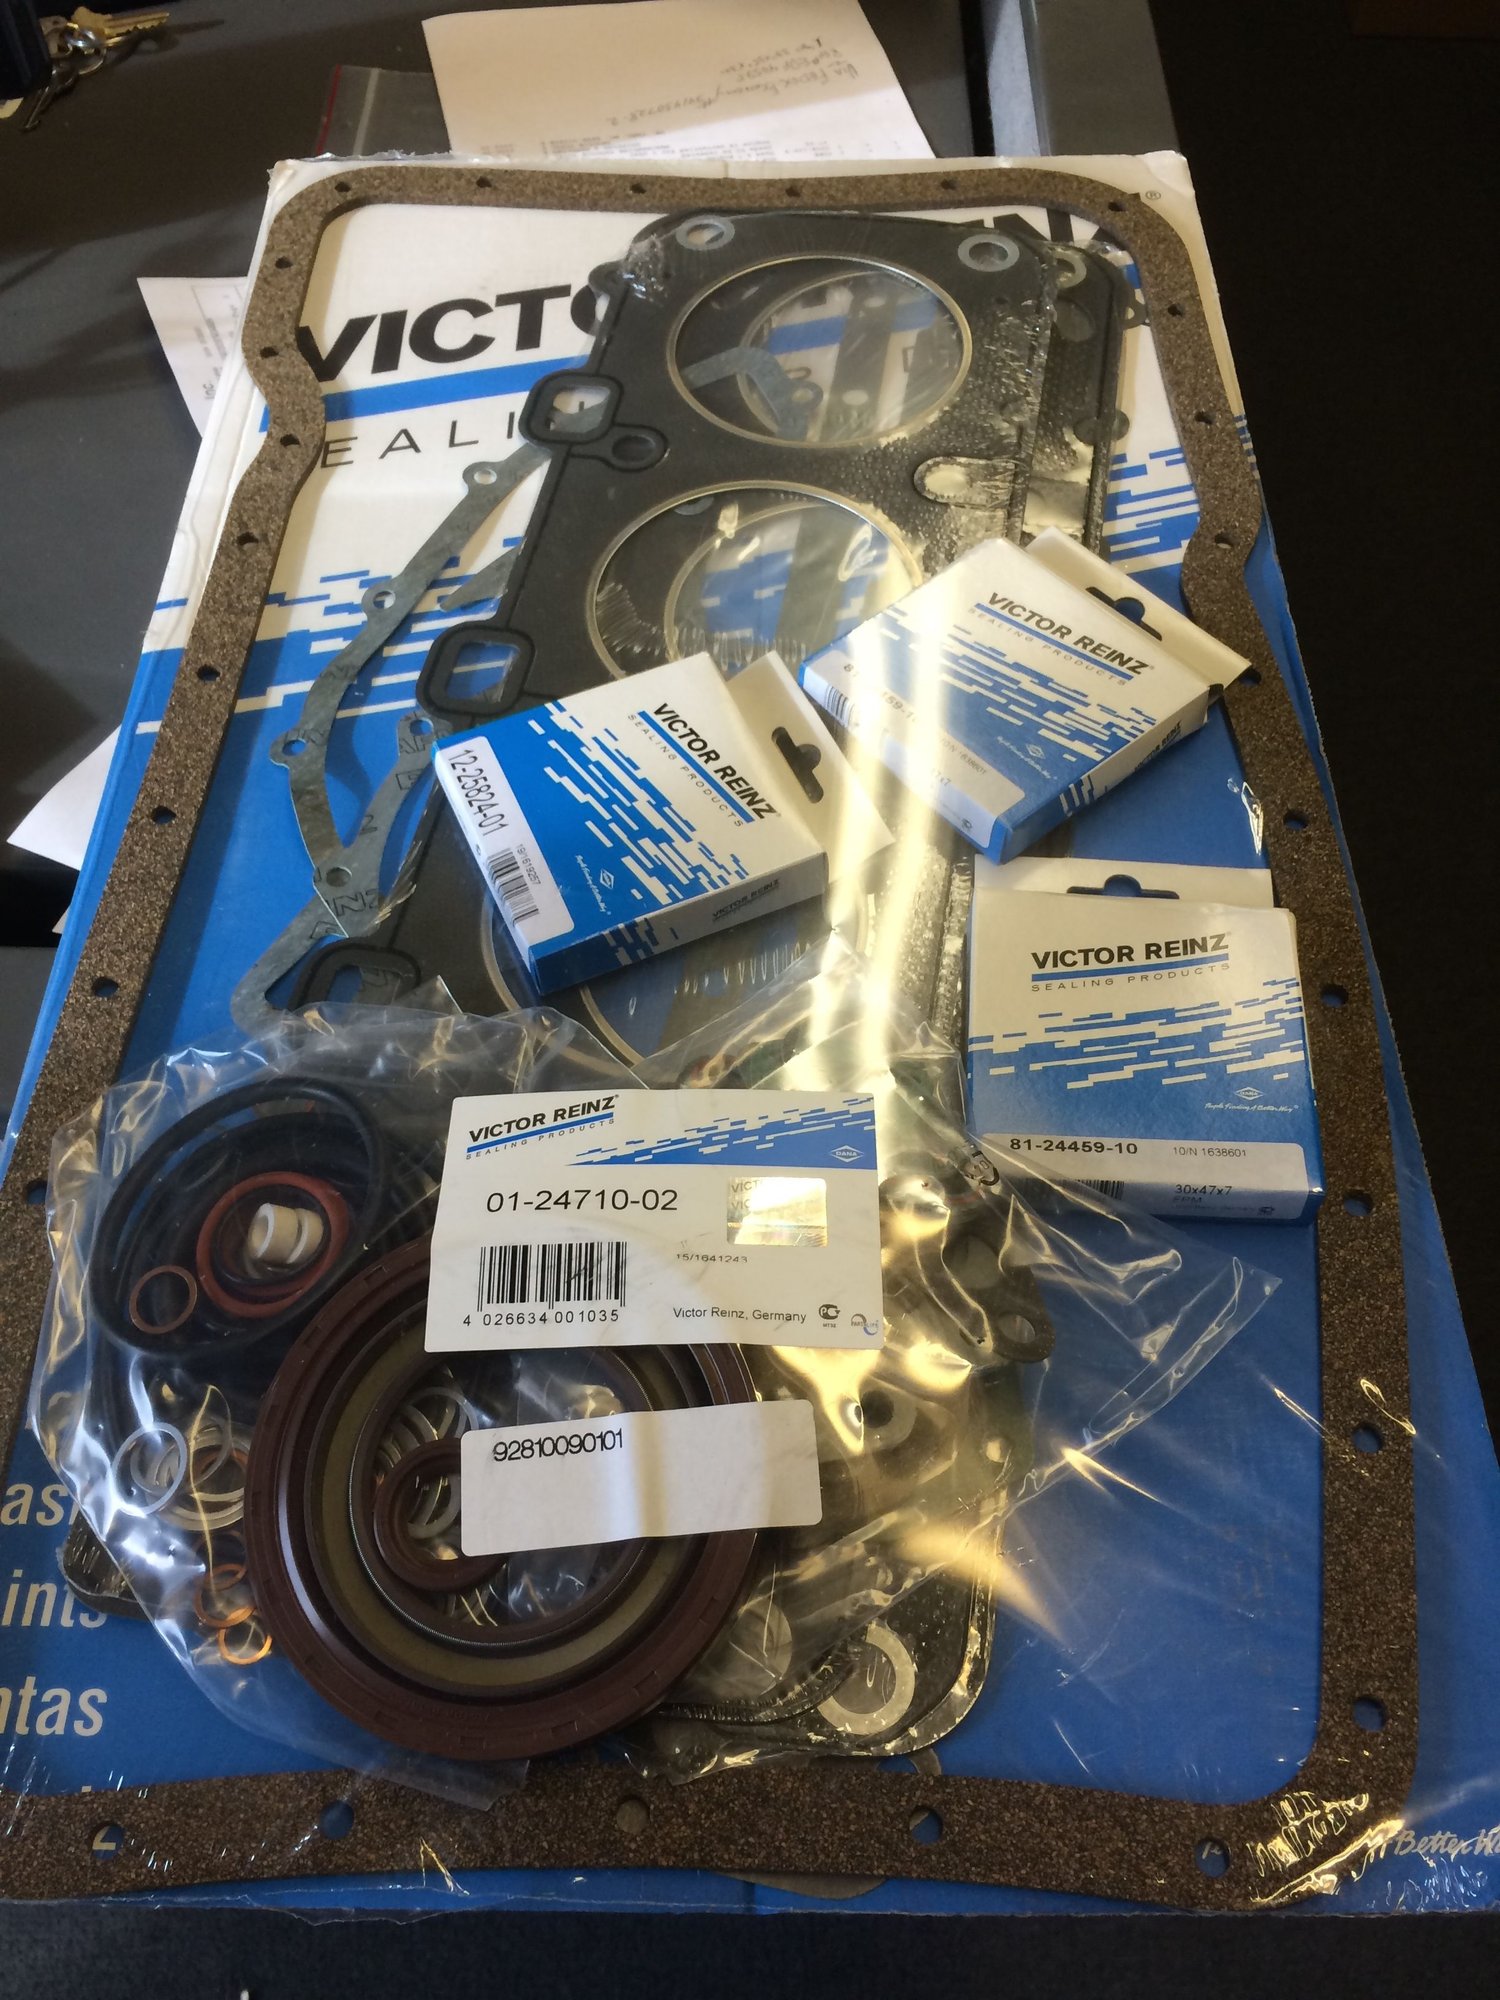
Cams got the business too with new seals and Precision Motorwerks gaskets.
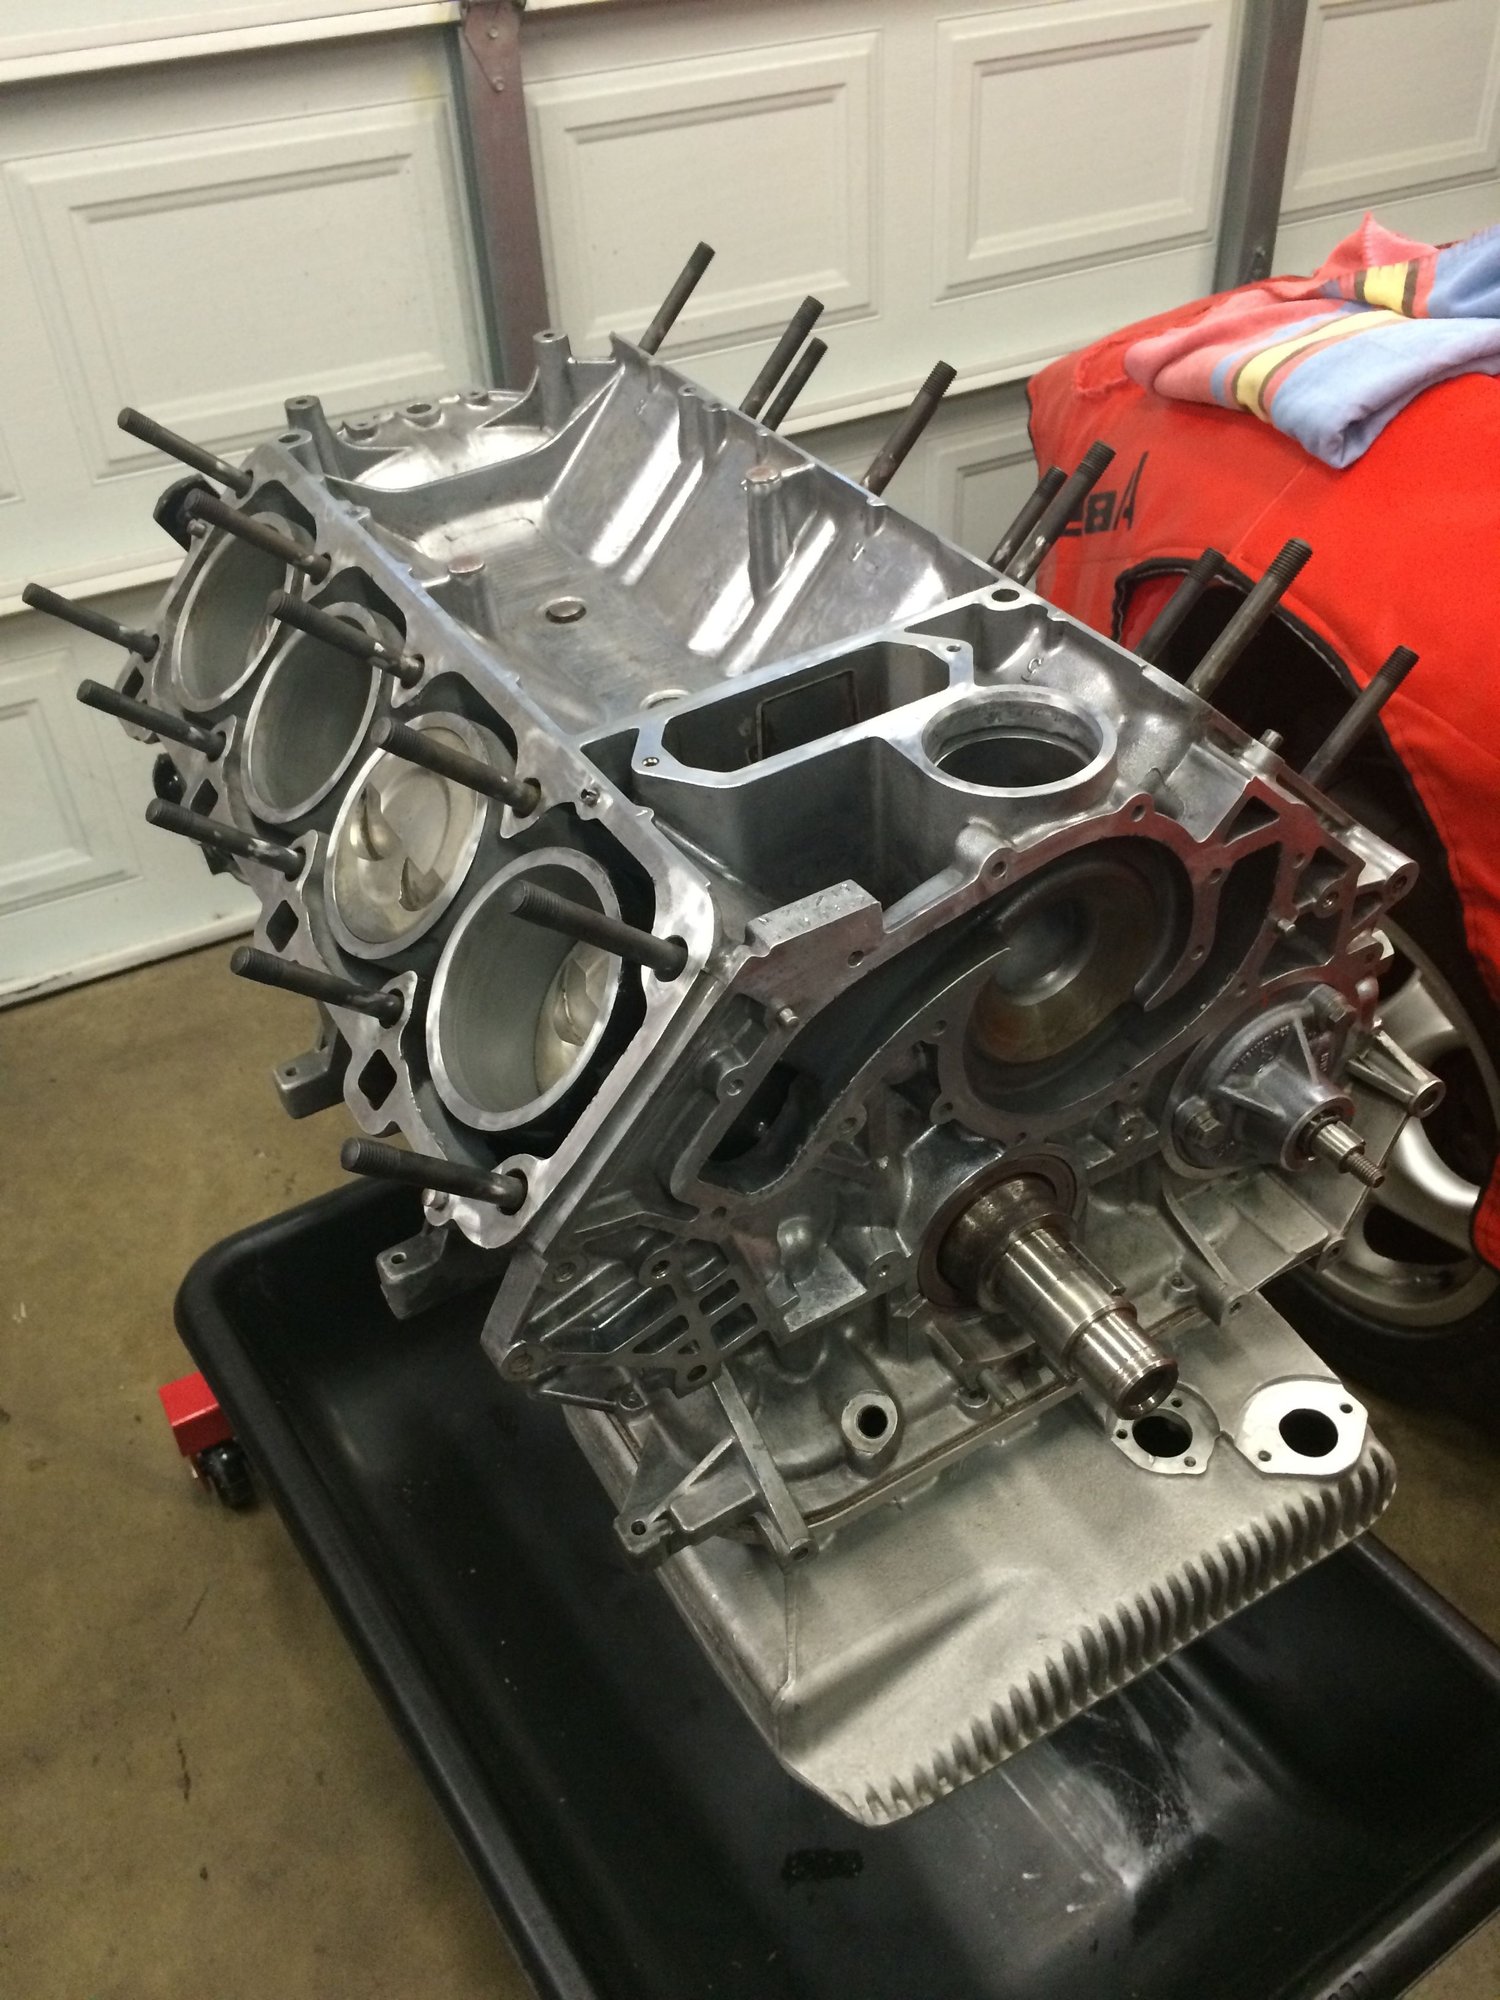
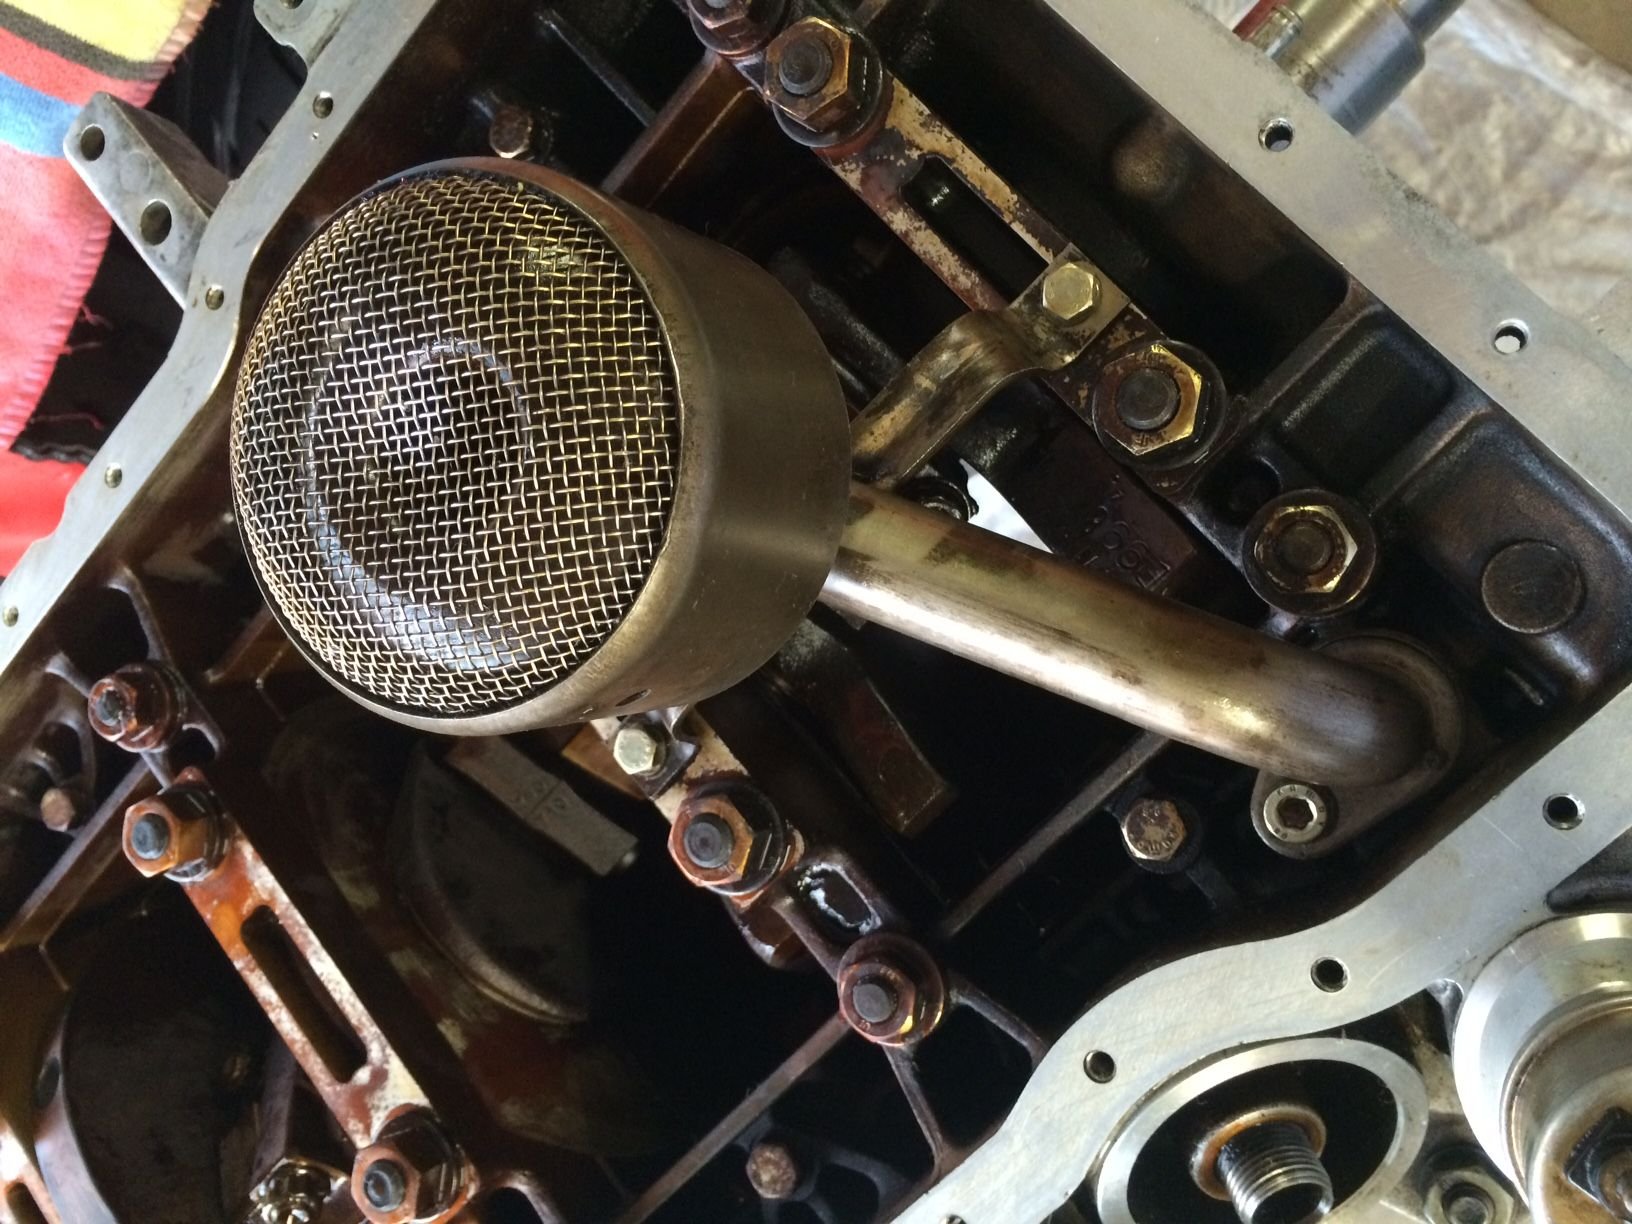
New seals in oil pump. Rebuilt water pump installed. Reseal tensioner.
Sump tube seal
Oil pan gasket (cork)
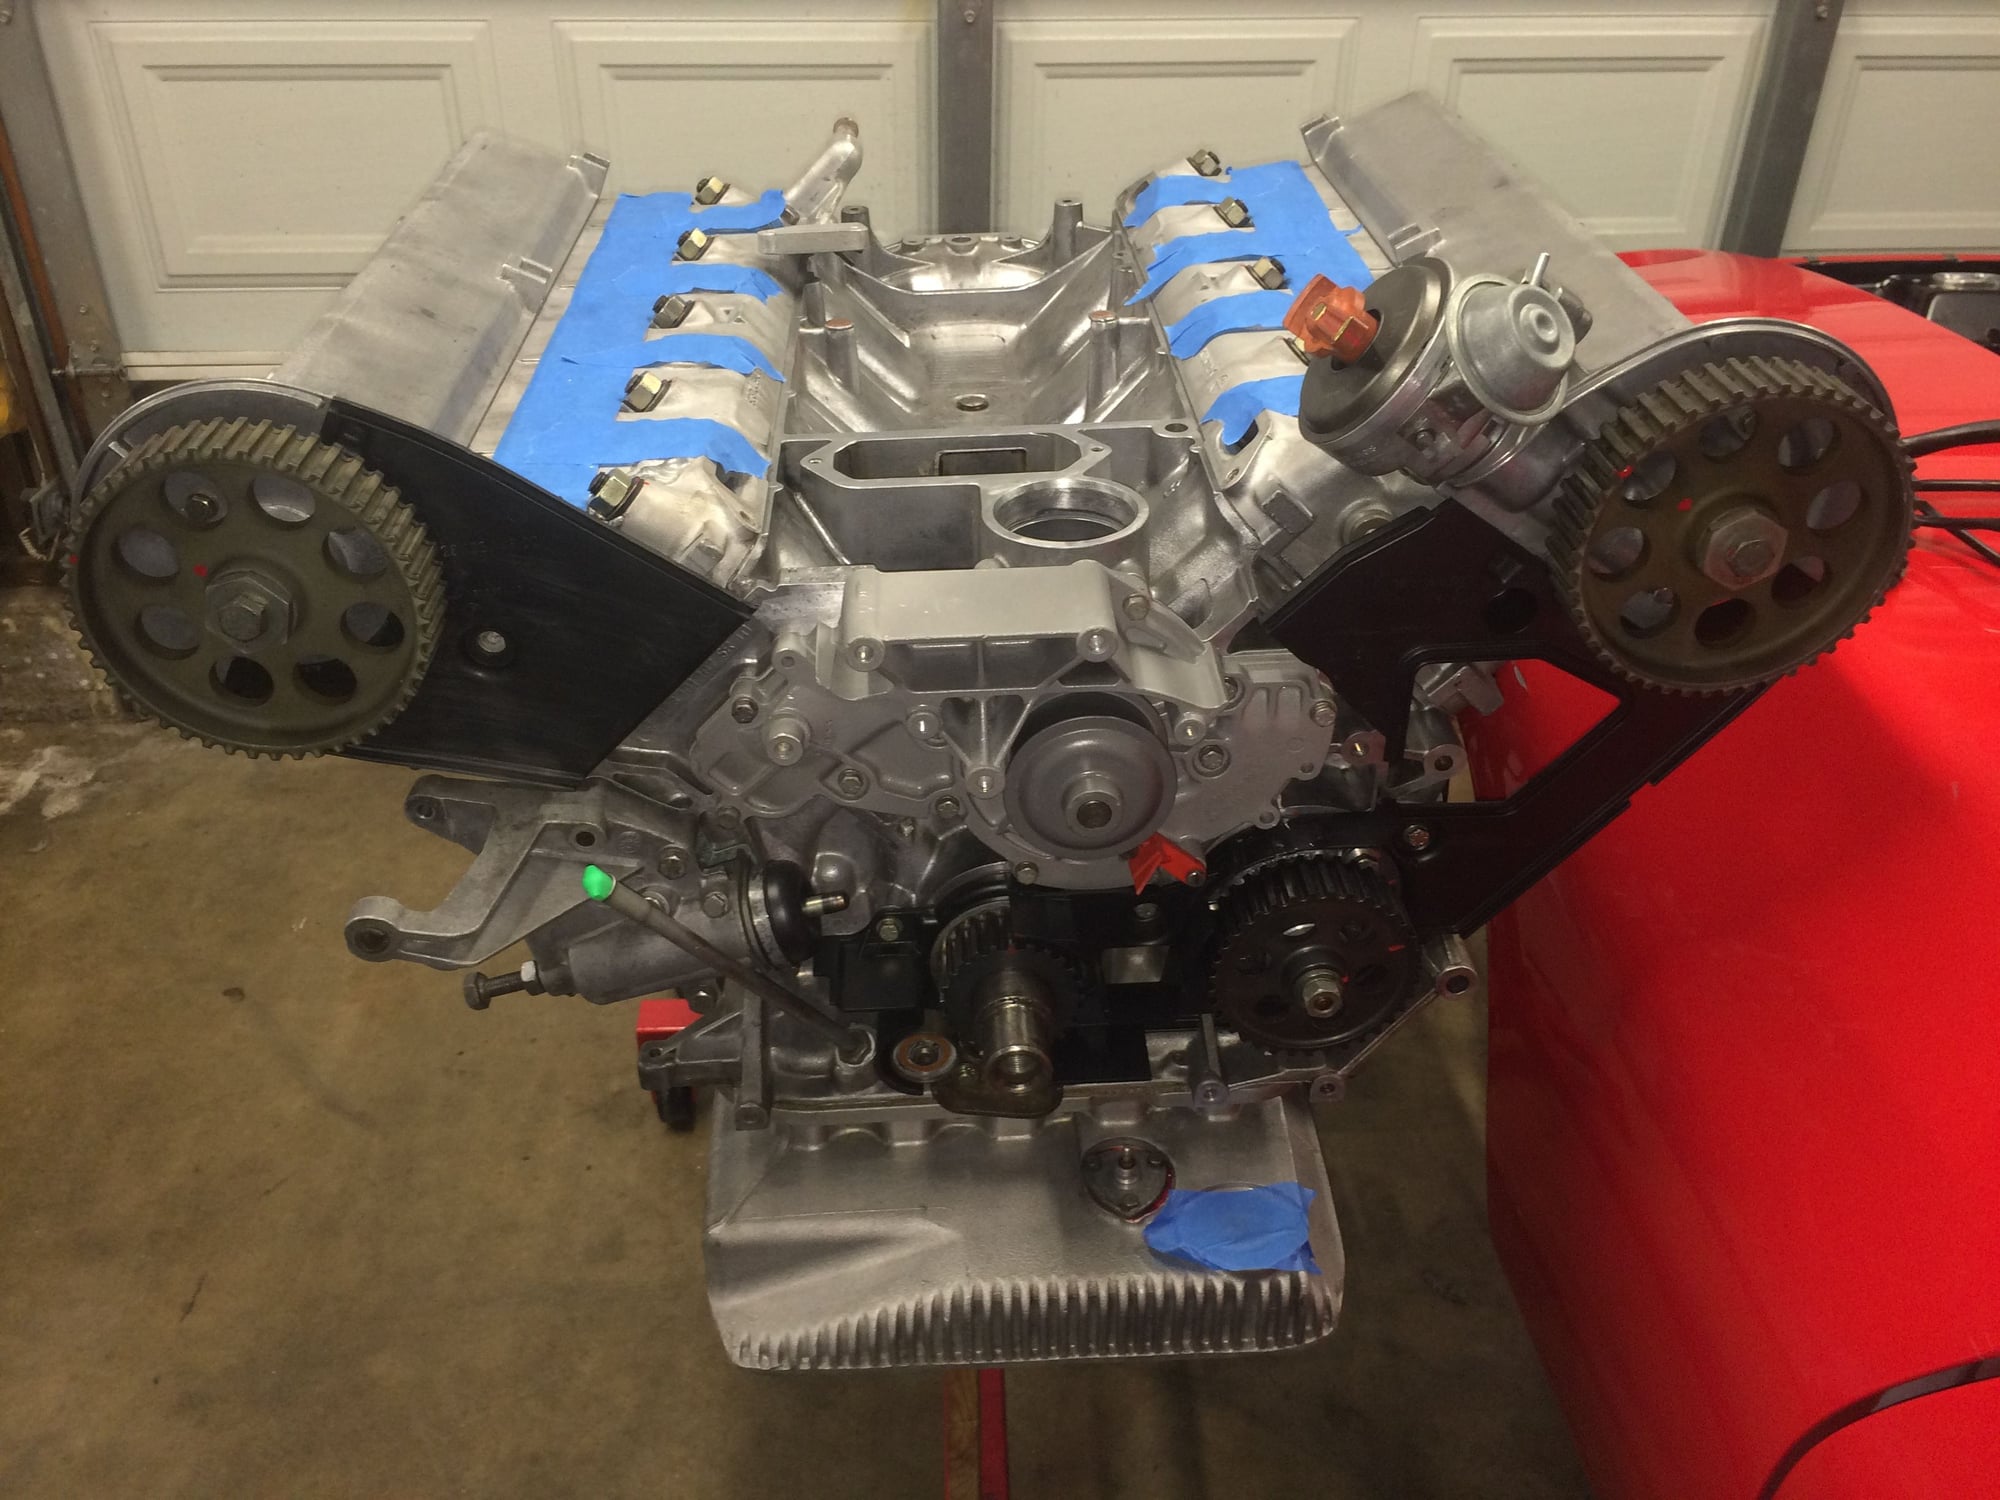
The way I cleaned the gasket surfaces scares me a bit and here's why. First I took off bulk material and scraped with a razor as is widely recommended. But I took it a step further and used a dremel with a soft plastic abrasive thingy to take of the gasket staining. I did this on the crankcase (top and bottom) and on the cam towers. I then saw GregB advise against this practice, literally like two weeks after I finished. DOH! I thought that, how could plastic take off metal?. Ug. I will say that I was gentle while doing it and hopefully didnt screw it up. Fingers crossed. I guess worse case, if it leaks when its all back together, I know why. And I now know how to take it apart and send the block off to be resurfaced :P Could be worse. Engine lower is almost back together. Gotta install rollers, belt and a few other bits before dropping it back in. Engine bay suffered from years of coolant leaks, washer fluid, brake fluid etc. More icky
Lots of cleaning and a lot less brain cells later
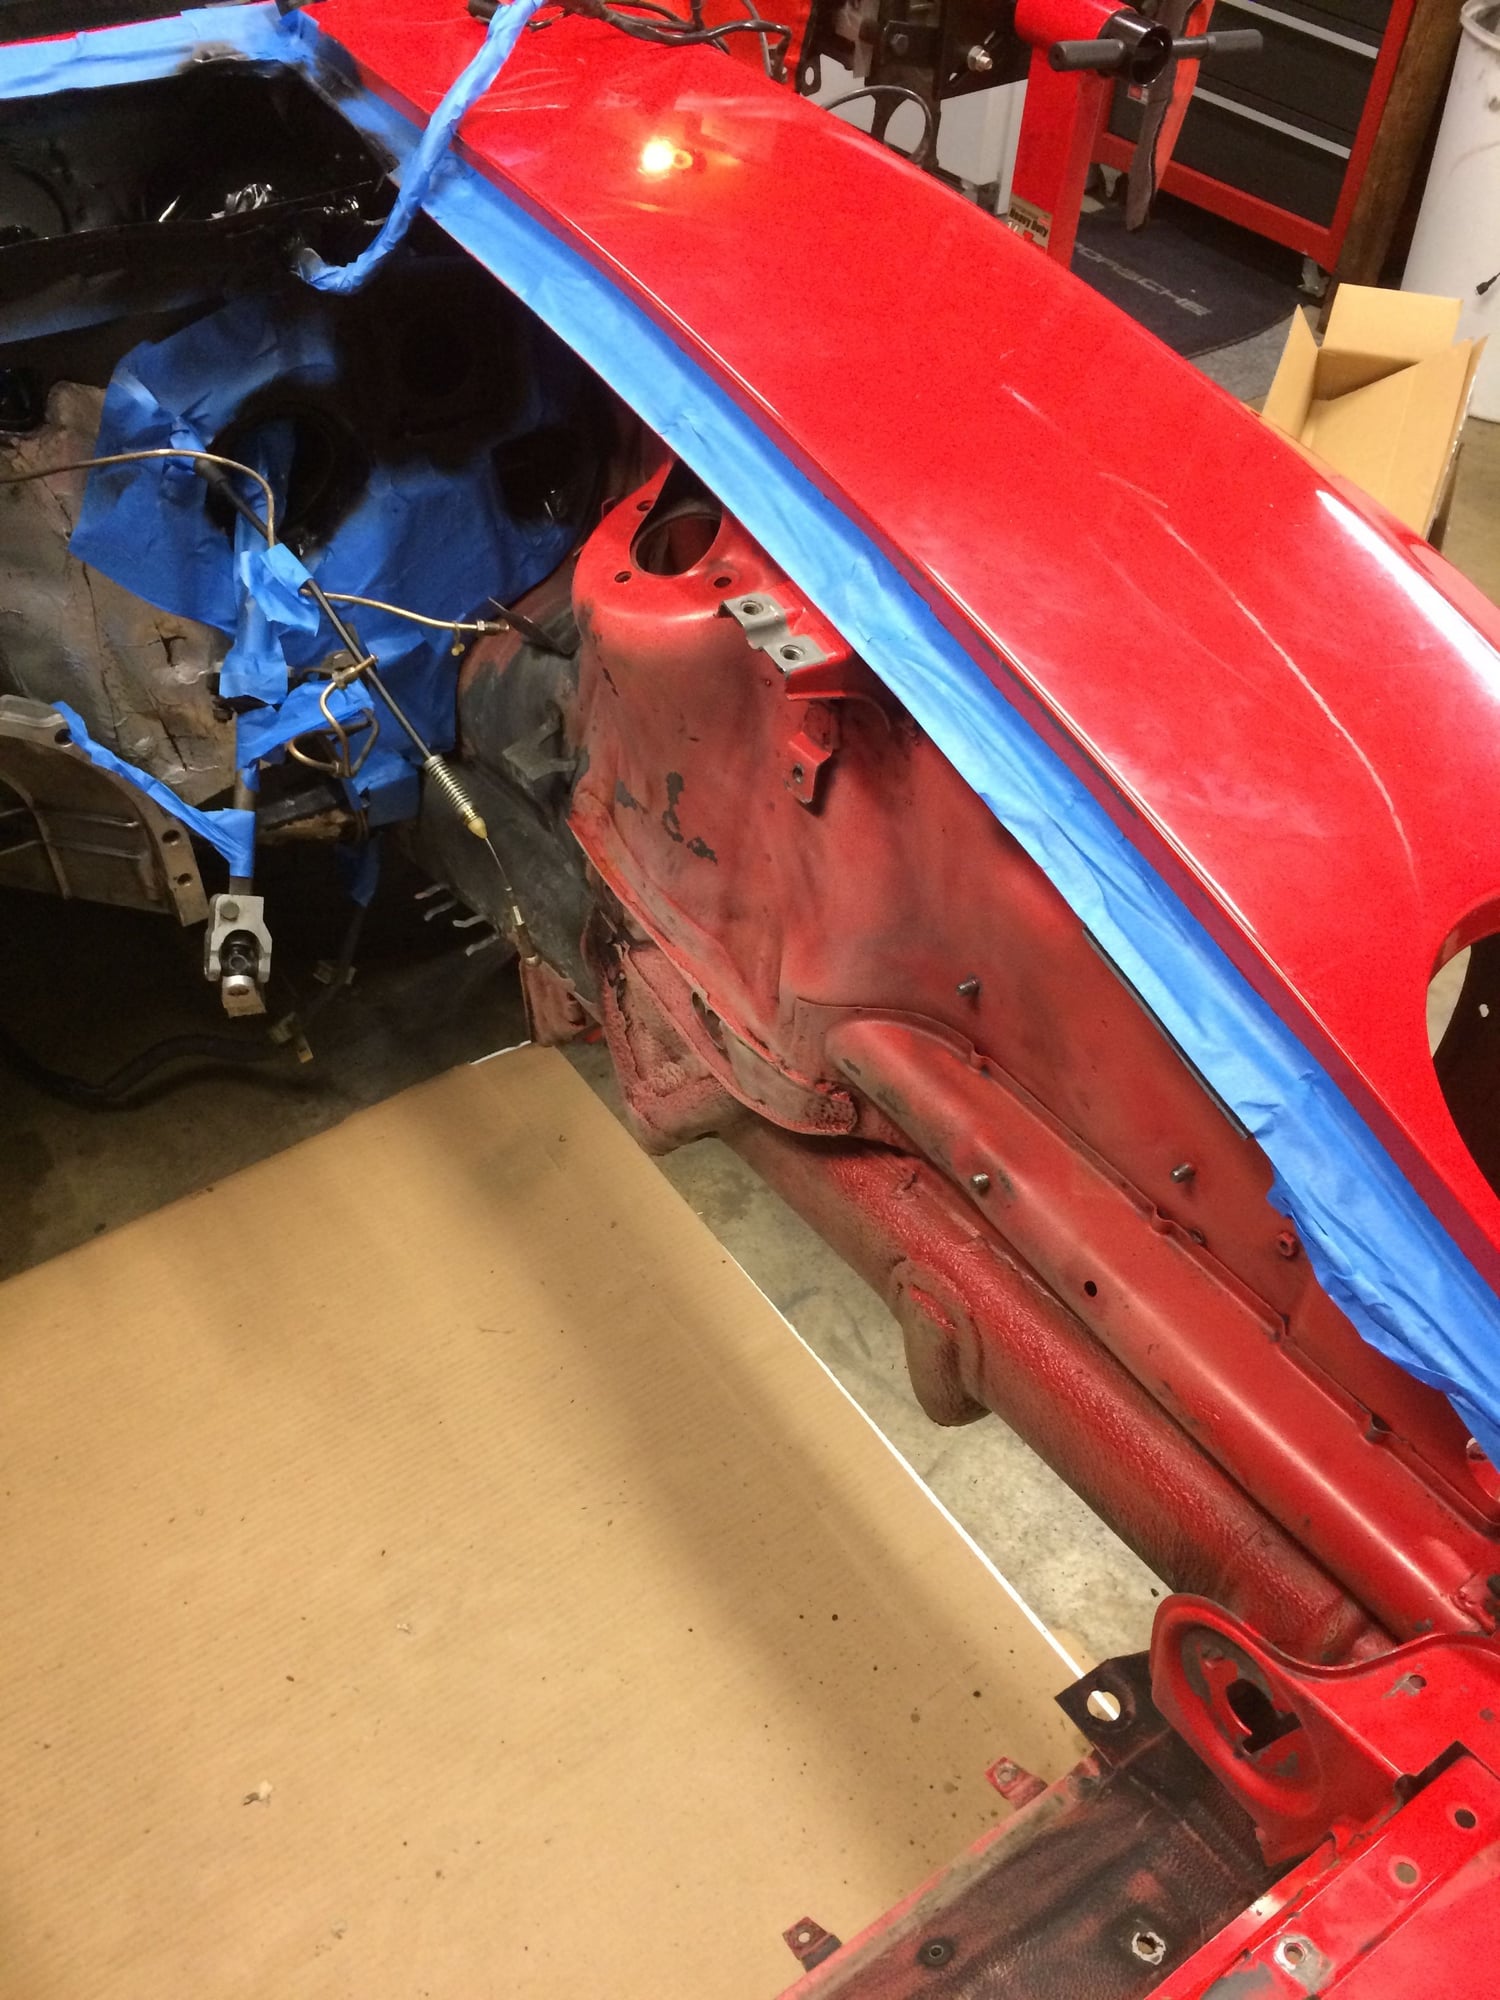
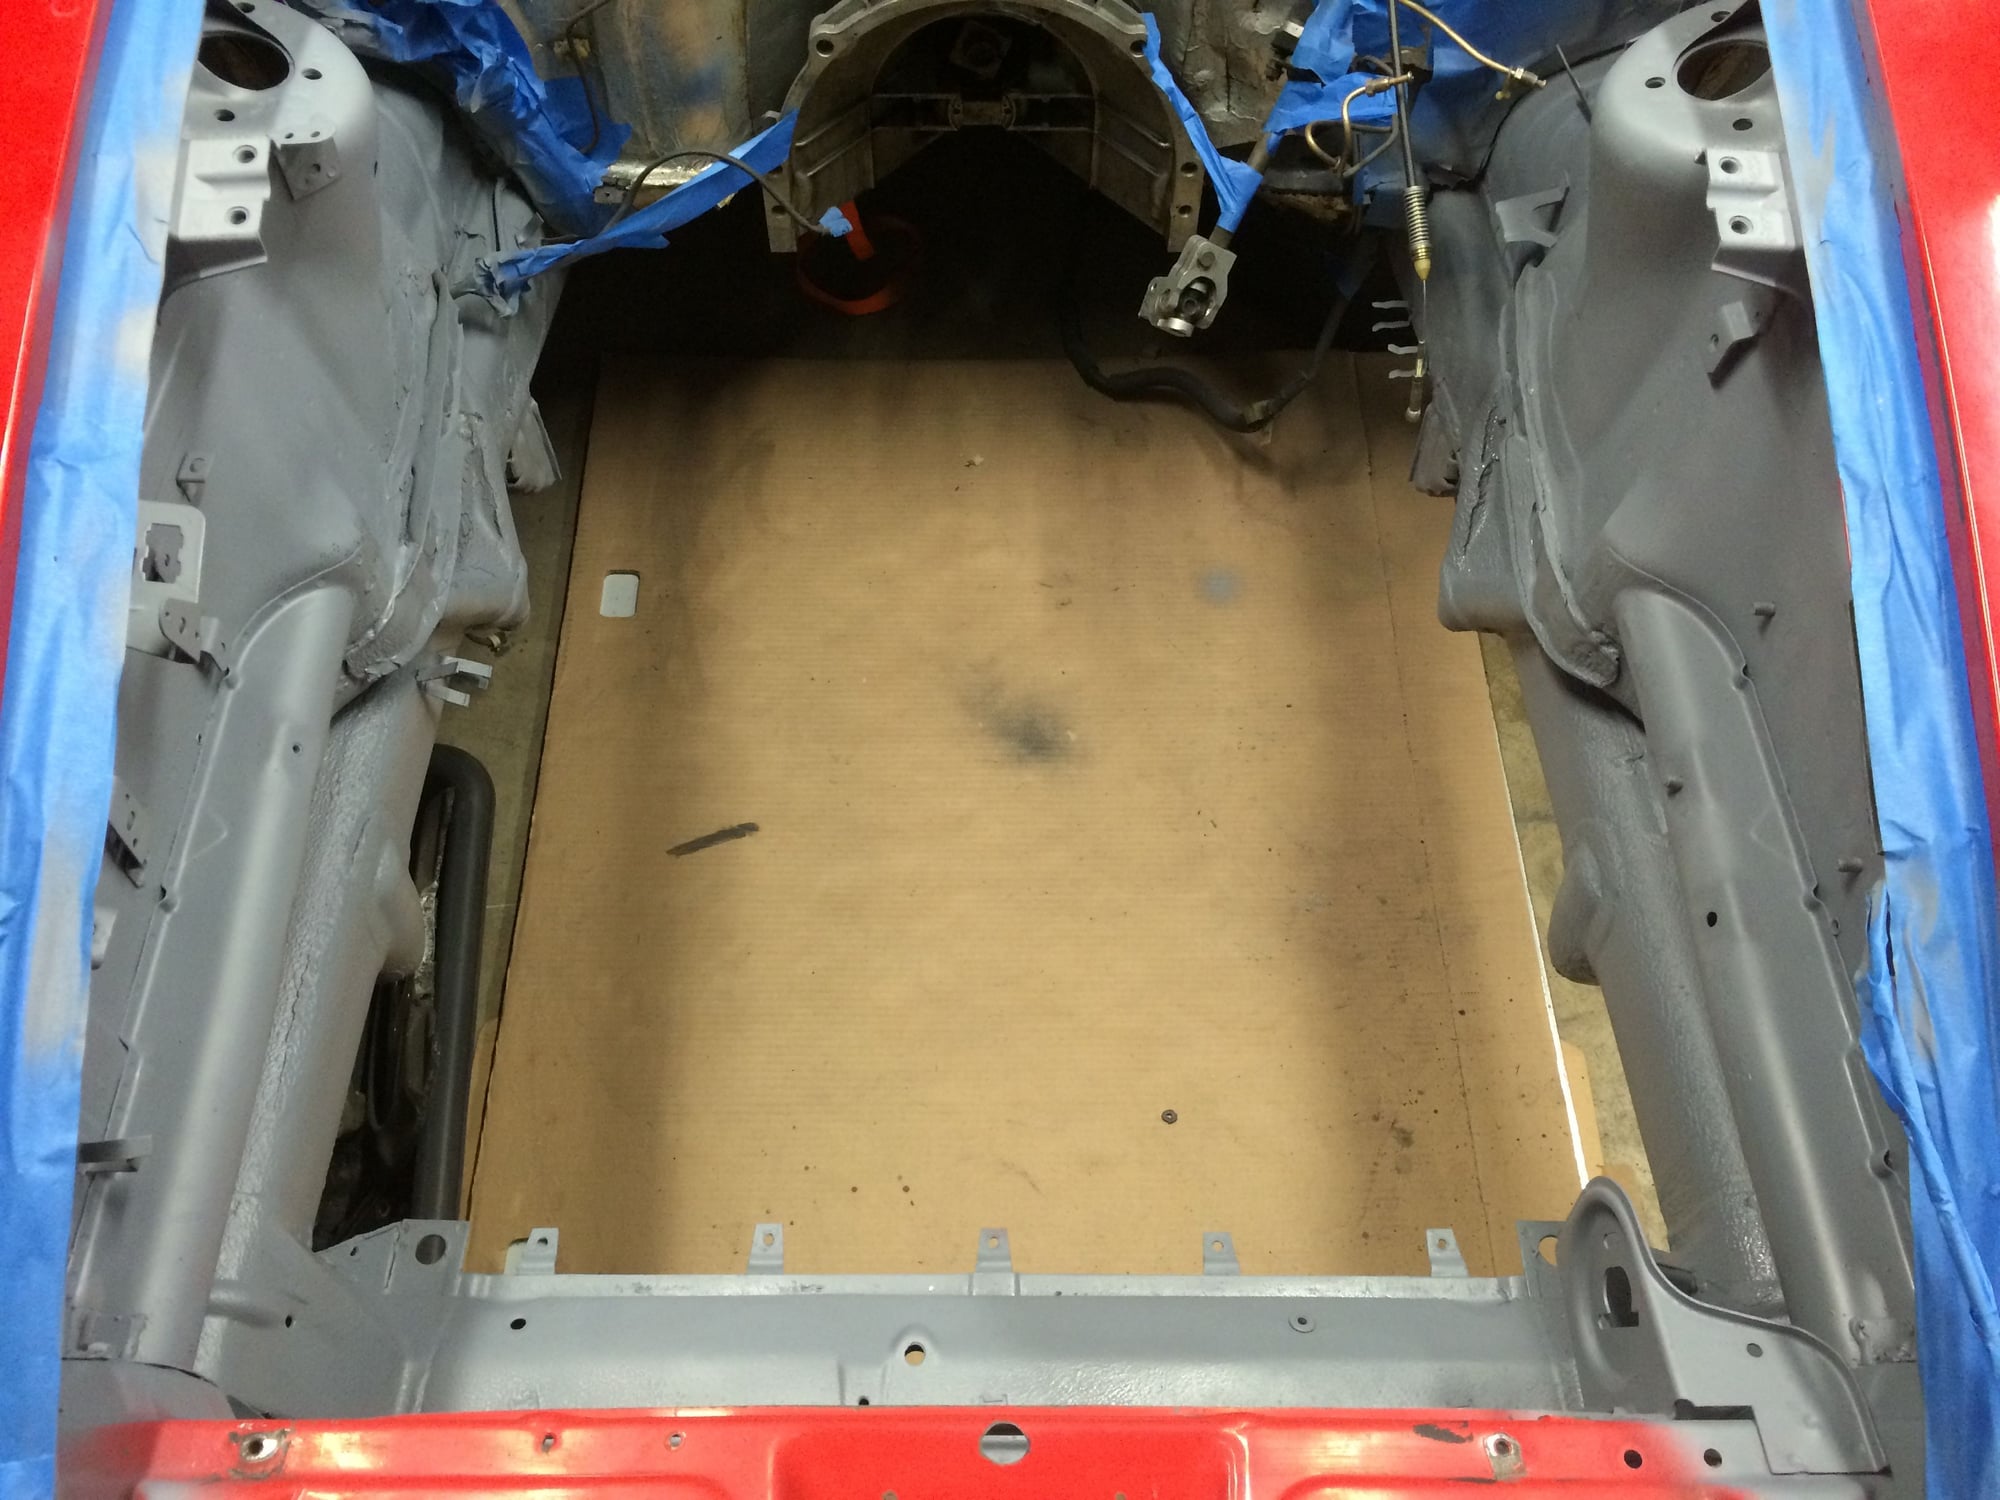
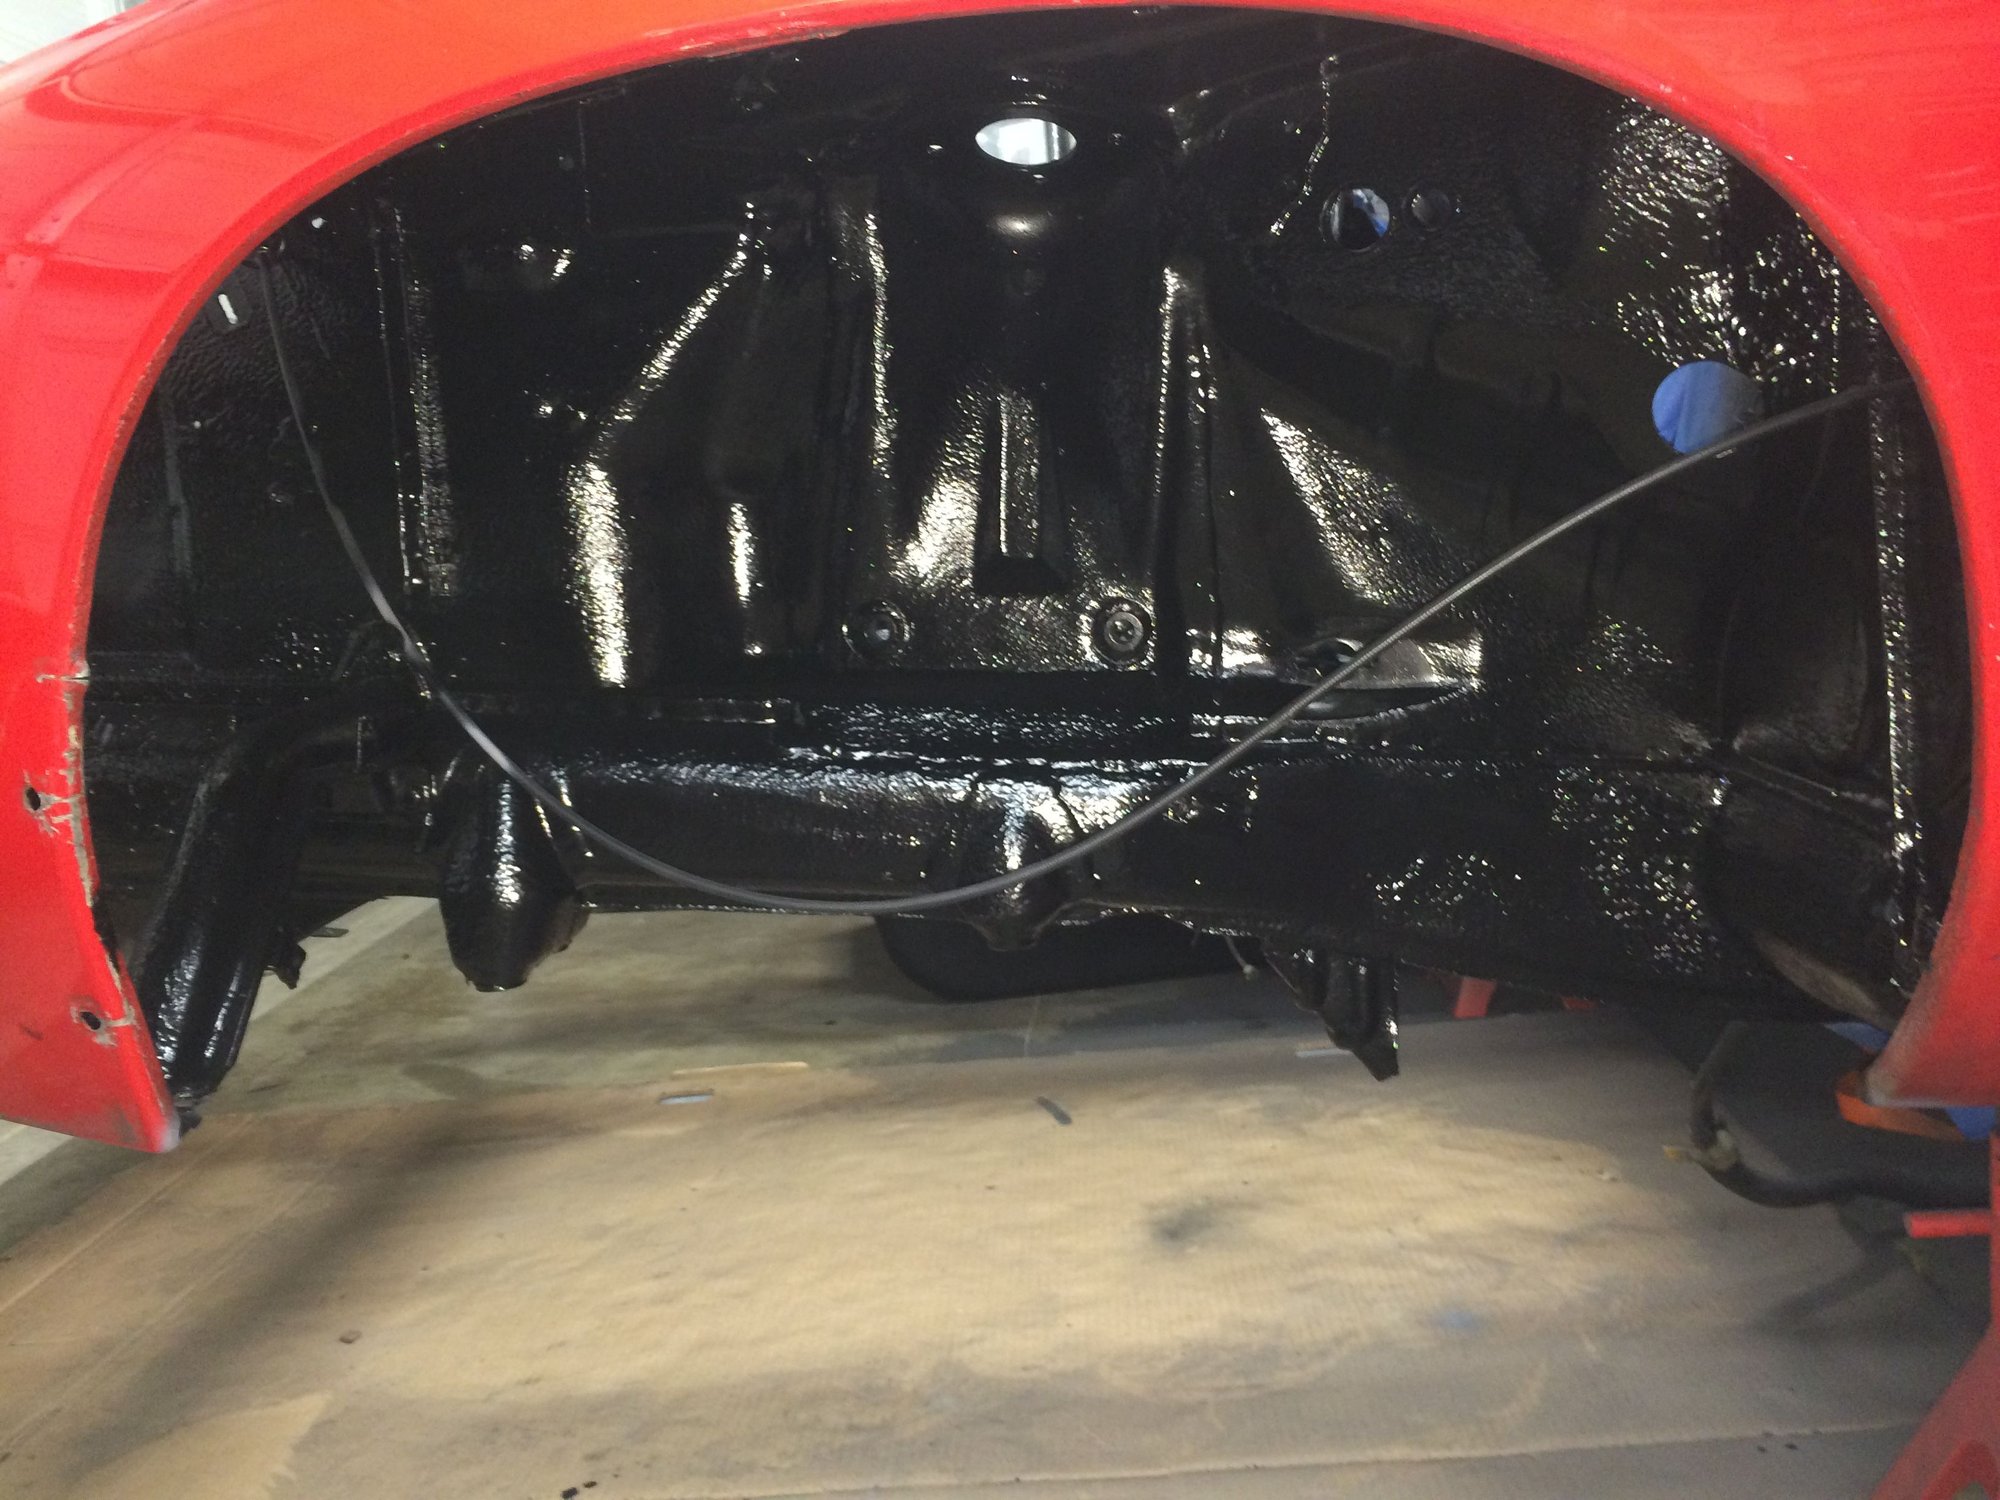
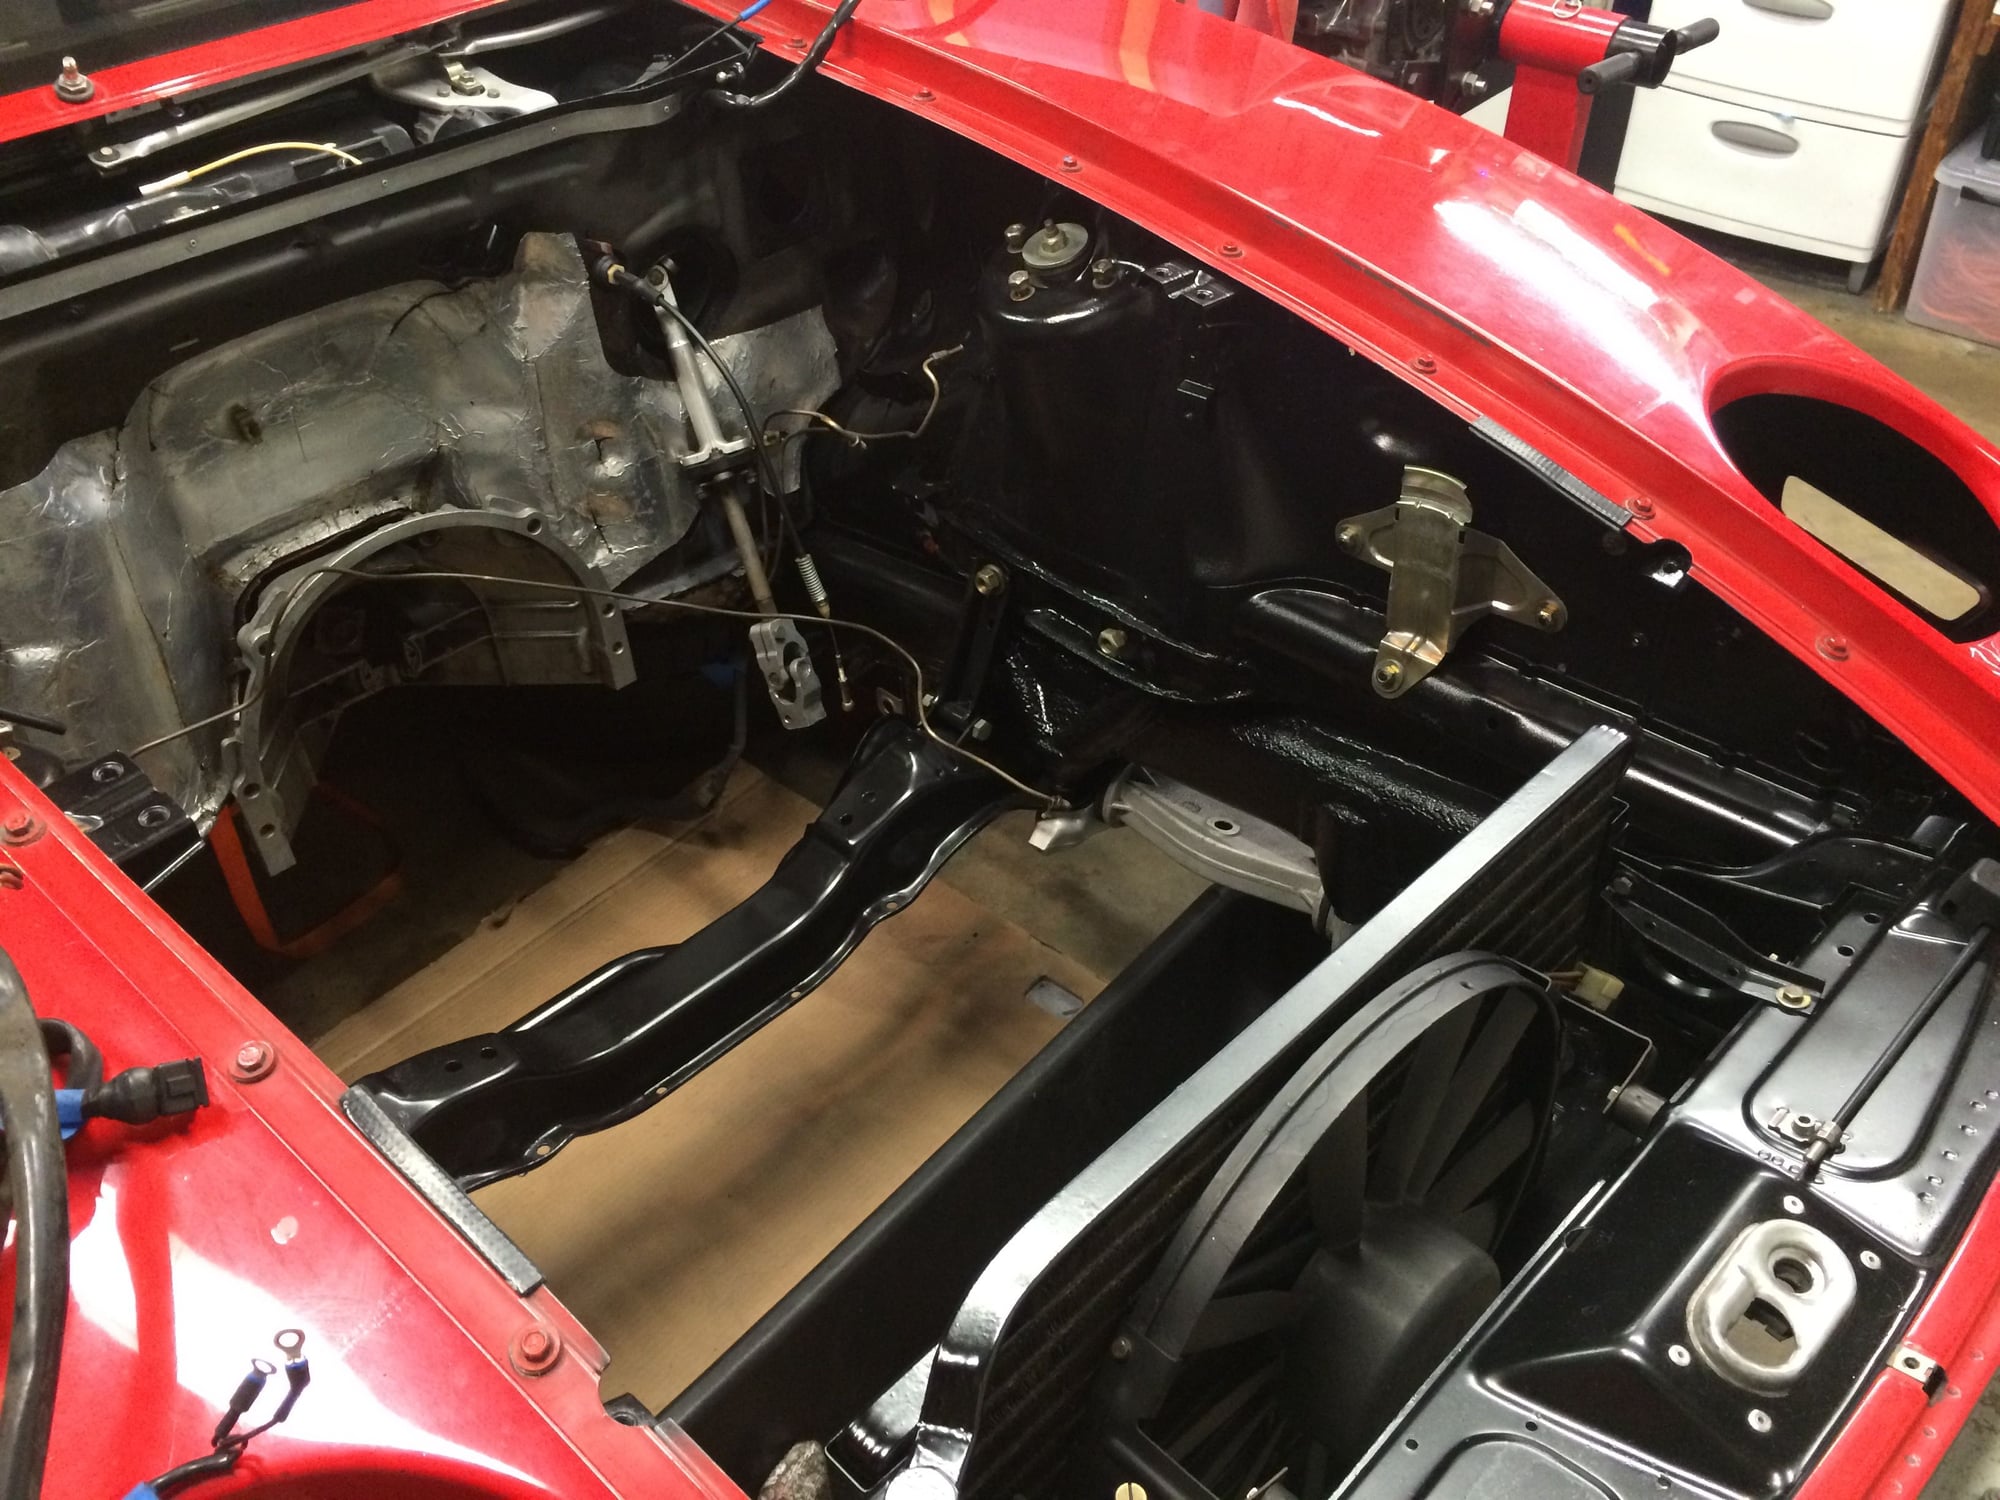
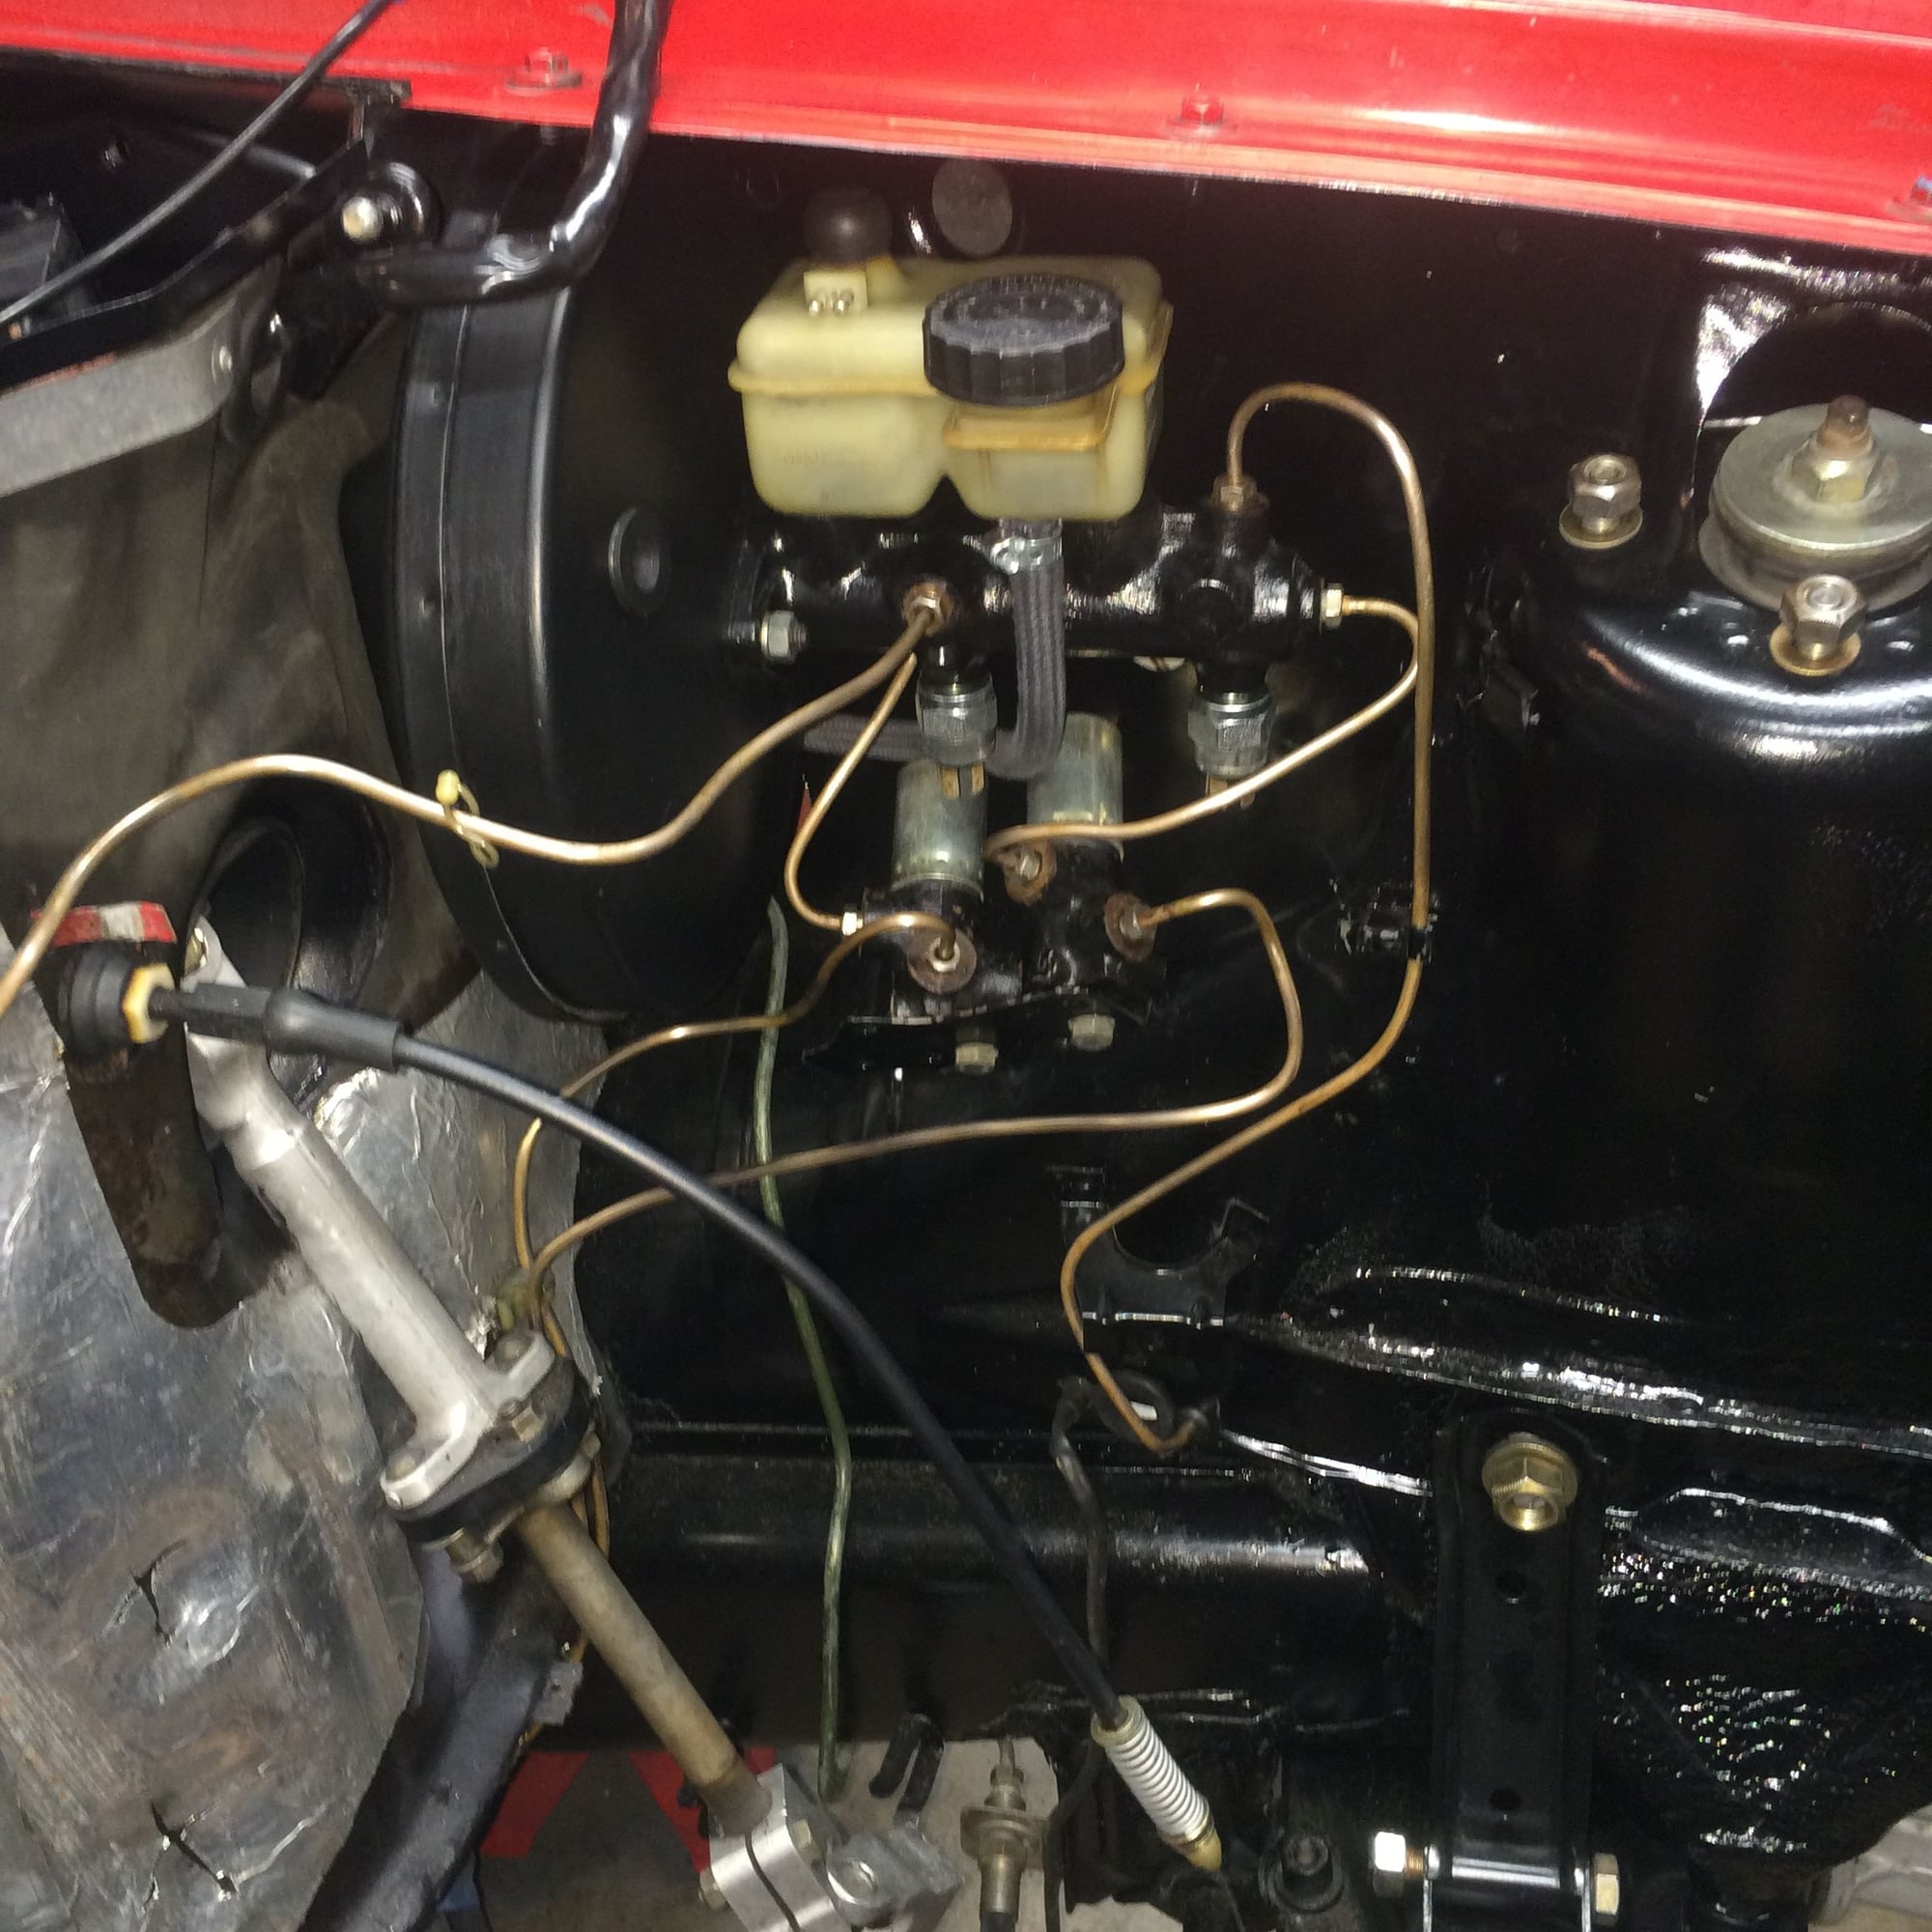
I re-glued the sides of the firewall pad and then cleaned up the aluminum foil with acetone and trimmed off any loose foil around the edges. Primed with VHT Flameproof
Painted with VHT Caliper. I went with black because I dont want to make a body color choice at this stage in the project. Not a factory look but the Lady may not stay red so this gives me options.
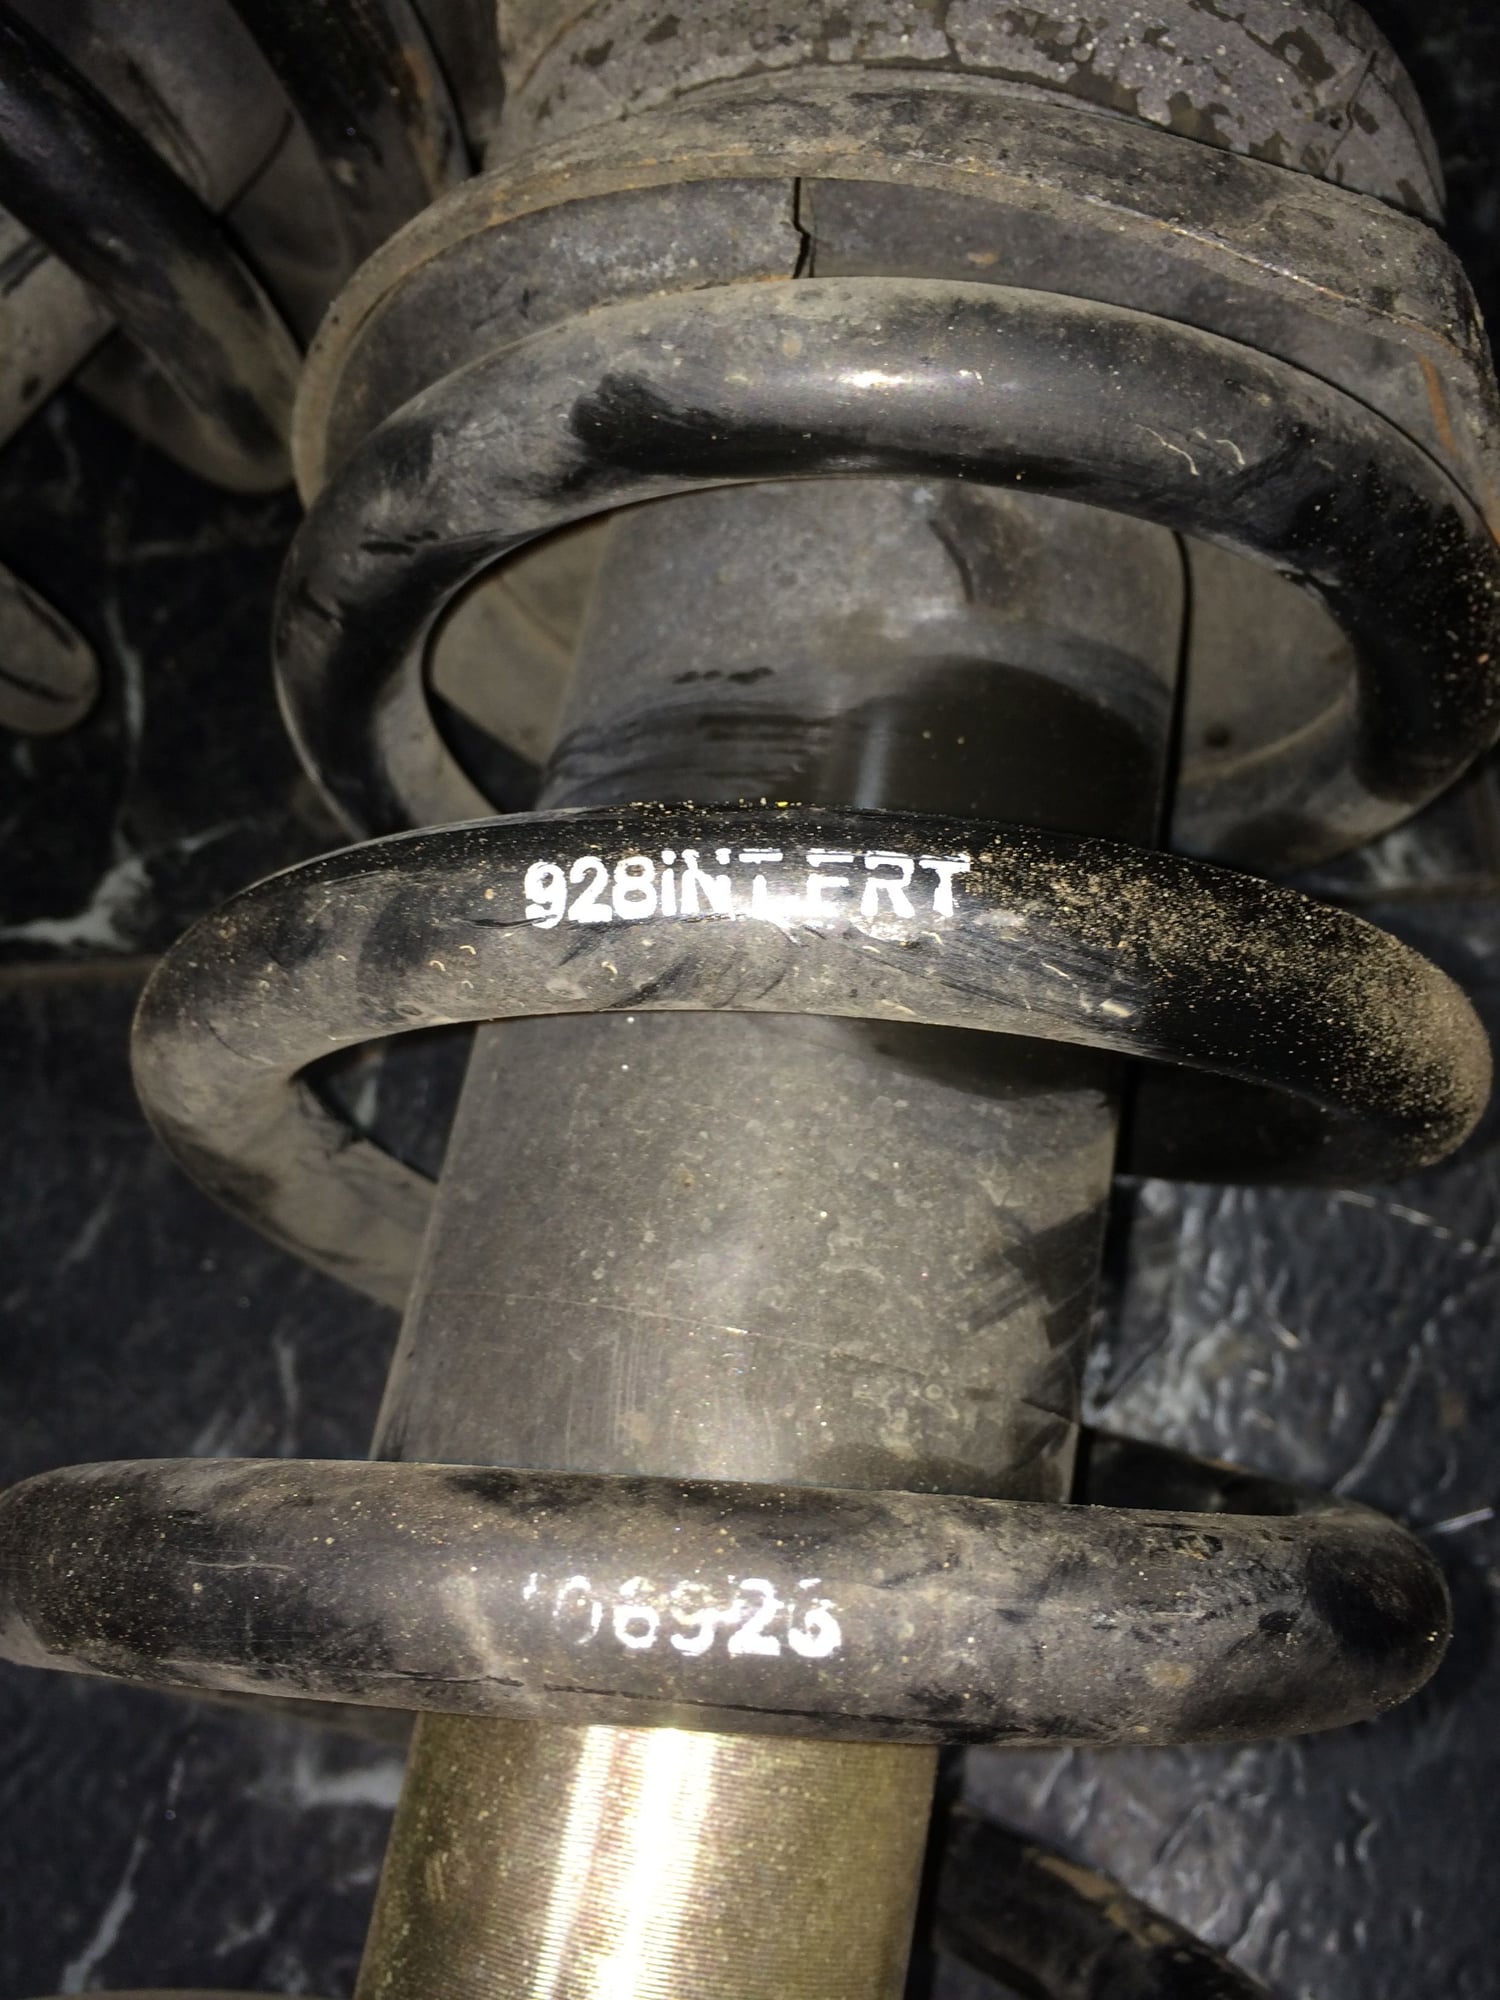
Suspension parts cleaned, new ball joint boots, and other painted knuckles and stuff. I sourced some used (1,000 track miles) Bilstein/Eibachs from a local Renn member.
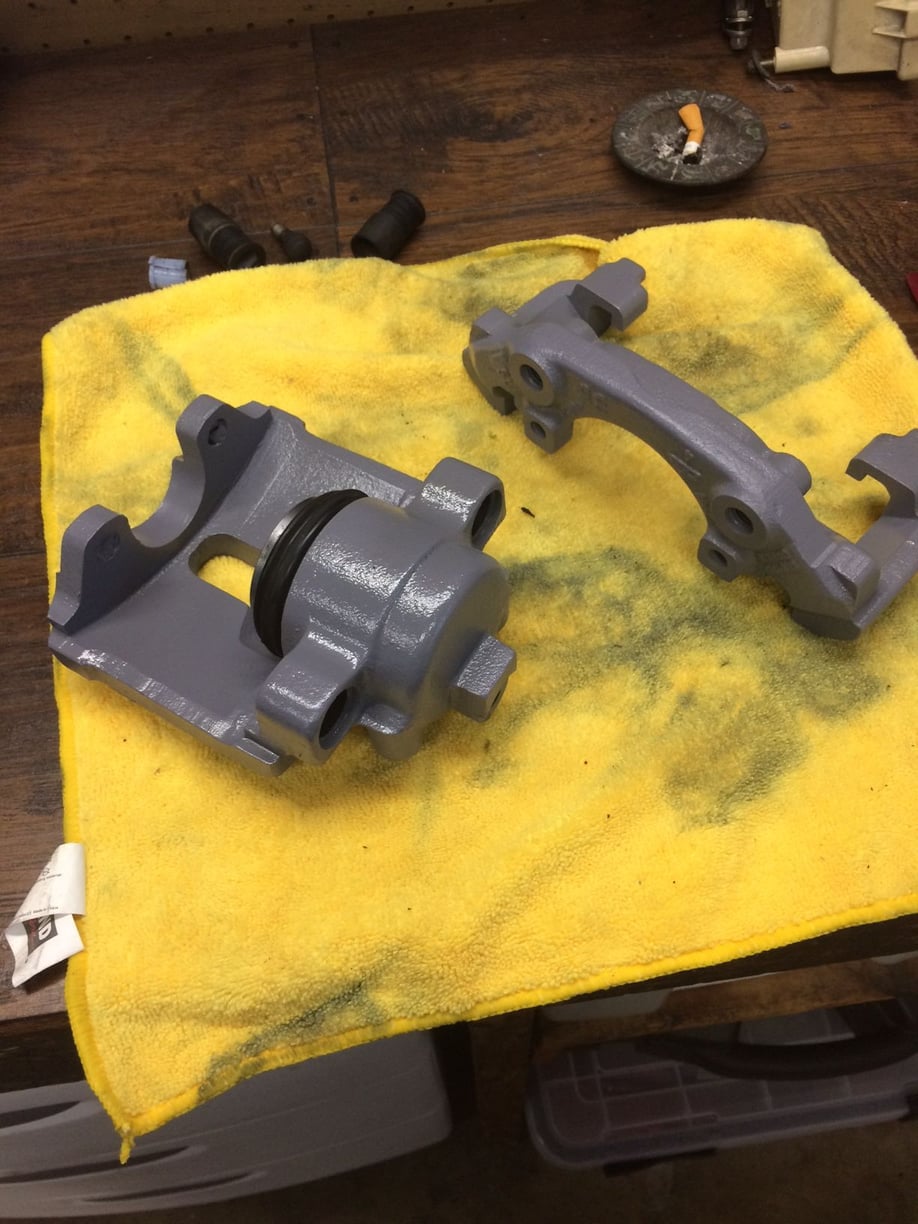
Calipers resealed and painted with VHT Flameproof primer and Duplicolor Gloss Clear Caliper paint
And stuff is going back in. Got the suspension mocked up, new sway bar bushings installed, waiting to pick up some locknuts before I tighten it all to spec.
So that's where we're at. About half way Id say. Working on it piece by piece. I have a long way to go still. The tentative general plan is to get the suspension tightened up, motor back together and in, intake/top end sealed, hoses replaced (vacuum, cooling, fuel, PS), harnesses refreshed with new insulation and connectors, get the motor running, clutch installed, rear brakes and suspension, alignment and yes, driving. Then Ill start thinking about the rear end of the car. At a minimum, TT and tranny will be inspected (although I dont recall any leaks back there, good thing too, I hate it when my rear end leaks). Body work after that, but at least Ill be driving by then. Thanks for listening and thanks for the help and encouragement along the way. Ill try to keep this thread updated as I go. Comments (good or bad) and suggestions are always welcome. Thanks, Josh
Last edited by Ladybug83; Jun 22, 2015 at 05:55 PM.
Holy sh__! And I thought I was Joe Cool Mechanic after doing a TB/WP when I got my car. I feel so, uh, emasculated.
Nice work & great pics! Just curious, what cost you more - the car or the 997 sport seats?
Oh, I was a little disappointed to not see a pic of you dressed in a shop coat with goatee standing next to the engine lift as the engine was coming out of the car (to match the WSM photo). Maybe you can do that when you drop the engine back in!
You and Dean should connect - Dean went through a similar project with his son's 928, and is very resourceful. Both of you have done amazing work in restoring these early 928s with limited resources.
9 Vehicles Porsche Helped Engineer that Aren't Porsches
Slideshow: Long before engineering consulting became trendy, Porsche was quietly helping other automakers build everything from supercars to economy hatchbacks.
9 Features and Characteristics That Only Porsche People Understand
Slideshow: Some brands build cars. Porsche builds traditions, obsessions, and a few habits that stopped making sense decades ago but somehow became part of the charm.
This Builder Is Turning Heads With Its Slantnose 911 Creation
Slideshow: A small Polish tuner has reimagined the Porsche 911 Slantnose for the modern era, blending 1980s nostalgia with widebody tuning culture and serious performance upgrades.
Porsche 911 GT3 Artisan Edition Pays Homage to Japanese Culture
Slideshow: Porsche has created a Japan-only 911 GT3 Artisan Edition that blends track-ready hardware with design cues inspired by traditional Japanese craftsmanship.
Porsche Reveals Coupe Variant of the Electric Cayenne With a Fresh Look
Slideshow: Porsche's latest electric Cayenne Coupe blends dramatic styling with supercar acceleration, turning the brand's midsize SUV into a 1,139-horsepower flagship.