Supercharged '91 GT Refresh
#226
Captain Obvious
Super User
Super User
I've used the right stuff before when I had turbo cars in the 90's. Excellent product, holds up to extreme heat but very though to take it apart, as you found out.
#228
Supercharged
Rennlist Member
Rennlist Member
Thread Starter
Join Date: May 2002
Location: Back in Michigan - Full time!
Posts: 18,925
Likes: 0
Received 60 Likes
on
34 Posts
Well let's see. It's been about 11 months and I;ve done a whole lot of nothing.
I did get the heads refreshed. New valve guides and valve job. I also re-assembled the valves.
Next up is to re-install the pistons with new rings... oh yeah, that reminds me, I did the Goodson paste treatment to the cylinder walls. Looks better. Hopefully it is.
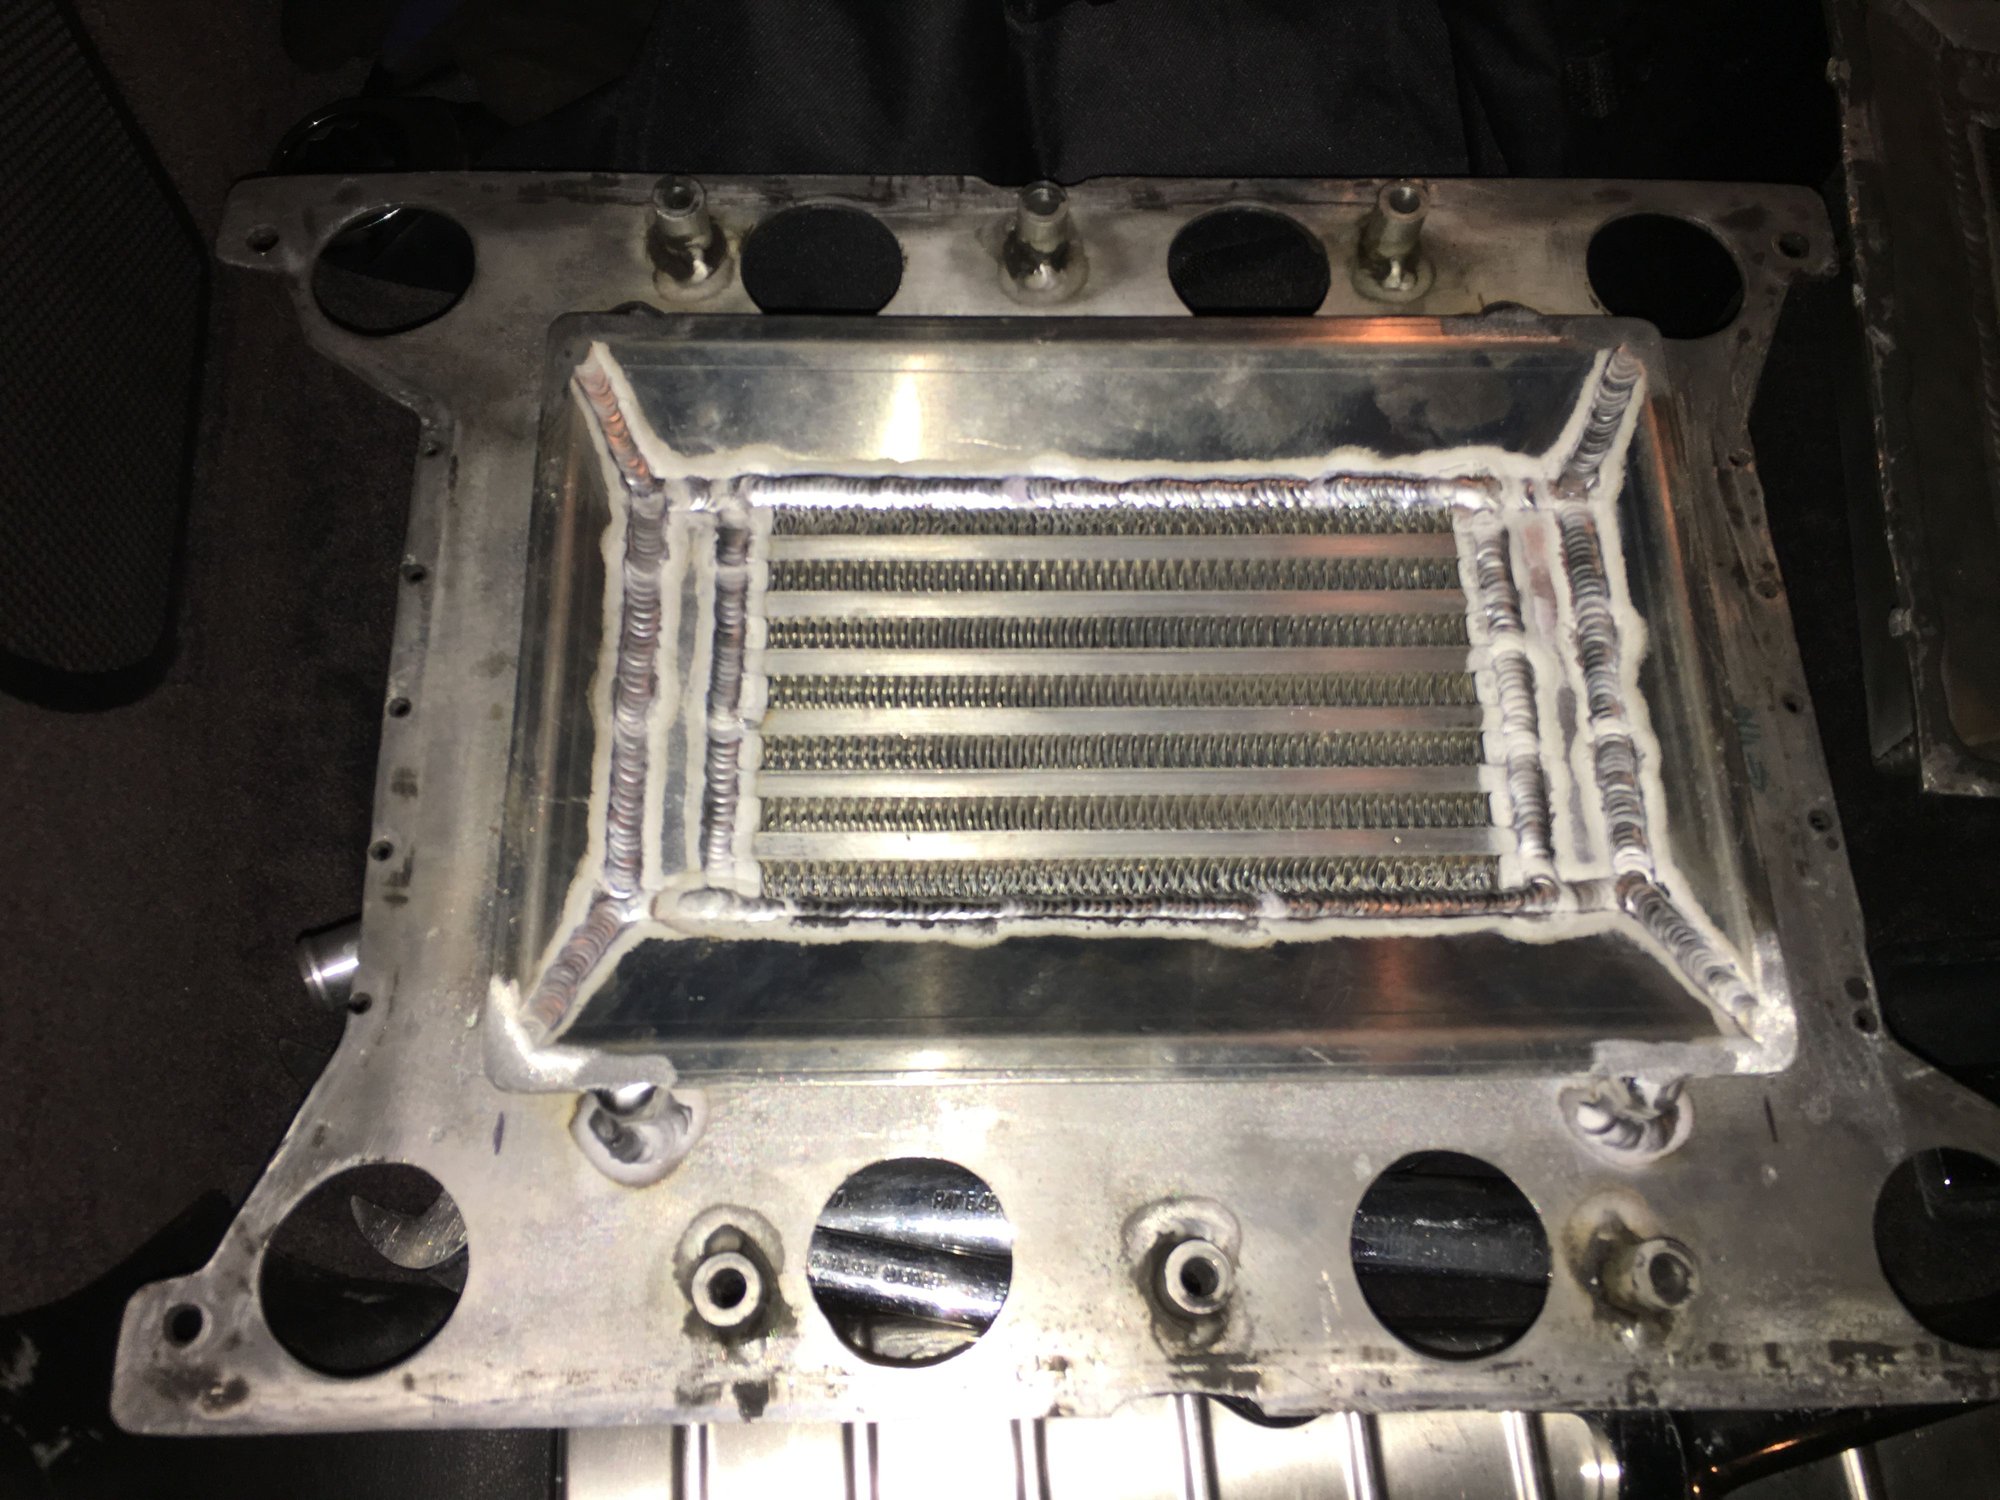
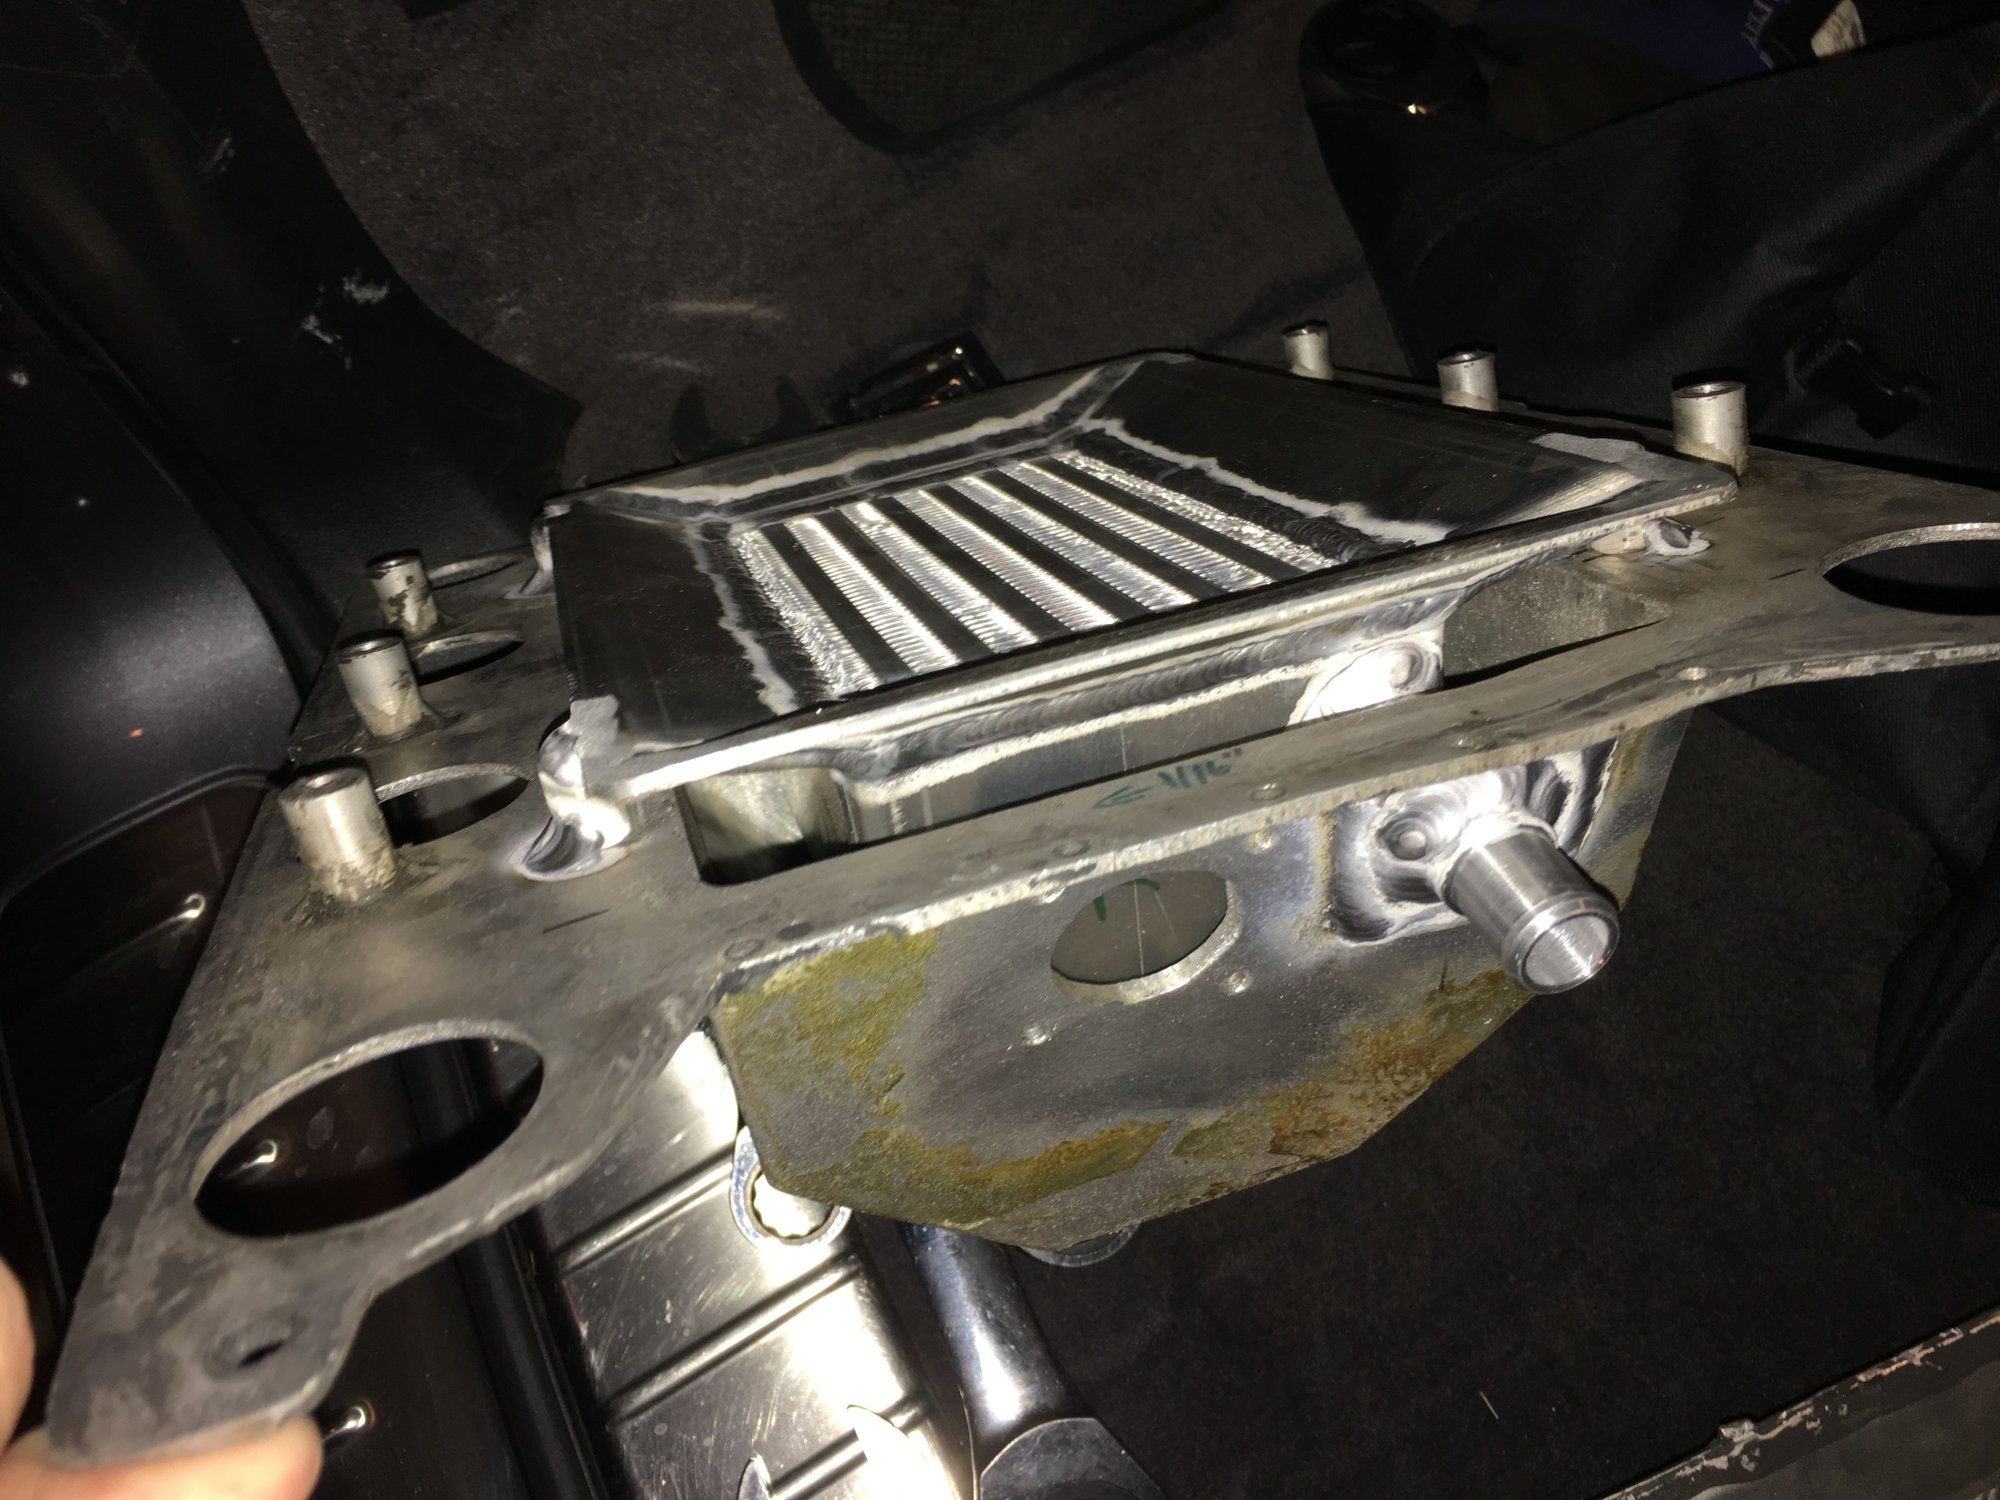
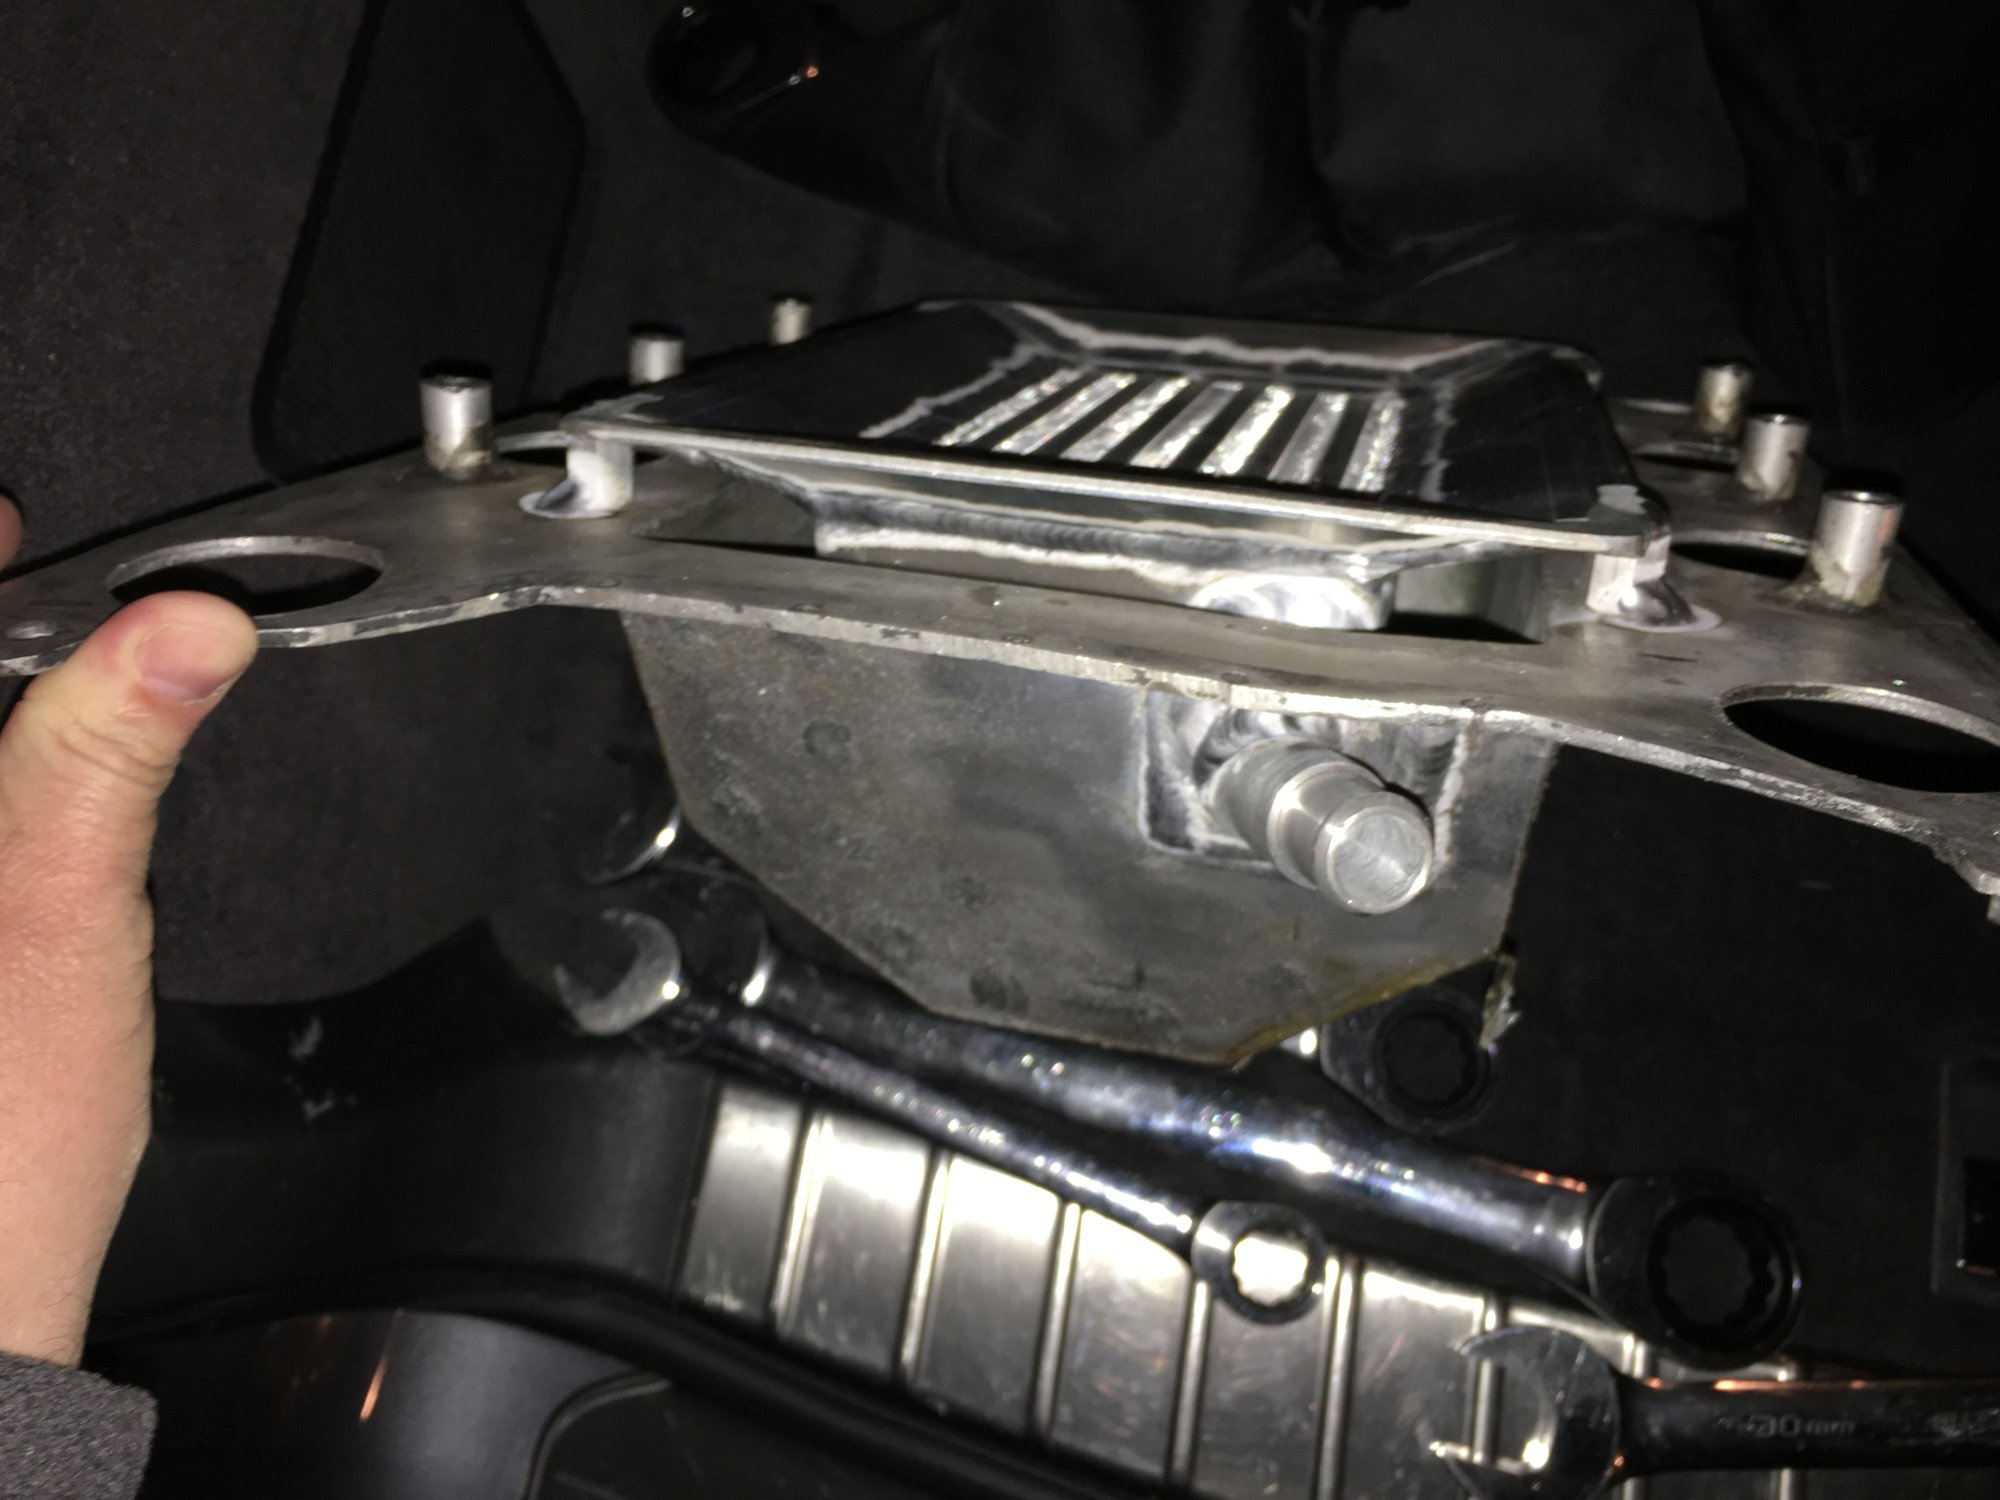
Still need to figure out what to do about the ICer, if anything. Right now I'm thinking about putting the stock intake on and run it that way for a while. I need to get it back together so I can bring the race car in for work. Taking the first week of December off. Hopefully I'll get some **** done then.
#231
Team Owner
its amazing how many pieces it takes to build one of these engines.
Looks good Andrew, nice clean shop/garage as well.
Looks good Andrew, nice clean shop/garage as well.
#232
Rennlist Member
Join Date: Feb 2011
Location: Mostly in my workshop located in Sweden.
Posts: 2,230
Received 463 Likes
on
248 Posts
Thanks guys for all your commentary and input. I will be looking at the mains. I've never done that before, so I will be asking for guidance when I get there.
Yesterday I made my valve spring compressor tool and took the keepers out of one of the heads. Today I should finish the other head.
I made mine by following this thread from 2006 (wow 8 years ago) where Konig928 and Tony talked about their home made too. Mine cost me a whopping $3.28 for a 4' length of 1" PVC and a PVC T piece. I had some scrap 2x4s and copper pipe laying around. The black pipe is from a pipe clamp I made many years ago. With about an hour of monkeying around to get the fit right... I had a pretty descent valve spring compressor.


┼ke
#233
Race Car
#234
Supercharged
Rennlist Member
Rennlist Member
Thread Starter
Join Date: May 2002
Location: Back in Michigan - Full time!
Posts: 18,925
Likes: 0
Received 60 Likes
on
34 Posts
Front seal was replaced not long ago (2 or three years ago) and doesn't leak, so it's staying. But the rear seal does leak, so it will get replaced soon.
Got the tensioner, belt, oil pan and covers on today. Will probably take the belt back off once more to run some oil through the system using the drill method.


Got the tensioner, belt, oil pan and covers on today. Will probably take the belt back off once more to run some oil through the system using the drill method.
#235
Supercharged
Rennlist Member
Rennlist Member
Thread Starter
Join Date: May 2002
Location: Back in Michigan - Full time!
Posts: 18,925
Likes: 0
Received 60 Likes
on
34 Posts
If anyone ever is trying this, I modified (bent) a screwdriver to get the keepers in. Put a little dab of grease on the valve stem and then a dab on the screwdriver. When you compress the spring enough, slip the keeper in. The first one took me at least 5 or maybe 10 minutes to do. The last one took 30 seconds.
#236
Rennlist Member
Sorry to hijack- I have an oil leak around the Pktensioner. Do you think it's leaking through the gasket or from the oil bolt hole? I put sealant onto the bolt that goes into the right of the three bolt triangle- correct bolt hole?
Thanks for the threads as I might pull the motor to refresh if I plan to install SC some day. Thanks.
Thanks for the threads as I might pull the motor to refresh if I plan to install SC some day. Thanks.
#237
Supercharged
Rennlist Member
Rennlist Member
Thread Starter
Join Date: May 2002
Location: Back in Michigan - Full time!
Posts: 18,925
Likes: 0
Received 60 Likes
on
34 Posts
Sorry to hijack- I have an oil leak around the Pktensioner. Do you think it's leaking through the gasket or from the oil bolt hole? I put sealant onto the bolt that goes into the right of the three bolt triangle- correct bolt hole?
Thanks for the threads as I might pull the motor to refresh if I plan to install SC some day. Thanks.
Thanks for the threads as I might pull the motor to refresh if I plan to install SC some day. Thanks.


